3D Joint and Open-desk Digital Woodworking
425 Views, 0 Favorites, 0 Comments
3D Joint and Open-desk Digital Woodworking

A successful combination of Rhino as well as CNC will help to bring digital 3D models into reality. This is the assignment for this week's Digital Fabrication course, when we were guided to construct 3D models in Rhino and bring them into concrete models with CNC.
Sketch the Model With Measurement
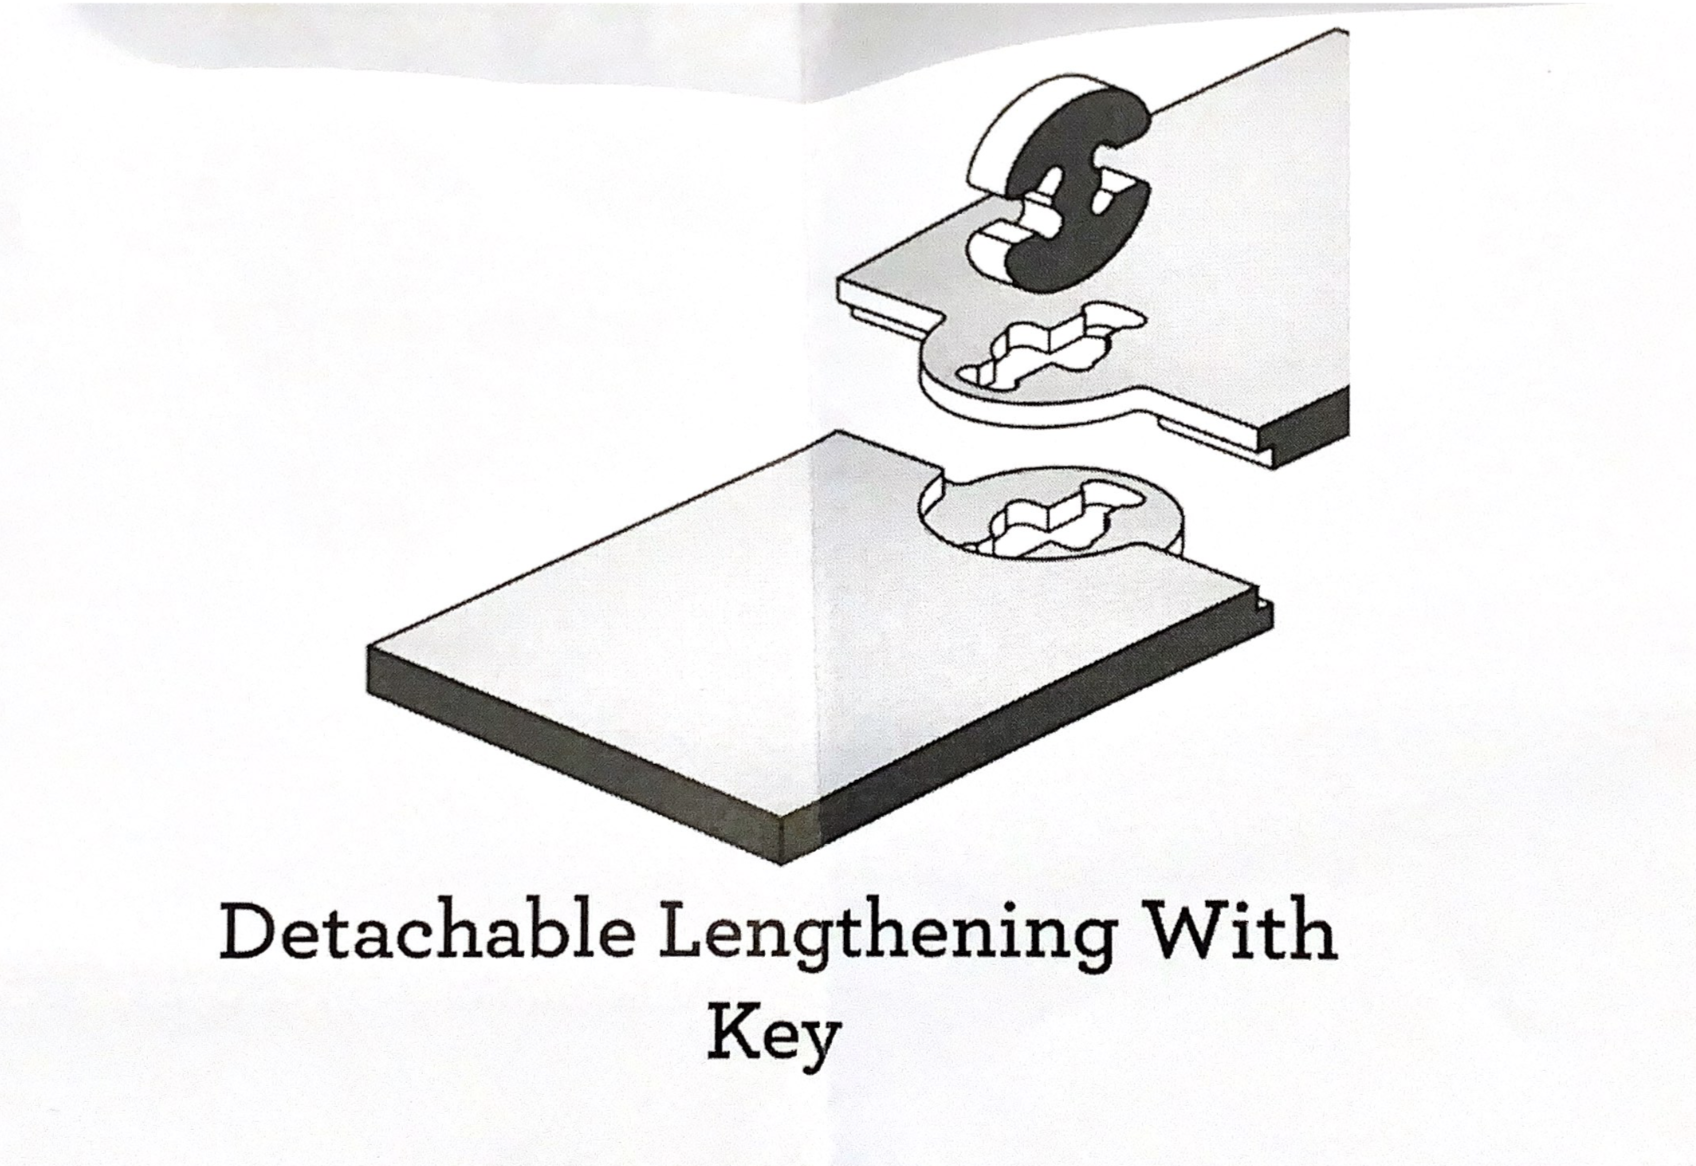
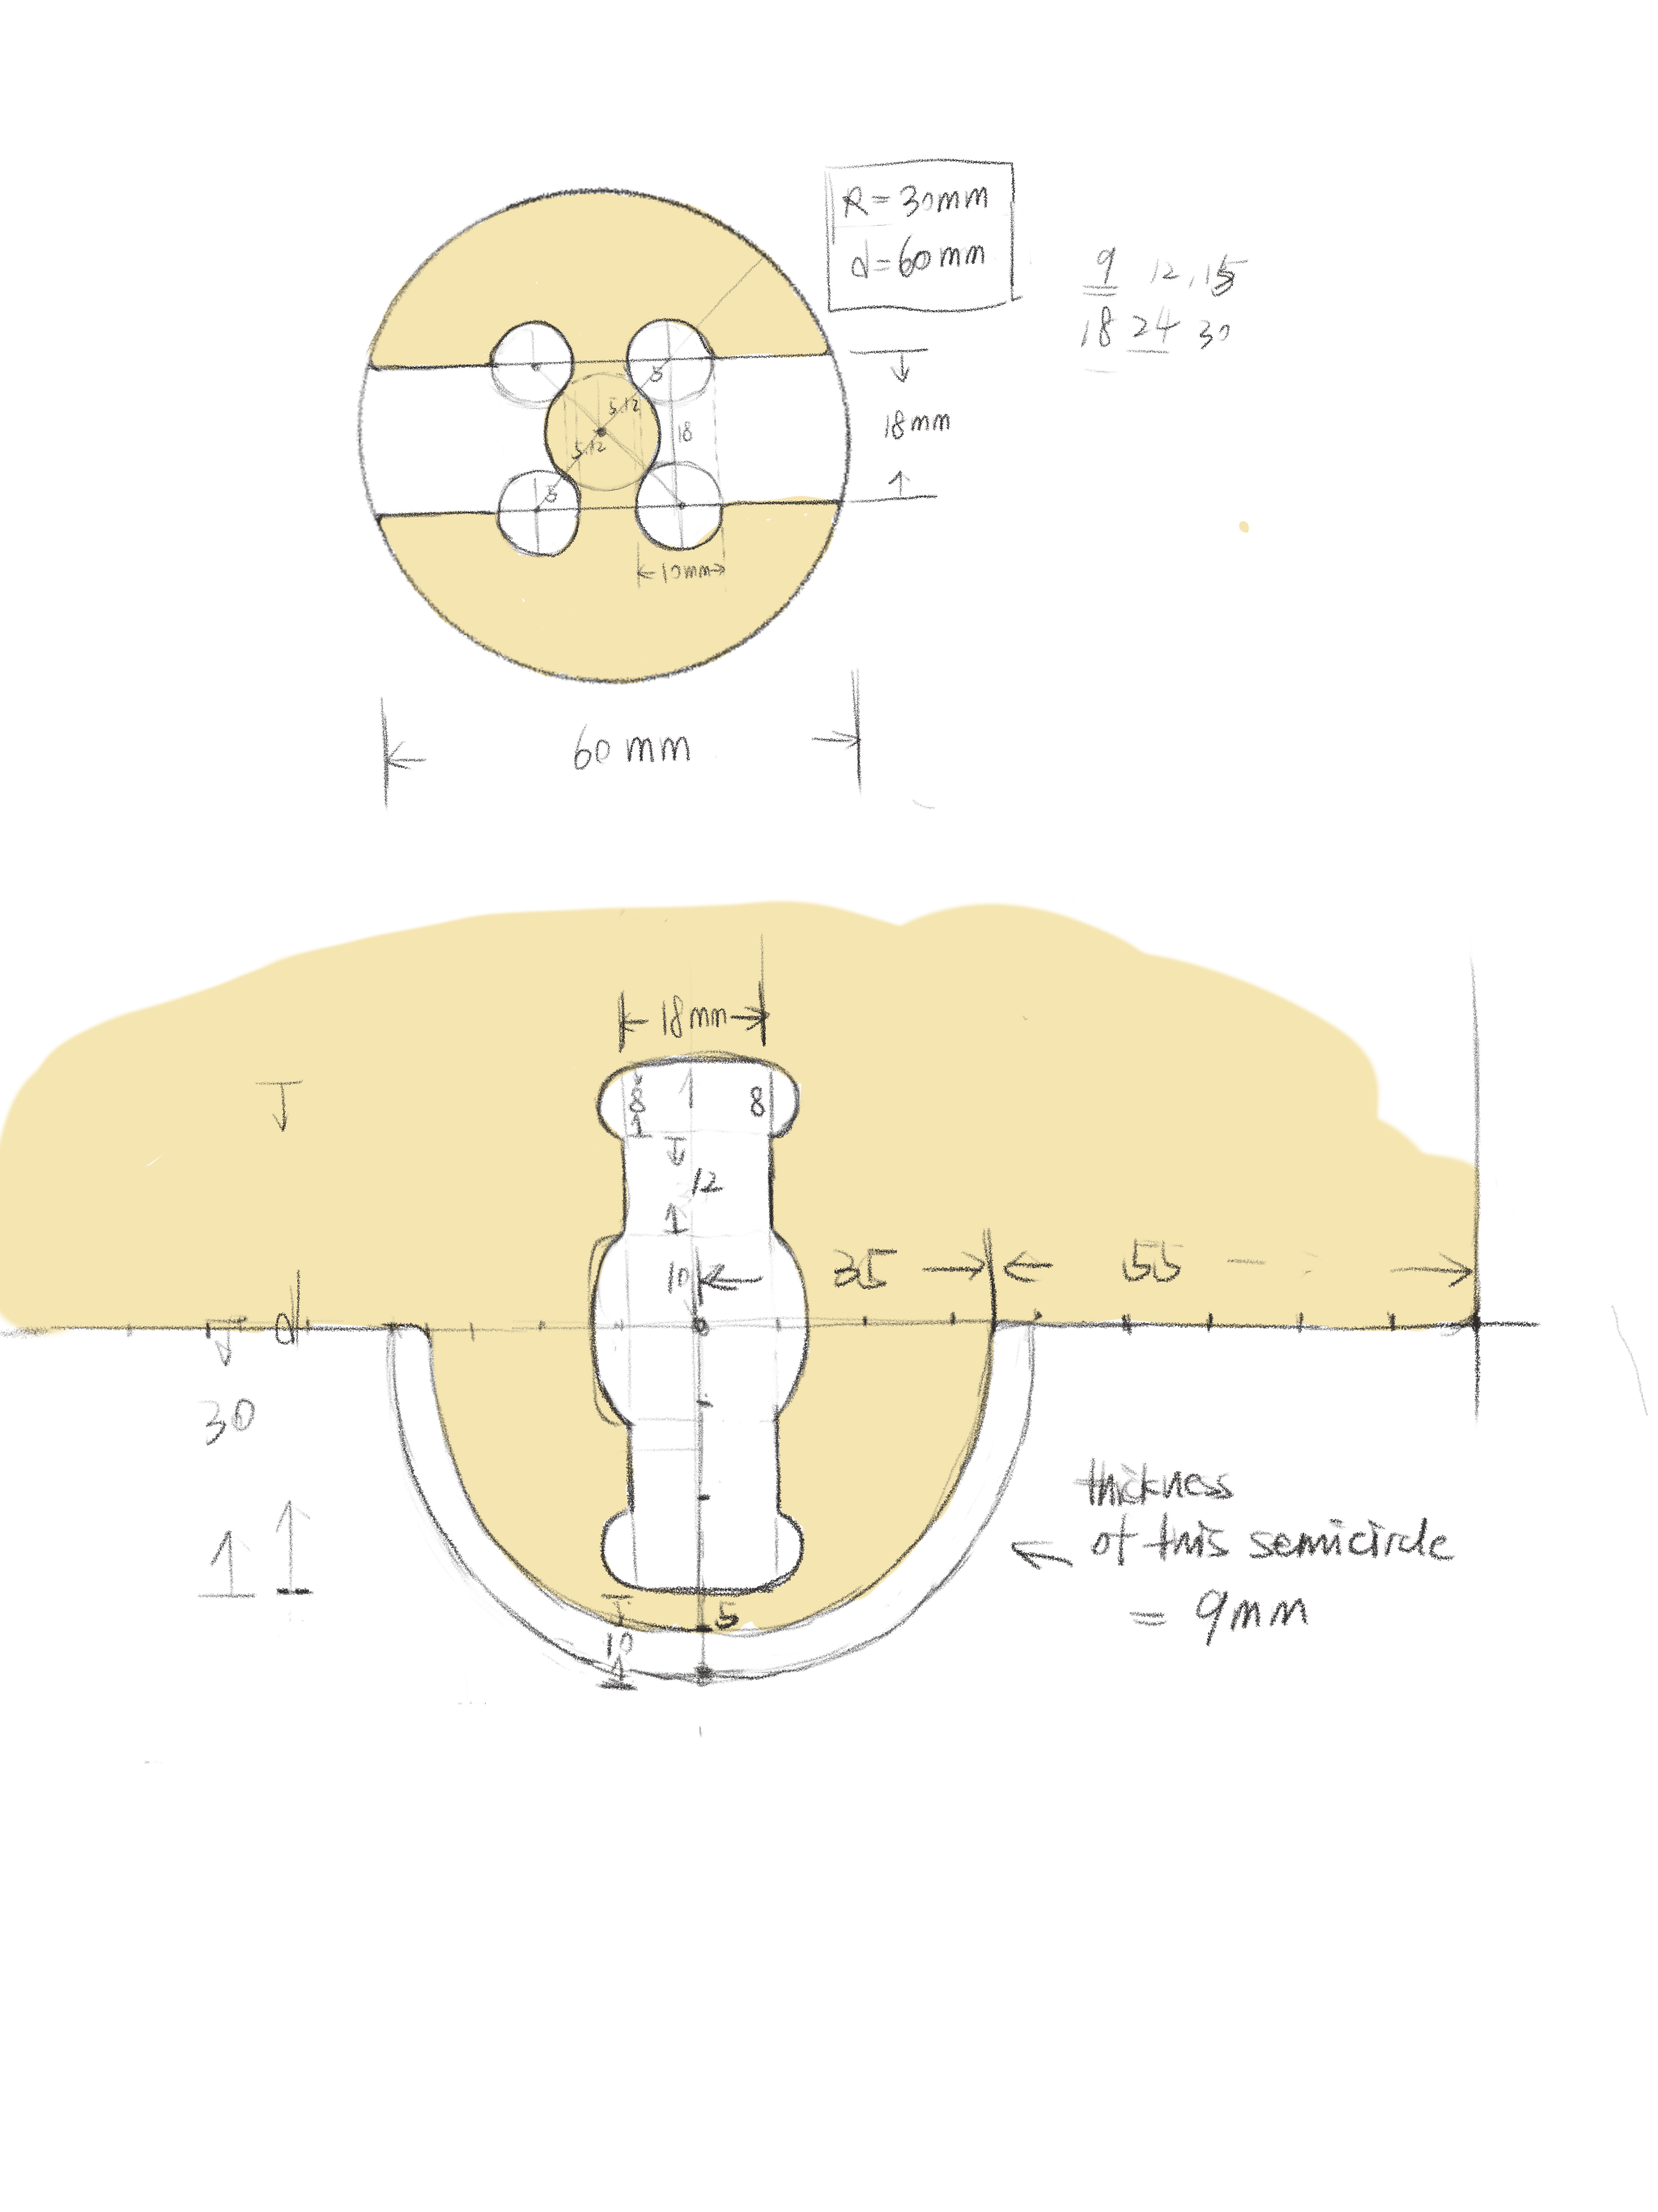
The first images is the 3D model of the Detachable Lengthening With Key which comes from the category of 50 digital joints. The thickness of wood is about 18mm and the smallest size of the drill on the wood-cutting machine possesses the radians of 6.35mm. As a result, the size of each part of the model desires careful calculation as well as comparison.
Construct the Model With Rhino


Then I constructed the model with Rhino. The general idea of constructing models composes of three parts to me. We need to first figure out which view of canvas contains which shapes, then use lines to create the most fundamental shapes. Then it comes to building solids, when we use the connection between lines to create surfaces and solids. Finally, we cut, abstract or split the solid to get what we want.
During the process, I also learned other ways to construct these 3D models. Since the split tool might be a little complicated, I can also simply use constructing surfaces based on lines tool, and then stretching the surfaces to construct solids.
What's also worth mentioning is the adjusting size process. Initially I thought the two pieces of wood stuck together up side and down share exactly the same shape and size. However, when I tried to put them together after rotating, I was surprised as there appear to exist a thin gap between them. Finally I adjusted the size of one piece of wood to make them match.
Get the Eventual Version of 3D Model in Rhino


Then I organized my models in Rhino to get the final version.
What's also worth mentioning is the suggestion and assistance from Professor Andy. In my final construction version, the two pieces are different from each other since I keep the line which goes through the center of the circle. However, Professor Andy helped me to redesign it to make the two pieces sharing exact the same shape.
Transform the .dxf Version to Edit the Wood-cutting in Carbide Create
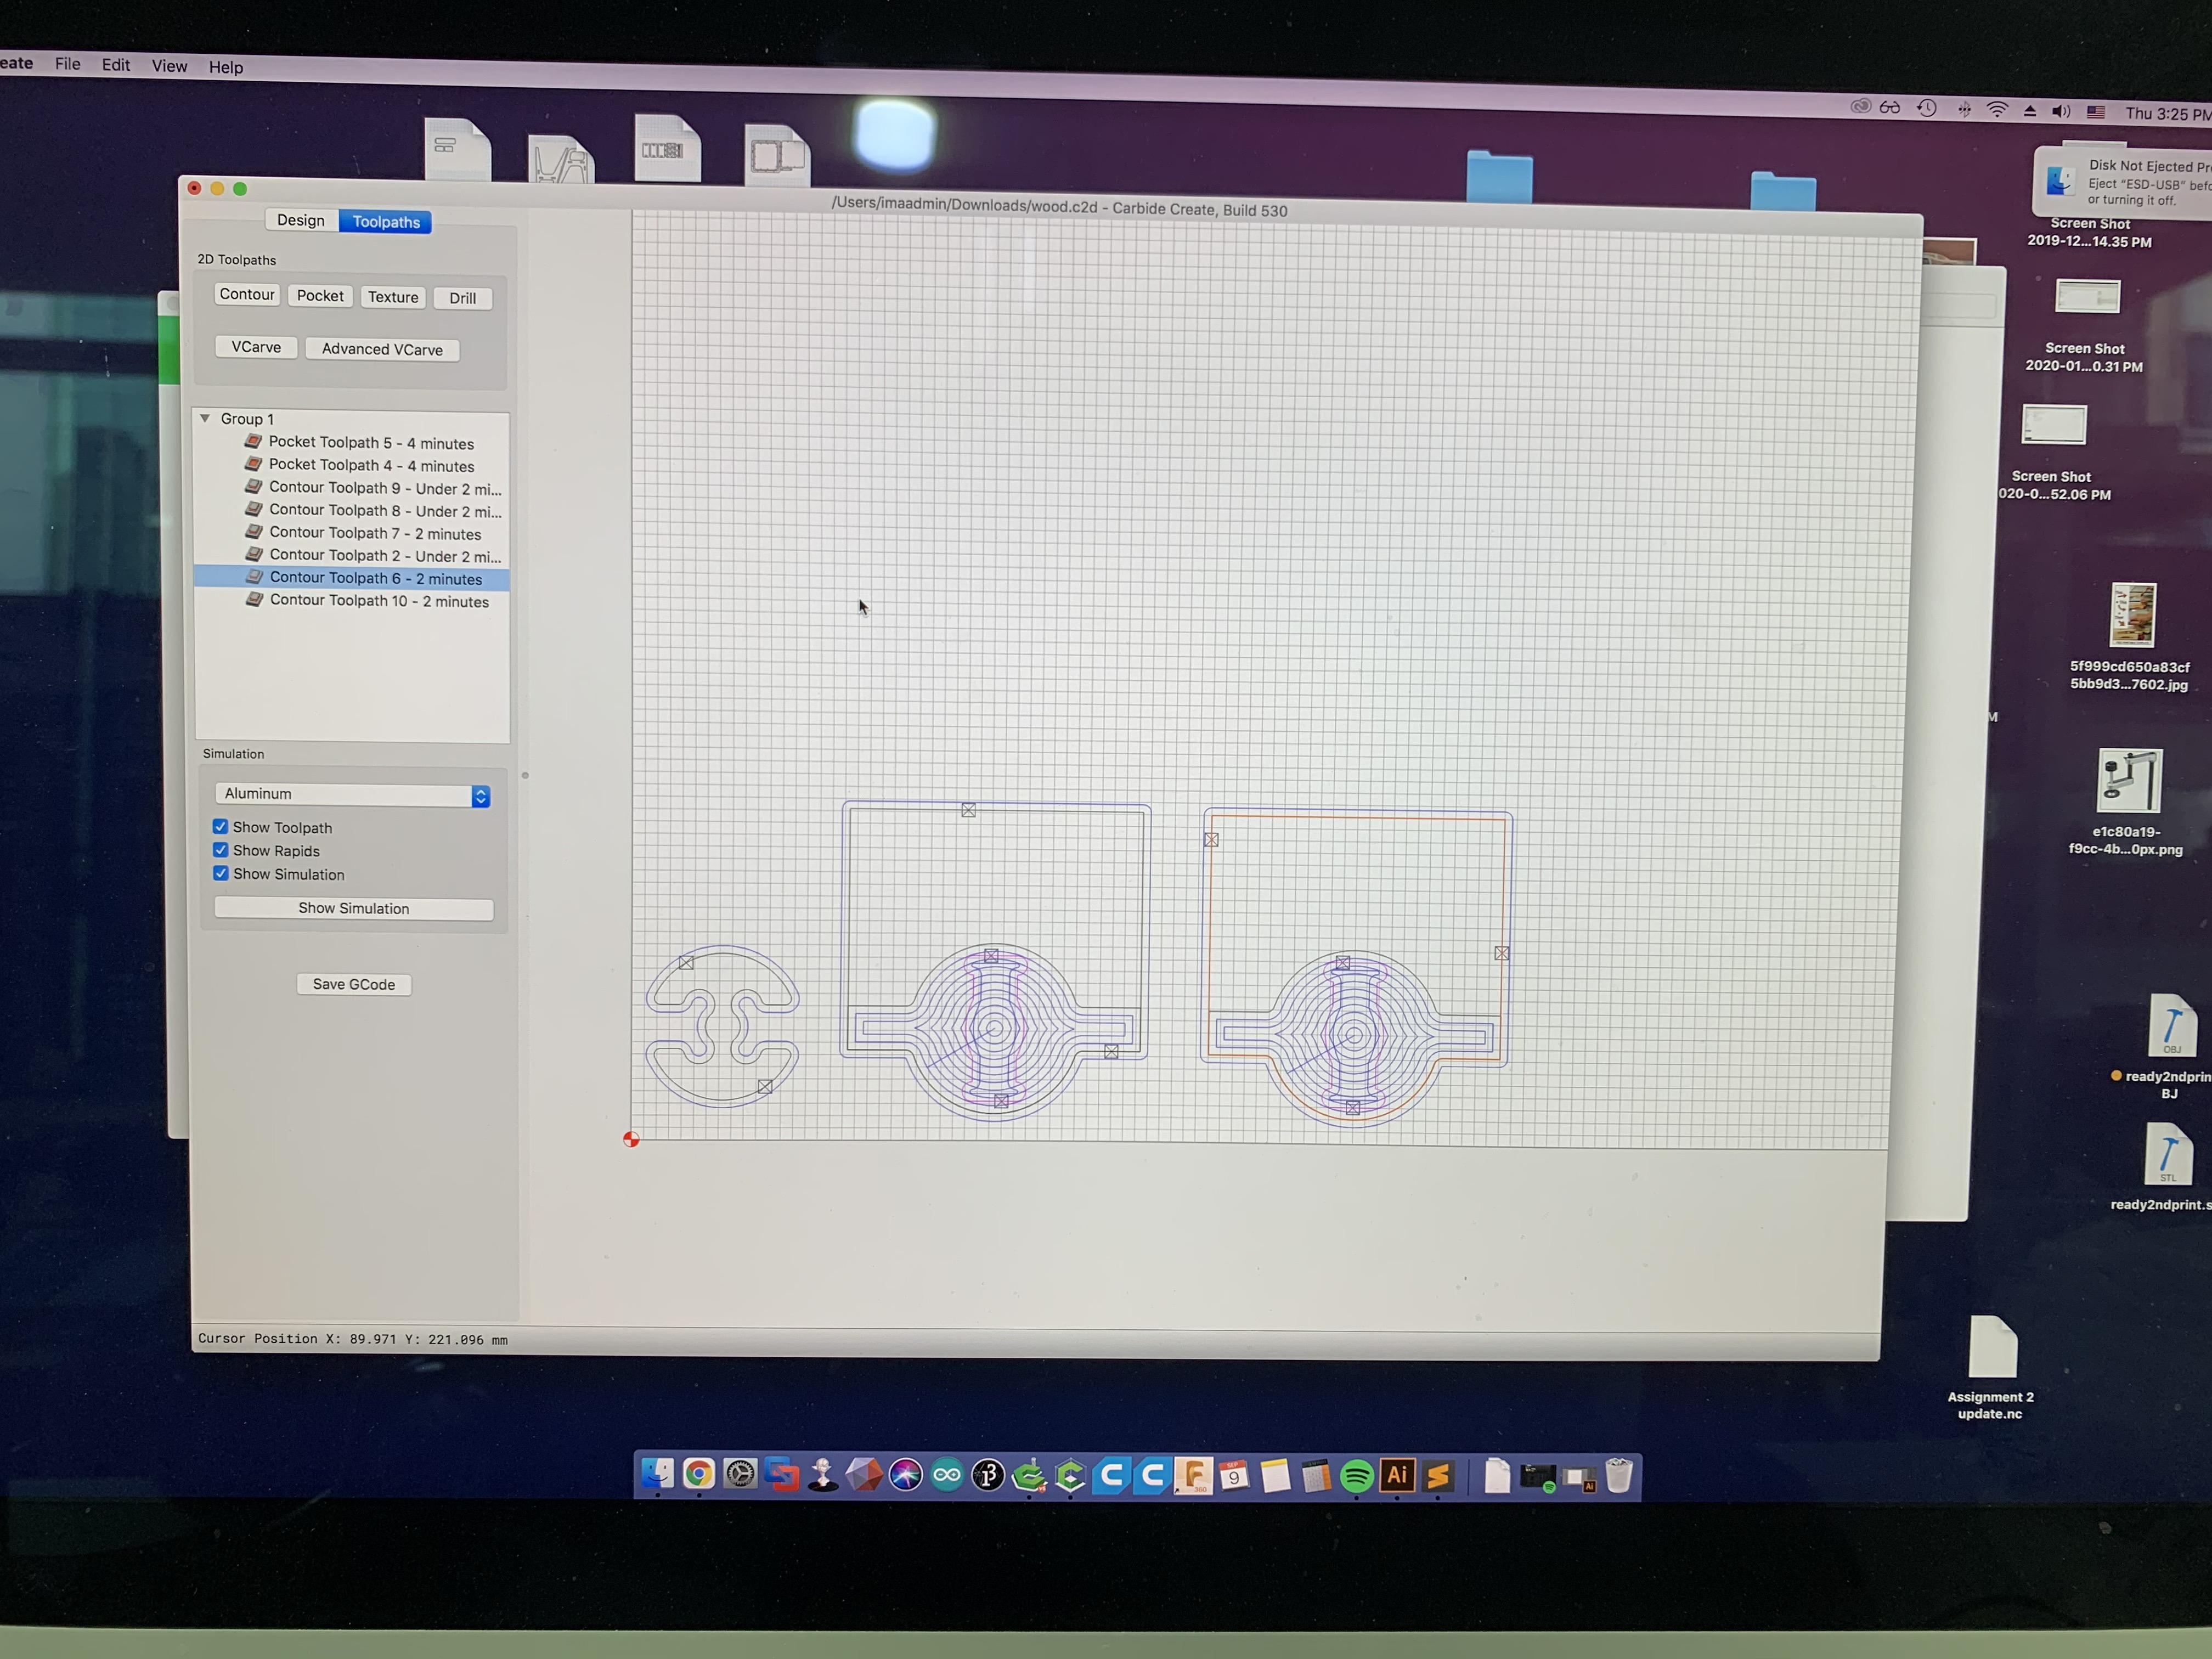
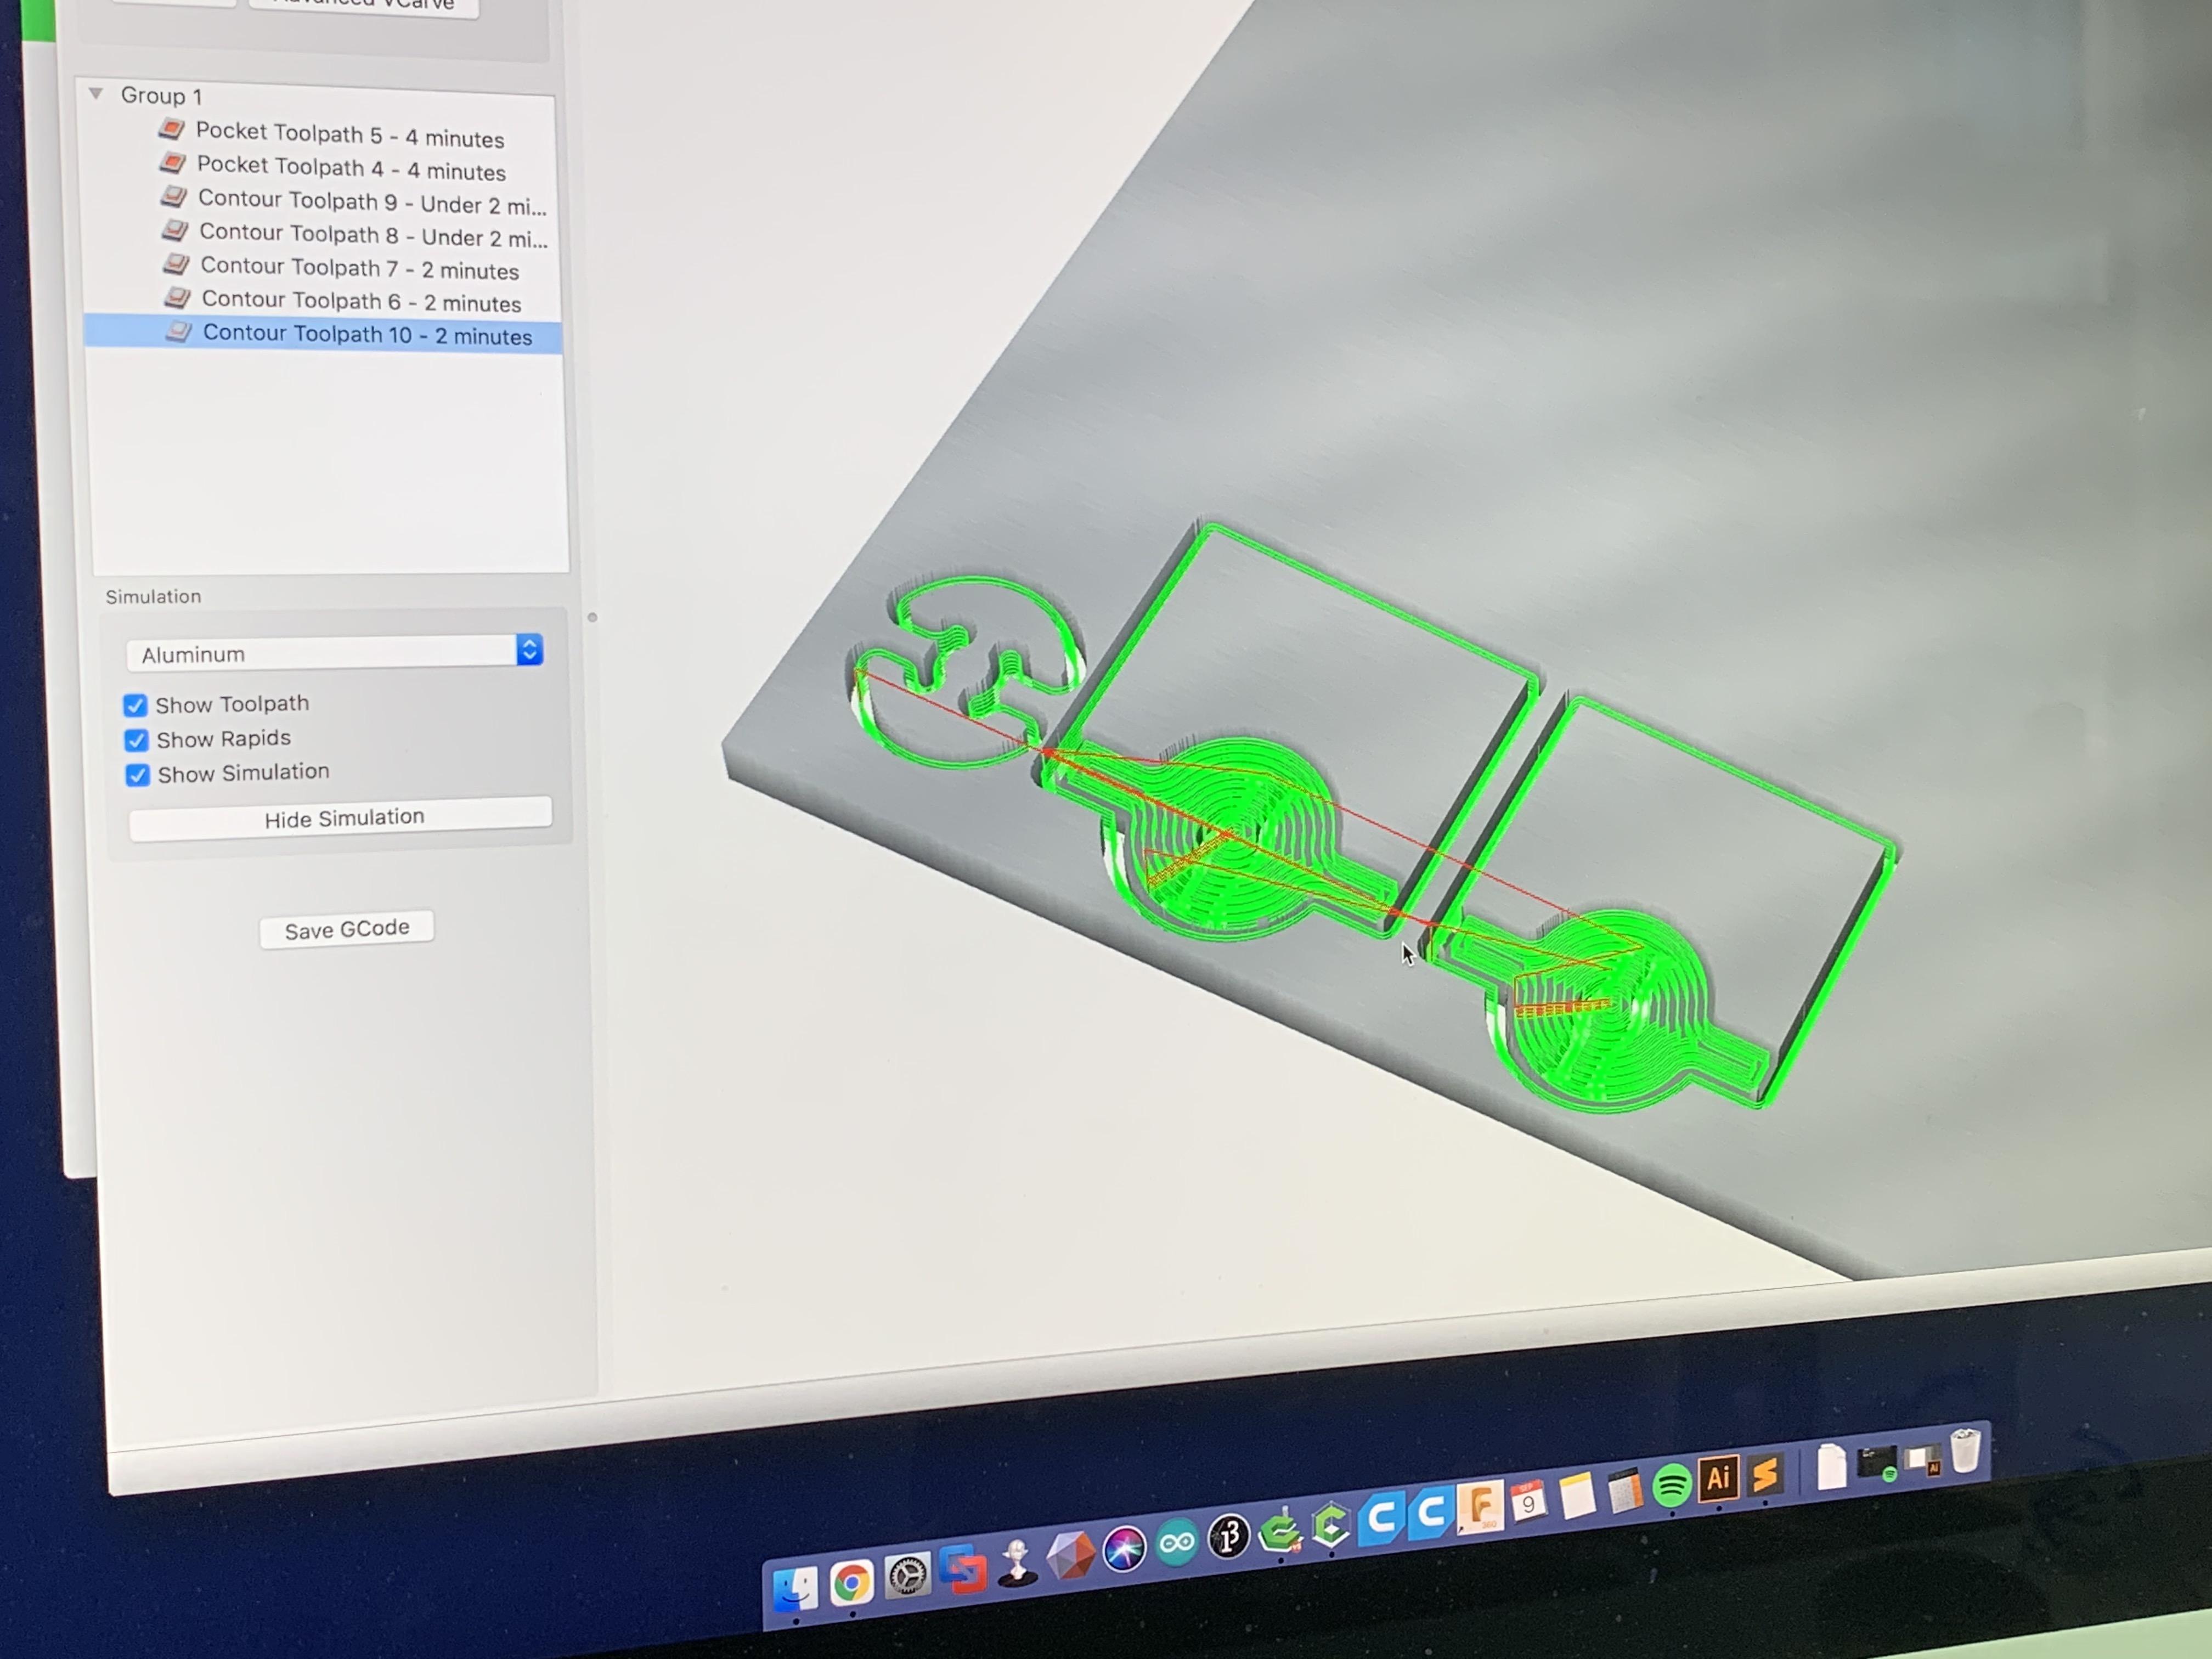
We just need to transform the 2D version, namely the top line version into the dxf version and edit it in Carbide Create. Not only do we need to consider how much we are supposed to cut the wood, which are the depth, we also need to consider the moving path of the machine so that we could figure out the shortest path. As a result, the rearrangement of the requests count much.
Set the CNC Machine
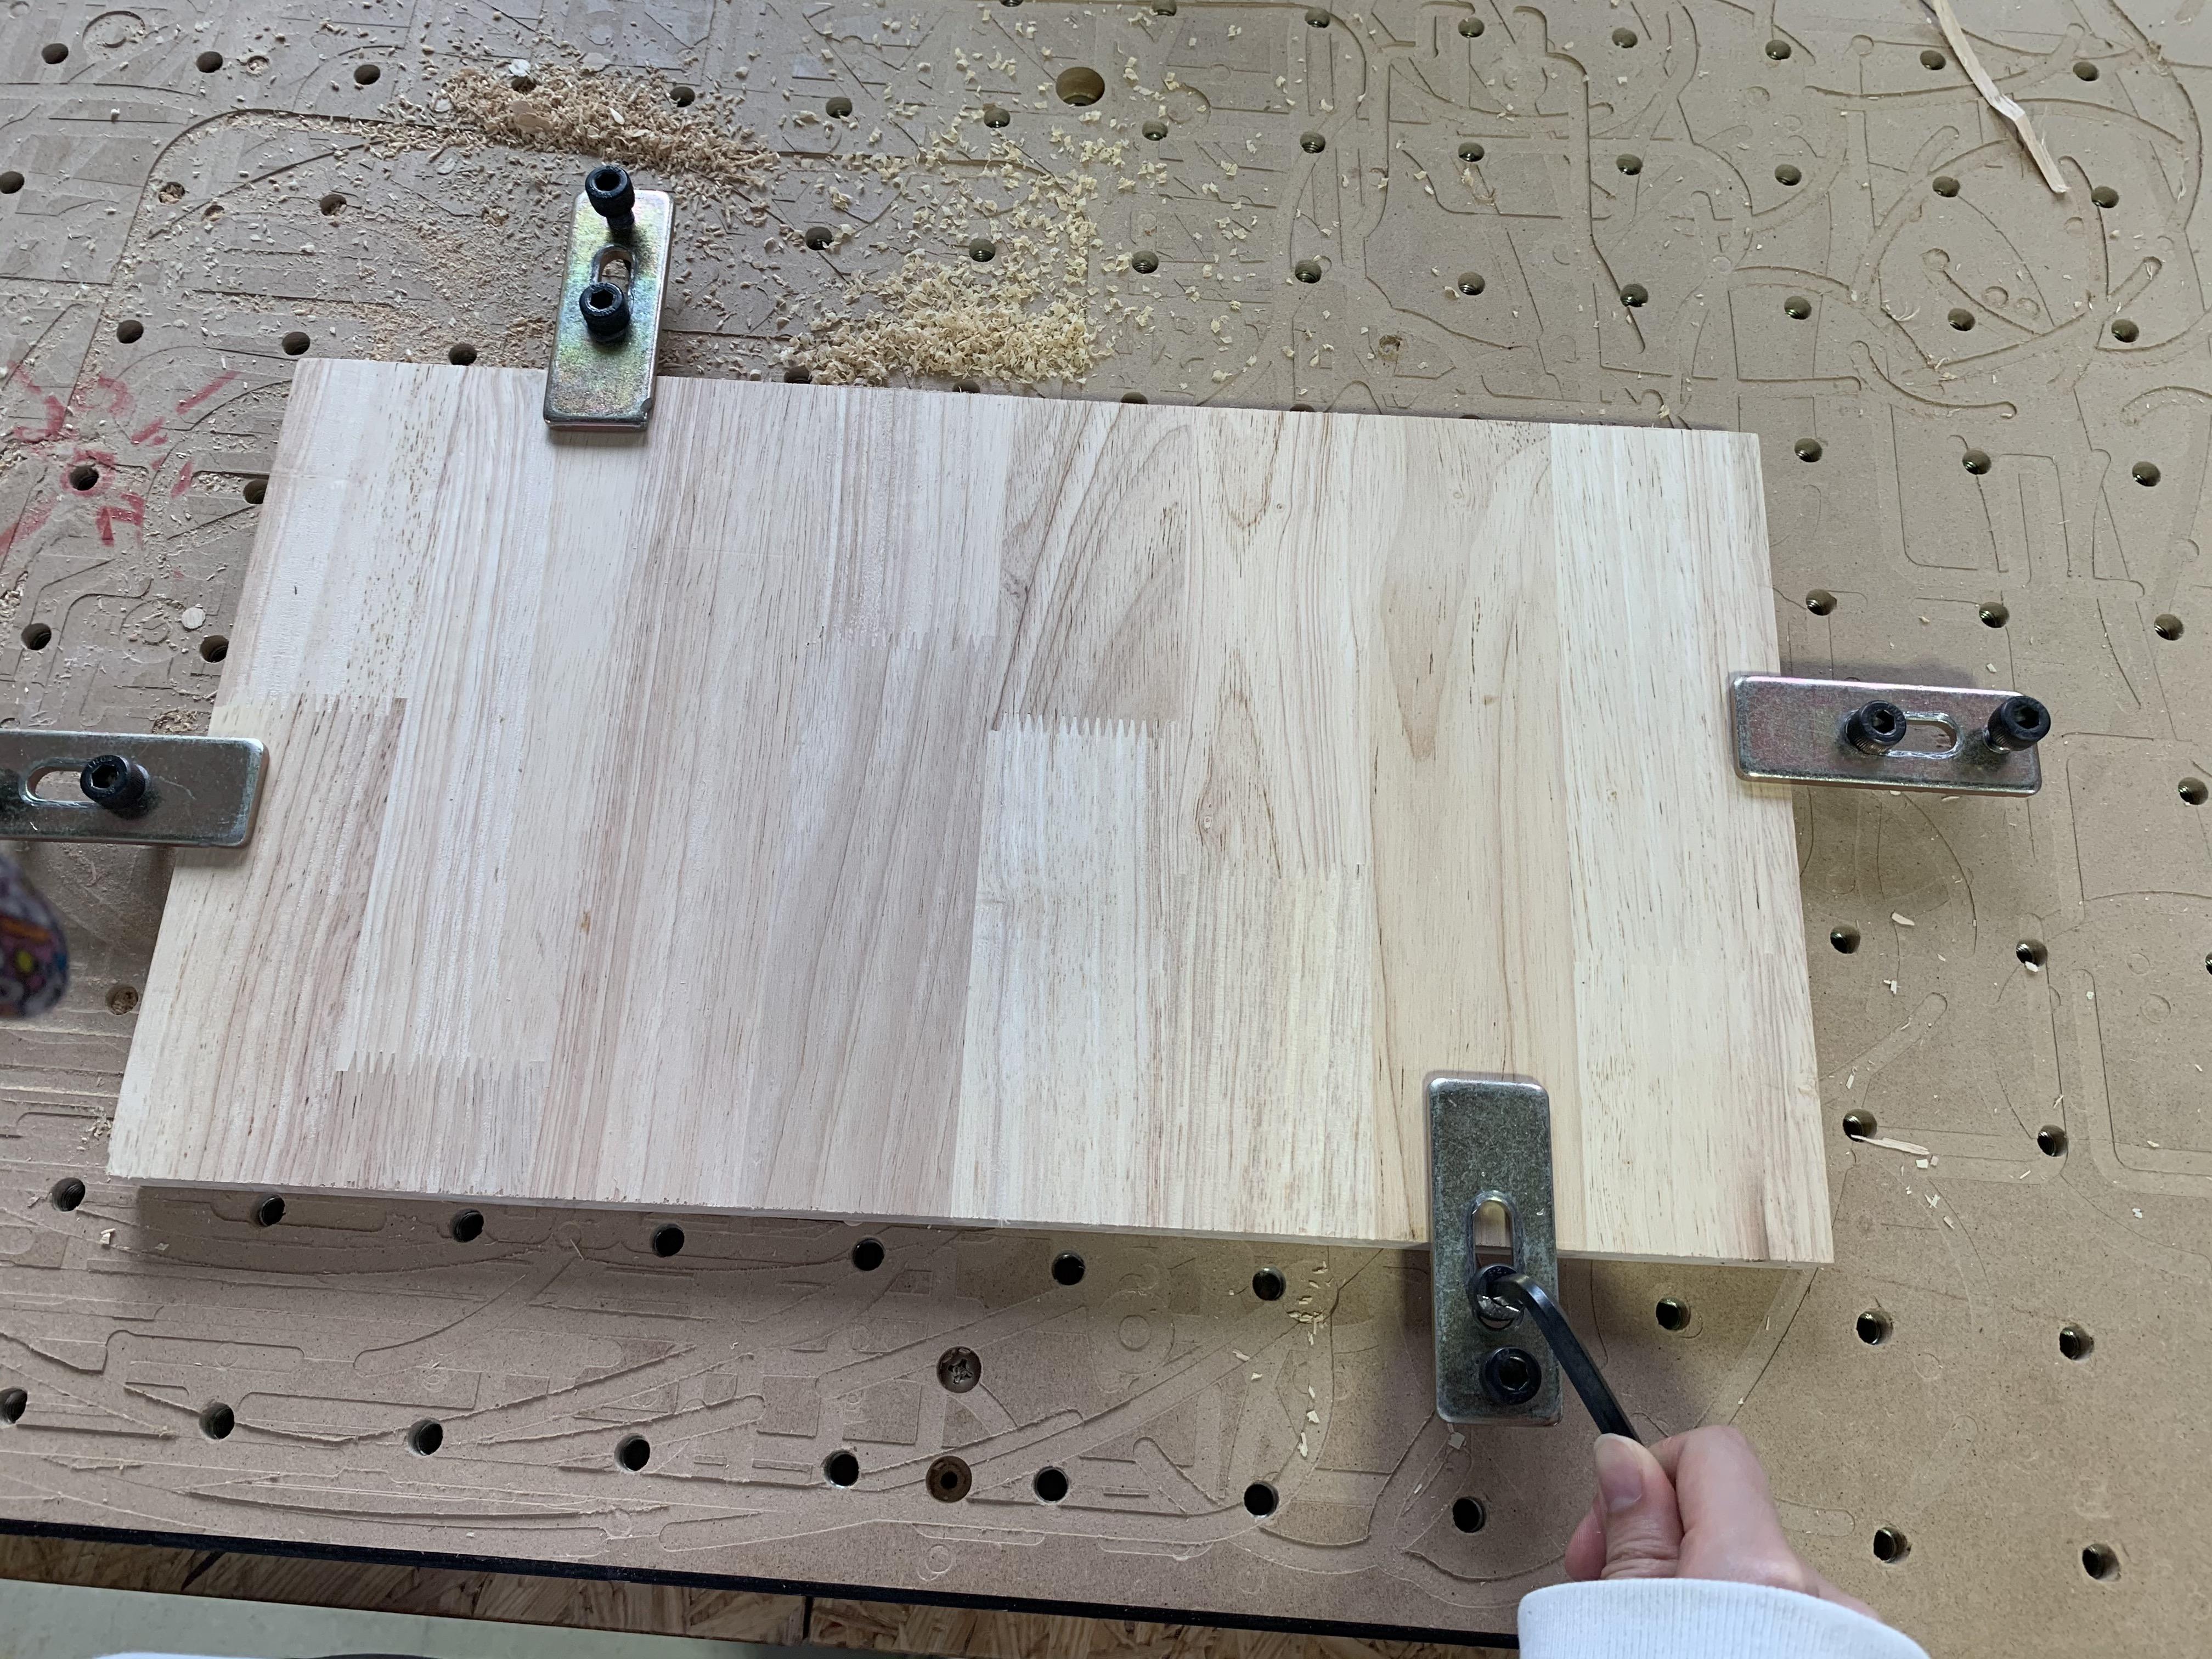
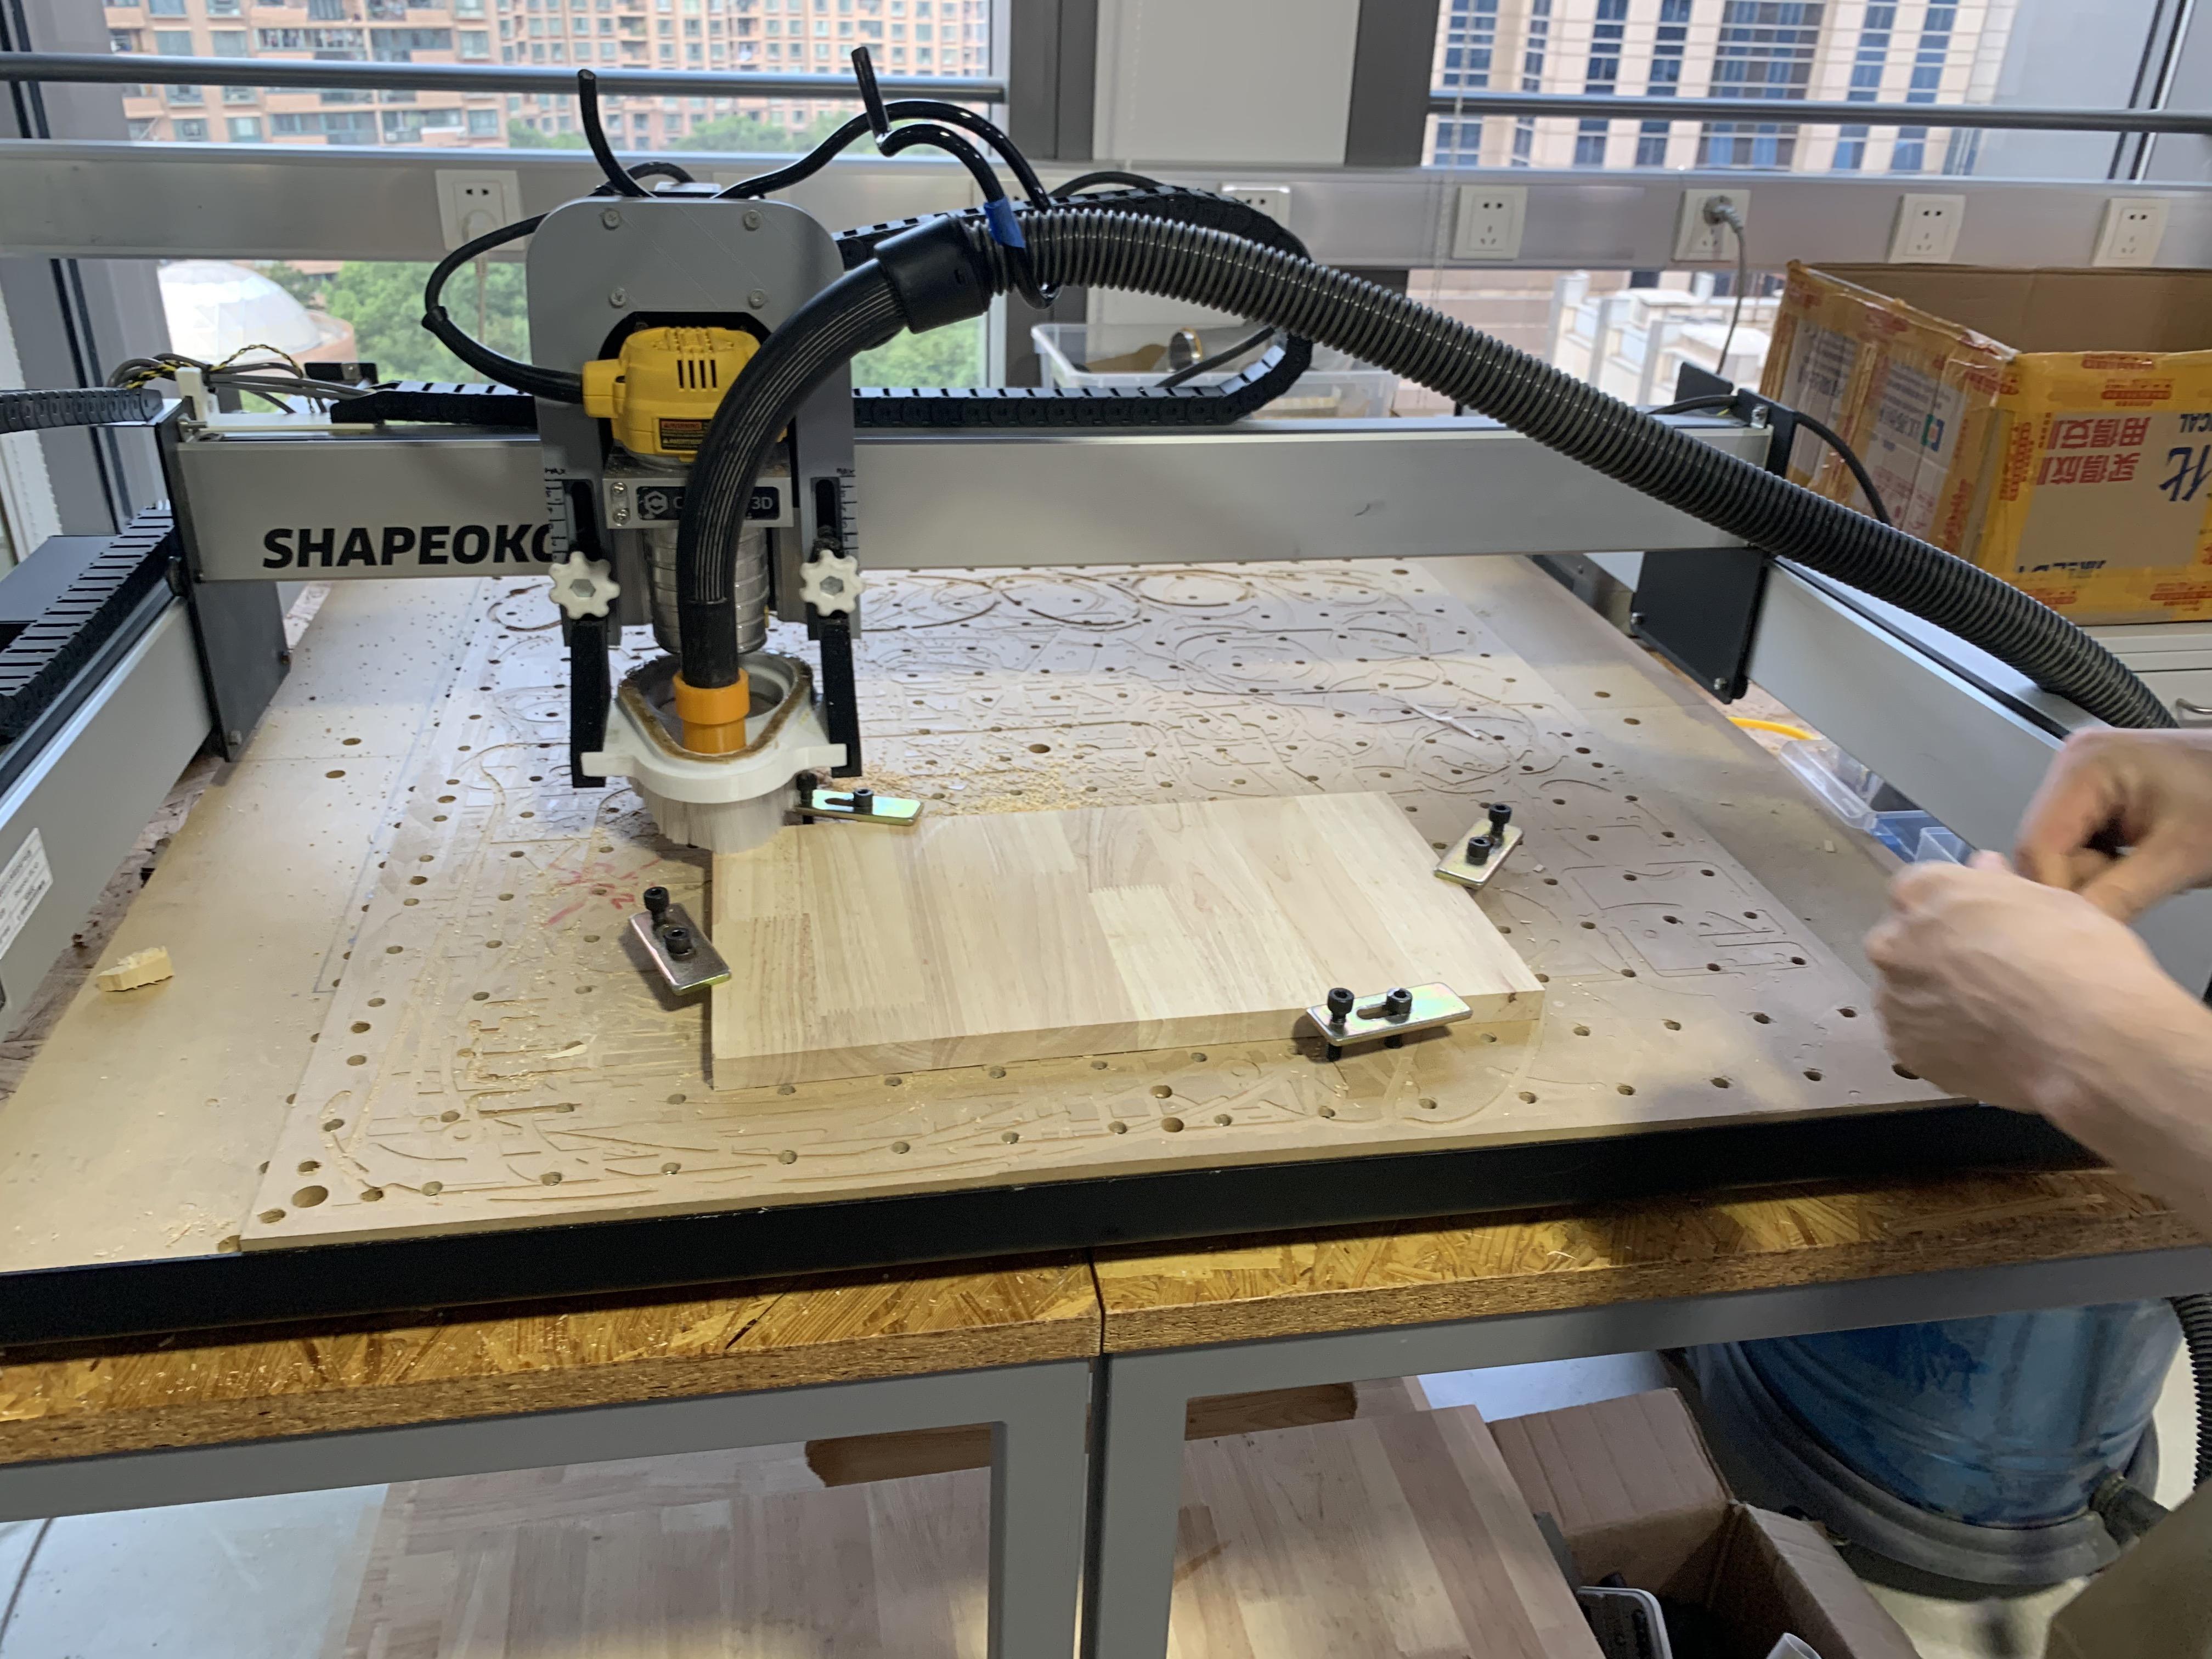
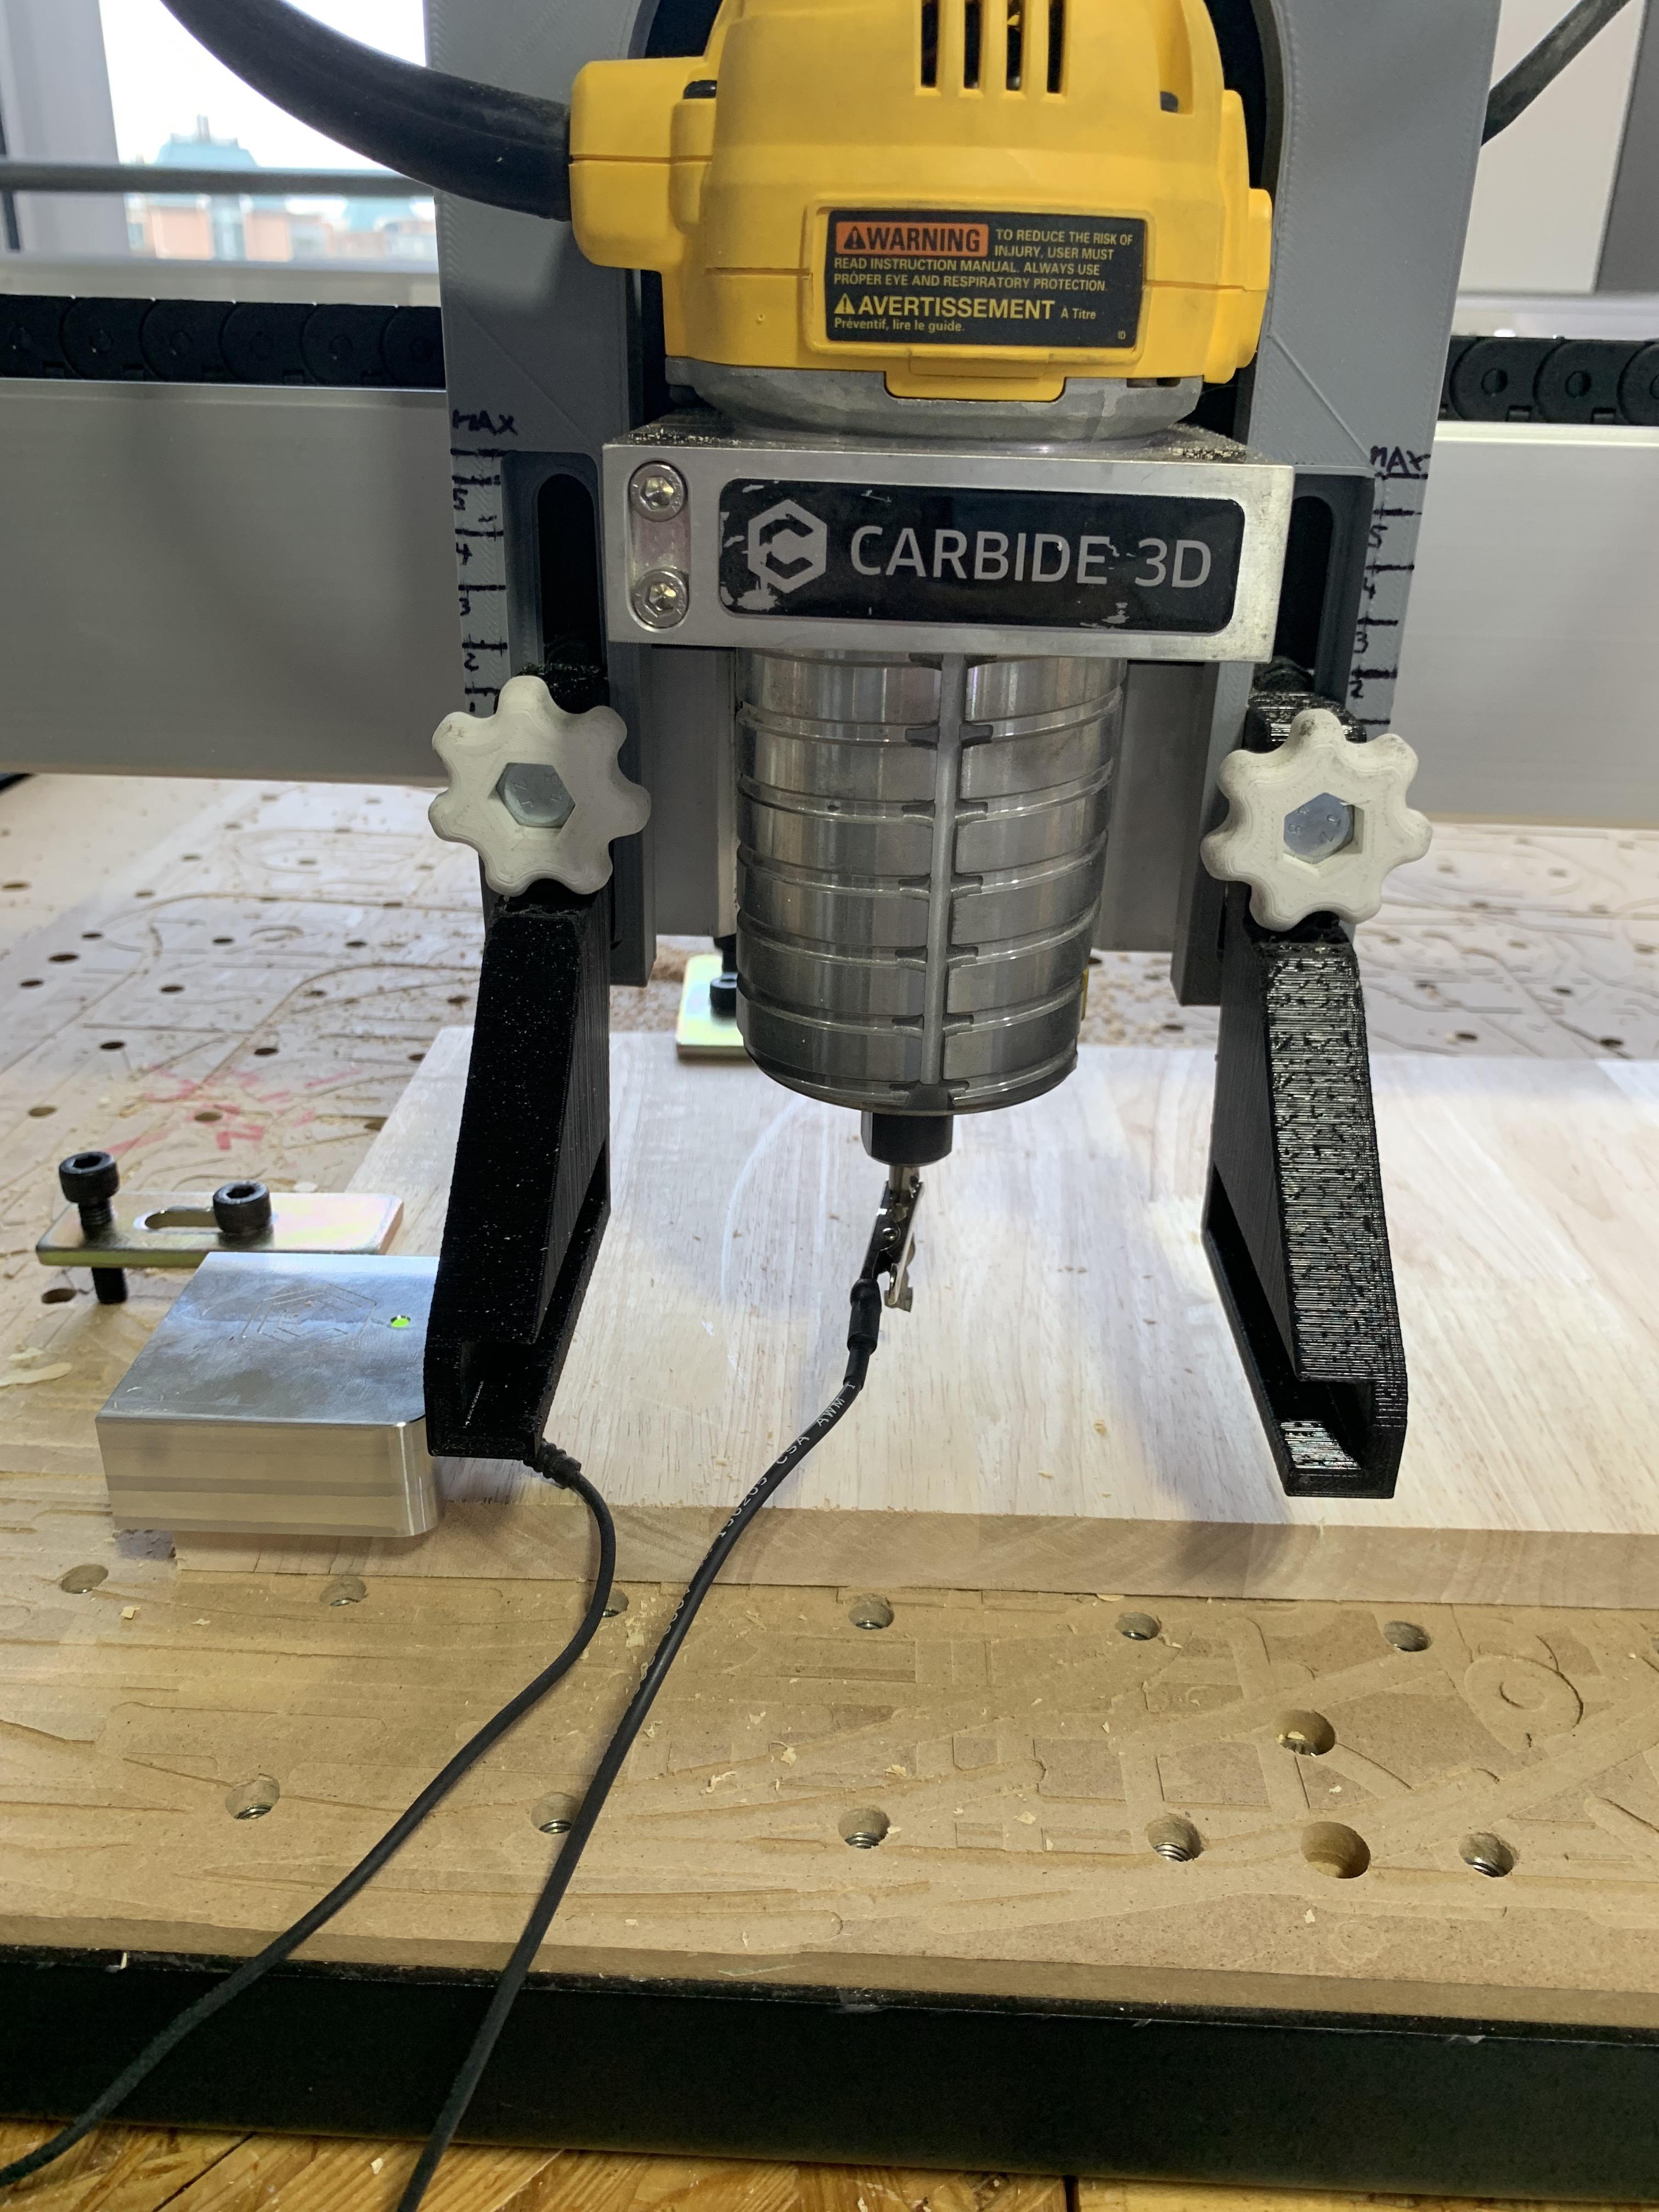
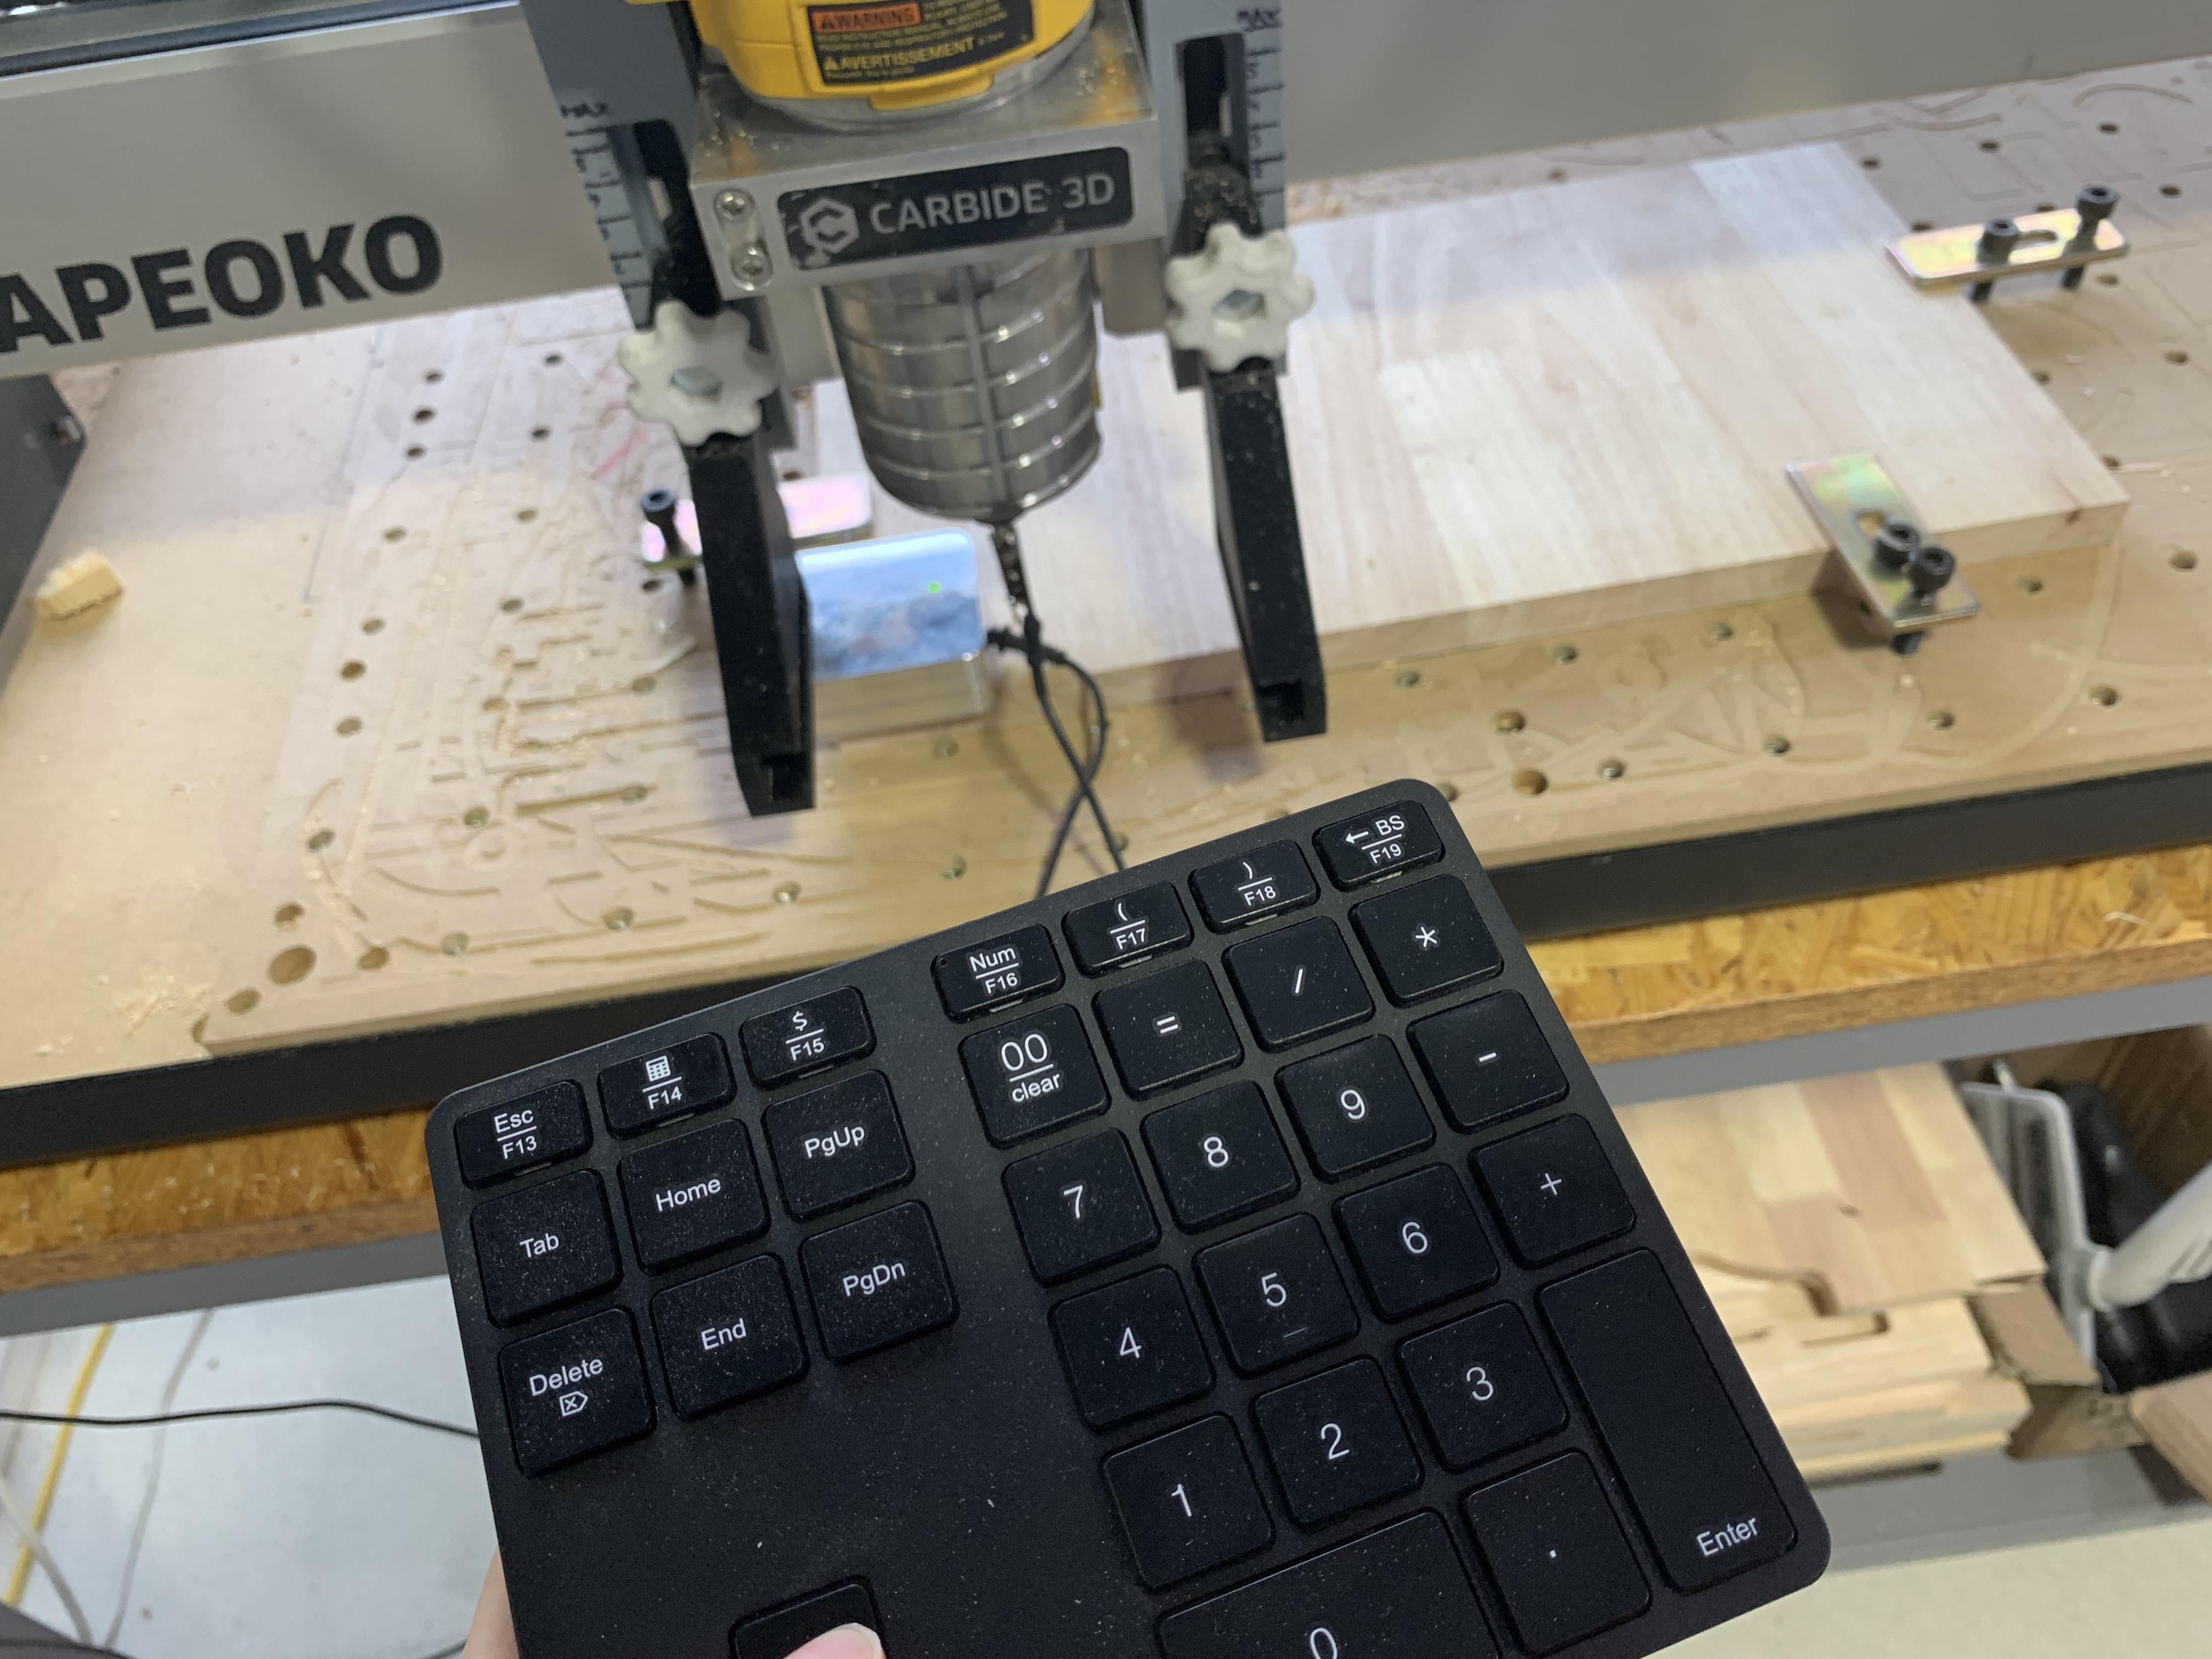
After selecting the wood with the proper size, we need to fix it tightly with panels. With the intention to achieve a larger utility ratio, and also prevent the drill from touching the metal panels, we are supposed to try our best to minimize the contact between the metal panels and the wooden board.
The metal square corner on the left side of the board helps the CNC machine to detect and determine the location of the board. However, firstly we need to manually adjust the drill to somewhere above the metal square, then it is able to detect by itself.
Cut the Pieces Out!
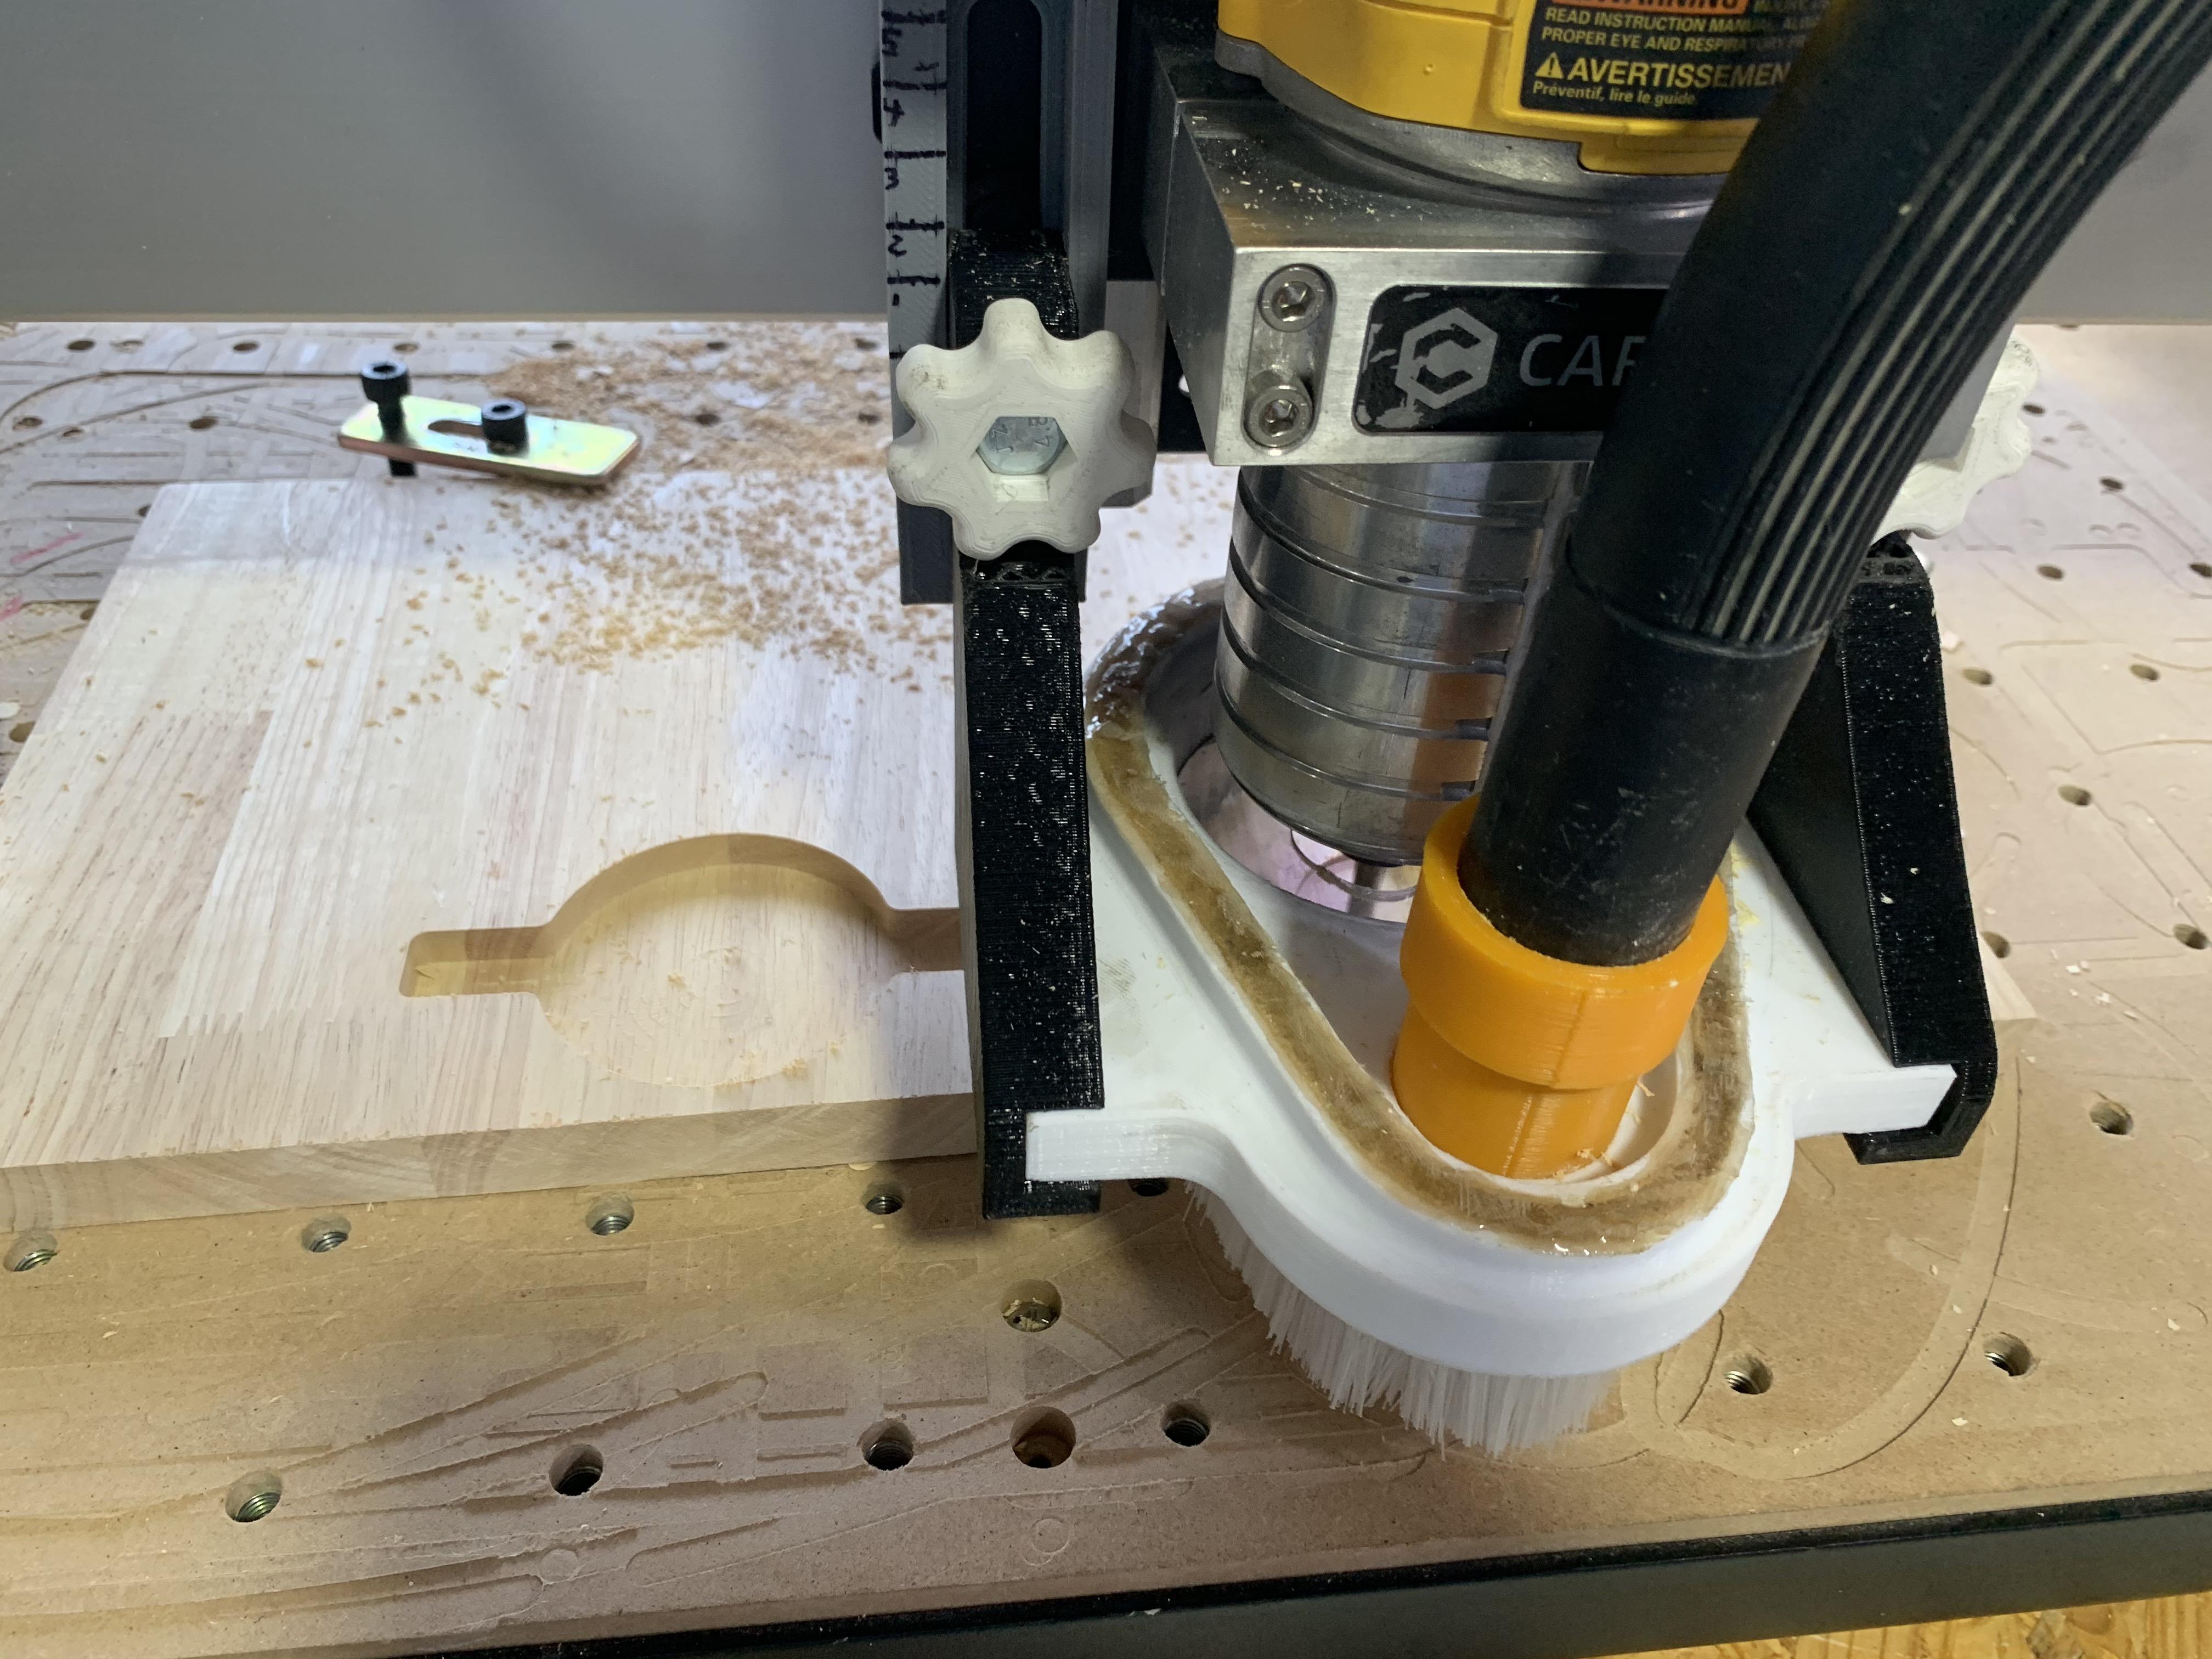
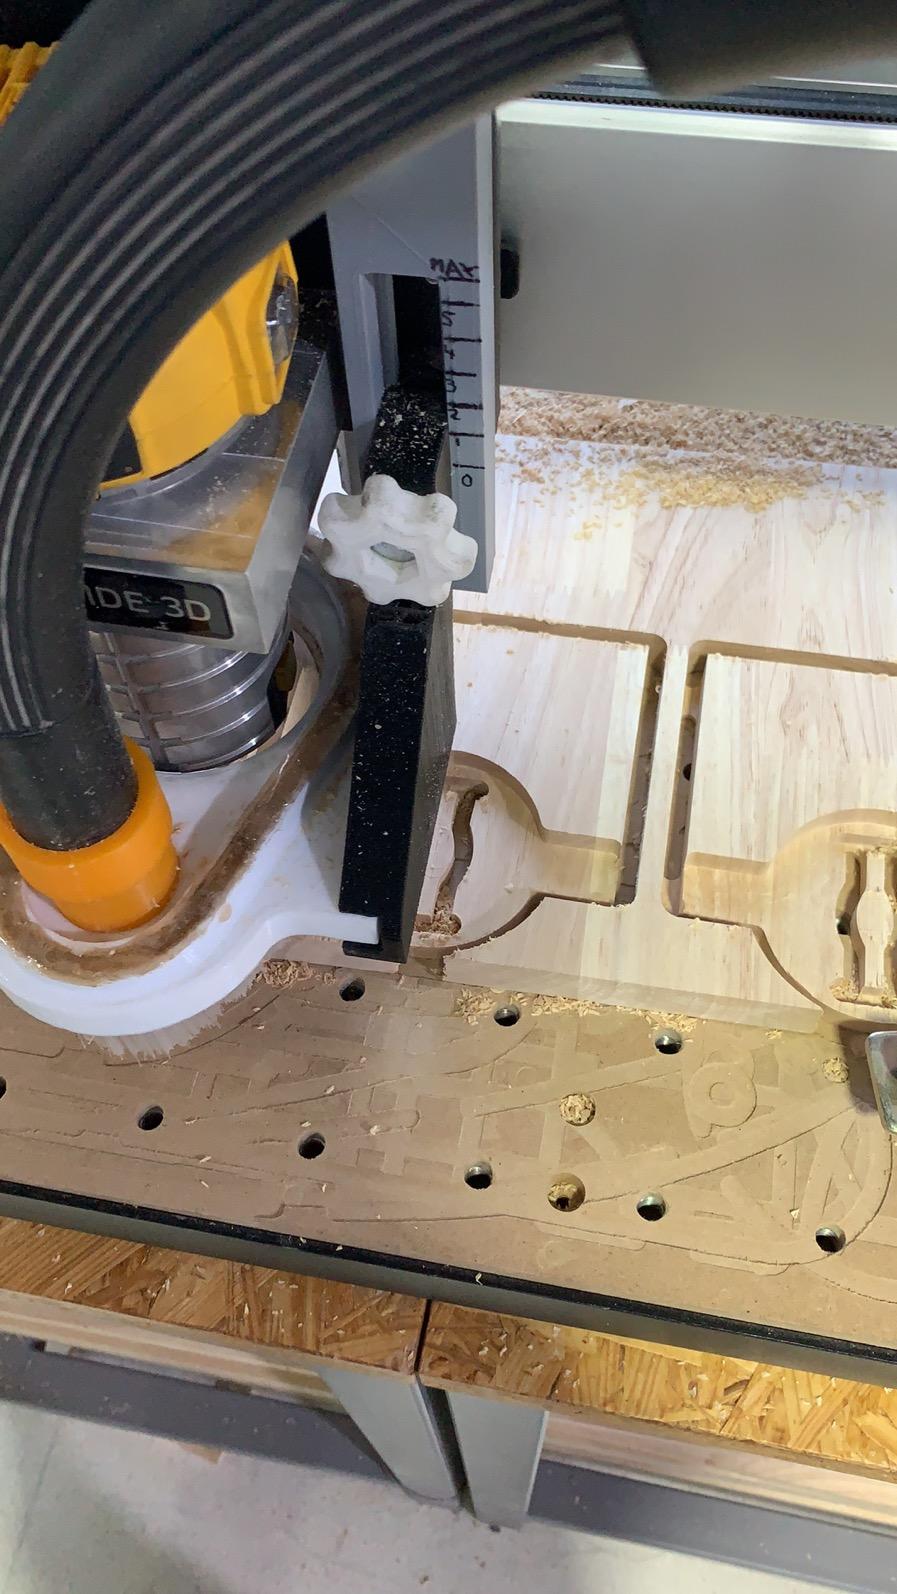
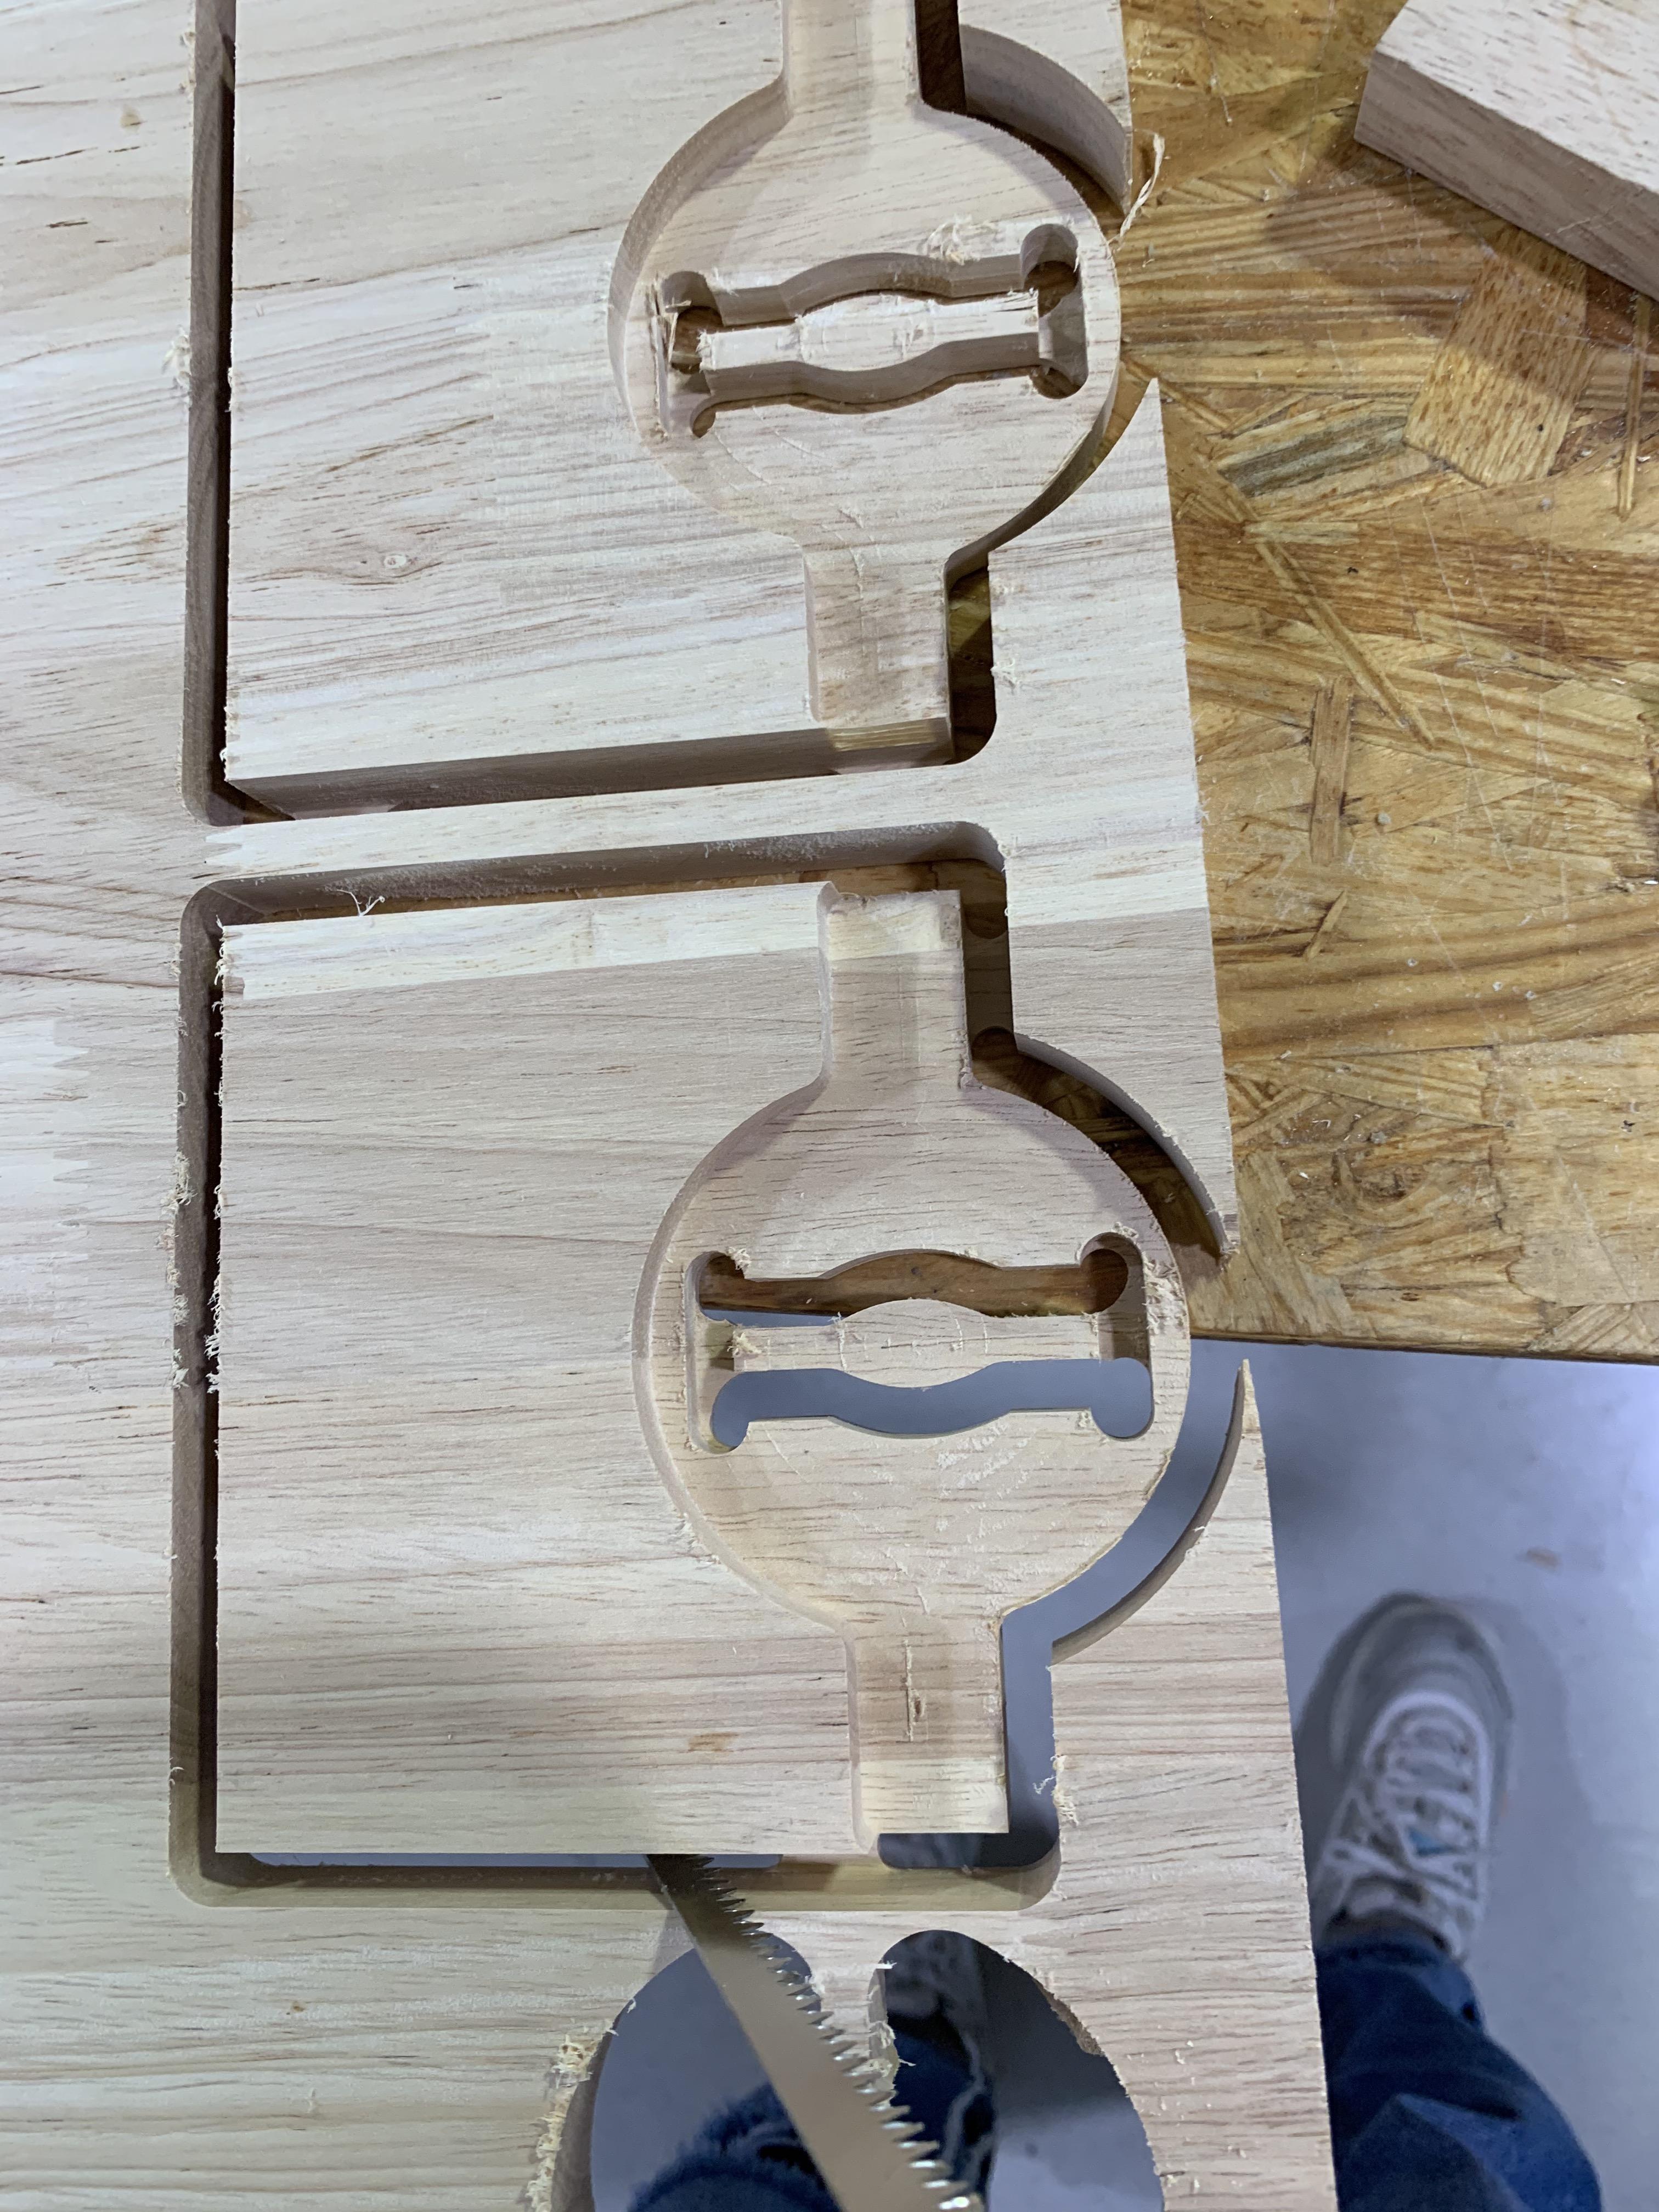
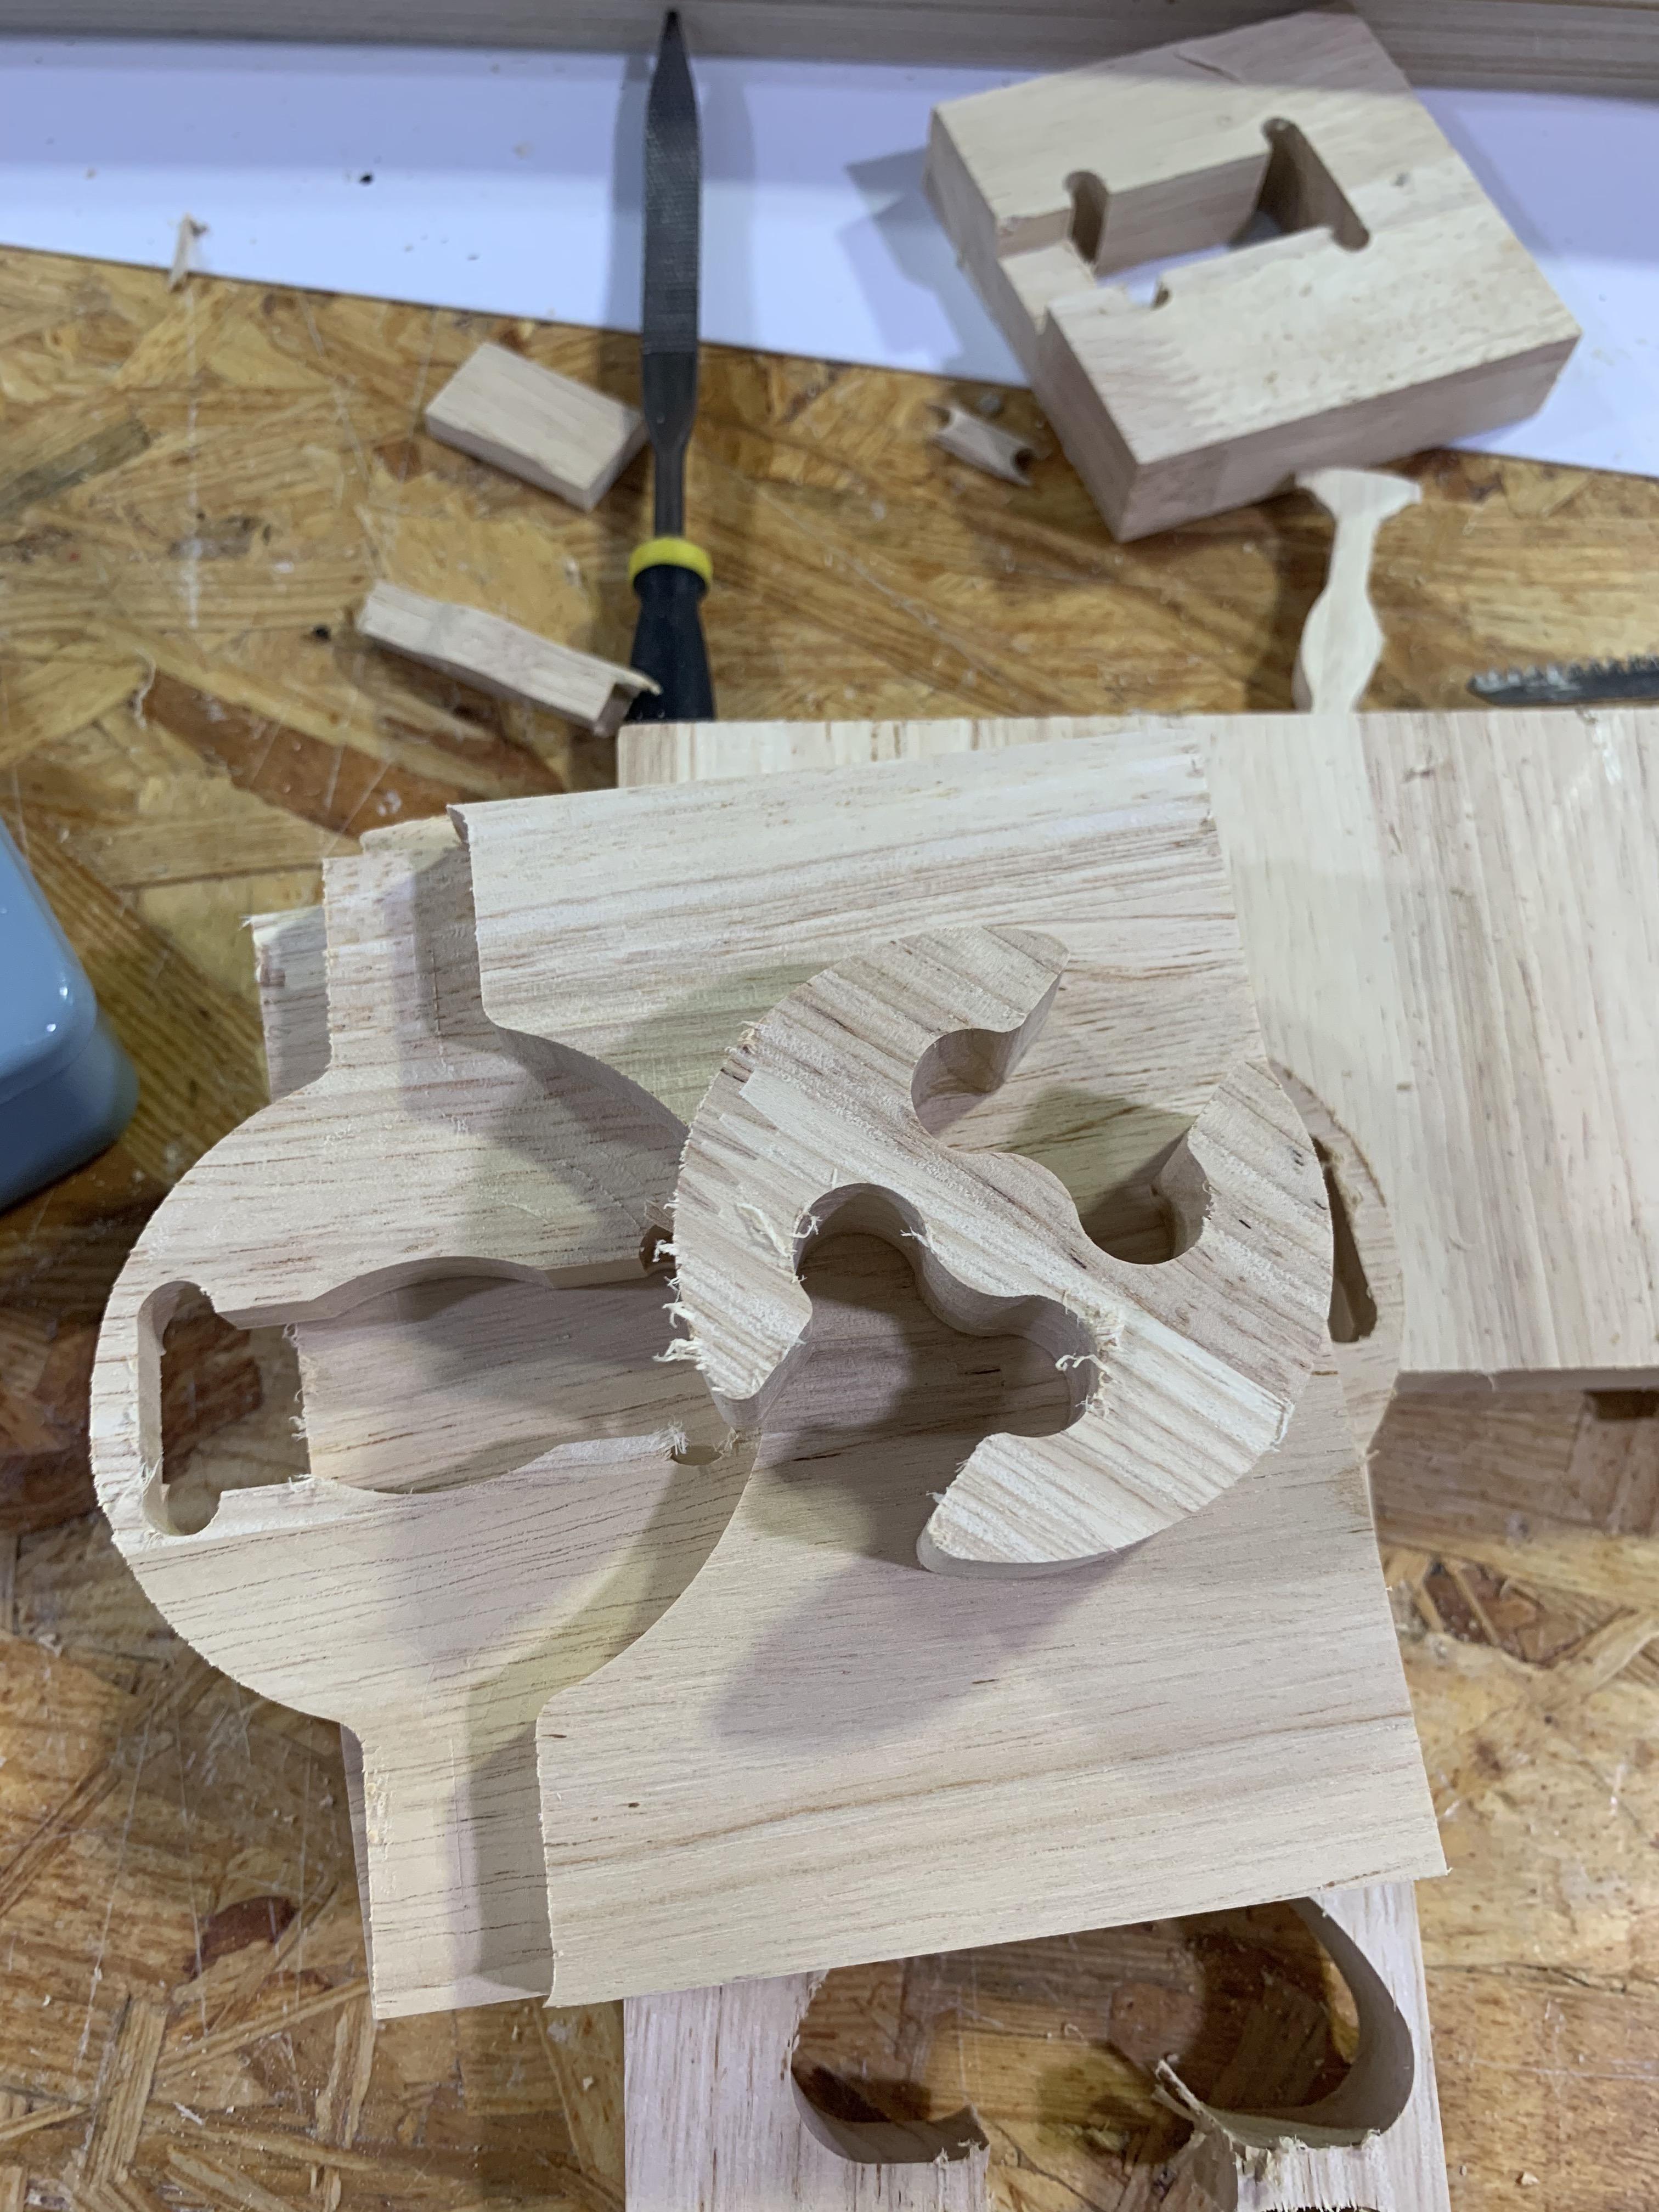
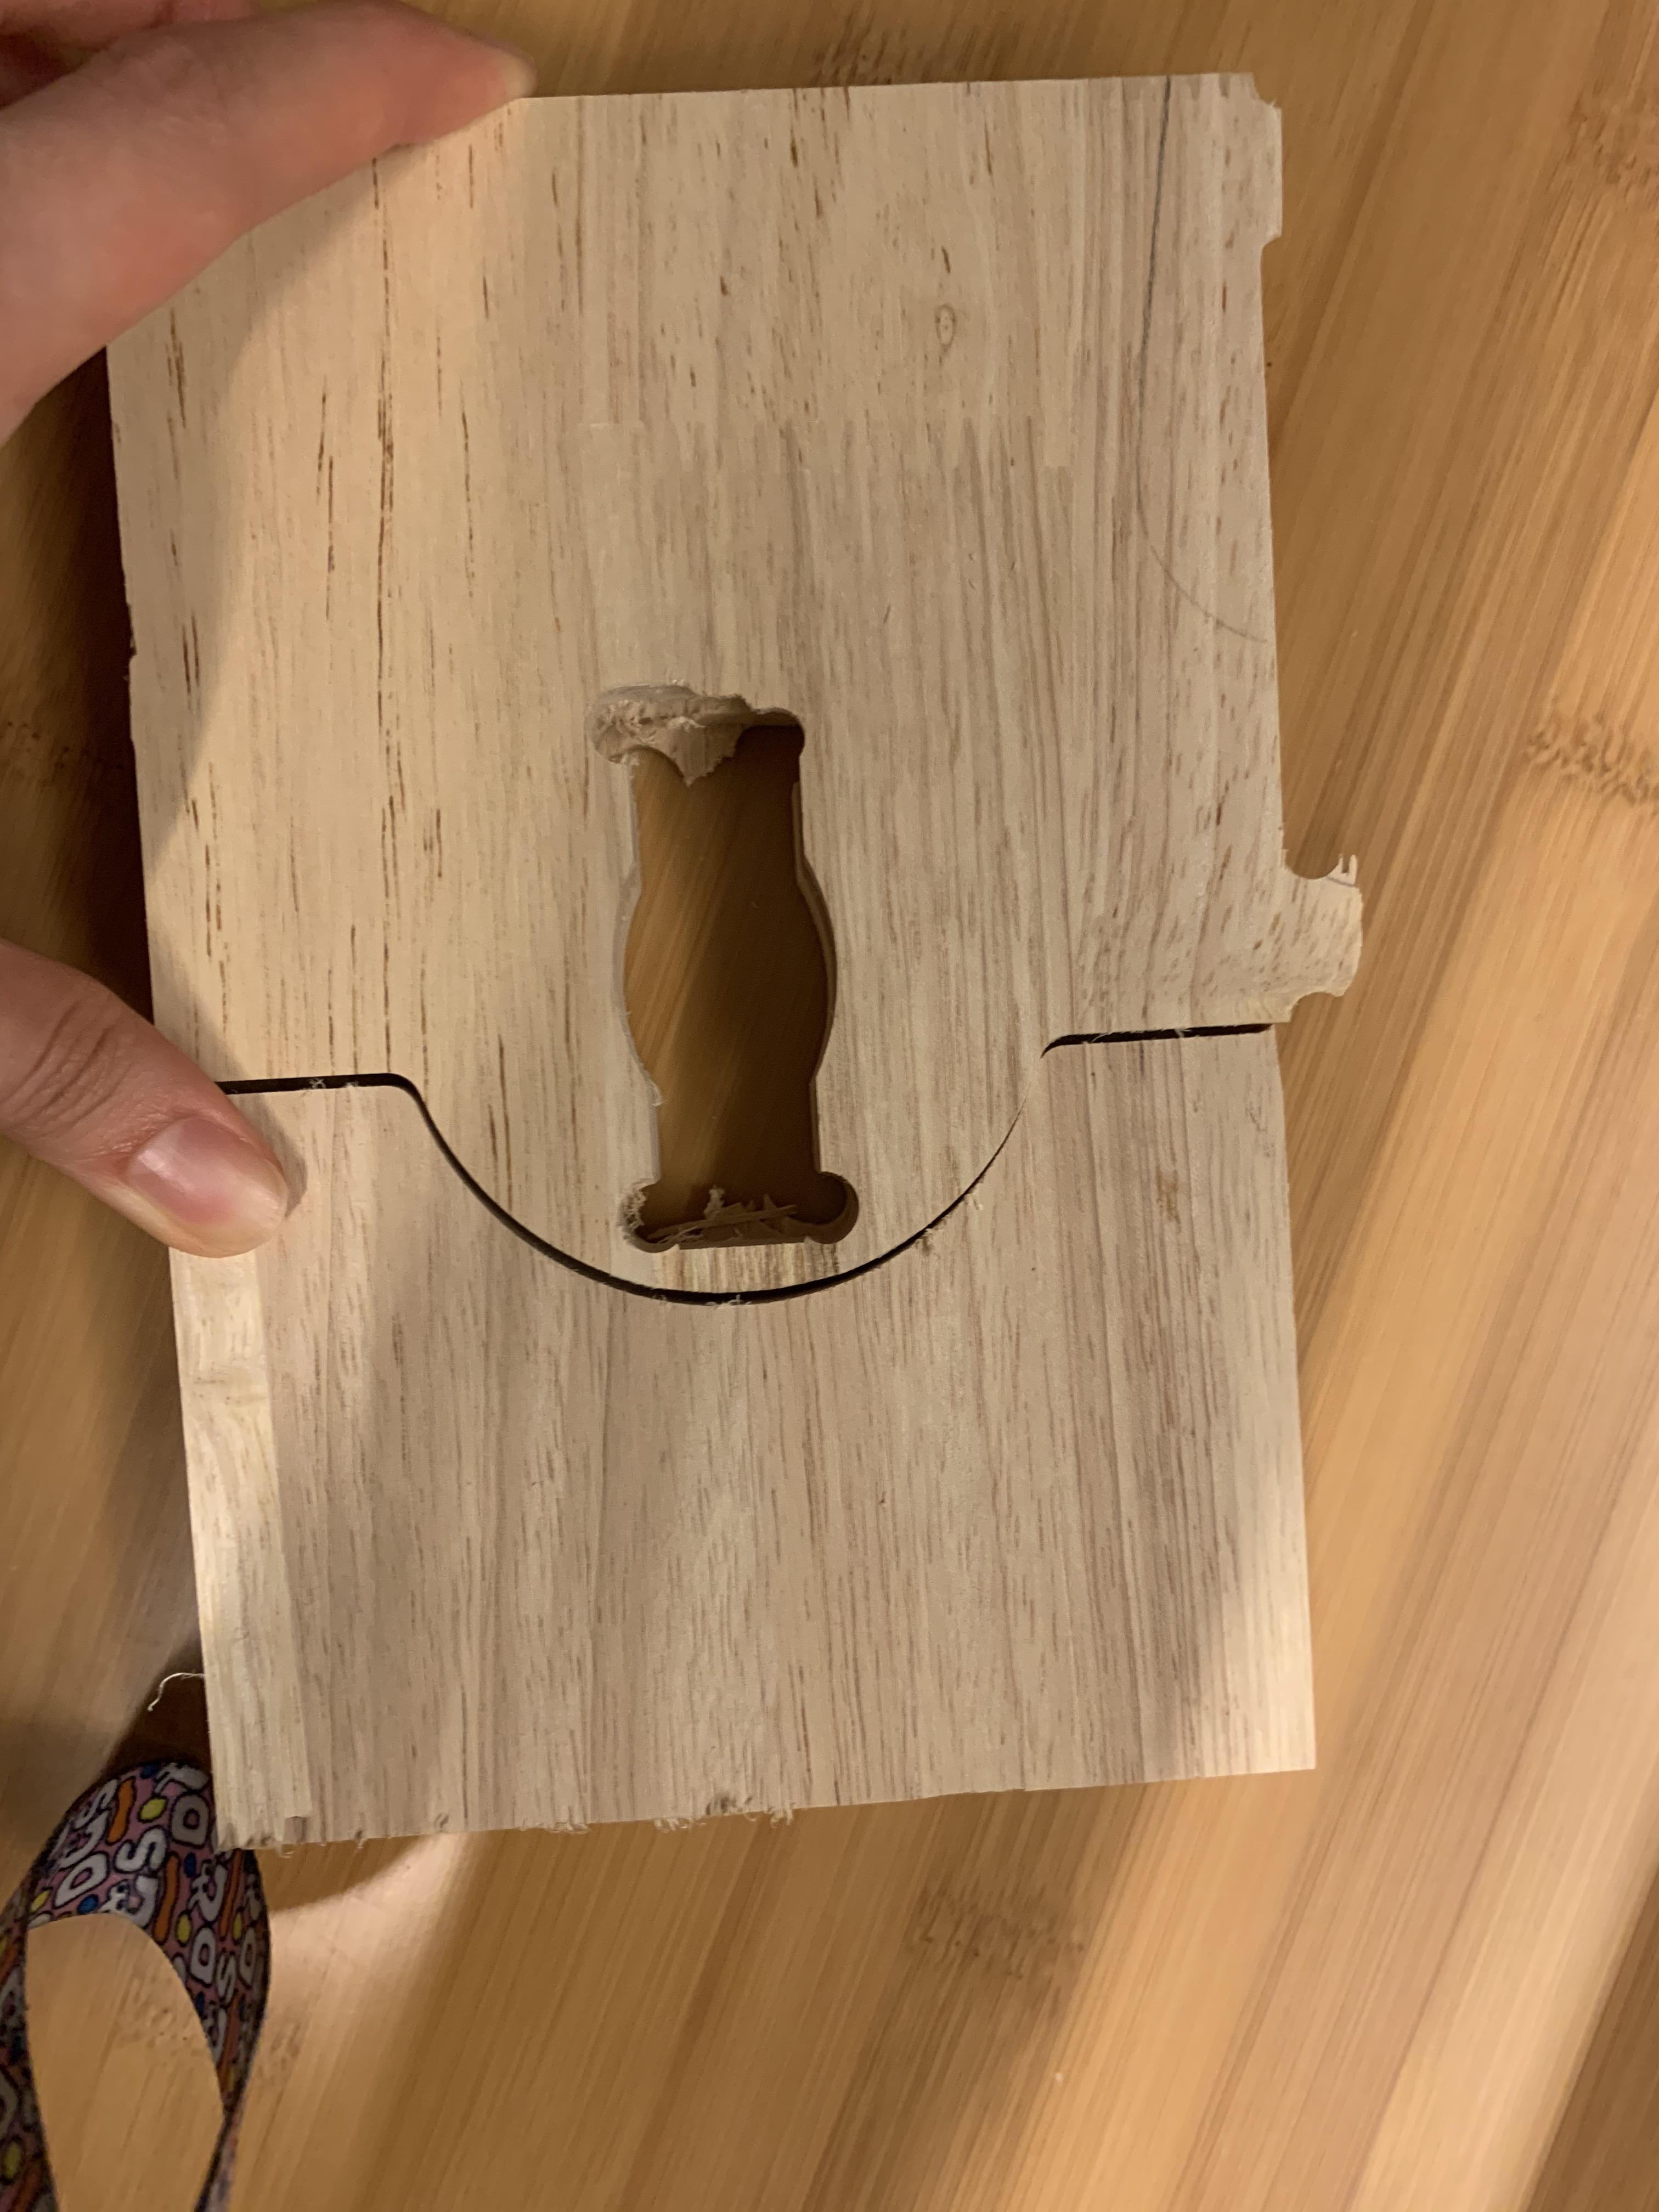
After set the CNC machine, it's time to press "Start". The high-speed spinning drill chipped off the wood layer by layer when it moves over the board.
Since we need to attach tabs on the outlines of the pieces to keep it stable, we need to cut them out with a saw. The forth picture shows the final pieces. However, we also need to use special tools to polish them since some edges of them are really rough.
Reflections

Though it looks not so complicated for me to make this Detachable Lengthening With Key in my first impression, it really takes much effort to complete the whole piece of work.
What impresses me most was the progress to join separate curves into a close one. Though sometimes I would consider they have already touched and connected with each other, actually when I zoomed in and checked, they turned out to be separated.