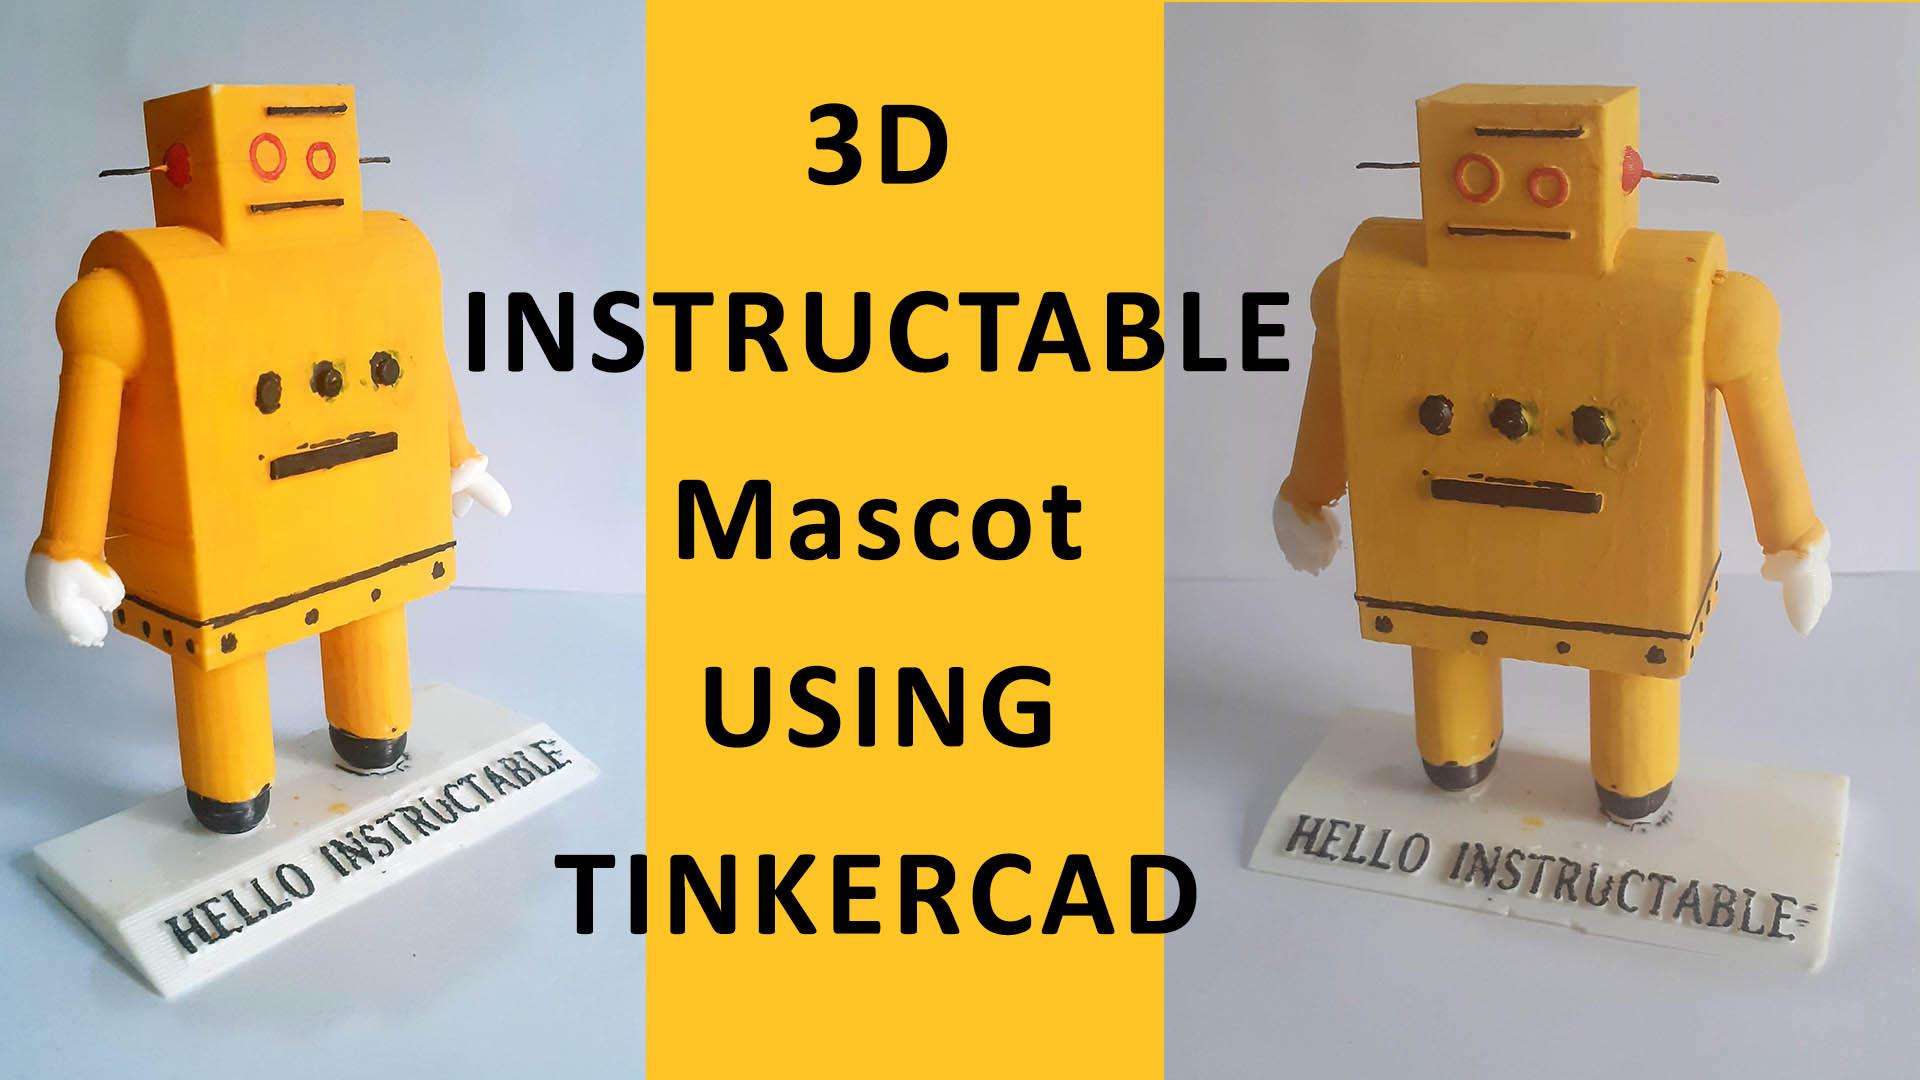
3D INSTRUCTABLE MASCOT USING TINKERCAD
by daxpatel in Workshop > 3D Printing
1073 Views, 6 Favorites, 0 Comments
3D INSTRUCTABLE MASCOT USING TINKERCAD
hello Creators.
This instructable is for Instructables. Instructable gives us the inspiration to make new innovative projects helpful in our school projects, college projects, and other places.
Instructable is our virtual Hero to give us Lifehack and make our project Useful.
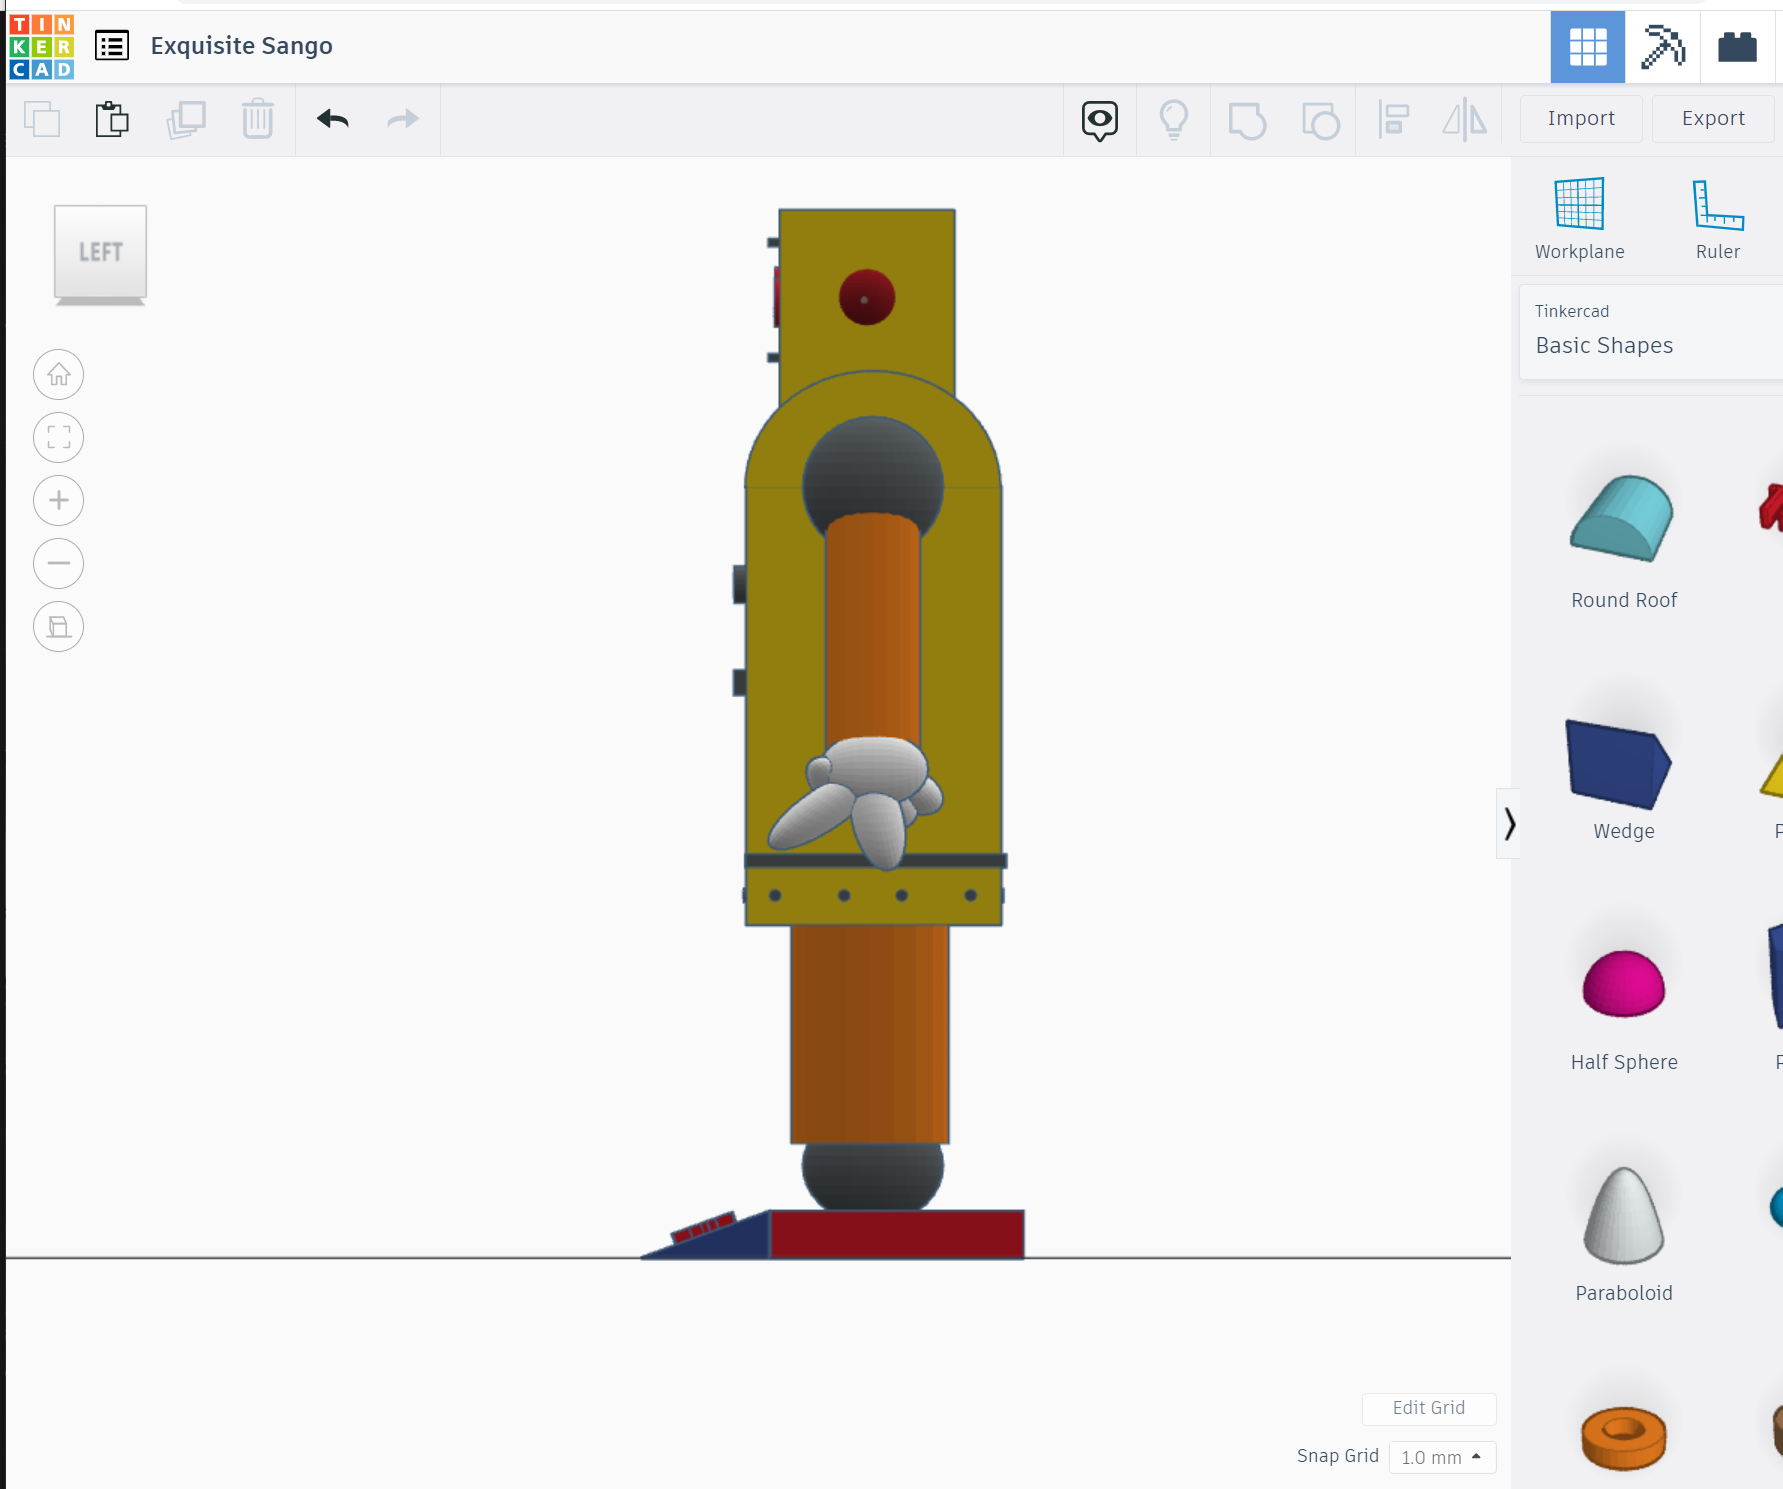
In this Instructable I made 3d instructable mascot Using Tinkercad and Place it on my Computer screen as a decorative piece.
Enjoy my Project.
Supplies
1> COMPUTER /LAPTOP
2> INTERNET CONNECTION
3> 3D PRINTER ACCESS
4> ACRYLIC PAINT & PAINT BRUSH
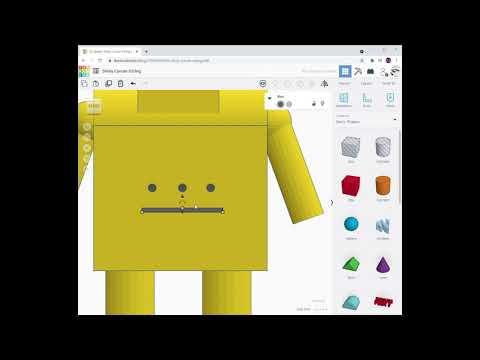
Design From 2D to 3D.

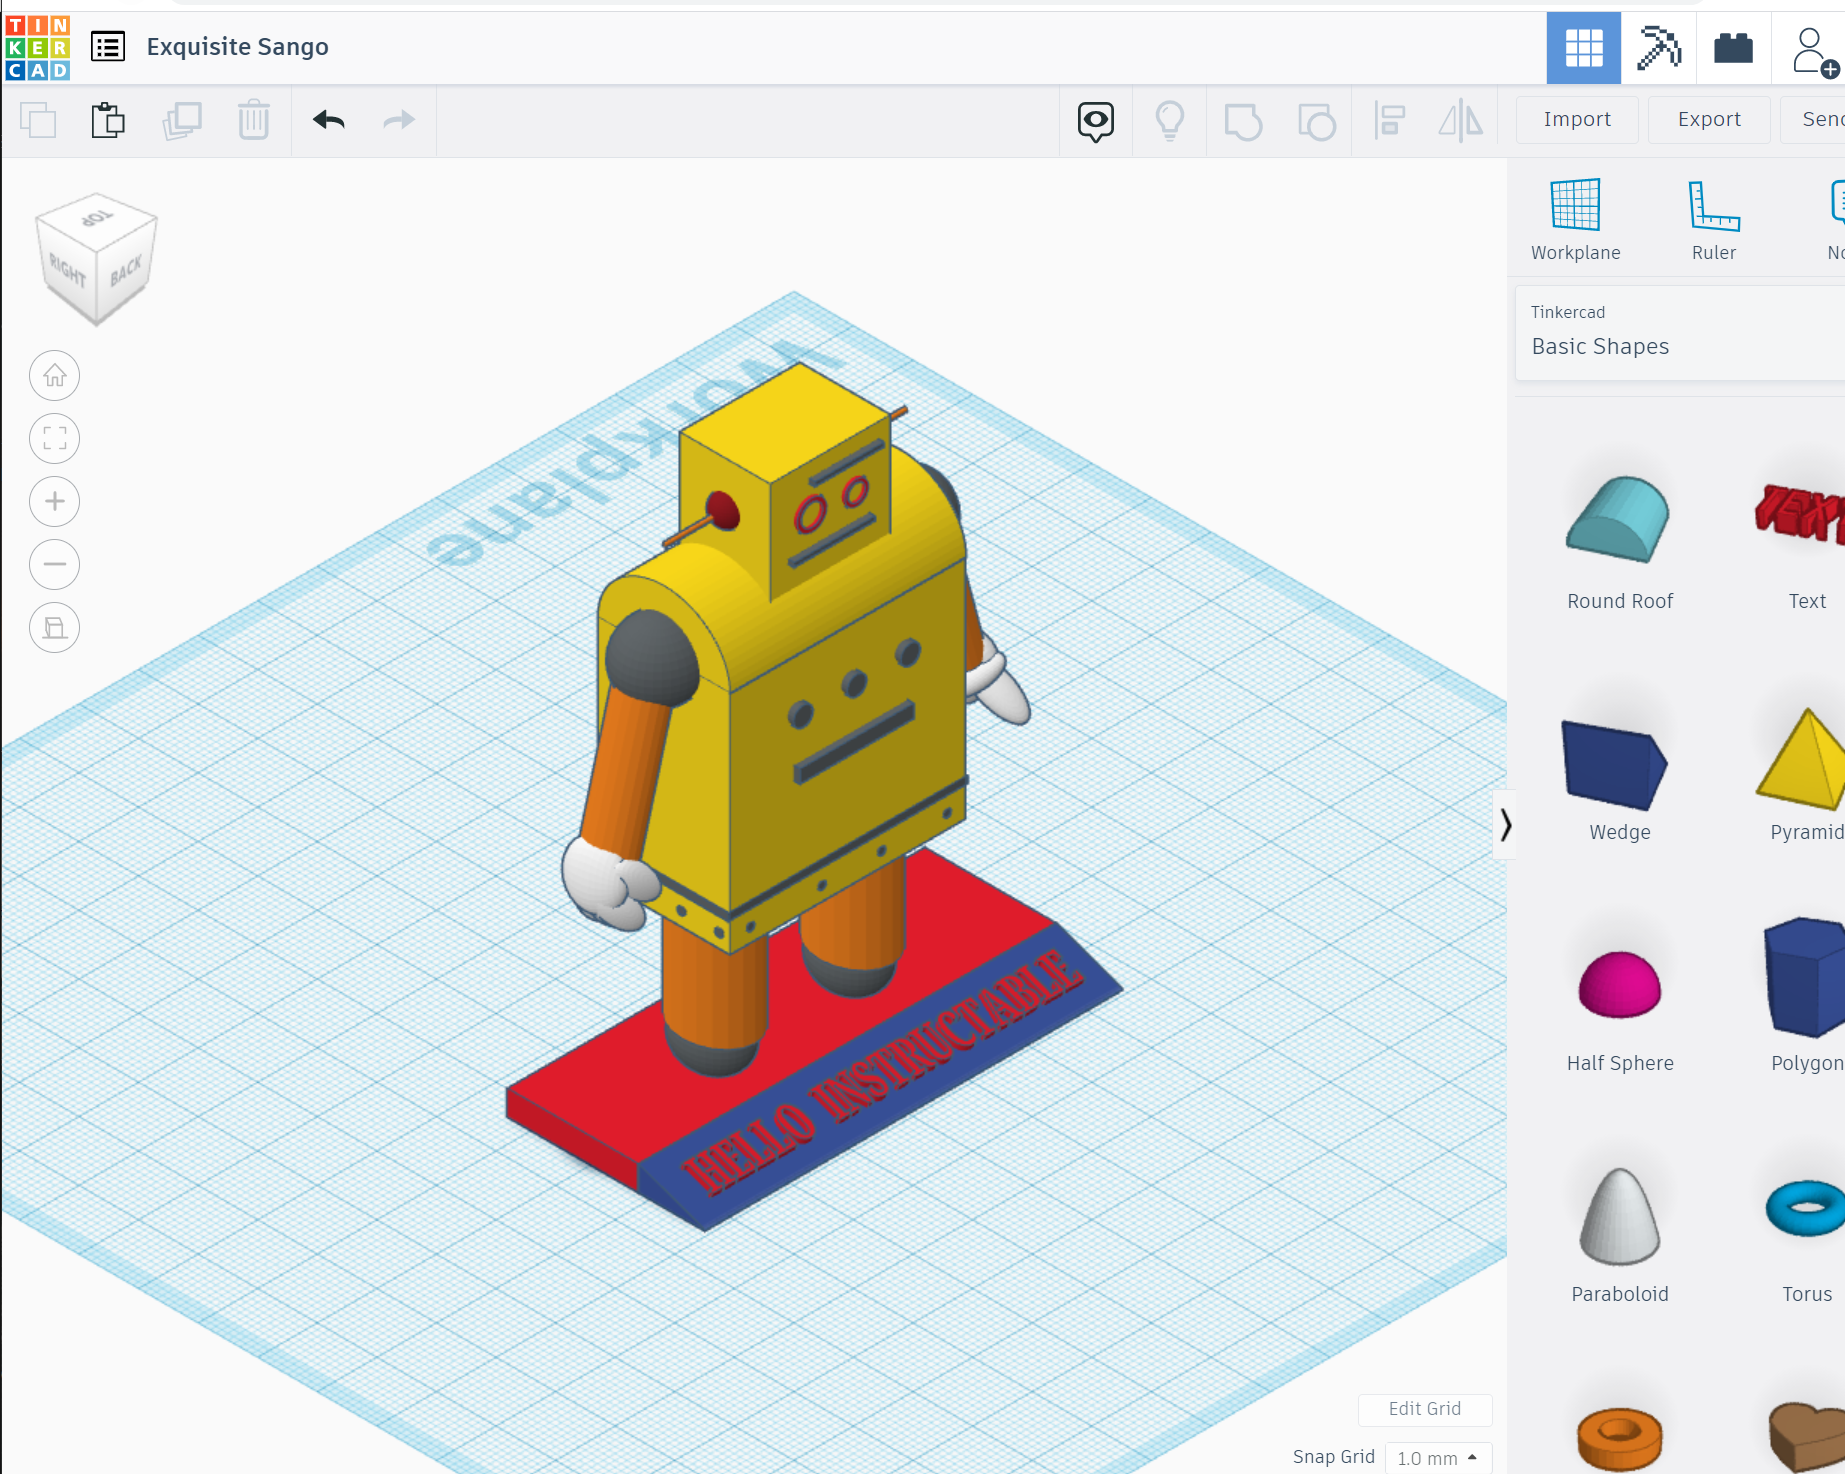
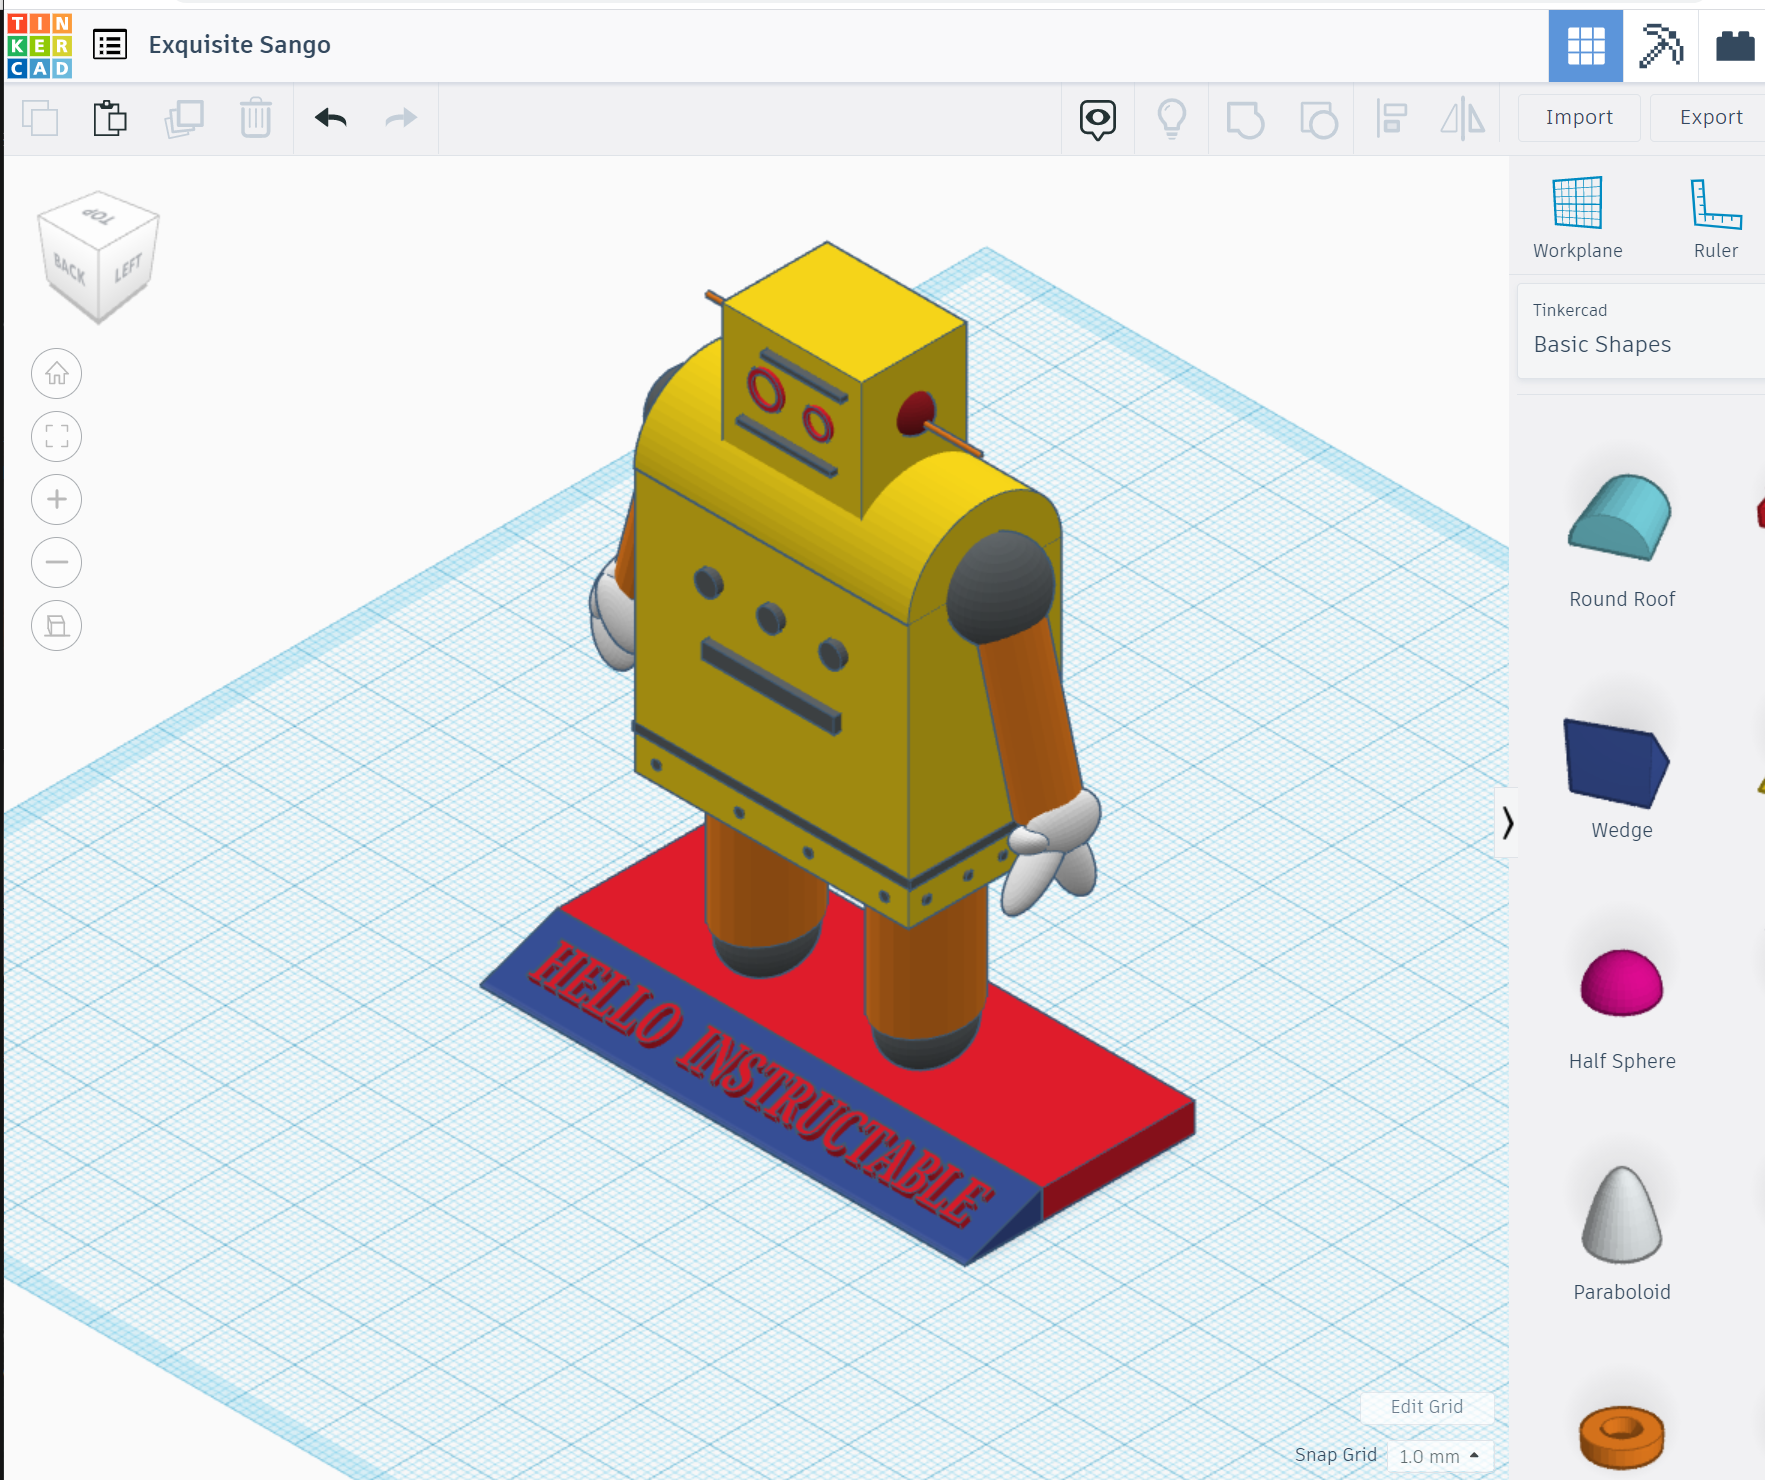
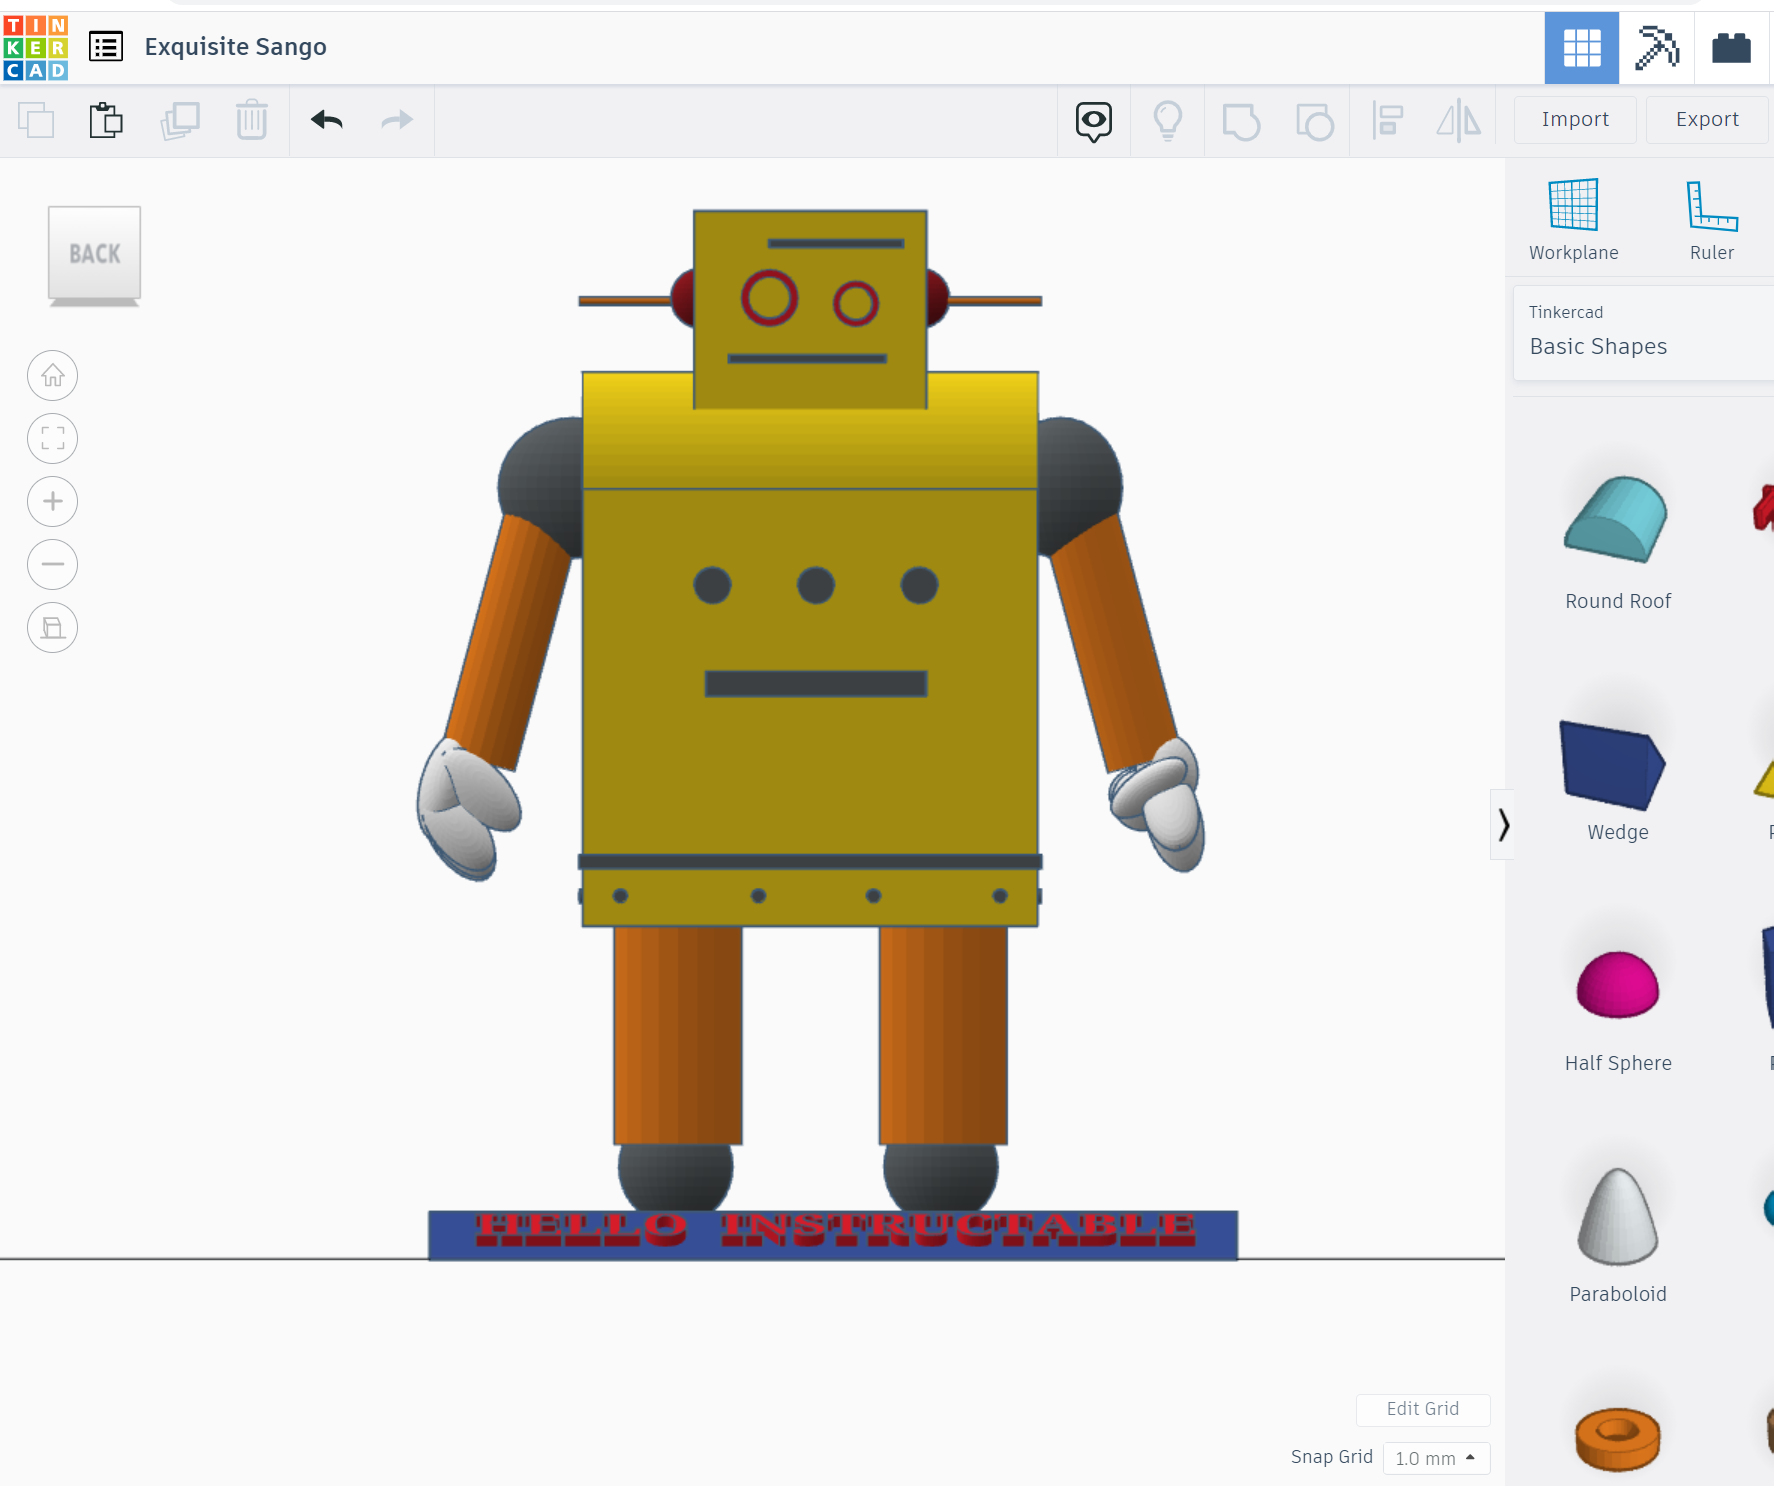
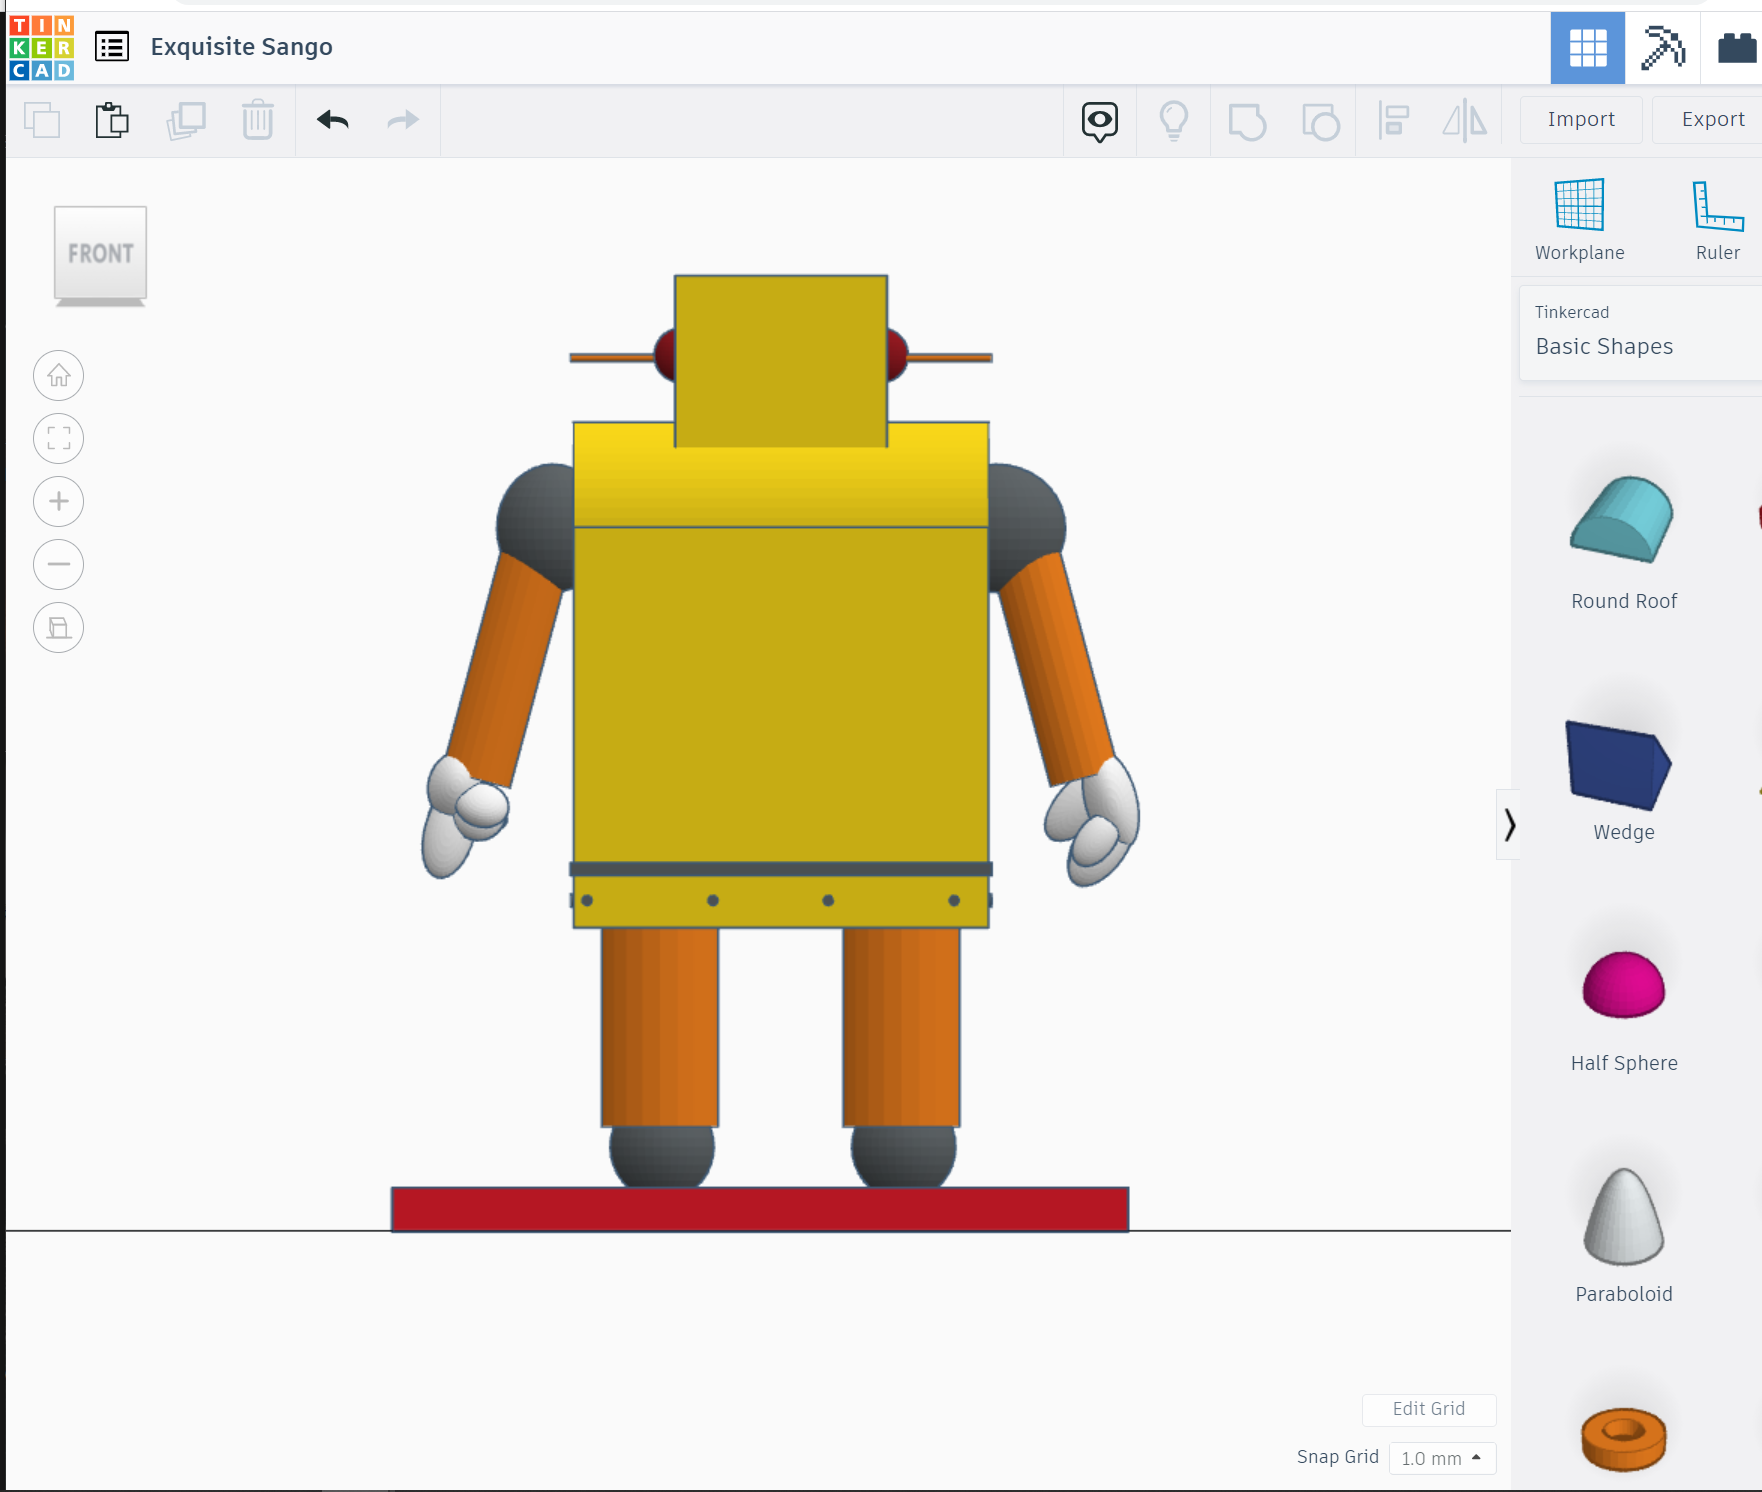
- Please Follow the design Procedure Step to Create a Model in Tinkercad.
- For design, I start from the bottom.
- Take Sphere as a foot and cylinder as Leg.
- Place cylinder on Sphere.
- Take a cube and set it as a measurement of the body and place it on the leg.
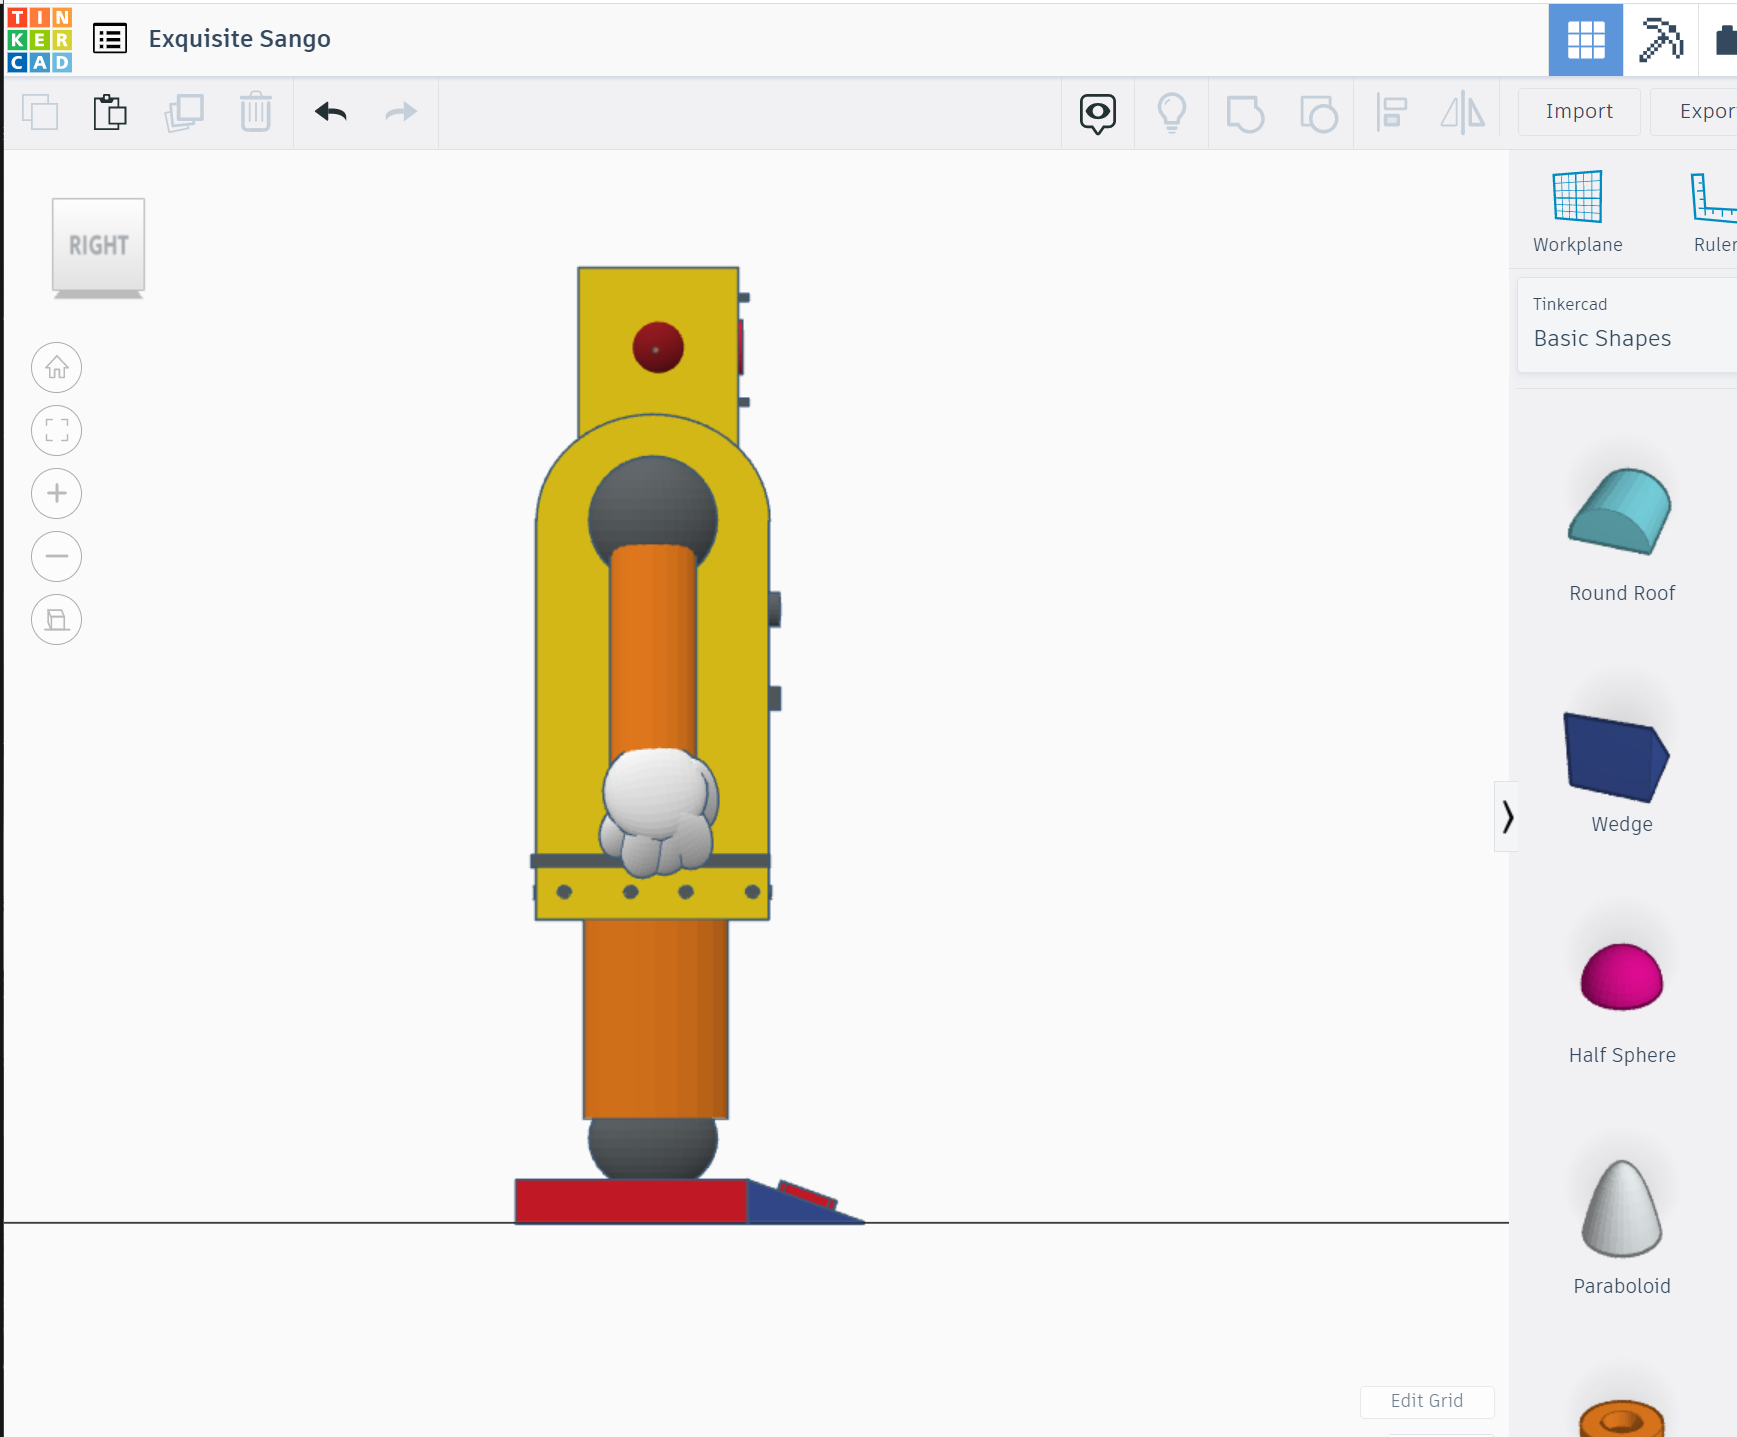
- Take a sphere and decrease the size to make shoulder .use cylinder as hand.
- Place cylinder below sphere as per angle shown in the logo.'
- Take finger as per need. I choose the design from the dropdown list in Tinkercad Library.
- place it on the cylinder on another end.
- take another cube and resize as use as Head of Mascot.
- Place eye and Eyebrow from circle and cube.
- place other shapes on the chest appear on the logo.
- Resize shape as per need.
- Place Cube and resize it for the bottom Sheet for the base.
- Use wedge and resize it to place letters on it.
- Select workplace and select slope of the wedge to write " HELLO INSTRUCTABLE" on the wedge.
- after all minor changes, we are ready to export the file.
- Press the Export button and select.STL for 3D Print.
- Download my Model Attach Here.
Check out full making in Tinkercad on my Youtube Video.
Downloads
Slicing 3D Model in CURA Software.
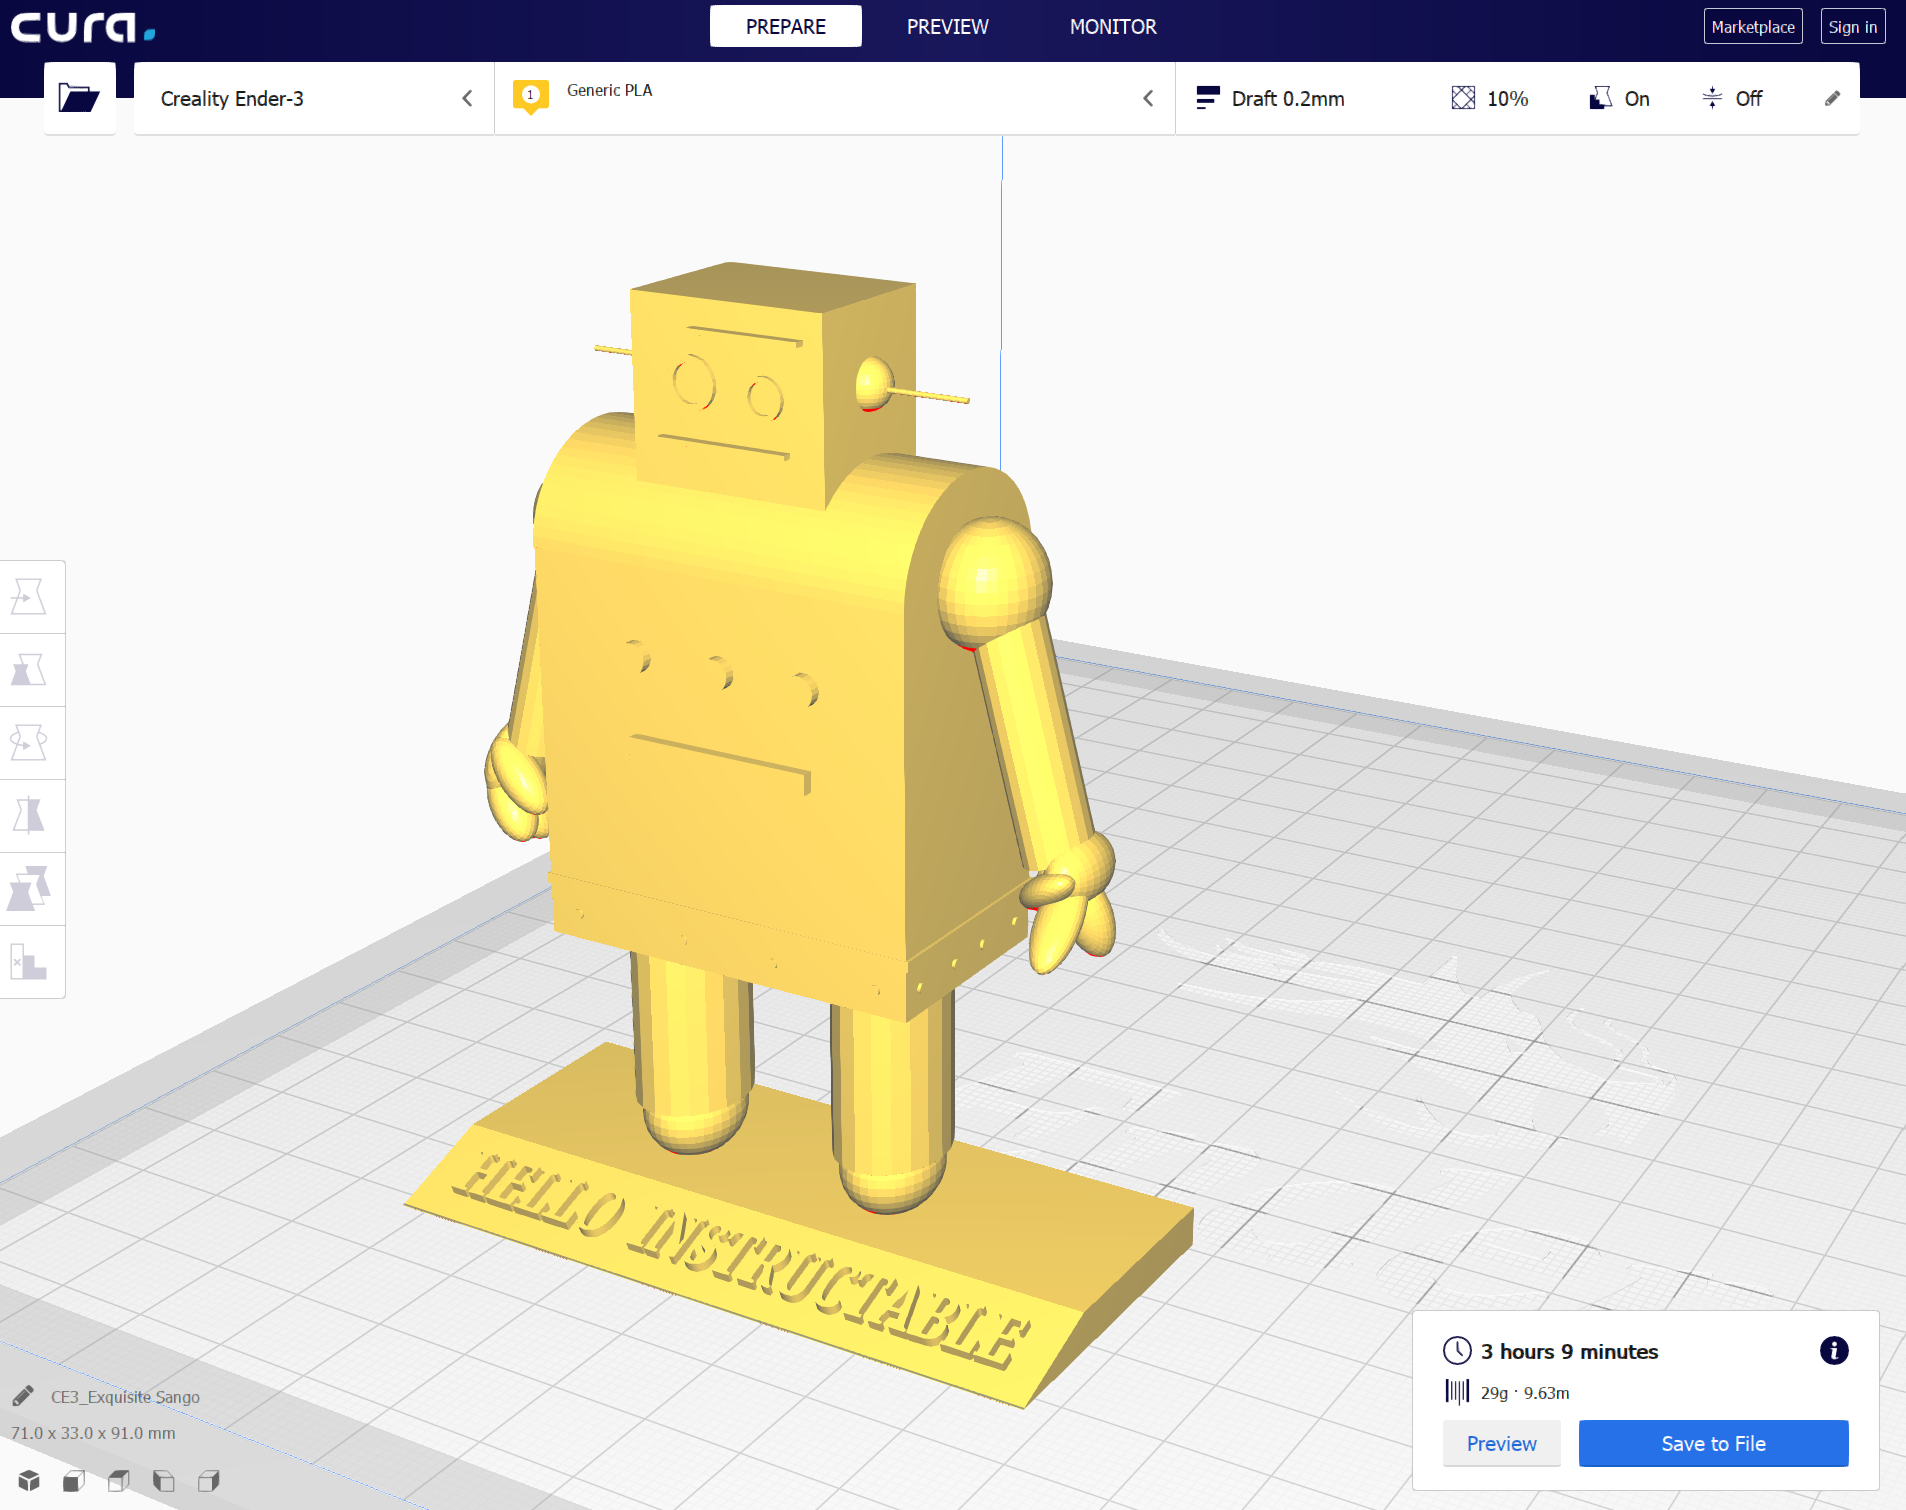
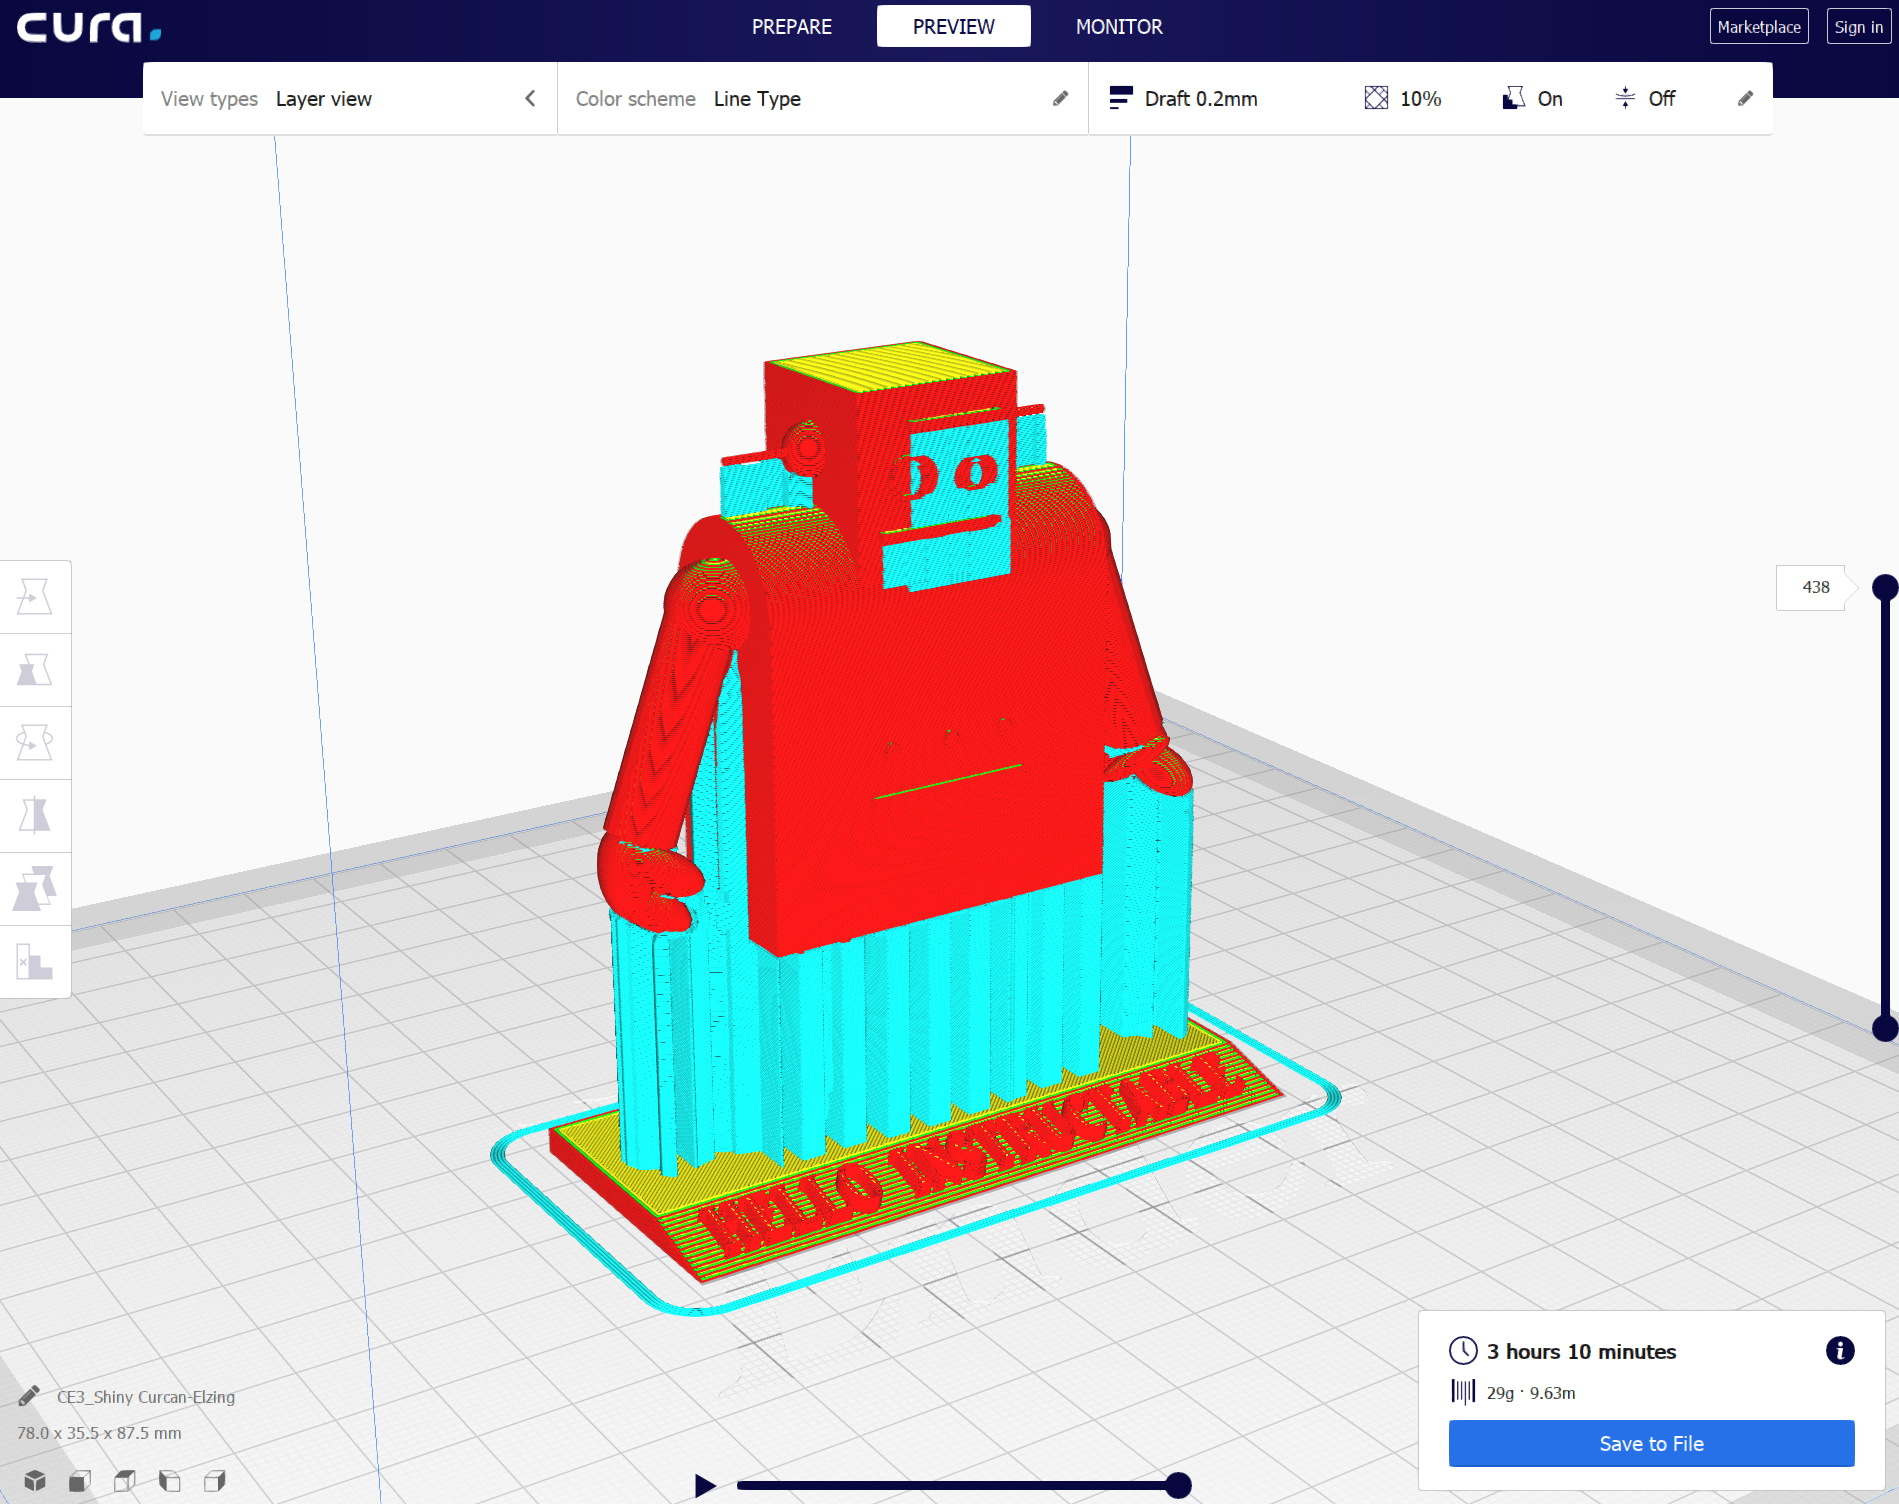
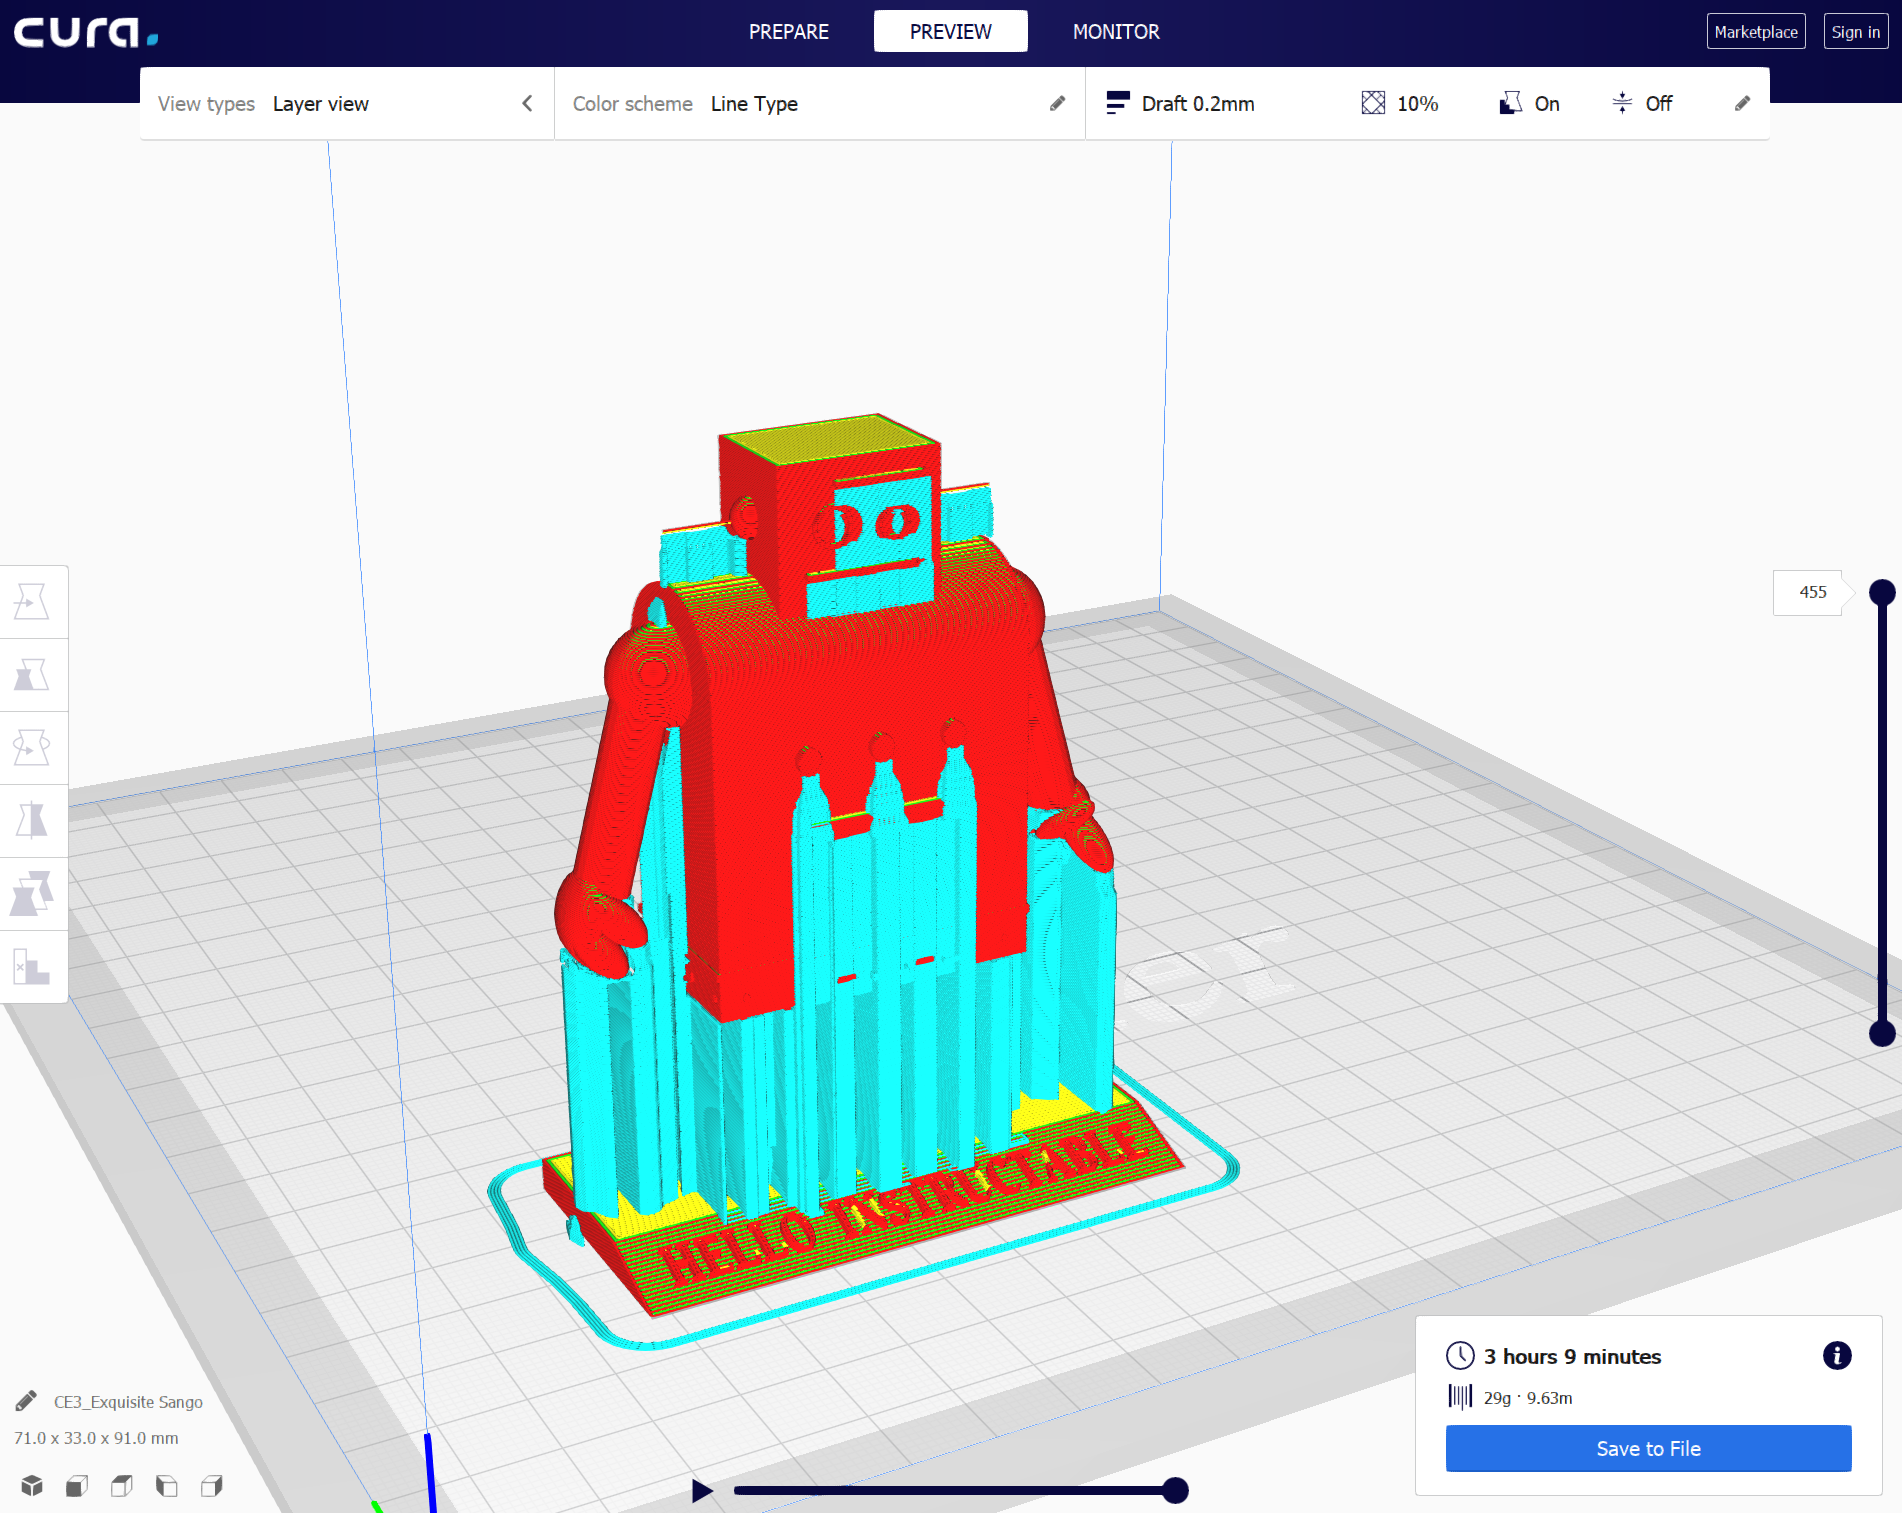
- Use CURA Software for Slicing our model.
- import /drag and drop[ model inside slicer CURA.
- Use Below Parameter for Better 3D Print.
Nozzle size: 0.4 mm
Wall Thickness: 0.8 mm
Infill: 20 %
Speed : 45 mm/s
Support: ON
Built Plate Adhesion: Brim.
3D Print Model
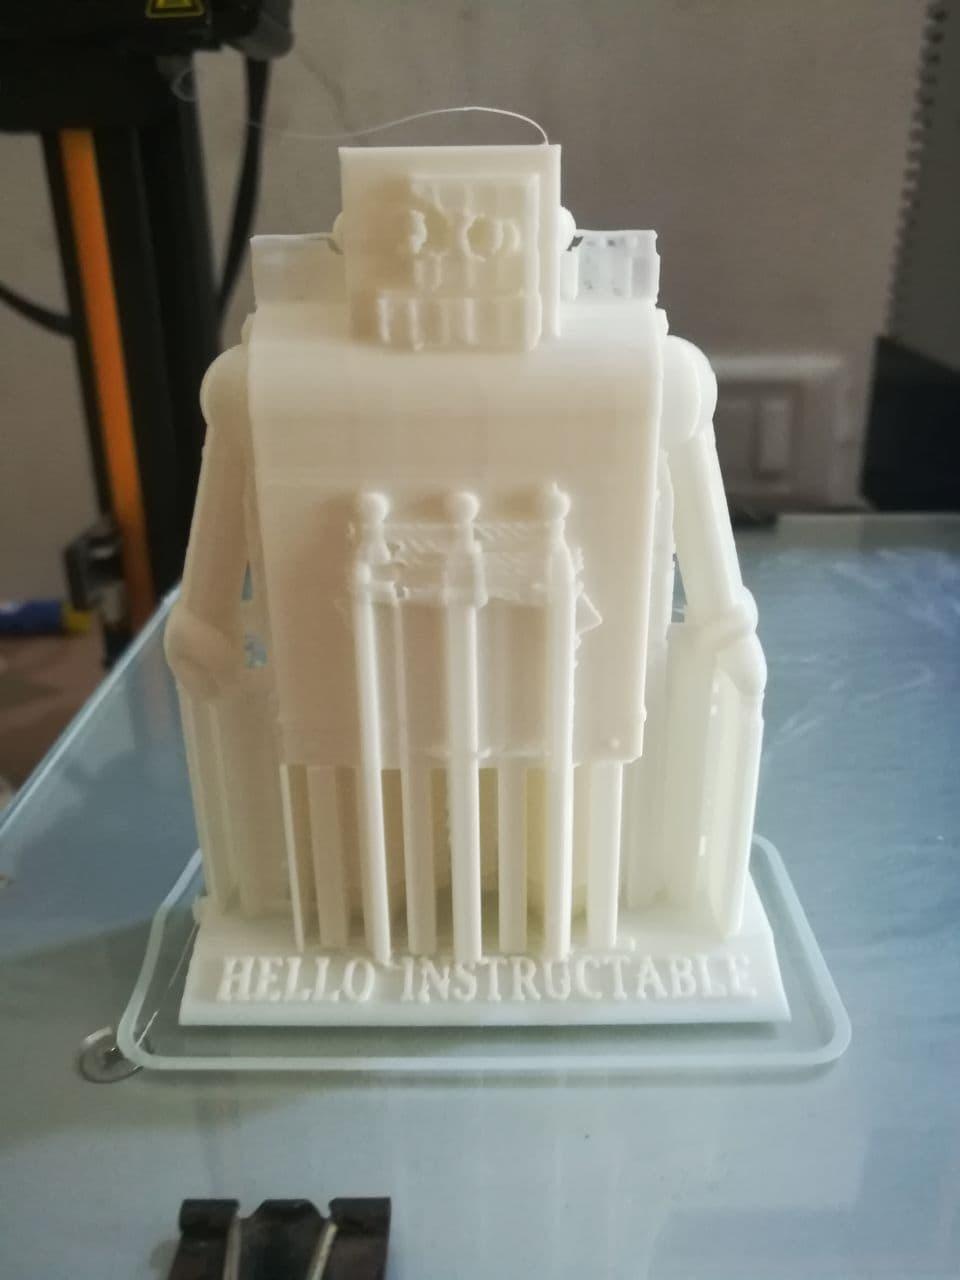
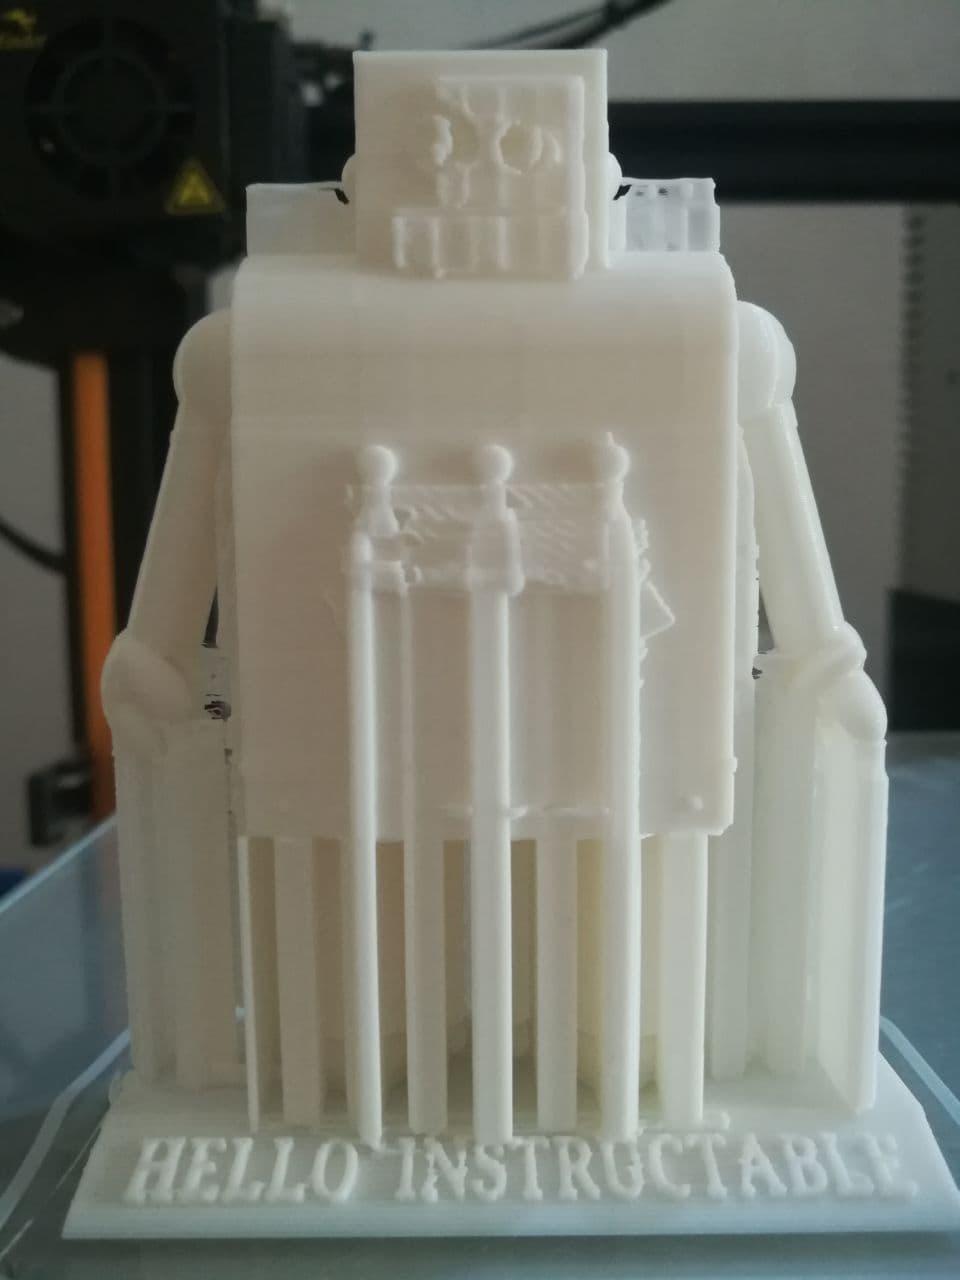
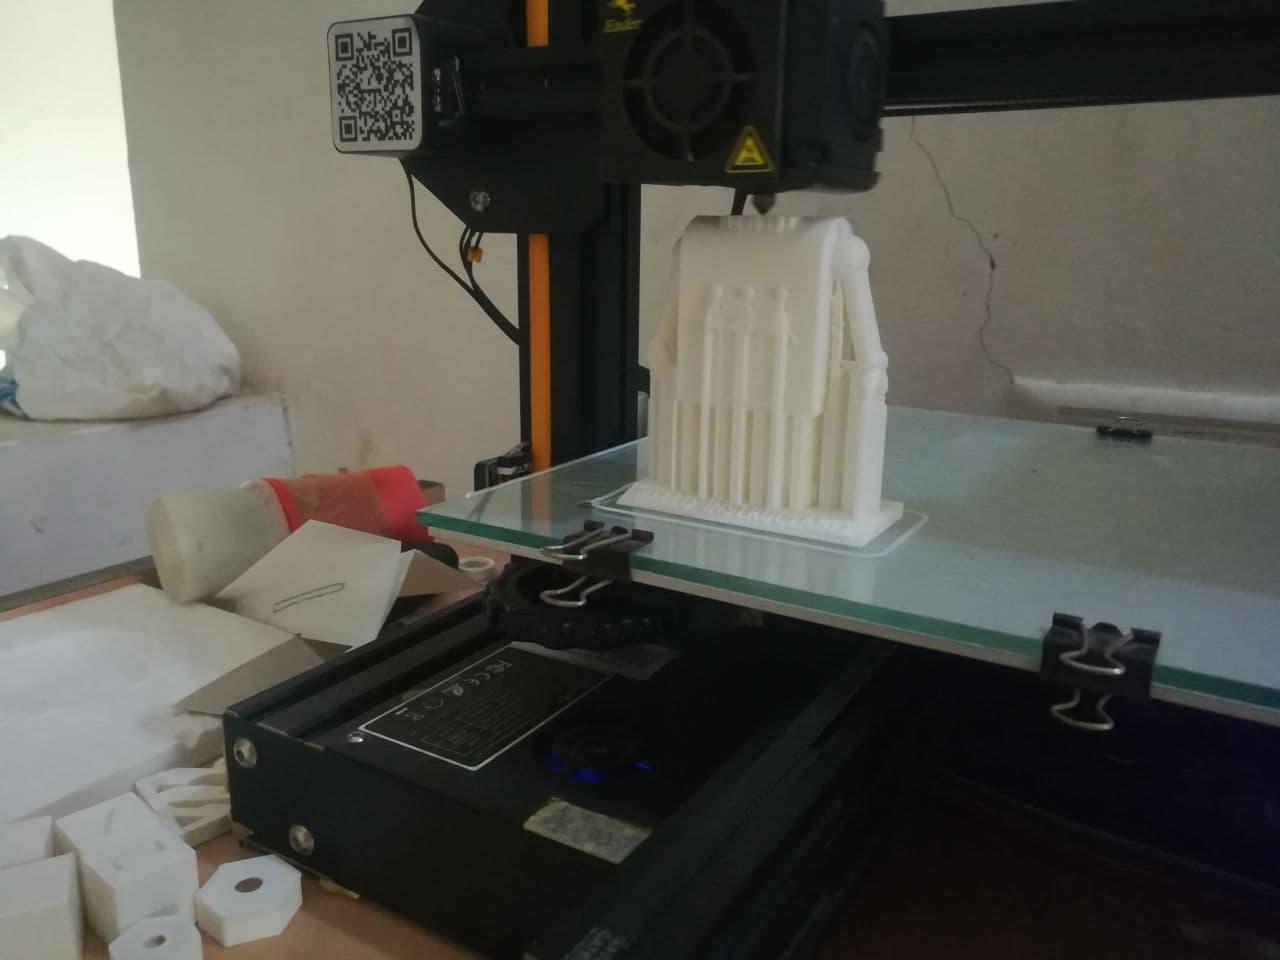
- I am Using an Ender-3 Printer to print my model.
- I am using PLA Premium to print the model.
- Print take 3 hr of printing time.
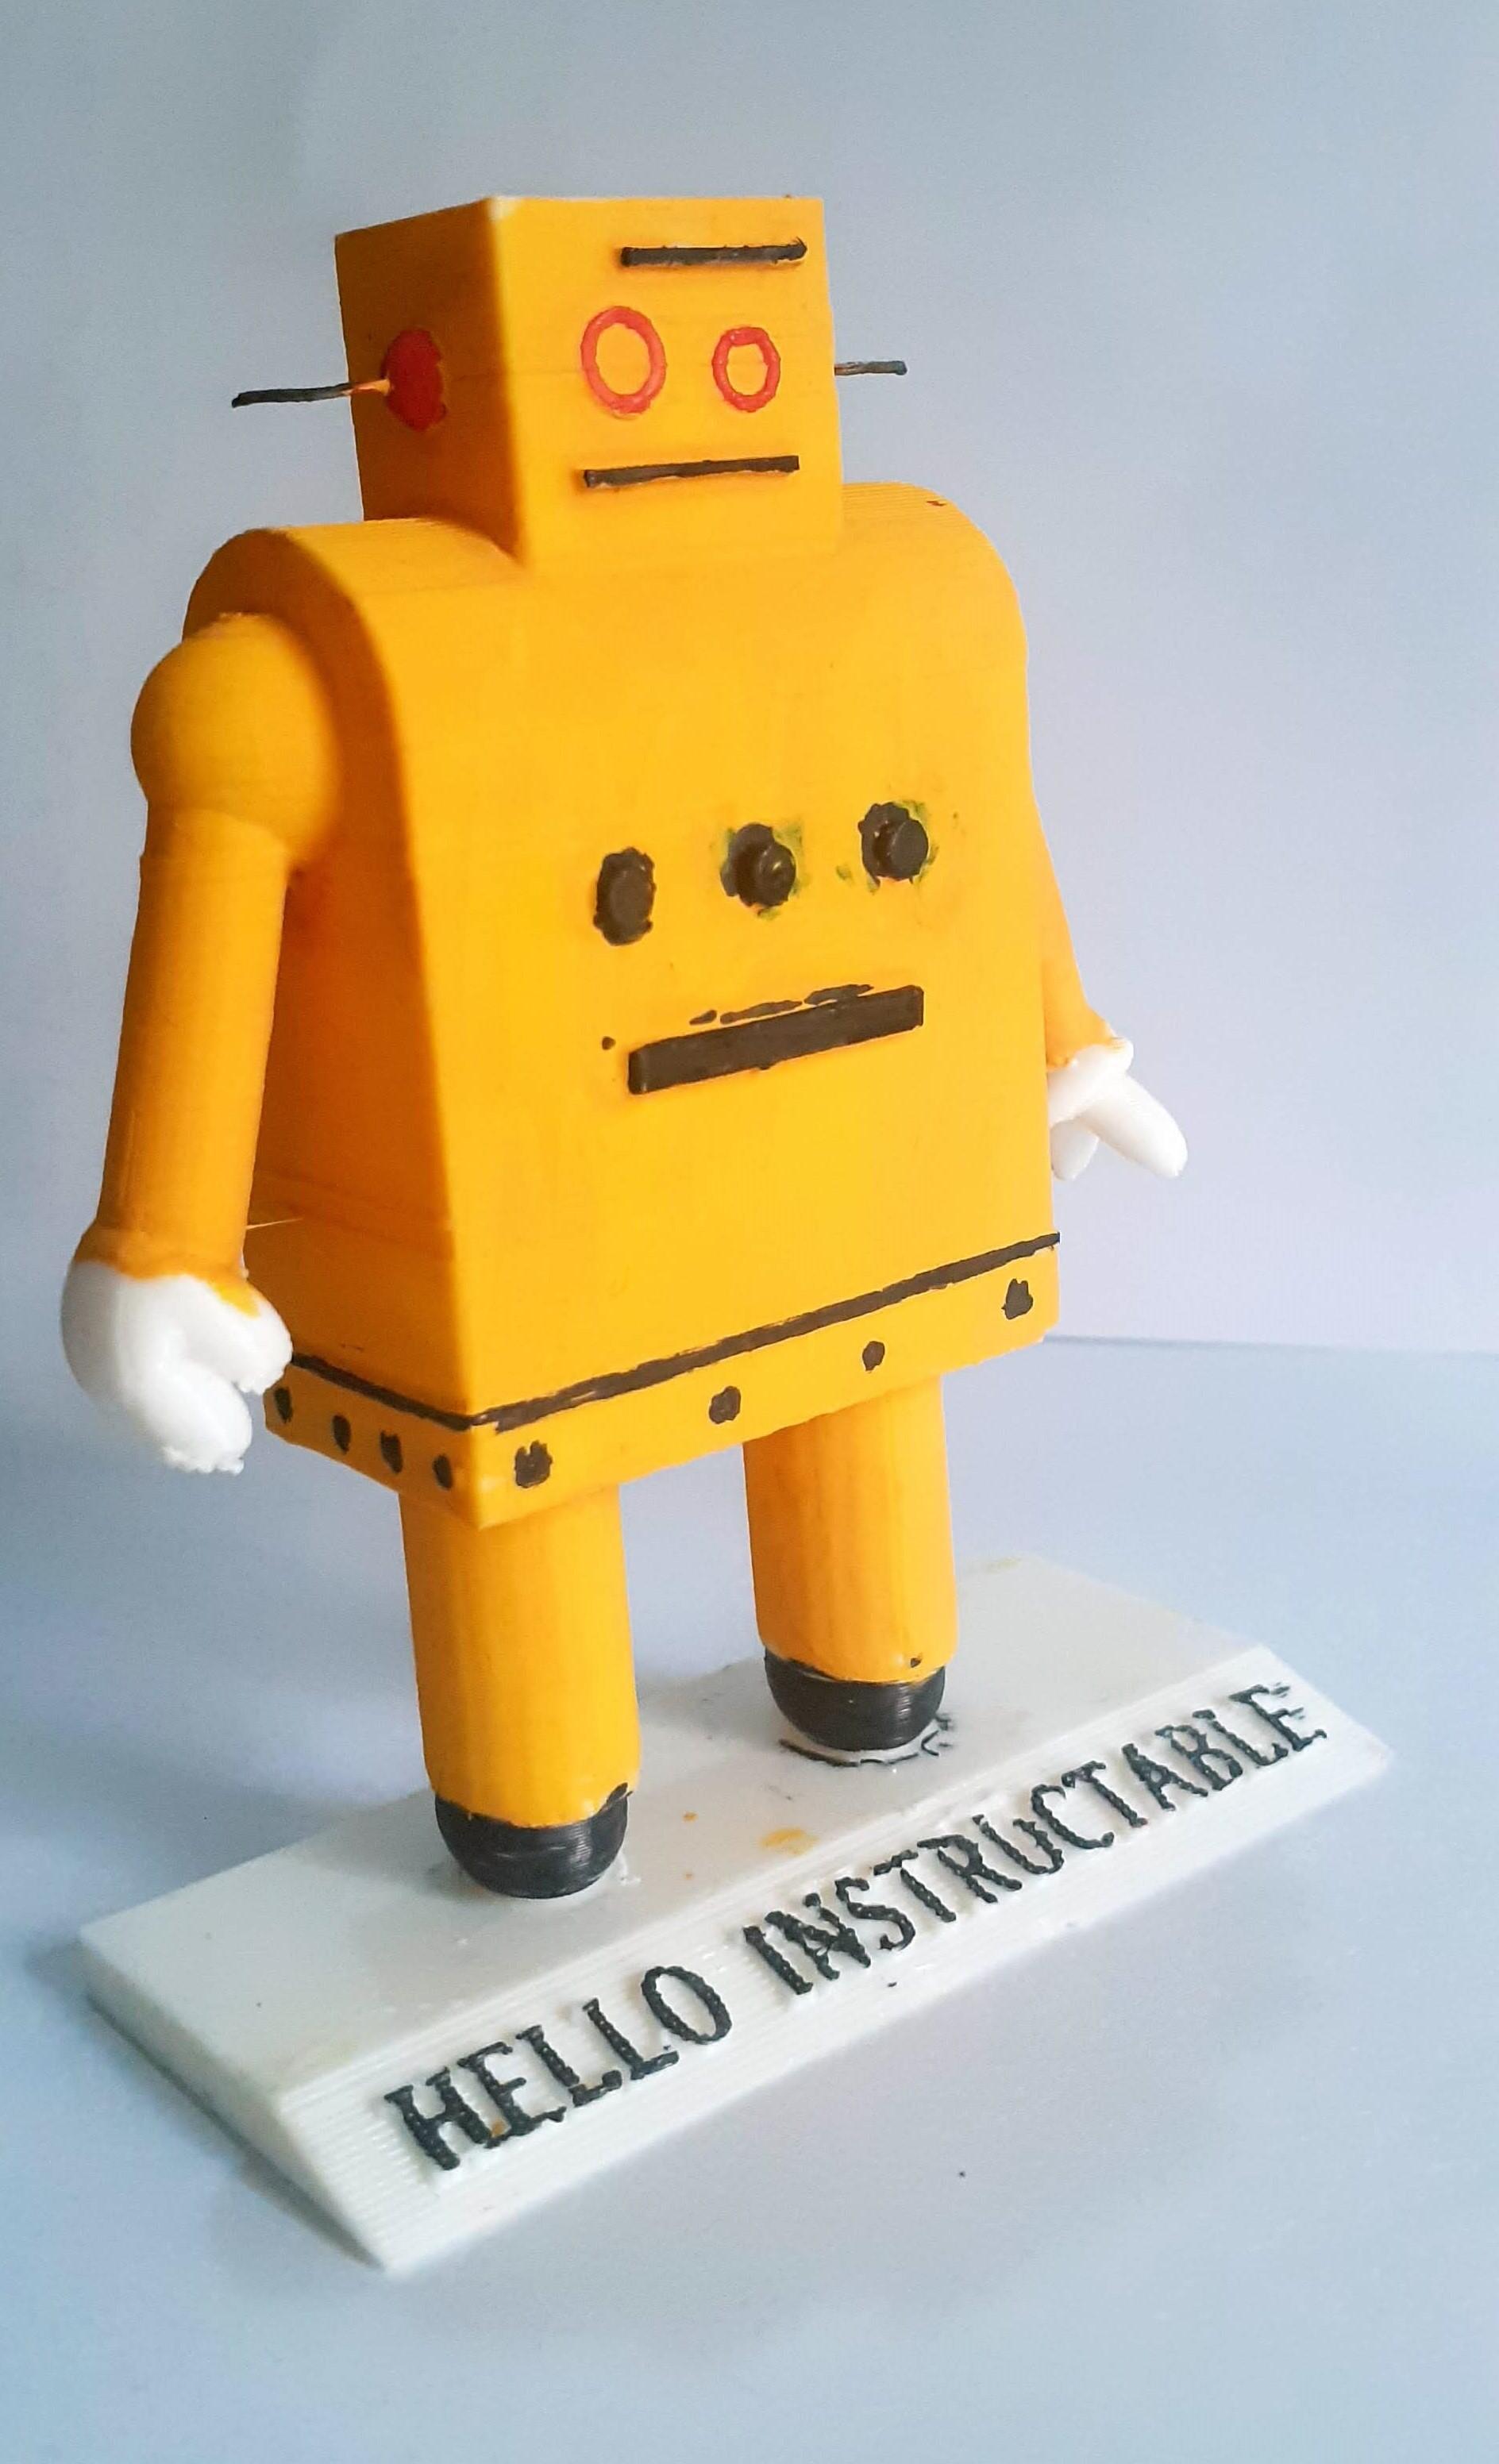
Painting 3D Printed Model
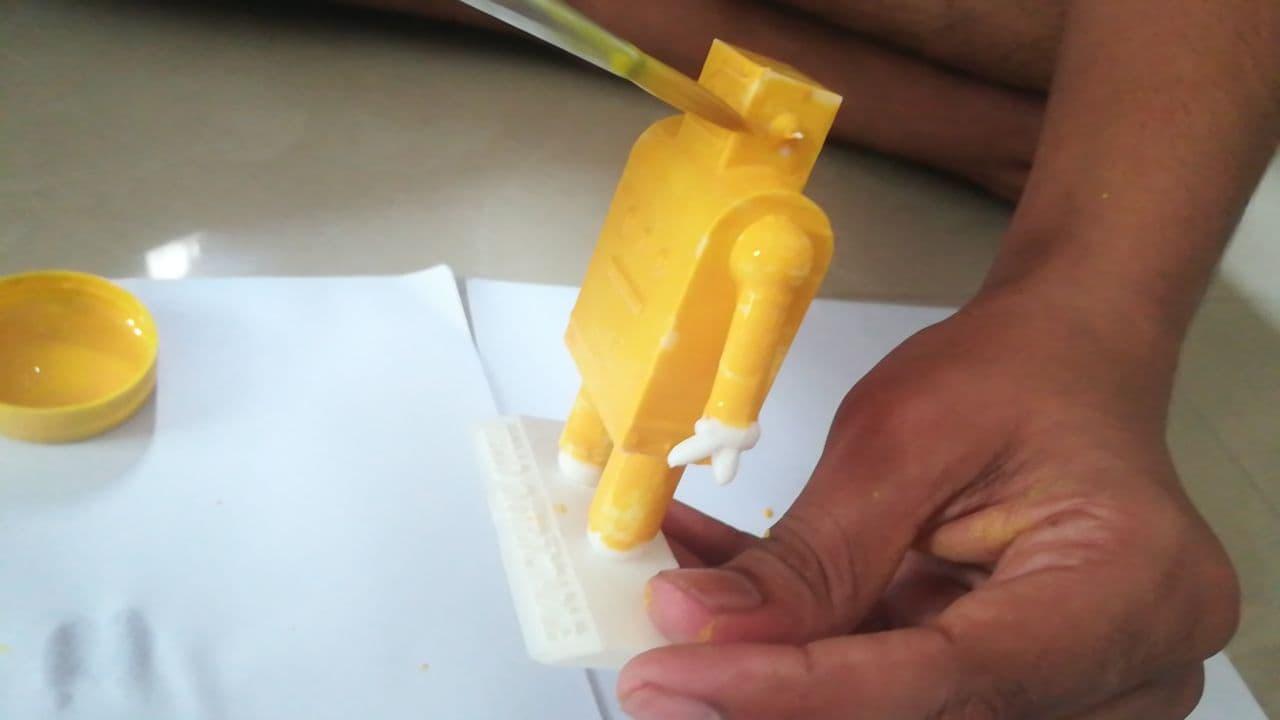
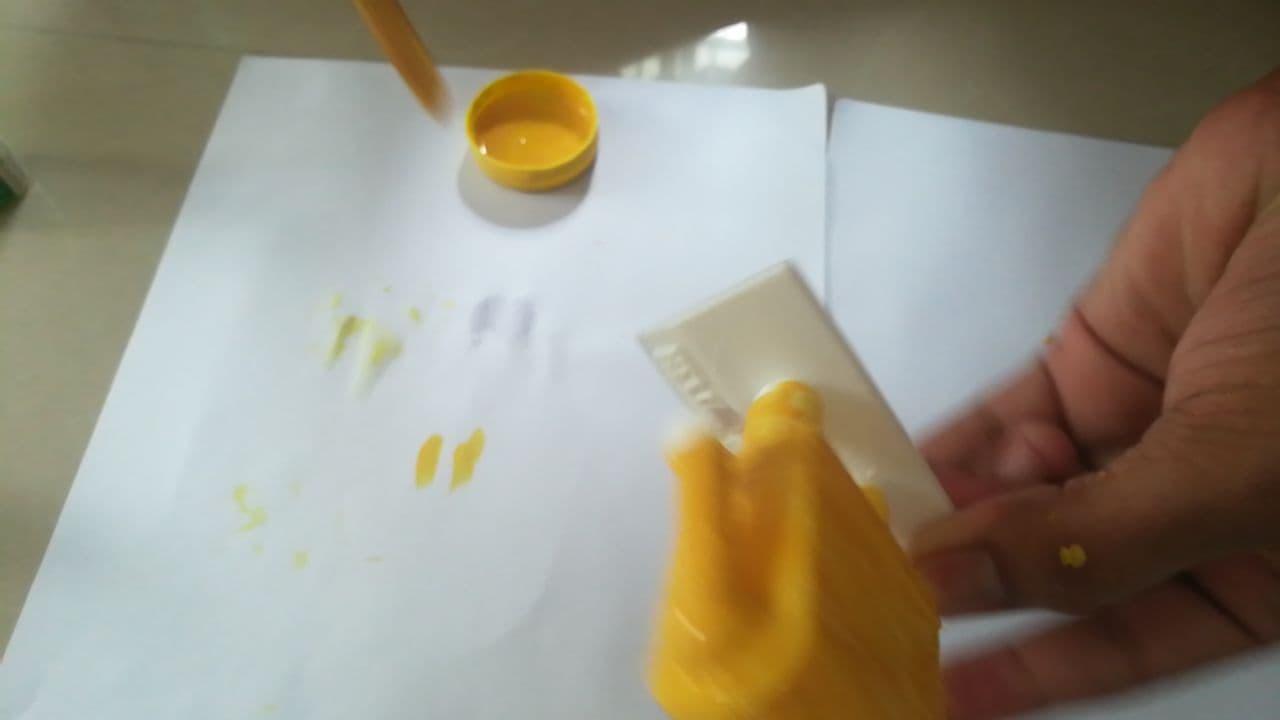
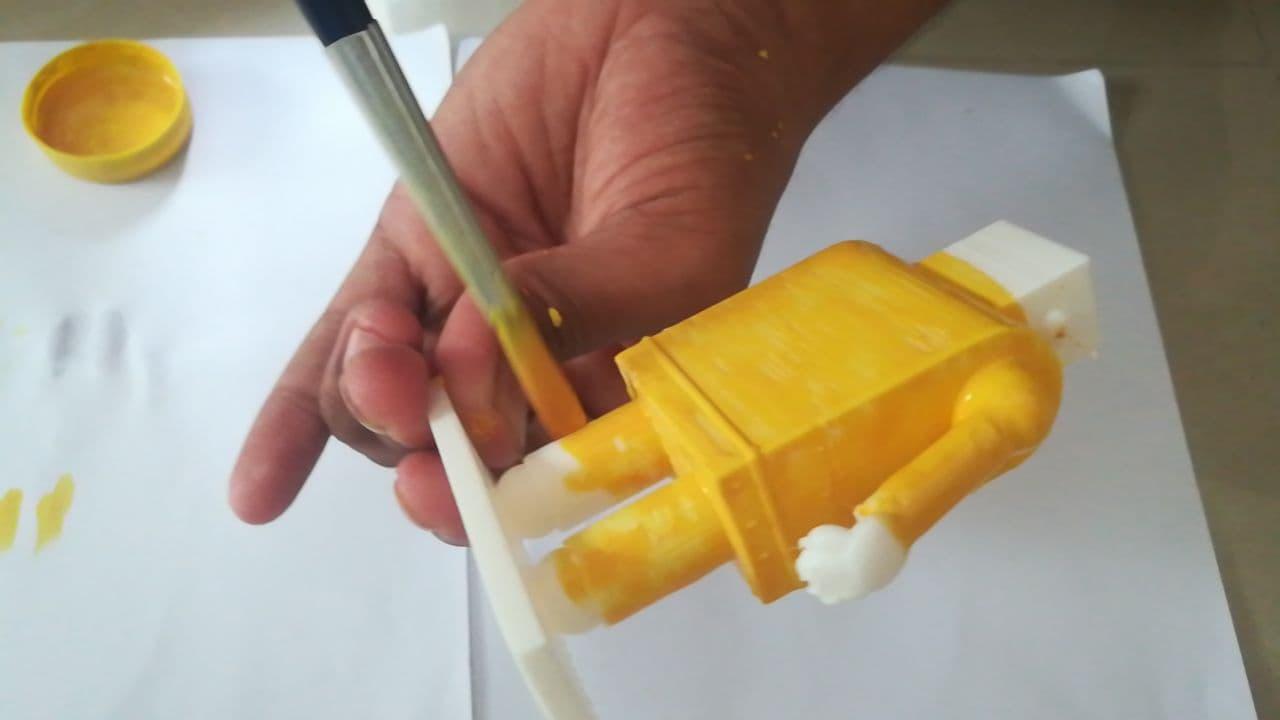
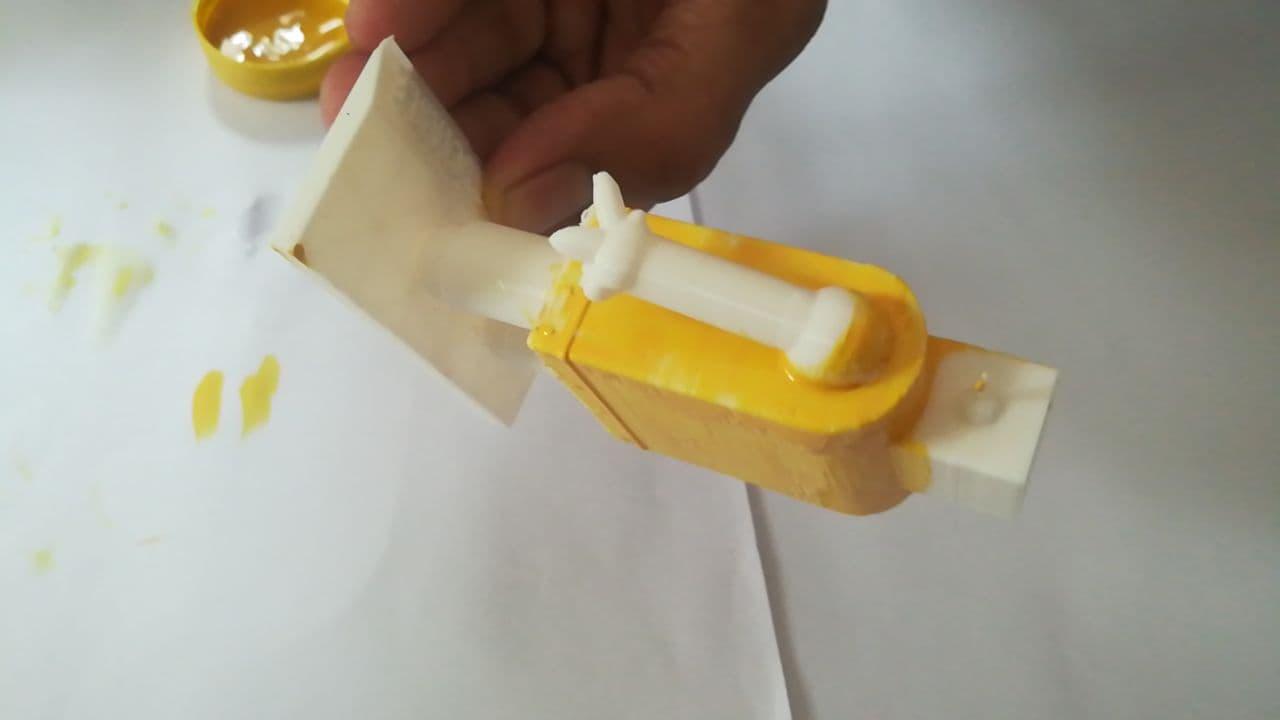
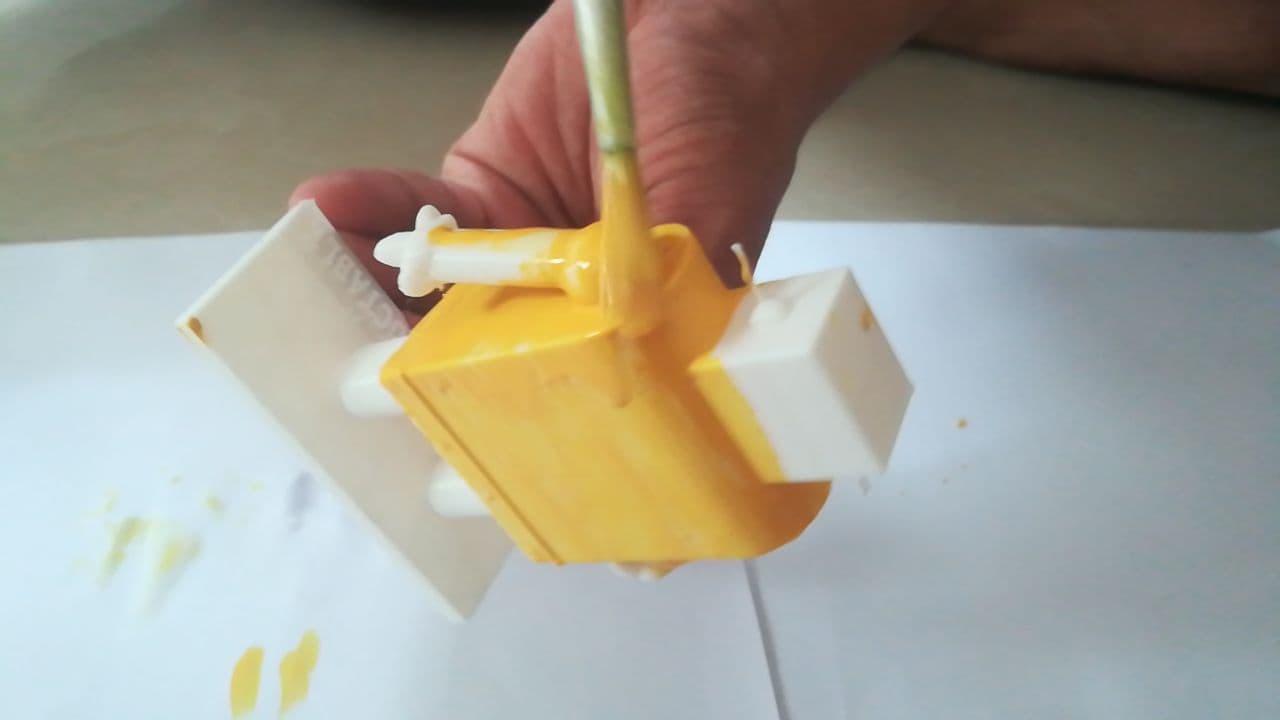
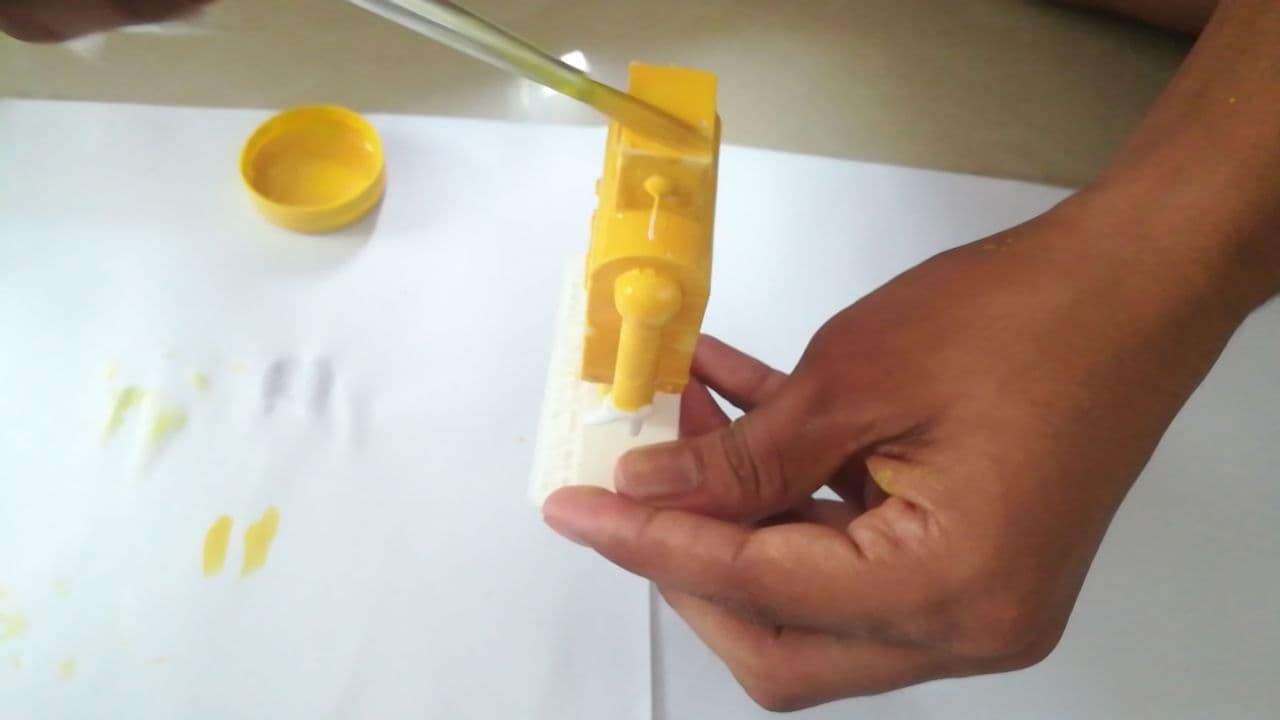
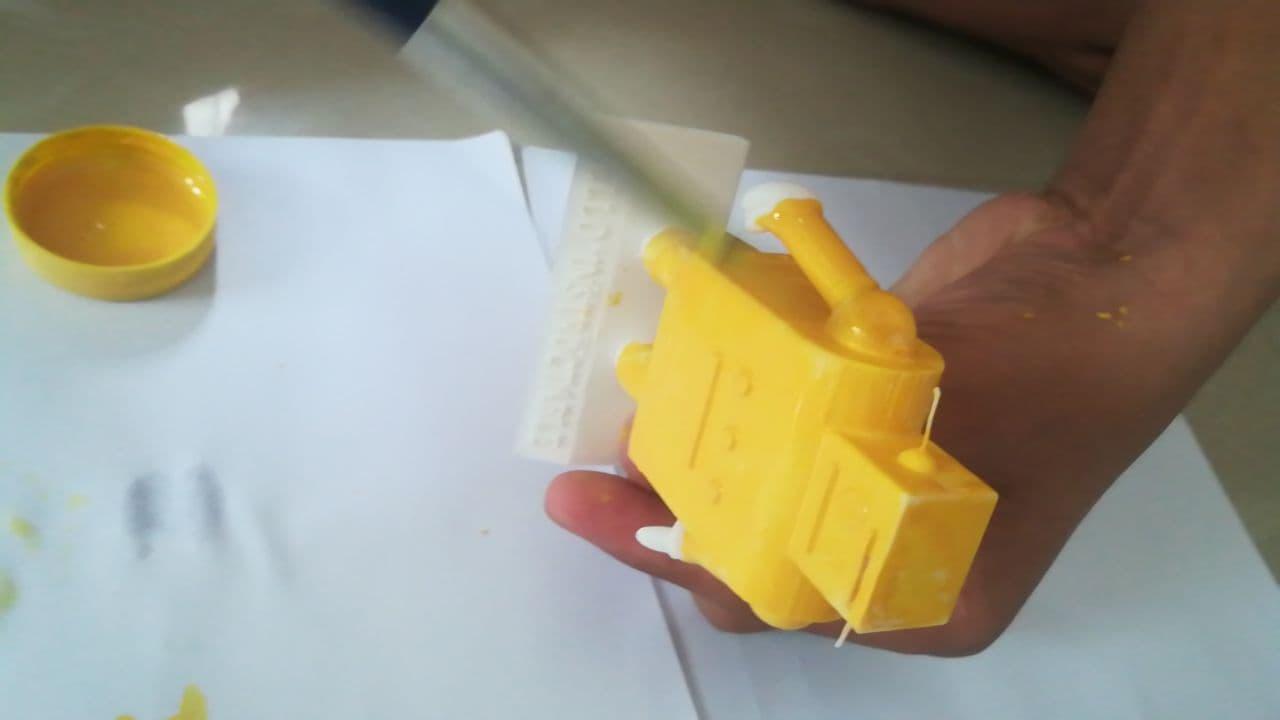
- Use Acrylic Color for Painting model in yellow.
- Use Sketch pen color for more detailing.
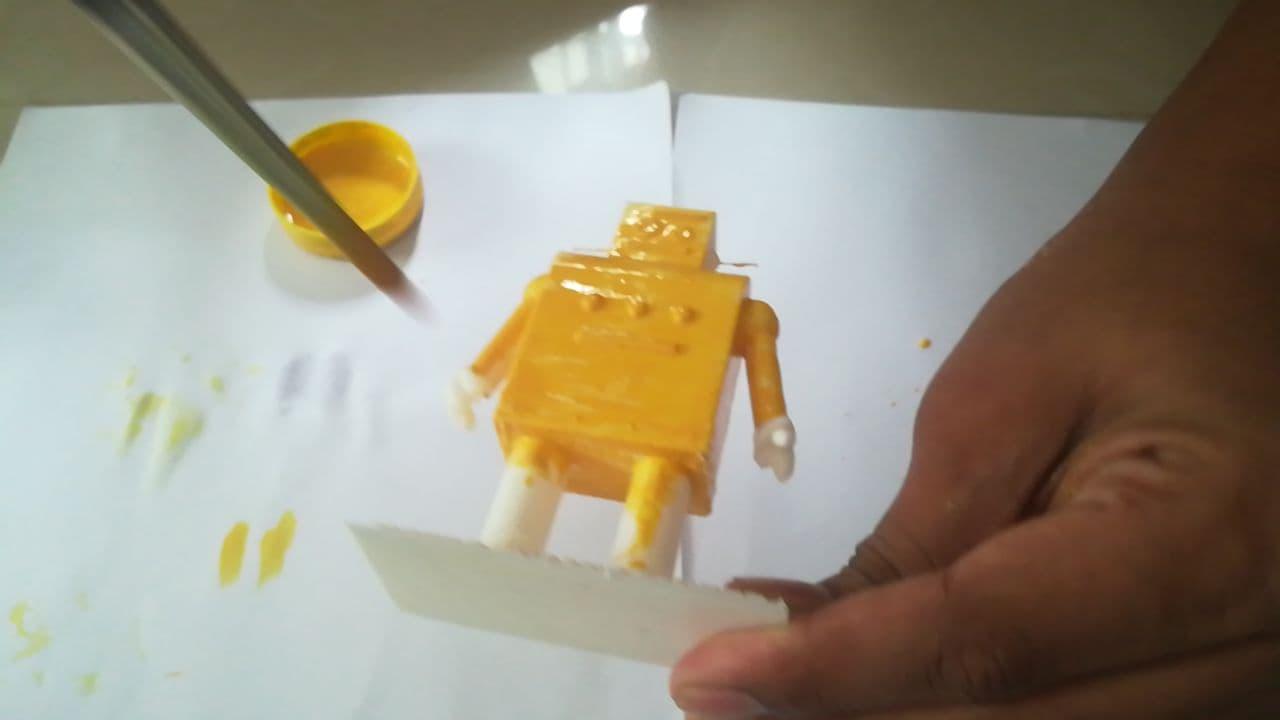
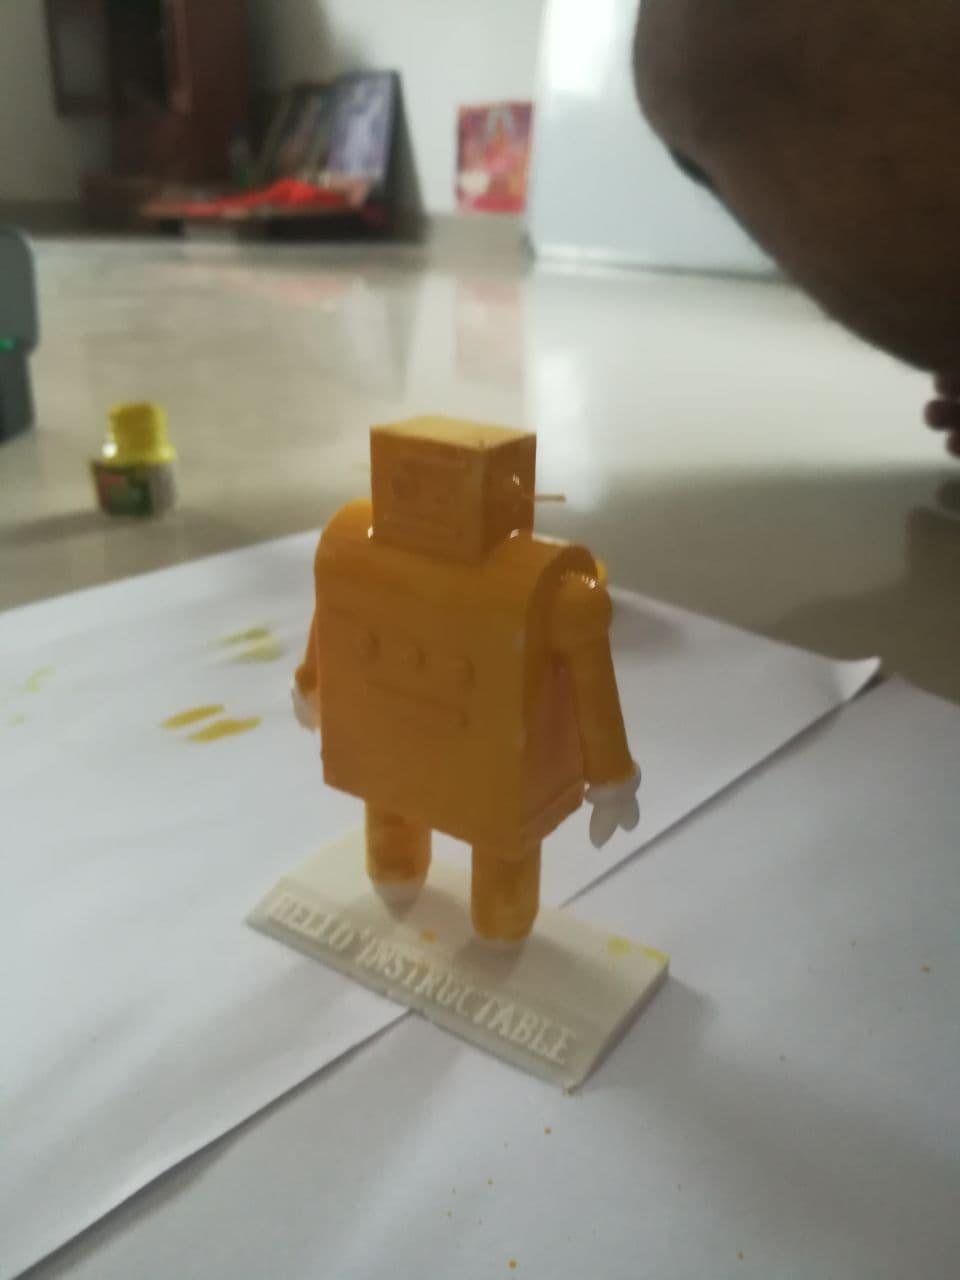
Showcasing Model

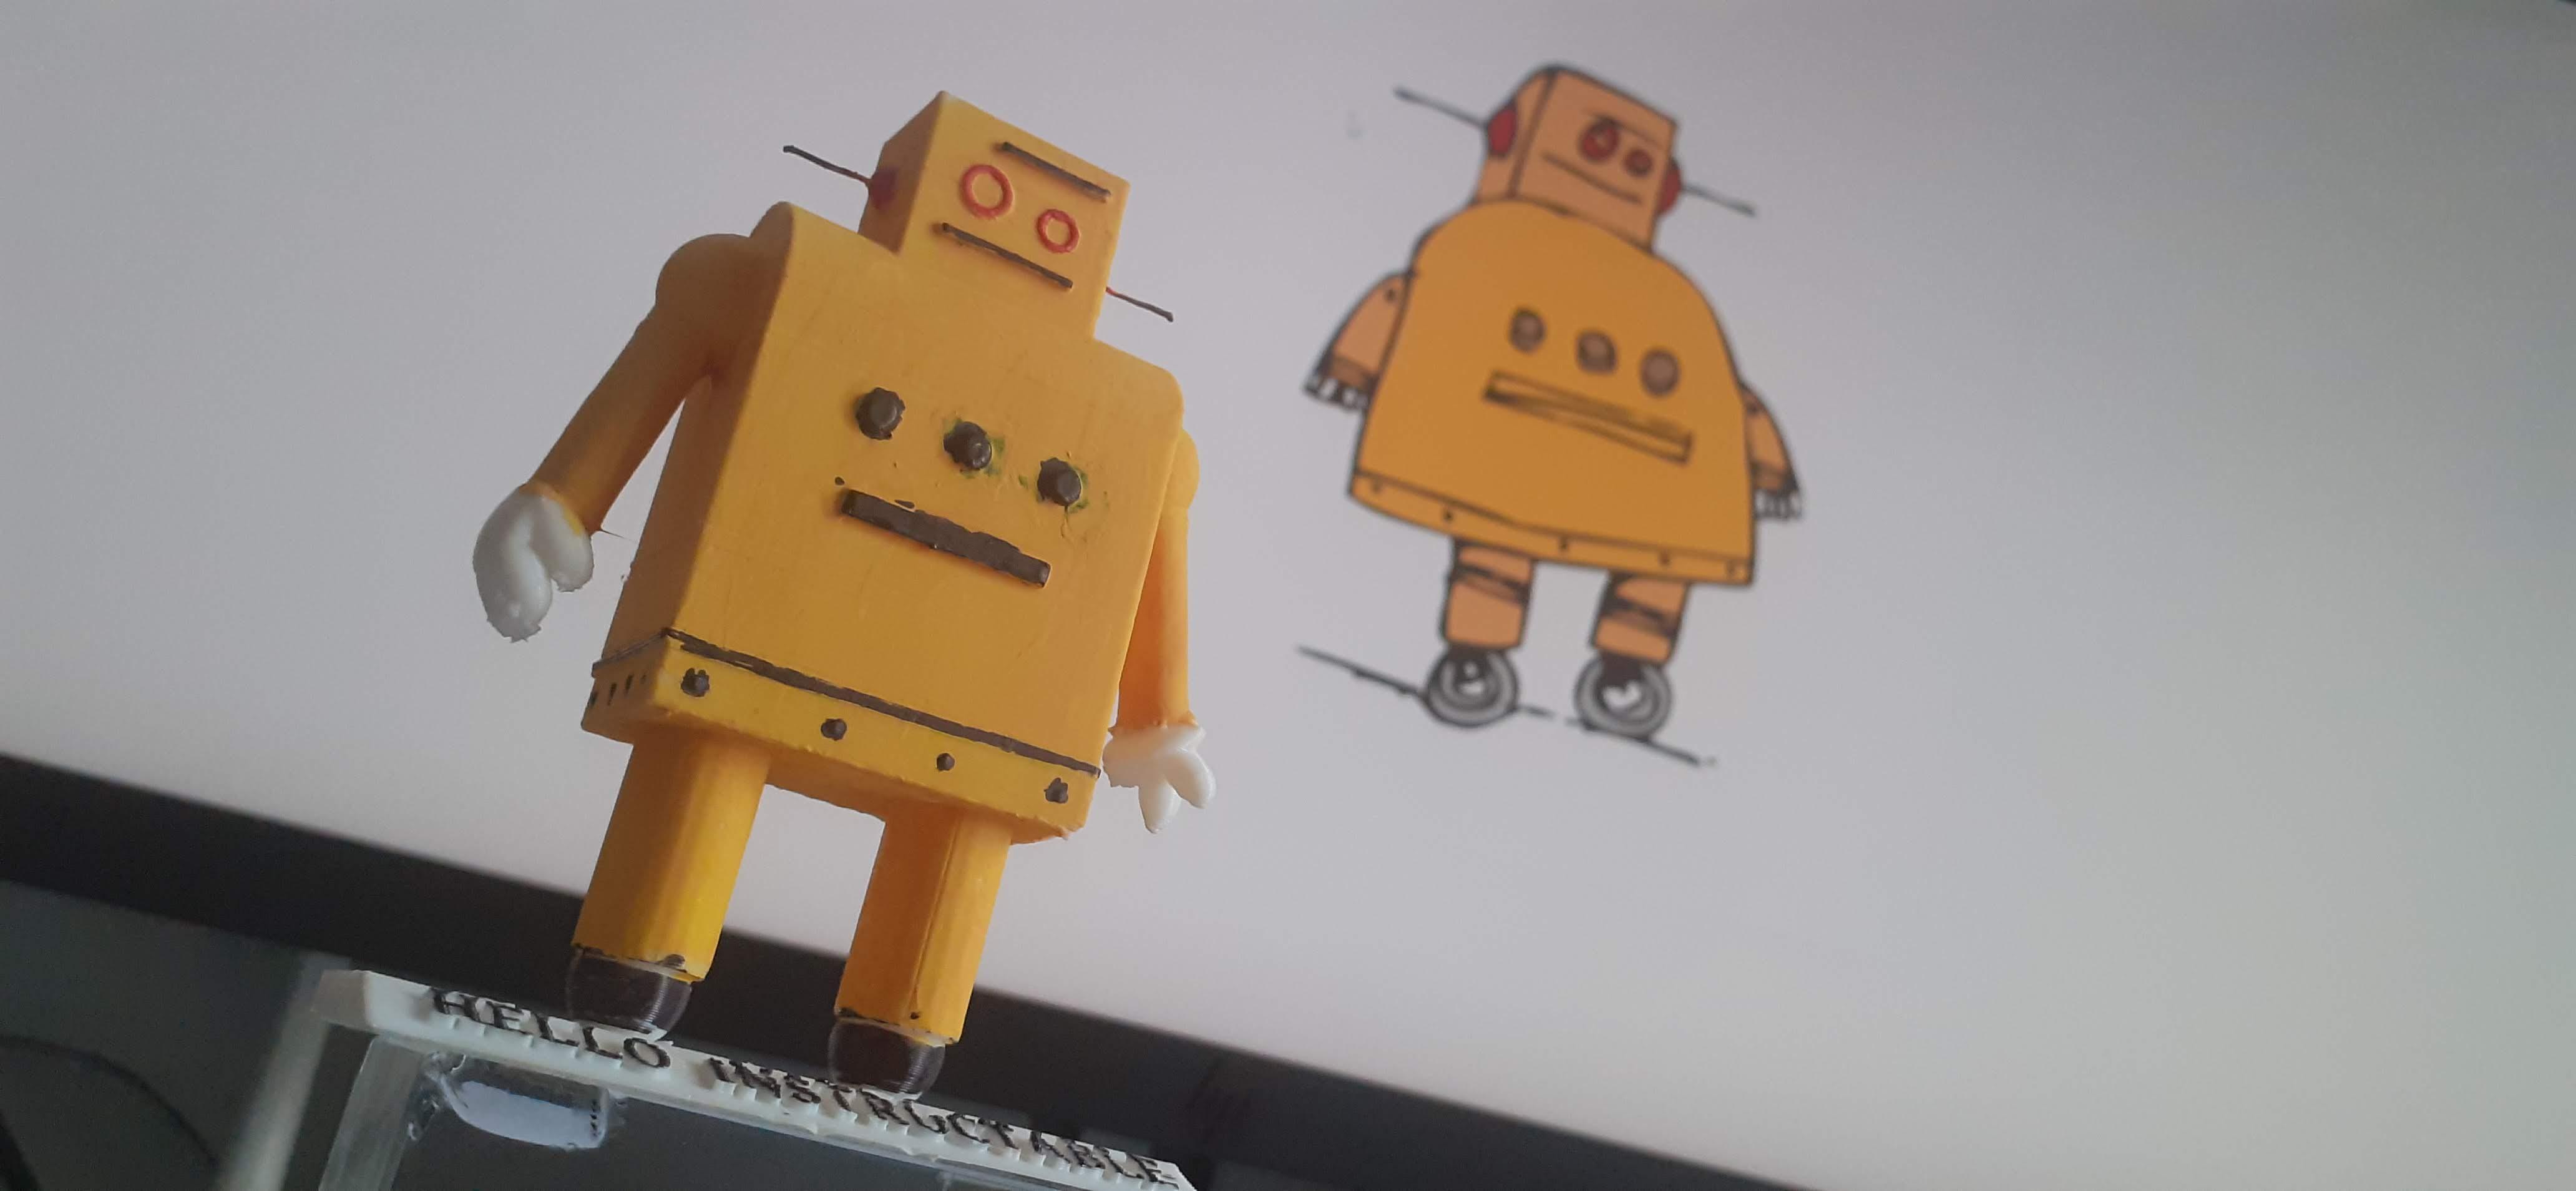

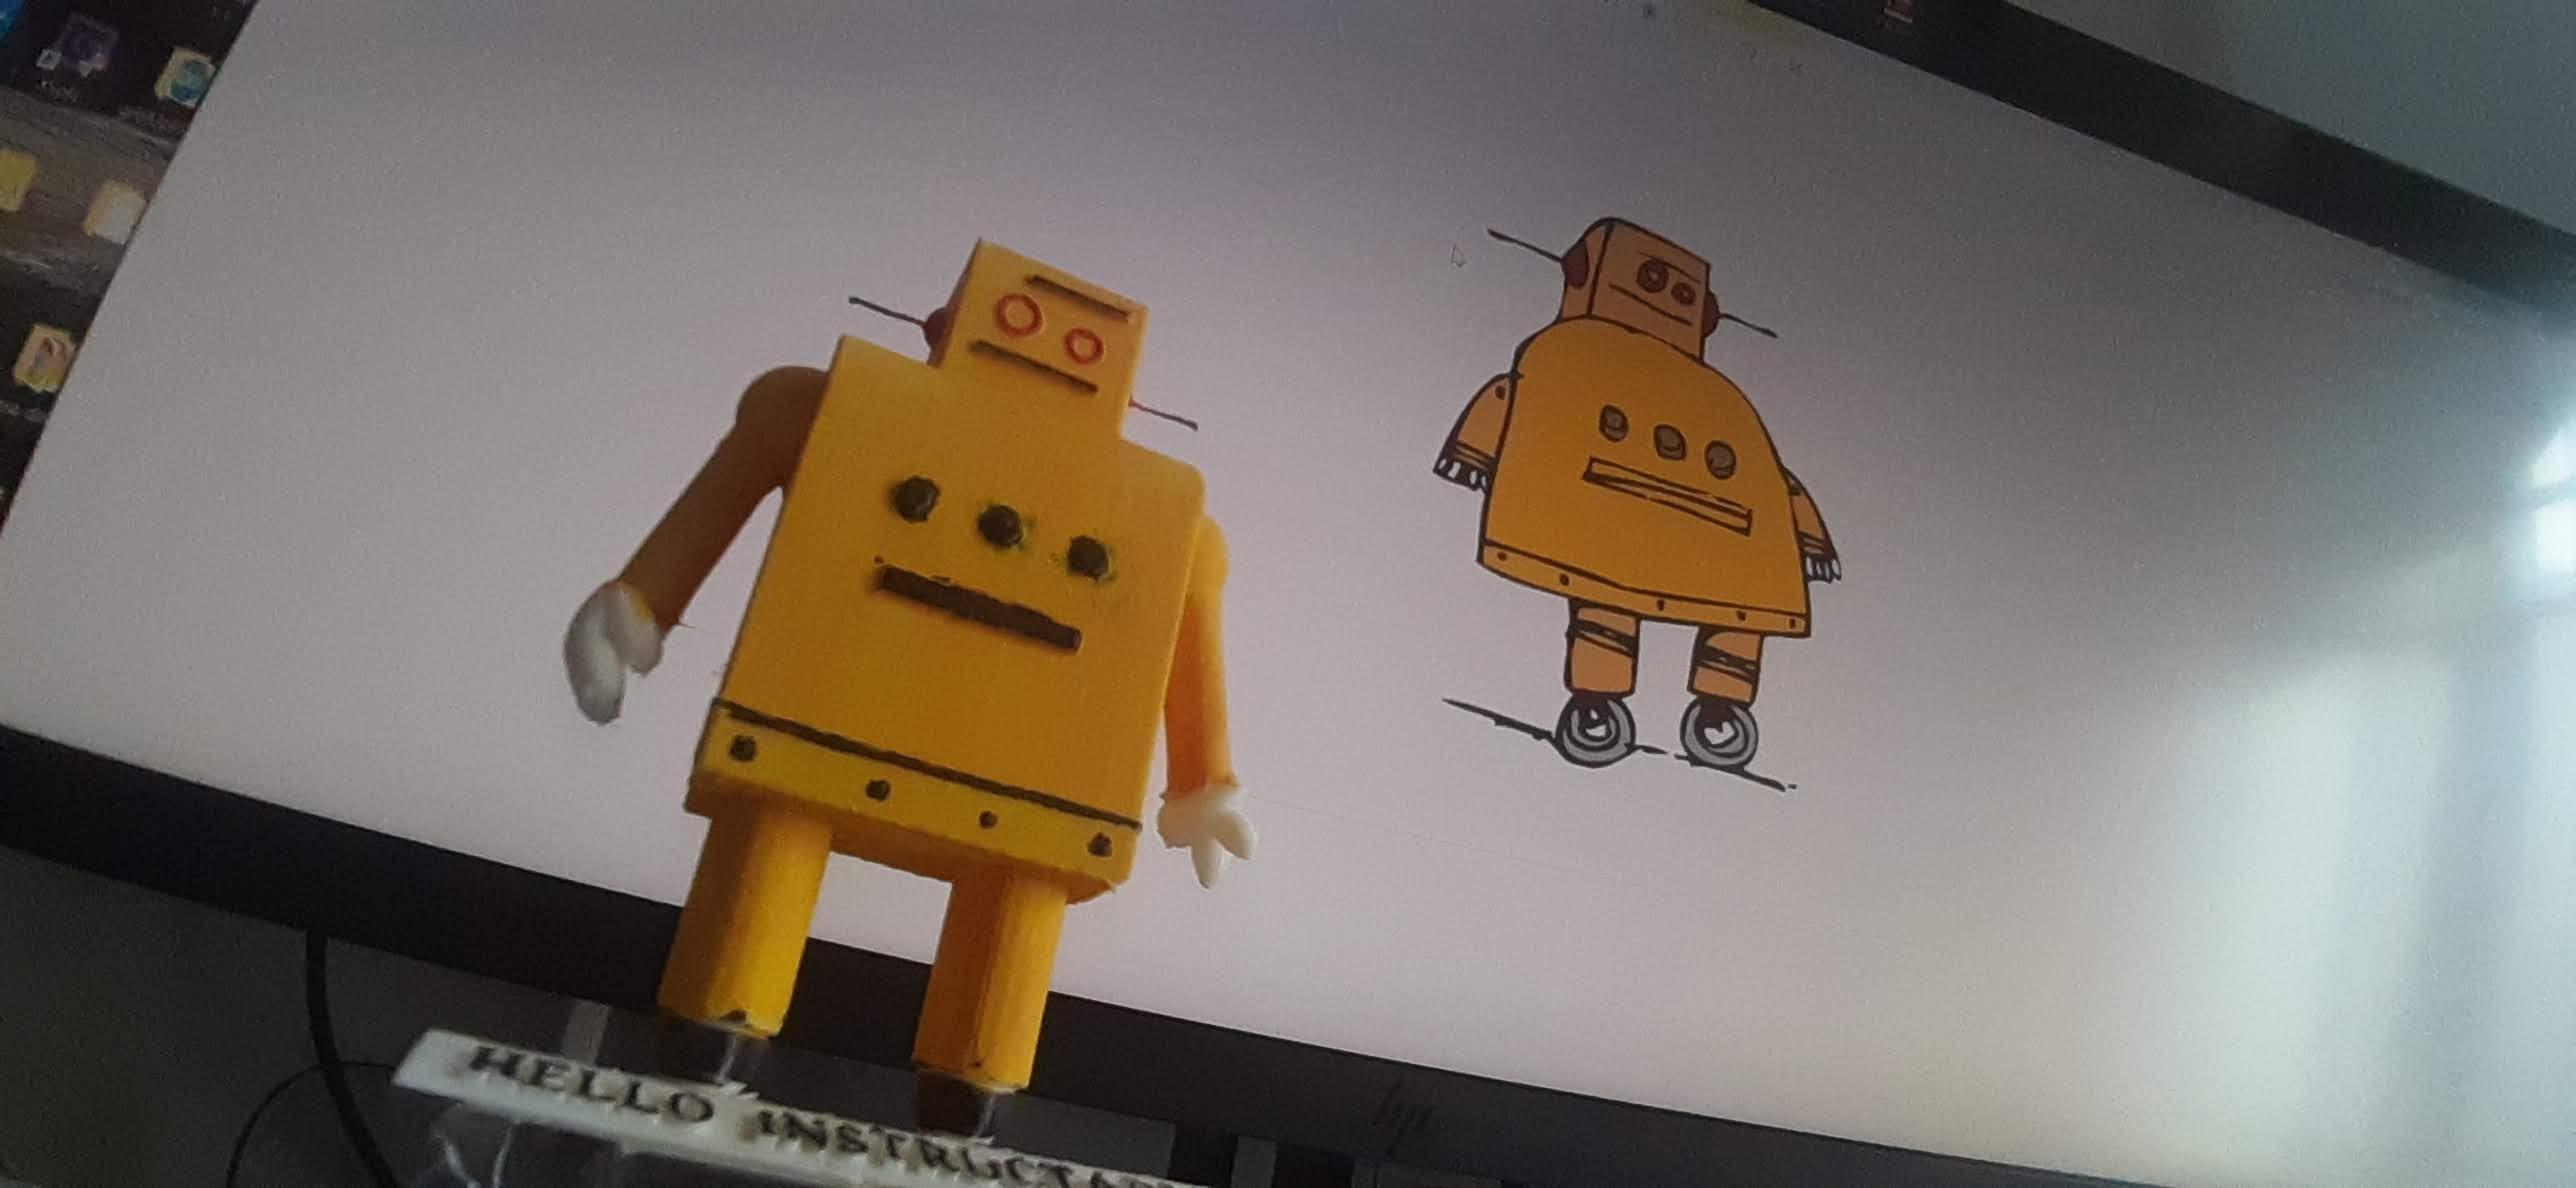
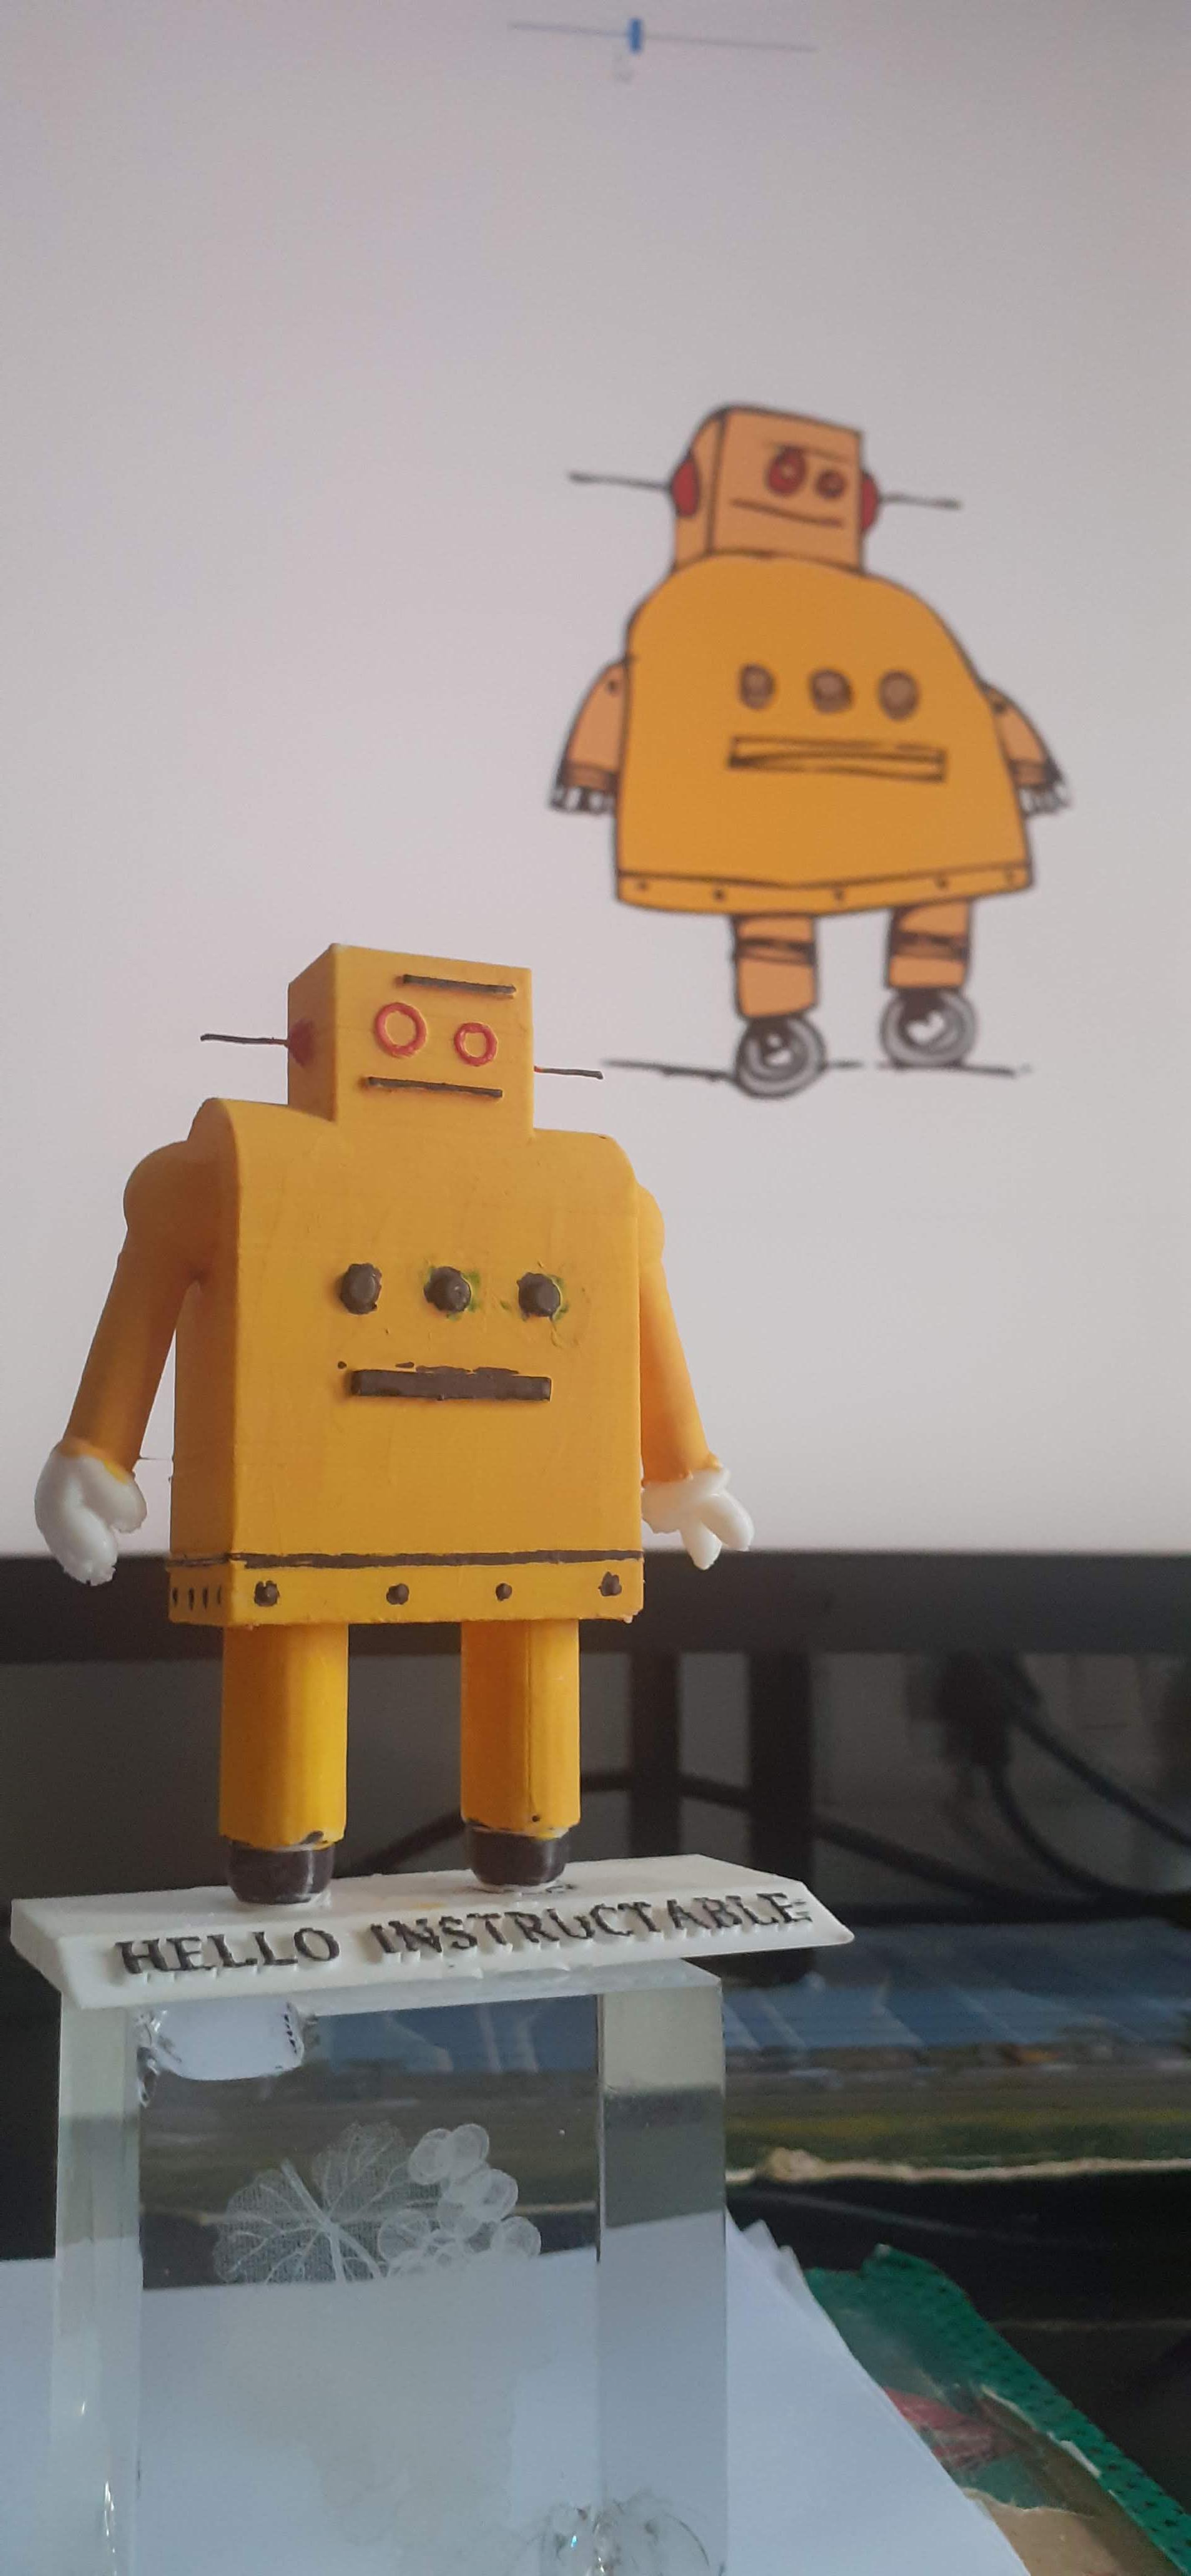
- After Painting the model check out my model and Instructable LOGO.
- You can place it on the desktop and as a showcase.
- Hope you Like my Project.
- If you need more Help Check out my Step by step Making video.
3D Instructable mascot Using Tinkercad
Also, reach me out through comment for any help or question.
keep sharing and Learning.