3D Hologram (TfCD)
by Meike en Ludo in Craft > Digital Graphics
13257 Views, 42 Favorites, 0 Comments
3D Hologram (TfCD)
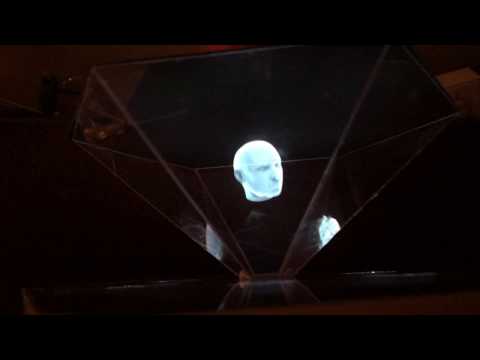
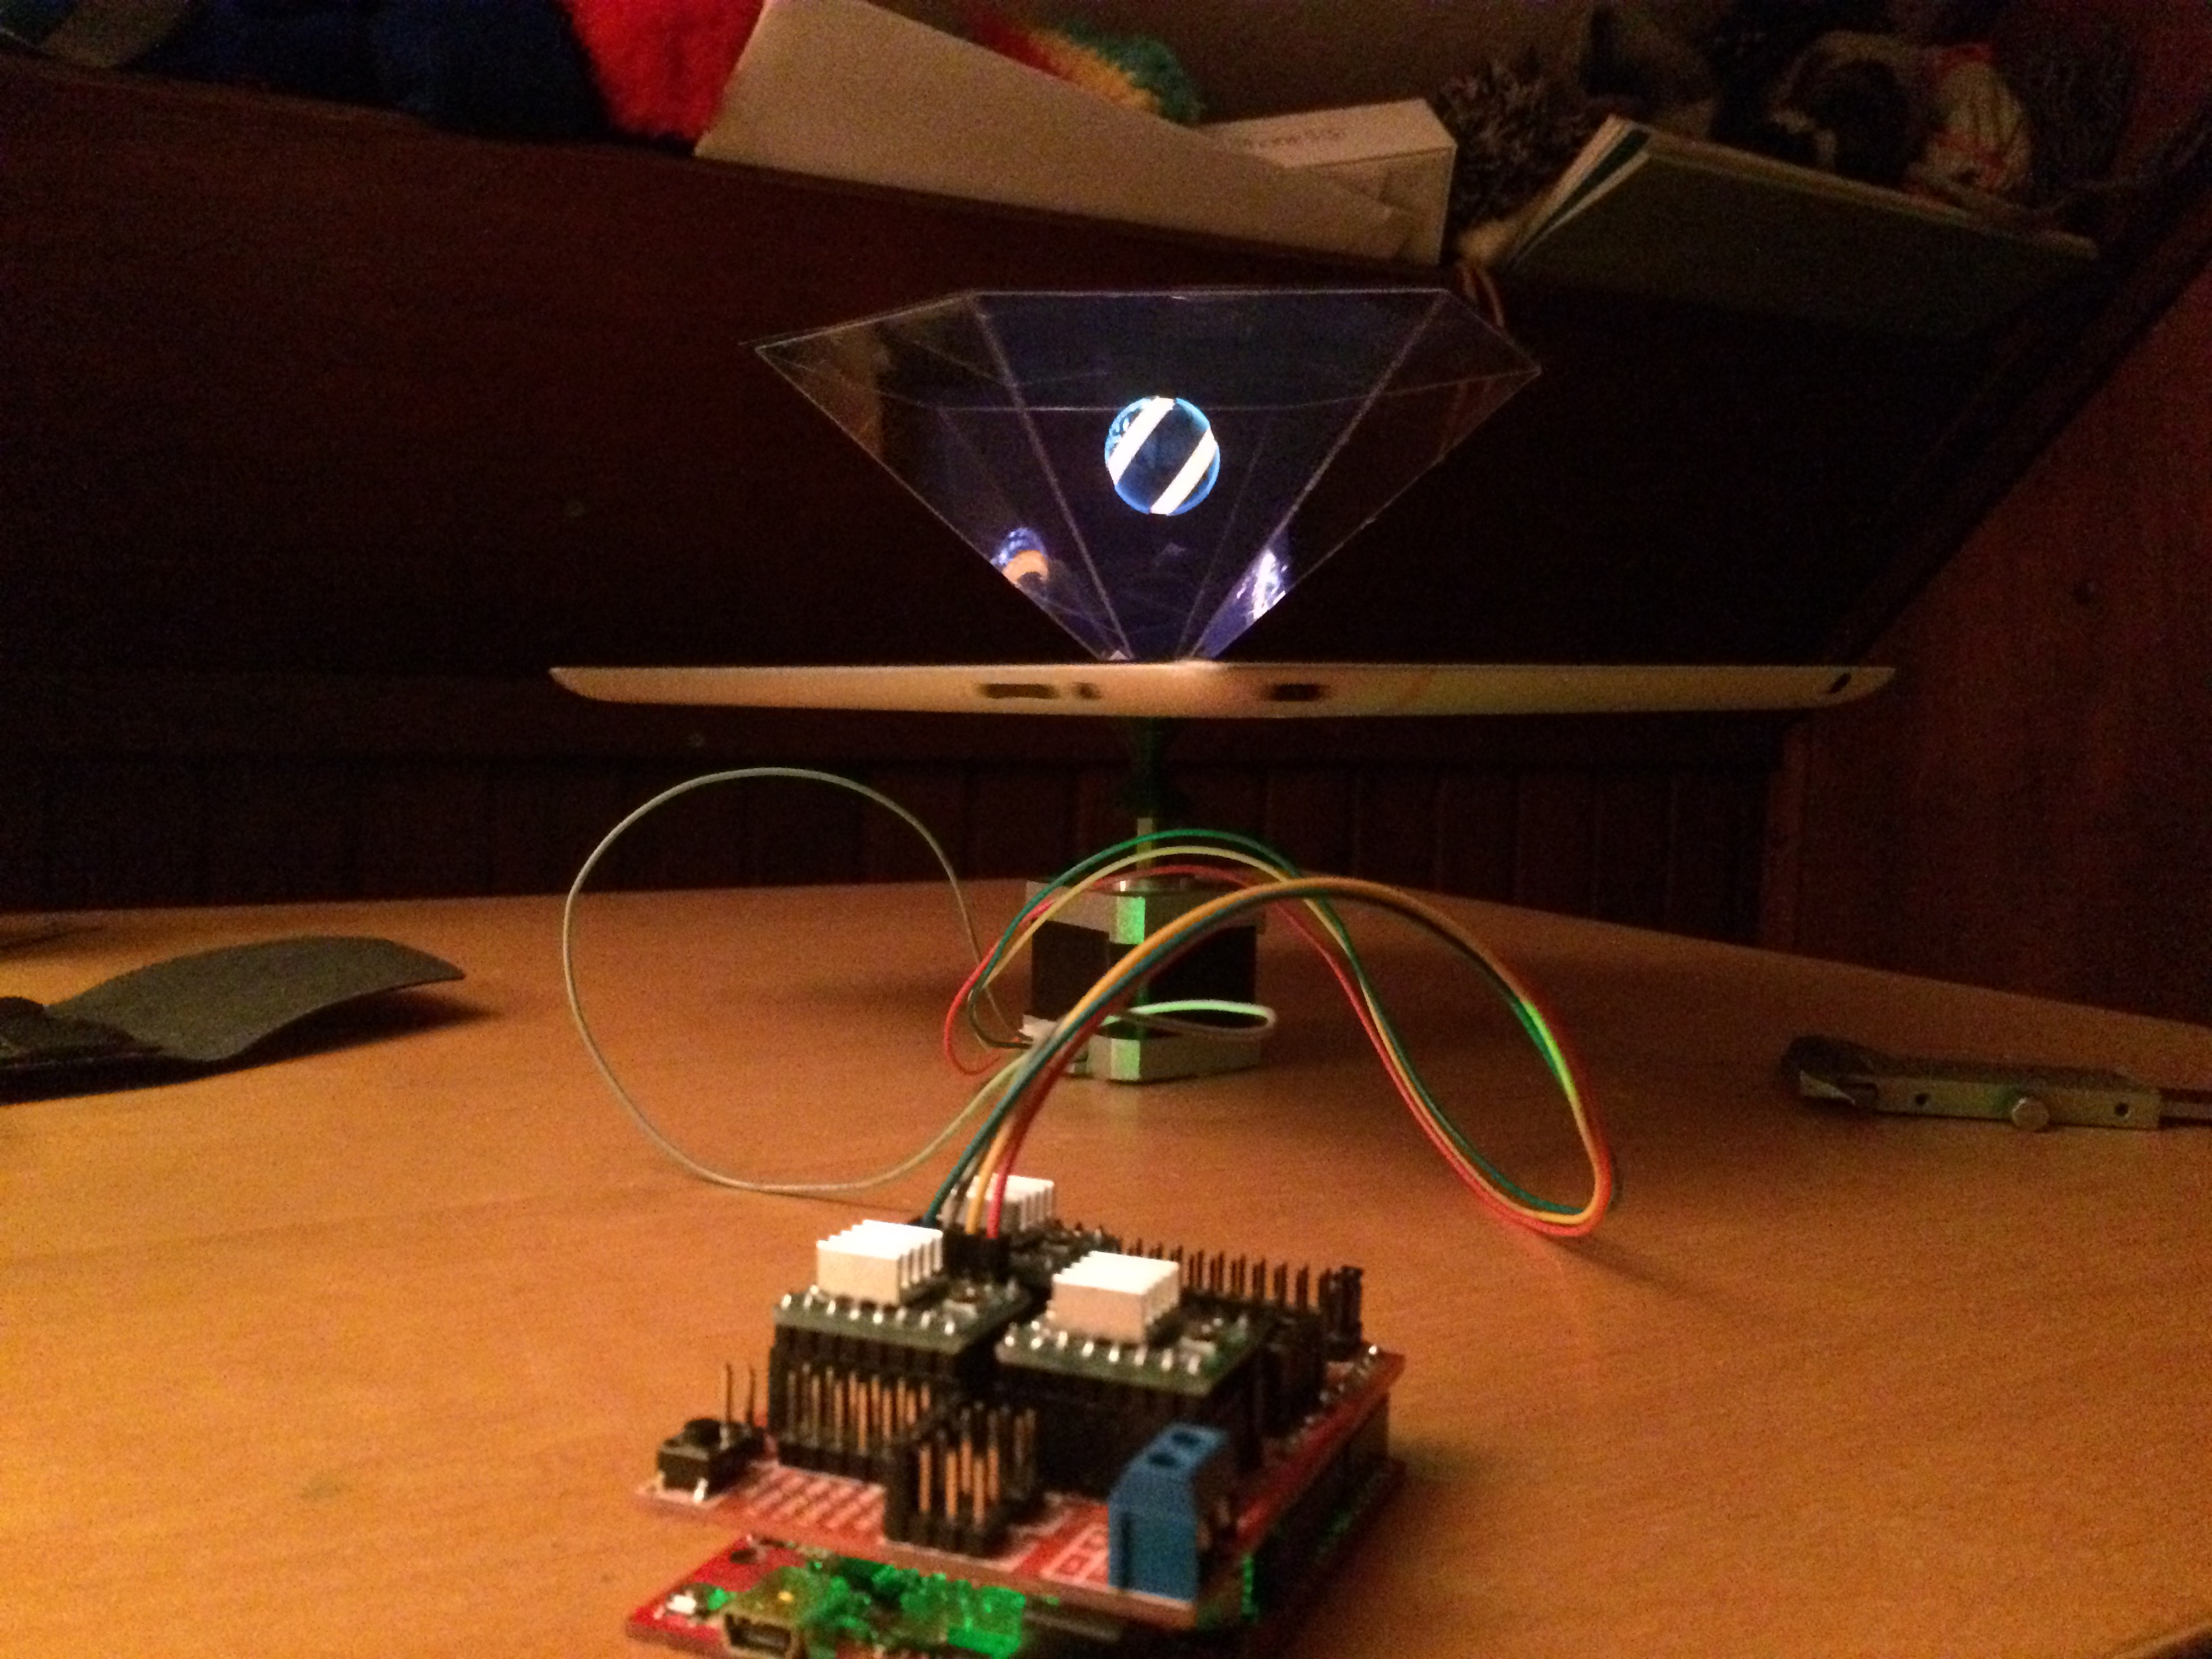
You have probably come around the hologram pyramids that are all over youtube. This method was originally called Pepper's ghost, and dates back to 1862 when John Henry Pepper used a large glass plane to create the image of a ghost on the theater podium. At first sight this might look like a three dimensional image, however it is actually an image mapped onto a two-dimensional surface, just like a projection on a screen.
In this project we will try to create a holographic three dimensional effect, by using a hexagon (6 sides) instead of a pyramid, in combination with 6 images of a 3D model rendered from 6 different angles.
Components
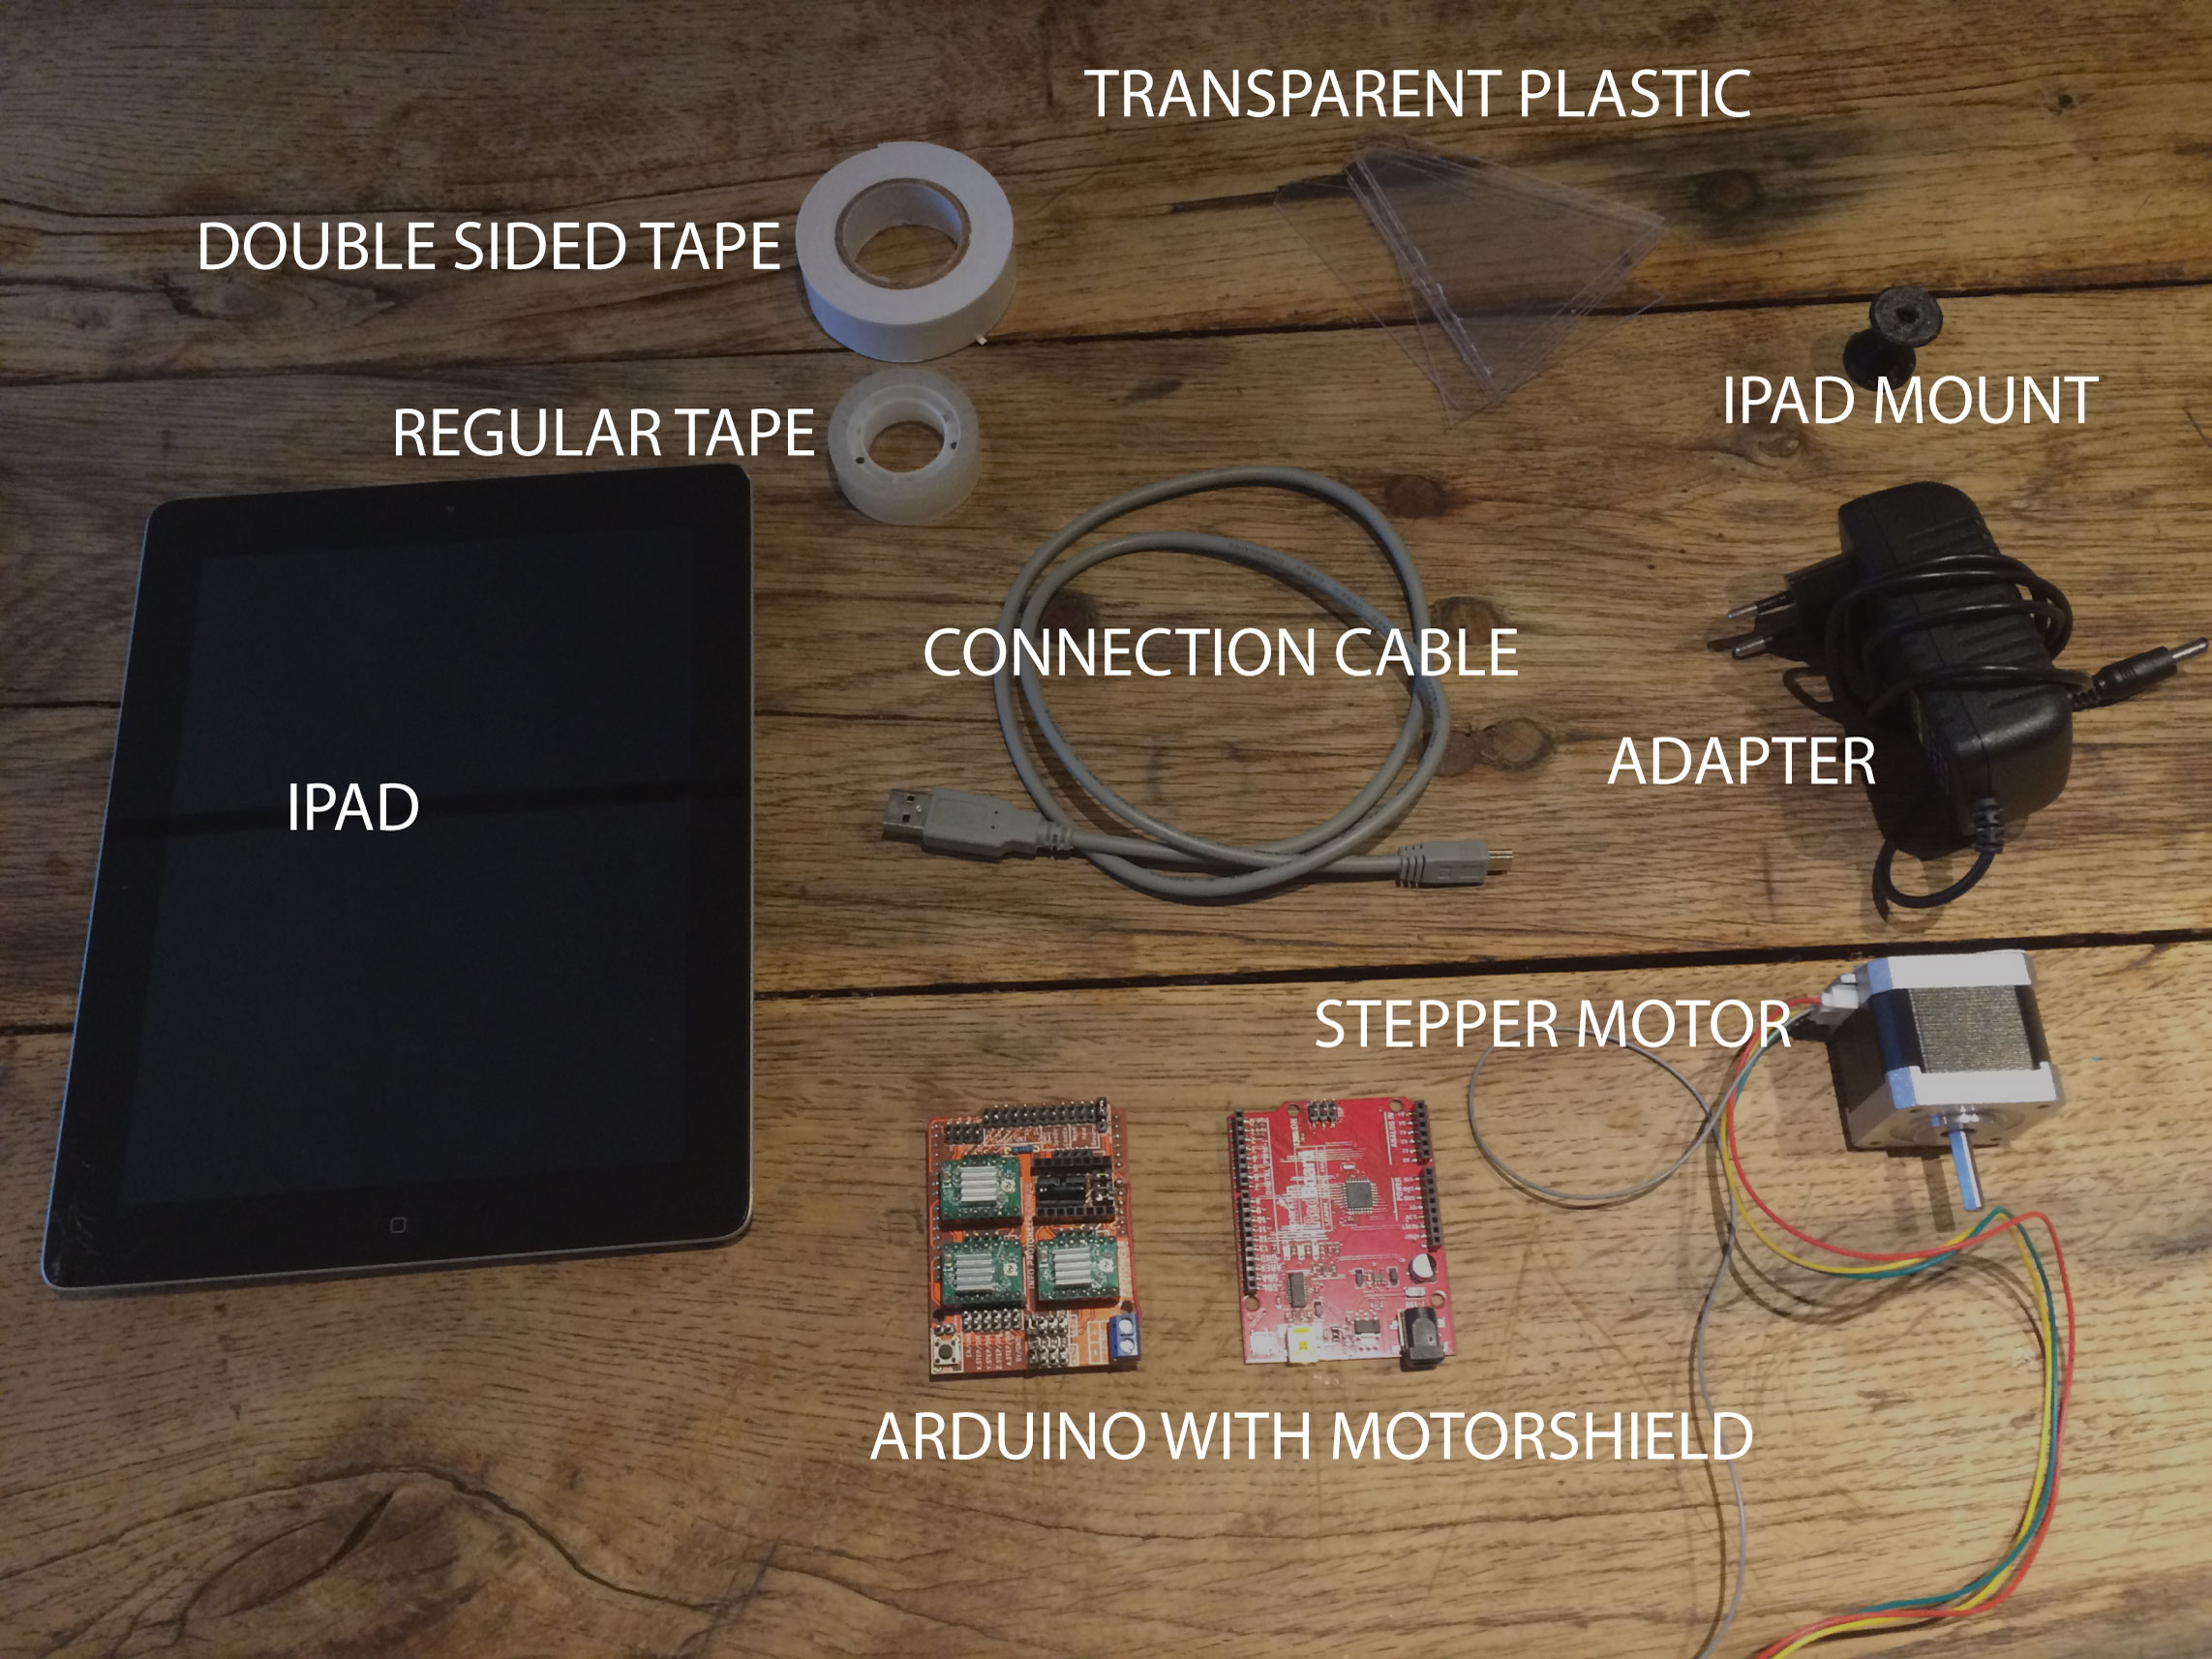
For this project you will need the following things:
- iPad or similar device
- Regular tape
- Double sided tape
- Transparent plastic
- Arduino with motorshield (Sparkfun)
- Stepper motor (Nema 17)
- Power adapter
- Connection cable
- iPad mount (3D printable)
- (Piece of black paper)
Cutting the Hexagon
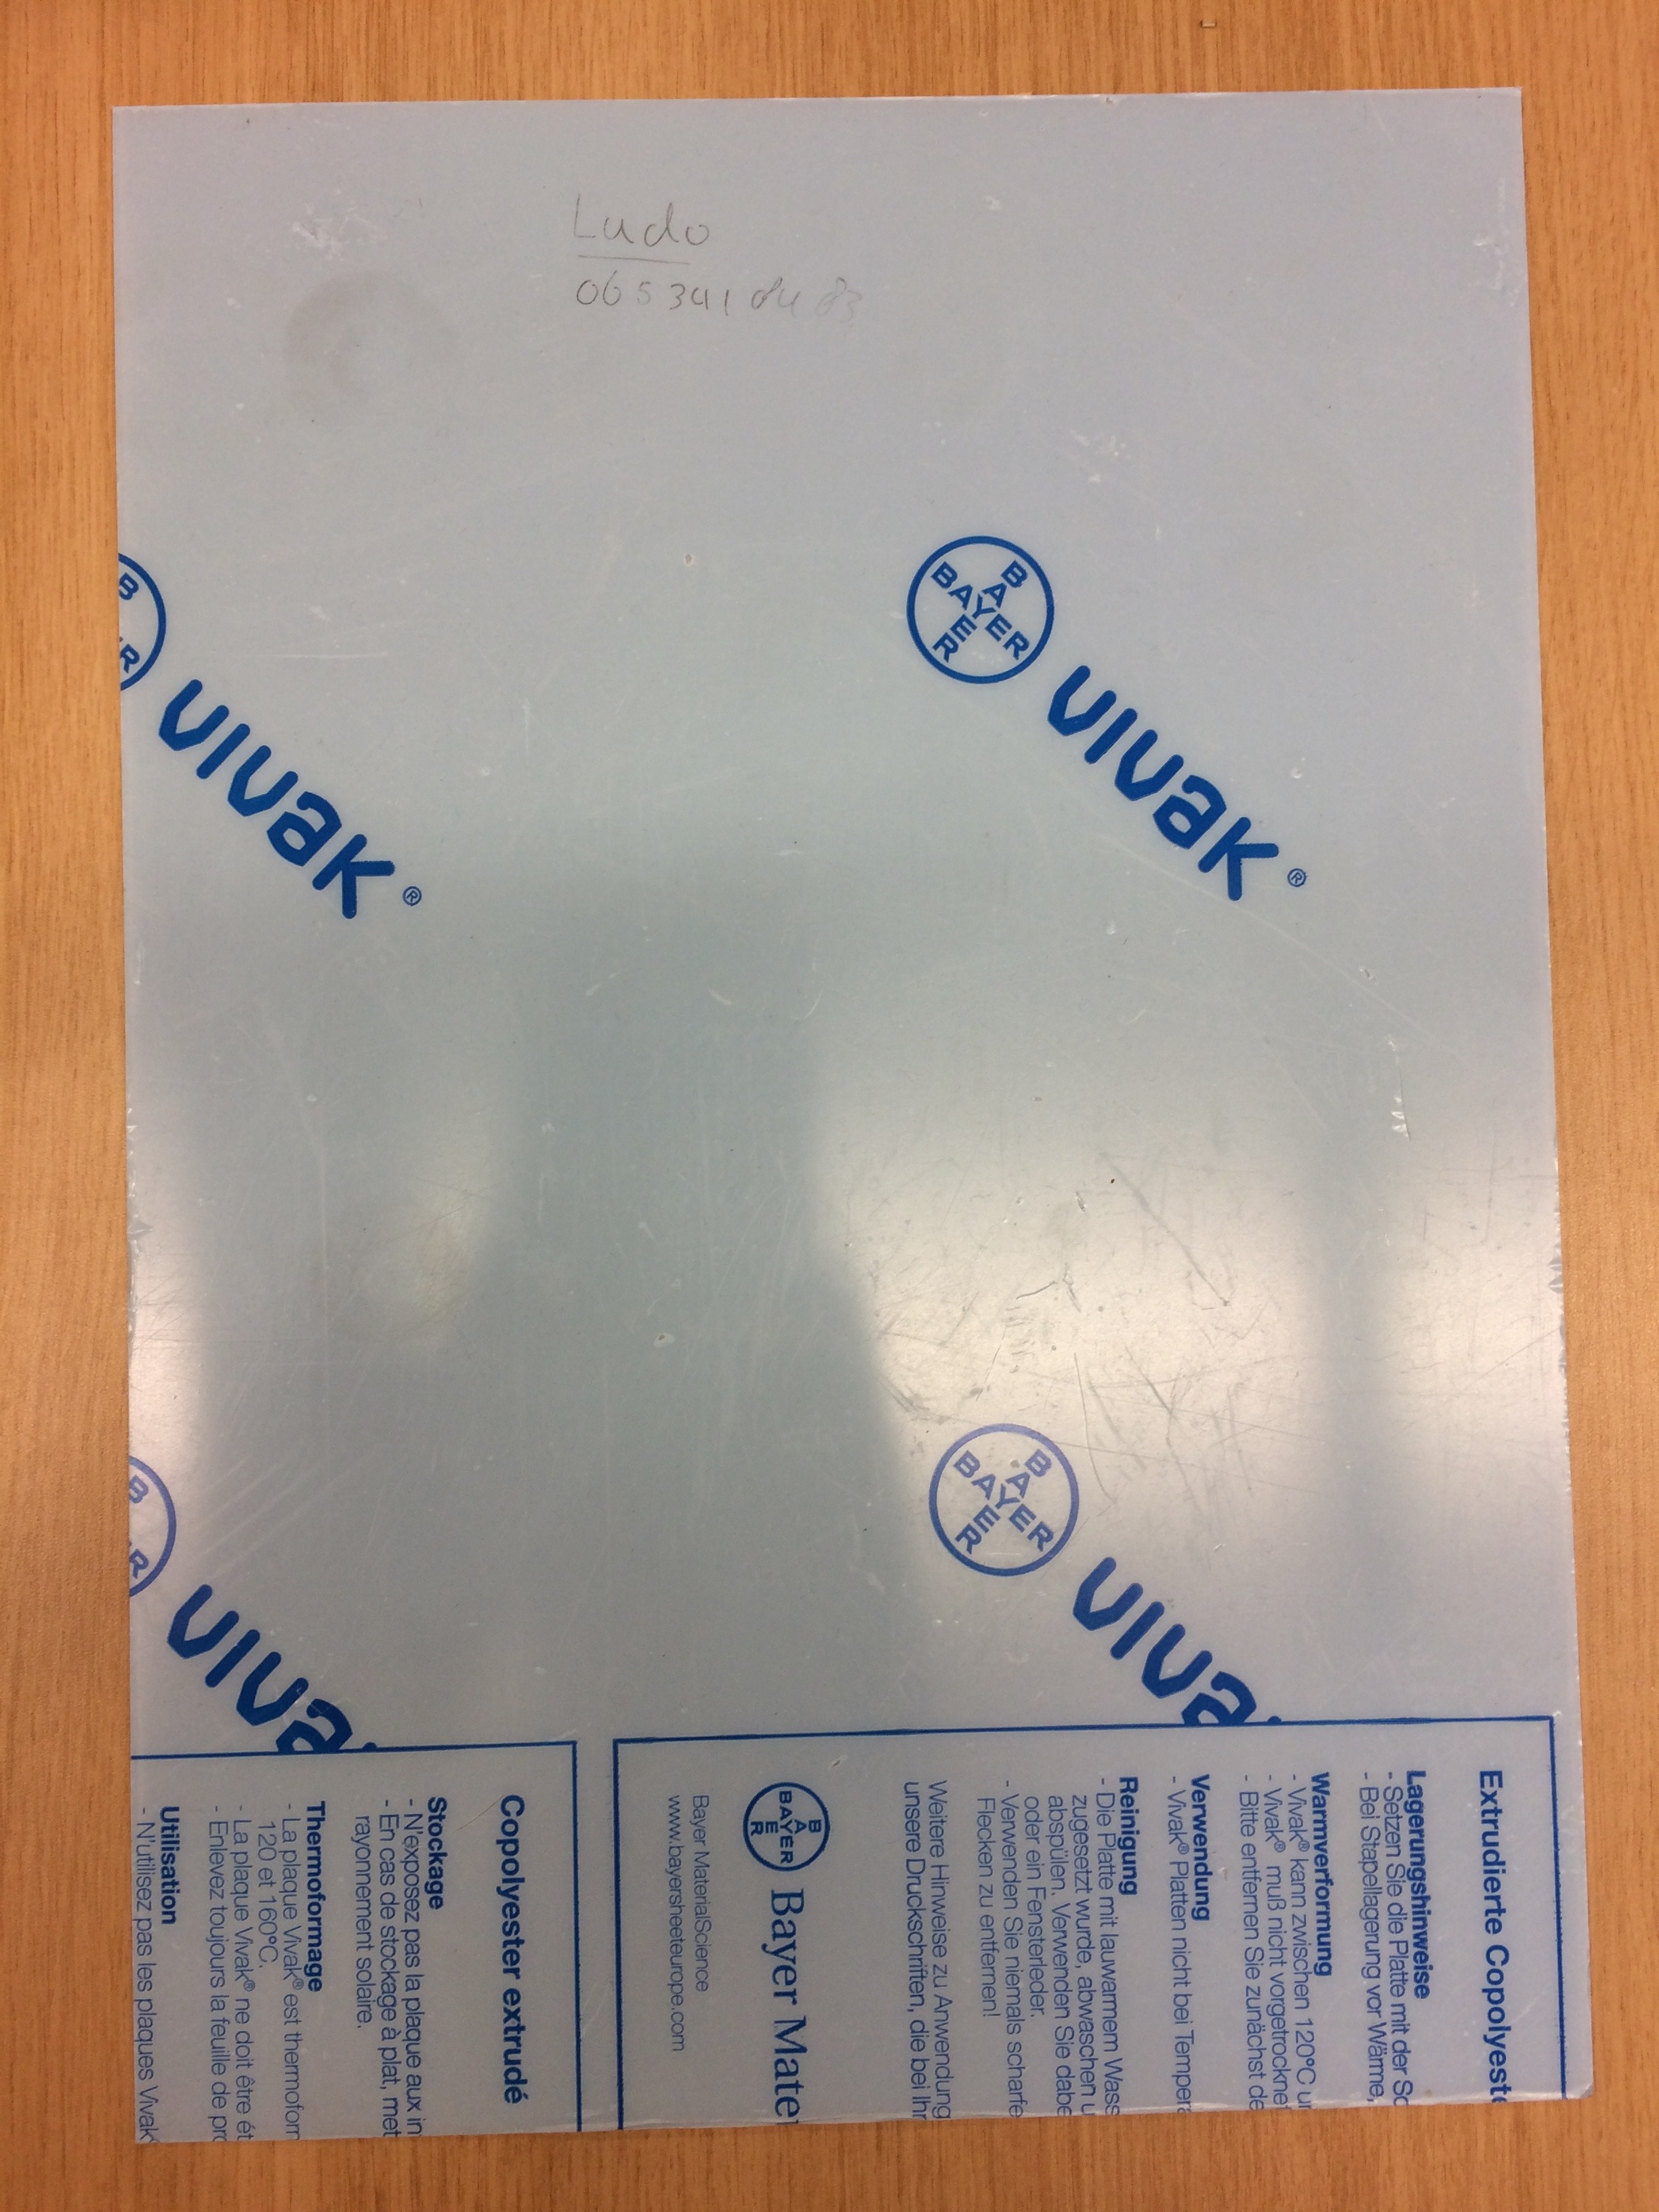
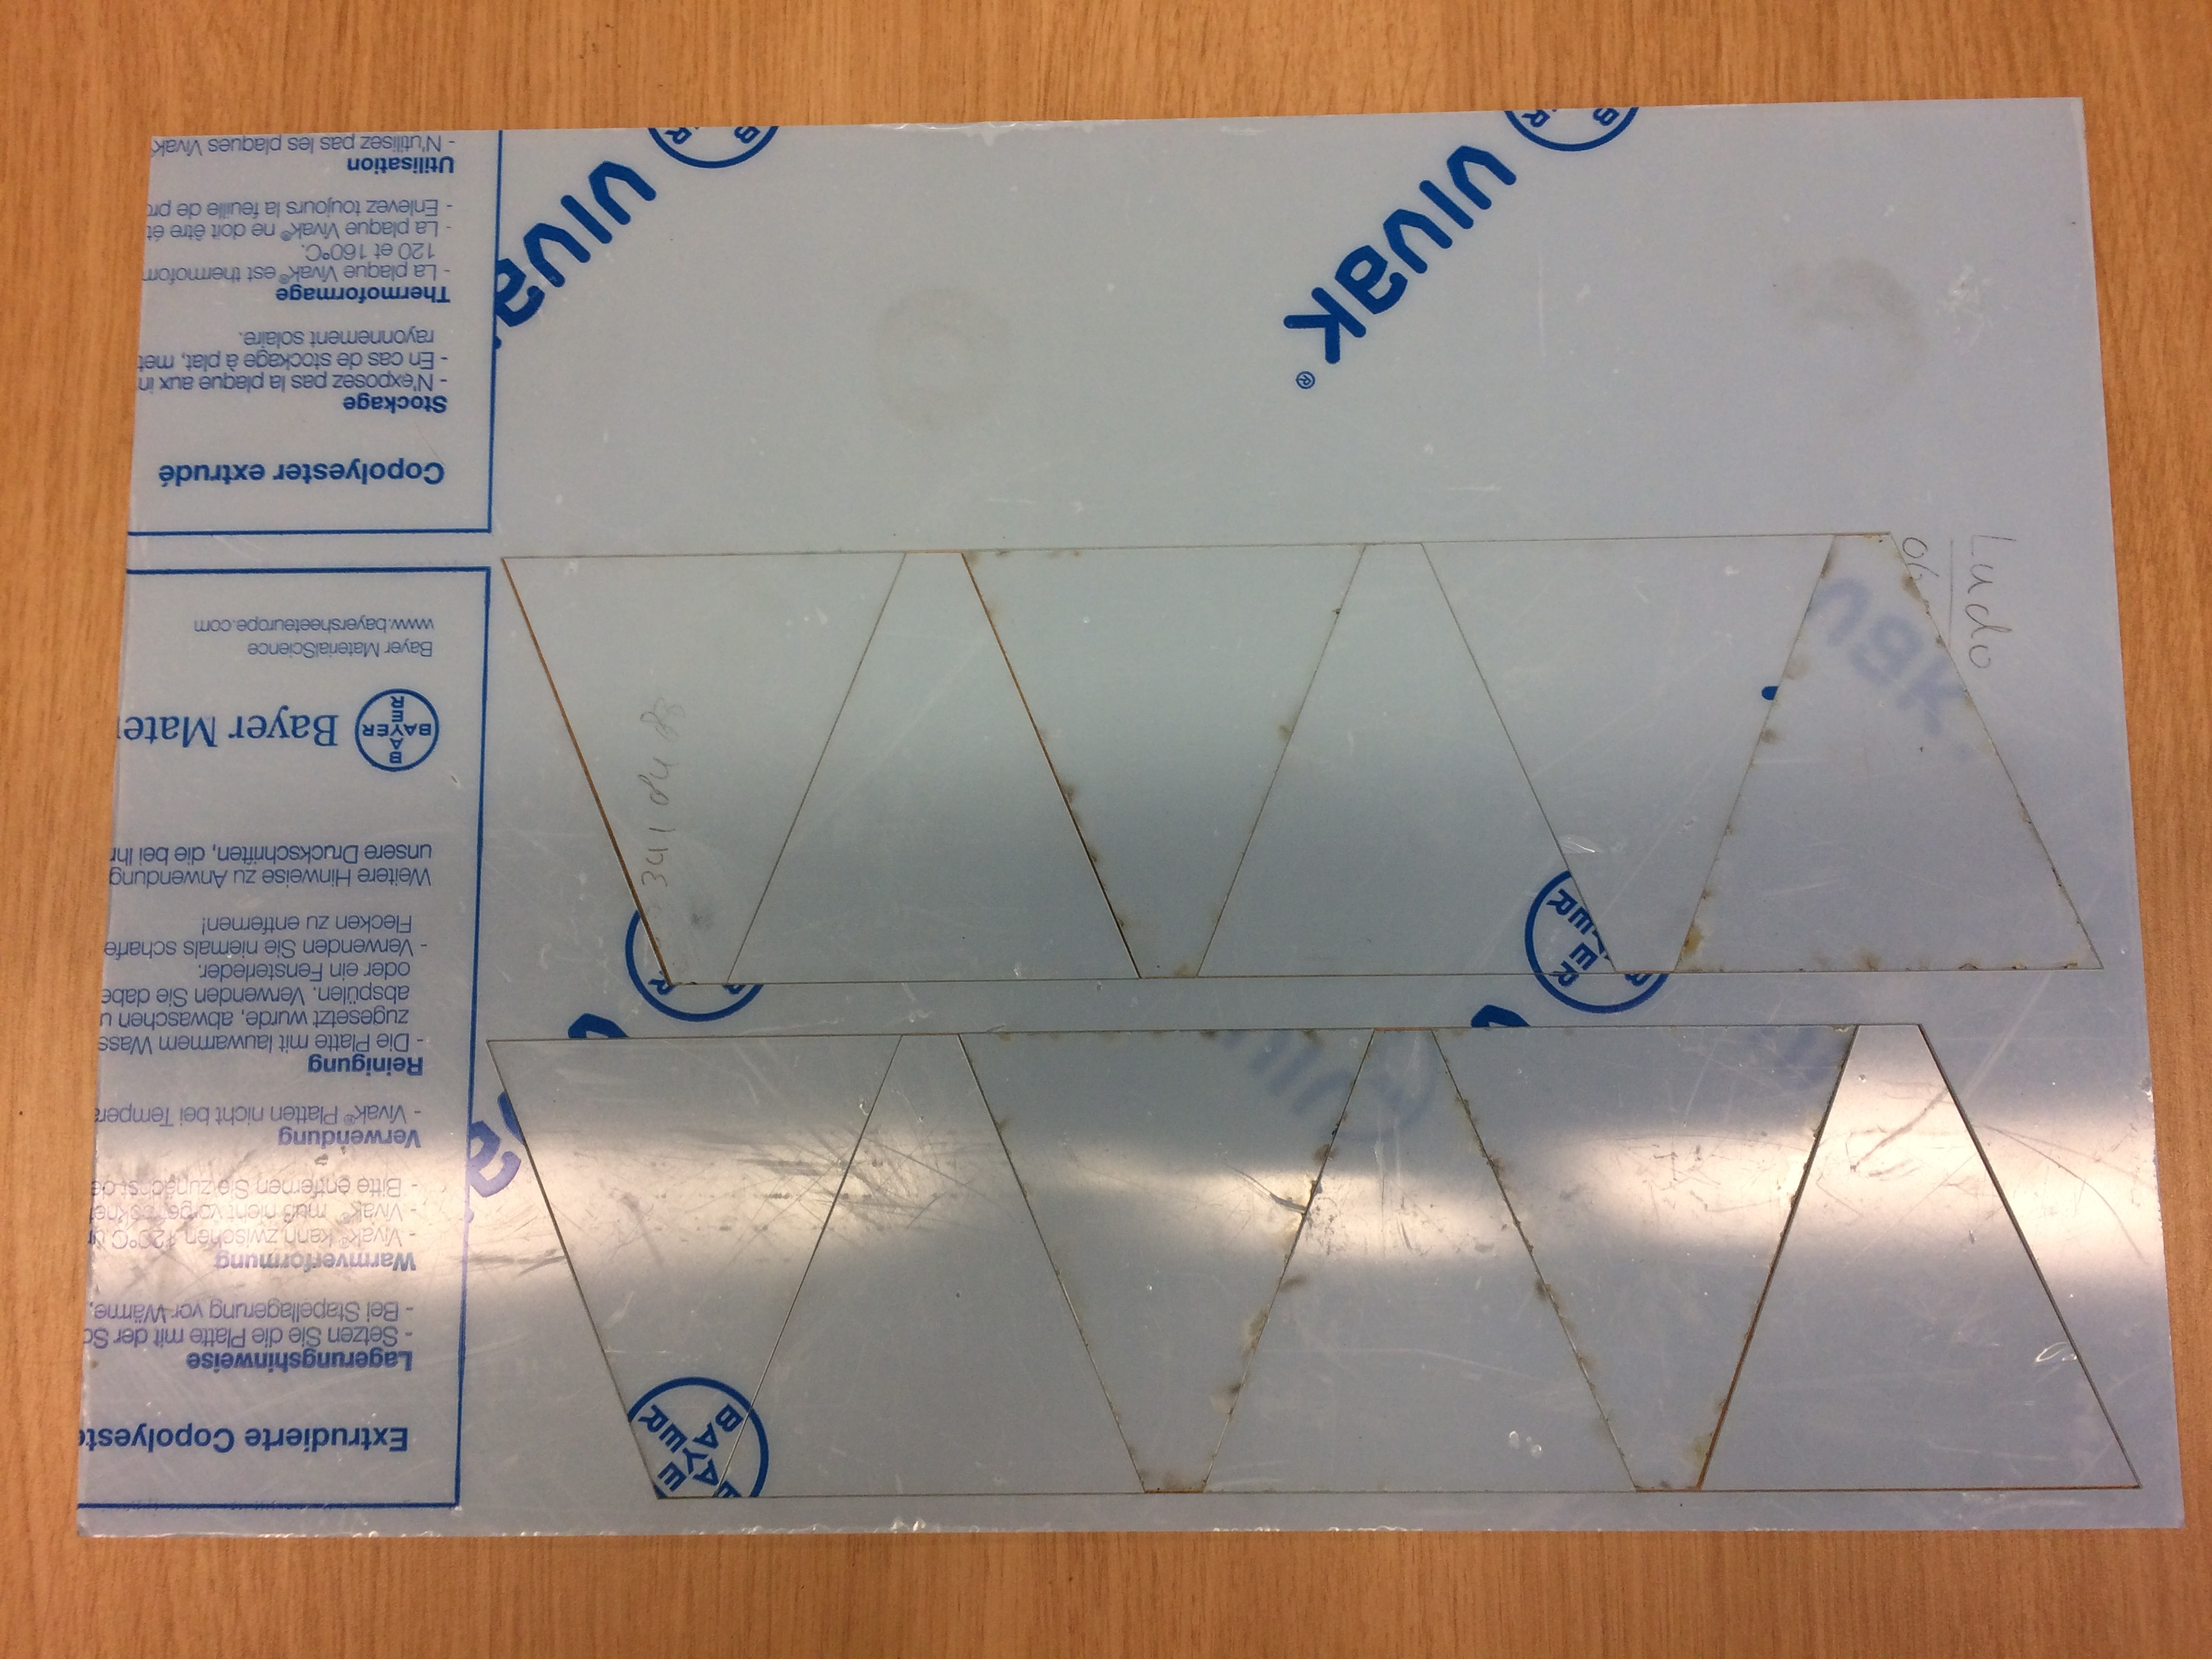
For this step we worked with a sheet of transparent PET from Vivak. This was cut into 6 triangular shapes with a lasercutter. You can find the cutting file attached. If are not able to use a lasercutter, you can also print out the print file (A4 paper size) and use it as a cutting dye for cutting the plastic with a knife.
Creating the Hexagon
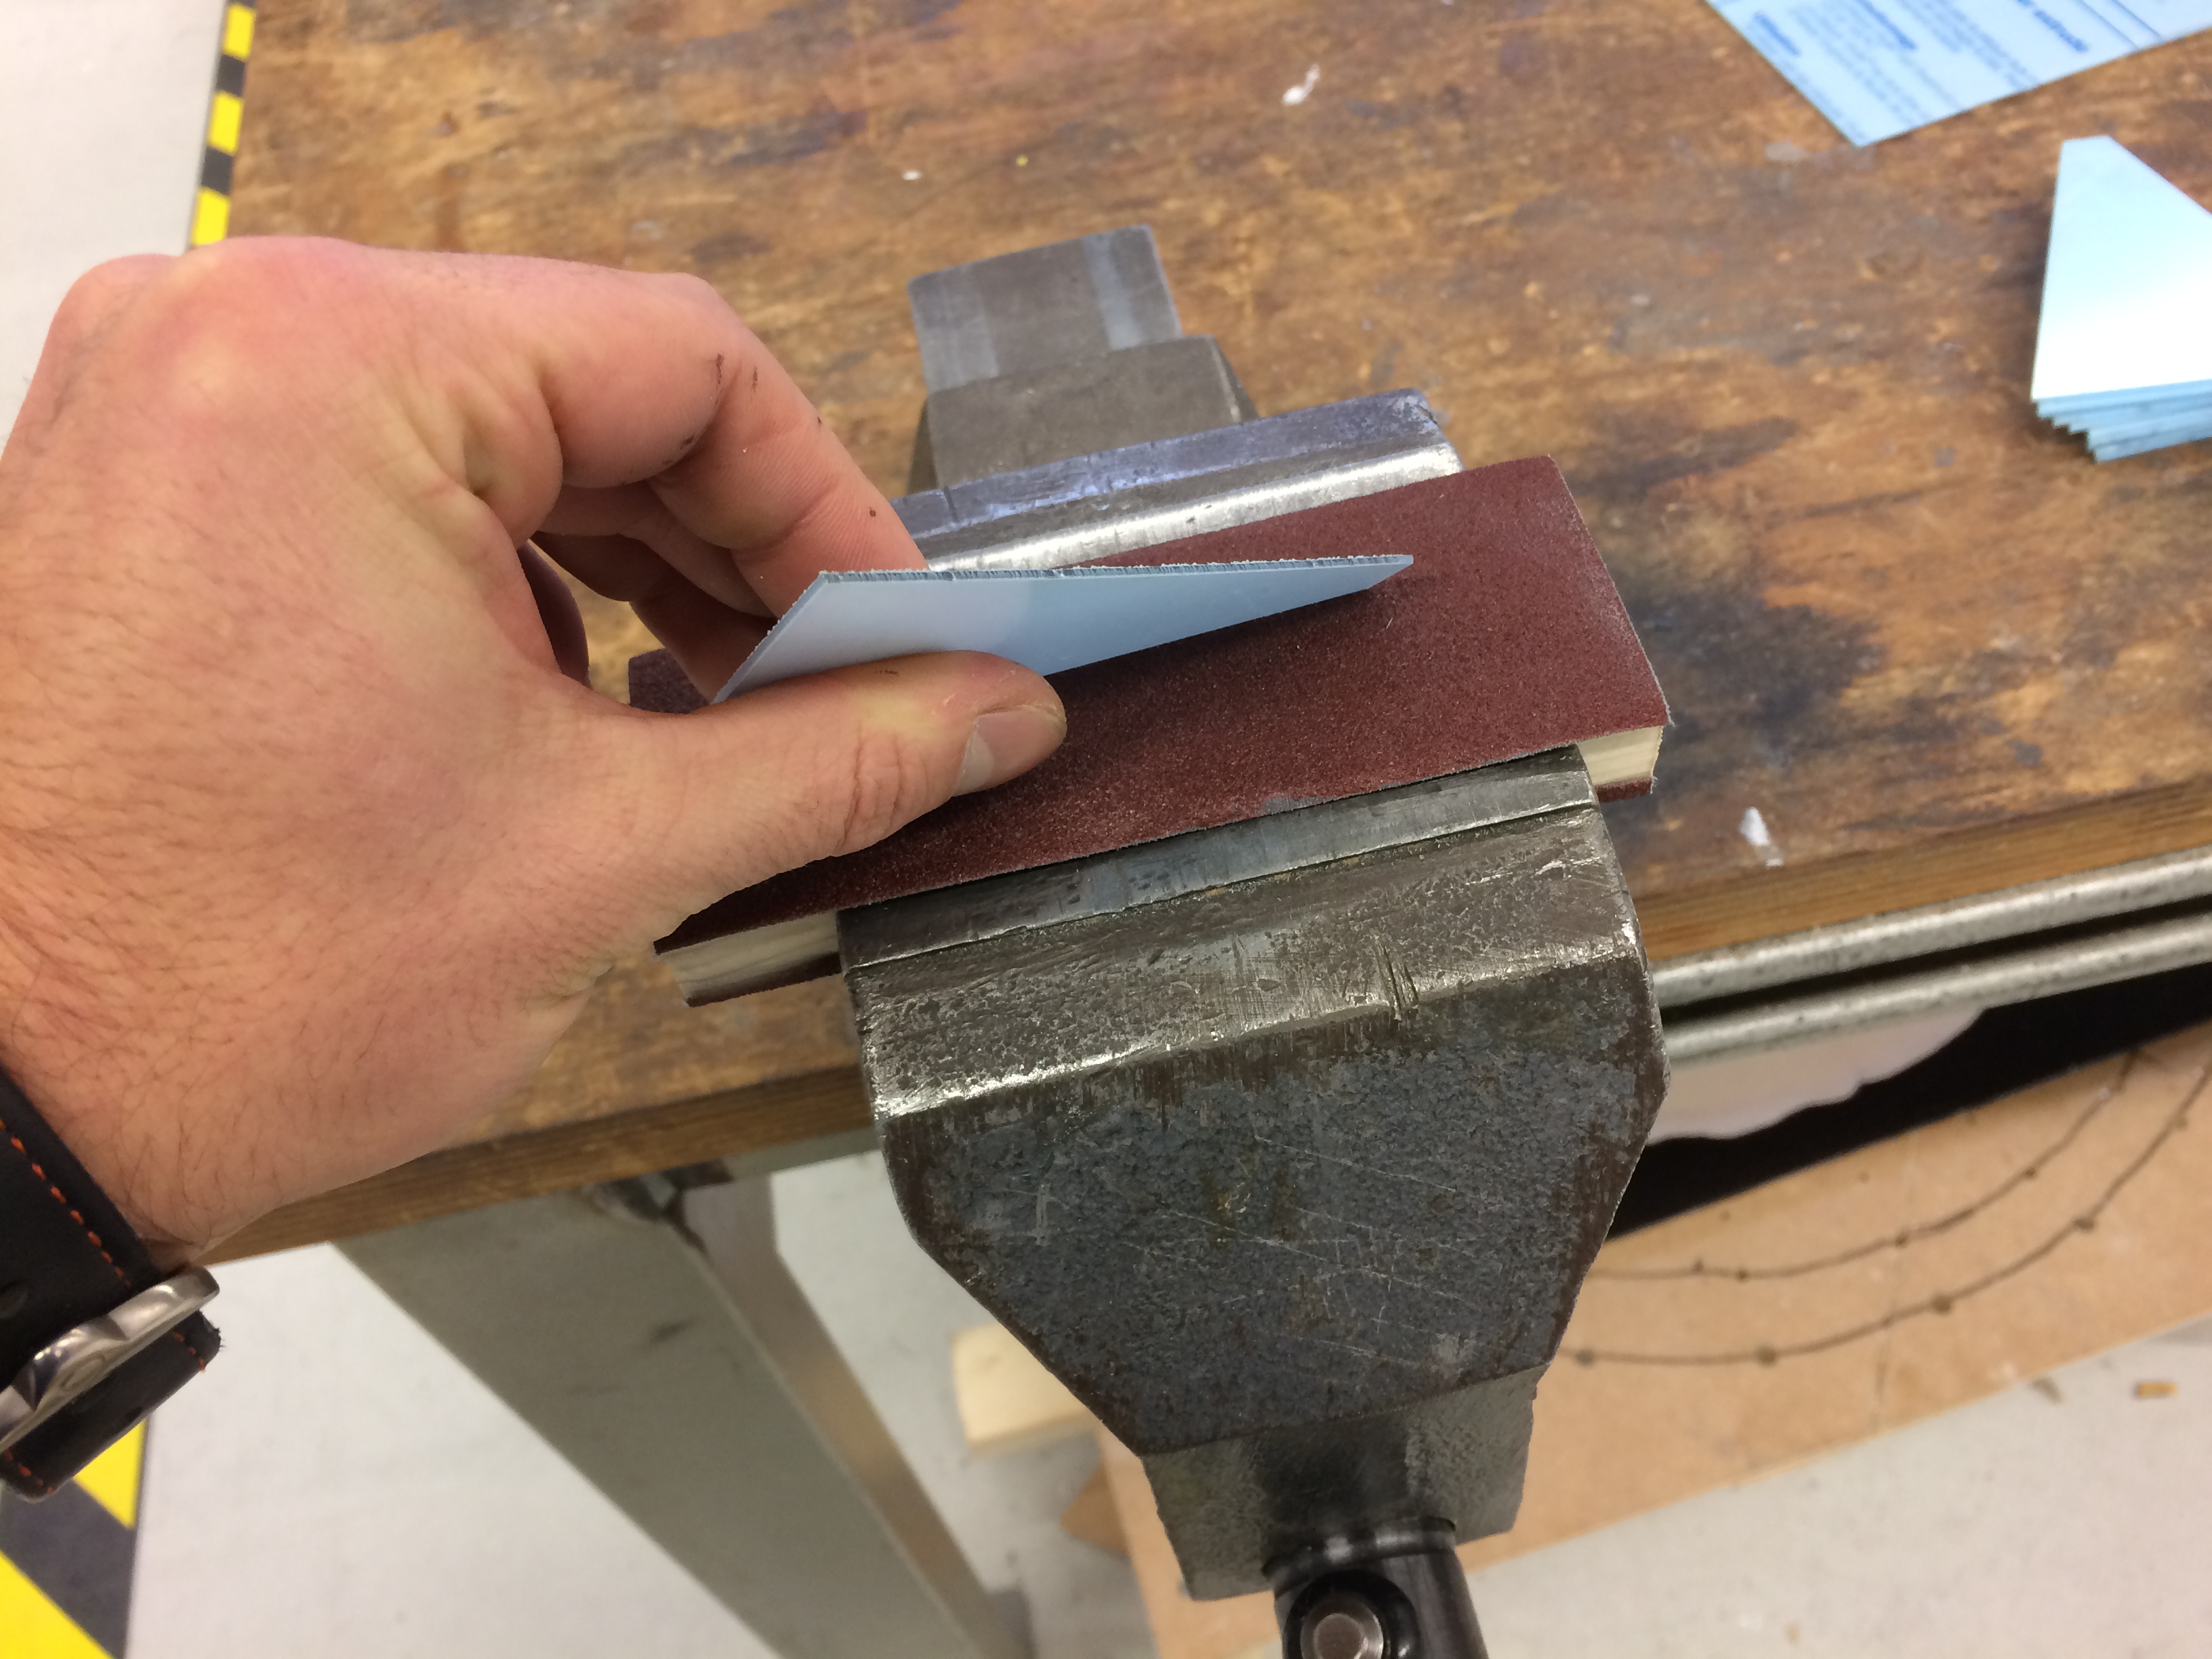
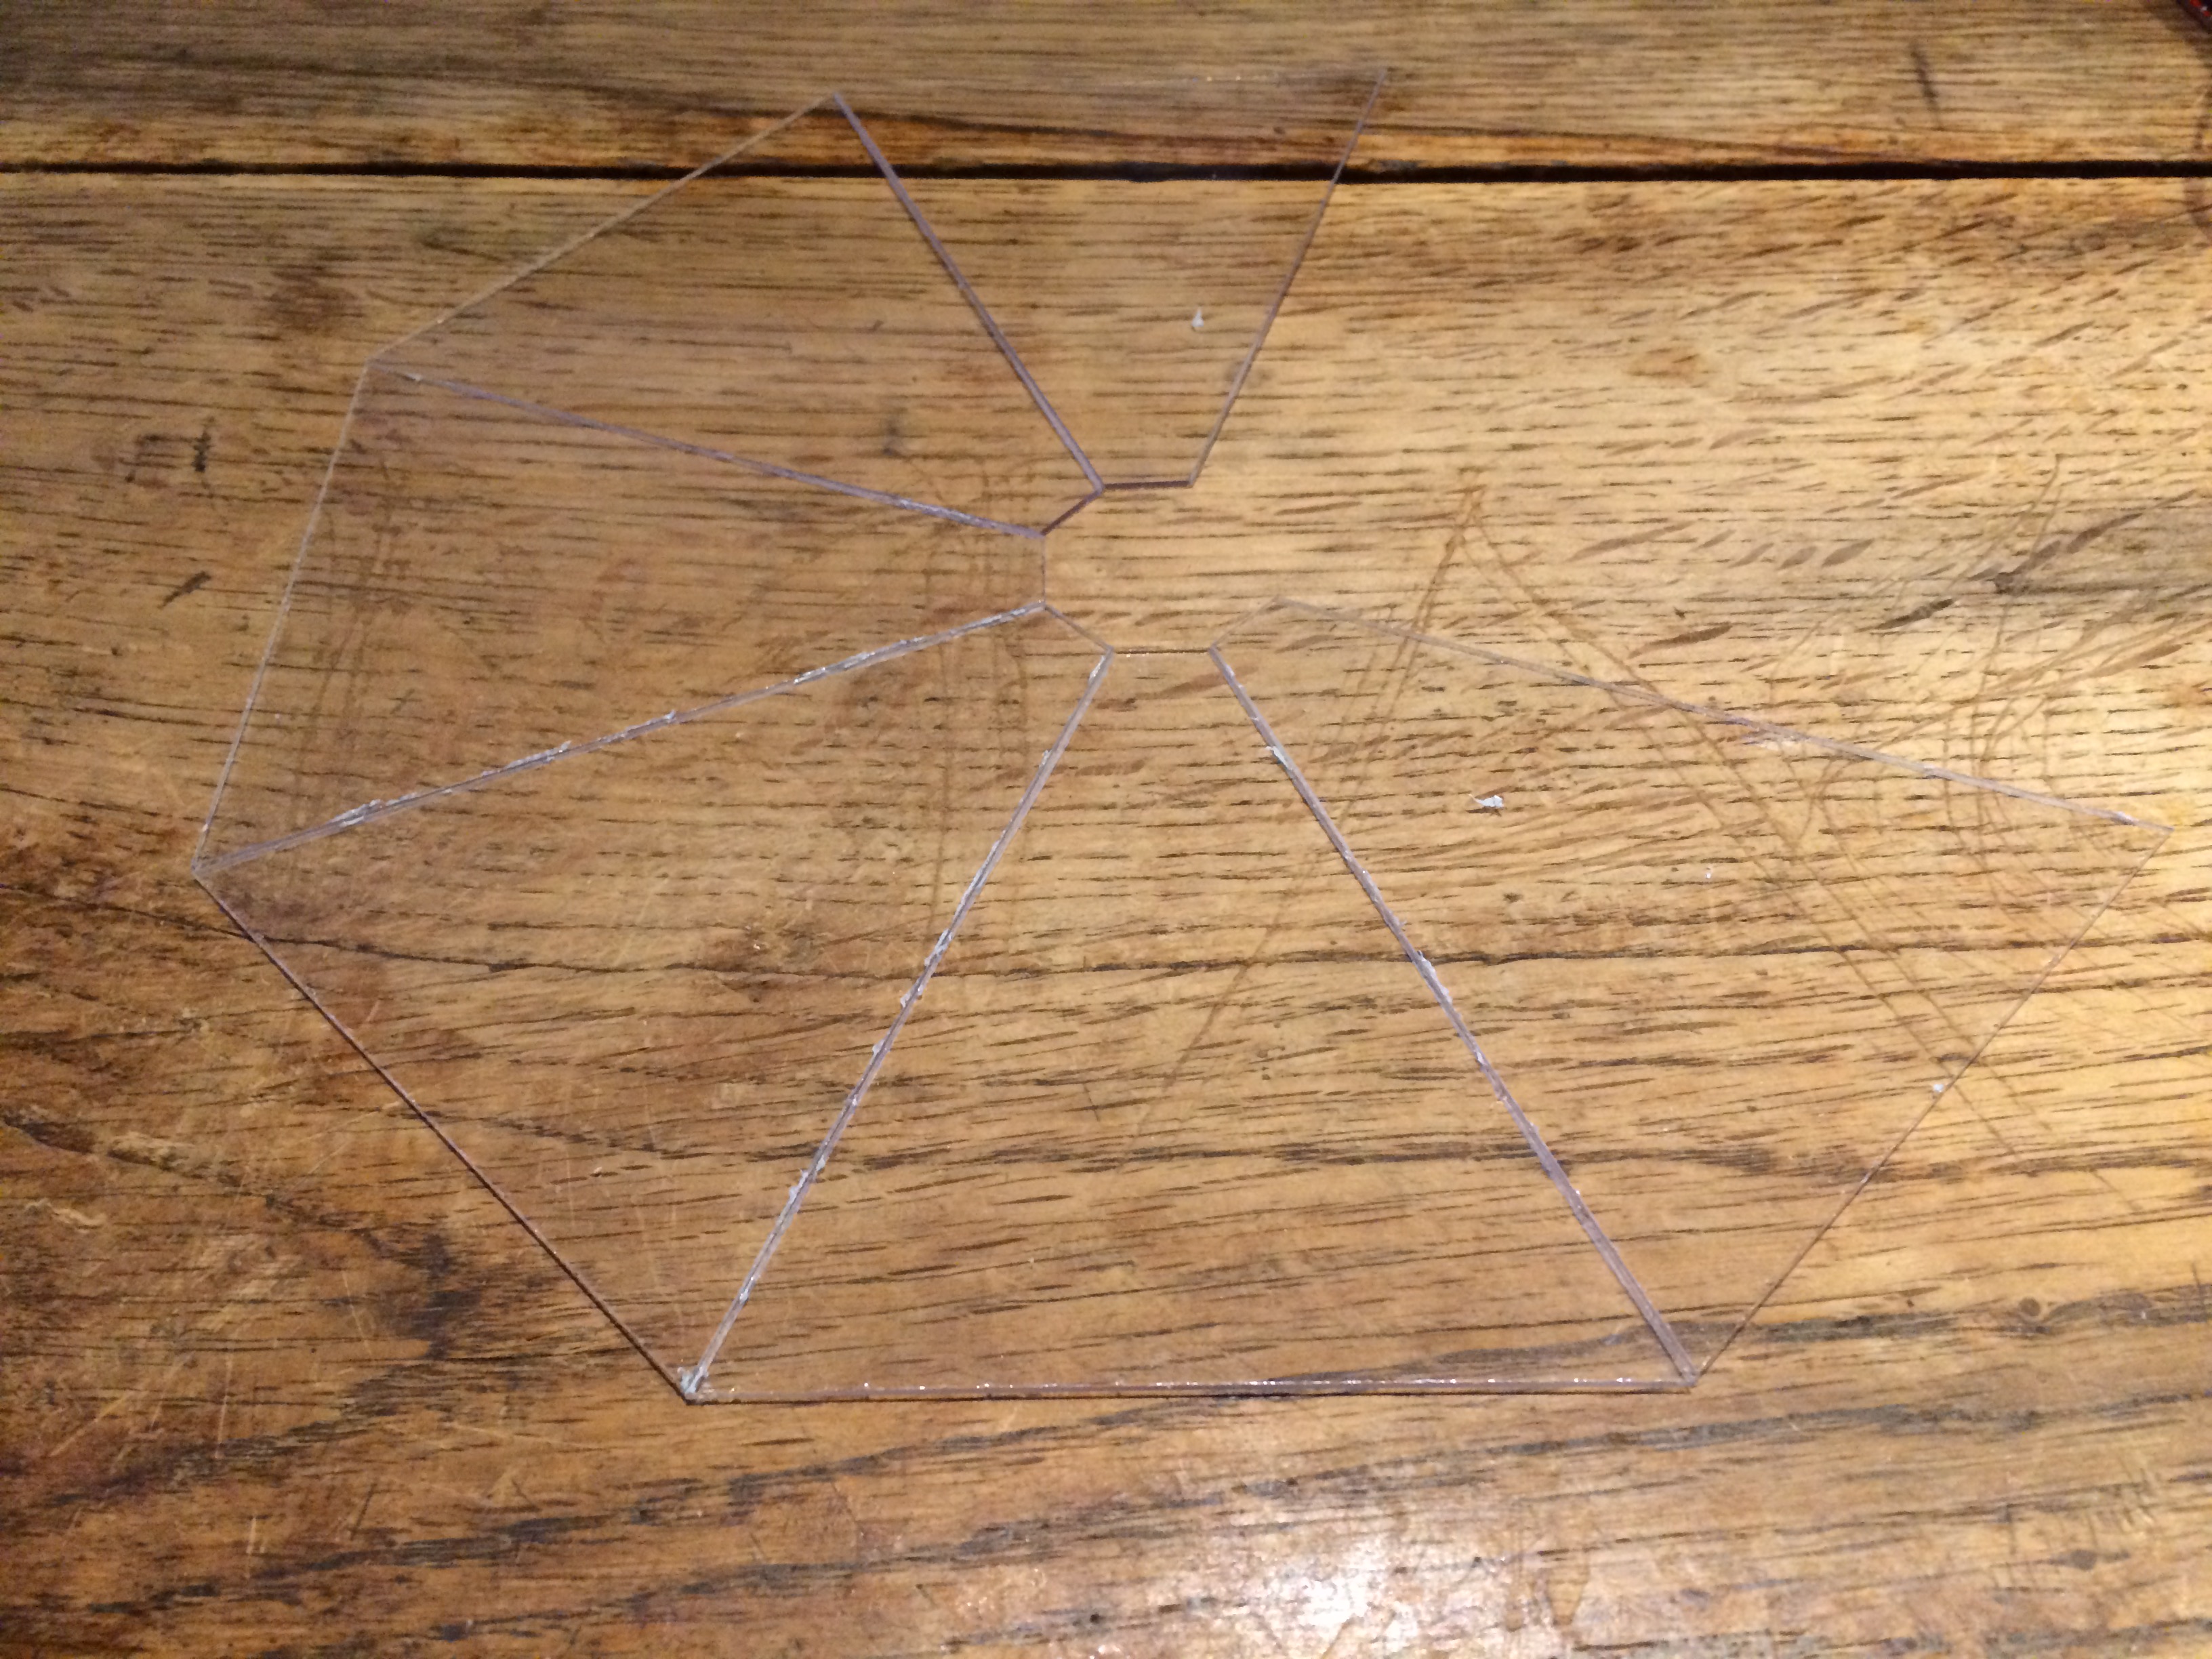
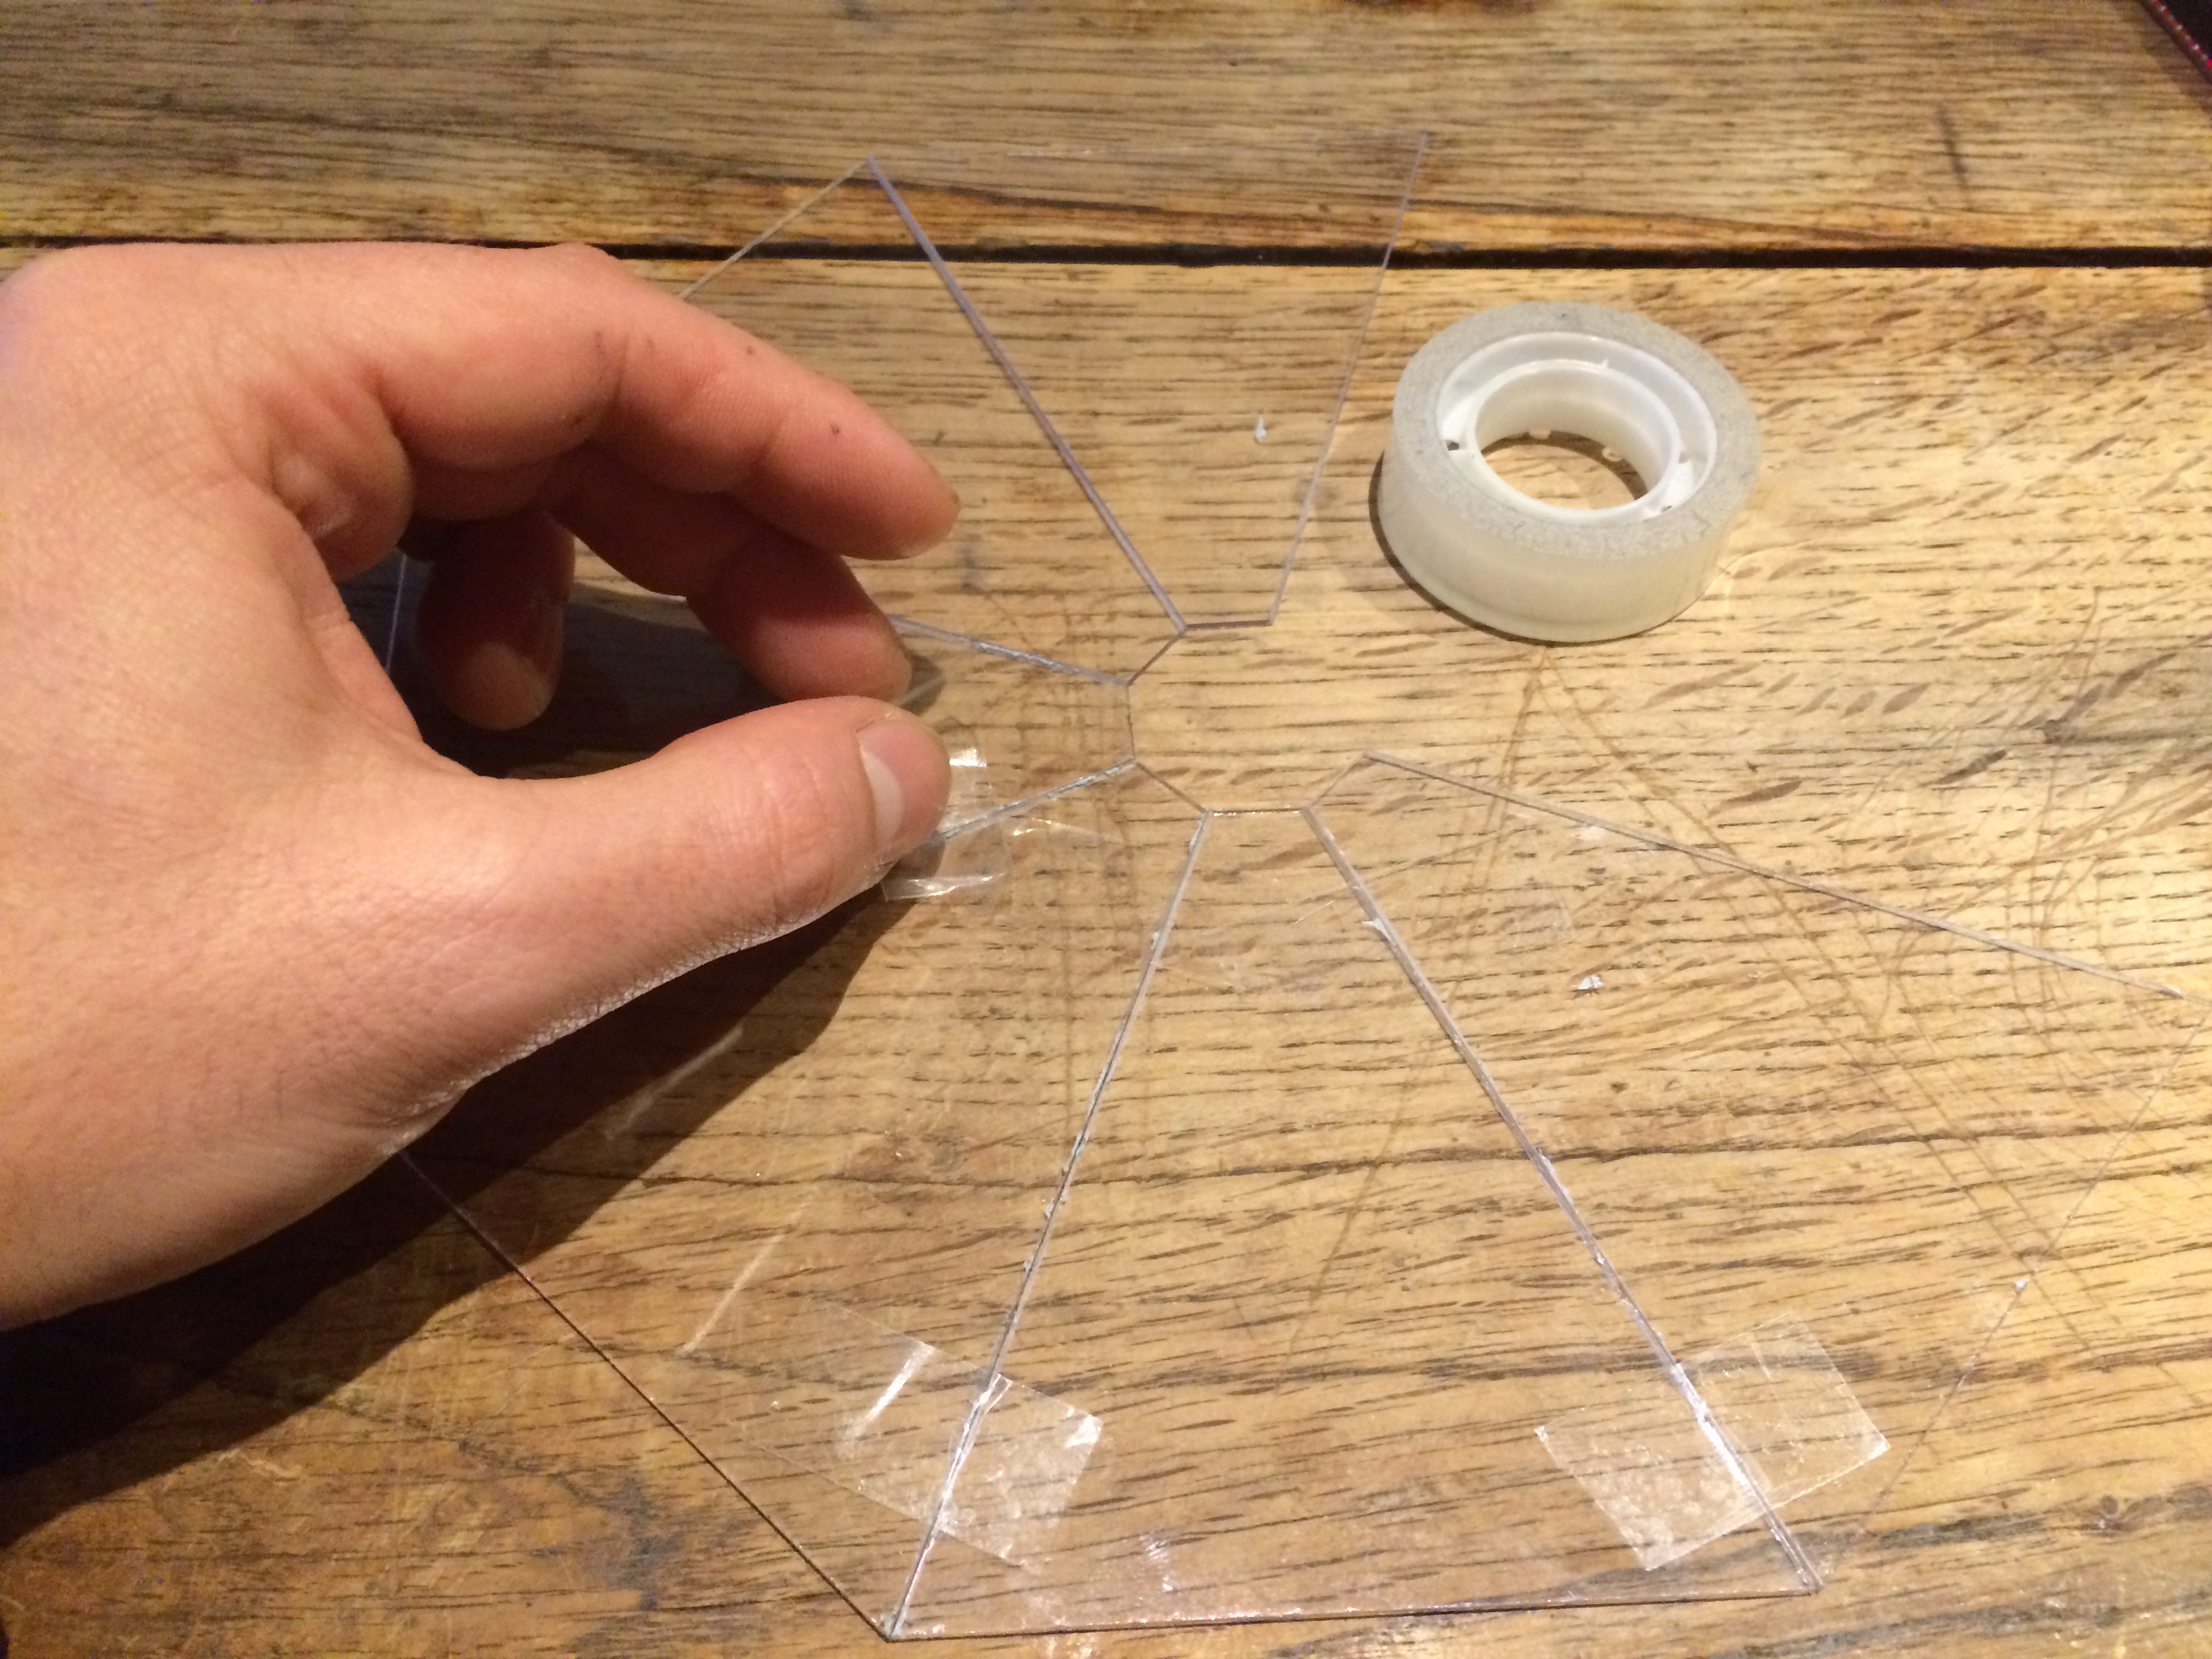
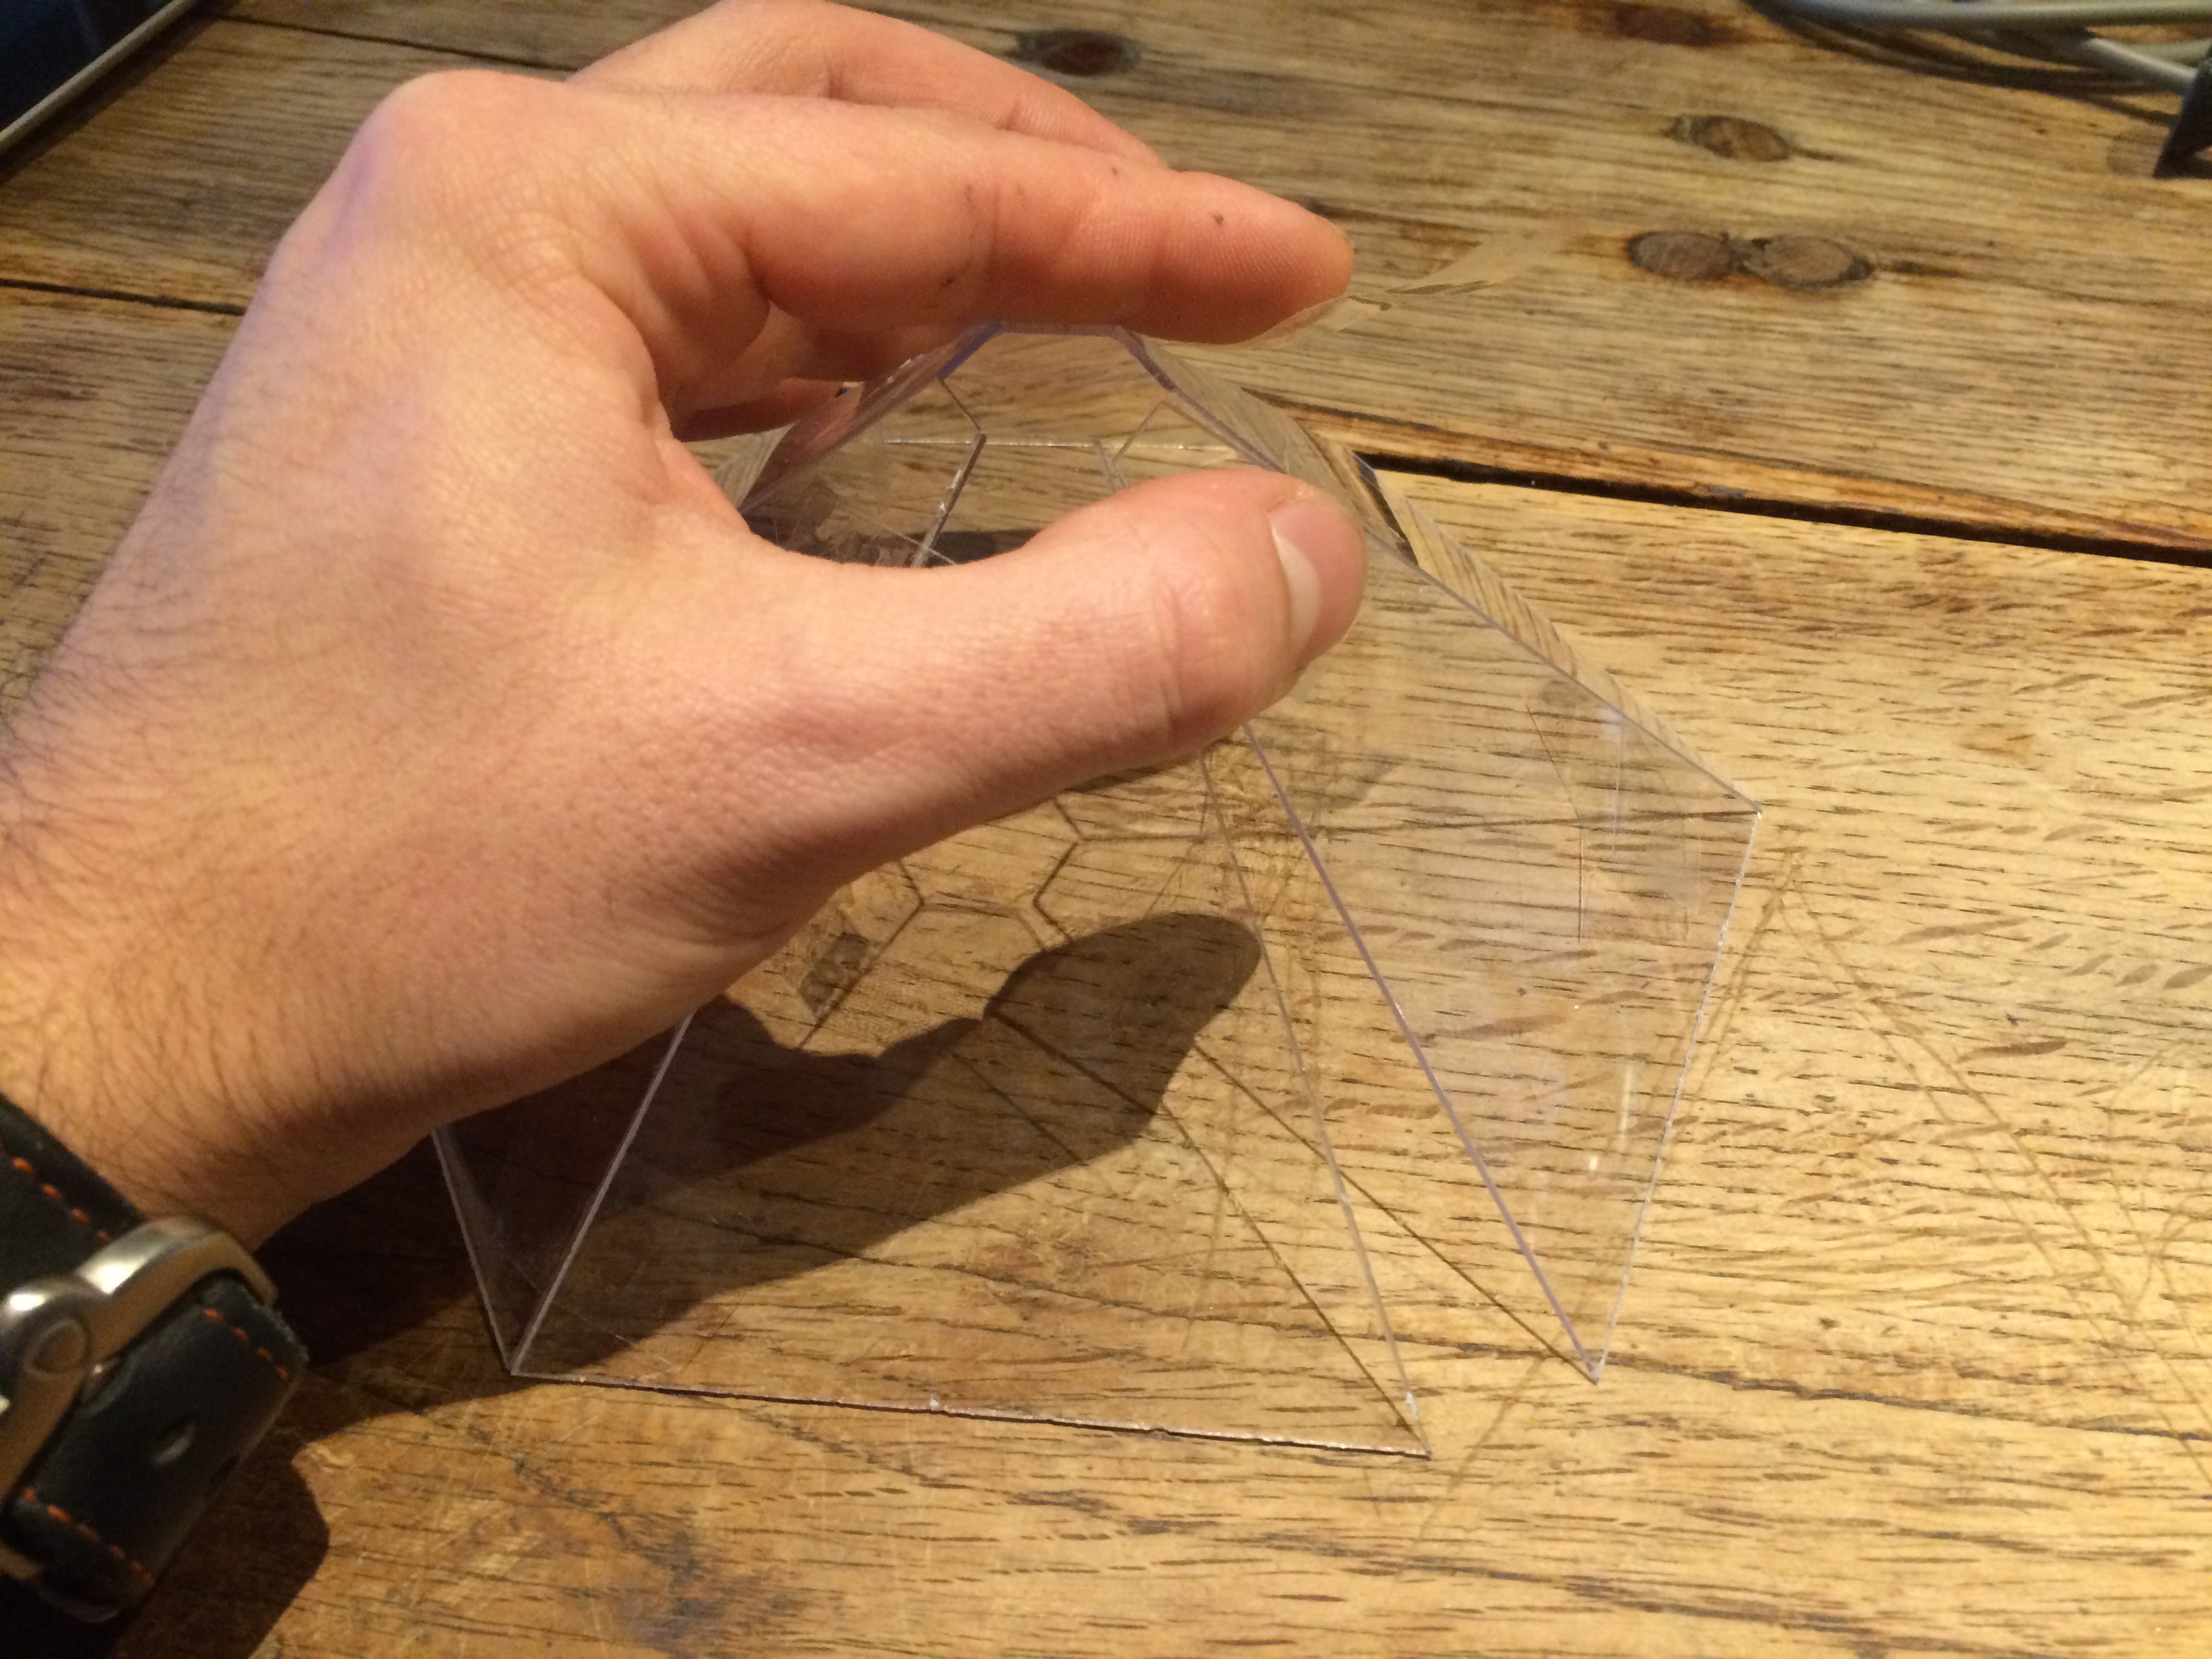
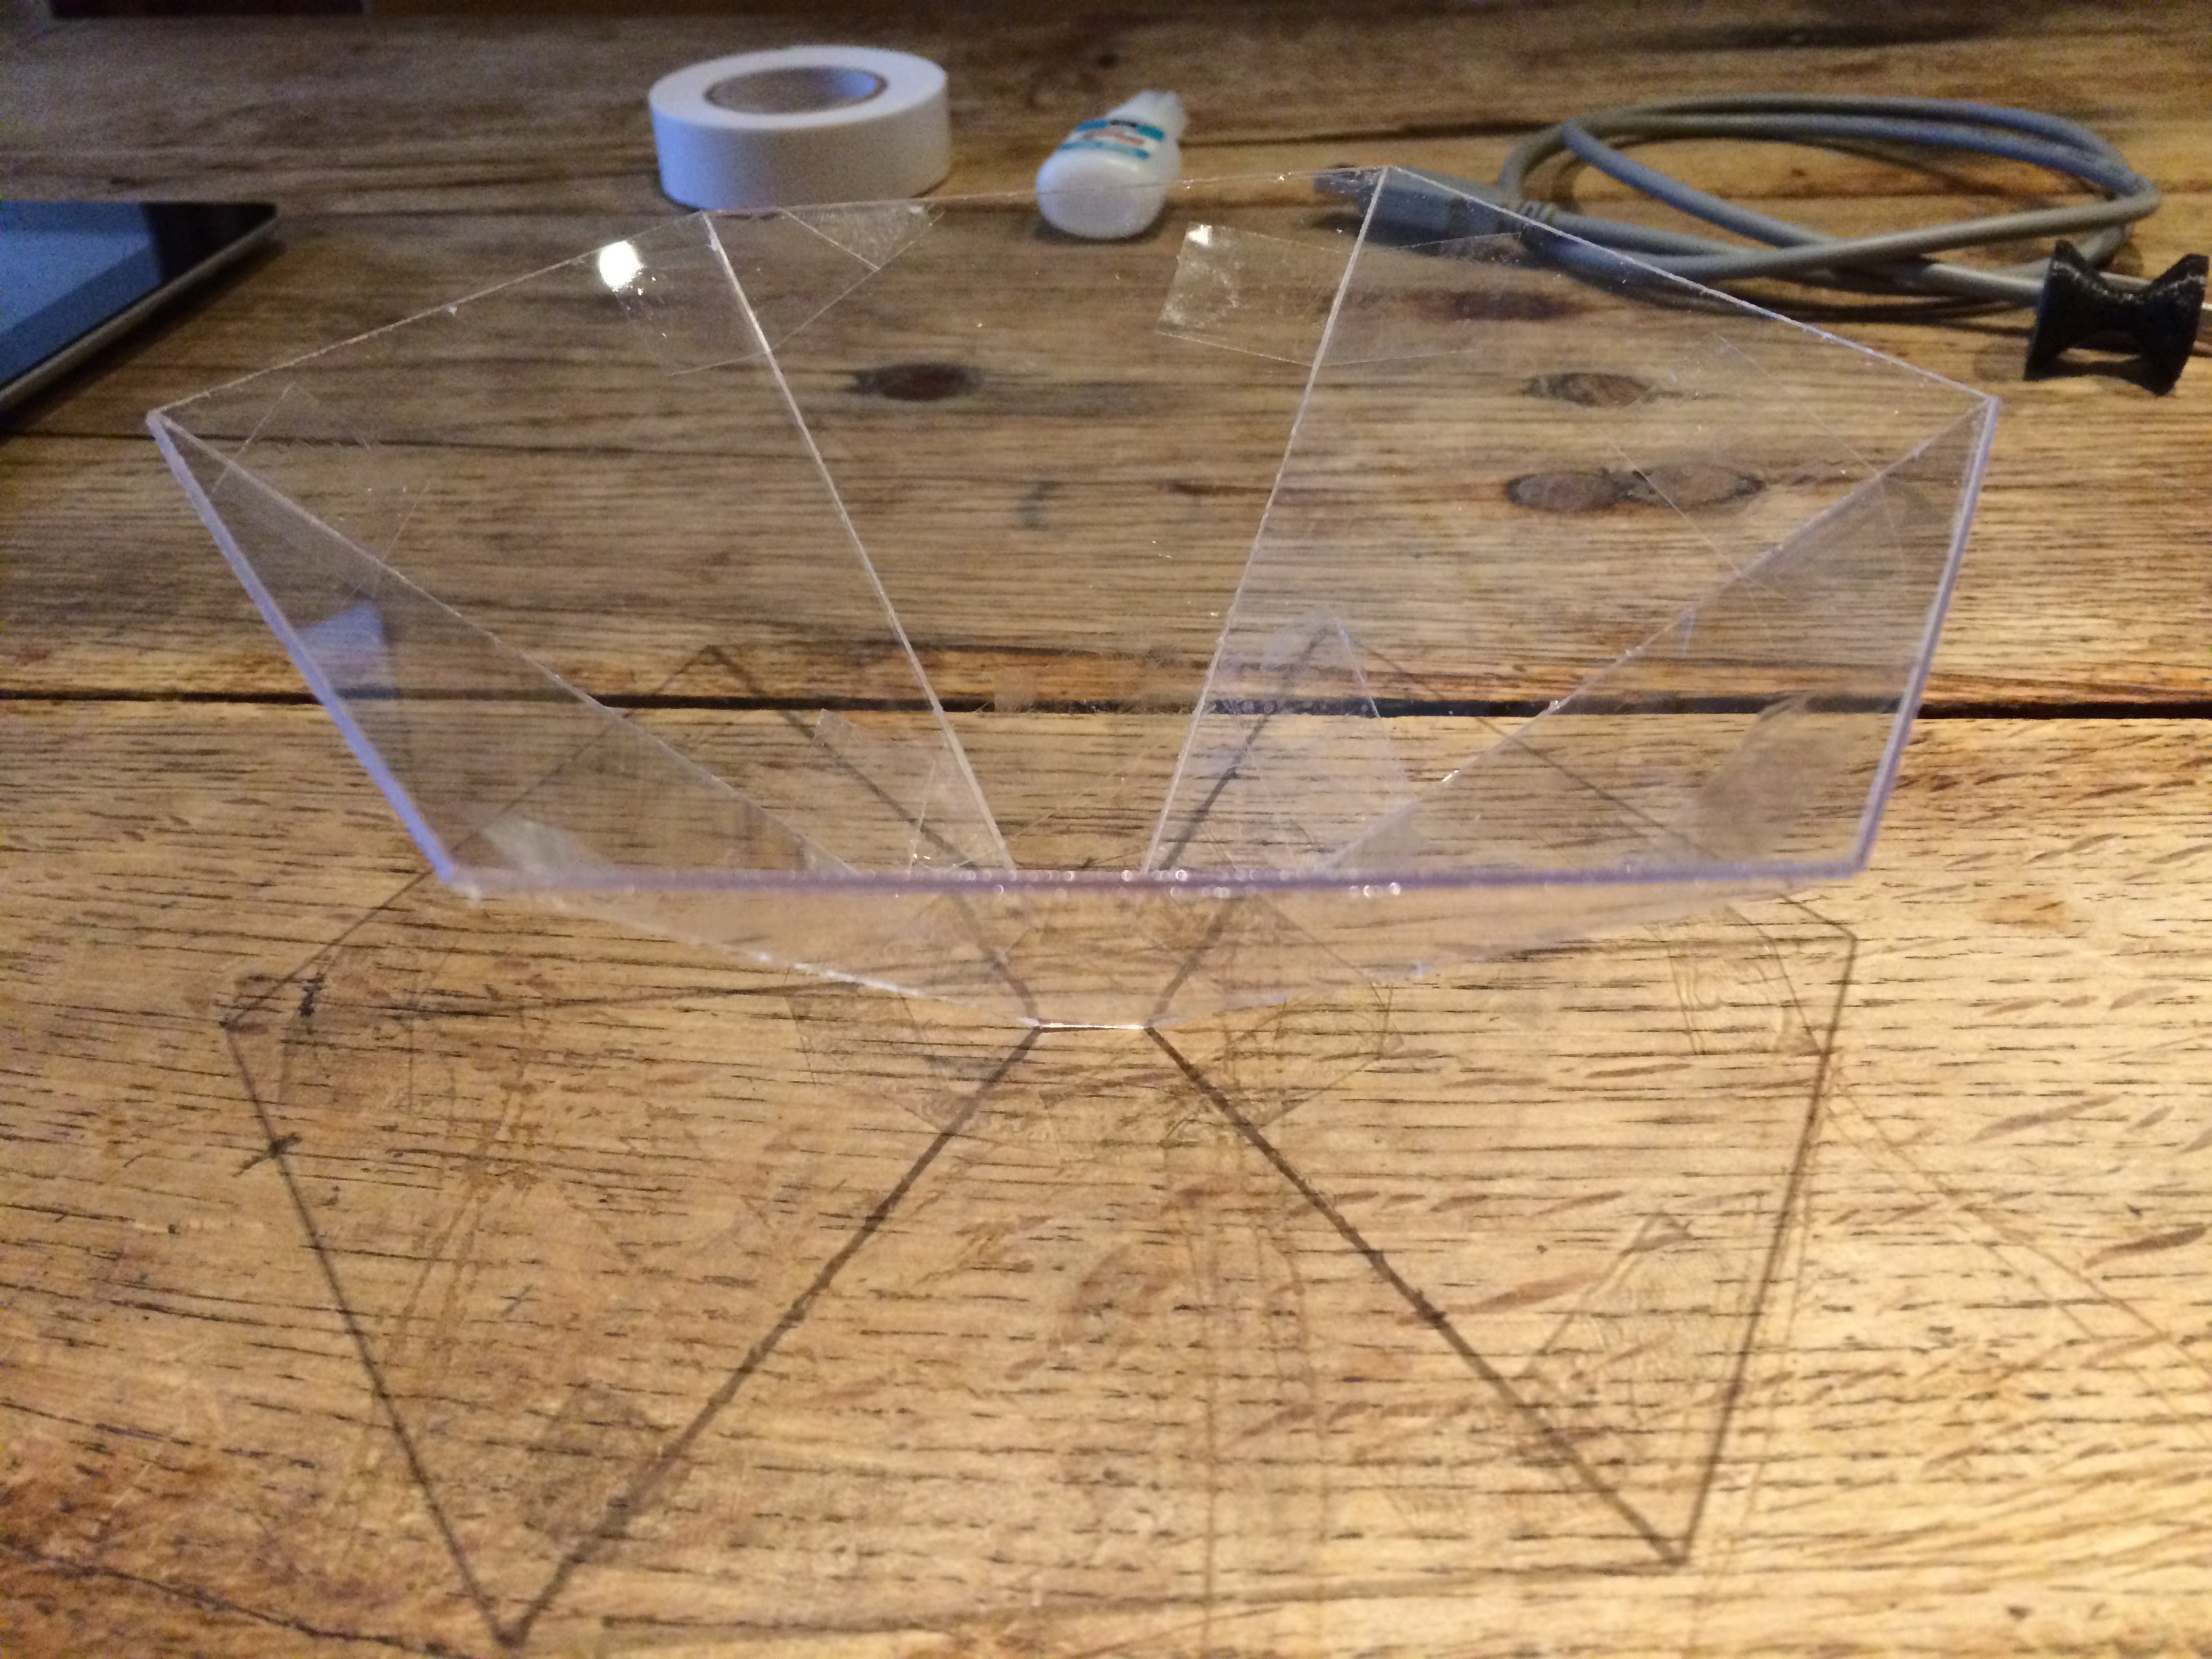
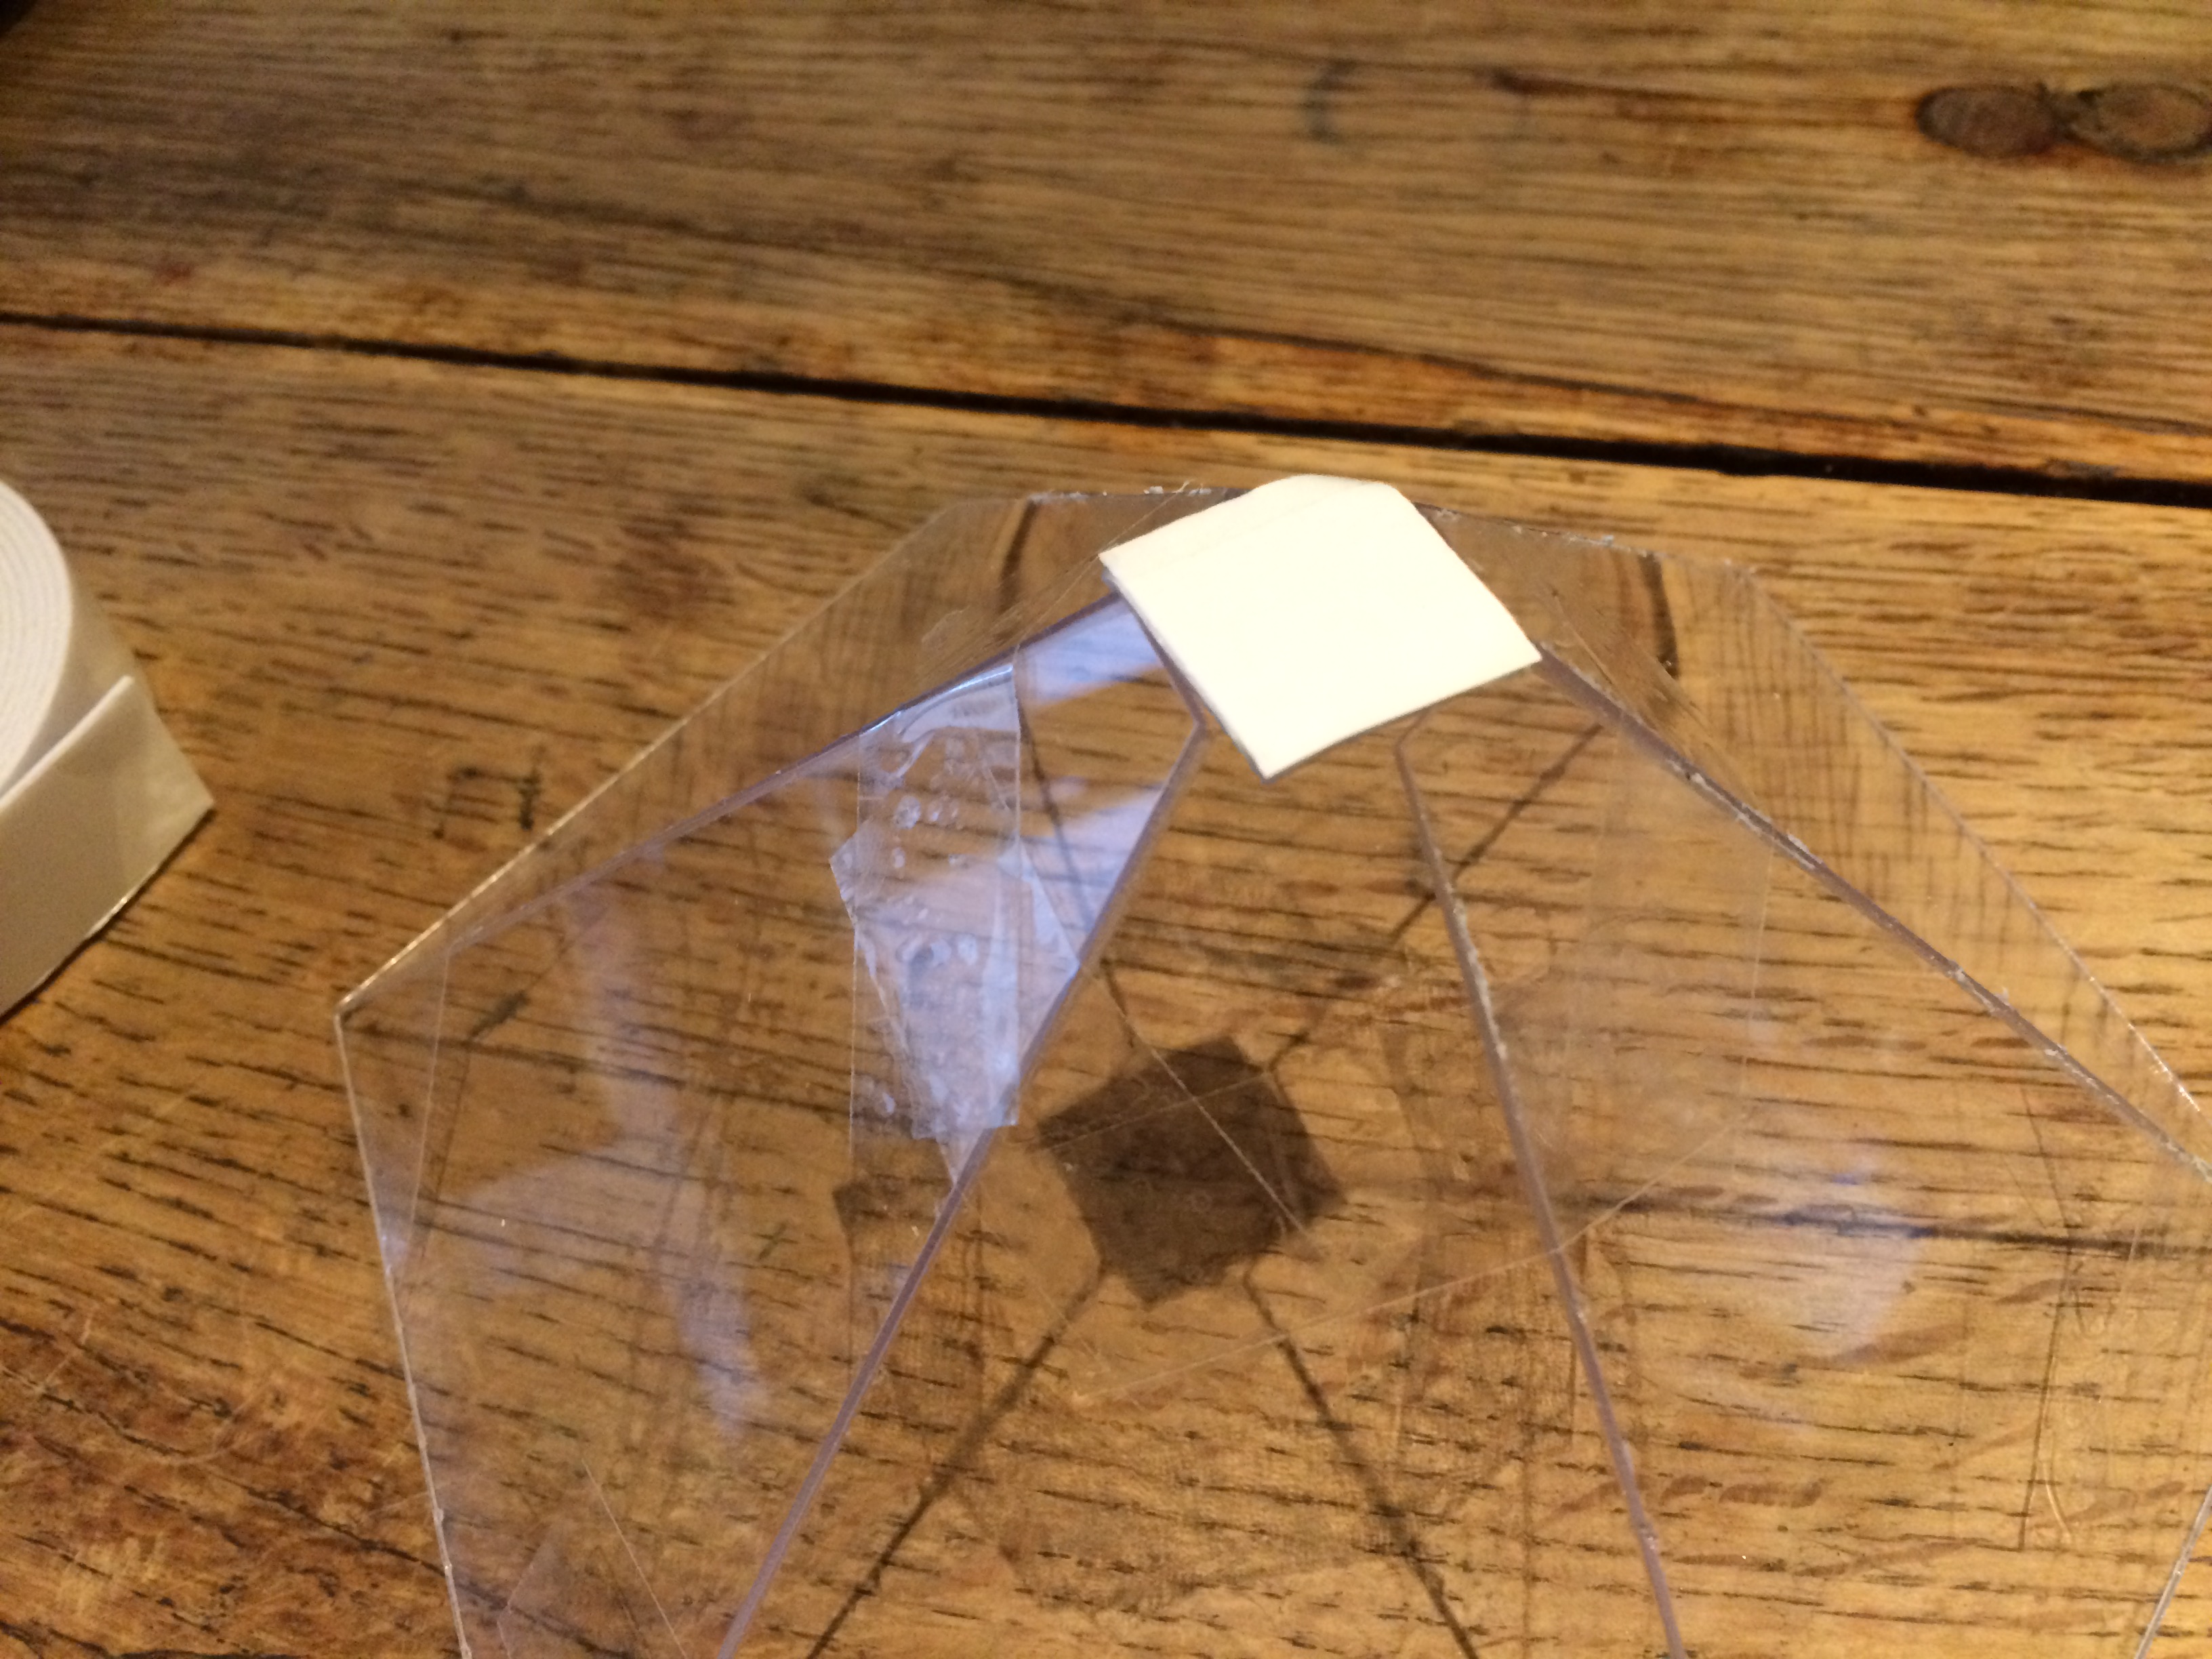
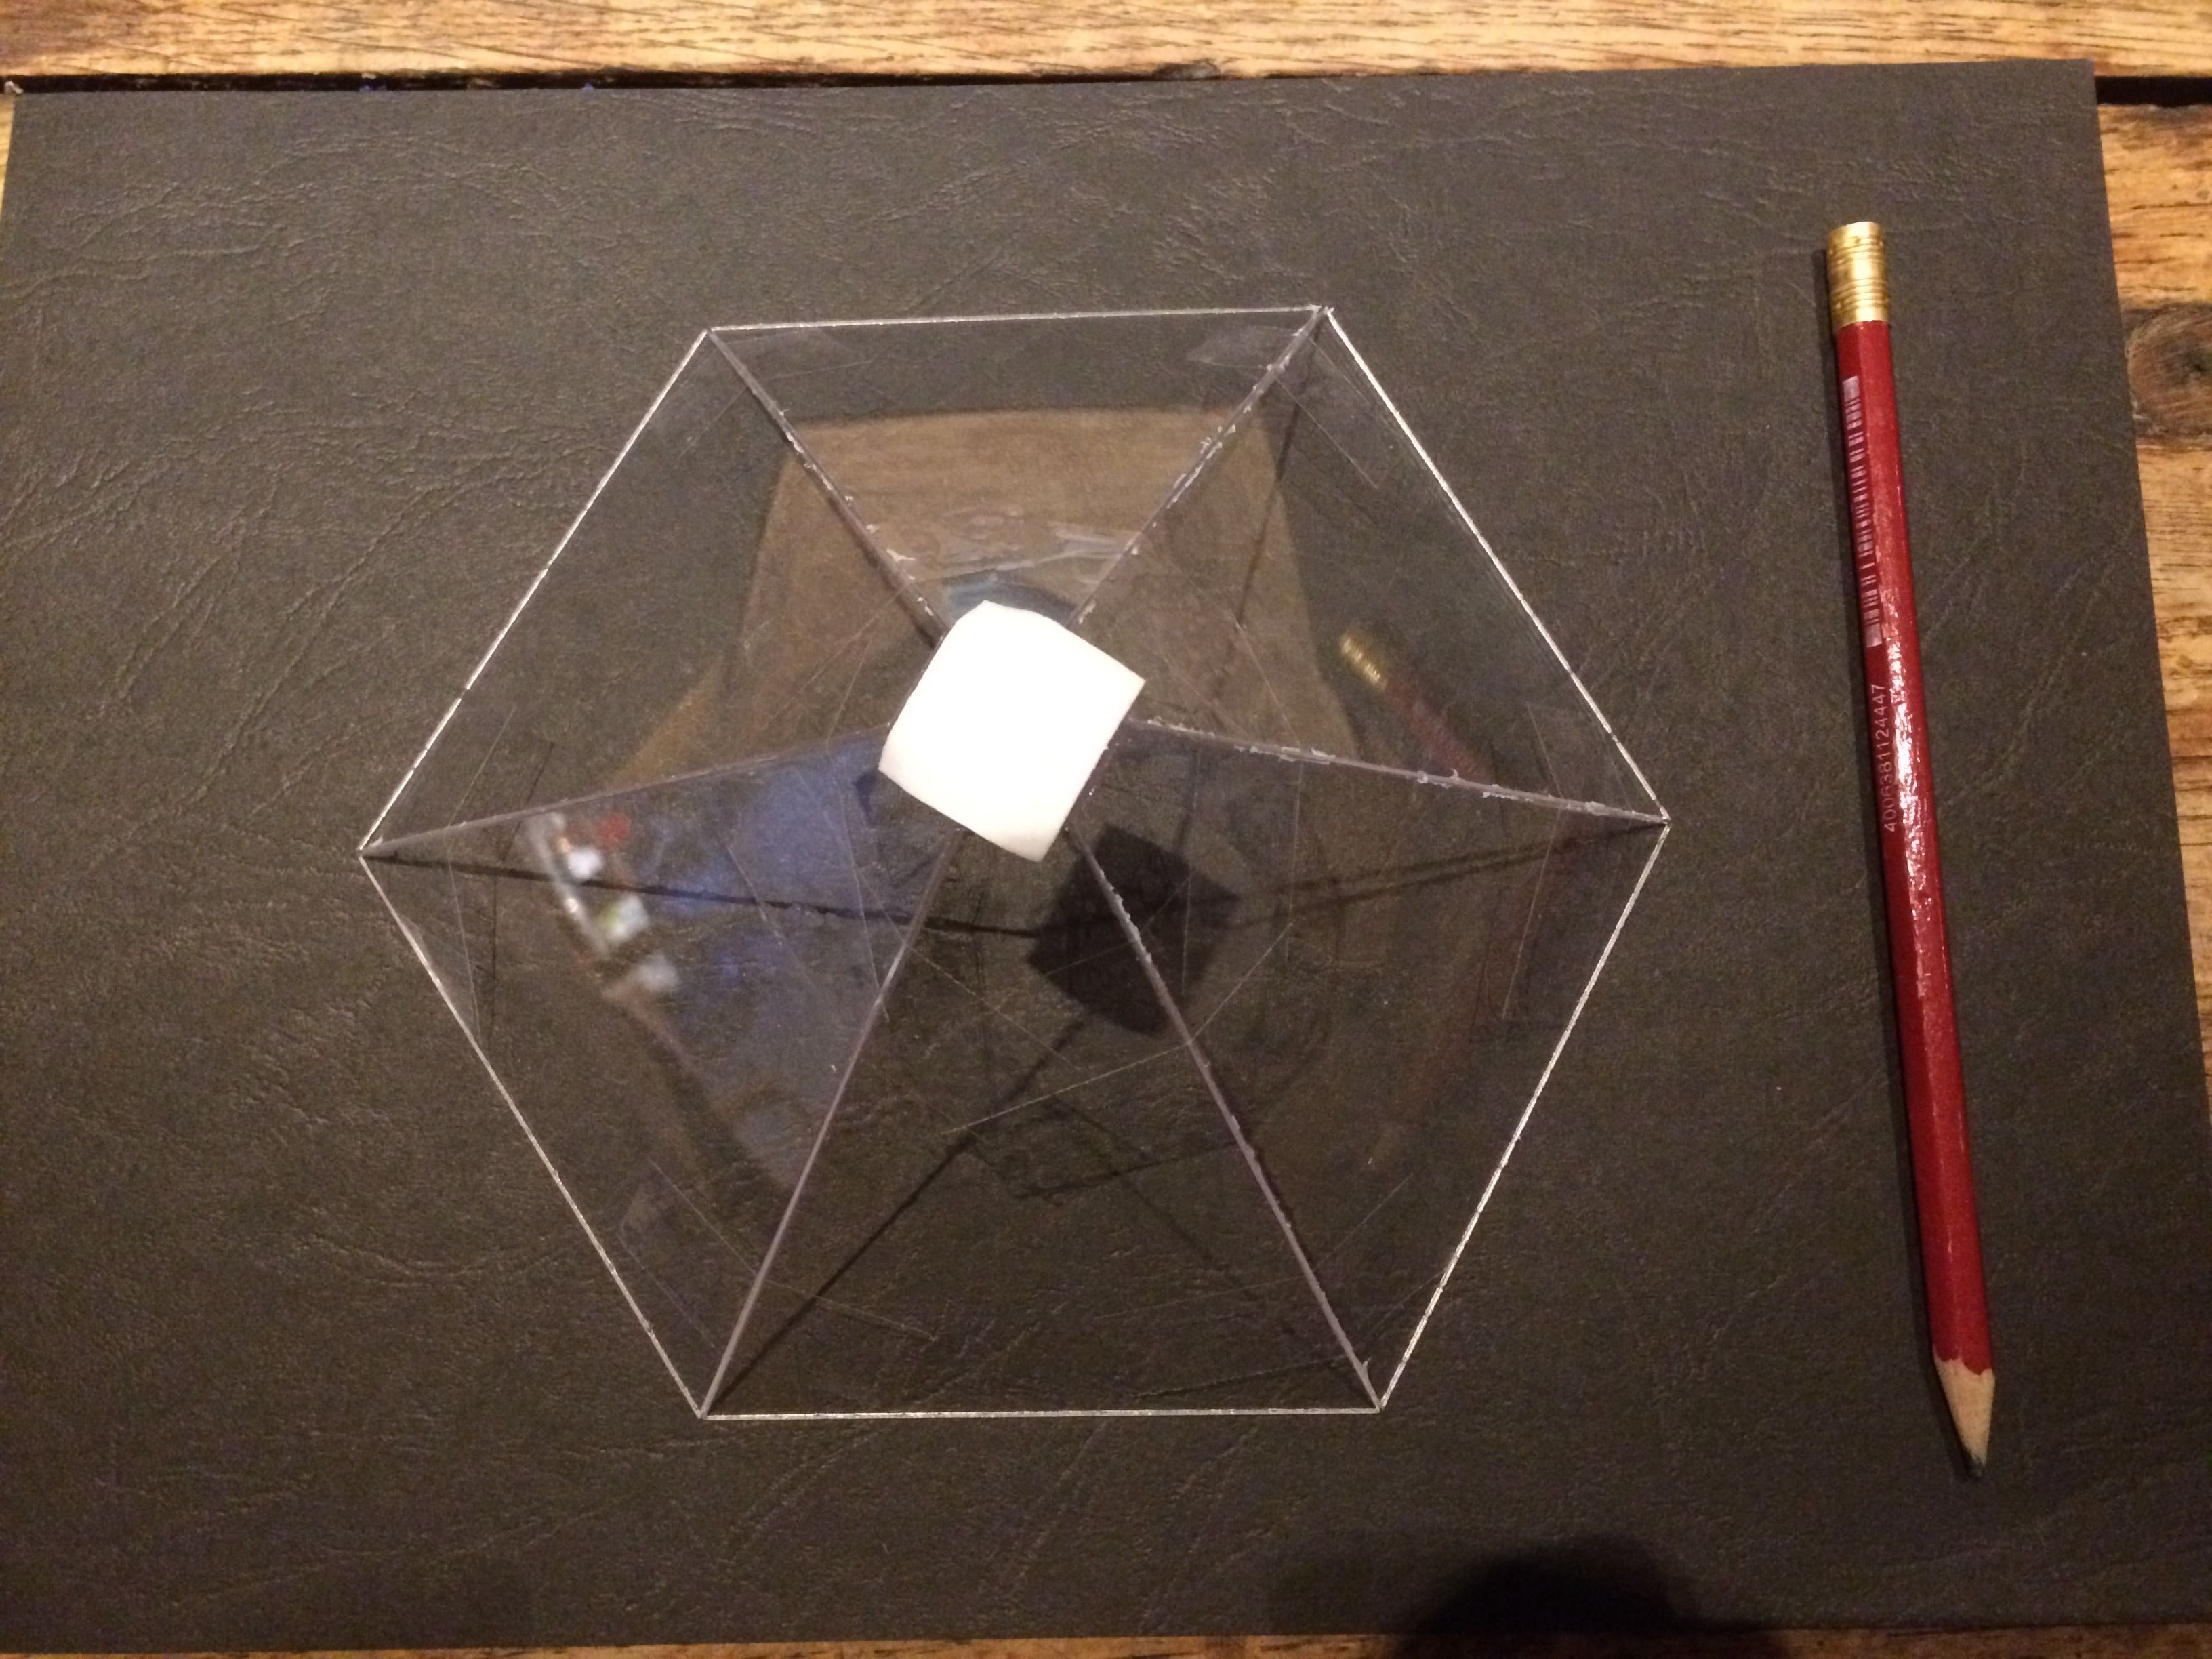
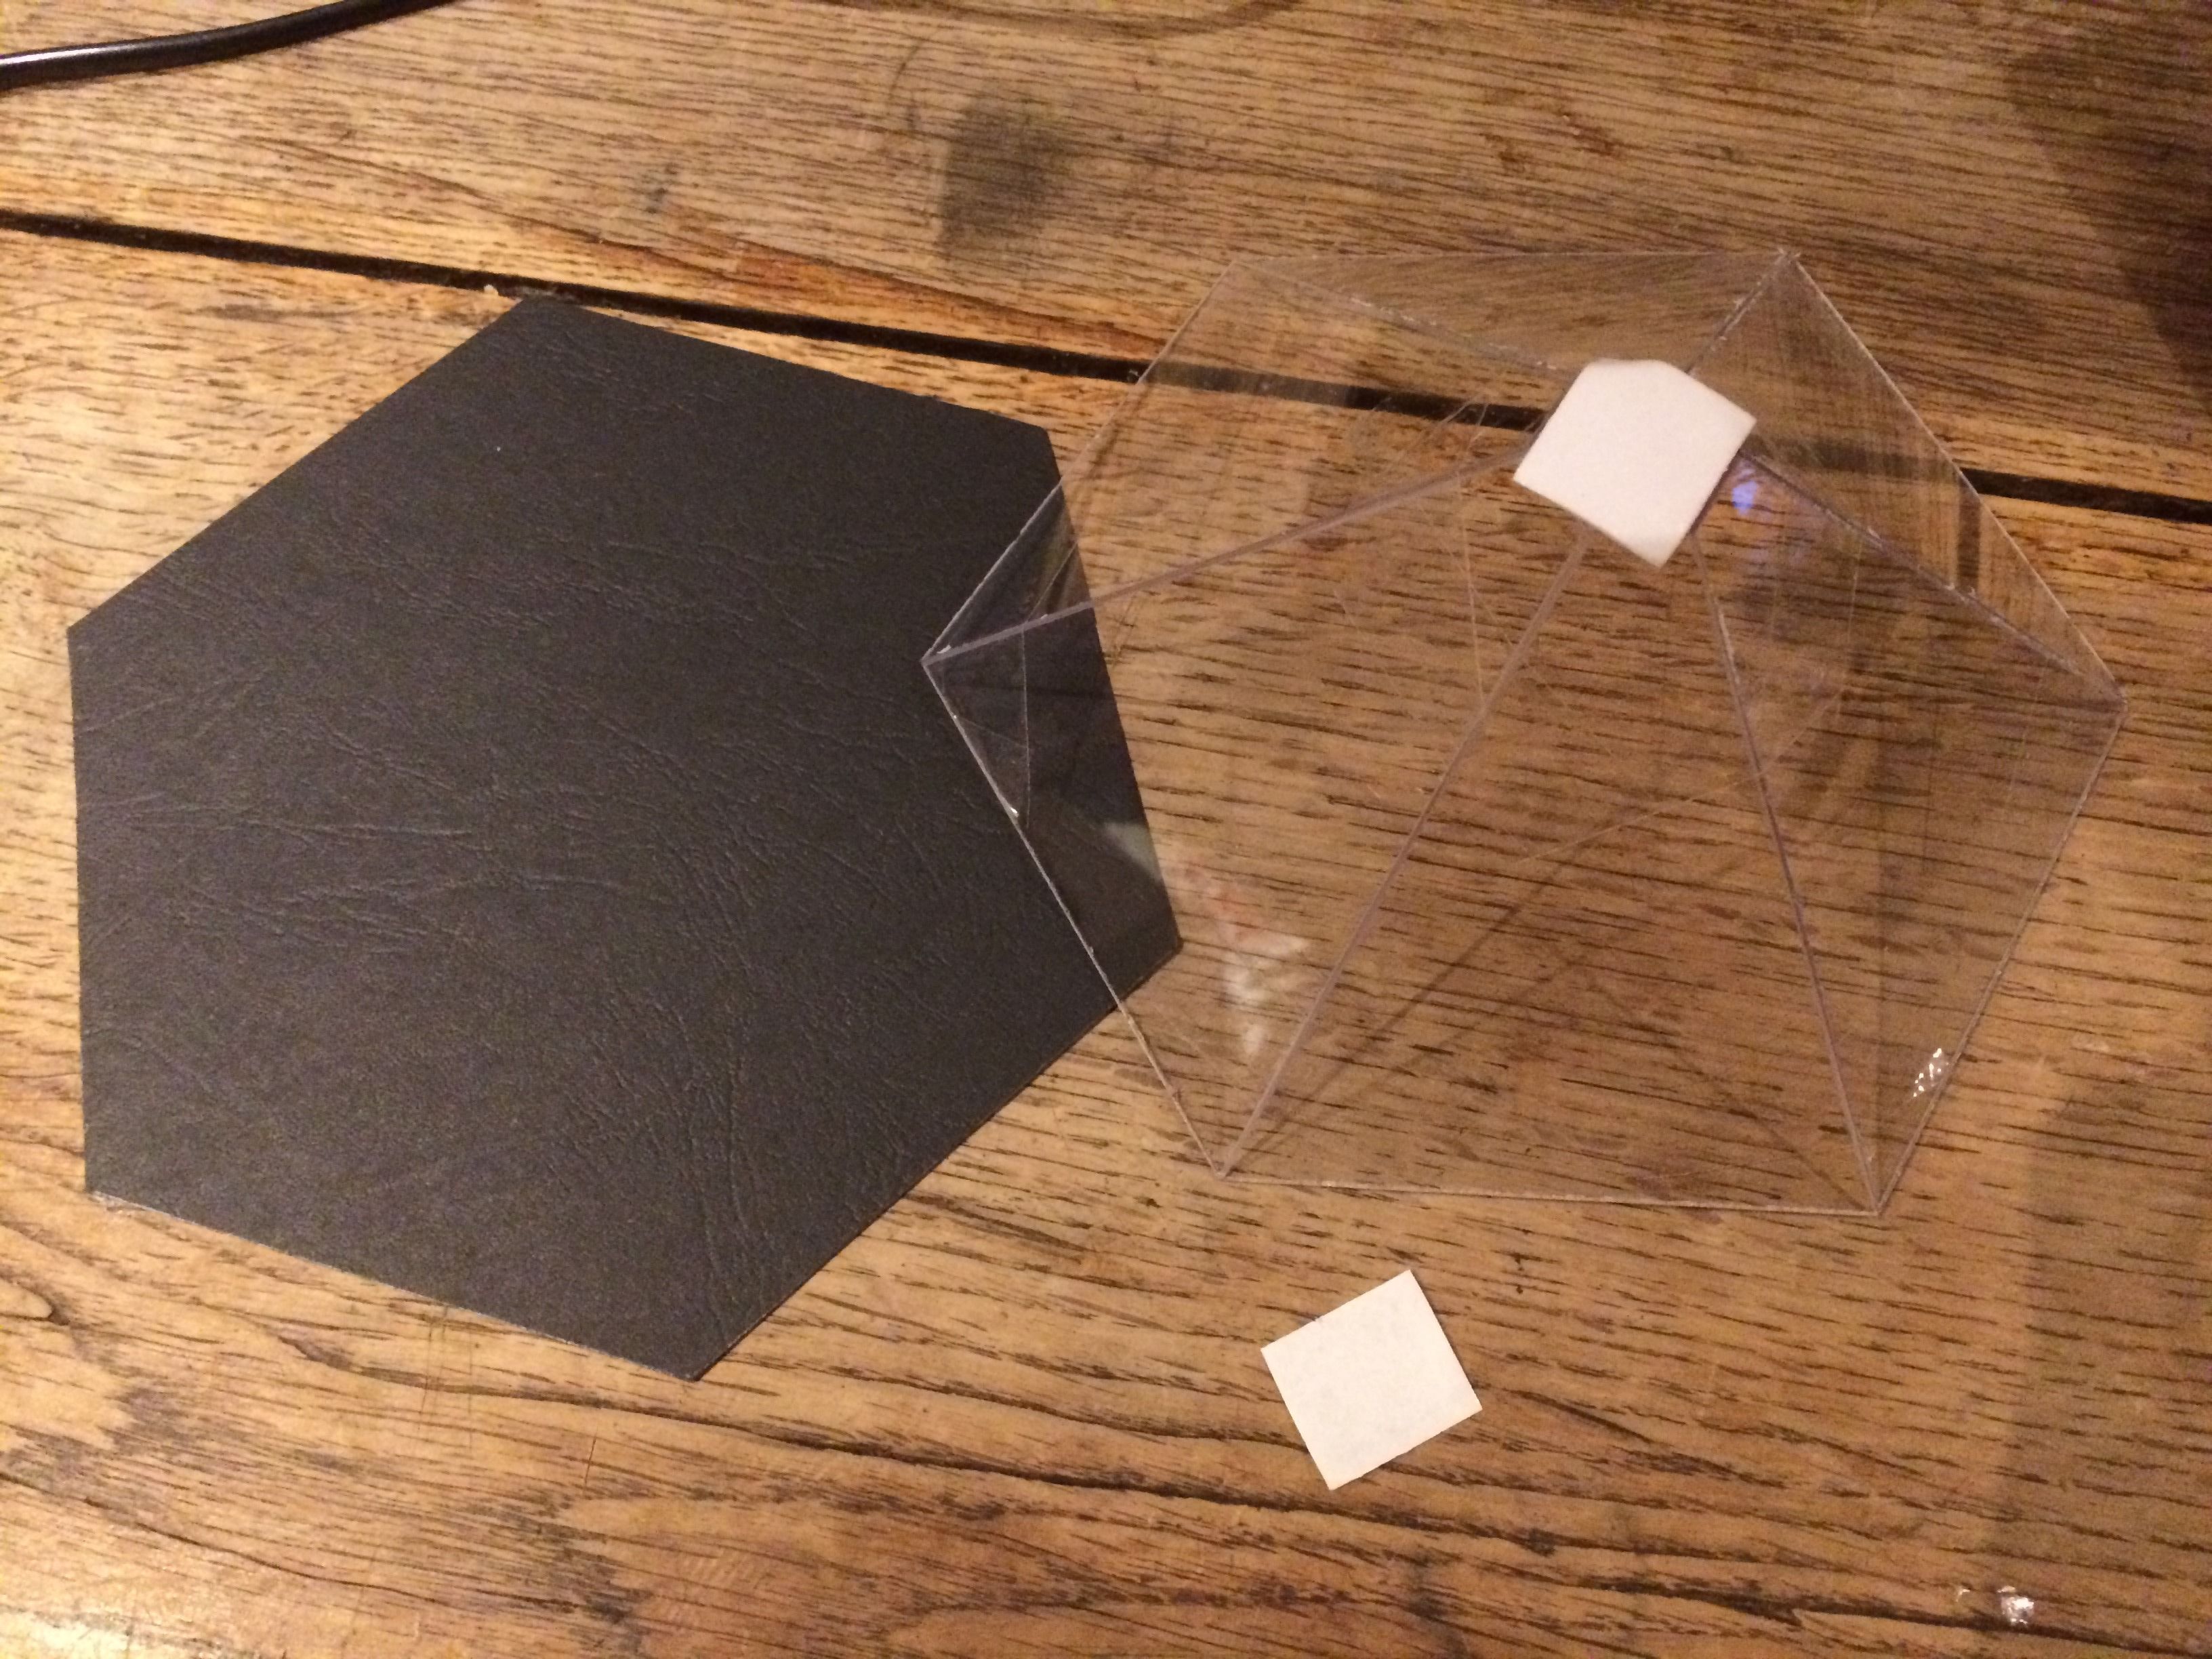
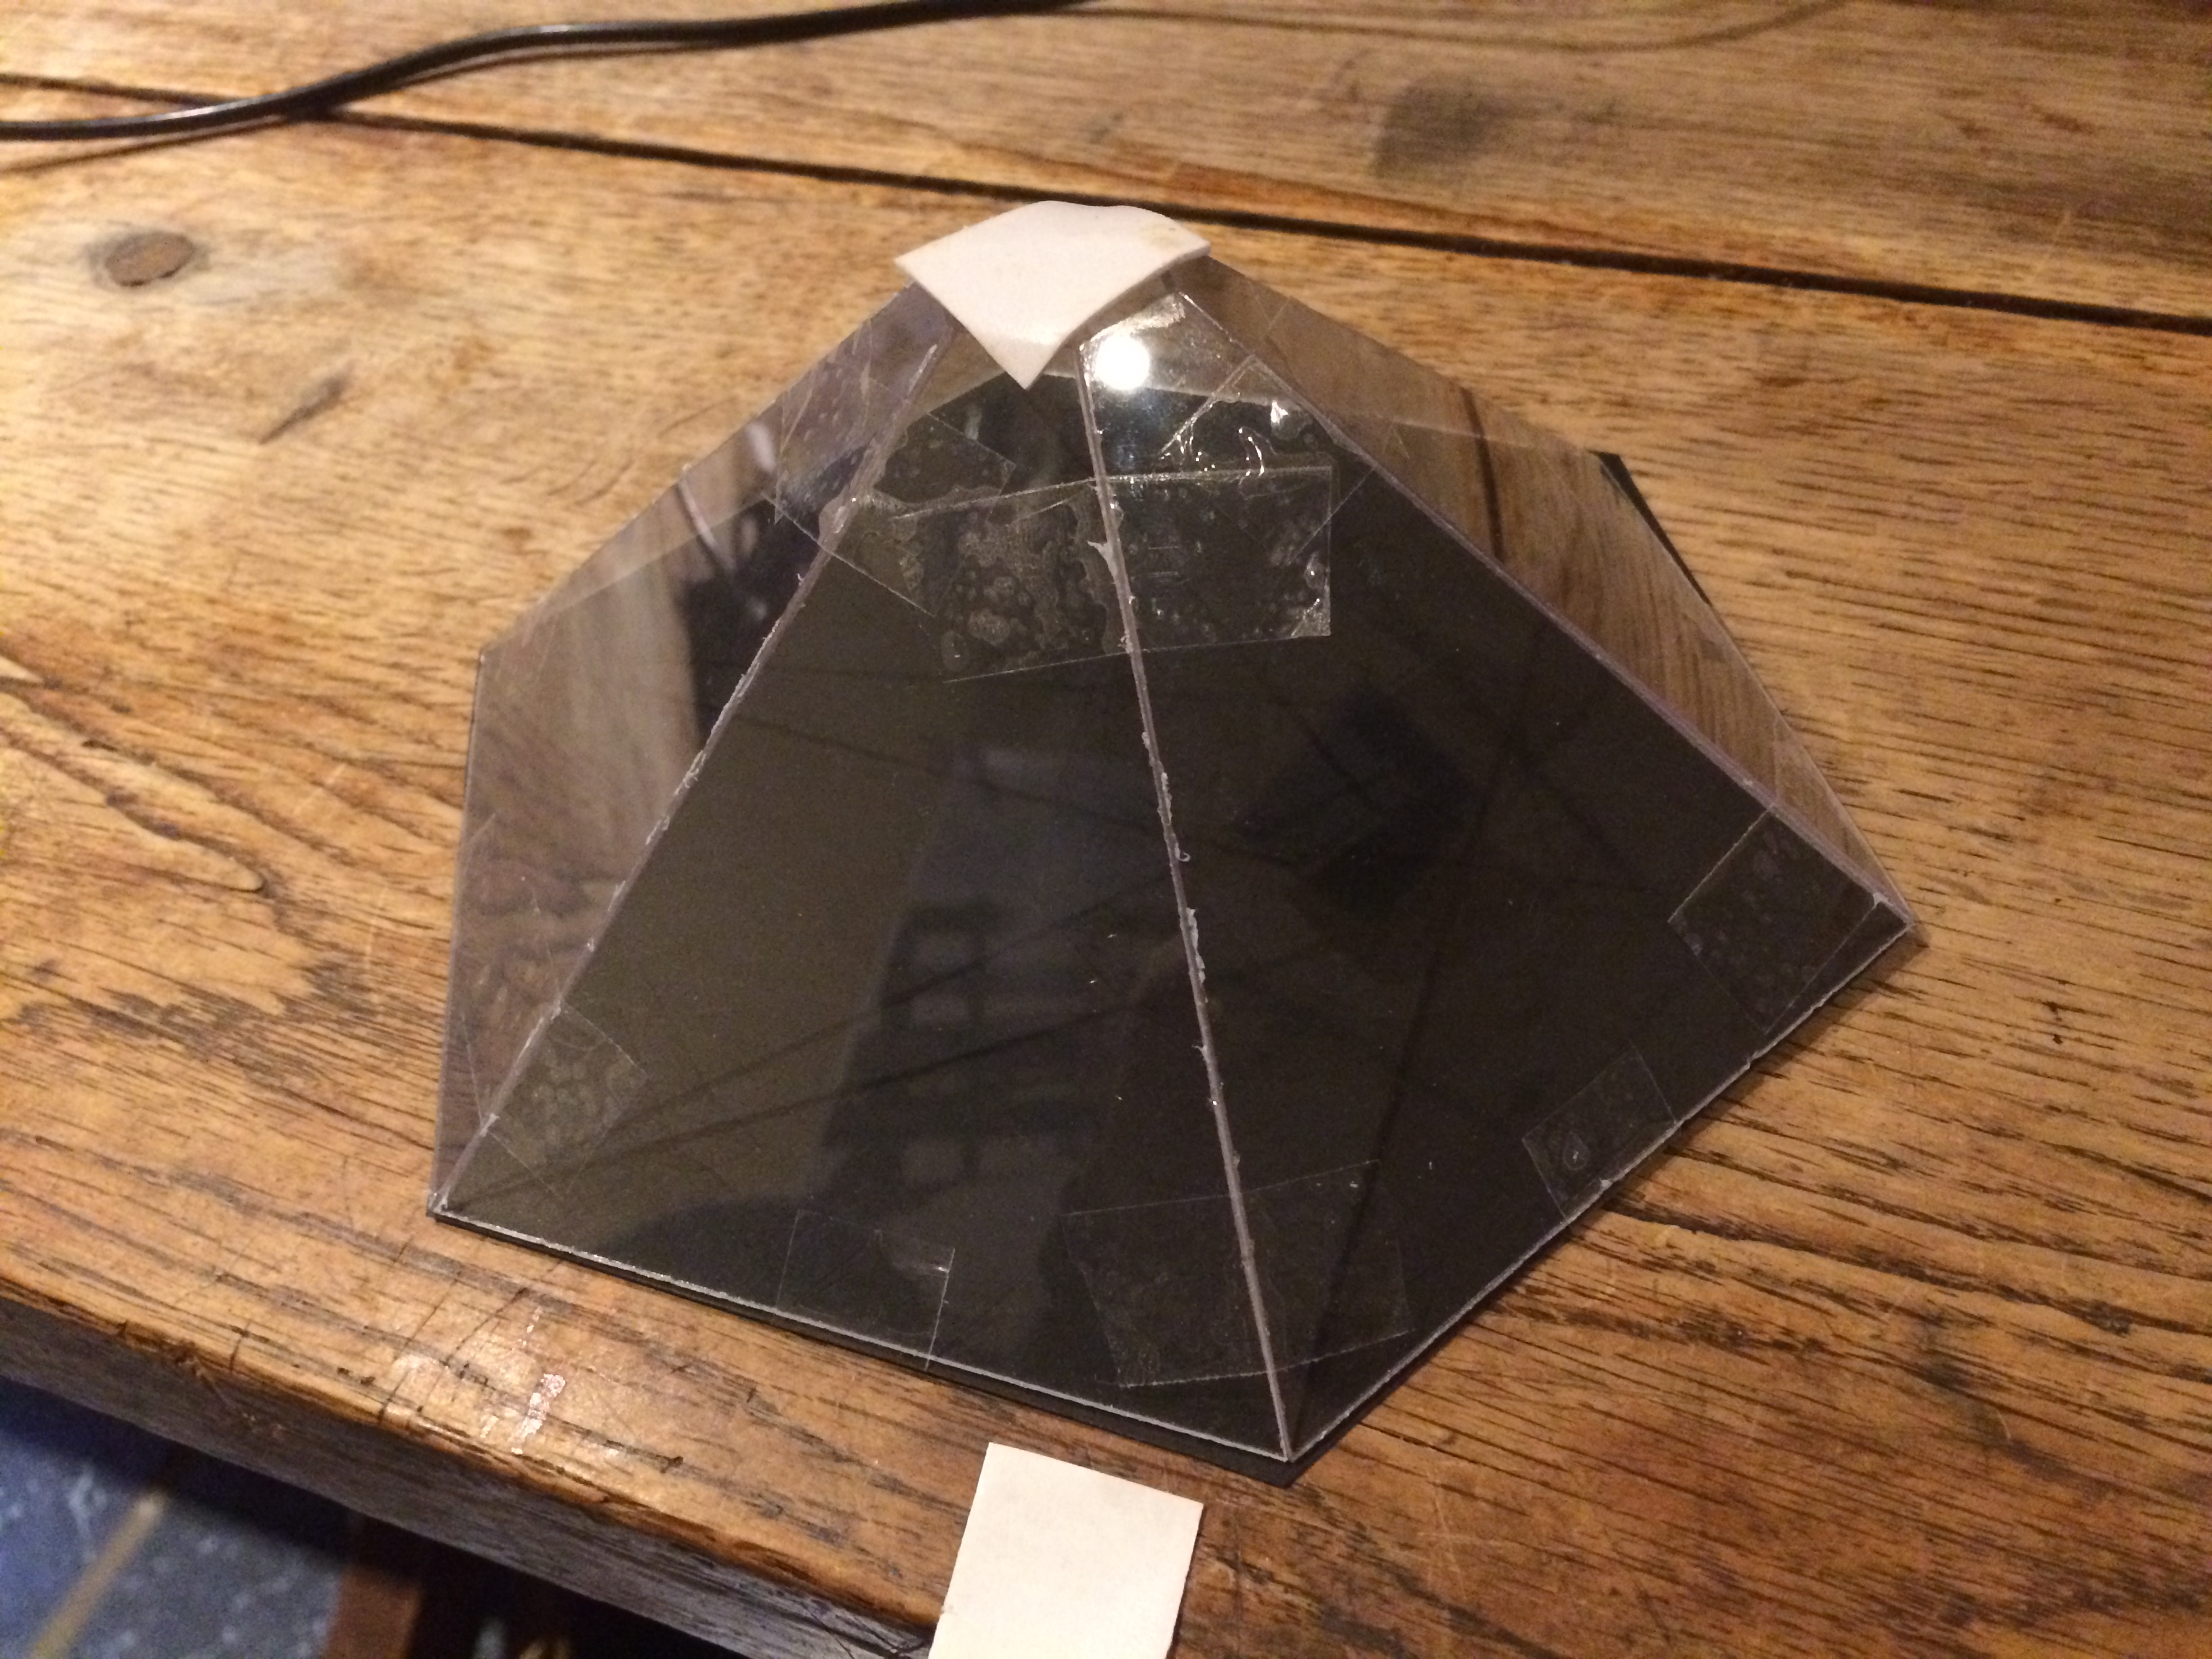
- Sand the edges of the plastic in a 45 degree angle (this way they will stick together better)
- Lay all the pieces together like shown in the picture
- Use pieces of tape to hold every piece together (do this carefully, make sure everything is aligned)
- Pick it up and fold it into a hexagon
- Place 2 final pieces of tape to finish it up
- Turn it around and stick a piece of double sided tape to the top
At this point you can choose to use some glue to stick all sides together permanently.
Optionally add a (black) sheet of paper to the under side for extra support:
- Use the hexagon as a die by holding it down on the paper
- Cut it out
- Stick them together using some tape or glue
Coding the Arduino
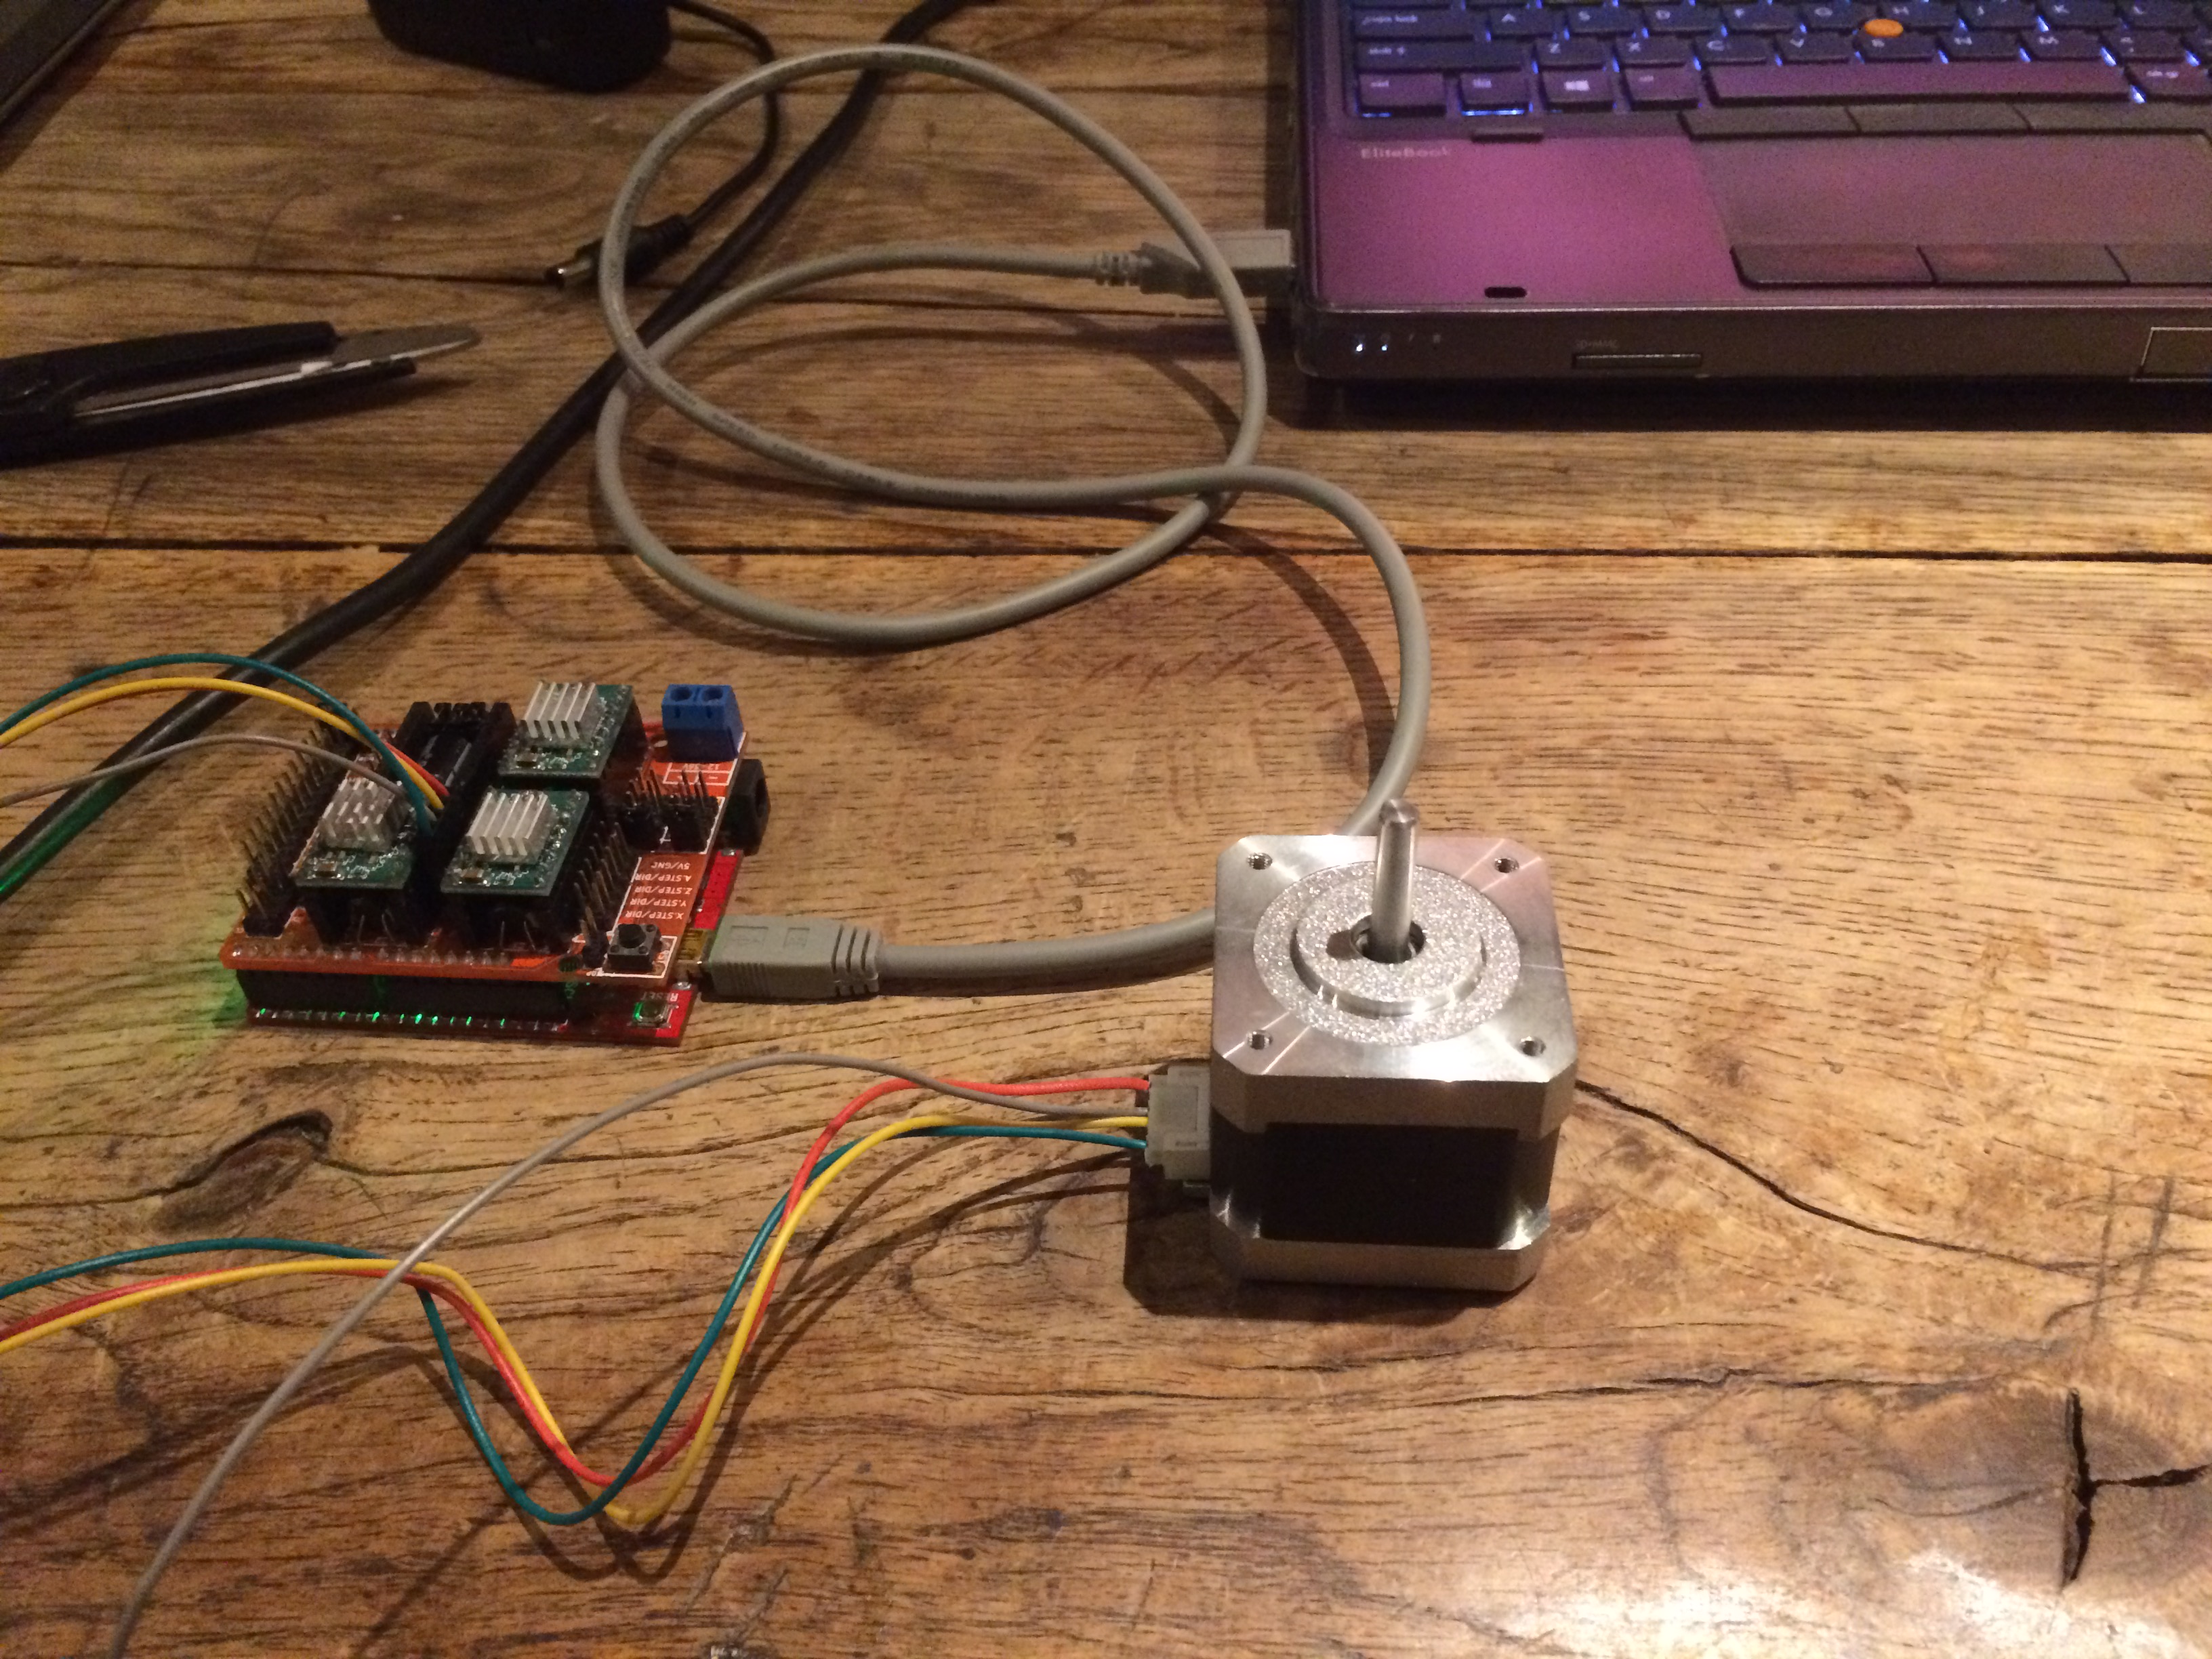
To make the ipad slowly spin, the stepper motor must be driven correctly by the arduino.
Note: You will need the accelstepper library to make this work.
- Connect your arduino board to your computer
- Open up Arduino software
- Copy paste the following code:
#include // Stepper driver library
#define XSTEP 2 #define XDIR 5 #define ENABLEPIN 8
AccelStepper stepperX(1, XSTEP, XDIR); // Initialize stepper X
void setup() { pinMode(ENABLEPIN, OUTPUT); digitalWrite(ENABLEPIN,LOW); // LOW = Motors are active, HIGH = Motors are off
stepperX.setMaxSpeed(10000); stepperX.setSpeed(500); delay(5000); }
void loop(){ stepperX.runSpeed(); // Run the stepper at a constant speed }
Make Everything Stick
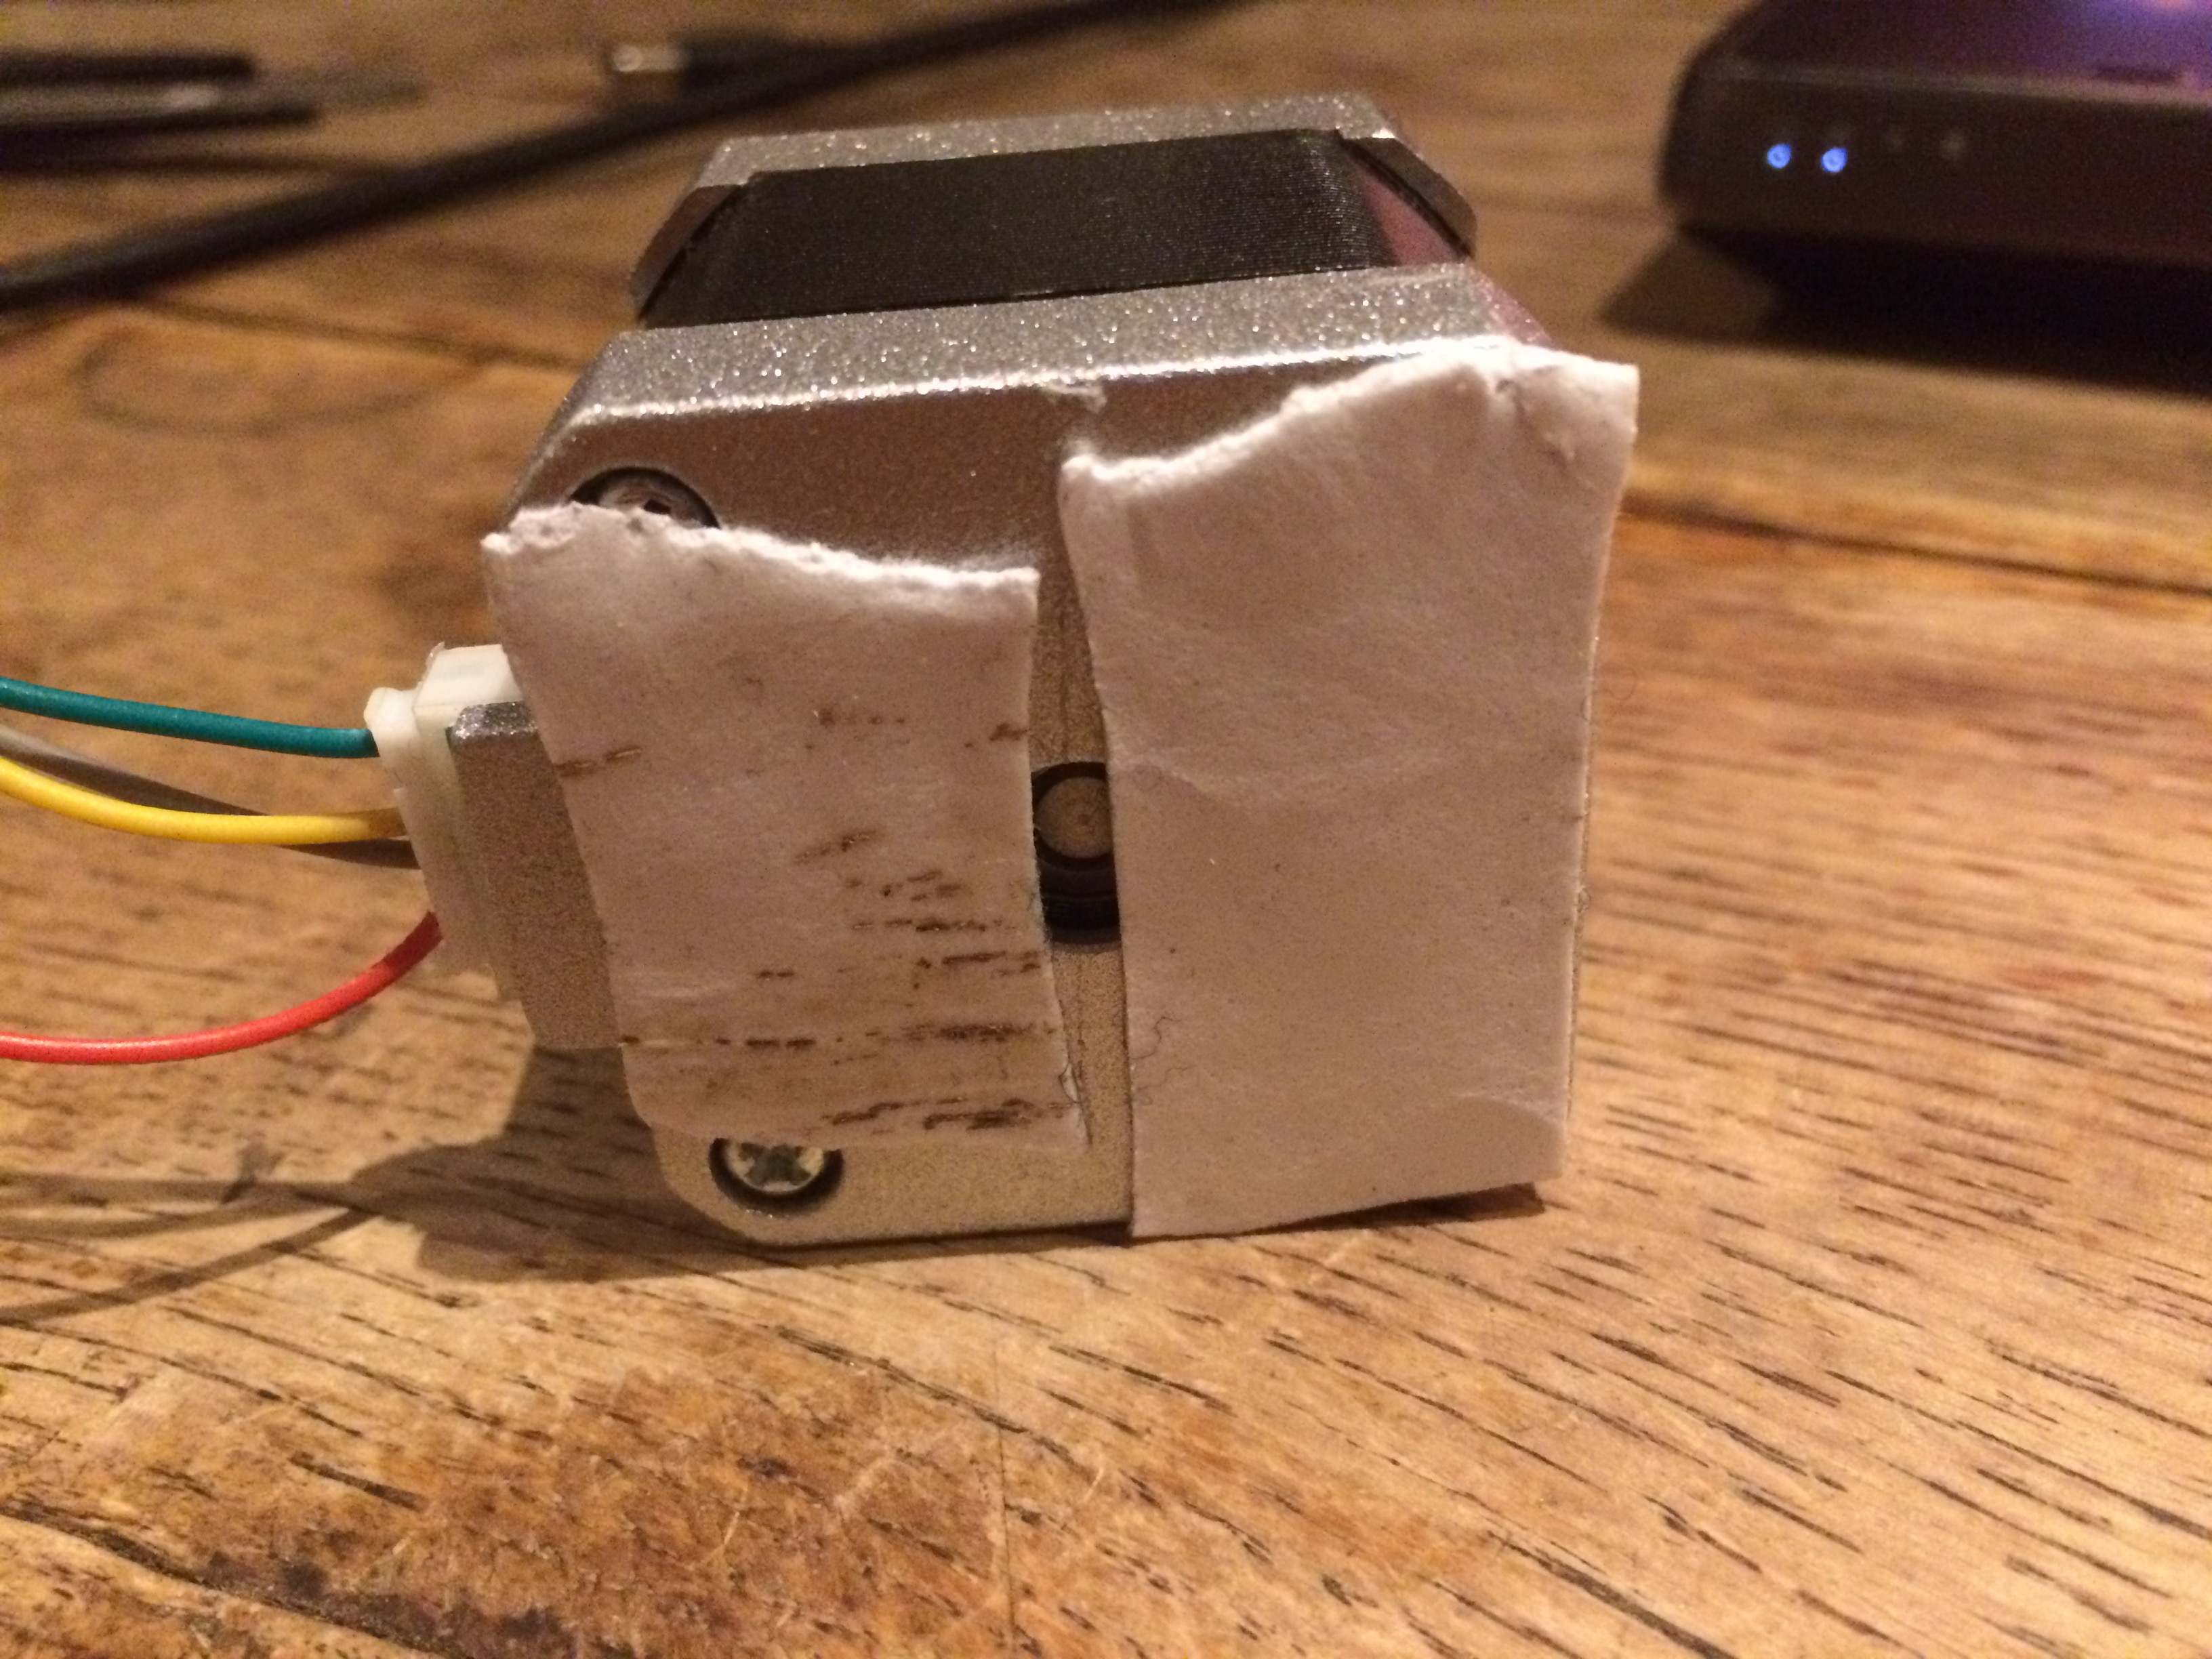
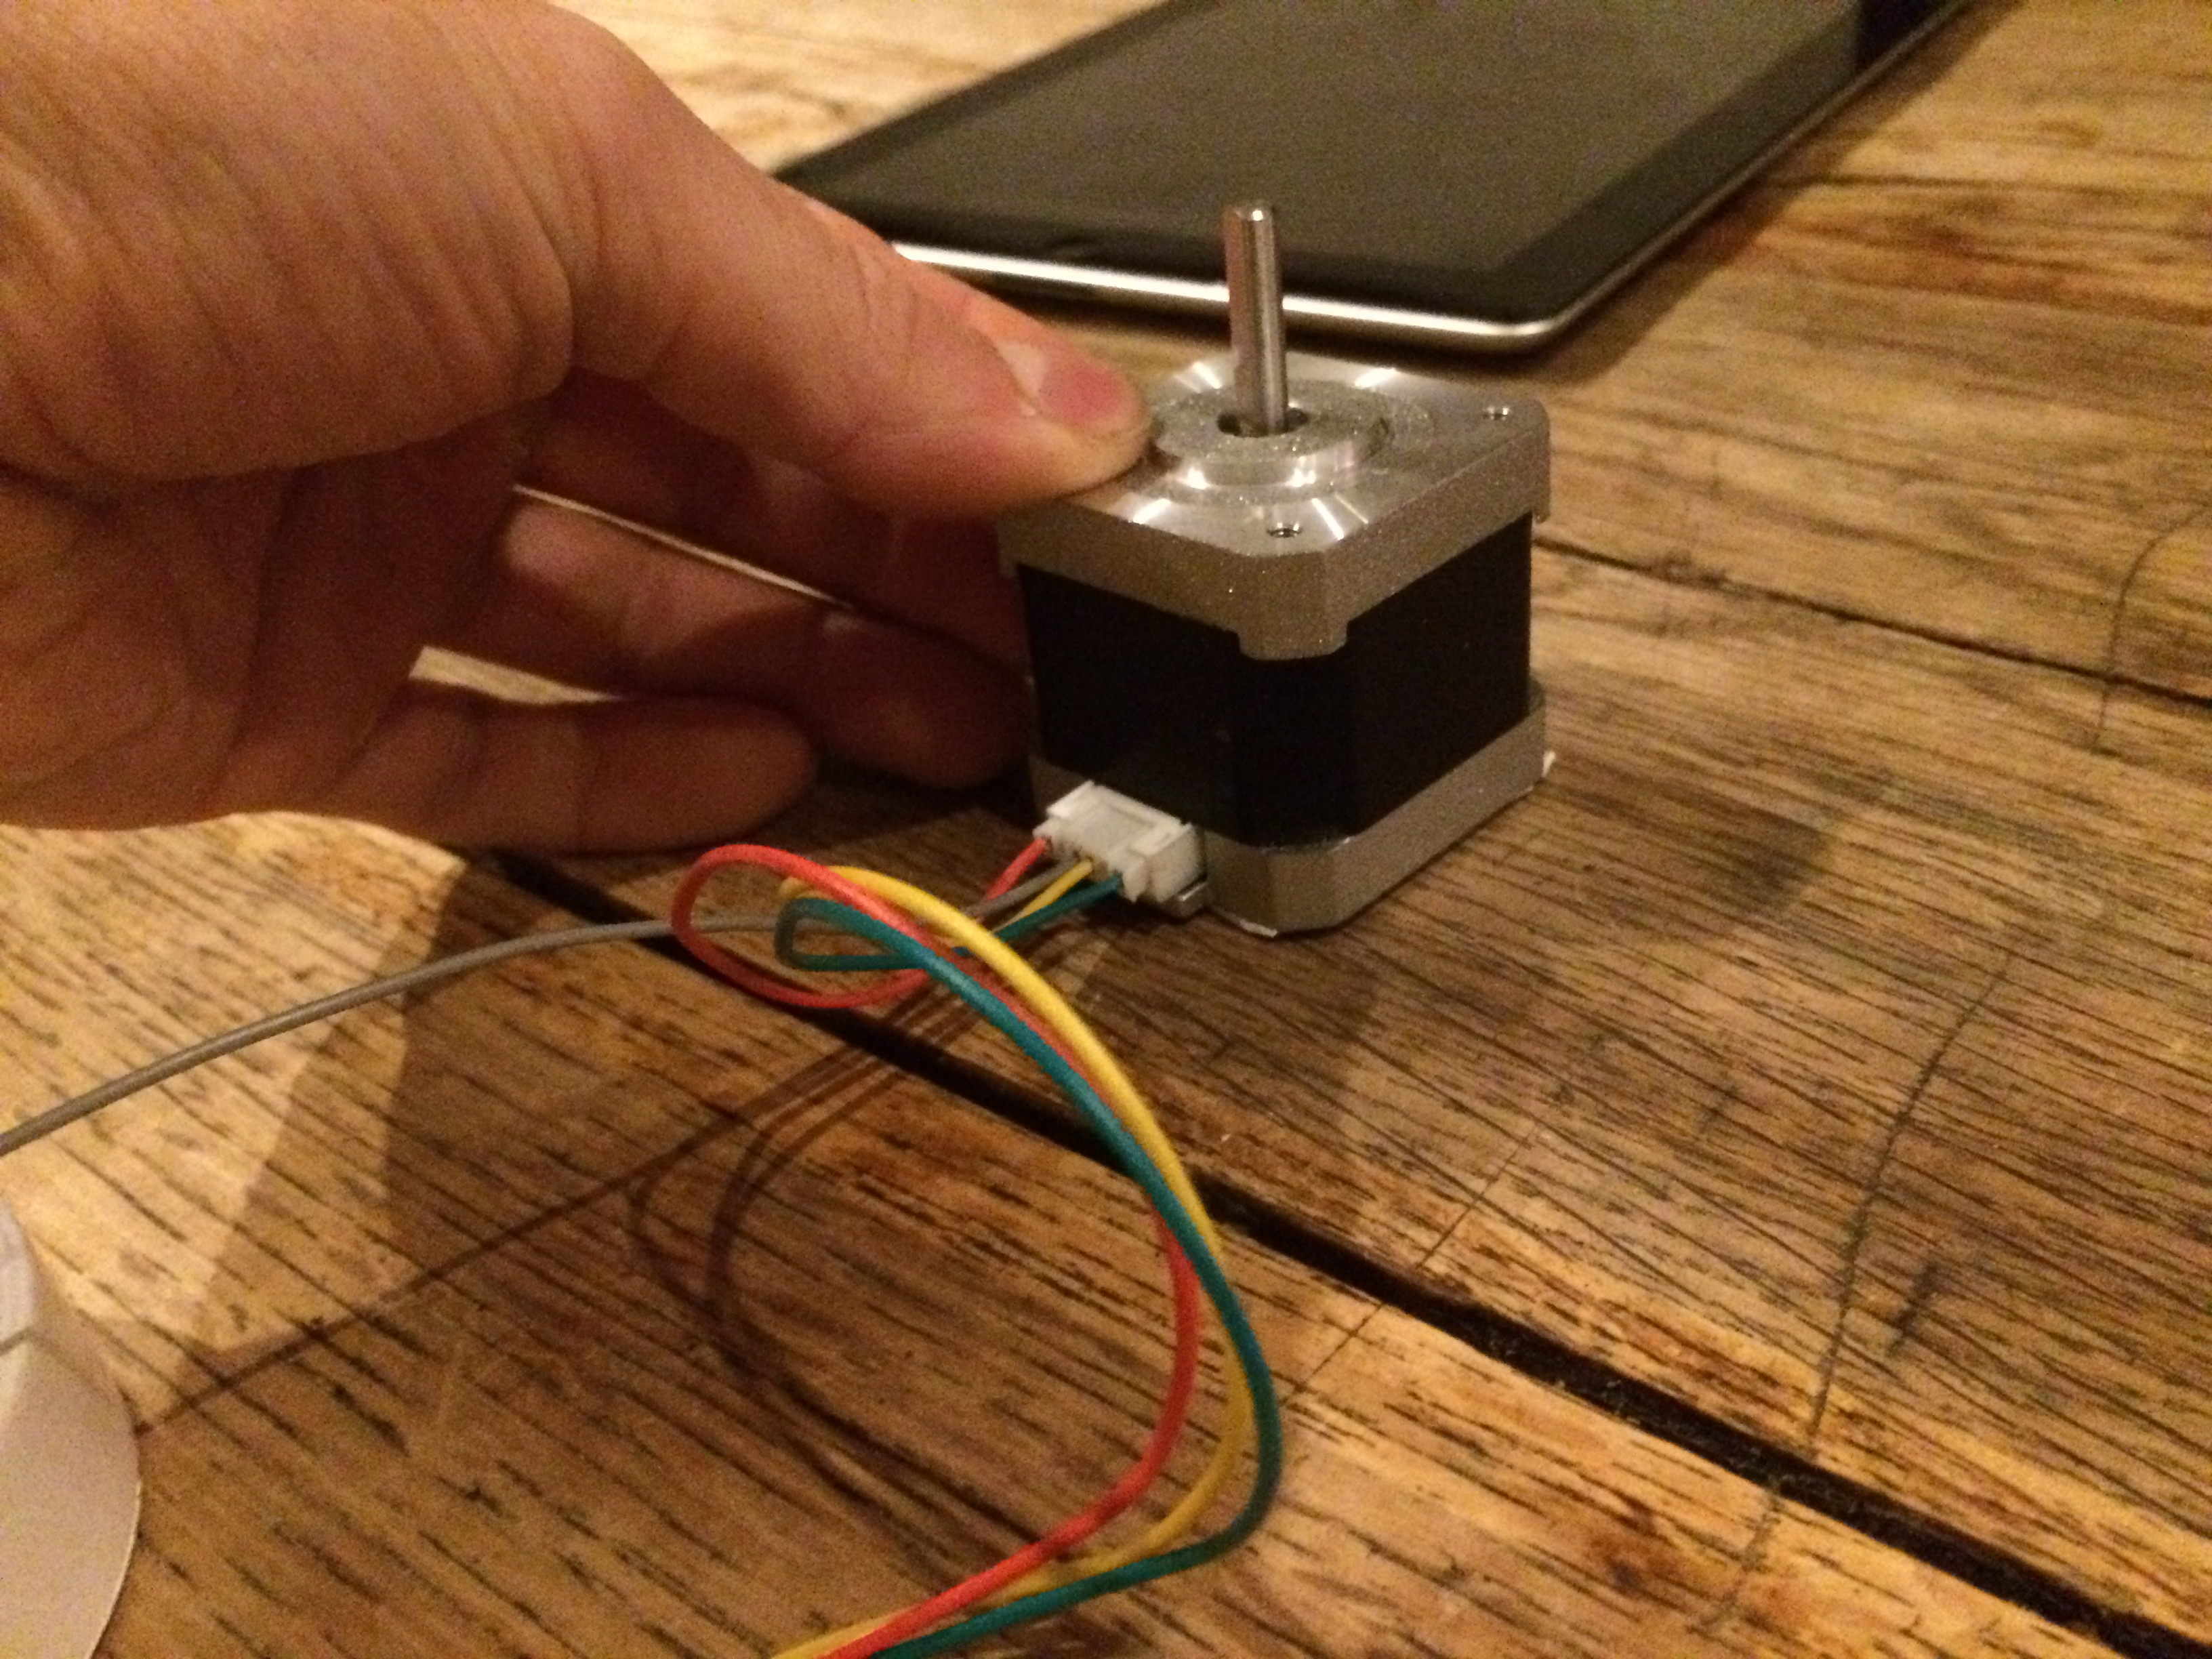
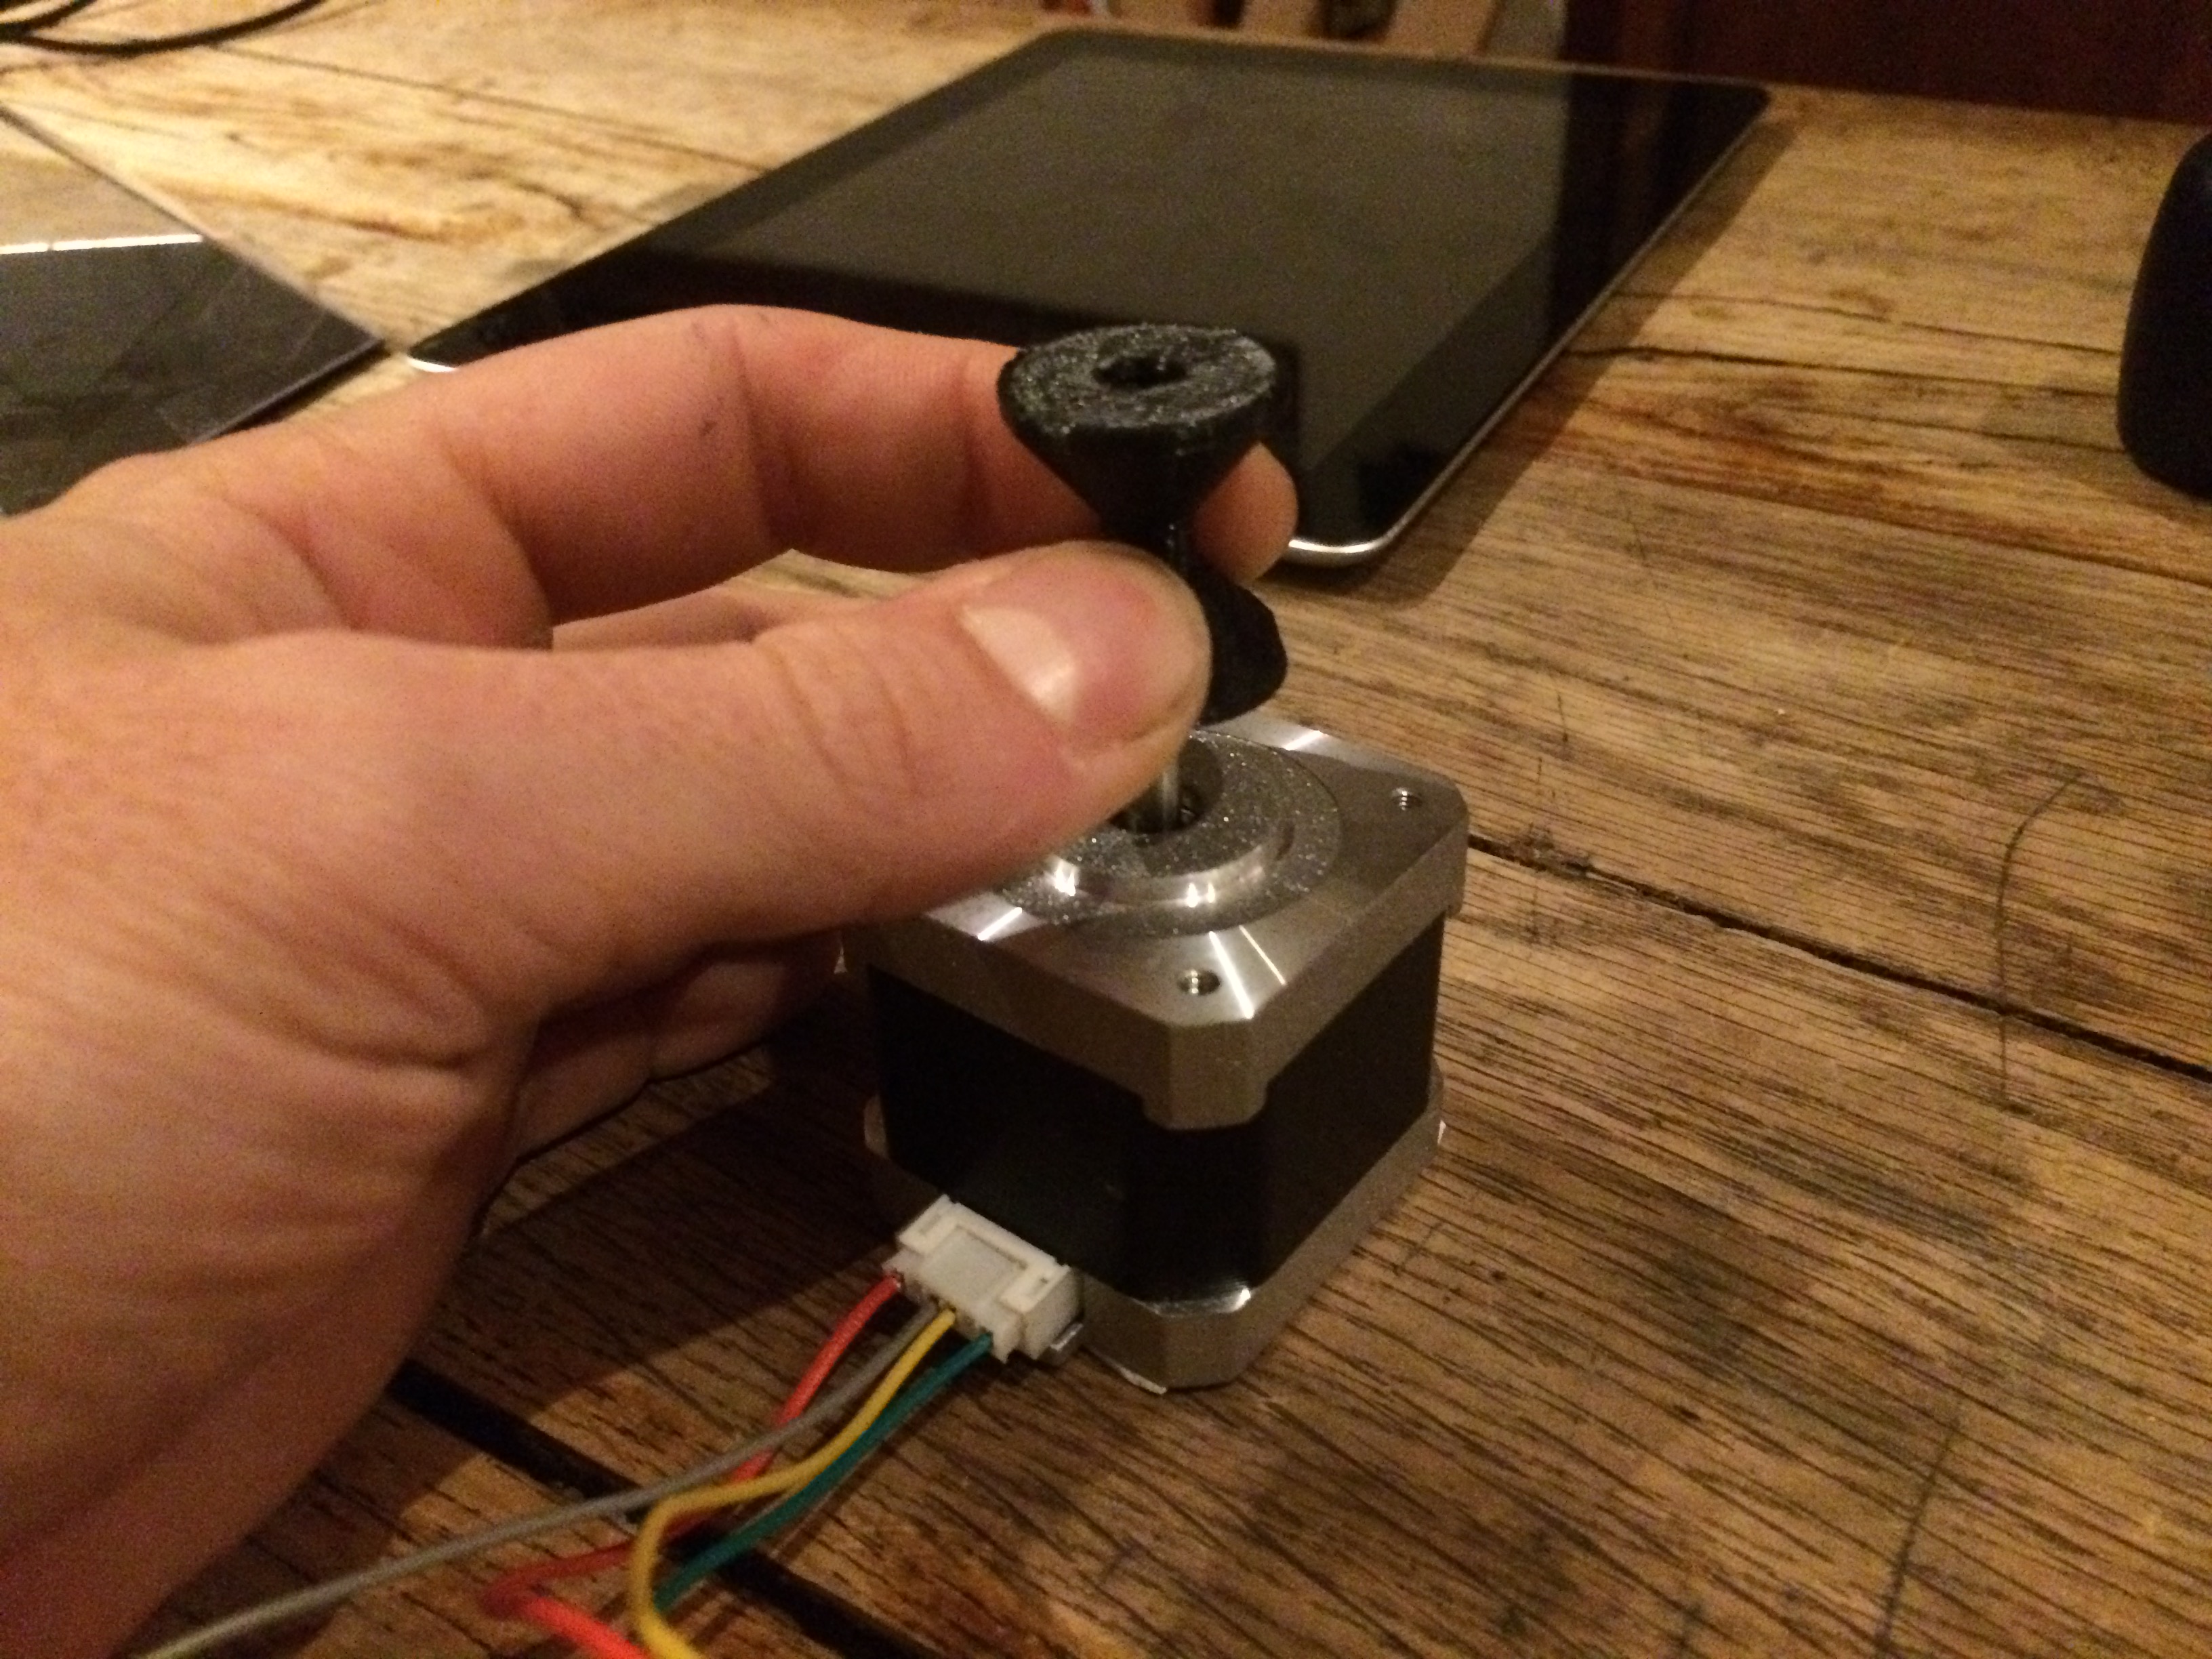
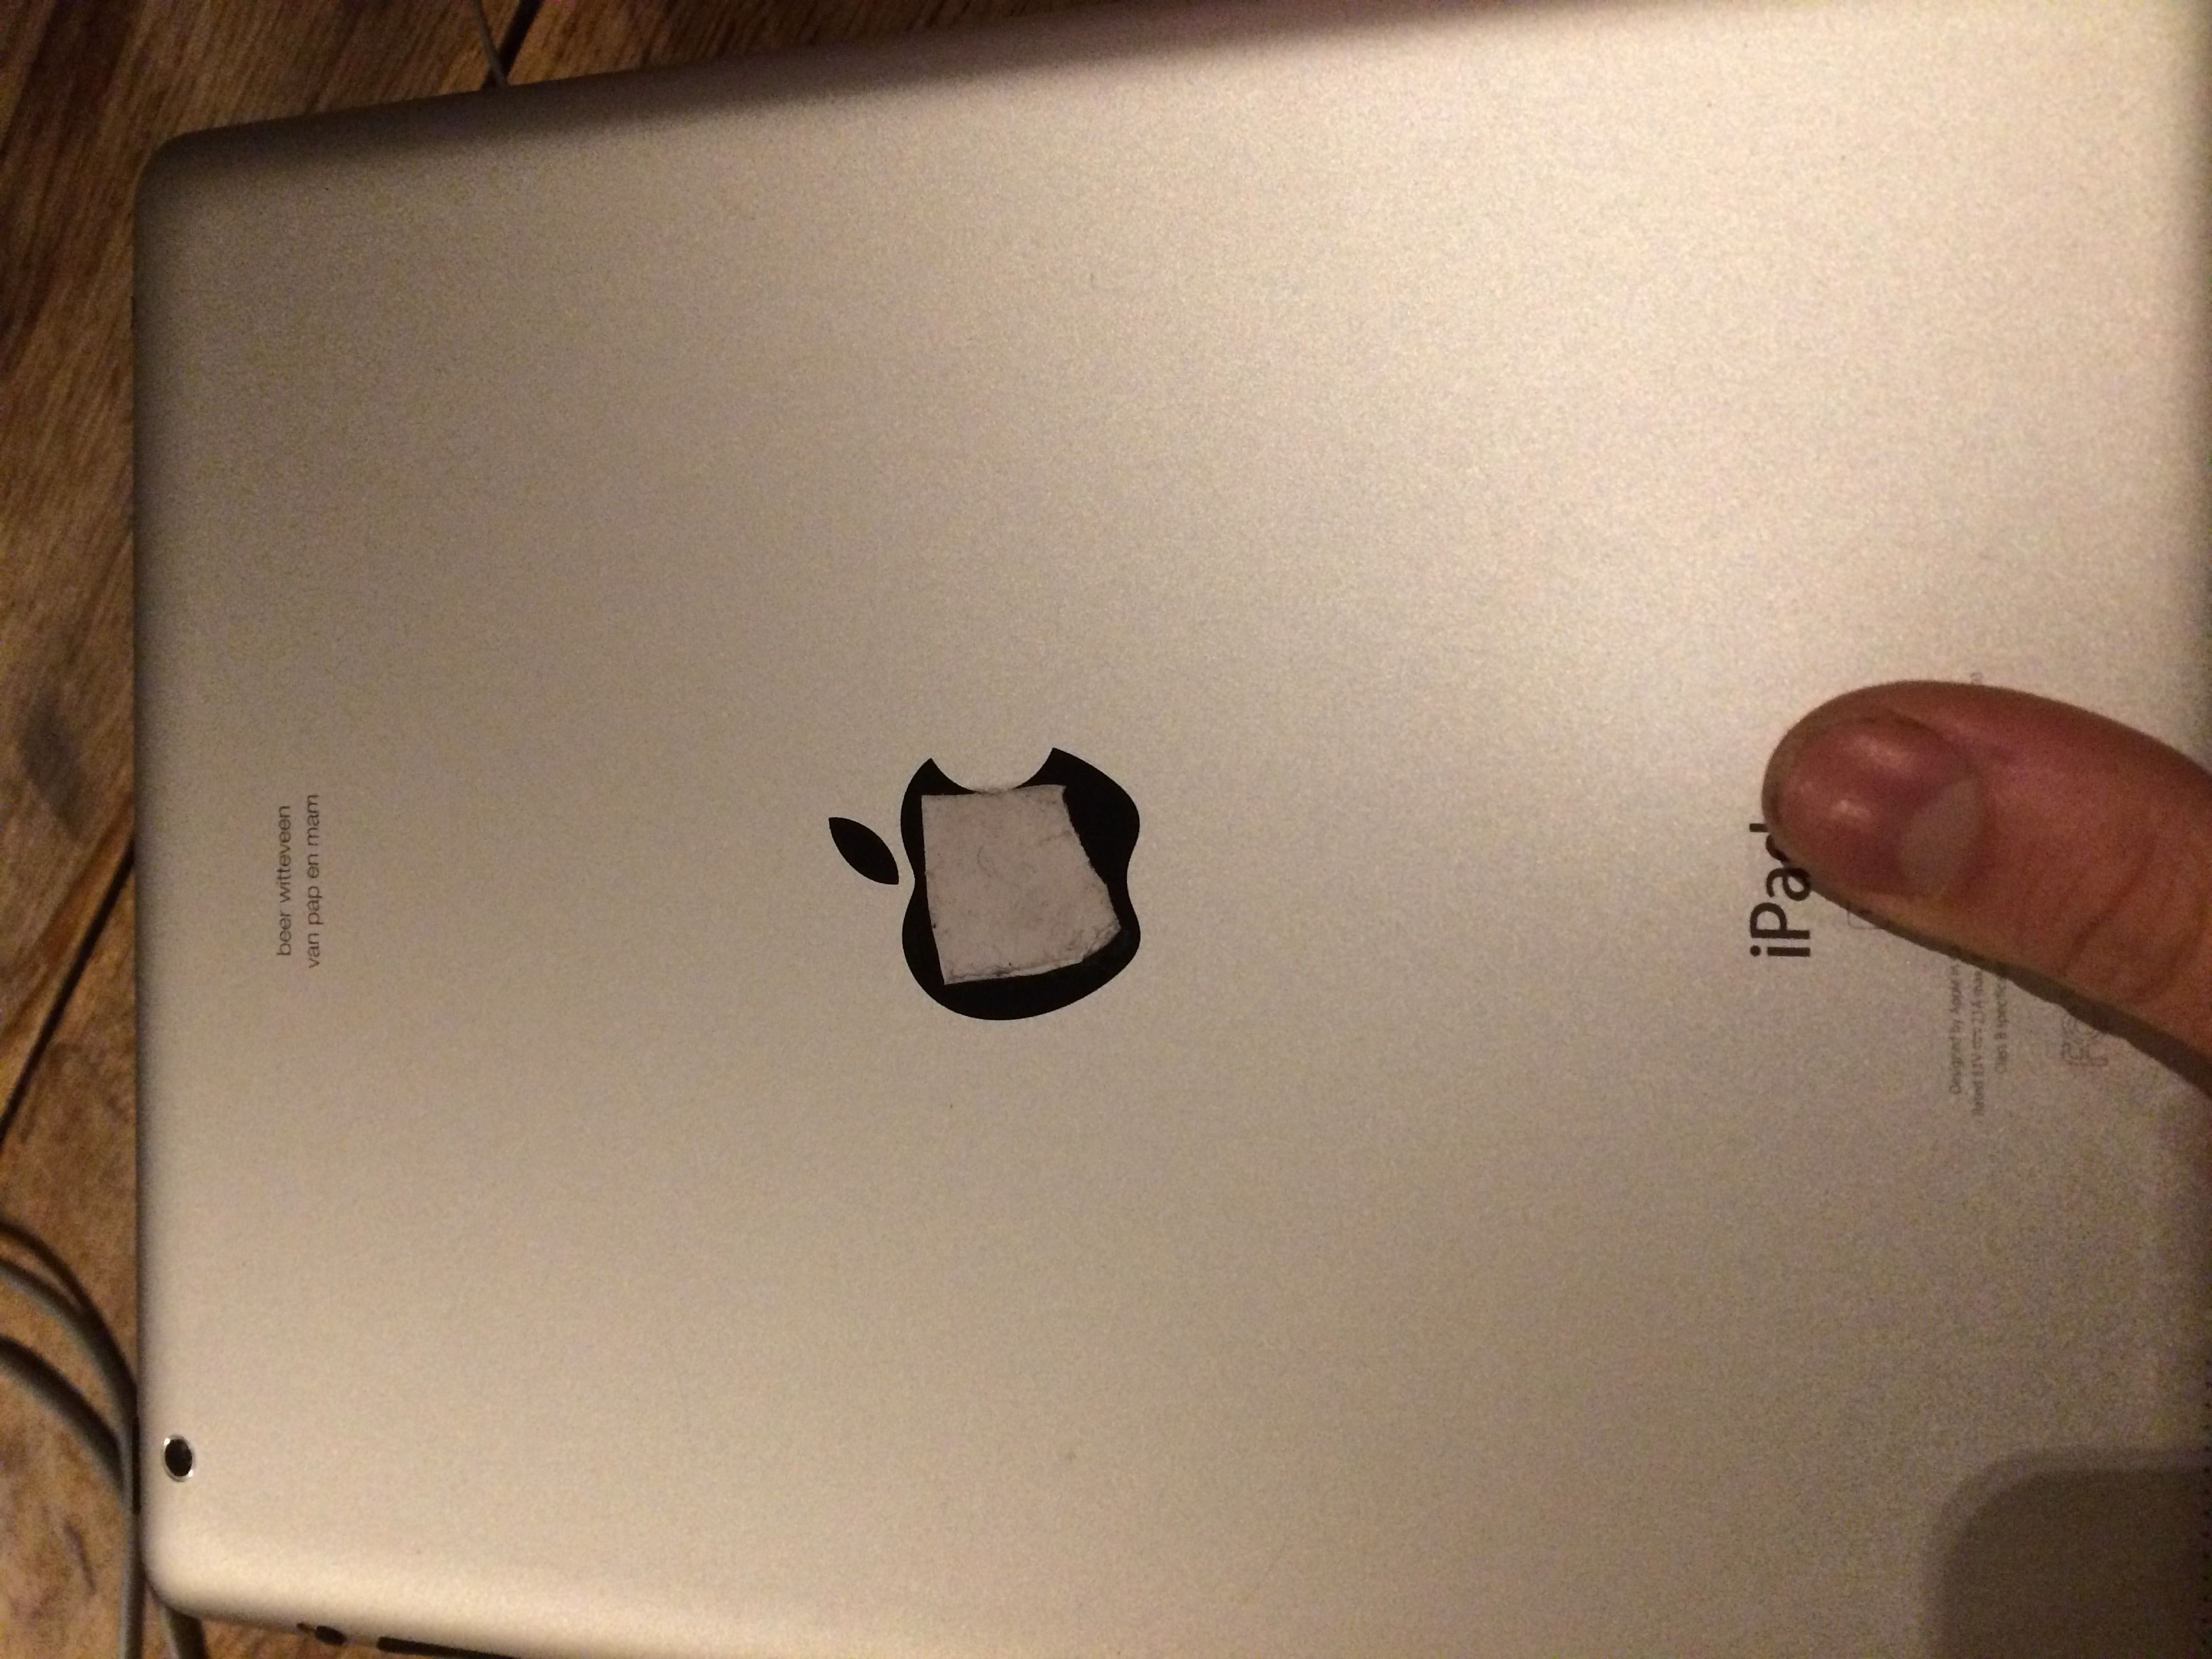
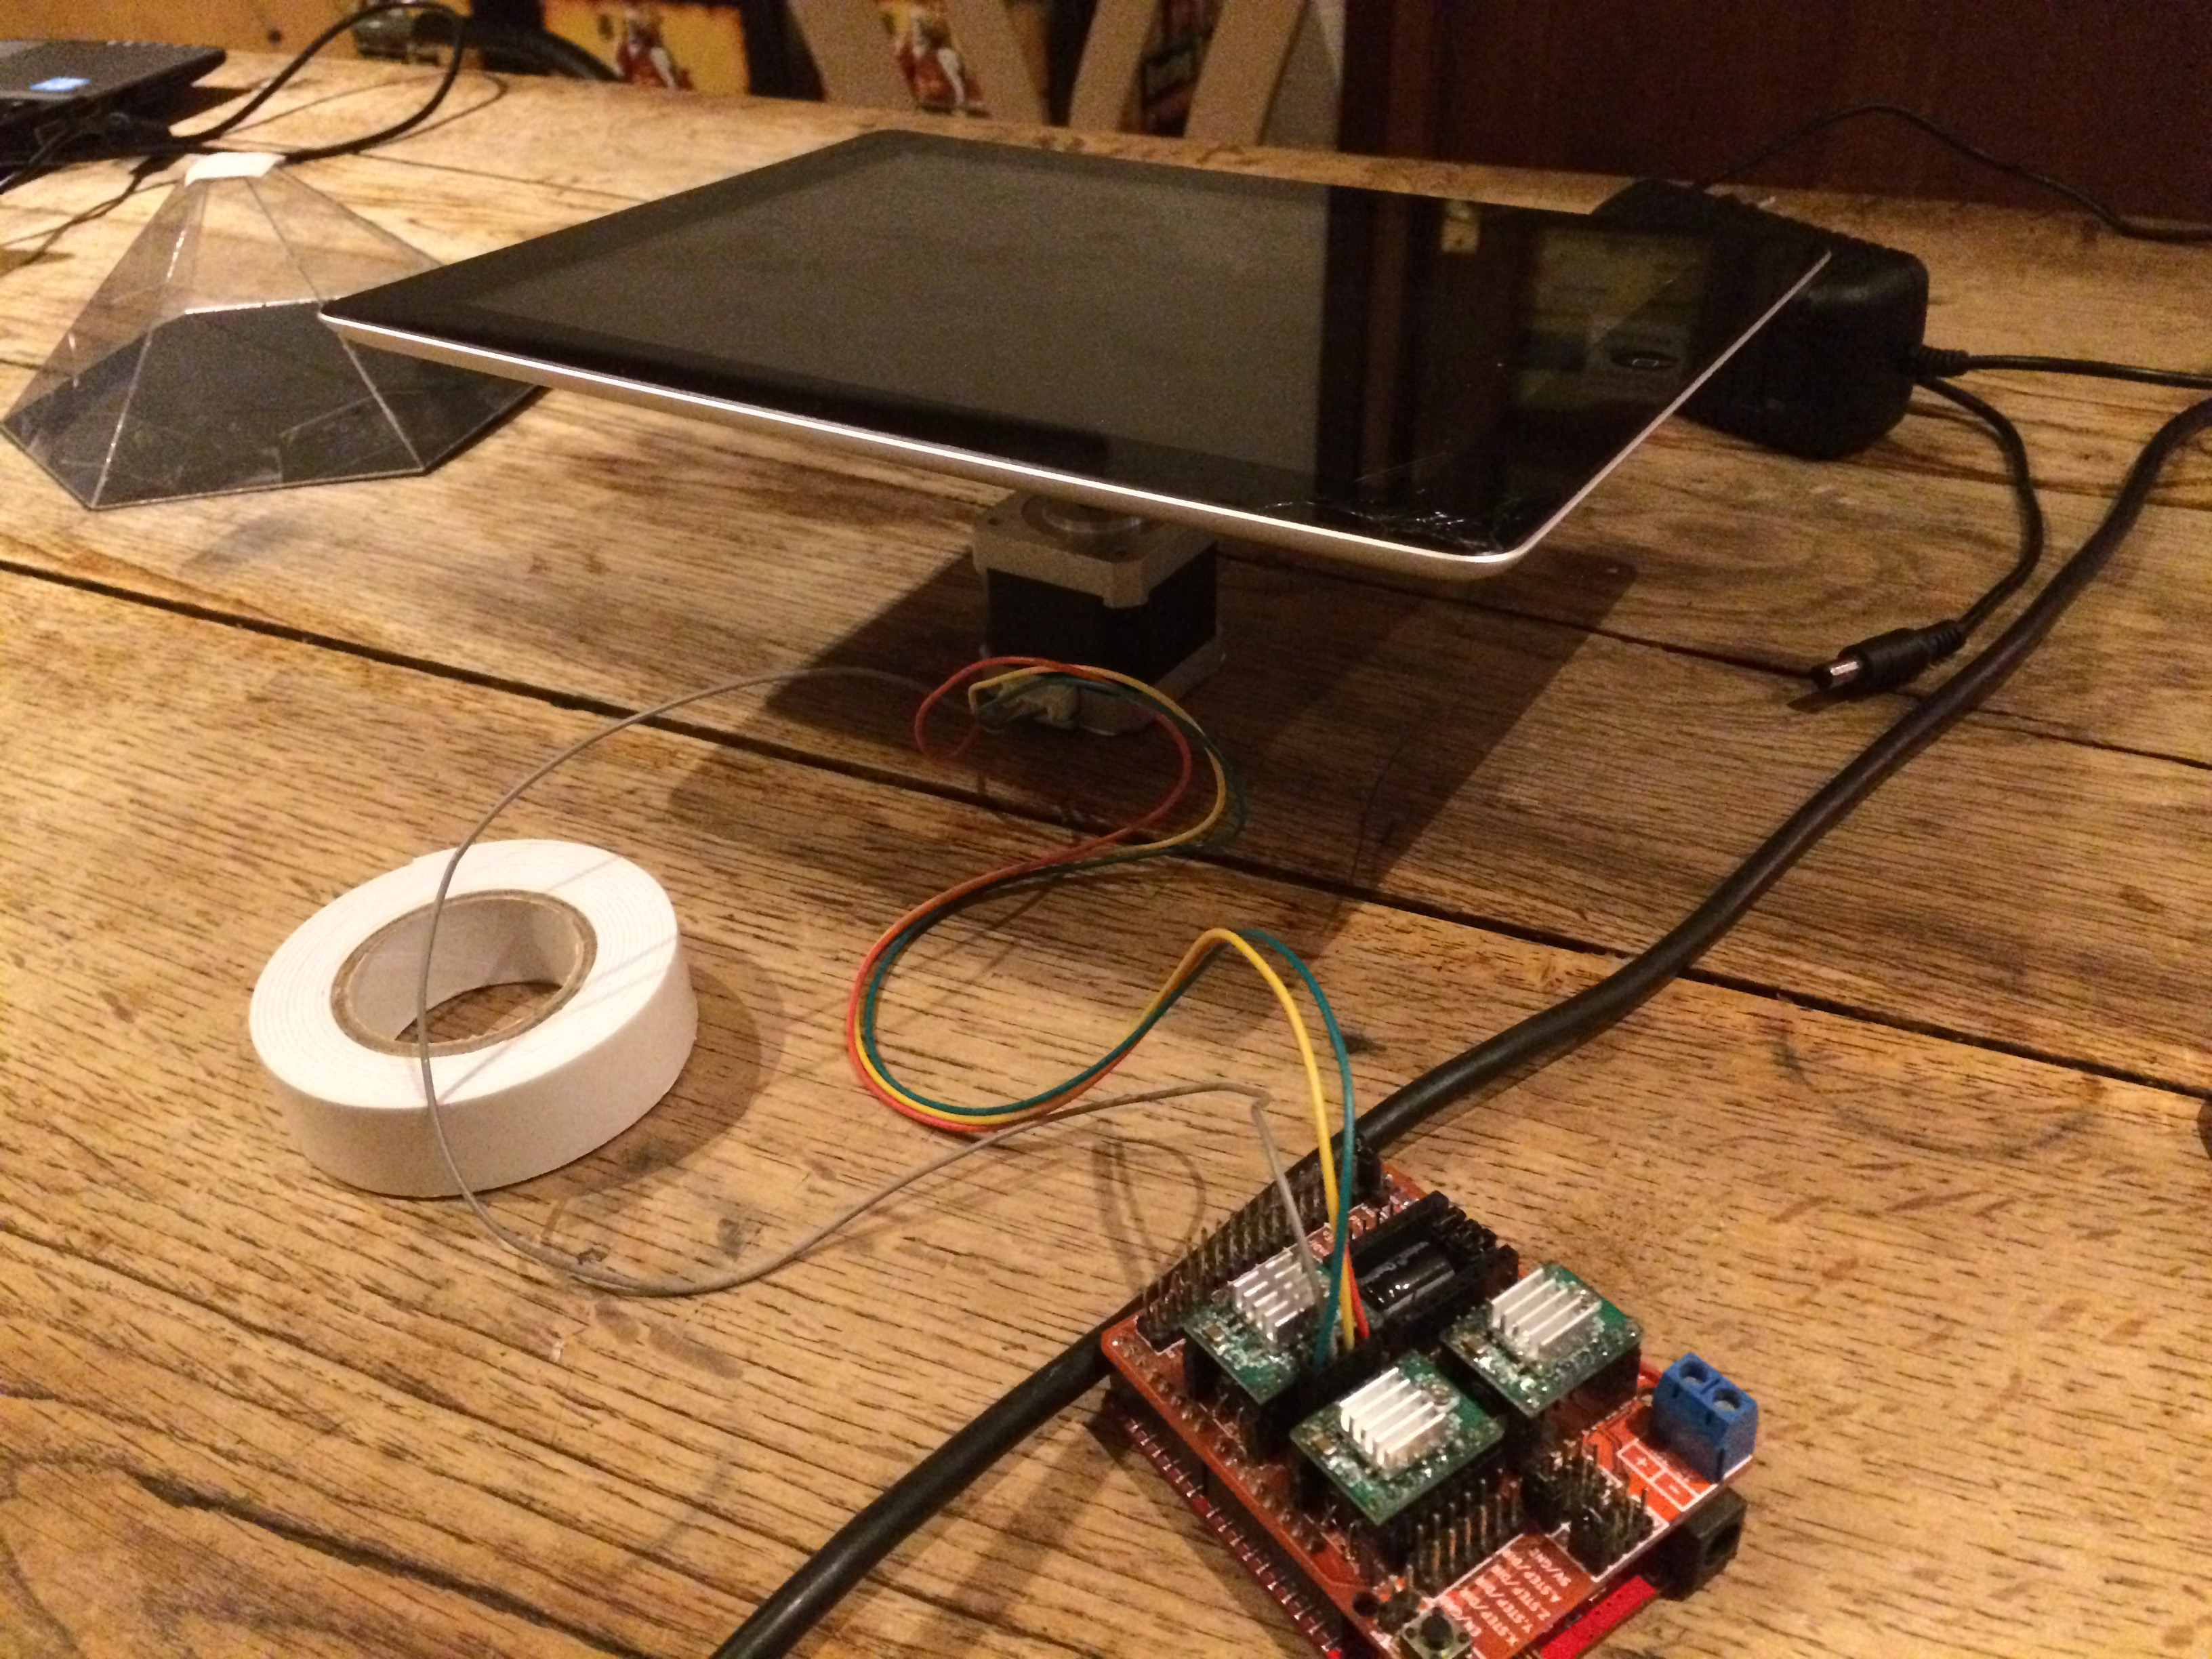
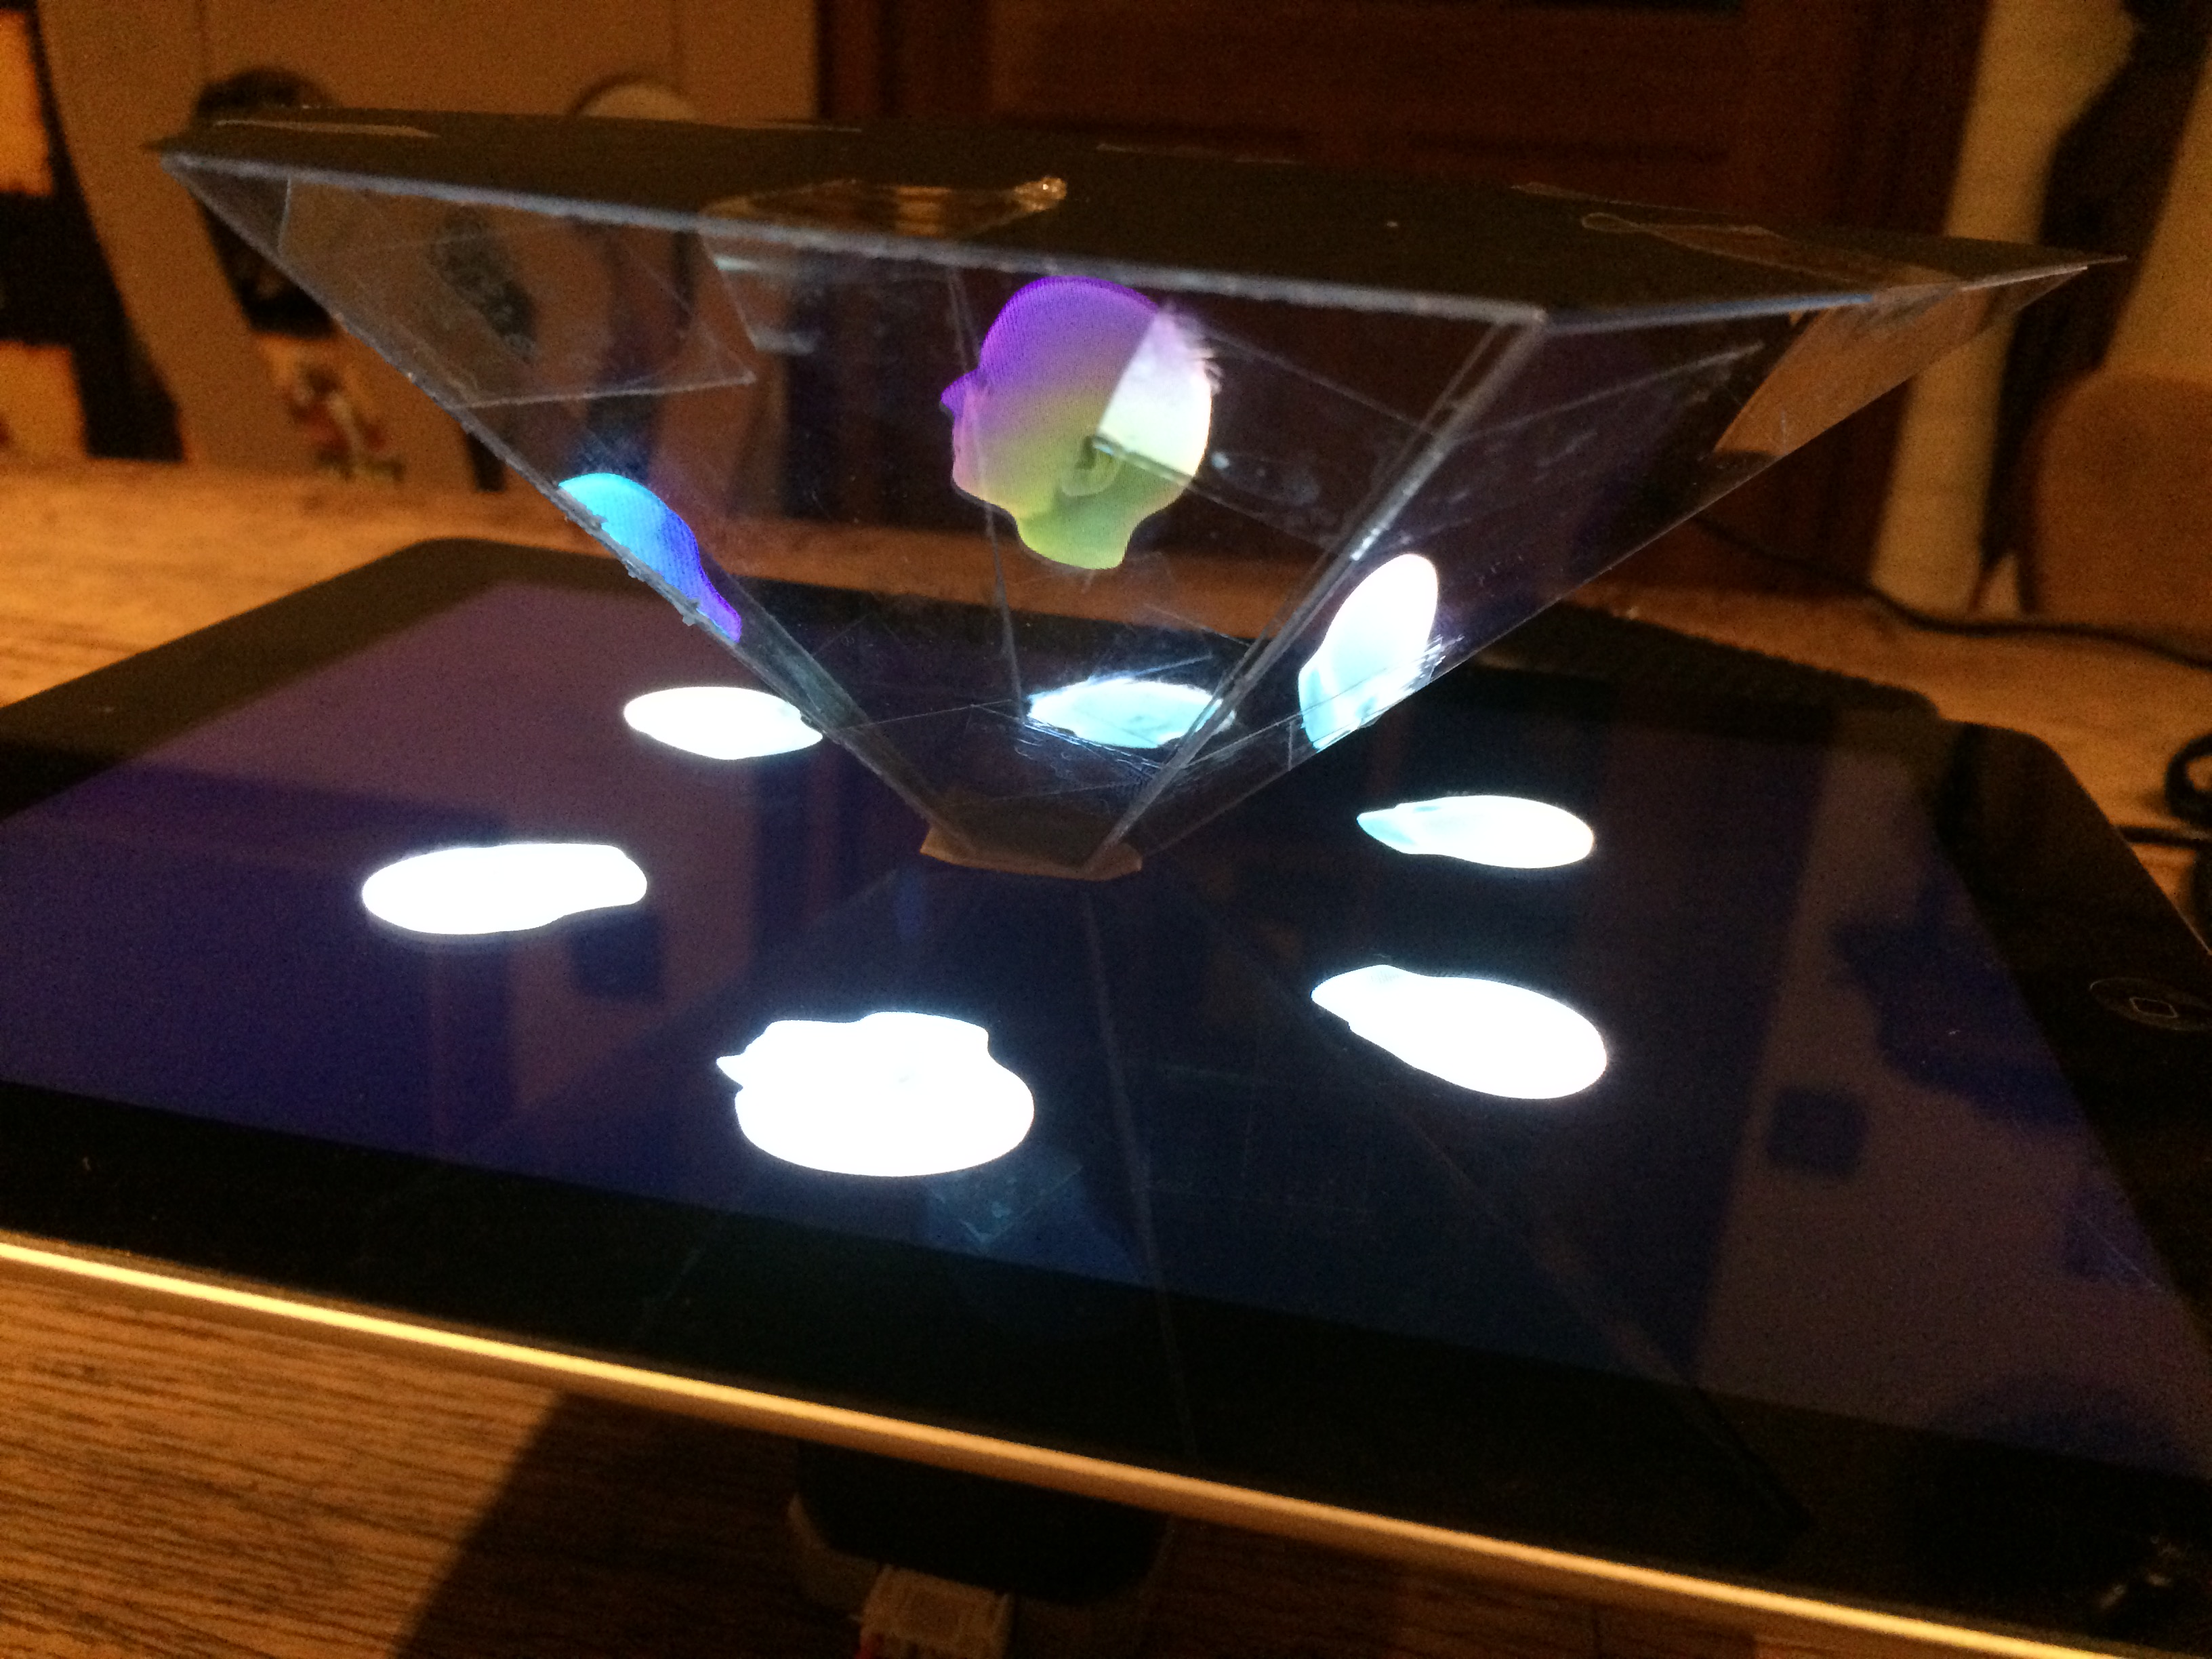
Use the double sided tape to stick everything together:
- Stick the stepper motor to your table (otherwise it will spin out of control)
- Put the ipad mount on stepper motor (find the STL in the files)
- Place a piece of tape in the center of the ipad (on the logo)
- Gently stick it onto the ipad mount
- Stick the hexagon gently in the middle of the screen
Downloads
Premade or Custom Images
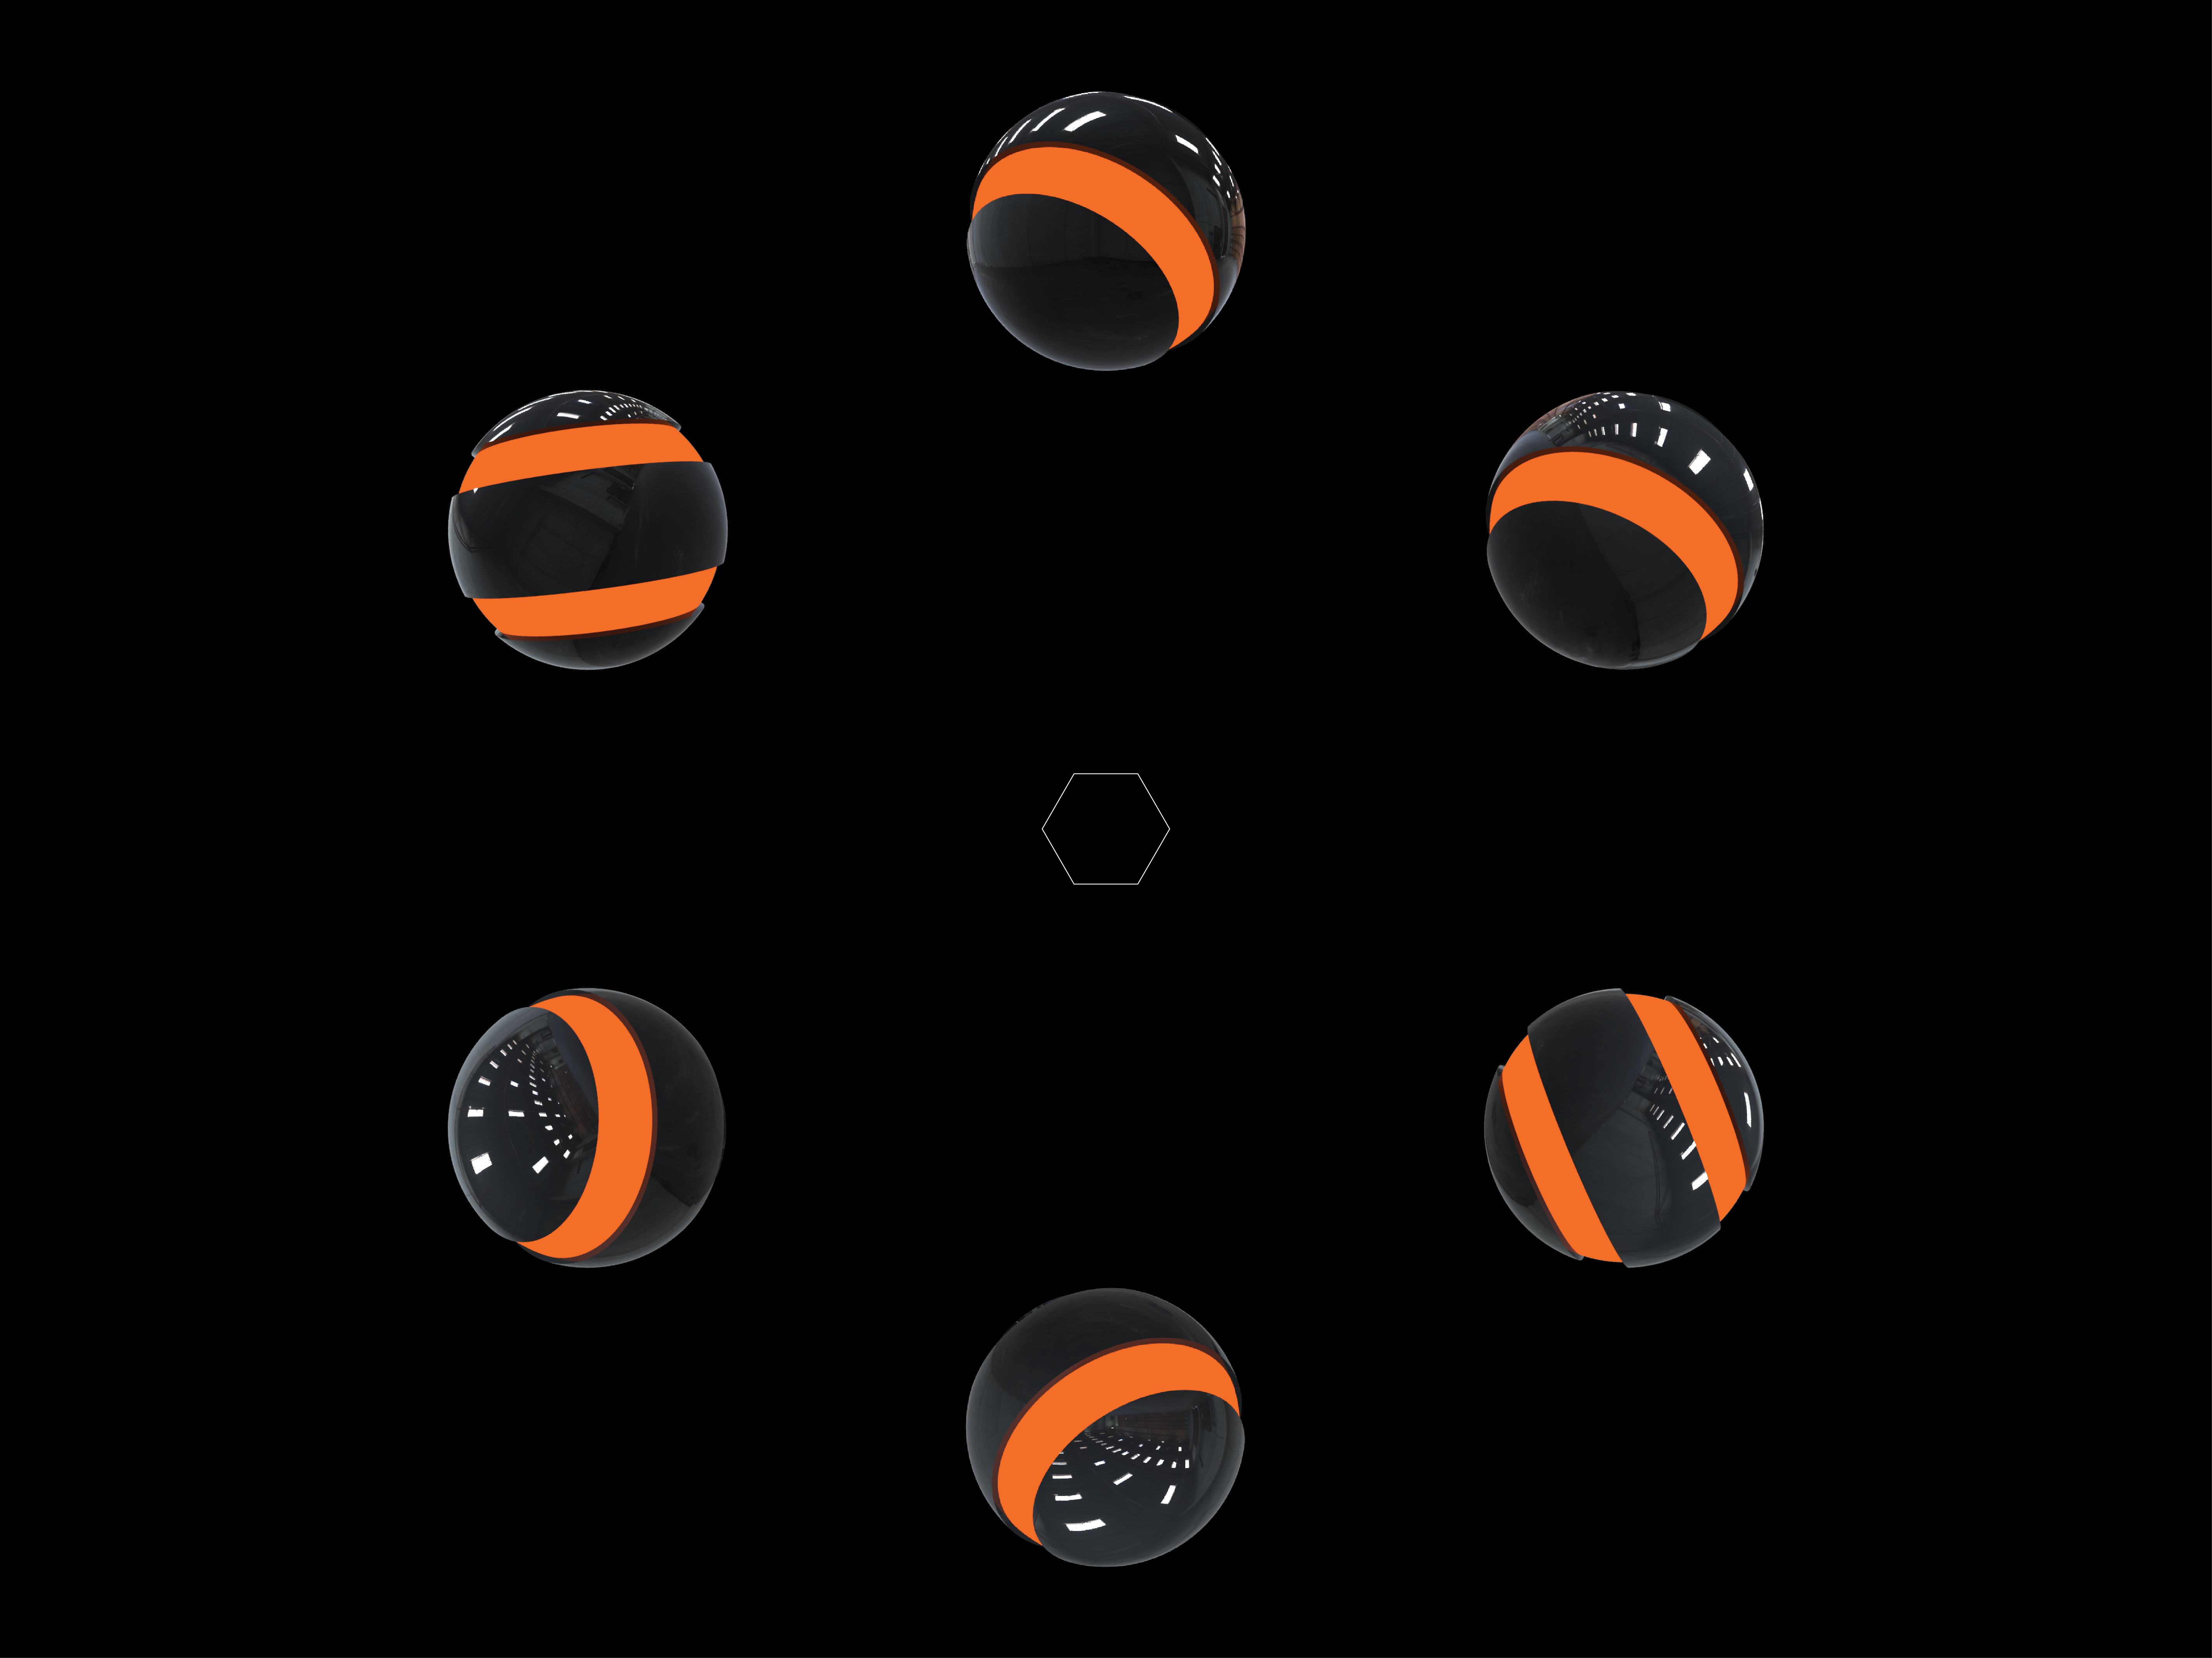
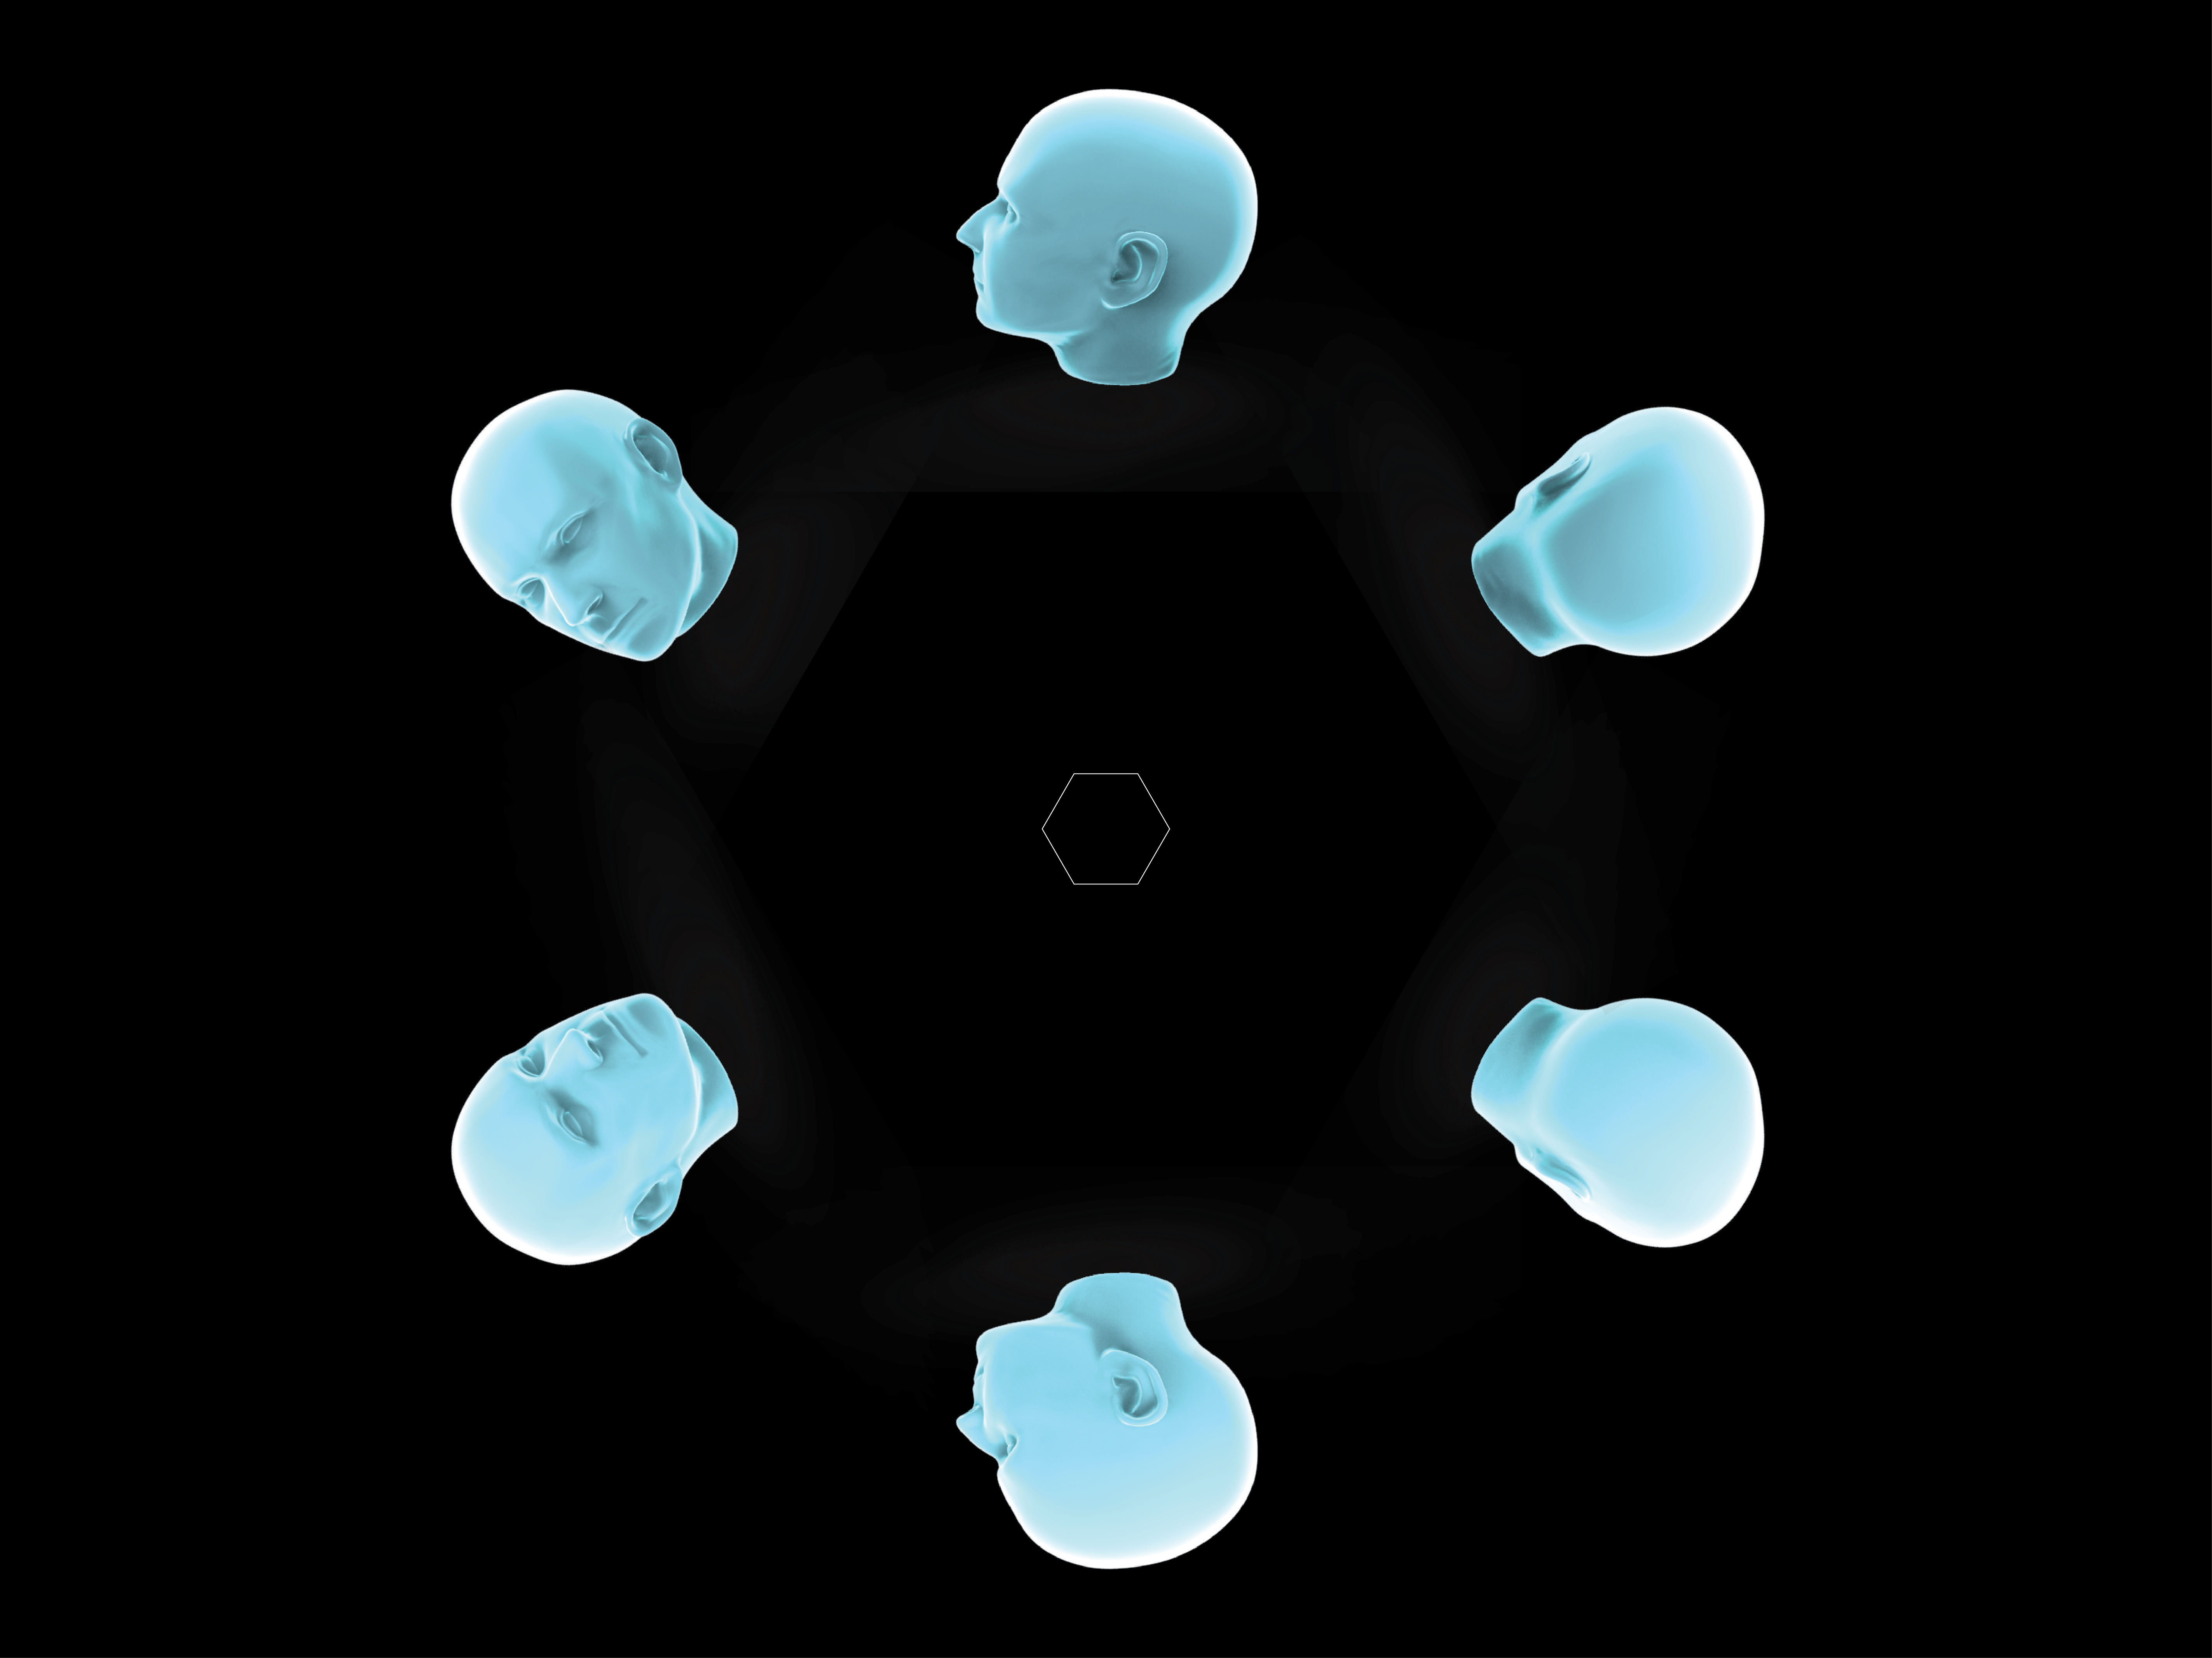
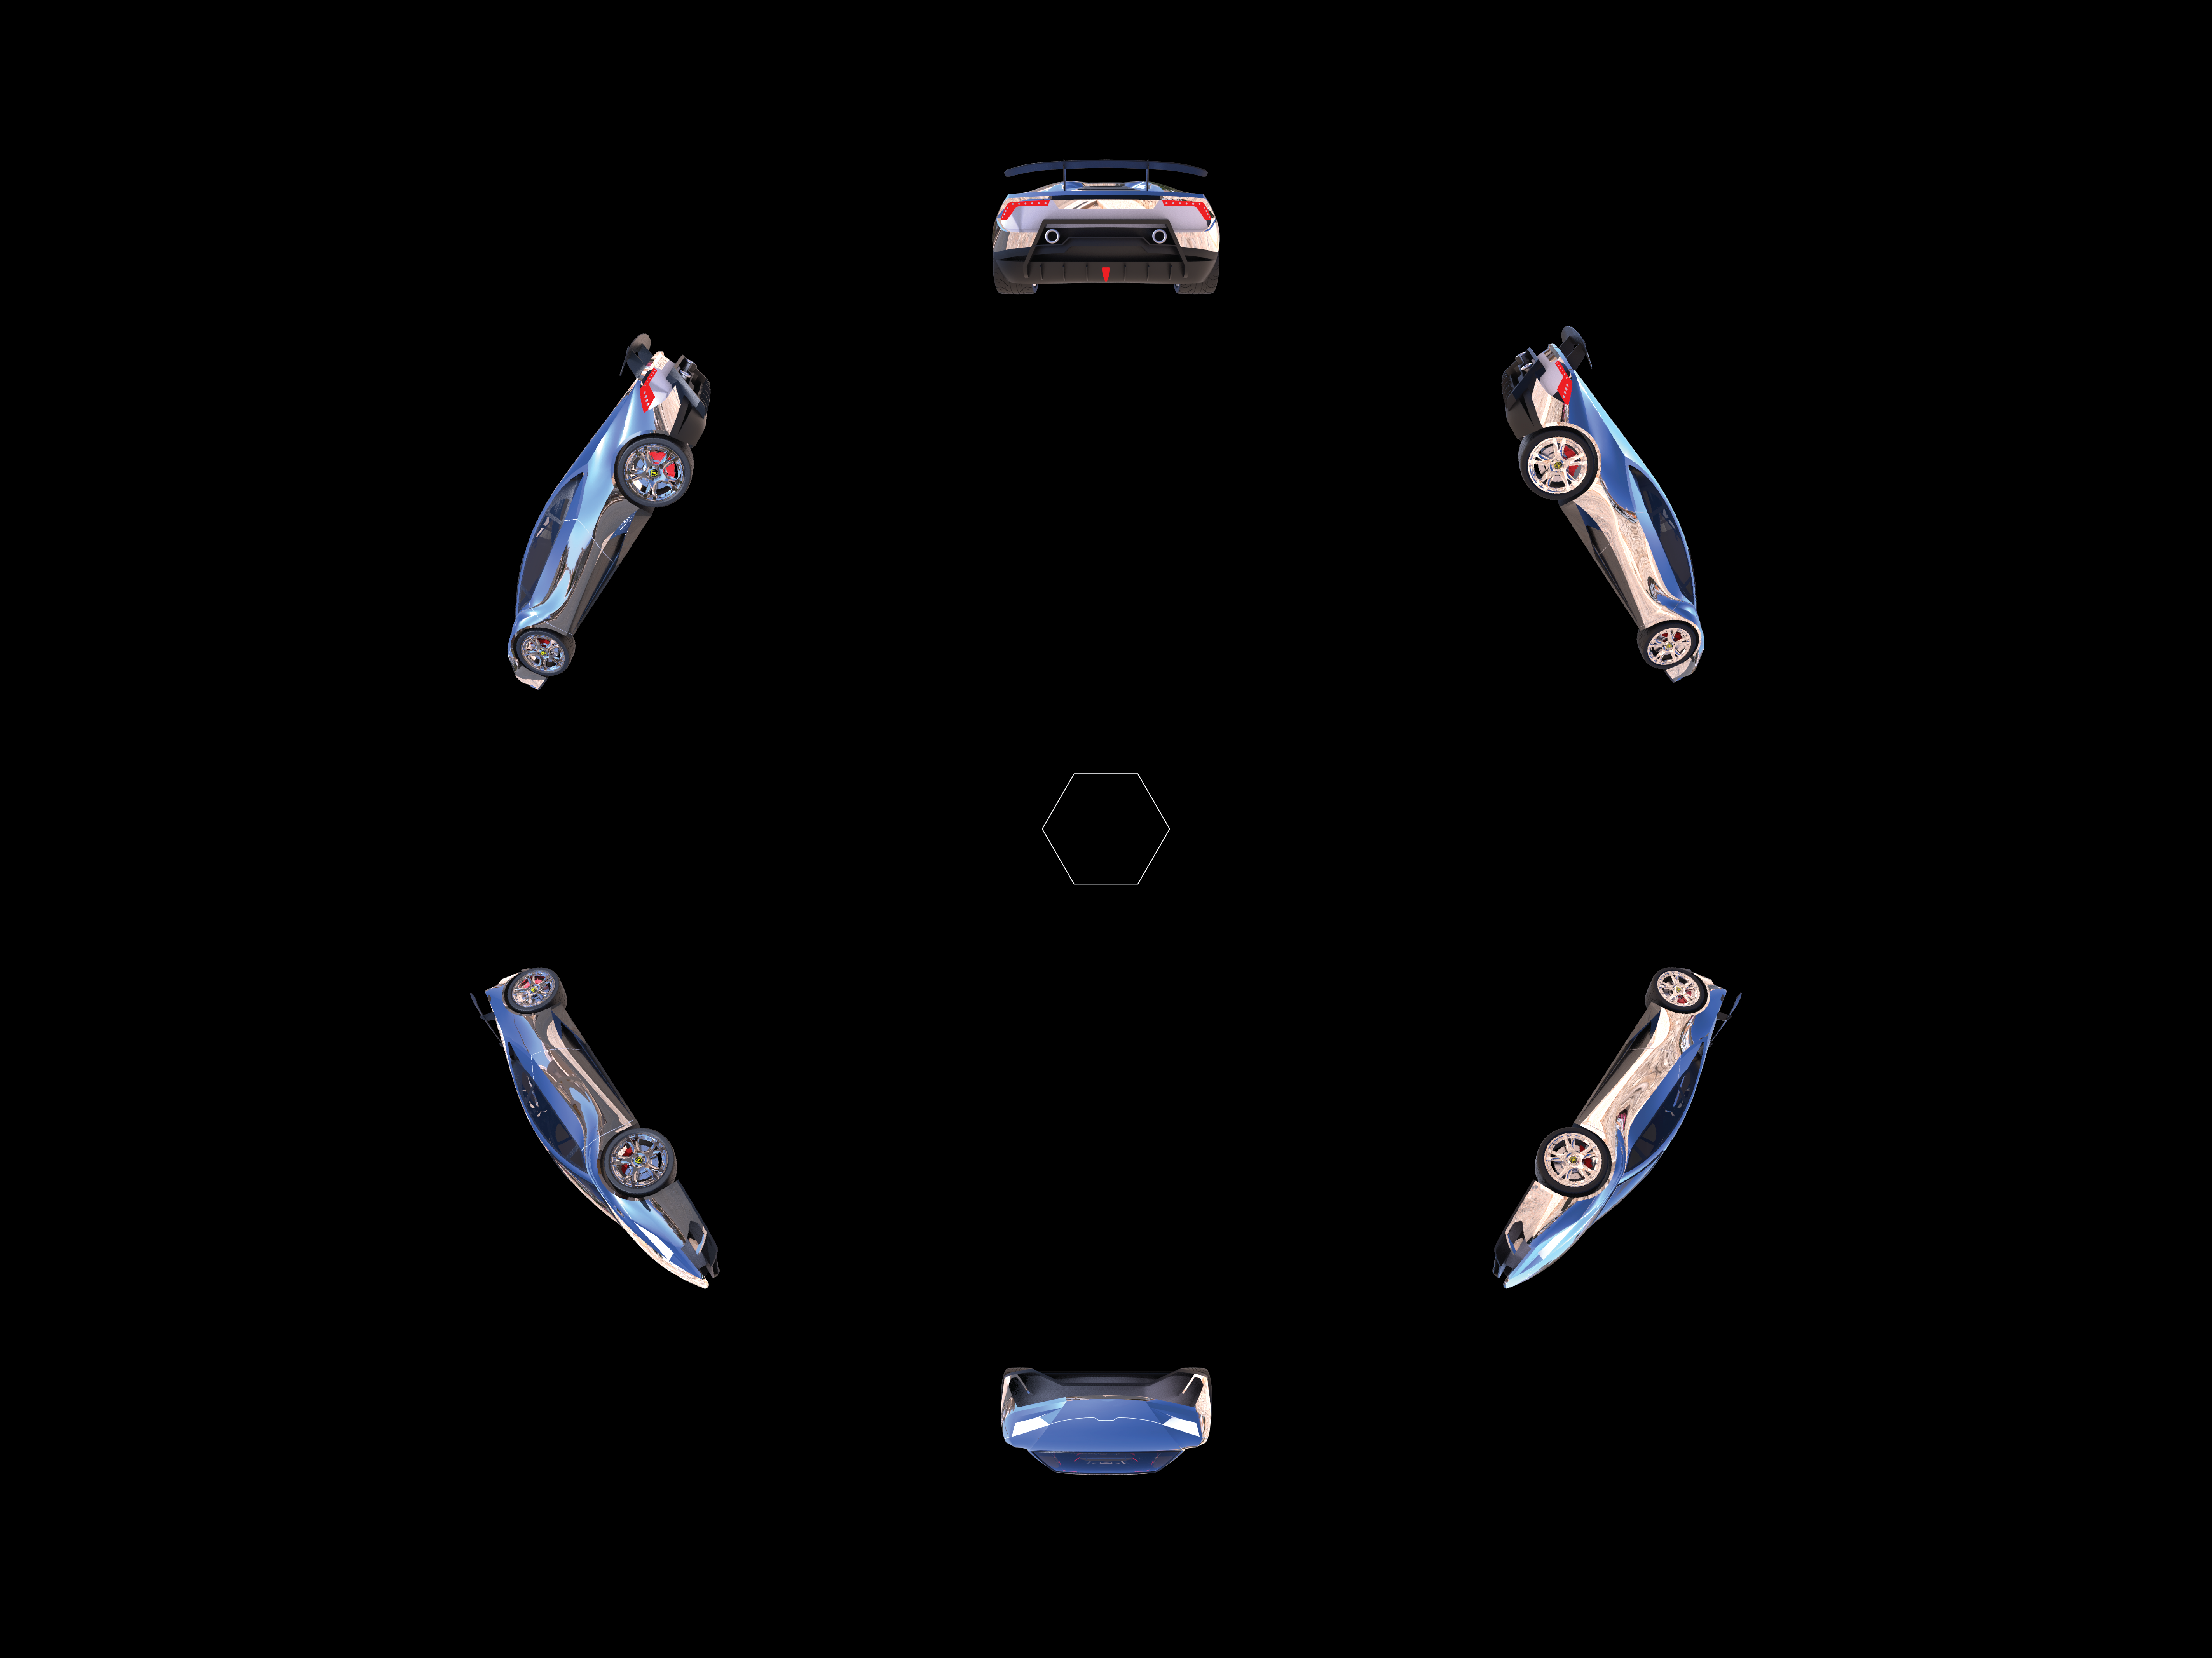
You can either use one of the images we made for this project (find them above), or create your own image from a 3D model using Keyshot and Illustrator. If you want to make your own image go to step 7. Otherwise download one of the premade images and go on to step 8.
3D Model to 6 Images
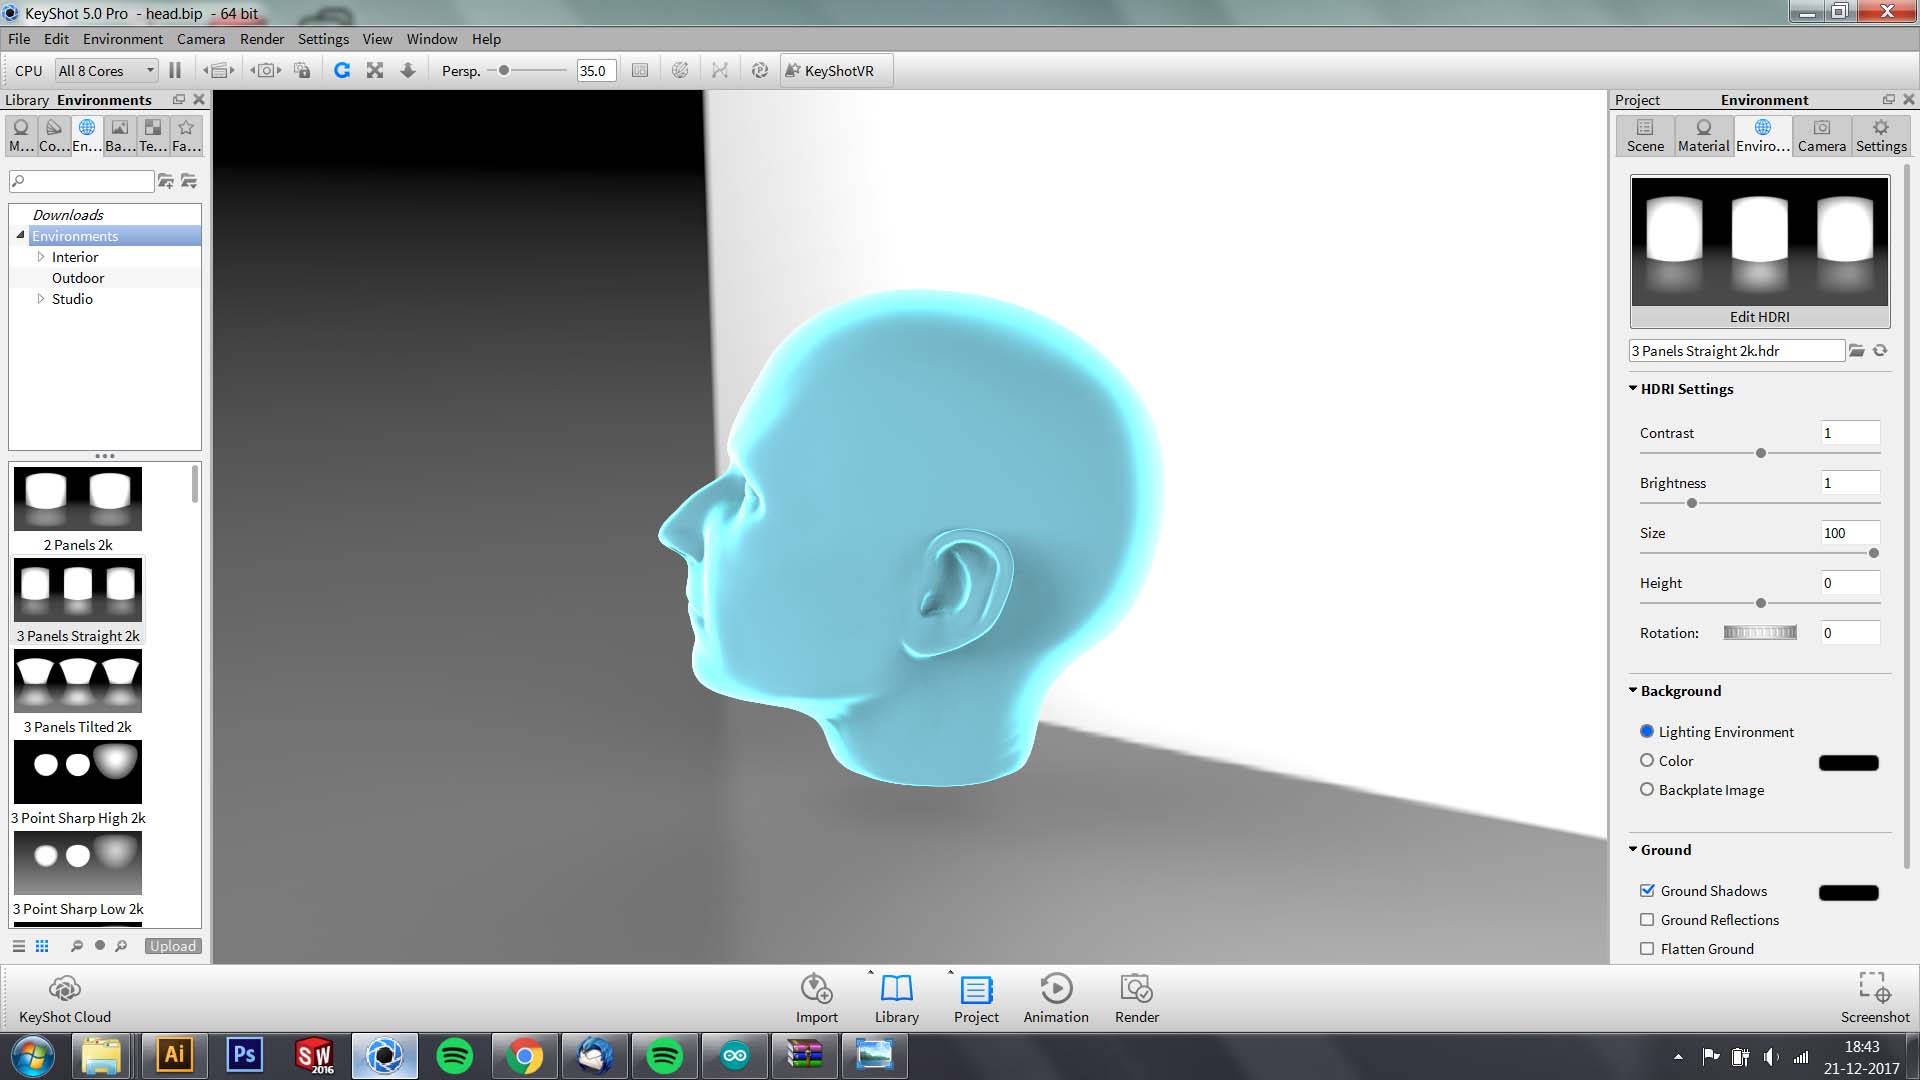
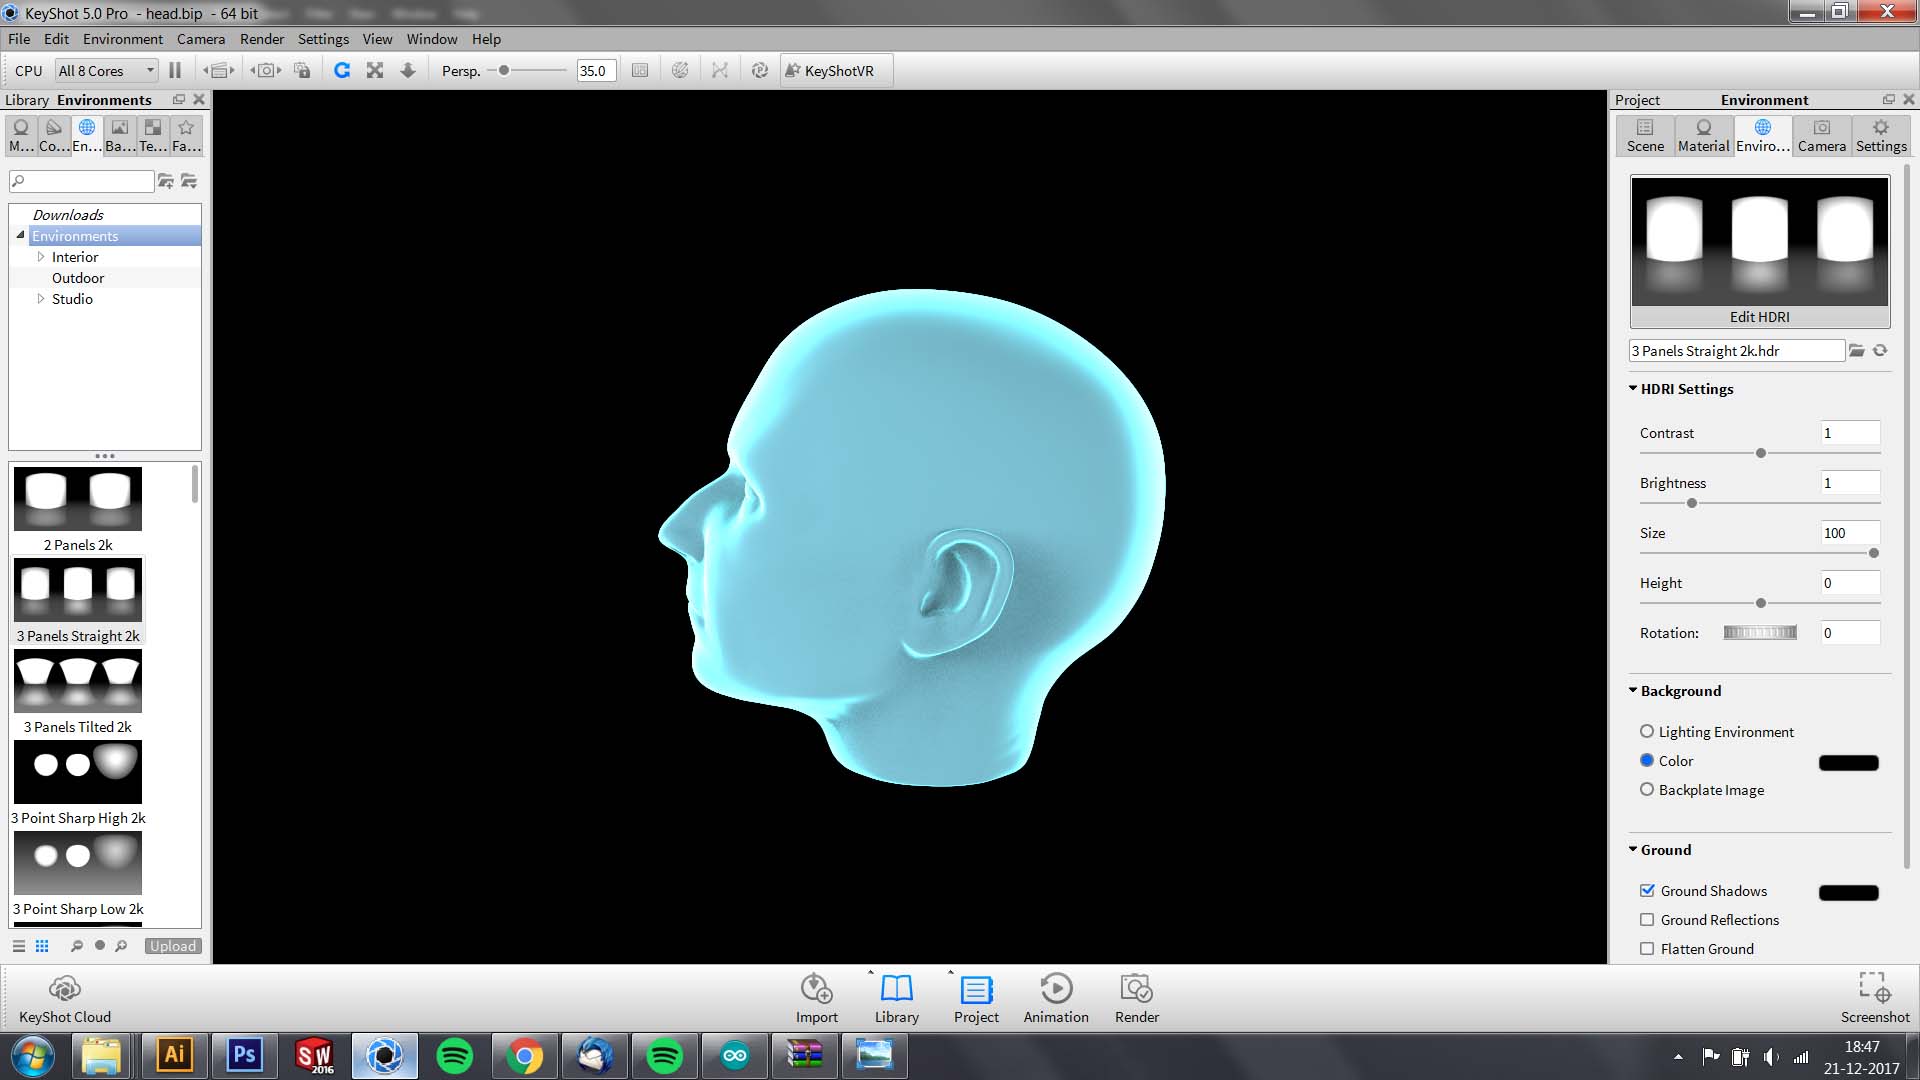
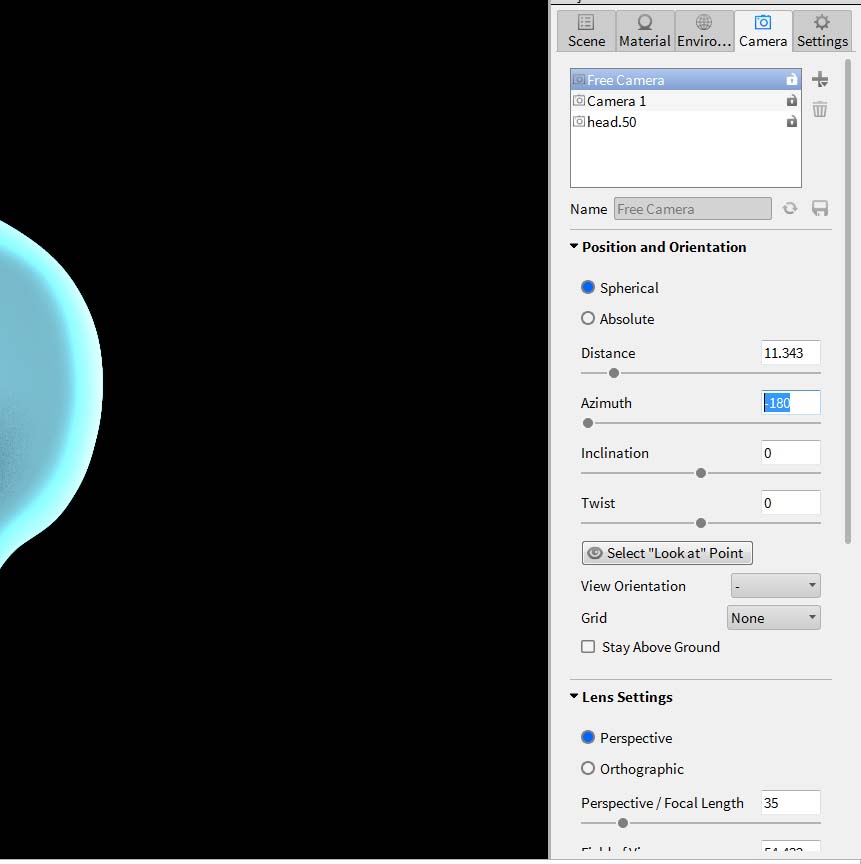
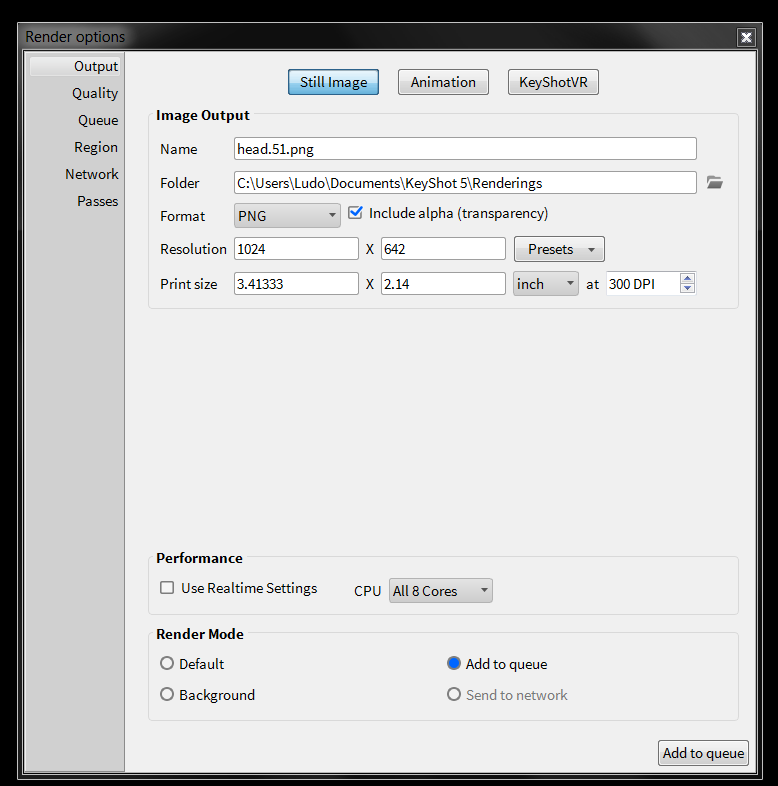
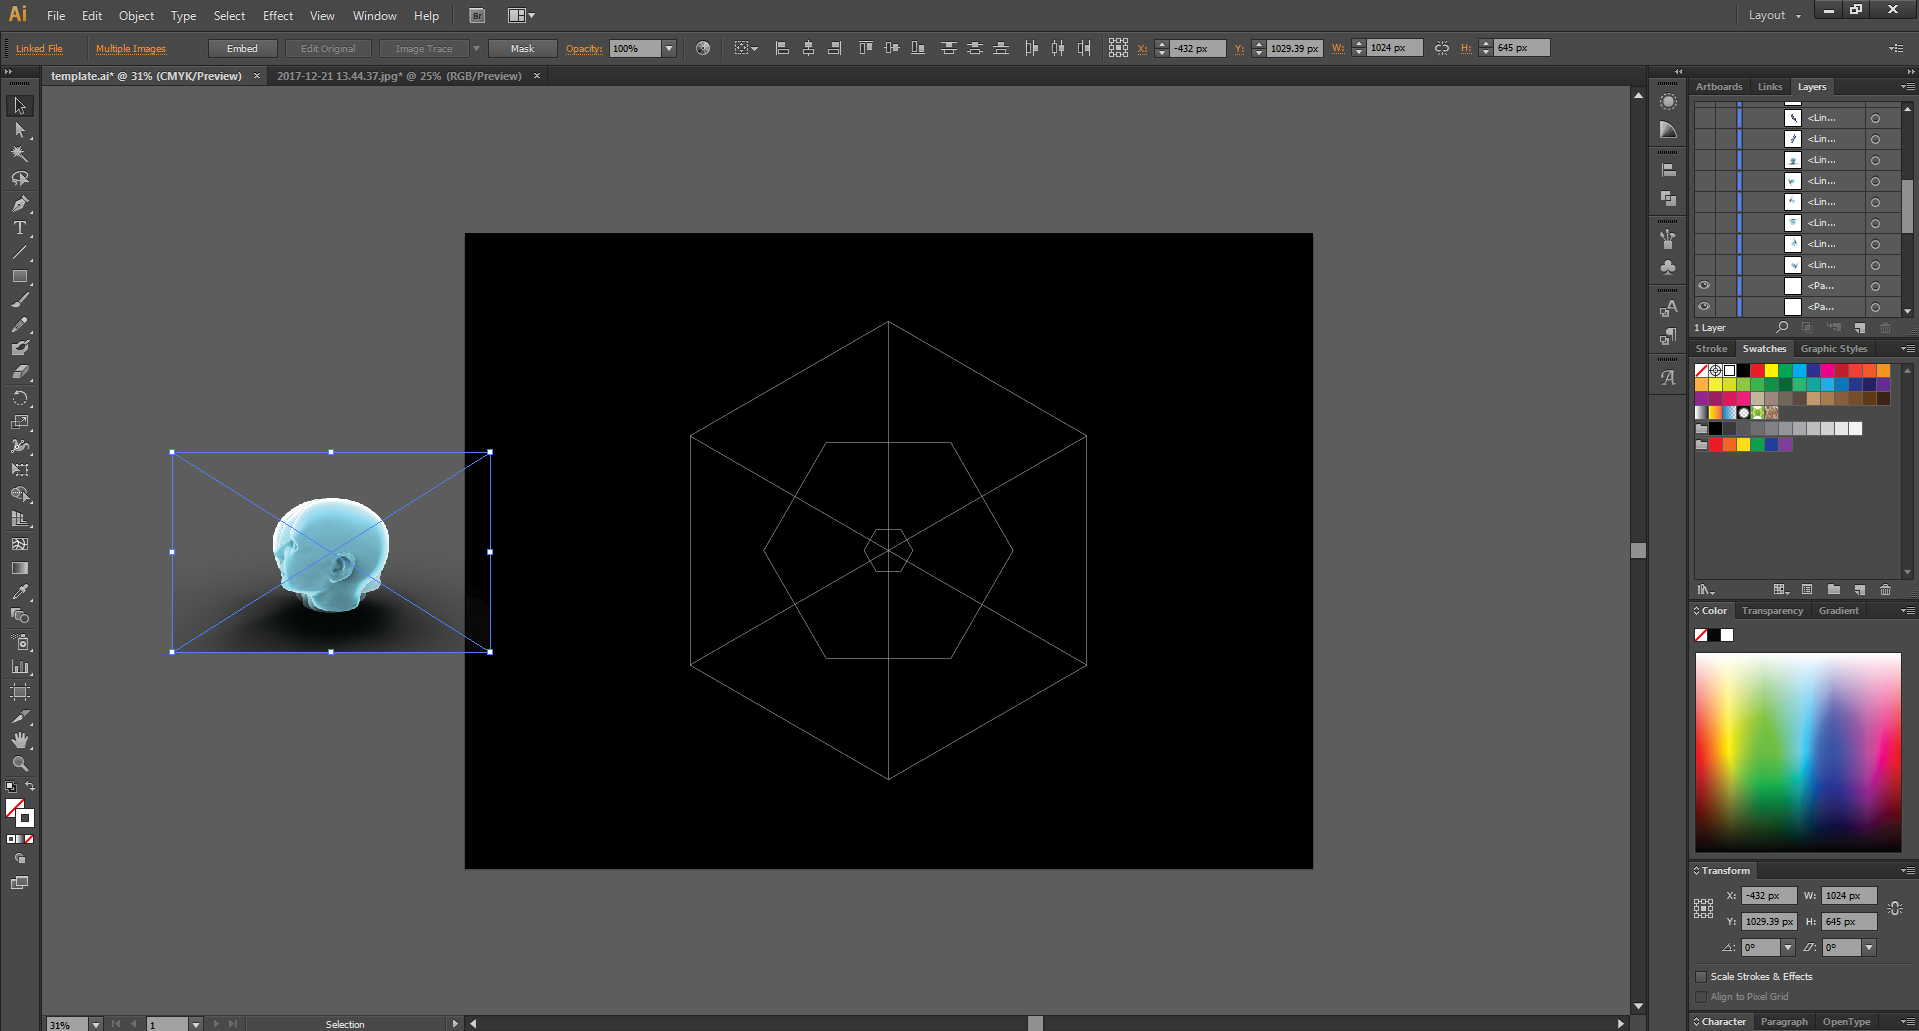
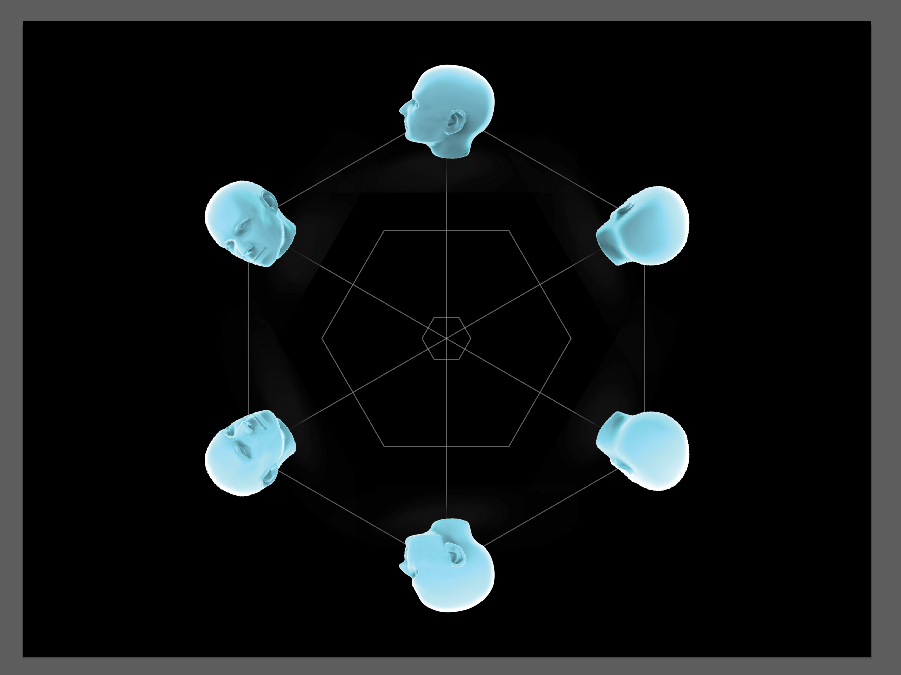
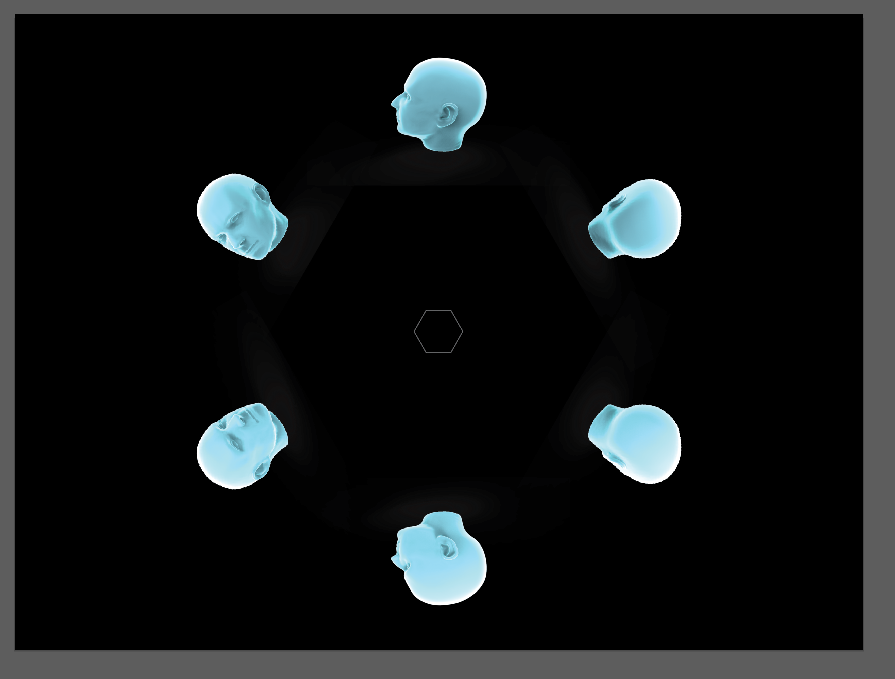
Find yourself a 3D model you want to preview. In this case we used a 3D head we found on thingiverse. Import it into Keyshot:
- Select a nice material and environment
- Set the background color to black
- Start with the Azimuth set to -180 degrees
- Click render, and make sure to select "PNG", "Include Alpha" and last: "Add to queue"
- Add 60 degrees to the Azimuth (-120 would be next)
- Repeat steps 4 and 5 until you have made 6 pictures (last pic is at 120 degrees)
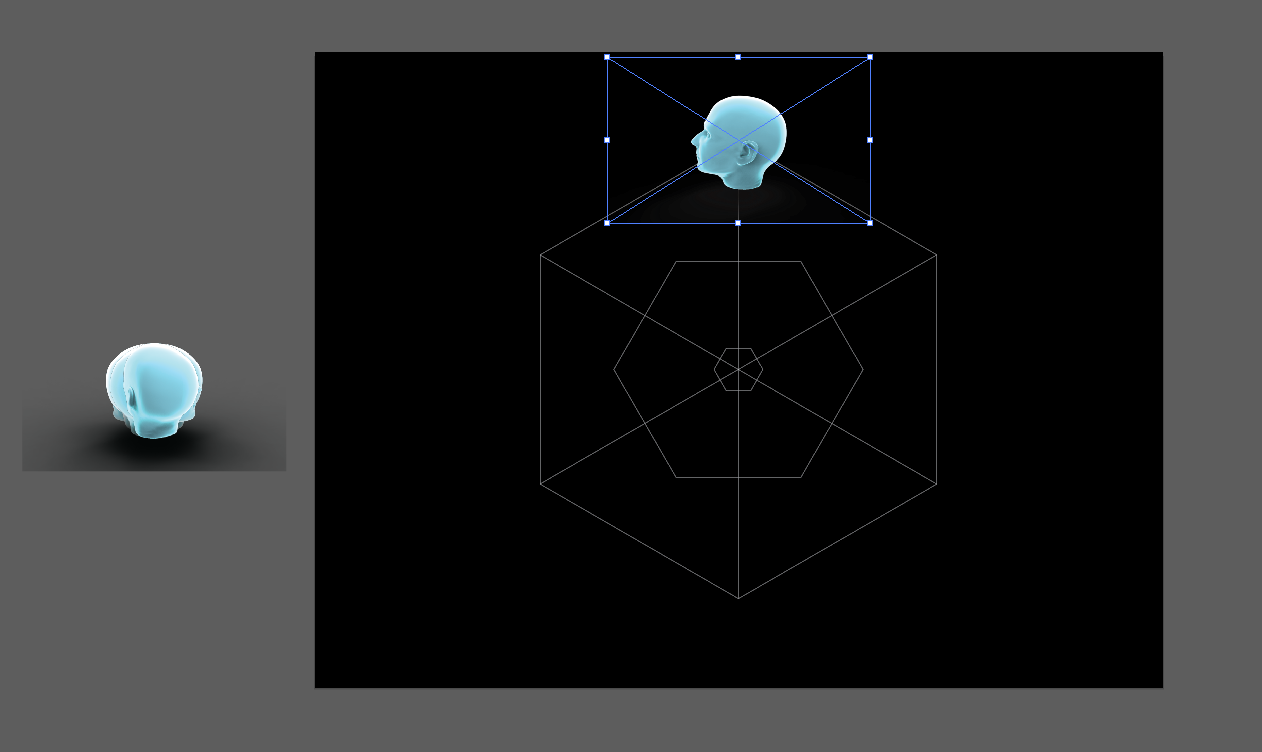
Next, open up Illustrator and load the template.ai file:
- Import all the rendered image you just created.
- Scale them down if needed
- Move the first one to the top point
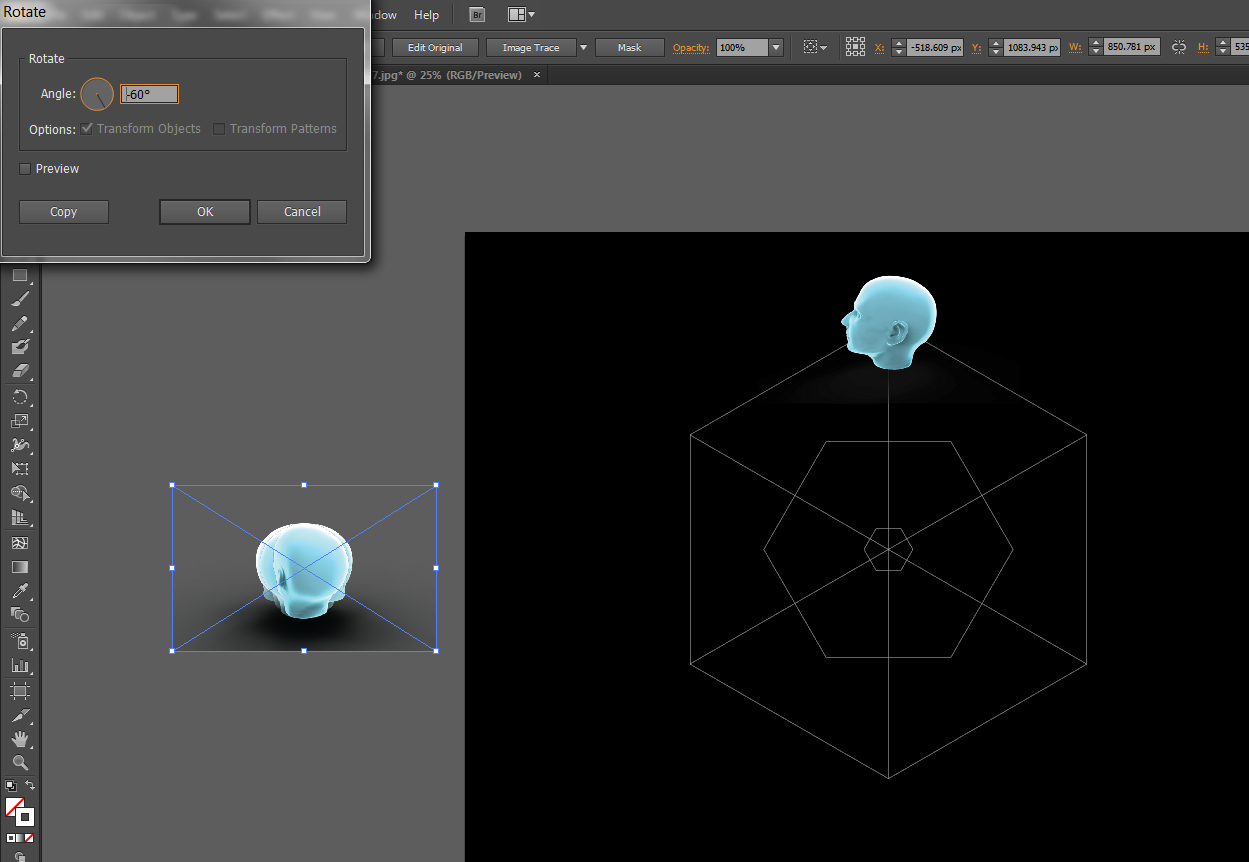
- Rotate the next image with -60 degrees
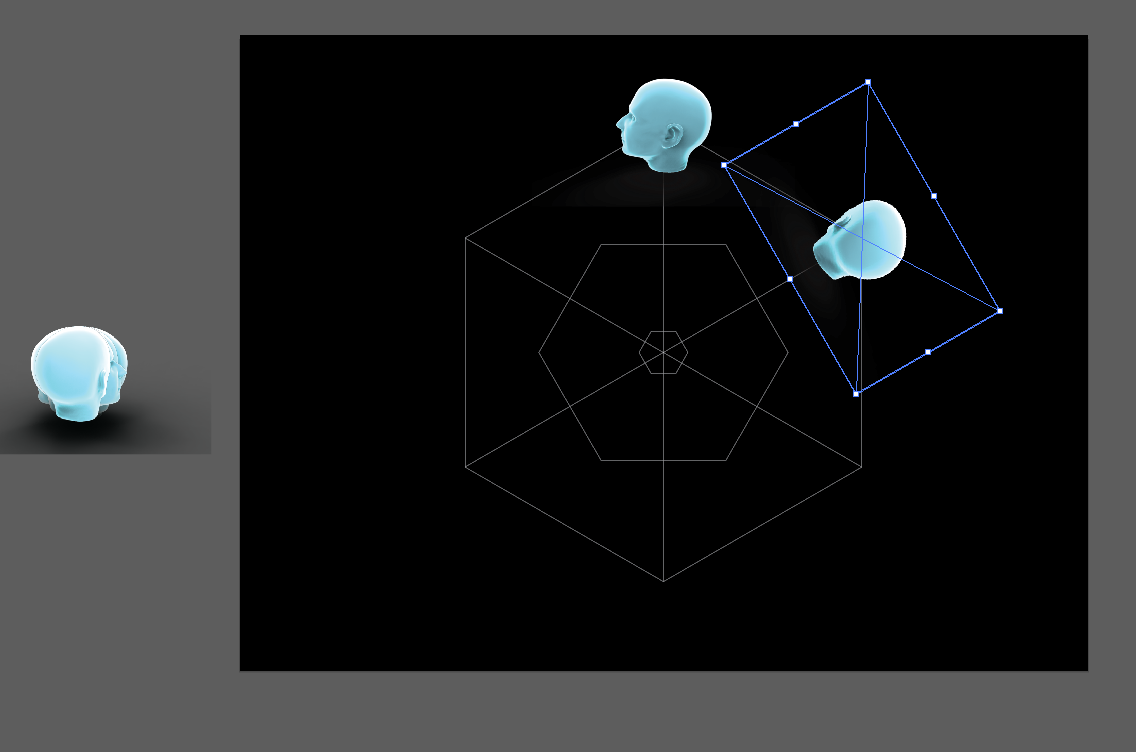
- Place it on the next point (going clockwise)
- Repeat steps 4 and 5 until all images are placed correctly
- Hide all the template elements except the most inner hexagon
- Export it and your done!
Downloads
The Result
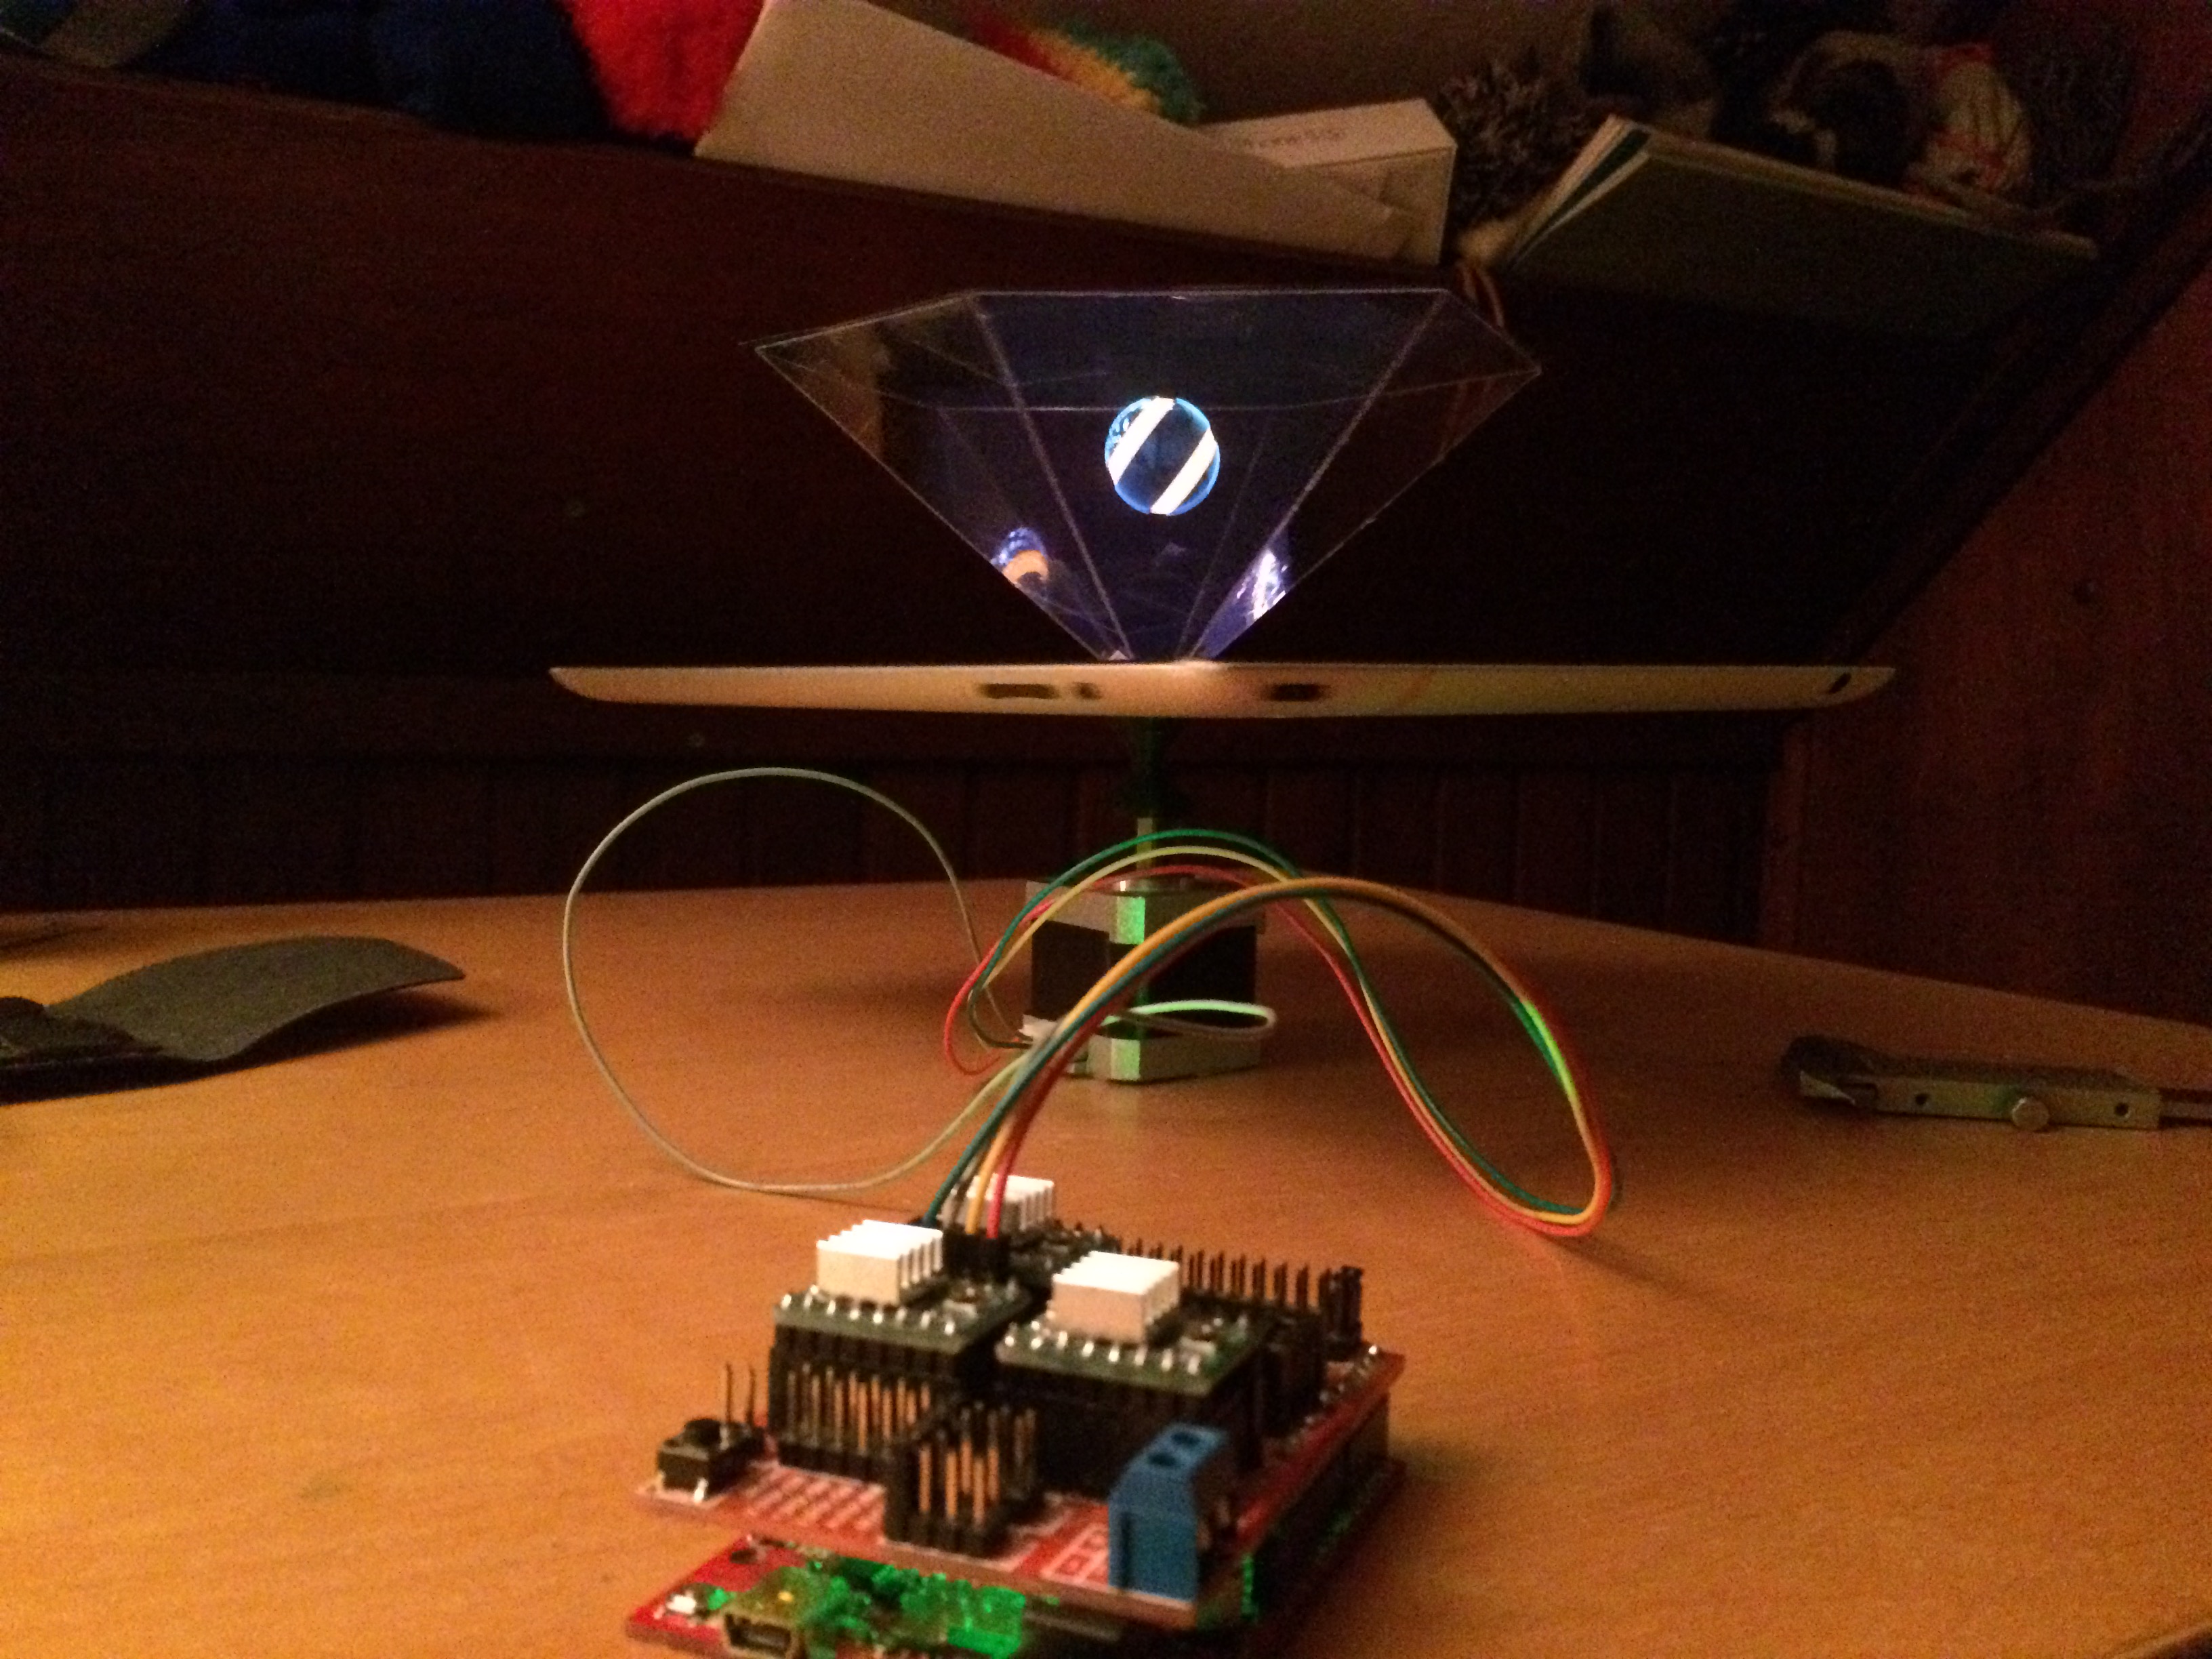
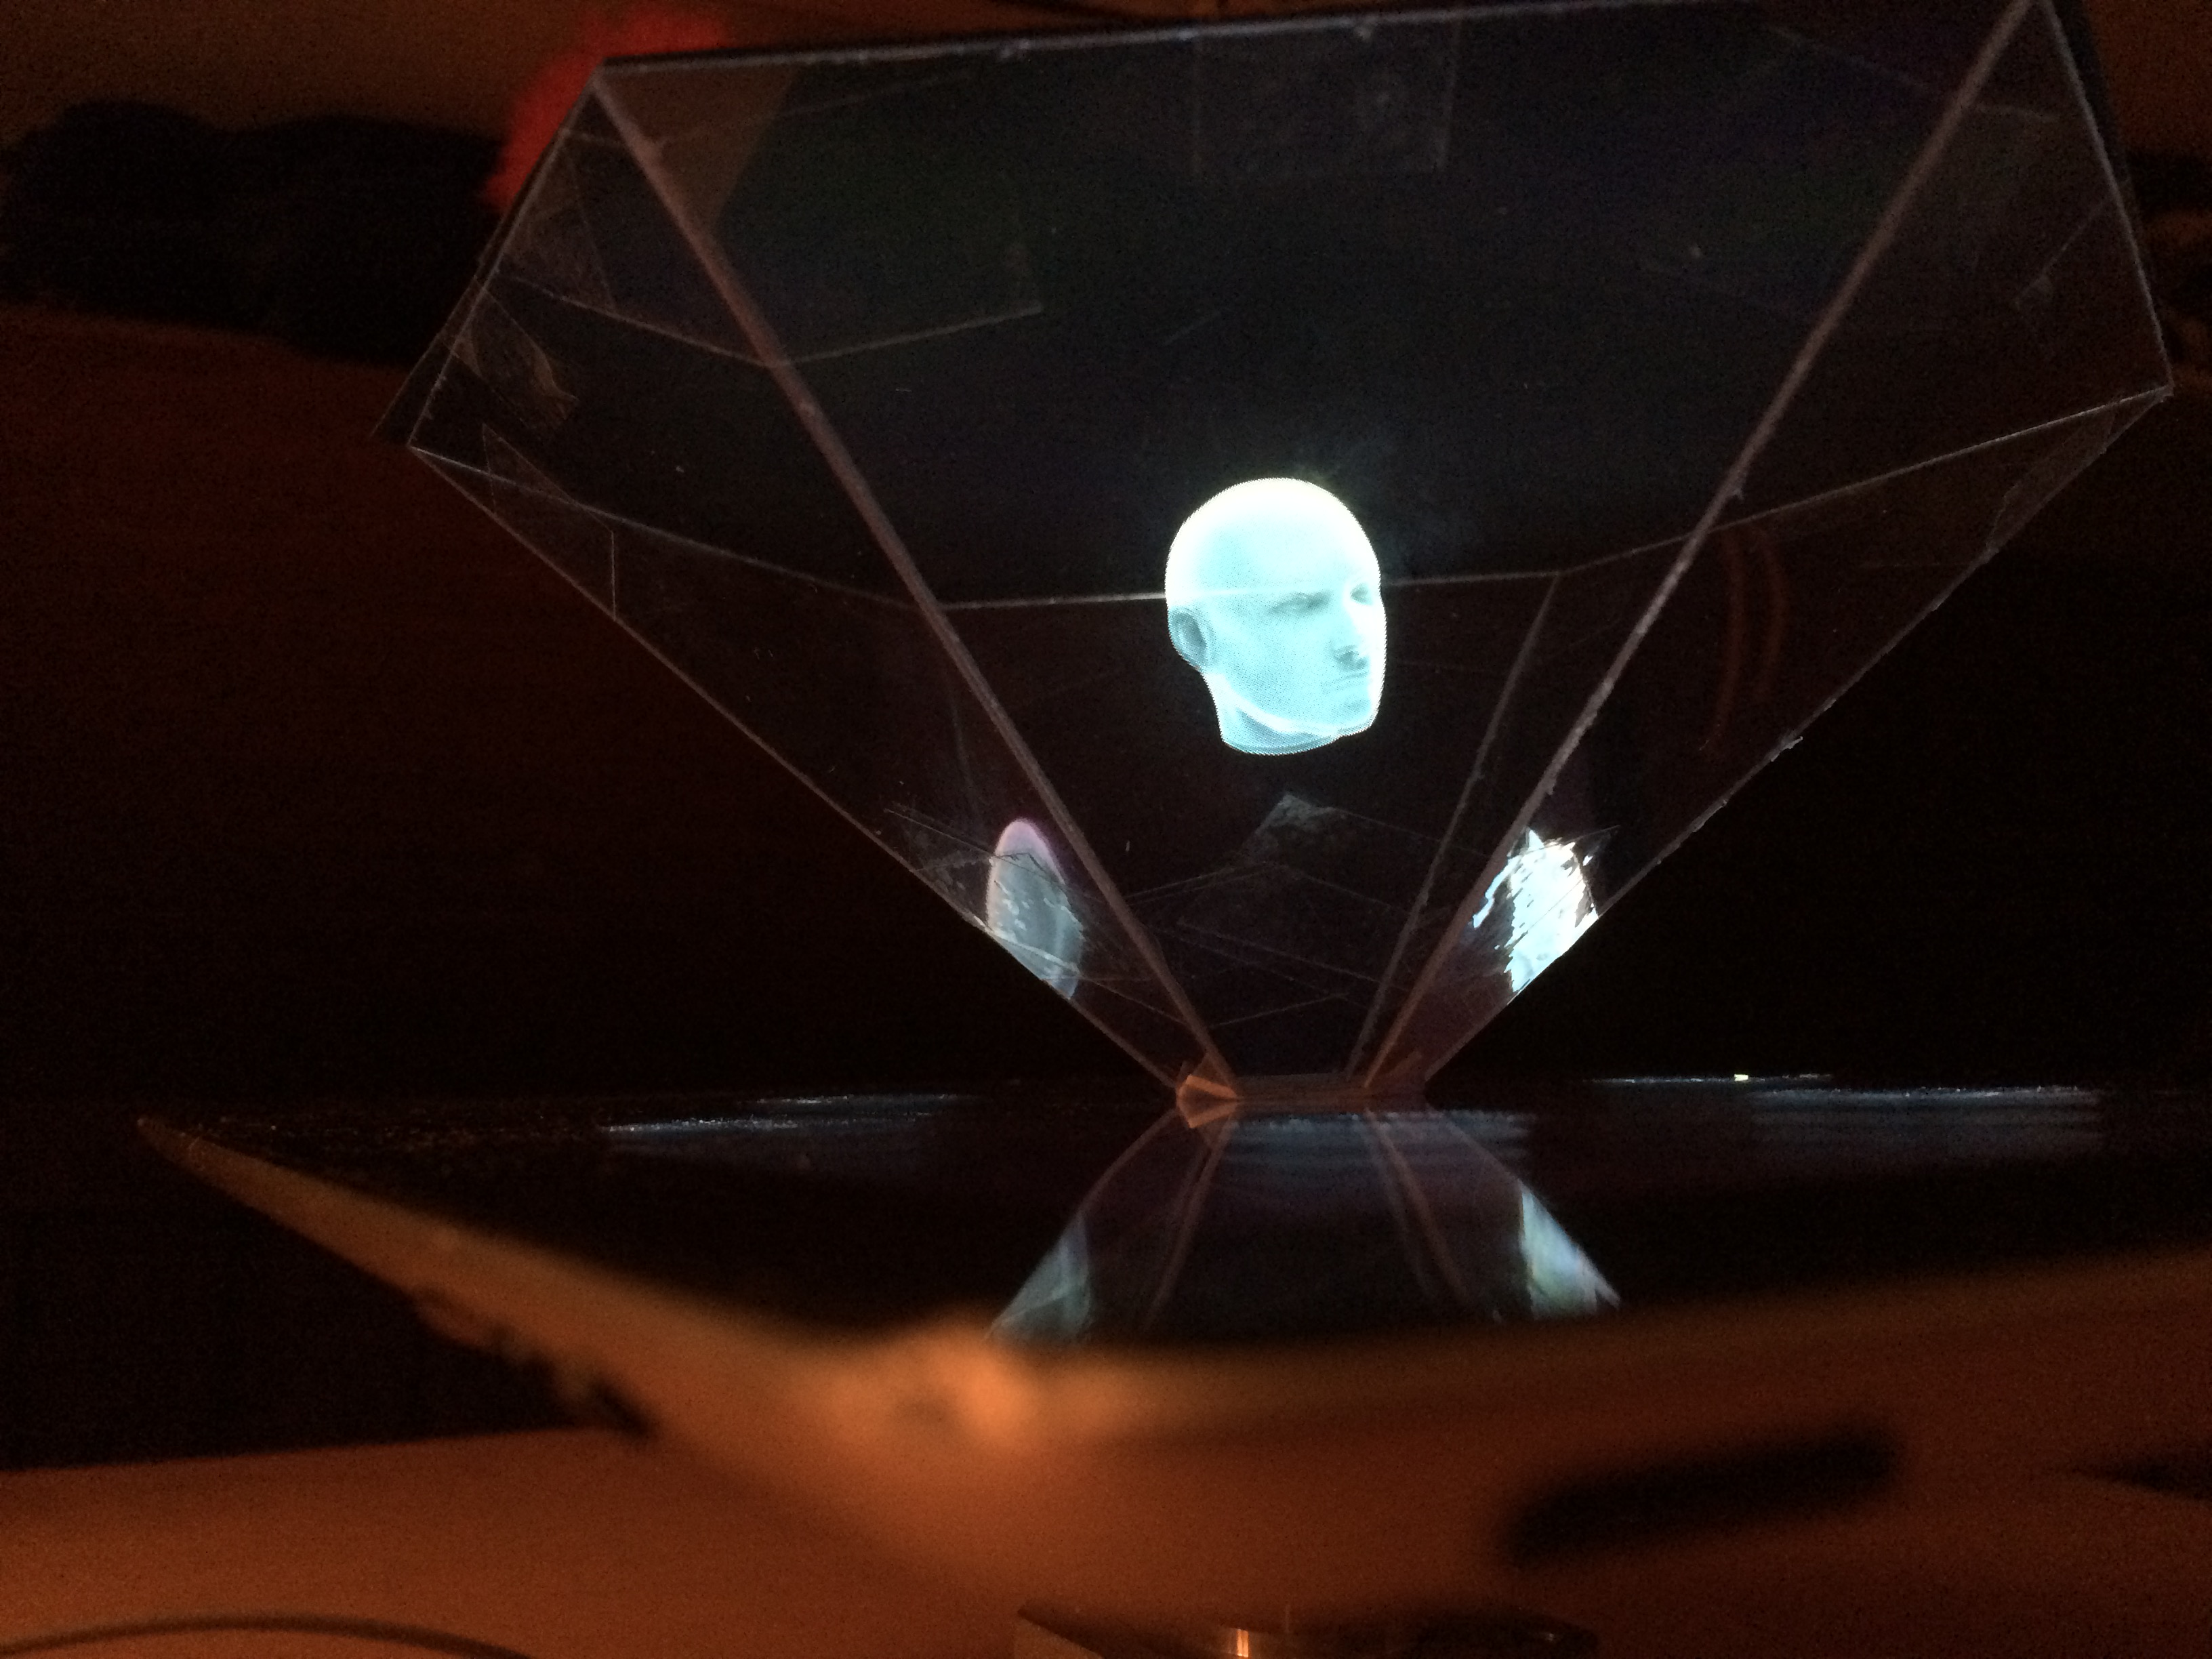
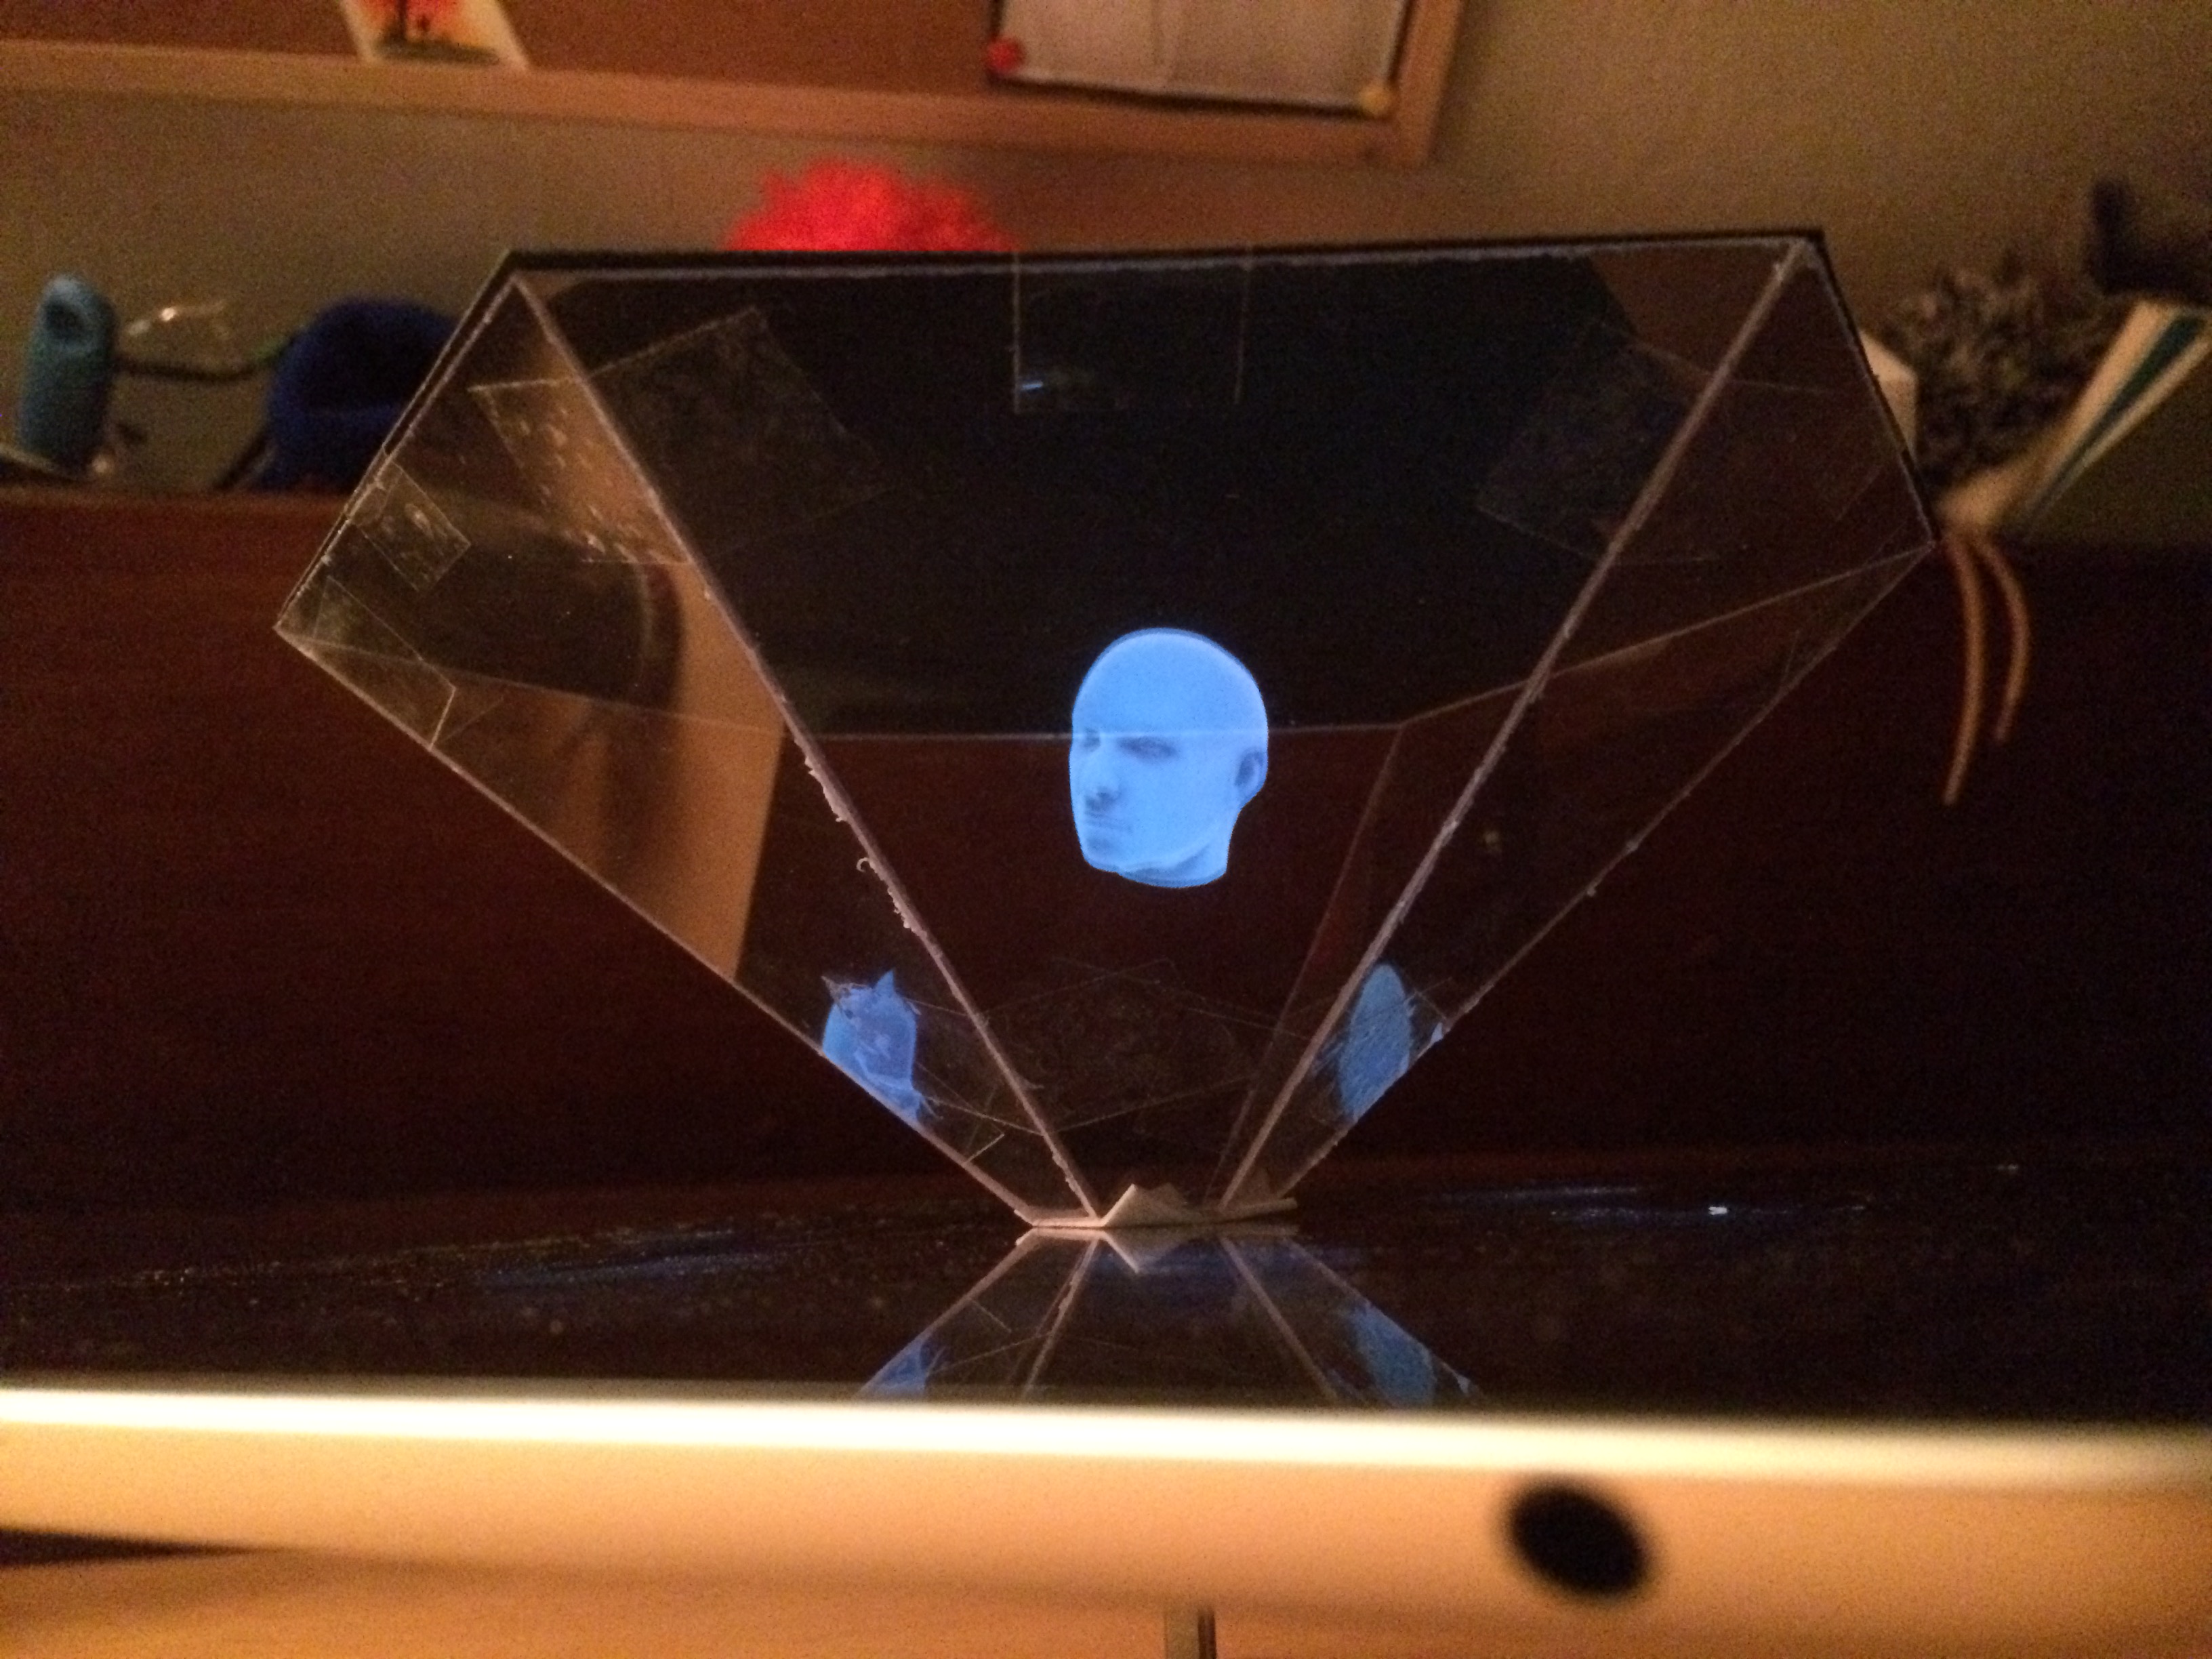
)
)
After you have opened the image on your iPad, it's time to turn off the lights, and attach the power adapter to your arduino.