3D Game Treasure Island Flying Cycle
by joshboo1002 in Design > Digital Graphics
1773 Views, 3 Favorites, 0 Comments
3D Game Treasure Island Flying Cycle
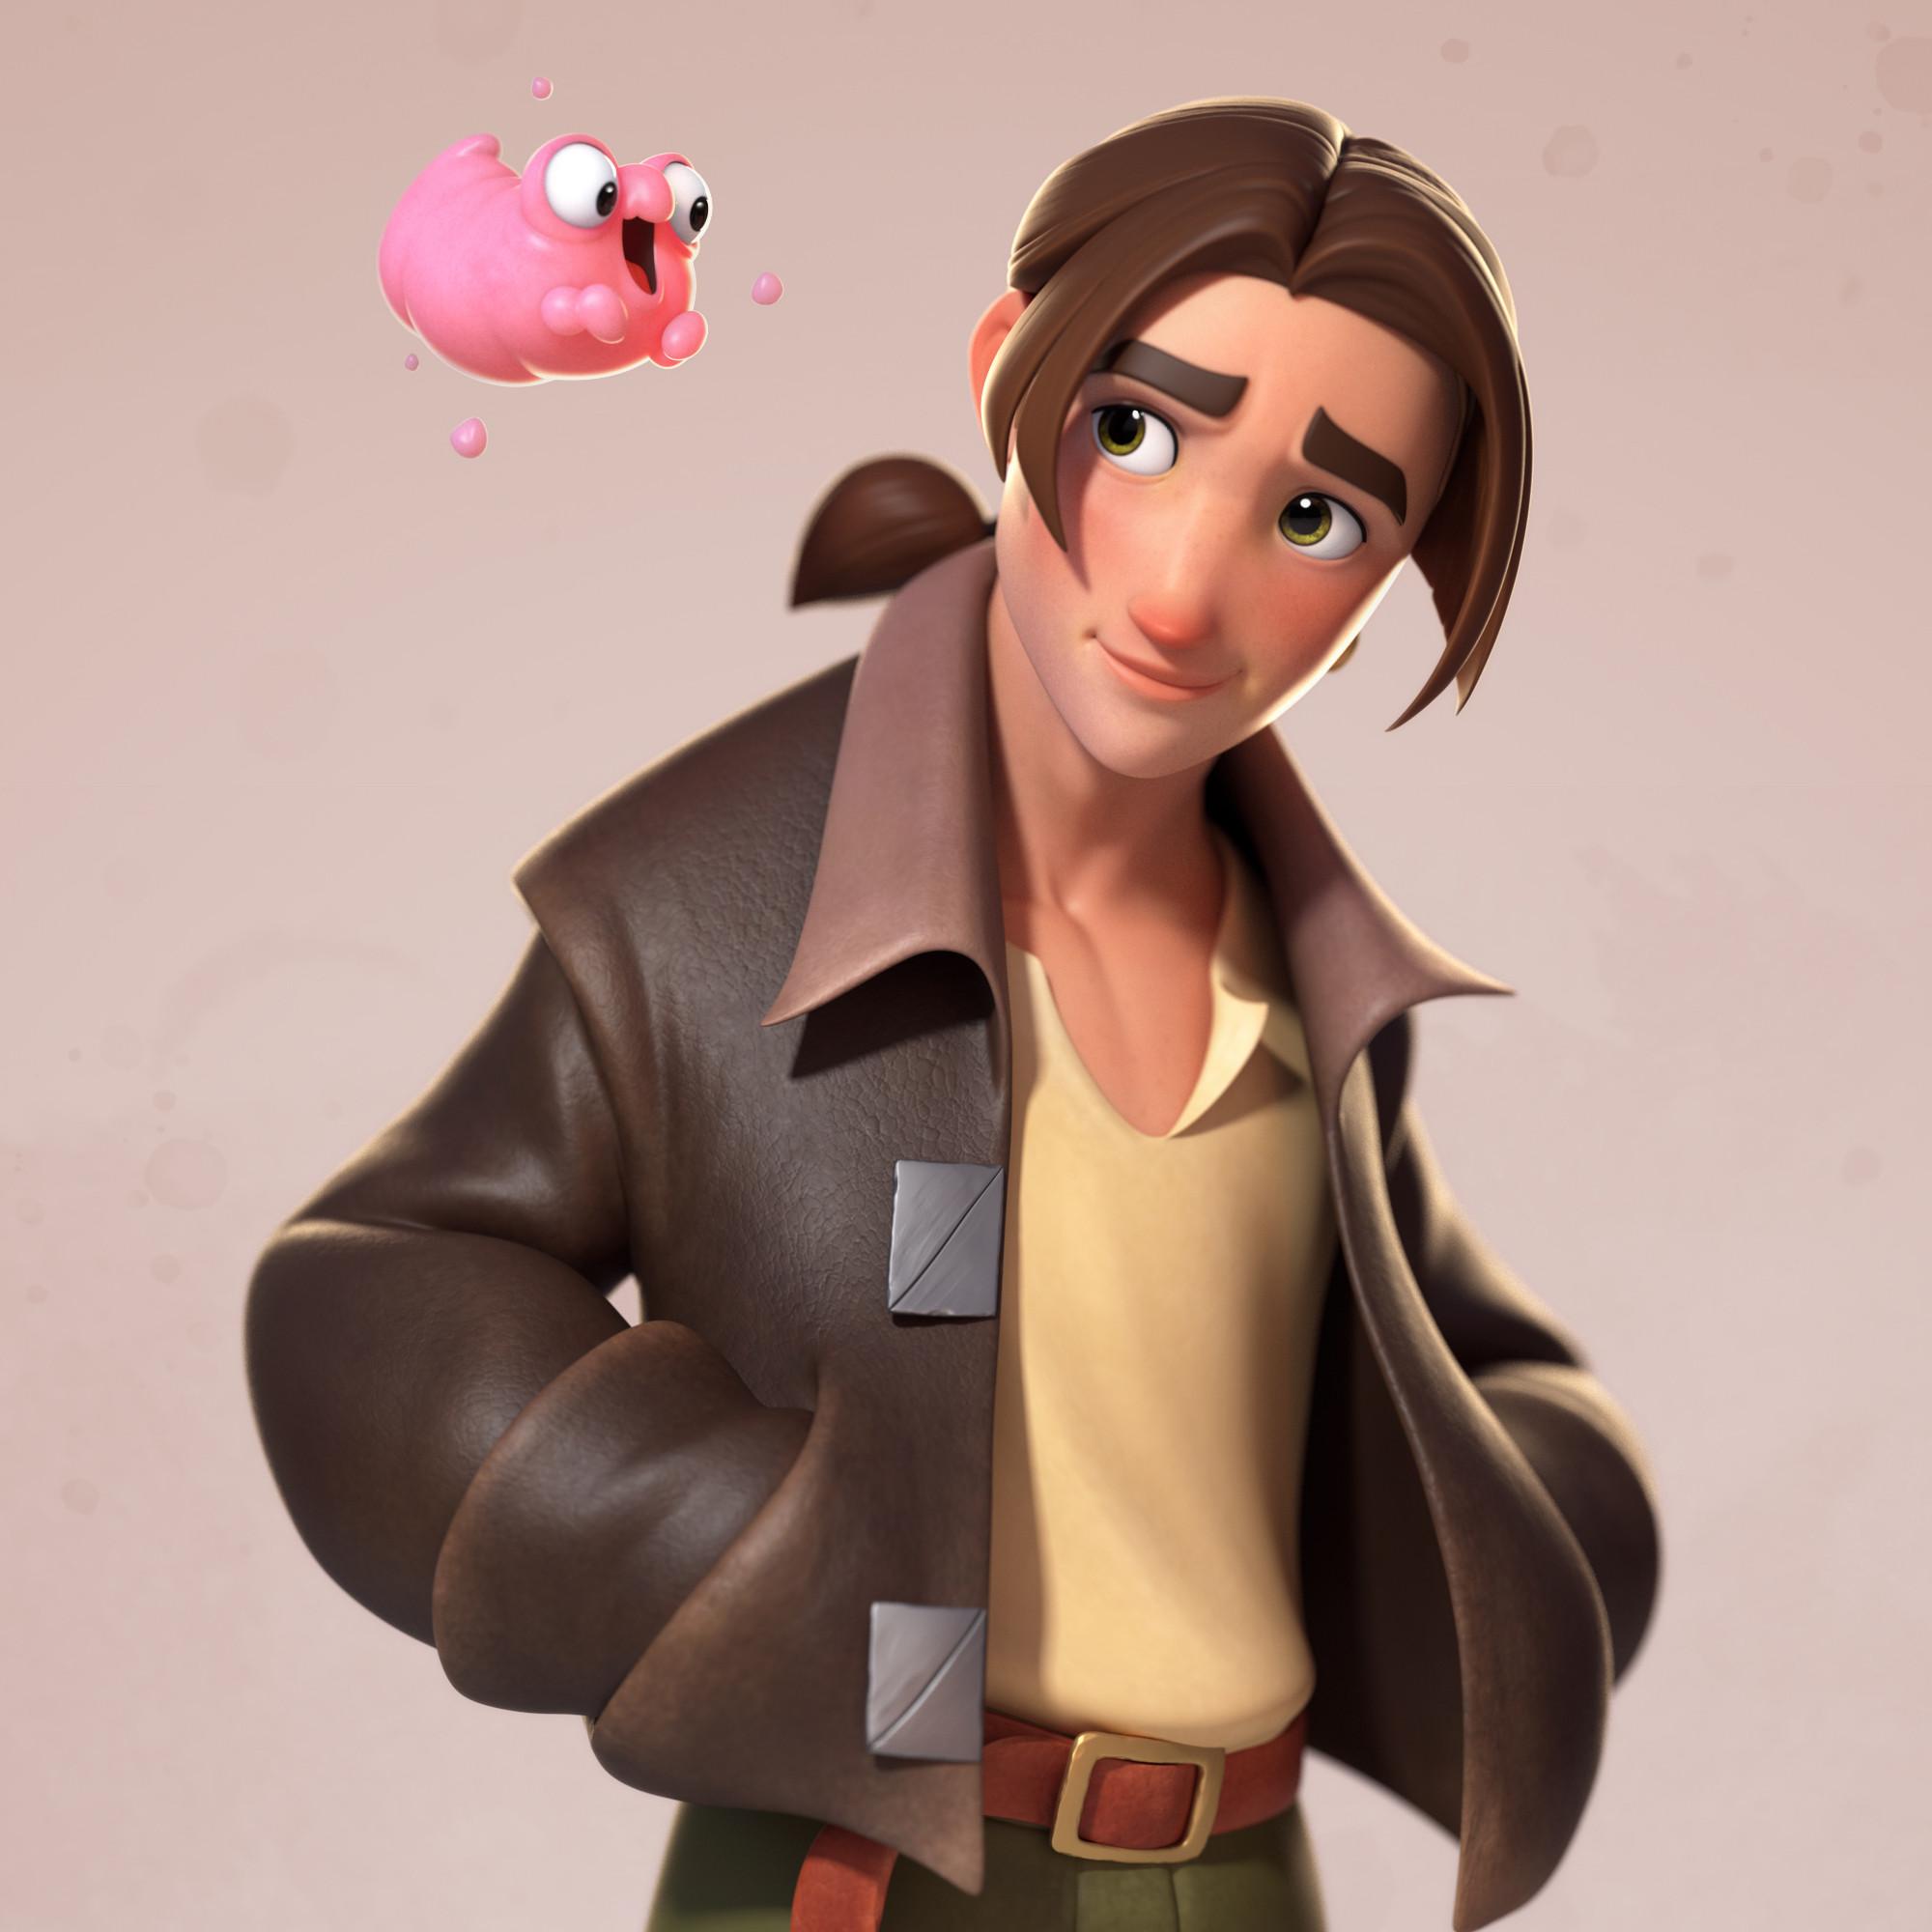
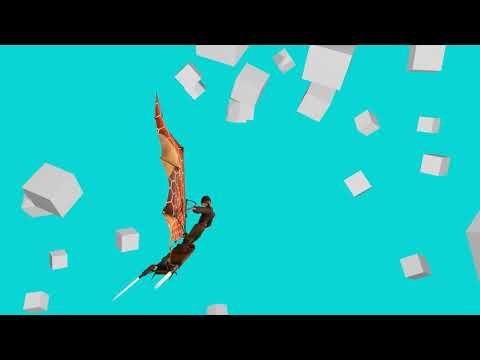
Hey! I'm Josh, a 3D game animator for in the Midwest! I wanted to make this project for 3D animation enthusiasts, and by the end of the instructible you'll have worked with intermediate animation mechanics, have dove into many of the 12 principles of animation, and have an understanding of the graph editor, constraints, and other animation concepts!
All steps will be broken down into their simplest forms for all levels of animators but I recommend this project to student or junior animators who have worked with body mechanics before and have a grasp of Maya as a software as it will be expected you have a working knowledge of Maya to be able to follow along.
Supplies
You will need access (student version or paid) to a version of maya 2022 or up, as well as a super duper motivation to make some cool 3D animation.
This project was made with Maya 2022 but up to 2024/2025 likely can work!
IMPORTANT - You will need to download the "Free - Jim Hawkins + Alponian Surfer - Maya Rigs" from All Things Animation on Gumroad (Link below)
Heres the link; https://allthingsanimation.gumroad.com/l/jimhawkins
All rights reserved for the rigs to All Things Animation
You can also look up "Jim Hawkins Maya Rig" in google and should be able to find it!
(Optional) Some instrumental tunes to listen to if you work better with them! Many studies find that familar, low volume instrumental music can be beneficial for mood enhancement and stress relief which is a great benefit to animators.
I recommend listening to some Fallout Lofi by Jembei on YouTube! - https://www.youtube.com/watch?v=6xhBTszRY8Q
Inspiration - Vision Board
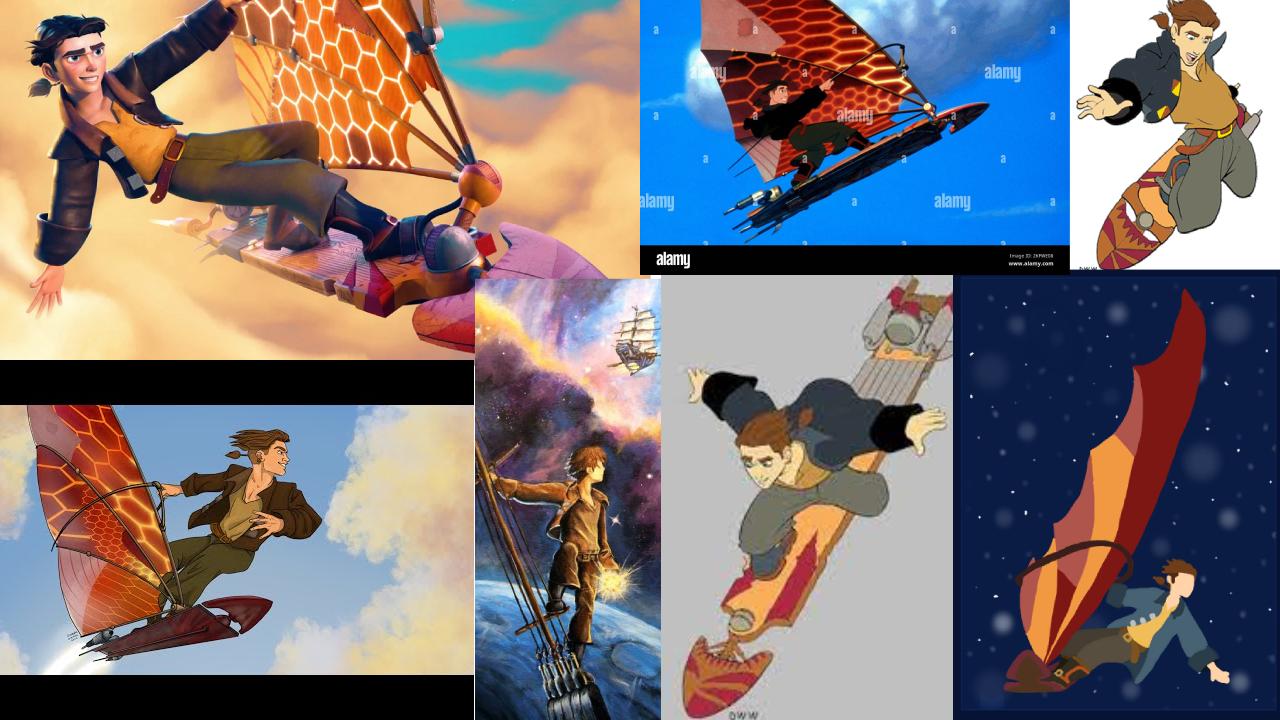
A vision board is a great step to start a project - especially if you, (A) are working with a well known character such as Jim Hawkins, or (B) want to spend some time developing a vision for the project at hand. A vision board can be a physical or digital mix of images, adjectives to describe the character and scene, or whatever helps you think about the project you are about to take on!
These vision boards help you get some mental clarity and understanding of what is most important you want to convey with your animation, feelings, mechanics, or otherwise.
Step (1)
Searching for images of Jim Hawkins riding his Alponian Surfer on google and throw the ones you found most interesting together for a vision board. The great thing about the images too is that it helps us understand what kind of poses we feel are the most important throughout the animation, called "Golden Poses". I personally gravitated towards the one hand on the surfer, one hand out adventurous feel for Jim Hawkins!
Understanding "the Assignment"
A good way to go about this shot is to pretend that I or somebody else assigned you to it, and you will have to work under the guidance given with creative freedom! In our case, our made up game studio named "Ambassador Games" has me as the animation director (How cool huh)
The Assignment
You will be assigned to make a locomotion cycle of Jim Hawkins riding his alponian surfboard that should cycle back into itself for a flying adventure game! This cycle should be between 60-90 frames in length! By "Cycle back into itself" I mean that the start and end poses of the animation match, similarly to a walk cycle or a run cycle in a video game.
If the idea of a cycled animation sounds foreign I recommend watching @RustyAnimator on Youtube to give yourself an idea of everything!
Scene Setup, Preparation, Rig Testing
Now you're ready for action!
Step (1)
- Ensure that you have downloaded the project files from the supplies step above, as well as have a version of Maya between 2022 - 2024 to start the project. If you are a student remember you can get Maya for free using an Educational License!
Step (2)
- First and foremost we are going to want to set up a new project, so create a new folder in which the Maya file and files from Gumroad are all in one location
- In the Workspace tab on the top right - Select Animation
- From there, Select "File" --> "Set Project" --> (Find Folder You Created) --> Select Create Default workspace
Sometimes it glitches and you'll need to set it twice following the same process
- You will then need to reference in both the Jim Hawkins Maya Rig and Alponian Surfer rig; Here you will go to:
File --> Create Reference --> (Find and Select Jim Hawkins Rig you downloaded)
- Repeat with Alponian Surfer Rig
- From here, we have both rigs in the scene. Now, need to apply our texture to the Jim Hawkins Rig and Alponian Surfer. No matter if you have set up your project yet, this step will work if you can locate where you downloaded your textures and rig from.
Windows --> General Editors --> File Path Editor --> (Click on the top of the "unresolved") --> Auto Resolve --> Browse --> Select Jim Hawkins Folder
Step (3)
- All we want to do is test the rig out; see what is available to us before we dive in! Check for where IK and FK switches are, controllers on the alponian surfer and how that rig works, and just see what options are available to you before you dive in.
Some notes I gathered from testing:
Huge amounts of customization with hiding geometry
Great face controller W/ Eyes control
Secondary controls on the pants and arms
Extreme poses work well and rig is suited for it!
Alponian Surfer has lots of small controllers + Larger sail control at the base
Individual flag controls
Built in "Wave Anim" Control on Alponian Surfer under Sail Settings and near base of the sail
Let's dive into the scene even more!
Constraints Setup + First Pose
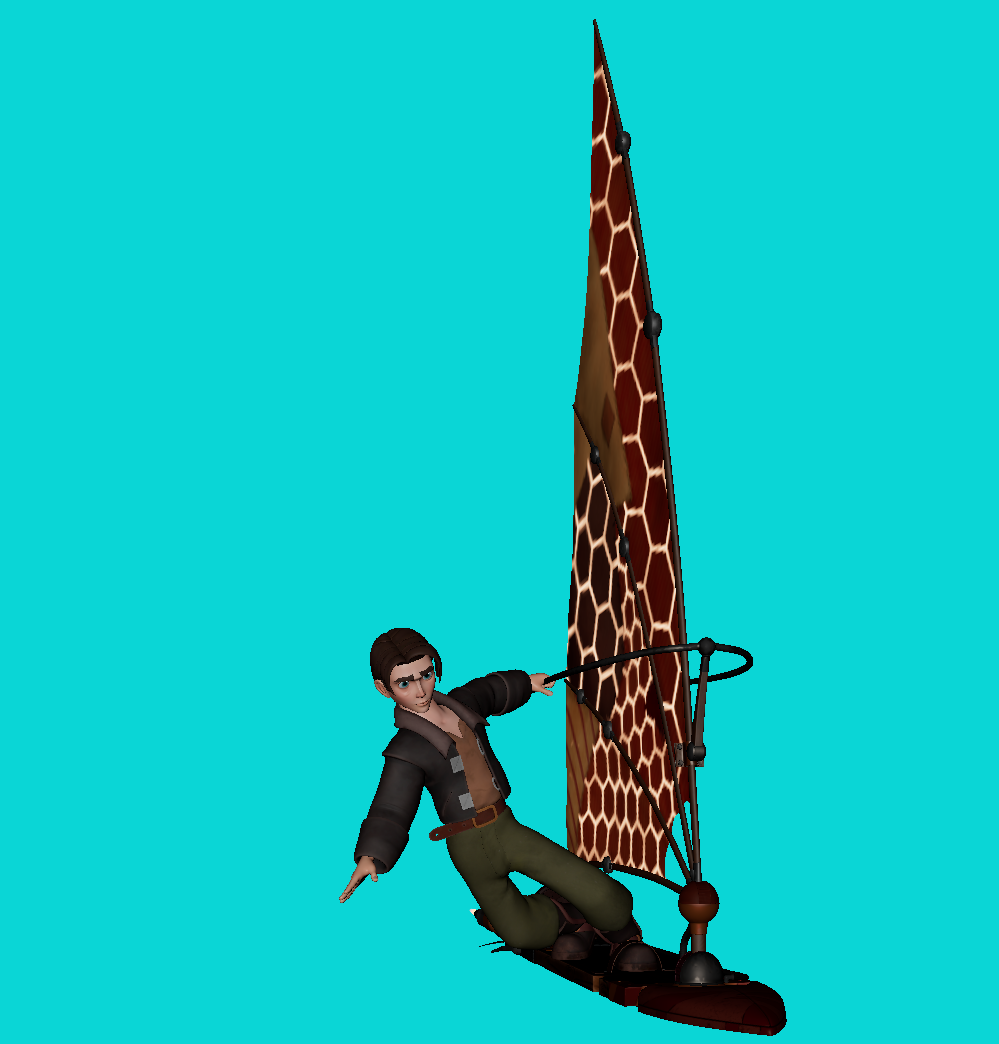
To many animators, constraints can feel like a mysterious stranger that we may have heard or seen before. The constraints we are going to set up in this project are very simple and you'll walk away with a good understanding of how you can use them in the future as well!
Before we get those constraints fully set up - Let's create our first pose for the animation
Step (1)
- I use a mix of a pose to pose and straight ahead workflow outline by the 12 principles of animation, but initially for this project, I used a pose workflow to develop those "Golden poses" first as I was talking about earlier. In this step I'm just going to make a simple pose of Jim with on hand on the board as our vision board helps me draft out the pose in Maya.
- Next, create 1 "locator" from the create tab - We will use this locator to attach Jim to the surfboard so that while the Surfboard moves, he moves with it. Our locator will be placed where Jim is grabbing onto the surfboard.
- Once you have set up your pose - We are going to use the locator we made along with parent constraints. Important note - Remember that in using constraints, always select the controller that is going to be "Driving" the motion first, and then select the controller that will be "Driven" second.
- So in our case, I put the first locator where Jims hand is on the surfboard. Then selected the locator, then selecting the IK hand, and going to constraint --> parent constraint, making sure that the "Maintain offset" is checked in the parent constraint options. Now your locator should drive the movement of the hand!
Step (2)
- Now that your locator drives your hand movement, we want the surfboard to drive the locators position so that Jim's hand is always attached to the surfboard. We can do this by doing our same parent constraint technique with the "Driver" selected first, then "Driven" after and parent constraining the locator to the "steering CTRL" on the alponian surfer rig. This controller will be green and is directly located where you placed his hand!
- After this, all you need to do is take the global control of the alponian surfboard and parent constraint it to Jim's "Main extra" control at the bottom of his rig. Now you will have the setup where if you move the surfboard global control, Jim moves perfectly along with it while mainlining his hand position, how cool!
Blocking Poses for the Surfboard
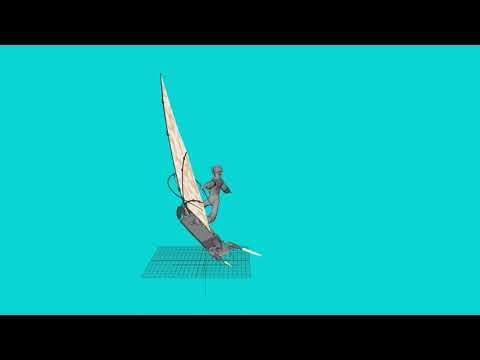
By this point I can tell you have a Can Do attitude so let's get this section underway!
Step (1)
- Firstly, ensure you are working in 30 FPS in Maya as this is a project where in a real studio we would want to export to a game engine which work primarily with higher than the 24 FPS that Maya has on default. You can always change your FPS by going to Windows --> Settings and Preferences --> Time Slider --> FPS Box --> Switch to 30 from 24!
- As this will be the cycle where Jim is flying through the air, we are going to need to sell the fact that there Jim is high up in the sky with wind pushing him a bunch of different ways.
This means we are going to want some side to side movement in the alponian surfer, as well as some up and down movement as he is traversing the sky! Take your time with this step!! It is often one of the most difficult
Step (2)
- I'm going to go for roughly 8-10 poses for the surfboard that encapsulate the most important of the movement with our surfboard These poses are:
(Pose 1) Start Position On Right hand side (Peak Height)
Down Left
Down Left + (Minimum height)
Transition Up
Up Left
Up Left + (Peak Height)
Transition down
Down Right (Minimum Height)
Up Right
(Pose 9) Start Position (Peak Height)
- Up and Down indicate the Y translation of the surfboard, just the value of how much we are moving up and down
- Right and Left indicate the X translation of the surfboard, simply the value of how much we are moving left and right
- We will talk about the other movement components in the next step
Step (3)
- When we graph out the X and Y poses we see it should look something like what I have, where we have 2 minimum heights, and 3 maximum heights
- Your product up to the point should look something like this! Feel free to change around your values to increase or decrease height and left and right movement. This gives us a great building block to work into polishing the surfboard in our next steps!
Polishing Surfboard
Now that we have blocked out some great poses - We are gonna add "The Salt" to our wonderful poses by splining the animation and fixing up the curves in the graph editor, while also adding secondary animation with the rotations for the alponian surfer!
Step (1)
( Overshoot on Y translation )
- Go to the Alponian Surfer Rig and Press the Spline Tangents Button on the global control - you can find them by going to Tangents --> Spline or by pressing the Spline Tangents button directly above your graph editor.
- You will see that you now have interpolation between the keys, and you can get a feel for the intensity of your up and down and side to side values here!
- One important part of video game animation cycles is that the cycle should feel smooth as it transitions back into itself, and a great way to do that with our surfboard is too add some overshoot.
- What I mean here is that with our translate Y, we can have it go past our previous "maximum" height near the end of the cycle. This way we can a much more natural flow when the animation transitions back into it's beginning portion. So now your translate Y should look more like this:
Step (2)
(Overshoot on X translation)
- We are going to add some small overshoot to our X translation as well! What we are going to do here is add some more translation to the right, at the beginning of our animation.
- What's happening here is that instead of immediately moving to the left, Jim is "overshooting" his translation to the right before heading back to left.
These two pieces of polish alone is the difference between a great cycle and an average one because now it feels that Jim's momentum is not suddenly shifting, but gradually shifting which is what would happen if he was trying to move left with significant wind.
Step (2)
(Add some Rotate Y, Rotate X, Rotate Z in the animation)
- This step is a lot of personal preference on how you want to play out the animation! I personally put bell like curves for both my rotate Y and rotate X with some overshoot, almost exactly as we did with our X translation.
- For rotate Y be very aware of where your "ideal" player Camera would be because you would not want the rotation to be so drastic you can't see Jim! Play around with this until you find what suits you!
Blocking Poses for Sail
By now you likely feel like a science master with all the work we have done in the graph editor and with poses! Let's continue with the sail poses and polish!
Using all of your science master knowledge will be key here as a sail much more unpredictable movement for an object, and makes it even tougher to animate because of that. There's a few ways to approach this but let's continue with the pose to pose workflow.
Step (1)
(Defining the Right and Left Maximums of the Sail)
- All we are wanting to do make the extremes of where the sail is going to move between, simply the far right and the right left. Most of this will be done with rotation rather than translation.
Step (2)
(Create the transition Frame of the Sail)
- As you can see we are relying on these three poses, both extremes and a transition for the sail animation! You will likely want to have this transition frame be a more neutral pose of the sail as in the transition it is not favoring left and right at this particular frame.
Step (3)
(Pose Holds)
- The sail should be feeling like it's "defending" against the wind until it can't anymore and moves into a transition. Holding the extreme poses for more frames will give us this feeling until it then transitions!
In my scene it looks like this in my 72 frame cycle:
Frame 0 - Extreme Right Sail
Frame 16 - Extreme Right Sail
Frame 31 - Neutral Transition Middle
Frame 45 - Extreme Left Sail
Frame 53 - Extreme Left Sail
Frame 71 - (Start Pose)
Step (4)
(Create variety in each section of the Sail)
- The main goal here is to have overlapping sections of the sail, some parts more to the right at one point, some more to the left, what we DO NOT want is symmetry. Symmetry is boring, and looks unrealistic and a bit fake, especially something as unpredictable as a sail!
The sail is undoubtedly one of the hardest parts of the animation and there is no "right" way to do it, but using extremes and pose holds to our advantage, we can get some believable movement!
Polishing for Sail
We are in the home stretch of this project, let's go all night long!
Step (1)
(Putting it all in Spline)
- Here you are going to take all the controllers you were moving around in our poses and spline them! From here you can adjust accordingly how long you are holding the extremes for, how long you want the transition to take and more!
Step (2)
(Adding Wave Animation)
- This setting on the rig is why we always see the capabilities the rigging artist put in place because this setting lets us simulate the "windy" feeling in the sail all just by increasing the number.
- You can find the "Wave Anim" in the outliner by looking up "sail" and pressing through until you find it, OR find the triangle looking control at the base of the sail - where you adjust the wave anim number! I have mine set to 100 at the end of the animation and that worked just fine for me!
Blocking Poses for Jim Hawkins
If you haven't already make sure to grab some water or a snack !
Now we have to pose out Jim to ensure it looks as though Jim is the one controlling gliding throughout the air! To sell the idea of him controlling the Alponian surfer we need to utilize his Y translate (Up and down) as well as as his X translate (left and right). We will find our "golden pose" first, pose those in, and then worry about the in between frames!
Step (1)
Craft Start/End Pose
- This pose is going to be inspired by the vision board and one that hopefully we already made in step 4! If you are happy with your pose go right ahead but if not here is a good time to revisit it.
- Making sure that Jim is posed out to the side as thats where the board is going is crucial, wherever most of his body is has most of the weight. Since most of his weight is on the right hand side we know that the sail will follow.
Step (2)
Craft Transition Pose
- This transition pose is going to be important since Jim's weight needs to be more condensed into the center of the board so that it is belivable the alponian surfer can move to the left! If Jim was still leaning a lot to the right, this would not feel belivable.
- Making sure Jim is in a more crouched position / ball shaped position can help us sell this weight that the surfer is both transitioning to the left, as well as going down before transitioning back up.
Step (3)
Craft Middle Pose
- This middle pose will be roughly at the start of the transition back to the right side, and Jim will be in a crouched position but starting to lean back to the right softly
Step (4)
Craft 2nd Transition Pose
- This pose should be the transition between going from left to right, and should have Jim leaning towards the right hand side
Step (5)
Graph Editor Adjustments
- We want to make sure all of our curves look clean and you can remove any excess keys to the animation. This step is also a good time to utilize any overshoot or pose holds we talked about previously!
Step (6)
Double Checking
- You should notice that the boards side to side and up and down timing should be very similar to Jim's! This is exactly the feel we want since Jim should feel that he is driving the motion of the board.
Polishing Poses for Jim Hawkins
Making it this far is incredibly ironclad of you, so props to the work you've done for following along!
Step (1)
Adding arm/leg polish
- I wanted Jim's free arm to be swaying with the motion of the board, so we can use the FK arm and delay it by a few frames with the swing of the board - this way it feels more natural
Step (2)
Head and Back Polish
- Especially on the poses where Jim is at his highest, utilizing the IK spine to broaden out Jim's chest and ensure his head has some overlap. With the same regard, on the poses where he is at his lowest we can put him in a more closed position where his spine is rolling forward
Step (3)
Clean graph editor
- As previously mentioned, go through your controls and look through the graph editor to ensure you have clean curves that match the swaying and up and down motion!
- You would be very surprised how many problems can be solved by utilizing the graph editor to understand your animation!
Playblast Techniques for Our Scene
With just a few changes we can get our scene to look a bit better than it did before and we can finish the project! As we are game animators in this project, we will not be rendering out the project - but making a good looking playblast! Rendering this out has it's benefits but here's a few techniques to make an awesome looking playblast at a fraction of the time! Such happy campers we are at Ambassador Games!
Step (1)
Utilize Scene Lighting given
- If you look in your outliner, you will notice something called a "default light set". In here, you will find a set of lights already put in the scene for you to toy around with!
- Firstly, ensure that "Use all lights" is on, and you can do this by pressing 7 on your keyboard, or by going to the Lighting tab in animation, Lighting --> Use all Lights!
- Utilize the AI sky dome for overall light in the scene with the smaller spot and point lights to help guide whatever mood you are wanting to convey! The "intensity" slider will give tell you how bright each light is in the scene and you can rotate and move the lights around
- Maybe you want Jim gliding through the night, or up bright in the morning, intensity, color, and placement of lighting helps convey the mood!
Step (2)
Add Shadows
- This is a small step that makes the viewport playblast just look *that* much better! All you have to do is go to the top of your viewport and find the small button that says Shadows, and click it on!
Step (3)
Add "Screen Space Ambient Inclusion" (Optional)
- Similar to shadows, screen space ambient inclusion is another technique to help our scene look a bit better! You can find it right next to the shadows button!
Step (4)
Add an environment (Optional)
- Adding some simple clouds can go a long way for a flying cycle like we just did, and could make your shot be that much better, or even adding a small city far below Jim that he is flying over!
Appreciate, and Get Feedback
At this point, we have finished up everything for our flying cycle with Jim Hawkins!
We have worked extensively with posing, overshoot, timing, 3D scene best practices, the graph editor, locators and constraints, and so much more by now! This project is by no means easy so if you got all the way through, congratulations and take a step back to enjoy it! Animation is a skill that you can never fully master, so enjoying the process along the way is fulfilling.
Our final step is this process is getting feedback. This process can be both an uncomfortable process, and a foreign one to many animators and artists. Before finishing this project, I got multiple rounds of feedback which helped me make necessary changes to the animation! I highly encourage you to find communities or professionals that can support you in your artistic journey; so I will leave a few here that I am apart of and have helped me tremendously in my animation journey. Please check these out, I can't understate how much you will improve if you consistently seek feedback on your work!
https://www.teatimeanimation.com/ Tea Time Animation - Student organization focused on getting students into the animation and games industry!
https://www.animationflow.com/ Animation Flow - Academy full of students studying animation under Alex Ferreira, Senior Riot Games Animator, has a discord with an abundance of tutorials, videos, and community!
https://discord.com/invite/zVjPd5jSyB Harvey Newman Discord - Community full of animators and game developers!
Lastly, heres a few of the best YouTube Channels to help you out in your 3D needs
@SirWade
@RustyAnimator
@jeandenishaas
Best of luck in your animation journey,
Joshua Boone