3D Game Design Summer Camp Class With AgentCubes
by arpruss in Design > Software
1502 Views, 10 Favorites, 0 Comments
3D Game Design Summer Camp Class With AgentCubes
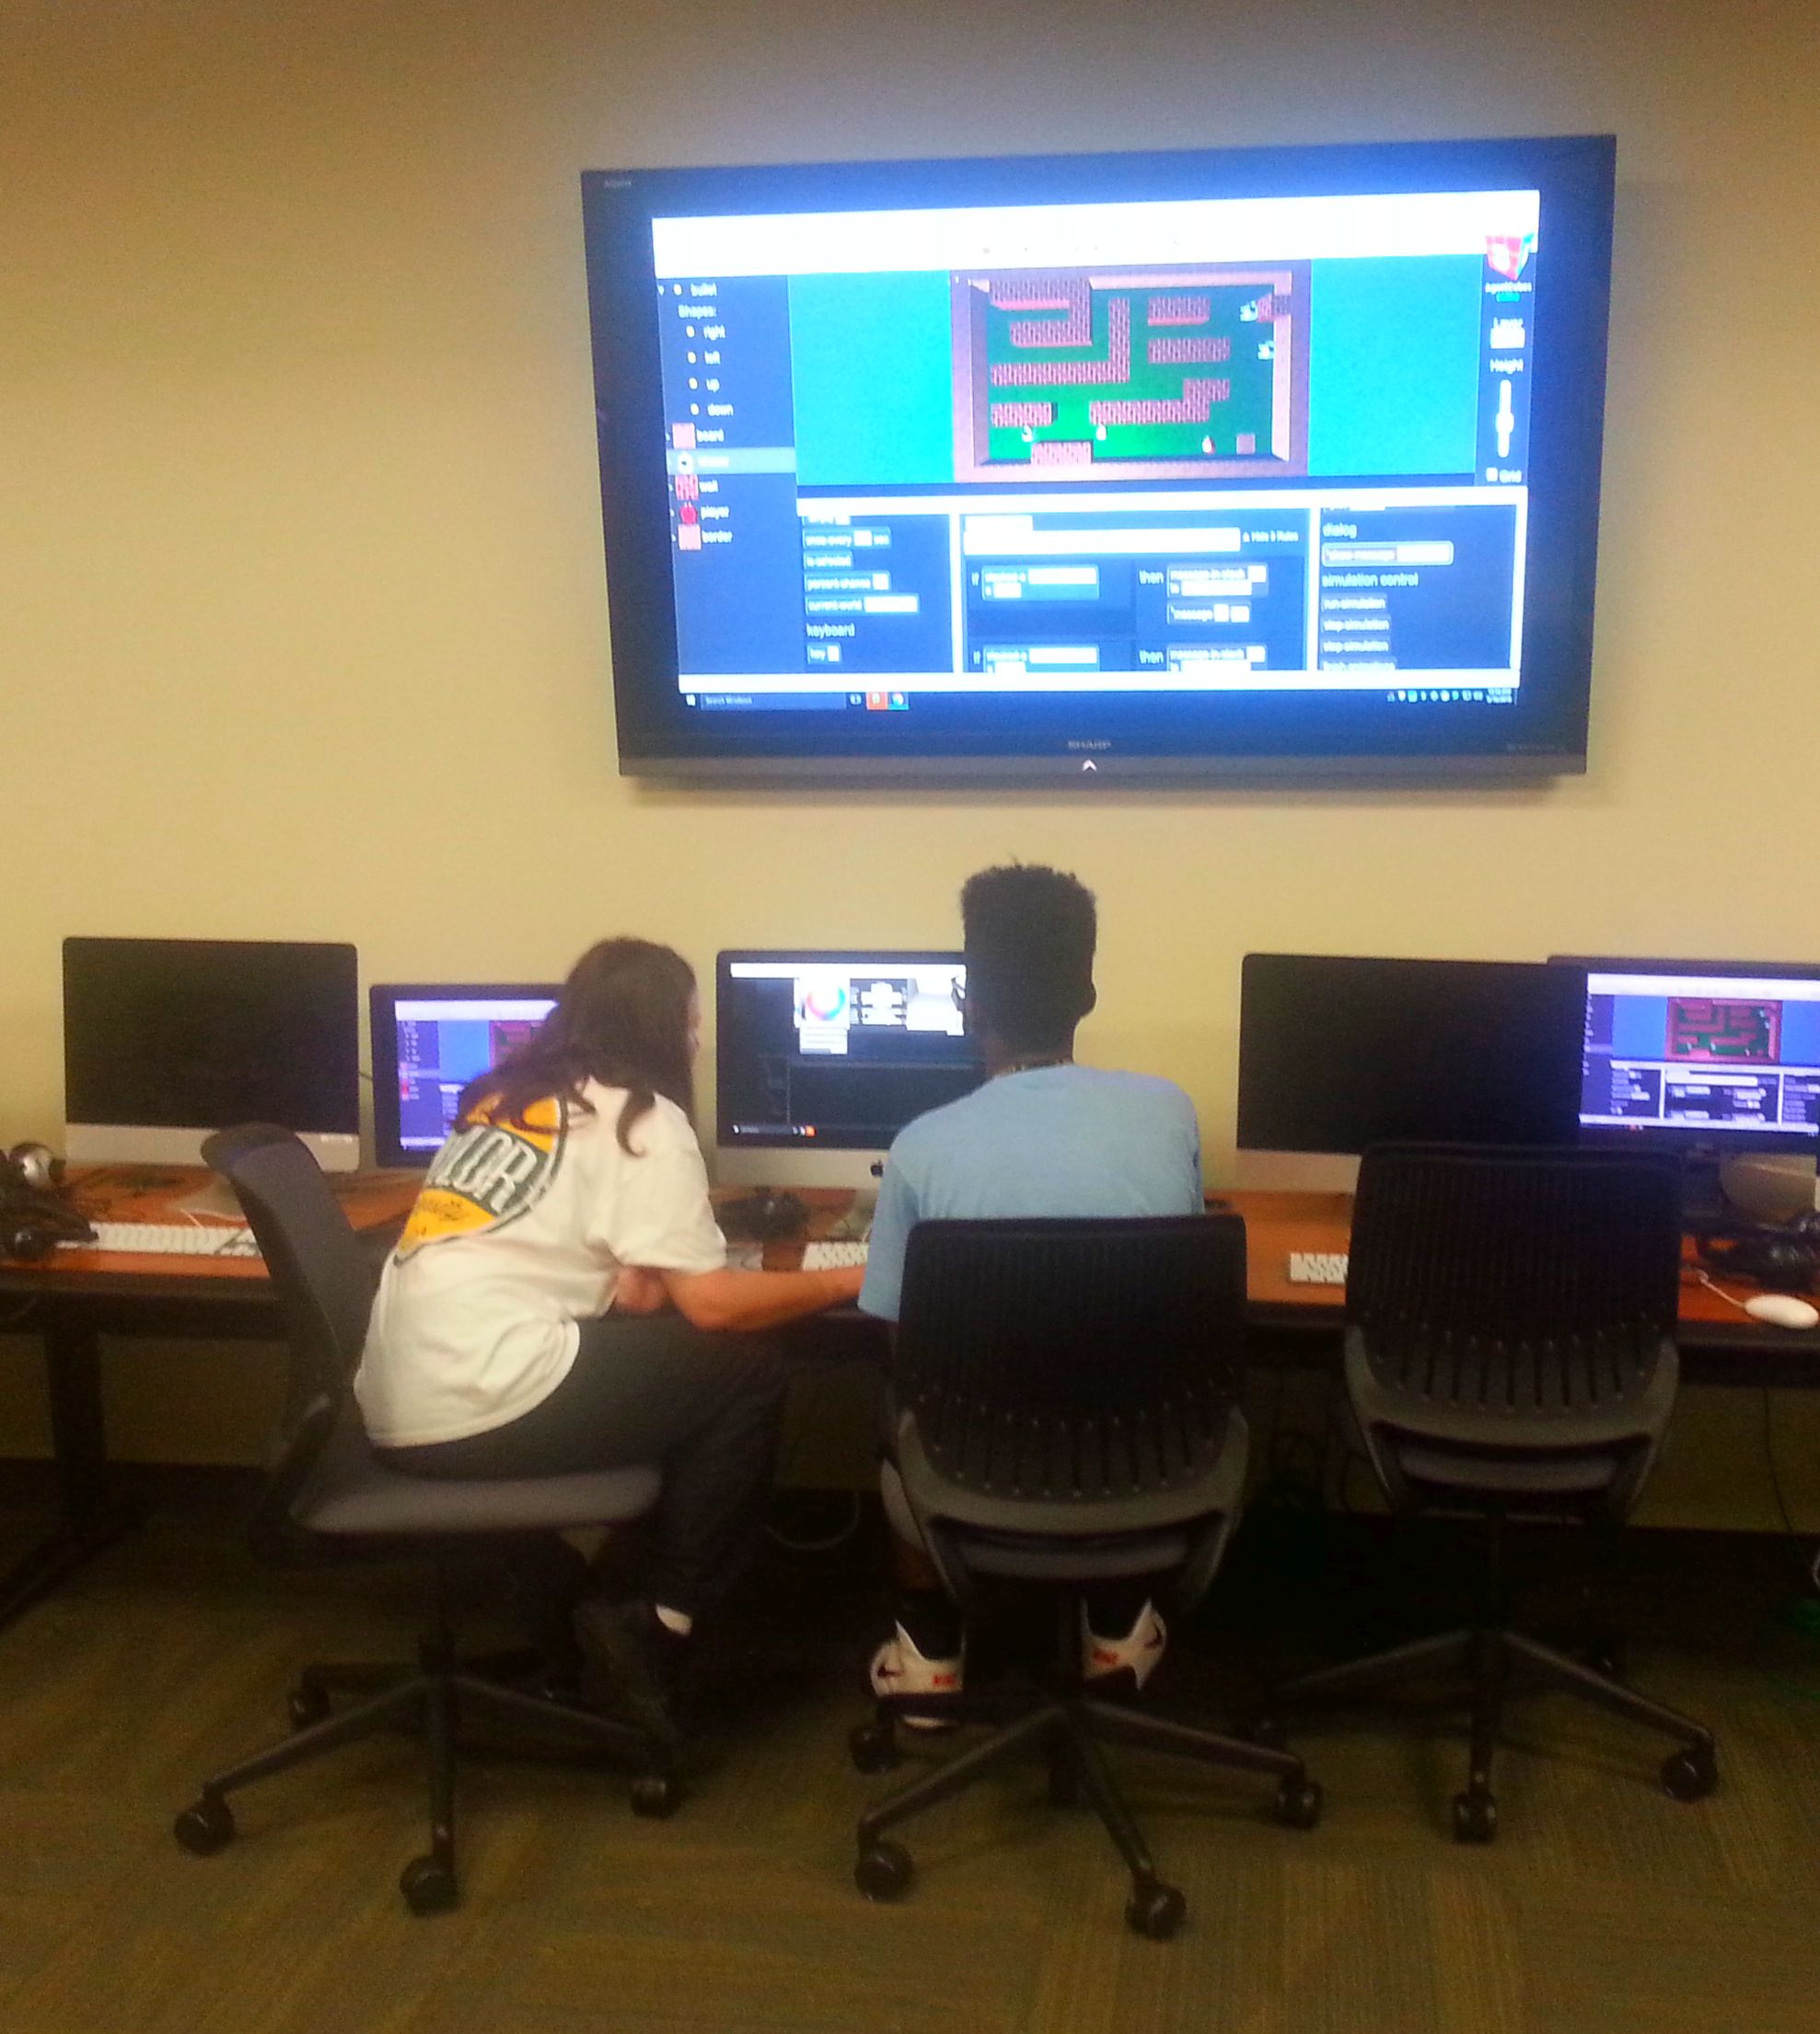
I just taught a five-day 1.5-hours-per-day summer camp mini-course on game programming using AgentCubes for gifted kids as part of Baylor's University for Young People, at the middle- and high-school levels. Most of the kids were a part of Project Promise, a gifted program for low-income kids. This instructable gives a successful curriculum (used in two different years, for a total of six mini-course runs) you can re-use to teach kids create games and ecological simulations that they can later run on home computers, tablets and phones.
Here are the resources you need:
- AgentCubes Online licenses for the instructor and right number of students and time period (we negotiated an excellent price with the AgentCubes people that ended up costing us less than $2 per student)
- modern computers with a browser
- headphones
- large display for instructor computer (e.g., projector)
- whiteboard.
When I first ran this course in 2014, it was my first time ever that I taught school-age kids (I've been a college teacher for over a dozen years, though). That definitely took my out of my comfort zone.
Preliminaries
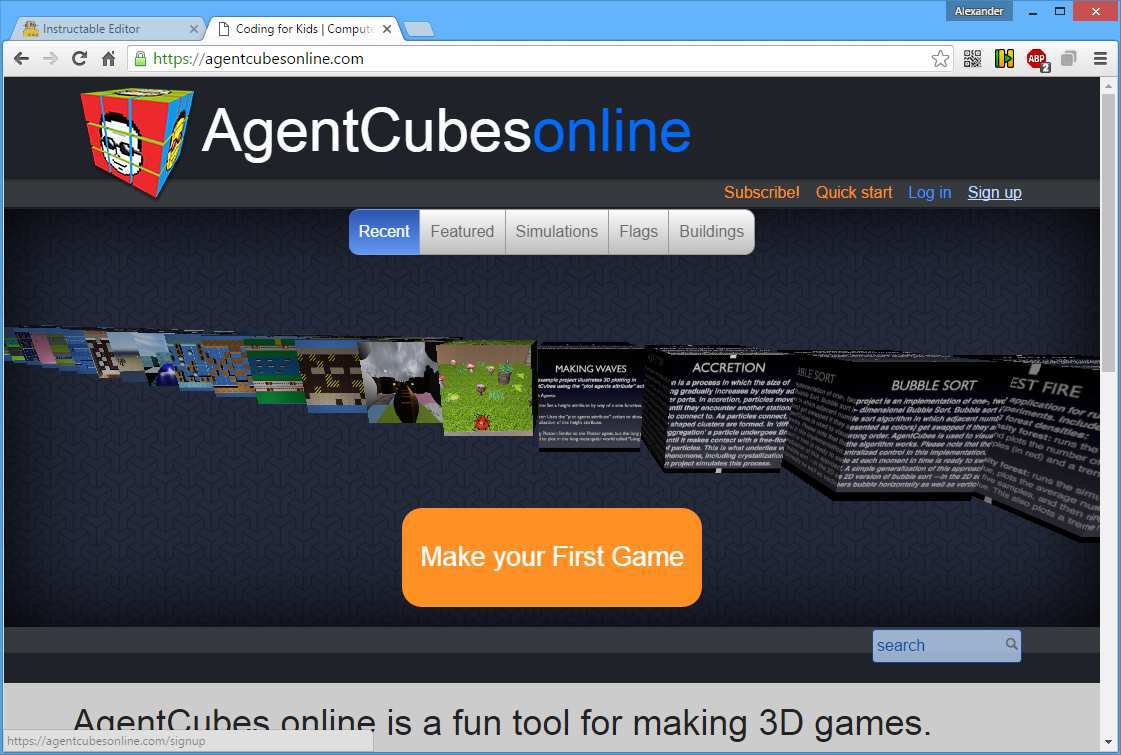
- Set up an account for the instructor on AgentCubes Online.
- License the account with an AgentCubes Online representative for the right number of students.
- Create accounts for students in the instructor's Account Settings. To protect student privacy, I randomly generated usernames for my students using a little Python script that paired a random positive adjective with the name of a random animal to get a username like LogicalJaguar. These were amusing for the students and easy to remember. Many of my students did not have email addresses (remember, these were mostly low-income kids) but the account creation needs an email address (only used for password recovery). I just used @mailinator.com addresses for them and told them not to change the default password that I set for everyone (we didn't have any griefing problems--they were very nice kids).
- Make sure your computers can use the games on AgentCubes Online and are equipped with headphones.
- Do some of the instructional activities in the Instructable yourself to ensure you're familiar with the AgentCubes system and can help students who are stuck. In particular, watch the Frogger video (which you'll use on Day One) yourself. This is really crucial, and the rest of the Instructable will assume you're familiar with the basic concepts from that video.
Day One: Begin Frogger

This is the easiest day for the instructor.
- Welcome and introduction.
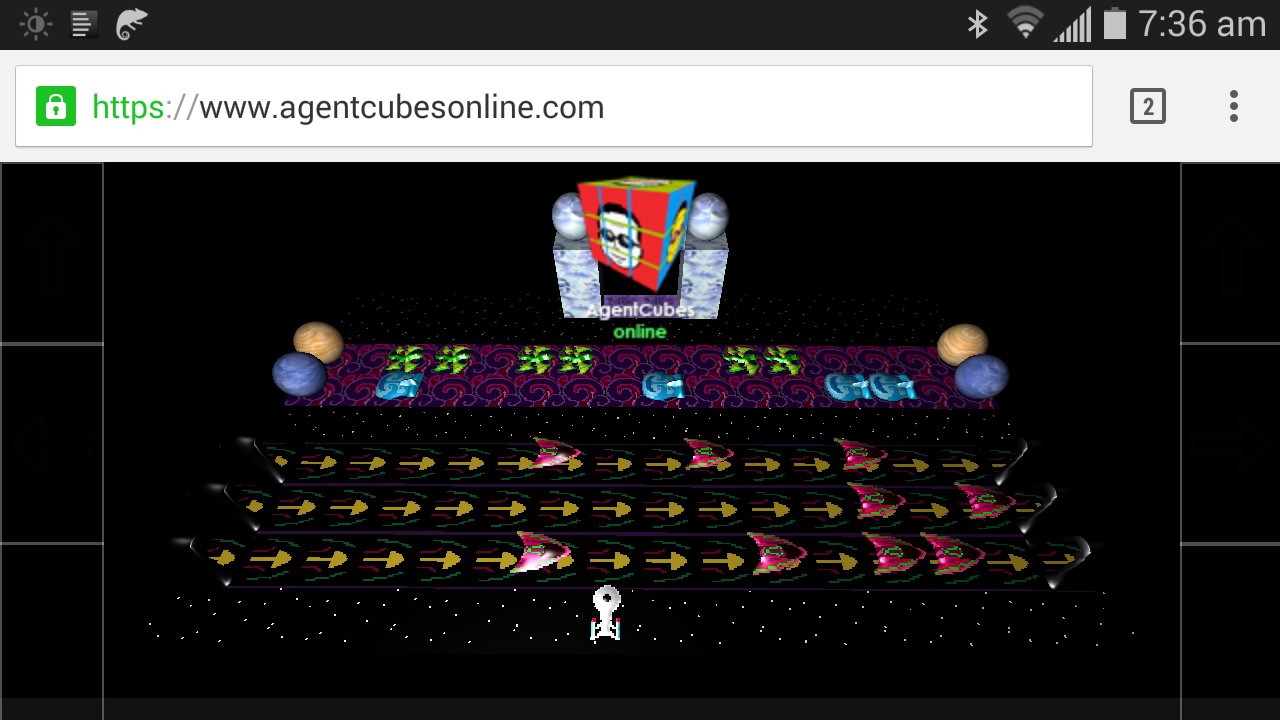
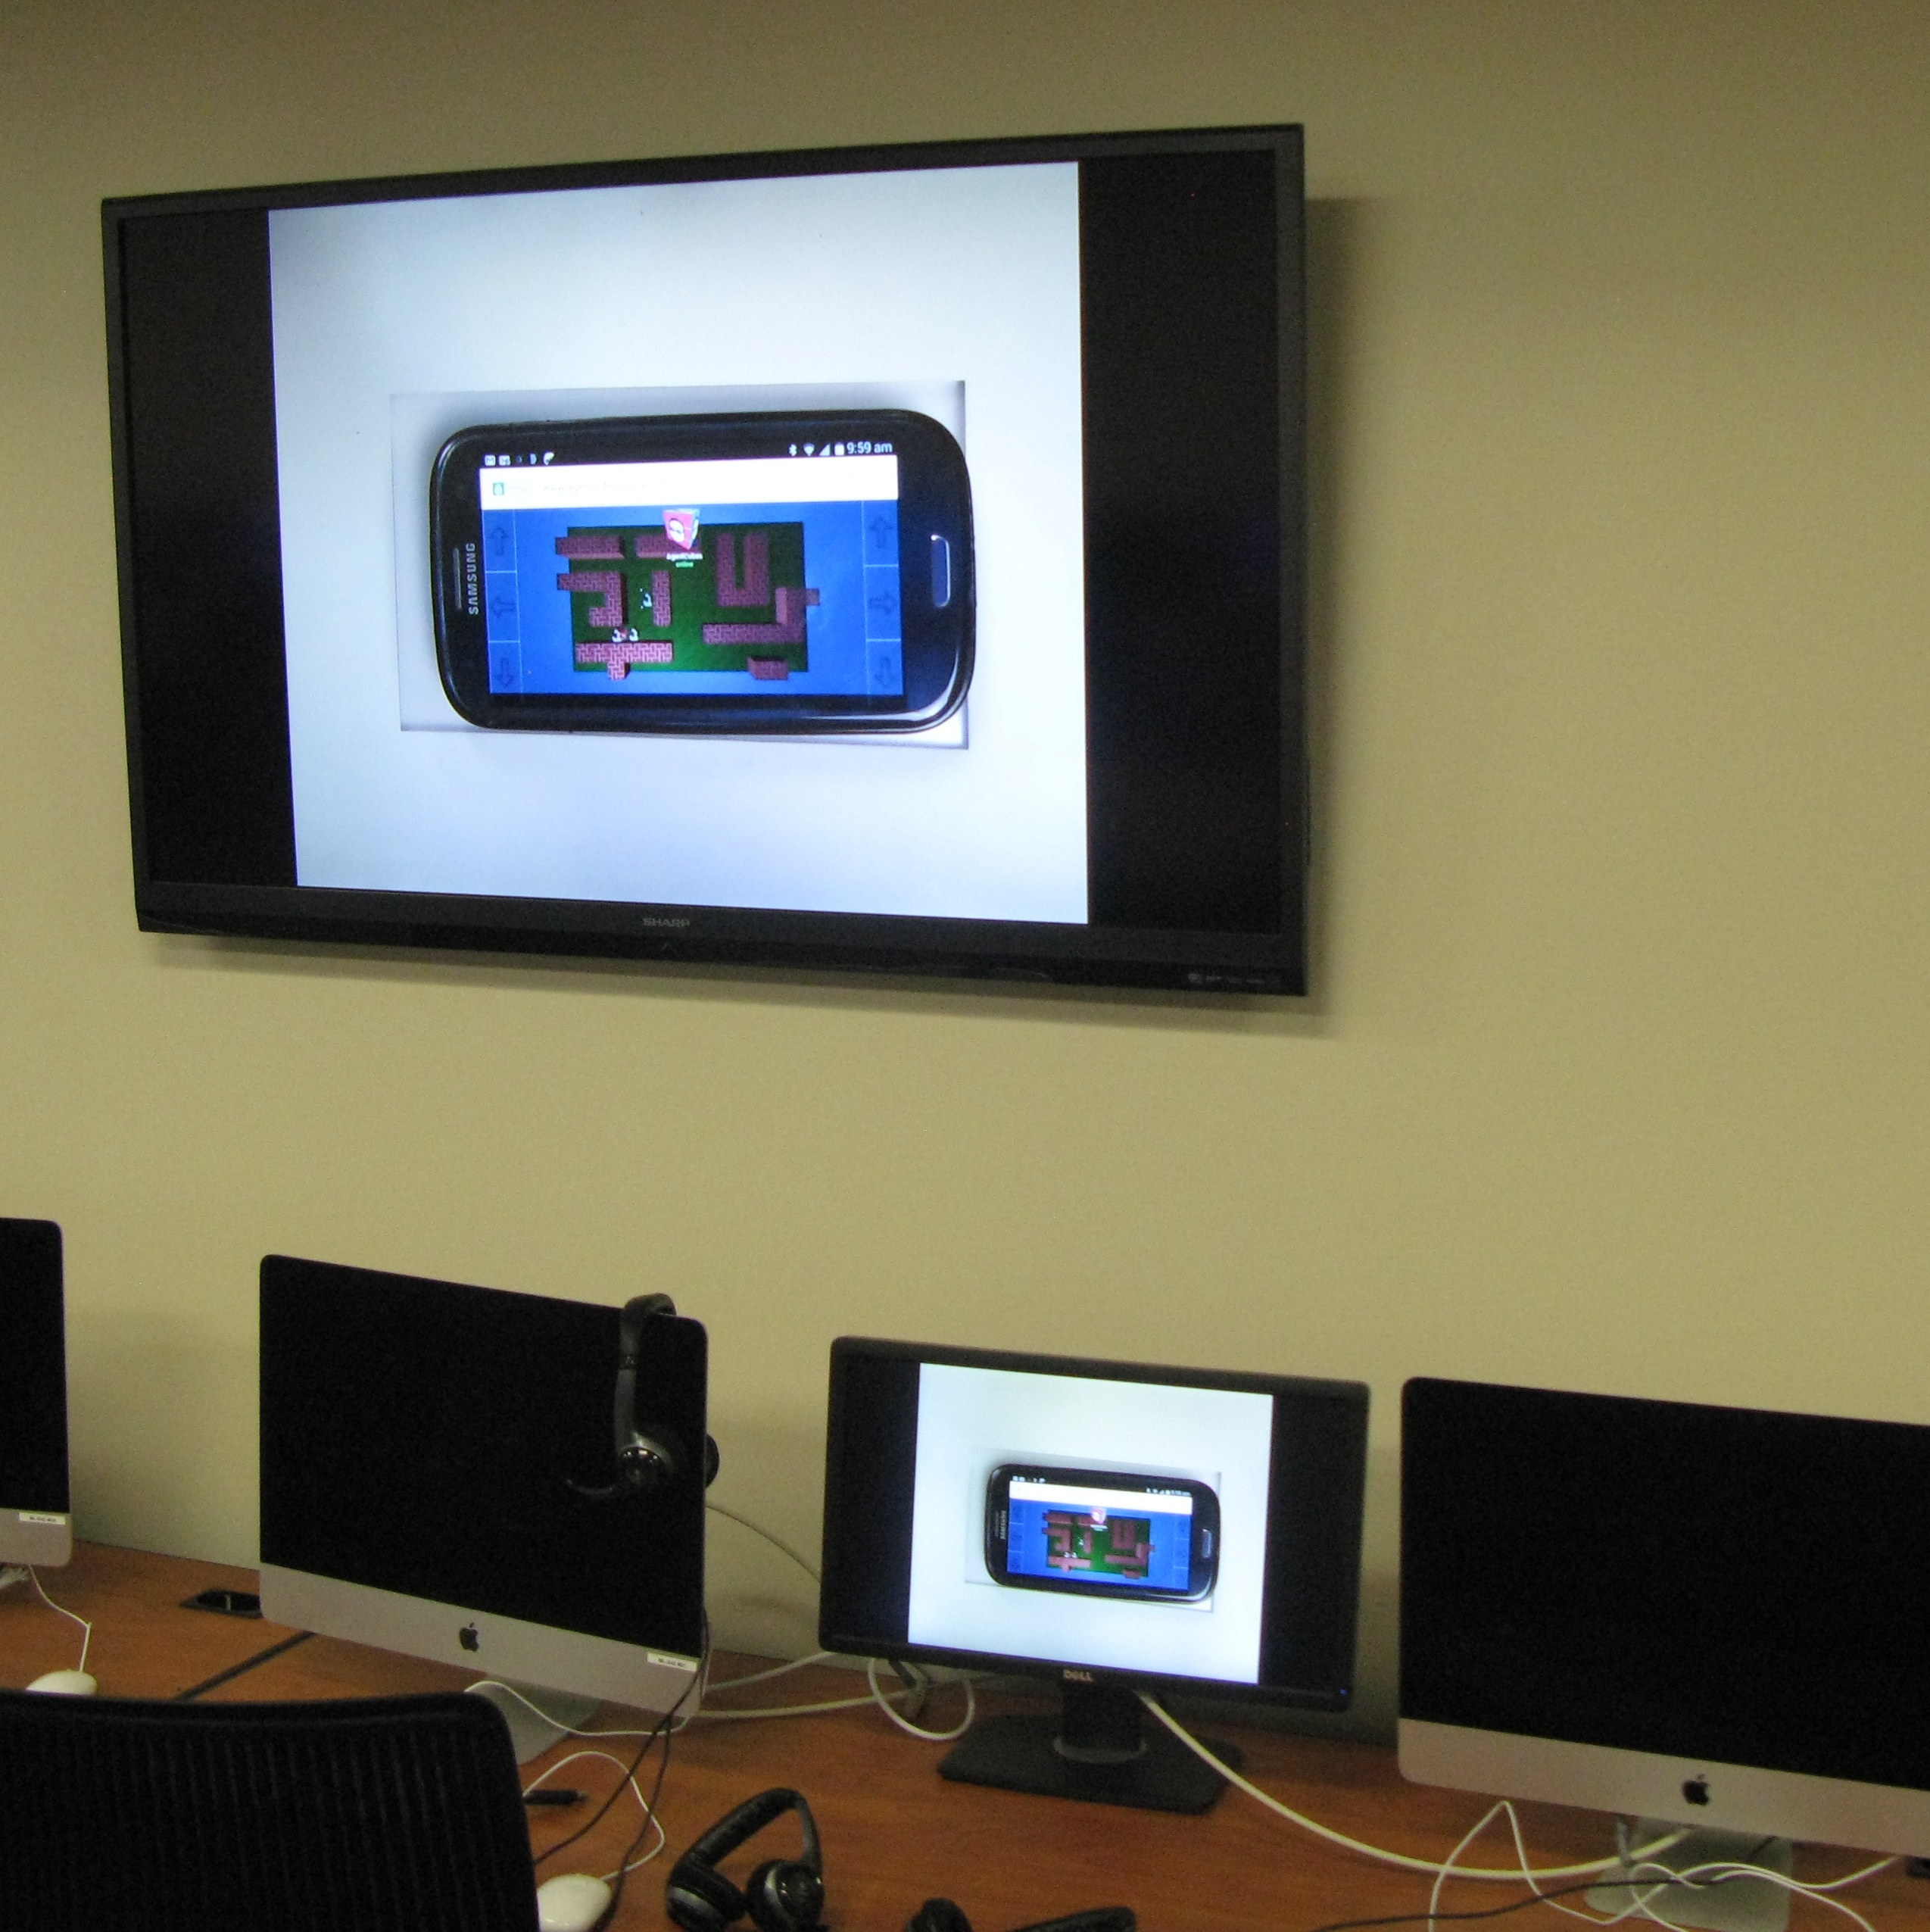
- I did a demo of how one can play AgentCubes Online games on a smartphone. (Smartphones are much more widely distributed than computers among low-income kids.) To do that, choose a game (say, one of the featured ones on the AgentCubes Online home page), scroll to "Sharing", choose "Download as web app", and email a link to your phone.
- Direct kids to open and login to Agent Cubes Online in one tab and the superb instructional video (which used to be a part of Hour of Code) on how to make a Frogger game in another, and to watch the video while pausing and doing things in AgentCubes Online.
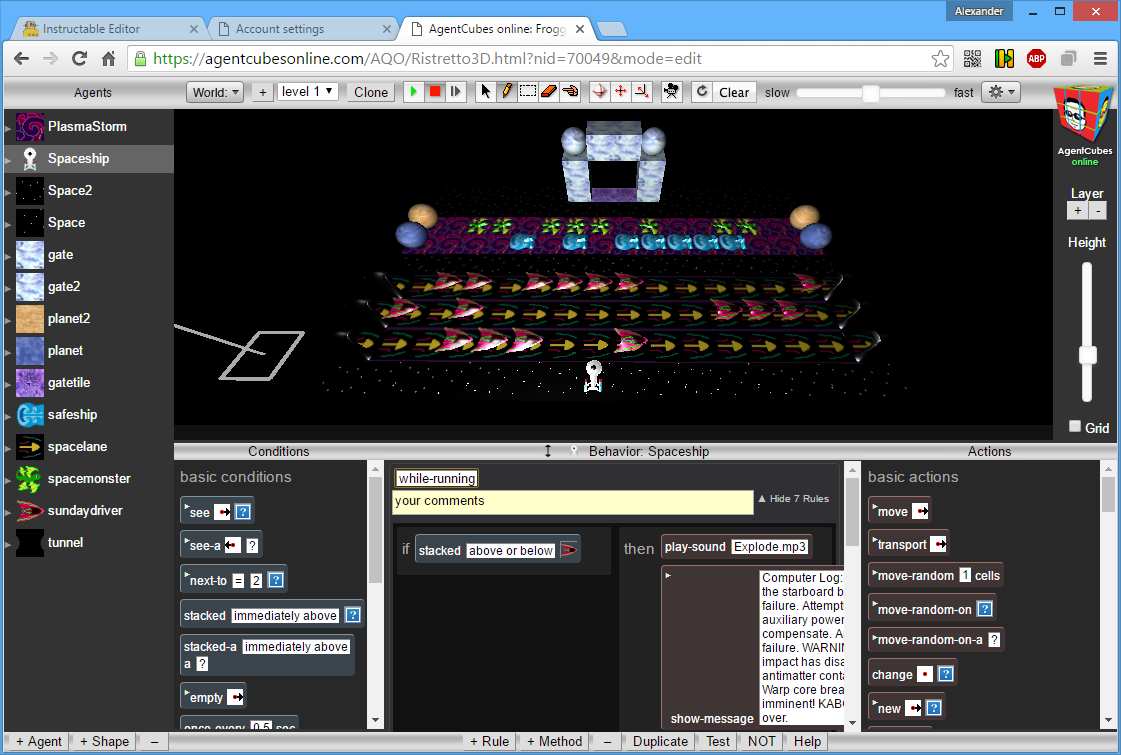
With 1.5 hours available, and a lot of time taken up with preliminaries, most people should have the road part of Frogger finished. Some kids will spend more time on the 3D graphics (which are very well explained by the video) and some will spend more time on coding. The coding is drag-and-drop and agent-based: each agent has a number of rules that are executed every game tick in a "while-running" method (there are other methods that can be used for more complex stuff, but some students will never need to use them).
You'll want to circulate and help kids when they get stuck. If you watch the video, it should be straightforward, but there are a few common errors:
- Once a rule is triggered for an agent, none of the rules below will be triggered during that game tick.
- A rule with an empty condition is always triggered. Some students will accidentally put an empty rule at the top of the rules for an agent, and then the agent won't do anything.
- Some bugs result in a persistent javascript message. You should click on the "Do not show messages" again checkbox. Then save their world, and restart the browser.
Day Two: Part I: Complete Frogger
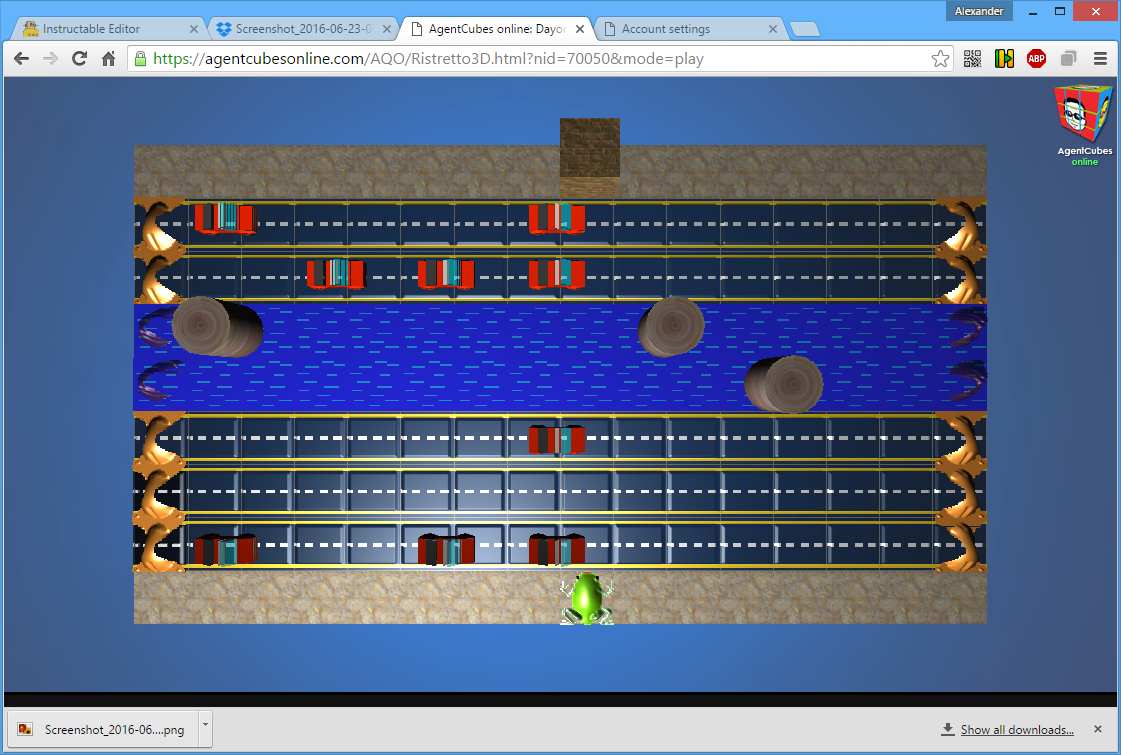
In the first part of this class, kids should be able to finish their Frogger games.
Circulate through the room and give suggestions. When a kid was finished early, I would show them how if you followed the rules in the video, you could cheat by running over the tunnels that generate cars and then over the islands that generate turtles and logs, and invite them to find a way to disable the cheating. (Another cheat that is a special challenge to disable: You will be safe running up just to the right of the leftward tunnels.)
Some kids' games will match the video closely and others will show creativity.
Day Two: Part II: Begin Ecological Simulation
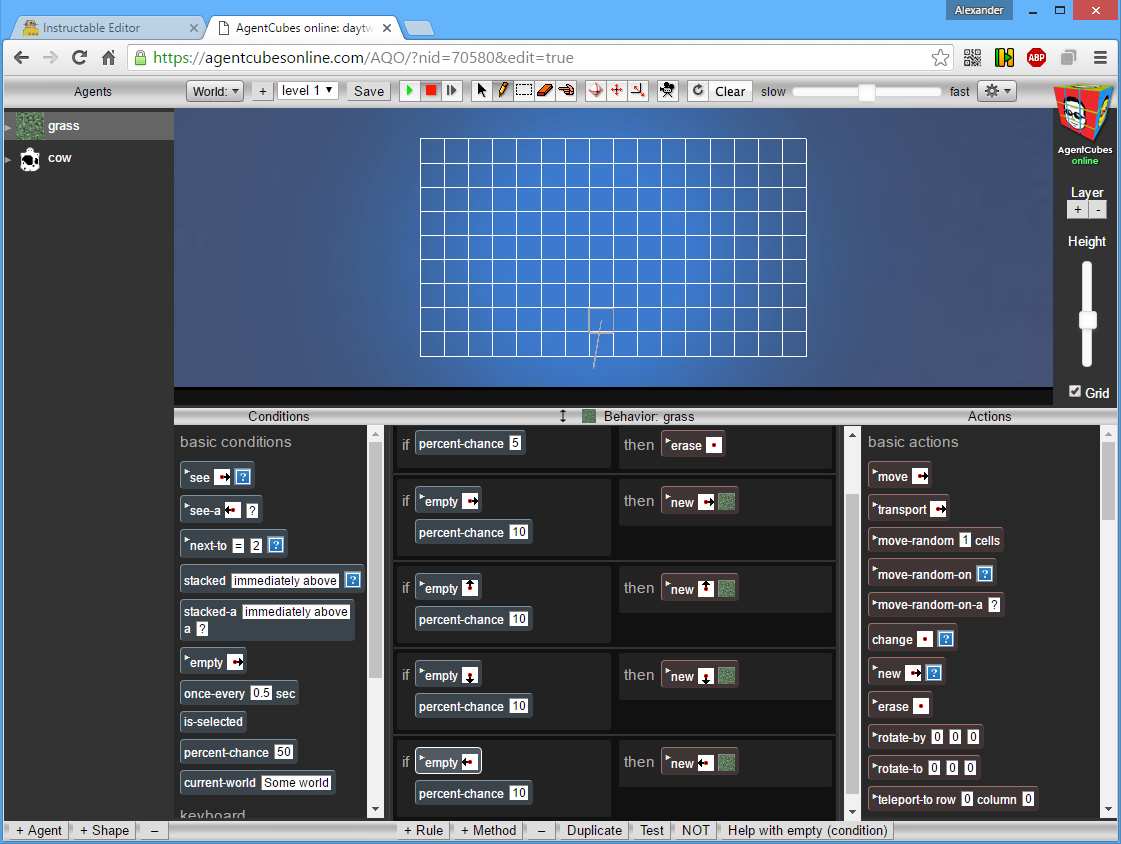
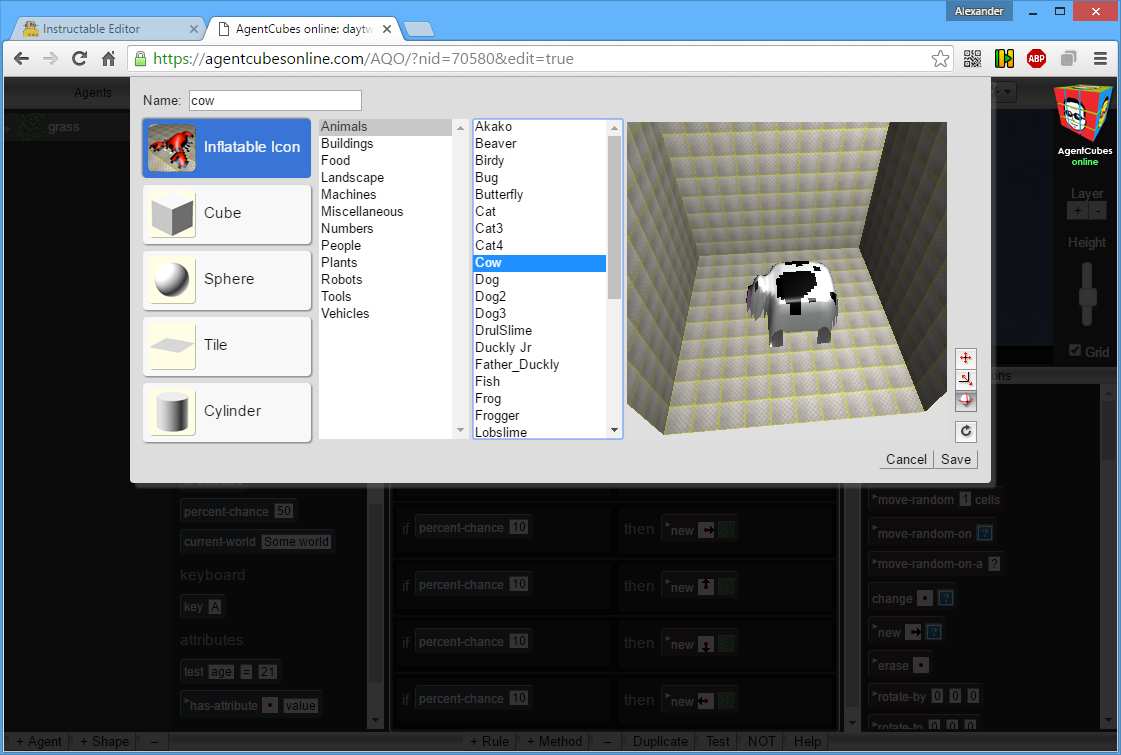
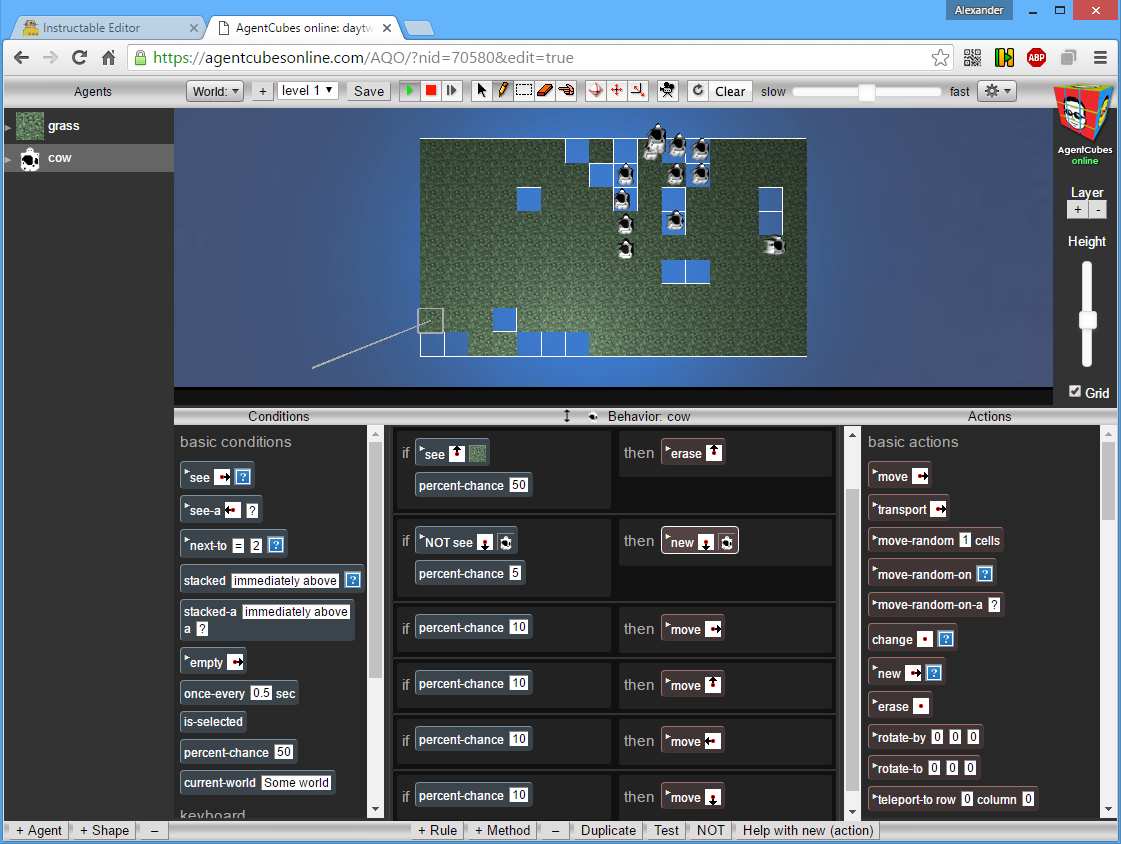
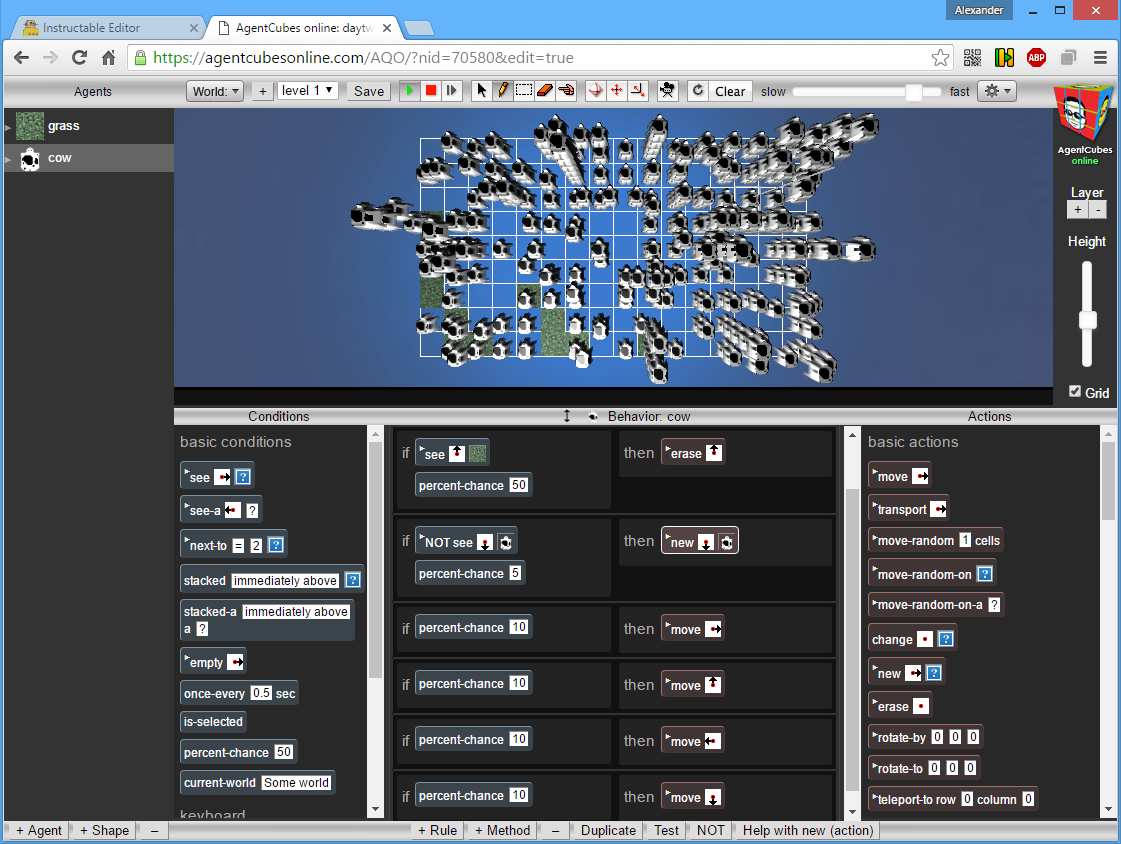
For this activity, I projected the instructor computer on screens, and had kids offer suggestions as I did things.
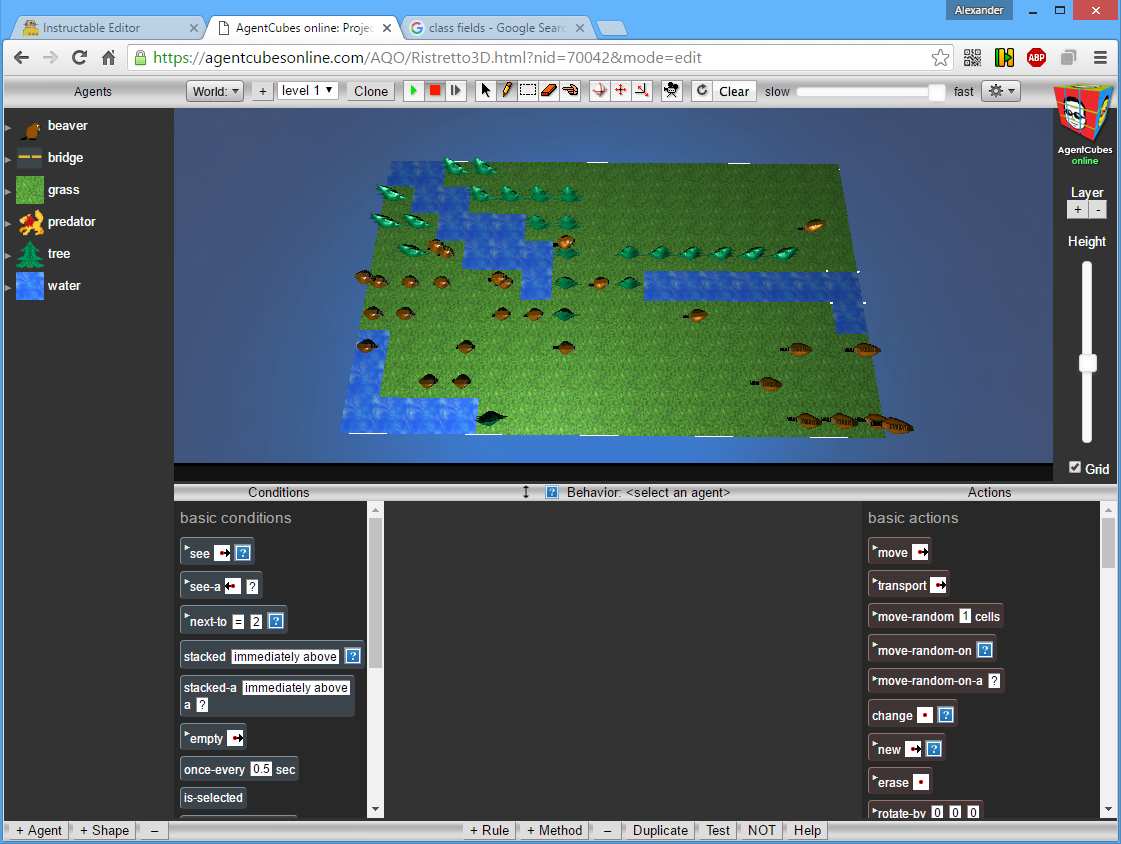
- Make a grass agent using a built-in green tile (don't bother with fancy custom graphics for this activity).
- Explain how grass in real-life spreads through runners and make rules that simulate that by randomly spawning new grass in all directions:
- if empty → and percent-chance 10, then new → grass
- if empty ↑ and percent-chance 10, then new ↑ grass
- if empty ↓ and percent-chance 10, then new ↓ grass
- if empty ← and percent-chance 10, then new ← grass
- Draw one tile of grass and show kids how it spreads instantly over the whole board.
- Add a death rule for the grass:
- if percent-chance 5, then erase •
- Show how the slow...fast slider lets you adjust simulation speed.
- Add a grass-eater, say a cow agent (using built-in cow design). Make it move randomly with percent chance 10 rules that move it in all four directions. (Because the rules are executed in order, the earlier ones will happen a bit more often, so there will be some anisotropy in the movements. Don't worry about this.
- if percent-chance 10, then move →
- if percent-chance 10, then move ↑
- if percent-chance 10, then move ←
- if percent-chance 10, then move ↓
- Show that it works. (Throughout, you should let the kids contribute the "percent chance" numbers themselves, and you may need to tweak them to make things work well. Involve them as much as possible.)
- Make the cow eat. I first do this with a rule that checks if the cow is stacked on top of grass and then erases center. If you do that, the cows will immediately die. Ask the students to figure out why.
- Answer: Erase center erases the cow. There is no easy way to make an agent erase something under its feet. (Not so easy options: Use multiple layers in the simulation, or use the message-passing system to send a "die" message to the agent below. You can later show particularly bright kids how to do that.)
- Instead, thus, have the cow look and see if there is grass above it and then eat that with a random chance.
- if see ↑ grass and percent-chance 50, then erase ↑
- If all goes well, you have a steady-state of cows moving around.
- Now the hard part: add reproduction. The simplest rule is asexual:
- if not see cow ↓ and percent-chance 5, then new ↓ cow (note: to get not, first create a see cow ↓ condition, and then click on the NOT button at the bottom of the screen)
- if not see cow ↓ and percent-chance 5, then new ↓ cow (note: to get not, first create a see cow ↓ condition, and then click on the NOT button at the bottom of the screen)
- That's probably all you'll have time for today. Tell the kids that next time we'll make the reproduction sexual and add hunger to let cows die out. Show them how the board fills up with cows in a massive population explosion if cows don't die.
Day Three: Ecological Simulations
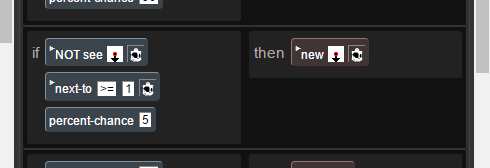
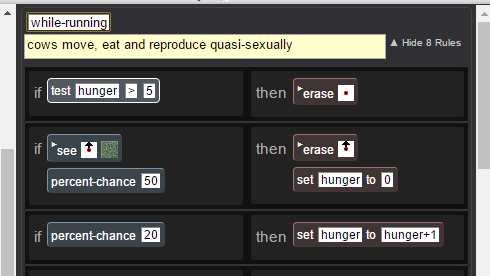
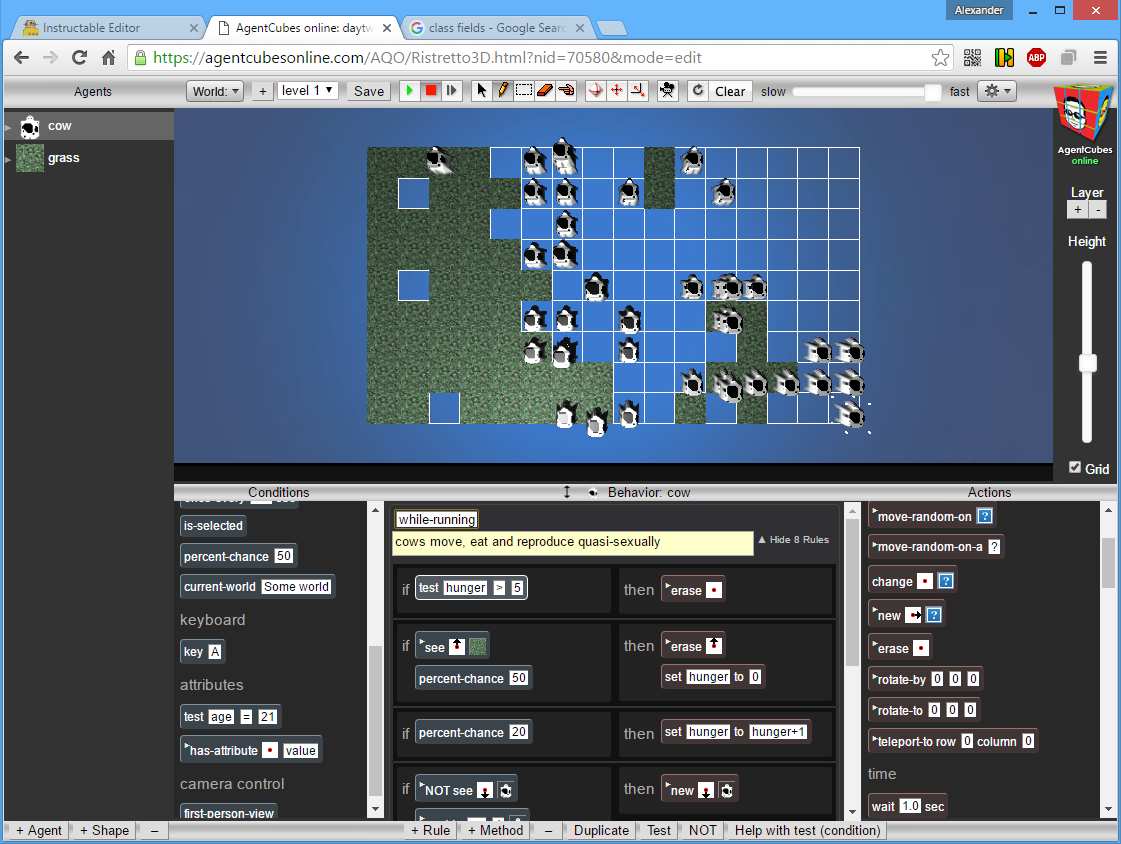

- Make quasi-sexual reproduction by adding the condition next to >= 1 cow to the cow's reproduction rule. This requires two cows for reproduction, but it doesn't keep track of male or female.
- To do full sexual reproduction will confuse students at this point, but you can later show individual kids how to do that. Create a second shape for the cow agent, and make it a different color, i.e., a bull. Add a when-creating-new-agent rule that with a 50% chance changes the current cow (default is the first shape, female) to a new shape, male. In the reproduction rule, check to make sure you are a cow (see
•
cow) and now have the condition next to >= 1 bull.
- To do full sexual reproduction will confuse students at this point, but you can later show individual kids how to do that. Create a second shape for the cow agent, and make it a different color, i.e., a bull. Add a when-creating-new-agent rule that with a 50% chance changes the current cow (default is the first shape, female) to a new shape, male. In the reproduction rule, check to make sure you are a cow (see
- Tackle the overpopulation problem by adding hunger. This is an instructional moment where you talk about attributes and properties. Attributes are variables that are attached to a particular (instance of) an agent. For instance, every cow will have a hunger attribute. (These are like non-static class fields in java.) Properties are global variables for the simulation as a whole, and are prefixed with an @ sign. All variables in AgentCubes are numerical, and they all start out at zero so you don't need to initialize. (If you want to initialize them to something else, add a before-running rule.)
- There are three things you need to do to implement hunger for cows:
- add rule that says that if hunger > 5, then you erase yourself (use the TEST condition)
- add rule that randomly (say, 20%) does set hunger to hunger+1
- add set hunger to 0 to the actions when eating
- Play with the numbers to get stable or unstable situations. Talk about the ways that the simulation is unrealistic.
- Something that sometimes greatly increases stability is to add a test hunger > 1 condition to the eating rule so that cows only eat when they are peckish.
- Now it's time for the kids to do stuff on their own. I recommended they work in pairs. The challenge for them is to make an ecological simulation that:
- is stable in the long run
- involves at least two organisms (extra challenge: more!)
- does stuff (e.g., moving and eating)
- Tell them to use pre-built graphics to focus on the science/programming.
- Circulate as they deal with population explosions and implosions, and help them debug their code.
- Just before the end of the day, announce that the remaining two days they will be designing their own games, and tell them to think what they want to make.
Days Four and Five: Games

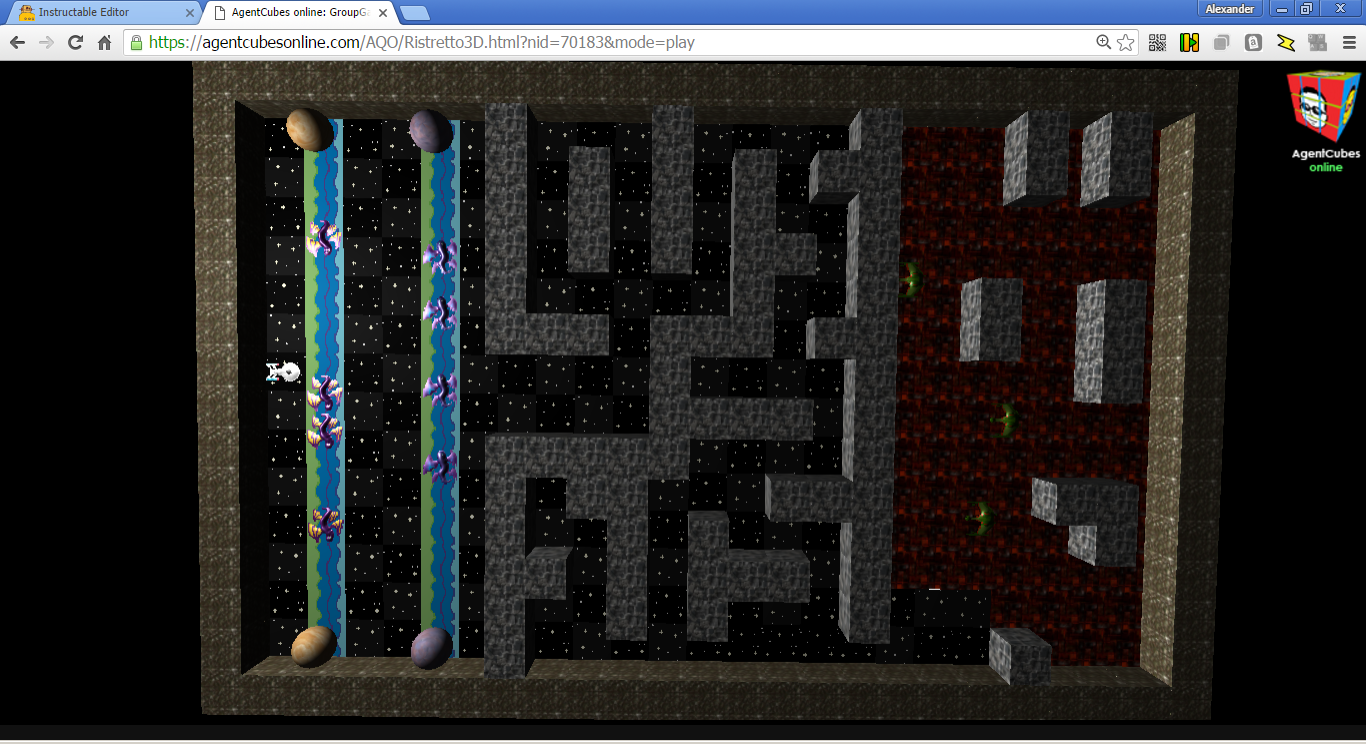
The basic idea is to divide students into groups (or have them work alone). Then have each group spend 15 minutes thinking up a game idea, and selling you on it. You then offer suggestions to them to help refine the idea.
After that, the students will work on the games. You should circulate and offer help, and close to the end encourage students to see other people's games. Encourage students to share their projects to email so they can show them off at home.
However, I also recommend showing everybody--or just those students--a couple of AgentCubes tricks that will help a number of them.
Days Four and Five: Game Tips: First Person View
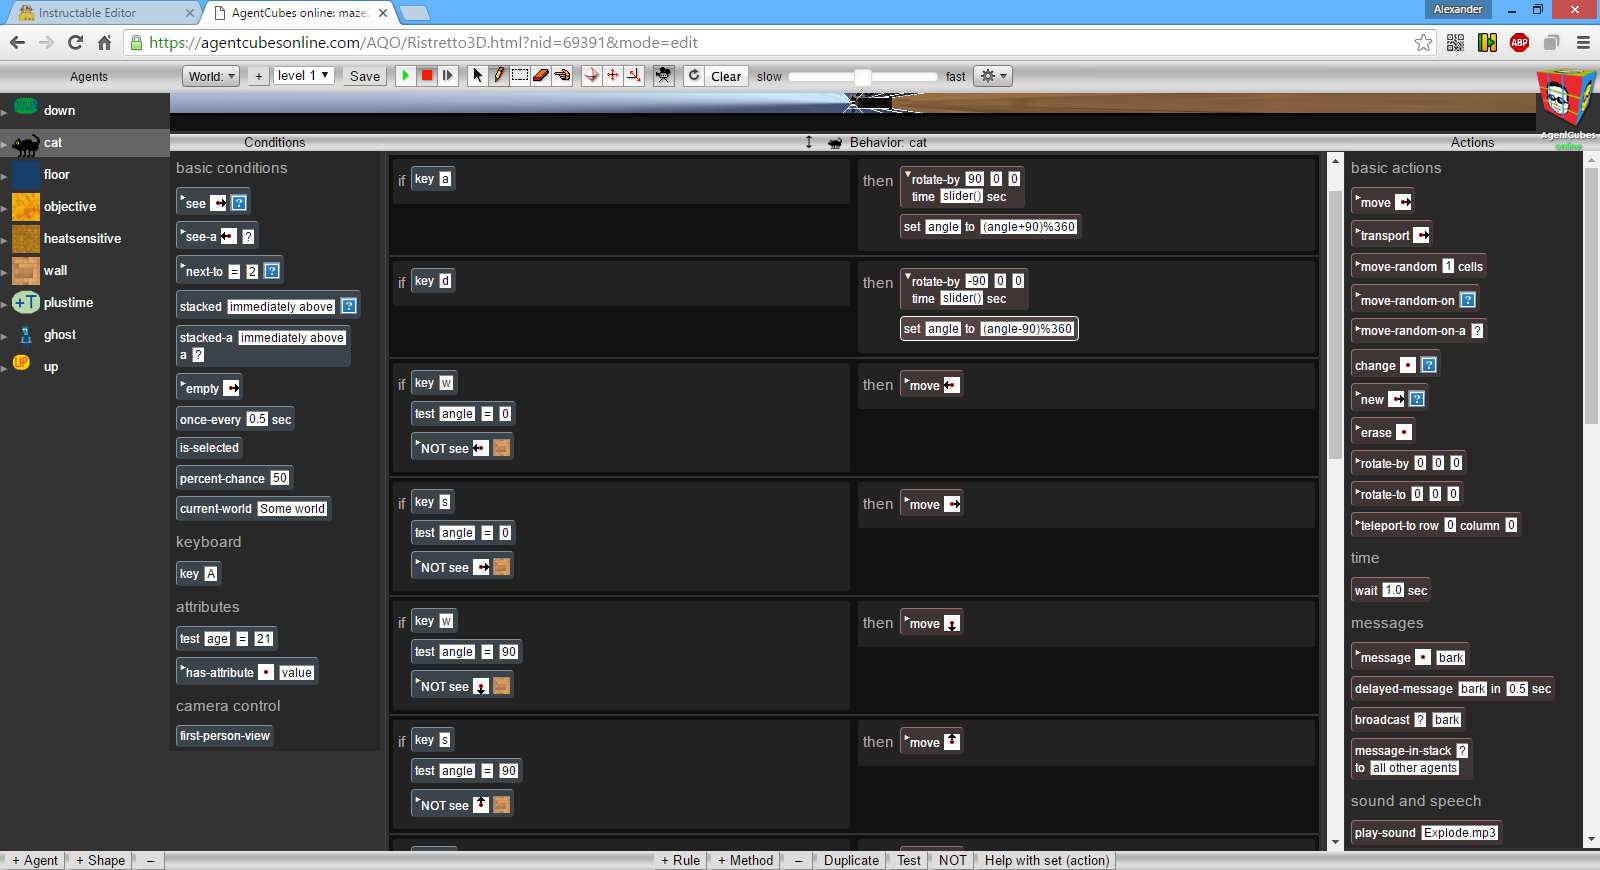
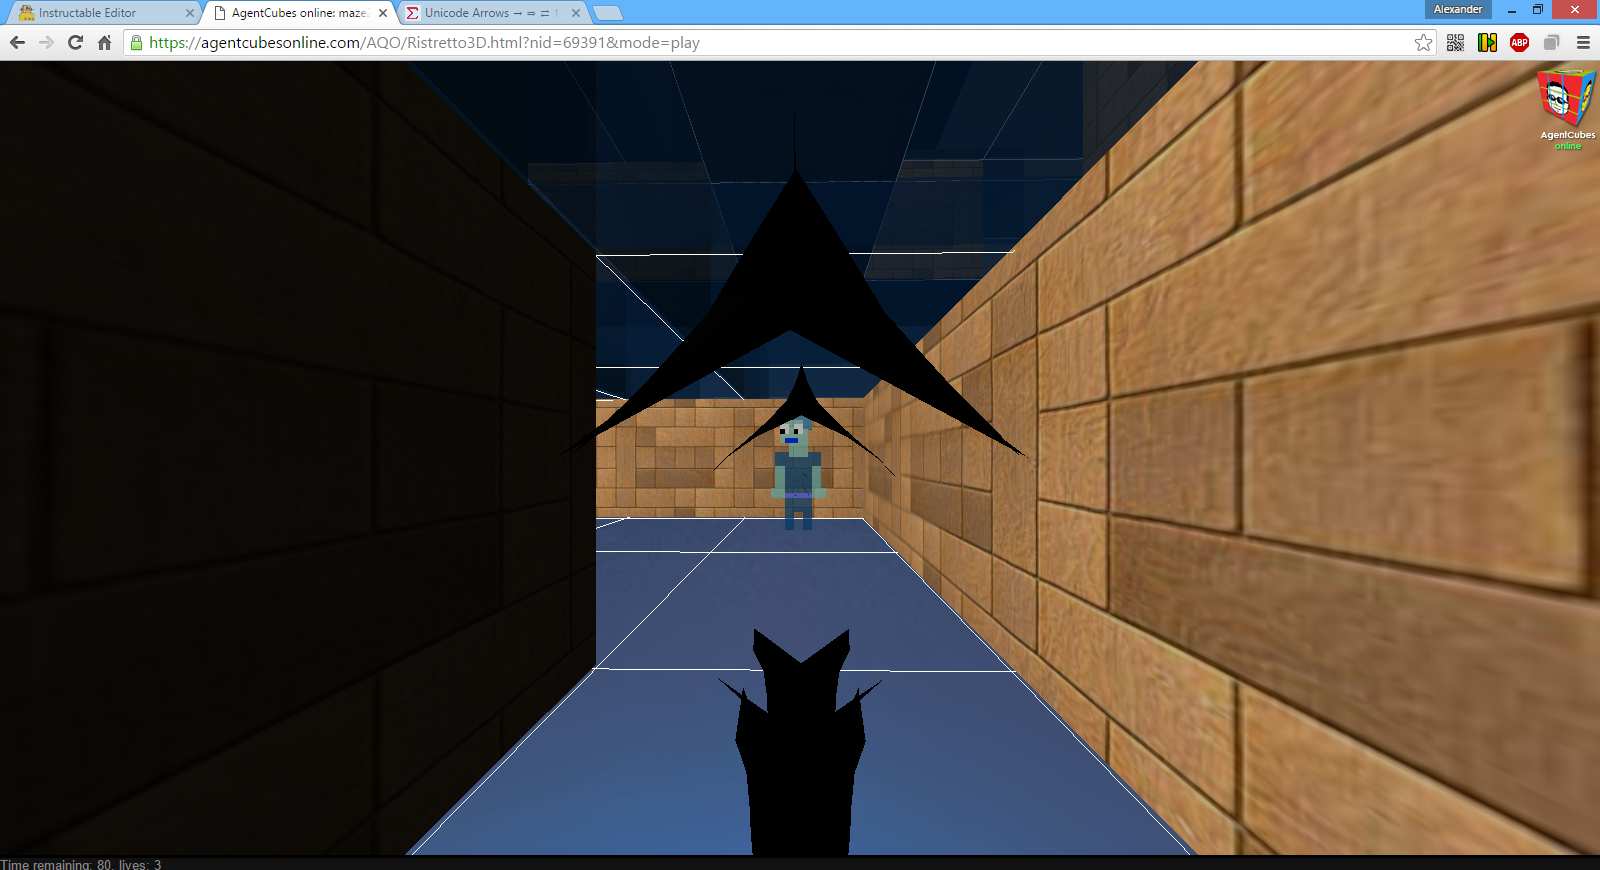
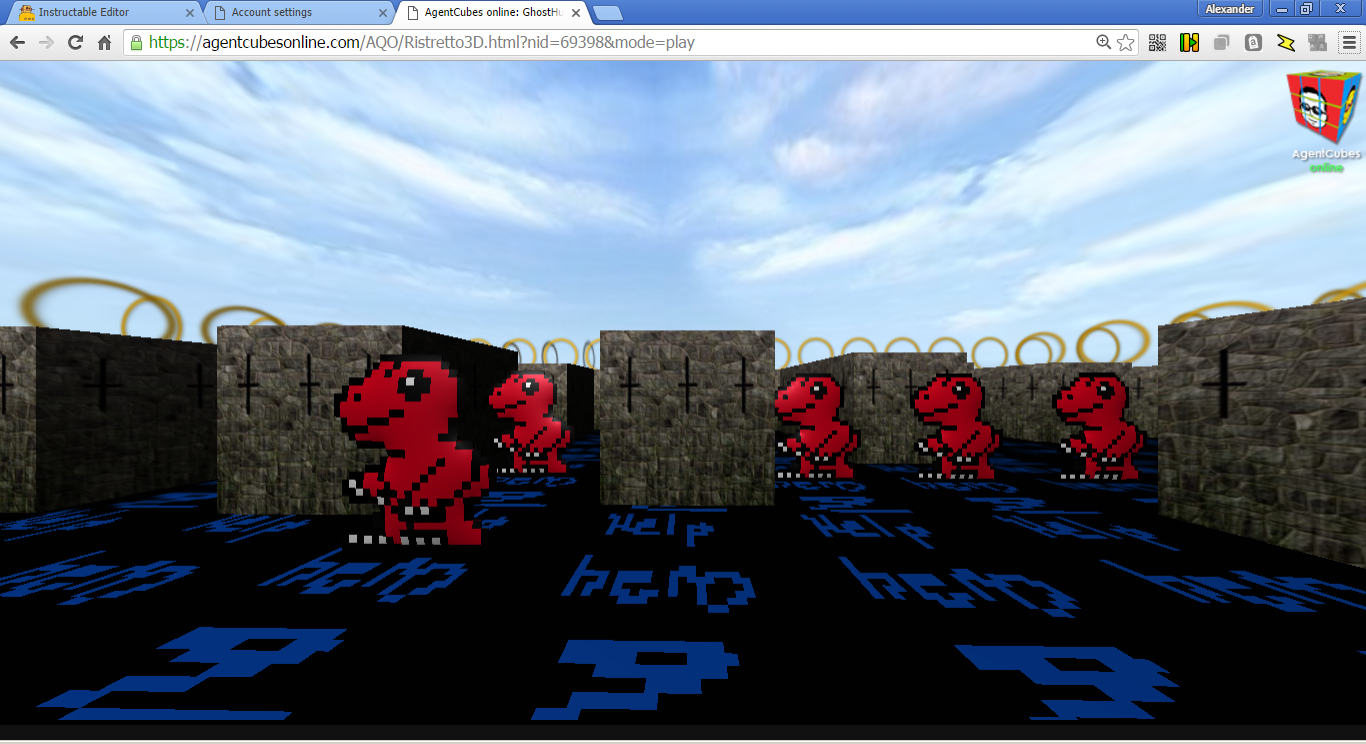
A lot of kids want to use first-person-view. The trick is to keep track of the direction the agent is facing with an angle variable, then rotate the view to match, and check the angle when checking movement keys. I put the code for this on the board for everyone to use. The code is designed for an agent that by default faces left, like the cat that comes with AgentCubes. (For other directions, you'll have to change the angles in the test angle lines.
- if key ←, then rotate-by 90 0 0; set angle to (angle+90)%360
- if key →, then rotate-by -90 0 0; set angle to (angle-90)%360
- if key ↑ and test angle=0, then move ←
- if key ↓ and test angle=0, then move →
- if key ↑ and test angle=90, then move ↓
- if key ↓ and test angle=90, then move ↑
- if key ↑ and test angle=180, then move →
- if key ↓ and test angle=180, then move ←
- if key ↑ and test angle=270, then move ↑
- if key ↓ and test angle=270, then move ↓
In the example in the screenshot, I use ASDW keys and I also check to make sure there is no wall in the way. Arrow keys are better than ASDW, because they will work on a phone. This is a good teaching moment regarding the modulus (%) operator. The demo for this is in this game.
Days Four and Five: Game Tips: Chase AI
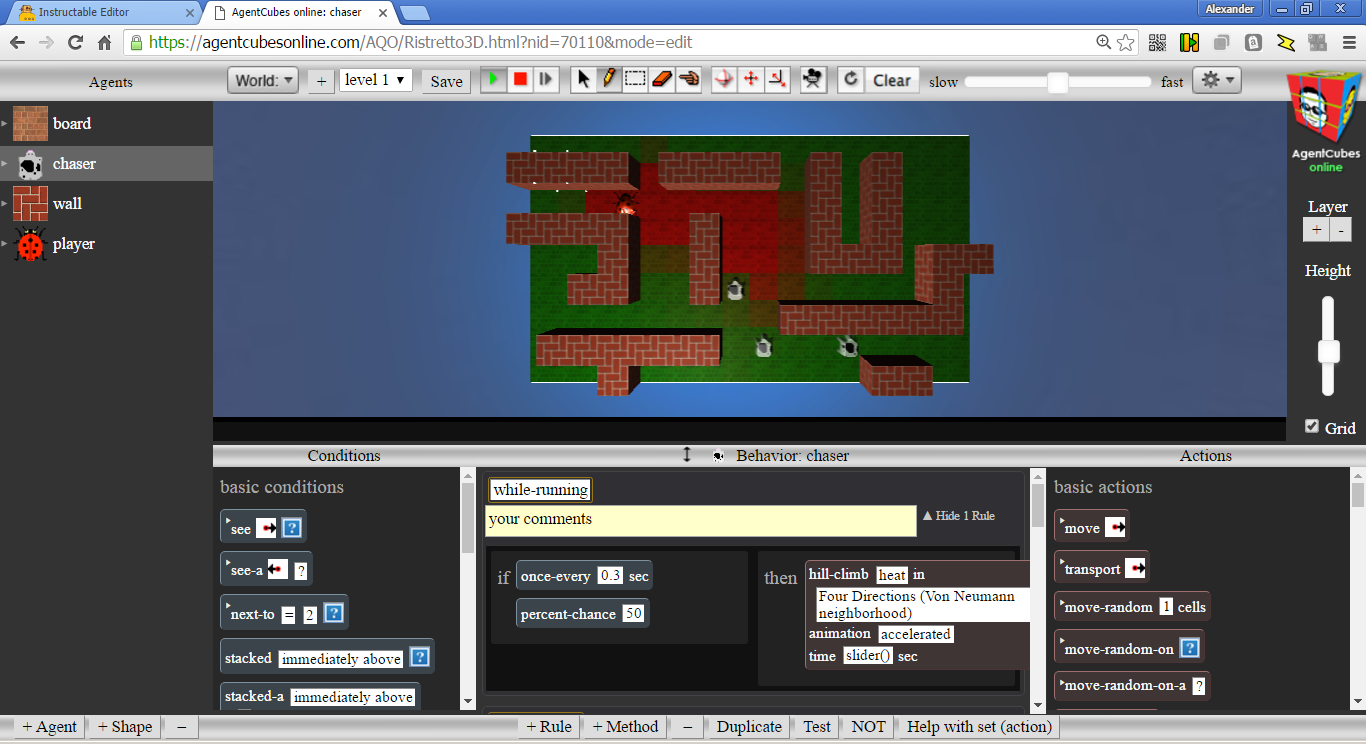
Lots of kids will want to make games where monsters chase you. But how to implement the AI for the chase? If the chase happens in an open space, there is an obvious strategy: keep track of monster and player positions (have x and y attributes that are updated at each move), and move the monster in the direction of the player.
But what if there are obstacles, say because the monsters and the player are in a maze. Well, I found a really neat way to do this. Basically, you pretend that the player is hot, the obstacles are cold, you simulate the spread of heat on the floor of the board, and then have the monsters go in the direction of increasing heat. This sounds really complicated, but actually it's pretty simple because of how AgentCubes works.
- Set up a floor for the game board made of one kind of floor tile agent.
- Give the floor tile a very simple rule:
- if once-every 0.1 seconds, then set heat to (heat[left]+heat[right]+heat[up]+heat[down]+4*heat[top])/8
- In your player agent, add a before-running method, and set a rule with no condition and the action set heat to 1.
- In your monster agent, add a rule that periodically (perhaps with some randomness) executes hillclimb heat in Four Directions.
That's all! Everything other than the player and the floor tiles will have heat 0 all the time. Because of this, the monsters will stay on the floor tiles and the player, and will go in the direction of the player. Moreover, because heat propagates over time, they will tend to follow the player's path, which gives them a purposeful appearance.
You can add a map heat to color from green for 0 to red for 0.1 to the heat-update action of the floor tiles to visualize the heat.
A proof-of-concept demo can be played here.
Some fun results:
- The monsters have zero heat, so they cool down the area they are standing on. That increases their mobility.
- If you add bullet agents to shoot monsters with, the monsters will try to dodge them, because the bullets will be cold.
Days Four and Five: Game Tips: Counting Agents
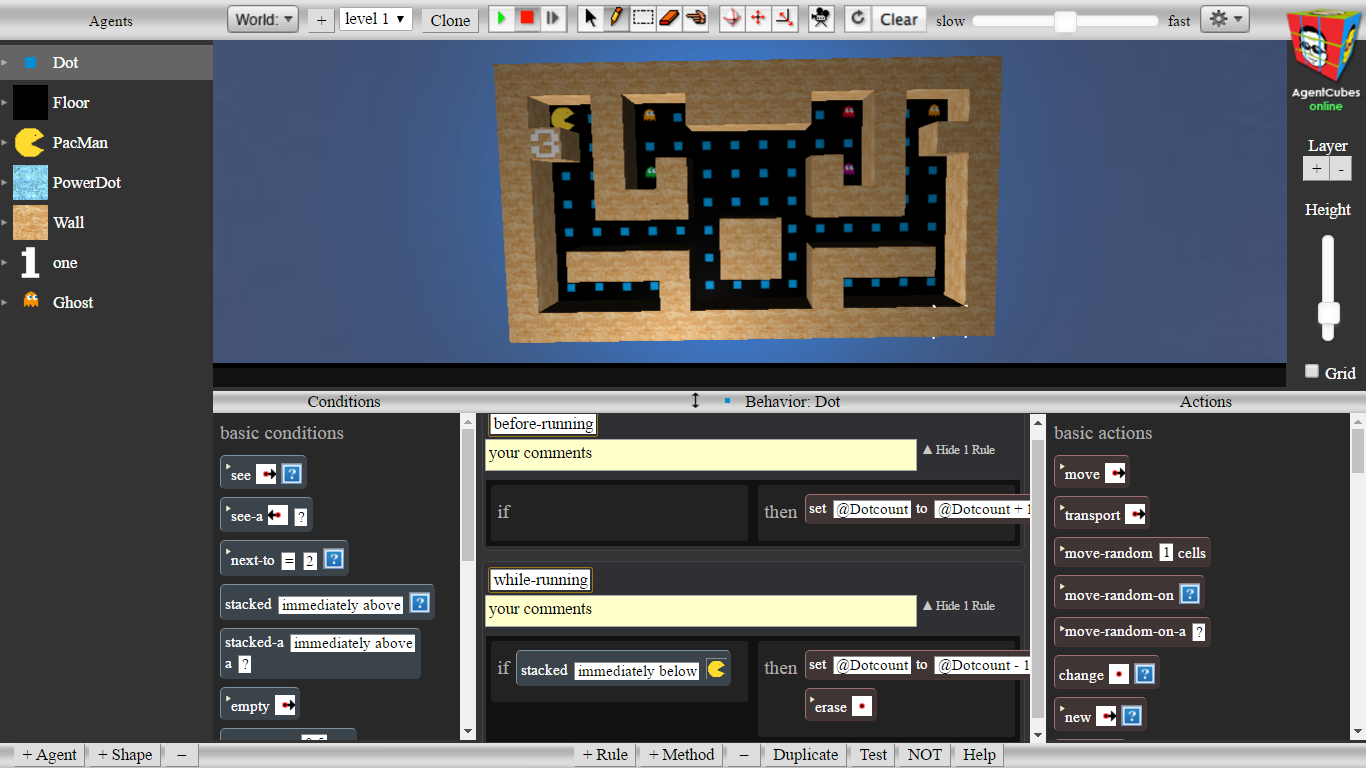
For certain kinds of games, you'll want to be able to count agents. For instance, in a PacMan game you'll want to check when all the dots have been eaten. The trick to this is to have a property (global variable) that keeps track of the number of agents, e.g., @Dotcount. In the agent's before-running method include a rule that does set @Dotcount to @Dotcount+1 with no condition. Then when the dot is consumed, decrease @Dotcount.
This is used in this PacMan-inspired game by two middle-school students. (Note how nicely they keep track of the number of lives, too.)