3D Elf Earrings
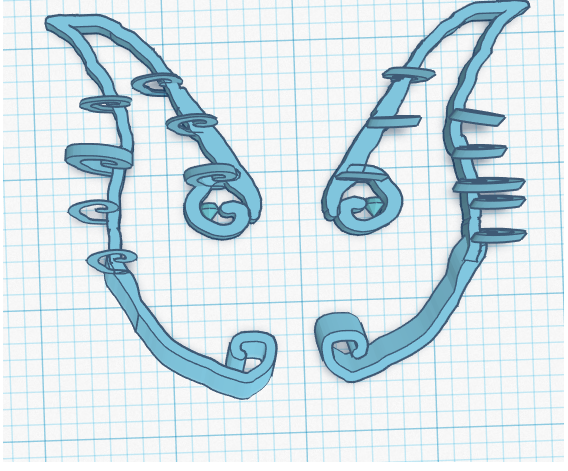
How to create and print 3D Elvin ears.
Supplies
TinkerCAD
Earring Backing
Superglue, or Hot glue
Optional tiny gems and other small items to add when finished as decoration.
The Ears
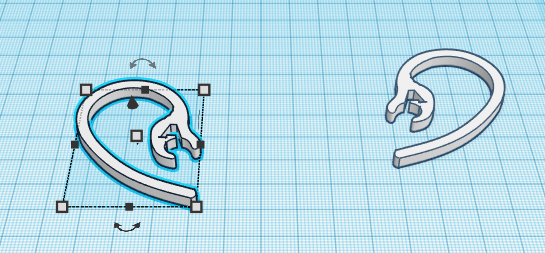
Using the following Link:
https://www.tinkercad.com/things/19YZQorlKEG
Copy and paste a second ear, rotate to flip it over 180 degrees.
Now there is both the left and right ear.
Build the Elvin Ear Top
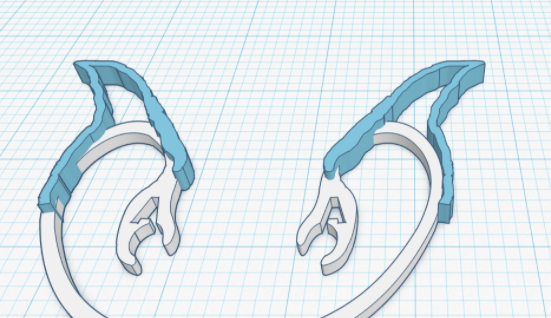
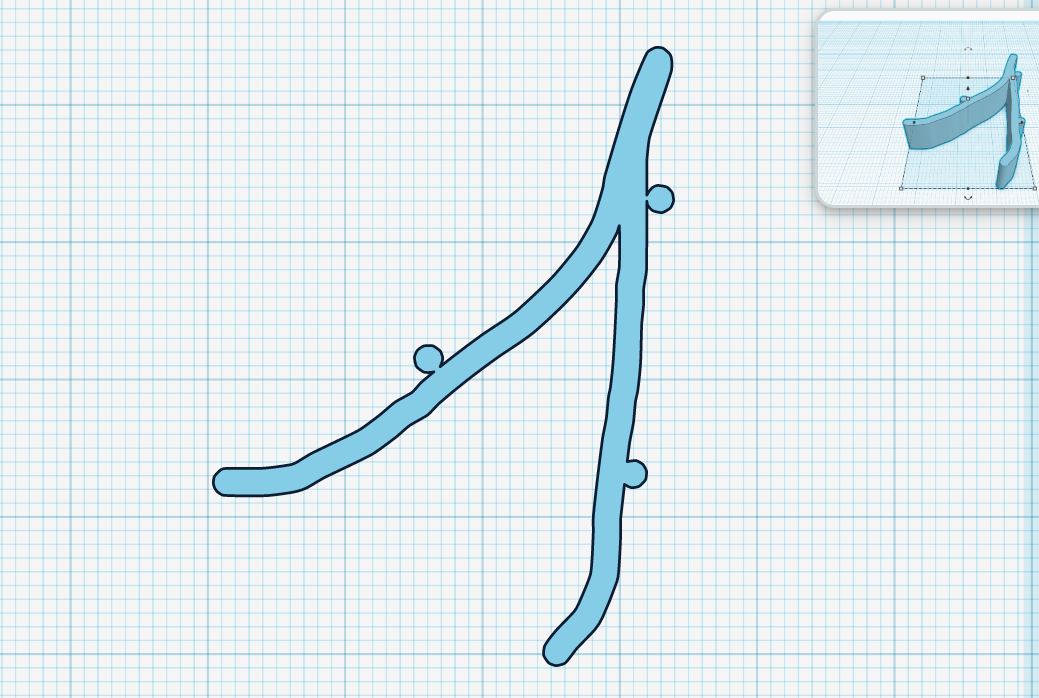
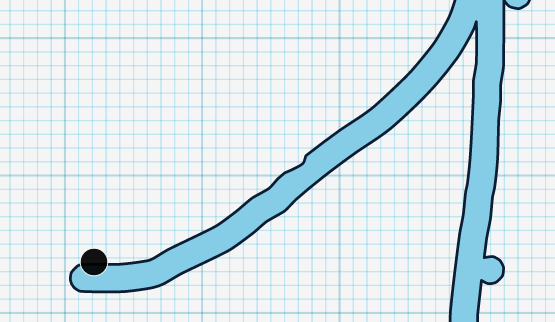
Using scribble mode draw in the elf ears to your specifications.
In scribble mode, Use guide dots to determine where the spot is that you are wanting to add and design around.
Once designing is complete delete the dots so that only the required shape is visible.
The Ear Structure
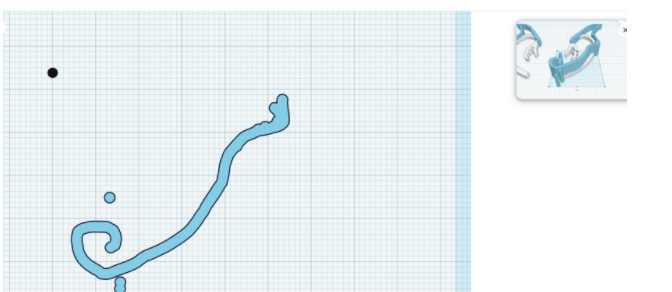
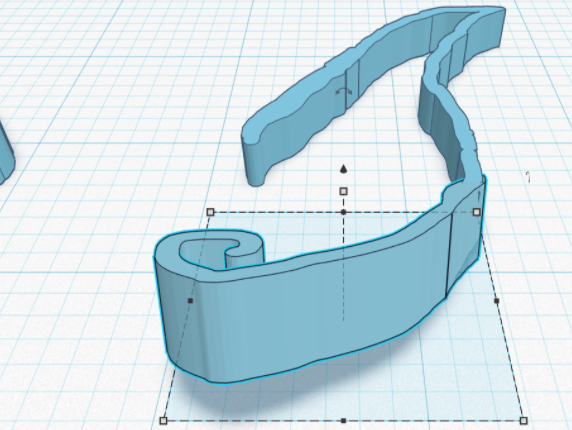
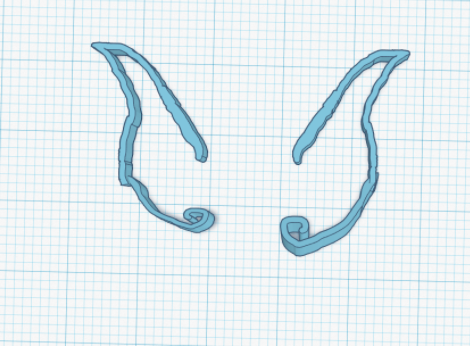
The bottom of the ear is as important as the top. This will give it the structural integrity needed to hold the entire piece onto the ear. It will be a little bit heavy since it is being created using 3D filament. When creating the overall design it is important to consider how tall the structure will be. Adjust the height to one that would be comfortable to your ear.
Once again it is easier to copy the bottom piece and flip it over by 180* than to draw another one. But if you desire two different looks then it would be easier to re-draw it.
Almost There!!
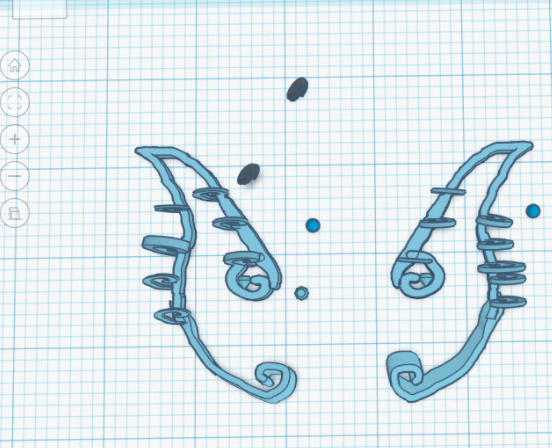
Once the ear structure is in place it is time to decorate the piece. This can be done with various shapes located in TinkerCAD. For this piece, there are spirals that protrude up on the drawing (and out on the ear).
The Print
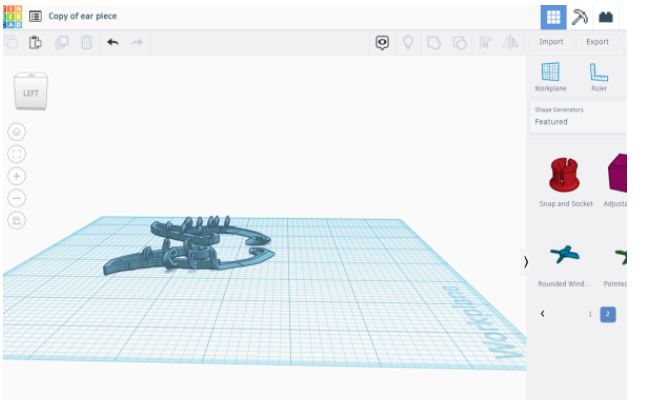
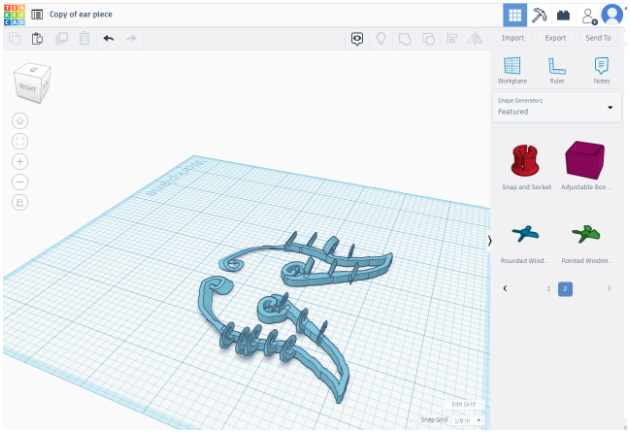
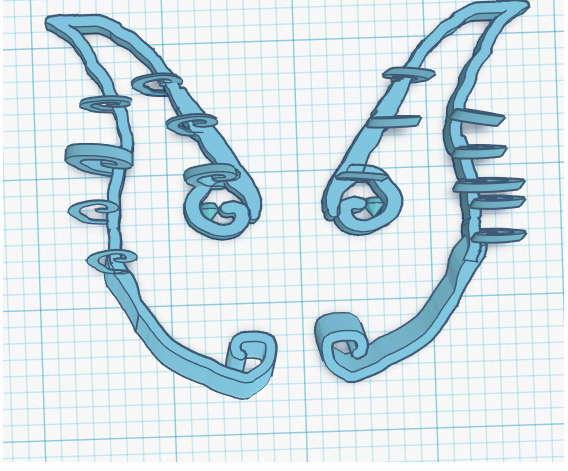
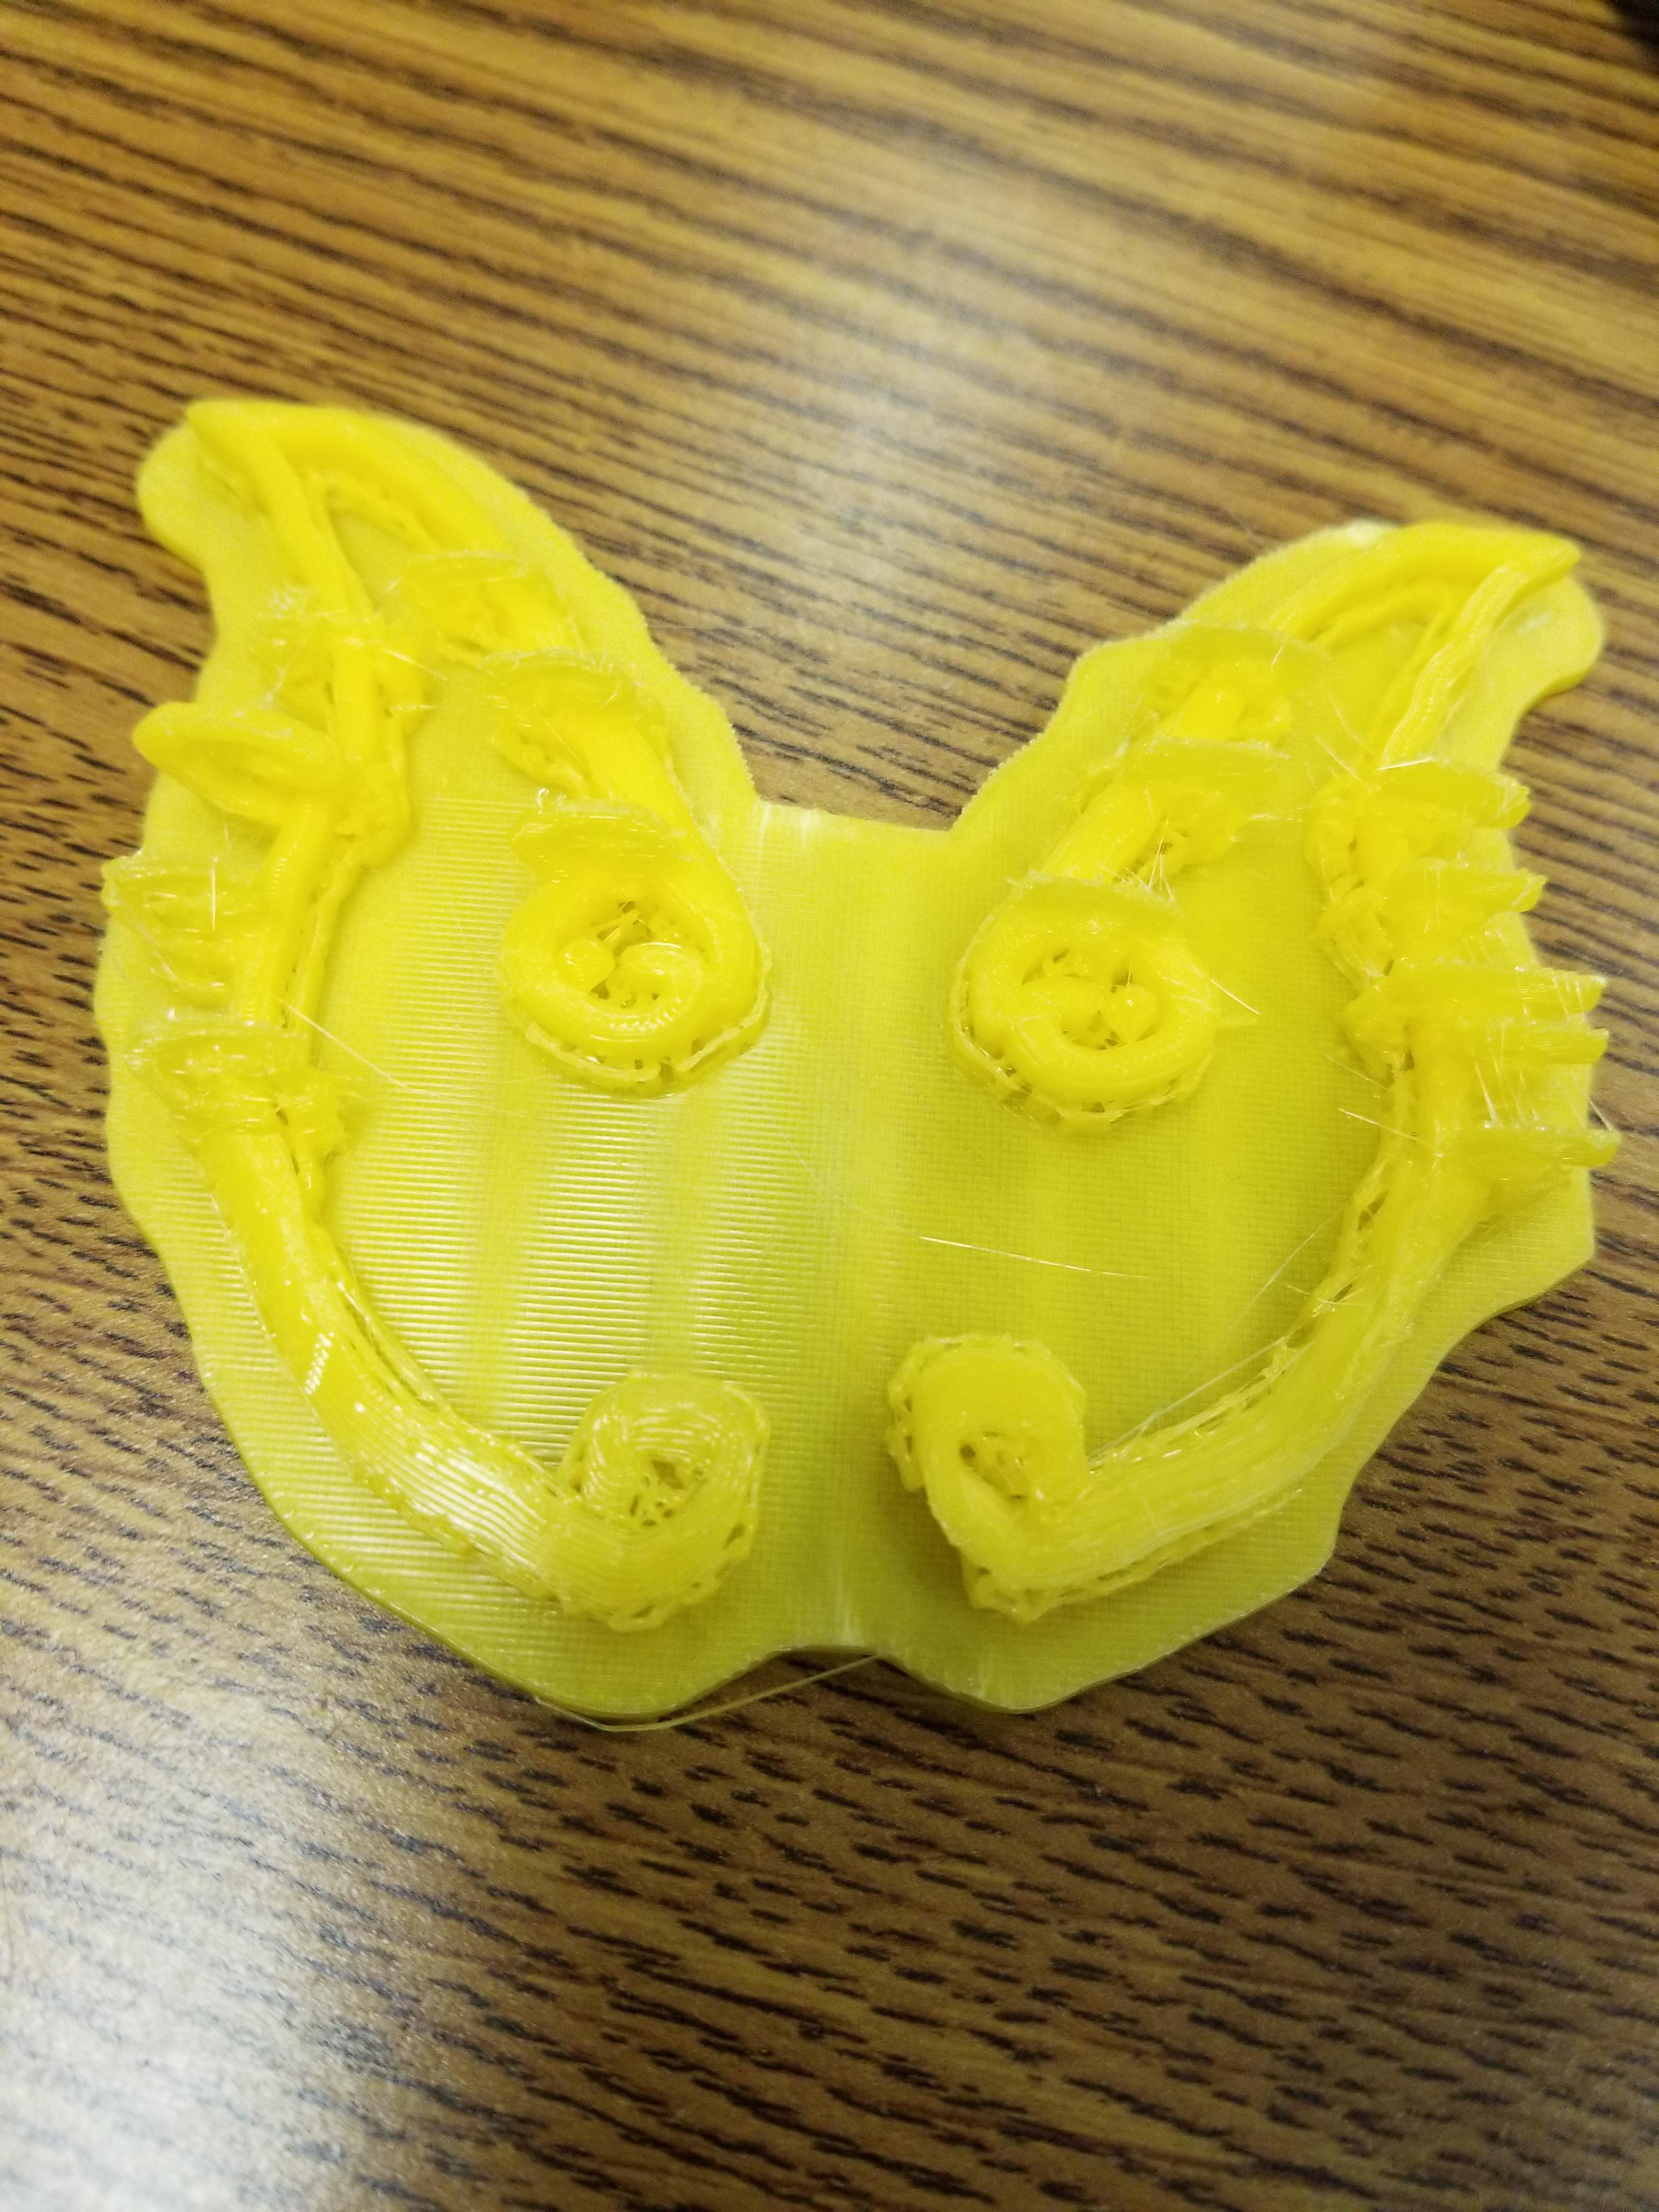
Once you have the earpiece looking amazing it is time to 3D print!
Each type of 3D printer is slightly different and I would encourage you to use the information guide provided for your printer for this step.
Earing Backings
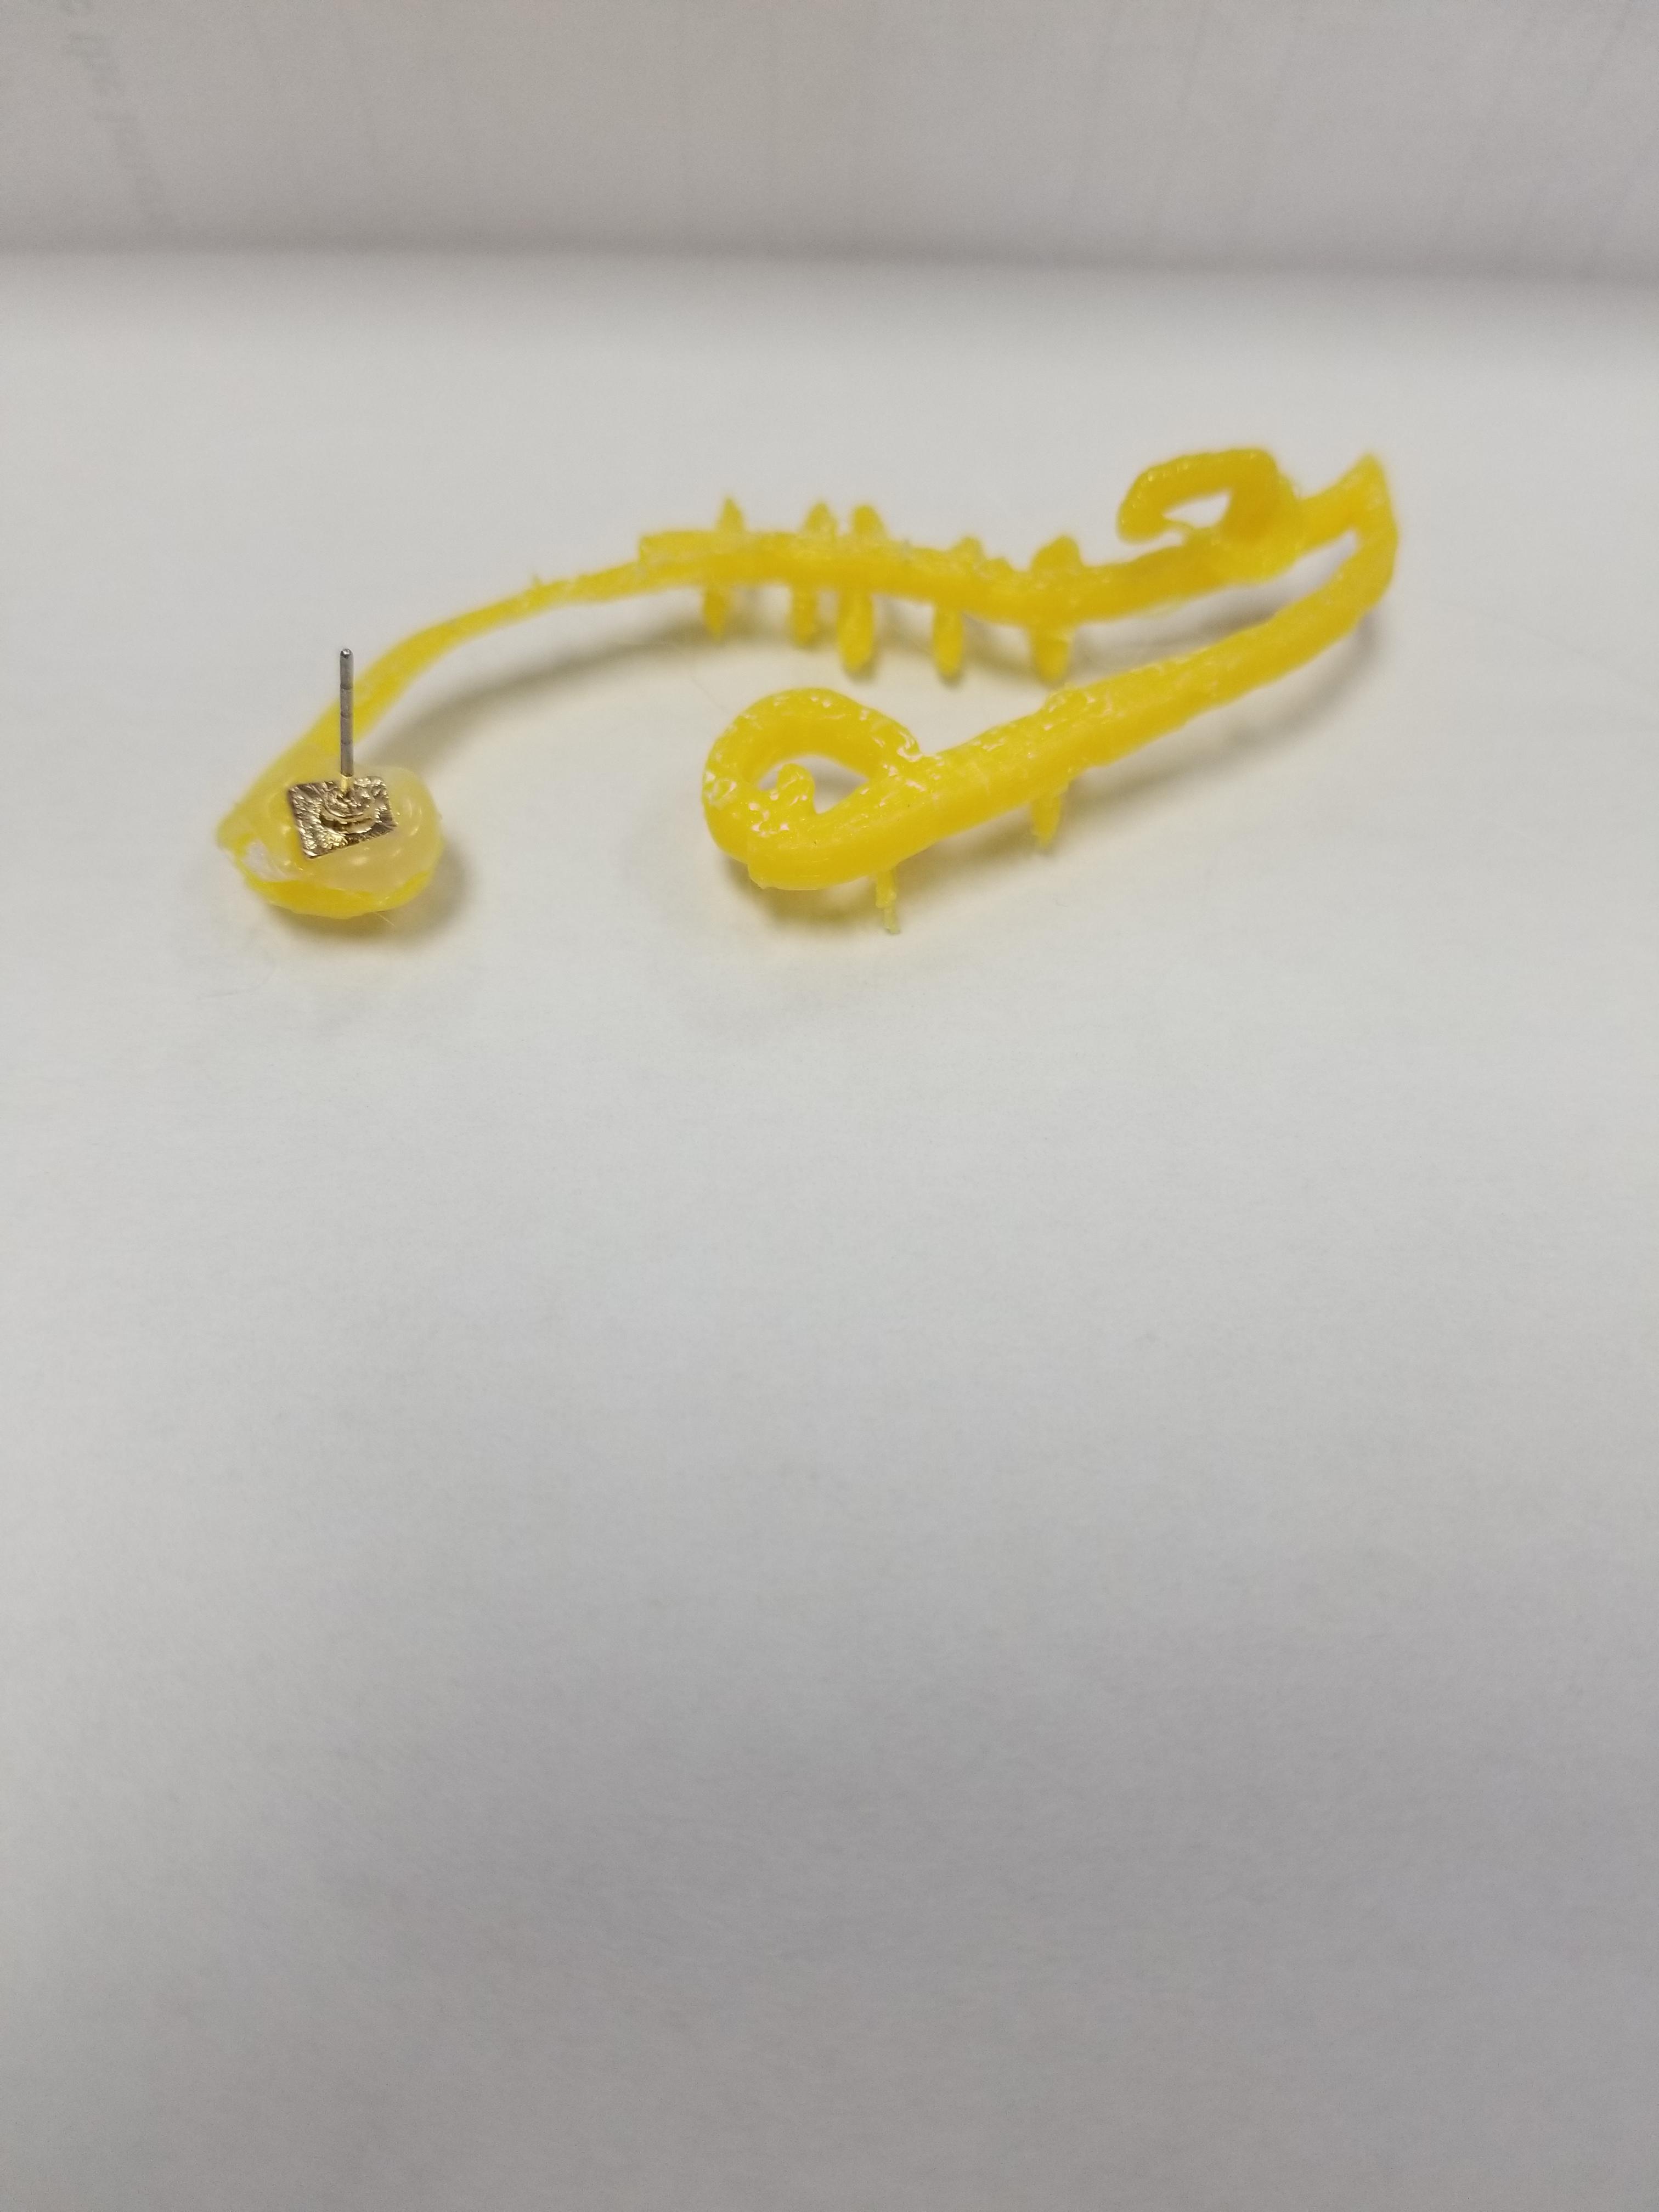
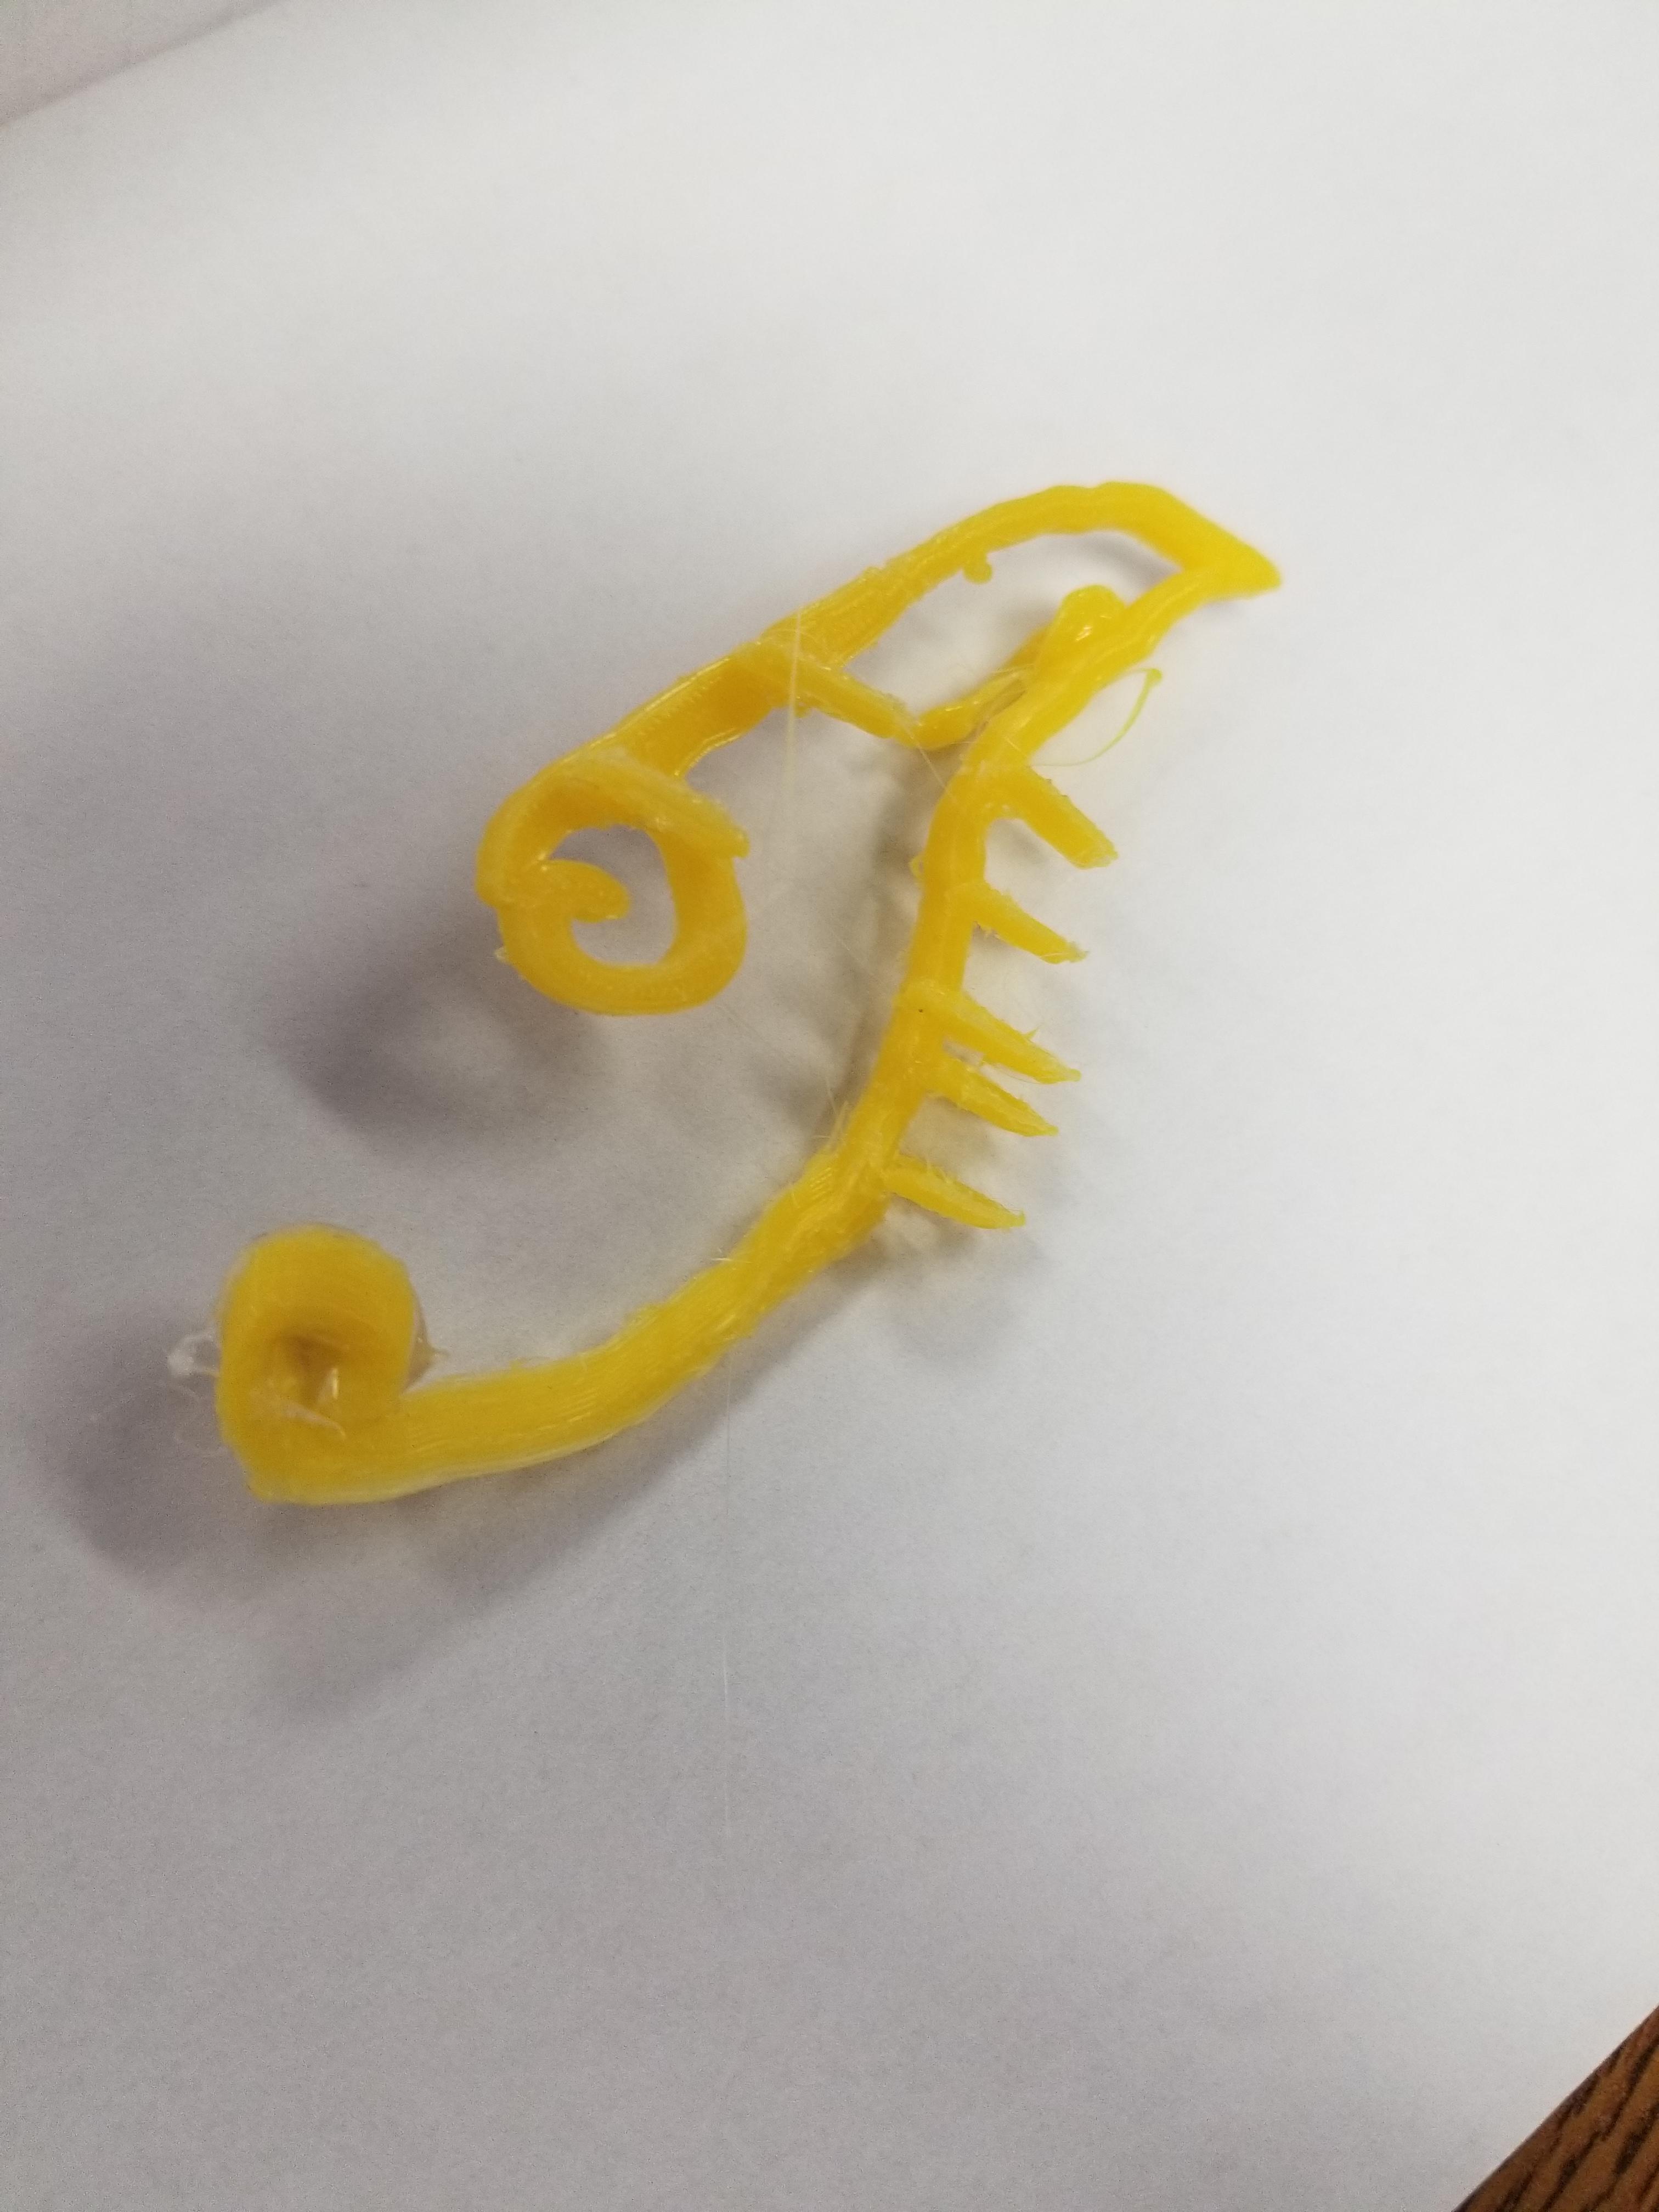
This step requires the printed Elvin ear.
Glue the backing and clip onto the earpiece.
Finished Product!
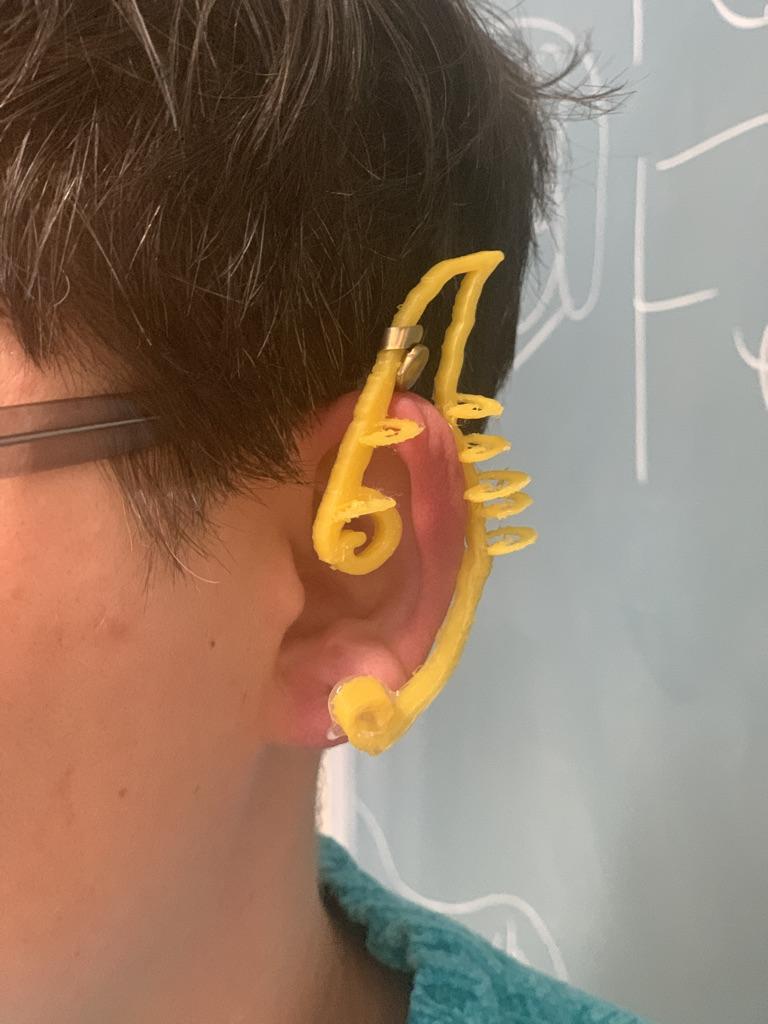.jpeg)
Once all of the steps are done, then put them on and go hunt some petty-dwarfs.