3D Eiffel Tower With Laser Cuter
by meowmeowxyz in Workshop > Laser Cutting
7935 Views, 91 Favorites, 0 Comments
3D Eiffel Tower With Laser Cuter
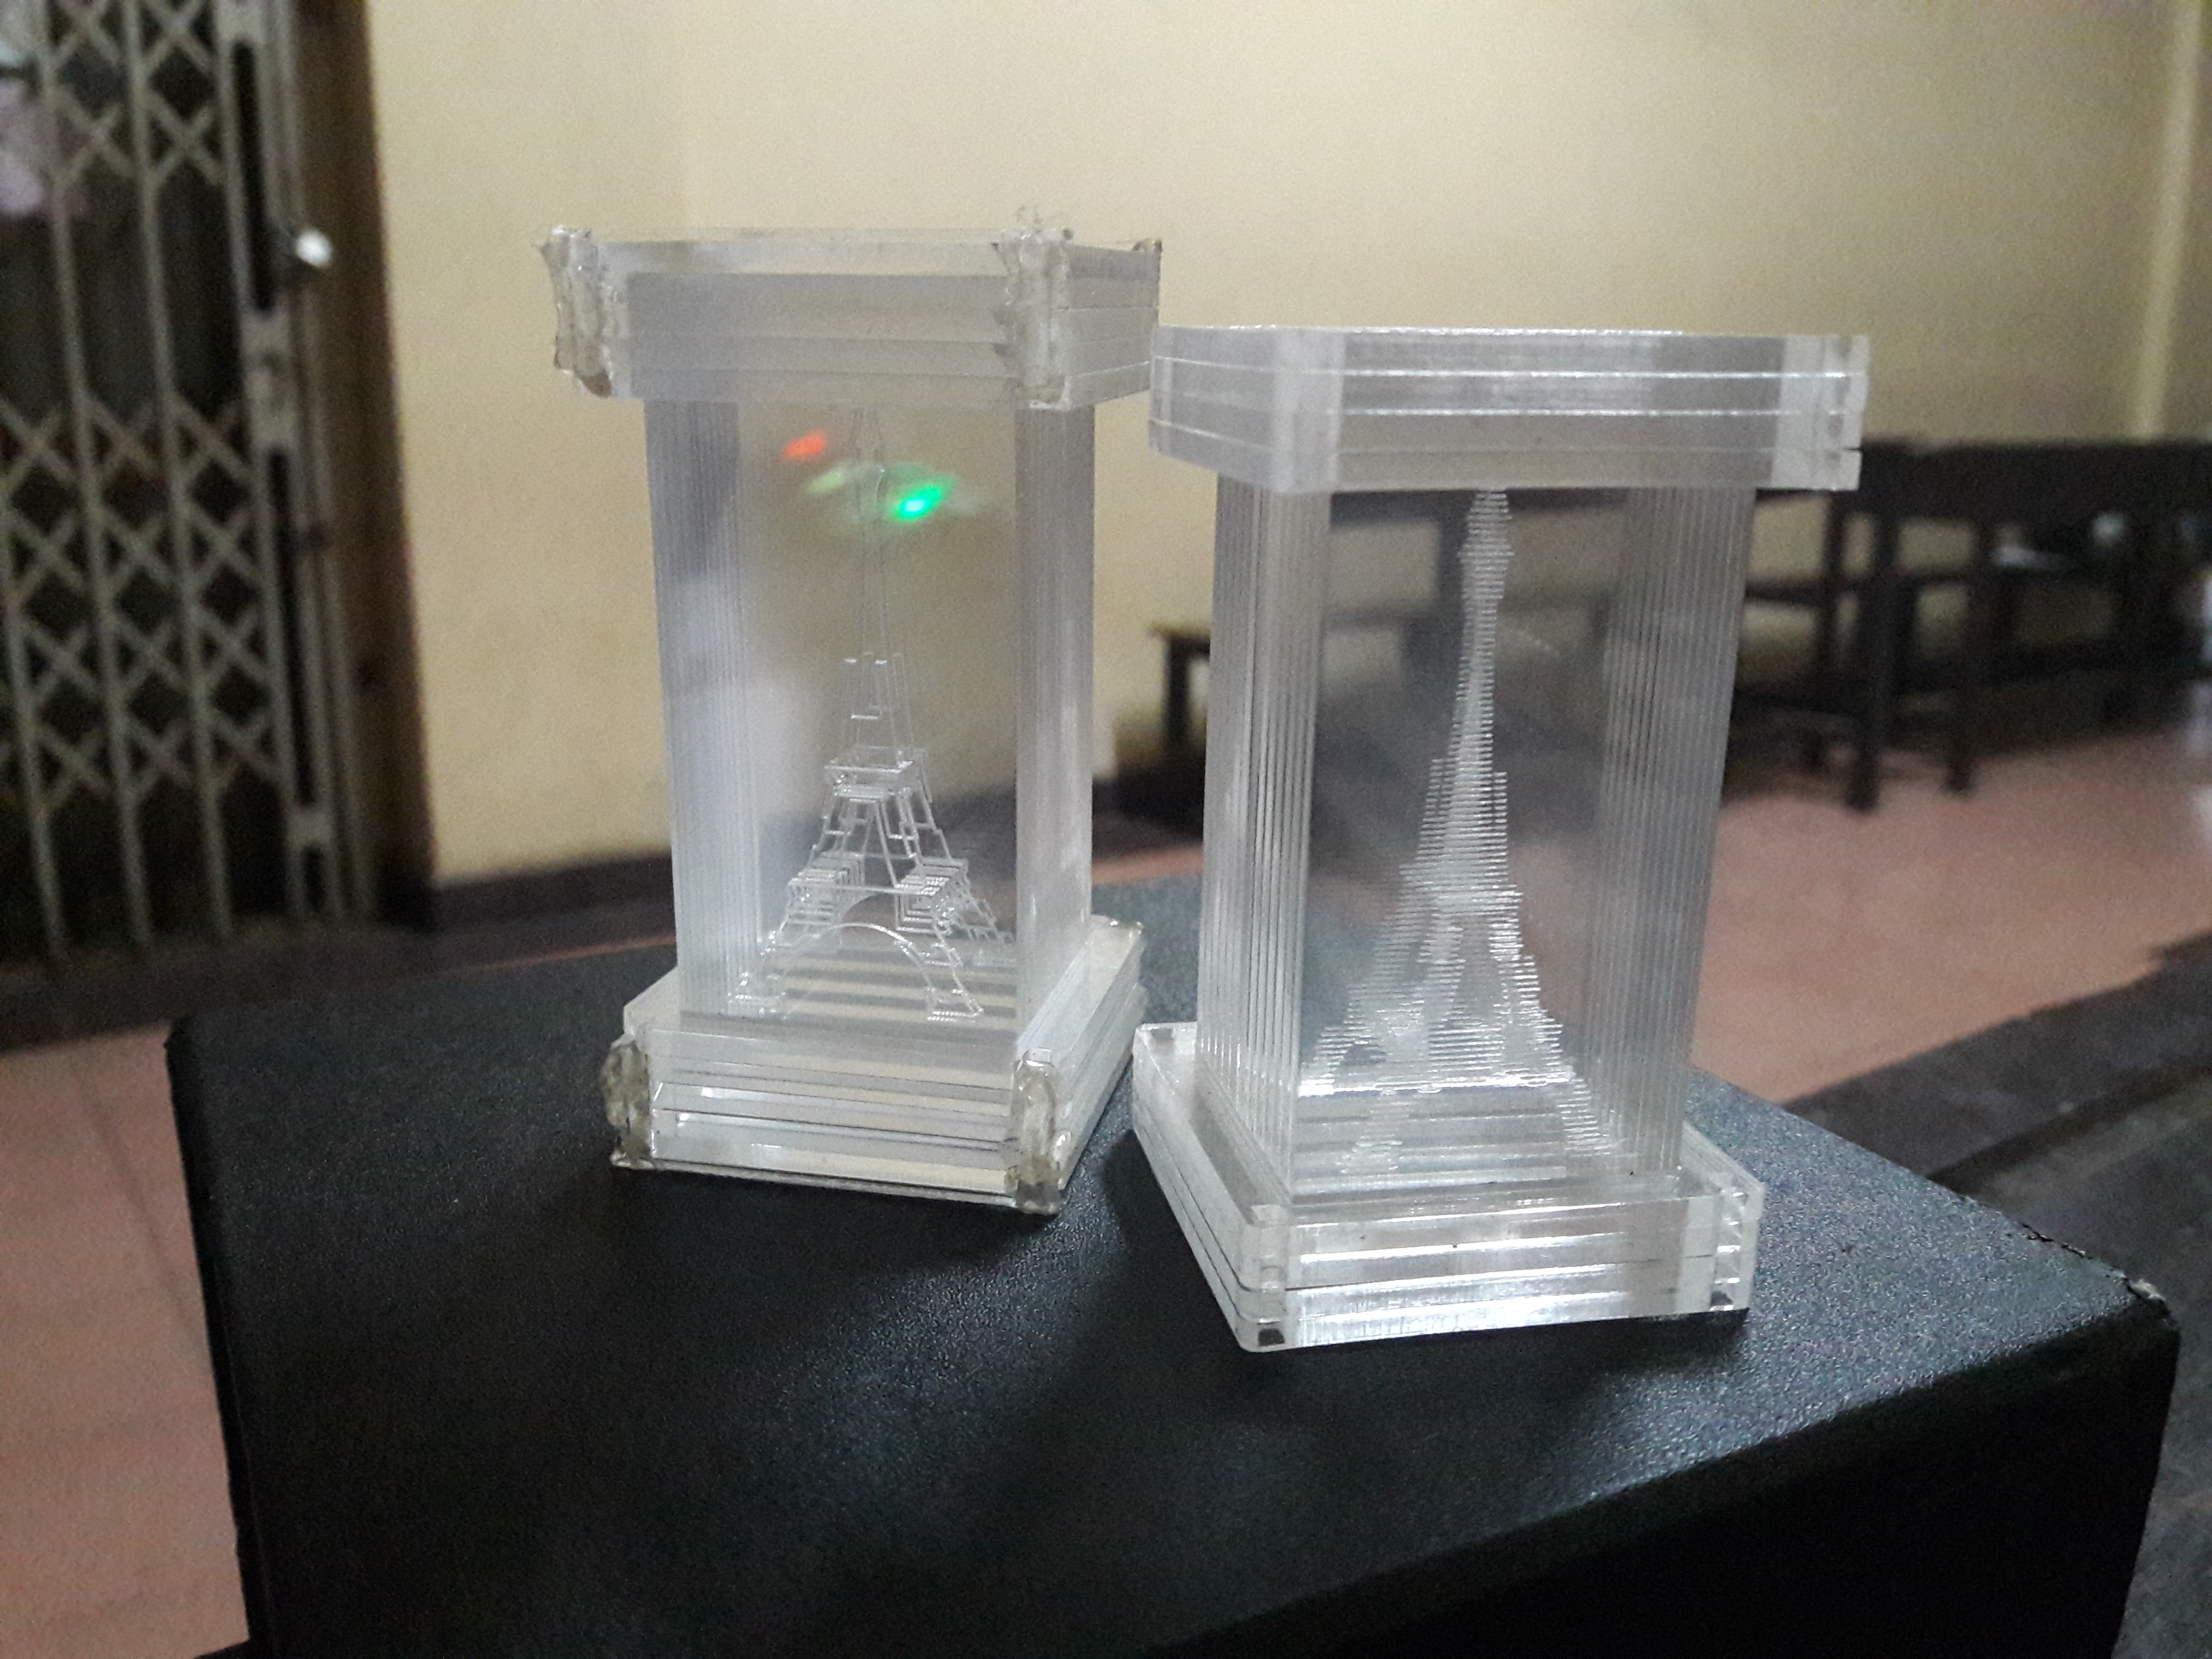
This is my first Instructable
so
hope you like it :)
Find Model
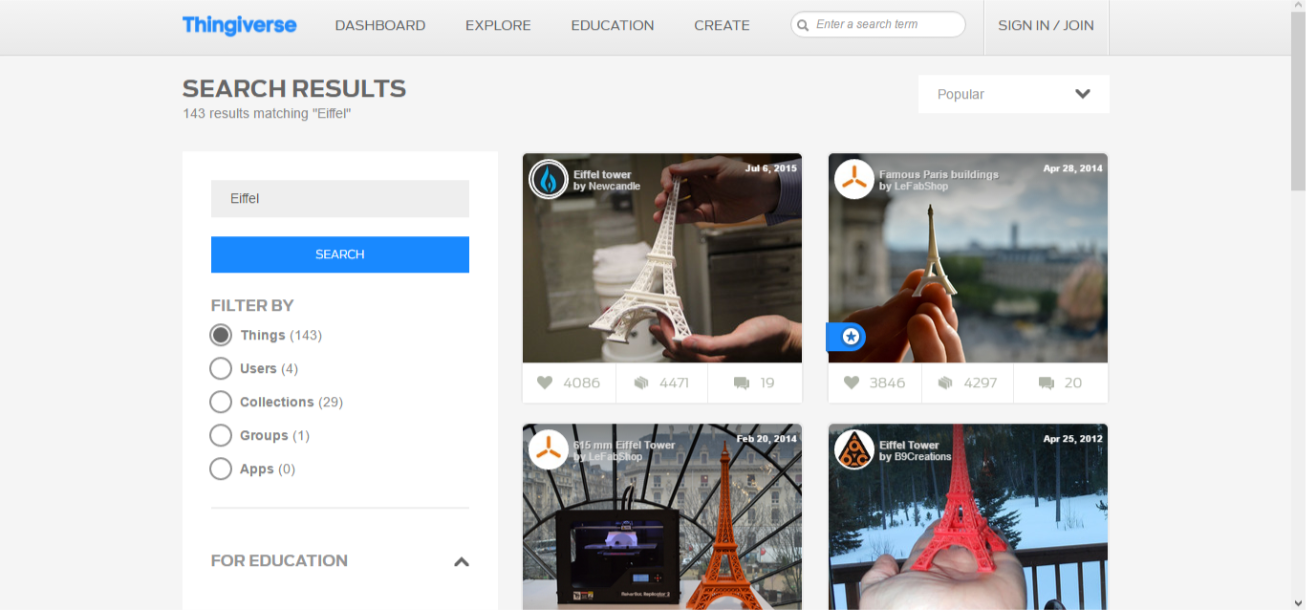
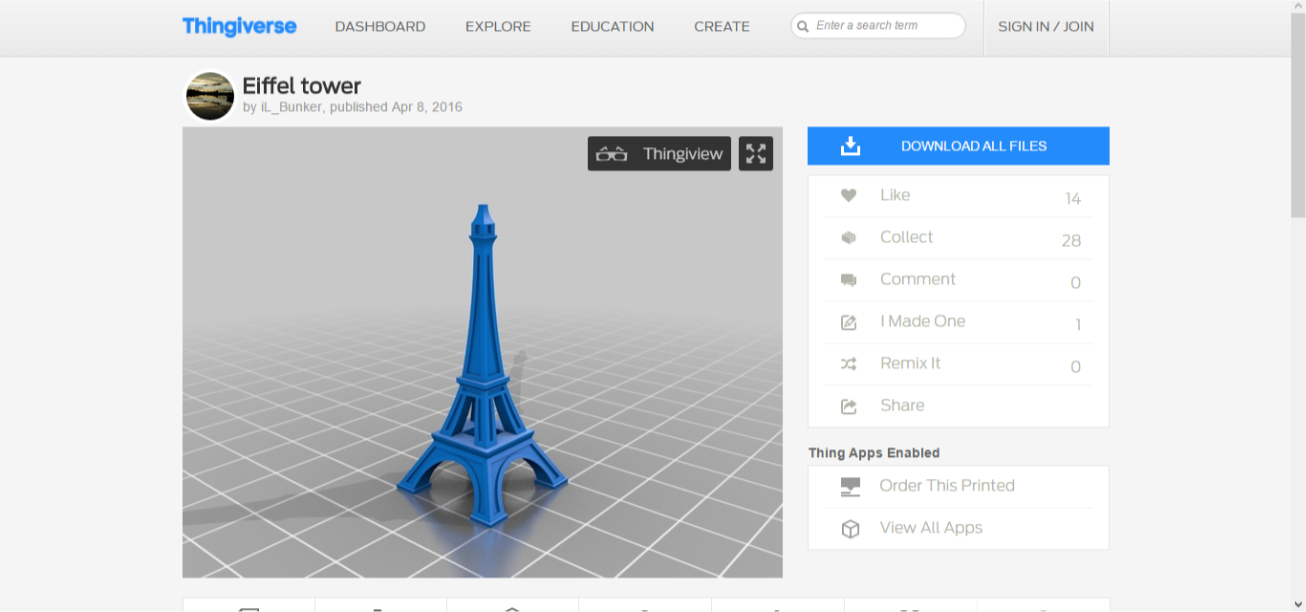
First, we need to find a solid Eiffel Tower model. In picture, i use Thingiverse to get the model i want. You can use other site like GrabCAD or you can make one by yourself.
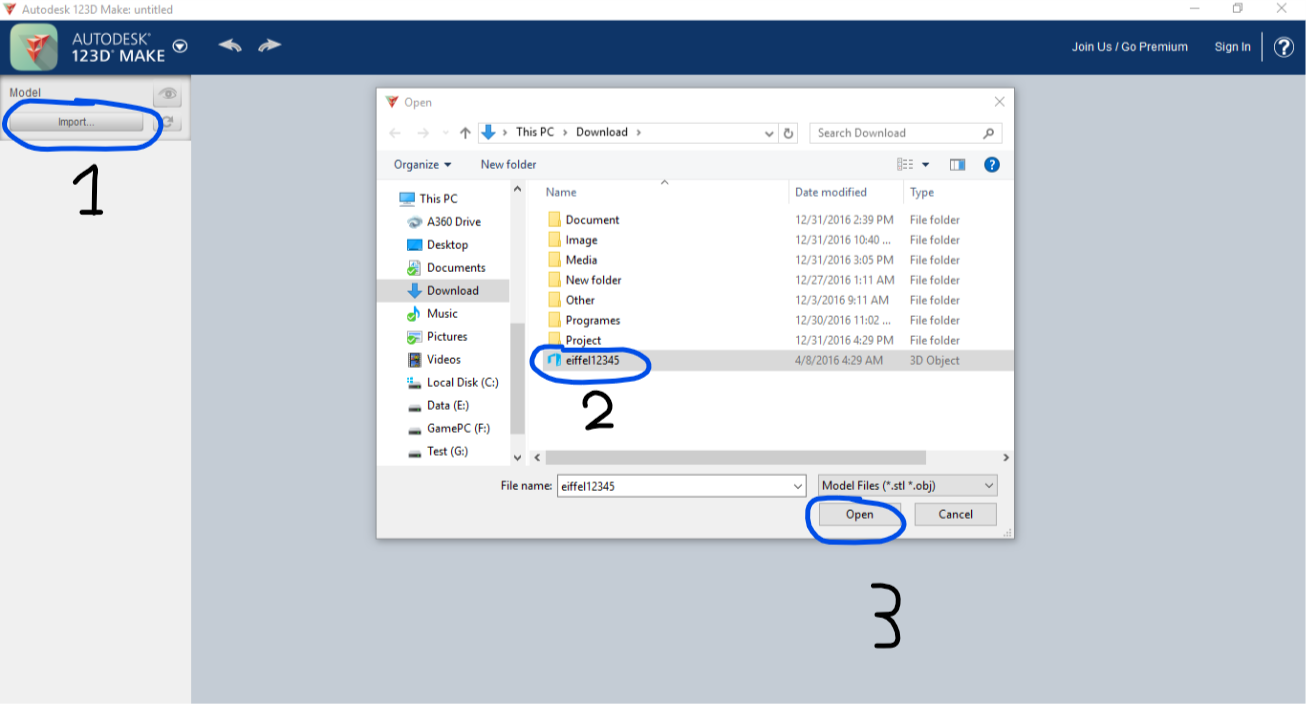
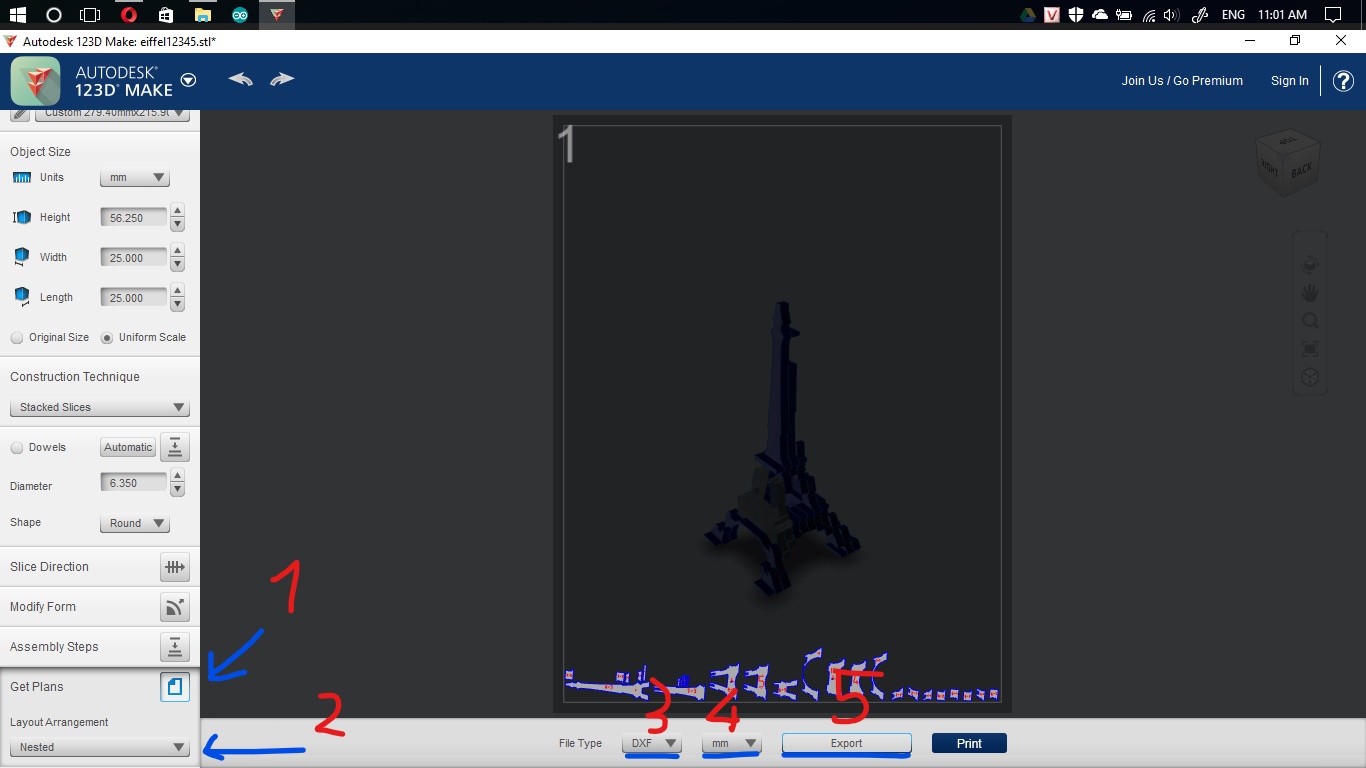
"Slice" the Model

_LI.jpg)
_LI.jpg)
_LI.jpg)
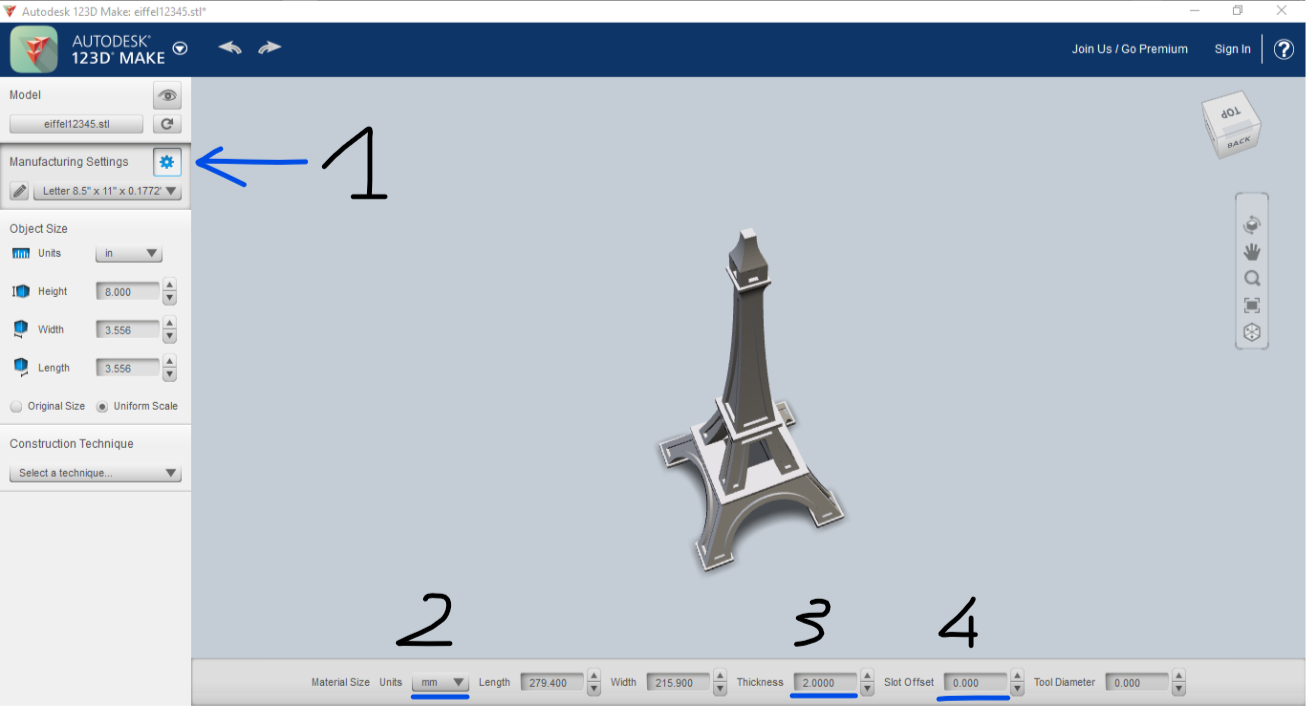
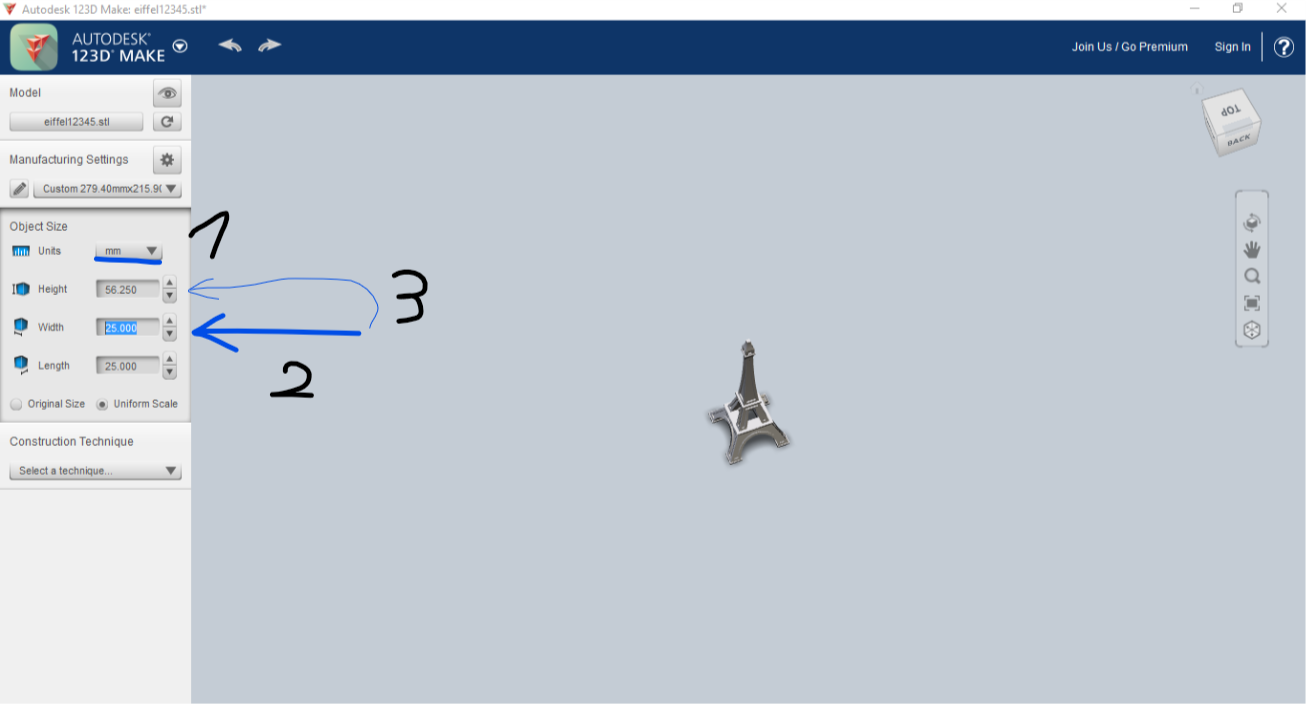
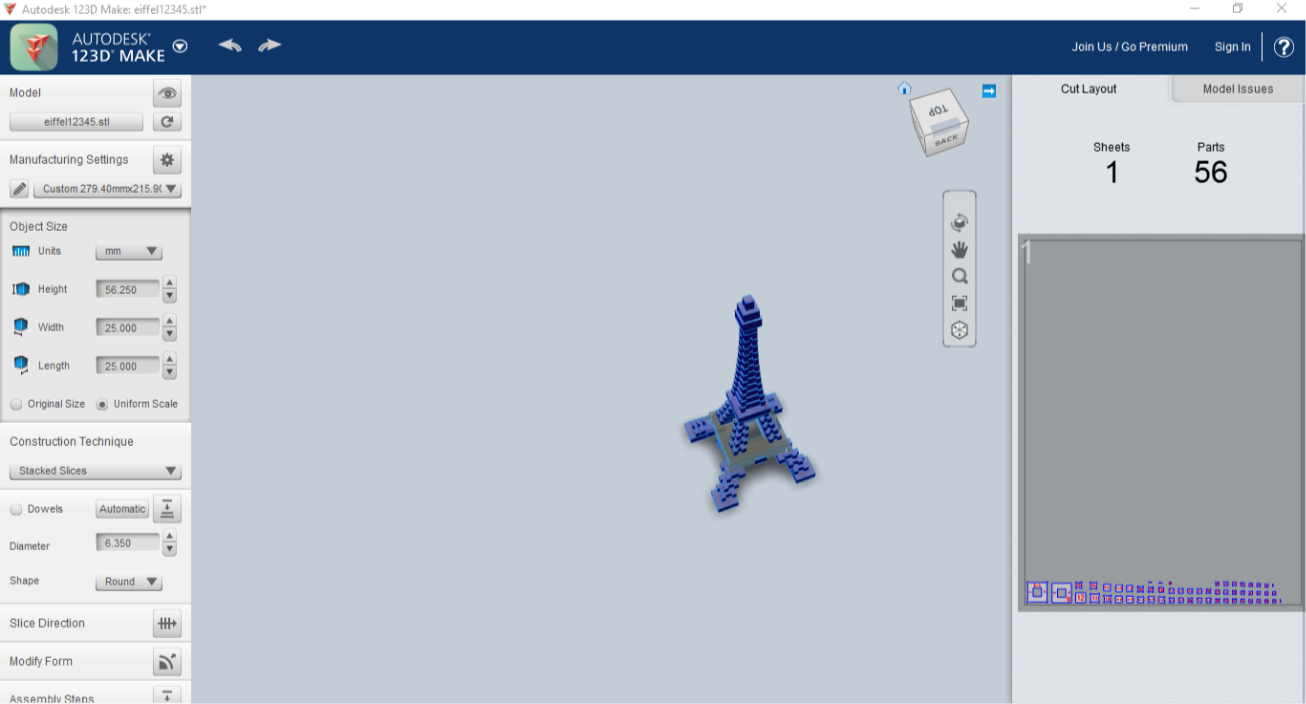
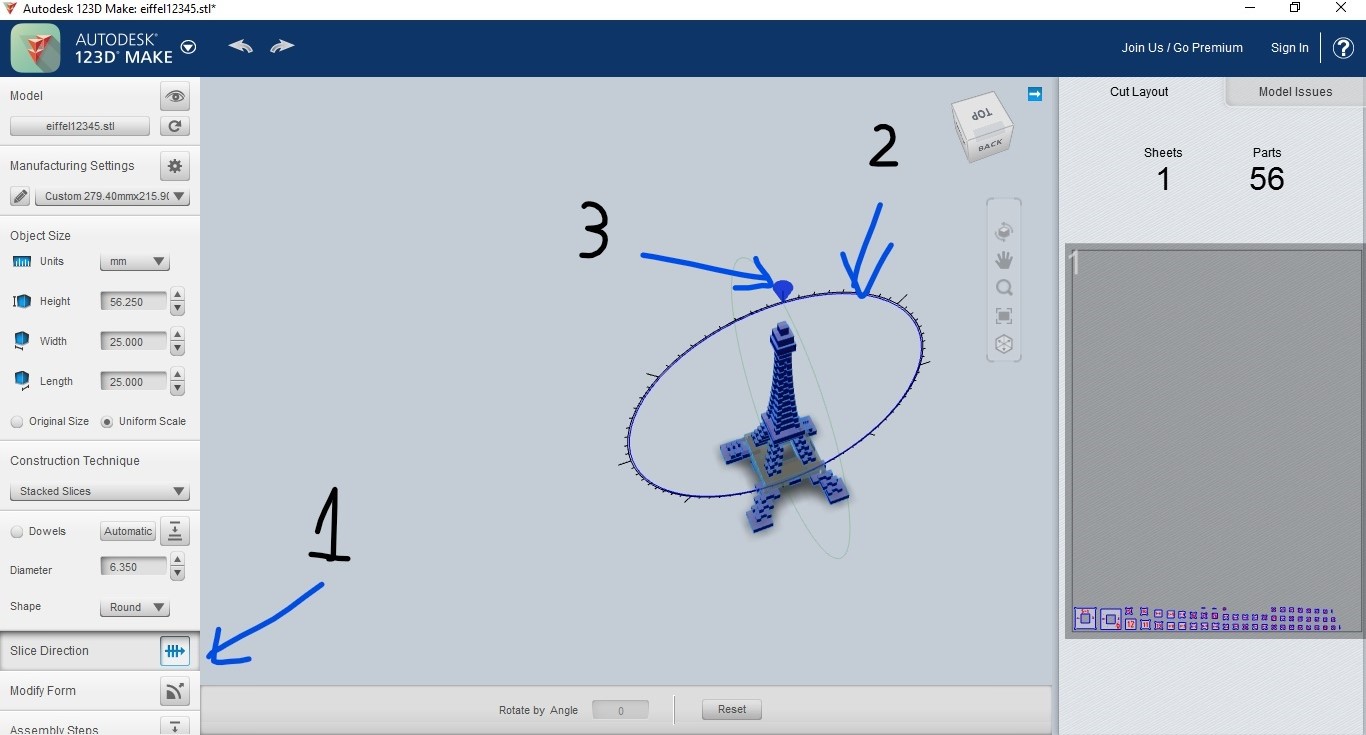
An easy and fast way to slice the model is using 123D Make from Autodesk. And it's free :)
Download and install it. Then open the app and following pictures.
Add More Thing...
.png)
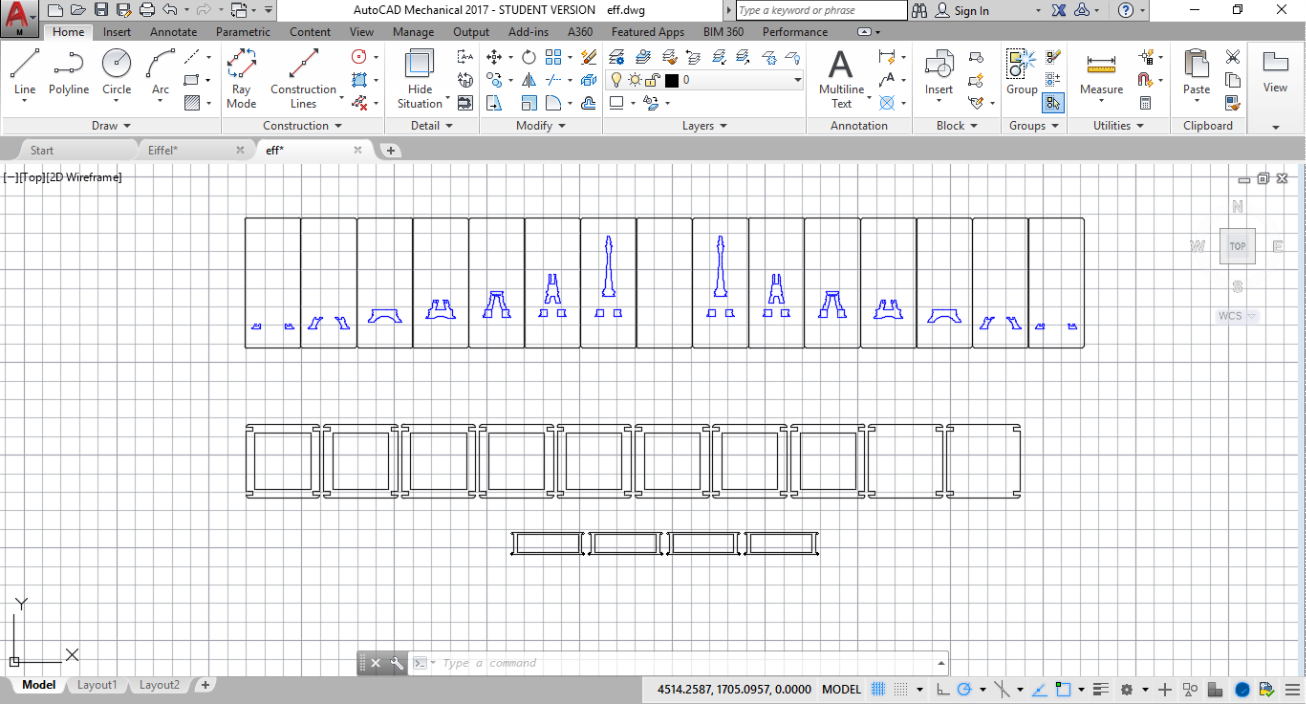
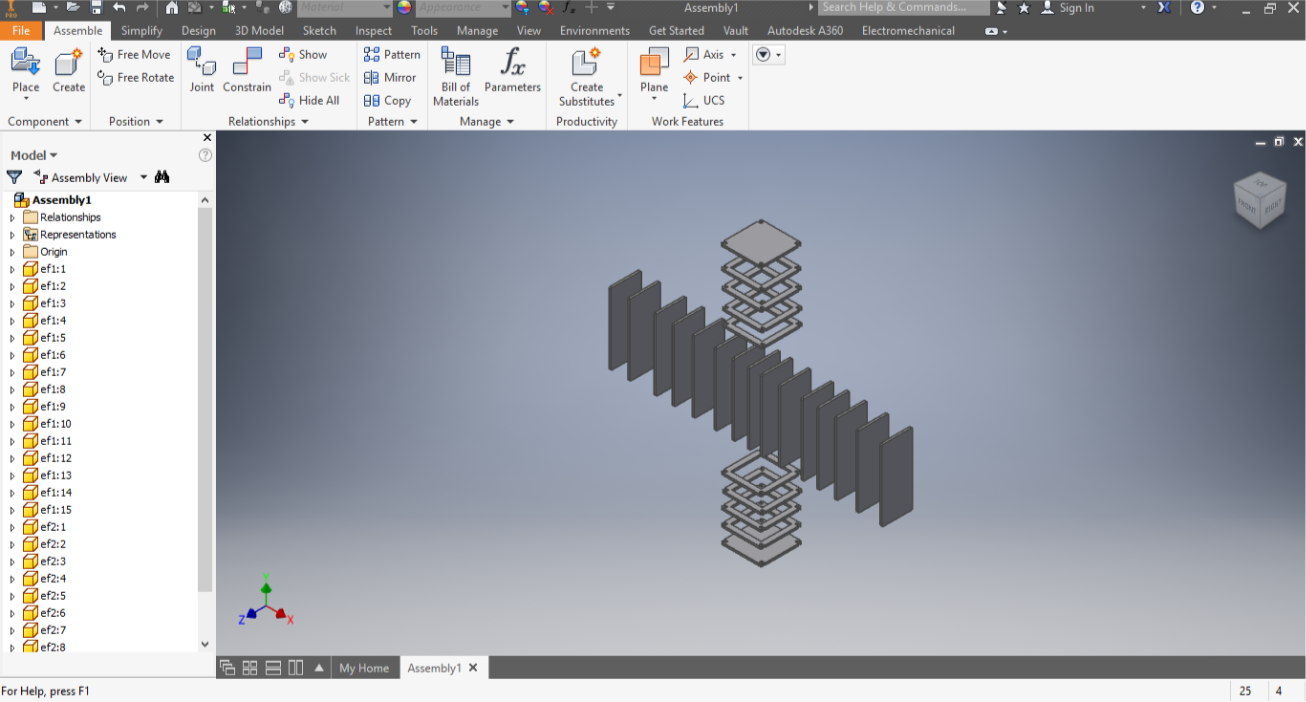
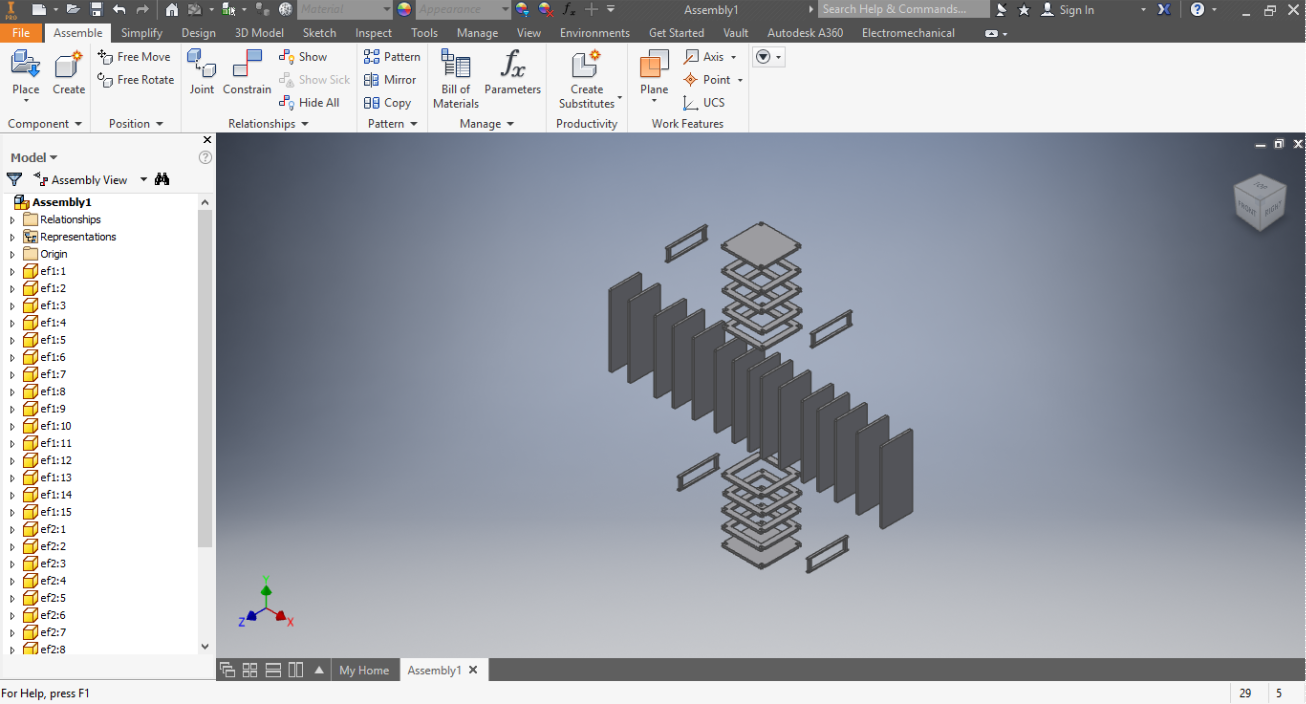
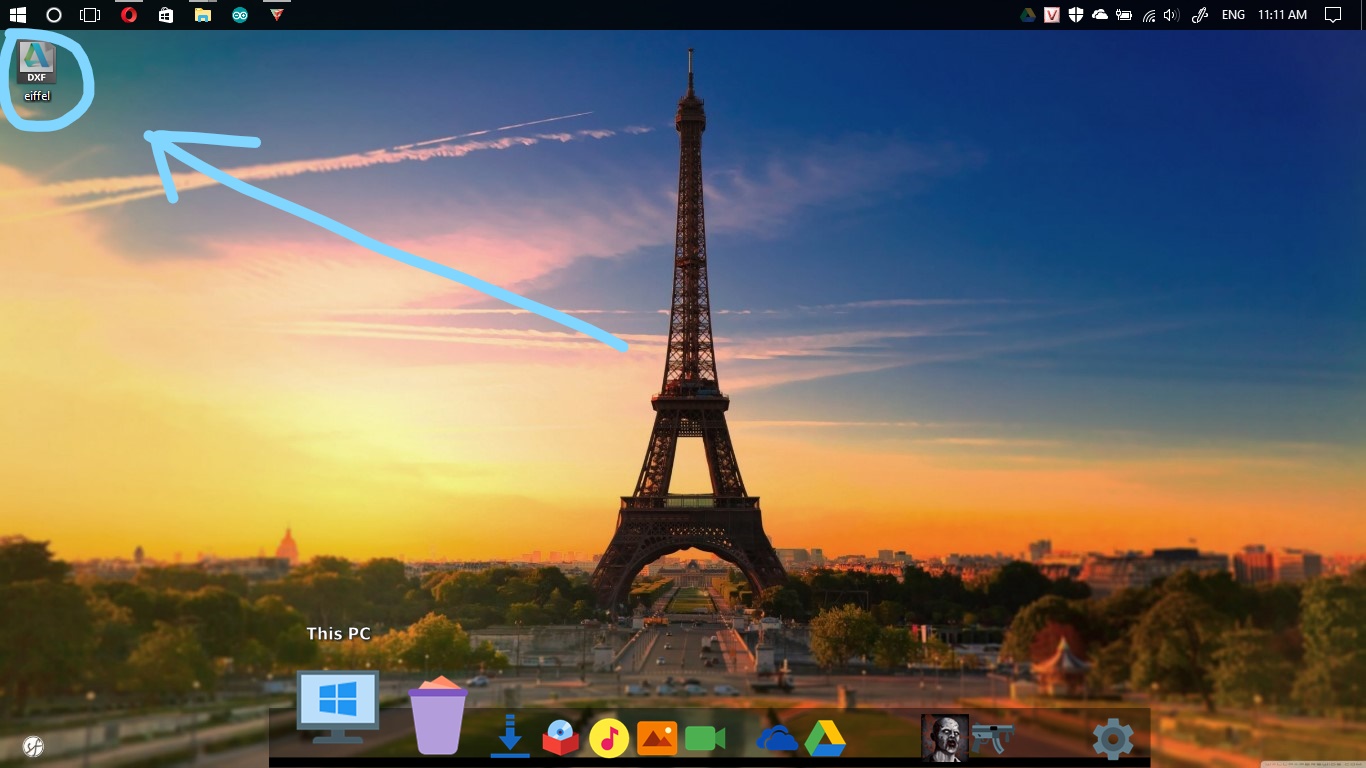
Now, let's open the .dxf file and add some stuff :)
1. Rearrange the layers
2. And create holder layers.
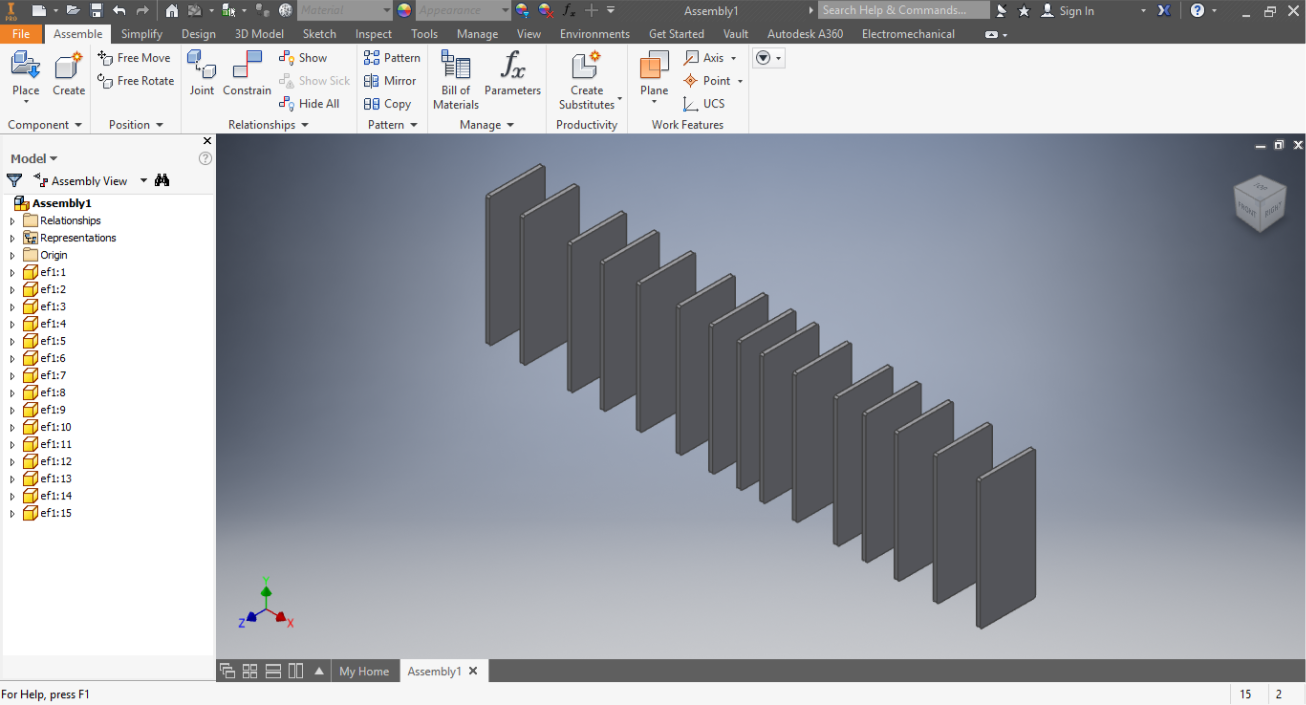
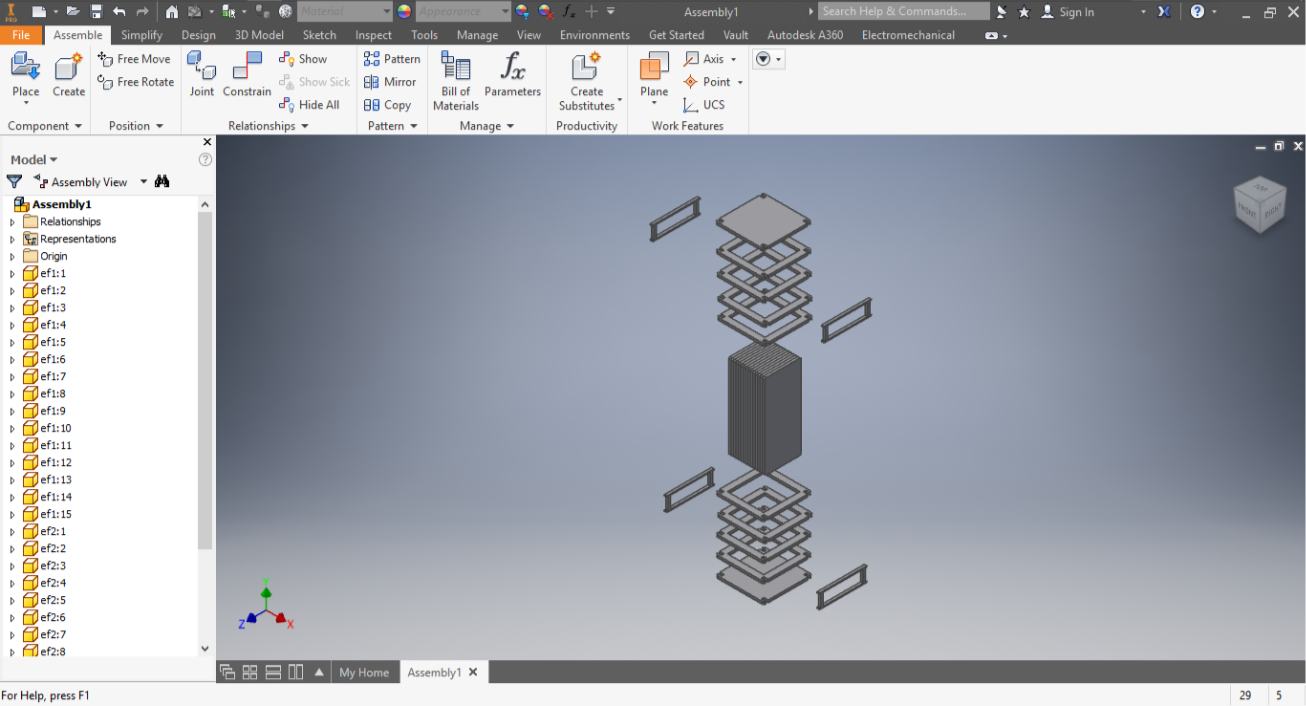
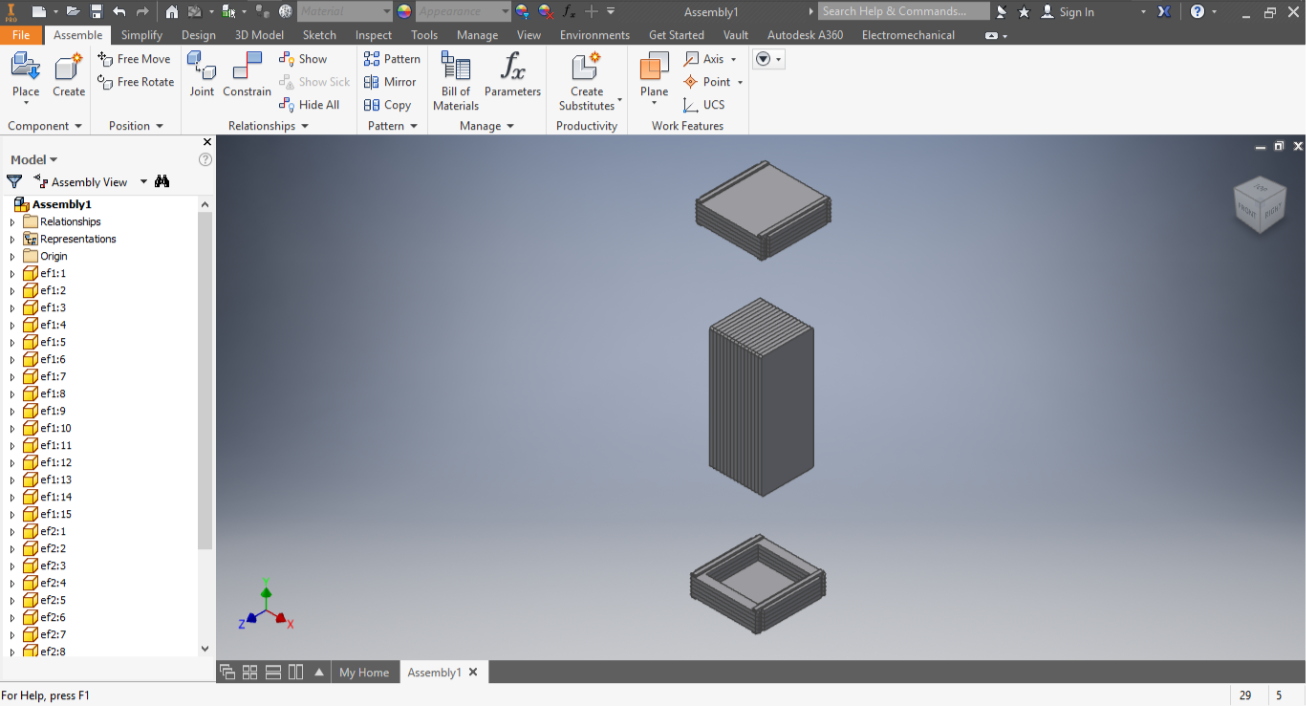
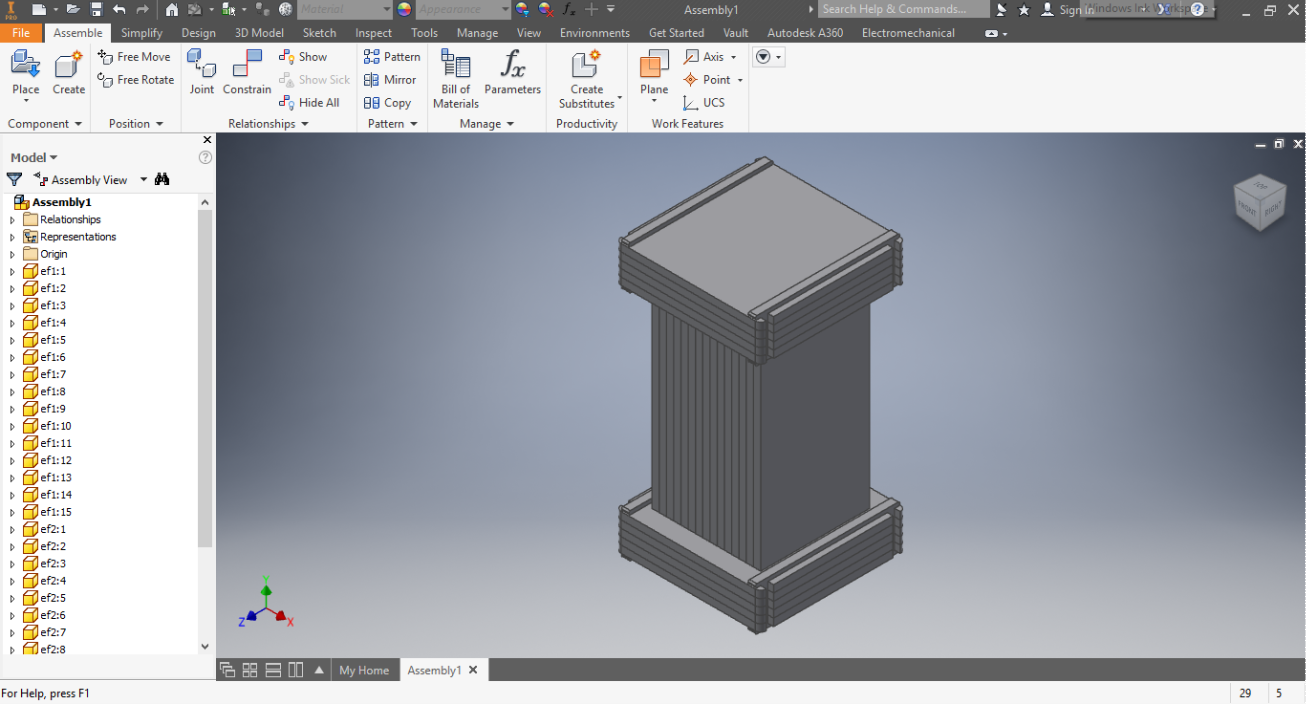
Assemble and Finish.

Before cutting, remember to offset the line first to be sure it's fit together when assemble. My (left) one was failed so i had to add some glue to it :D
Hope you like it ;)