Deathly Hallows 3D Spinners and Pendant!
by NSekinger in Workshop > 3D Printing
2460 Views, 6 Favorites, 0 Comments
Deathly Hallows 3D Spinners and Pendant!
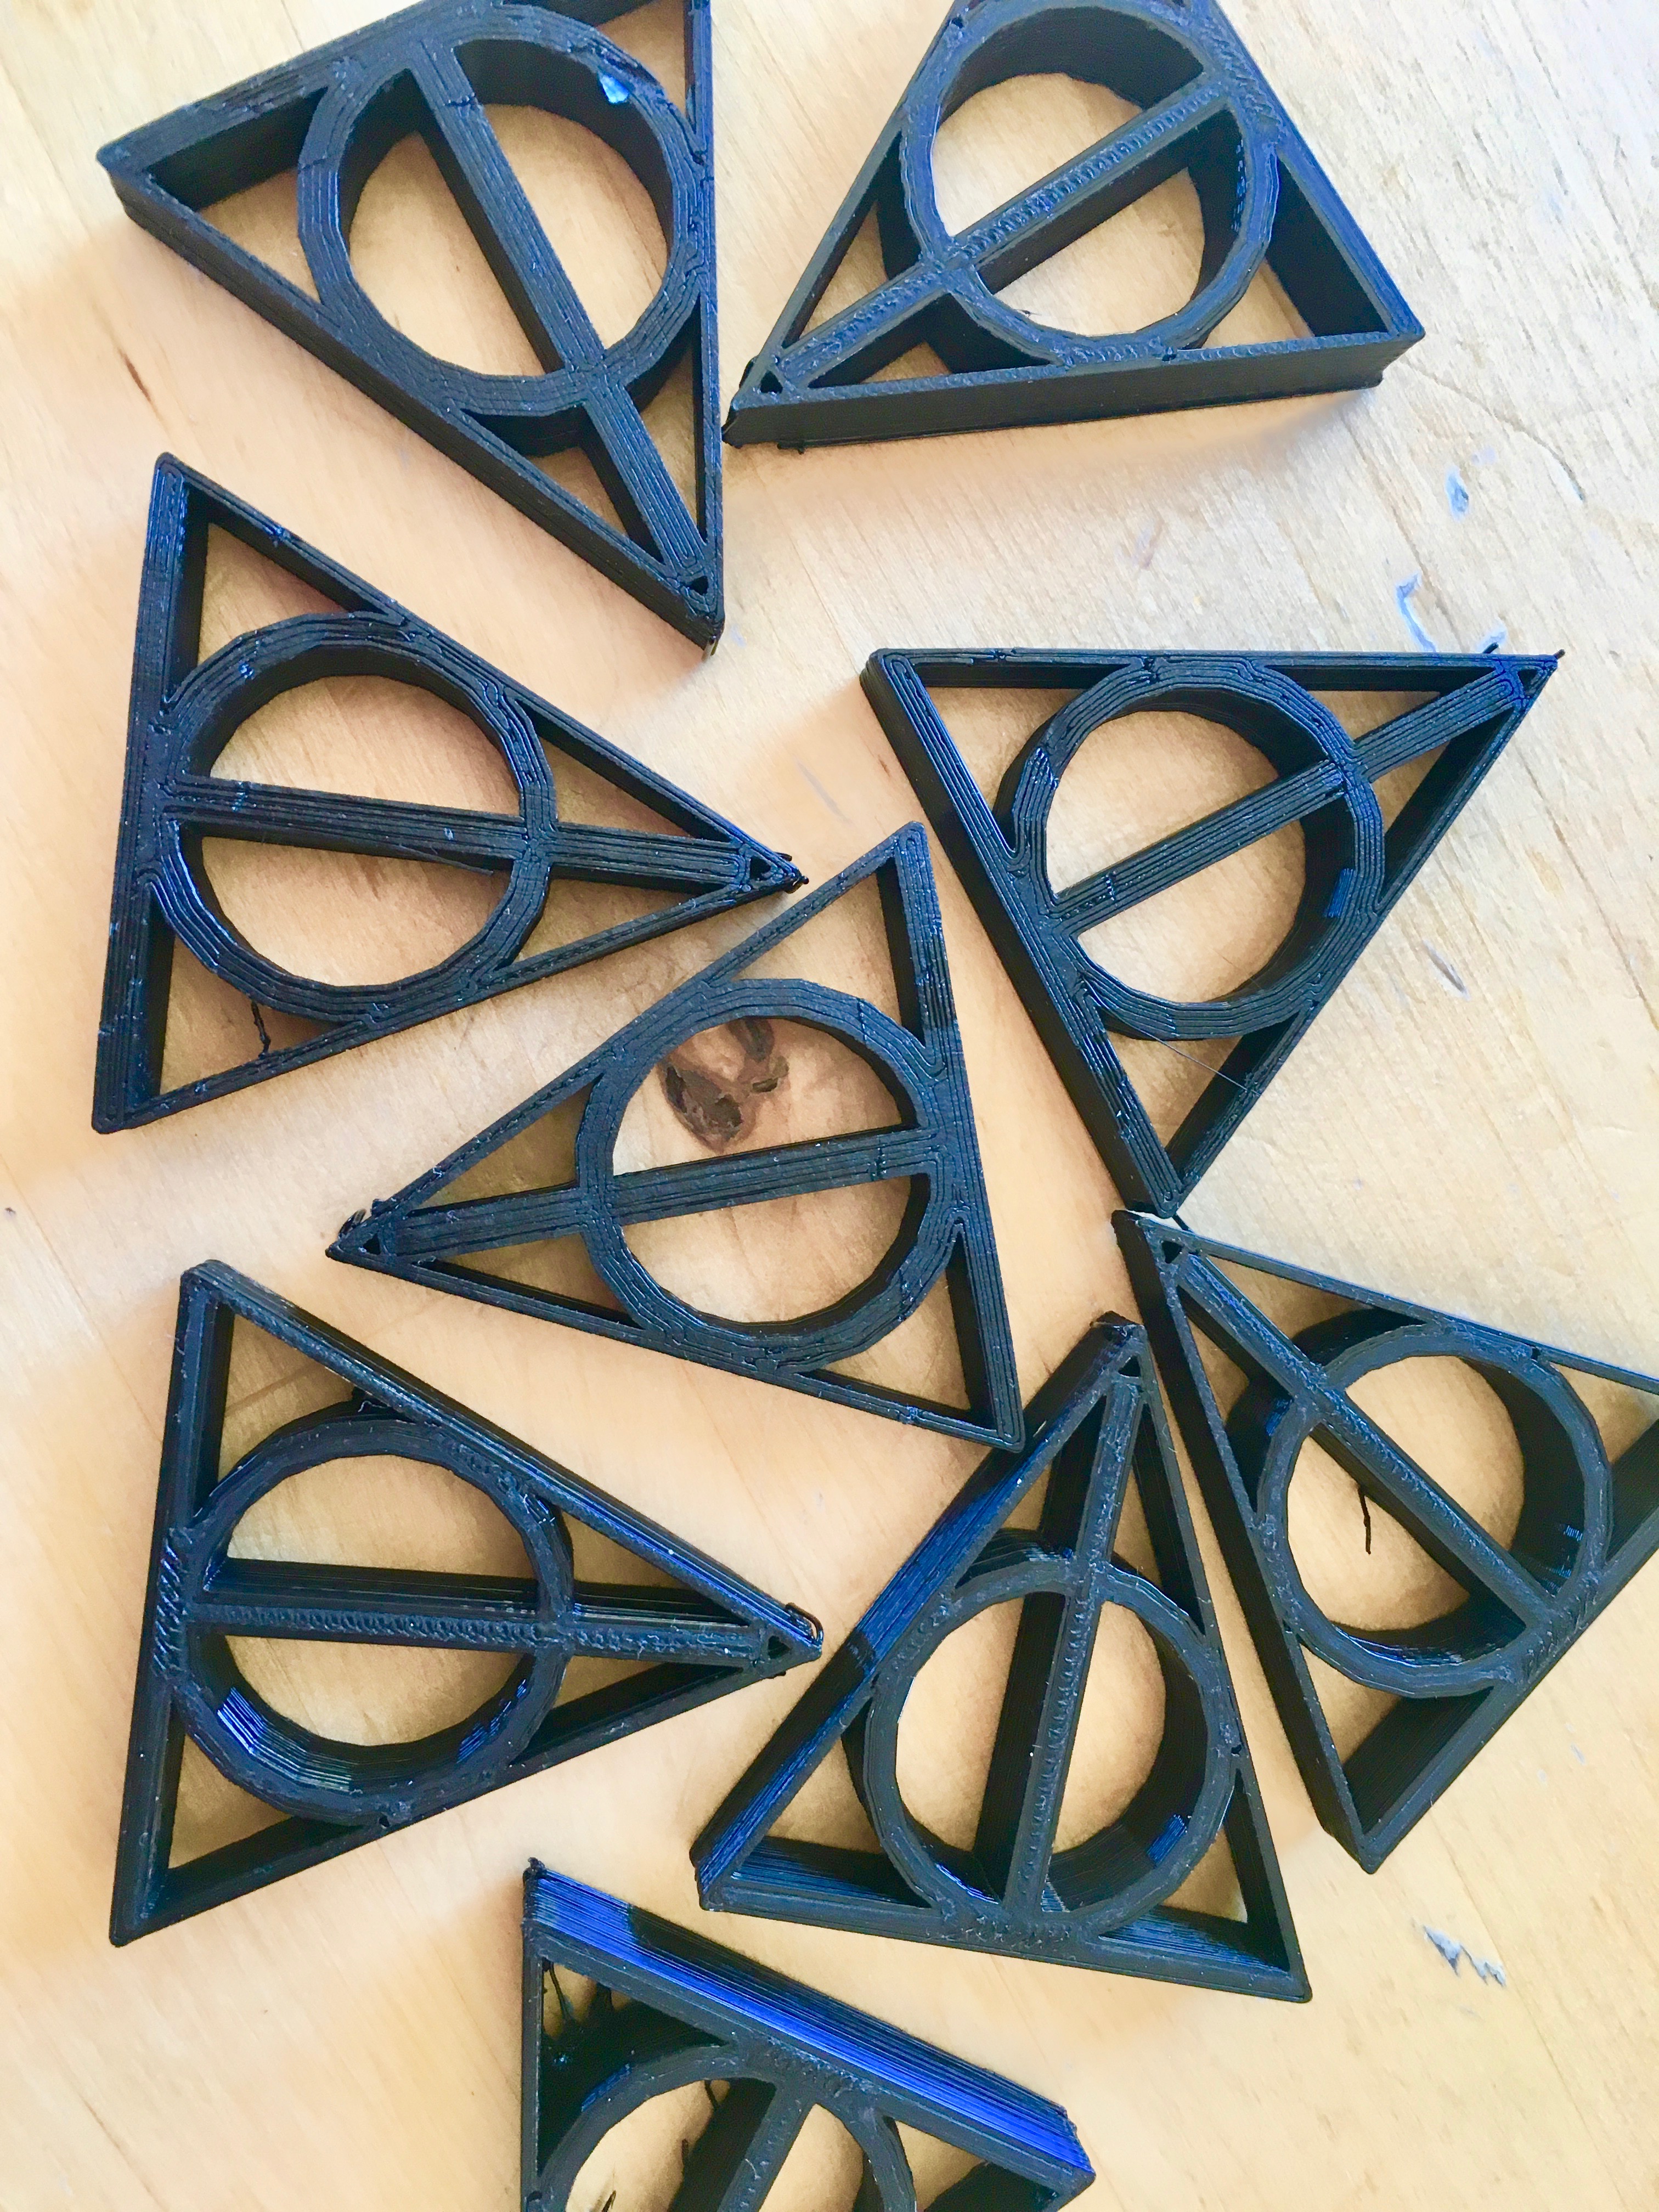
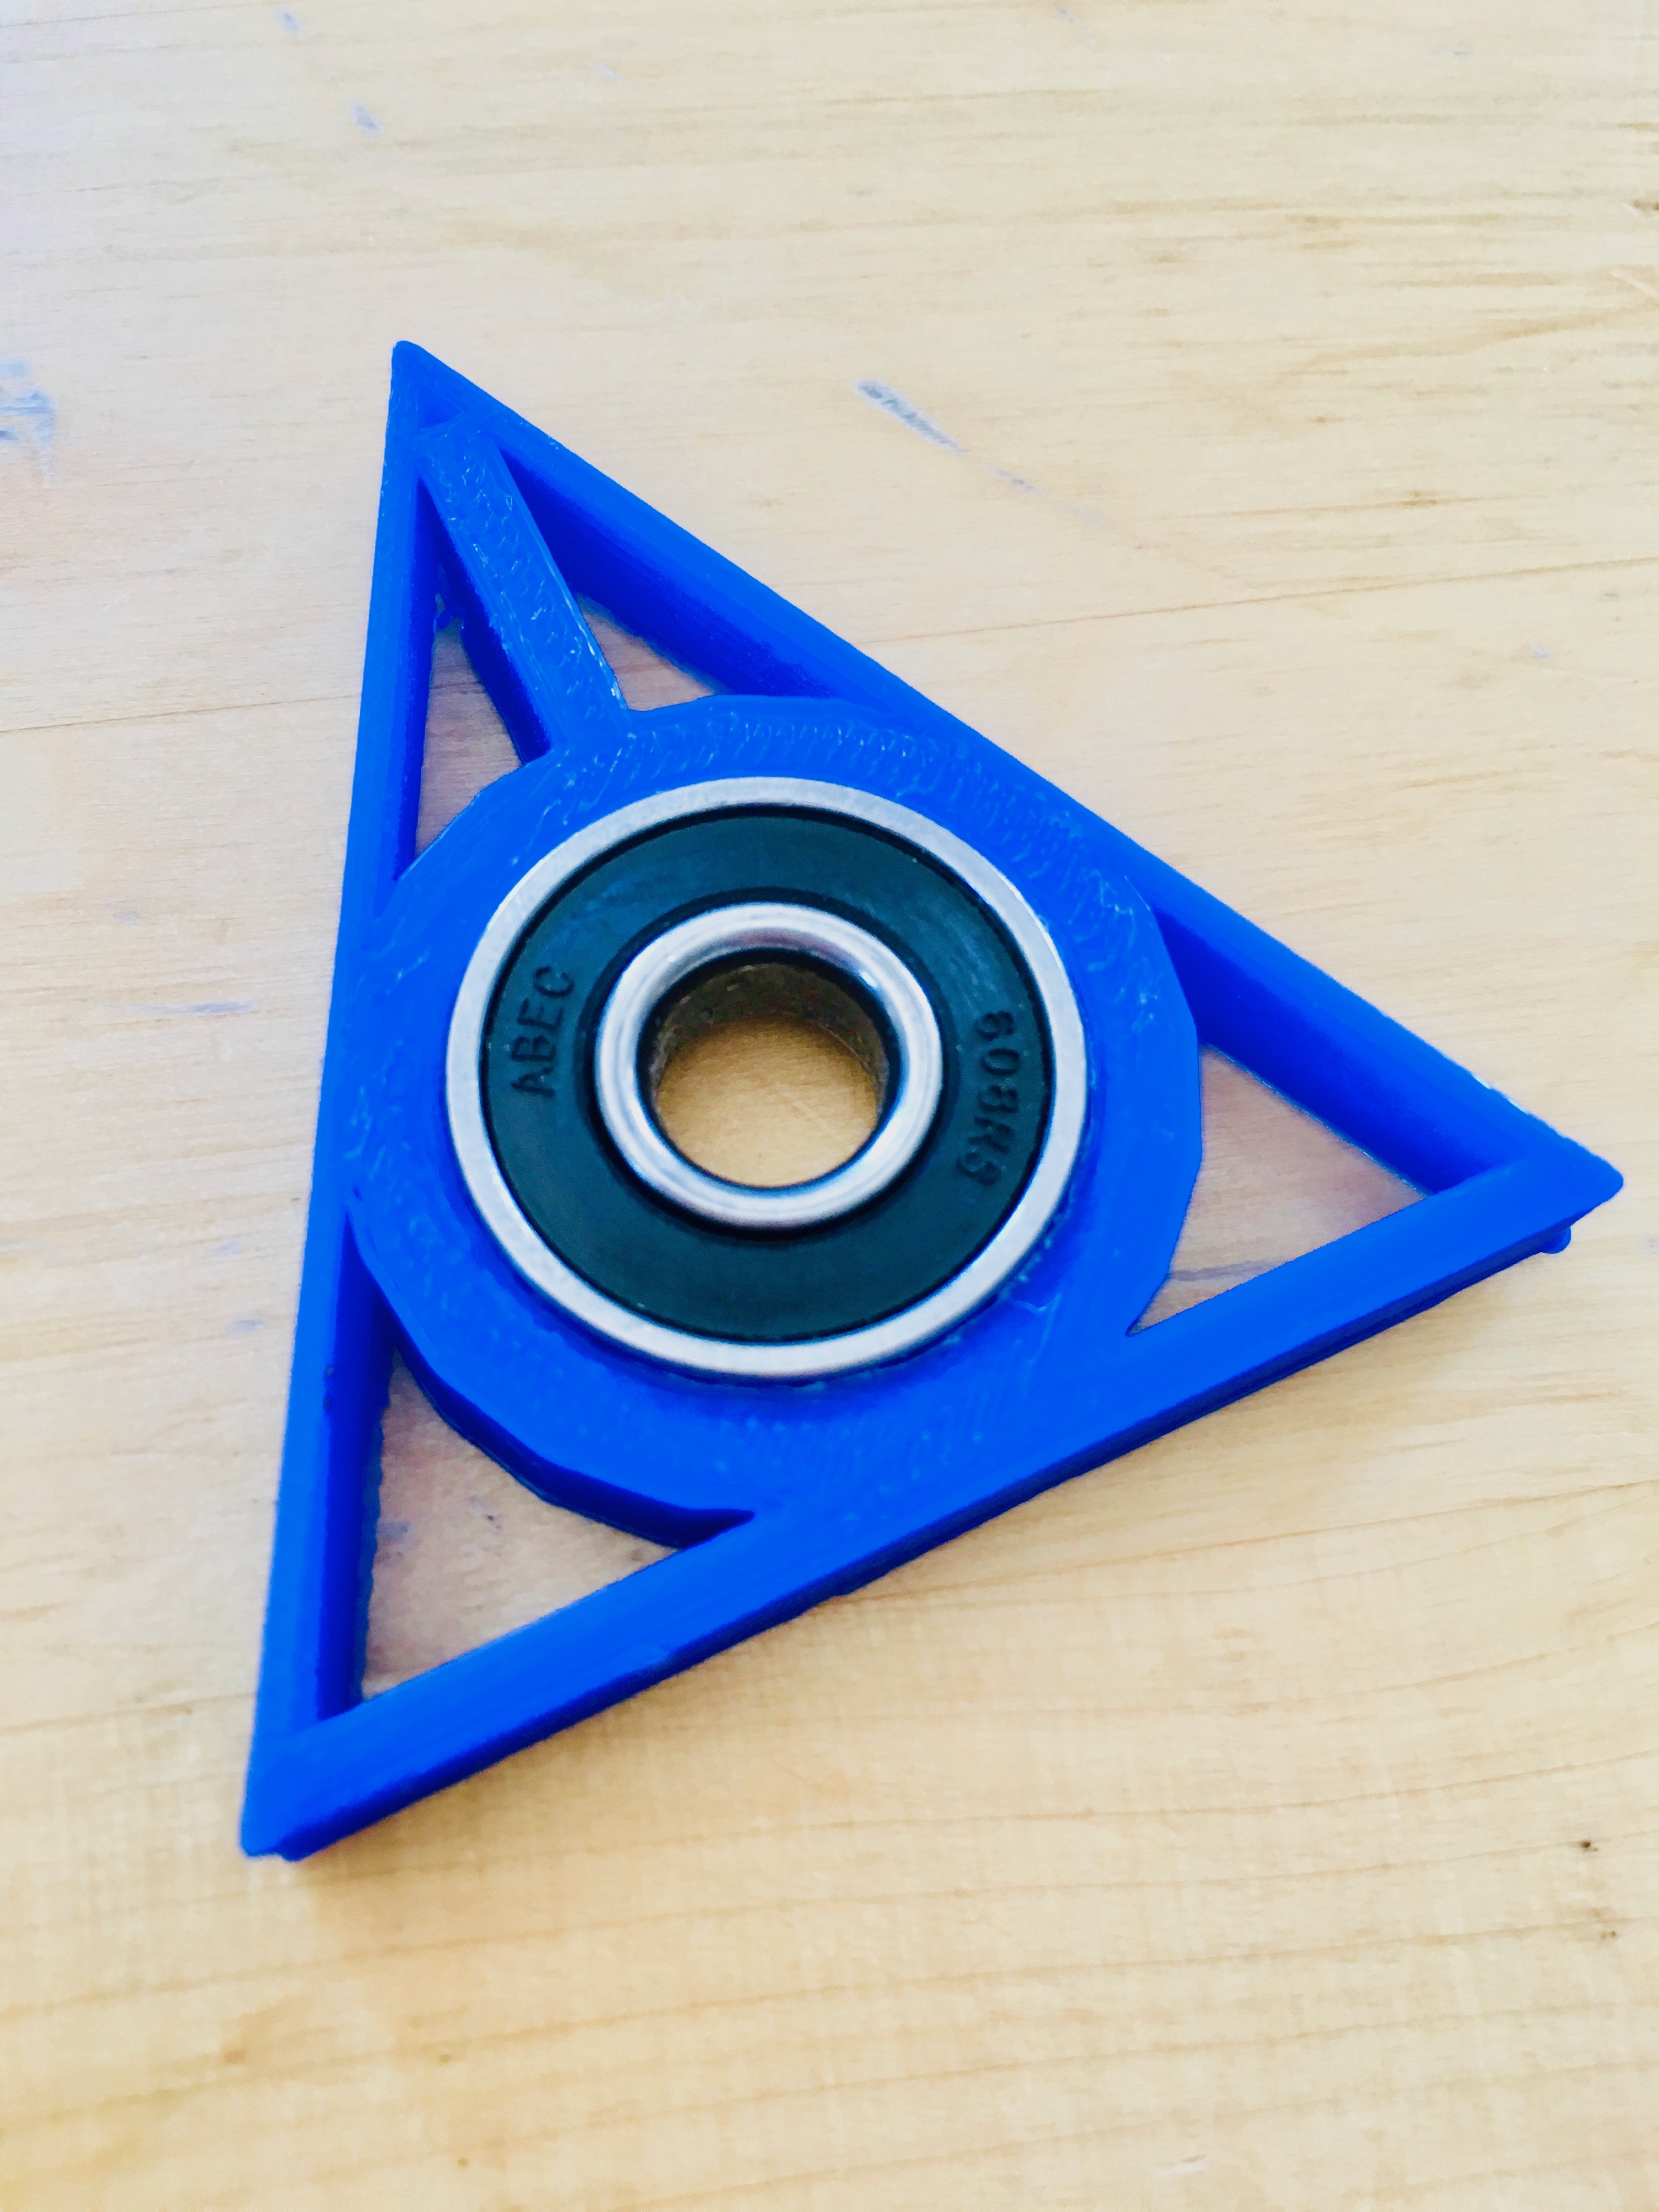
Still trying to decide between Hallows or Horcruxes? How about Pendants or Spinners? Try out these basic Tinkercad projects to up your 3D magic!
Intro to Tinkercad and the Realms of Harry Potter
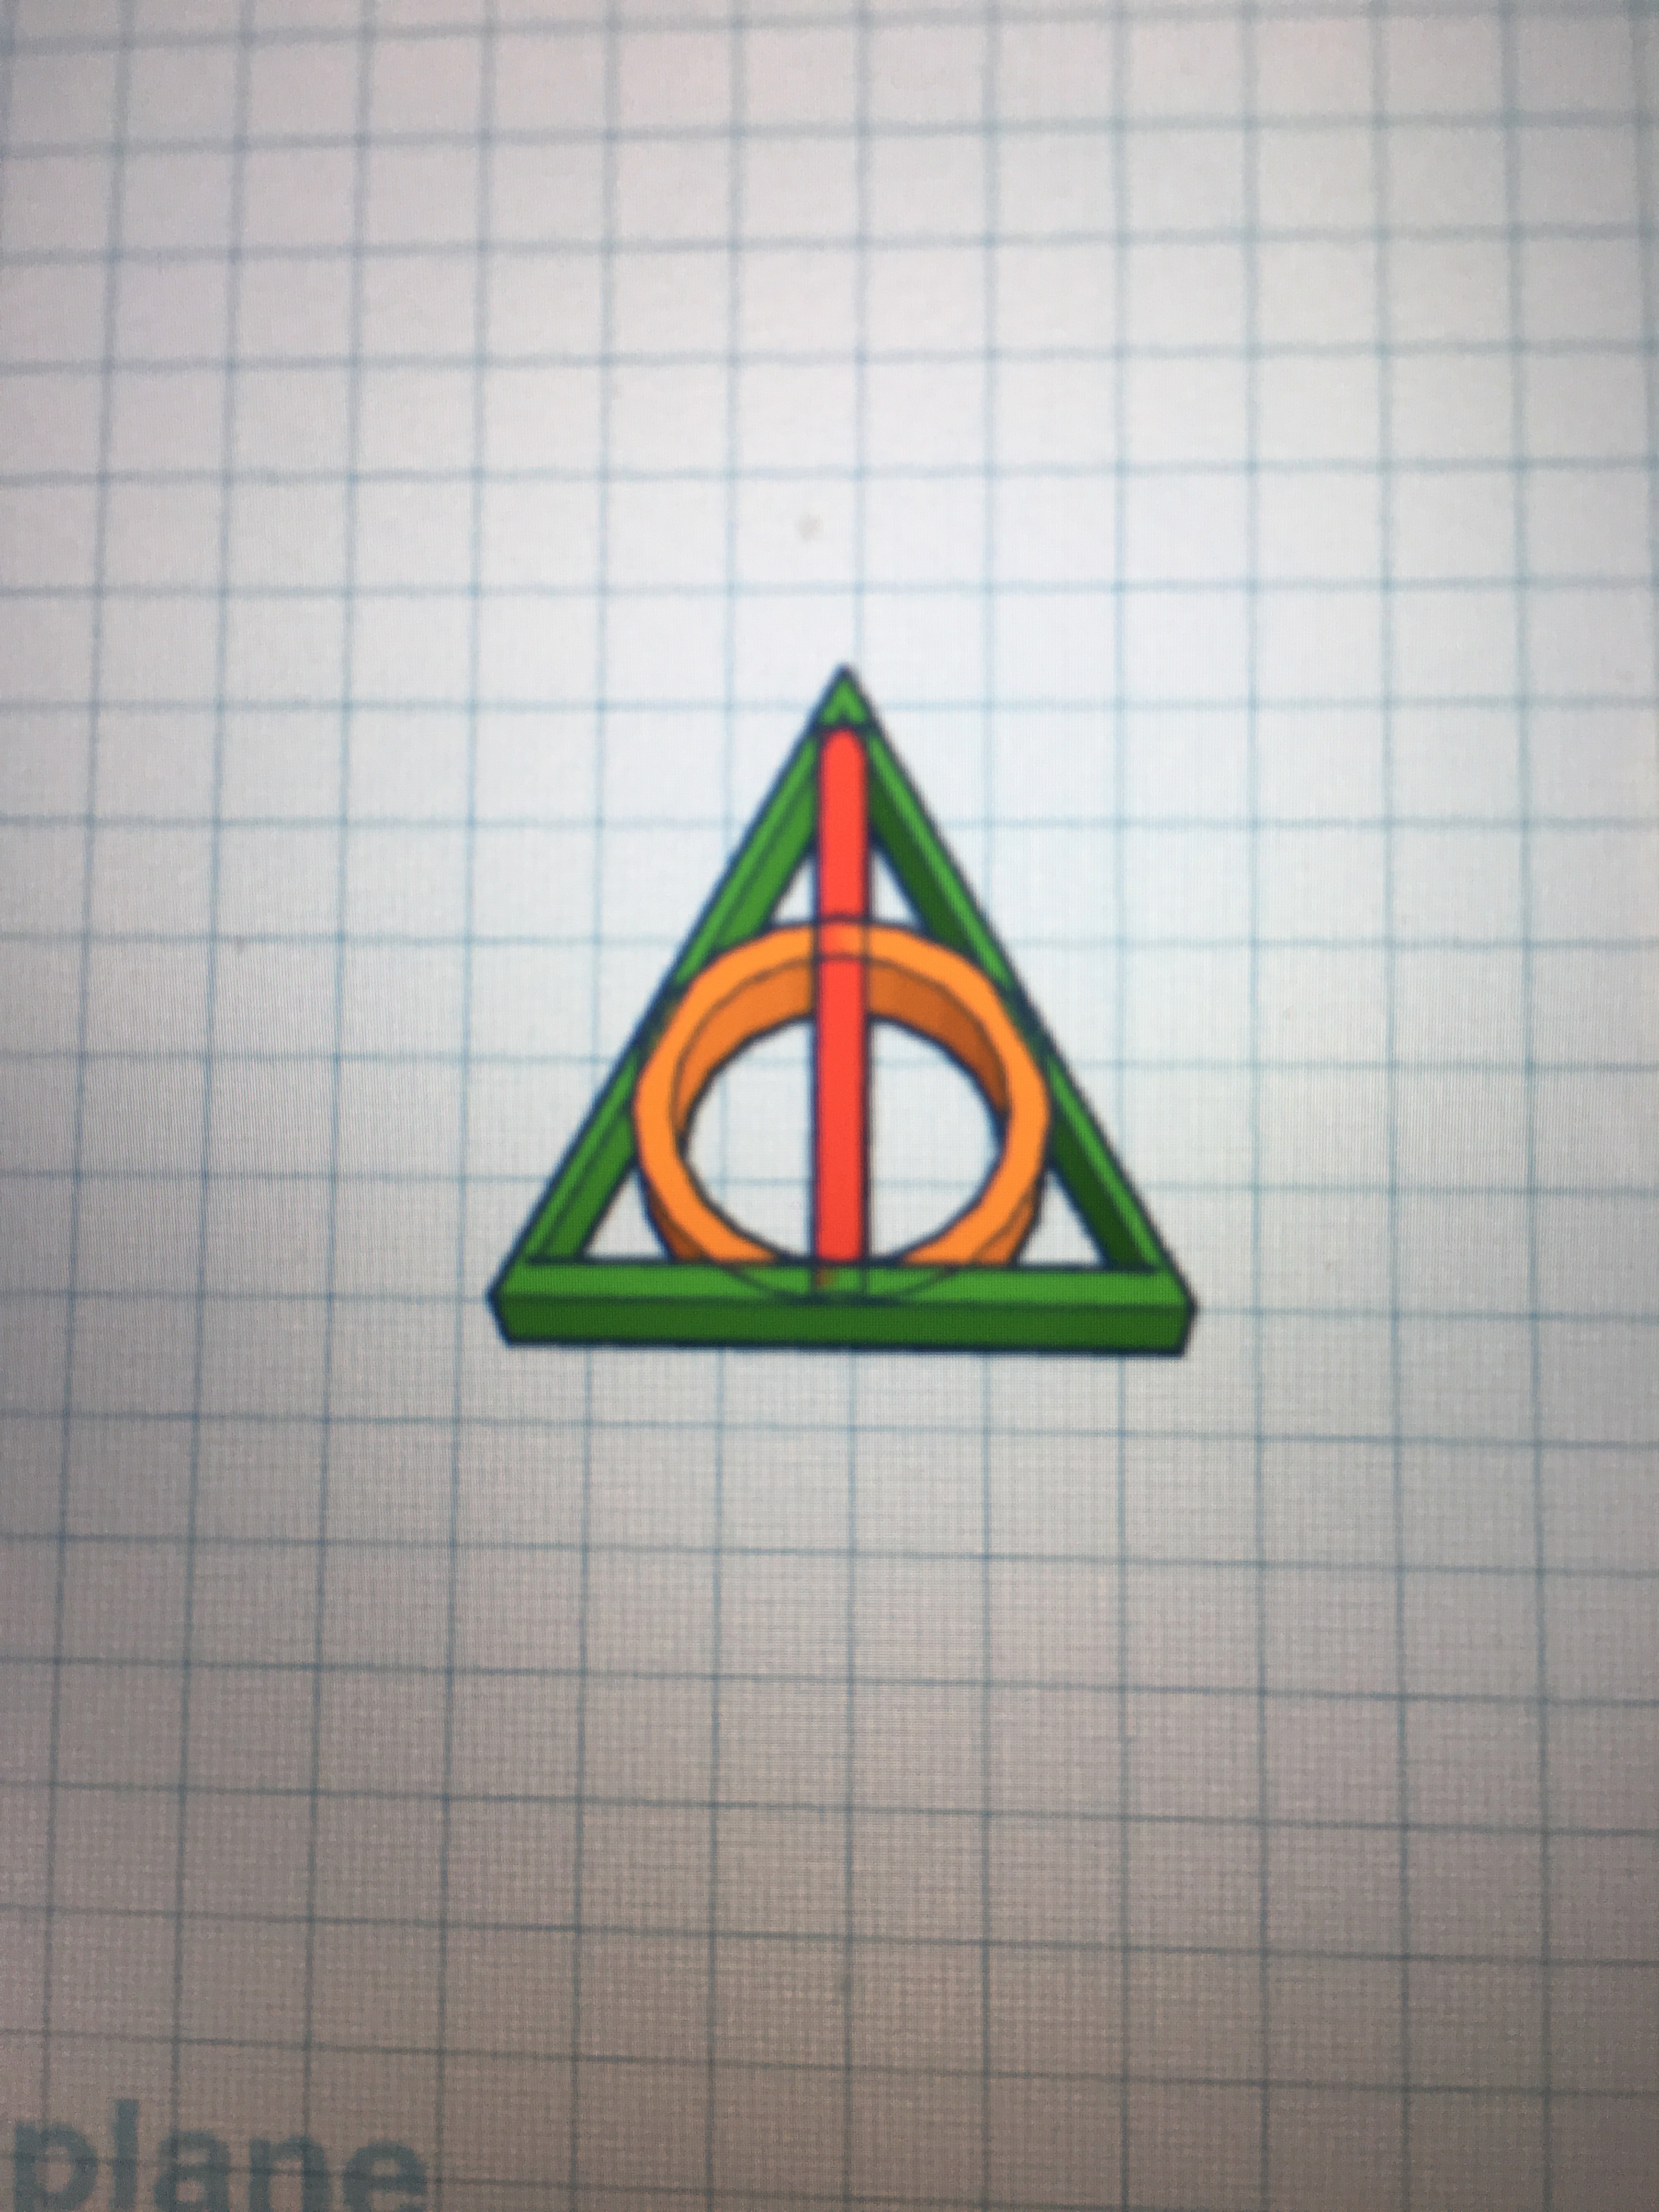
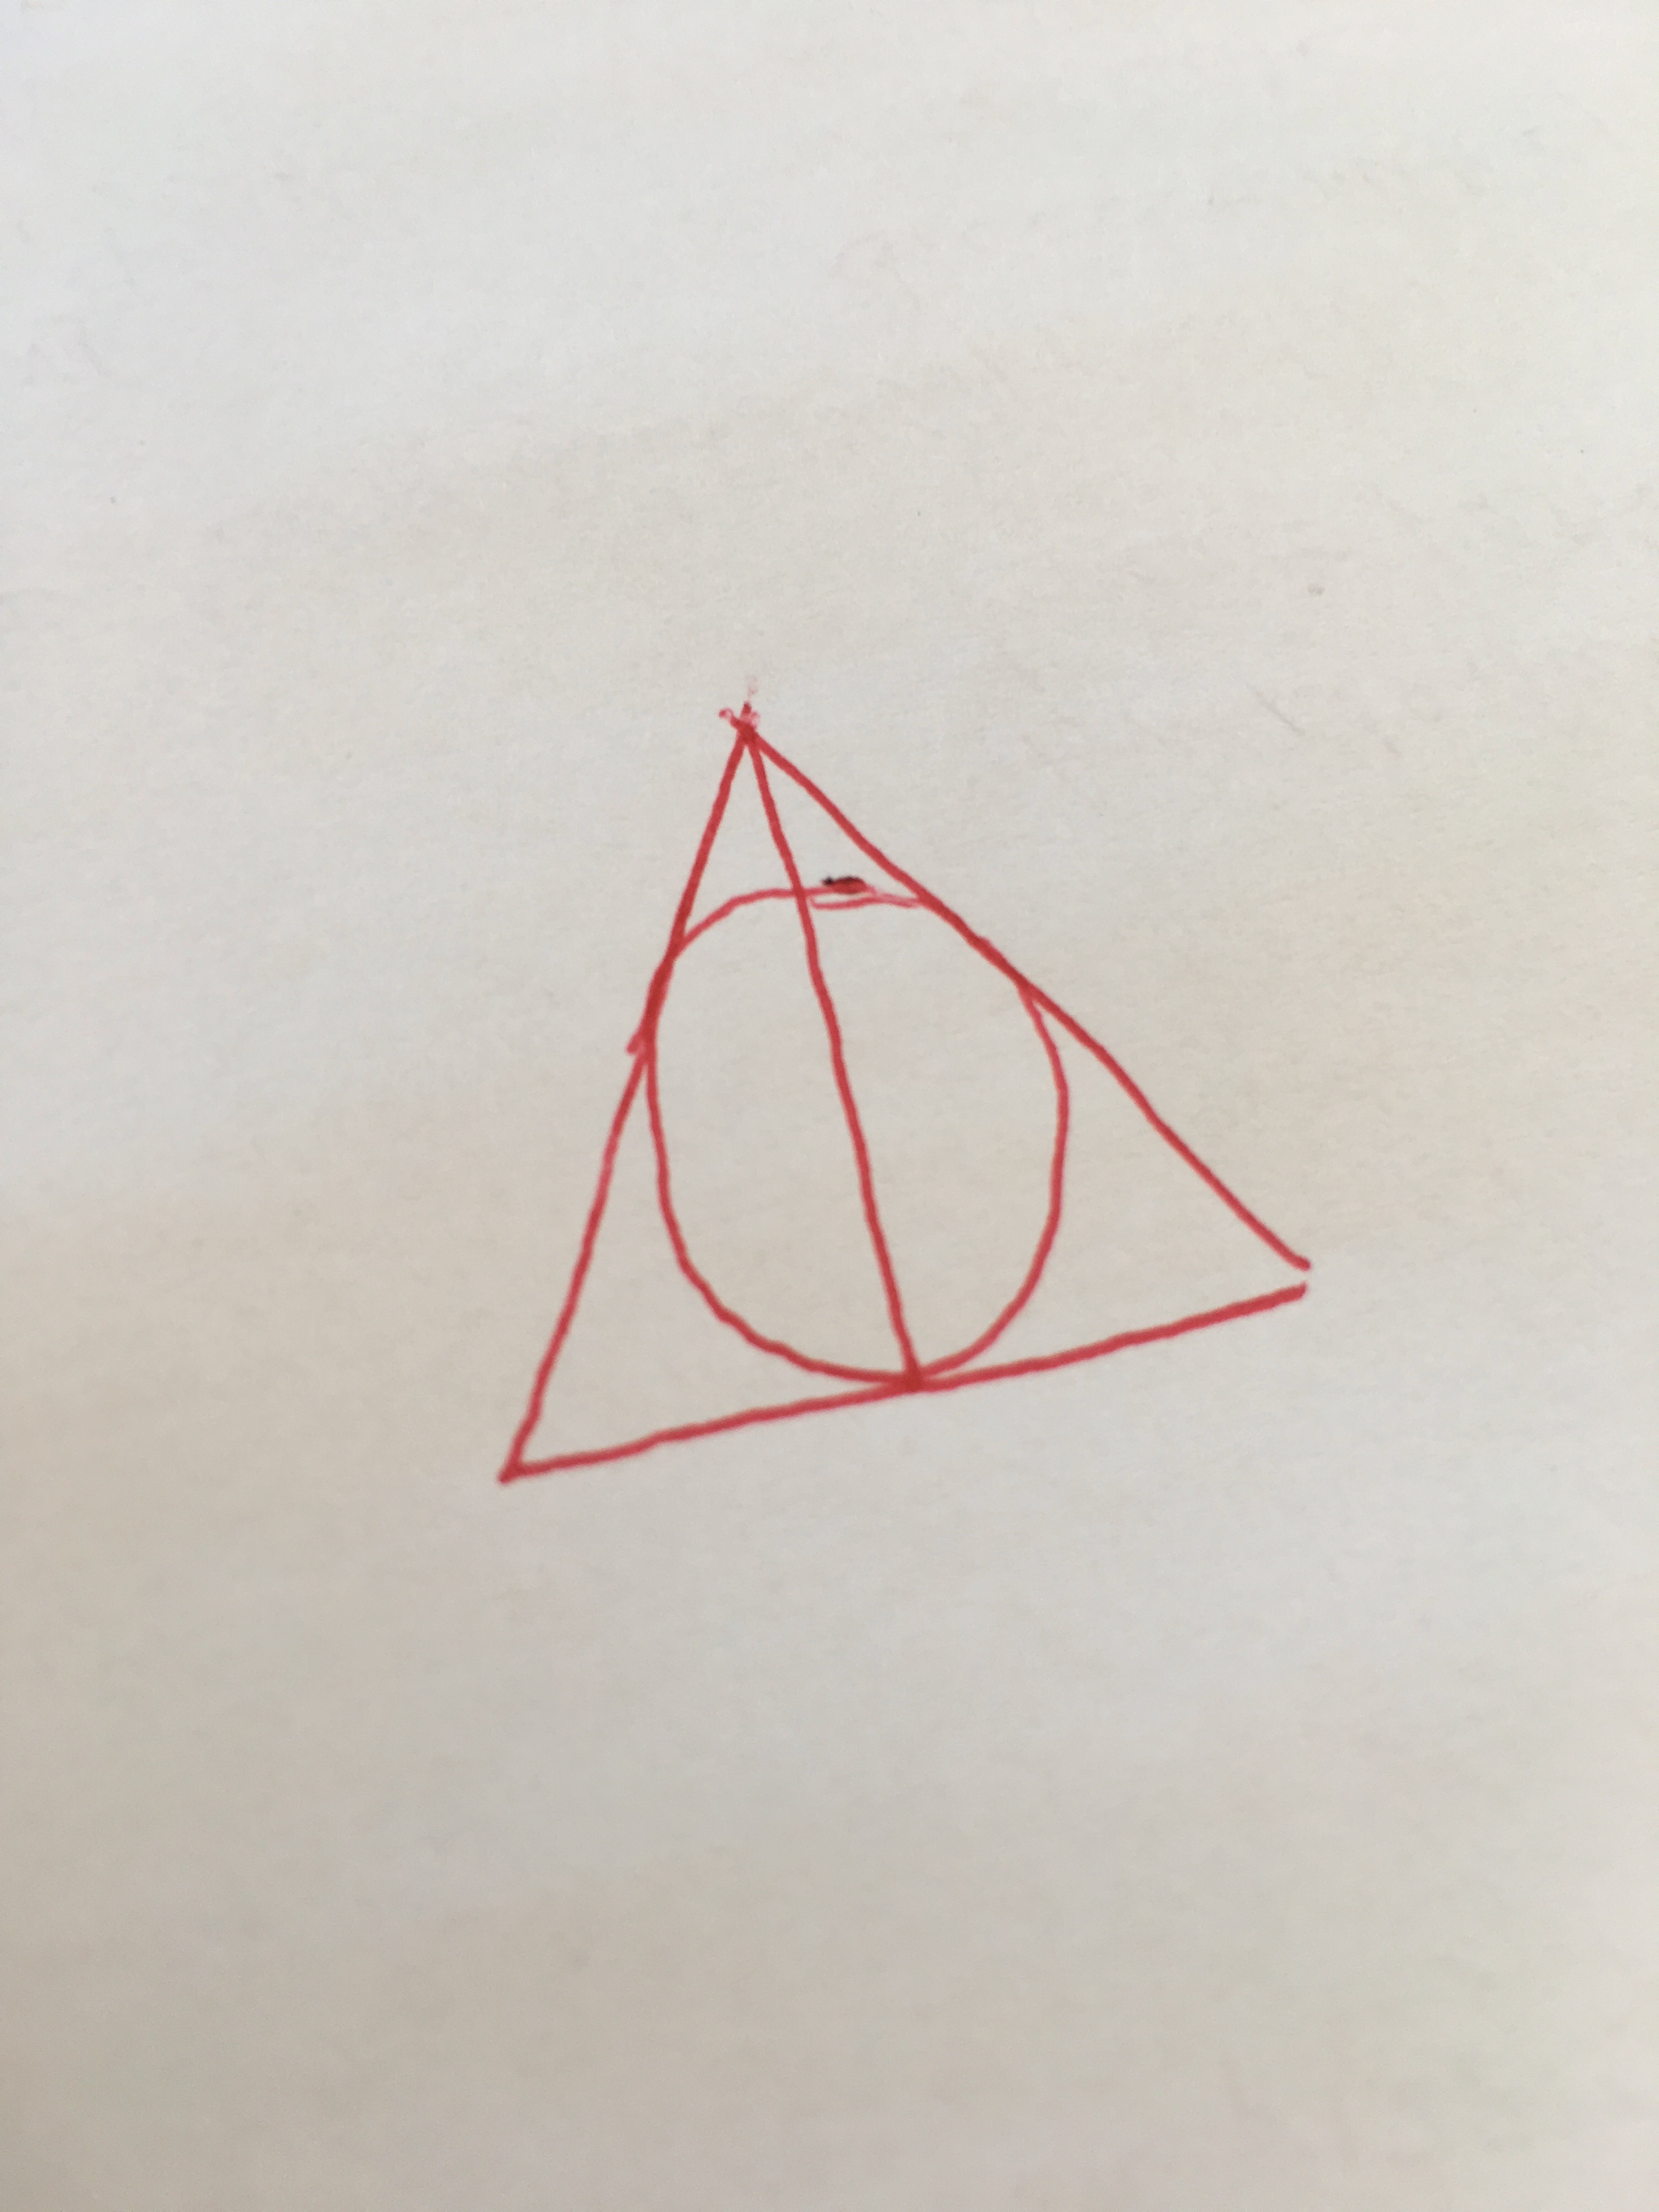
We are always looking for introductory projects for our students to learn 3D CAD software so they can design and print in 3D in our middle school library. With the release of the Fantastic Beasts movies, the Deathly Hallows symbol has continued to have importance to Grindelwald and his followers. Now you can learn how to make one yourself, or adapt it to design a Hallows spinner.
Start by accessing Tinkercad. It's our preferred 3D software because it is free, web-based, and great for beginners. Students can sign using their social media provider, like Google, or teachers can create an access code for their students.
You may start with a sketch for students to plan their design. No artistic skill needed!
You may wish to geek out when designing these shapes; launch into story mode with "The Tale of the Three Brothers" from The Tales of Beadle the Bard by J.K. Rowling. The first shape to conquer is the cloak.
Follow the steps below or use the video.
Start From the Outside In
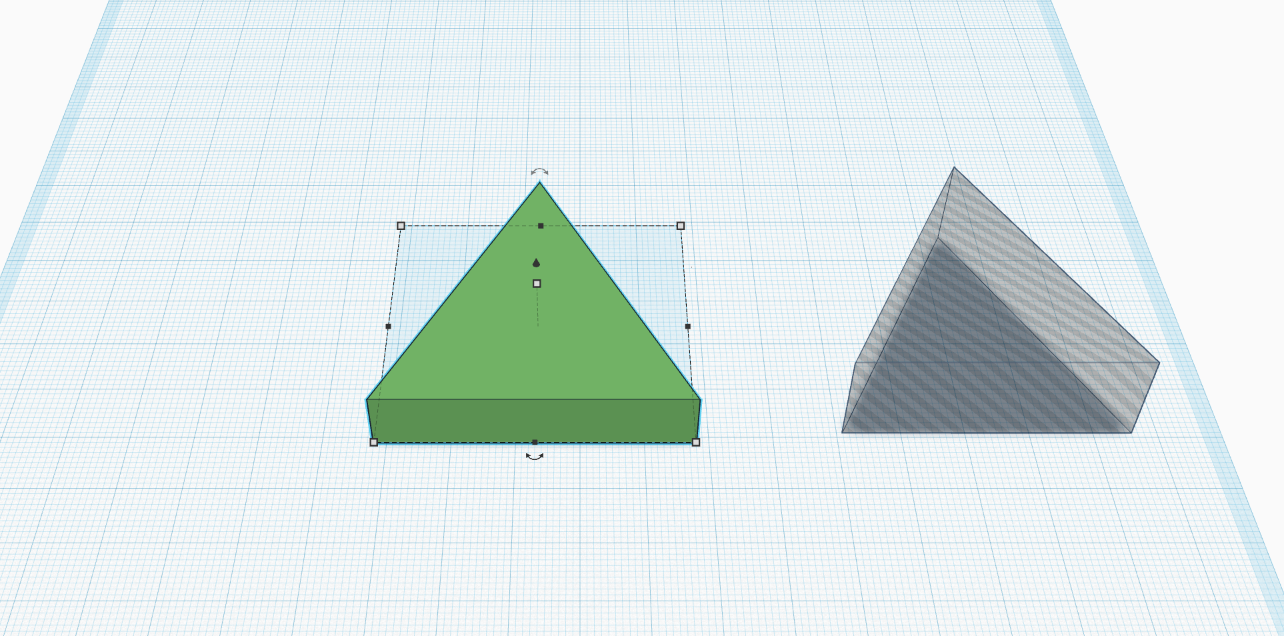
Make the cloak, or triangle.
Making these shapes are a great introduction to the tools of Tinkercad and there is a fun repeating pattern to the design. Start with the "roof" piece to get the triangle that we need. We were looking for something pendant size, so when we lay the roof down flat on the workplane, we chose 50mm by 50mm and 7mm tall. That will give us something necklace or keychain sized.
Hollow It Out
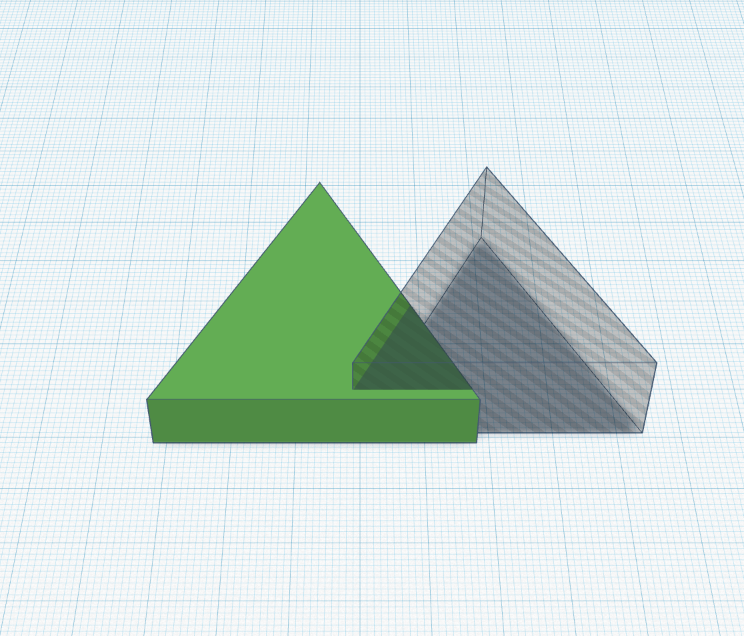
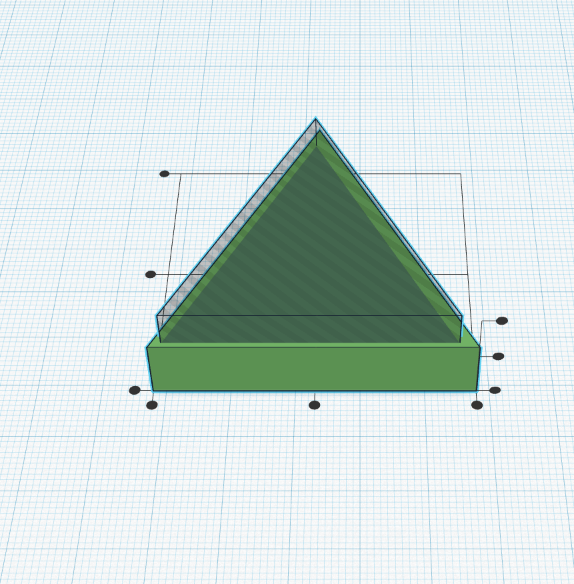
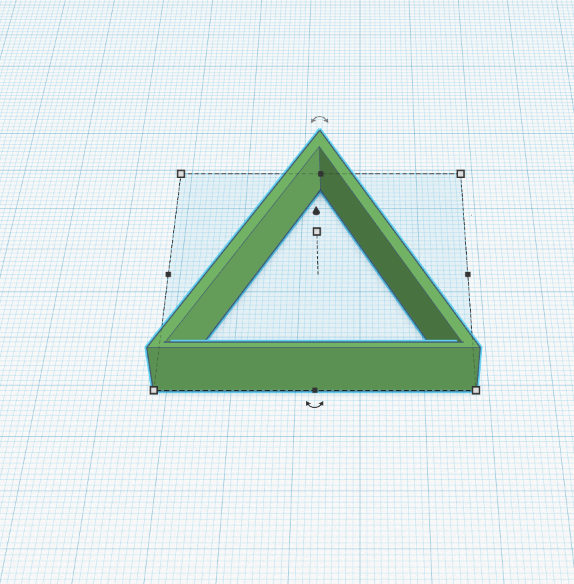
We need to make this triangle just an outline, so grab another "roof" piece or duplicate the one you have. Make it a "hole" in the shape selector box. This one should be 45mm by 45mm and 15mm tall (I like to make the hole pieces taller. As we start to overlay shapes, it can be hard to select the one you want.)
Put the hole shape directly on top of the solid, trying to leave a border all around it. Tricky right? Select both shapes, then find the alignment tool in the top right boxes, use this confirm it is in the middle. Once they are aligned, "group" the shapes together to hollow out your triangle.
Repeat With the Cylinder
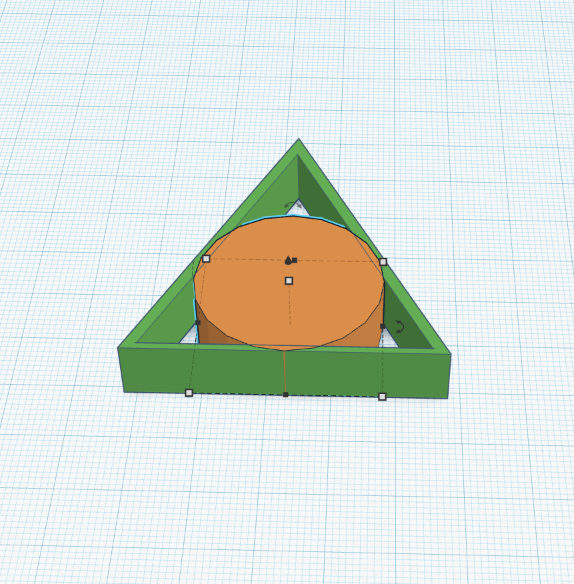
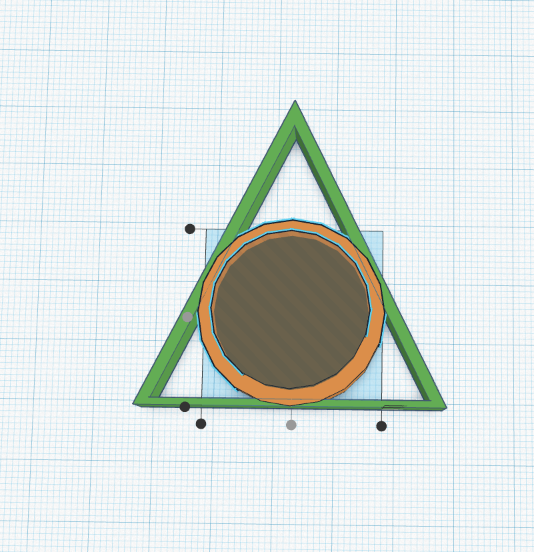
Now you are ready for the stone.
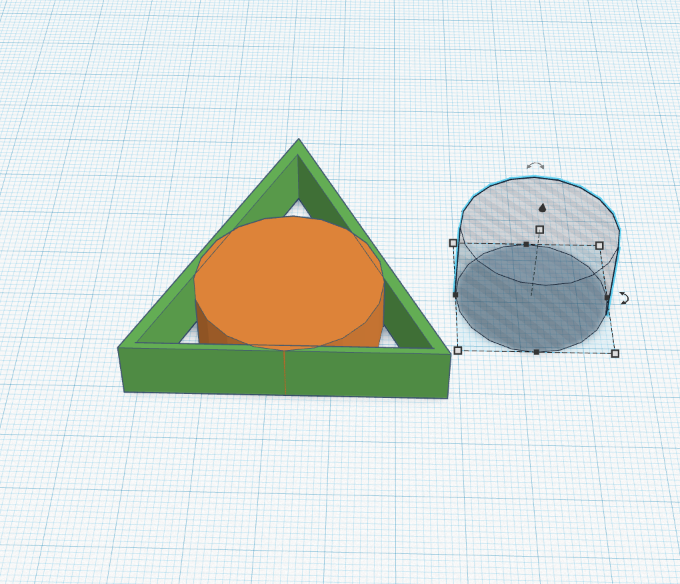
Once you've learned that pattern, repeat it with a cylinder. Add a cylinder that is 30mm by 30mm by 7mm tall. If working with students, this is a great time to add some trial and error. 30mm seems to fit inside the triangle just right, but it took some time to find the right size. Align your cylinder in the middle. (Note: this triangle is not equilateral and so it is a bit taller than wide. You'll start to notice it now. You won't be able to align it on your Y axis.)
Now that you have placed your cylinder, make it hollow by adding a "hole" cylinder that is 25mm by 25mm by 15mm. Align that cylinder with the solid one you placed. Group them together to cut it out.
Add Your Wand
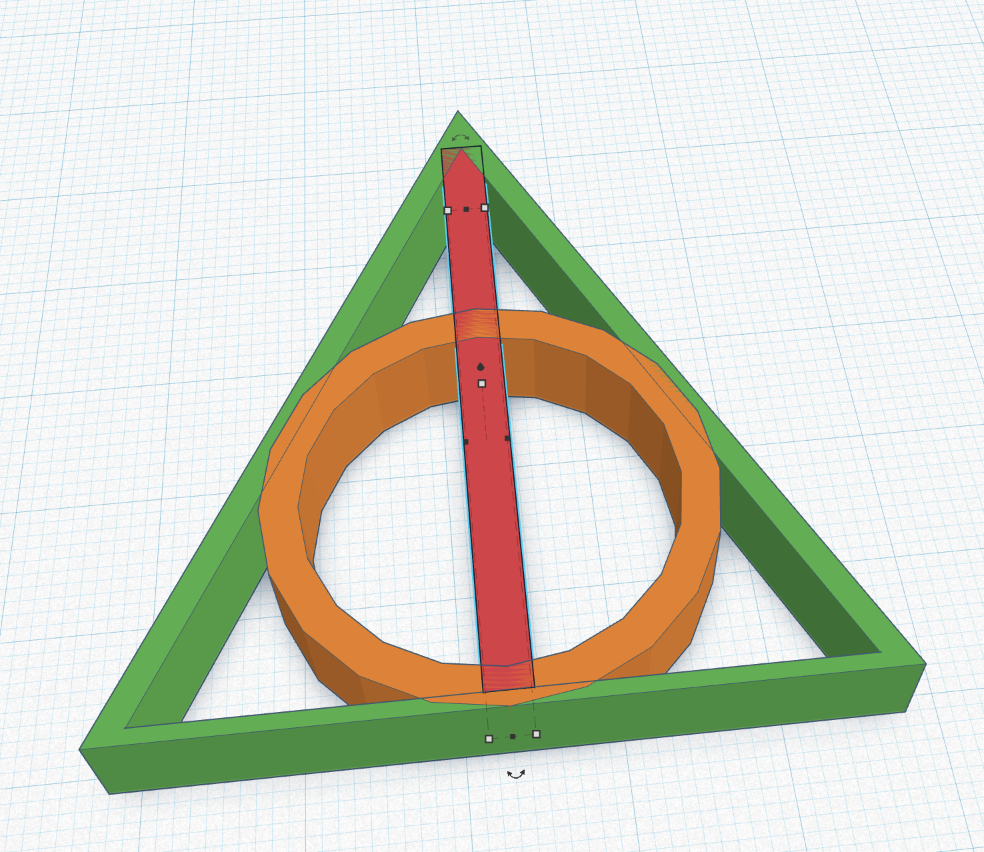
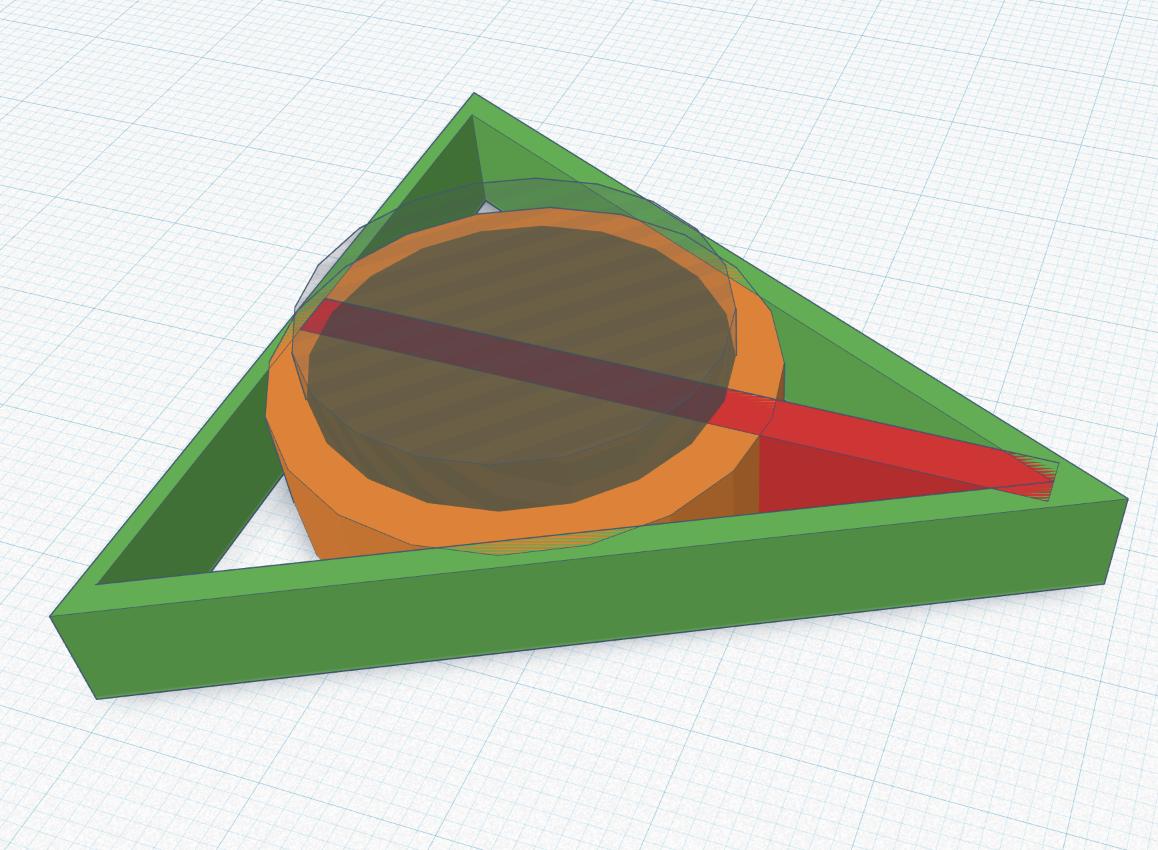
With the triangle and circle in place, that means that we have covered the cloak and stone. We only have to find the Elder Wand. Lucky we don't have to disturb Dumbledore's grave to find it. Just grab the "Box" piece and add your dimensions. We went with something long, 45mm and thin, 3mm and the same height as the rest, 7mm. This can be aligned to fit running through the center of your circle and in the middle of the triangle. Be sure to move around the shape to be sure it is not poking out of the top of the triangle.
Congratulations, you may not be the master of death, but you just mastered a cool Tinkercad project.
Xeno Says, "Wear Your Hallows With Pride"
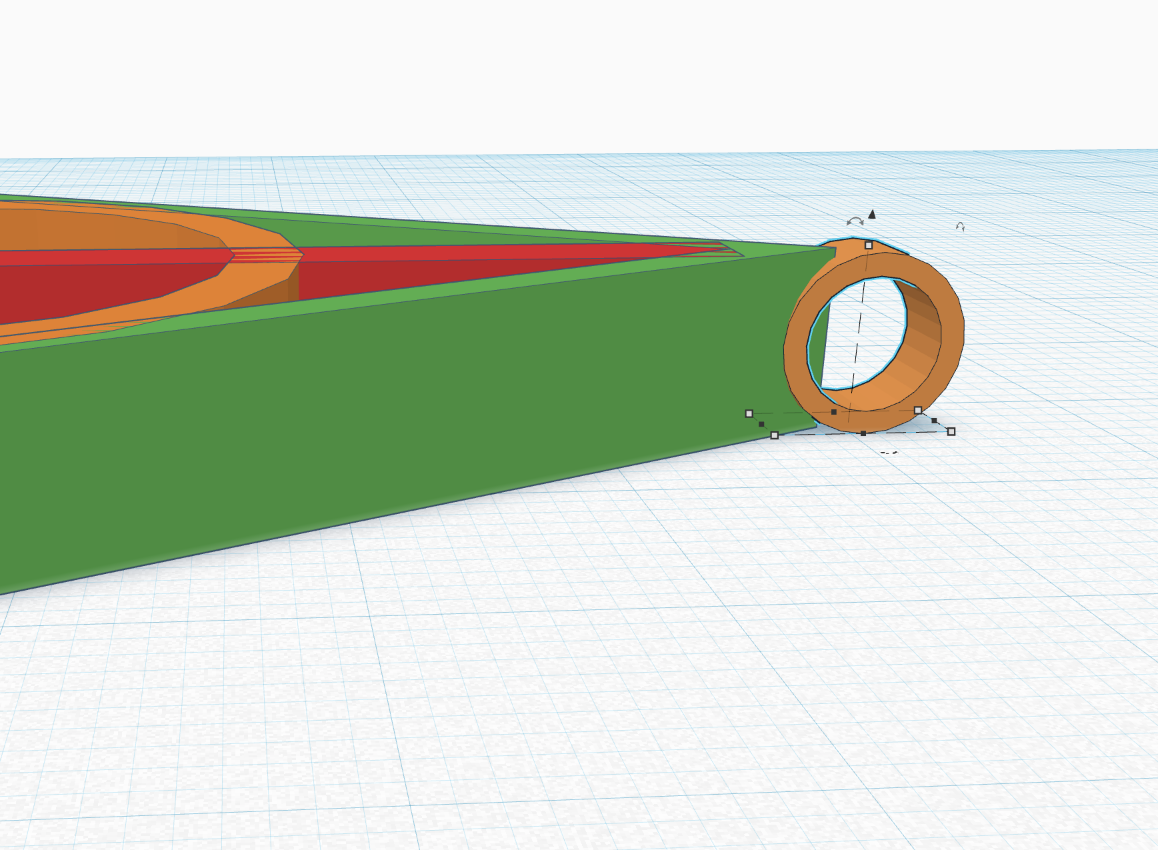
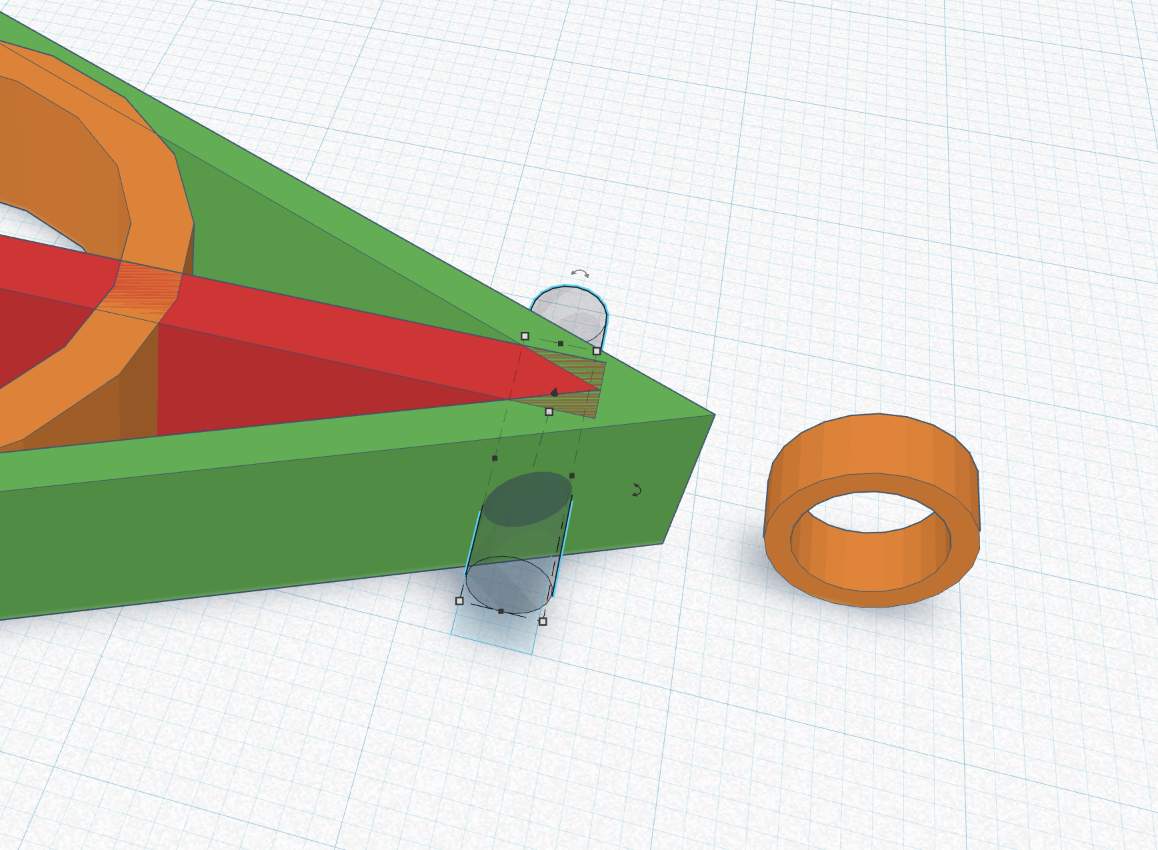
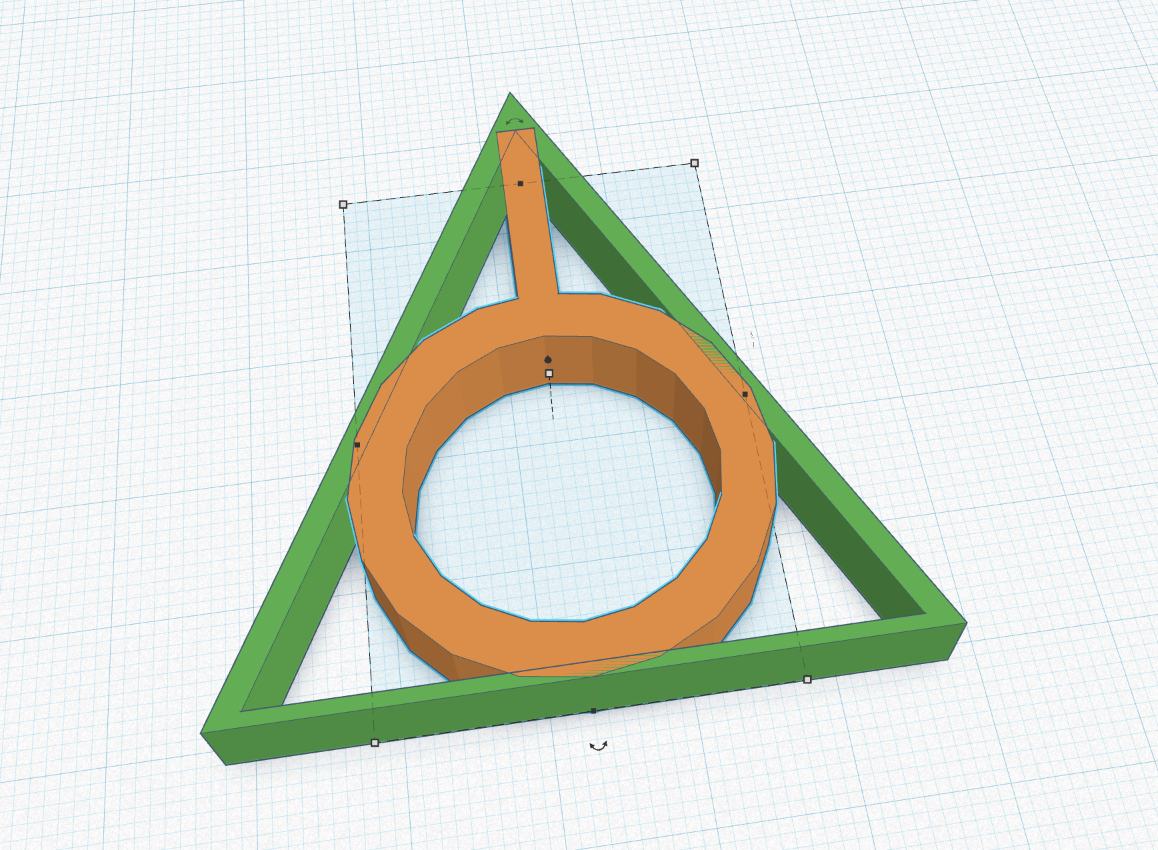
Want to keep adding to your Hallows? Our students quickly found that they wanted to string their hallows for a necklace, like Xeno Lovegood, or a keychain, like Luna might wear on her Hogwarts backpack. You can do this with an additional ring or by cutting a hole in the existing triangle. Try both to see what you prefer.
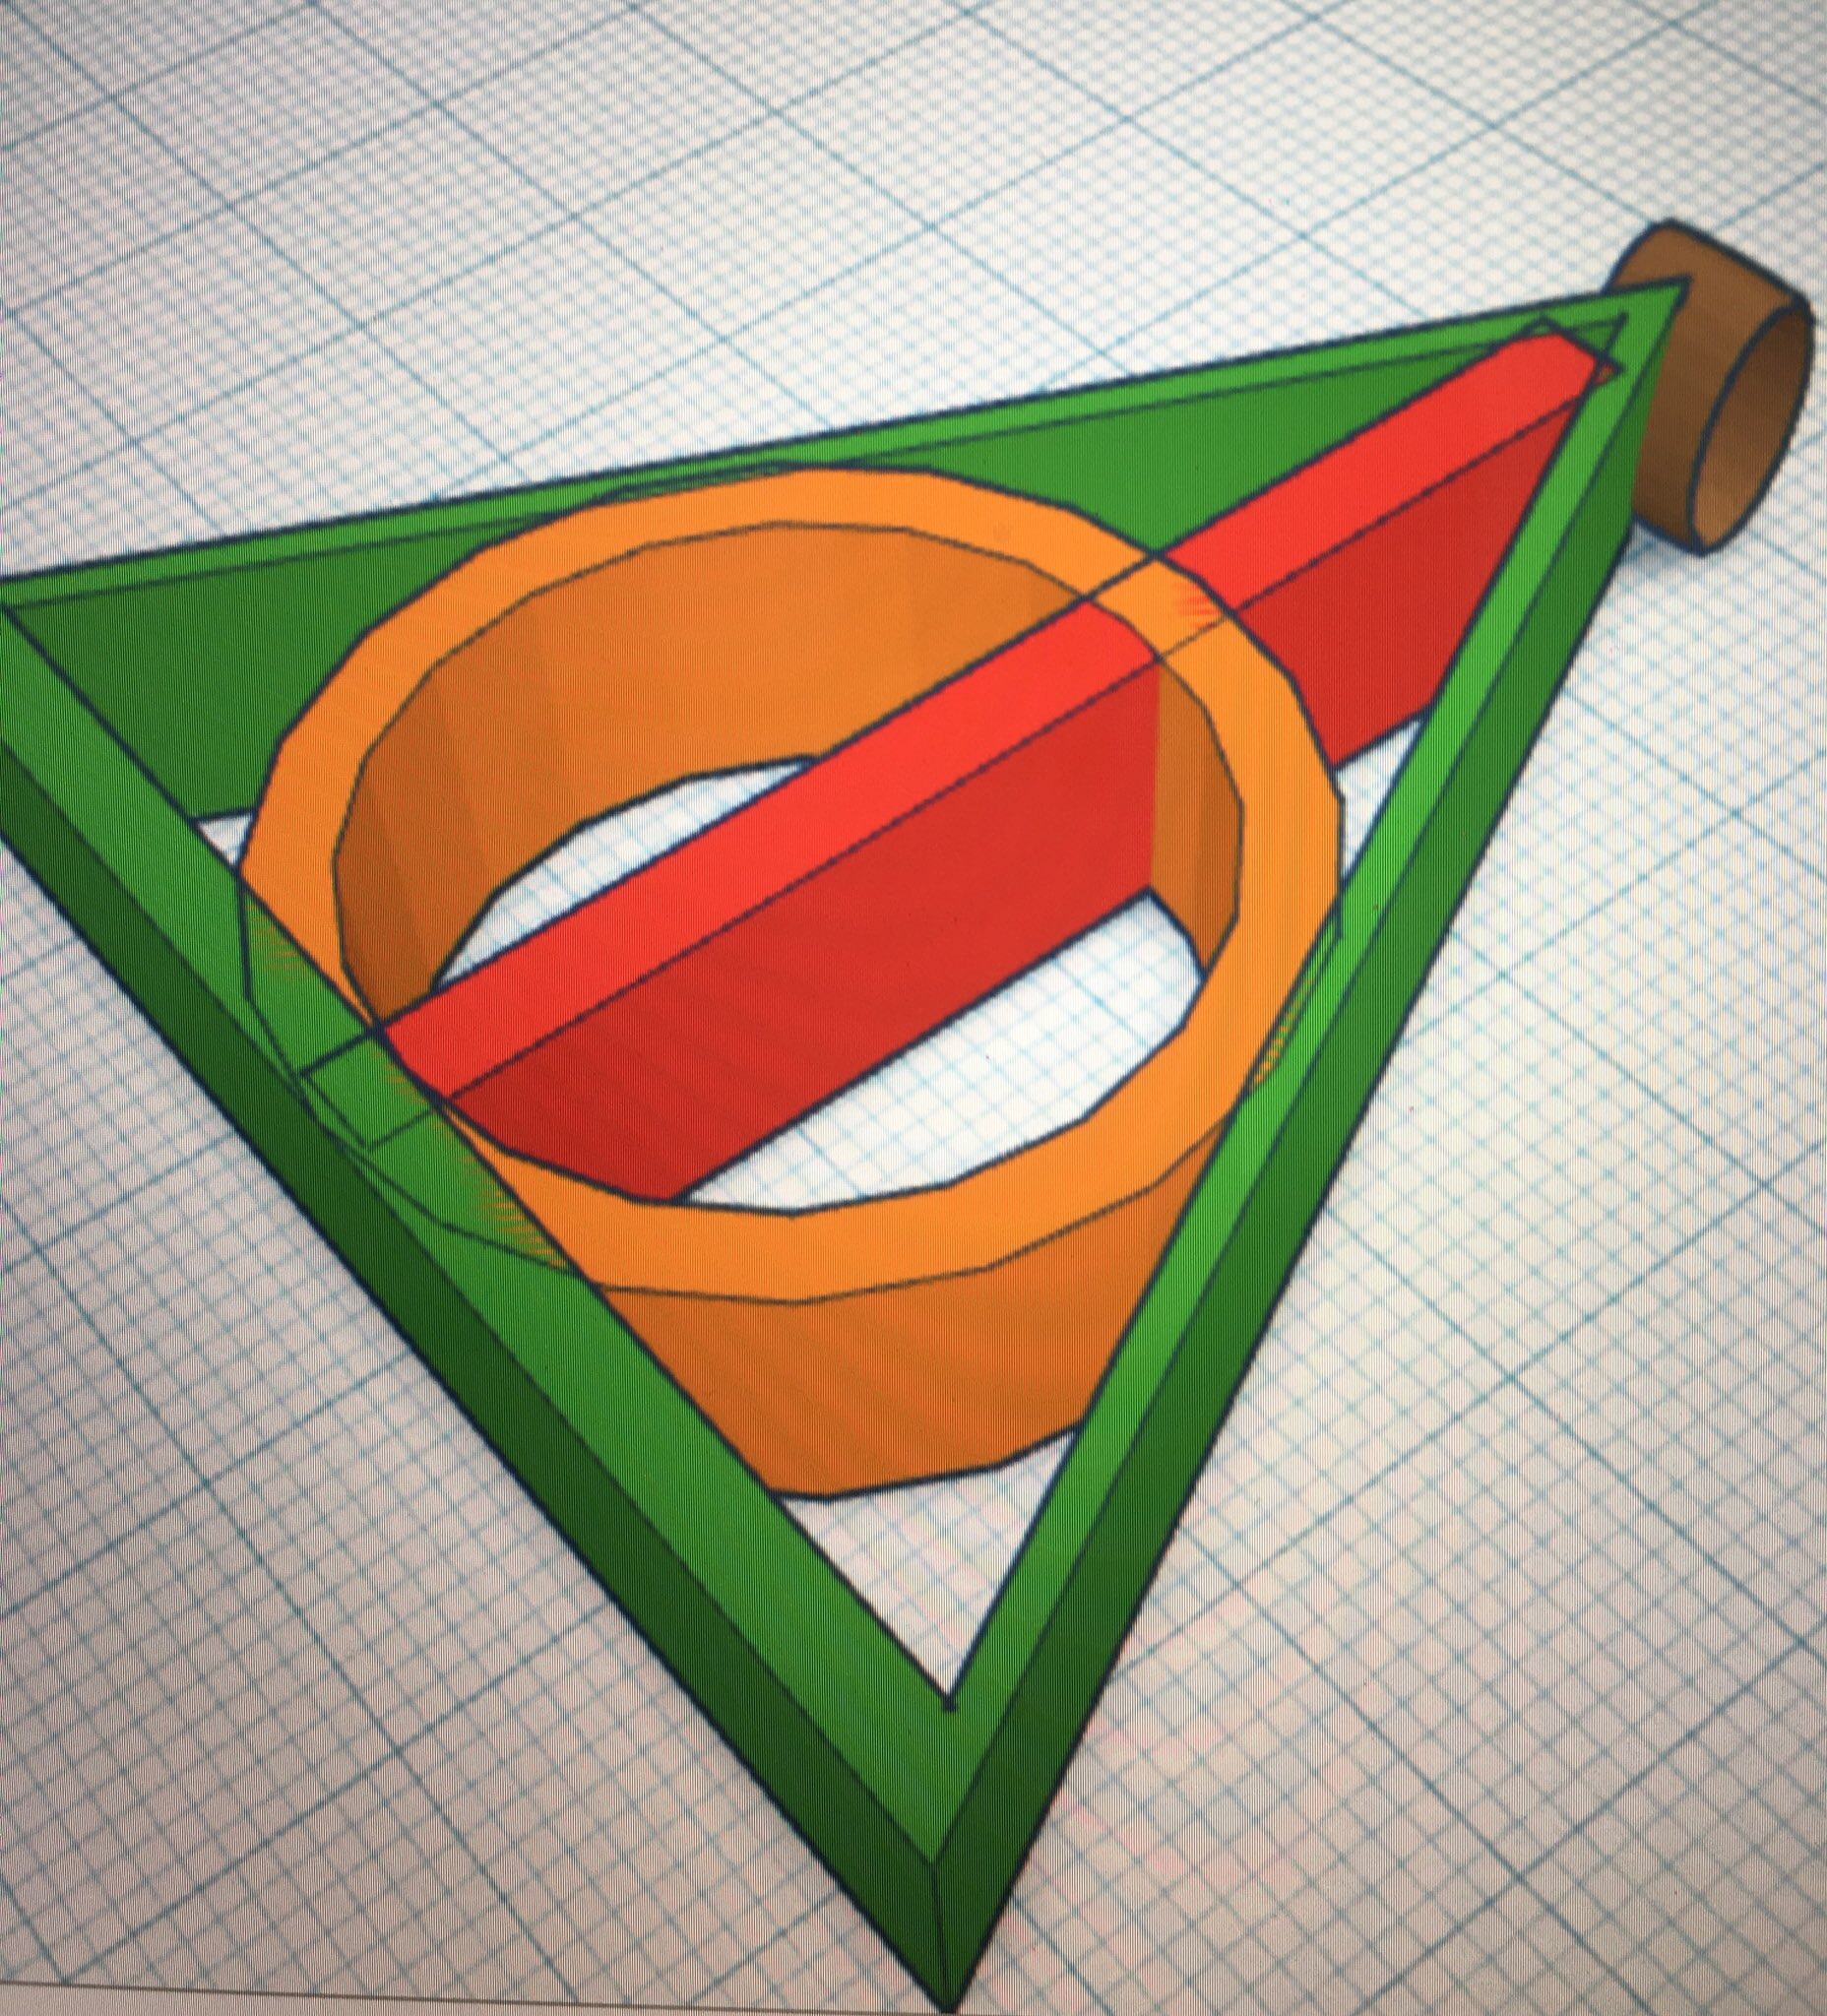
Add a loop to the top with the "tube" part. The one picture is 7mm by 7mm and 3mm thick. This should match the proportions of the design well and also print.
Another option would be to cut a tube out of the existing Hallow. The "hole cylinder" part pictured above is 3mm by 3mm and 15mm long.
Muggle Magic
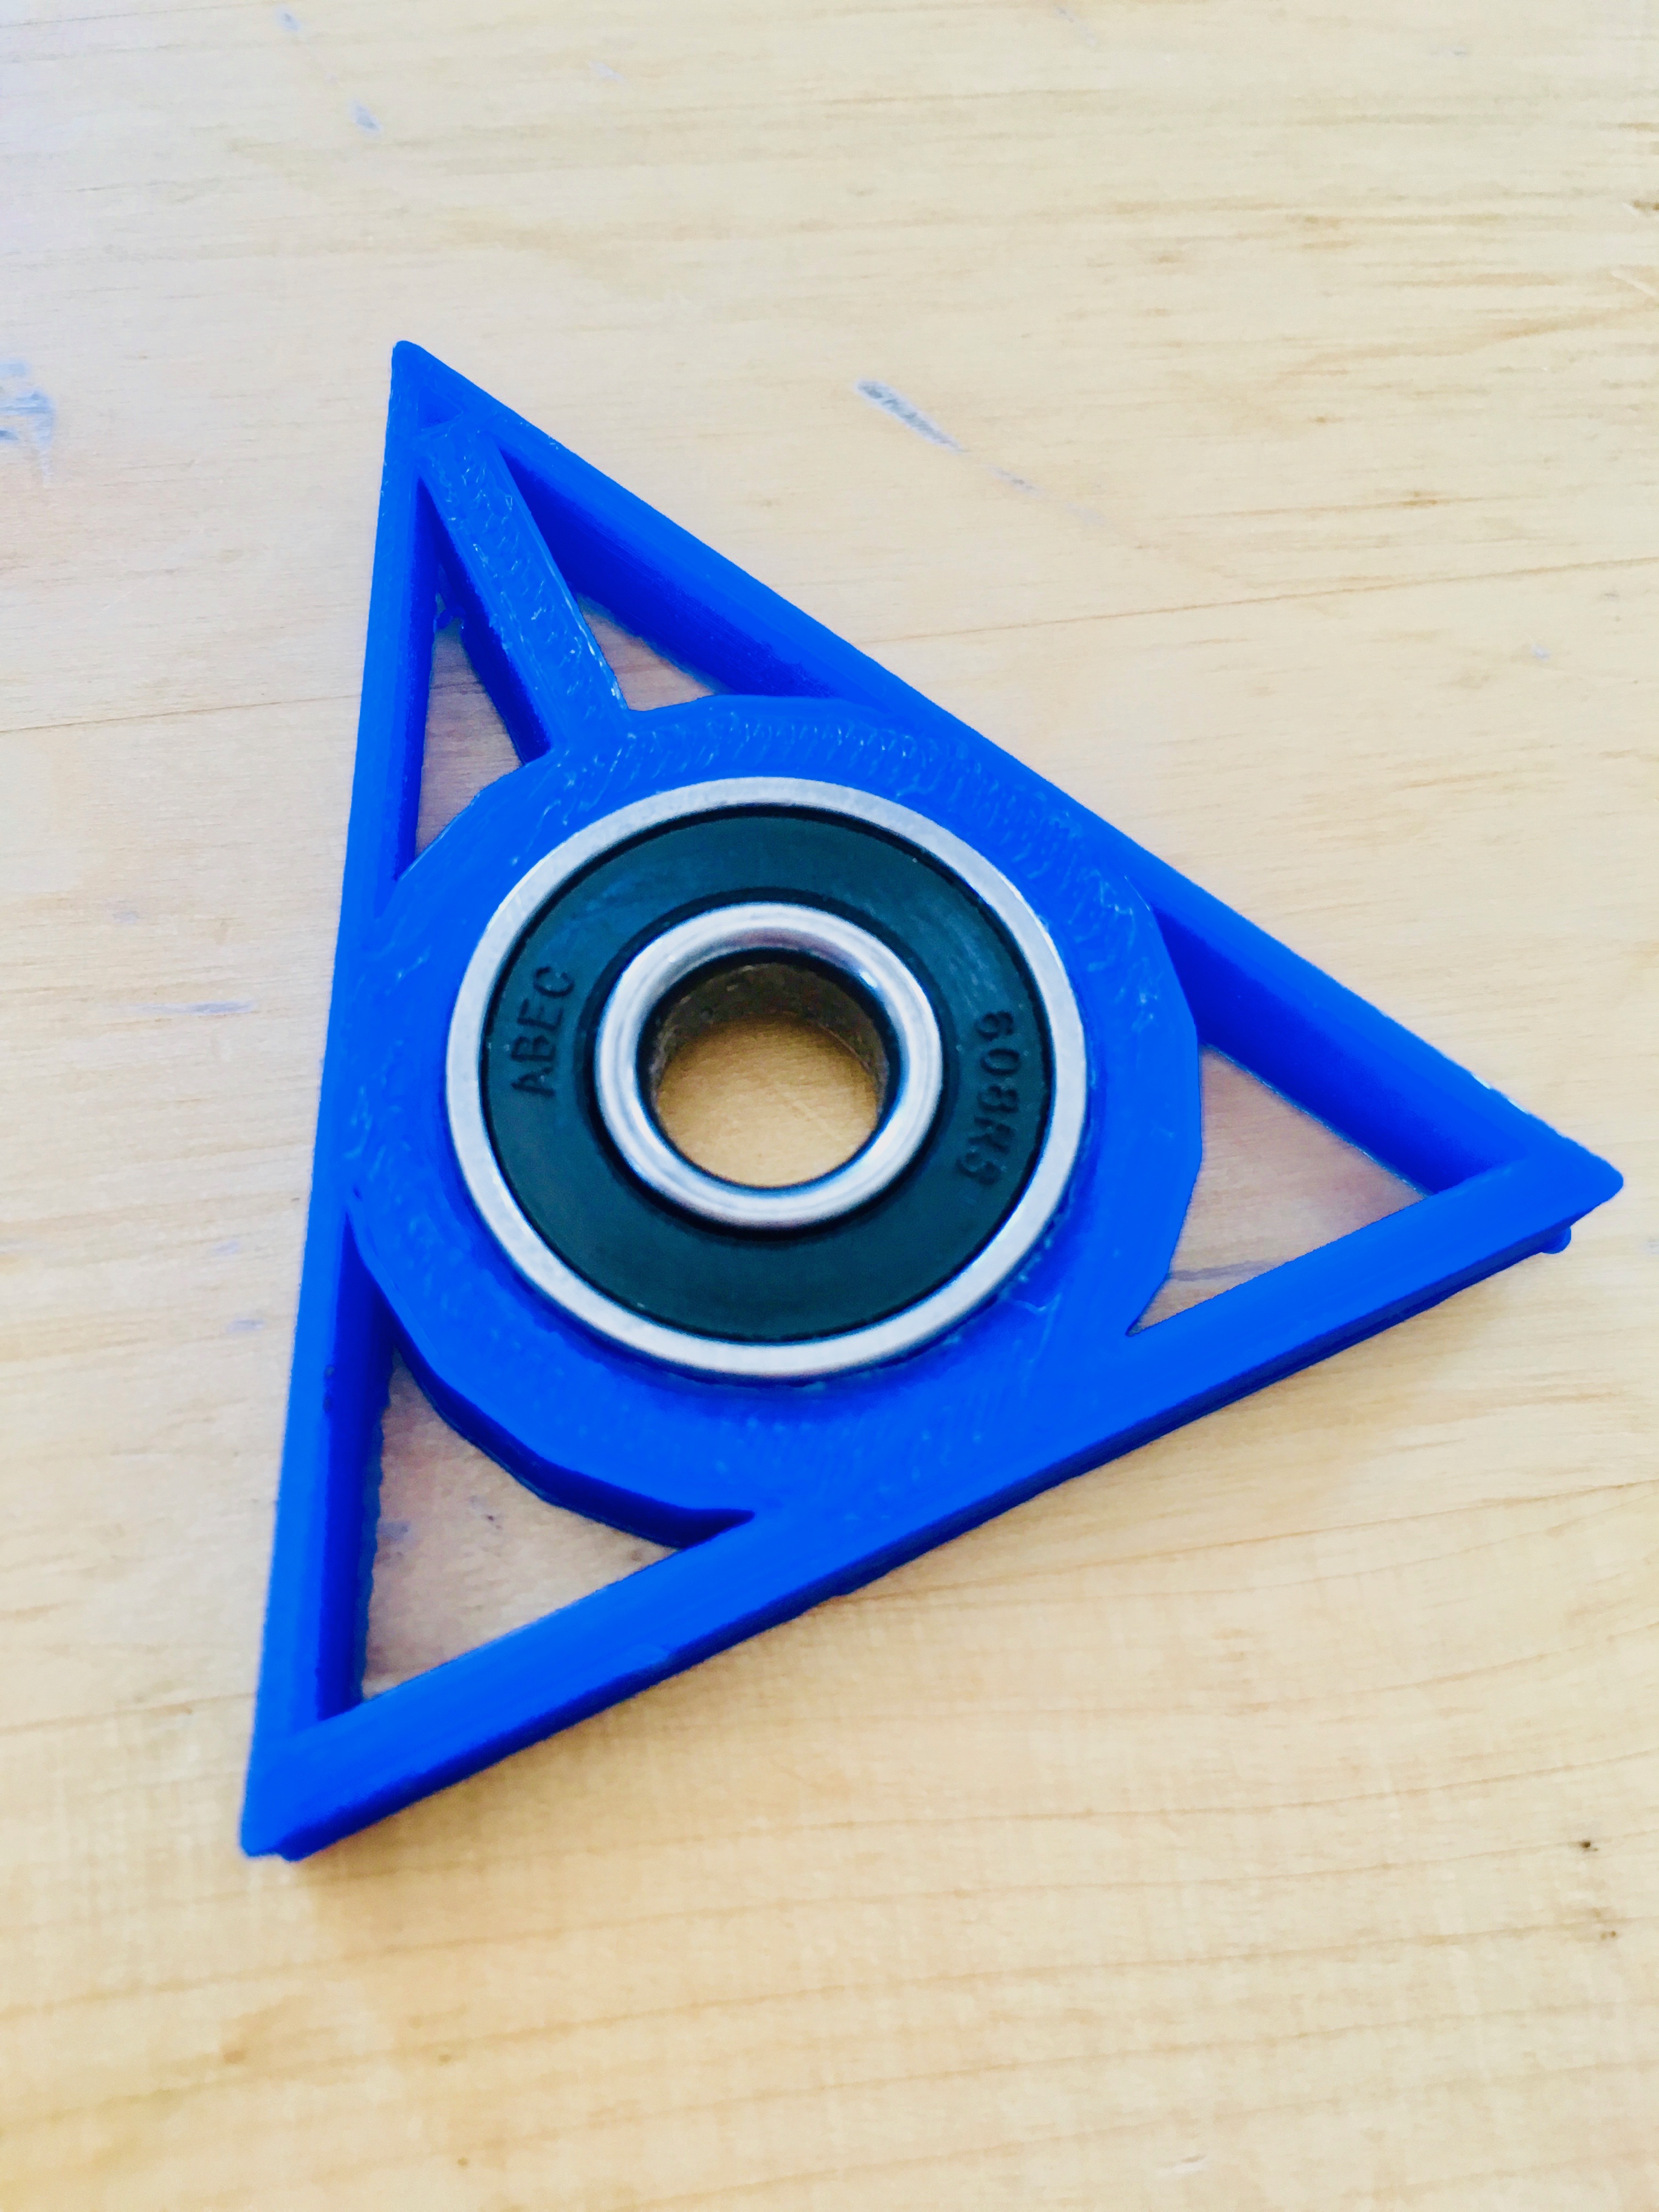
So this goes outside the realms of the world of Harry Potter, but what about a Hallows spinner?
The circle (stone) in the middle of your Hallows is a great place to add a bearing and get spinning. Try these changes to add some muggle magic.
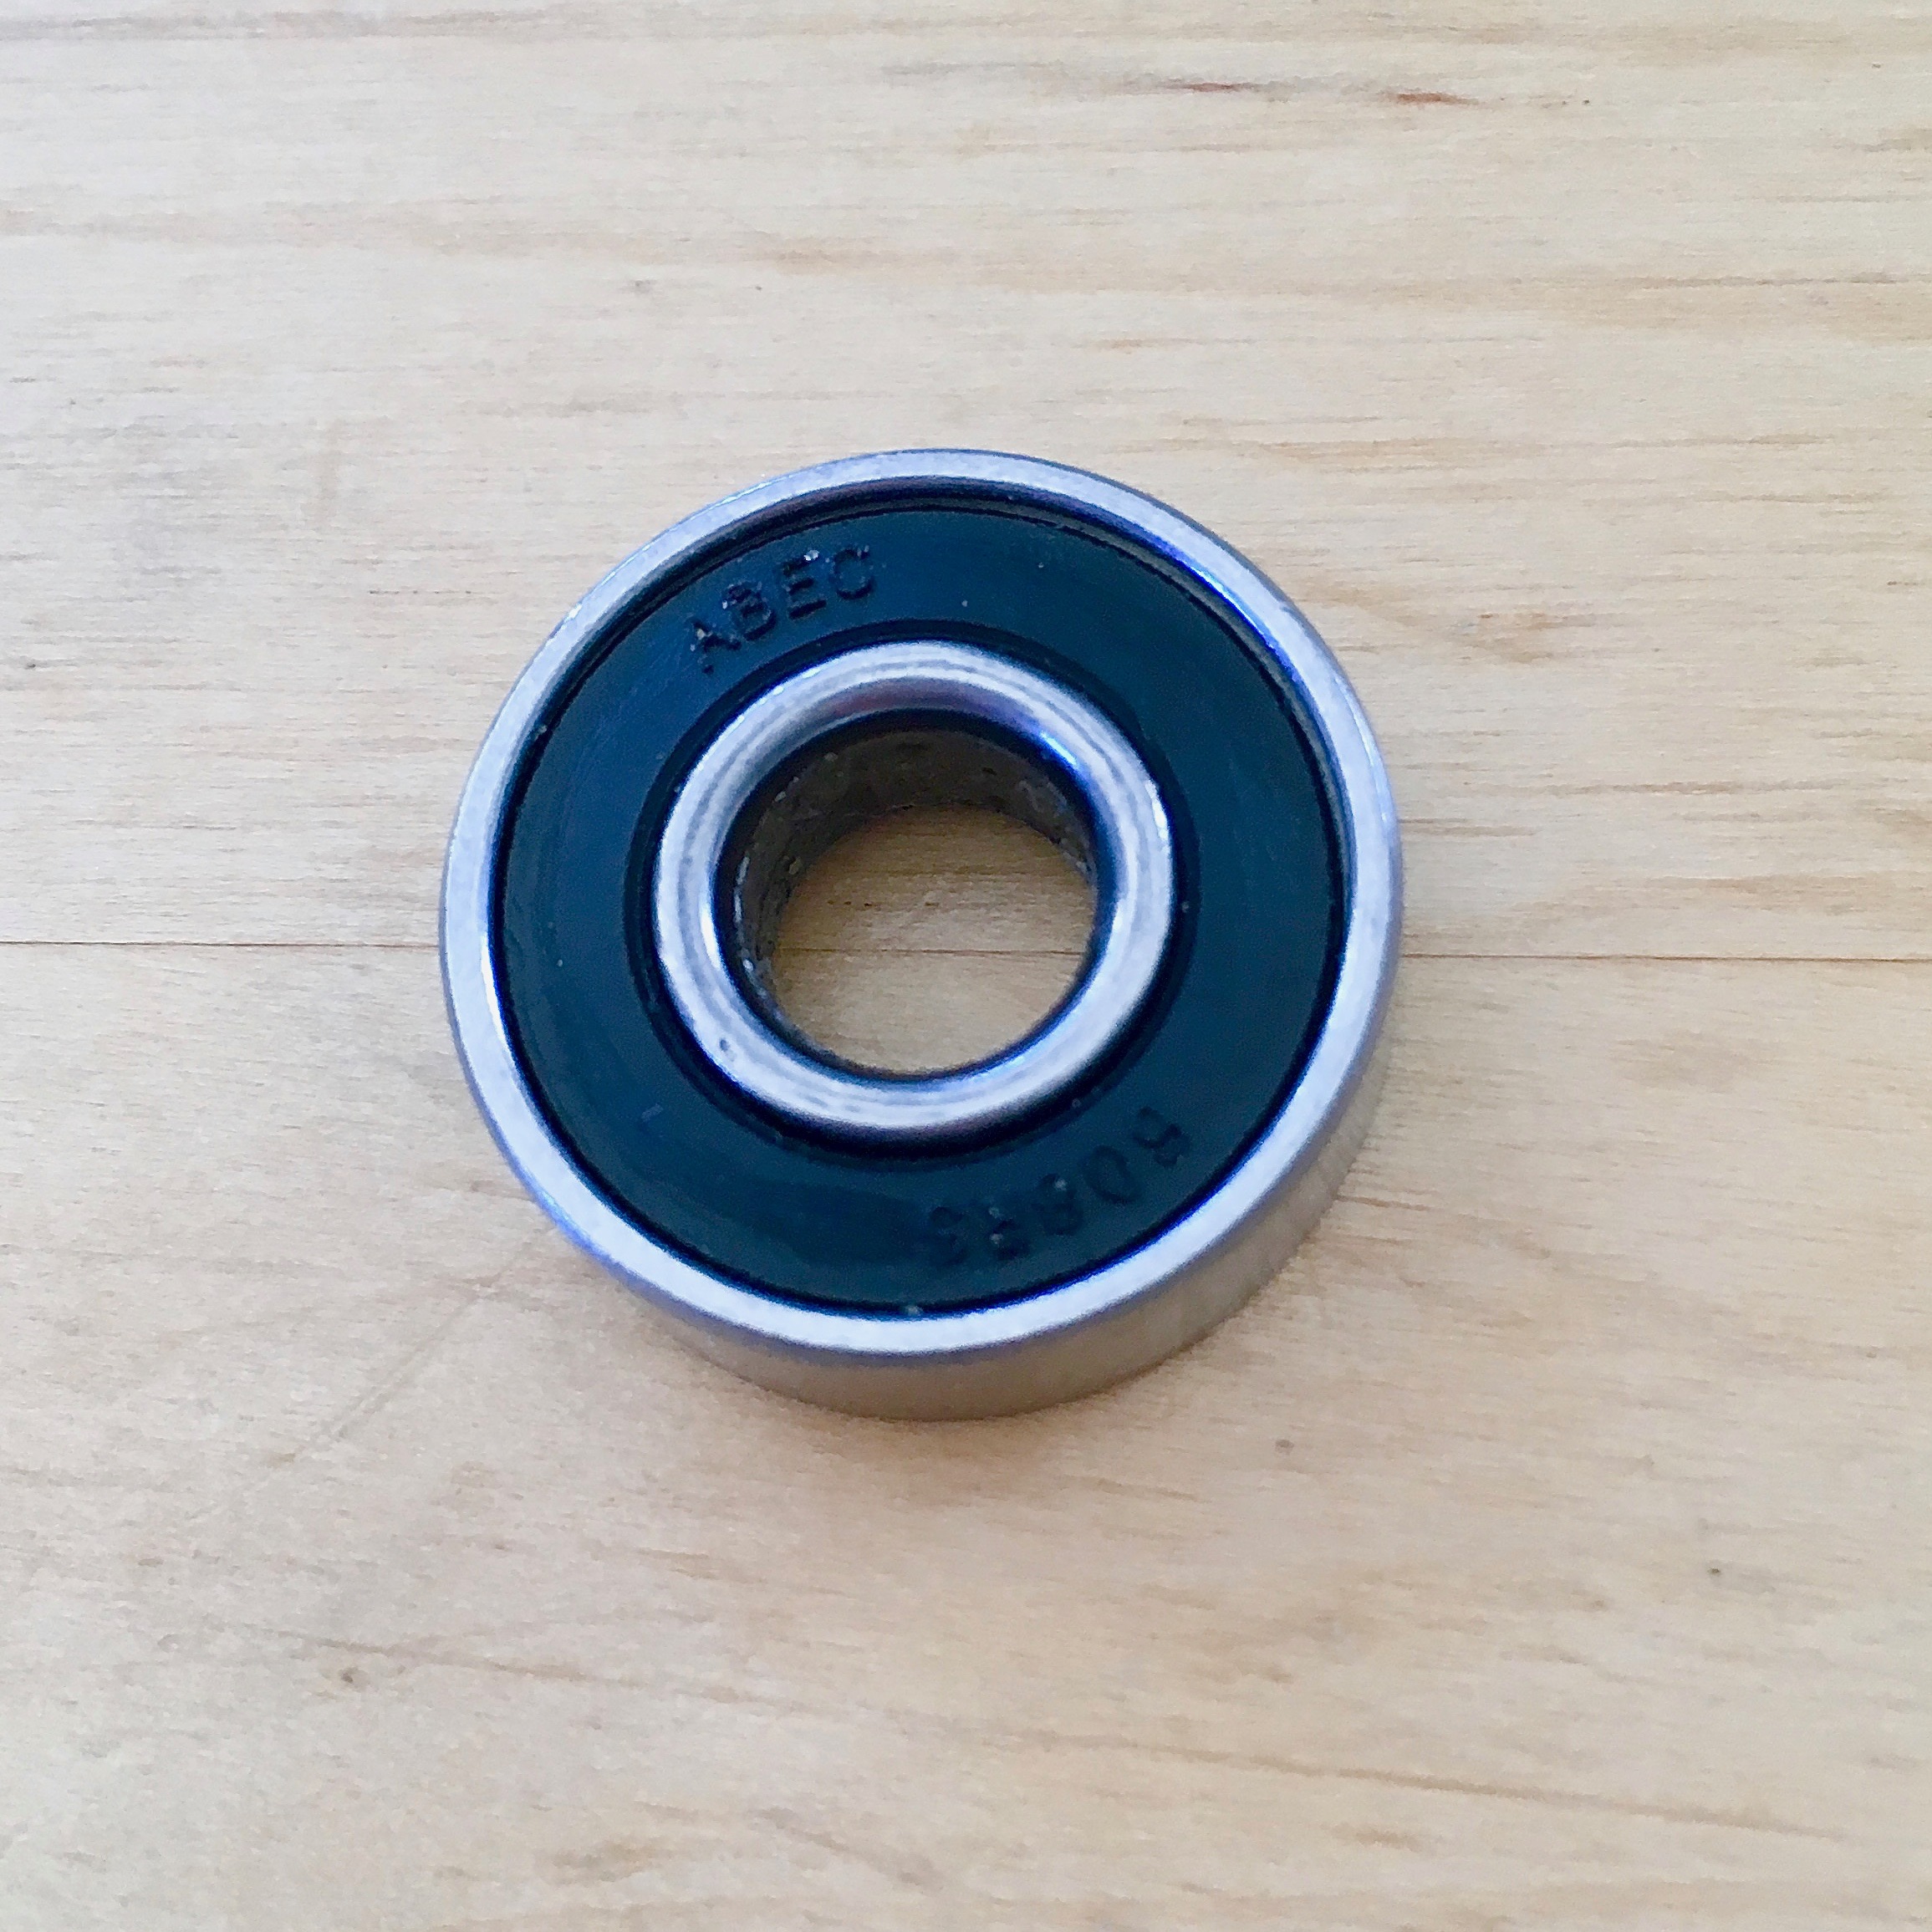
Summon yourself some skateboard bearings ("Accio bearings!") or find them here: https://www.amazon.com/TOOGOO-bearings-Skateboard-...
We buy these in bulk and try to get them for around $15 for 100. This is a great opportunity for students to measure the bearings to see how they'll fit in their design. The specs on the bearings are 22mm by 7mm. On our school printers, the Imade3D Jellybox, we have found that 22.5mm is the best size to design for bearings. Trial and error with your printer is best. (See the next step for trial and error of 3D printers and getting the bearings to fit.)
Go back to your design. Select the circle and "Ungroup" it. You should then see the hole cylinder we used to make it hollow appear. Now change the dimension of this shape to 22.5mm by 22.5mm and now you'll have a hole that is bearing sized. Select the wand and the circle when you "Group" them again. You should see a new, slightly larger hole without the thin rectangle going through it.
Print and spin!
Getting Your Bearings to Fit
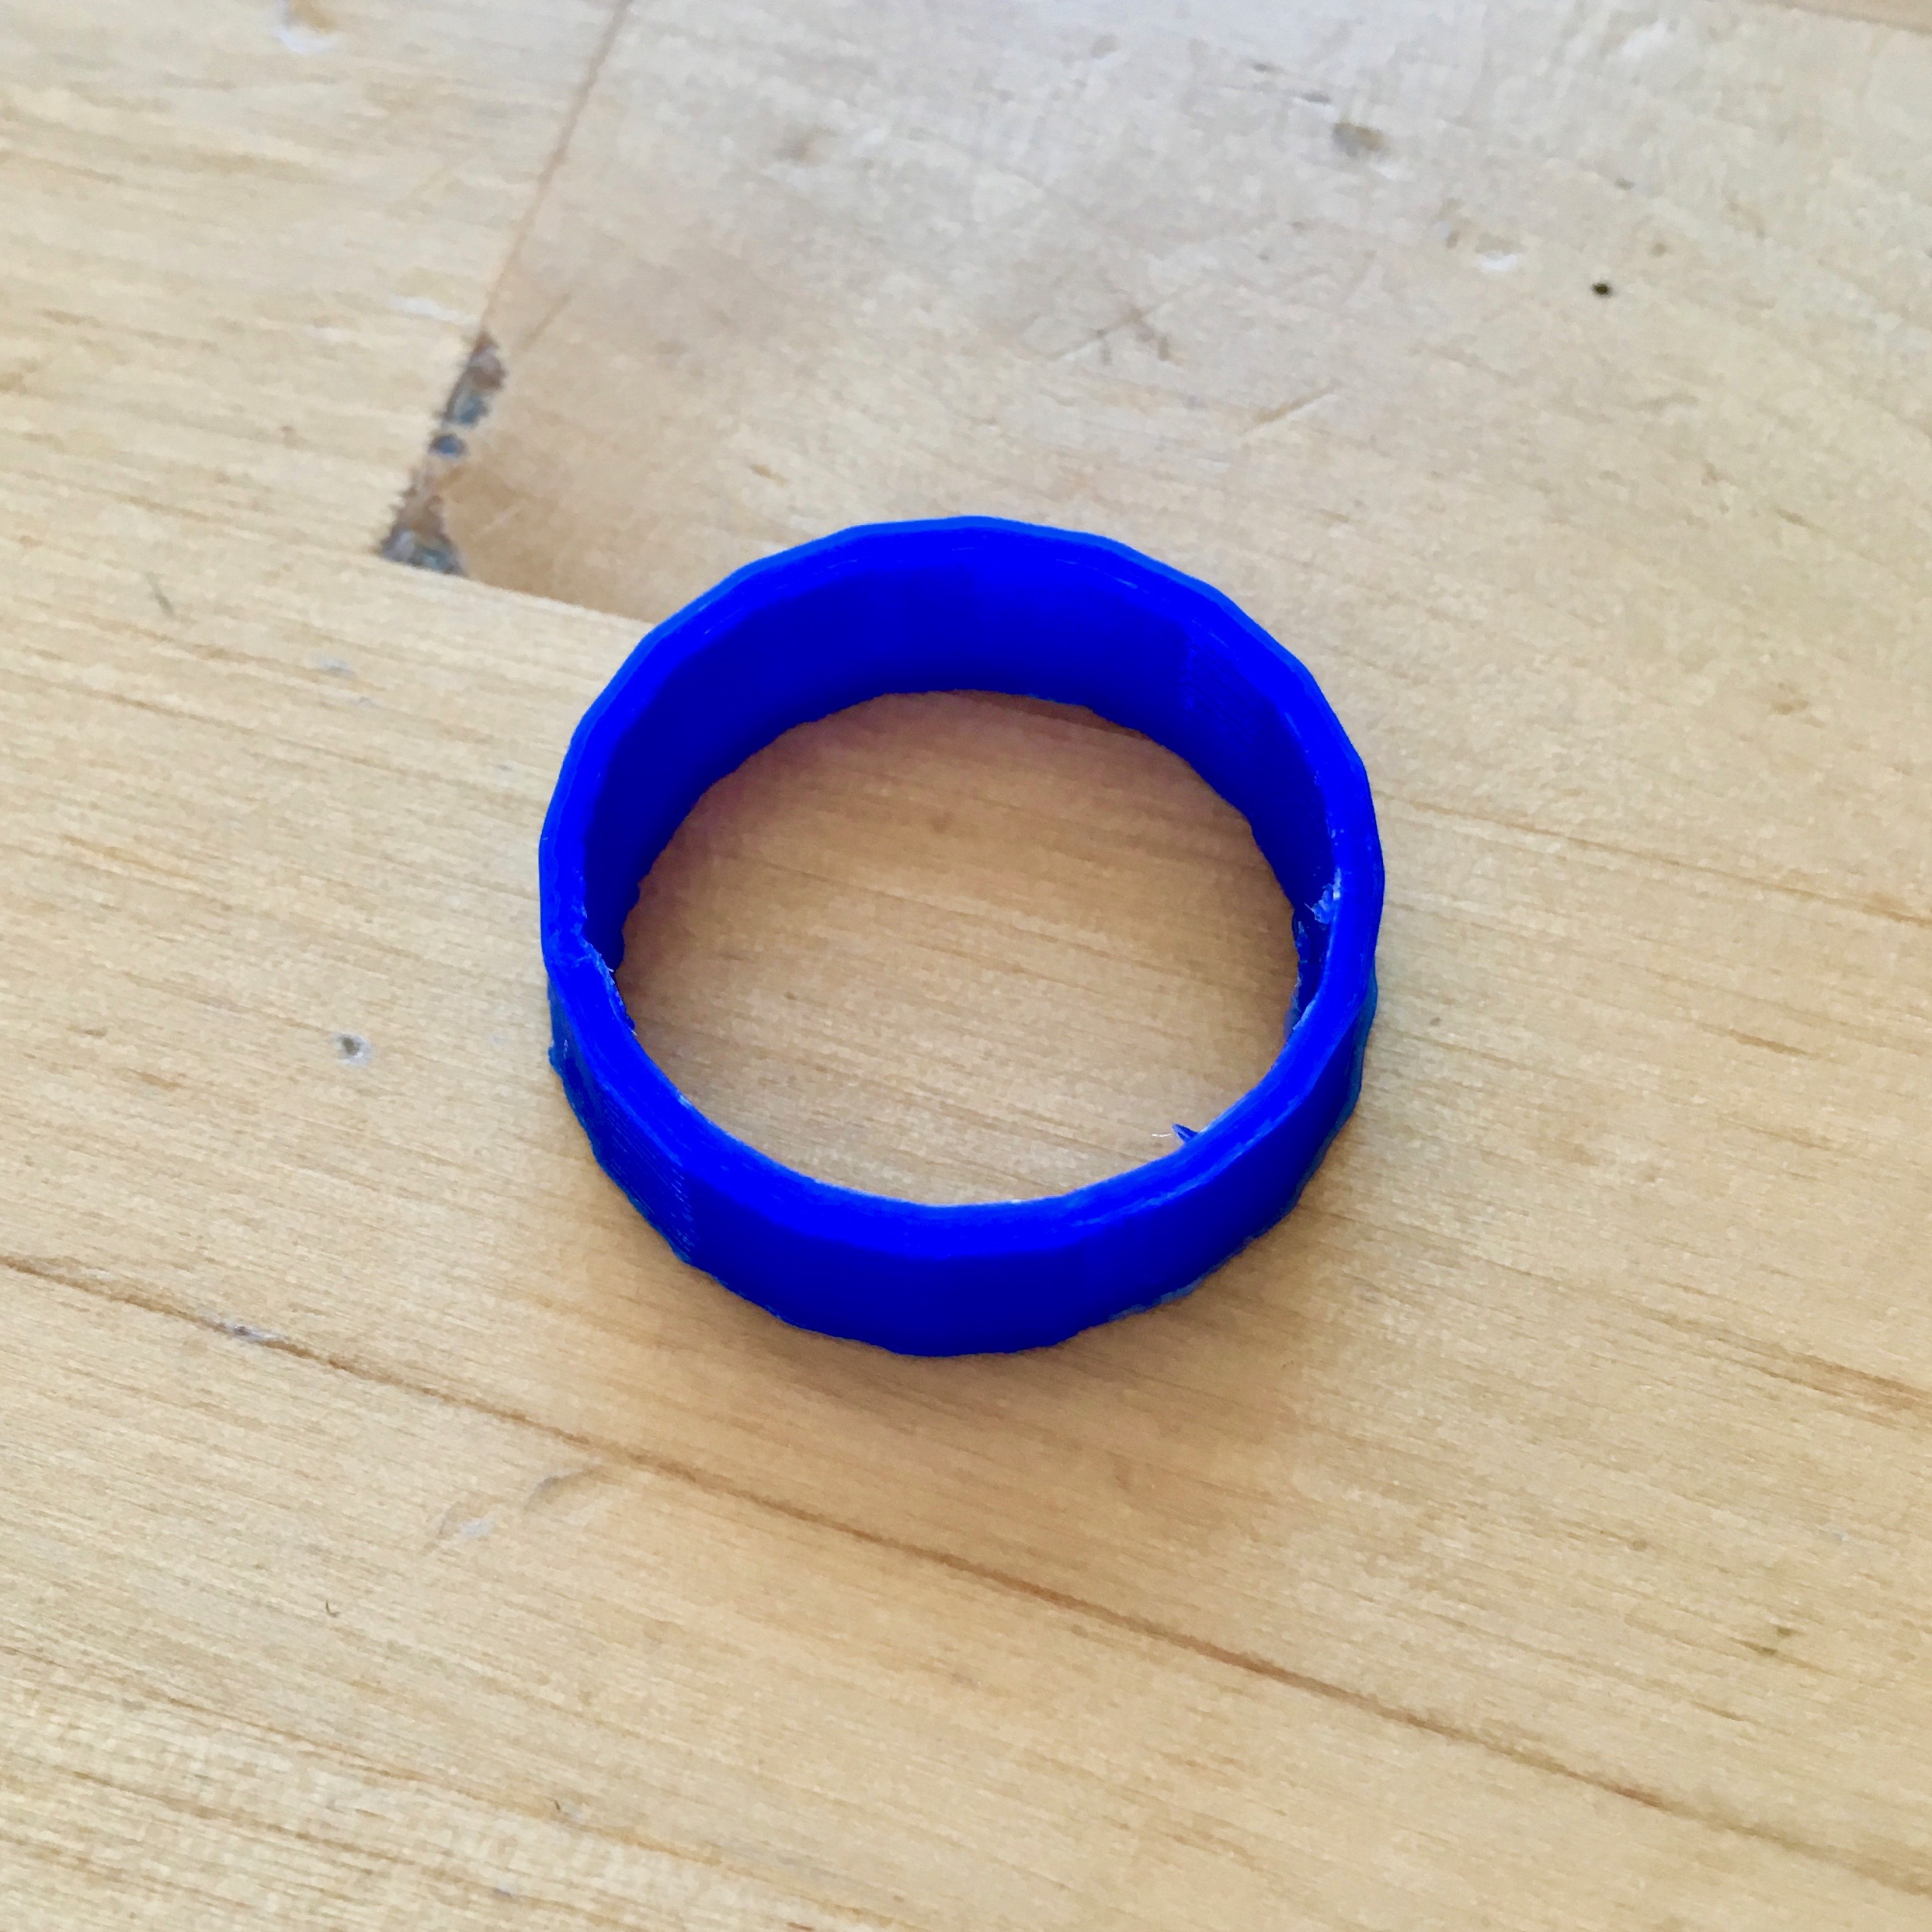
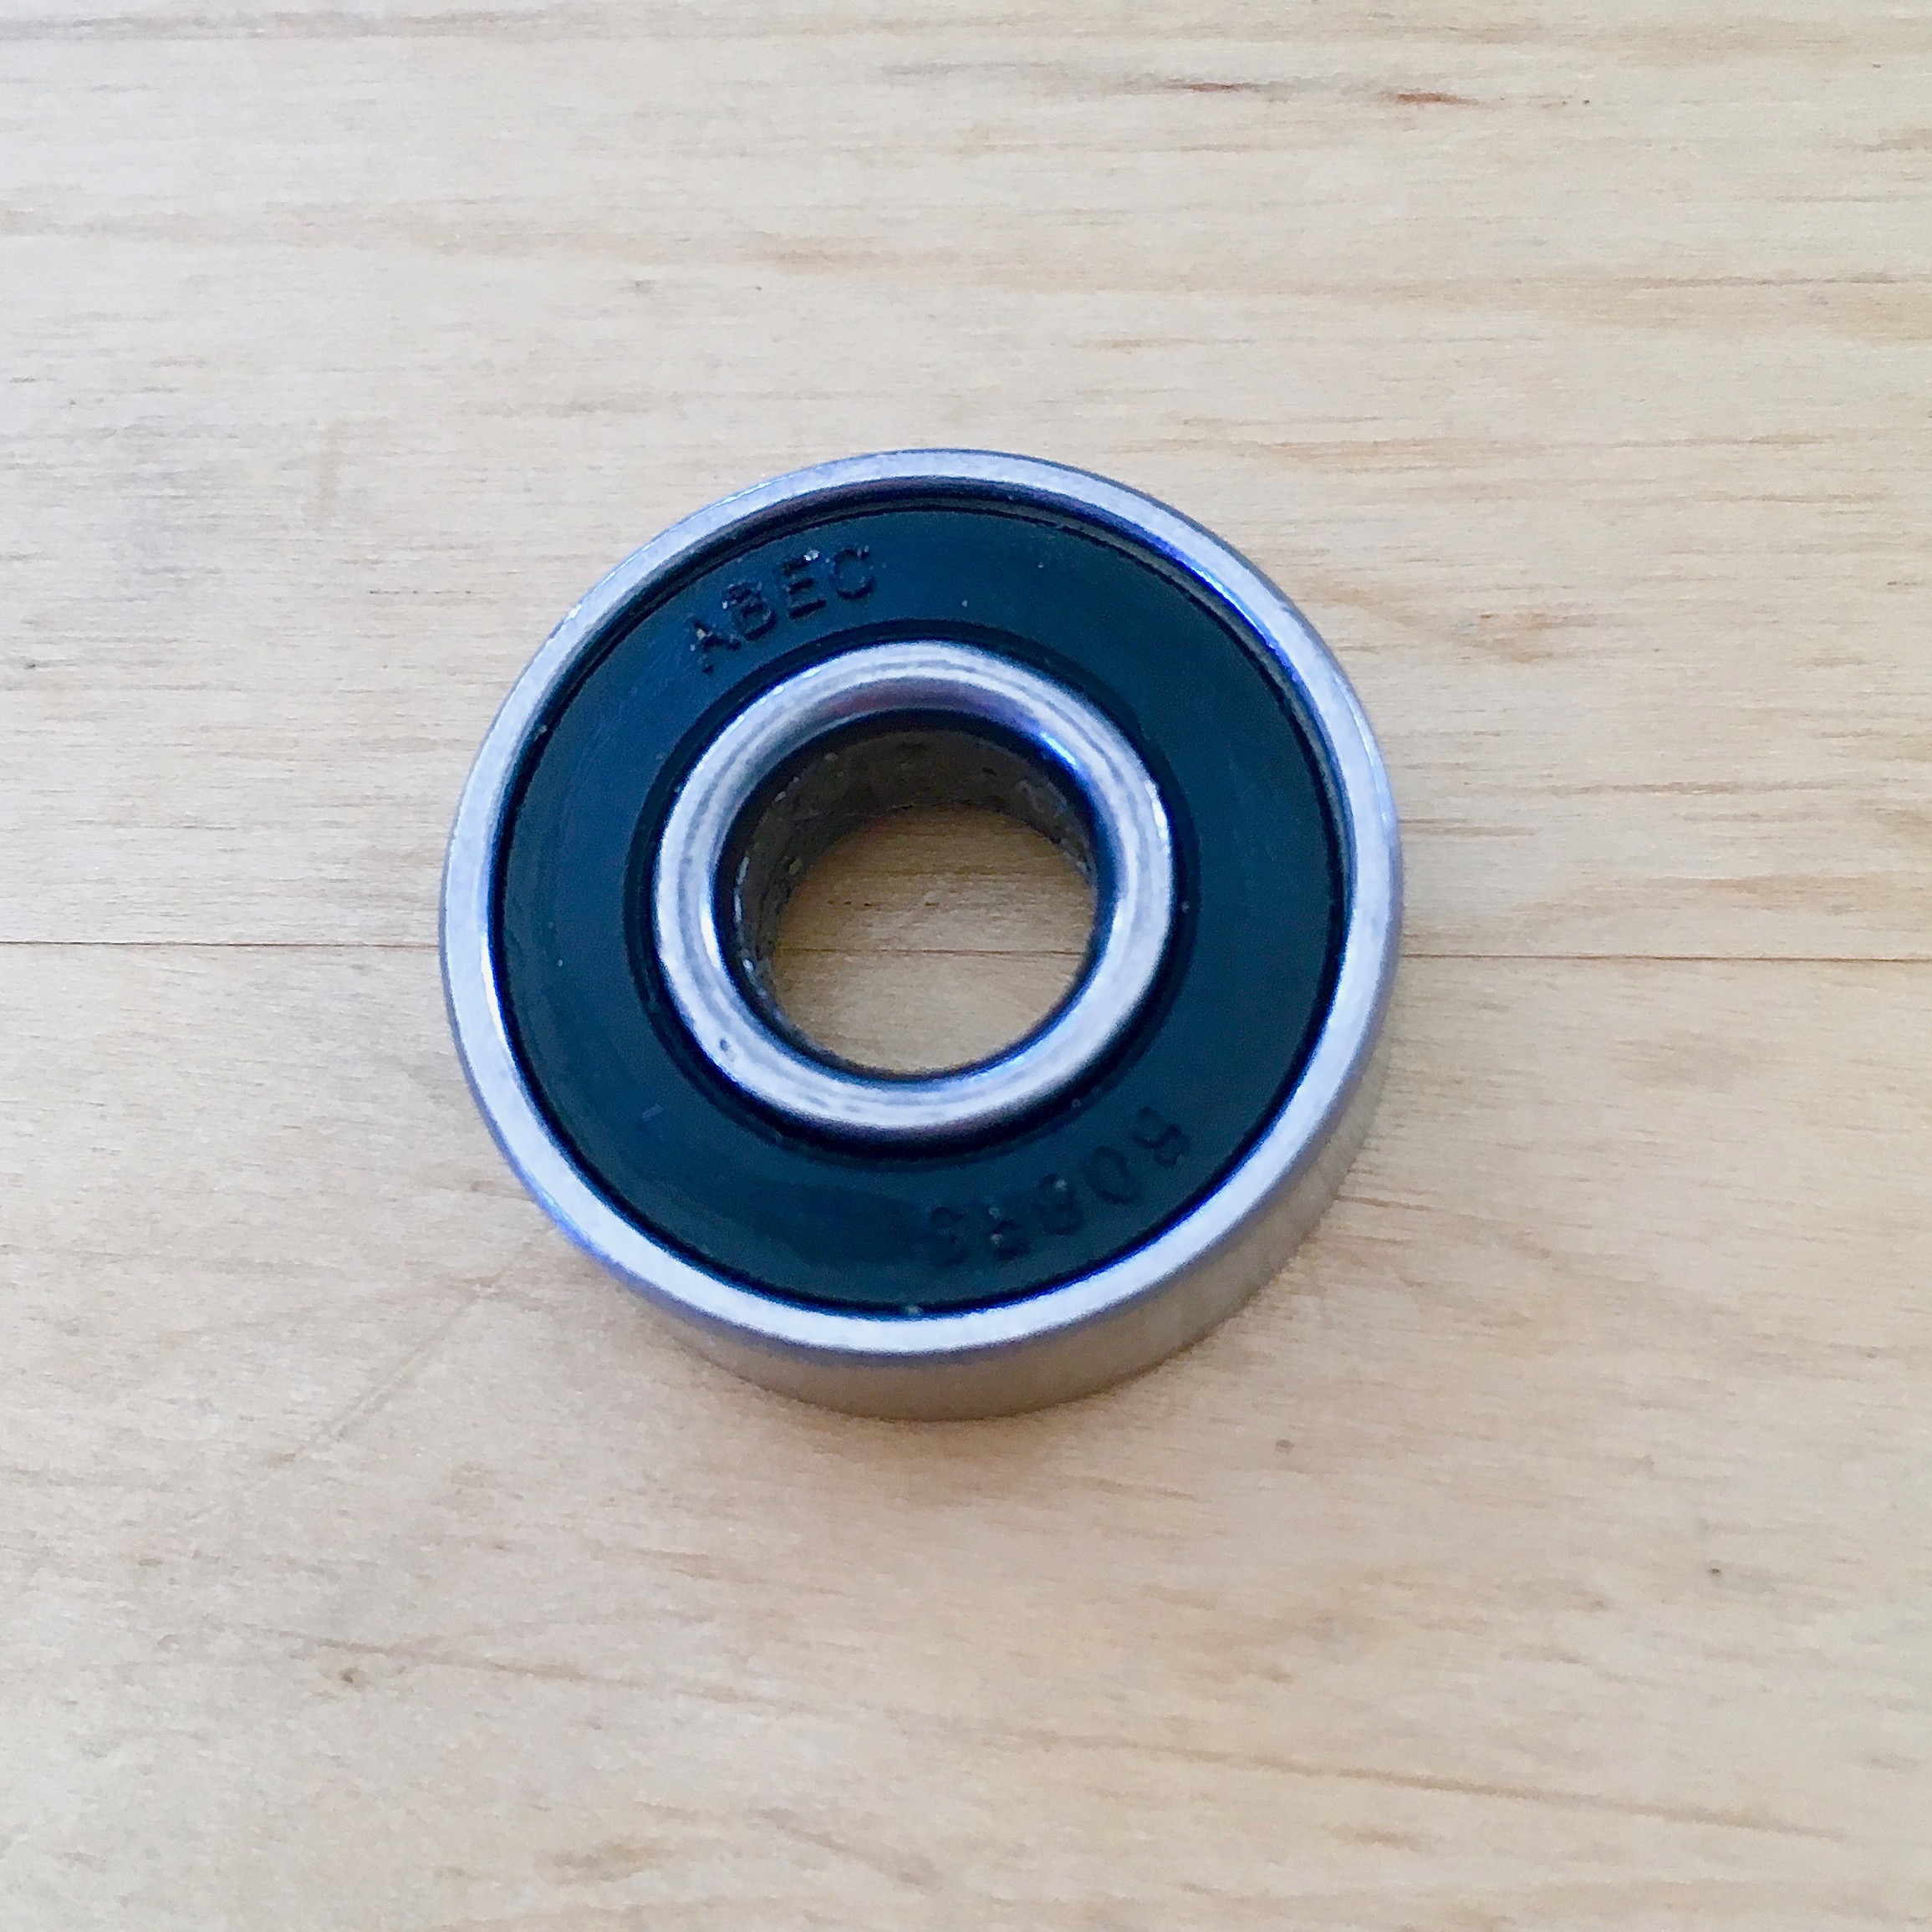
When designing any kind of spinner, having a good fit between the 3D printed parts and the bearing is essential. Too tight and you'll need a file or Dremel sander to carve the shape larger; too large and the bearing will just fall out. The best way to find your fit is to create a simple design and test the fit. Start with a cylinder 25mm by 25mm and 7mm tall. Create a "hole cylinder" that is 22mm by 22mm and align it in the center of your cylinder. Now group them and print. This was an 8 minute print on our Jellybox. Test the fit with a bearing. Doesn't fit? Try a hole that is 22.1mm by 22.1mm. And keep going. I went to 22.2mm then, 22.3mm, then 22.4 before stopping with a good fit at 22.5mm.
This may change based on the bearings, printer settings or even filament.