3D Country Map Flag
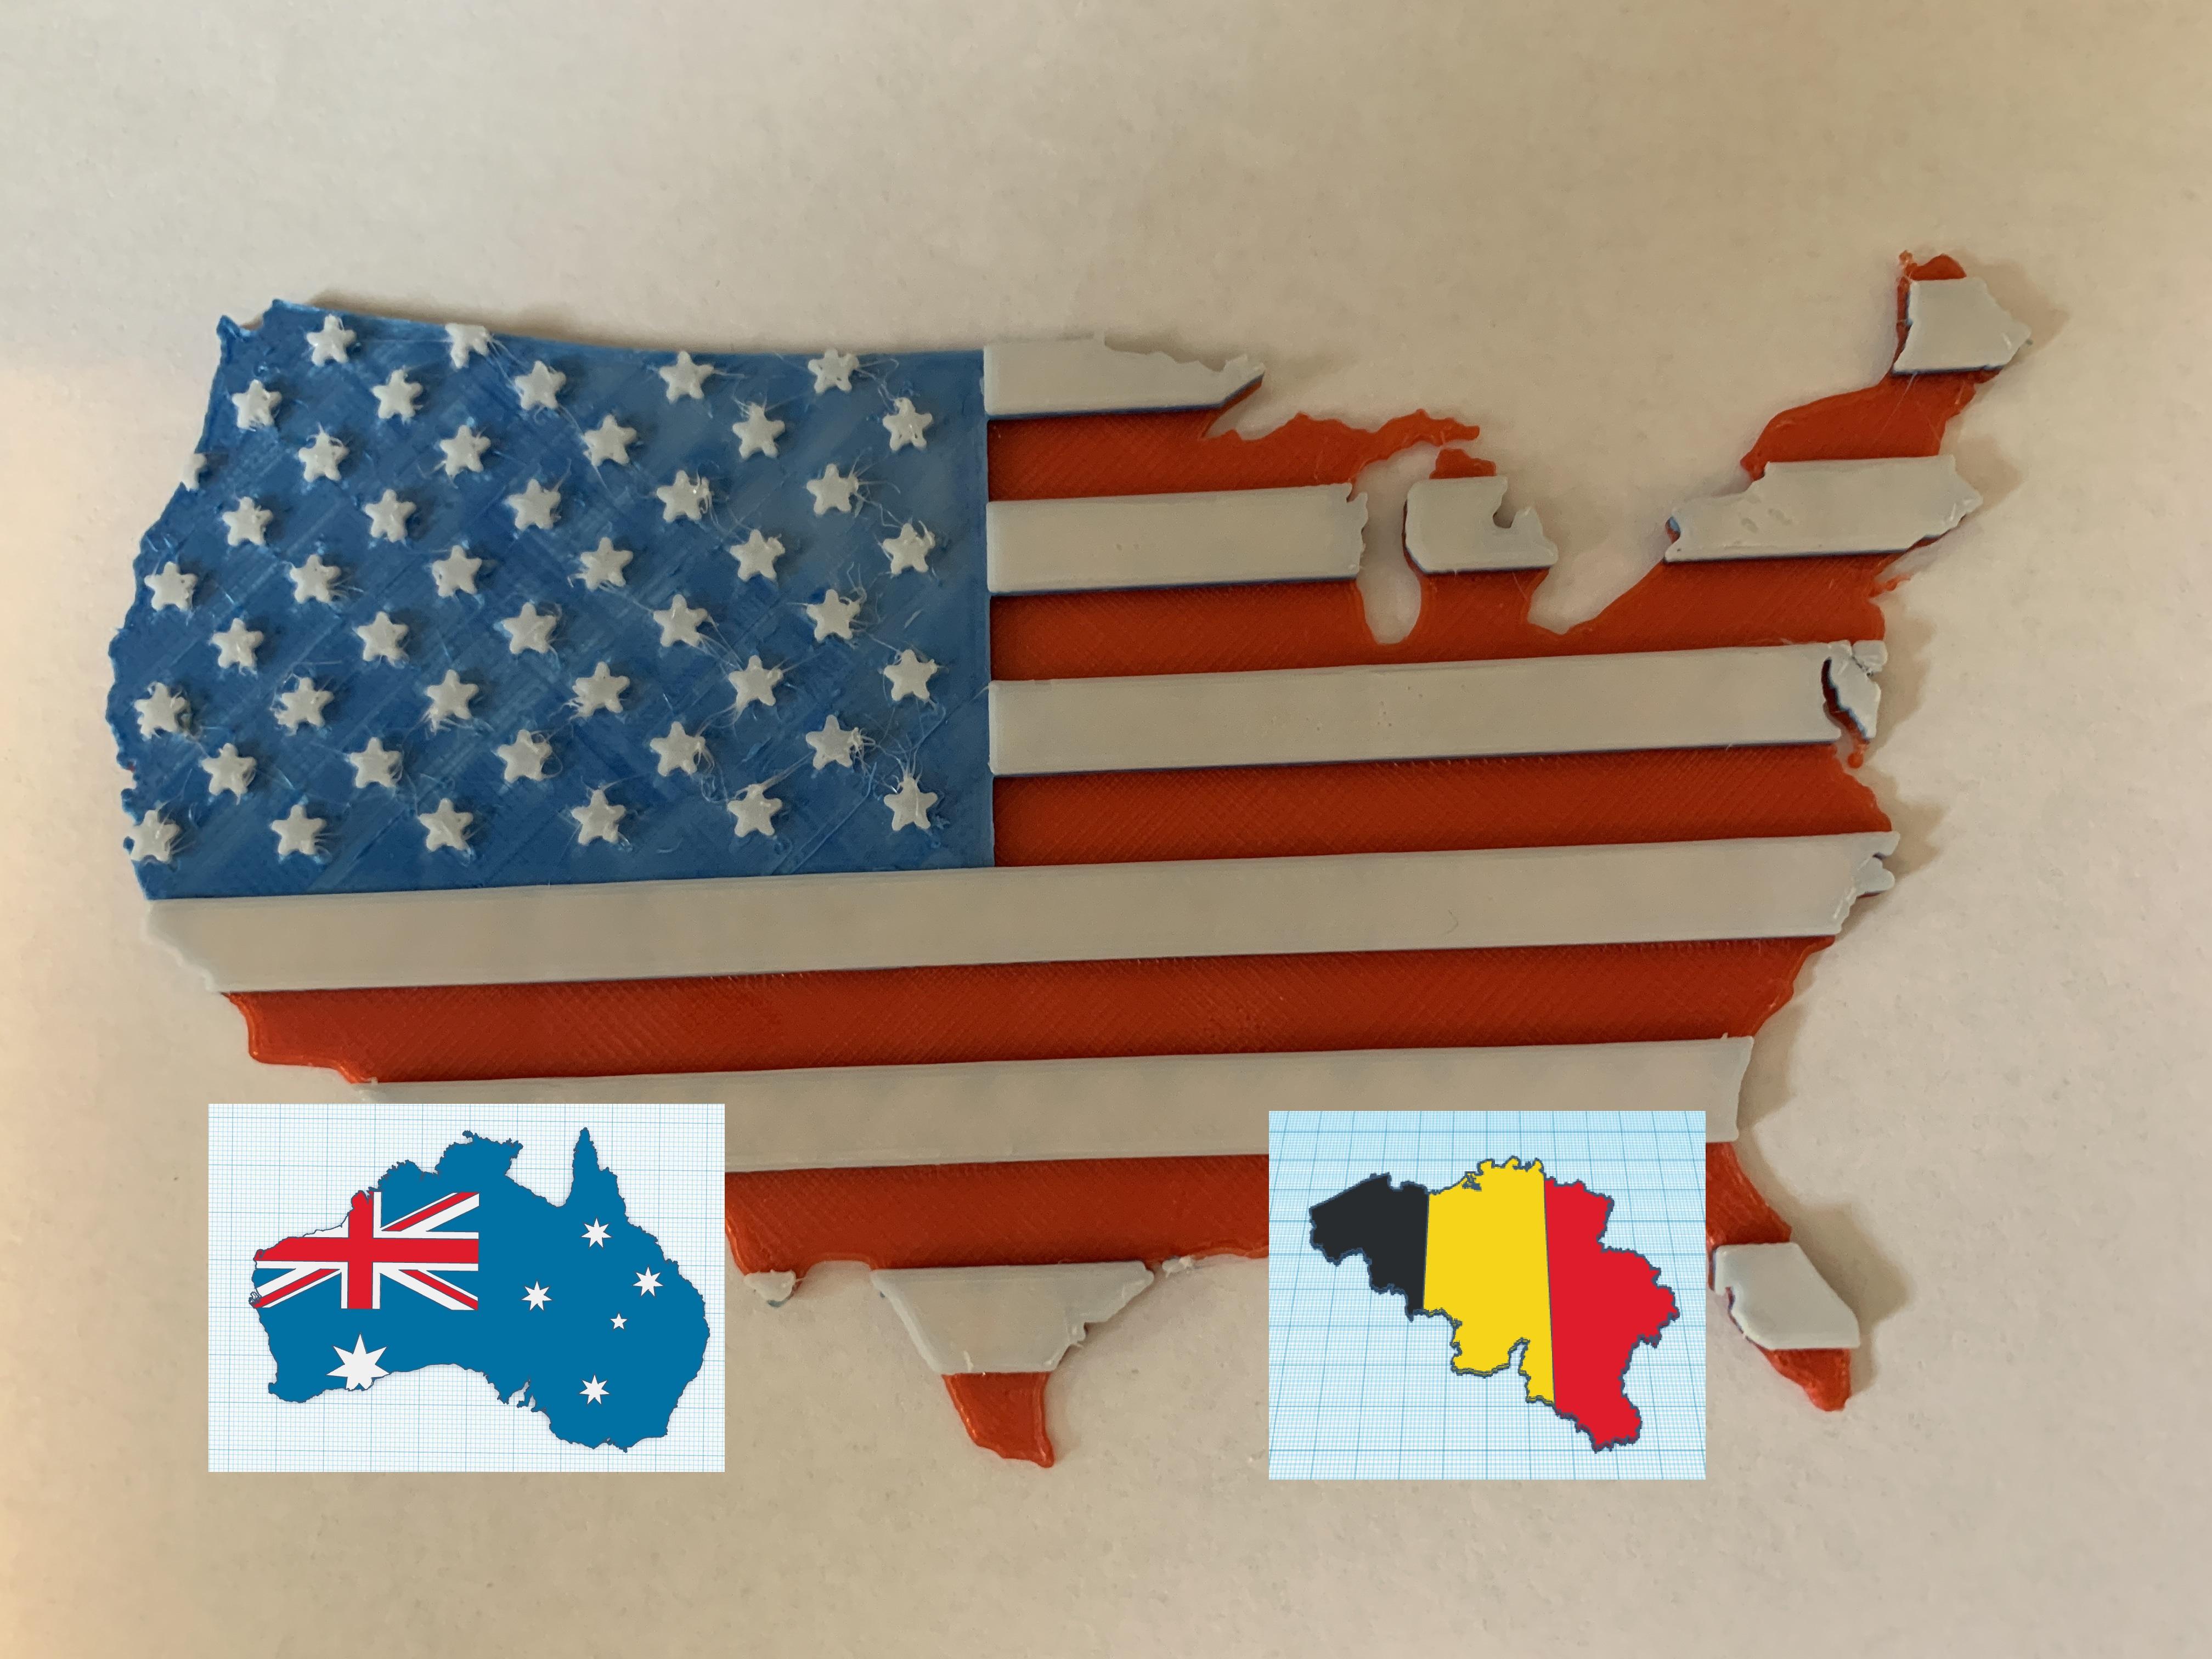
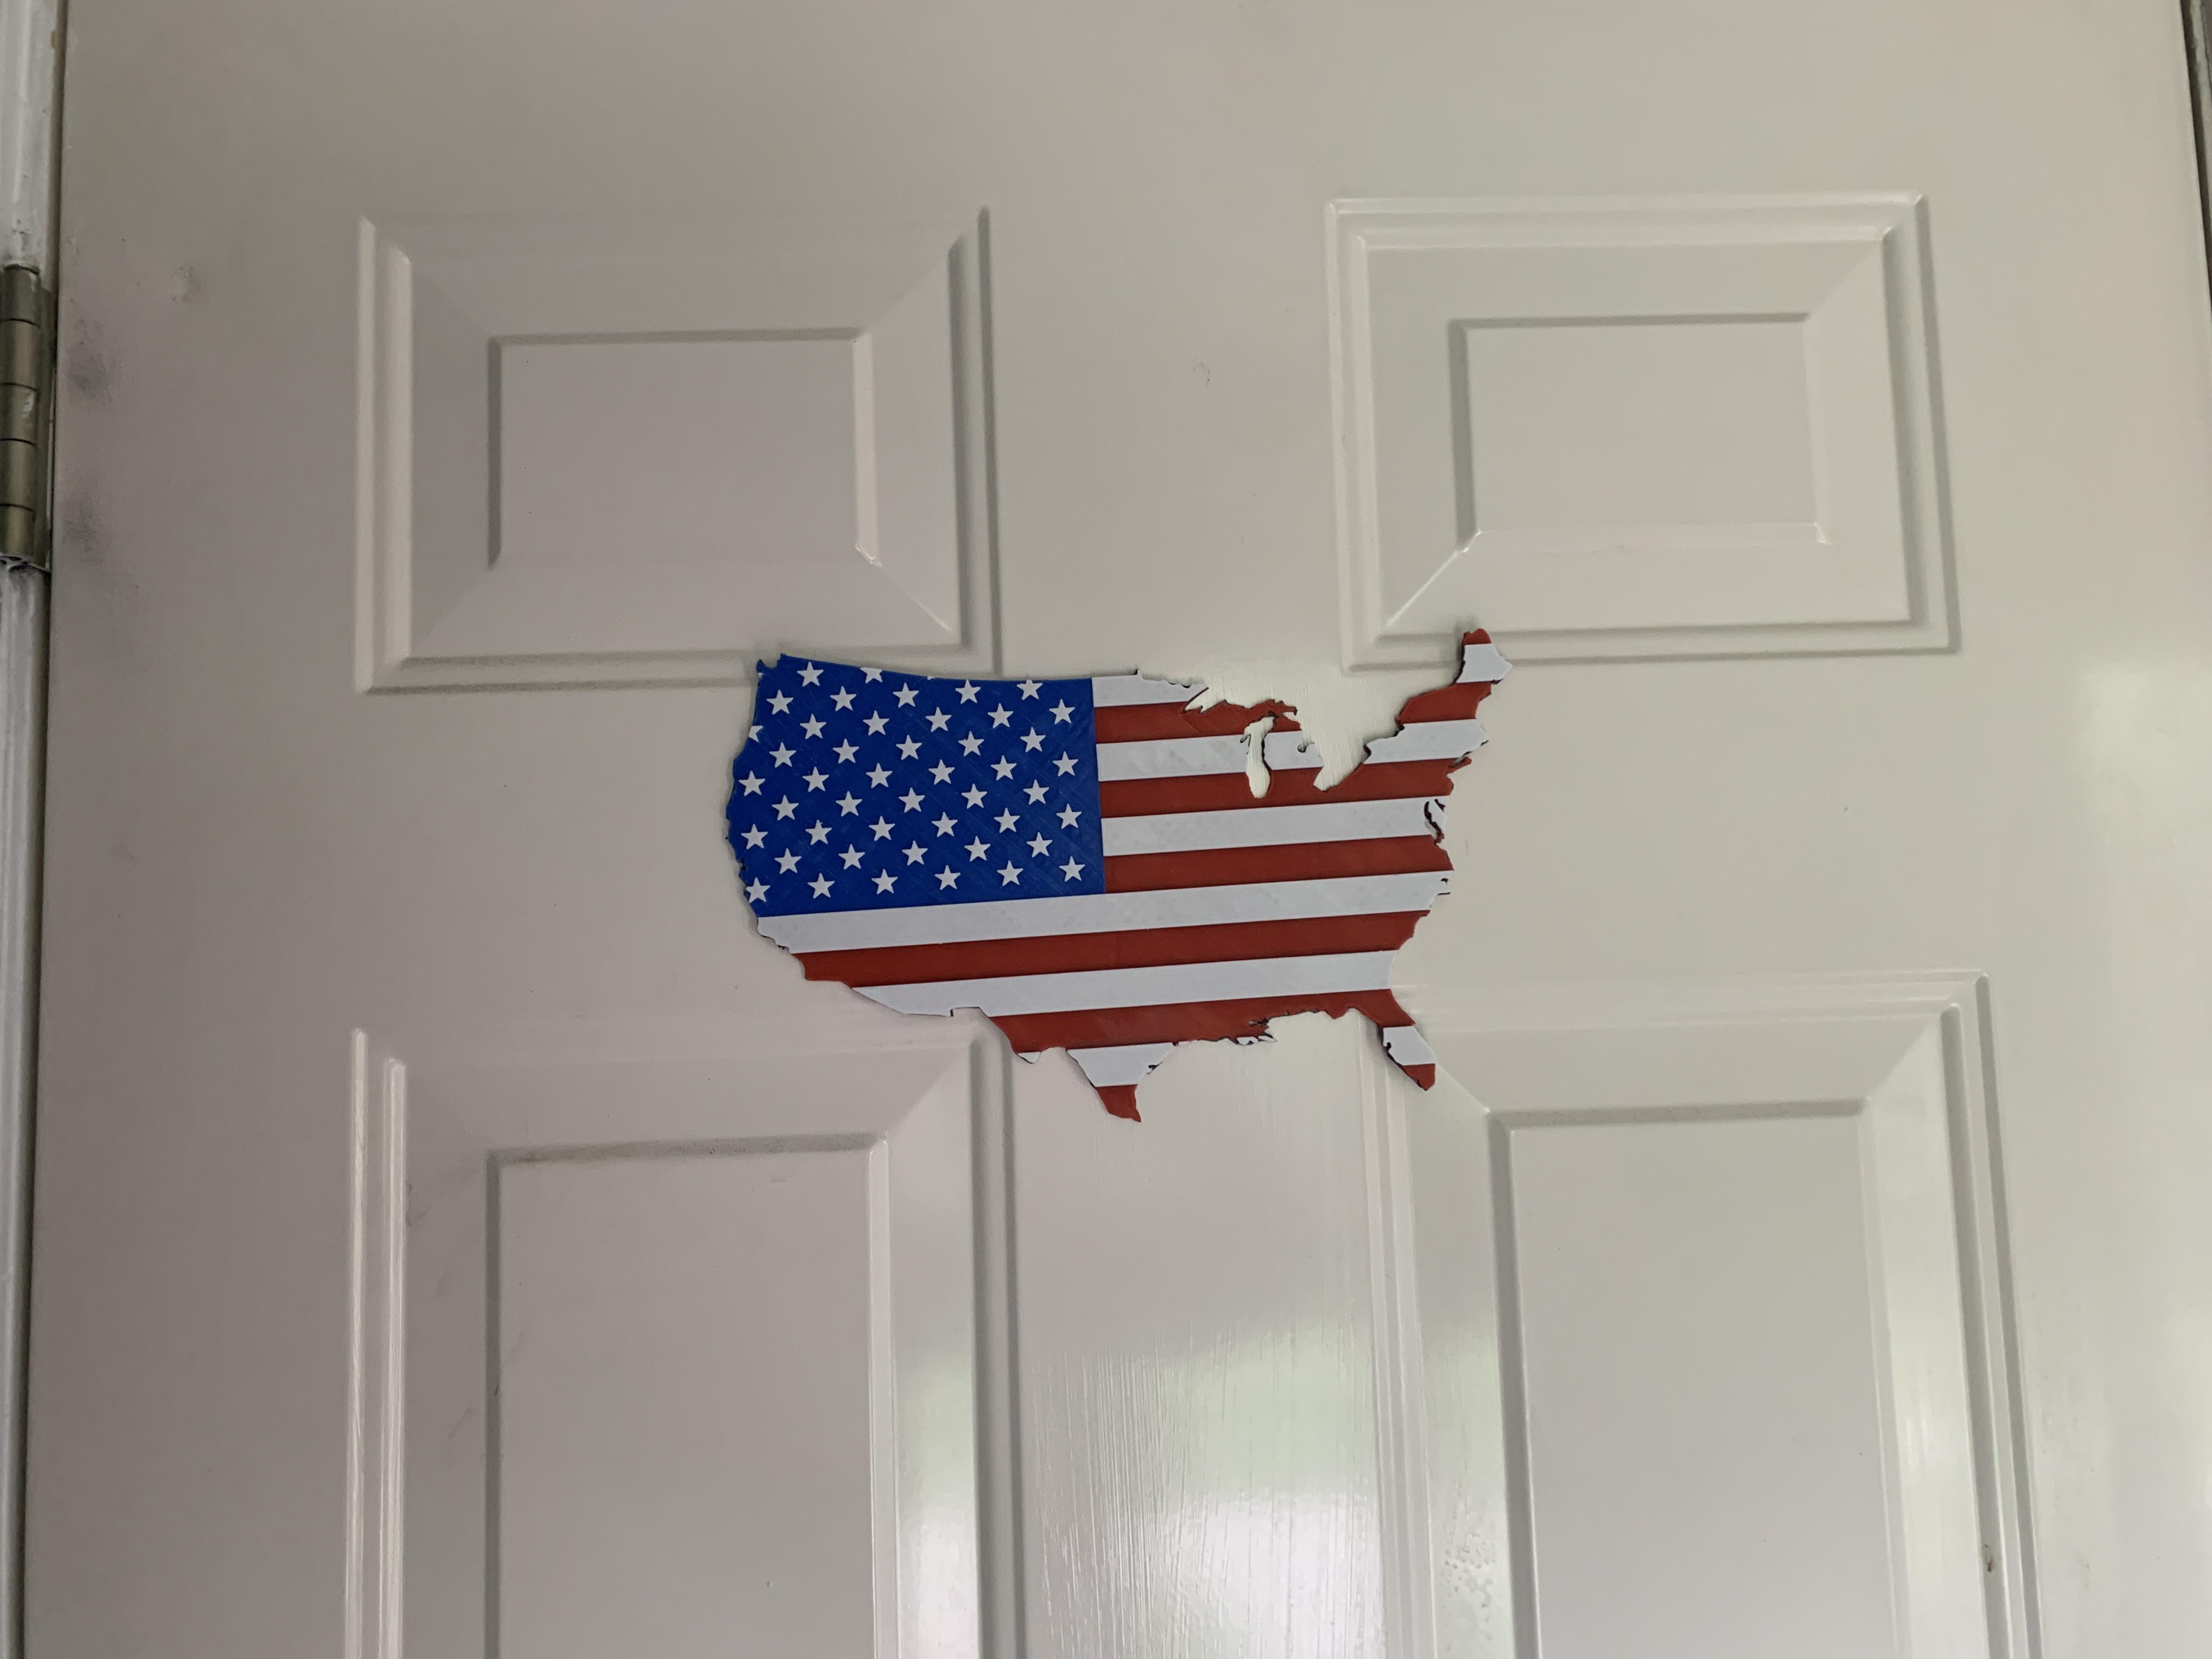
I've seen some pretty amazing combinations of maps and flags made in wood. I wanted to make one, but wanted to decrease the effort required :)
A time saving step is finding a 2D image already in SVG (scalable vector graphics) format. This instructable will guide you though the process of converting that SVG into a multilevel/multicolored printable 3D object.
Supplies
- SVG image of a country with a map applied to it
- Inkscape
- Text editor (like NotePad++)
- TinkerCAD (or other CAD application that can import SVG)
- Slicer (like Cura)
- 3D printer
Locating an Existing SVG Image


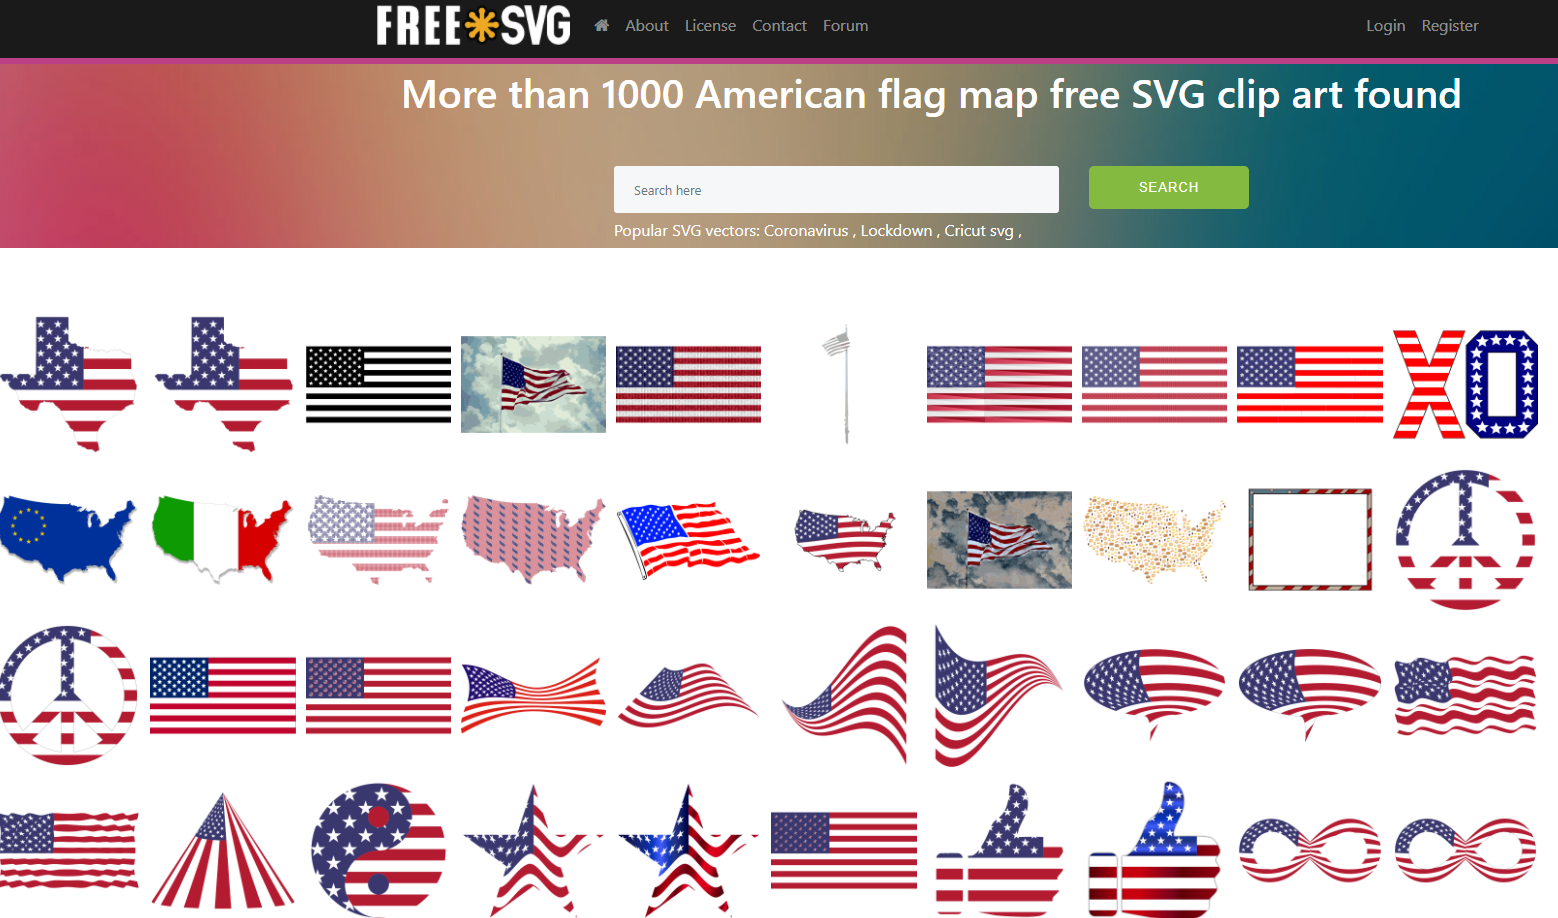
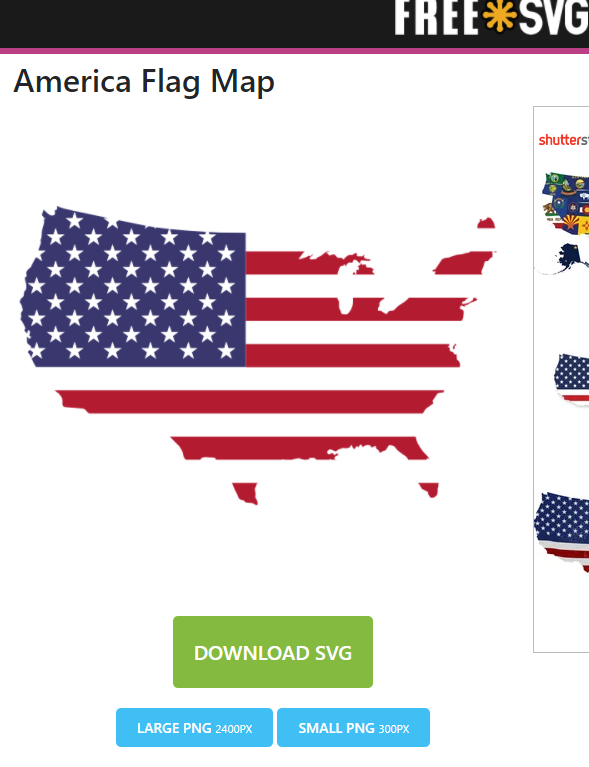
Locating an existing SVG image.
Search engine (like Google) and use appropriate keywords: "America svg", "Map Flag SVG", "American Map Flag SVG free", etc. This particular site was frequently returned in my search results: https://freesvg.org/ Might be convenient to use their search directly.
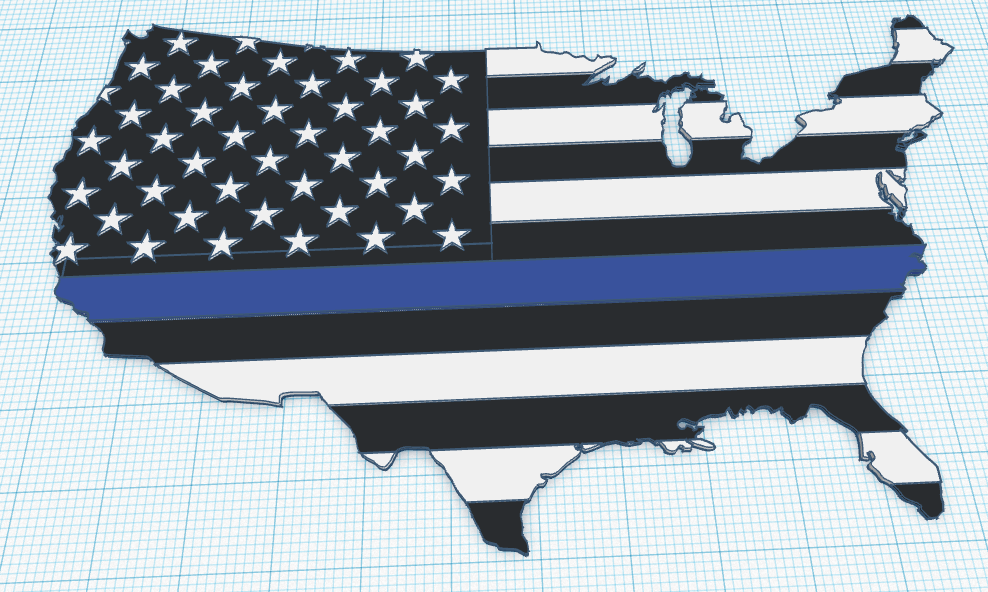
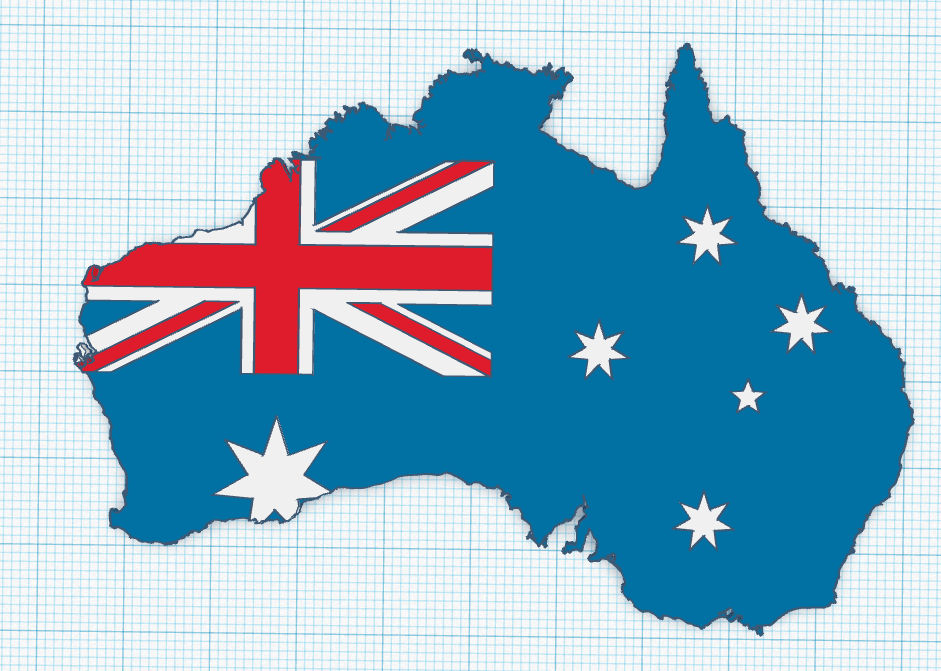
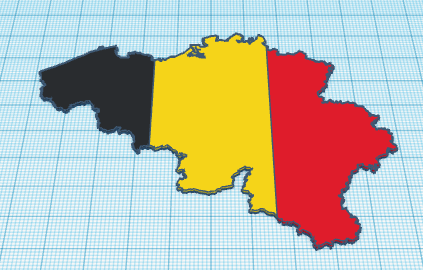
I found this one for the United States: https://freesvg.org/america-flag-map Belgium: https://freesvg.org/belgium-map-flag Australia: https://freesvg.org/australias-continent
If you're intention it to print in multiple colors on a single extruder, you may want to limit the number of colors. Mexico has alot going on: https://freesvg.org/mexicos-flag-and-map
Download the SVG image to your computer.
Editing the SVG
Editing the SVG
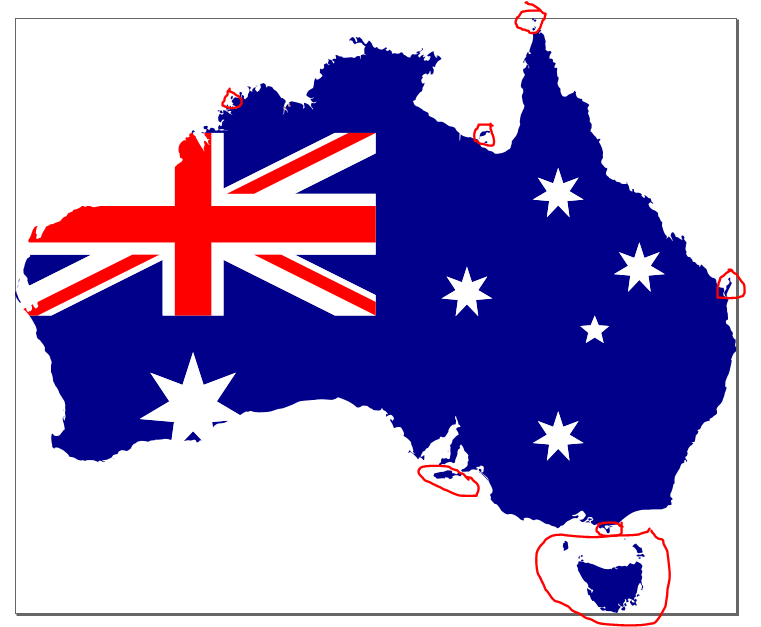
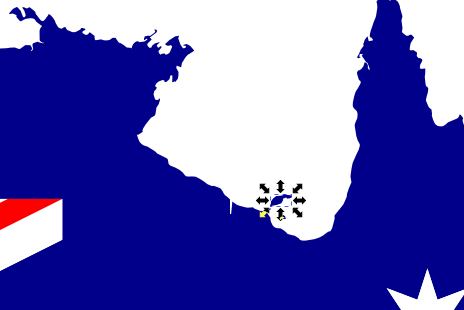
Using Inkscape, make the map less complicated. If there are small islands, they aren't going to print well; unless you create a base underneath.
The American I chose, already had Alaska and Hawaii absent/remove. Australia, I did attempt to create a base but didn't like the result and wound up removing the islands.
Click in the object, and press the delete key. Or draw a box around the objects and press the delete key. Just be cautious in node deletions that change the shape of the remaining land mass.
Save the image back as an SVG.
Splitting the SVG Into Separate Files (by Color)

Splitting the SVG into separate files (by color)
Note: You'll want to be strategic in the color layers. For America I found red as the base layer, than blue, and finally white. For the base layer you can either leave the subsequent color layer objects; or provide them in TinkerCAD. (at the same object height)
Make a copy of the SVG file for each color and name them appropriately. Red, white, and blue? You'll want to have three files. For example: America-Red.svg, America-Blue.svg, America-White.svg.
Two methods: Using a text editor or using Inkscape
Method - Text Editor (this is my preferred method)
Open one of the files in a text editor. I like Notepad++ because you can have multiple files opened at once, in separate tabs.
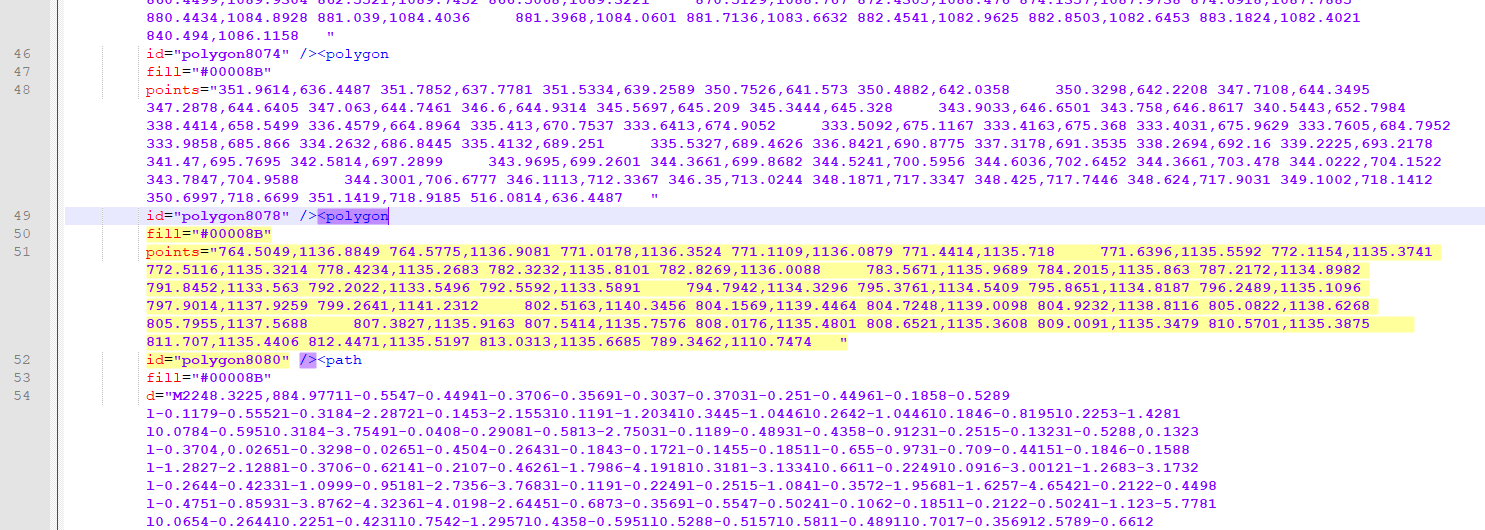
Search for "fill". Make a note of the different colors used, "#00008B", etc. If its in this hexadecimal format, you can search it on Google to get the color name. In this case Dark blue. One of the colors will likely be "black" or #000000", this will be the overall outline which you will no longer need (might be an exception for white shapes).
Delete all the polygons, shapes, or paths from the file that don't match the color of the file you're working on. I.e. in Ameria-Blue.svg delete all the non-blue shapes. In America-Red.svg delete all the non-red shapes. You can delete a few at a time, save, and than preview the SVG in a browser or compatible image viewer.
An SVG file is an XML structure. Notepad++ is neat cause it will highlight the XML object. Click on "fill" and it will highlight the associated "path" or "polygon". Careful deleting, making sure you don't remove an extra XML tag. If the image fails to open when previewing, undo your last change and try again.
Method InkScape (you'd think this method would be easier, but to each their own)
Maybe set the document background to checkered, rather than white, so you can see the boundaries easier.
Try deleting objects of the incorrect color. Try "fill bounded areas", but that doesn't seem to work out in many cases. Use the "Pick Colors from Image". When filling or drawing, make sure "Fill" is correct color. You may need to double click "Fill" and set "Style of new objects" to "Last used style".
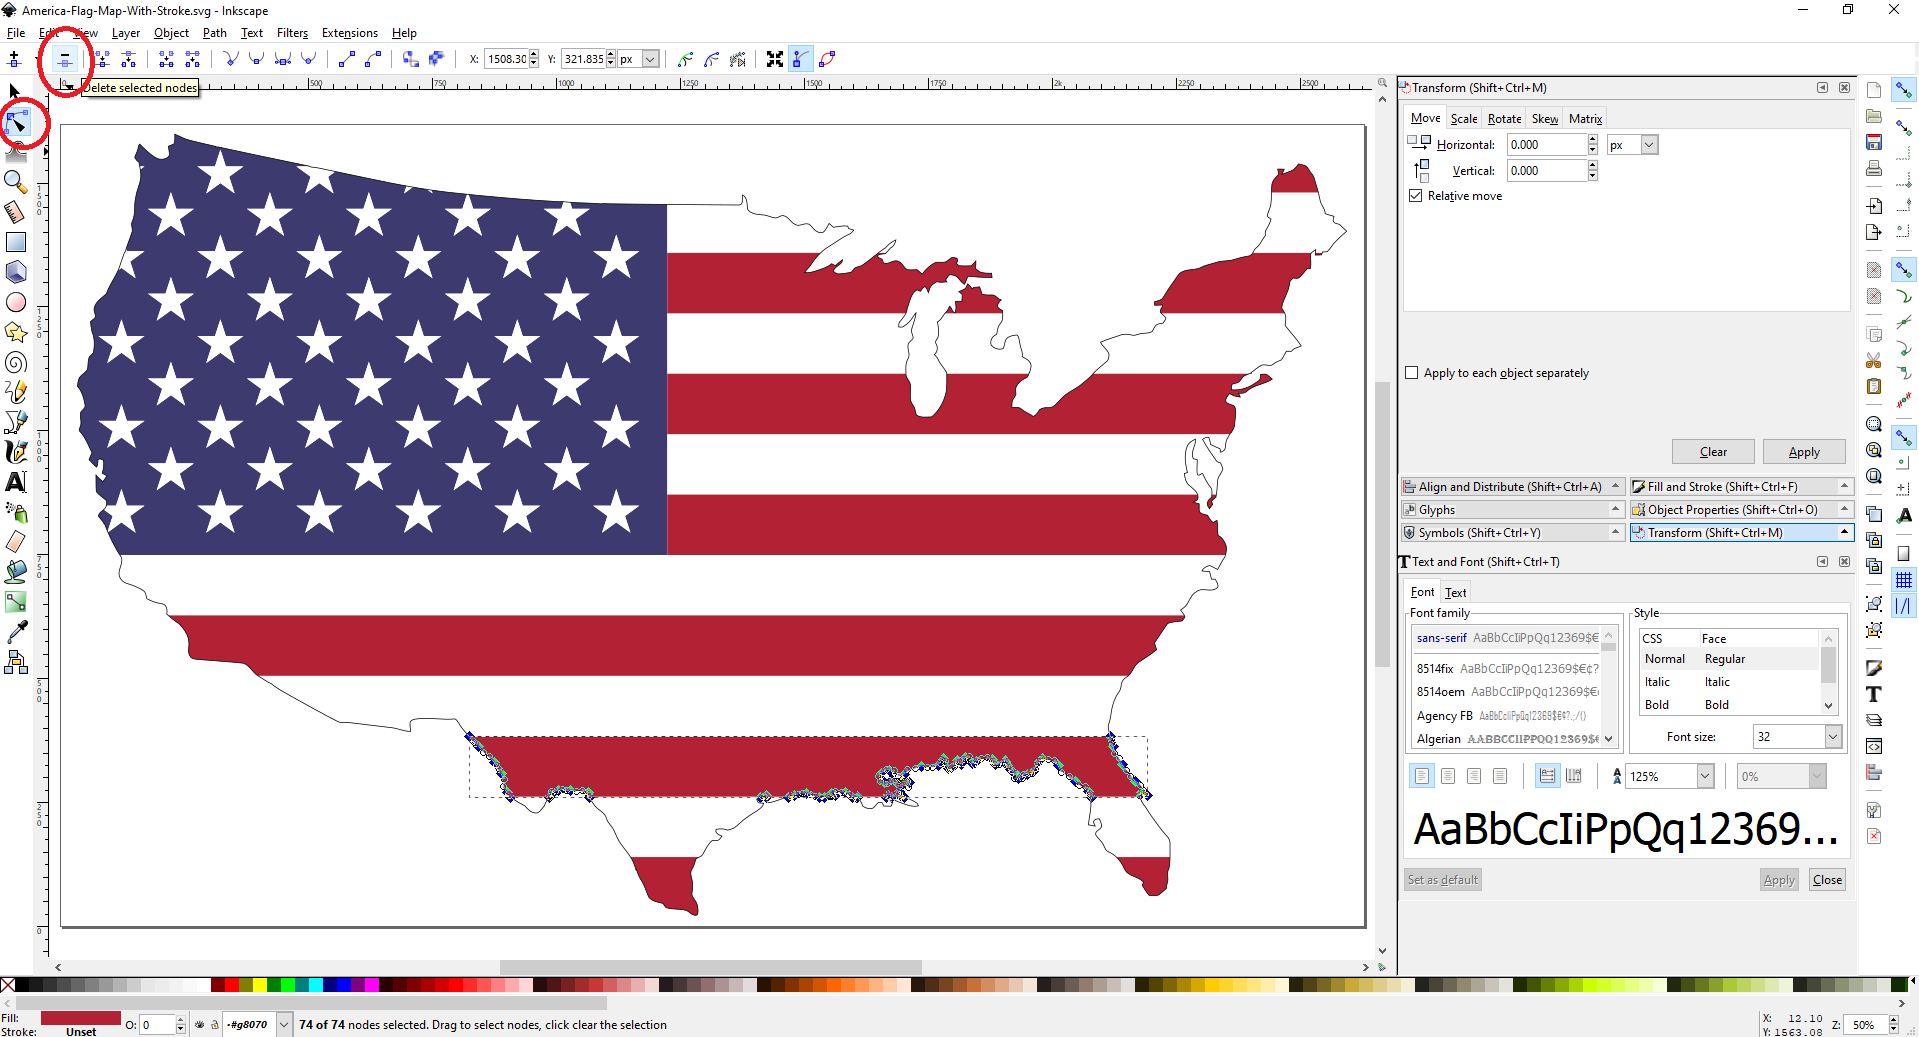
When hovering over an object and it highlights the outline in red, clicking will select that shape. Right click and select "Fill and Stroke" to display the fill properties. Overwrite RGBA with the color for the current file... blue 00008B.
Delete segment between nodes. Delete nodes.
Edit paths by node->Click the blue section->Then use the mouse to draw a box around the identified nodes. This will select those nodes. Click "Delete selected nodes".
Combination of methods may be required, depending on the SVG.
Ultimately you want each SVG file to only contain the shapes associate with each files individual color.
Downloads
Import the SVG Files Into TinkerCAD
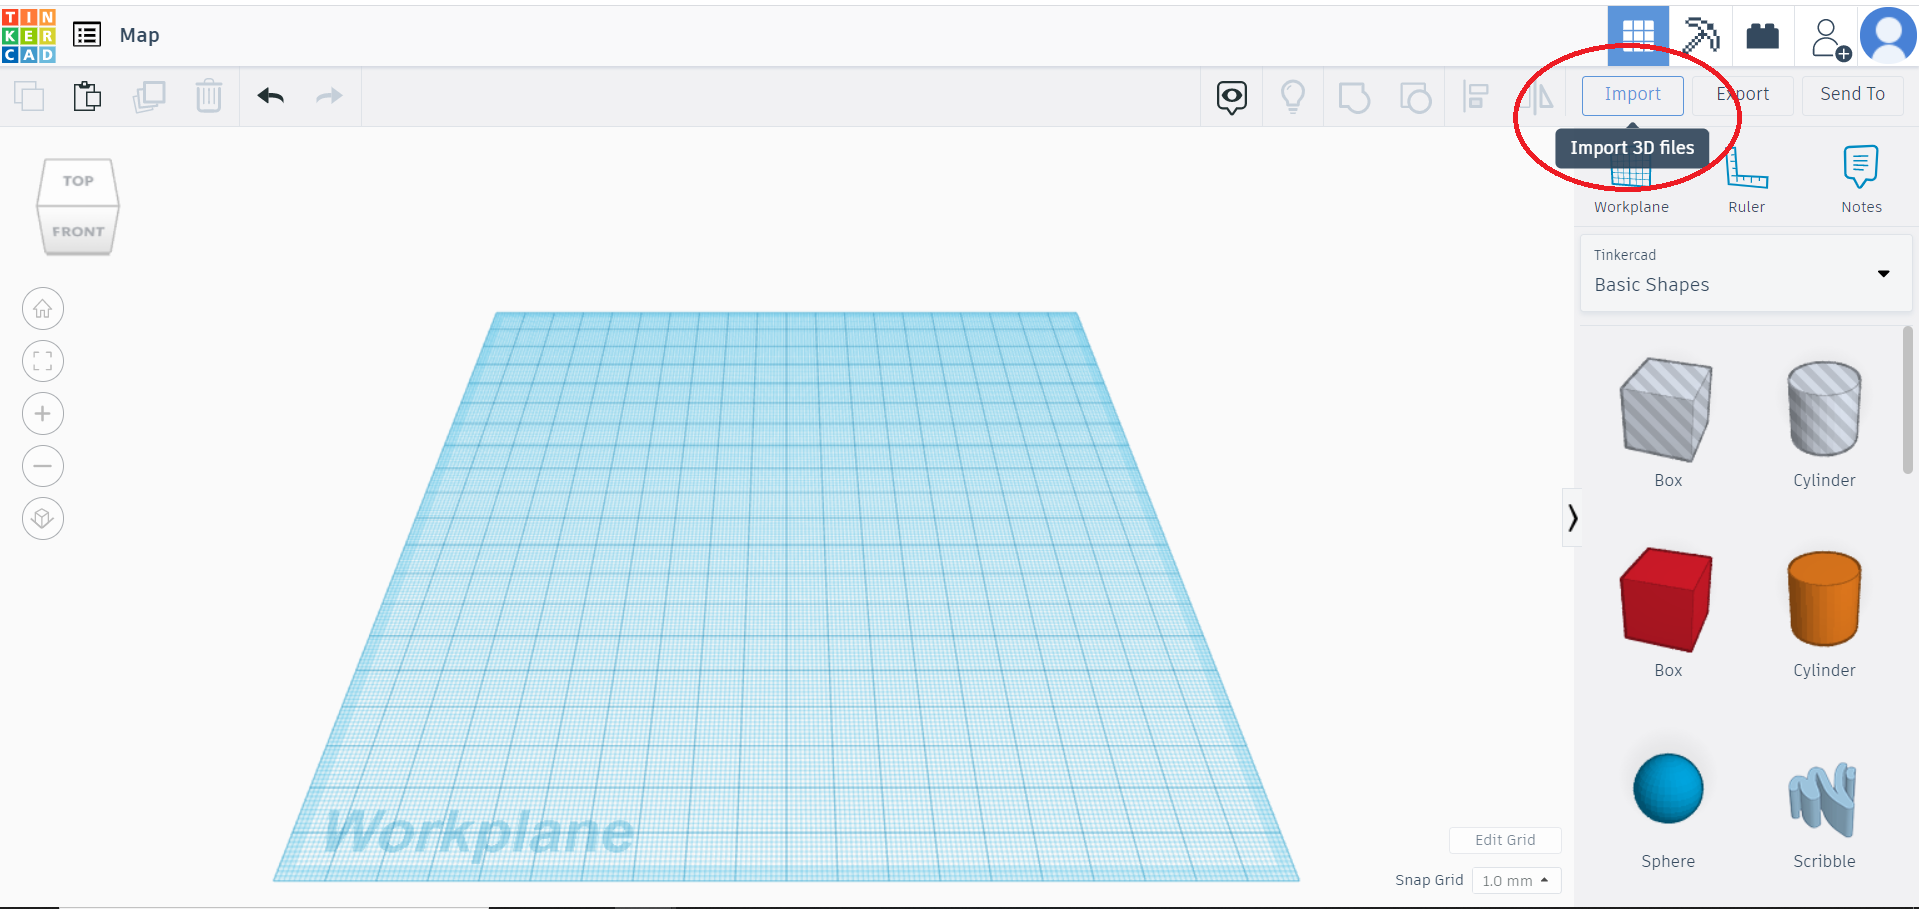
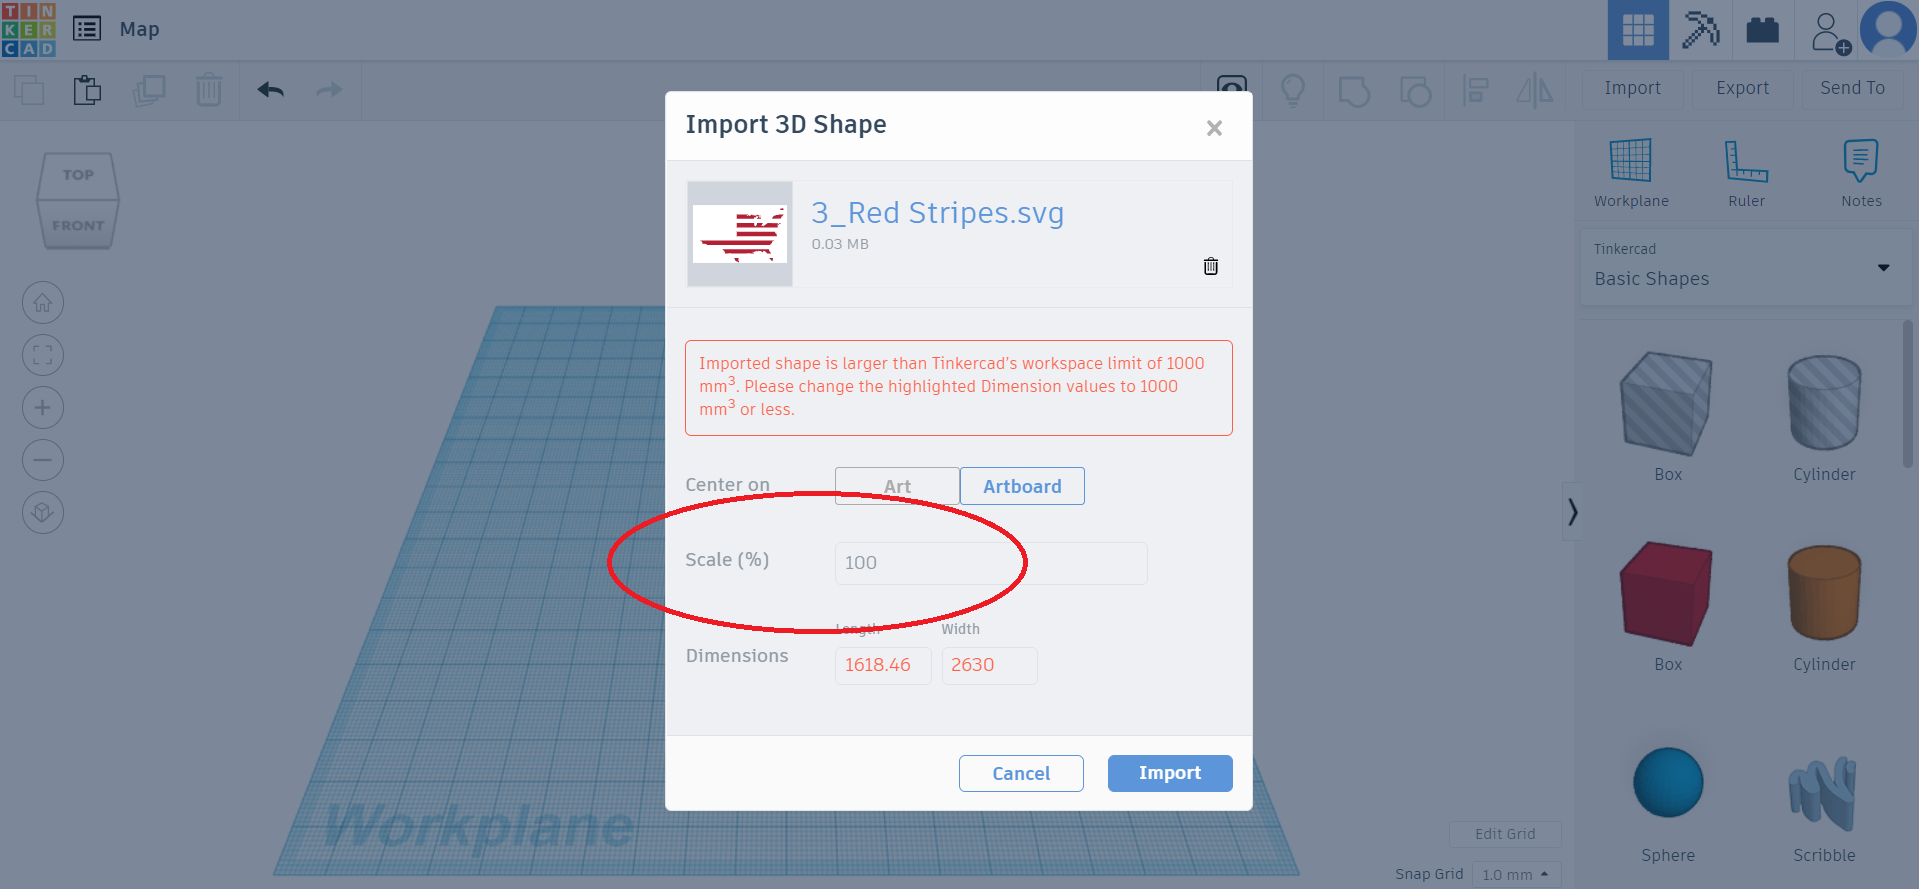
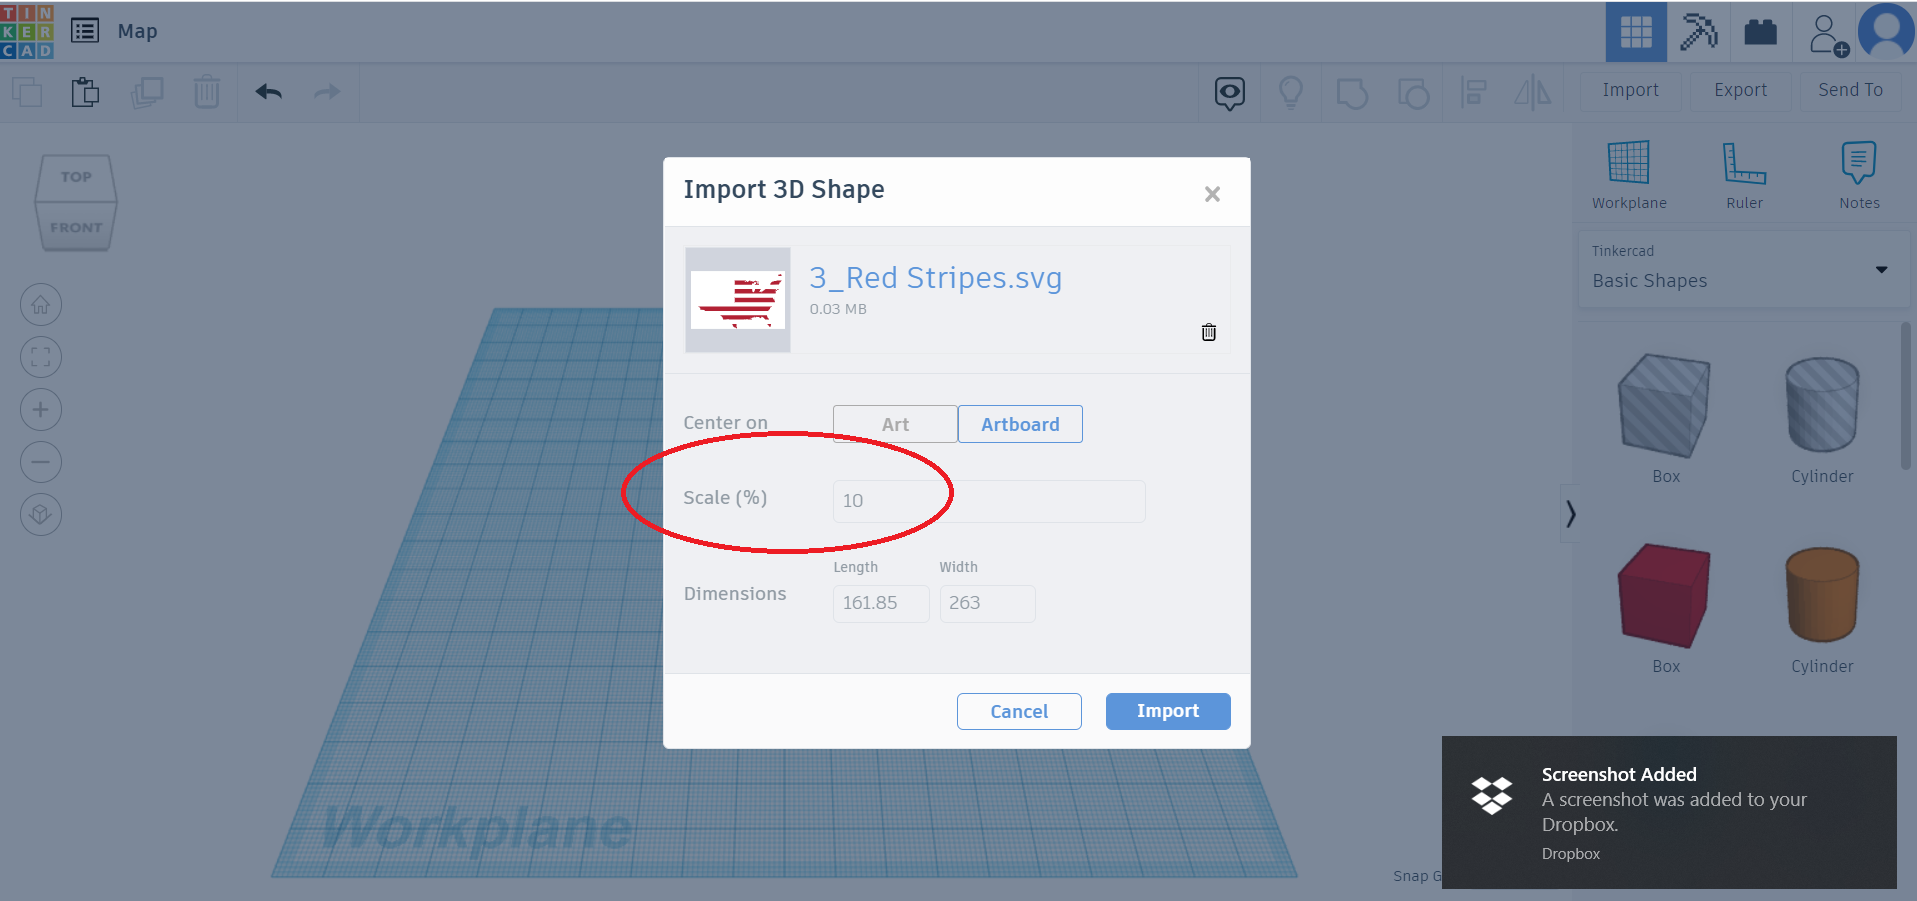
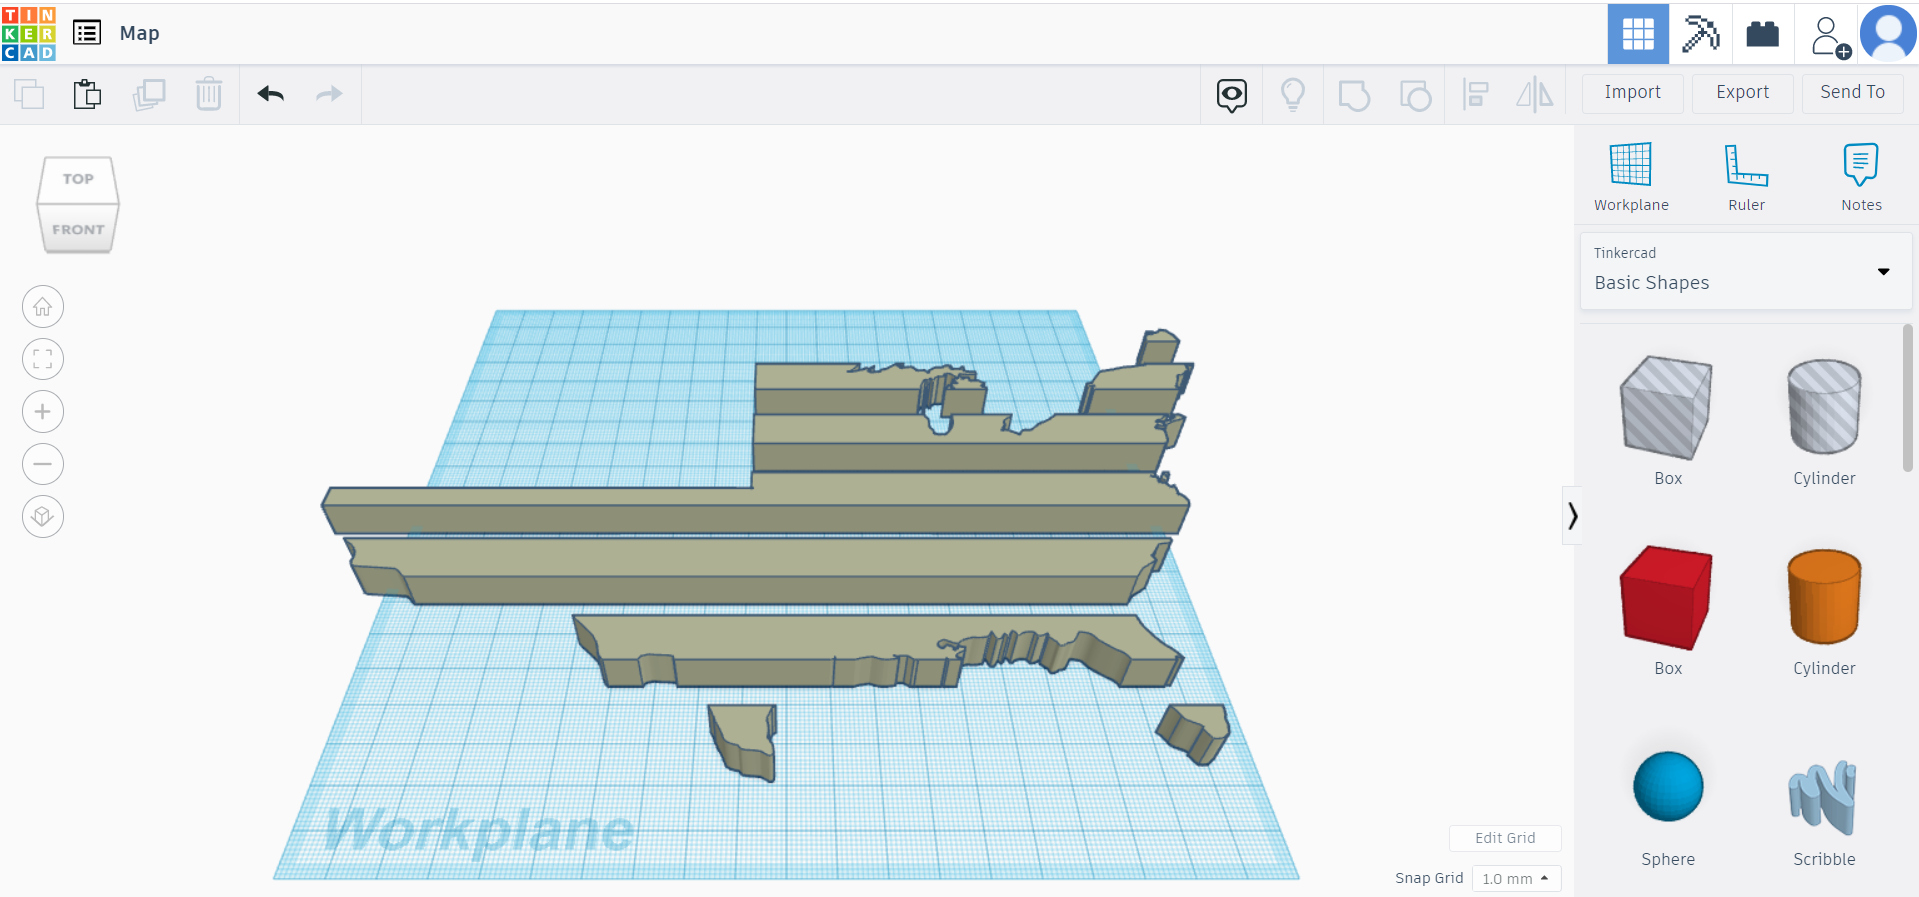
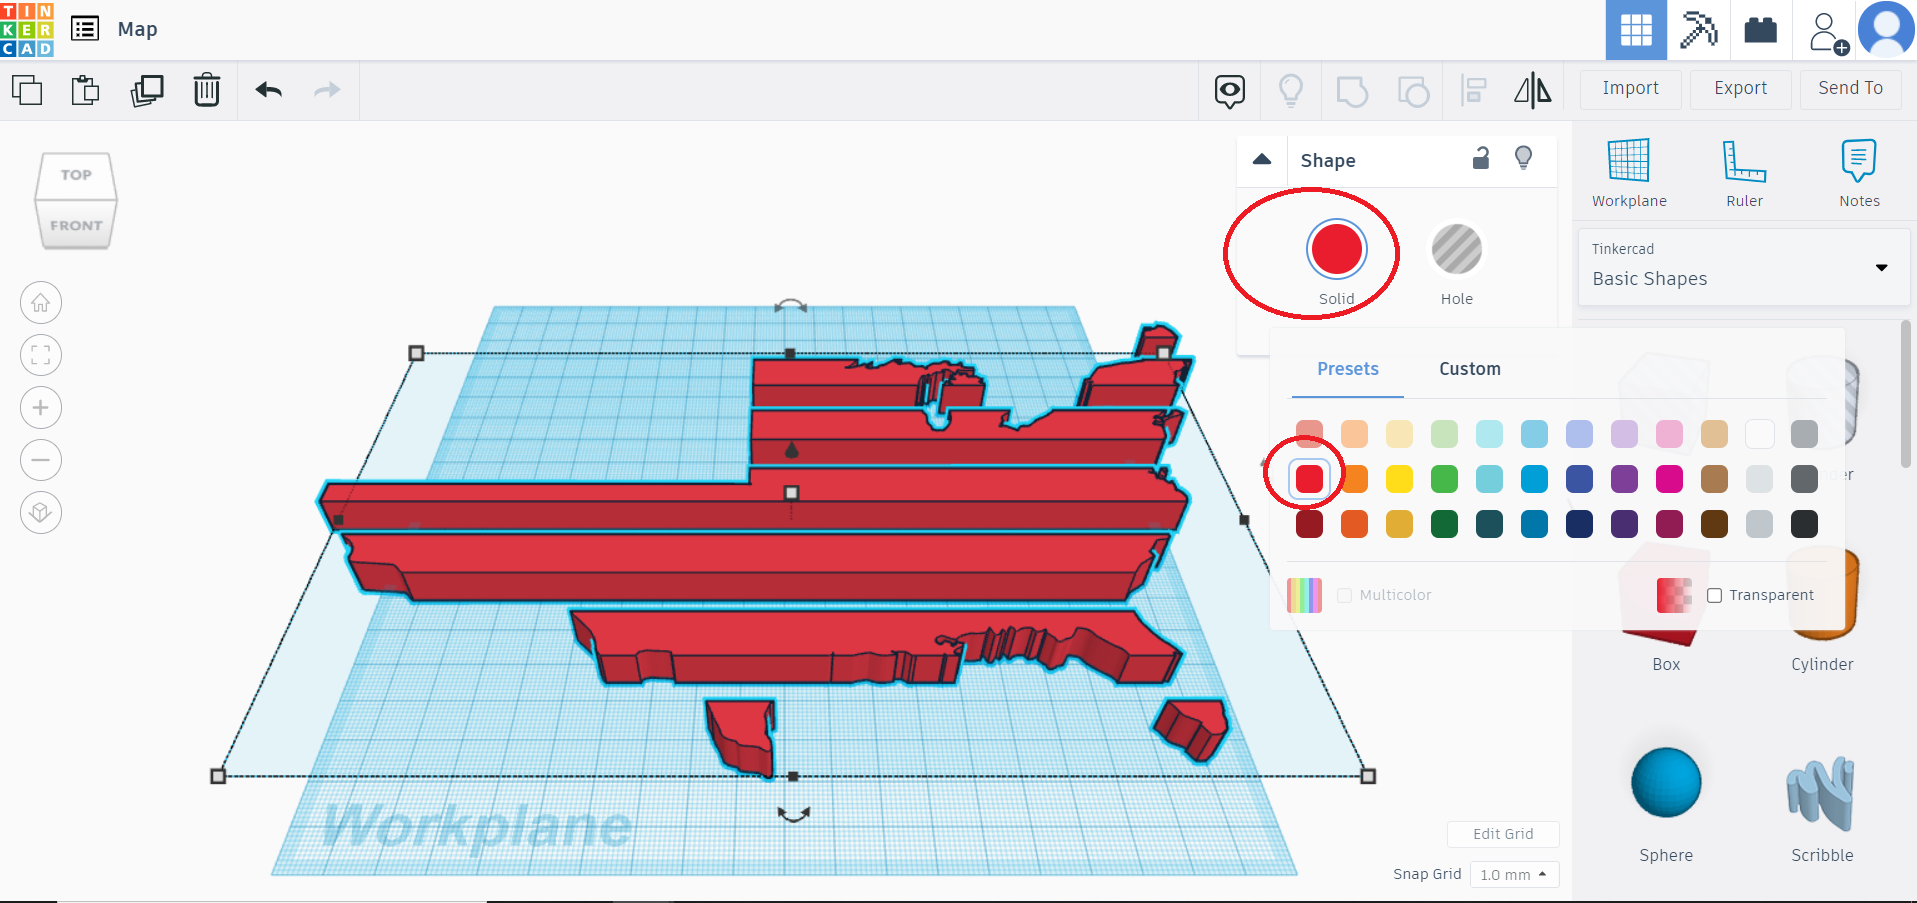
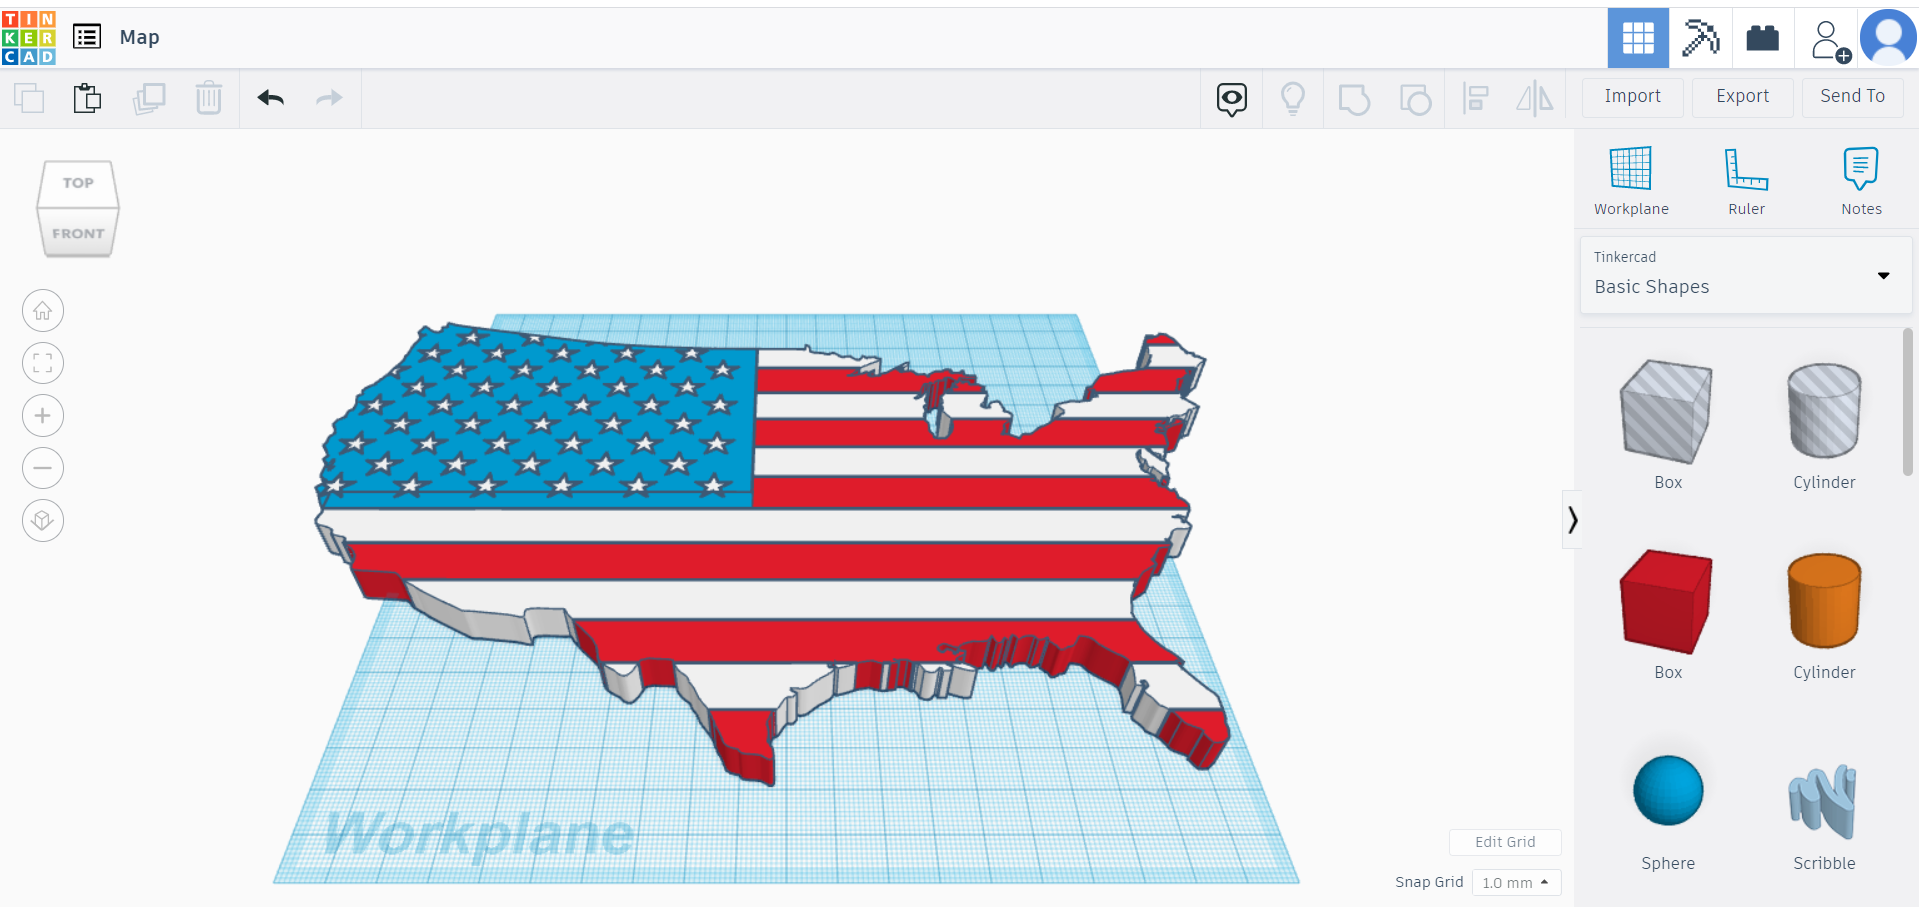
Import the SVG files into TinkerCAD
Open TinkerCAD: https://www.tinkercad.com/ Register for an account if you don't have one. "Create new design" Click "Import" Select one of your files (separated by color). Change the scale as necessary (5, 10%, you'll see if it fits after the import), but be consistent and use the same scale for each color/file.
Resize the Heights in TinkerCAD
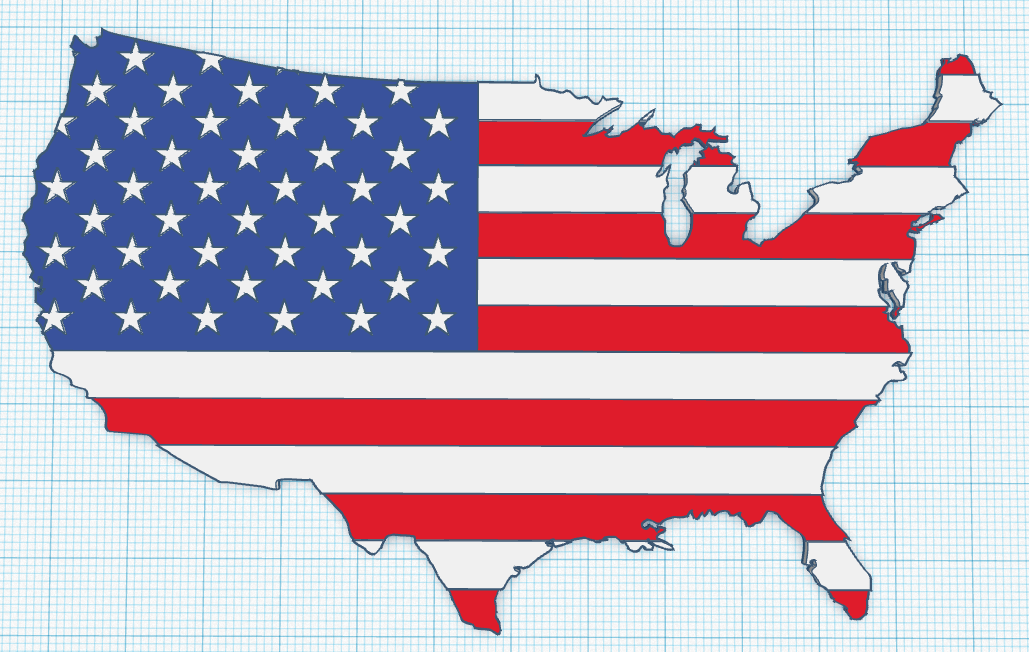
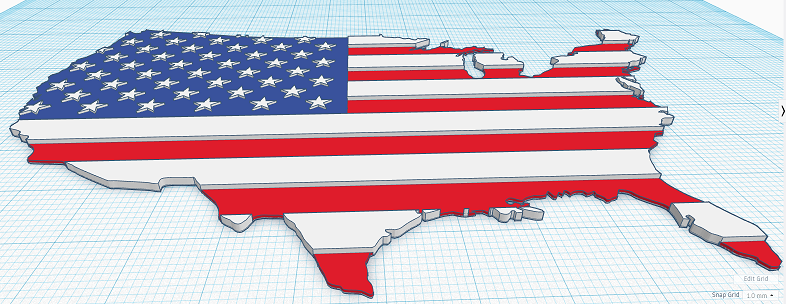
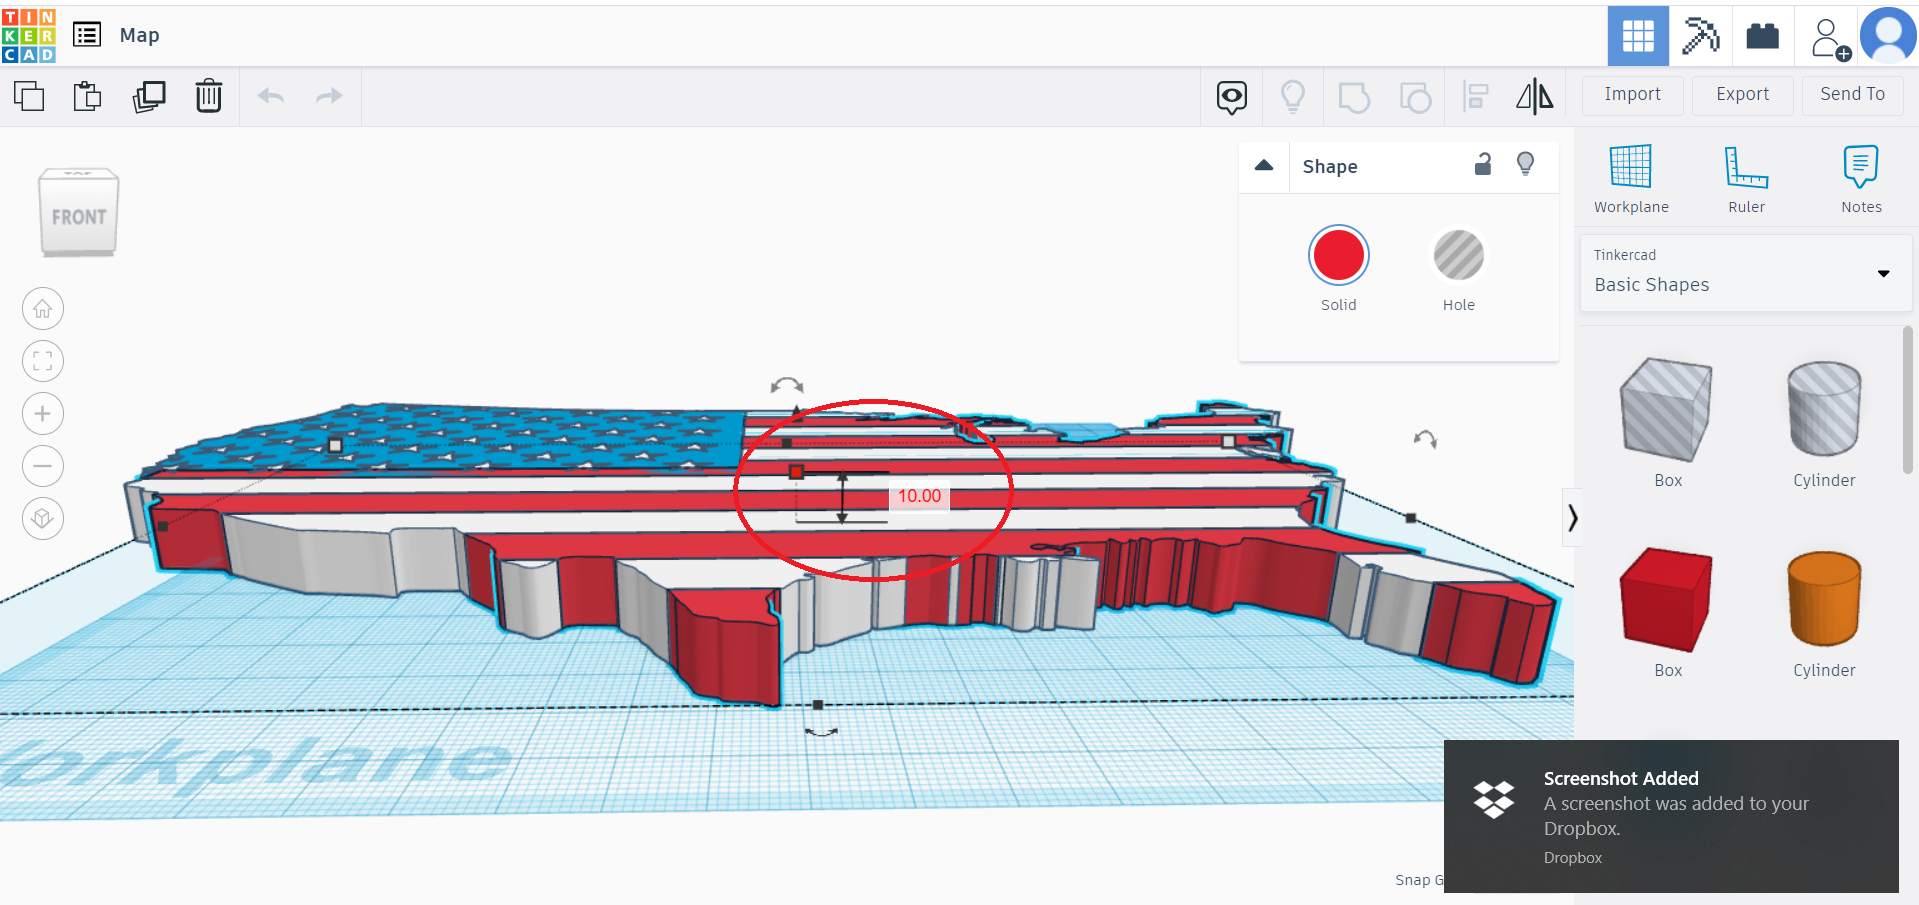
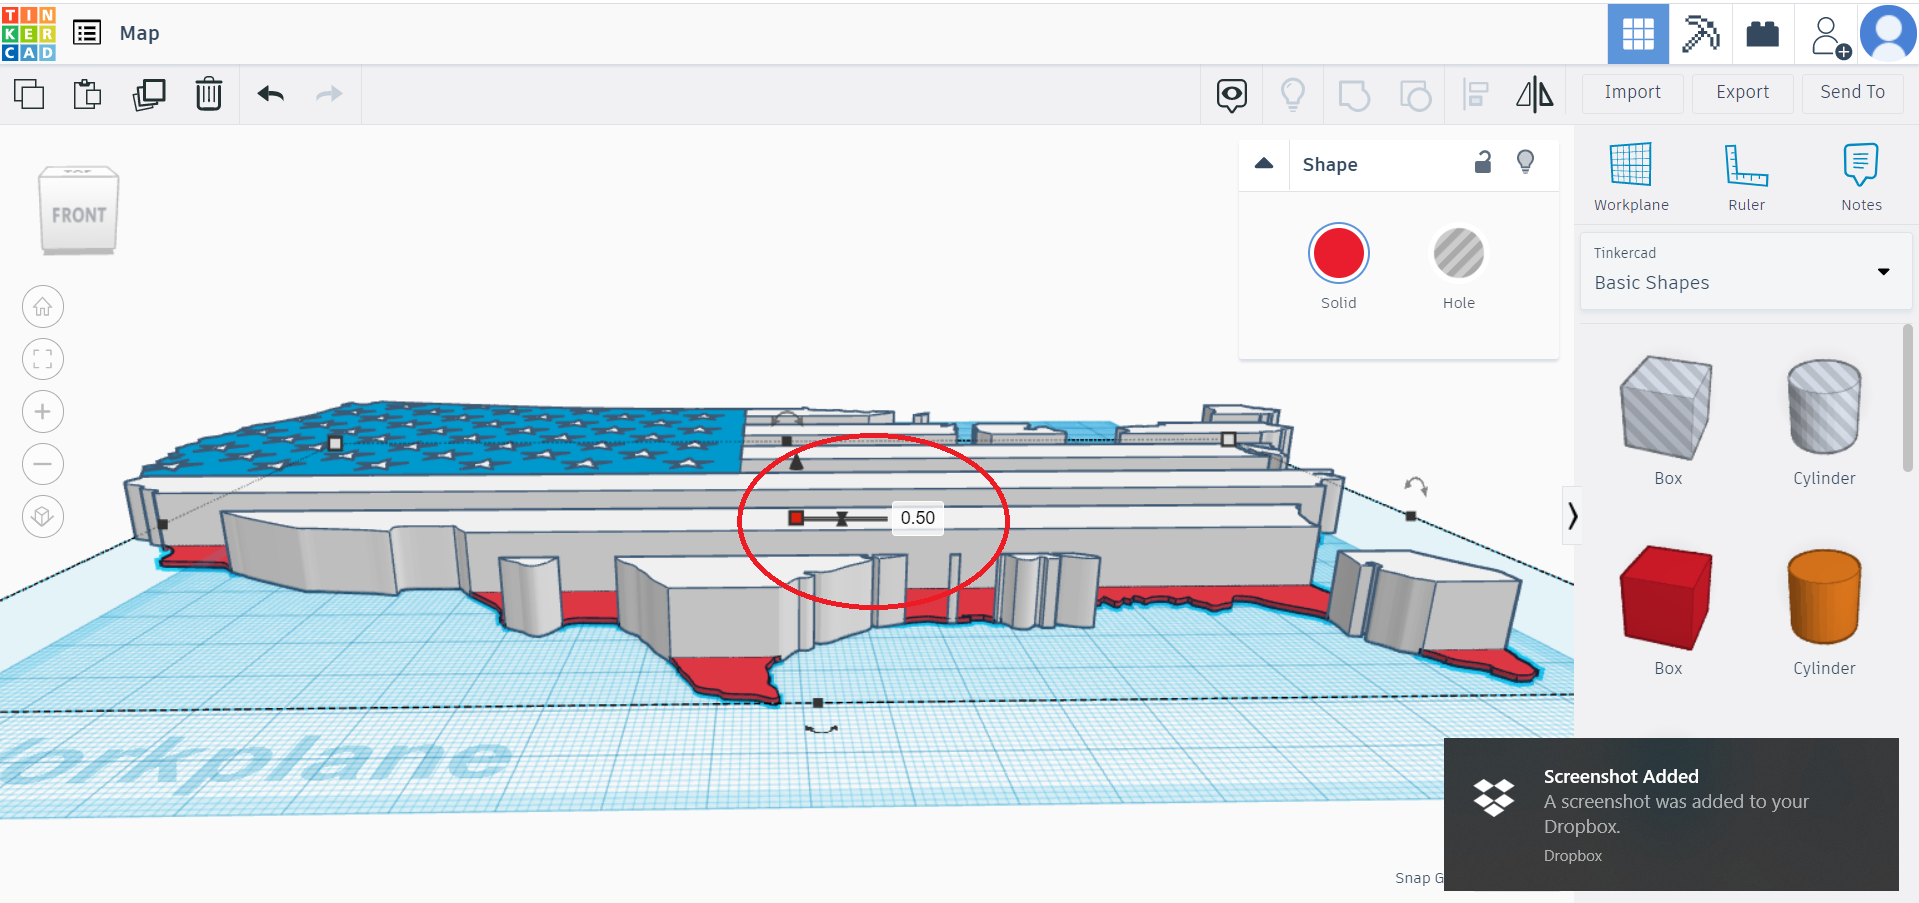
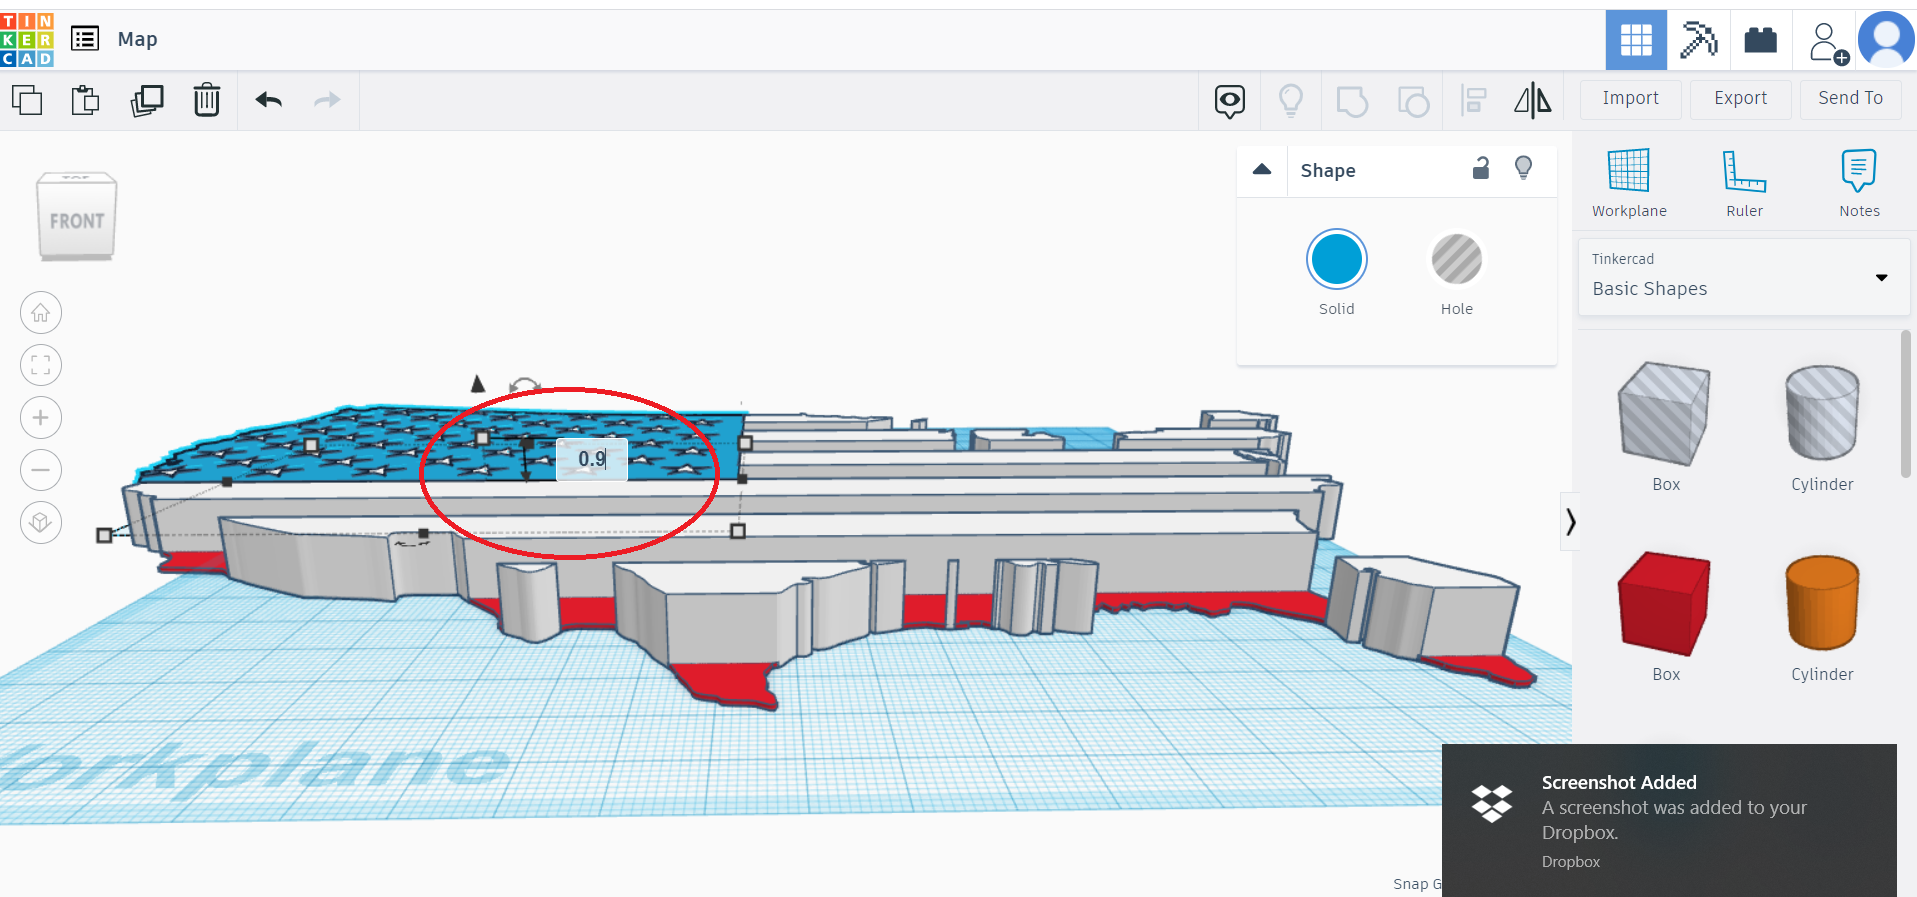
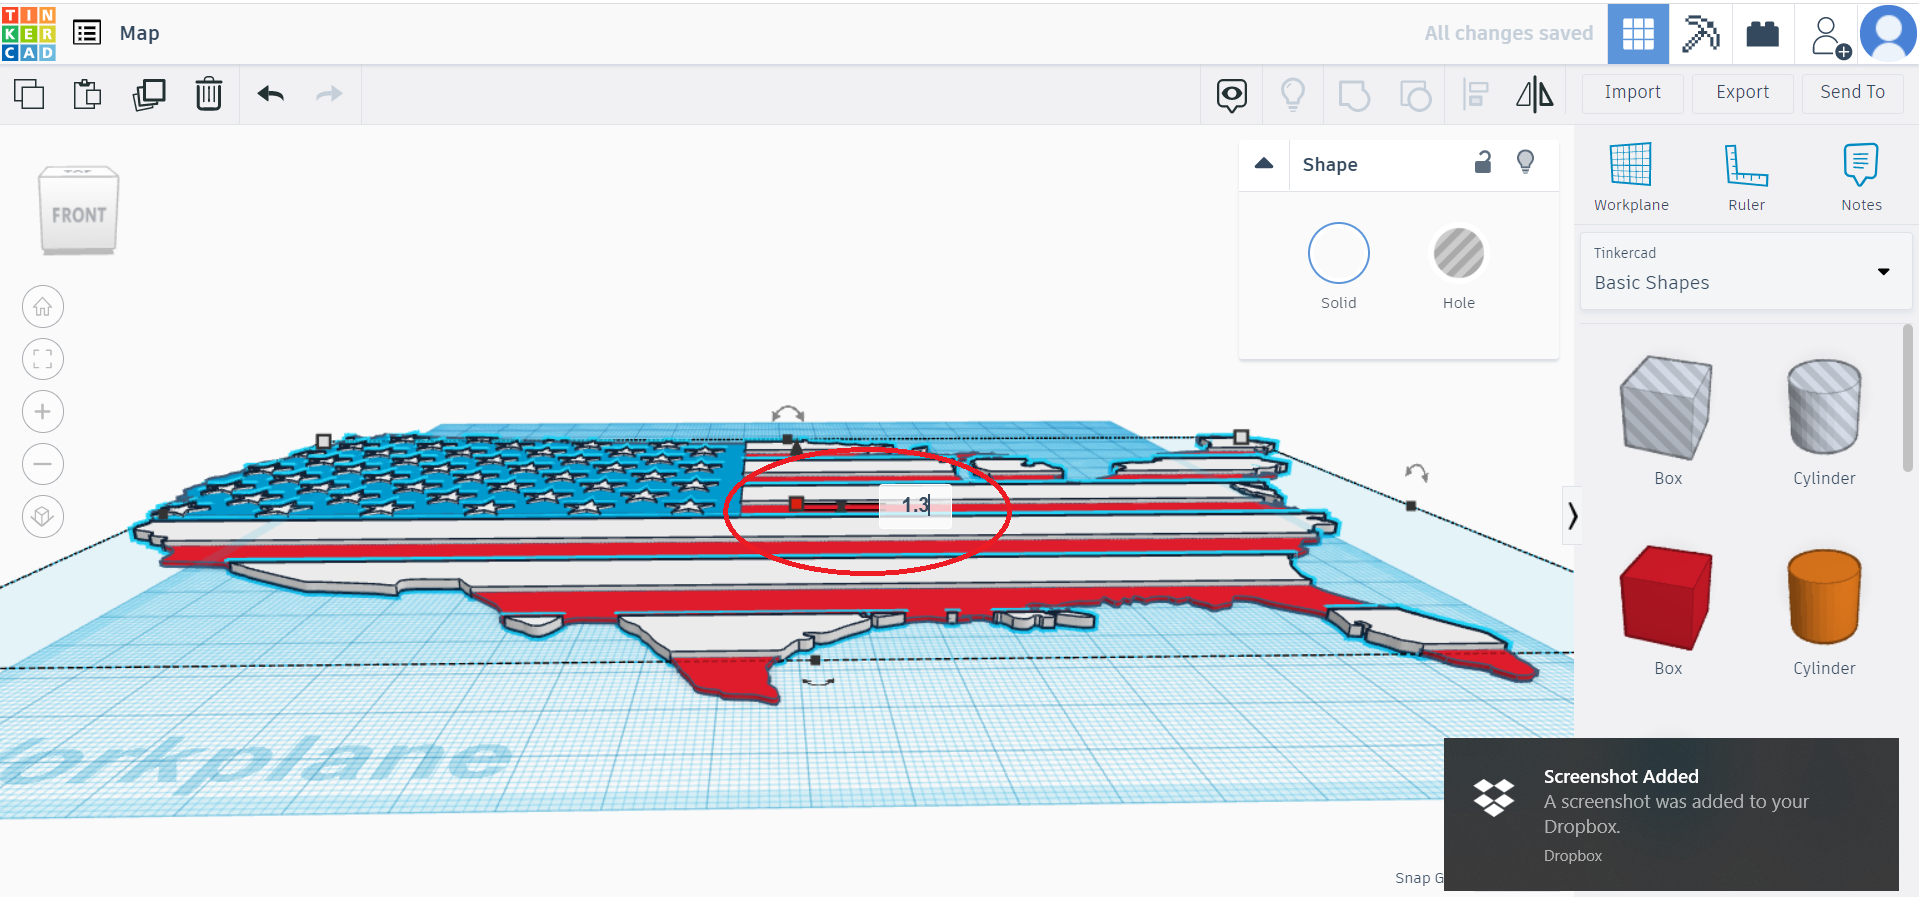

Resize the heights in TinkerCAD
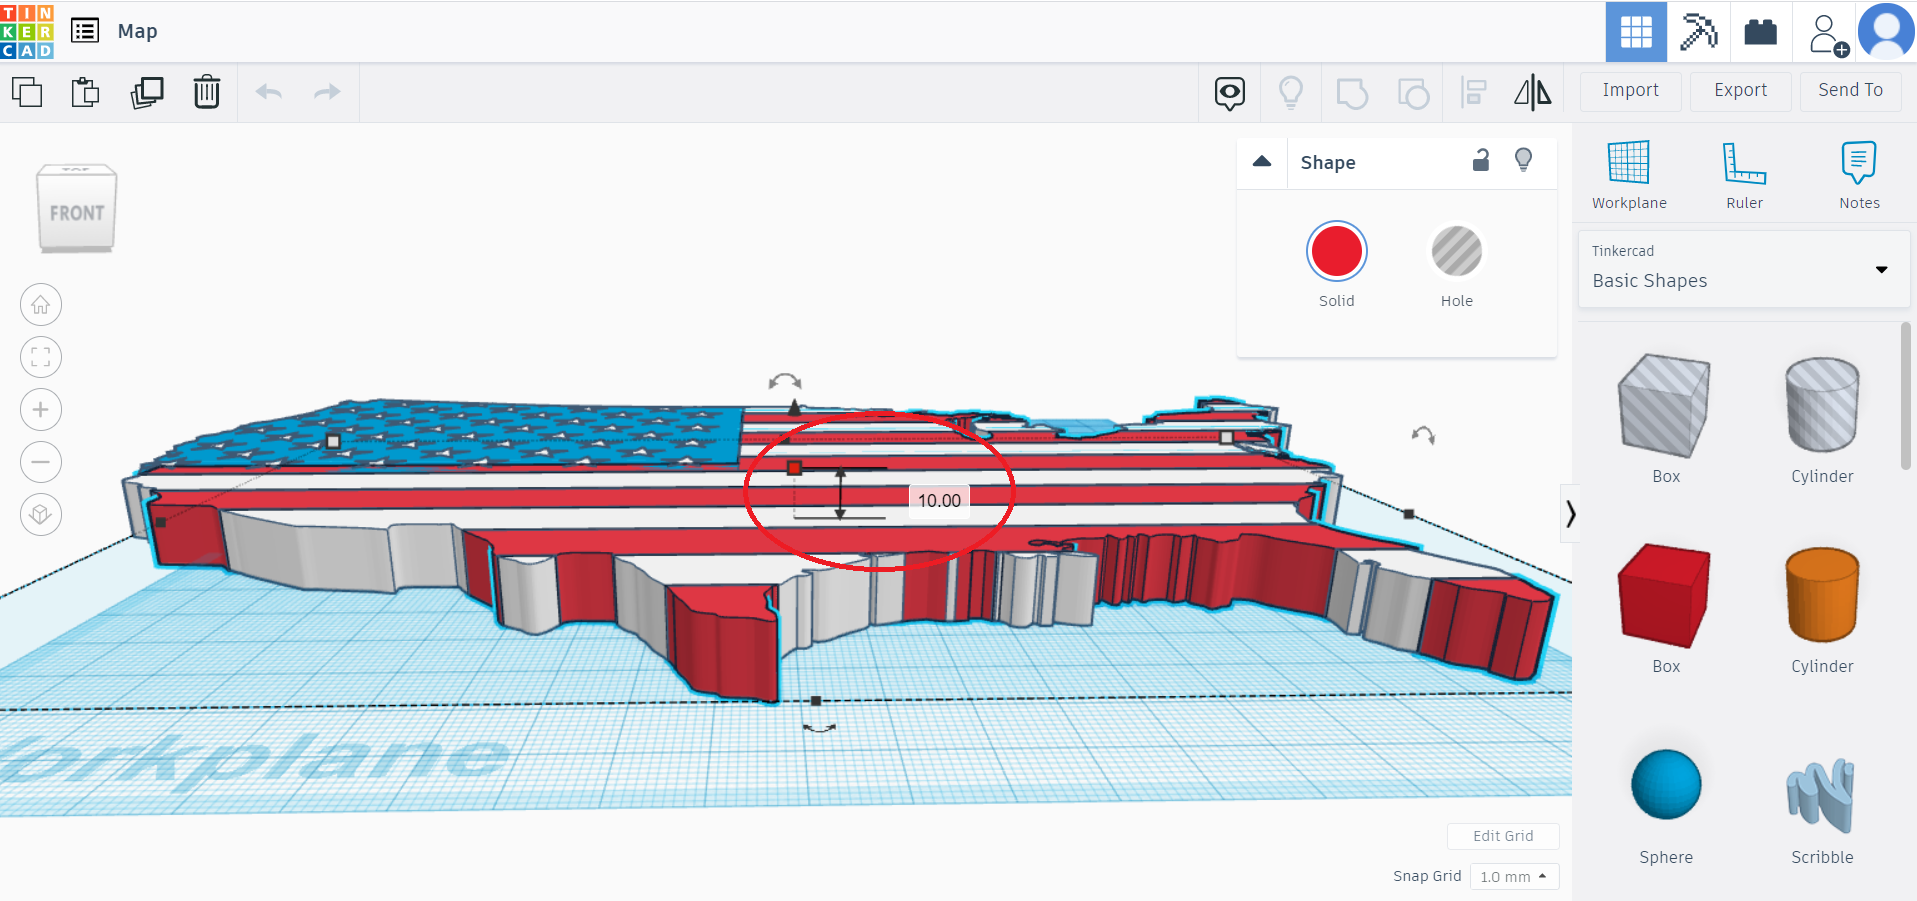
In order to accommodate filament color changes, at least for a single color extruder, adjust the heights of the individual color/shapes. Something like 2mm for the first color, 4mm for the next color, 6mm for the following color. I've used 0.5mm (adjusted for initial layer height), 0.9mm, followed by 1.3mm. Be strategic and plan out what color you want on top. For America I want the white stars (and stripes) on top, so I would set white as the highest height of the three colors. My blue shape still had some "white" bars", but the height of blue will be less than the white so it would get overridden anyhow. It's not necessary, but you can adjust the solid color of the shape to correspond with the intended colors.
Good time to look for errors or pieces that are missing from the color shapes. (On one of my attempts, some of the stars caused issues for the blue layer).
Export the Combined Multi-layered Object As an STL
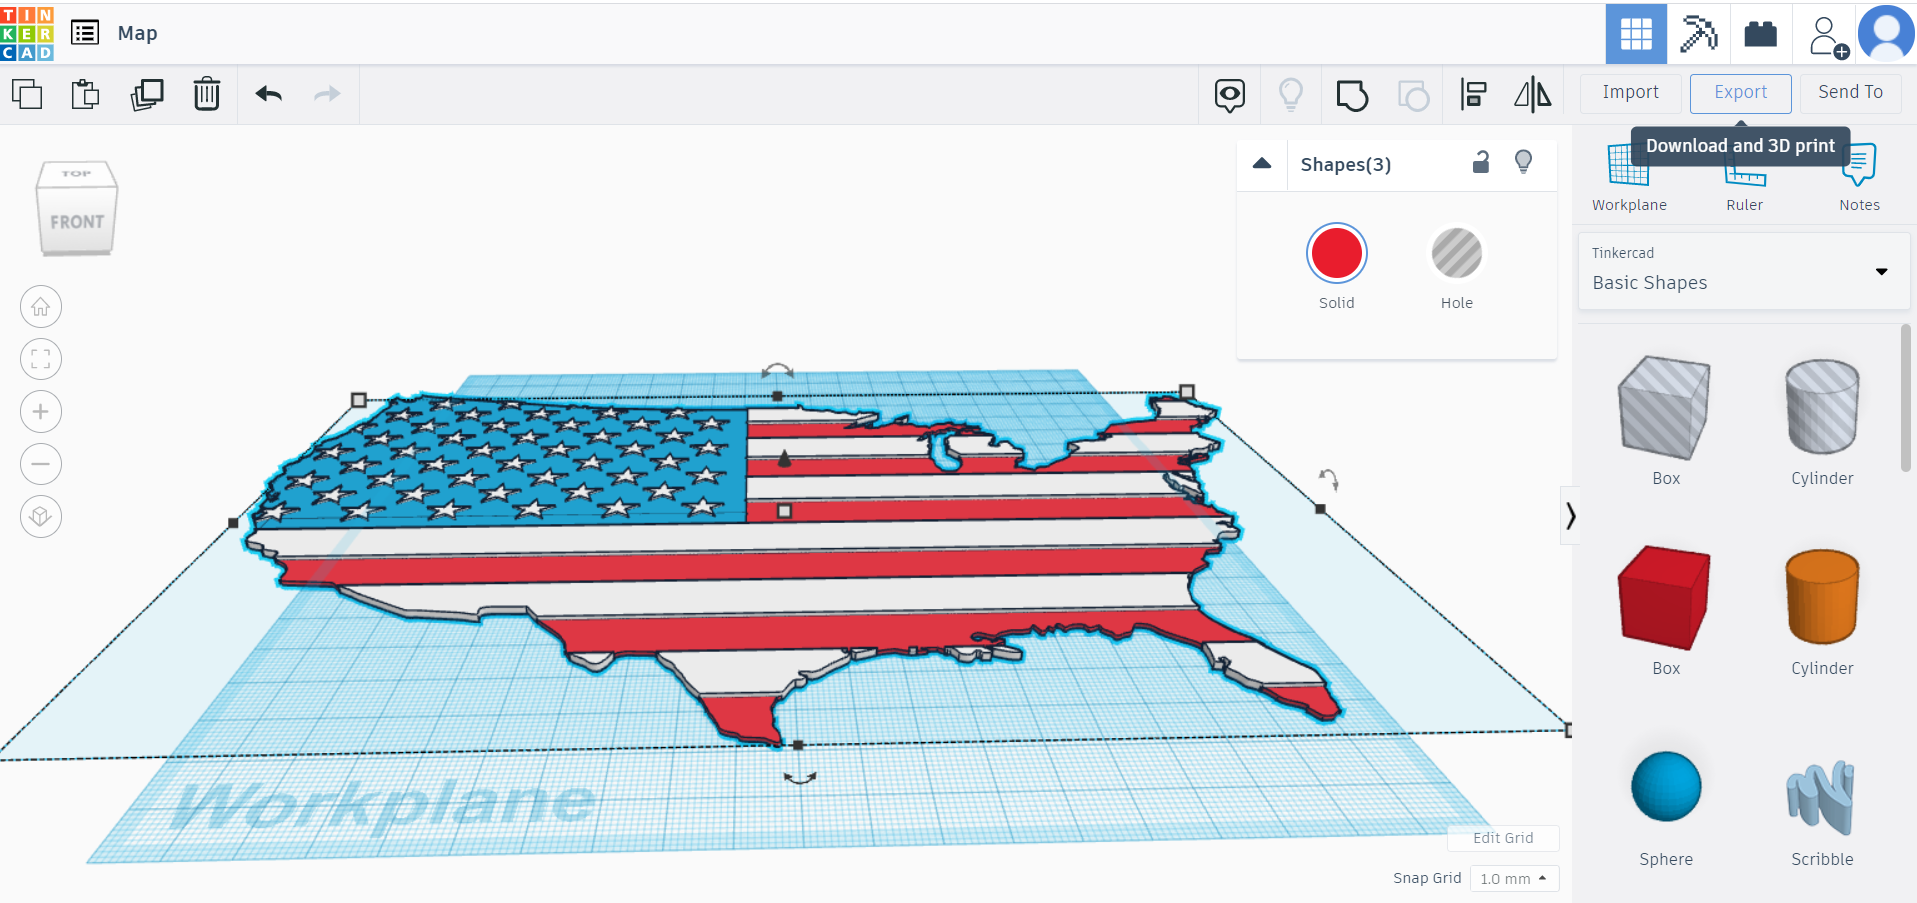
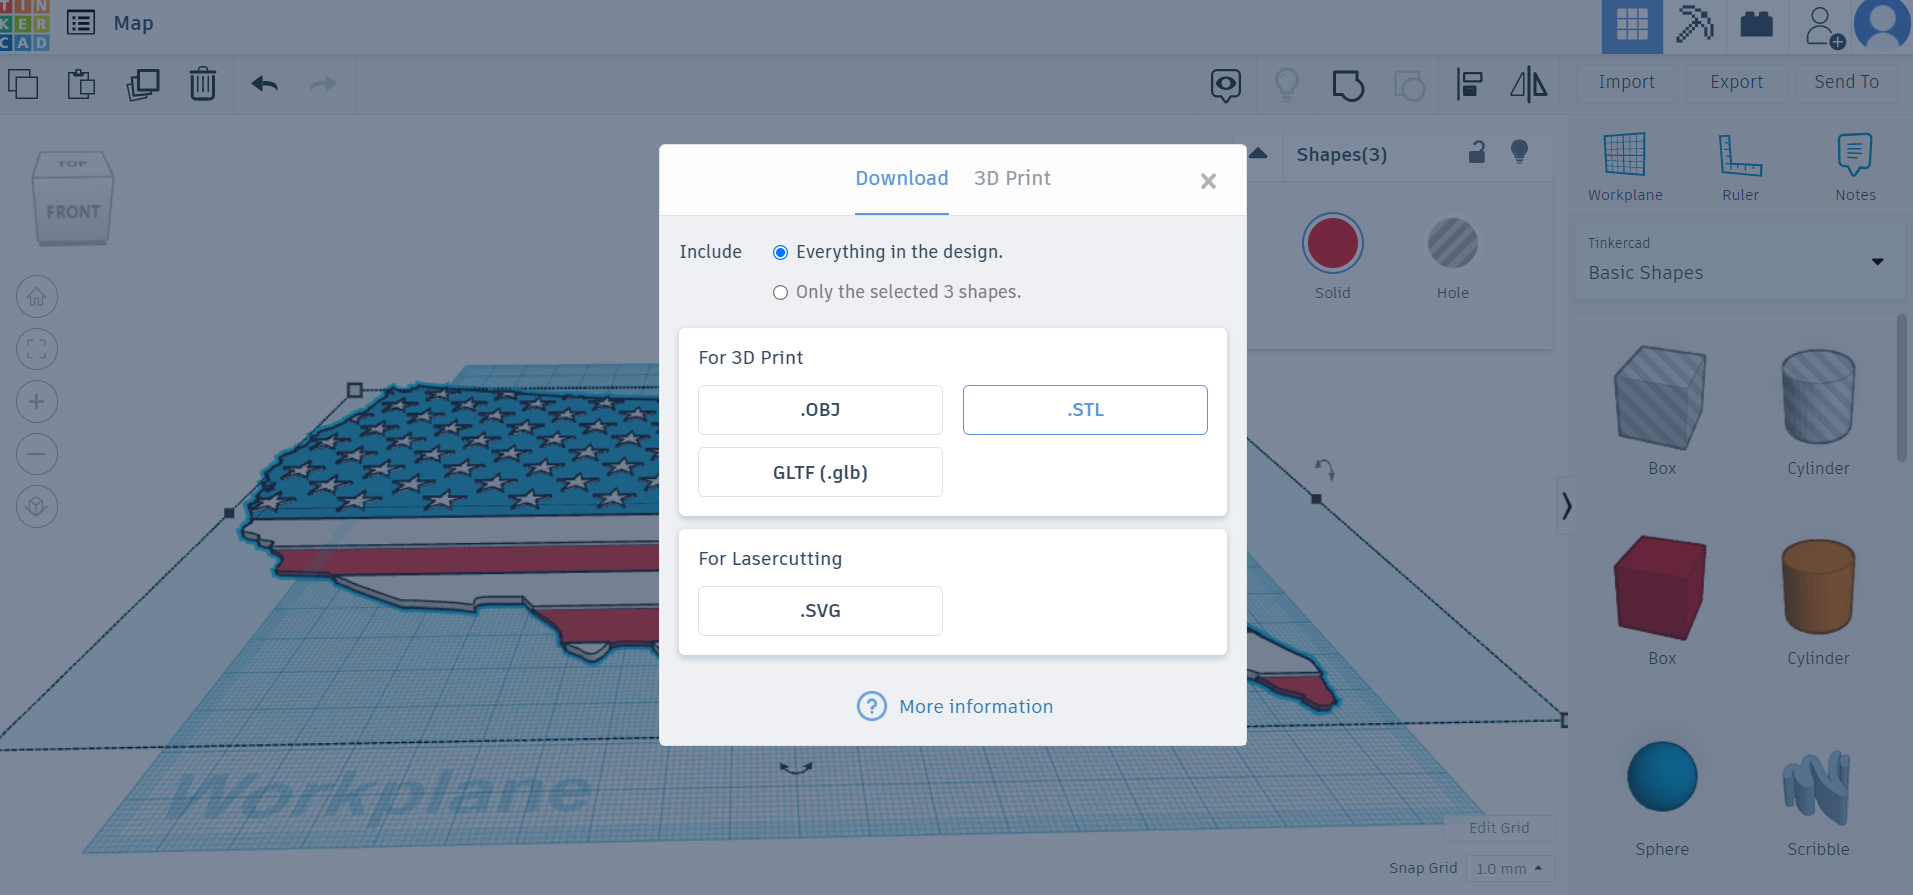
Export the combined multi-layered object as an STL
Using TinkerCAD export the combined object as an STL. If prompted select "Everything in the design".
Slice the STL (convert It to G-code for Printing)
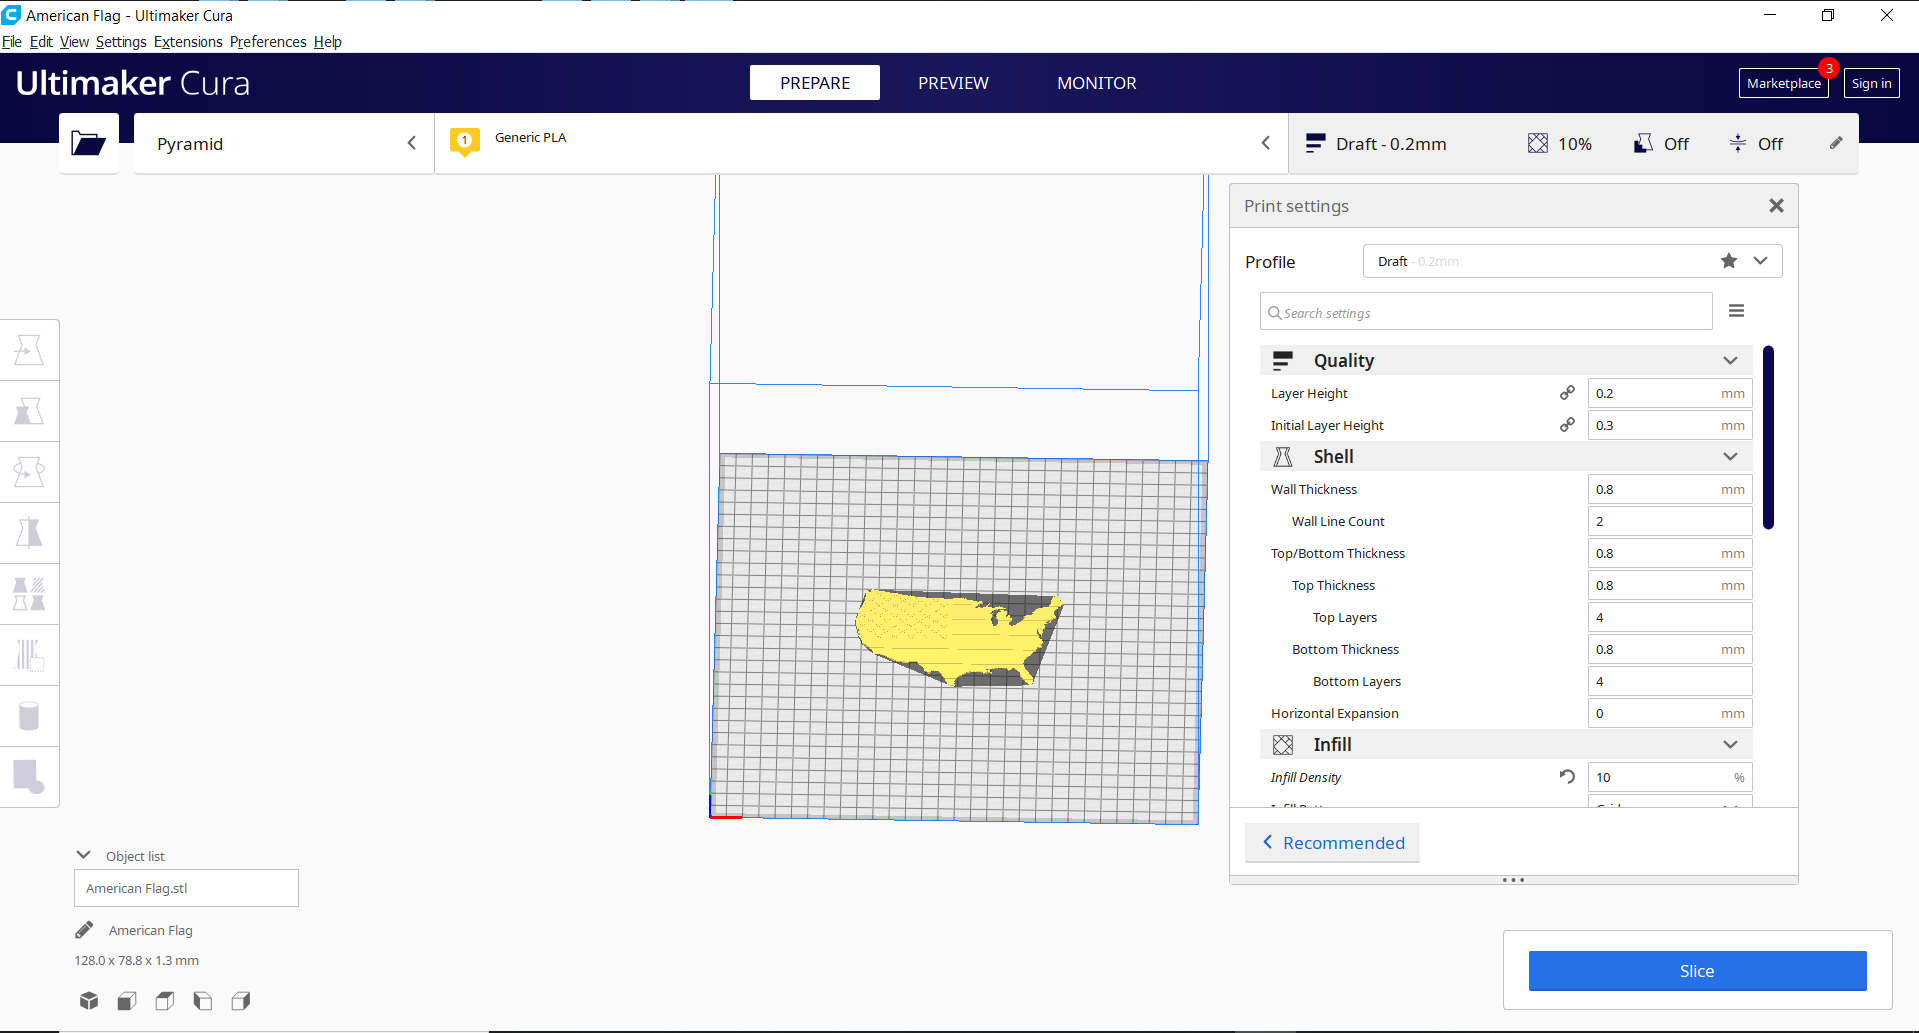
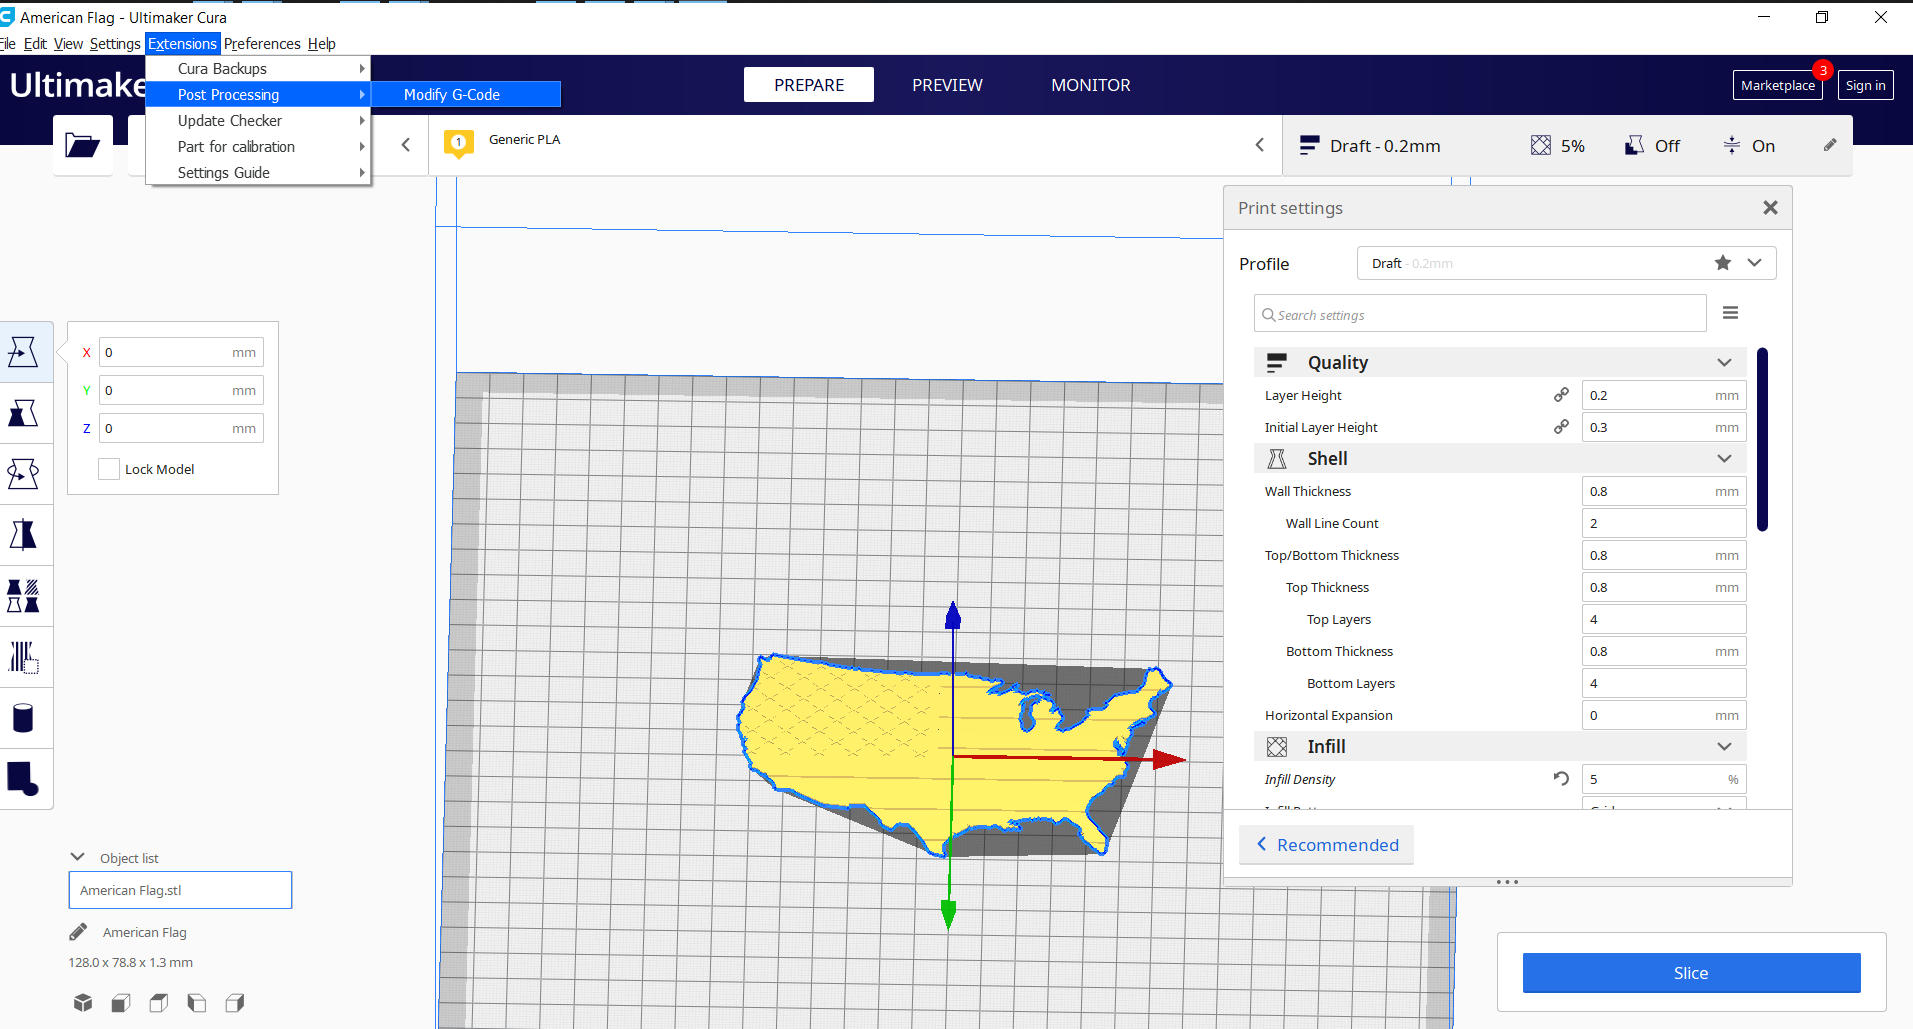
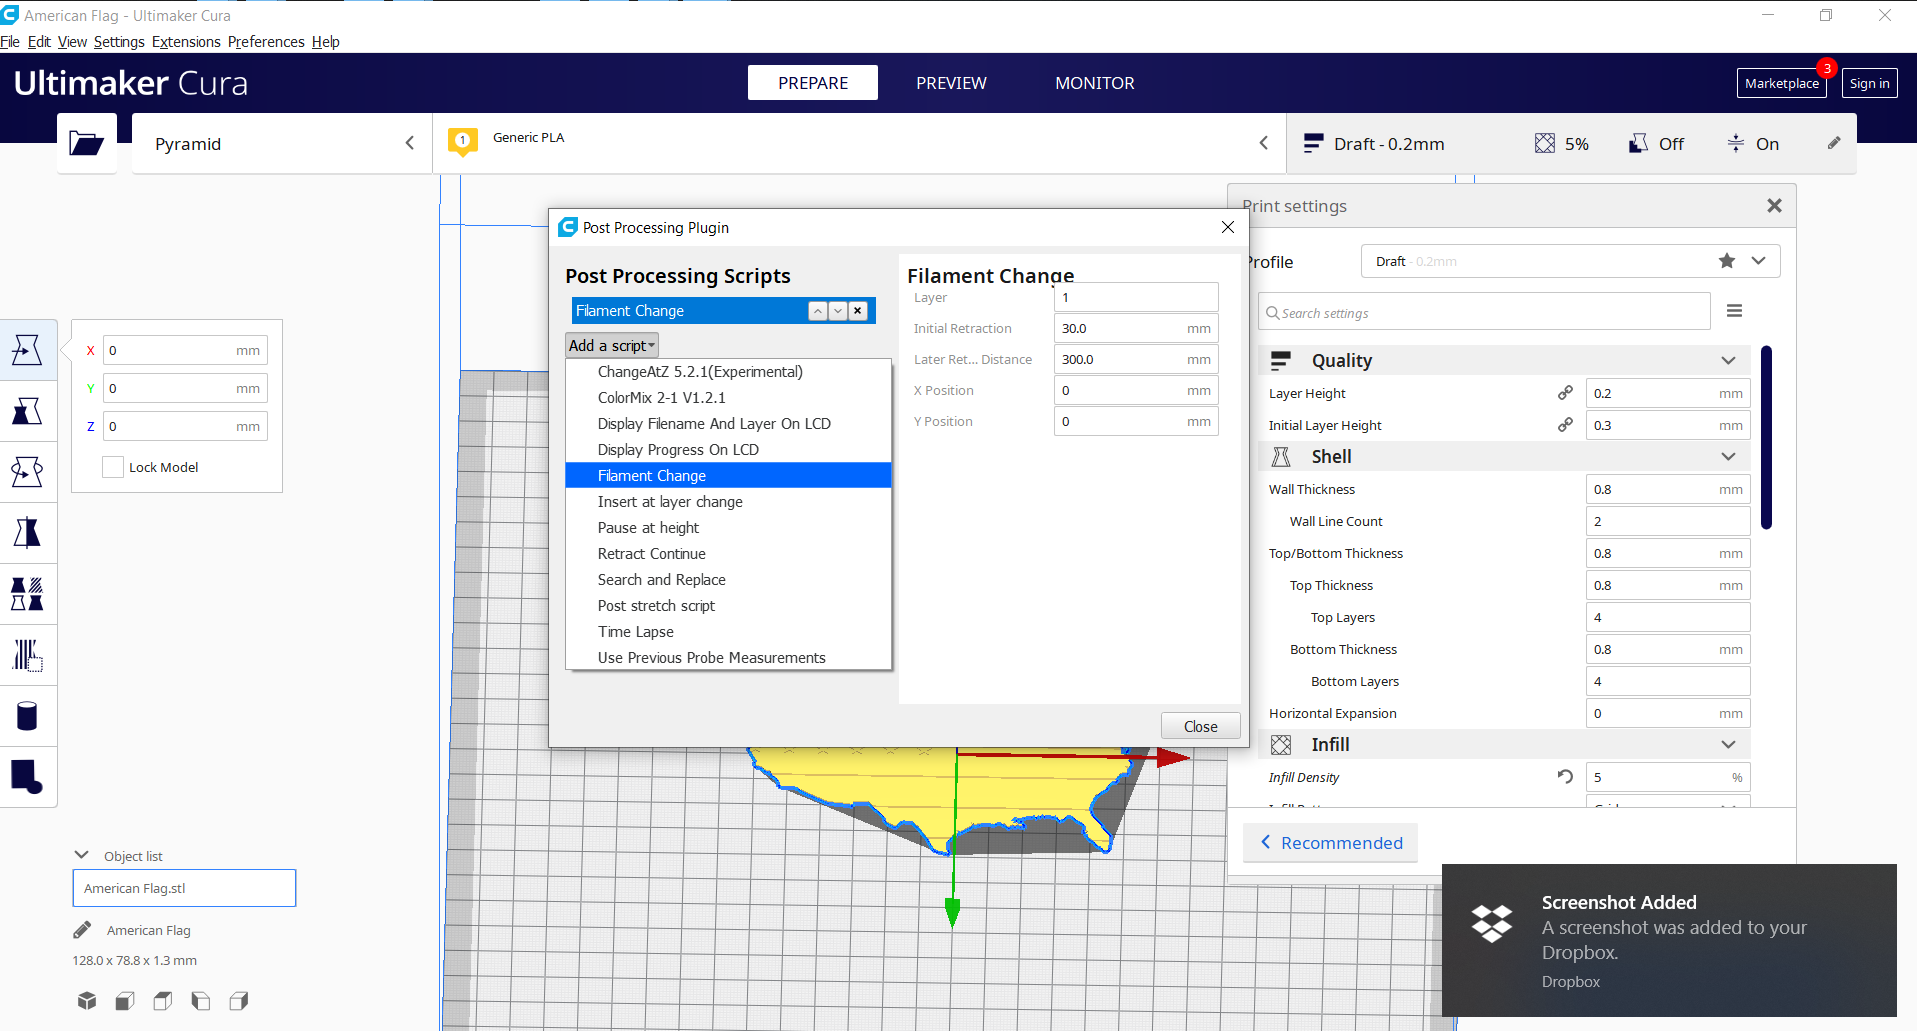
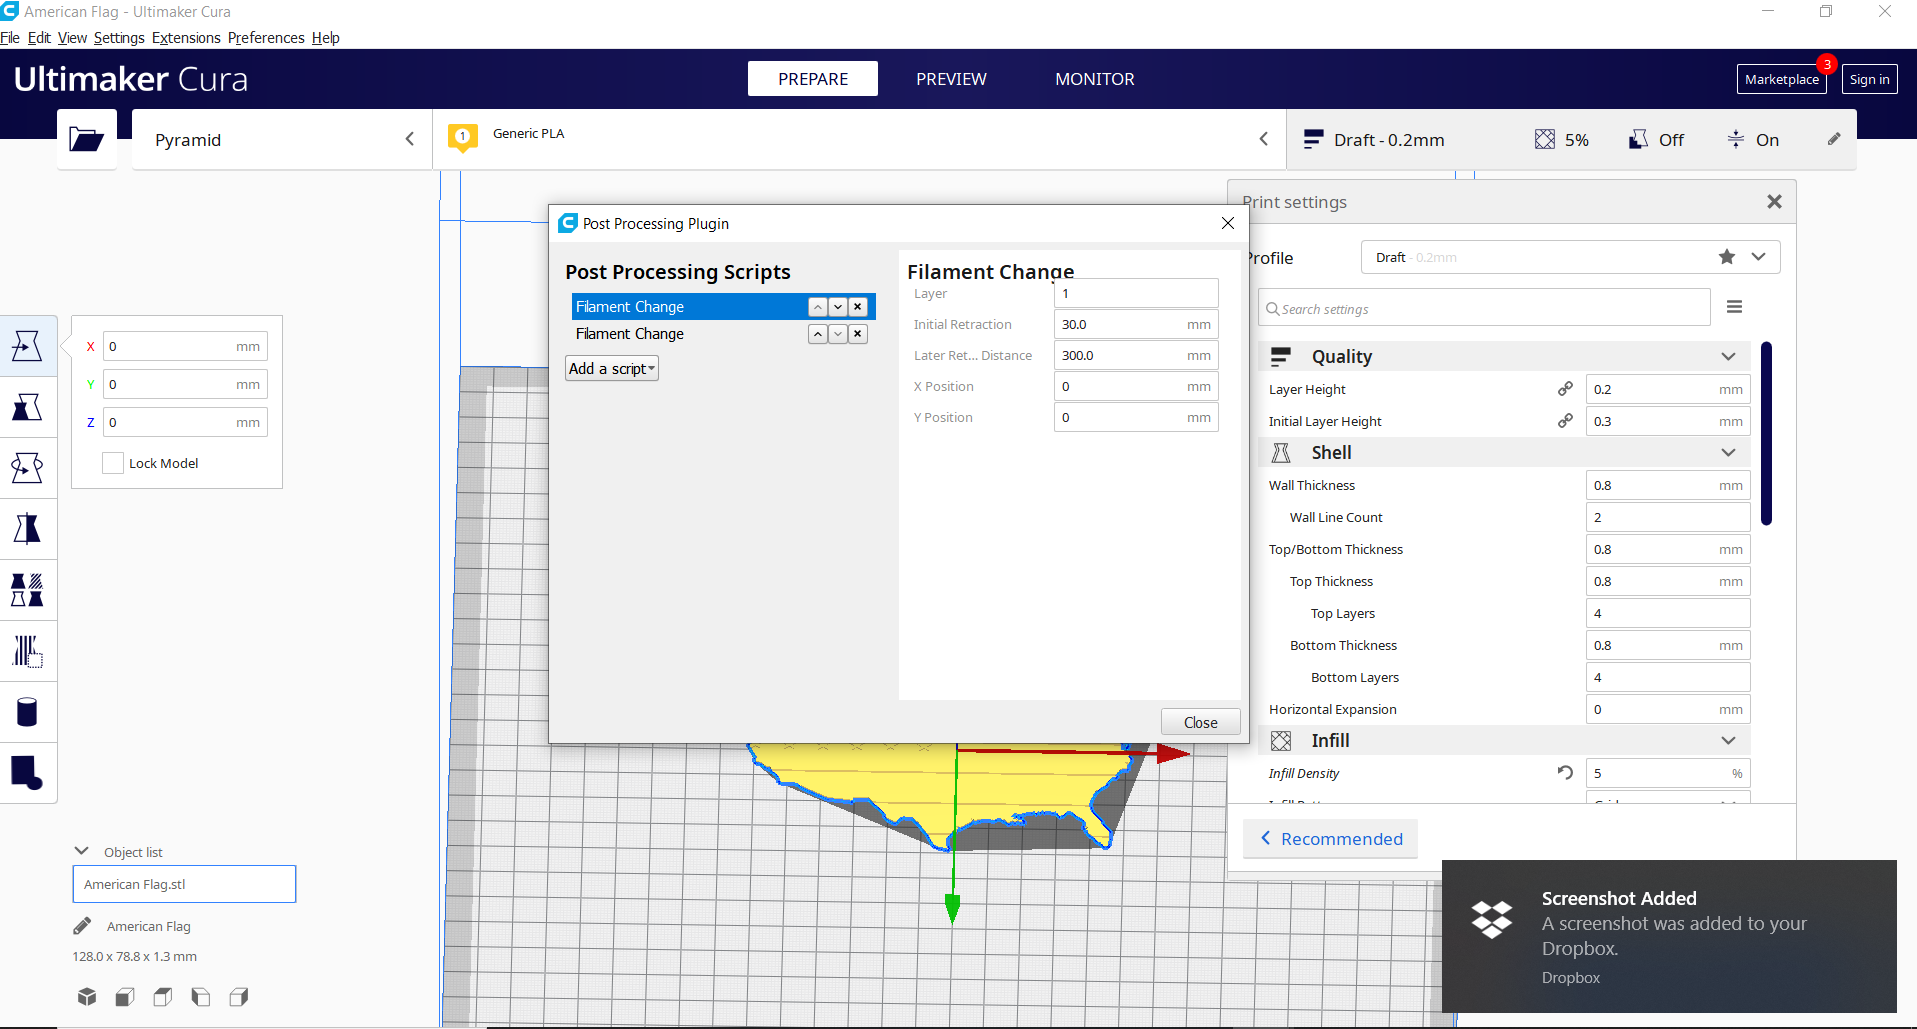
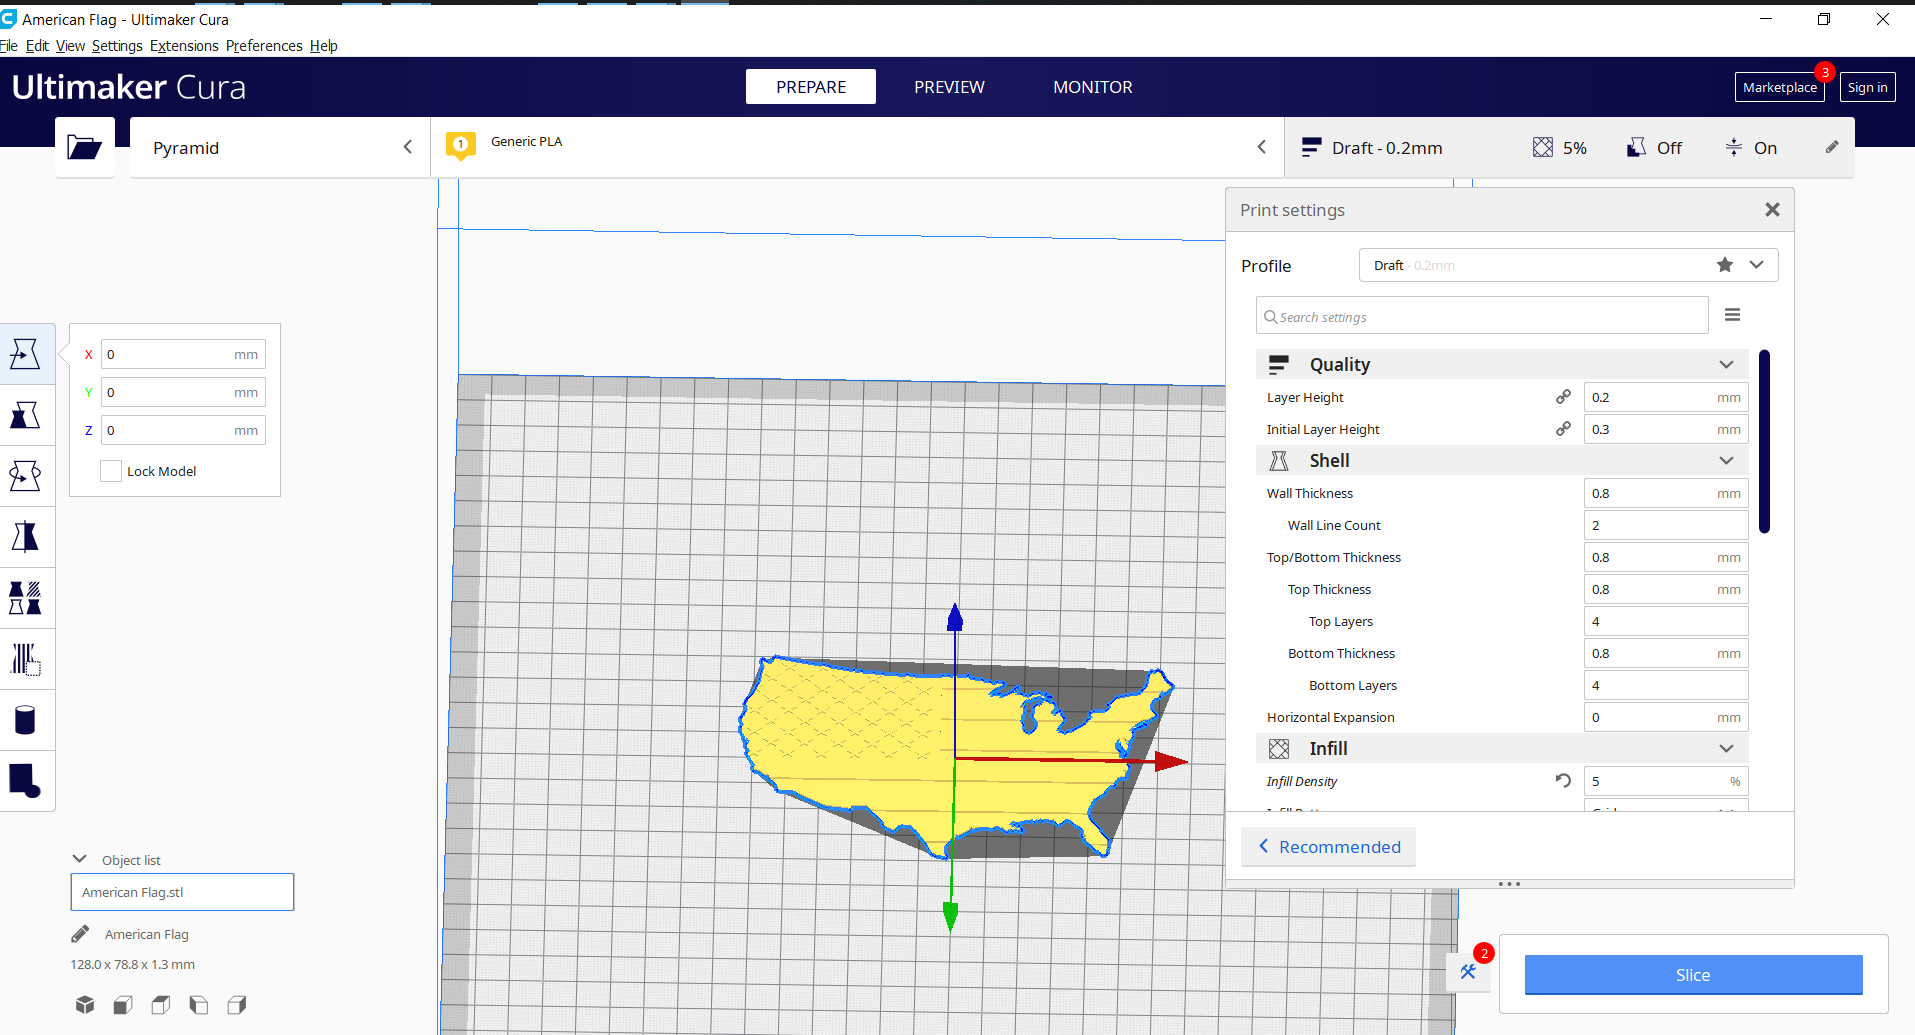
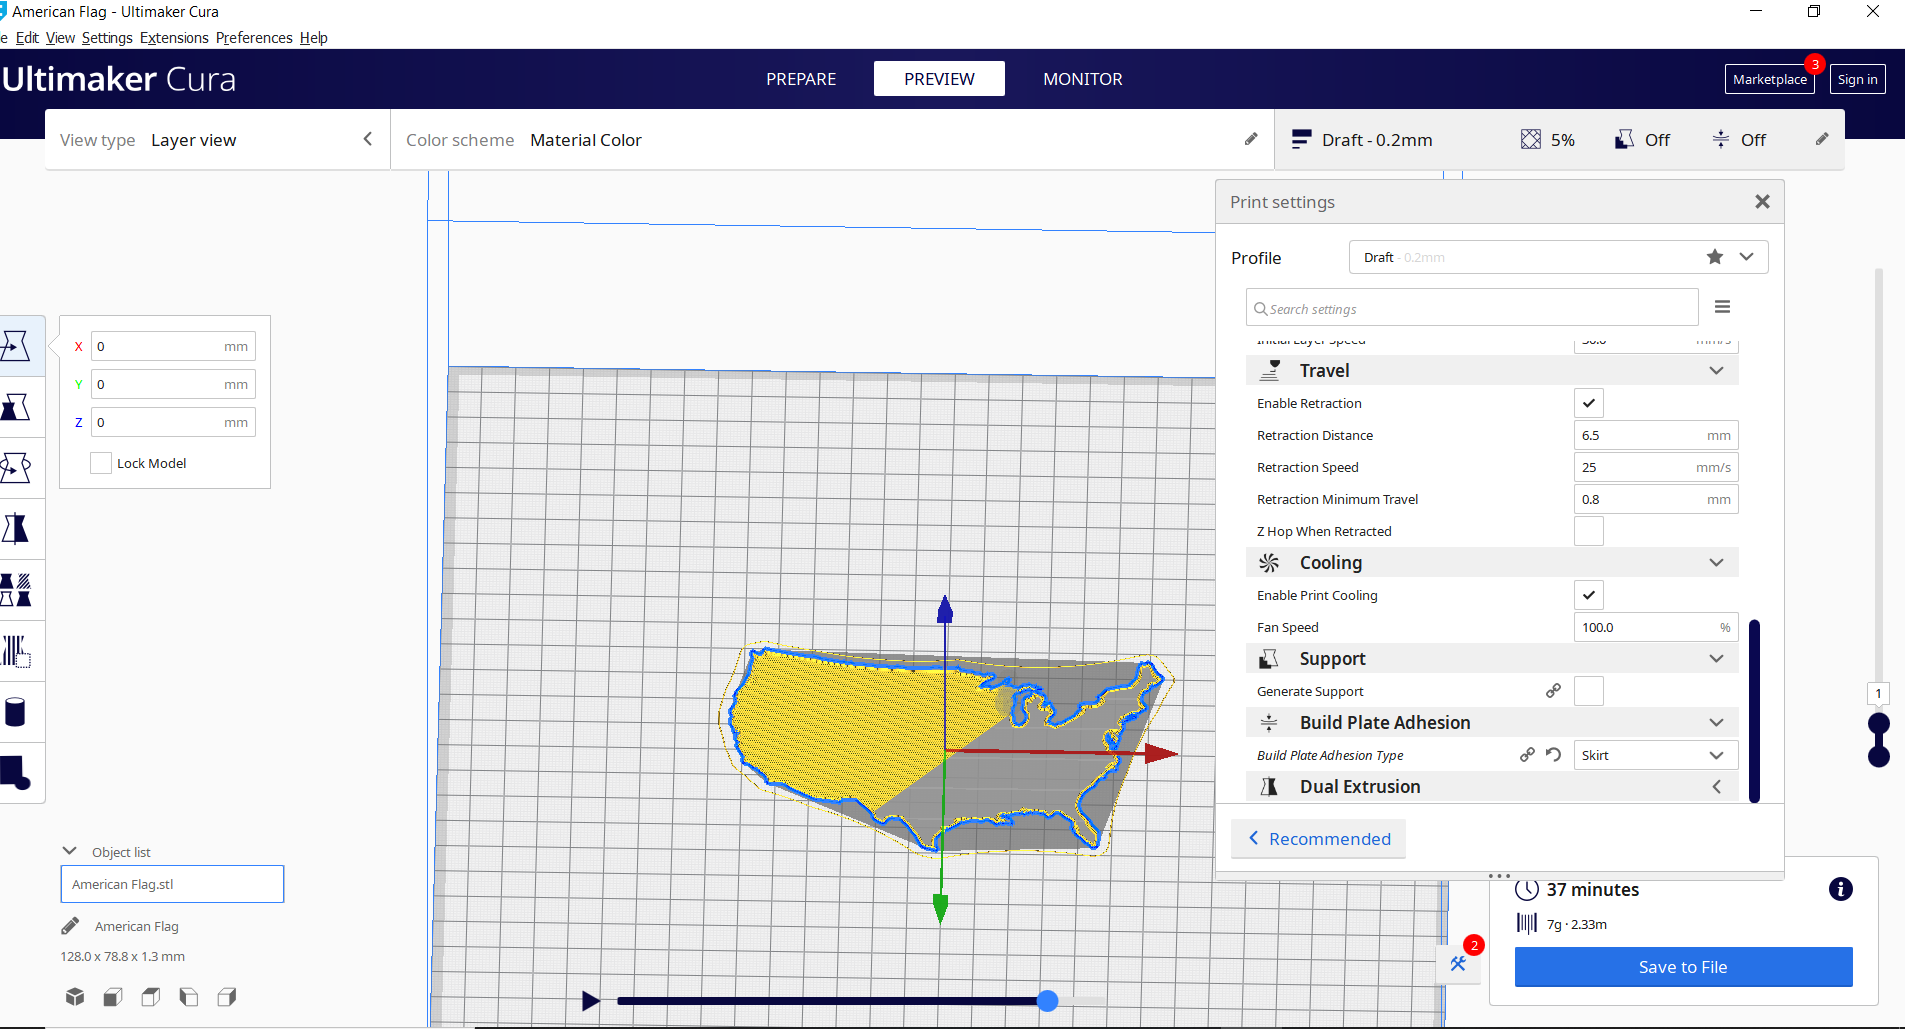
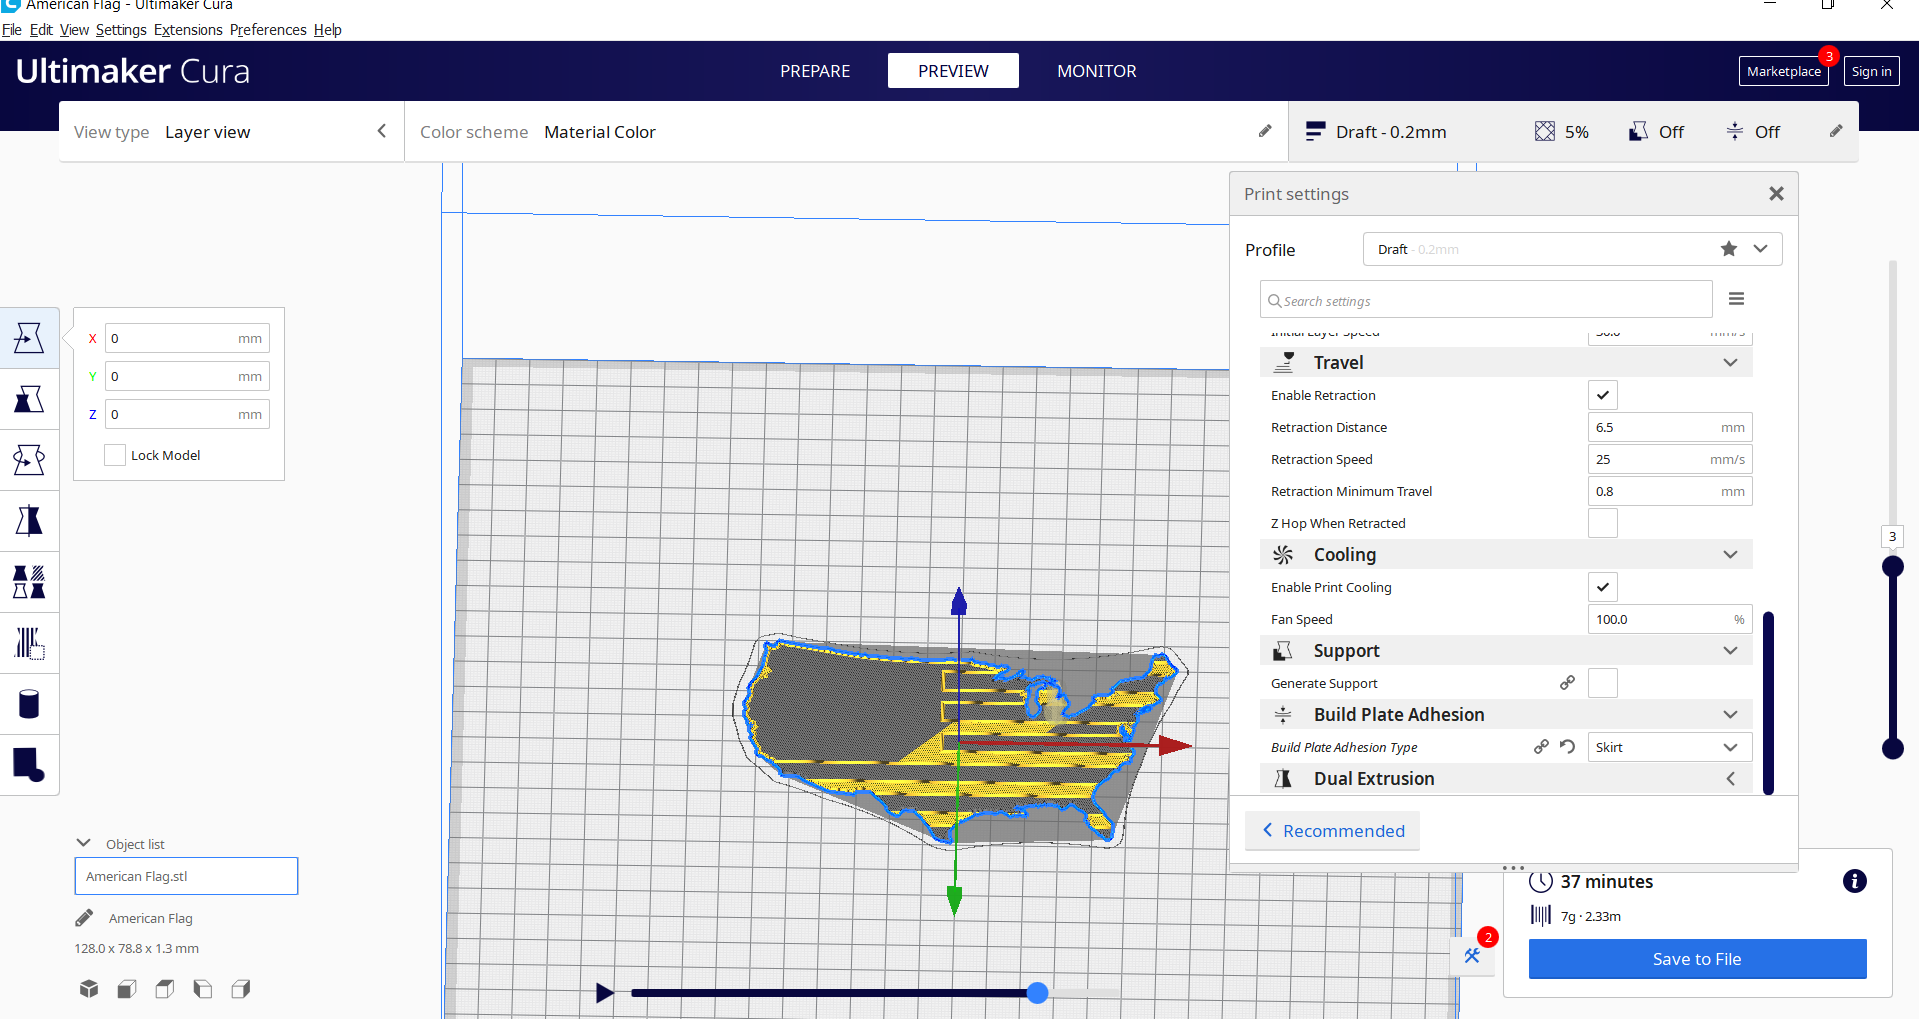
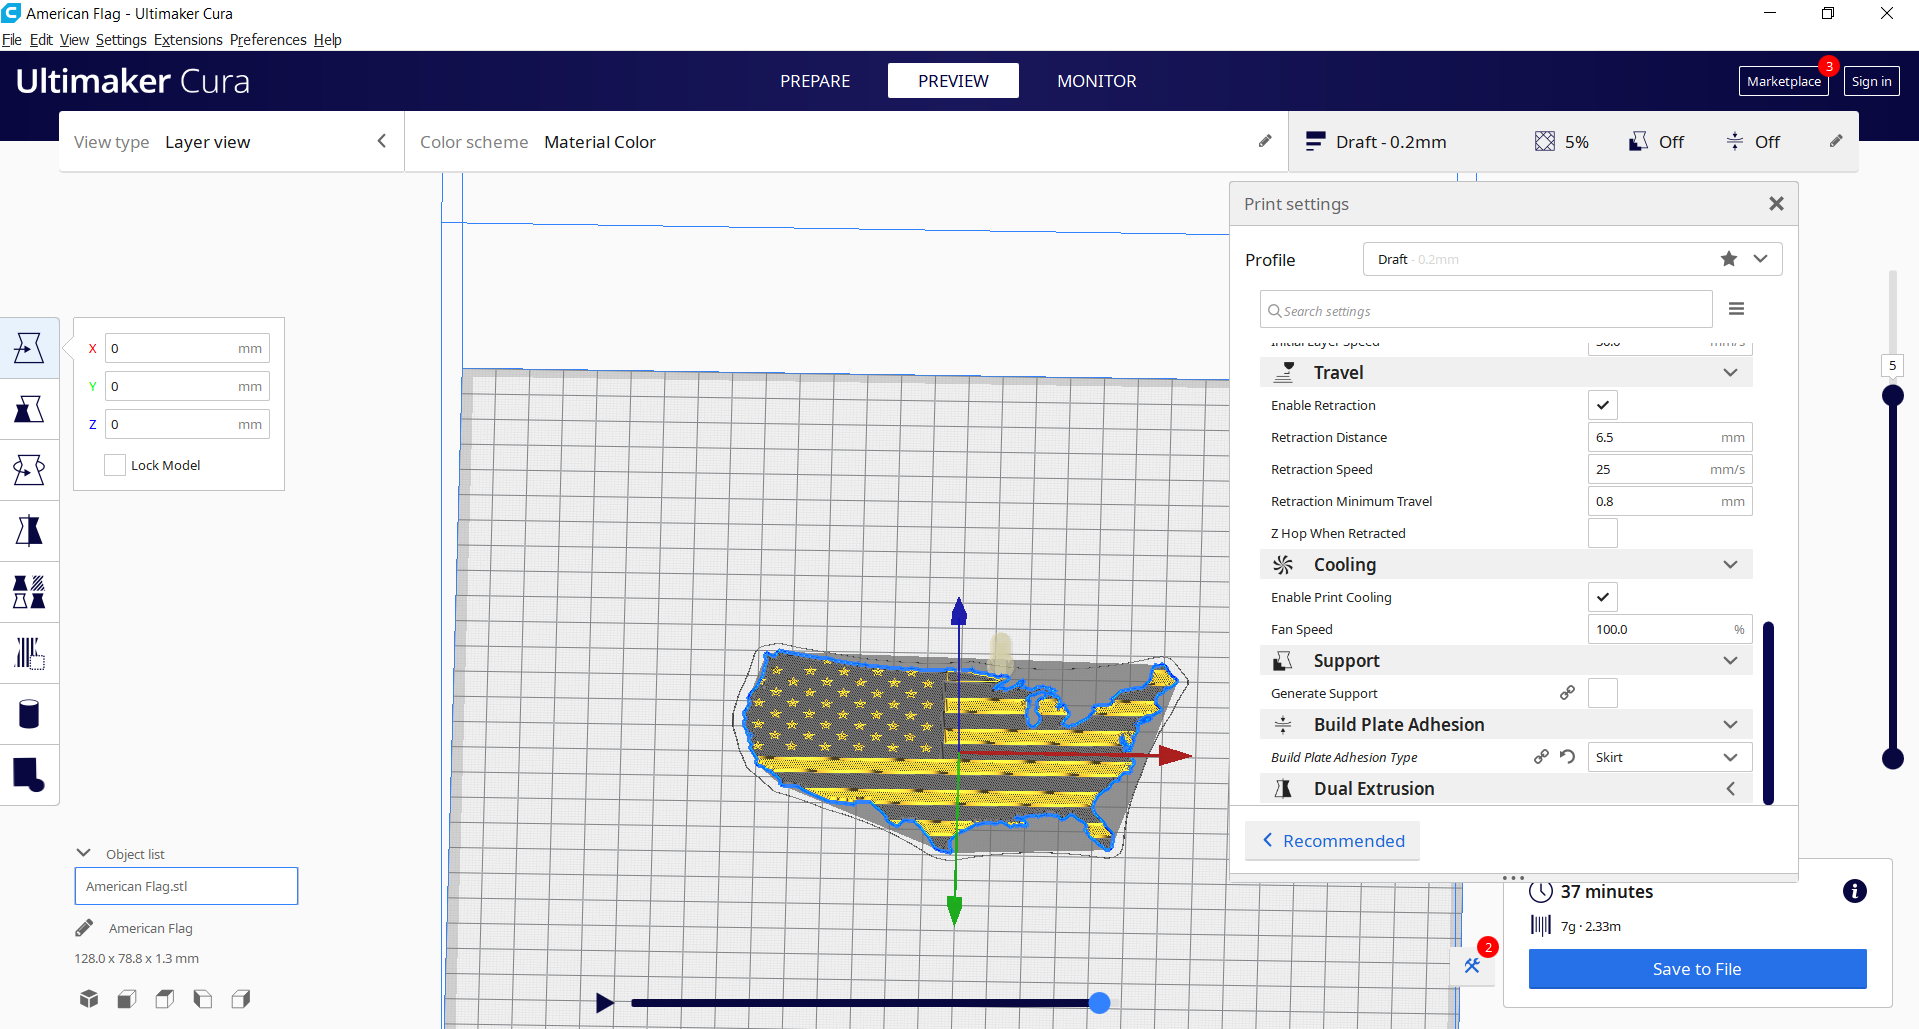
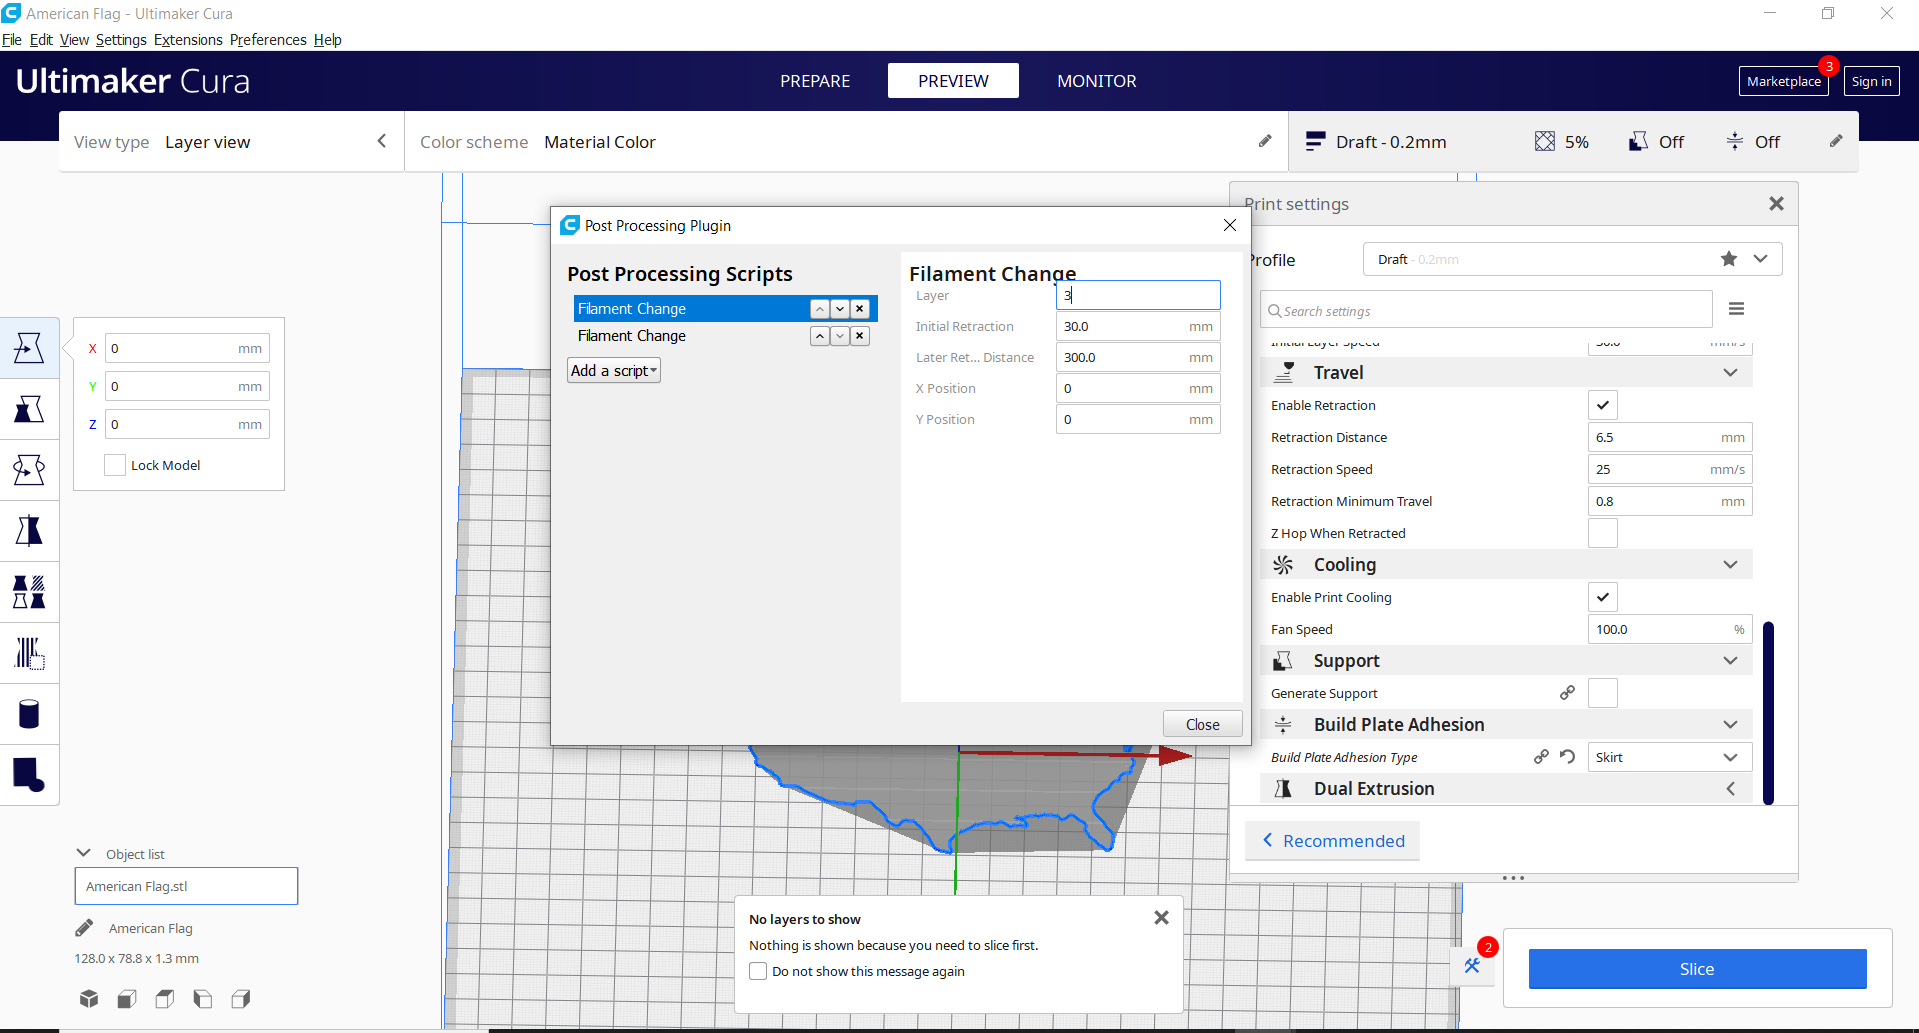
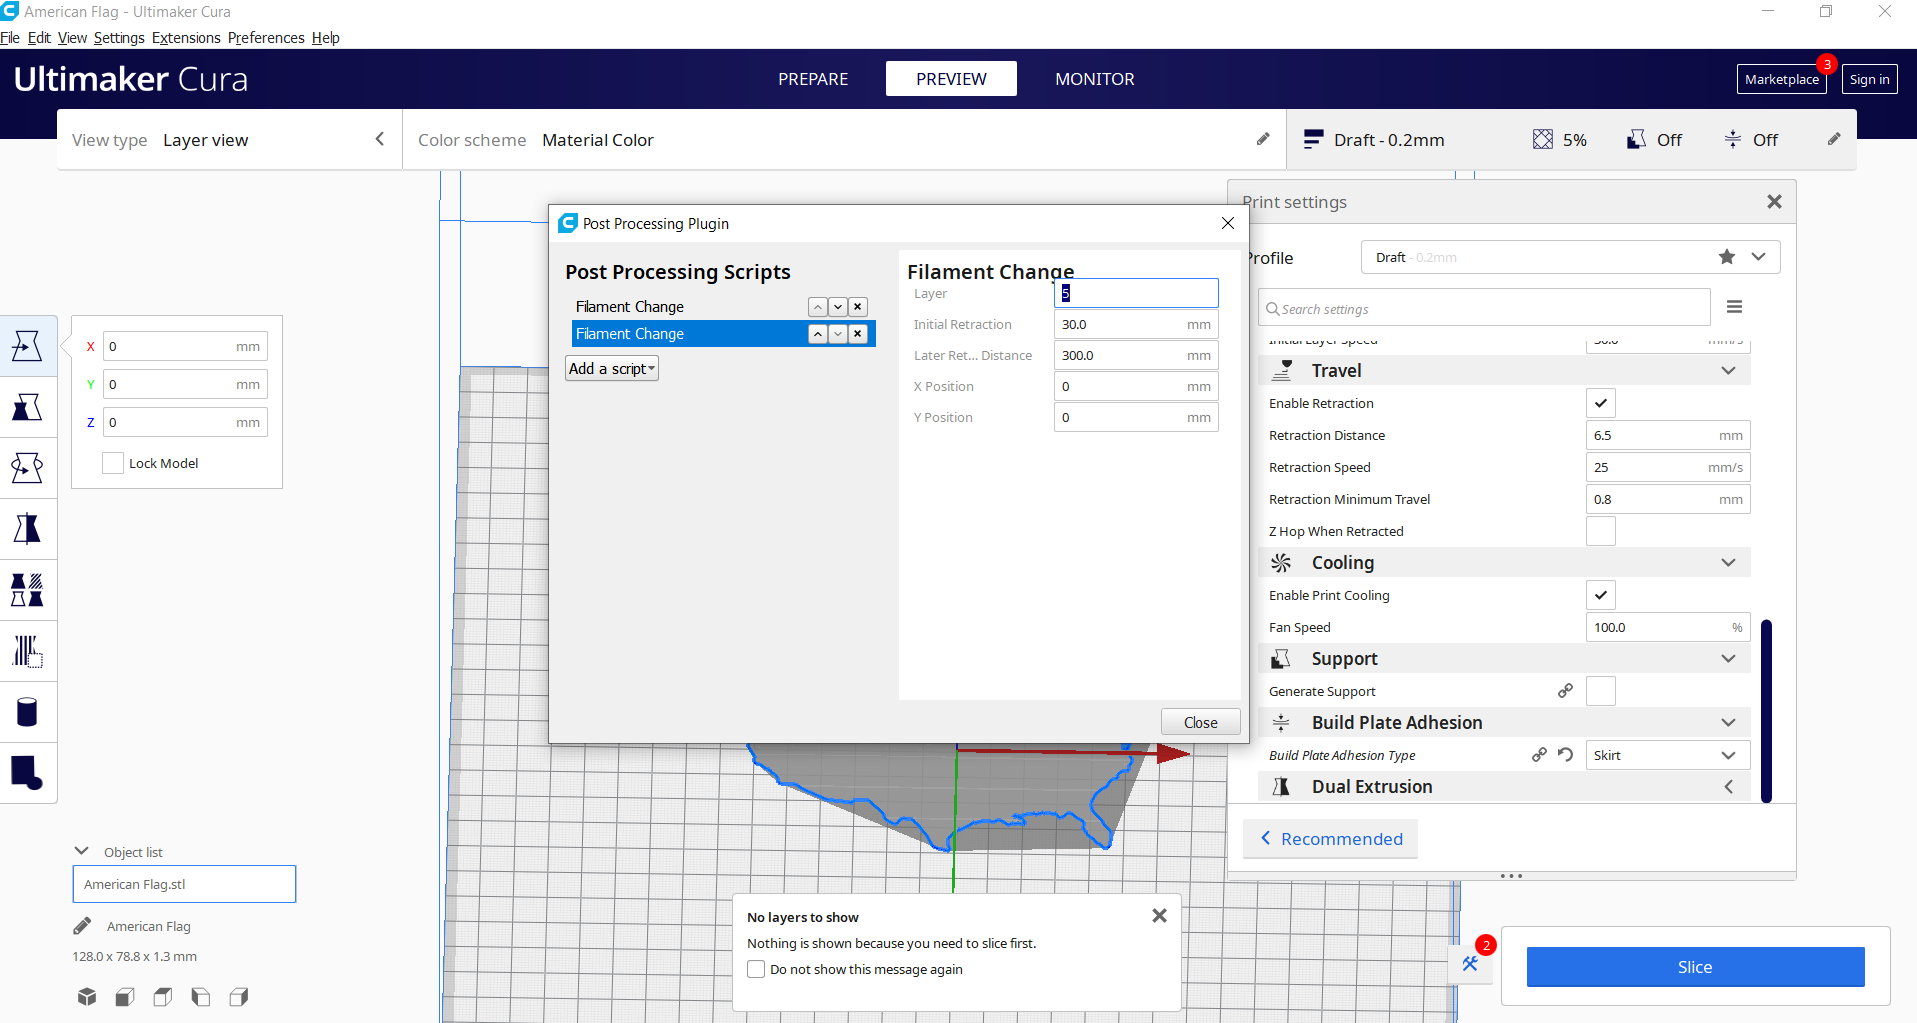
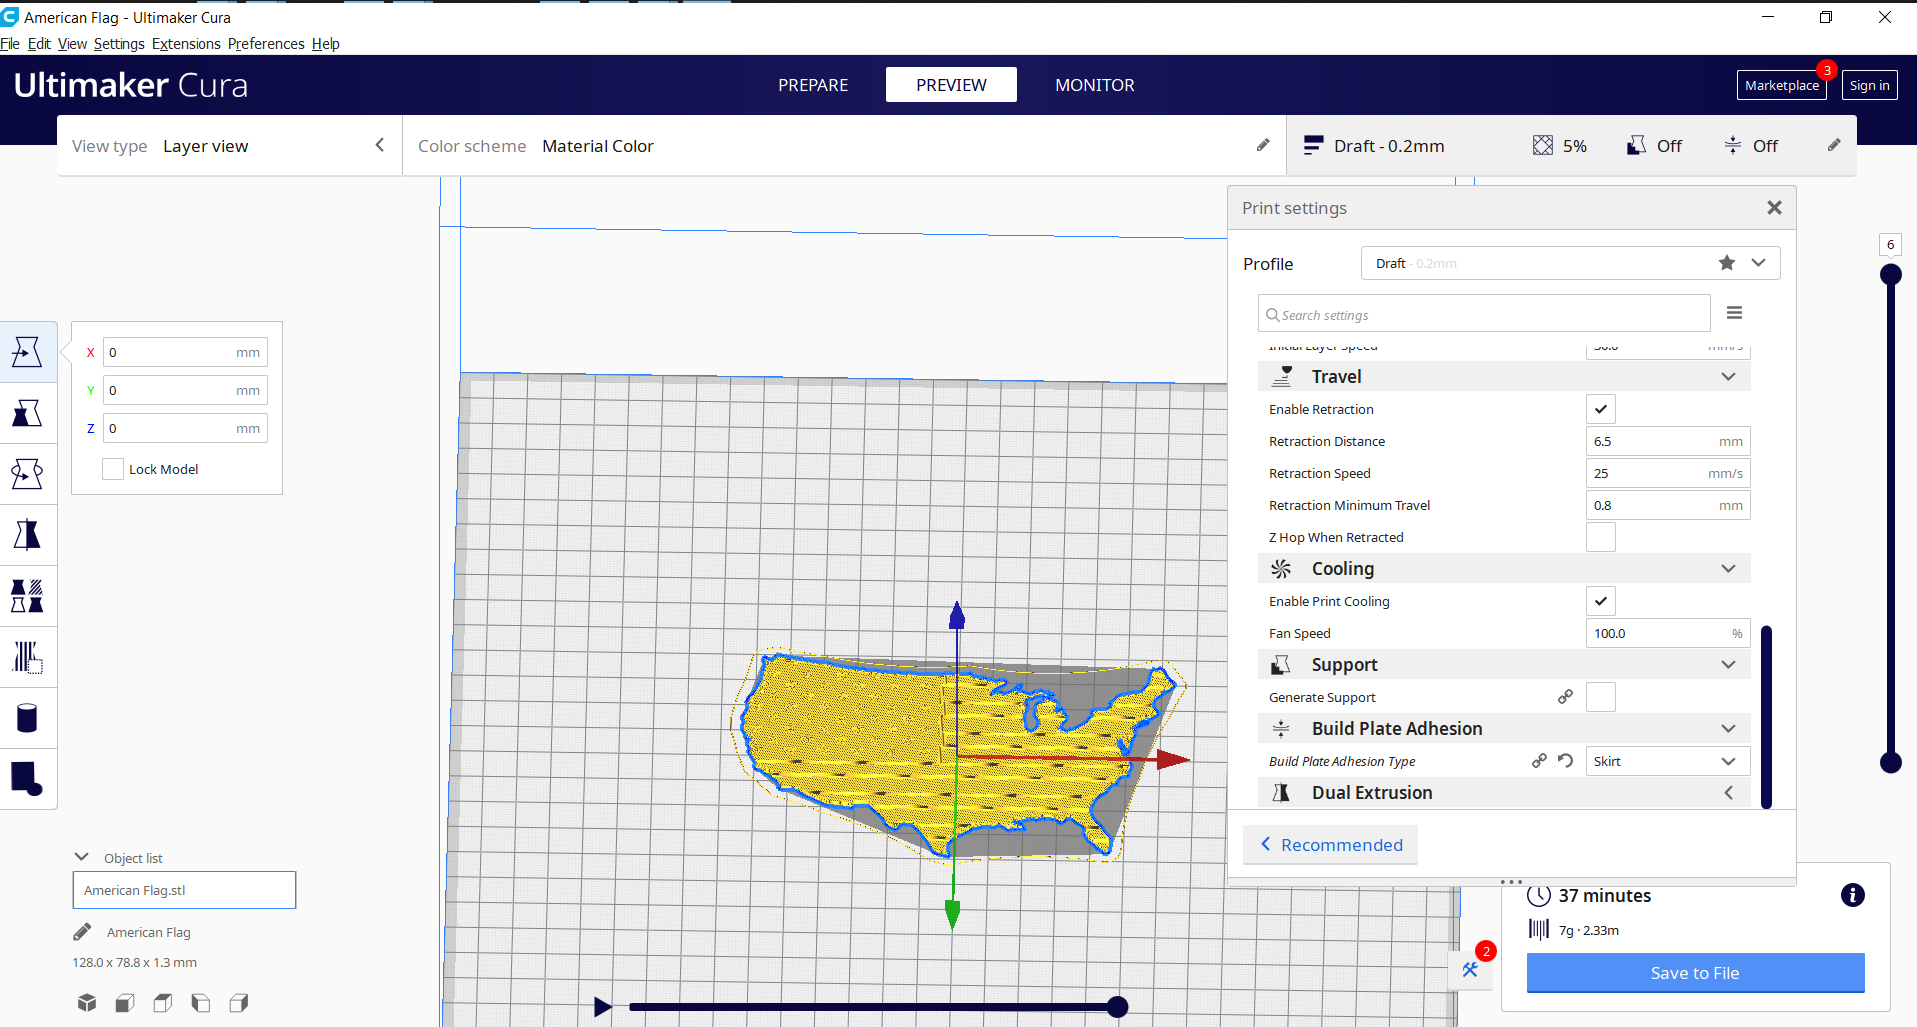
Slice the STL (convert it to G-code for printing).
I printed the red, white, and blue verison. Z-axis scaled to 200%, layer height of 0.1mm resolution, and ironing on.
If using Cura, make sure you have either the "Pause at layer height" or "Filament Change" plugin installed. Select the appropriate settings for the filaments you'll be using. Layer height or initial layer height my need to be adjusted. Press "Slice" Now go to the preview tab. Change the layer and inspect where each intended color will no longer be printed. Make a note of that new layer height. In the "Filament Change" plug, add a change for each subsequent color. If three colors total, you should have two filament changes. Press "Slice" again (this time your filament changes will be included. Save the G-code file.
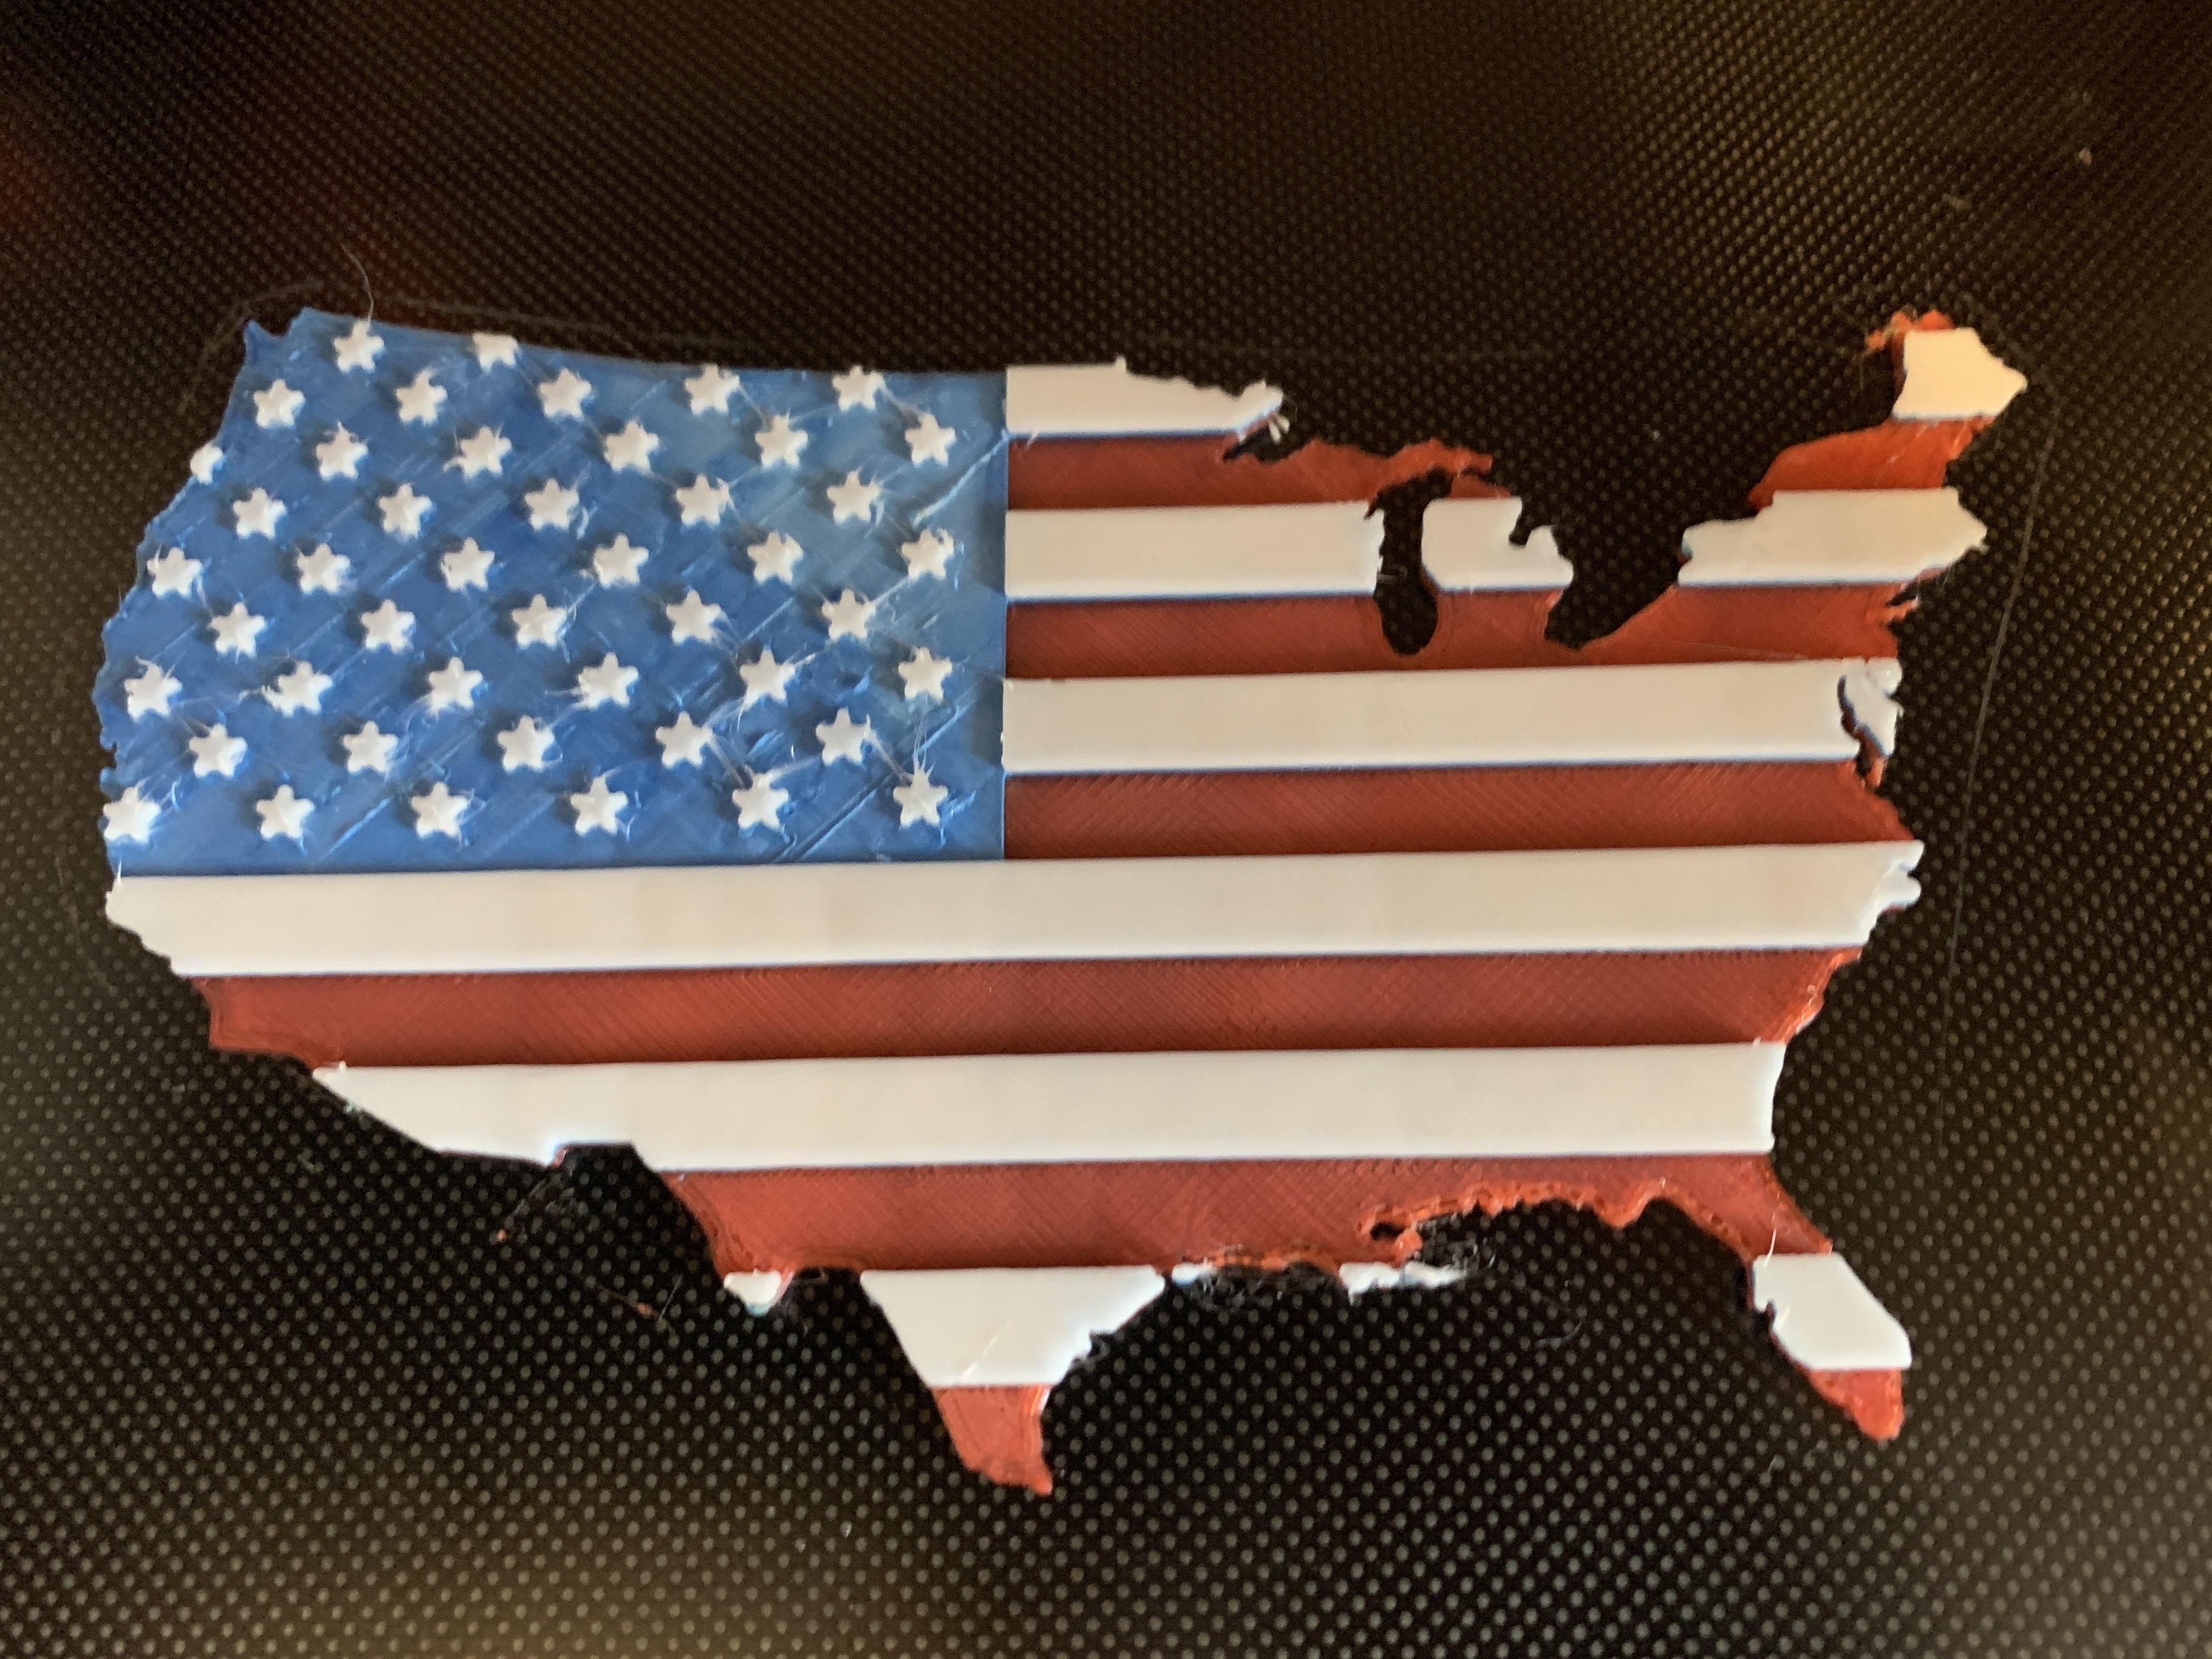
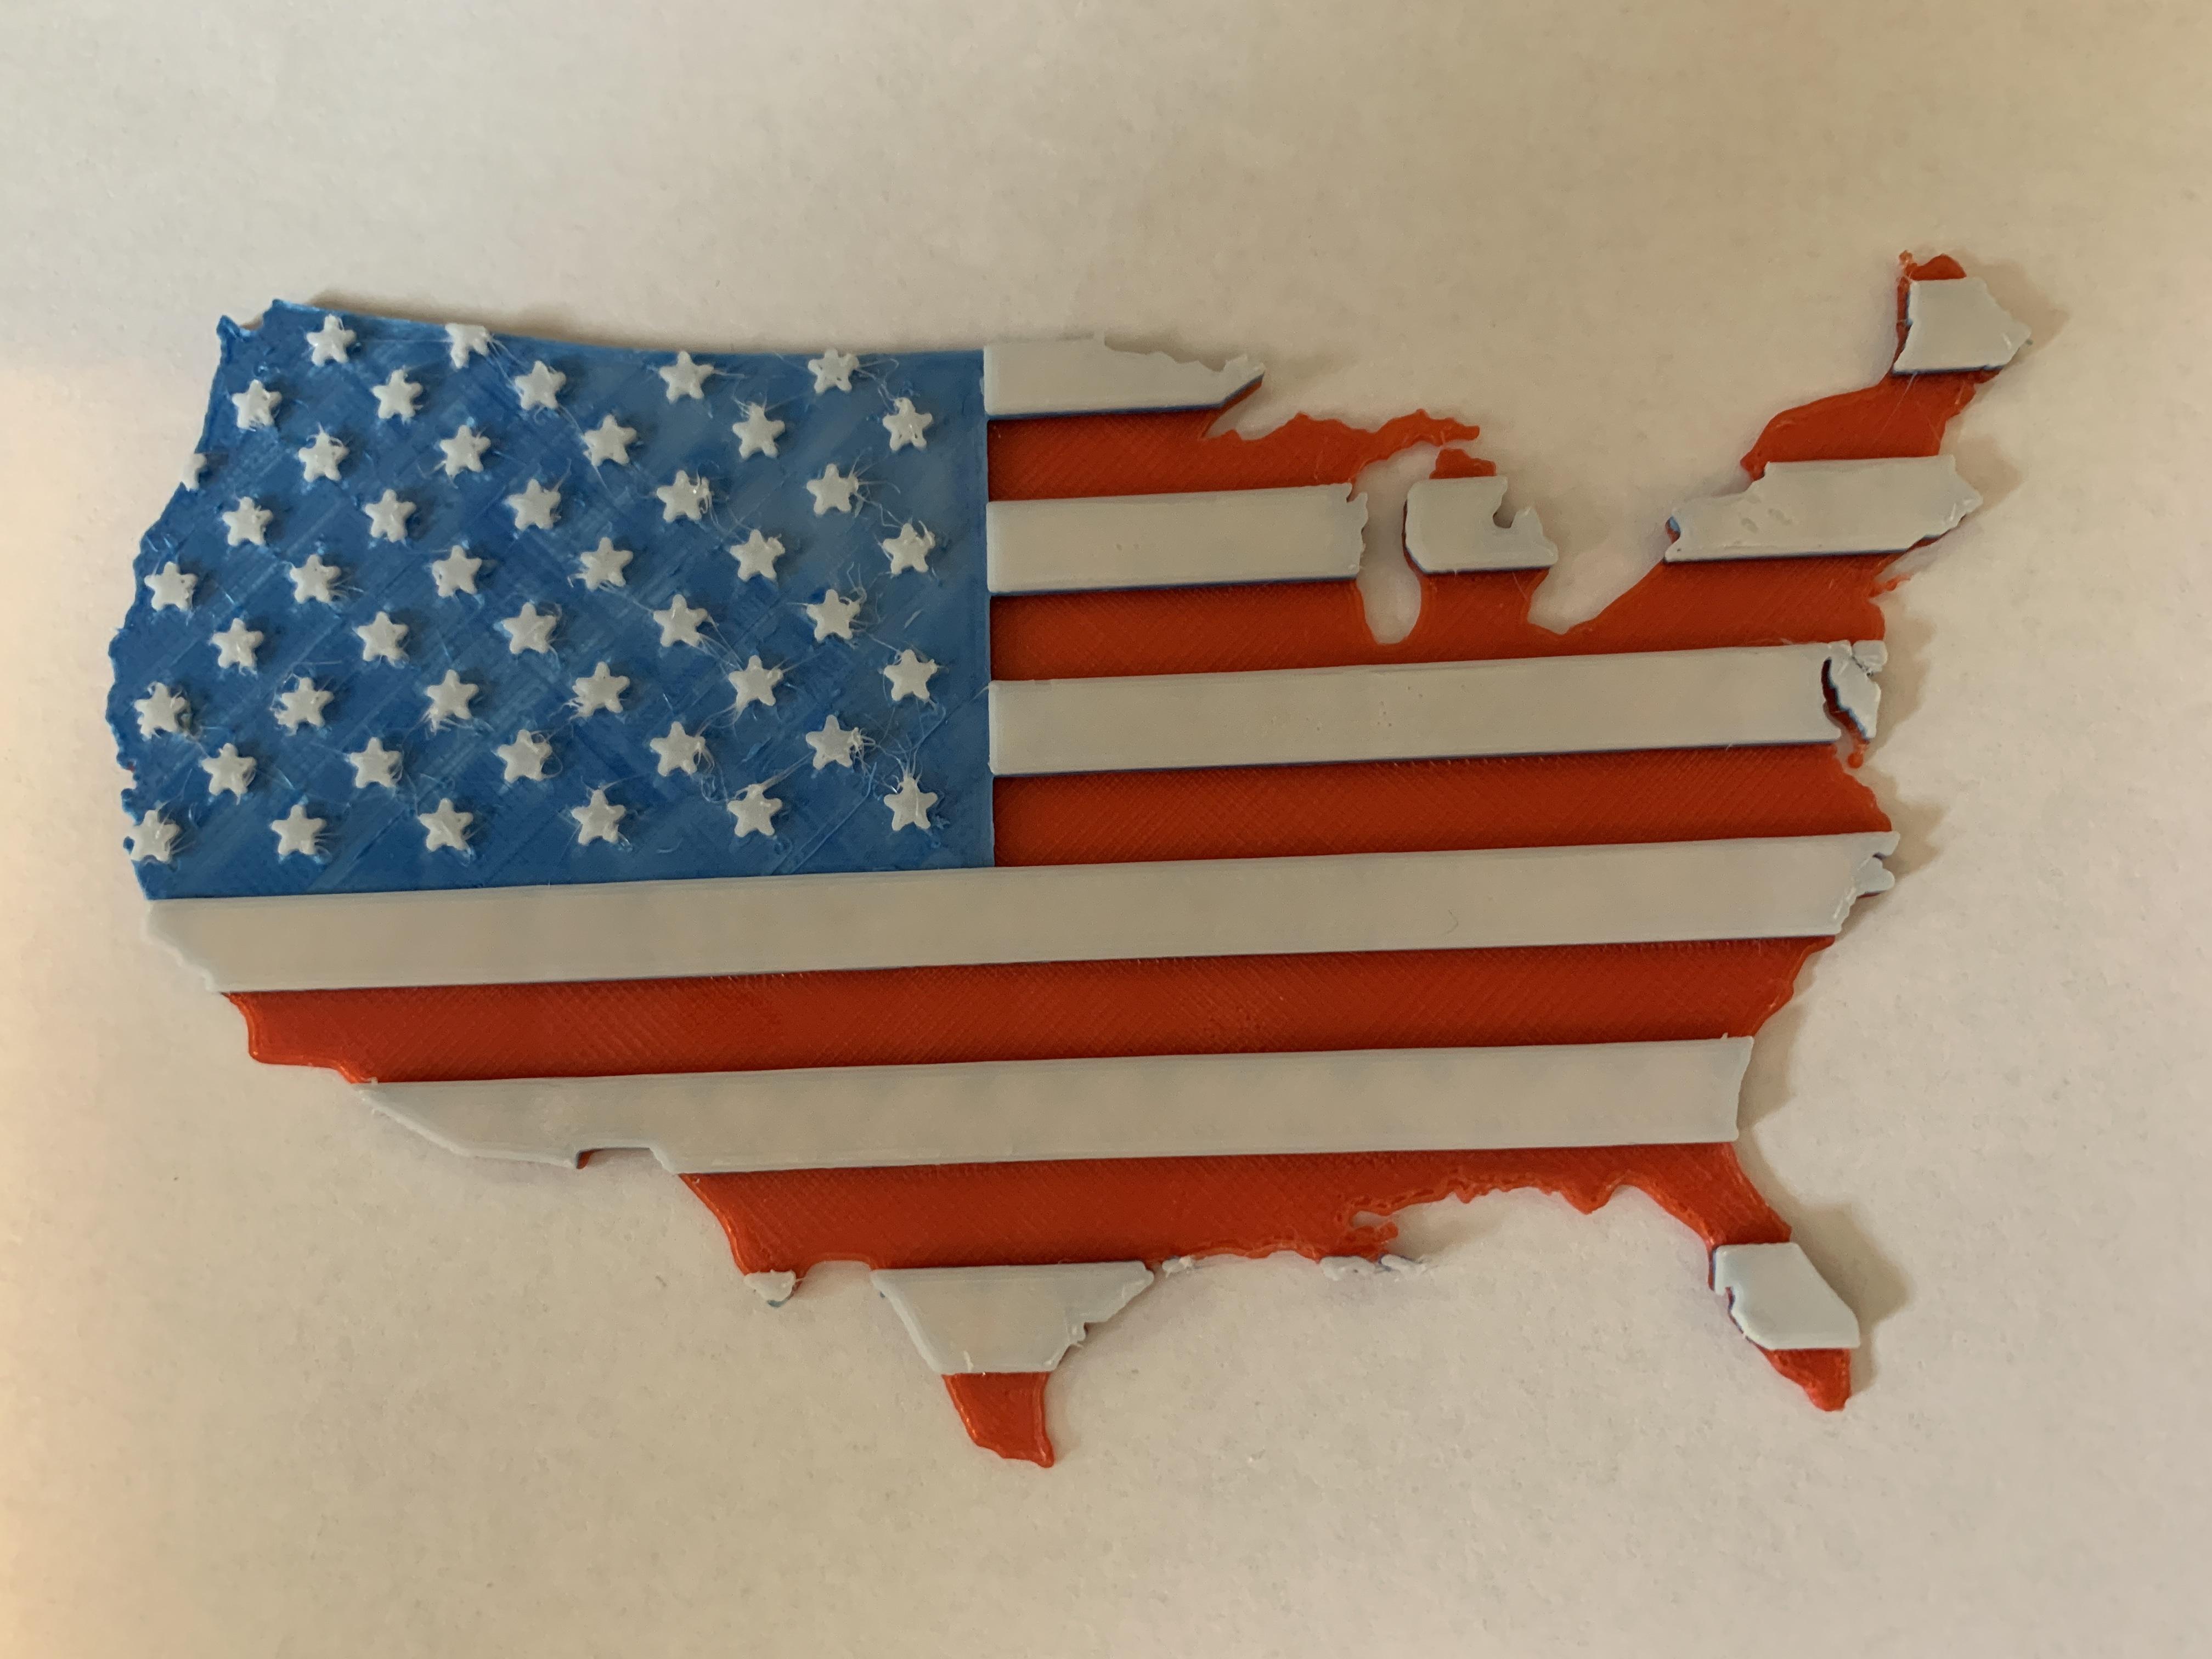
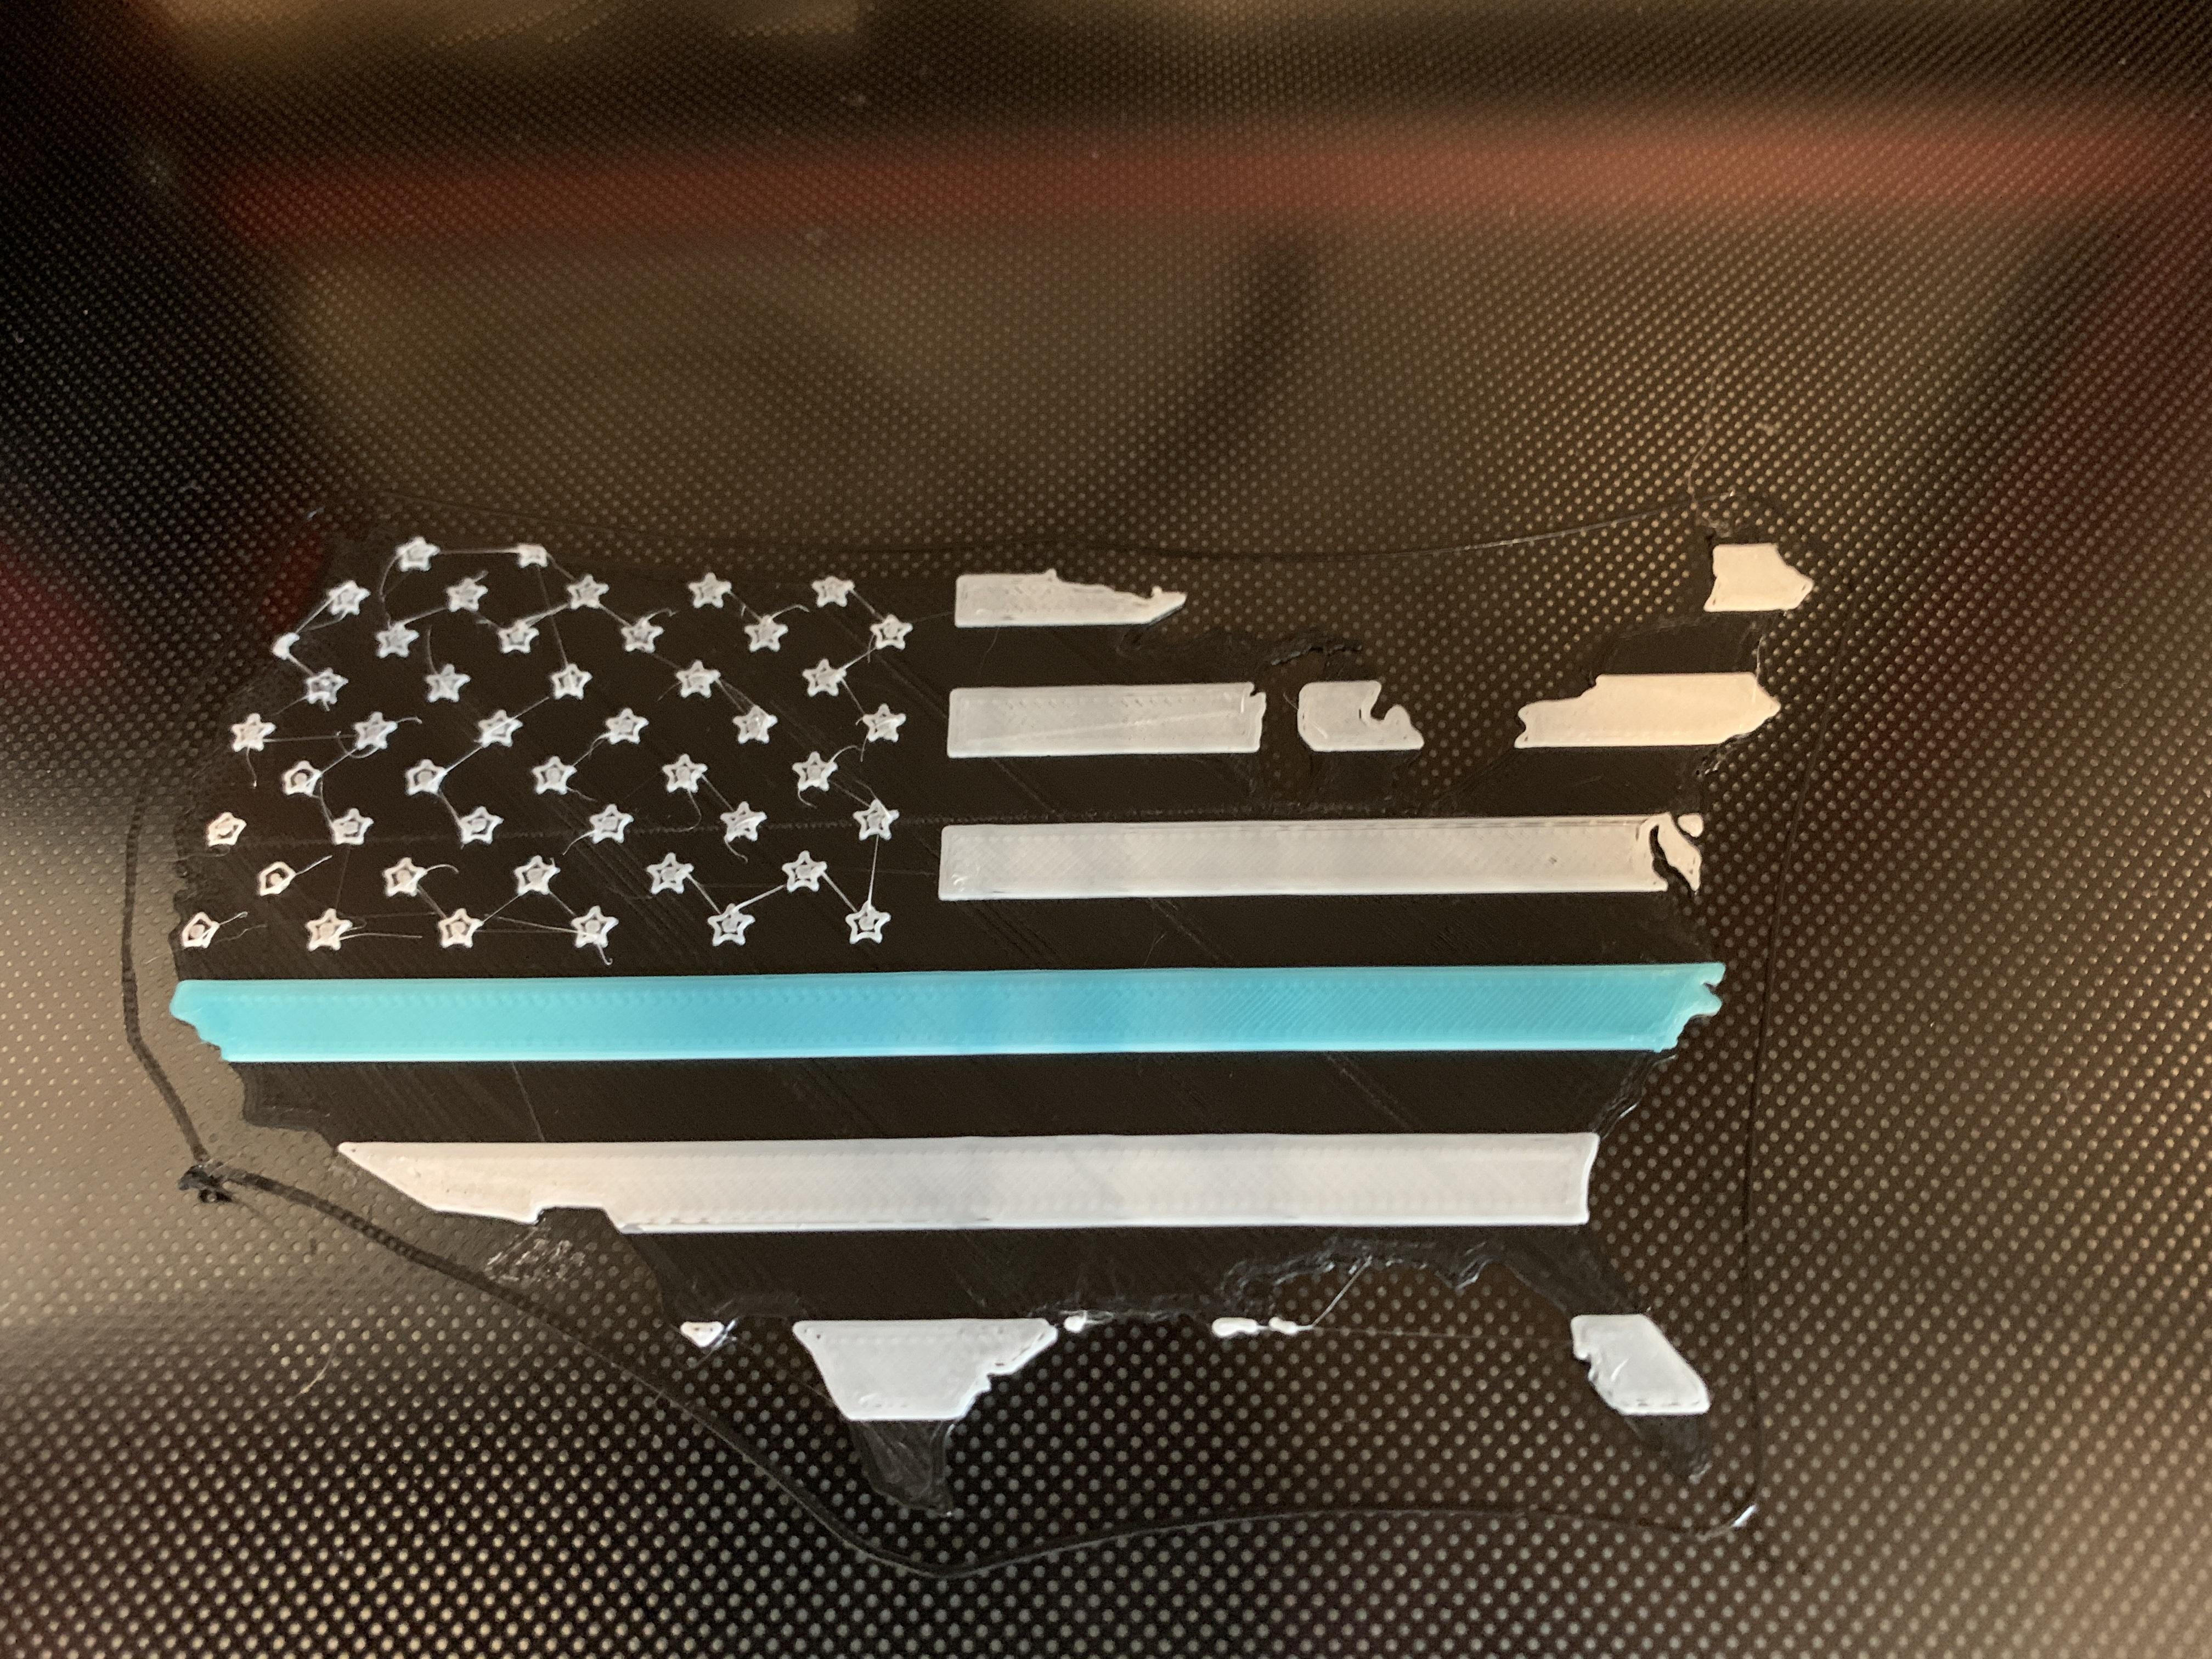
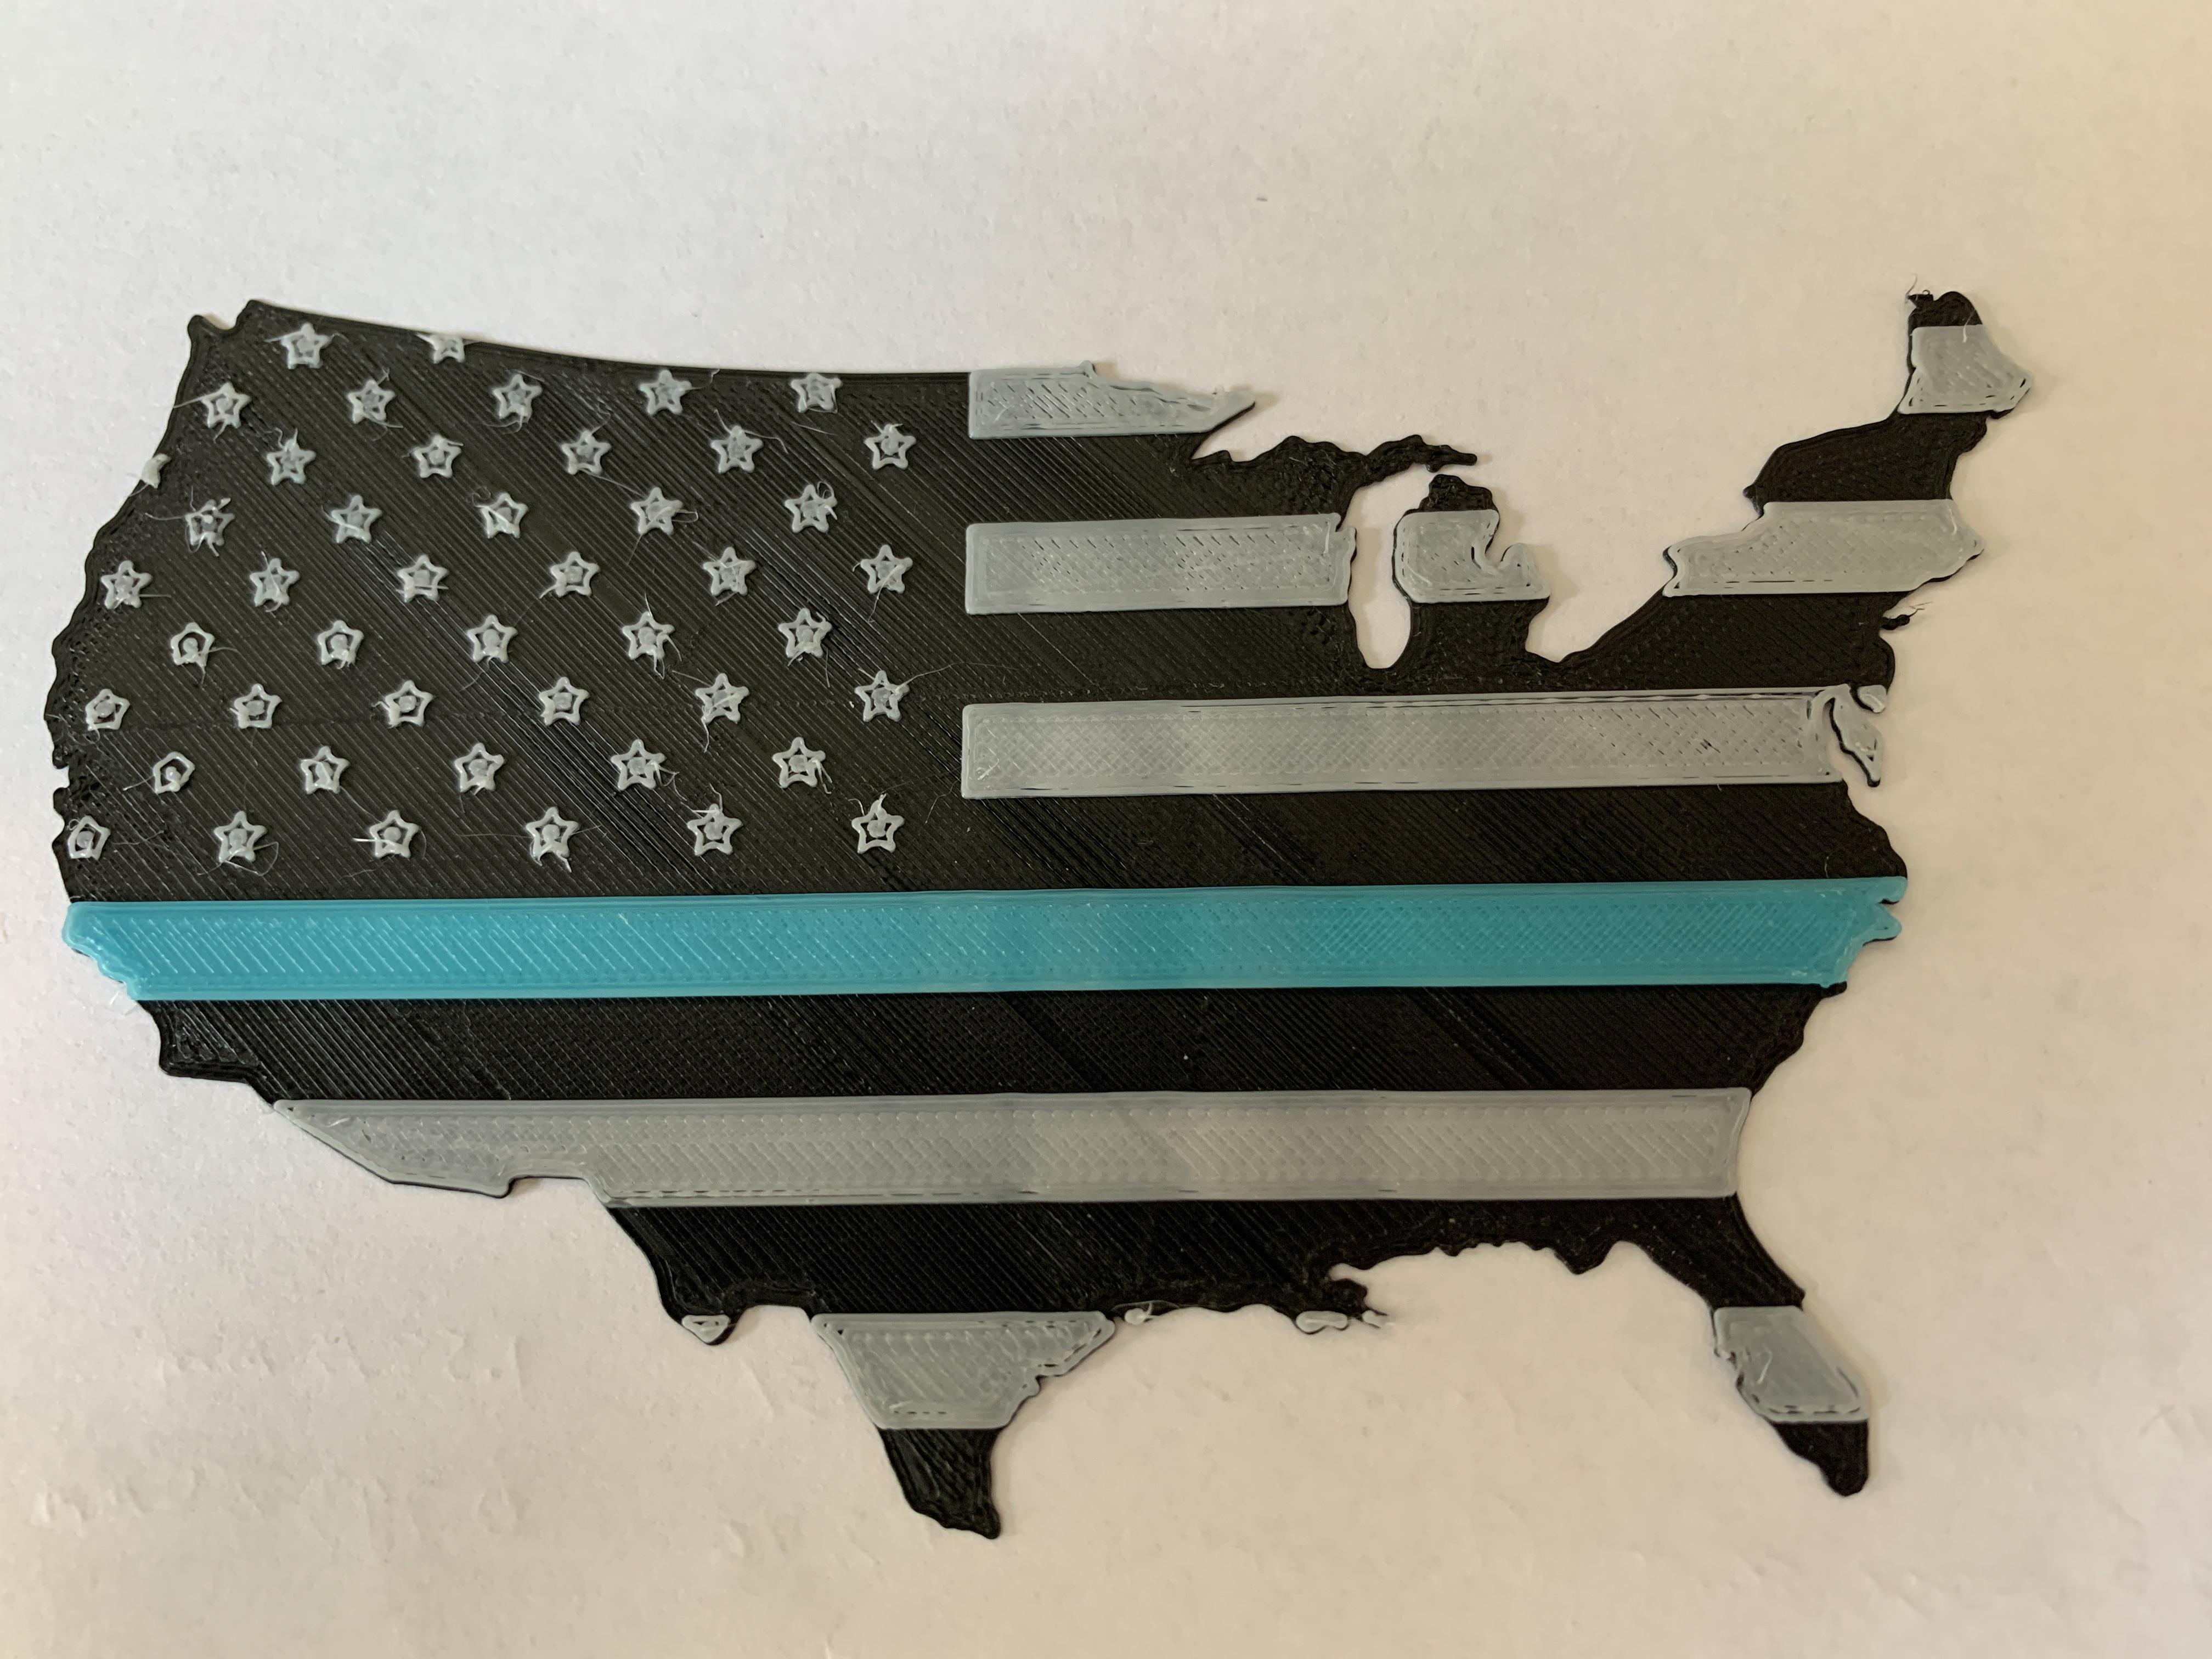
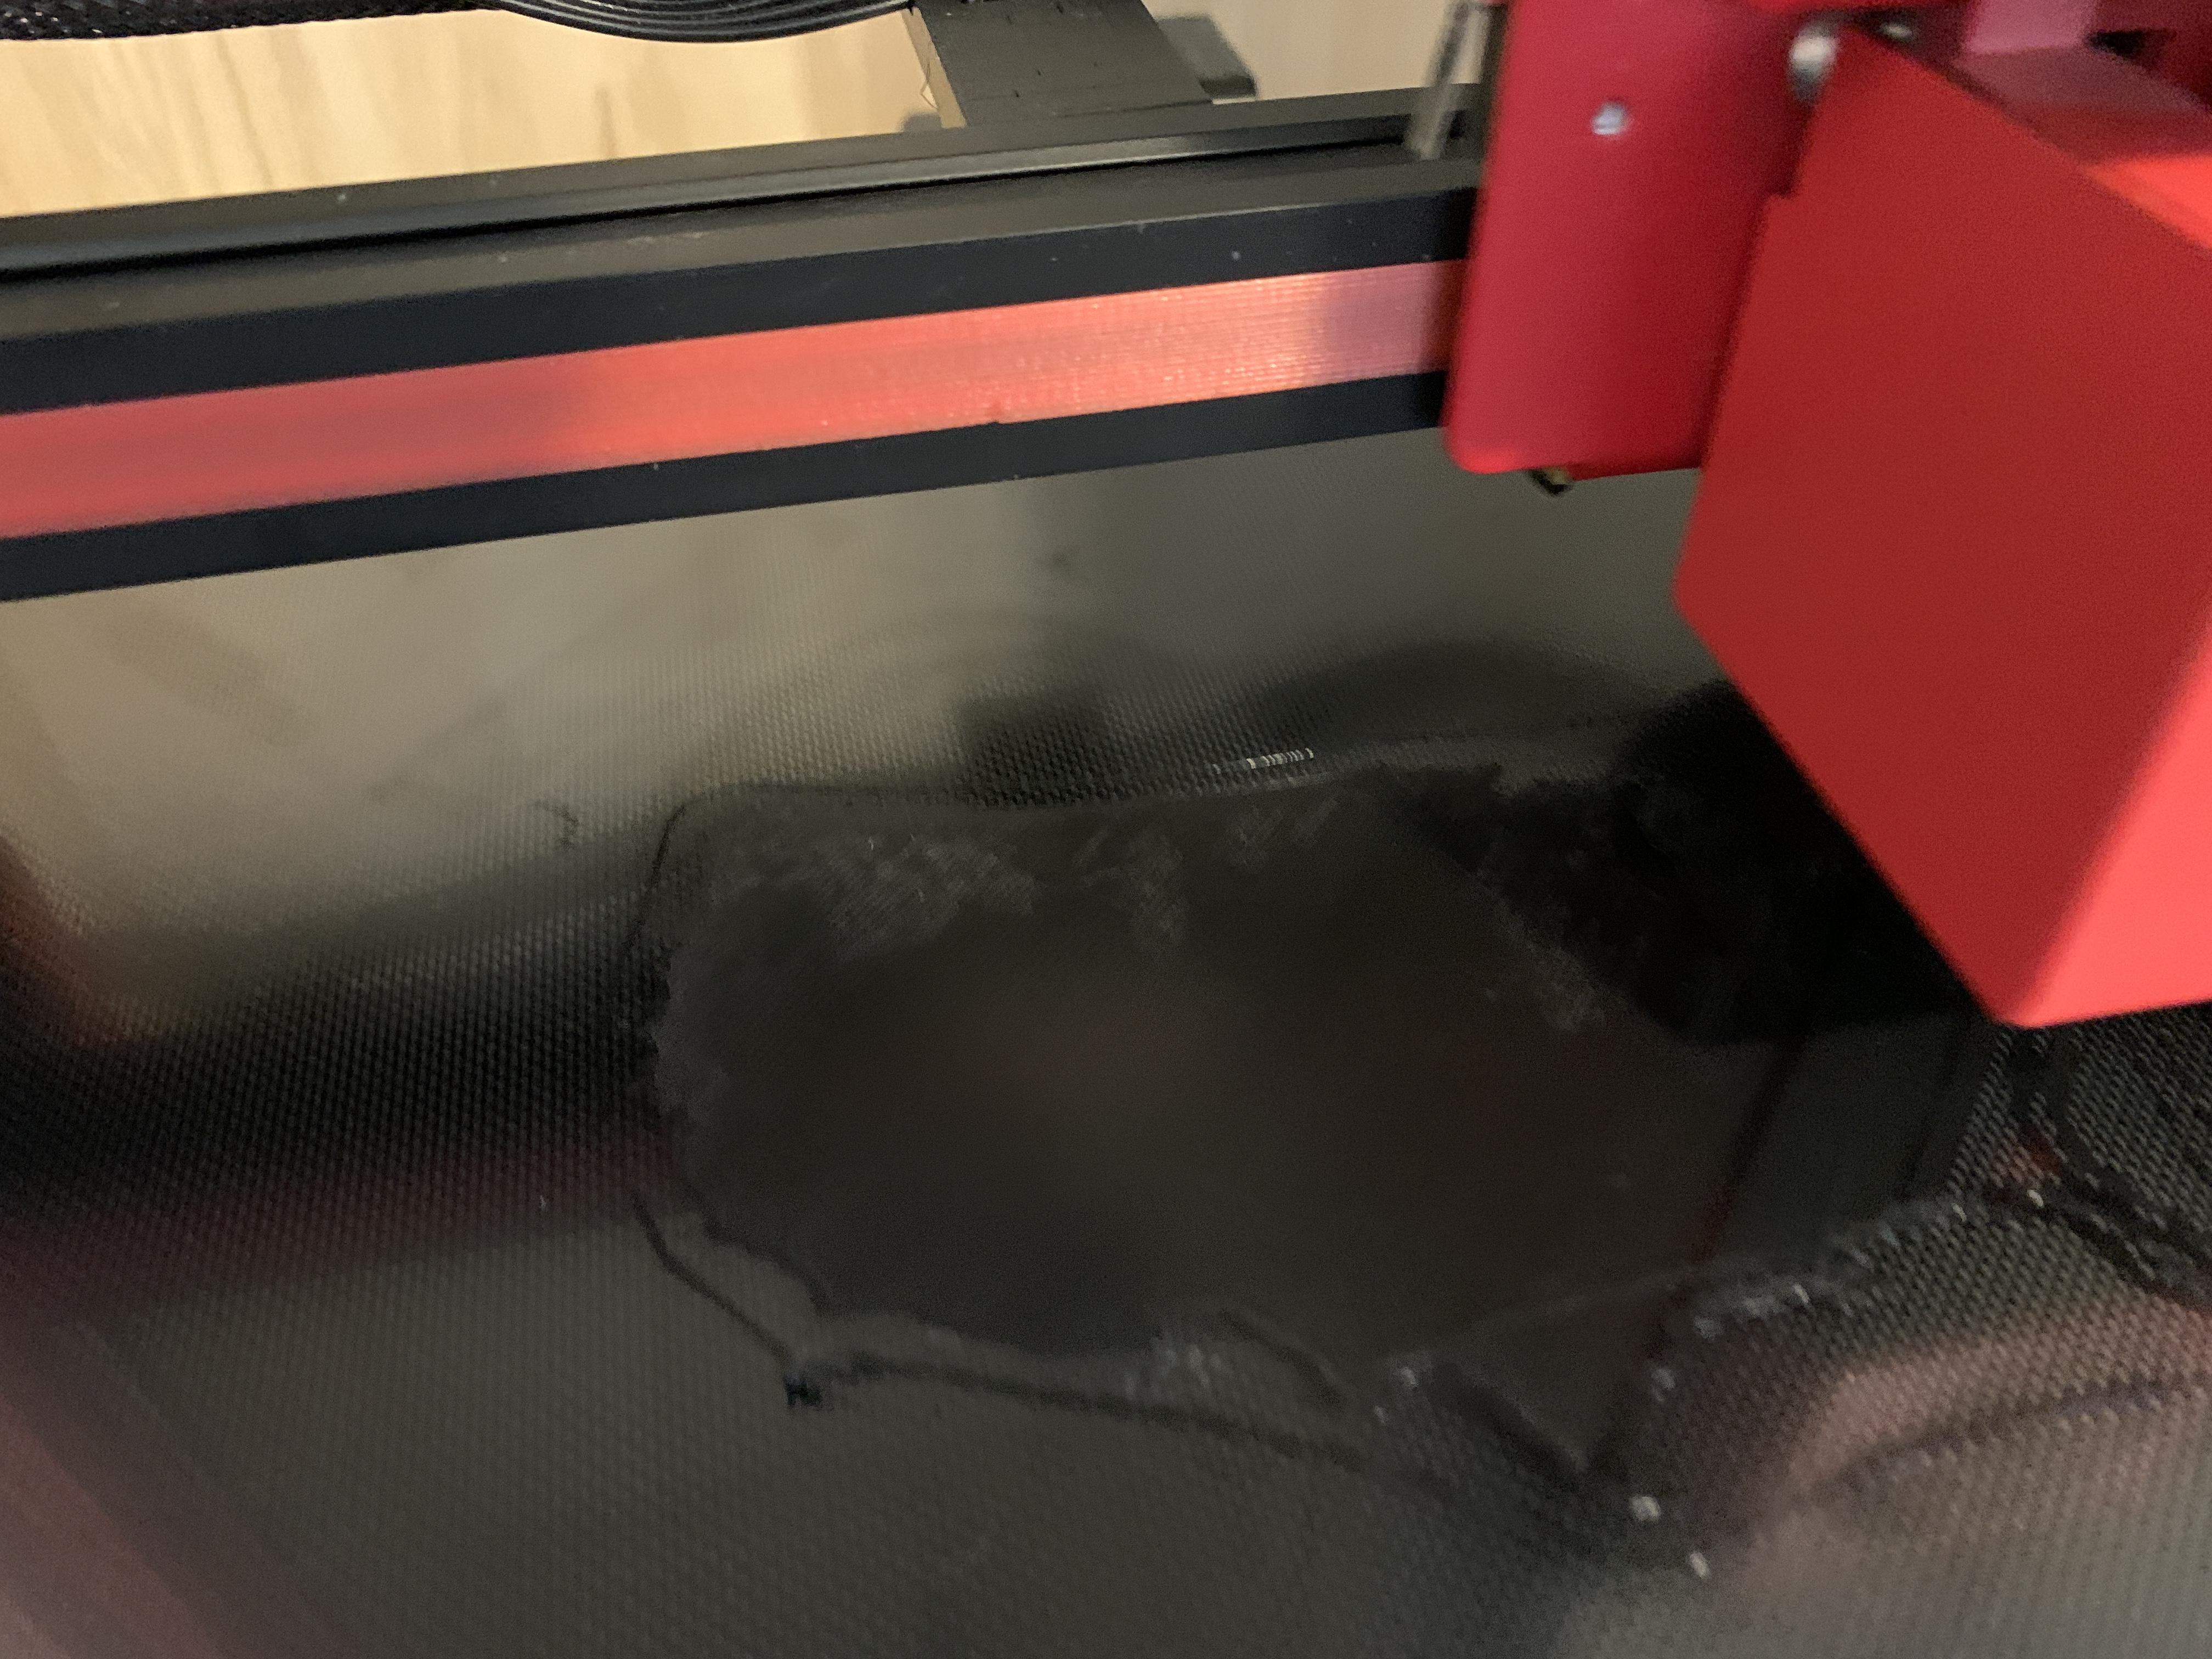
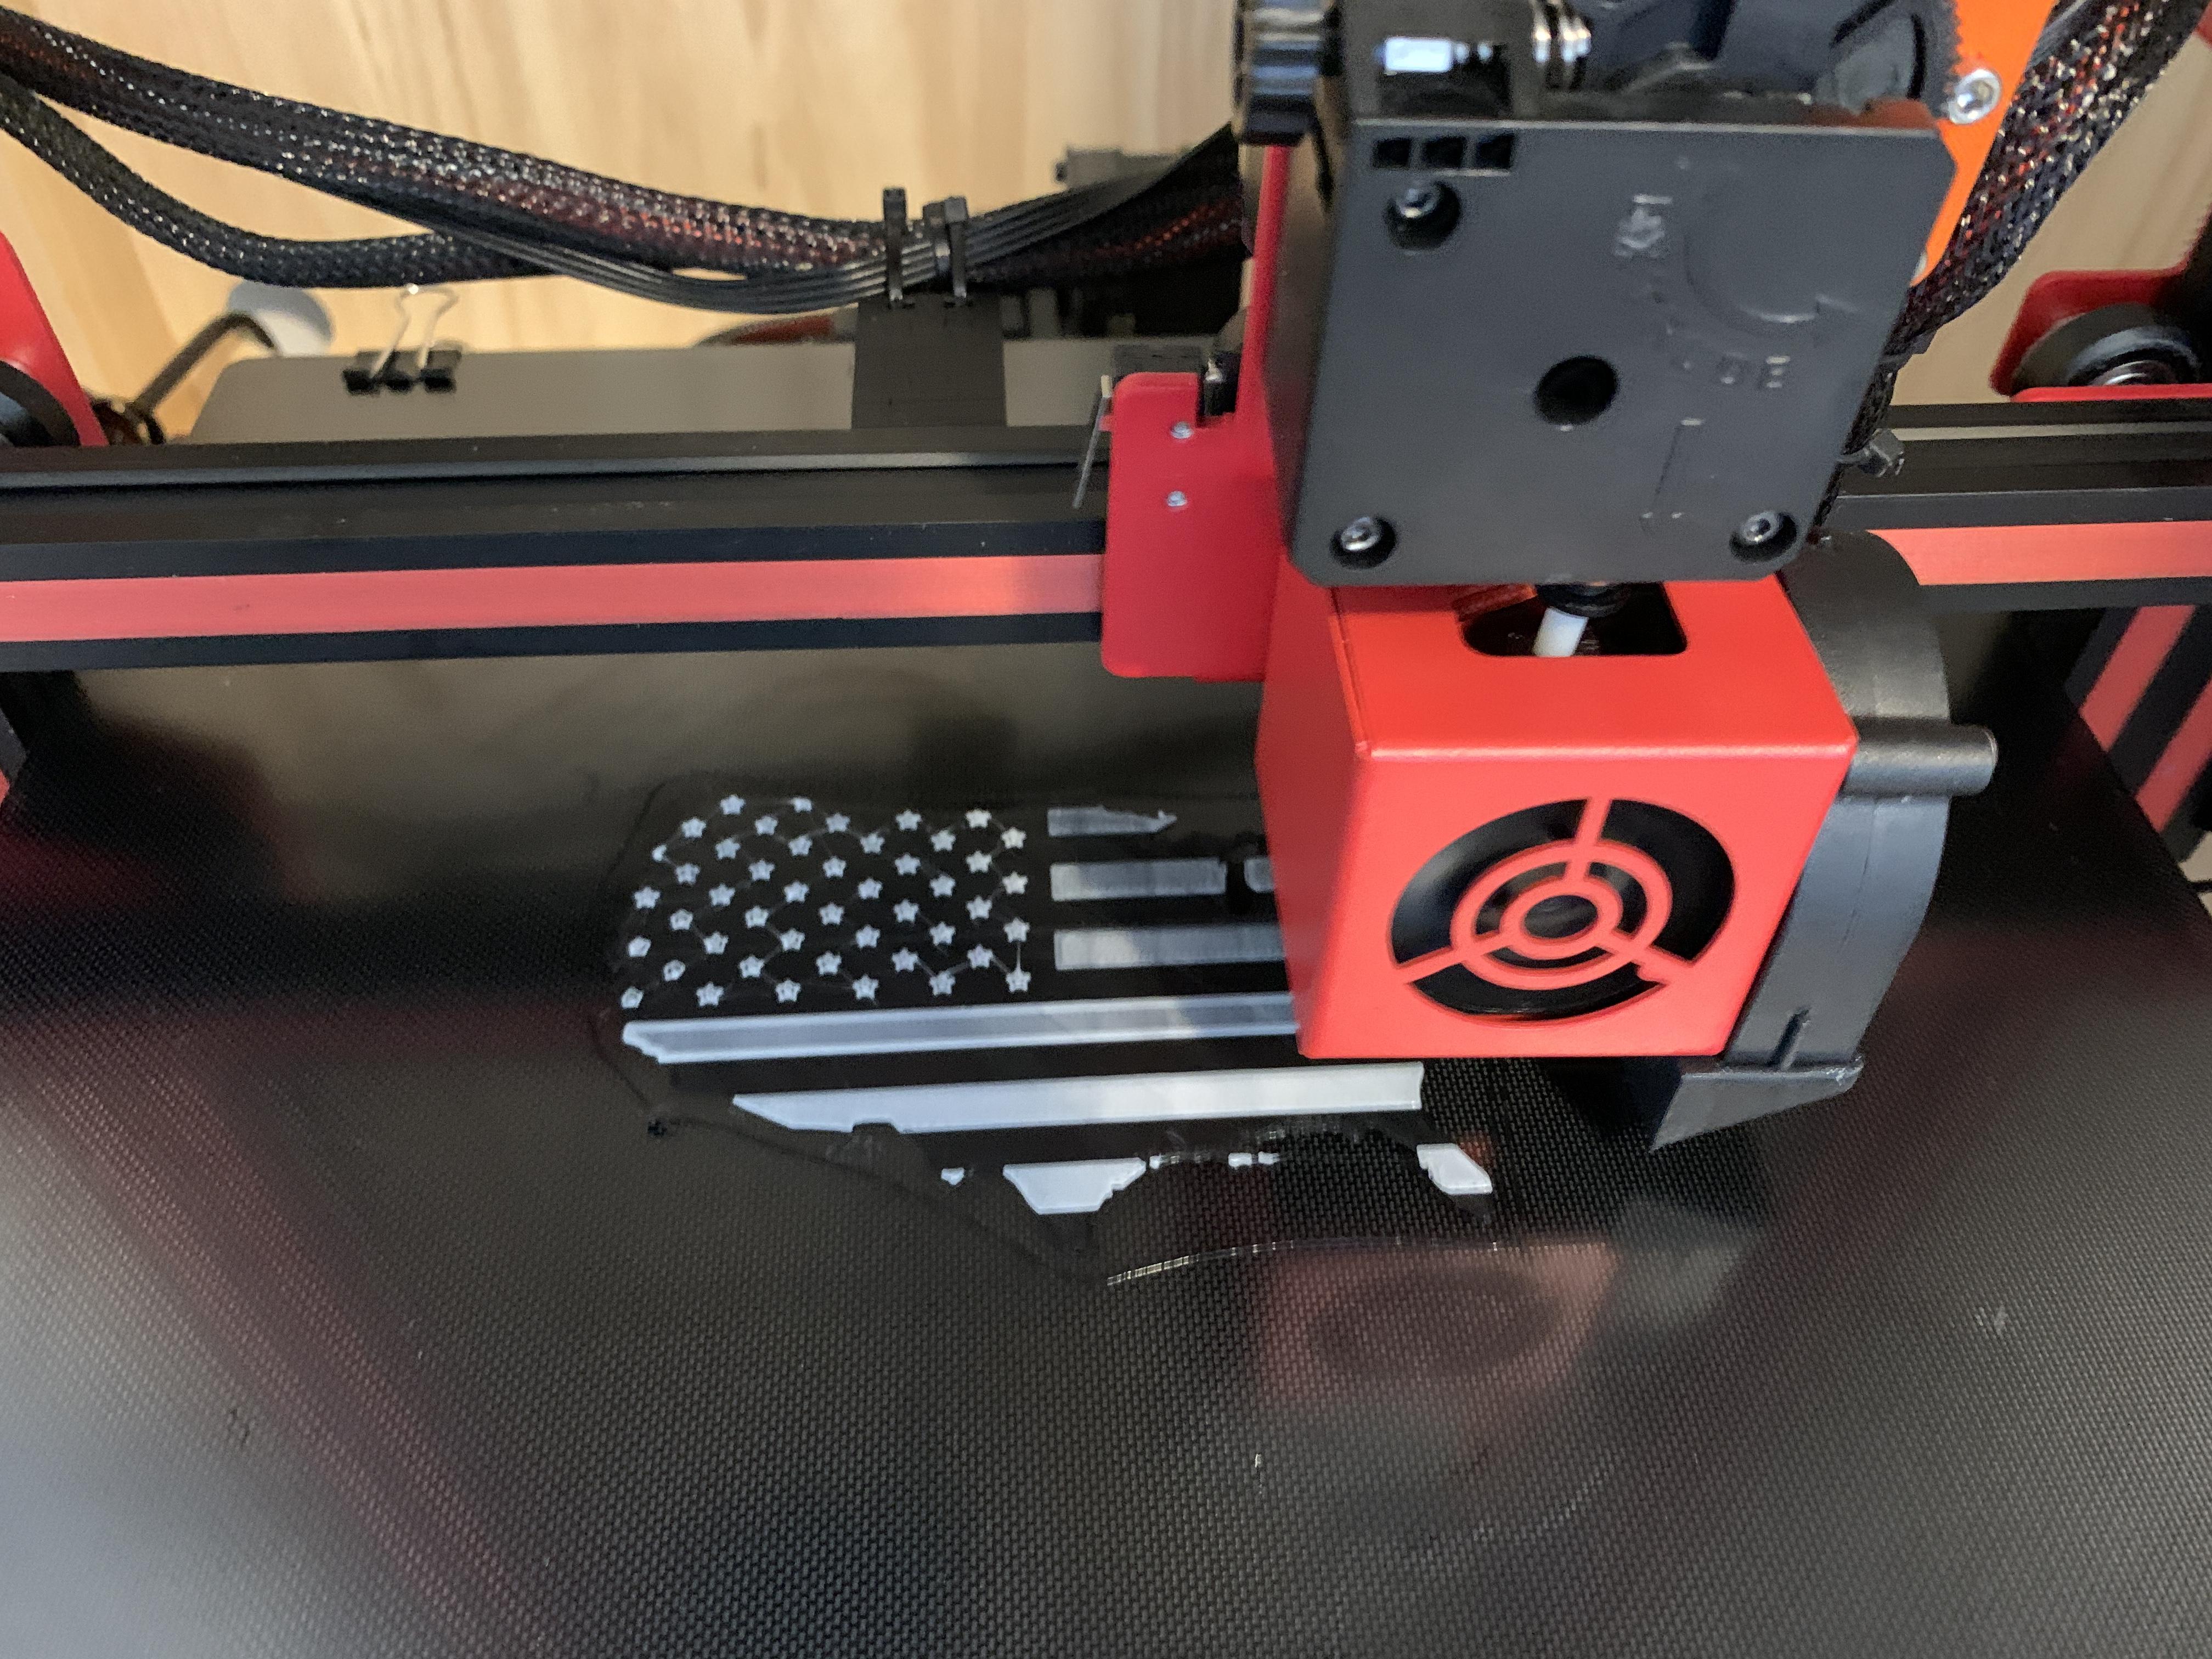
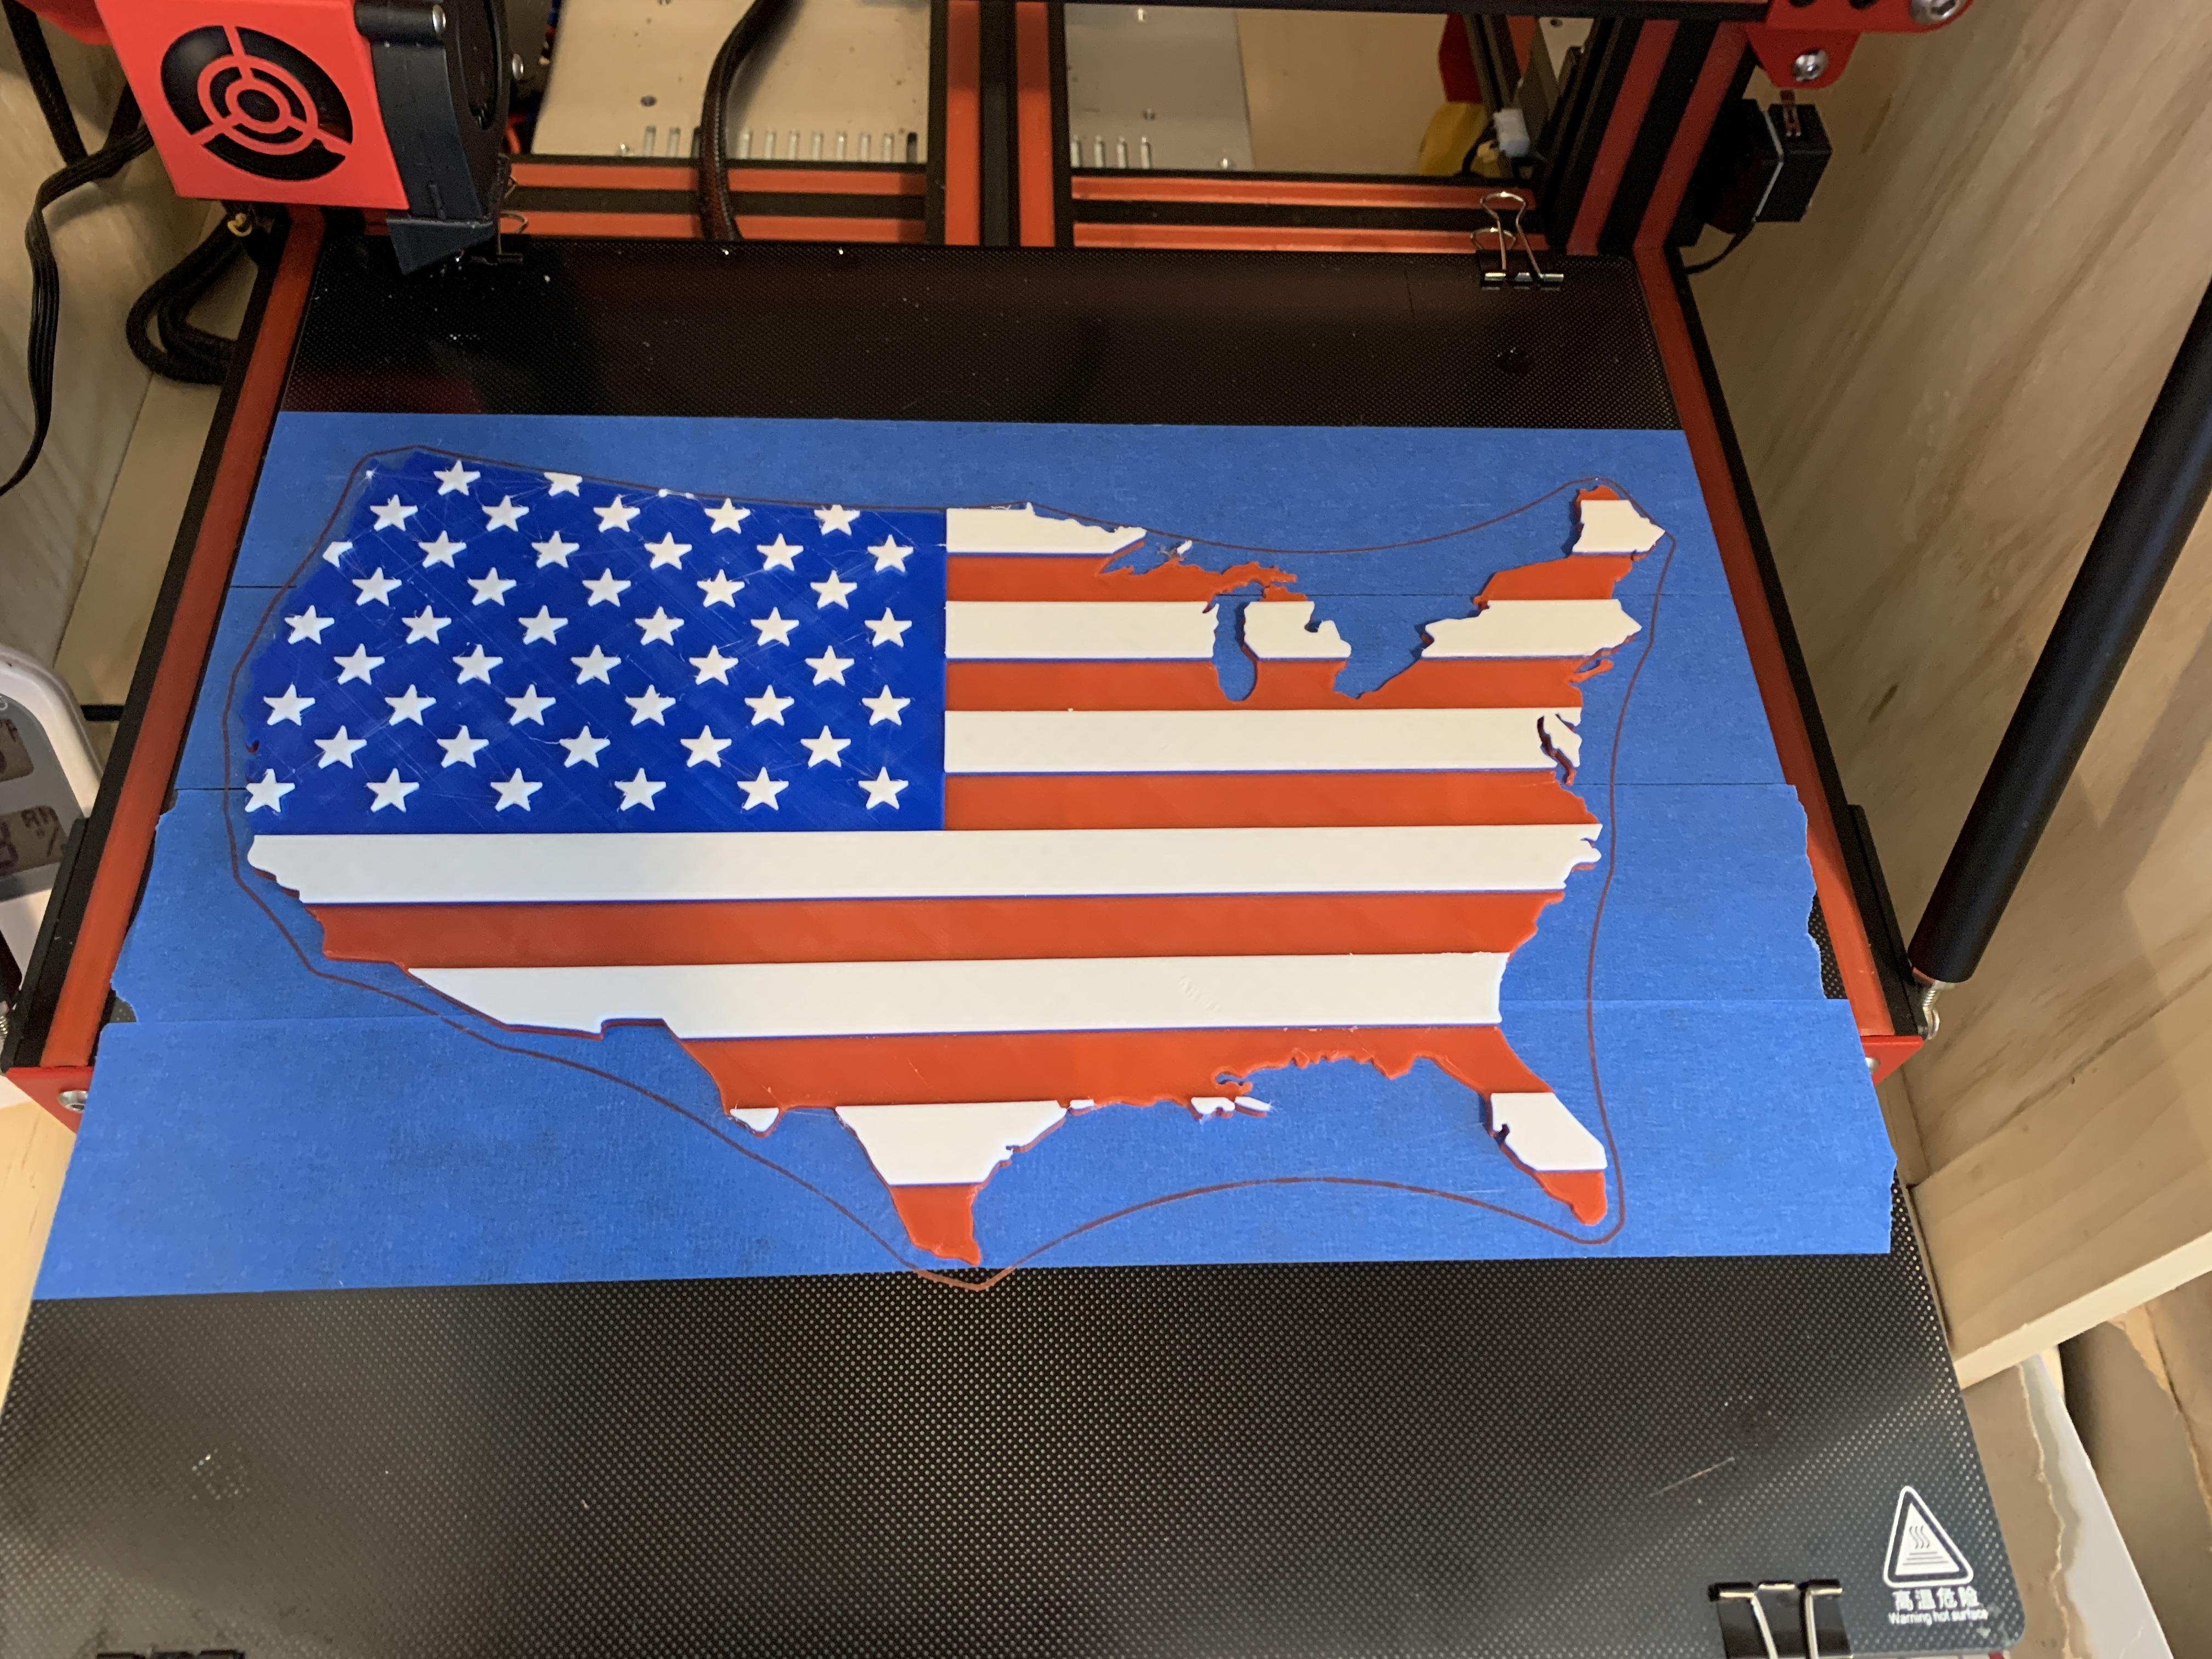
Load the first color (the shortest height) into your printer. Load and start the G-Code for printing. When your printer notifies you (via the plugin's added G-code), change to the next filament color (next height).
(optional) Glue Magnets On
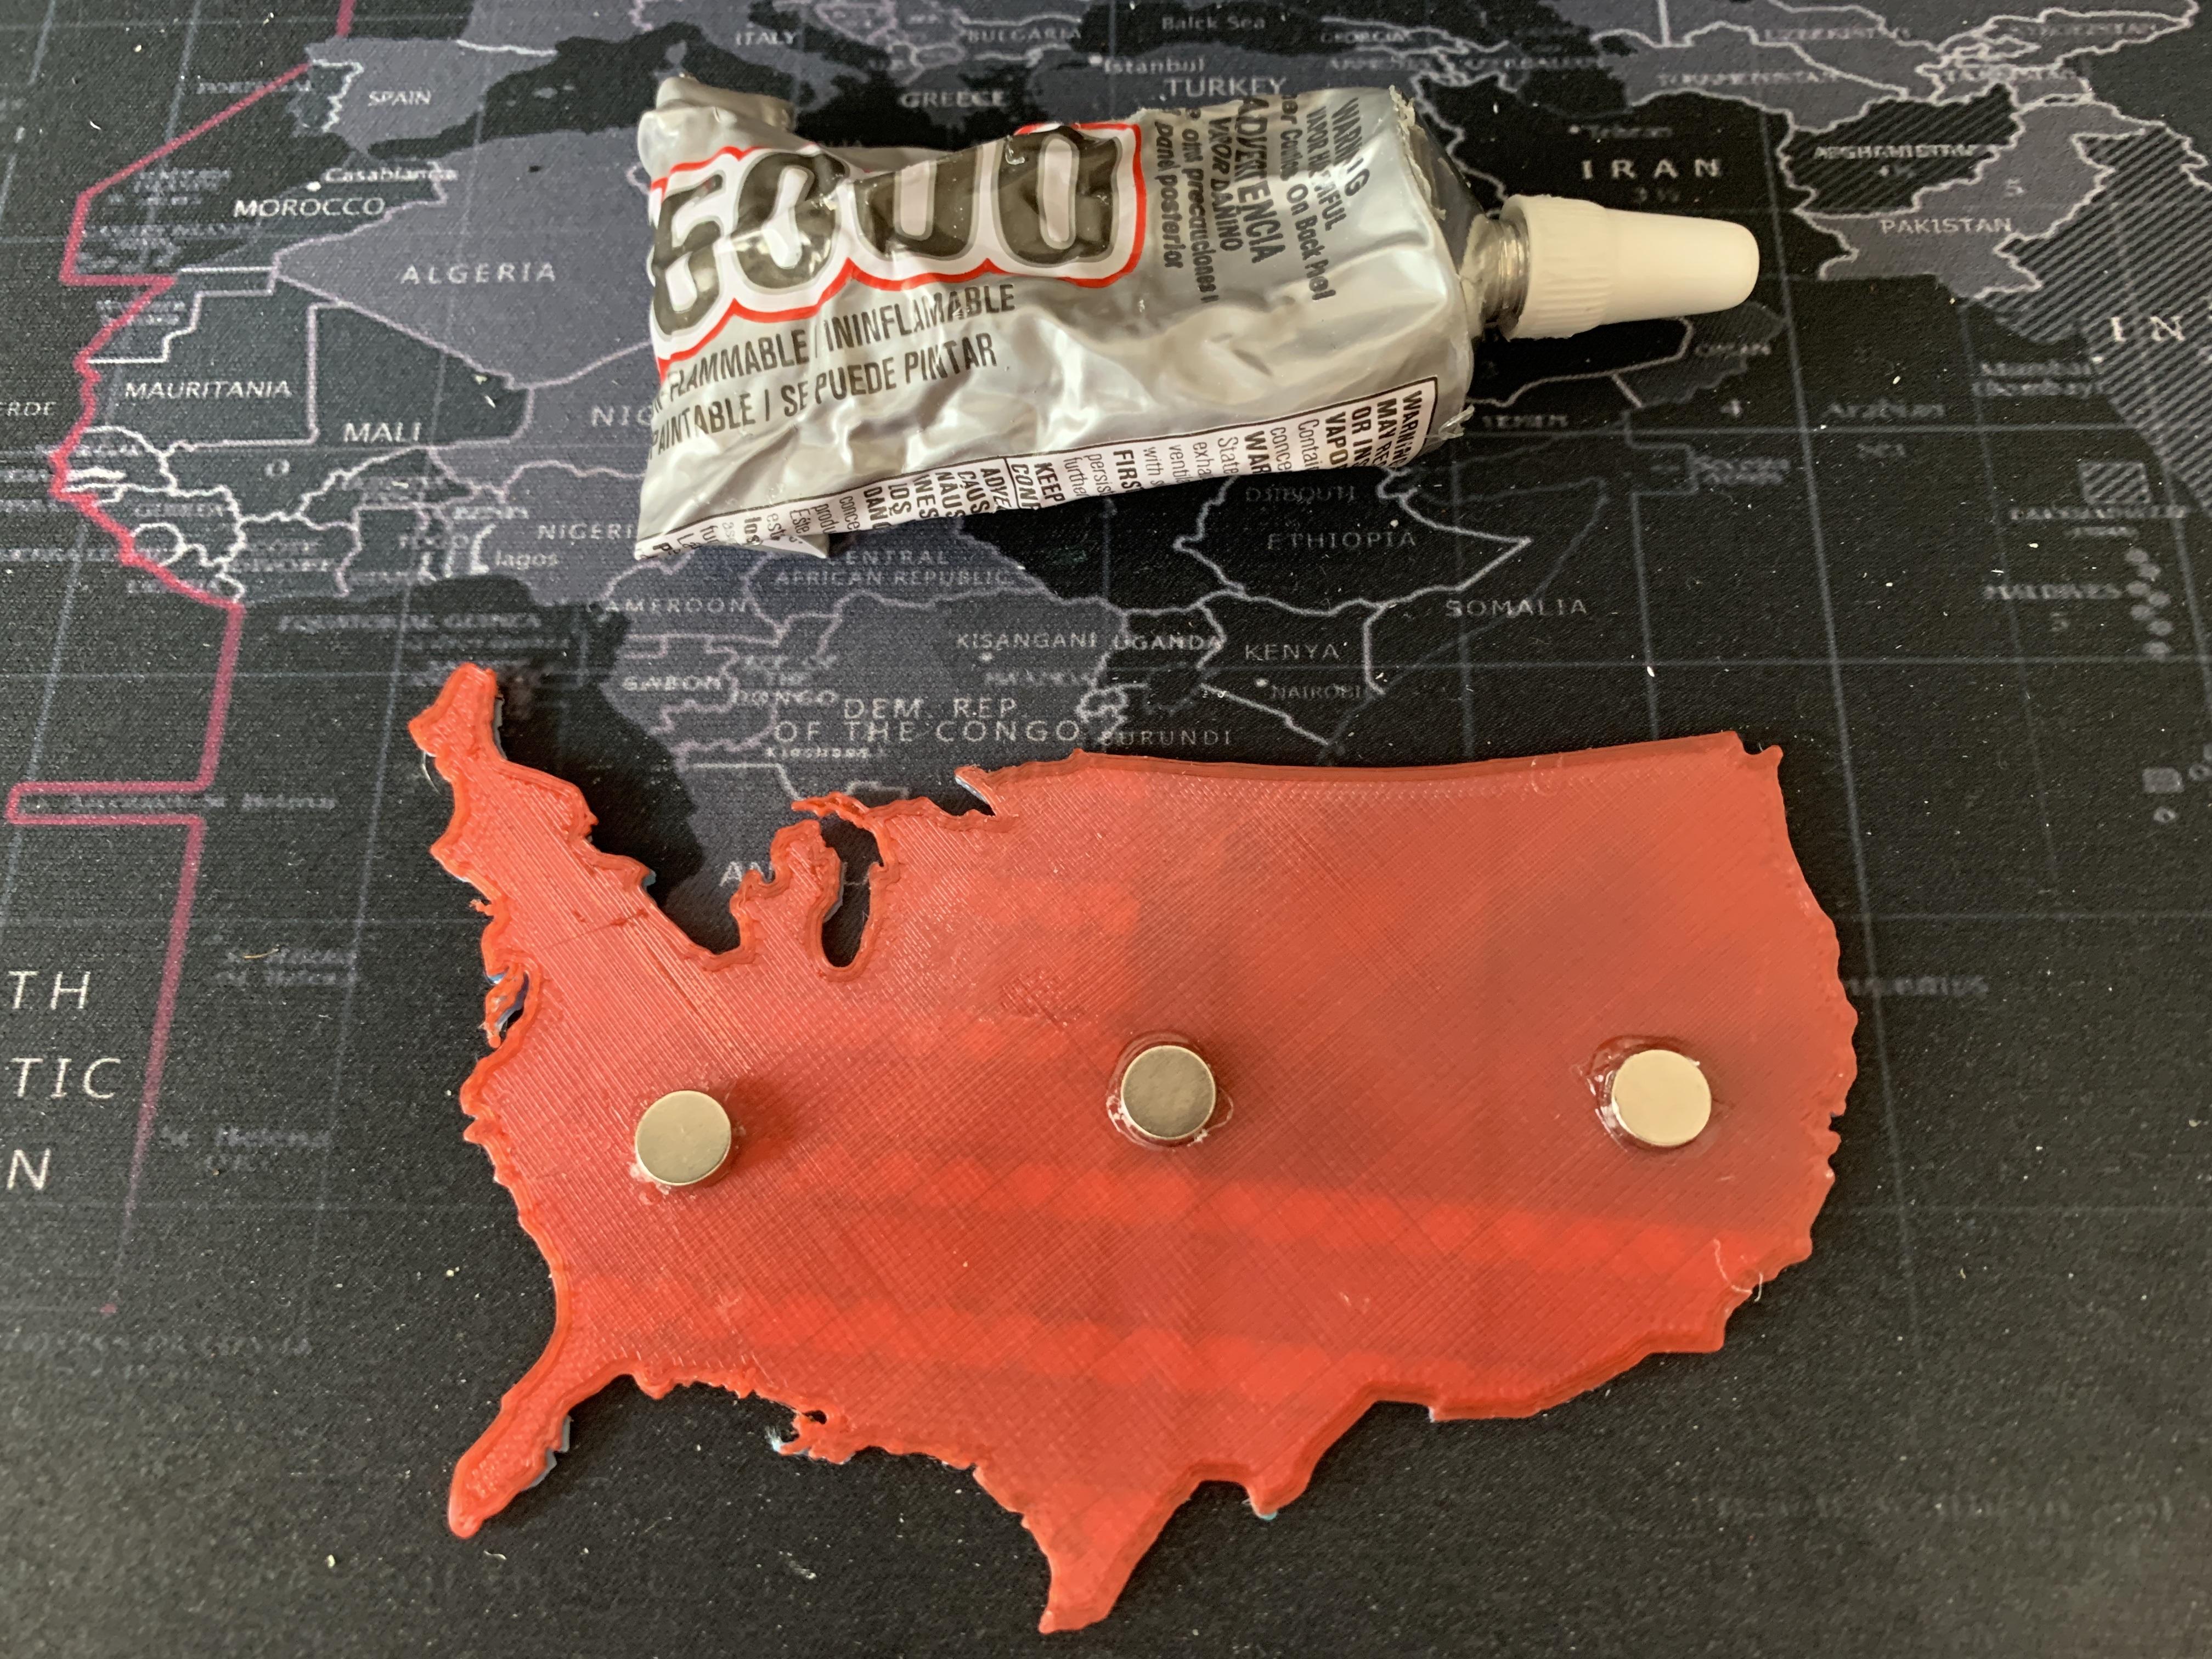
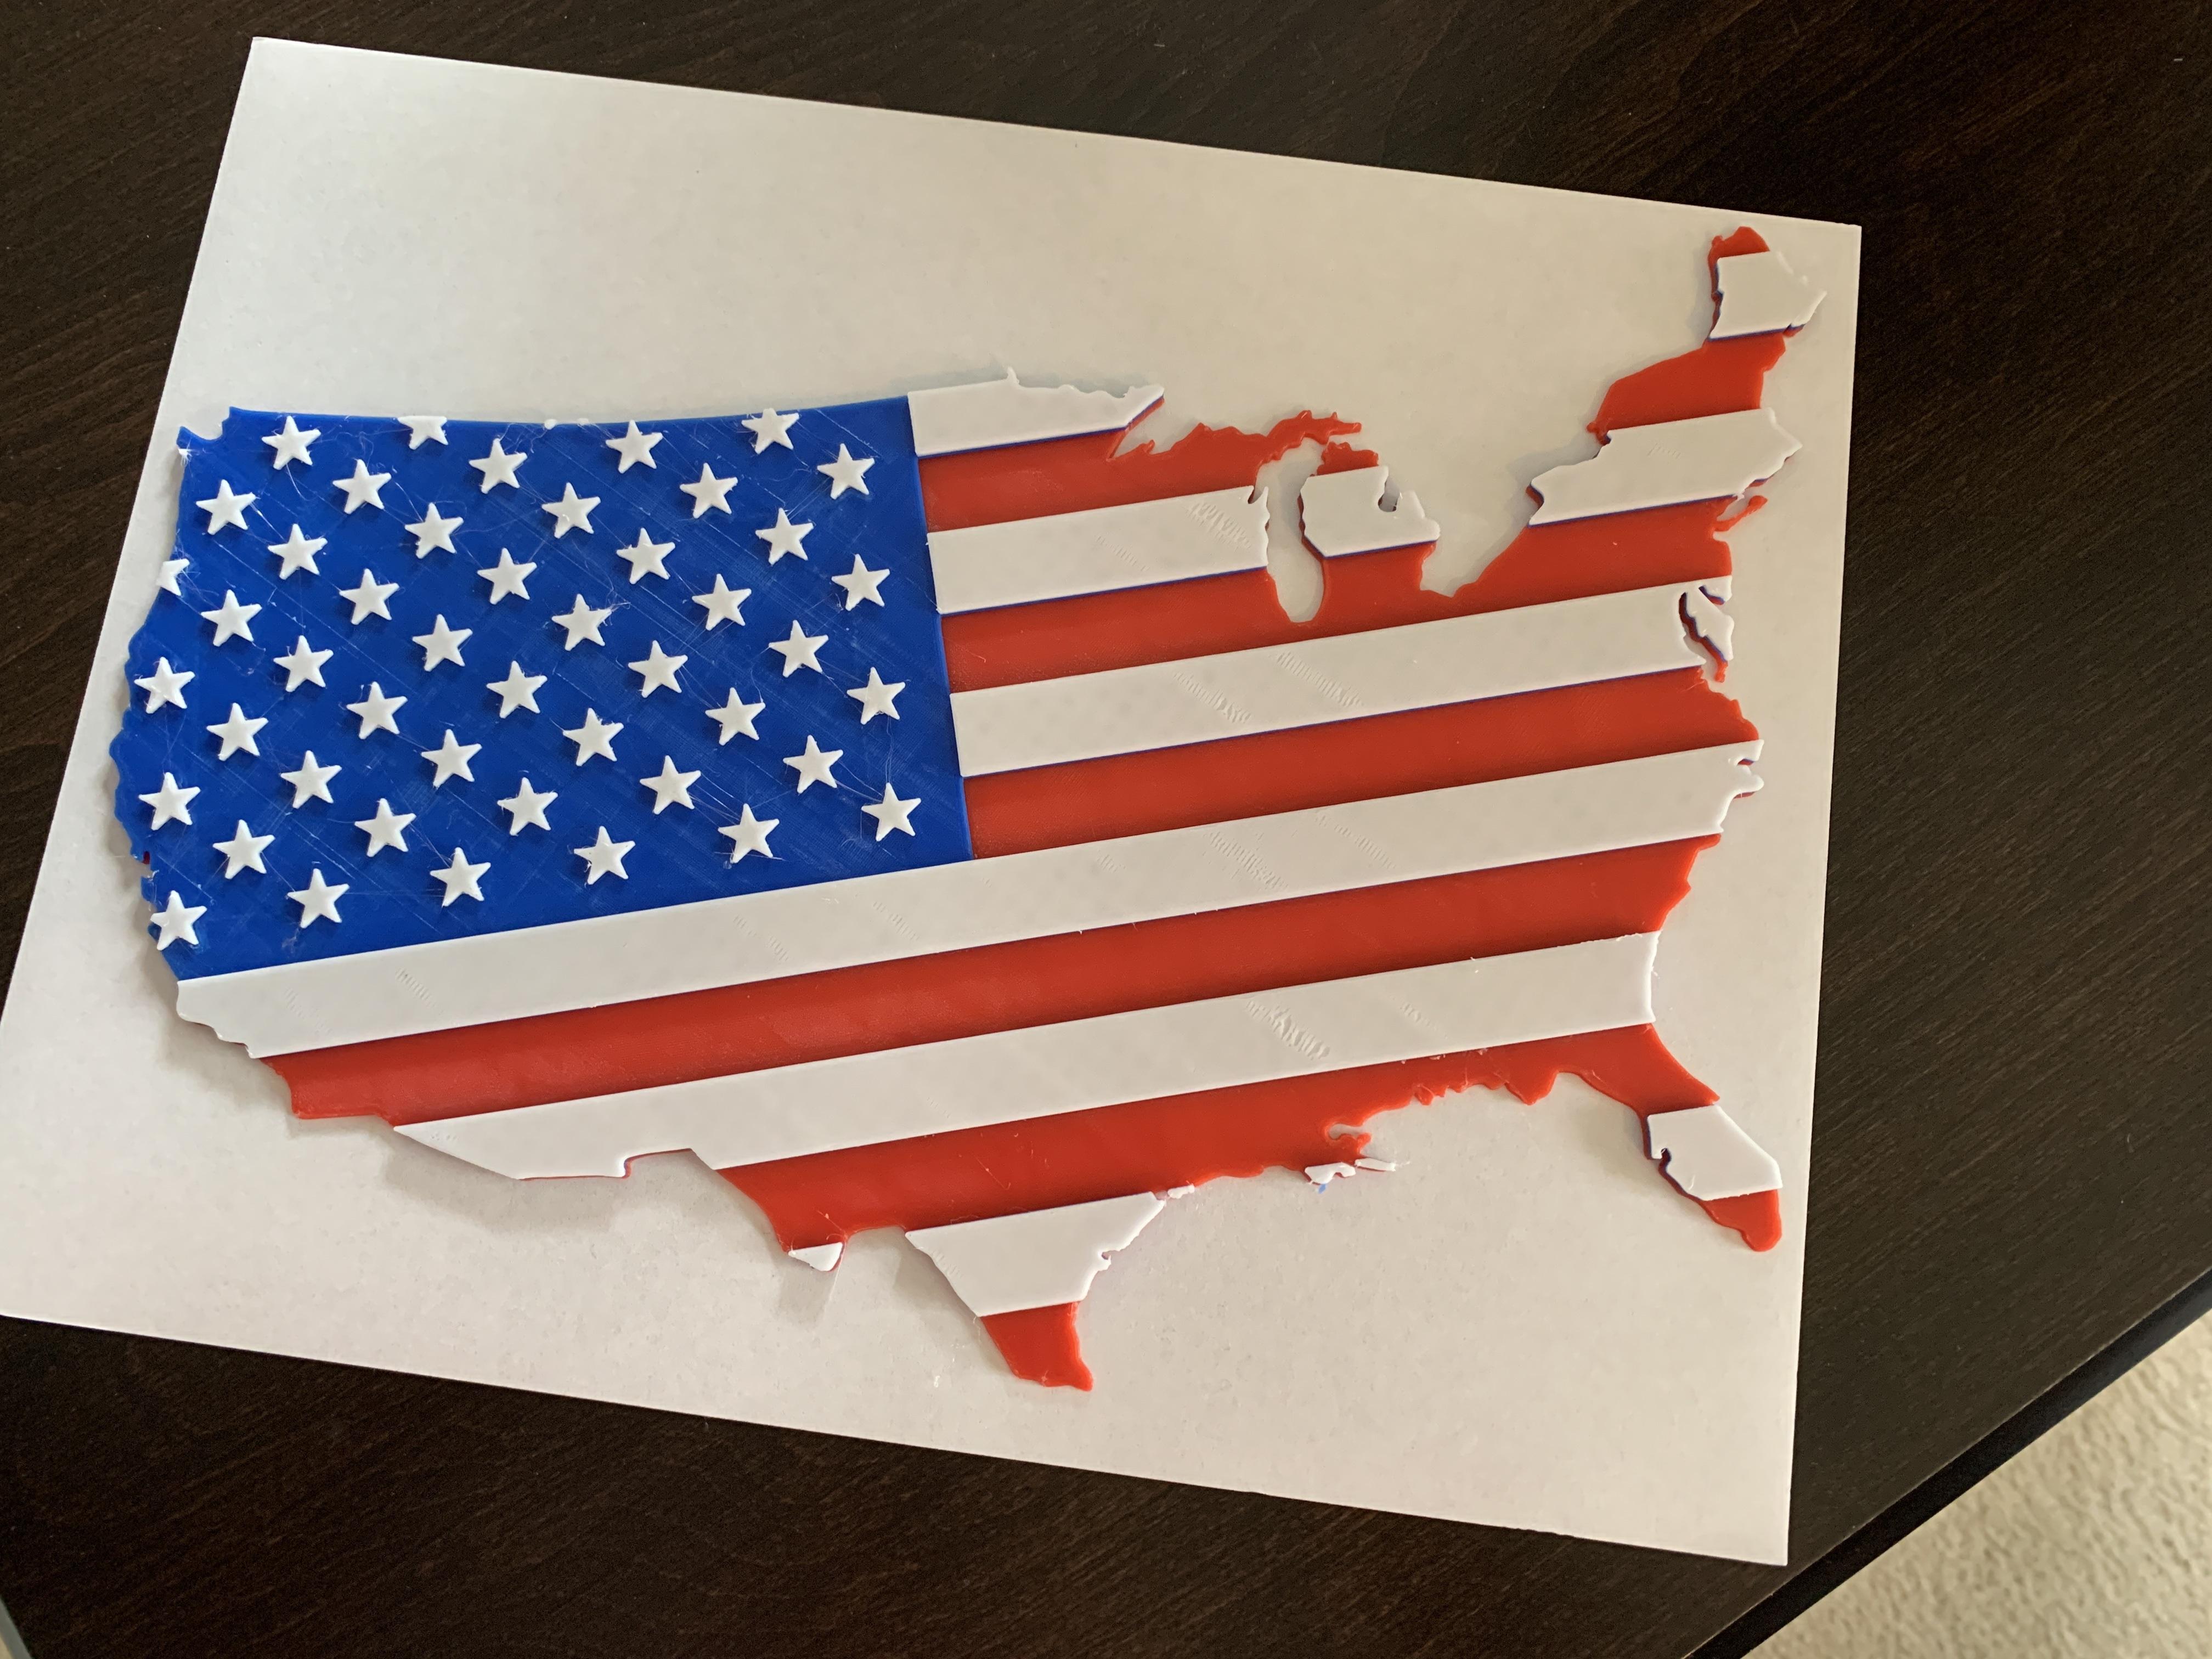
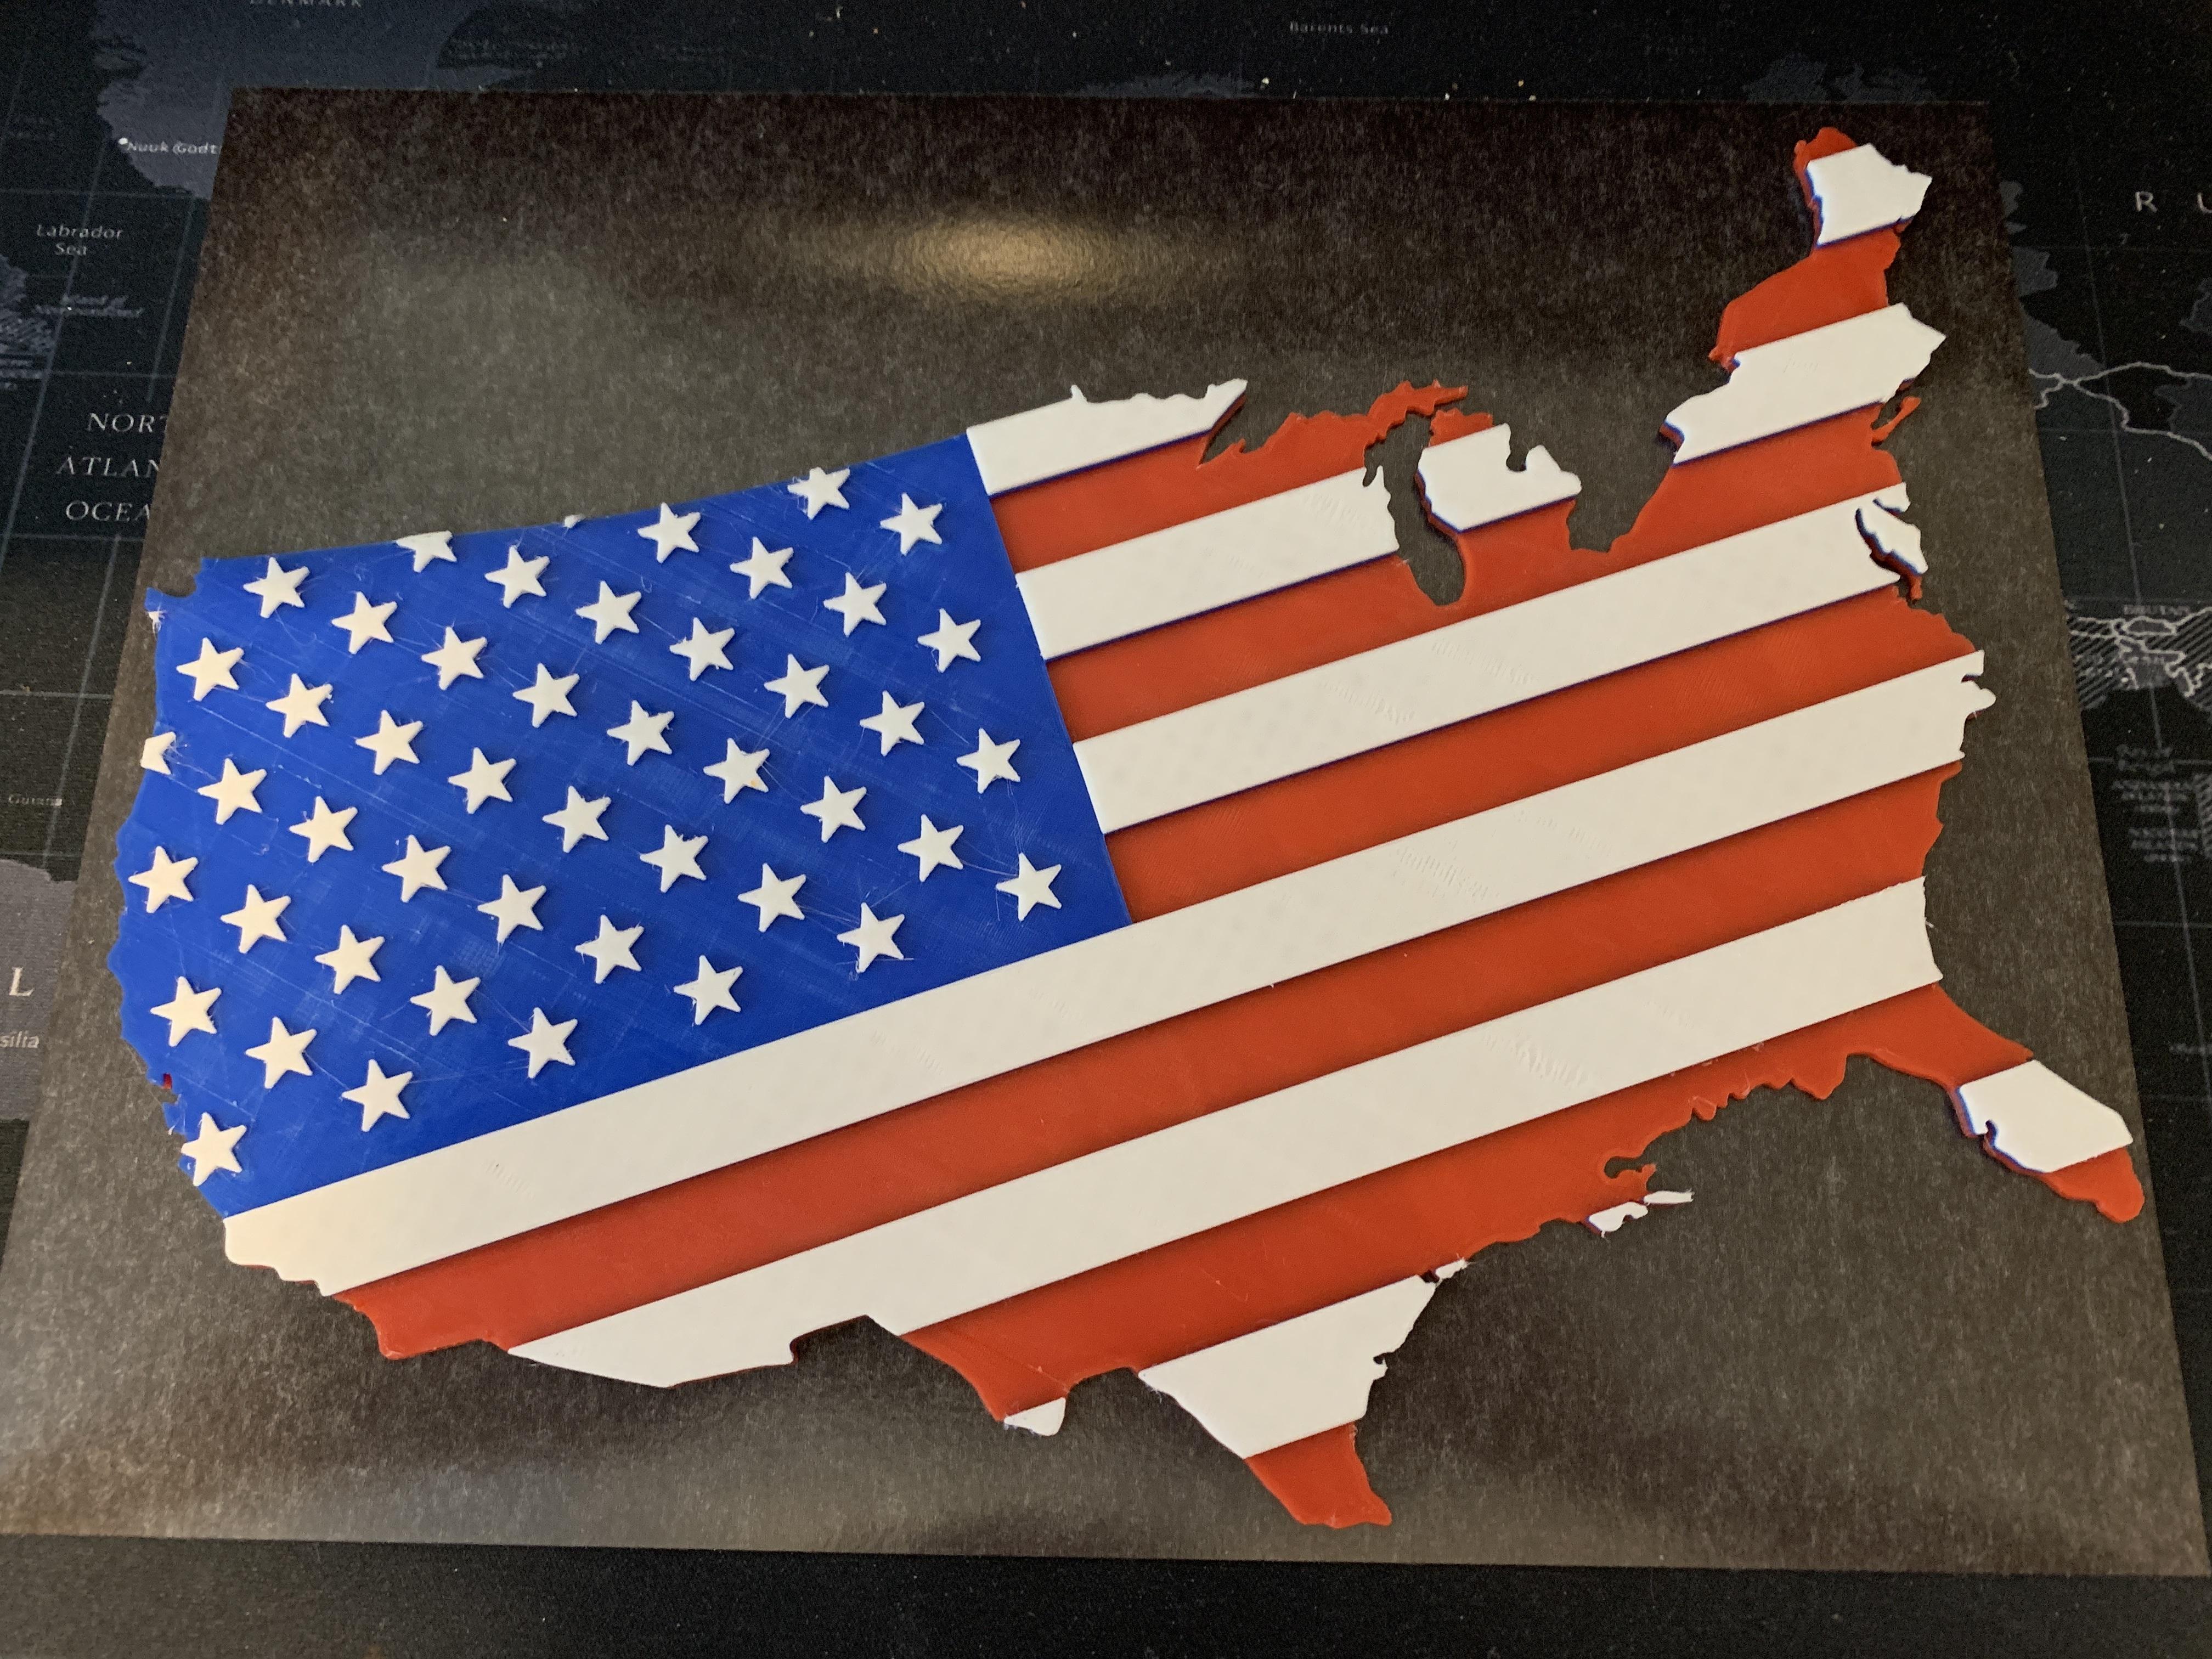
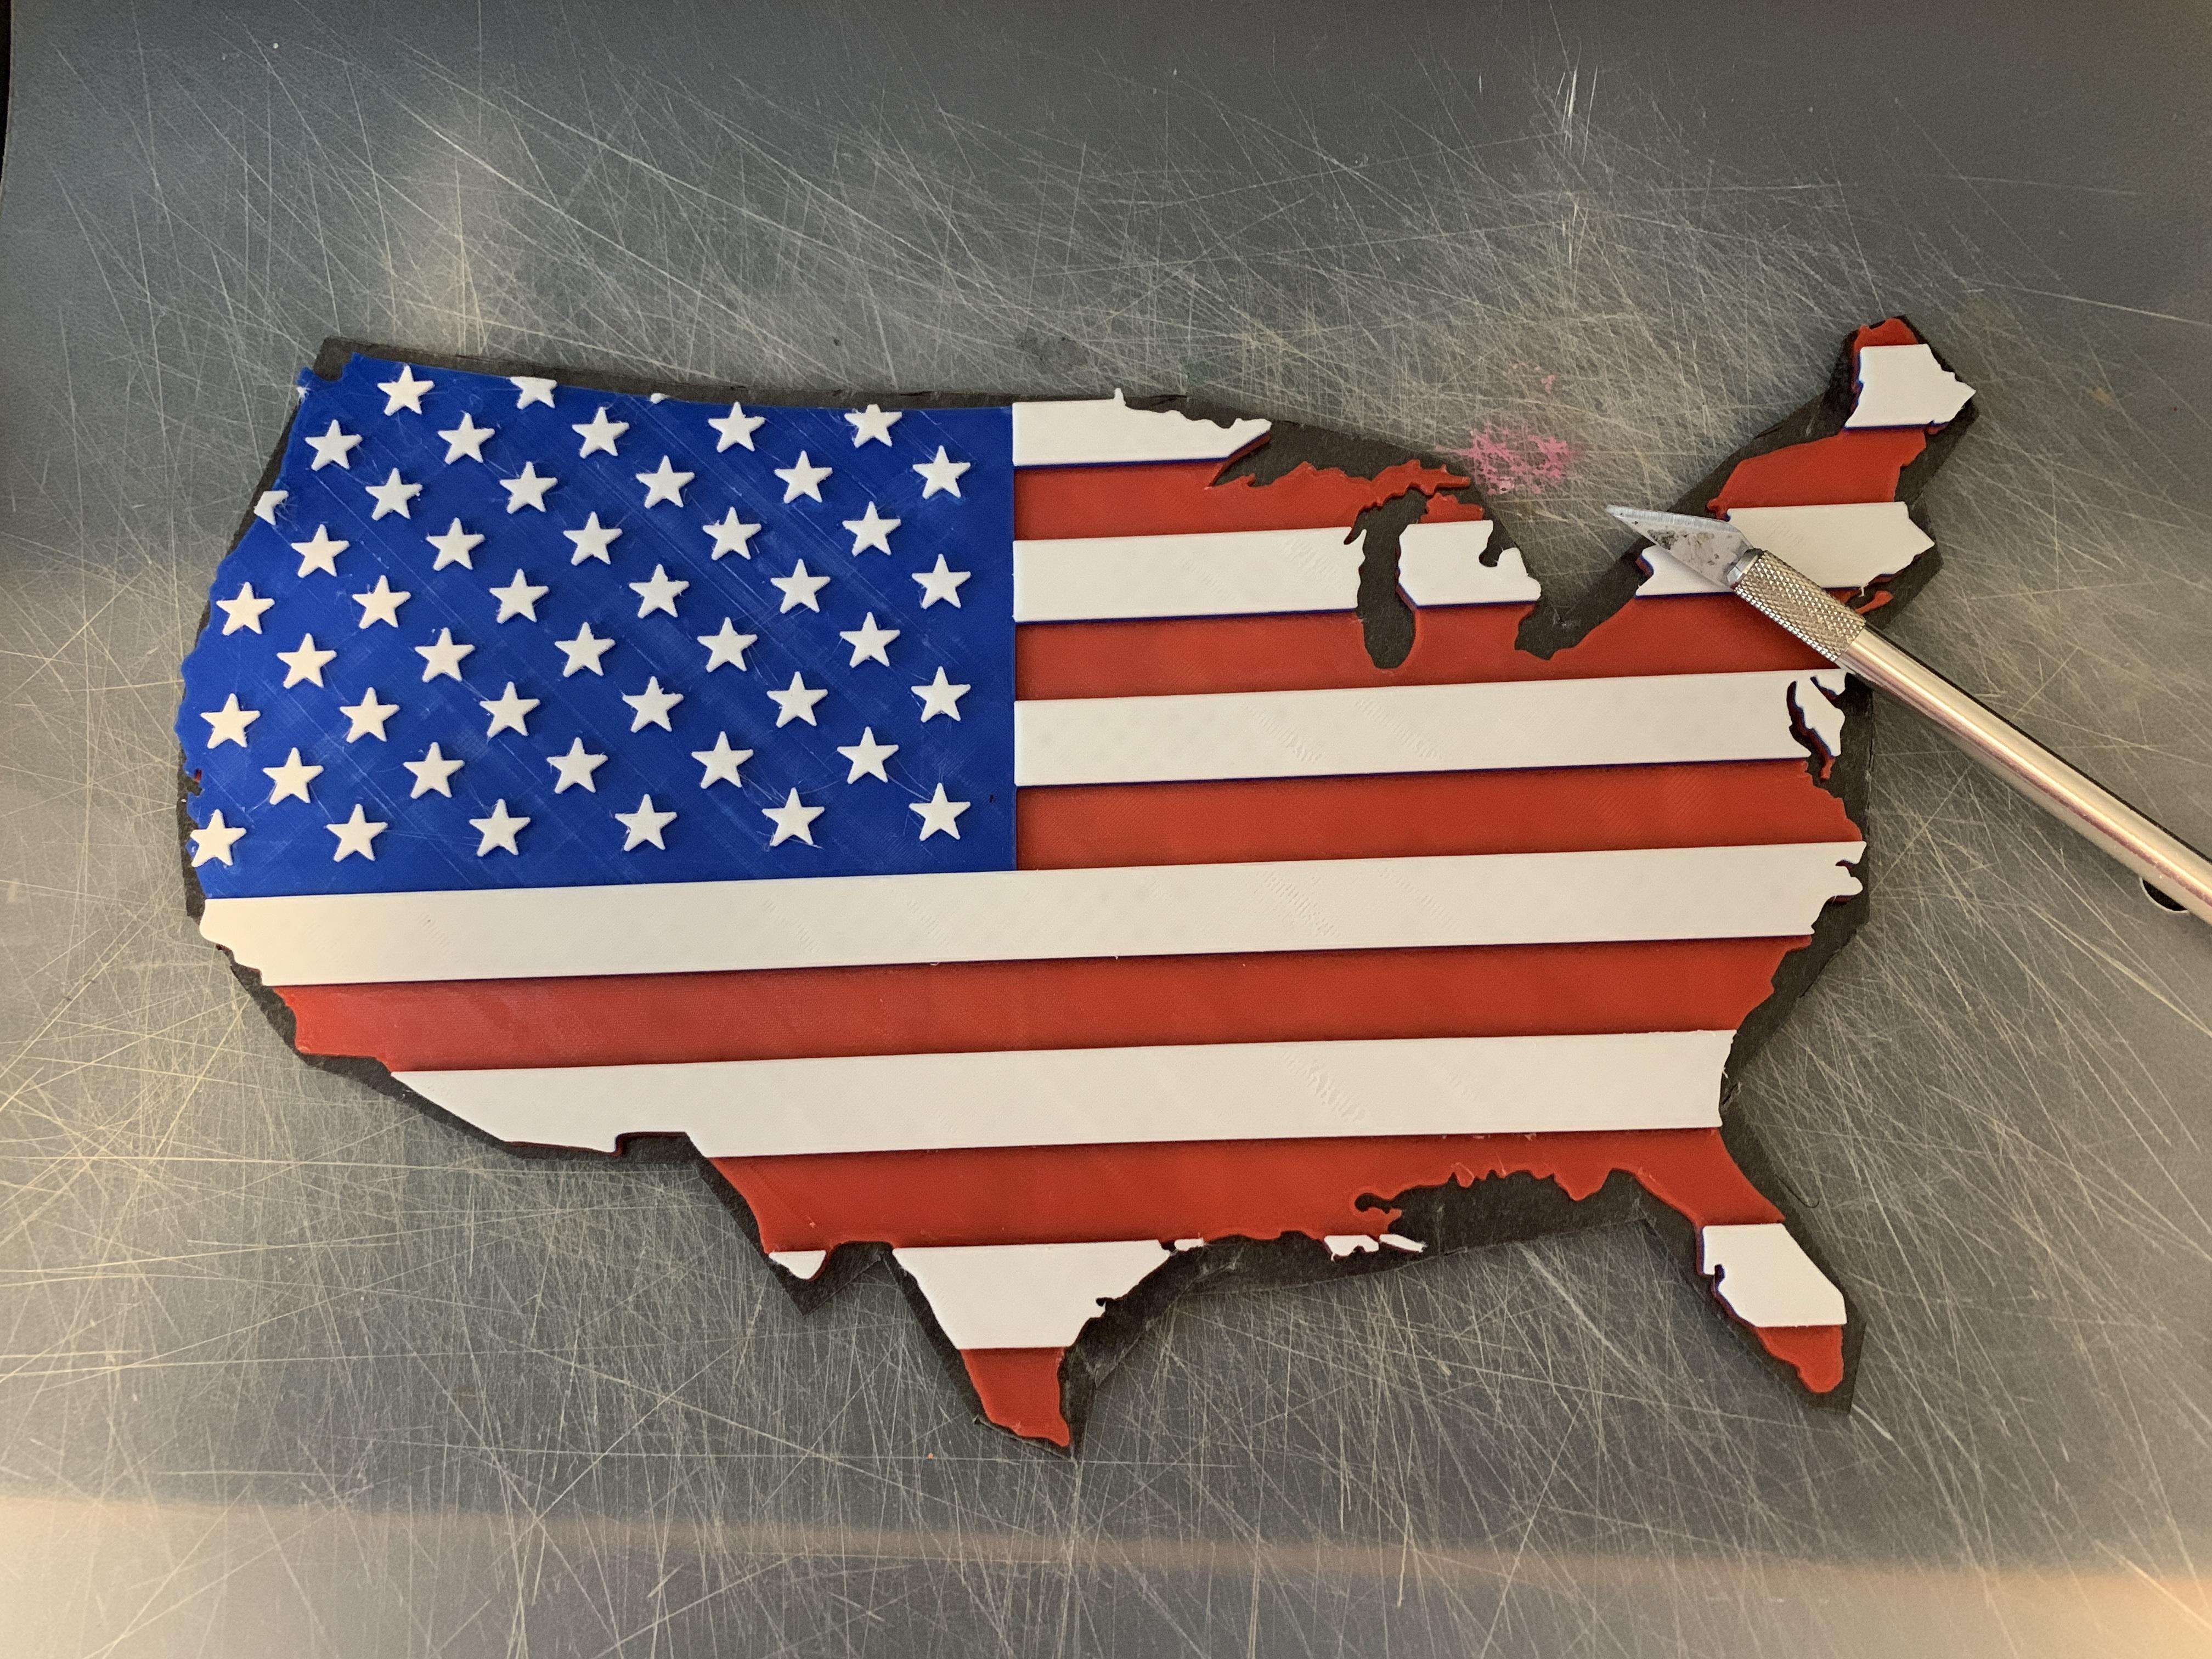
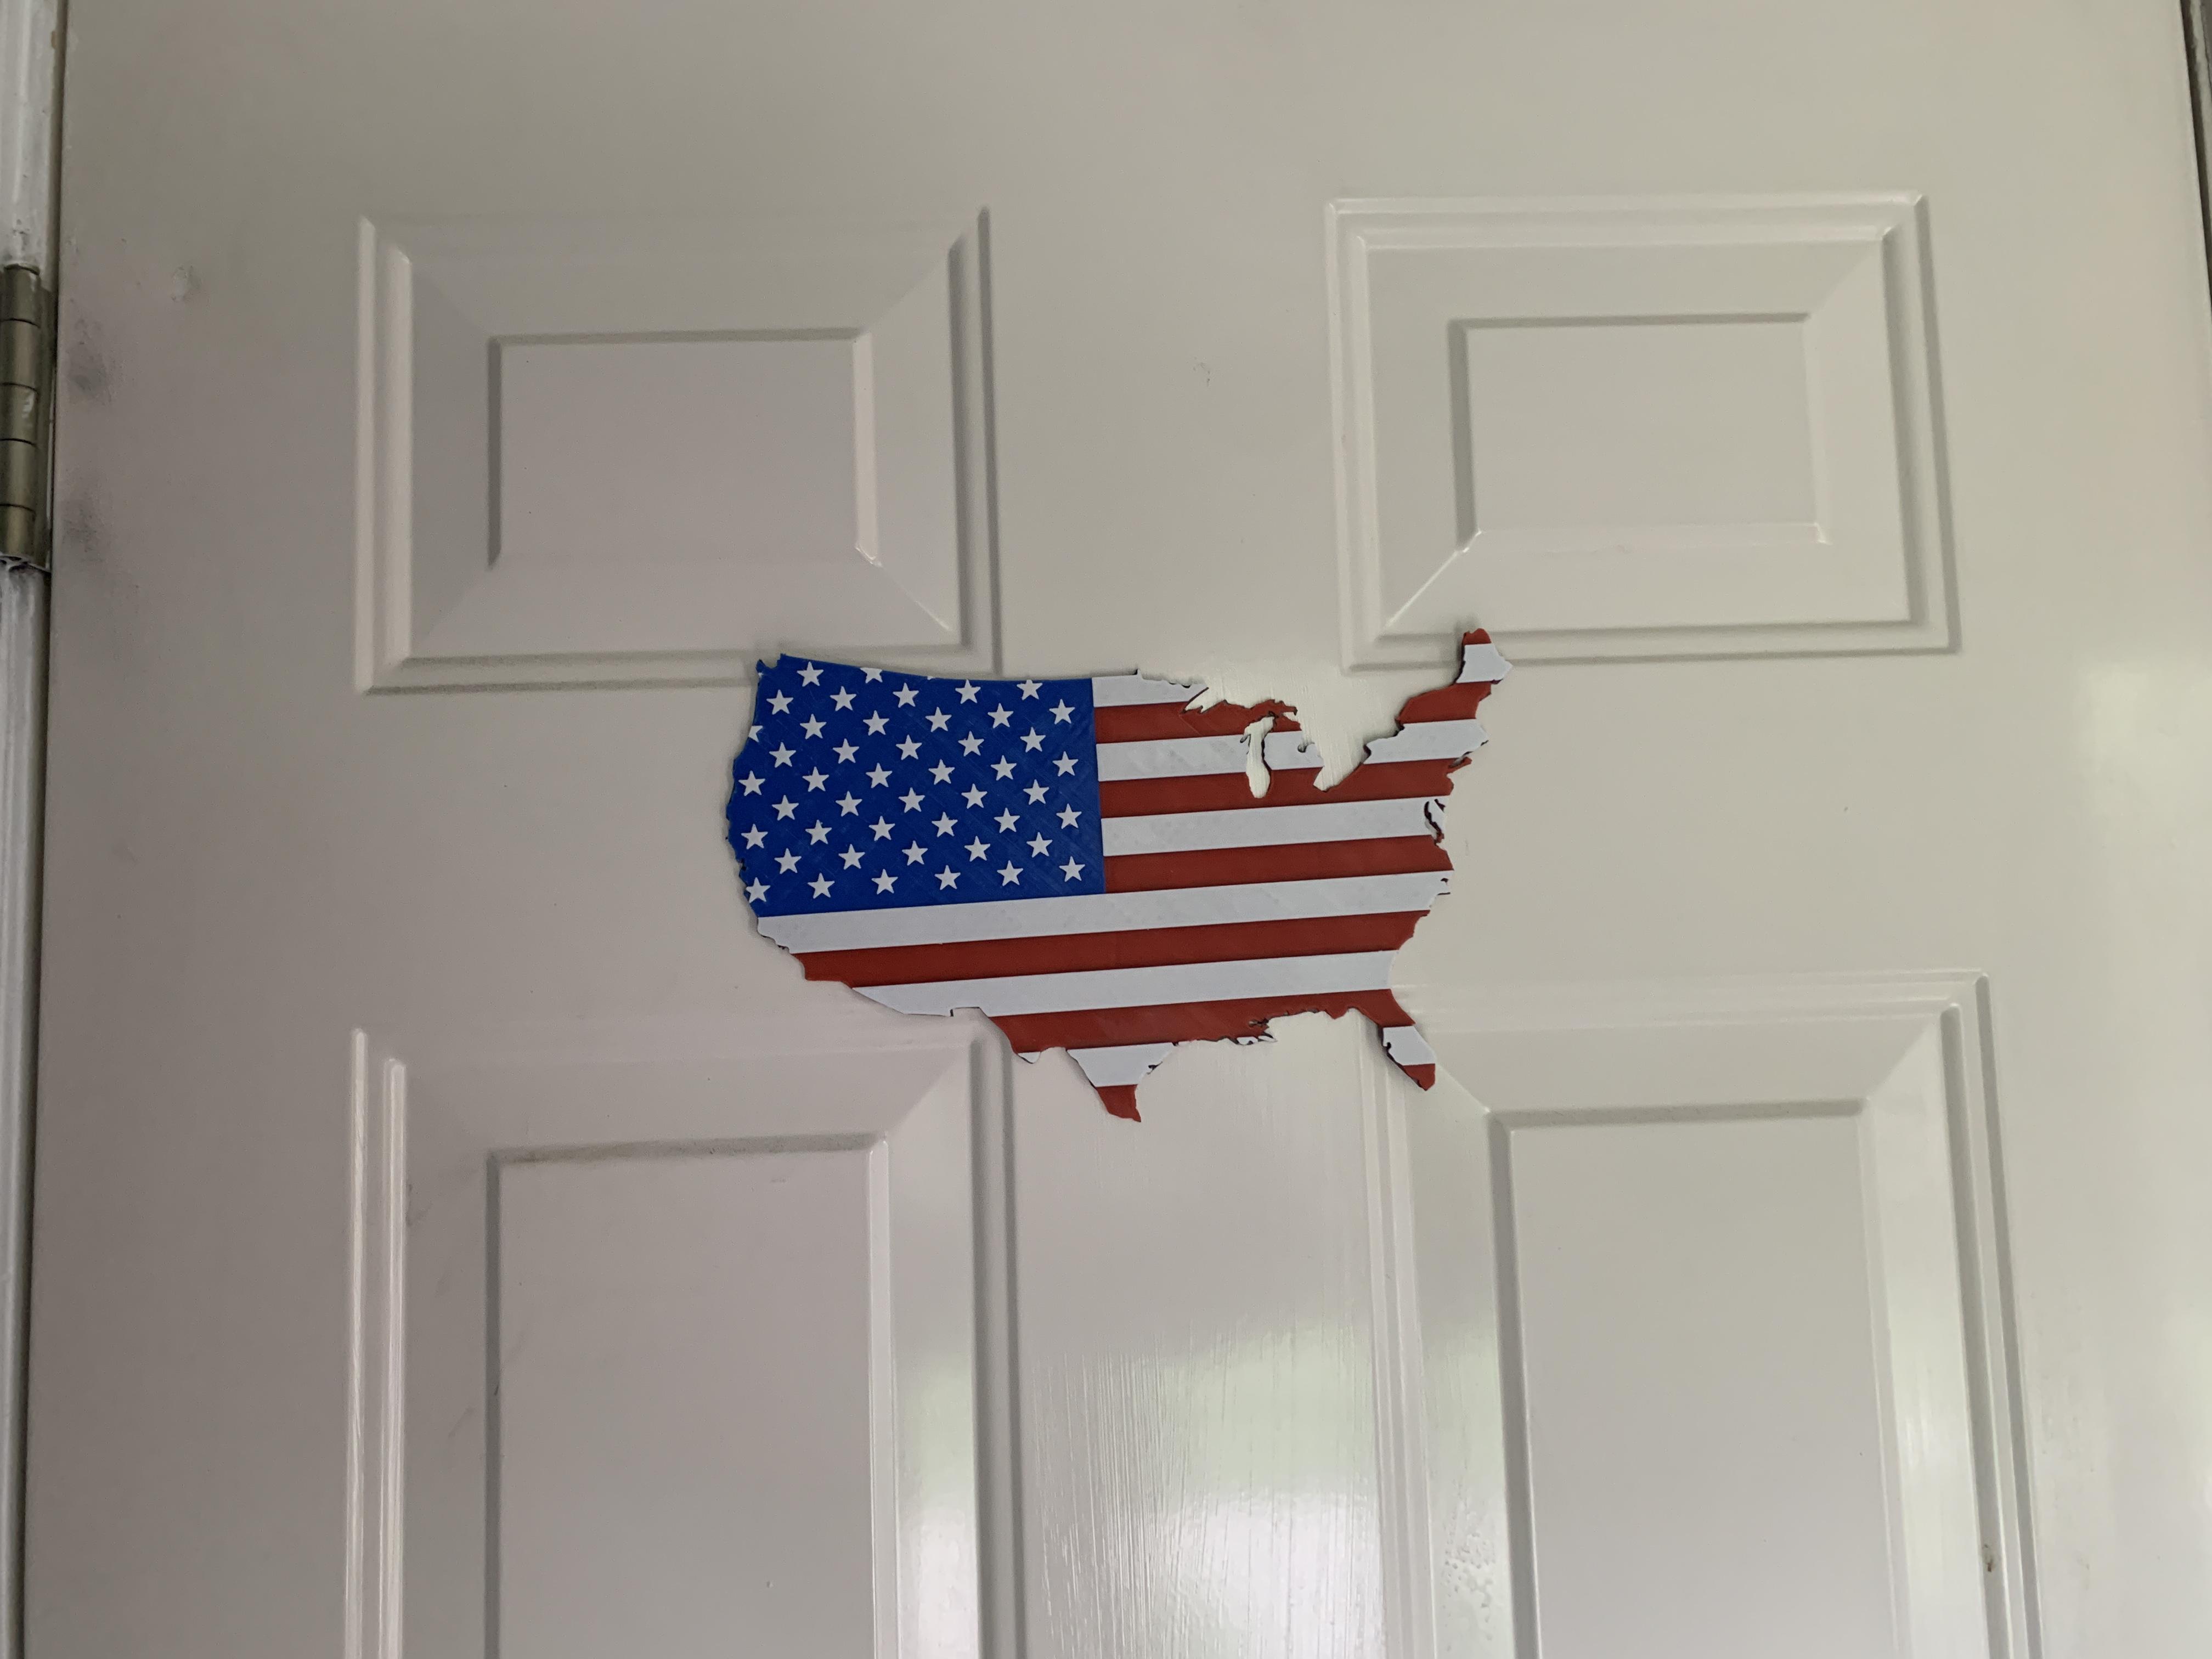
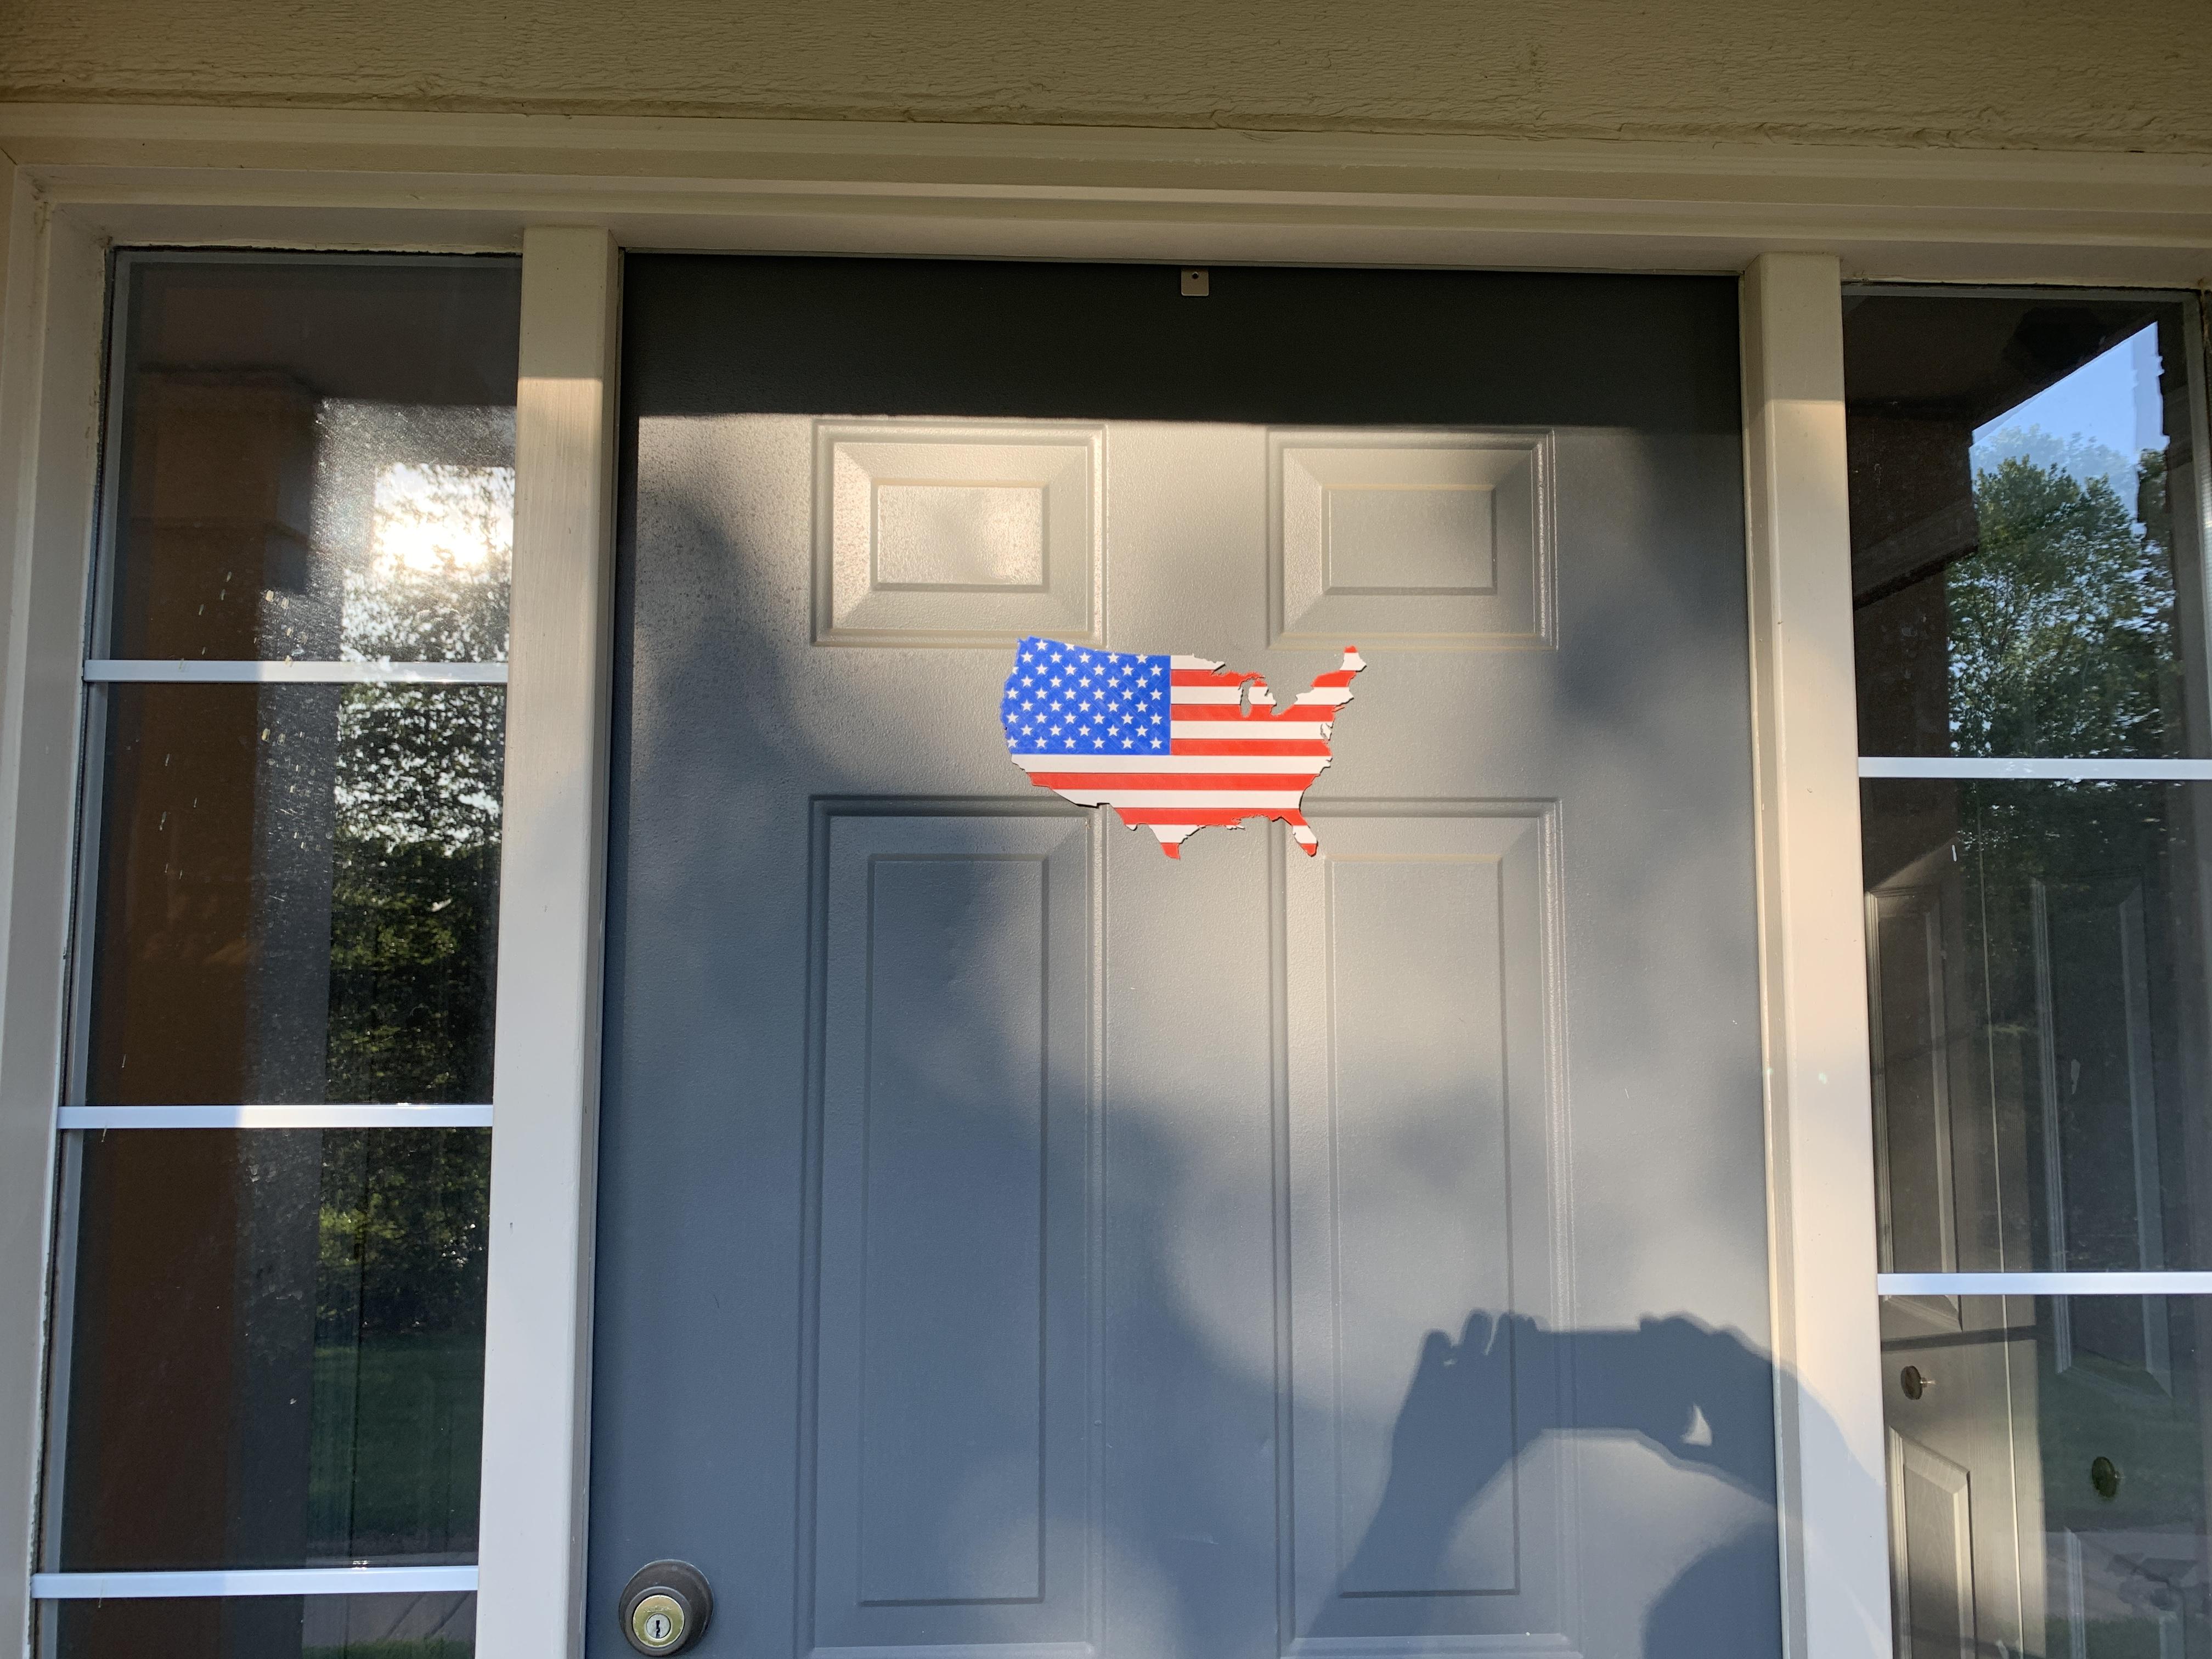
Glue magnets on
What do do with 3D printed map? Leave the final print on your desk? Use E6000 to glue magnets on the back? Show everyone how patriotic you are? I've used sheet magnets, but the ones I've tried didn't hold up in the sunlight/heat outdoor in summer.