3D Body Scanner Using Raspberry Pi Cameras
by poppy.oceanblue in Circuits > Raspberry Pi
35683 Views, 144 Favorites, 0 Comments
3D Body Scanner Using Raspberry Pi Cameras
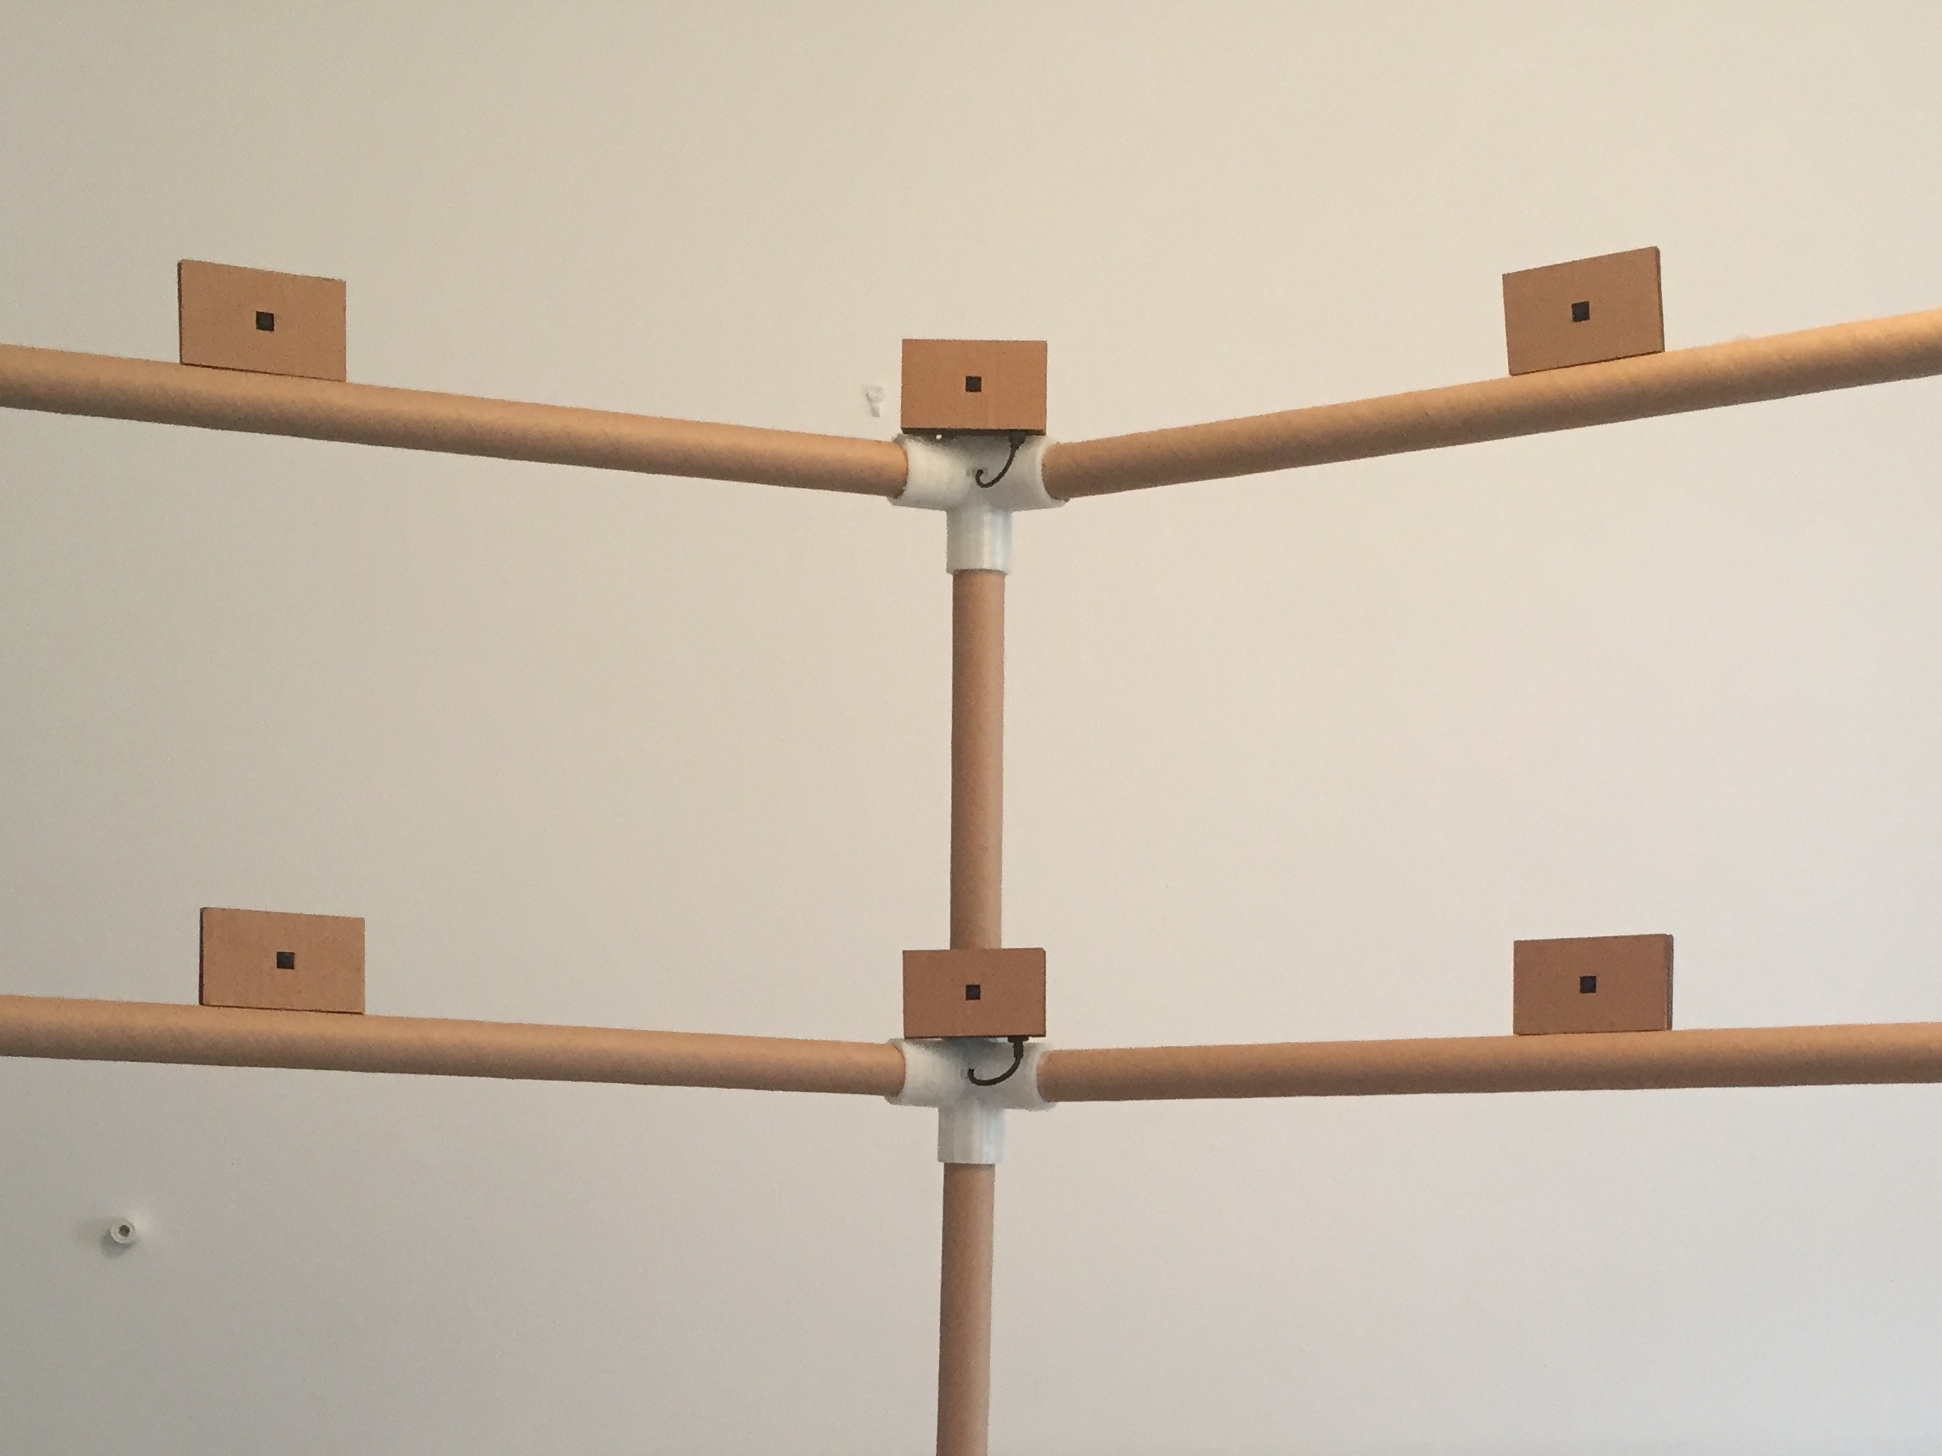
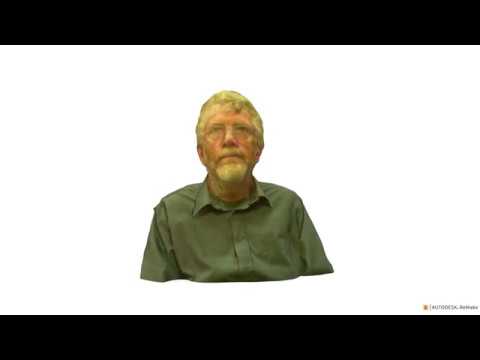
This 3D scanner is a collaborative project at BuildBrighton Makerspace with the aim of making digital technology affordable for community groups.
Scanners are being used in the fashion industry, to customise clothes design, in the games industry for virtual reality and in gyms to monitor health. If they are also available in makerspaces, which provide access to tools for production, there could be more potential for social innovation.
I am going to use the scanner to help me design clothes. To start with, I’ve sliced my model using free software, and laser cut a dressmakers dummy out of cardboard that is my exact personal body shape. Next, I’m planning to see what clothes look like on a 3D model in VR, before I commit to making them.
Santander gave me a grant of £1000 to build the scanner, as a University of Brighton Digital Award. We spent more than that prototyping different options, but as part of our design brief we've made sure the final version could be replicated within that budget. At that price, other community groups may be able to raise funds to build something similar.
Please note: This project uses mains electricity and requires knowledge of wiring, so for safety's sake, the sections about building the scanner show what we did, with a level of detail intended for reference rather than copying, and the sections on coding and using the scanner are written as 'How to' guides. It’s an ongoing project, so I hope to be able to provide full plans for a battery version soon. Check out my website or contact me if you want to know more.
For environmental reasons, we chose PLA for the 3D printed connectors and cardboard tubes for the structure. Cardboard is easy to reshape if the parts don't fit perfectly, so it makes a great prototyping tool, and at 3mm thick, the tubes are strong and rigid.
It was wonderful working on this collaborative project. Thanks to Arthur Guy for writing the code and other members of BuildBrighton who came and helped on Wednesday evenings, or happened to turn up whenever they were needed.
The Materials for this project were:
27 Raspberry Pi Zero W
27 Raspberry Pi camera modules
27 Raspberry Pi zero camera cables
27 USB to Micro USB cables
20 Cardboard tubes 125cm long x 32mm diameter with 29mm diameter core
8 End caps for the tubes
PLA 3D printing filament
8 Lids from disposable beer kegs
2 x A3 sheets 3mm laser quality birch plywood
230v-12v Power converter (because mains power is 230v in the UK)
12 CRT 5v power regulators
3 x 30 Amp blade fuses and holders
Electric cable
A box of 2, 3 and 5 lever wire connectors
50 Ferrules
Cable modem router
Ethernet cable
27 SD cards (16GB)
5mm Single walled corrugated card
2m Self-adhesive Velcro®
4 x USB battery packs
The tools we used were:
Apple® computer (the camera server software has been written for the Apple® operating system, but may also work on Linux)
PC computer because Autodesk Remake™ stopped providing support for Mac users in the middle of this project
Internet (wired and wireless)
The free version of Autodesk Remake™
3D Printer
Laser cutter
Ferrule crimper
Cable cutter
Chop saw and band saw
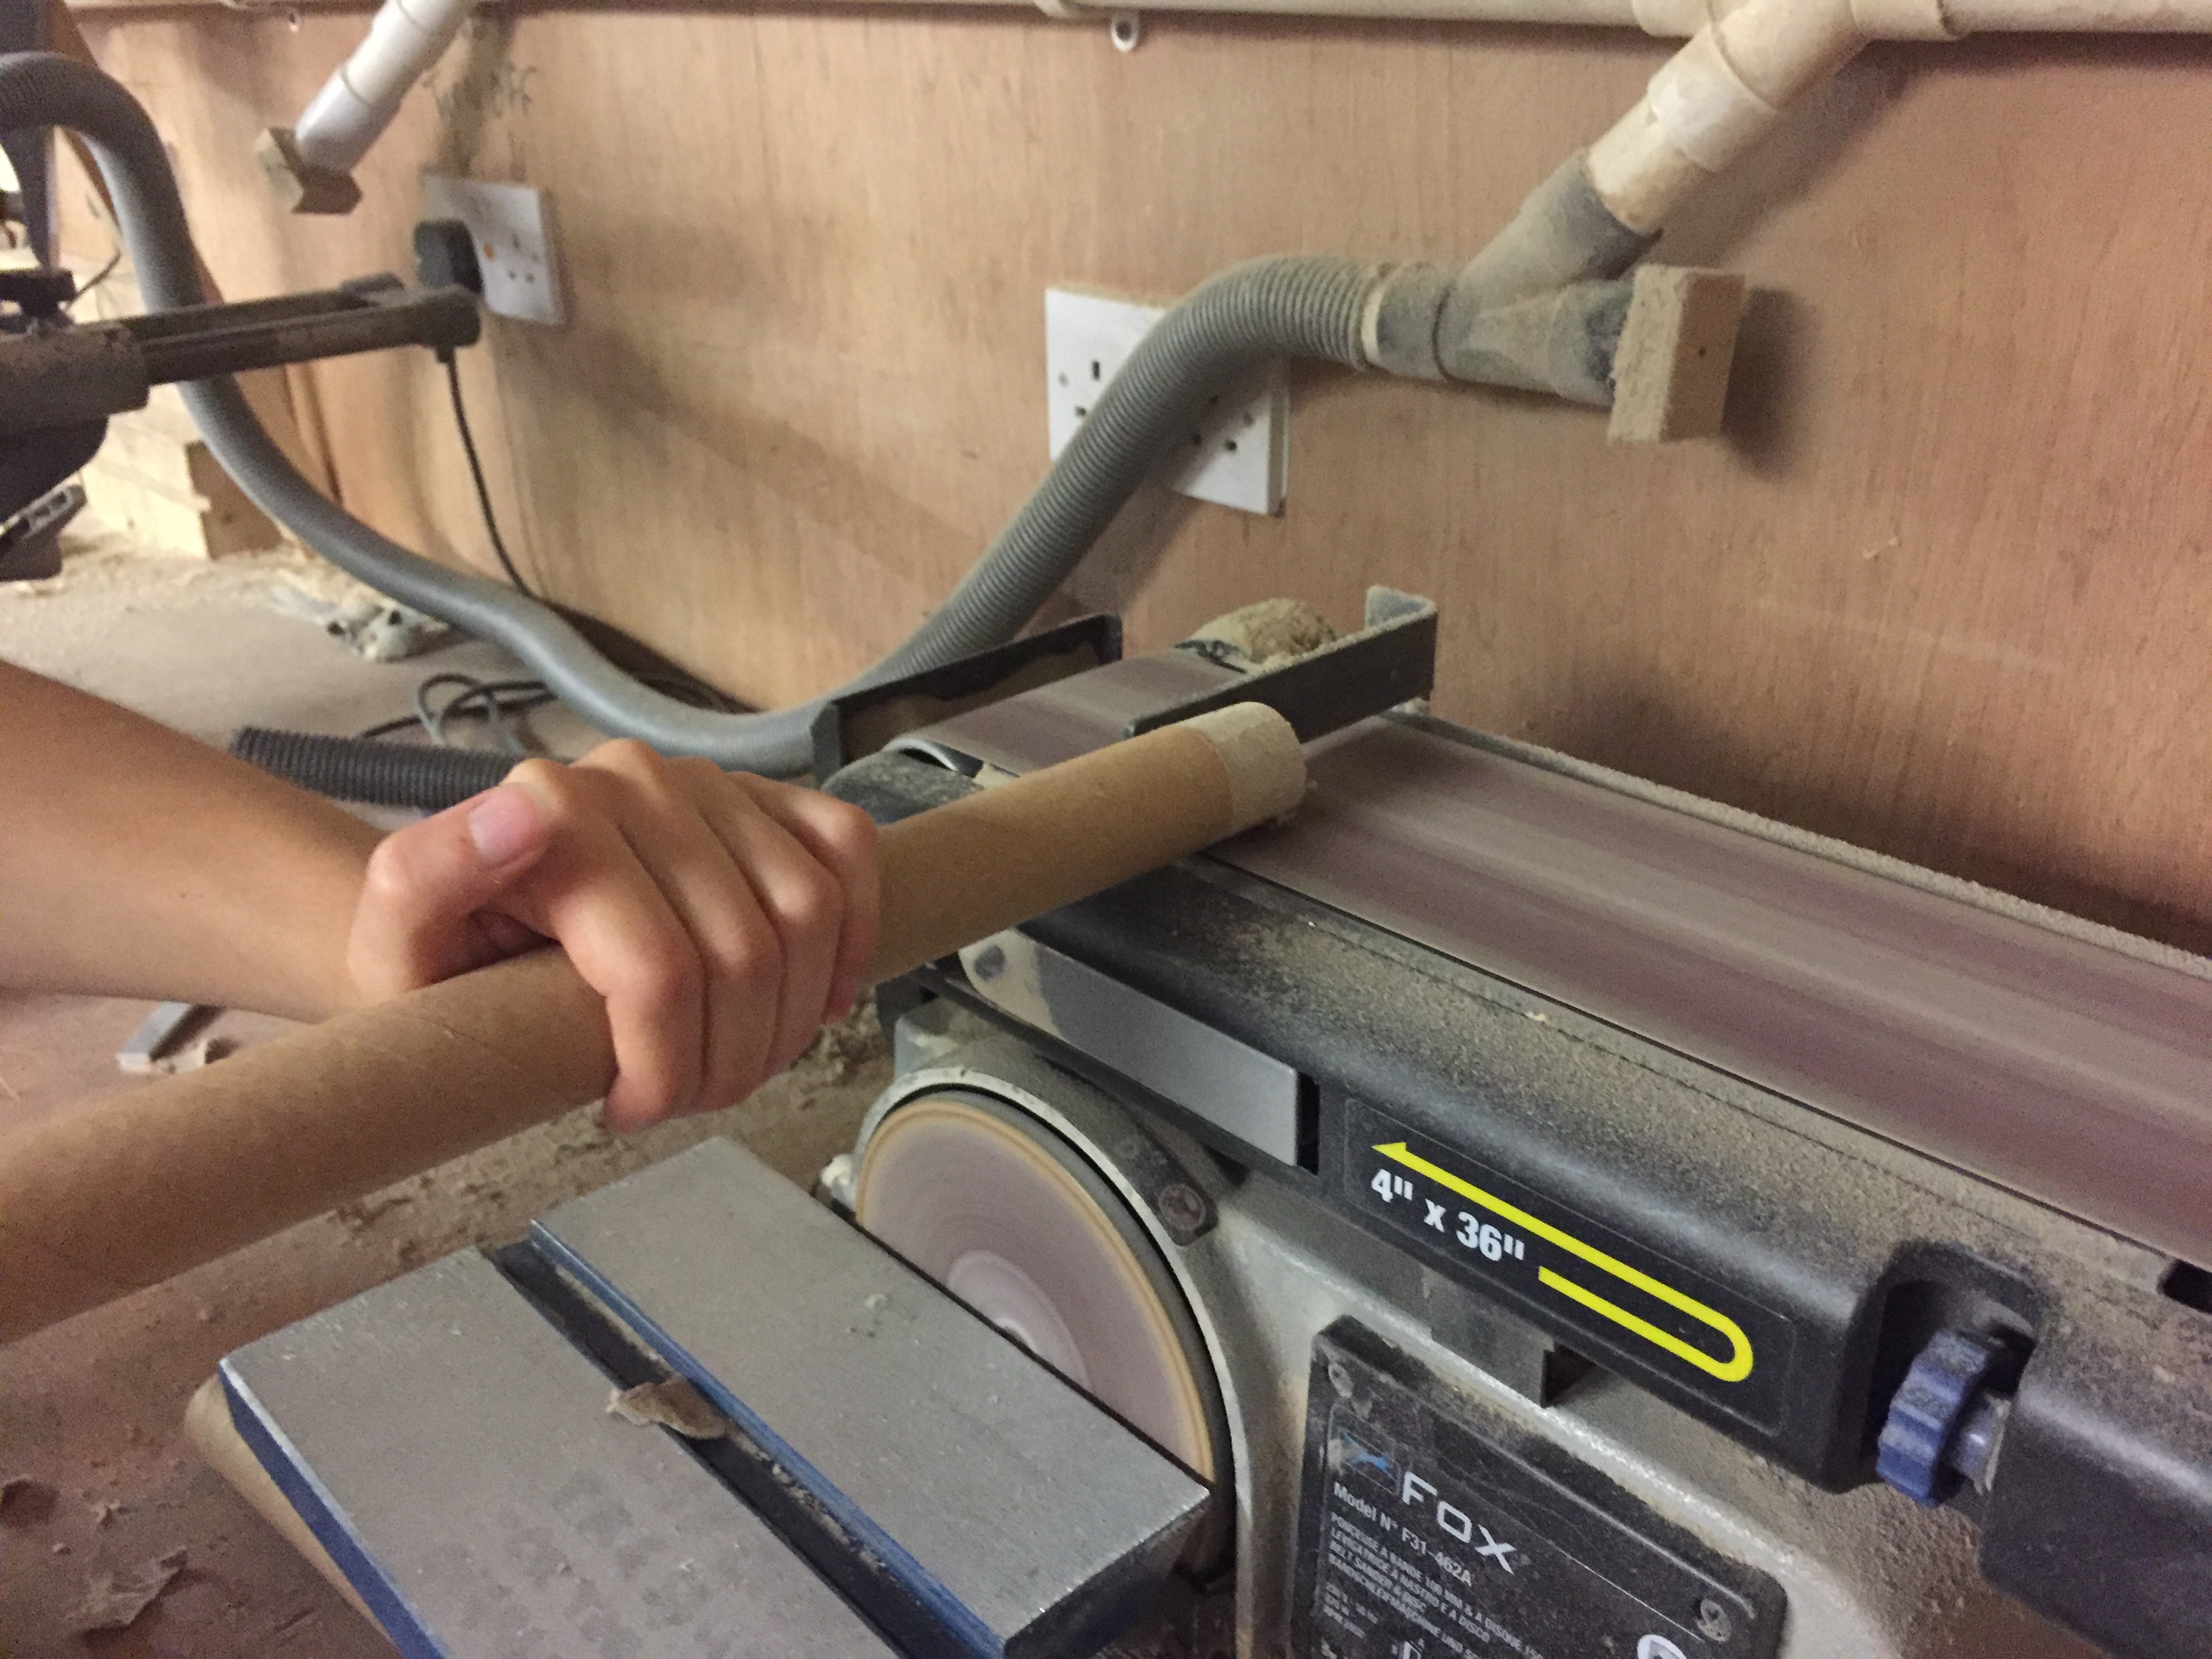
Sanding machine
Coding the Raspberry Pis
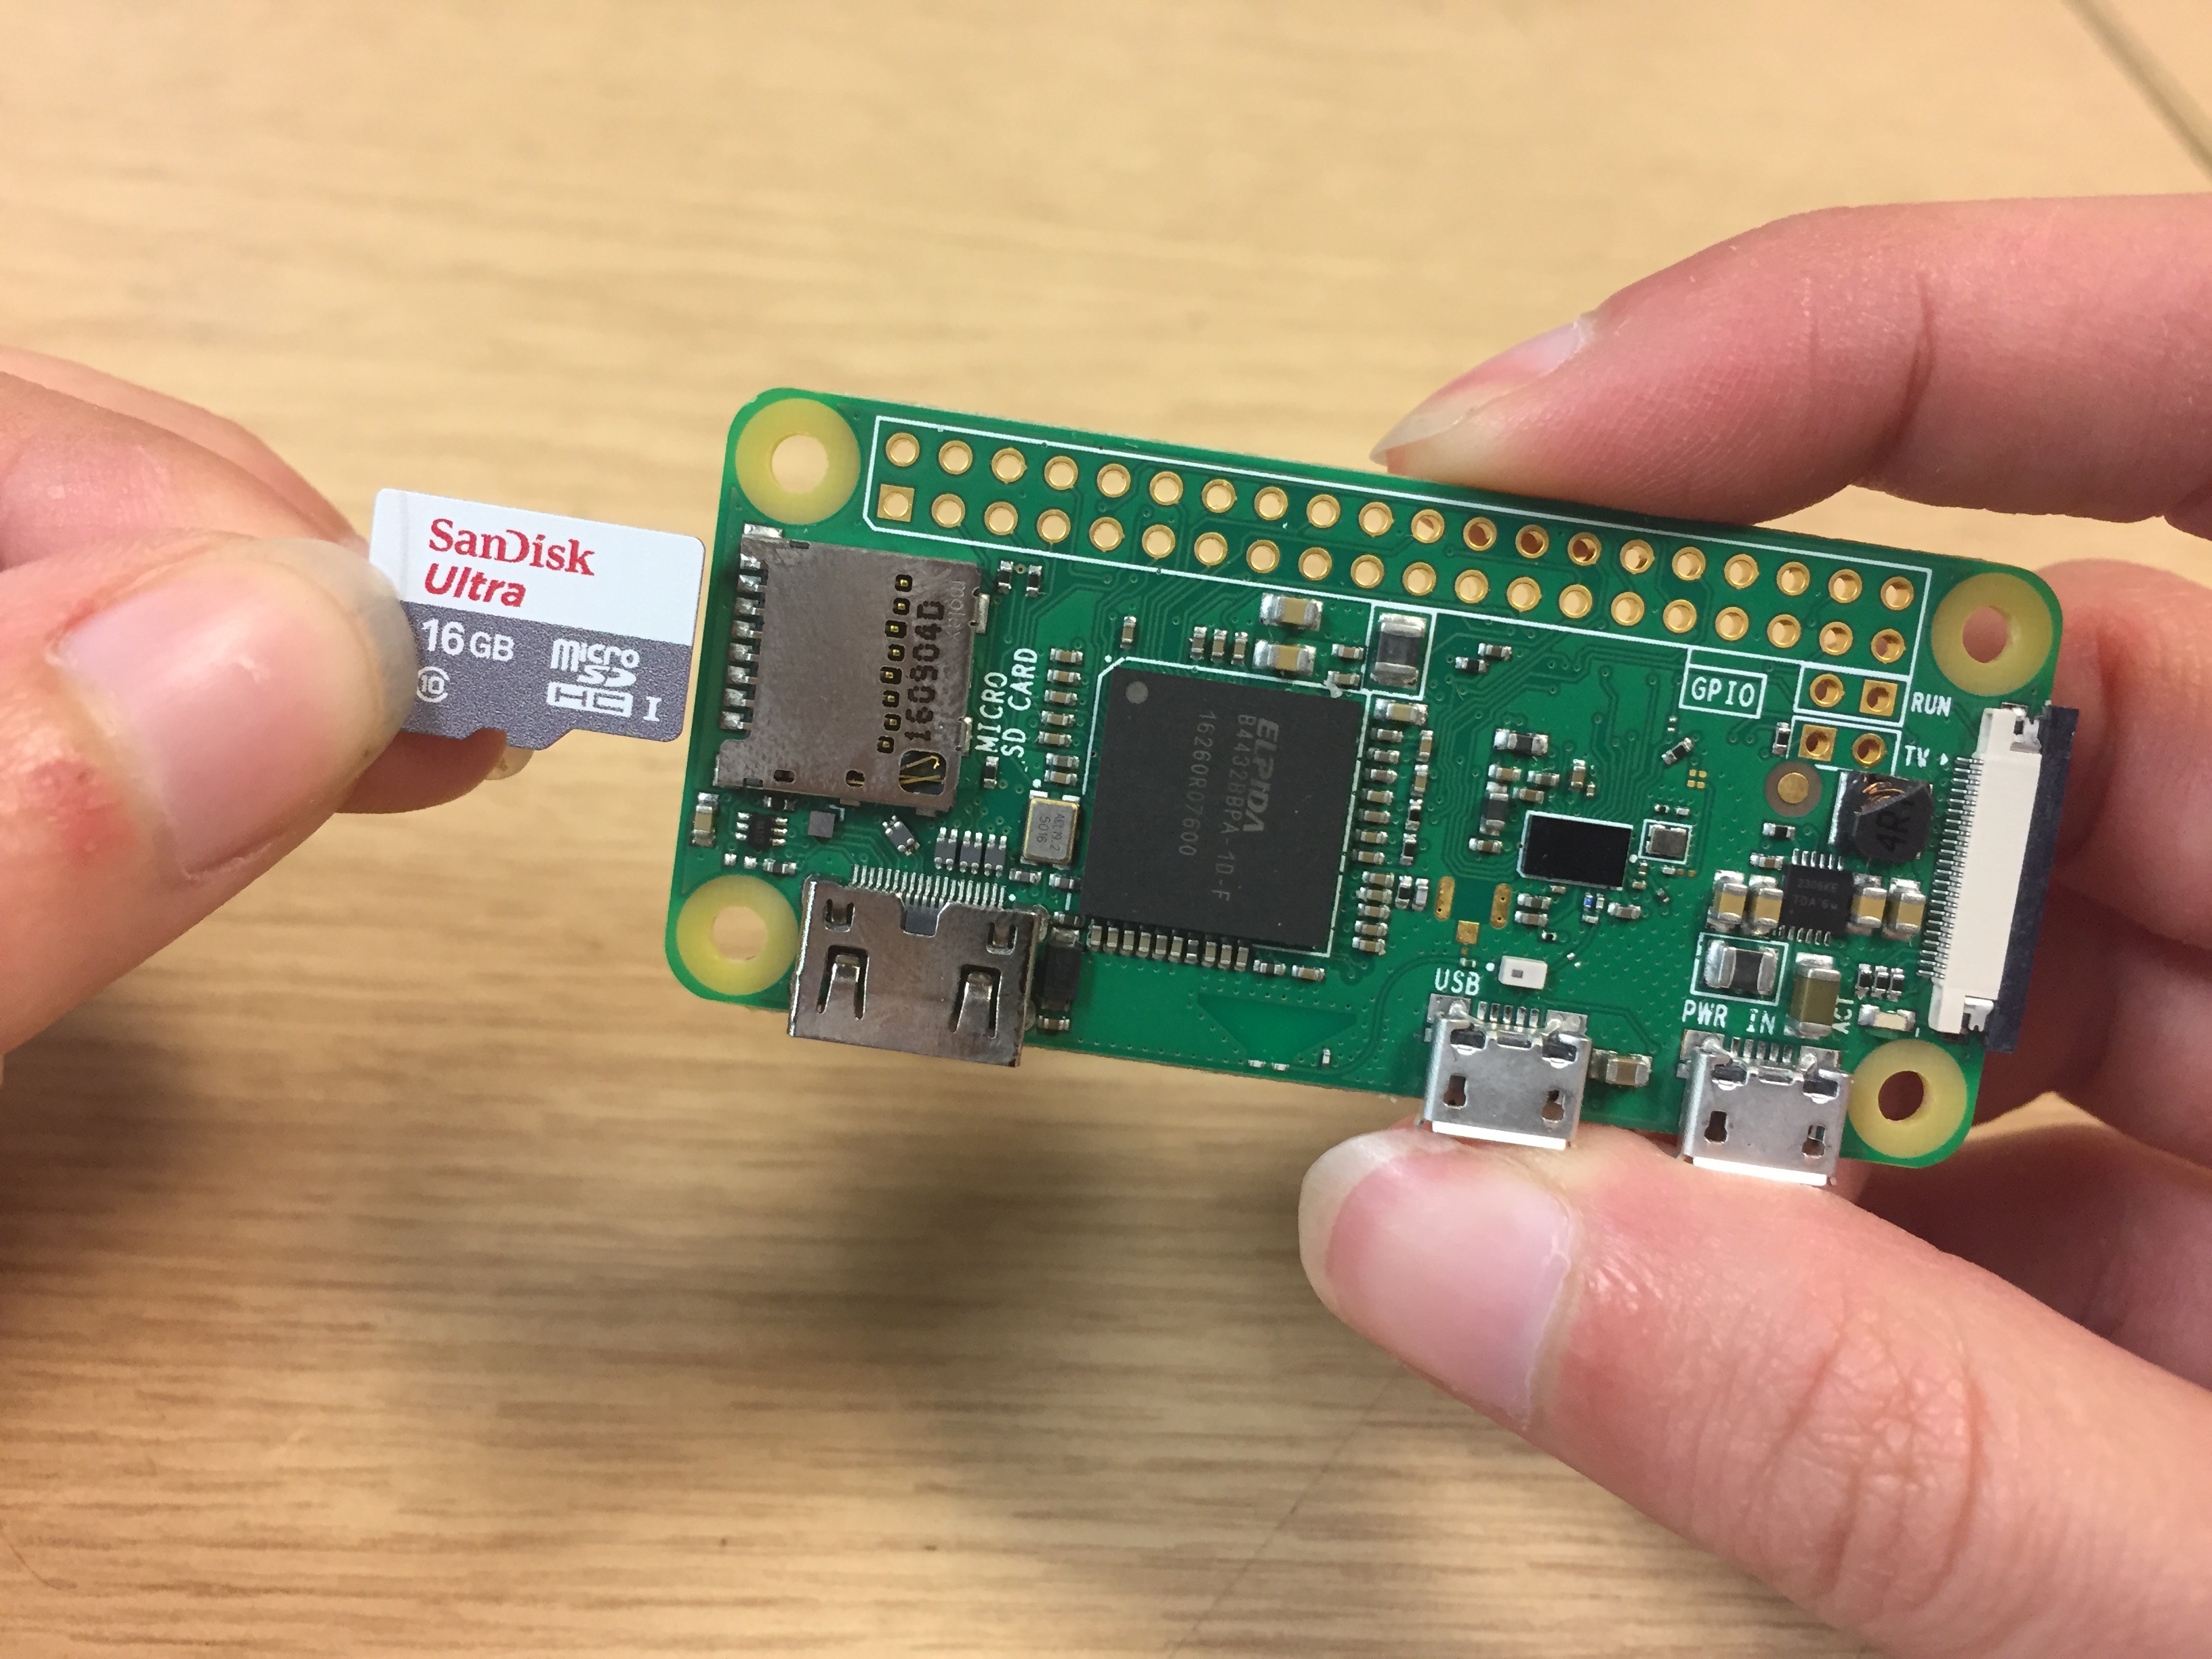
This step requires some knowledge of coding with Raspberry Pi.
Install the Lite version of the Raspbian operating system on each Raspberry Pi and enable the camera and SSH.
The software, nodejs is pre-installed on Raspbian, but may be an out-of-date version.
The following commands will upgrade it. Note: the hyperlink in the second line of code was shortened automatically by Instructables®. The full link for copying the code can be found by clicking on it.
Upgrading to node v7
cd ~<br>wget <a href="https://nodejs.org/dist/v7.9.0/node-v7.9.0-linux-armv6l.tar.gz" rel="nofollow"> https://nodejs.org/dist/v7.9.0/node-v7.9.0-linux-...</a>
tar -xvf node-v7.9.0-linux-armv6l.tar.gz
cd node-v7.9.0-linux-armv6l/
sudo cp -R * /usr/local/
sudo reboot

# Tidy up
cd ~
rm node-v7.9.0-linux-armv6l.tar.gz.gz
rm -r node-v7.9.0-linux-armv6l.tar.gz

# Update NPM
sudo npm install -g npm
After nodejs is installed, upload the files for the client software:
cd ~<br>git clone <a href="https://github.com/ArthurGuy/3dCamera.git" rel="nofollow"> https://github.com/ArthurGuy/3dCamera.git</a>
Then tinstall the software, using the following commands:
cd 3dCamera
npm install
Test the software by running it using the following command:
node app.js
Keeping the software running
Starting the software and keeping it running is the job of 'supervisor'. This program makes sure the camera software always runs, and was installed using the following command:
sudo apt-get install git supervisor
Supervisor was then setup with the 3D scanner application by copying the supplied config file into the final location using the following command:
cp /home/pi/3dCamera/camera.conf /etc/supervisor/conf.d/camera.conf
To tell supervisor to identify the new config file and start running:
sudo supervisorctl reread
sudo supervisorctl update
sudo service supervisor restart
After that, whenever the system starts up, ‘supervisor’ starts the camera application which connects to the server software automatically.
Optional extra
The software can be updated using an update command built into the web user interface, an alternative is to force an update whenever the Raspberry Pi boots up. To do this, replace the default startup script with one that will carry out an update:
cp /home/pi/3dCamera/rc.local /etc/rc.local
Setting Up the Camera Server
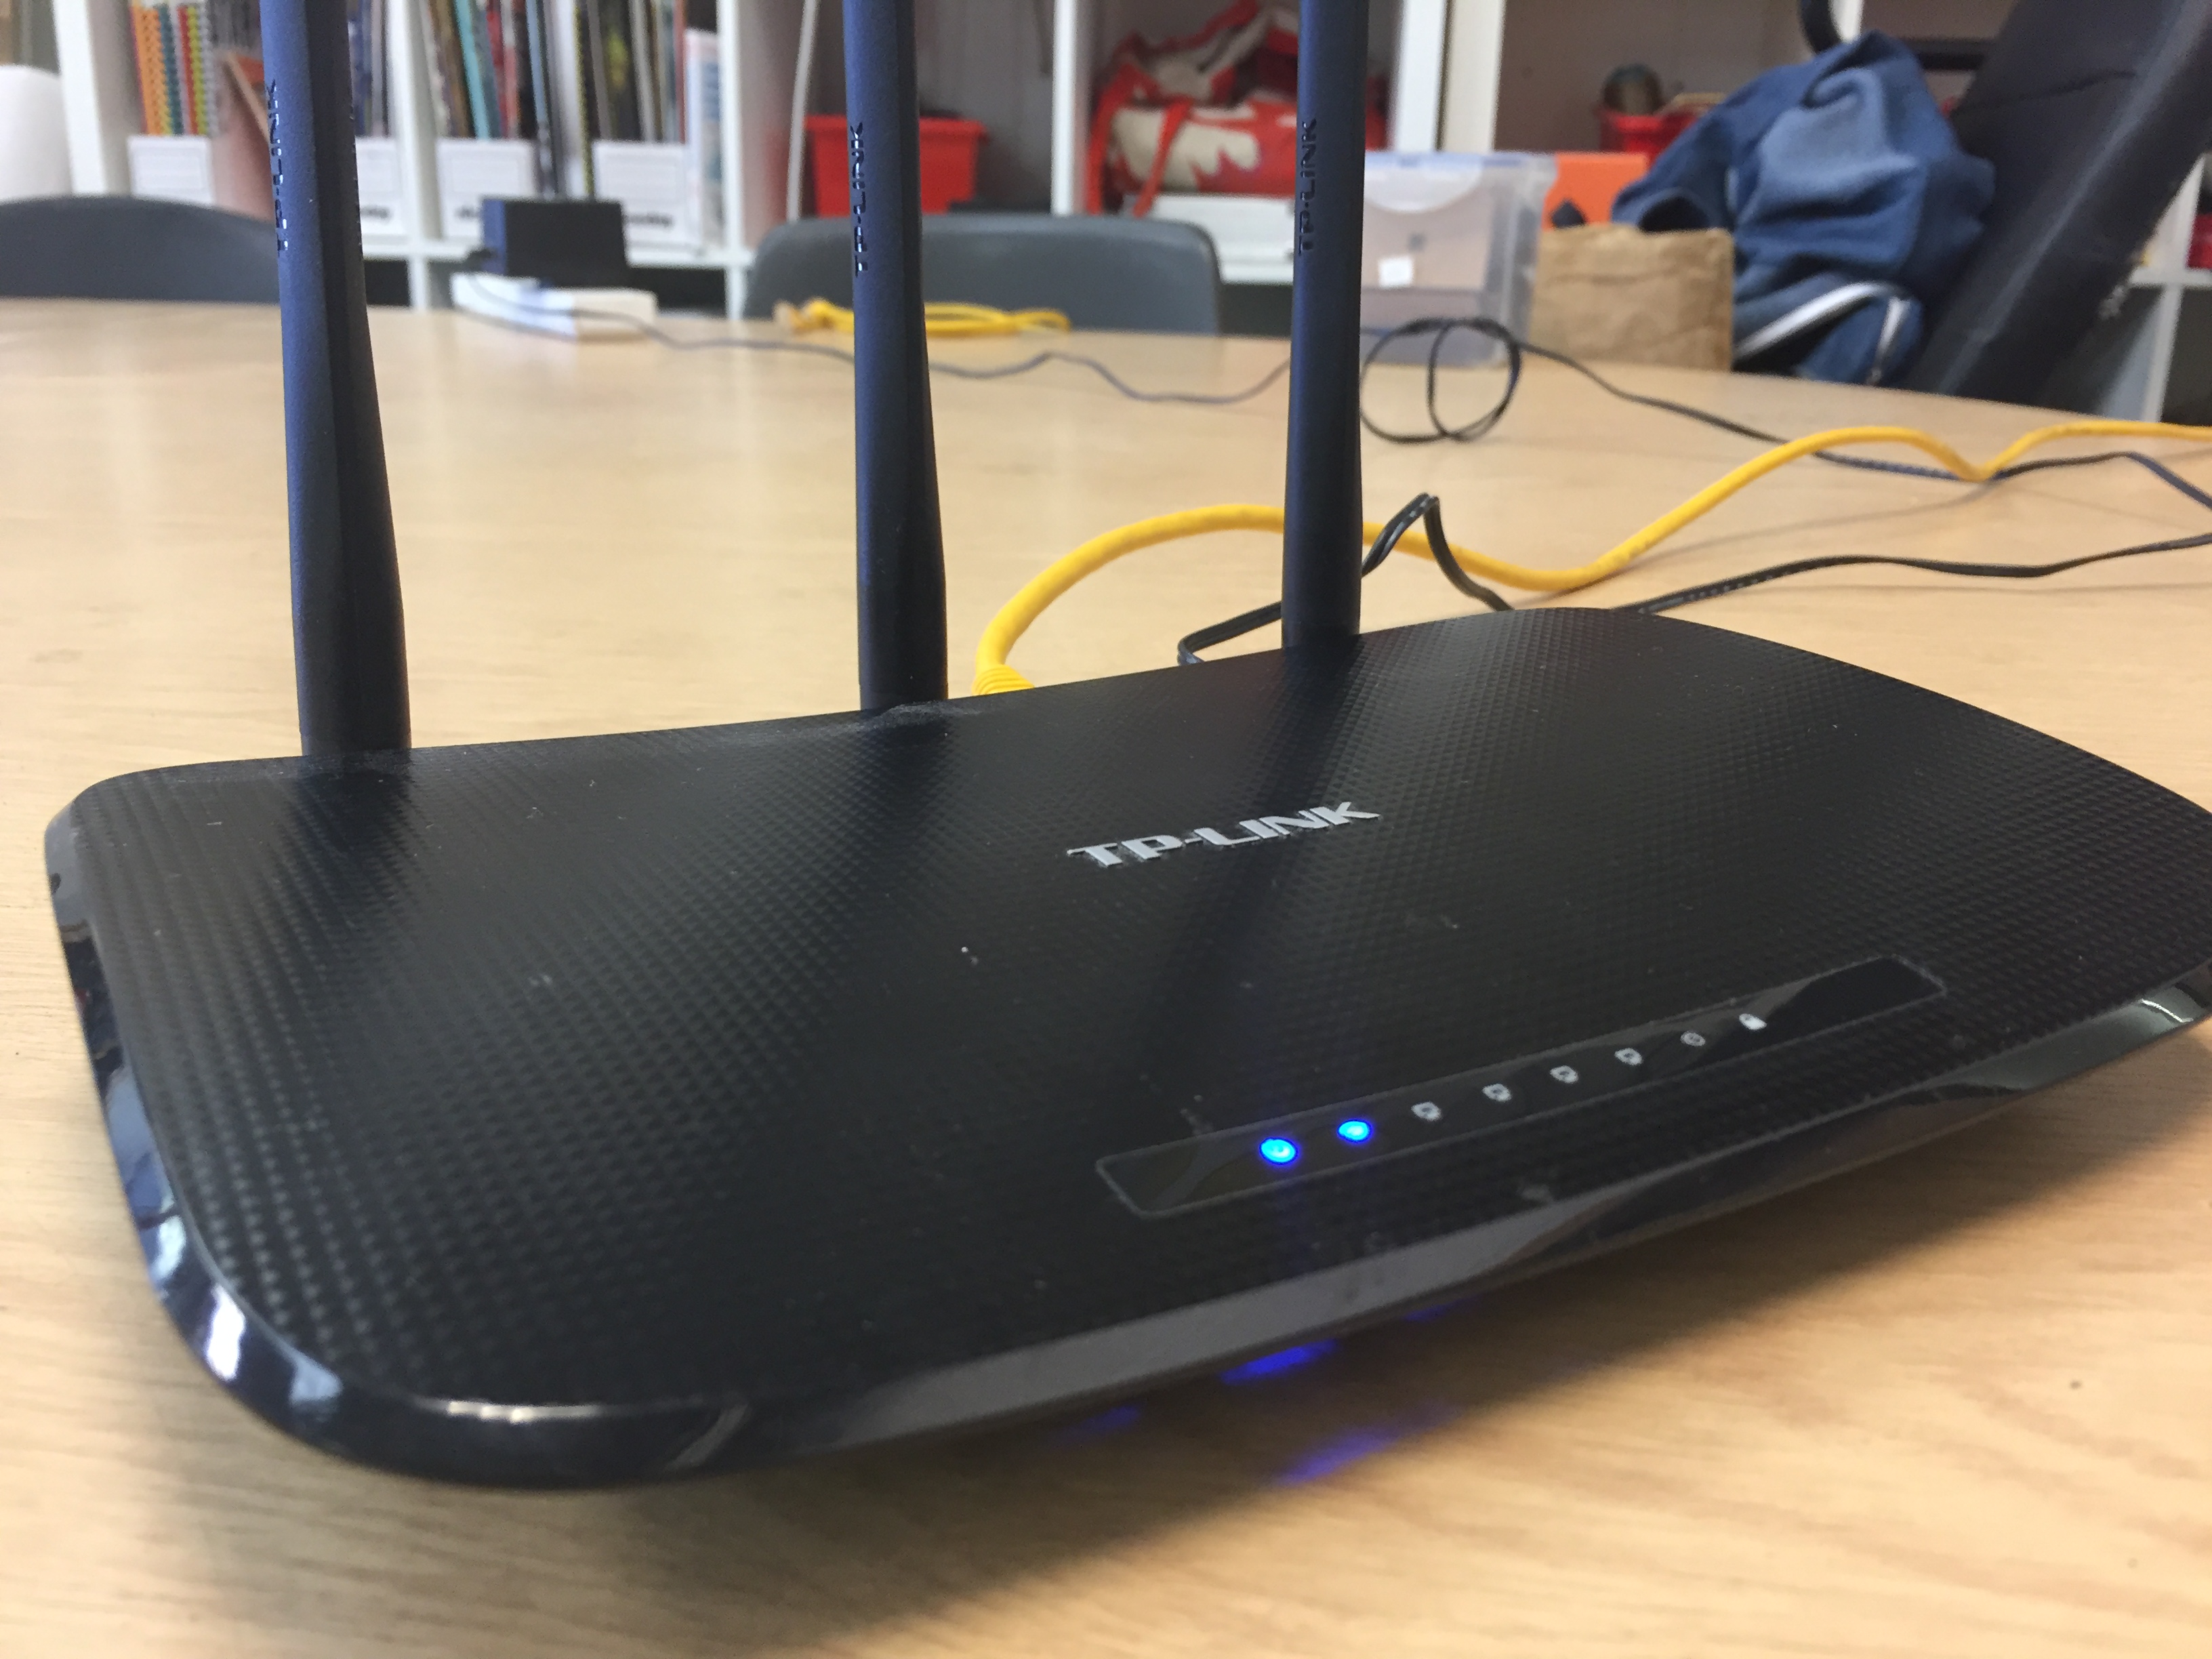
The scanner server software is a node application that requires nodejs, the clients also run node and connect to the server using websockets.
Setup
Check node is running by opening up a Terminal window and typing:
node -v
If node is not installed it can be downloaded from NodeJS.
Download the files
This repository needs to be downloaded to a folder on a computer. This can be done using the following command:
git clone <a href="https://github.com/ArthurGuy/3dCameraServer.git">https://github.com/ArthurGuy/3dCameraServer.git </a>
Install the dependencies
These need to be in a new folder containing the downloaded code:
cd 3dCameraServer
npm install
Finally run the code
The server application should be started using the command below, this will startup a websocket server on port 3000 and a web server on port 8080.
node server.js
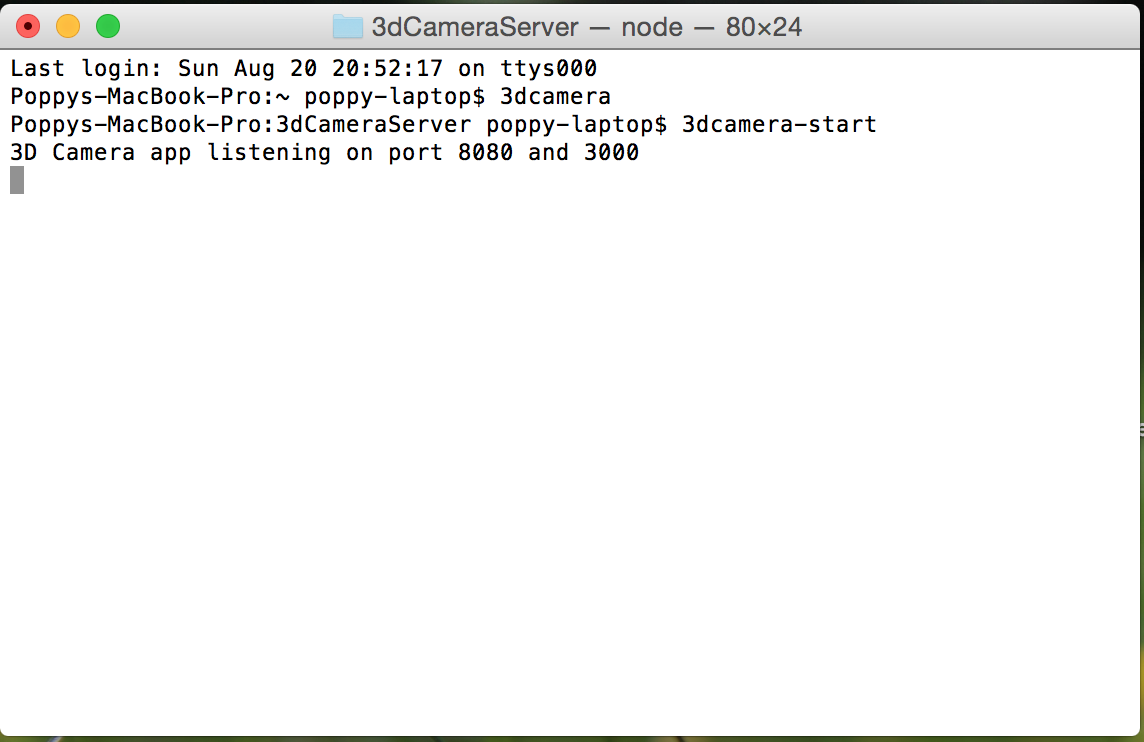
If everything was successful the message '3D Camera app listening on port 8080 and 3000' will appear. To use the application, open a browser and use the following URL http://localhost:8080/
Using the system
The server uses a fixed IP address which is how the cameras know where to send the photos.
The client software expects to connect to a server on the IP address 192.168.10.100. We use a dedicated router with a fixed IP address allocation, but to use the scanner without one it would be necessary to manually set this IP address. To simplify things, setup the computer's mac address on the router so it will be automatically assigned the specified IP address.
The router is a cable modem type (not an ADSL router). This keeps the cameras contained but also allows them to connect to the internet to fetch software updates. The router's DHCP range needs to be changed from the default so it will assign IP addresses in the range 192.168.10.1 - 192.168.10.255.
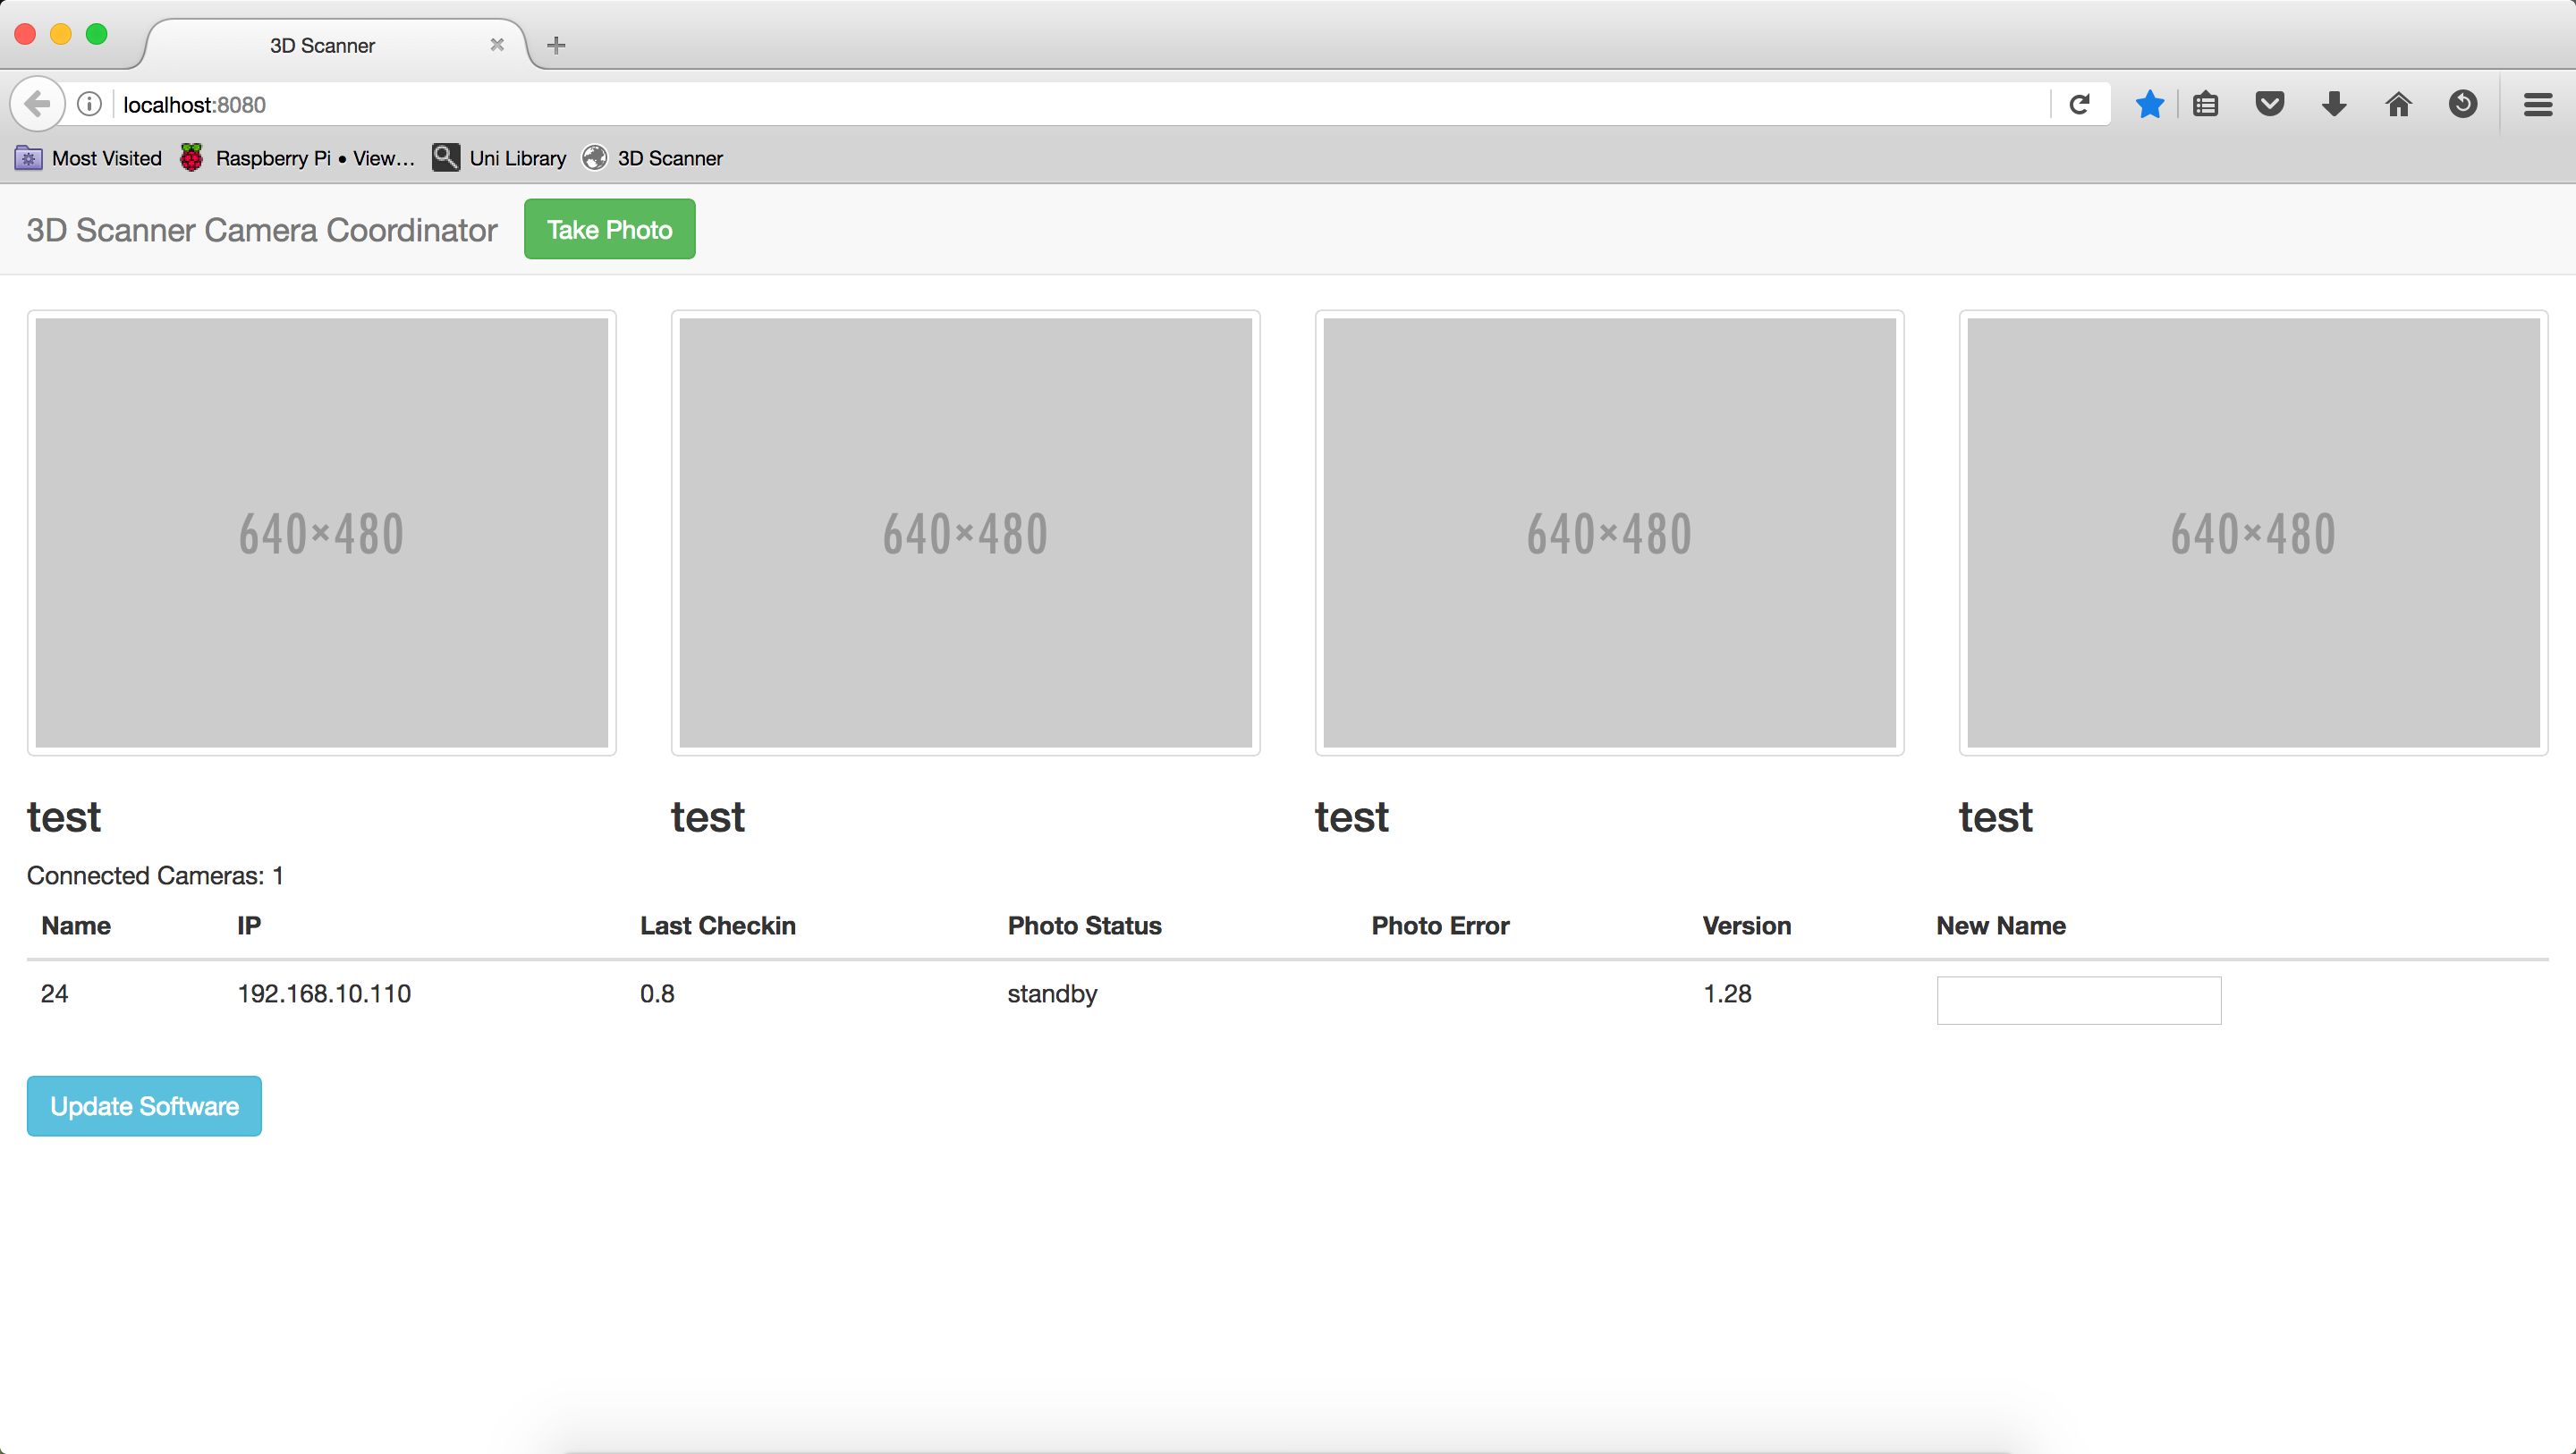
As the clients come online, the connection messages appear in the terminal window and in the browser window.
When the clients have connected they can be commanded to take a photo by using the 'Take Photo' button in the header, which starts the photo capture process and within 30 seconds they should have all sent the images back to the computer. These are displayed in the browser and saved to a folder in the install directory, located by searching for the folder 3dCameraServer.
The code grabbed from GitHub contains a pre-built image which will try and connect to a wifi network with the name 3DScanner. The password for this is: poppykalayana.
Laser Cutting and 3D Printing
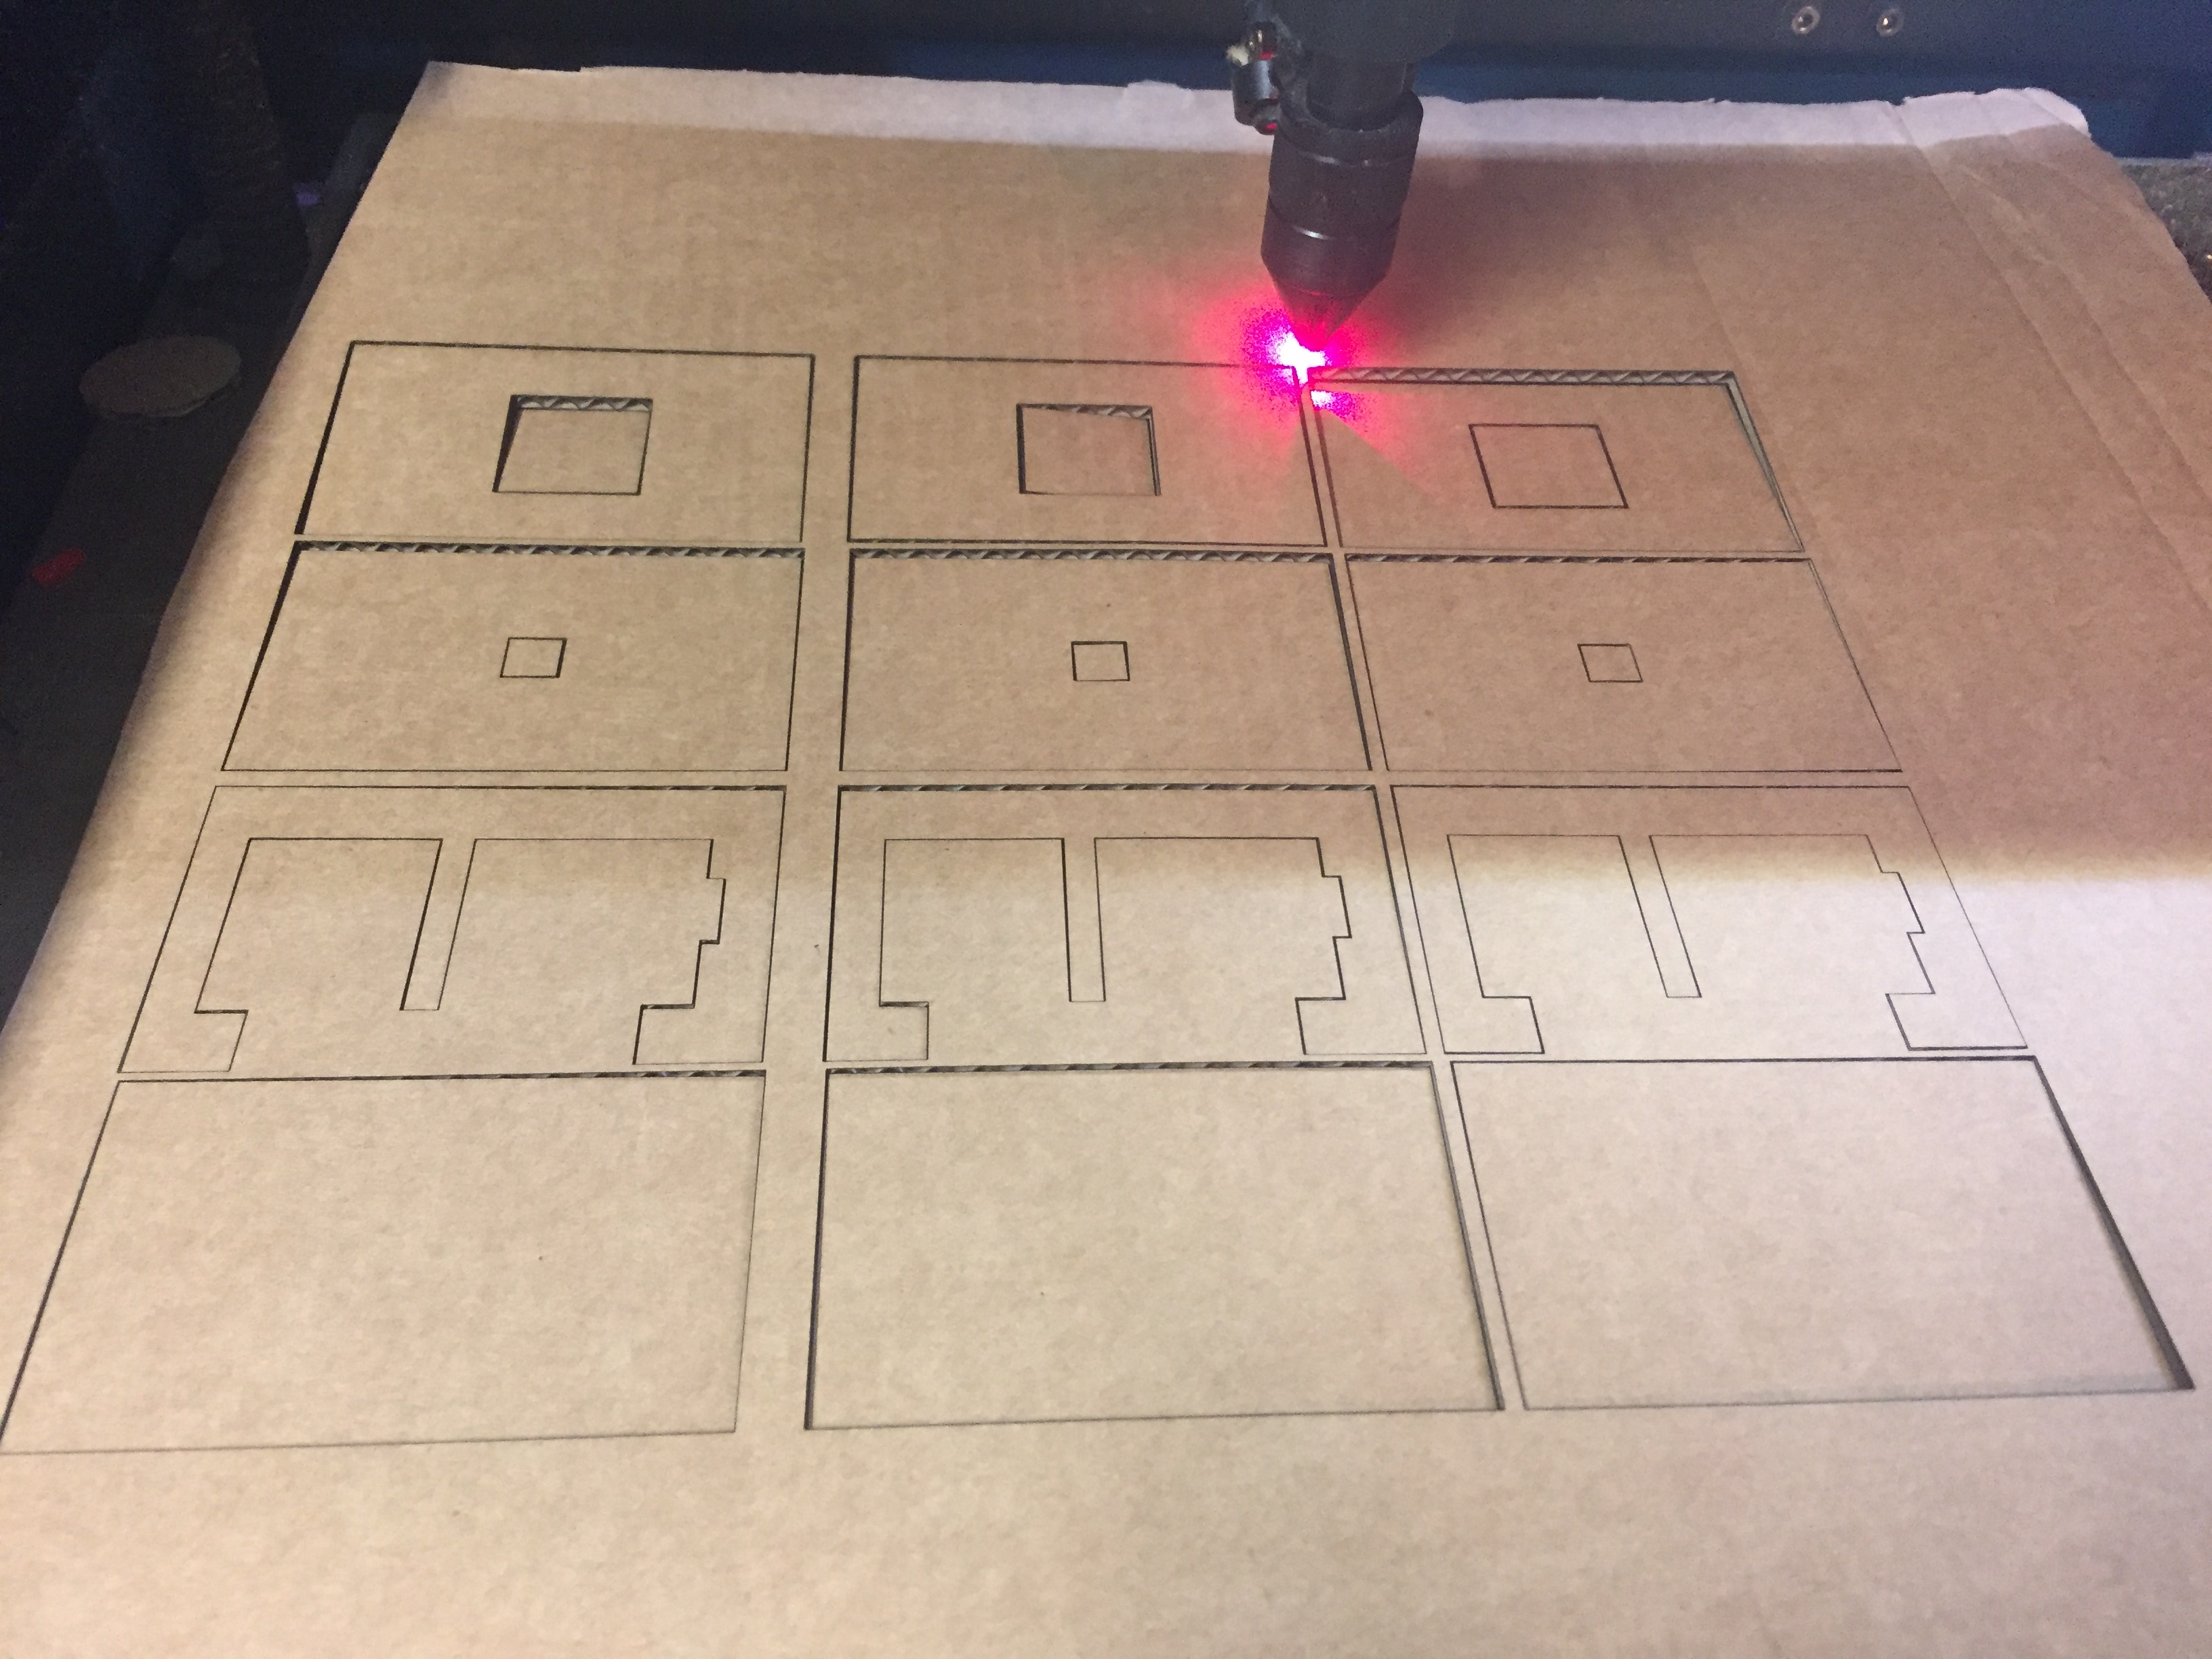
Laser Cutting Raspberry Pi Cases
We downloaded the files below and cut out:
27 x Pi Cases using 5mm single walled corrugated cardboard. We don't use double walled cardboard because it is more likely to catch fire under the laser.
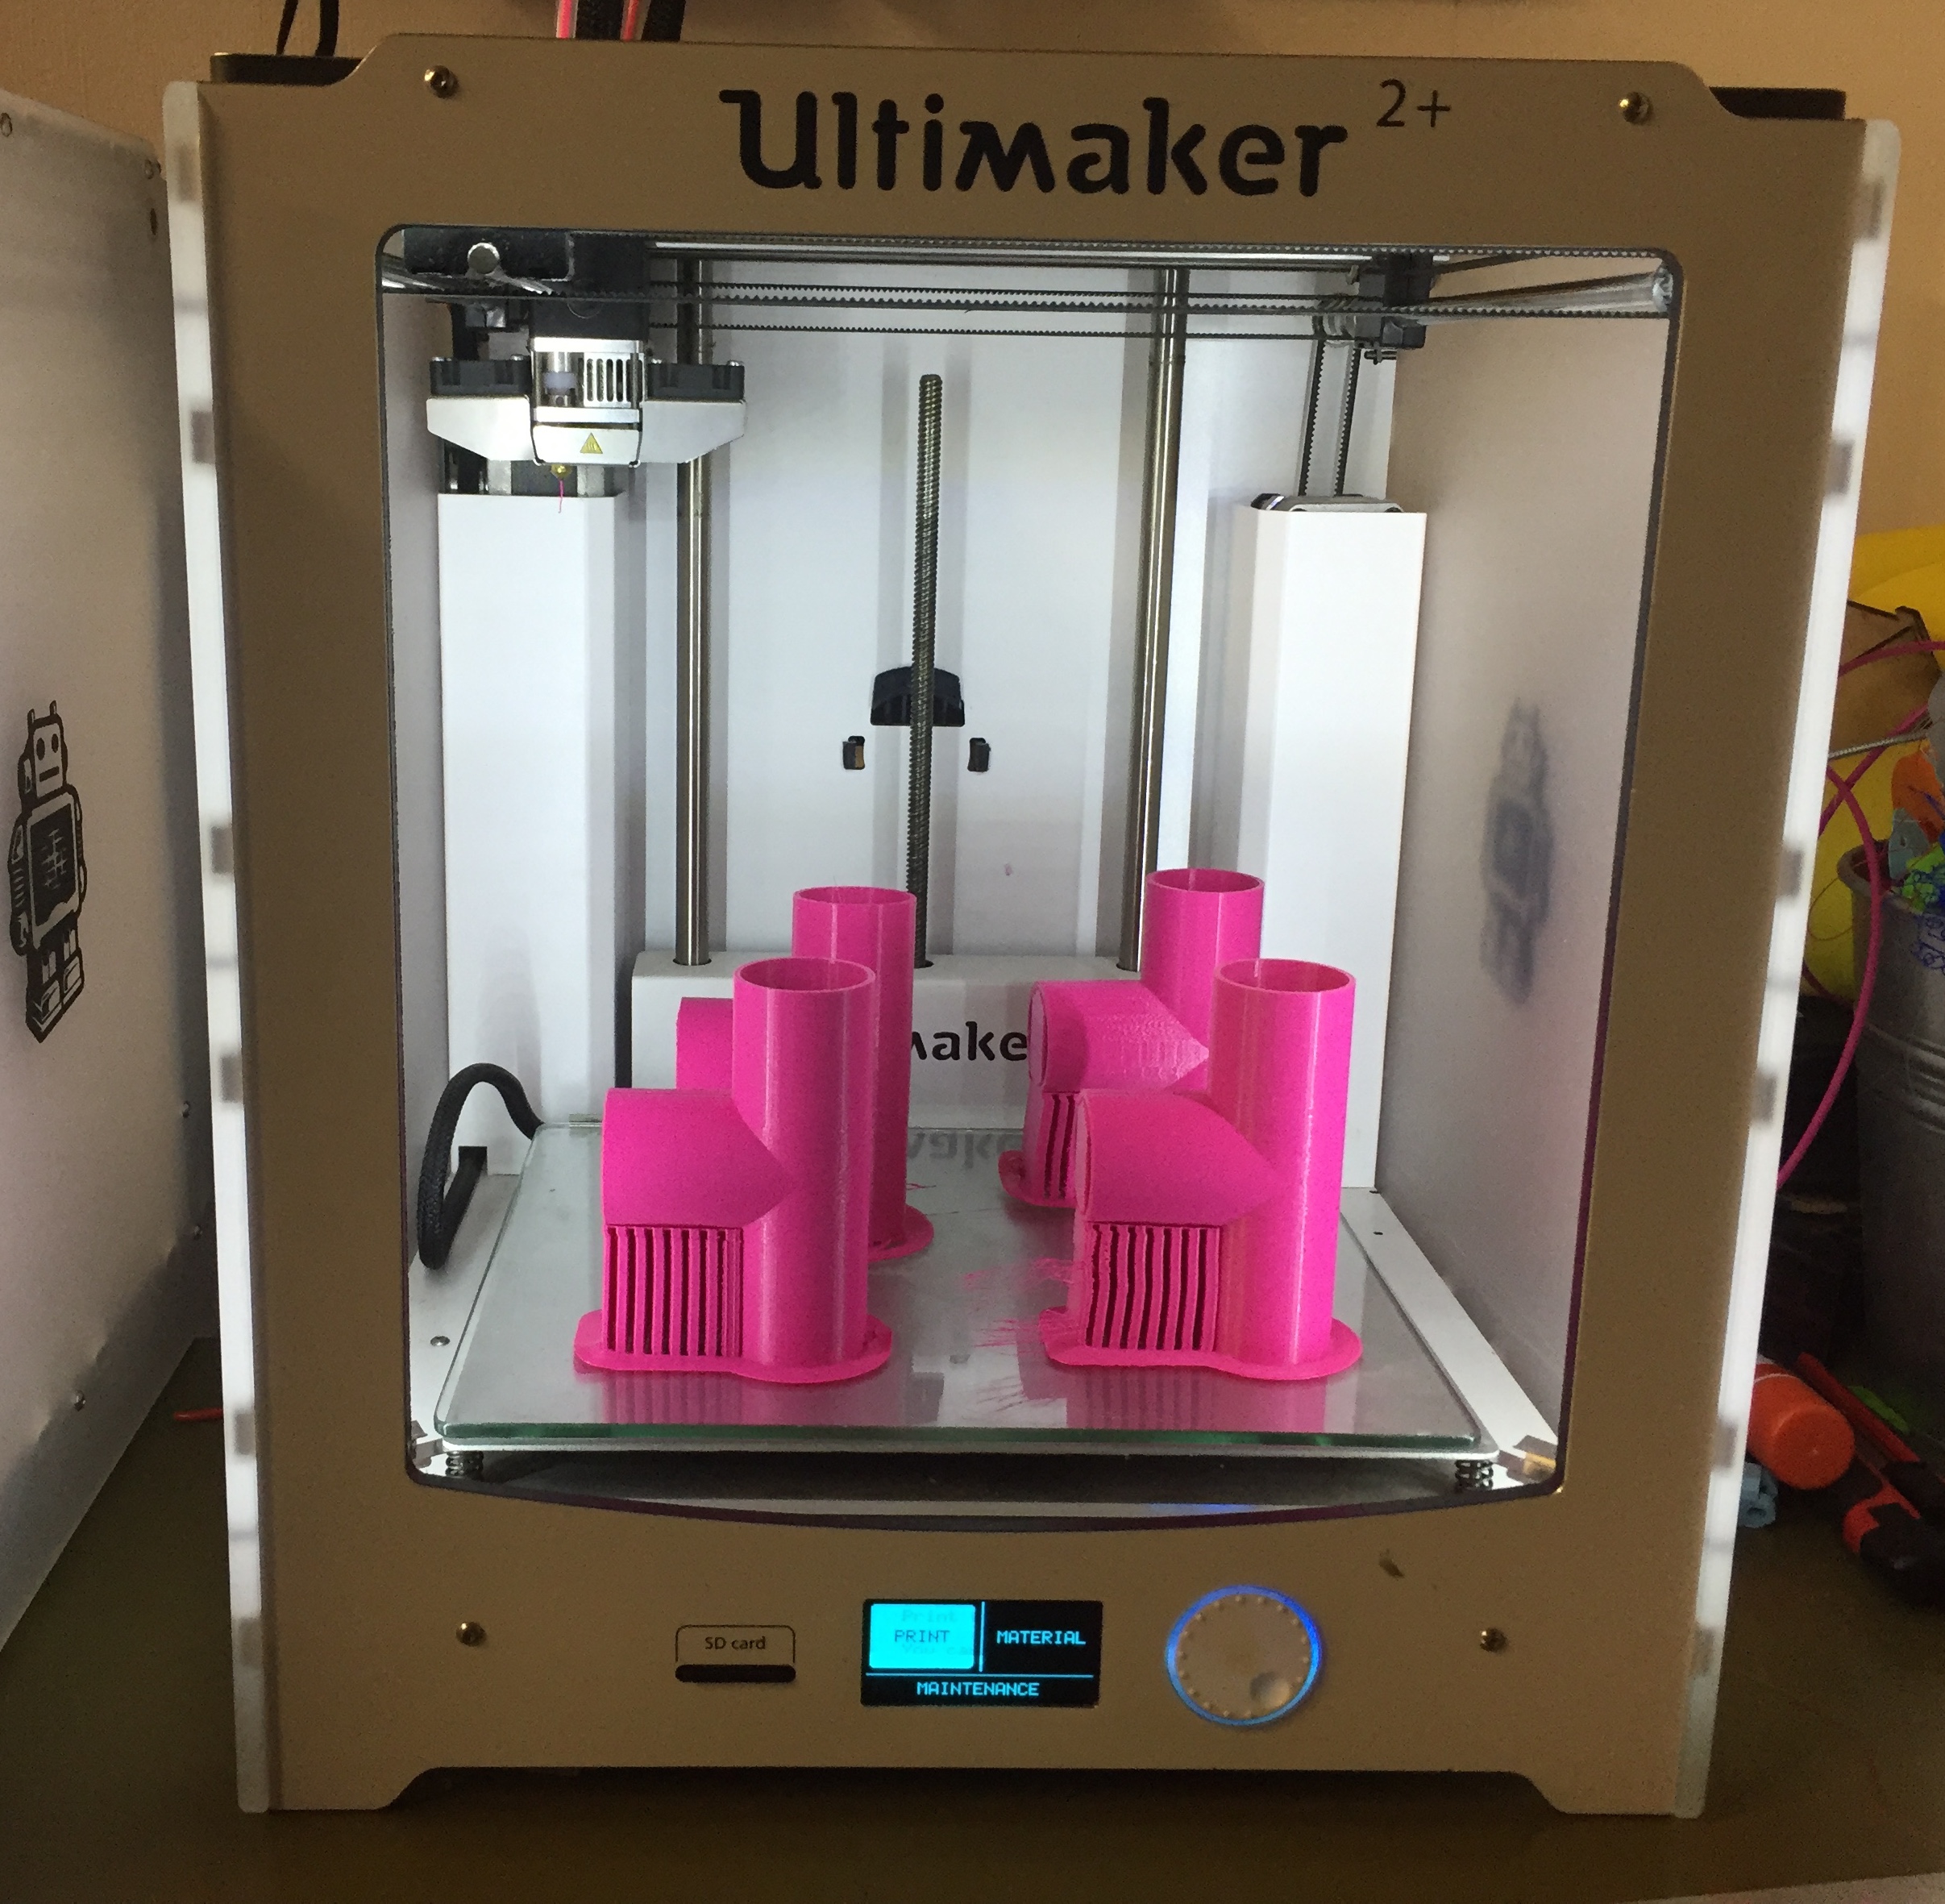
3D Printing Tube Connectors
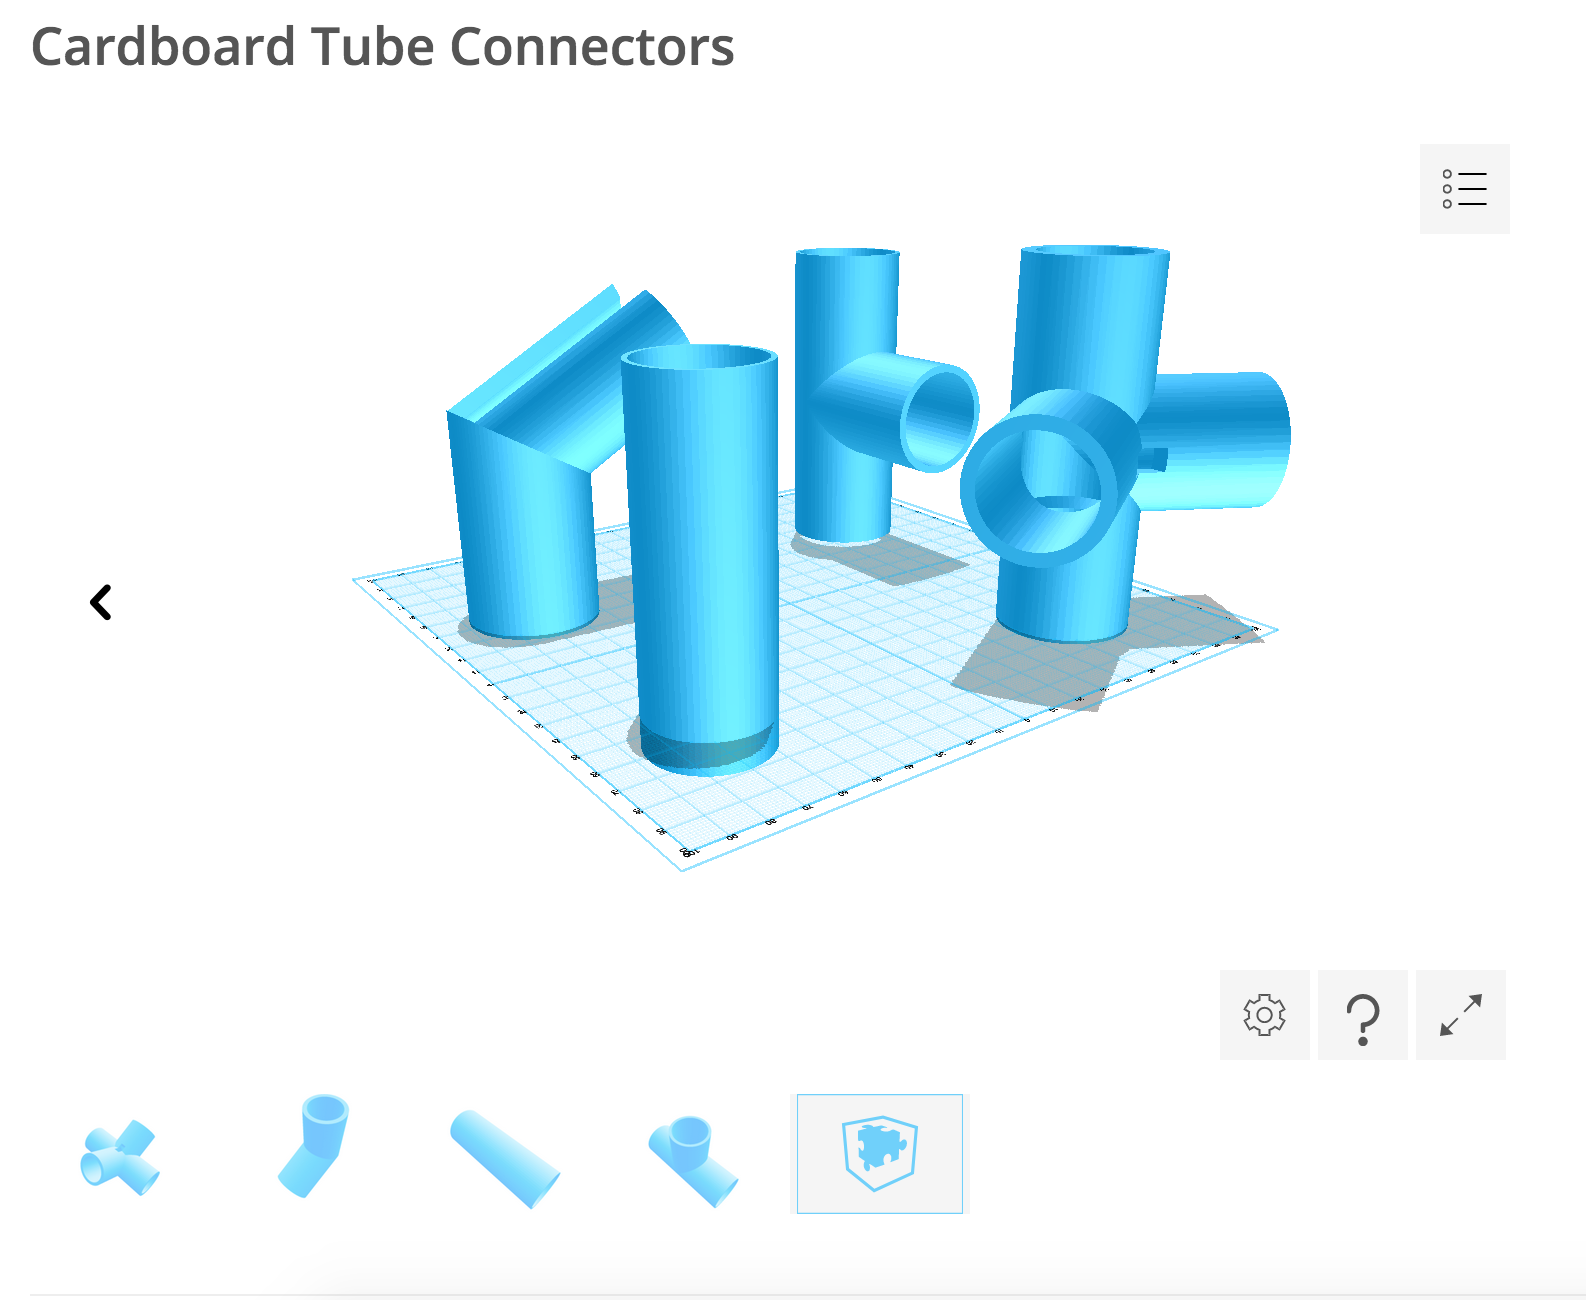
We 3D printed the files below:
8 x Cross Joint
4 x T Junction
and removed support material with pliers and sandpaper where necessary.
Forward Planning for a Roof Extension
This info is for the most basic version of the scanner that worked. It produces a model that is suitable for making a dress makers dummy or for 3D printing a head (Autodesk Remake™ software fills in the crown of the head where there is a gap). Additional cameras in extra layers, or overhead on roof bars, would allow for full body scanning, so to make the scanner easy to upgrade, the top layer of the upright poles have cross joints in place, and short extension poles with end caps. 3D connectors to attach roof poles are available to download with the other joints. Chuck Sommerville has created a 6 pointed star which could be resized to use to join the poles at the top.
Connecting and Testing the Raspberry Pis
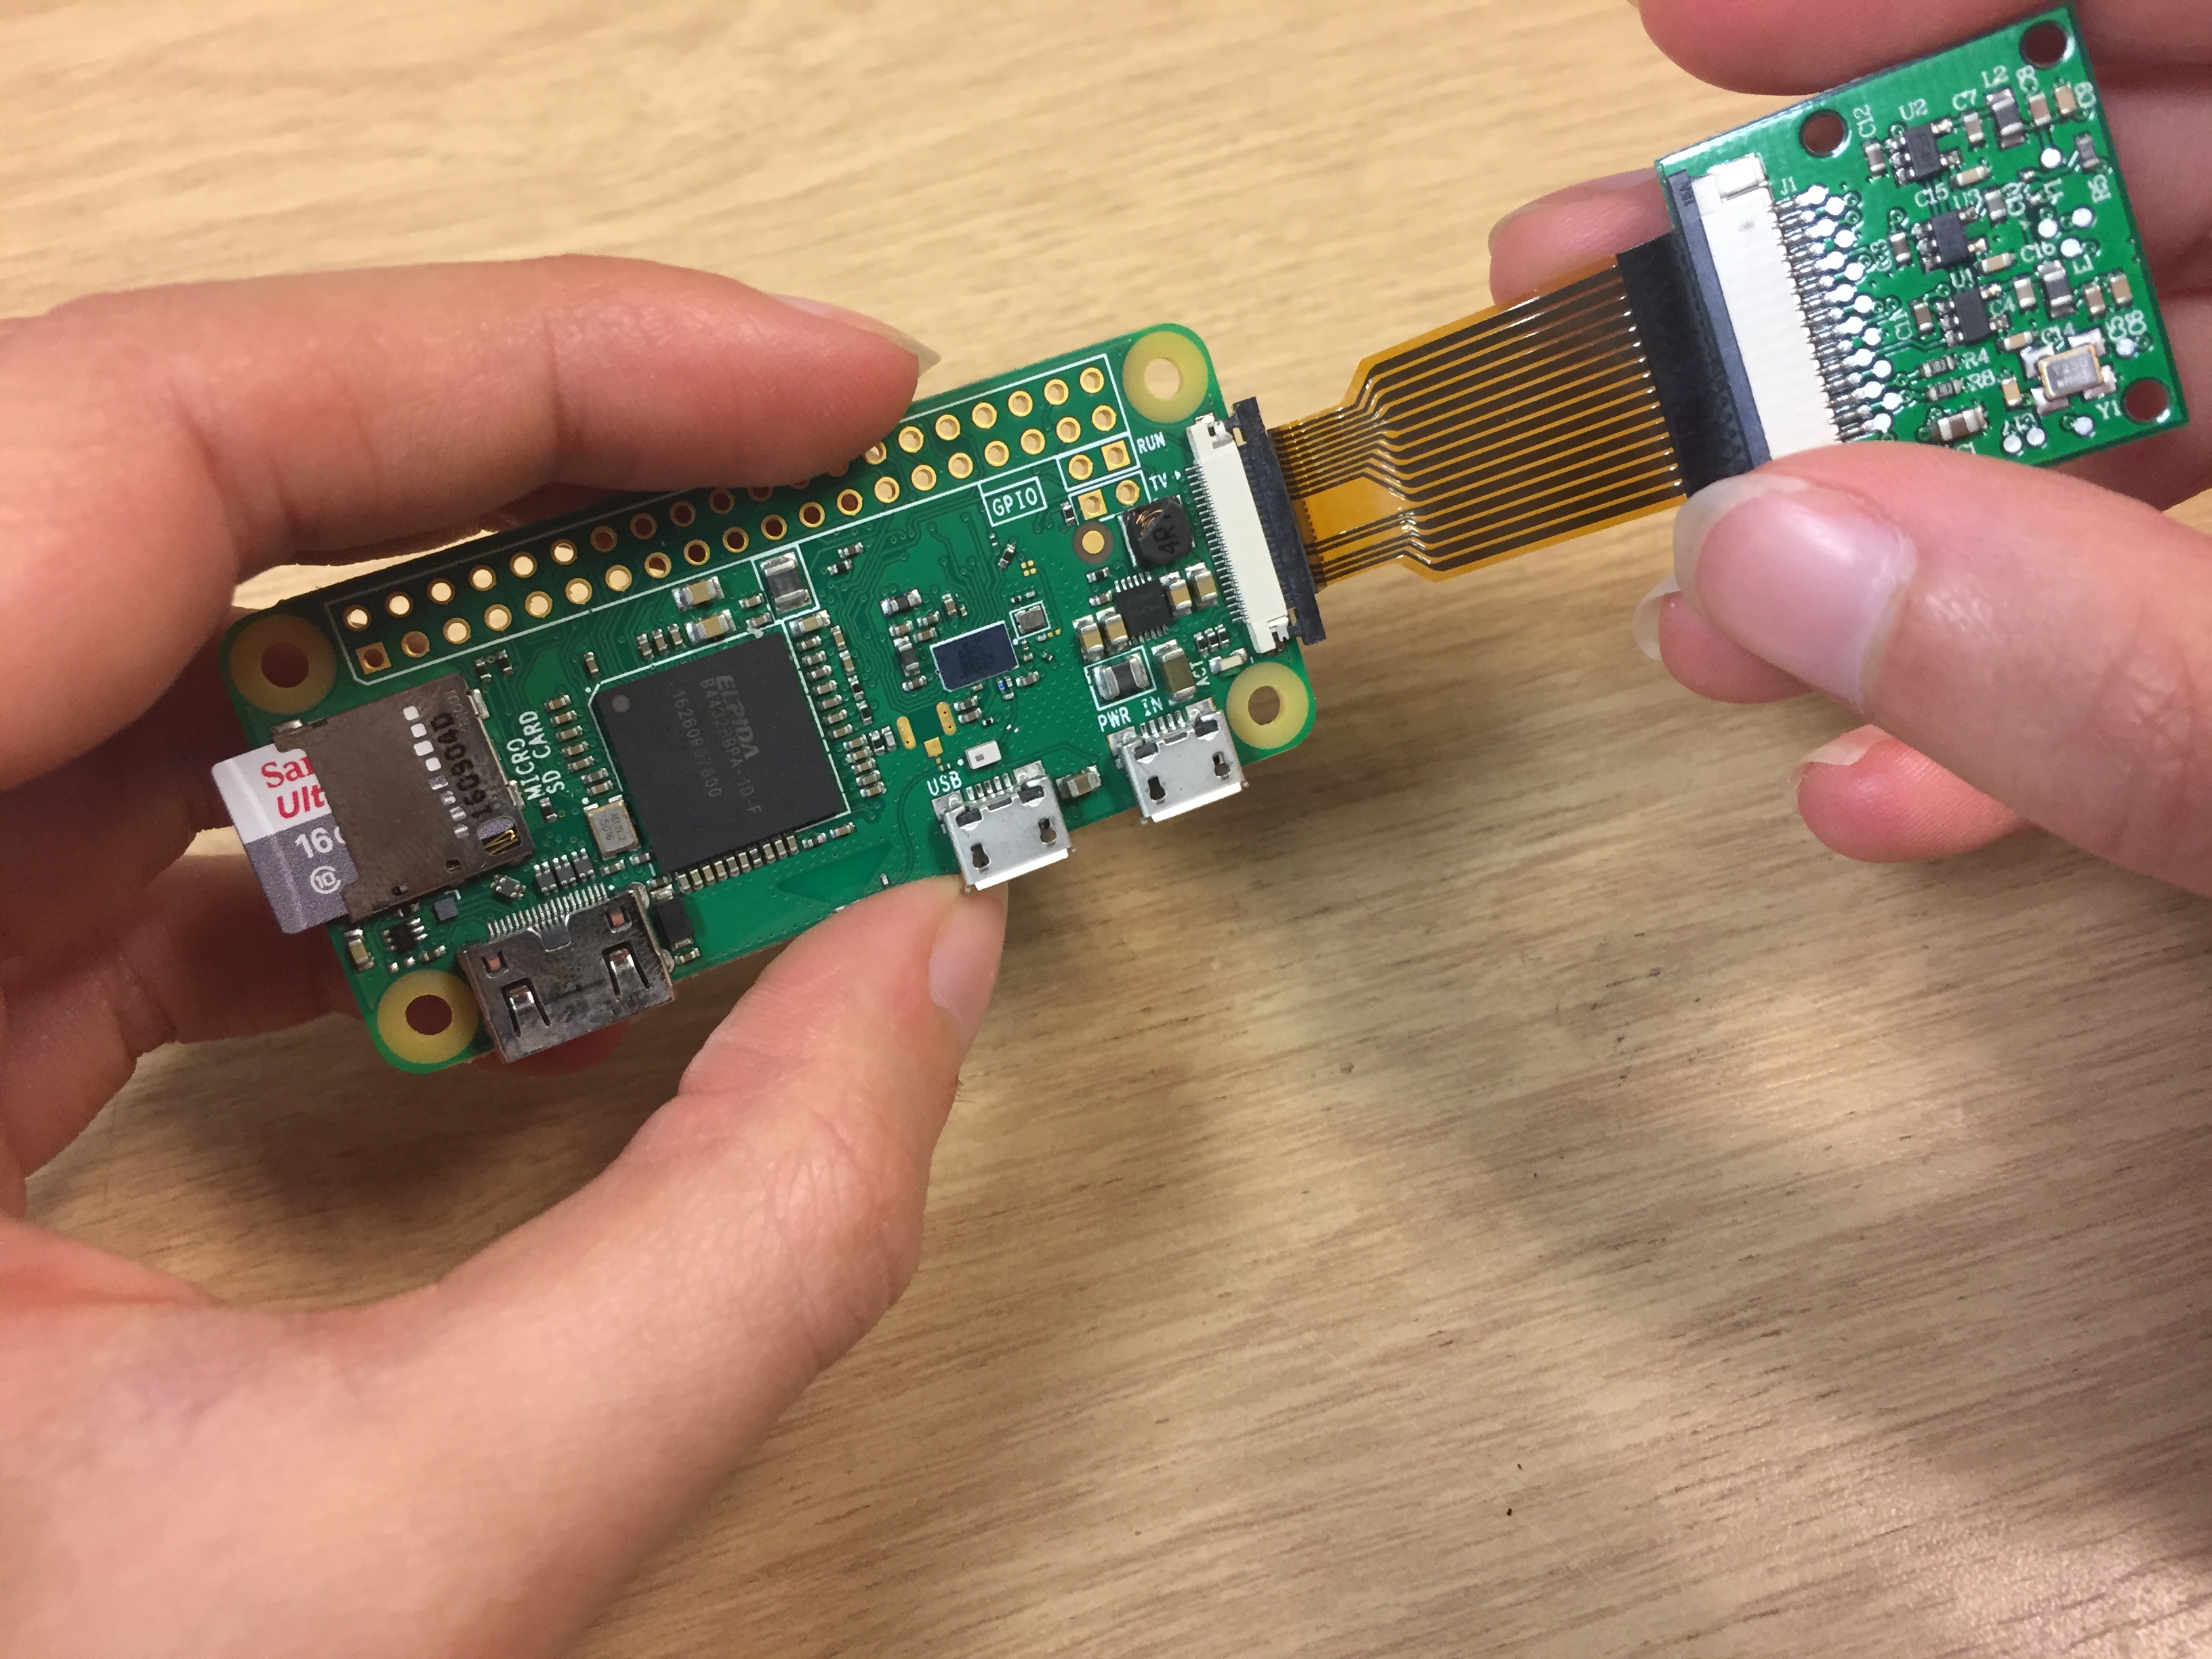
For this step, the router needs to be on and connected to the internet.
Connecting the Computer to the Server
Connect the computer to the wifi called 3DCamera
Open Terminal
At the prompt, type 3Dcamera and then press Enter.
At the next prompt, type 3Dcamera-start and then press Enter
Open a Web Browser and type http://localhost:8080/ in the address bar to open the dashboard
Testing the Raspberry Pis
Using the Camera Cable, connect the Camera to the Raspberry Pi.
Connect a Raspberry Pi to a 5V power source (e.g. the computer) using a micro USB lead
After a few minutes the Raspberry Pi should connect to the system and appear on the dashboard with an automatically assigned Marvel character name.
Click 'Take Photo' to test if the Raspberry Pi is working. The Status column on the dashboard should indicate when it is taking and sending a photo and then the photo should appear at the top of the dashboard. If it doesn’t work check the camera is properly connected and the green light is lit on the Pi, and try again.
The photos are automatically saved in a folder called 'Images', which is inside the 3dCameraServer folder that was set up in a previous step.
Assembling the Raspberry Pi Cases
We glued the 5 layers of cardboard Pi case together, inserting the Raspberry Pi with layer 2, folding the camera in place on layer 3, which is held in place with layer 4, and pushing the lens through on layer 5. This was repeated for all the cameras.
Labeling the Raspberry Pis
From the dashboard, we replaced the Marvel character name assigned to each Pi, by typing a number in the text field and then pressing Enter.
It’s useful to write the number on the case of each Pi for trouble shooting.
Repeat this process for each Raspberry Pi assigning each one with a different number
Prepare the Structure and Electric Circuit
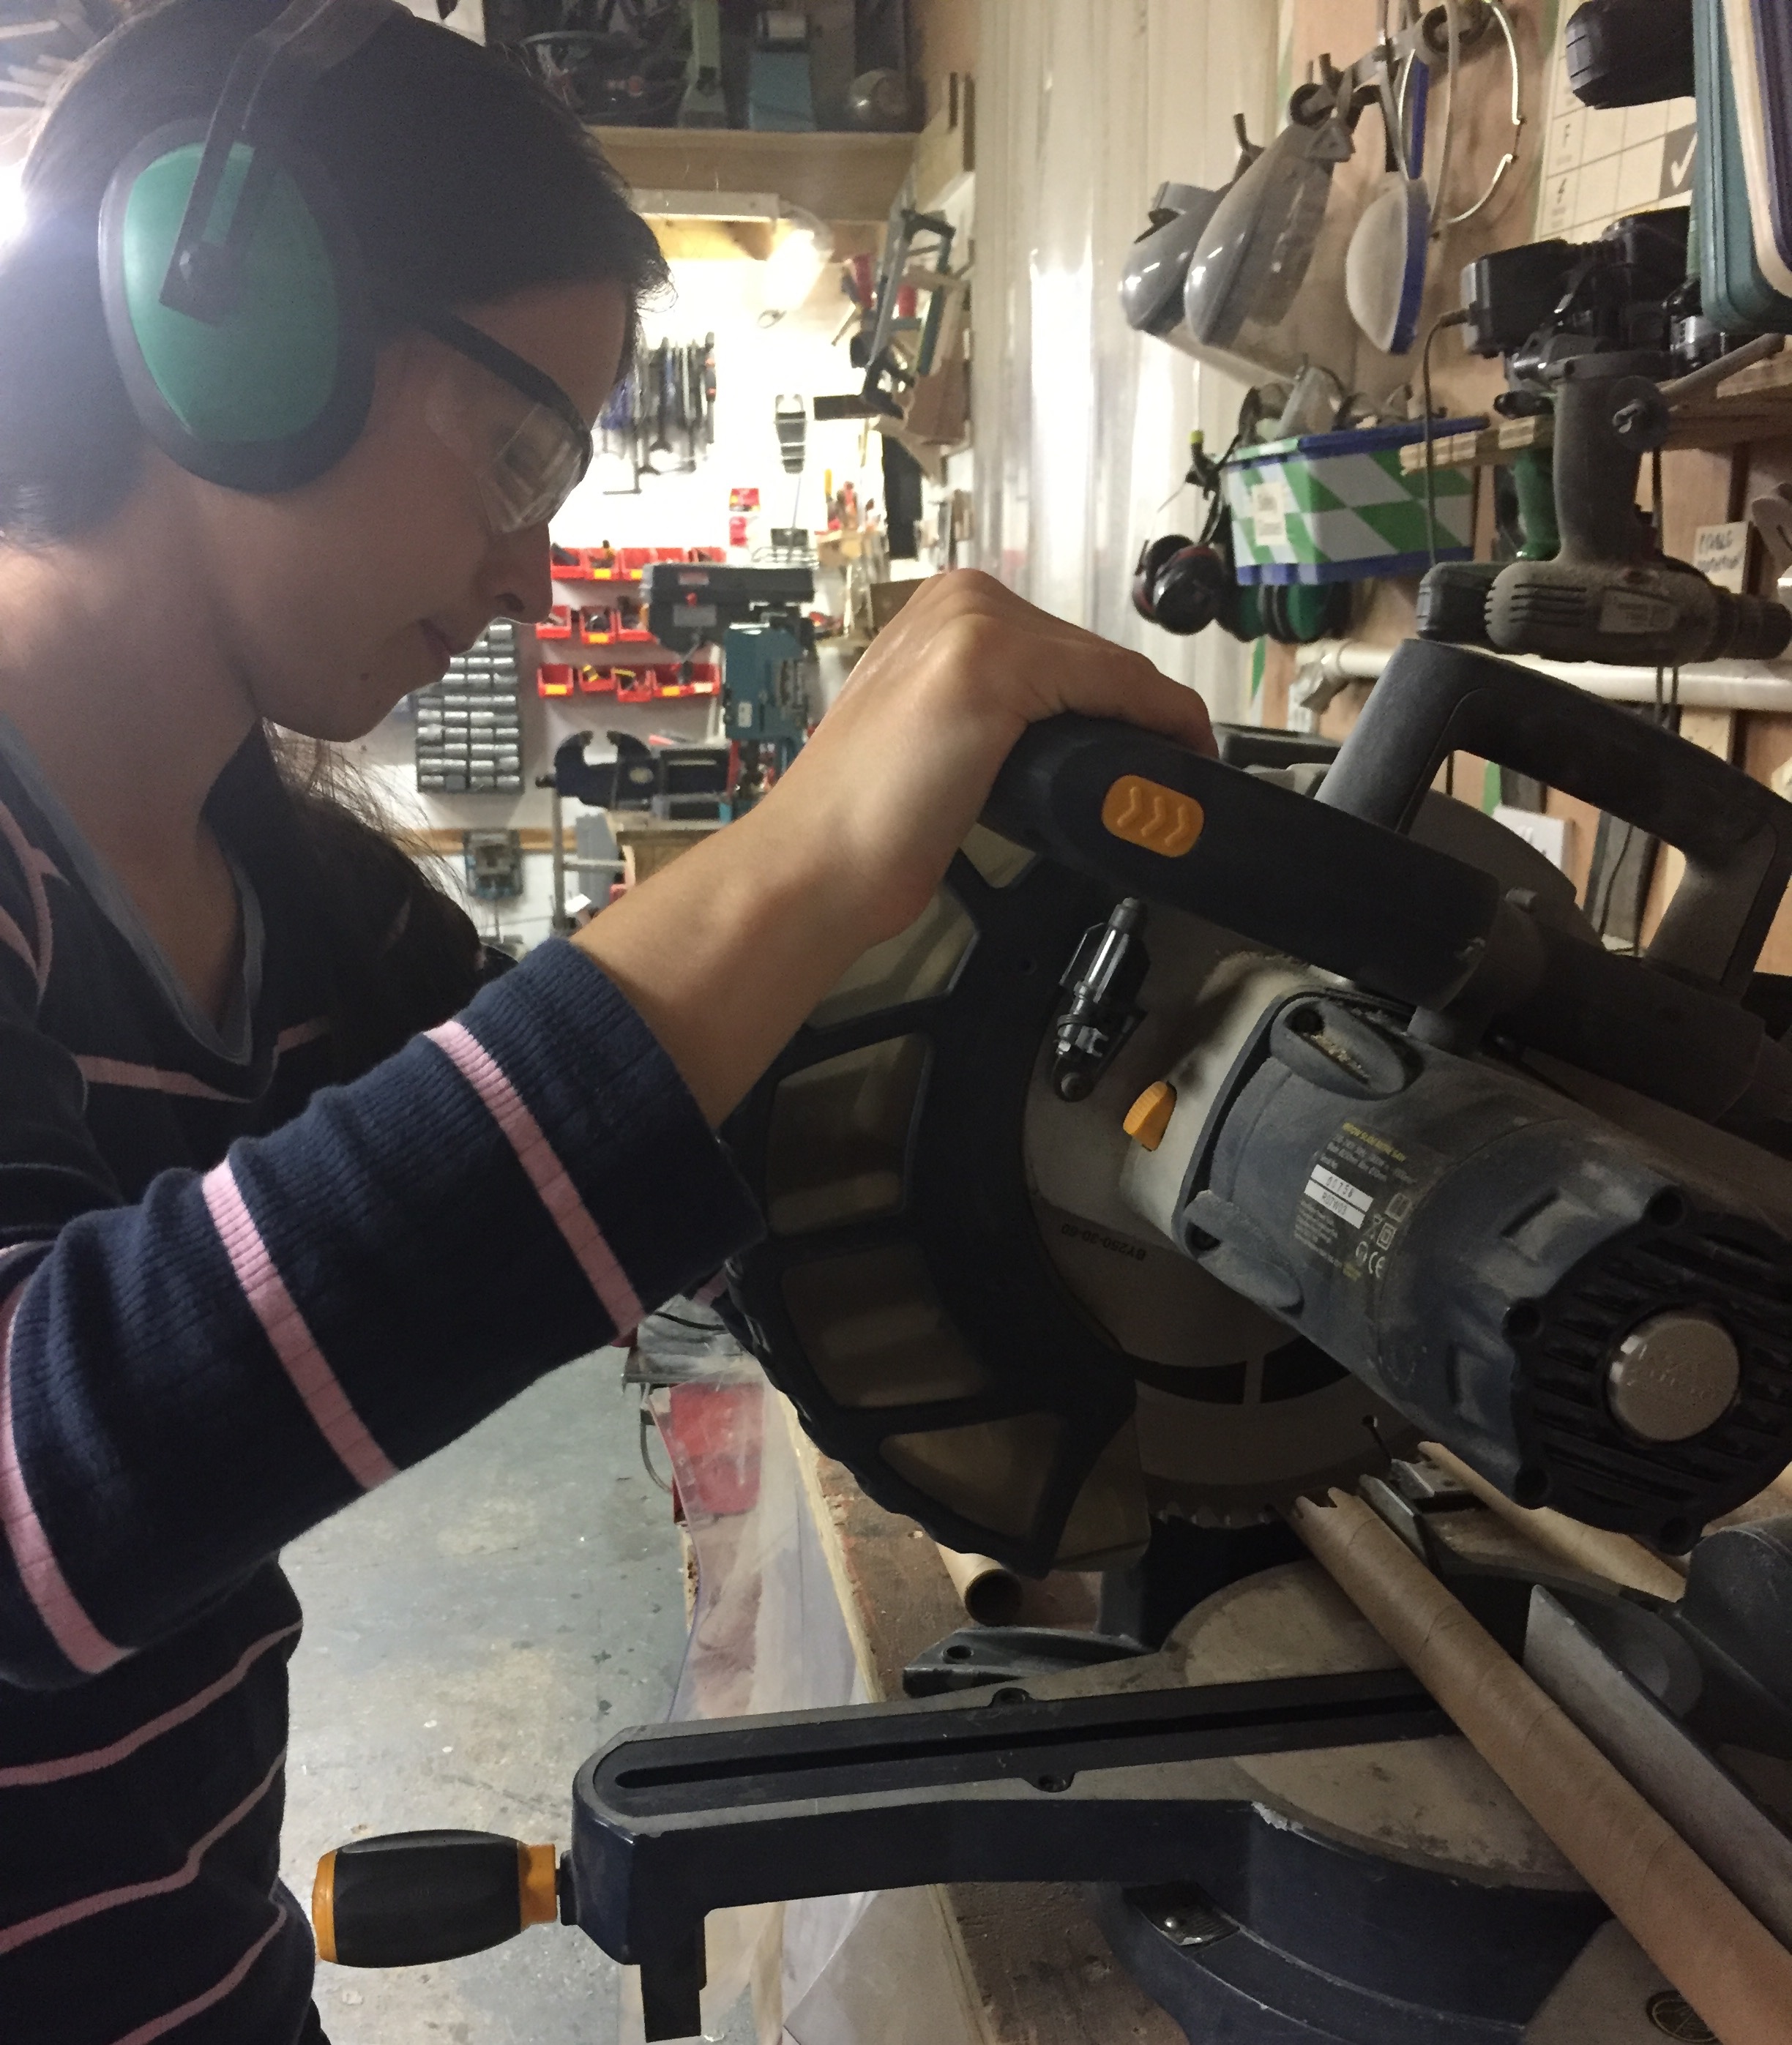
Preparation
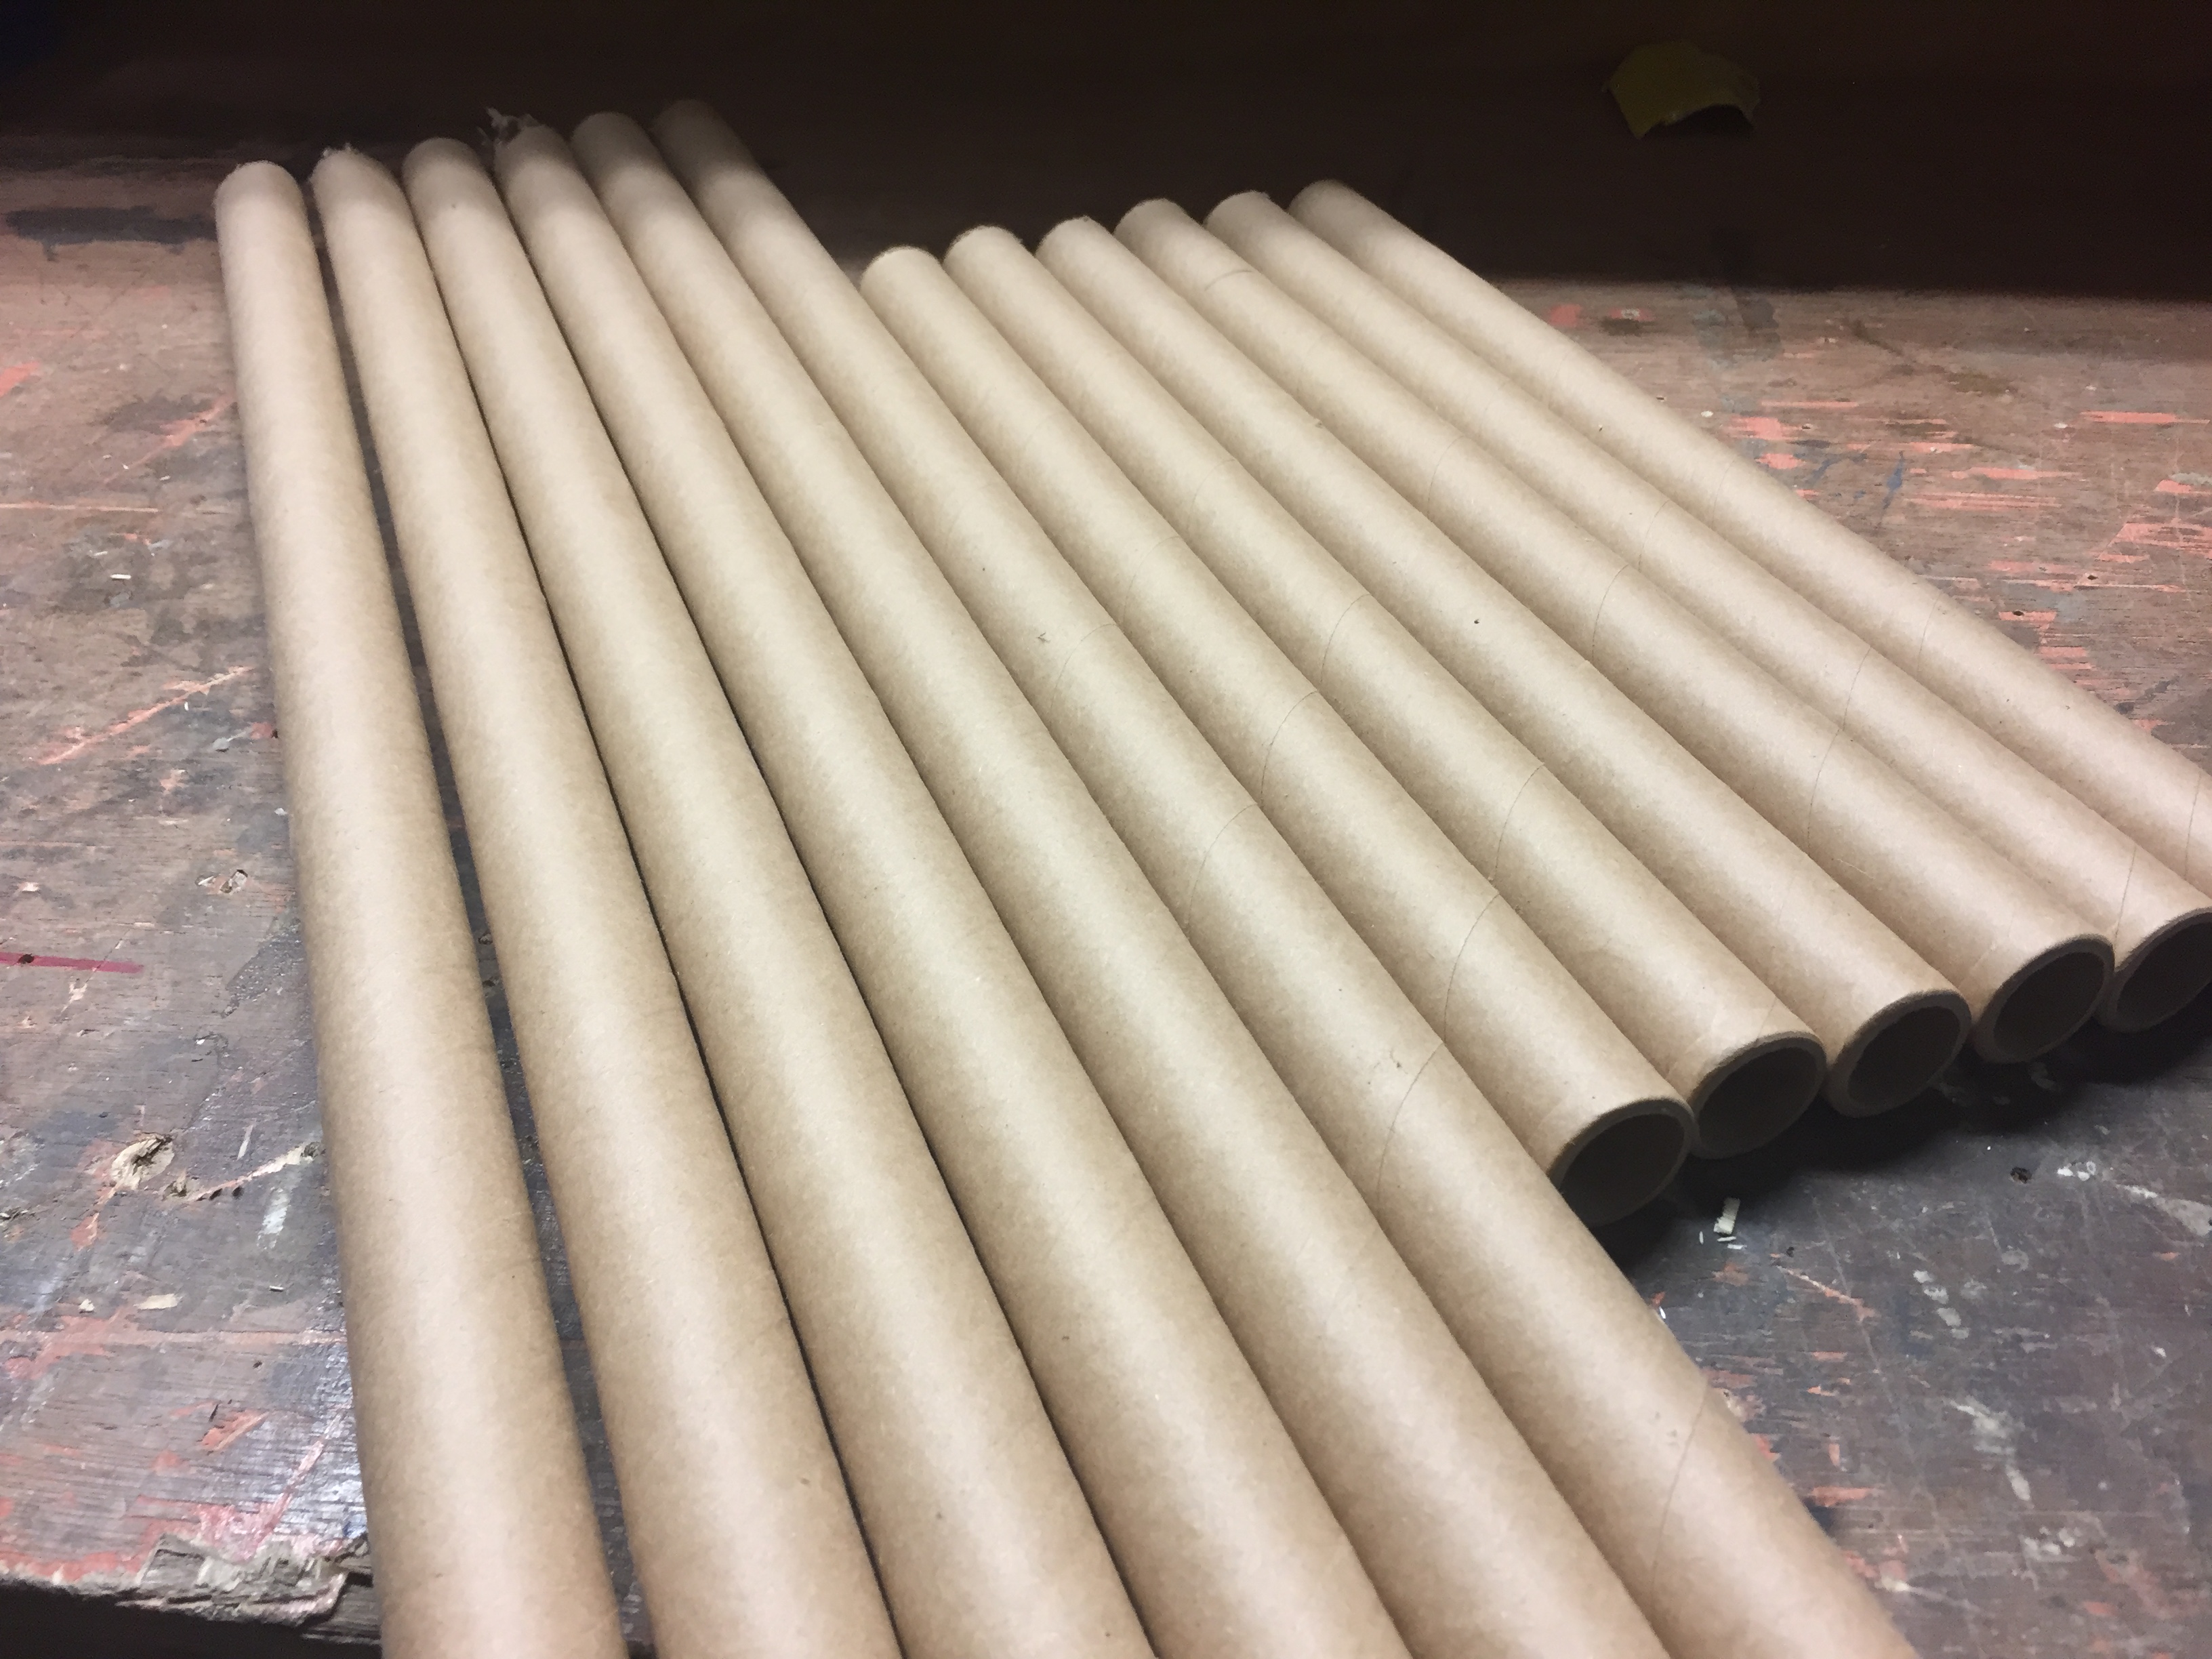
The cardboard tubes were cut and prepared to the following lengths:
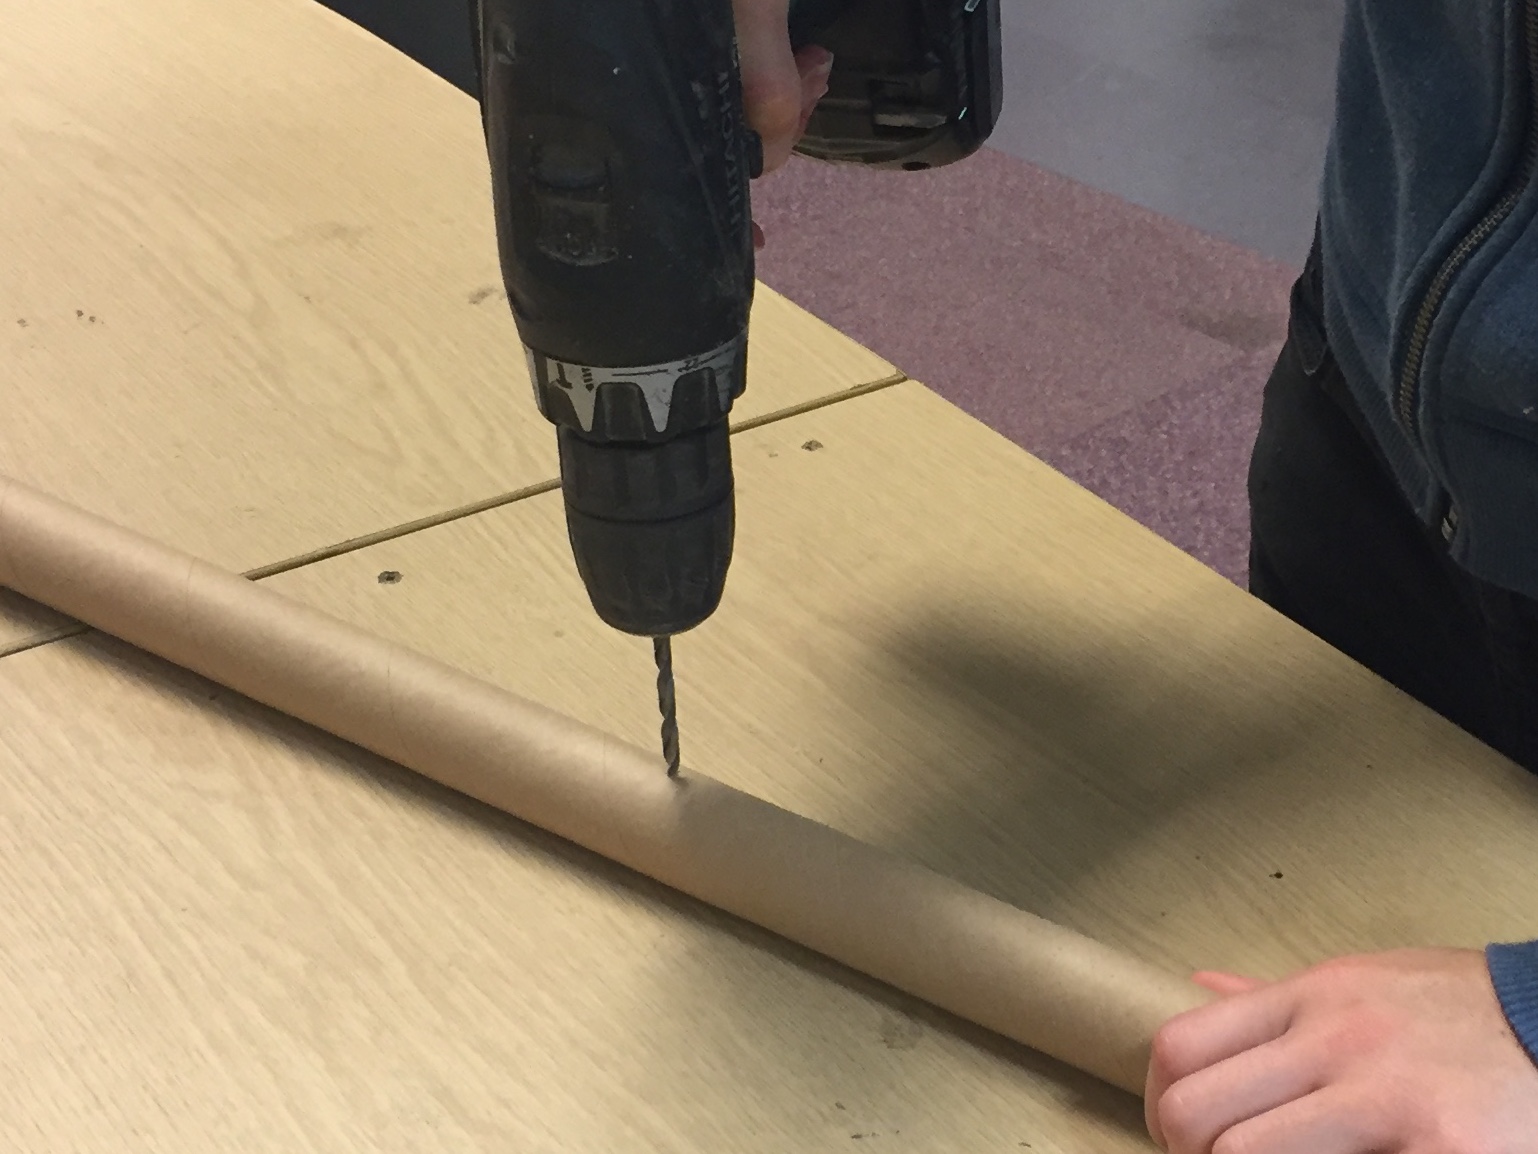
6 x 80cm tubes for base of uprights with 1.2cm hole 2cm up from one end
6 x 40cm tubes for middle of uprights
6 x 10cm tubes for top of uprights, with caps on one end
10 x 125cm tubes for horizontal bars with 0.5cm hole in the middle
2 x 125cm tubes for free standing uprights with Velcro where Raspberry Pis and batteries will go
Wiring
Warning: Please don’t attempt the electrics unless you are qualified to do so. We are not supplying all the details about the wiring because they are intended as an example of how we did this, not as instructions to follow. Mistakes could burn the raspberry pi, cause a fire or electrocute someone!
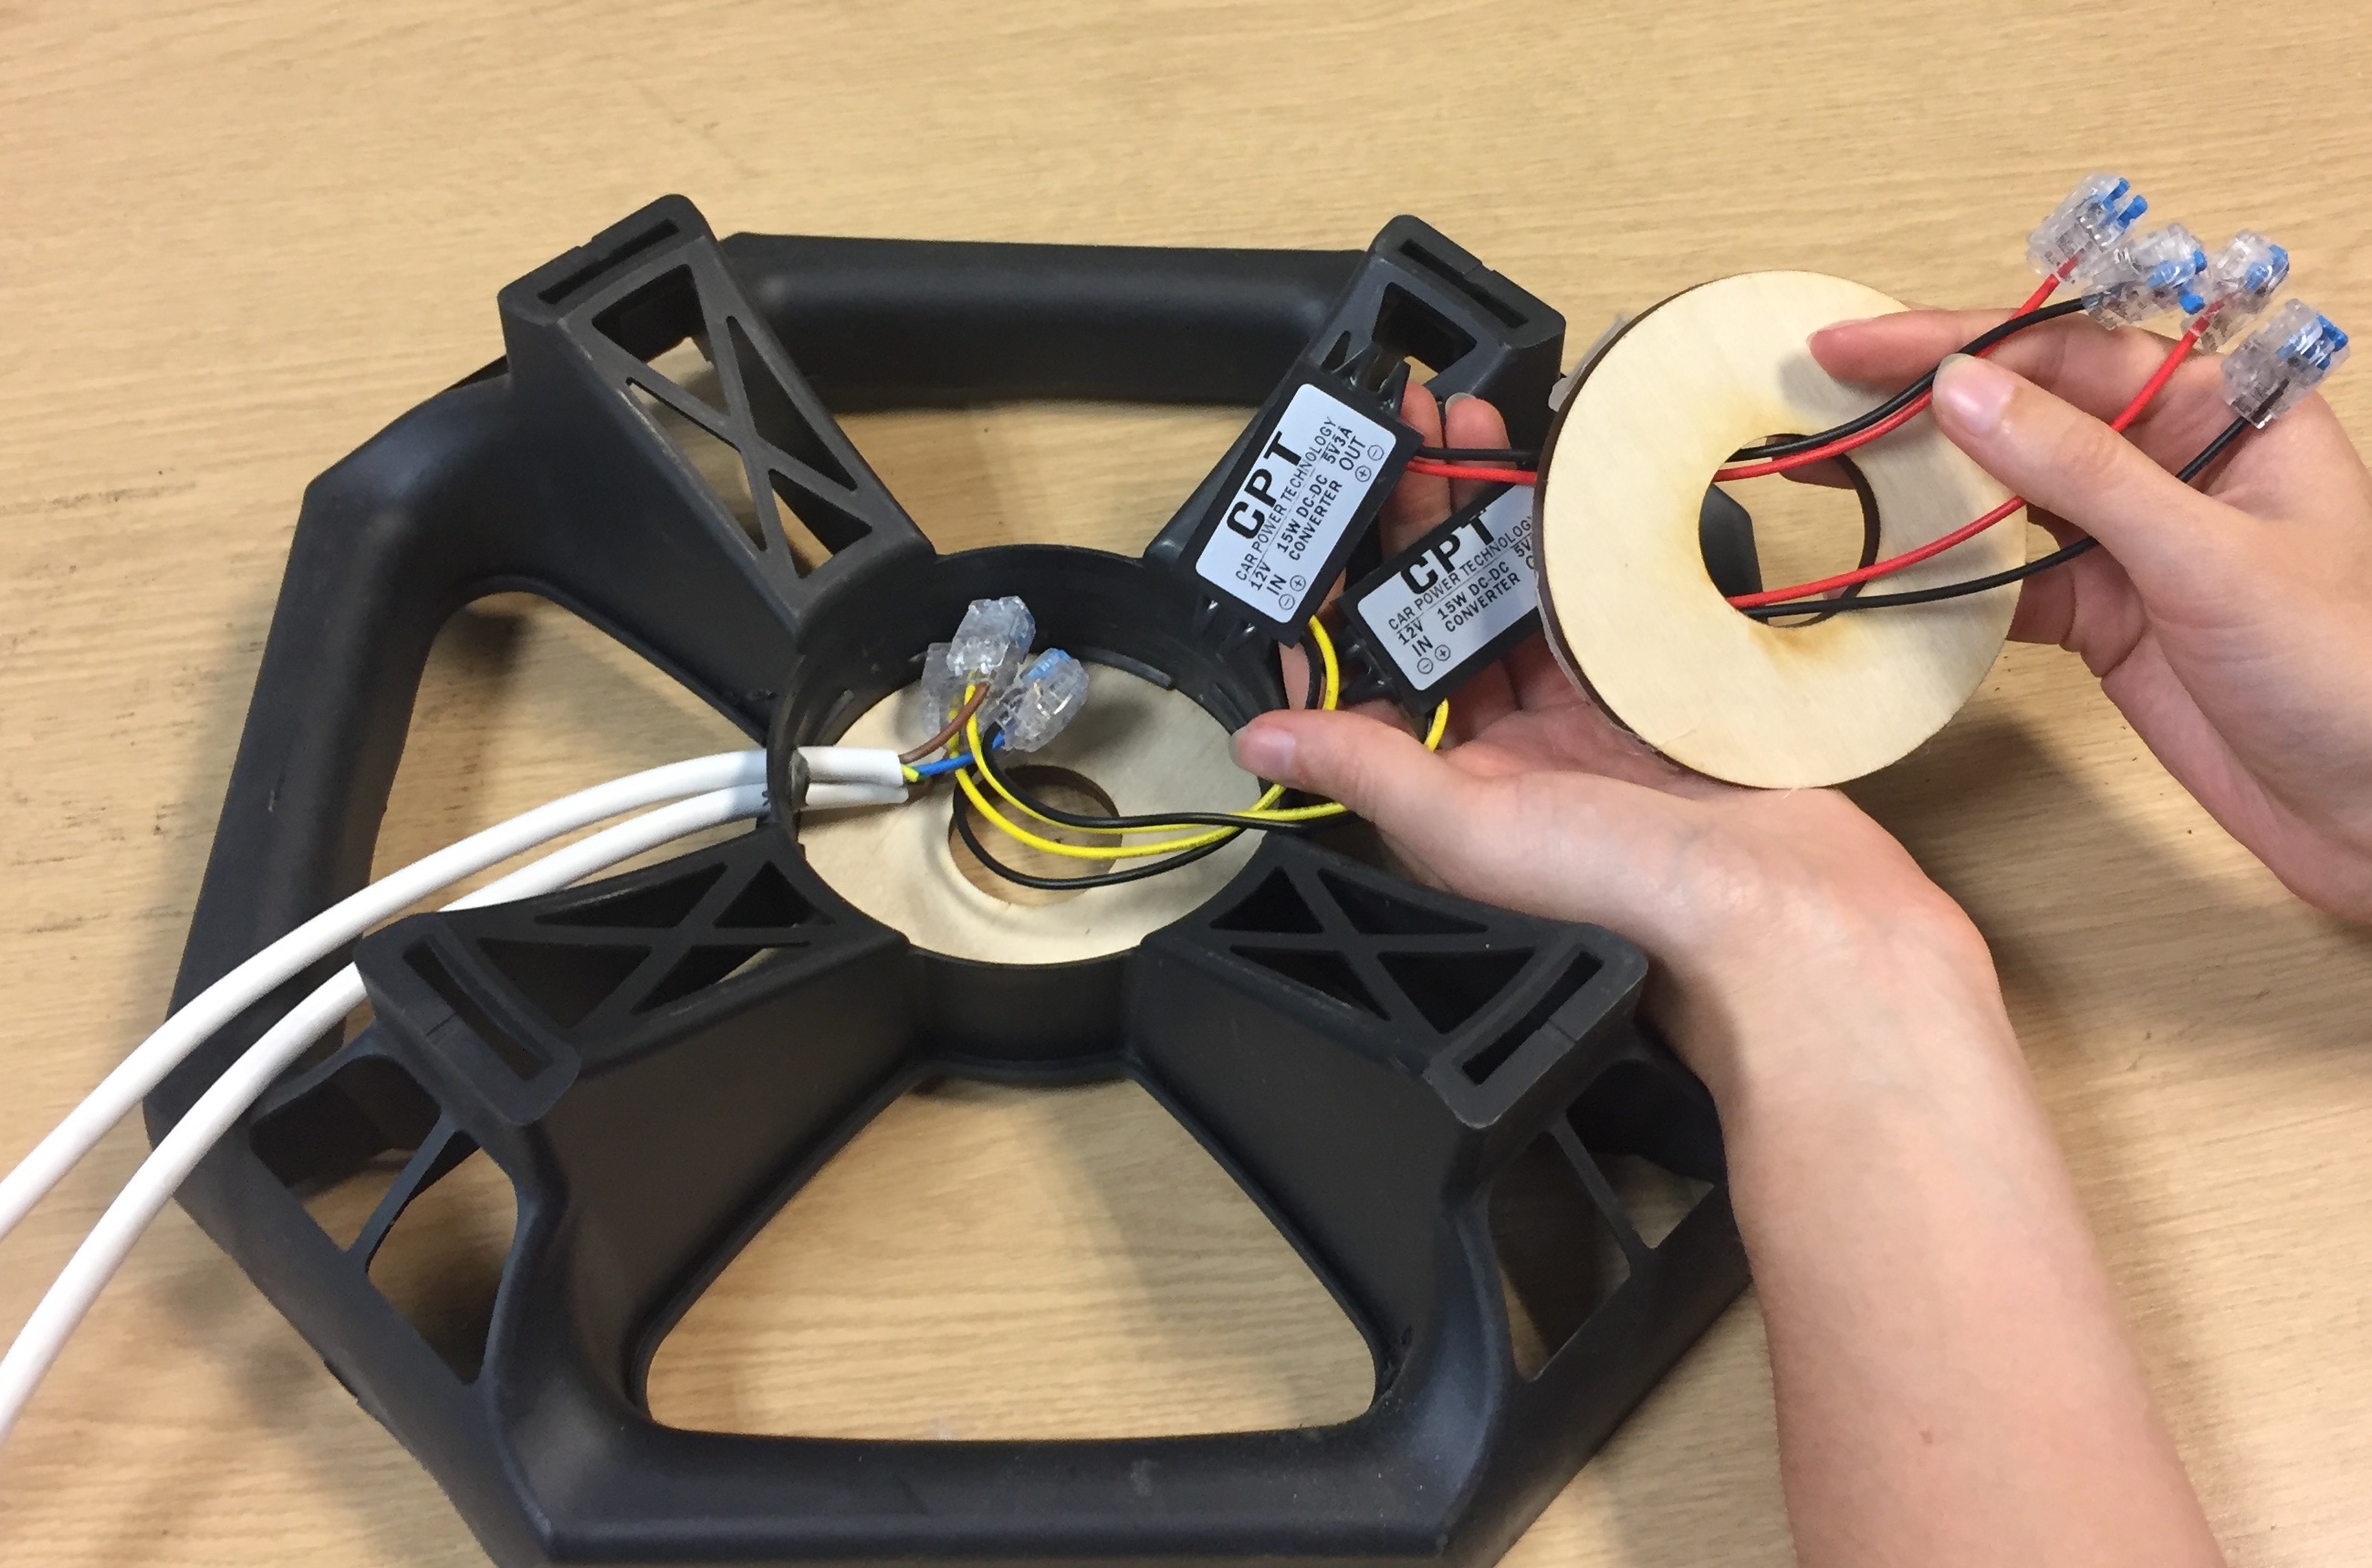
Tip: We found the cameras furthest down the line didn’t work when we daisy chained them together, so we connected 3 fuses to 3 separate circuits from the 12V power supply with 4 x 5V regulators coming from each. Each of these can power up to 3 raspberry pi zeros. That meant we had 2 electric cables running up each pole with the capacity to attach 6 leads for cameras. We only needed 4 for head and shoulders, but it’s useful to have extra capacity to add more cameras for other purposes.
We cut the large USB off the end of 22 USB cables and cut 6 of them shorter, to approximately 30cm. Then, ignoring any data wires, we attached ferrules to the end of the power and ground wires.
Taking the short leads, we pushed one pair of ferrules into each of the 12 x 3D printed connectors until the wire came out the bottom end.
We used the same technique with the longer leads, pushing one pair of ferrules through the hole in the centre of each horizontal bar until they appeared at the end of the tube.
Making and wiring the bases
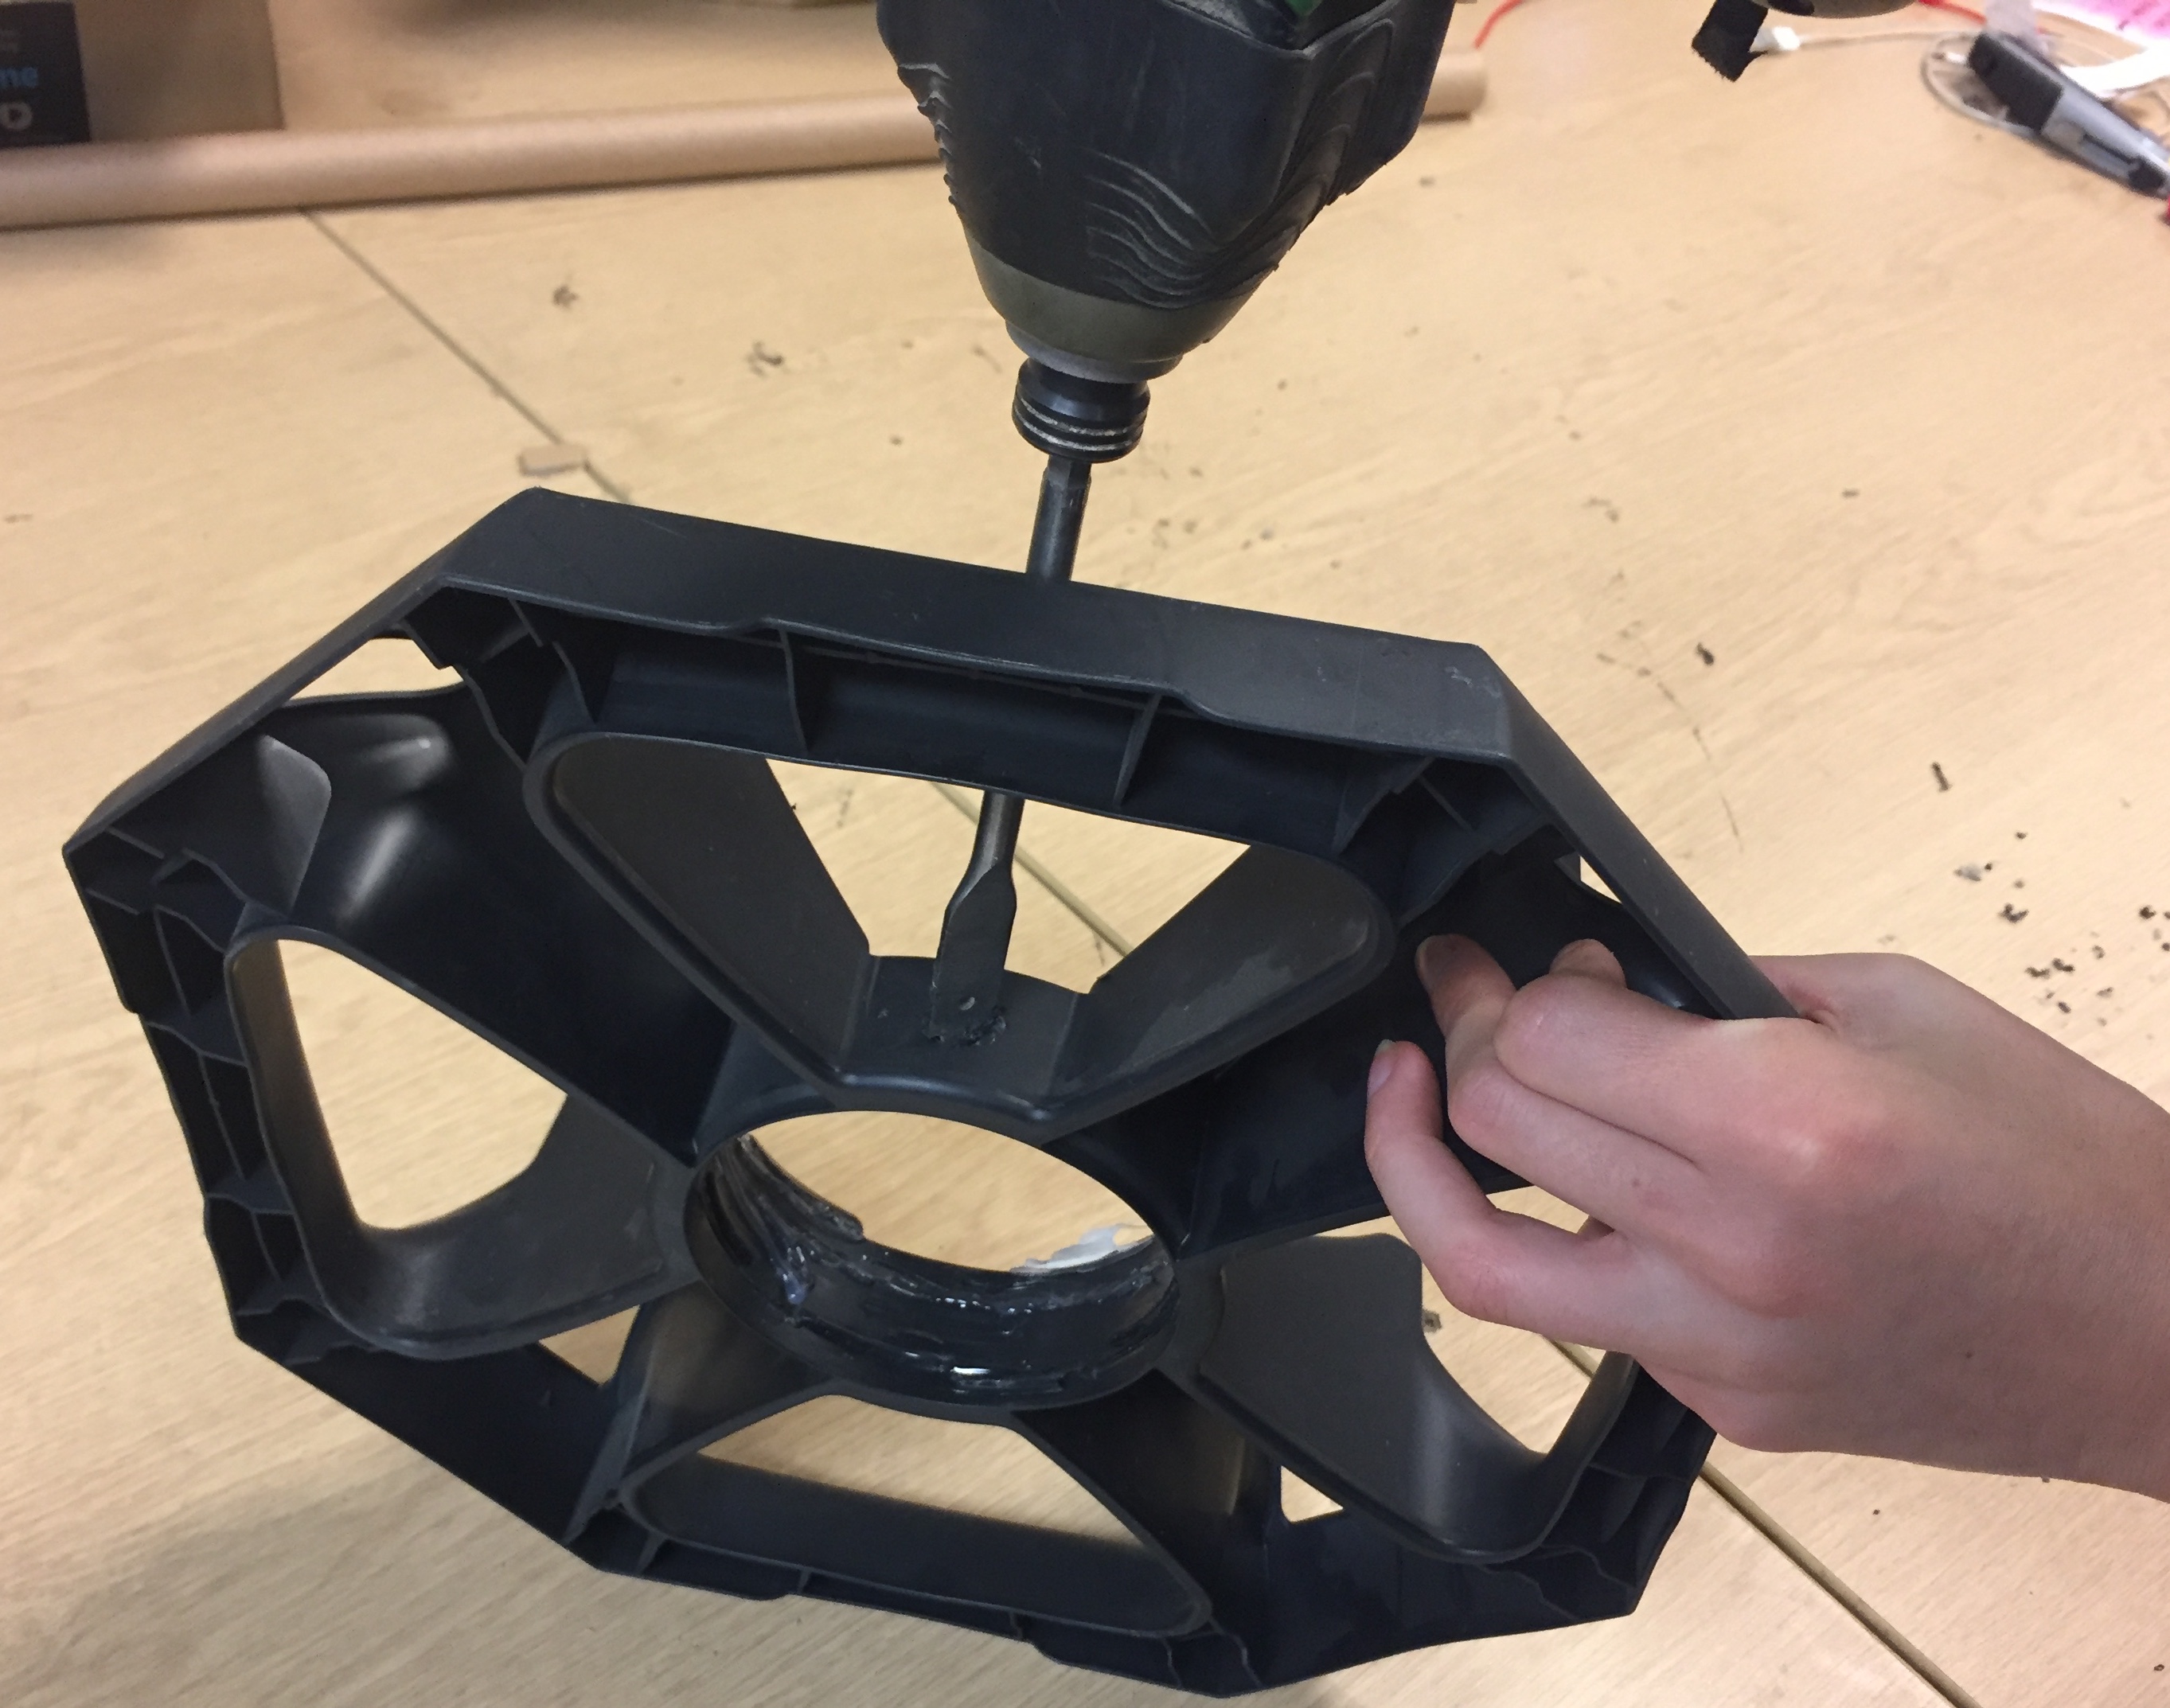
We cut 16 rings to fit the hole in the middle of the lids of 8 disposable beer kegs, with a 3.2cm hole in the middle of each. Pubs in our area are happy to give these kegs away and the round part comes in useful for projects. The lids are usually thrown away, but they make very stable stands.
We hot glued a ring to the top and bottom of the screw part in the middle of a beer keg lid, repeating with a second lid. Then we stood a 125cm pole in each and attached a camera near the top of each pole with Velcro®
and another 40cm below it. We plugged in a USB battery pack to each camera and attached the battery to the pole with Velcro® where the lead reaches.
Base Posts
For the other 6 lids, we took 2 plywood rings for each and hot glued them in place, above and below all the components. In the the gap between the rings of each one were 2 x 5V regulators, the cables and their connectors, to which we attached 2 x 80cm of cable, and inserted both cables through the 1.2cm hole and up the tube. All the components fitted snugly around a base pole that we stood up in the centre.
They would probably look better painted!
Build the Structure and Electric Circuit
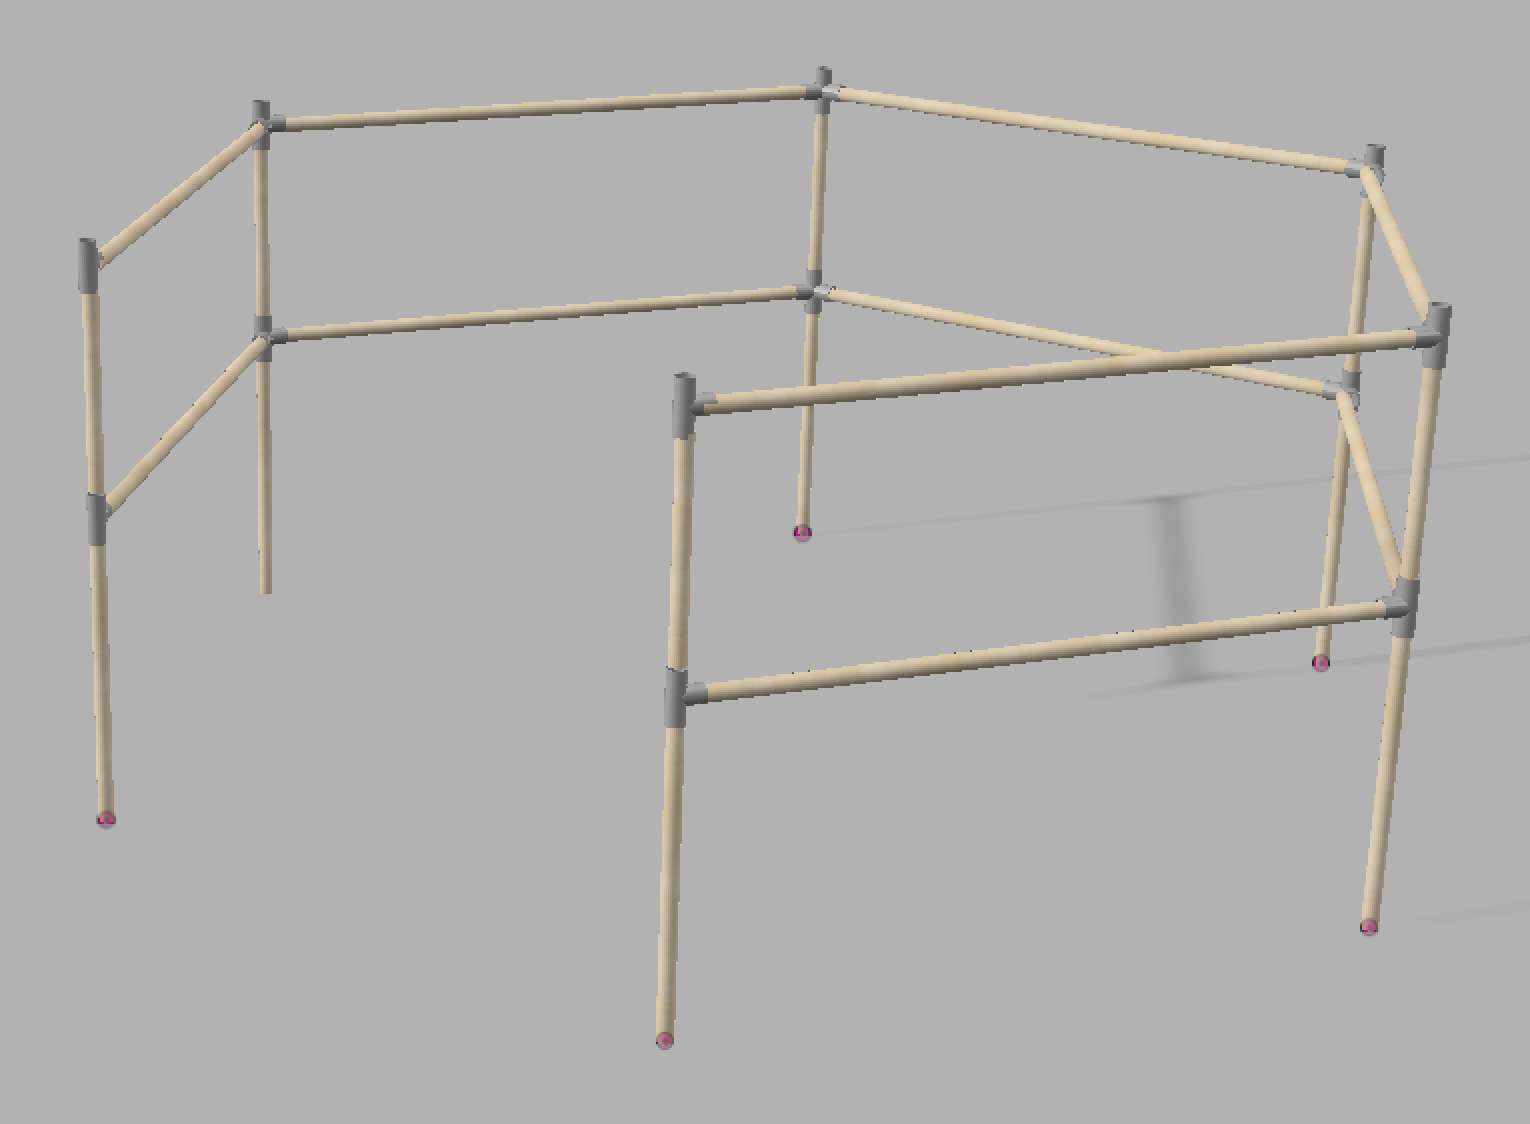
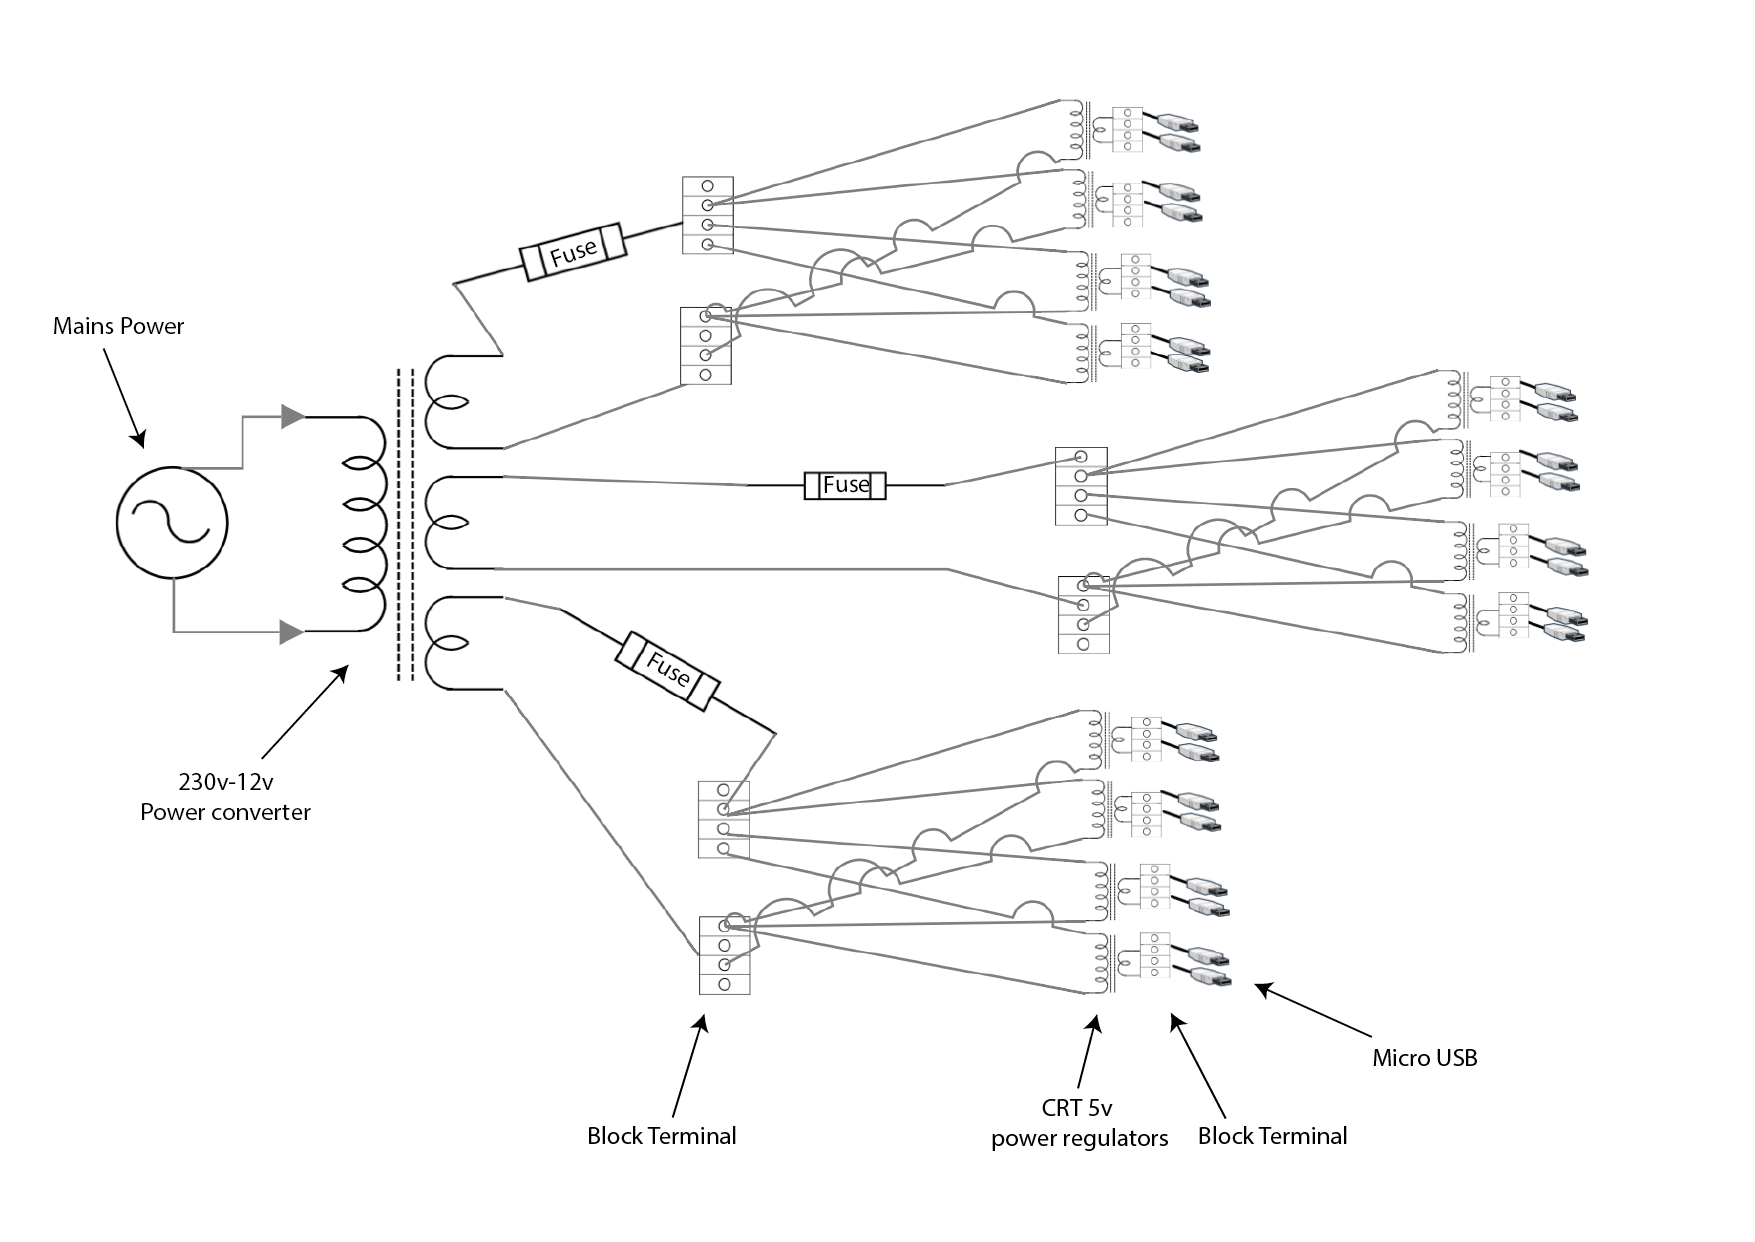
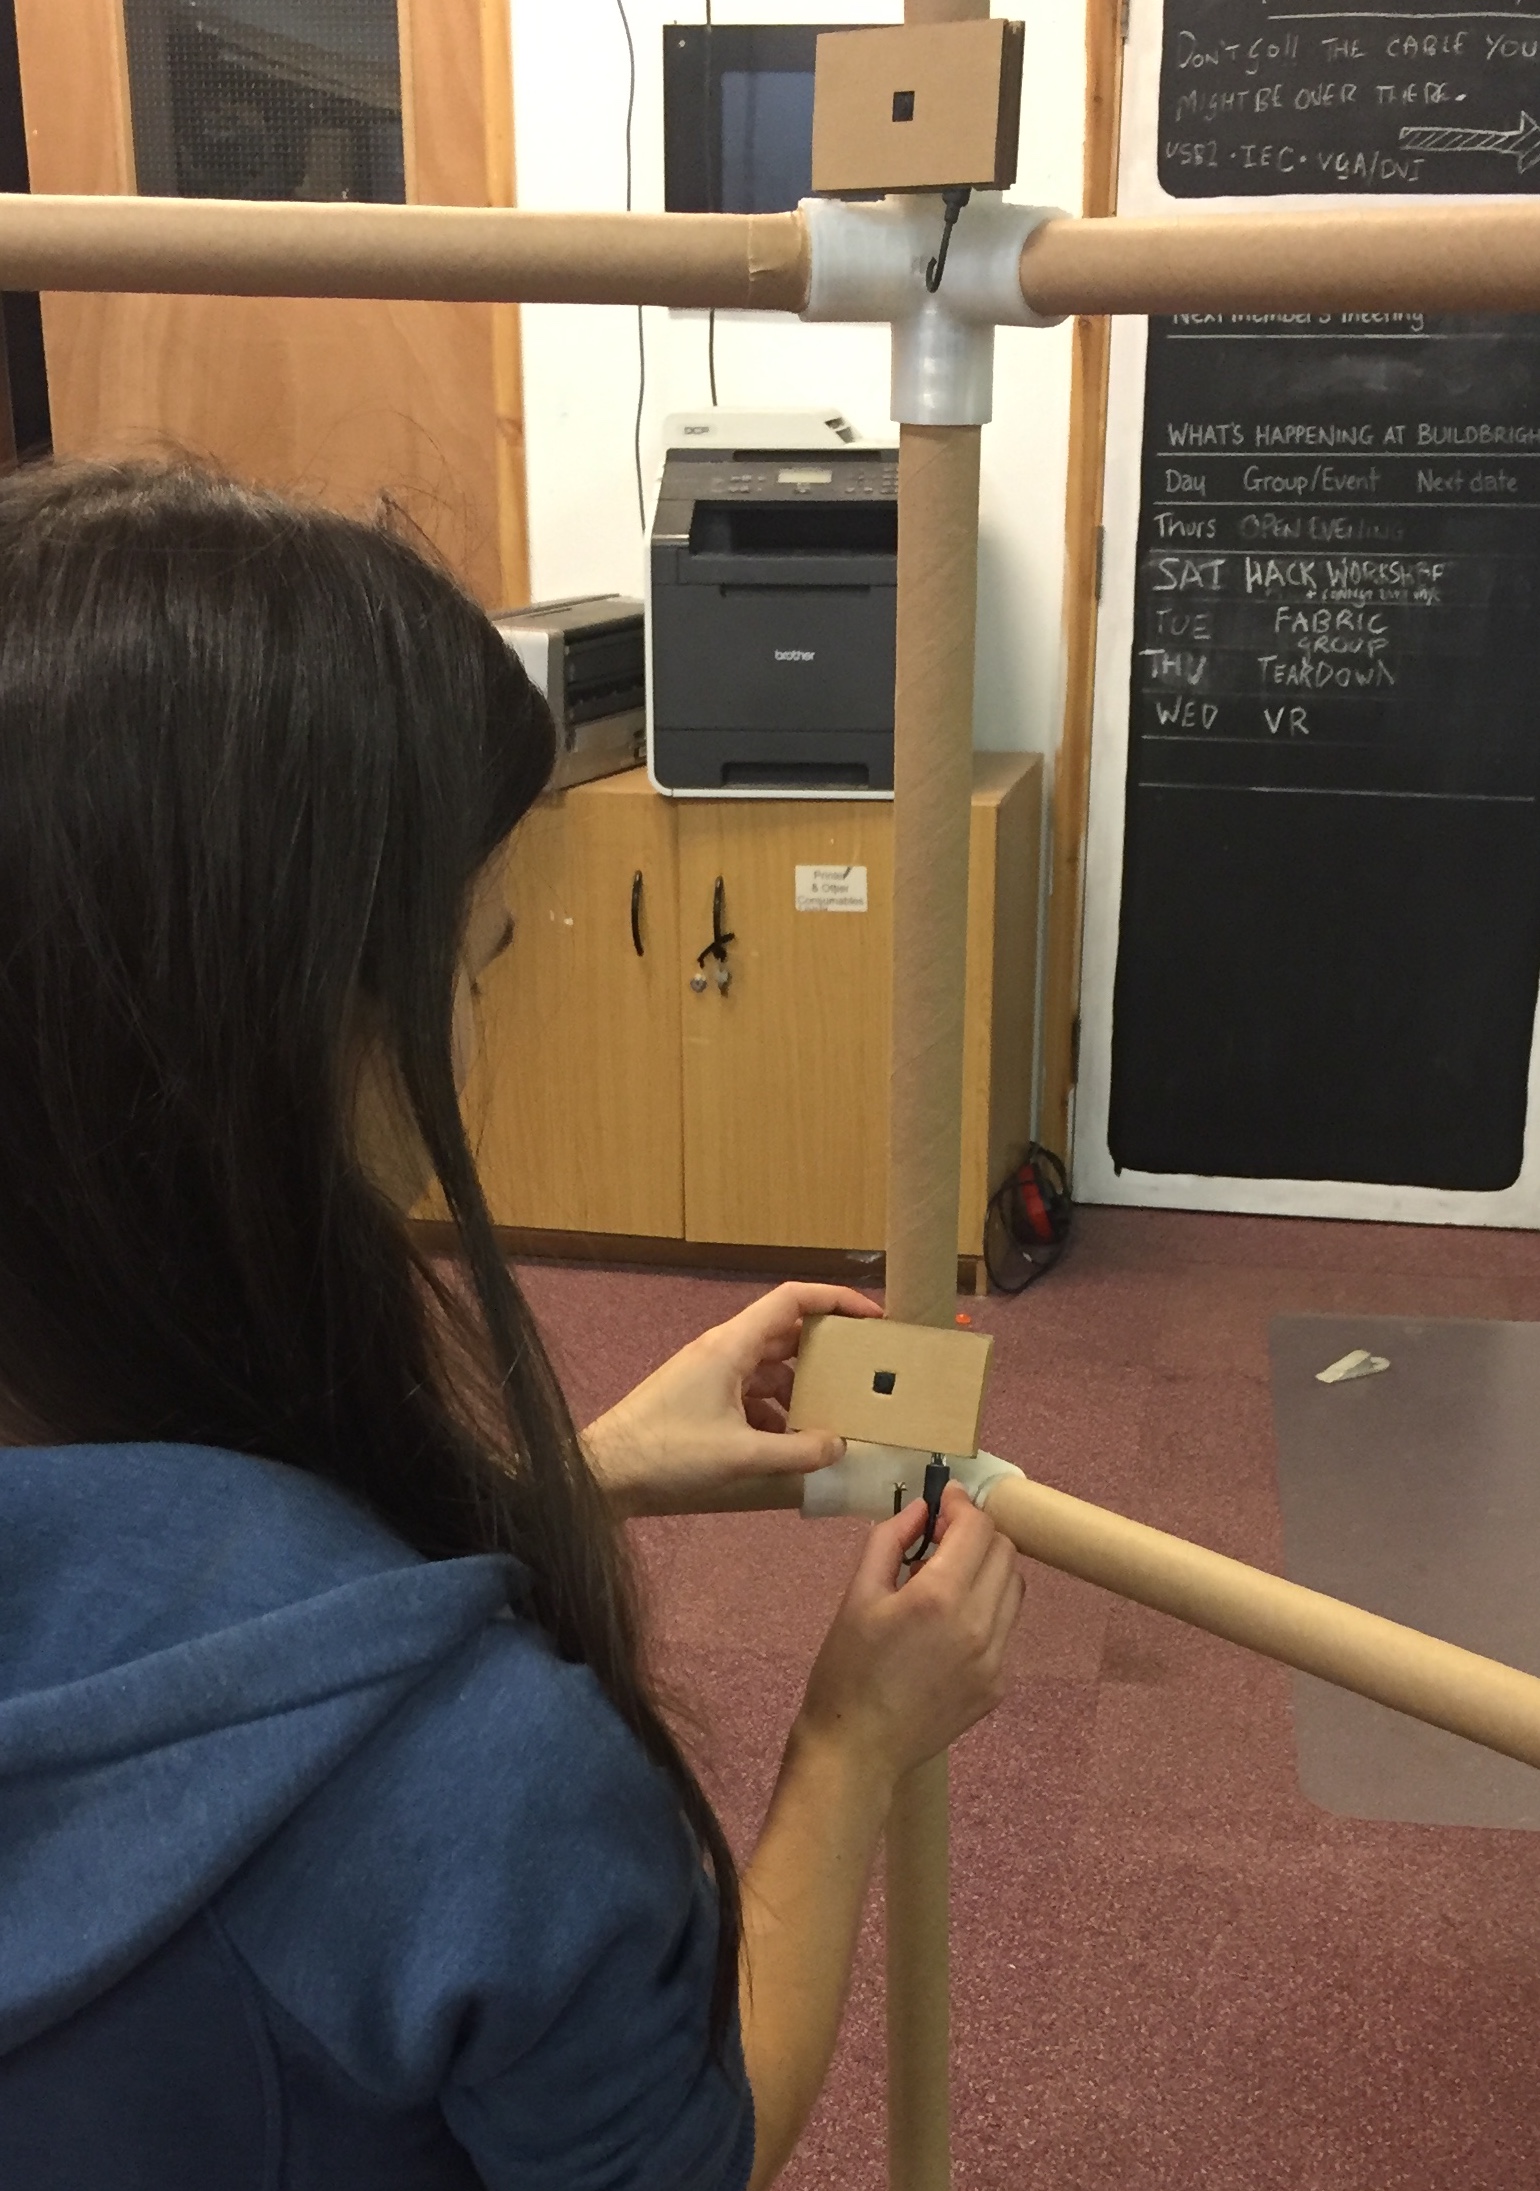
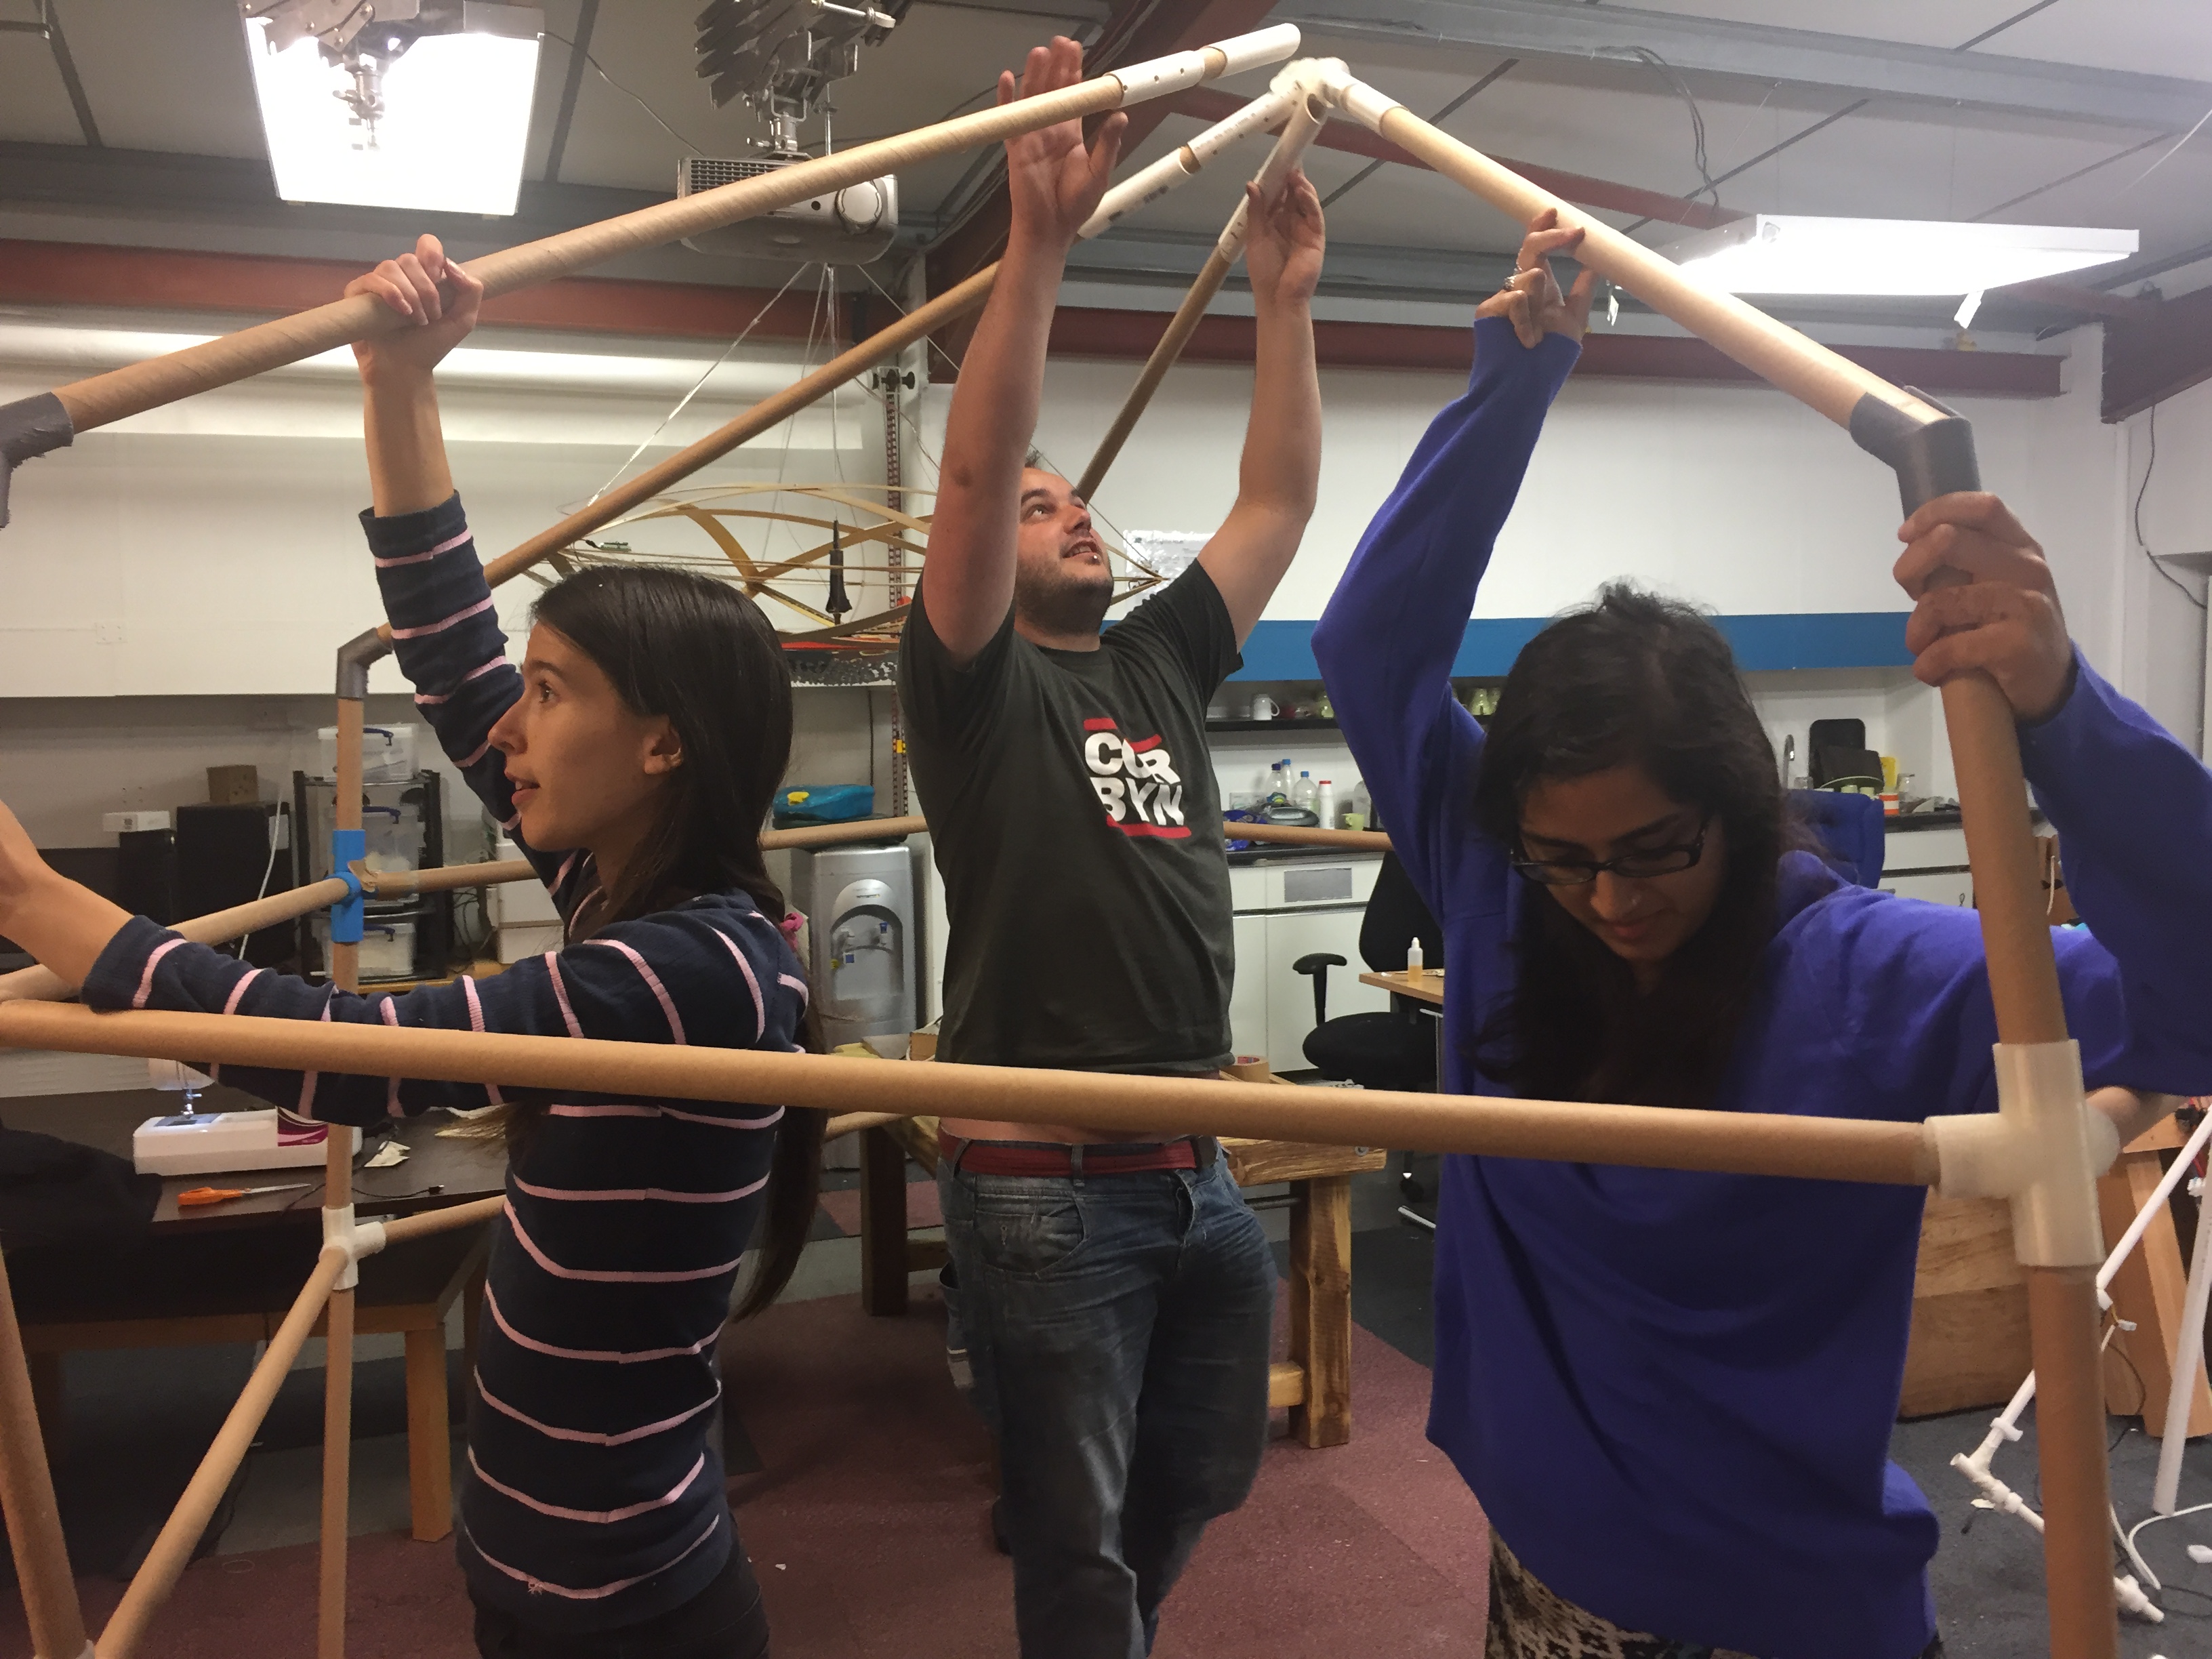
We arranged 5 of the horizontal tubes on the floor to mark out 5 sides of a hexagon and stood a base post at each junction.
Then we created the frame for the cameras by attaching the cardboard tubes to the 3D printed connectors, threading the protruding wires, with ferrules attached, through the poles towards the base posts and attaching the lever wire connectors at the top of each base post before securing the sections of the frame in place.
Next, we connected the cameras to the micro USB's, half way along each horizontal bar. The cardboard Pi Case has been designed so that the USB is partly hidden inside, and the other part of the USB can be pushed slightly into the cardboard tube, so the camera sits flush, on top of the pole. The USB holds it in position.
We connected cameras to the USB leads in the corner junctions, using self-adhesive Velcro, to hold the cameras in place.
Then we placed the free standing upright camera poles equidistant apart across the opening.
Lastly, we adjusted the cameras to make sure they all point towards the centre.
There is one spare camera in case any stop working.
Take Photos
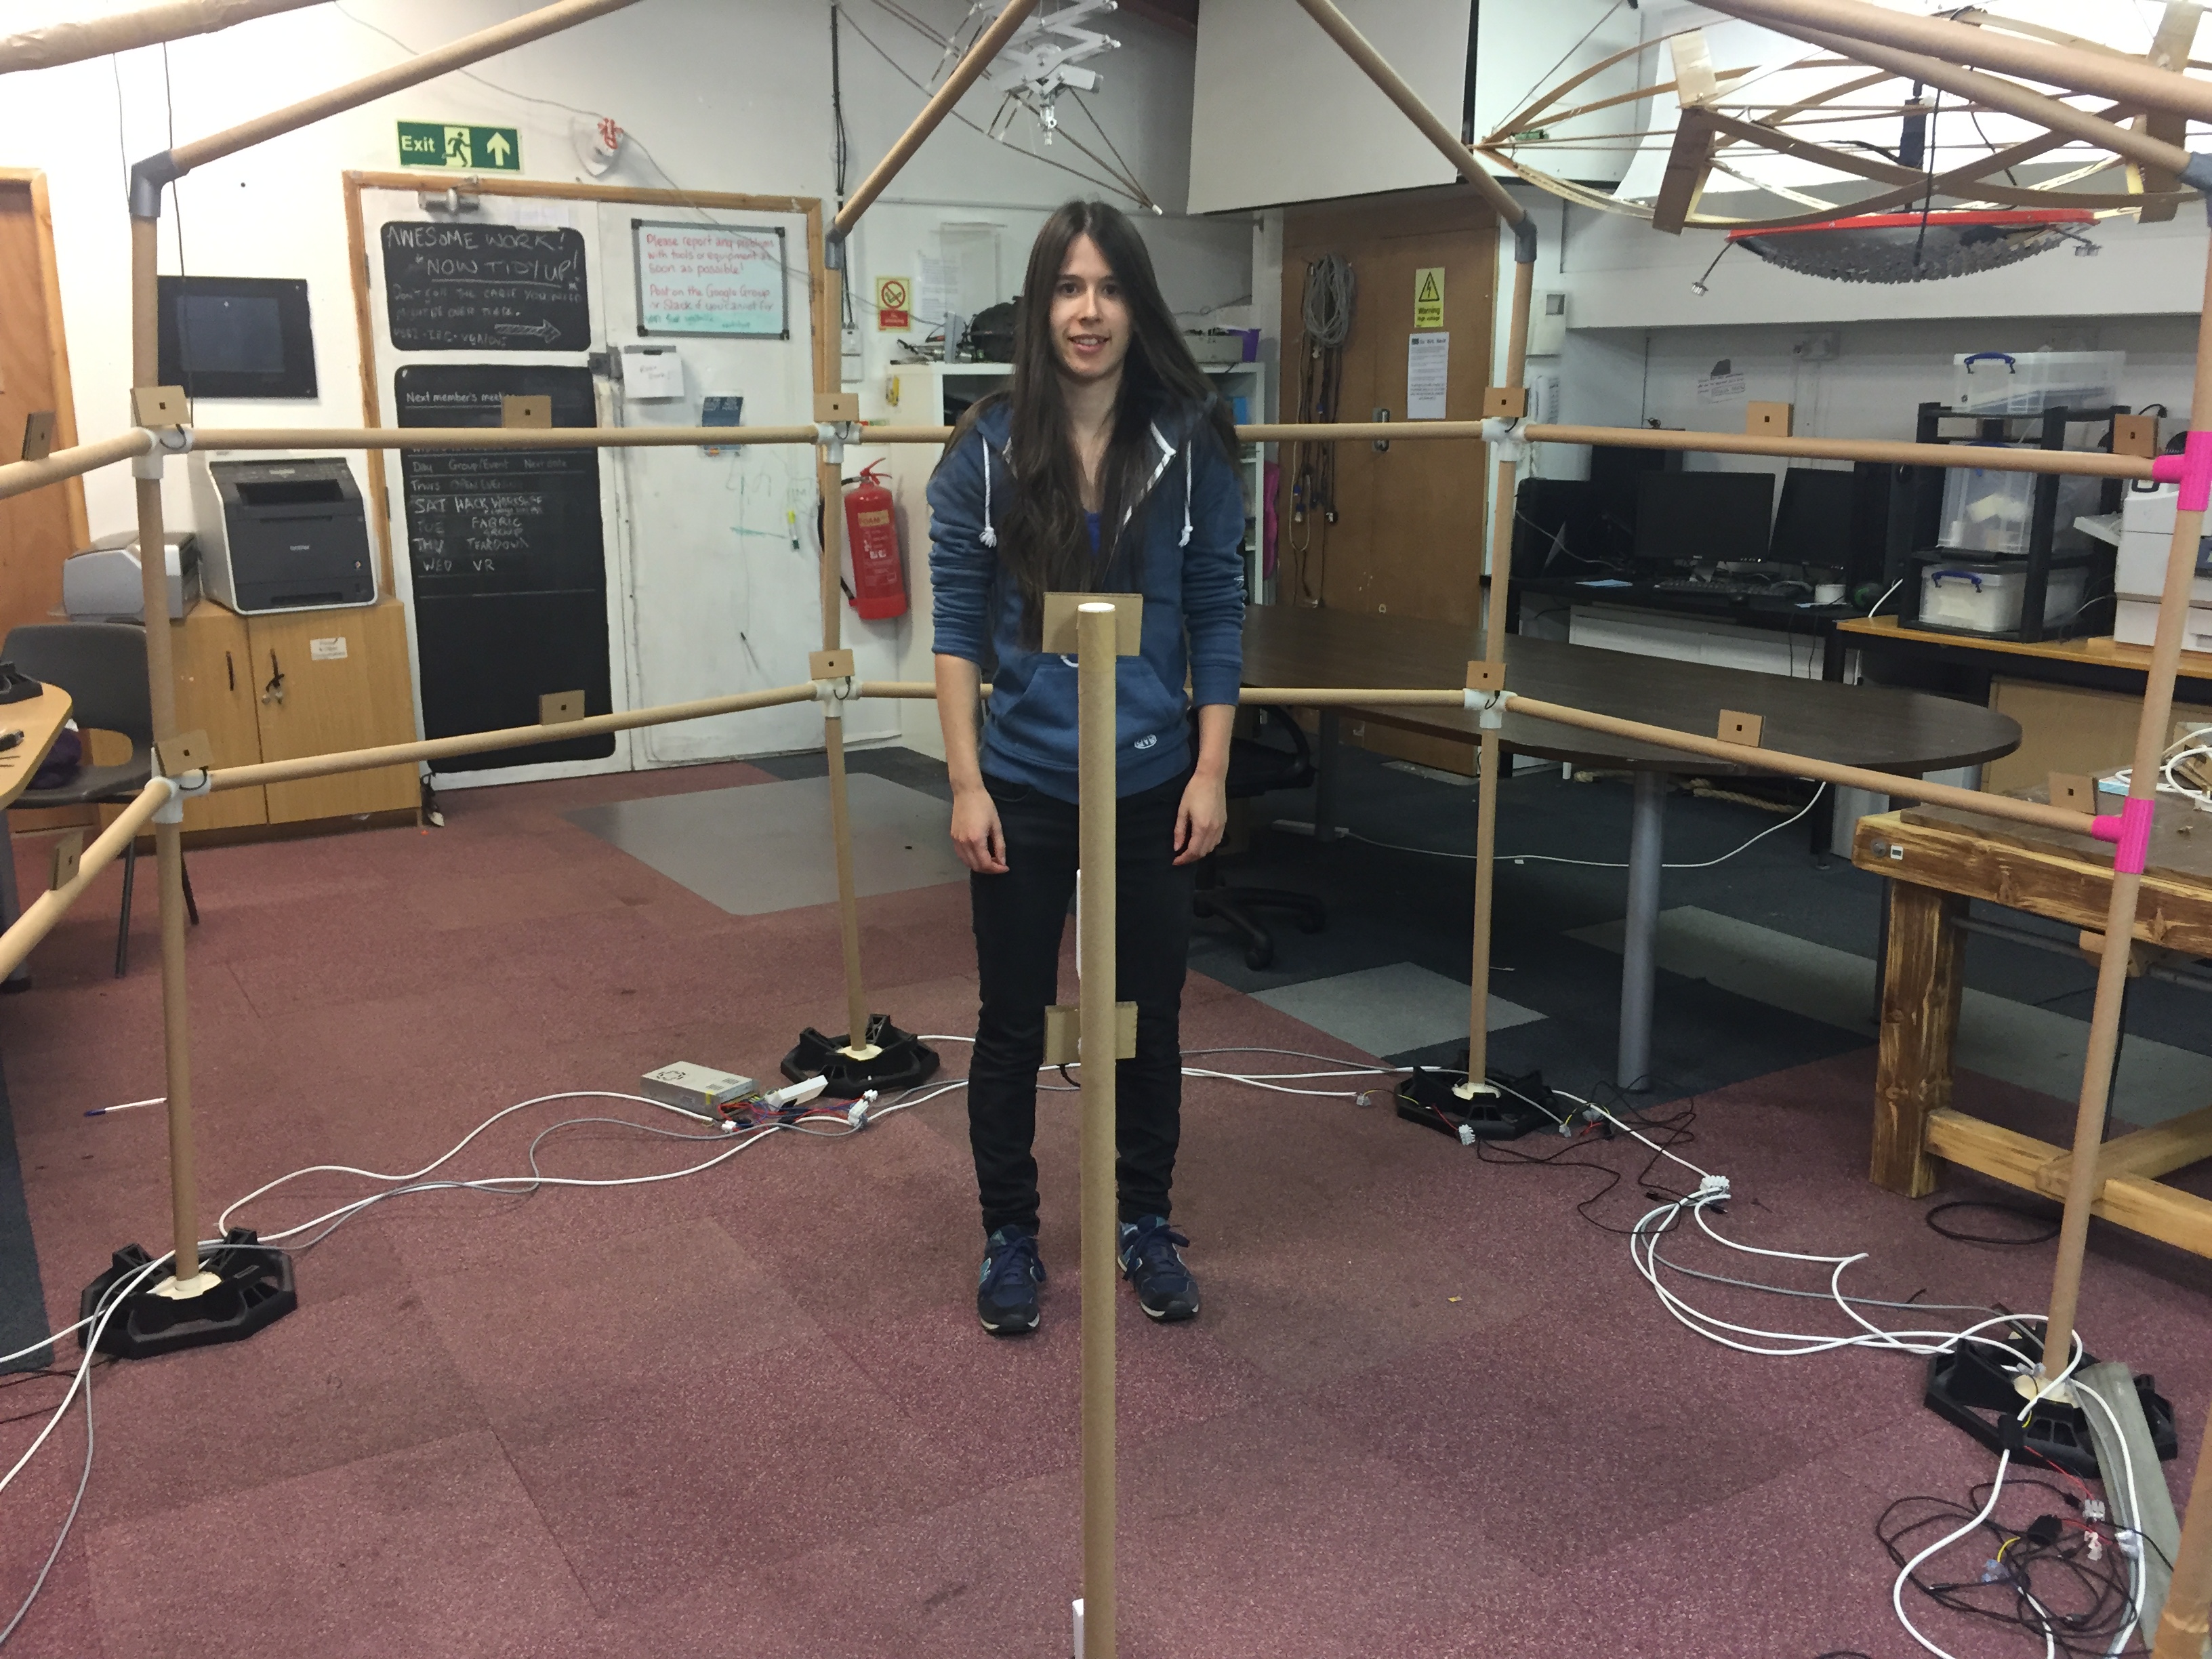
To use the scanner, stand or sit inside the frame, right in the middle.
Ask someone to press 'Take Photo' on the dashboard. All the photo's should be taken at the same moment, but as the signal is sent over wifi, occasionally one or more have a slight delay. So stay still for a few seconds until all the photos have been sent.
The photos will be saved in the images folder in the 3DCameraServer folder
For tips on taking good photos see this video
Process the Photos Into a 3D Model
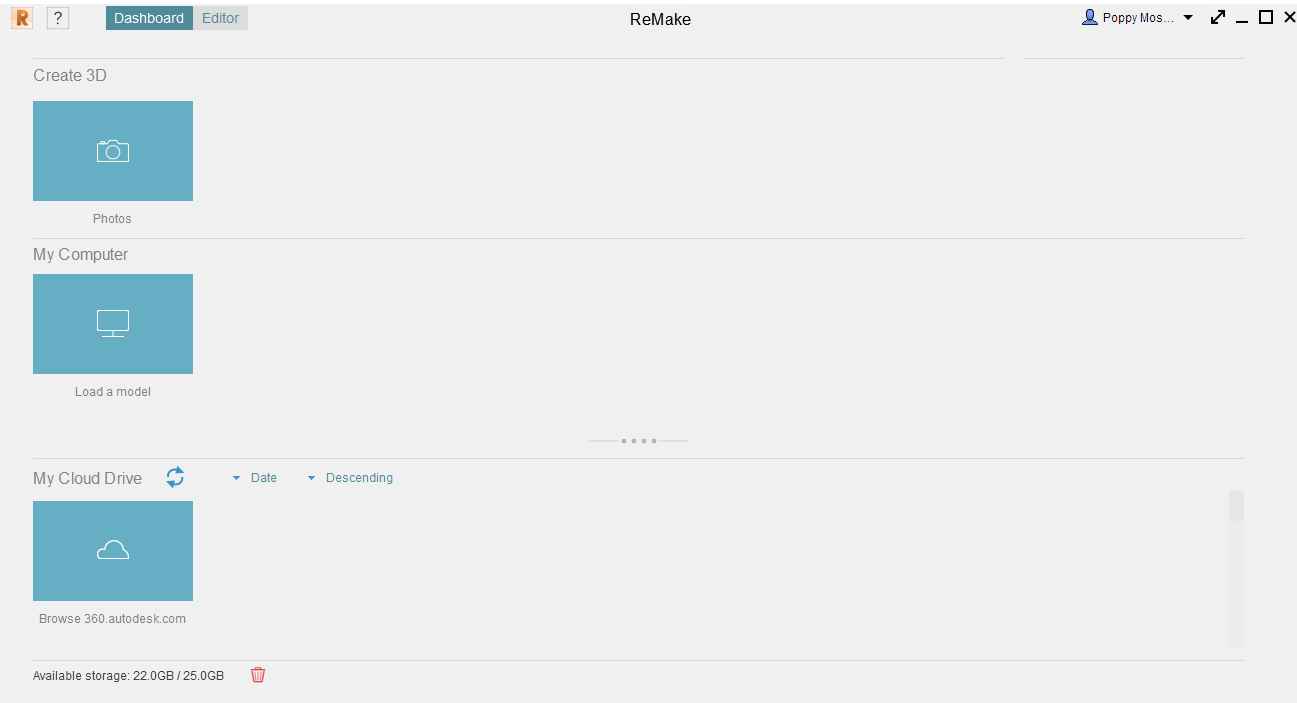
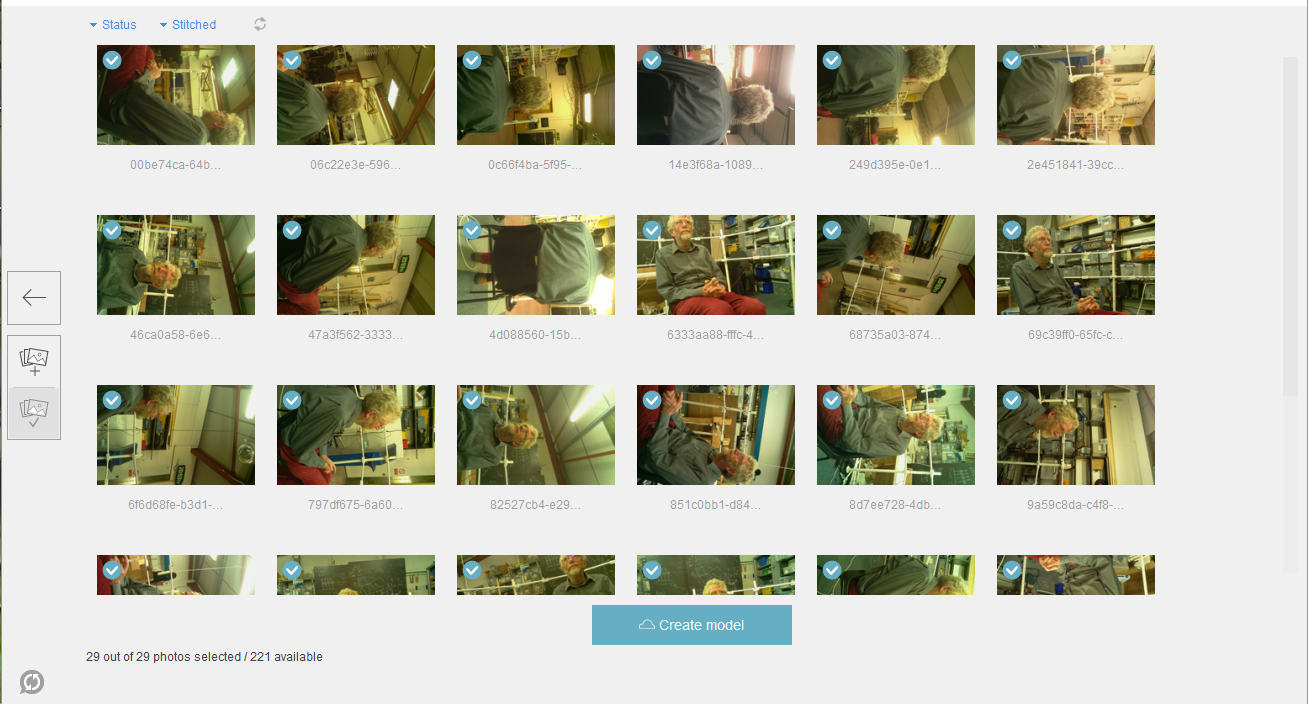
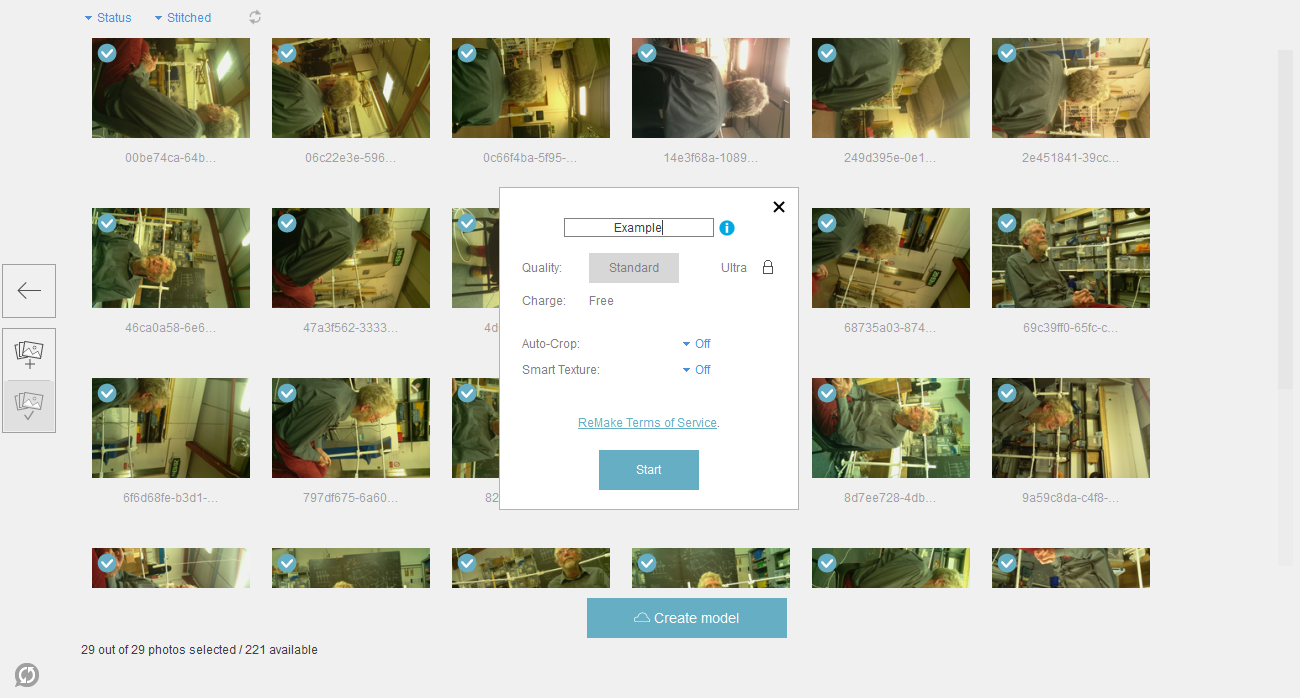
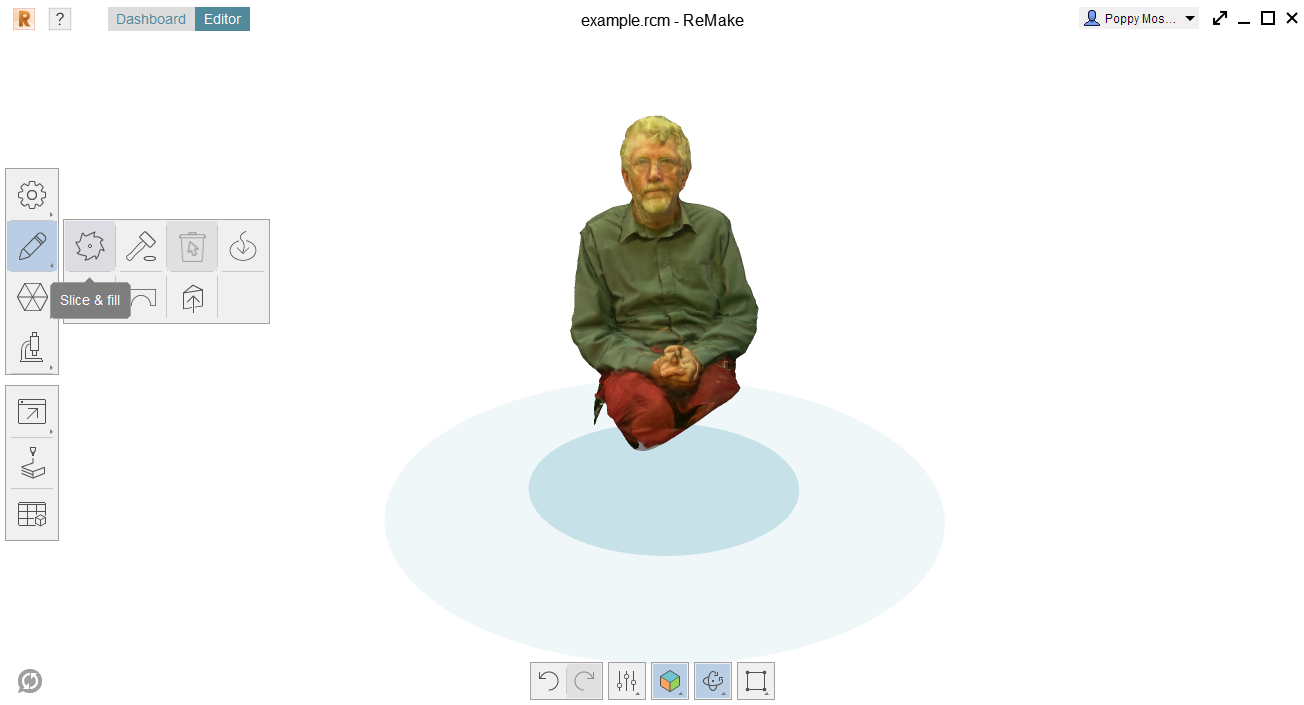
The following instructions are for Autodesk Remake™ (version 17.25.31). It is a freemium product, but I have found the free mode to be sufficient. Here's a list of more photo stitching software.
Setting Up
Create an Autodesk® account
Install Autodesk Remake™ on a PC computer
Turning the Photos into a 3D Model
Transfer the photos from the Mac computer to a PC, by using a USB stick or uploading the photos to the Autodesk® cloud storage, called A360 Drive, using your Autodesk® account login details.
Open Autodesk Remake™
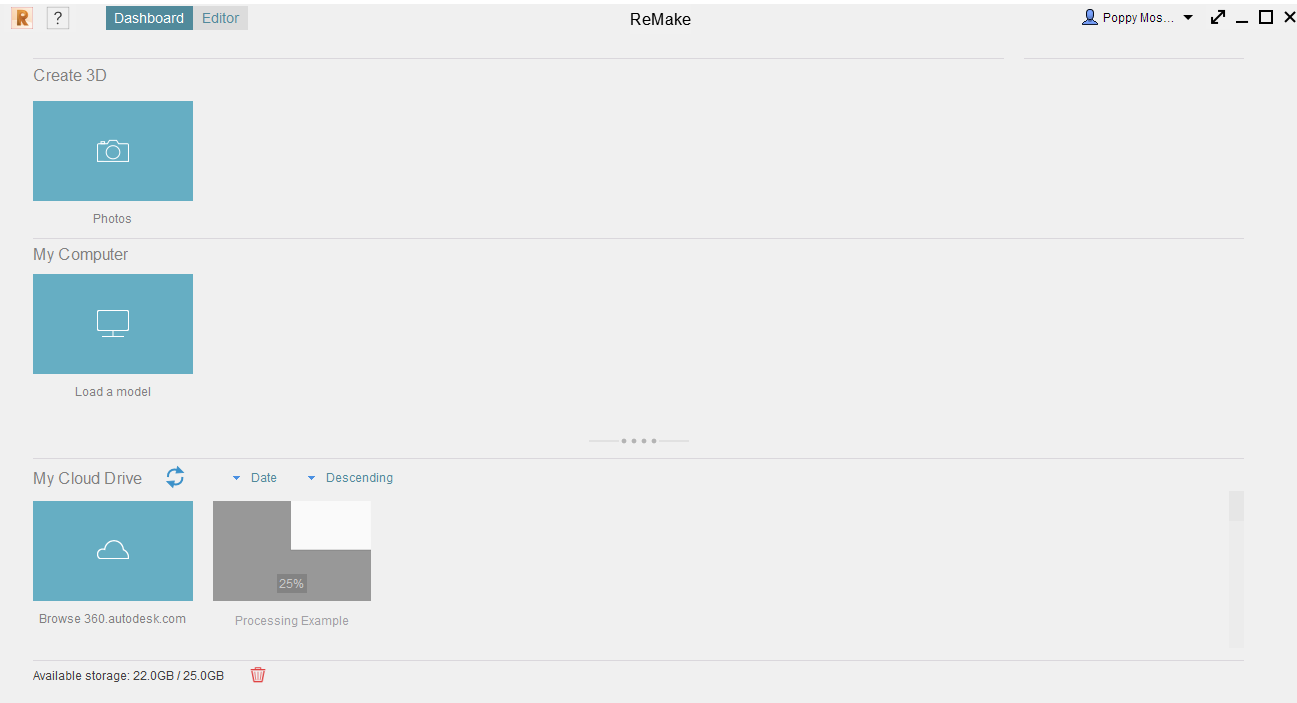
Click on the camera button under Create 3D
On the pop up screen that appears, click Online (unless you have a powerful computer that meets the minimum spec to process offline).
On the next pop up screen choose Select photos from: Local Drive, if you have transferred the photos to the PC by USB or click A360 Drive if you have uploaded the photos.
Select the photos and then click Open
When all the photos have appeared on screen, click Create Model
In the Options menu that appears, type a name in the text box. Choose Quality: Standard, Auto-Crop: Off and Smart Texture: Off (or play around with these settings)
Processing
The screen will return to the Remake™ dashboard and there will be a box with the progress of your model under My Cloud Drive. In our experience the processing takes about 10 minutes, but it can seem like it has stopped responding because the percentage will stop increasing, then, after a while the number will increase suddenly. You will receive an email from Autodesk® when the processing is complete.
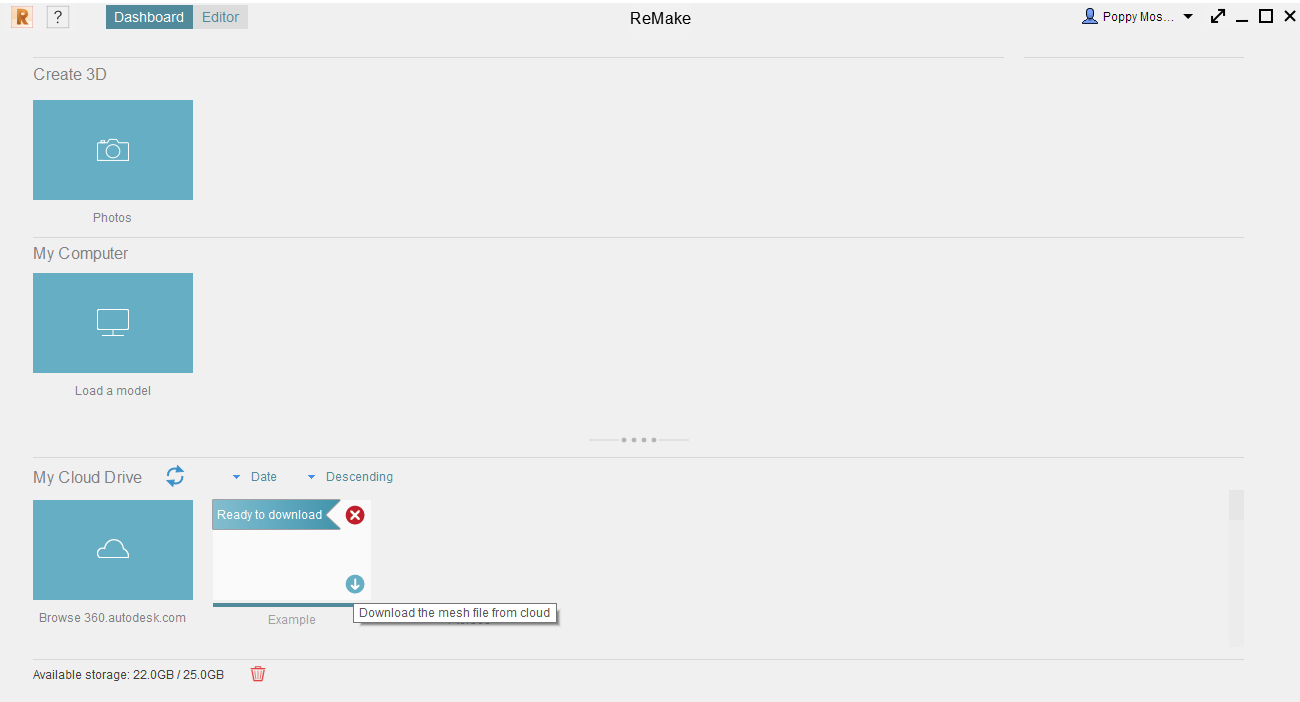
When the box says Ready to Download, hover your mouse over the box and a blue download arrow will appear. Click on the blue arrow and choose where to save the model.
The model will then download and appear in the My Computer section of the Remake® dashboard. Click on it to open it.
Post-Processing
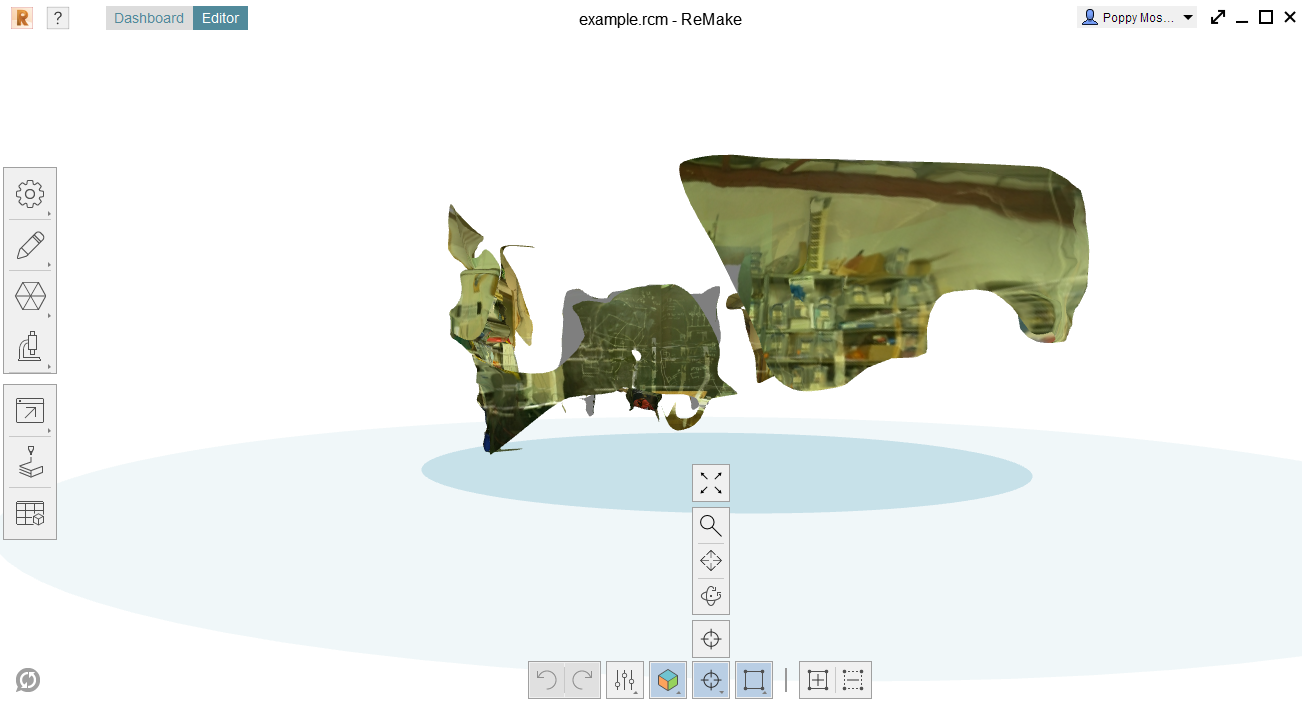
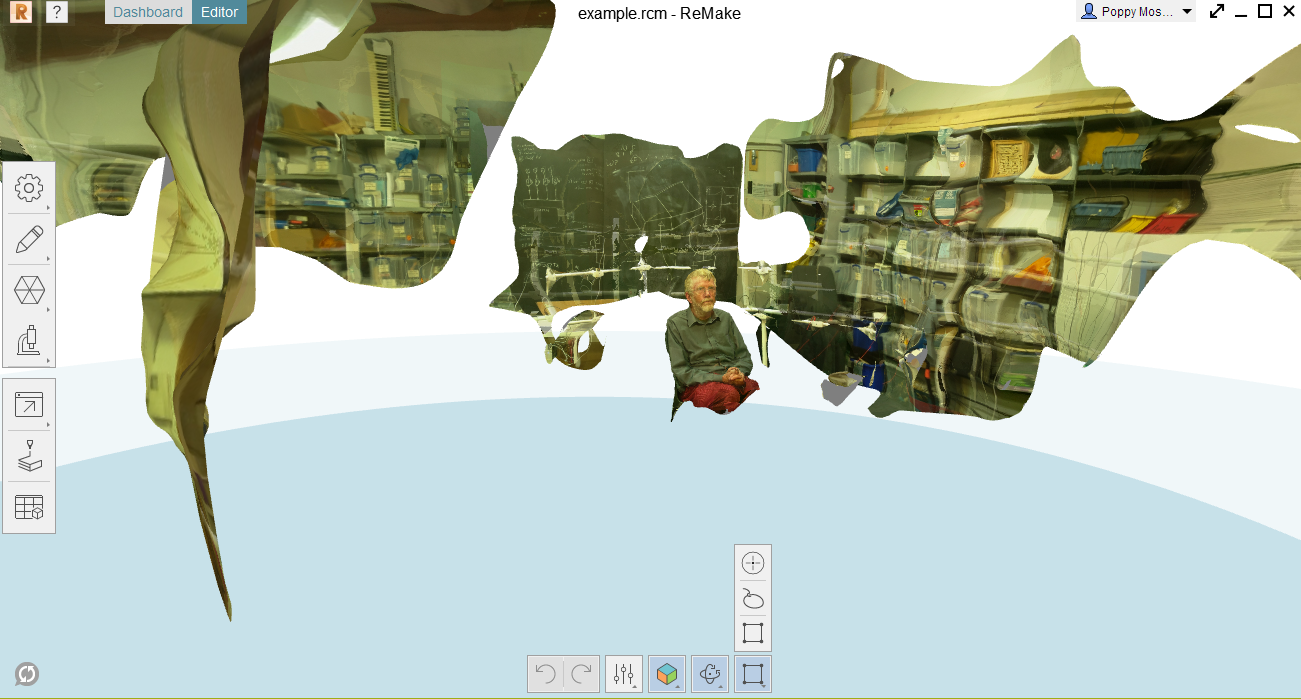
Use the navigation tools at the bottom of the screen to find your body model.
Use the selection tools to delete the unwanted parts of the model, by selecting parts and pressing Delete.
As you delete parts, the blue circle at the base of the model will get smaller. If the circle is larger than a perimeter surrounding the model would be, it means there are still parts to be deleted.
If the model is upside down, go to the Model Settings tab on the left side of the screen and follow the settings under Set Scene Upright.
To make a flat surface for your model go to Edit - Slice & Fill
To check for holes and repair, go to the Analyze tab and click Detect and Fix Model Issues
Saving
To save the model, go to Export - Export Model.
To create a video of your model rotating, go to Export - Export Video.