3D Apex Squad Wipe Wall Light (no Programming Required)
1822 Views, 18 Favorites, 0 Comments
3D Apex Squad Wipe Wall Light (no Programming Required)
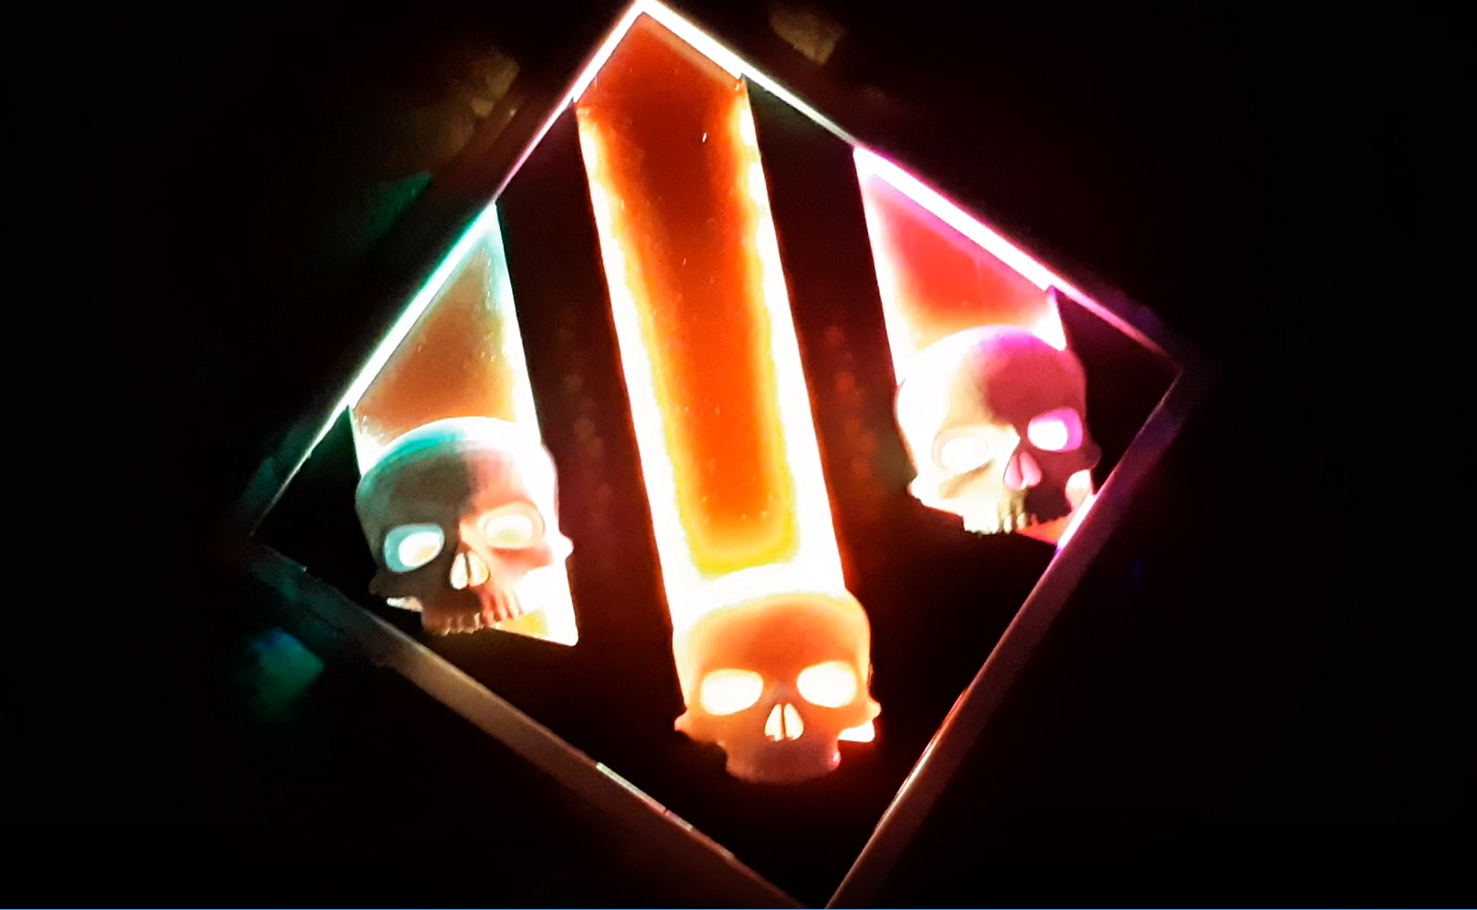
Sooo, you just got a Squad Wipe in Apex Legends and you wanna flex your skills. Or you just wanna have a cool wall light. Well then you have come to the right place. Lets start then.
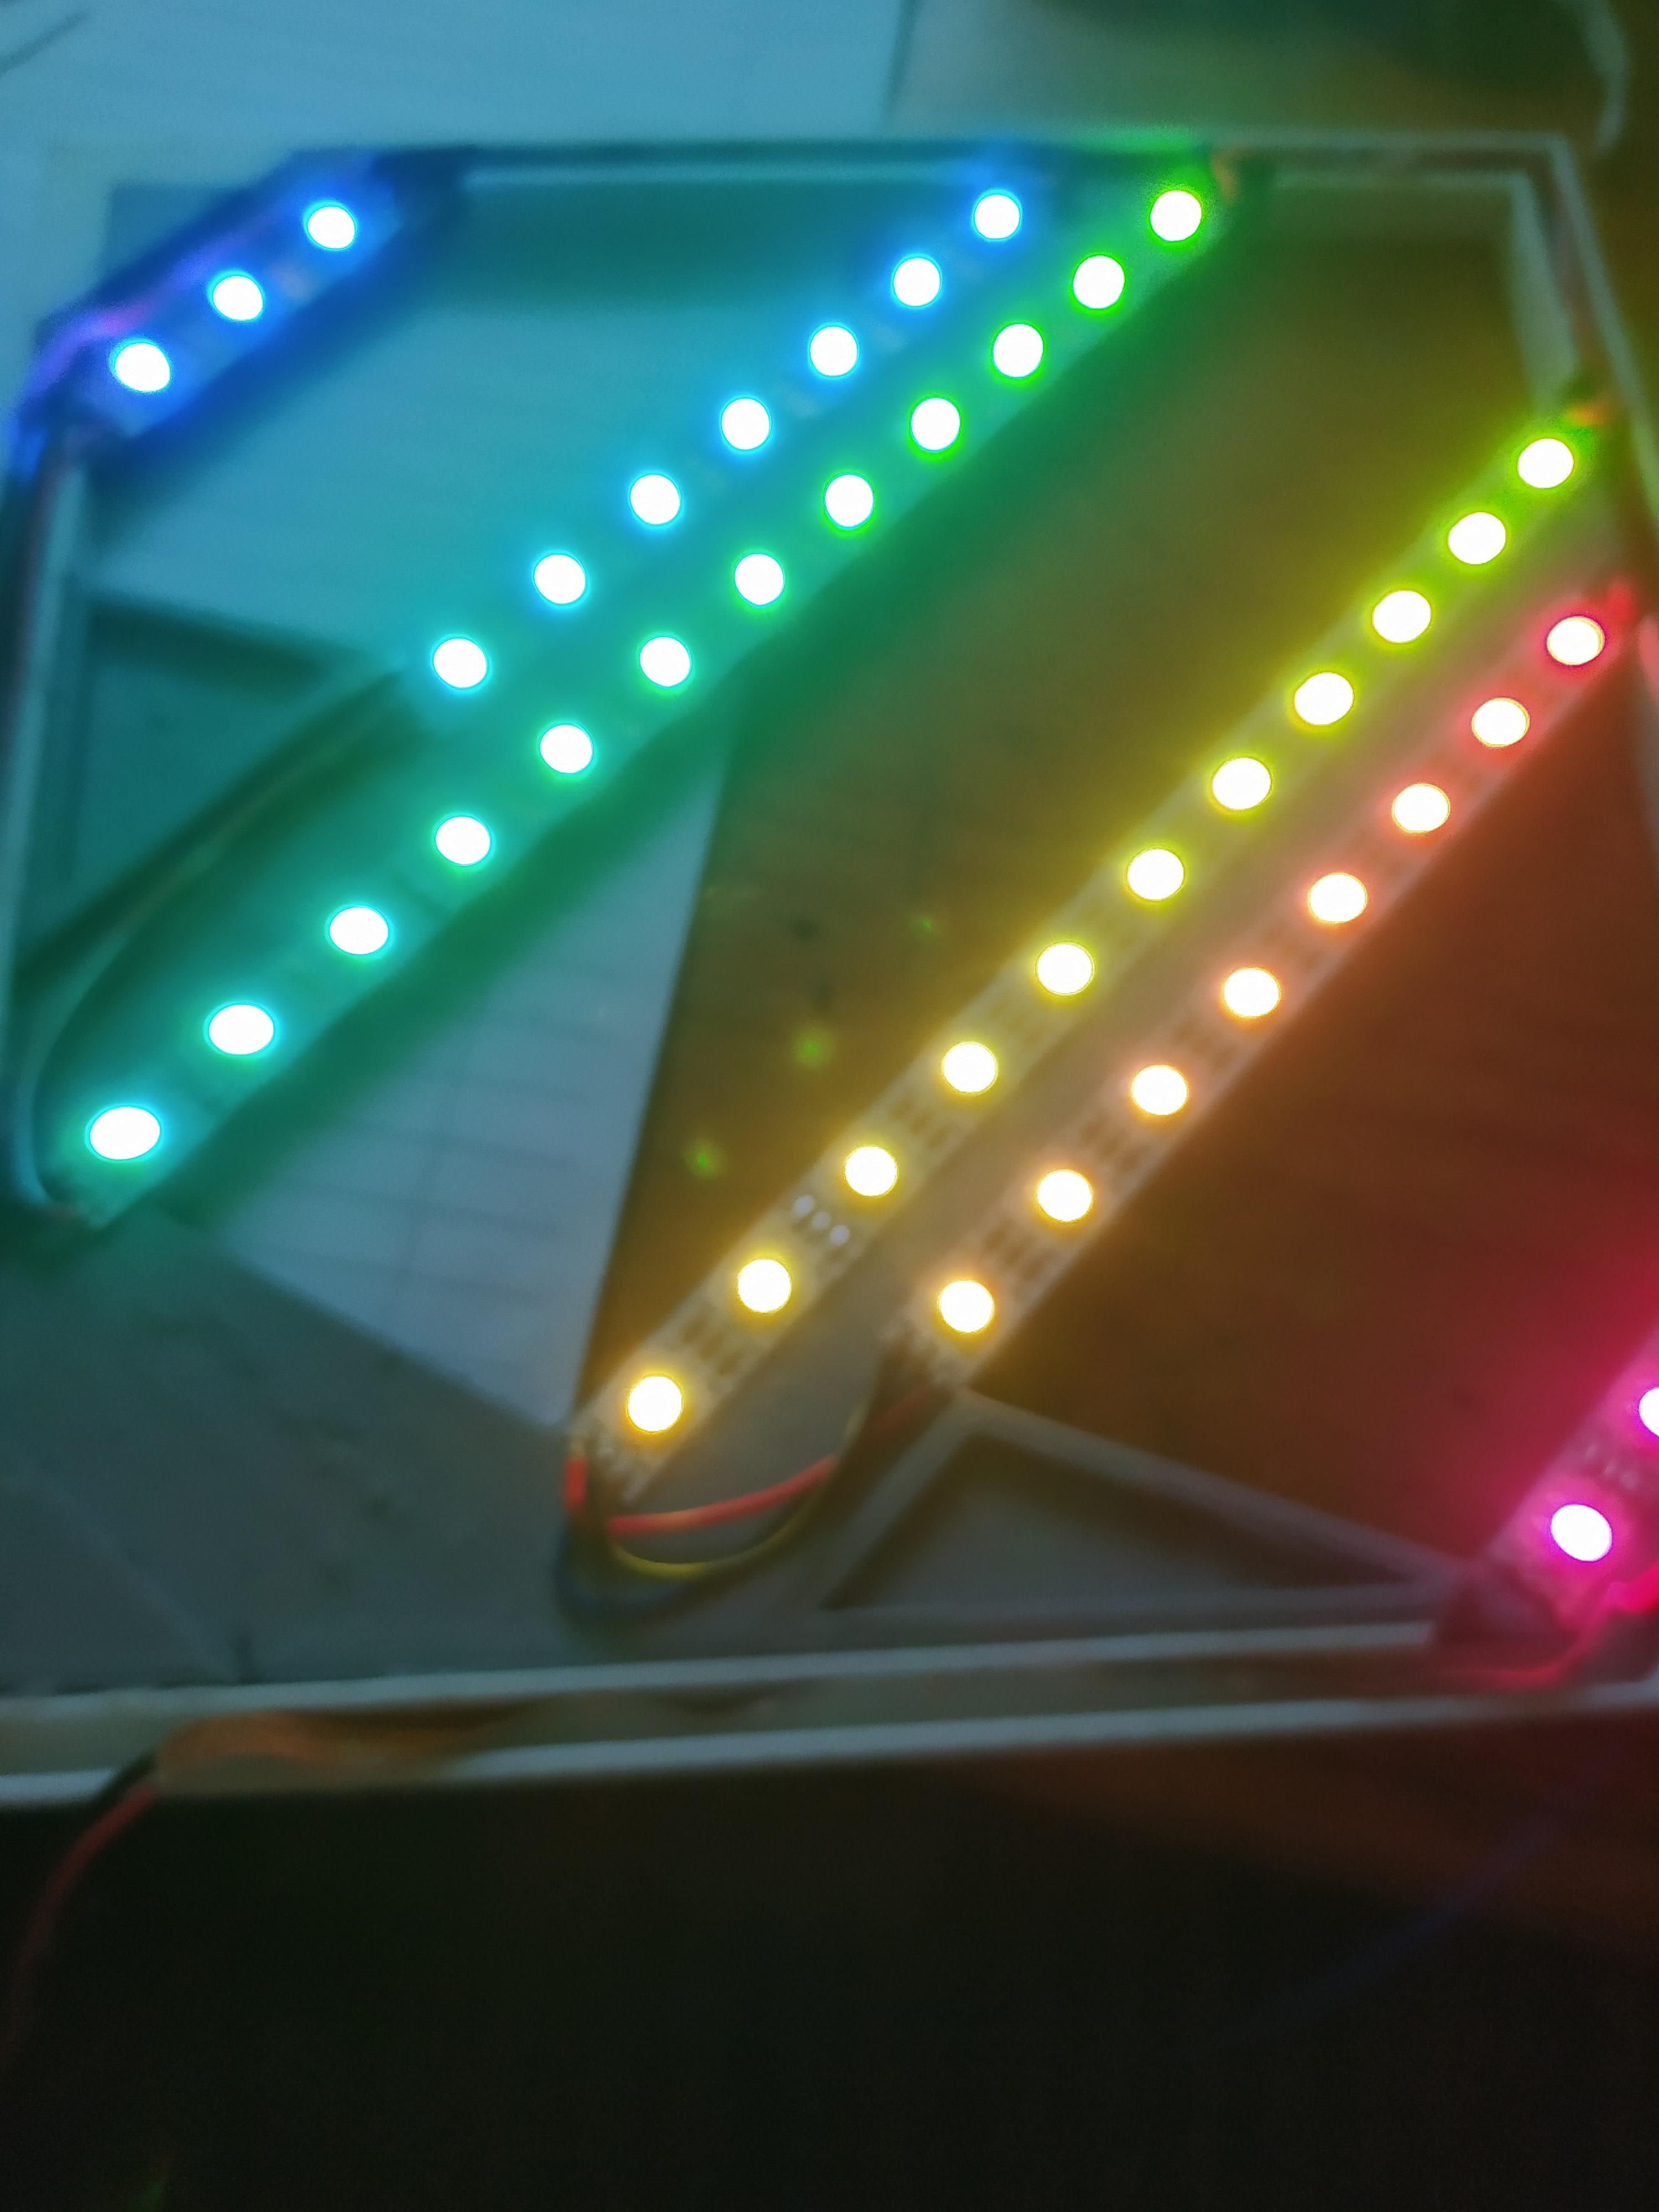
Check it out in action
Supplies
Here are the things that are mandatory:
- the 3D Printed Parts (enable ironing for the red printed parts to make it smoother) : https://www.thingiverse.com/thing:4912787
-1m 22awg/20awg wire x3
-1m of addressable RGB Led, I am using the WS2812BECO so I don't need to use a lot of electricity
-addressable RGB Led controller, (WS2812B Led Strip Light Controller Bluetooth SP110E)
-super glue or got glue
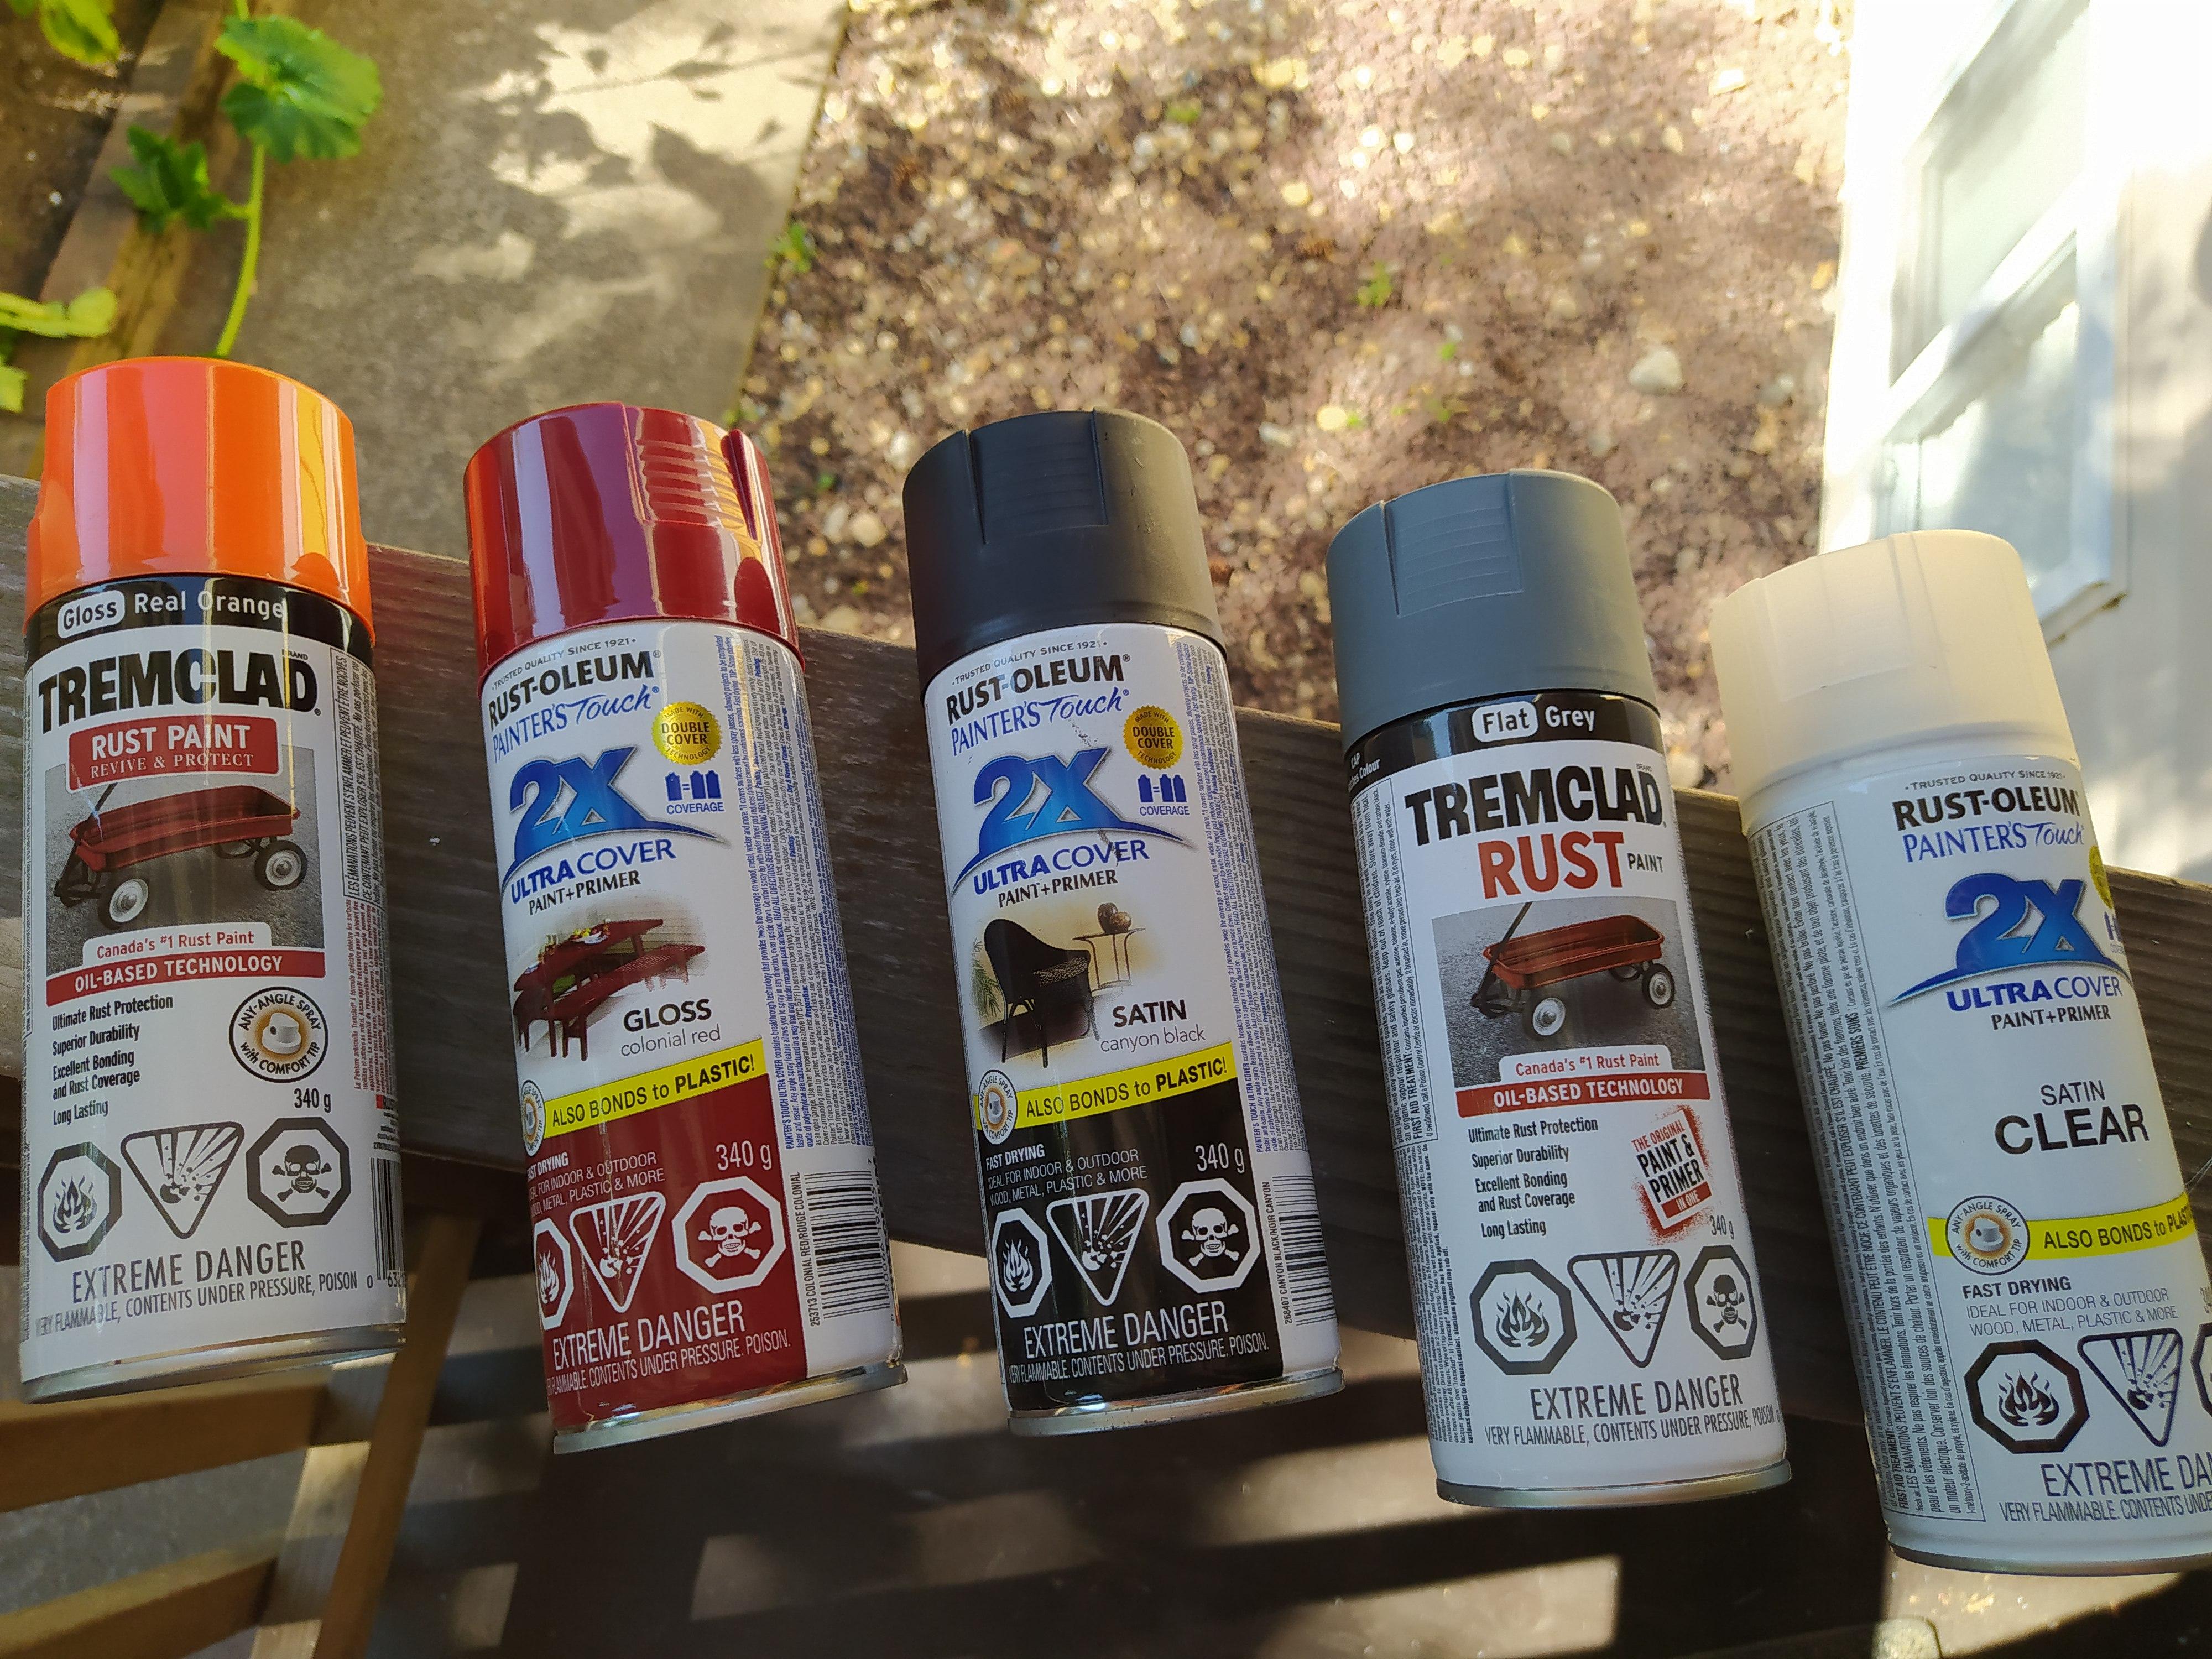
-Spray Paint : Light/Dark Gray, Black, 2-3 types of Red, Orange
-sand paper (80 - 120 -250) , if the printed parts are not clean enough
-soldering iron + solder
Optional Supply:
-1m 5V/12V white LED strip
-putty
-fill primer
-white spray paint for skull
Step 1: Clean the Printed Parts
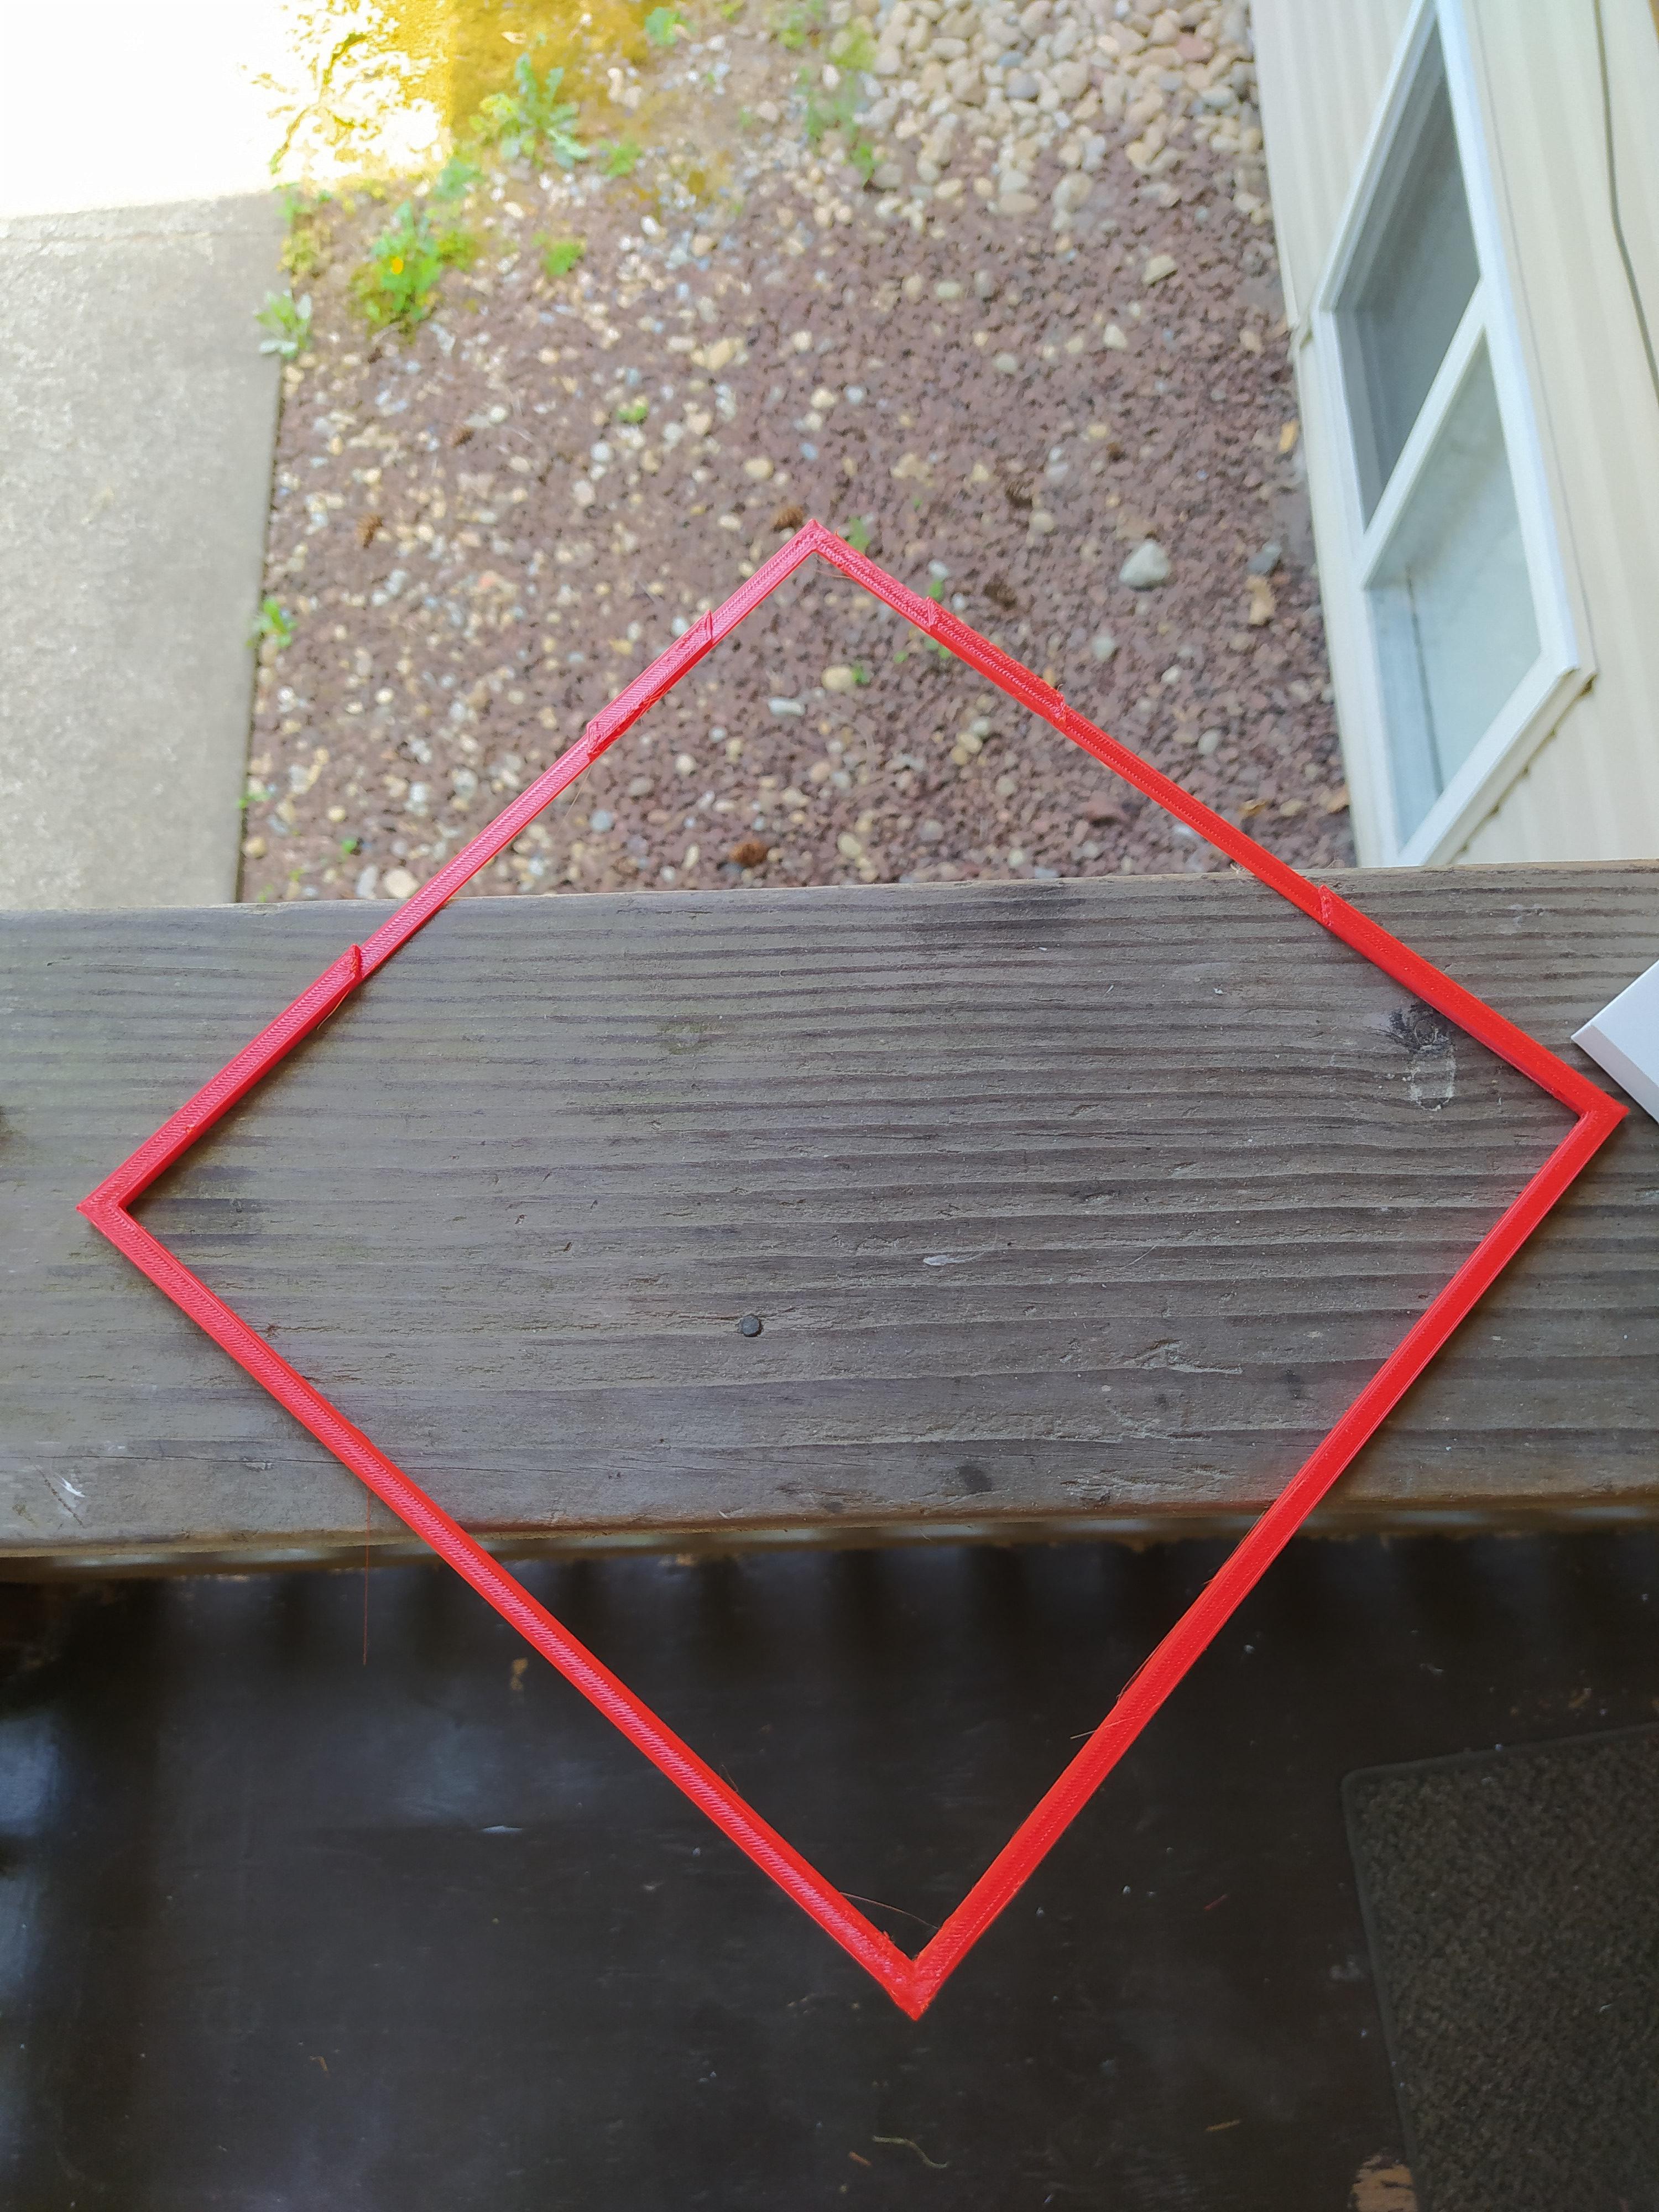
Lay out all the printed parts and make sure it would all fit together correctly.
Sand if needed. Start from the lowest grit to the highest grit.
If you are using fill primer or putty now would be the time to add it to the gray and red print it you did not enable ironing.
Step 2 : Painting!!
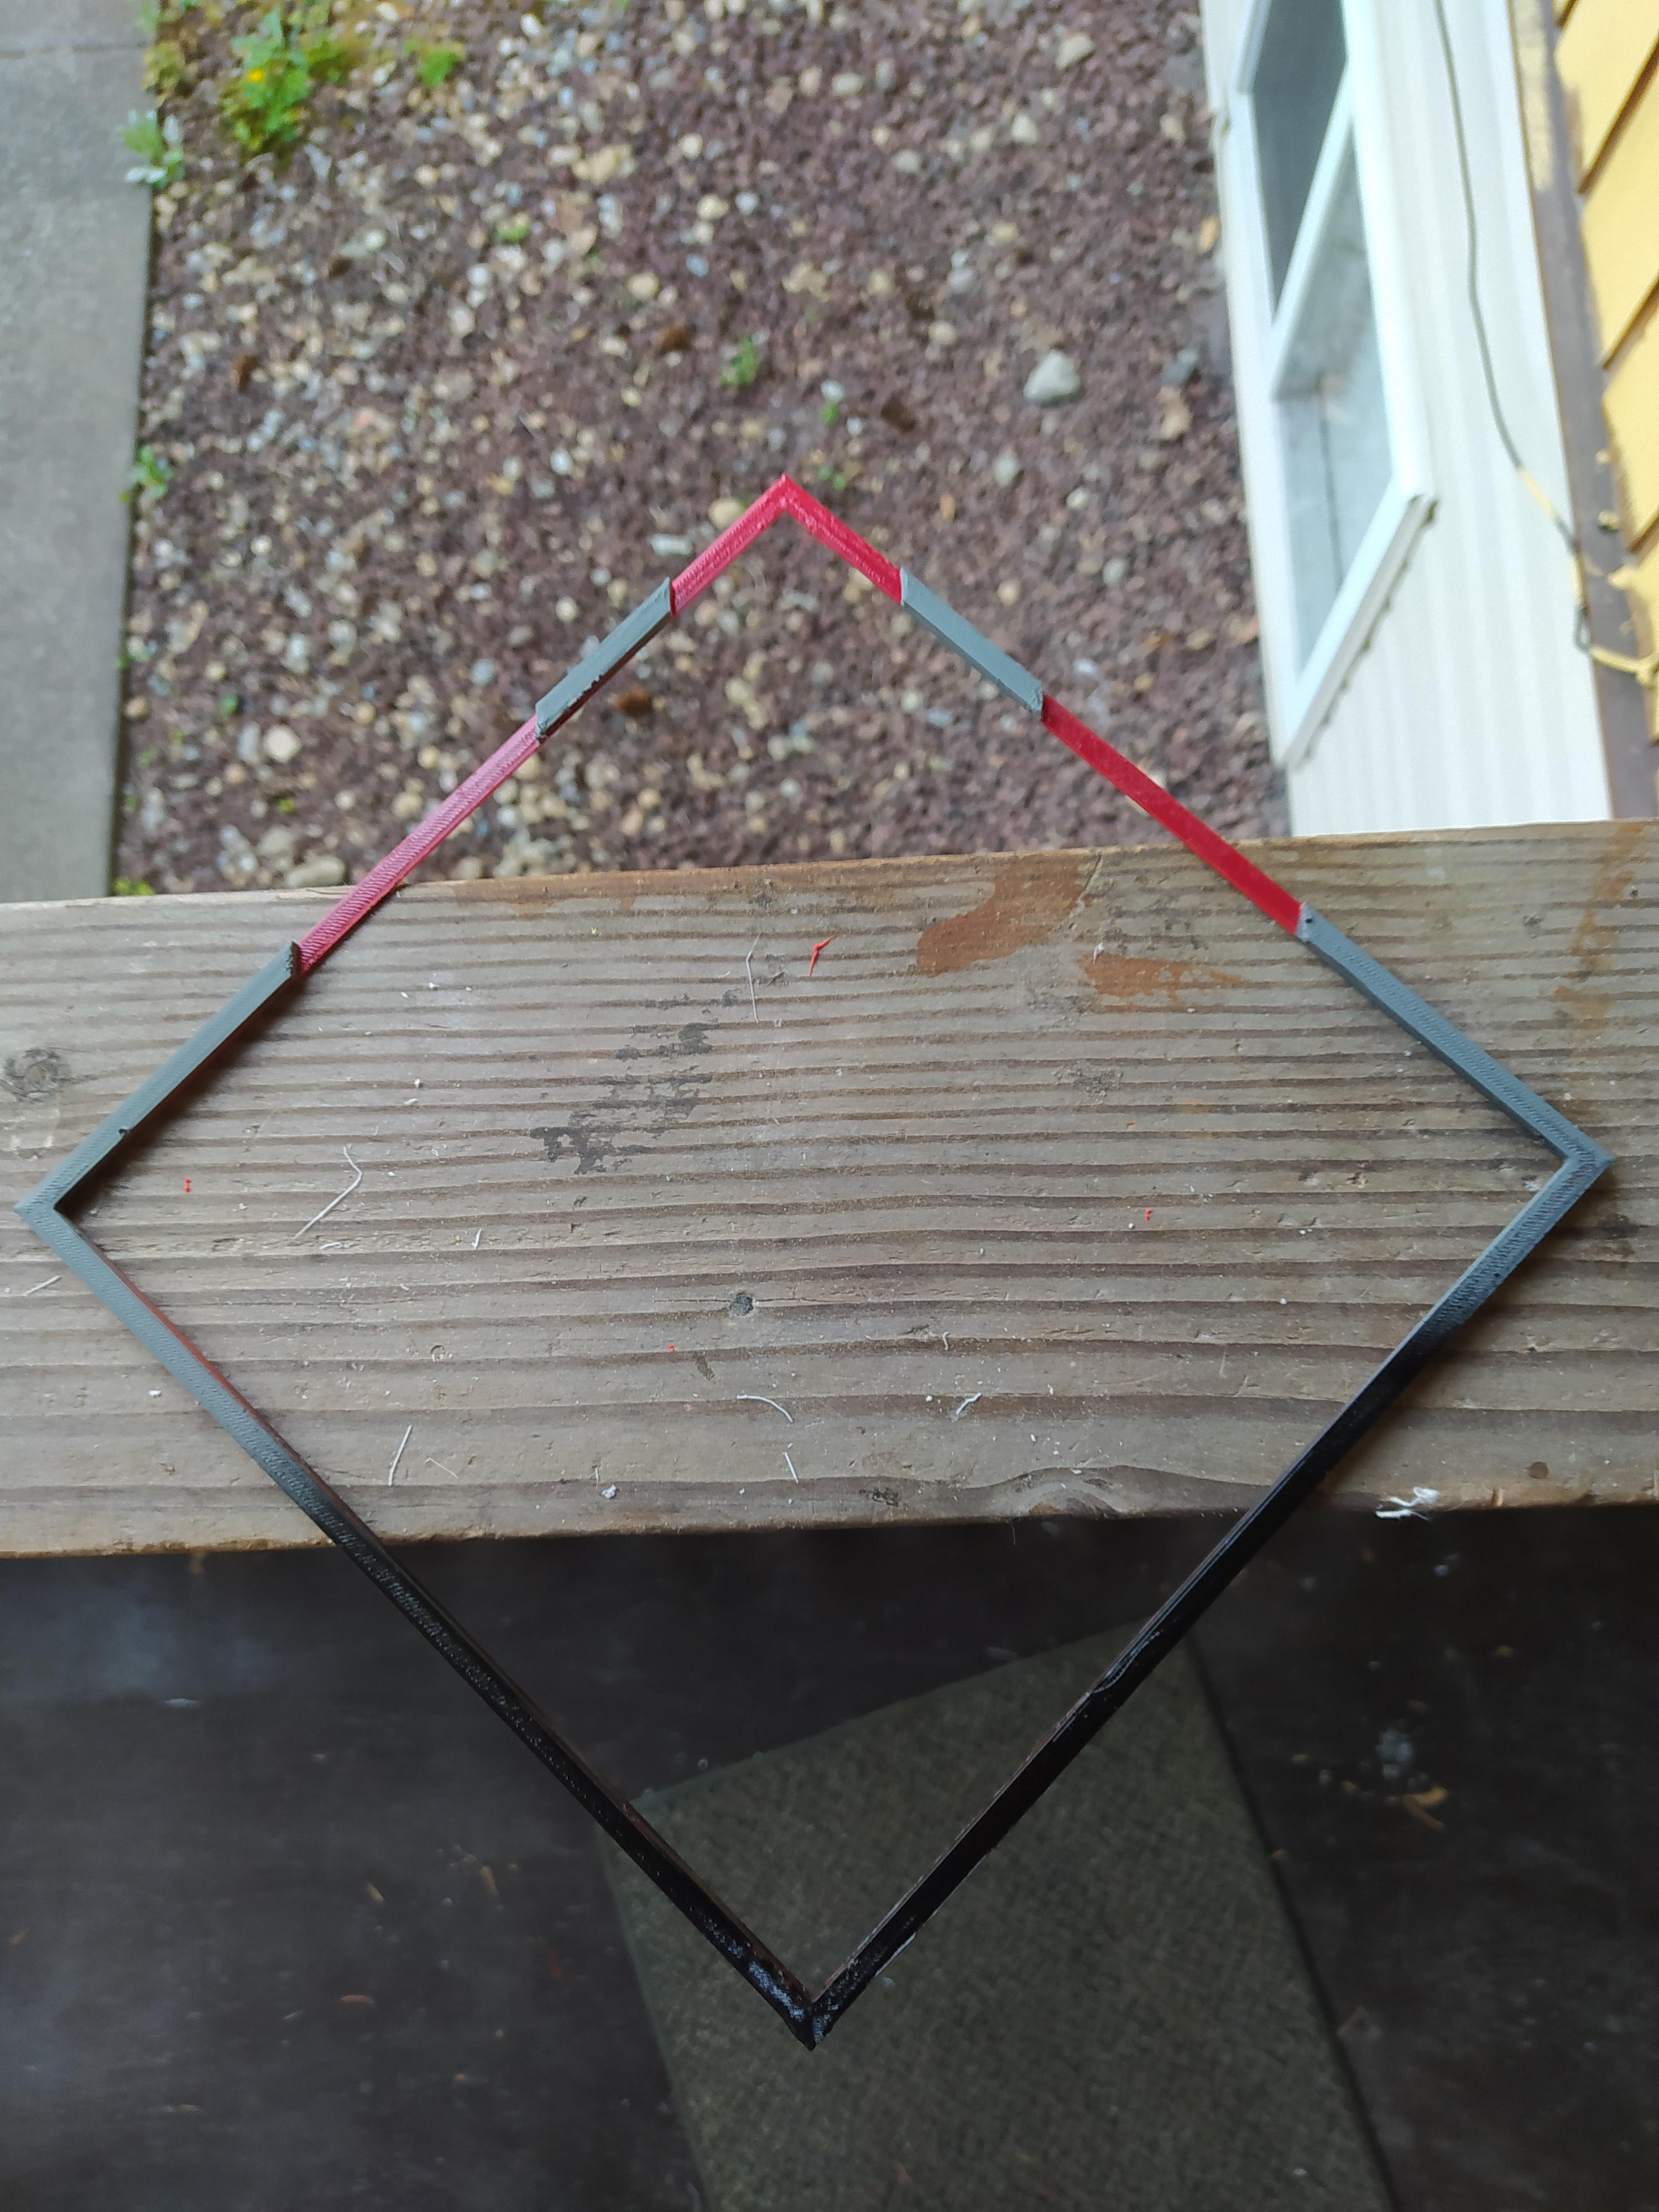
For the Gray Parts:
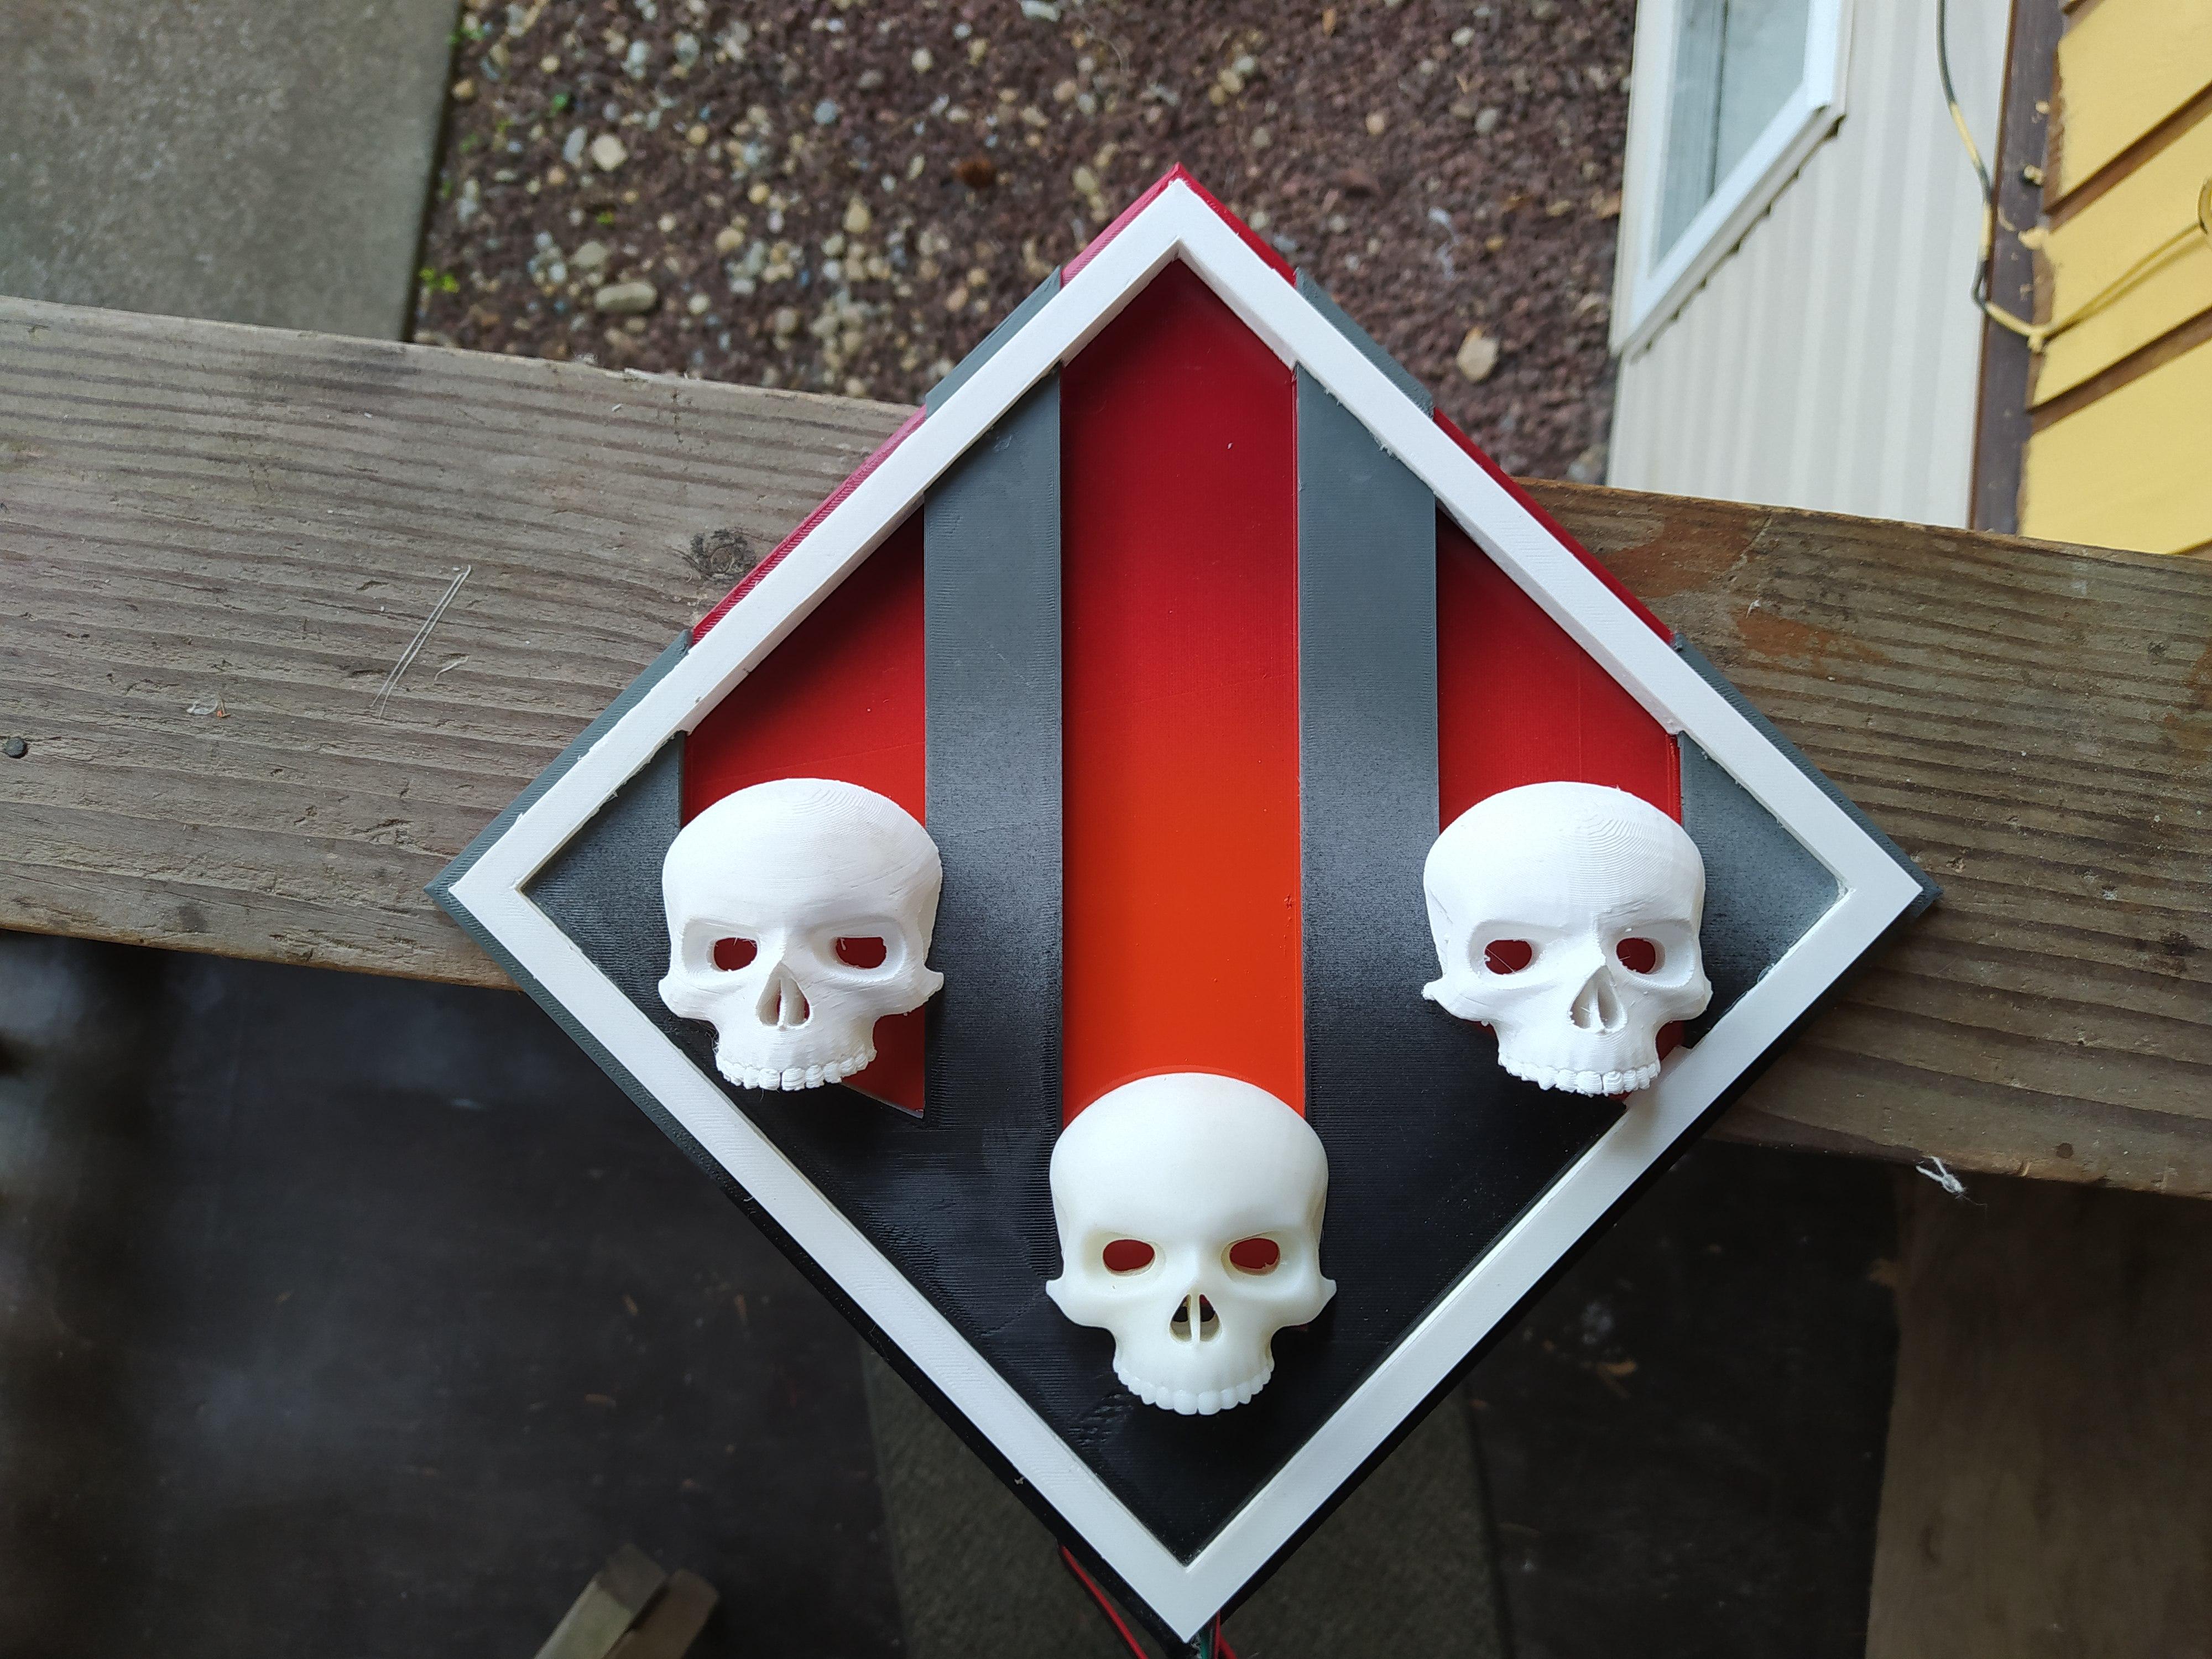
If you are using 2 different gray with black, you can cover the whole print with one of the gray then follow up by covering 3/4 of the print with a flat line as shown in the picture above. Then finish with the black at the bottom.
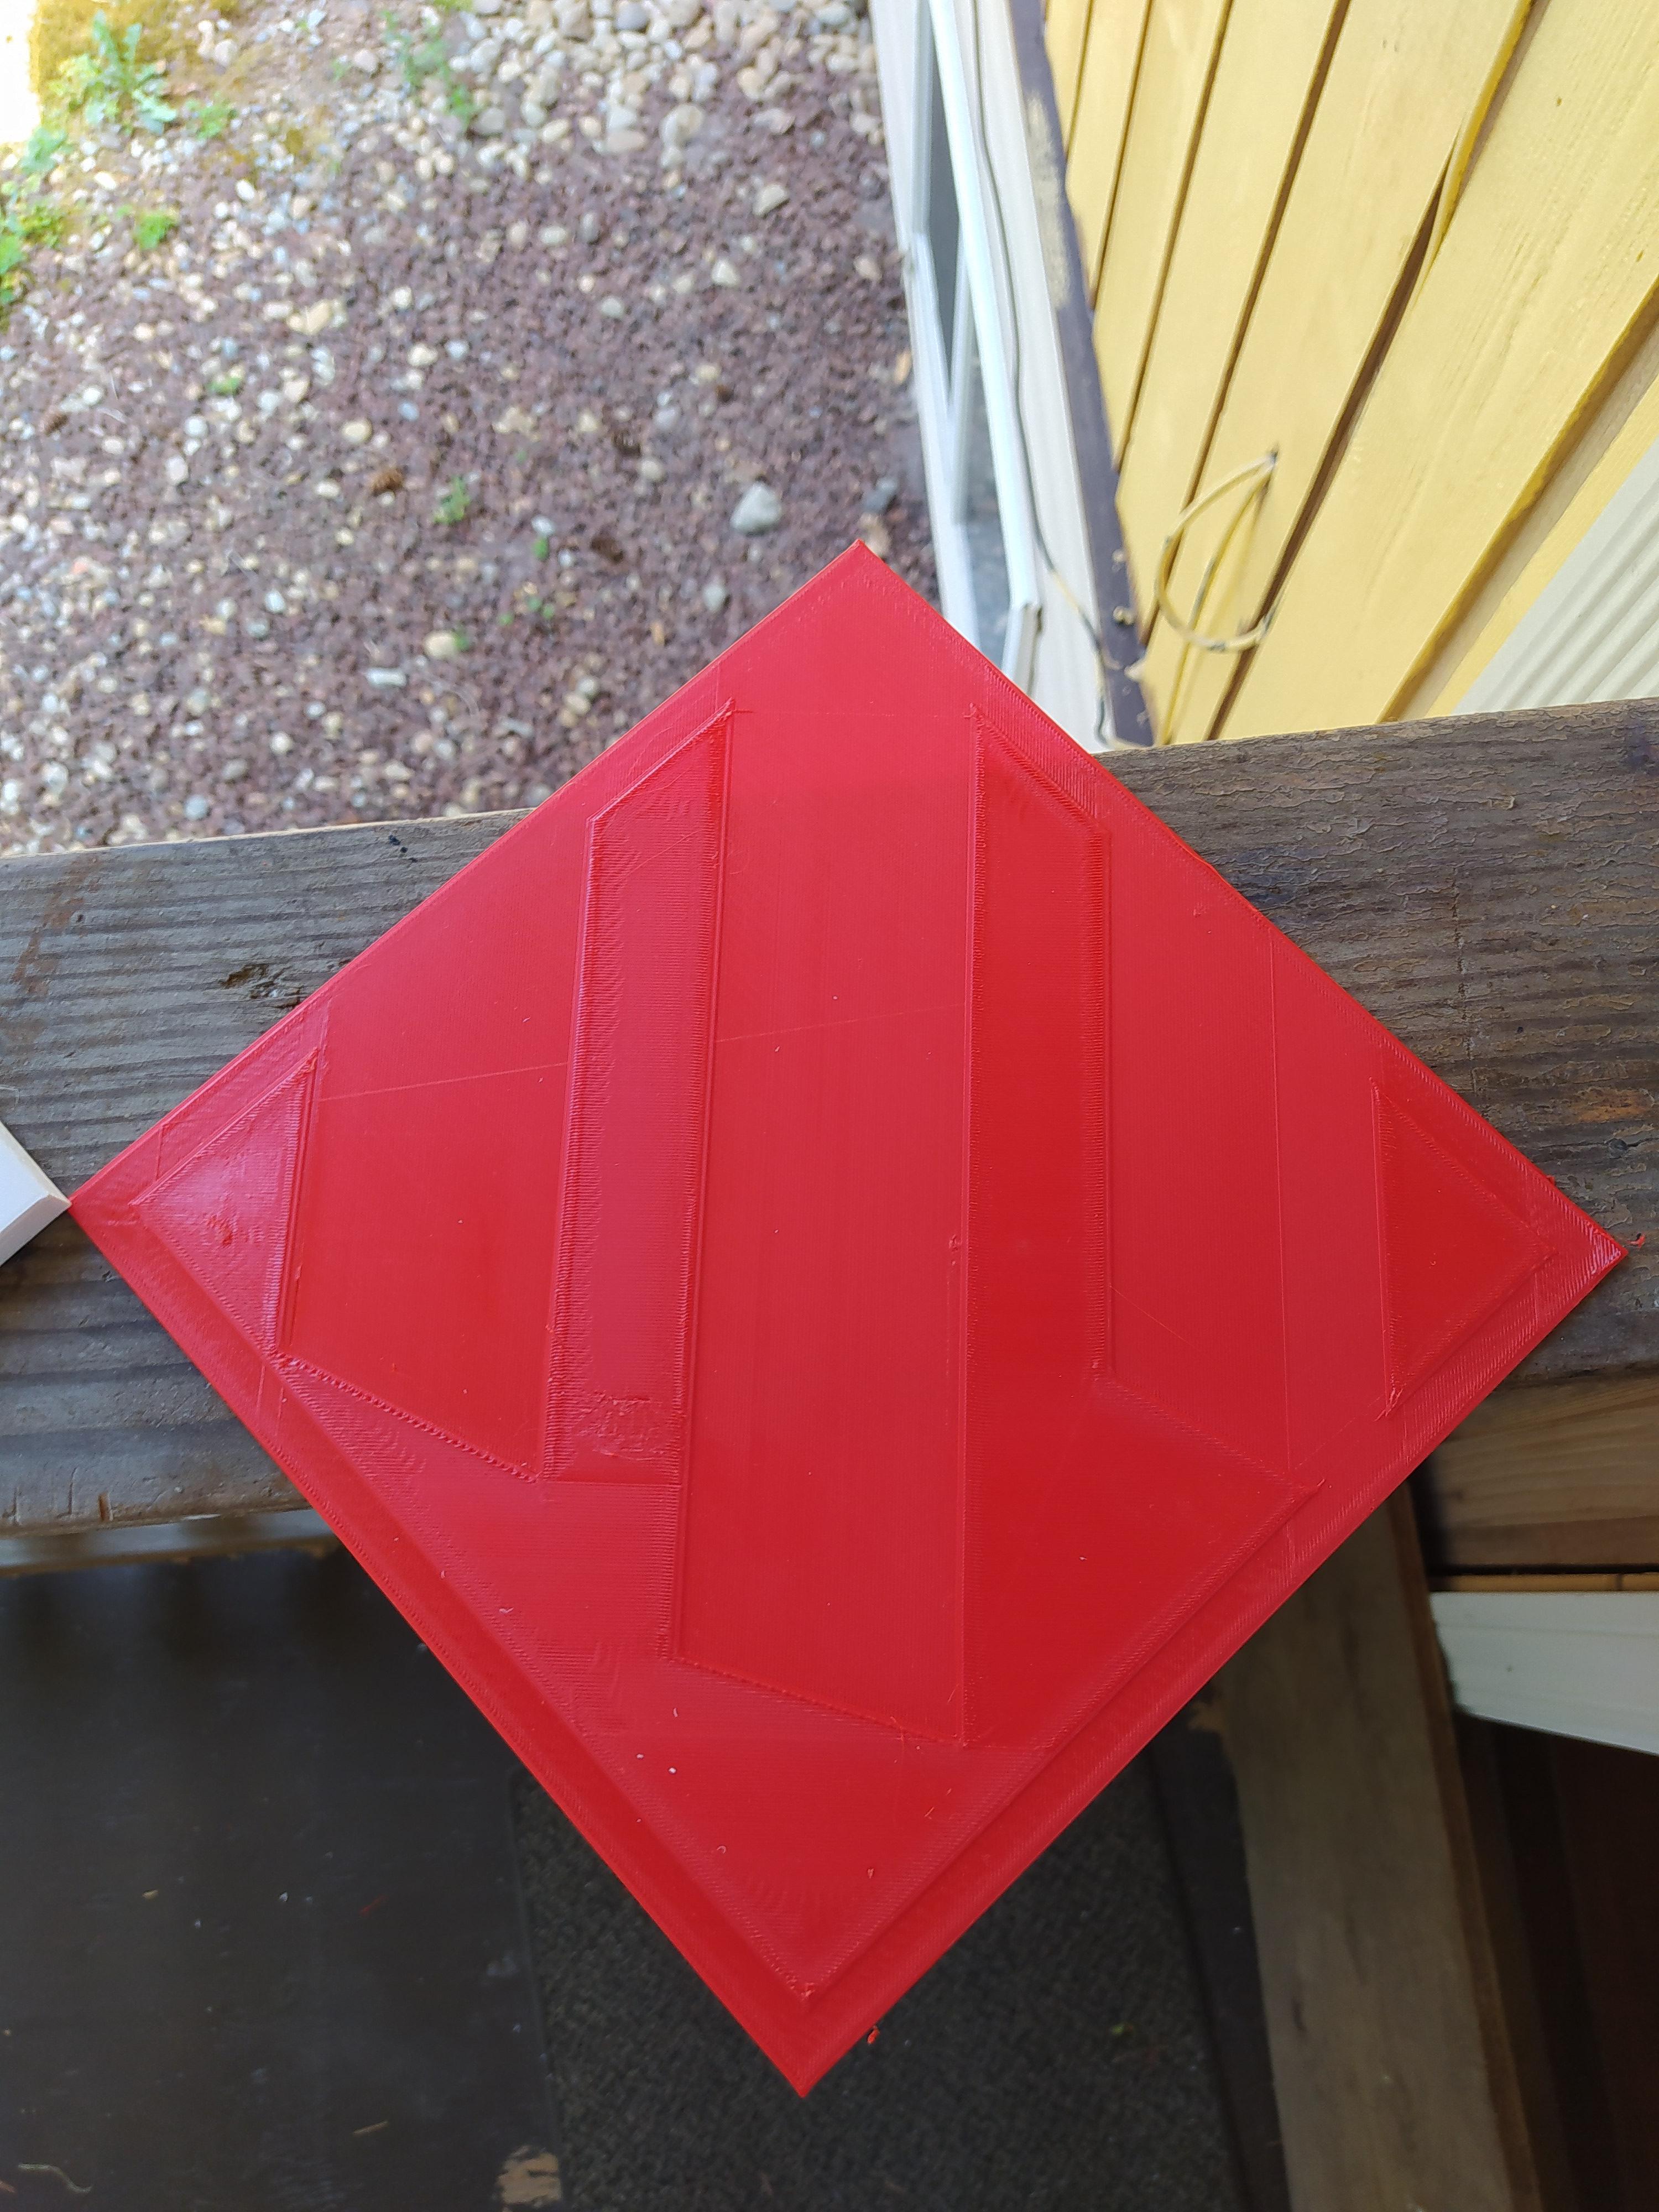
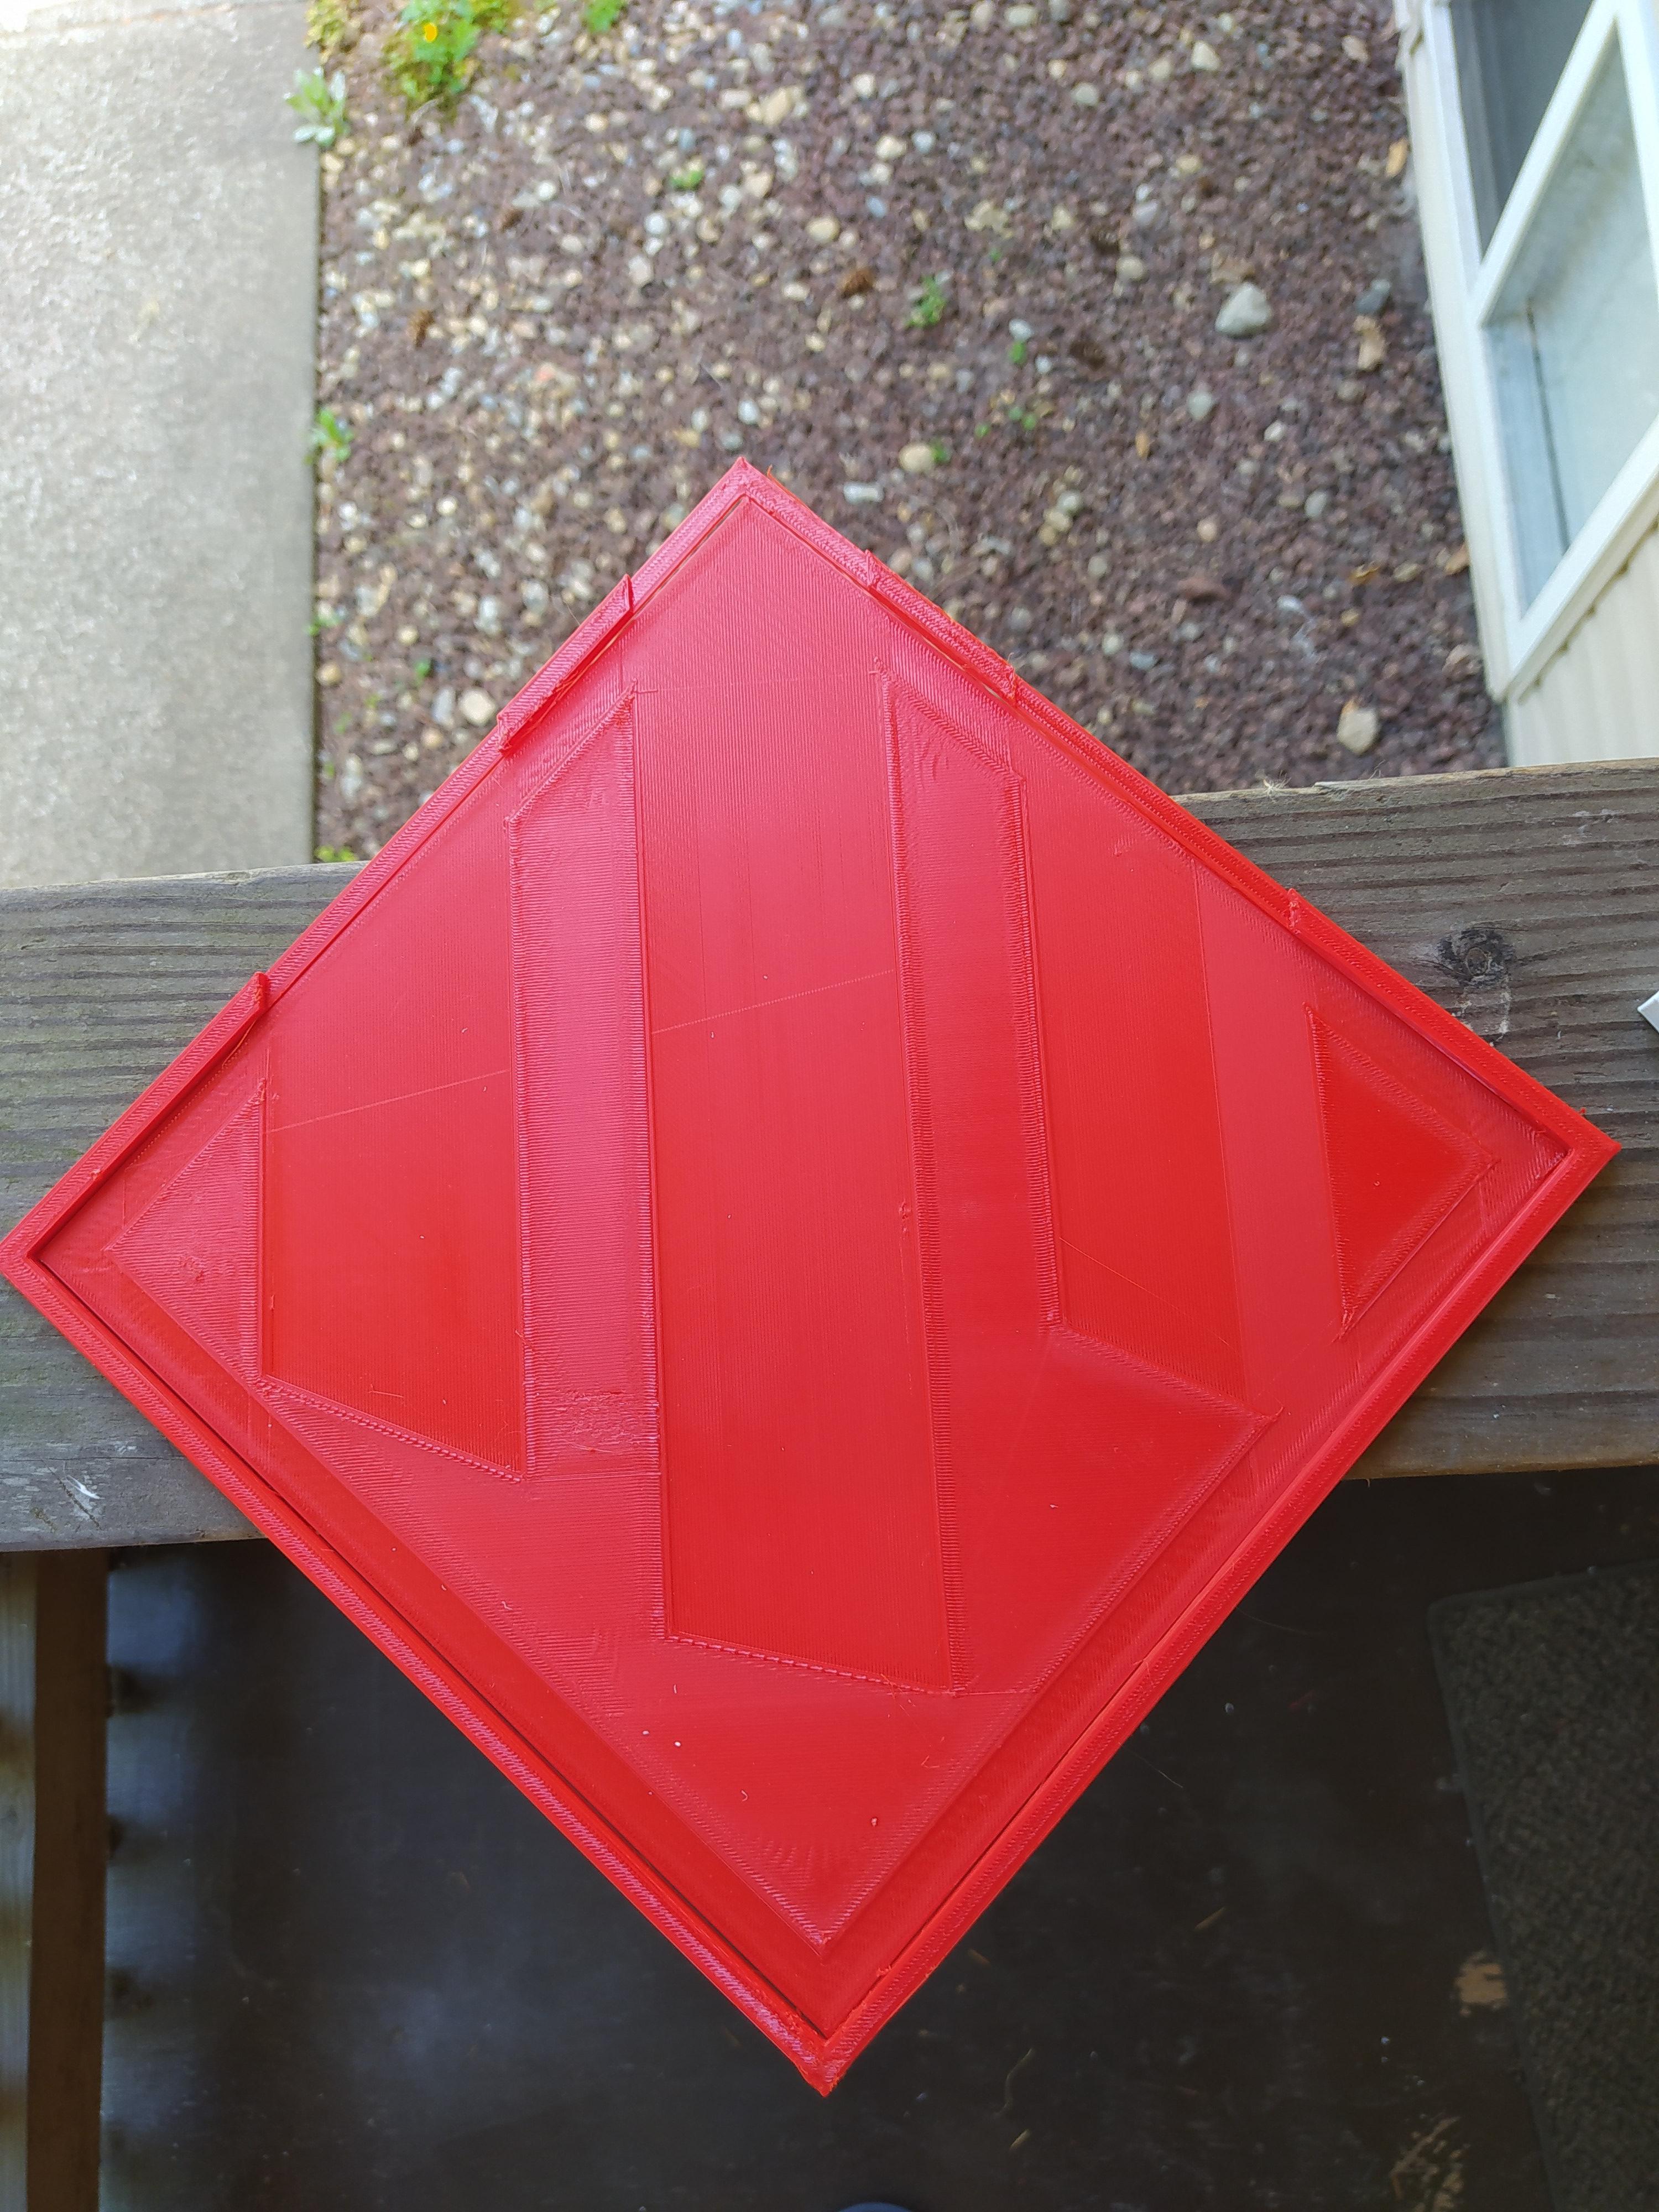
For the Red Parts:
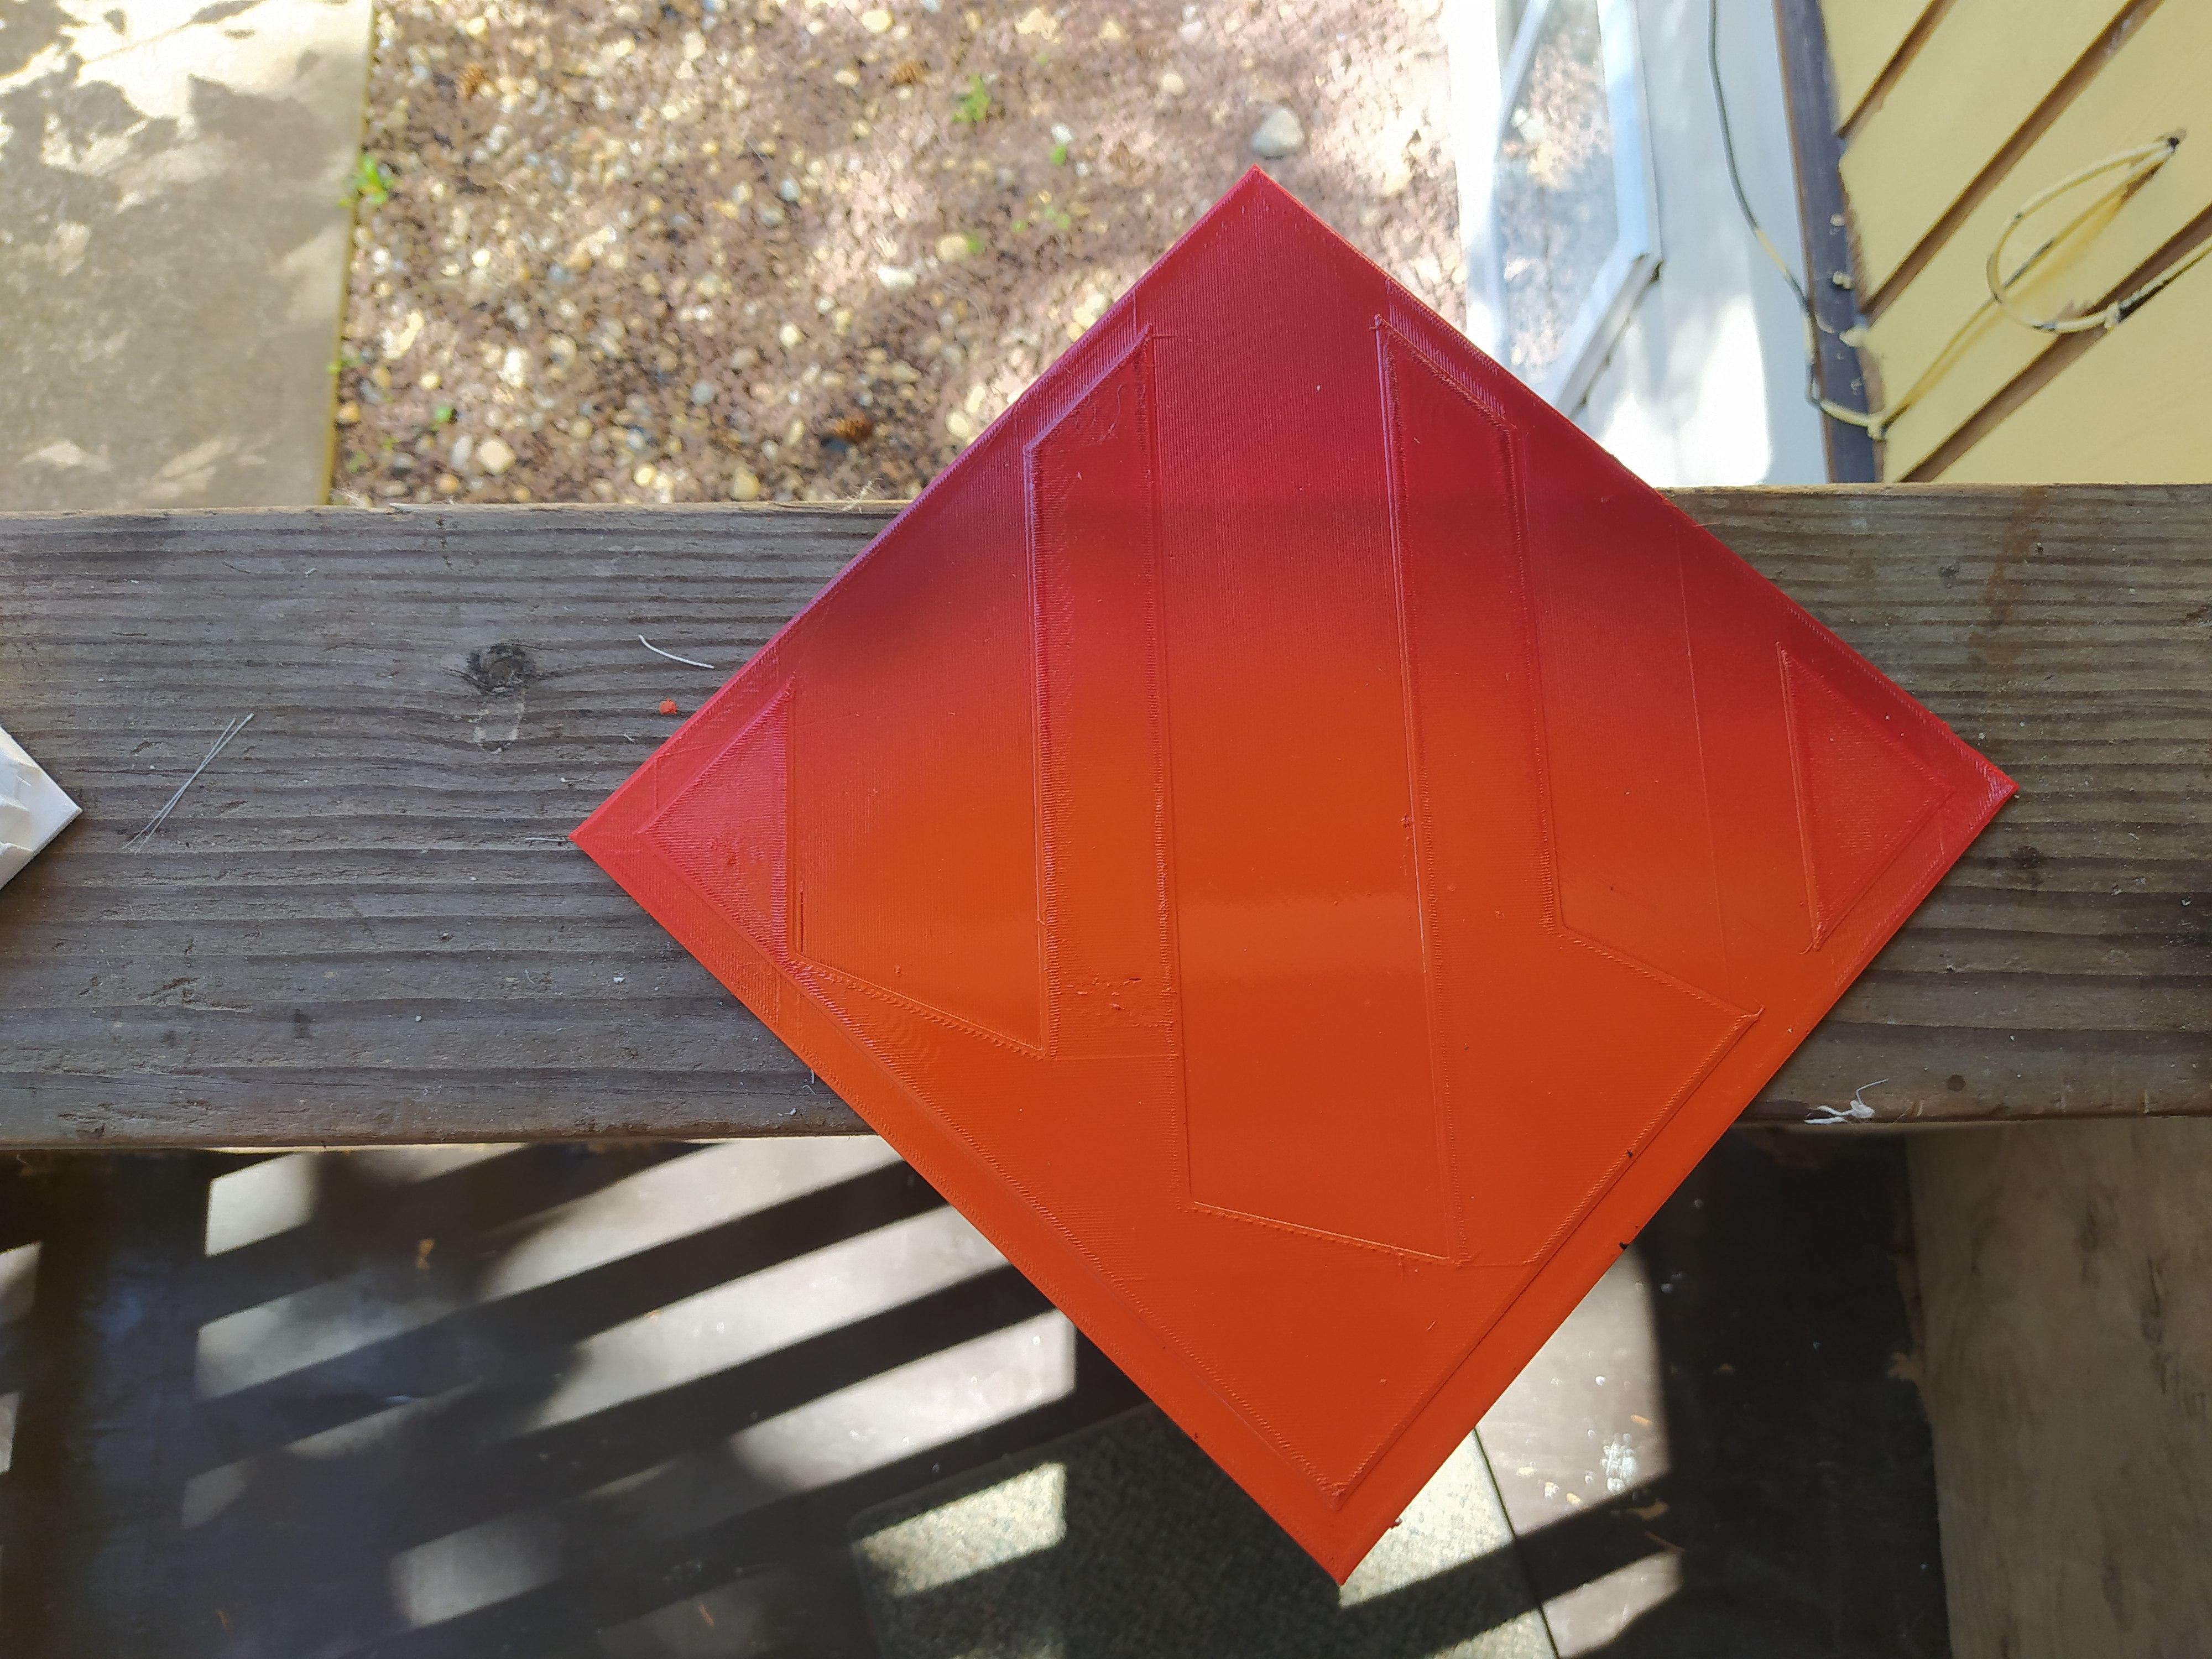
Stick the both red parts together.
Follow the same process as the top. Cover with: dark red -> light red -> orange.
For me I did: dark red -> blank -> orange
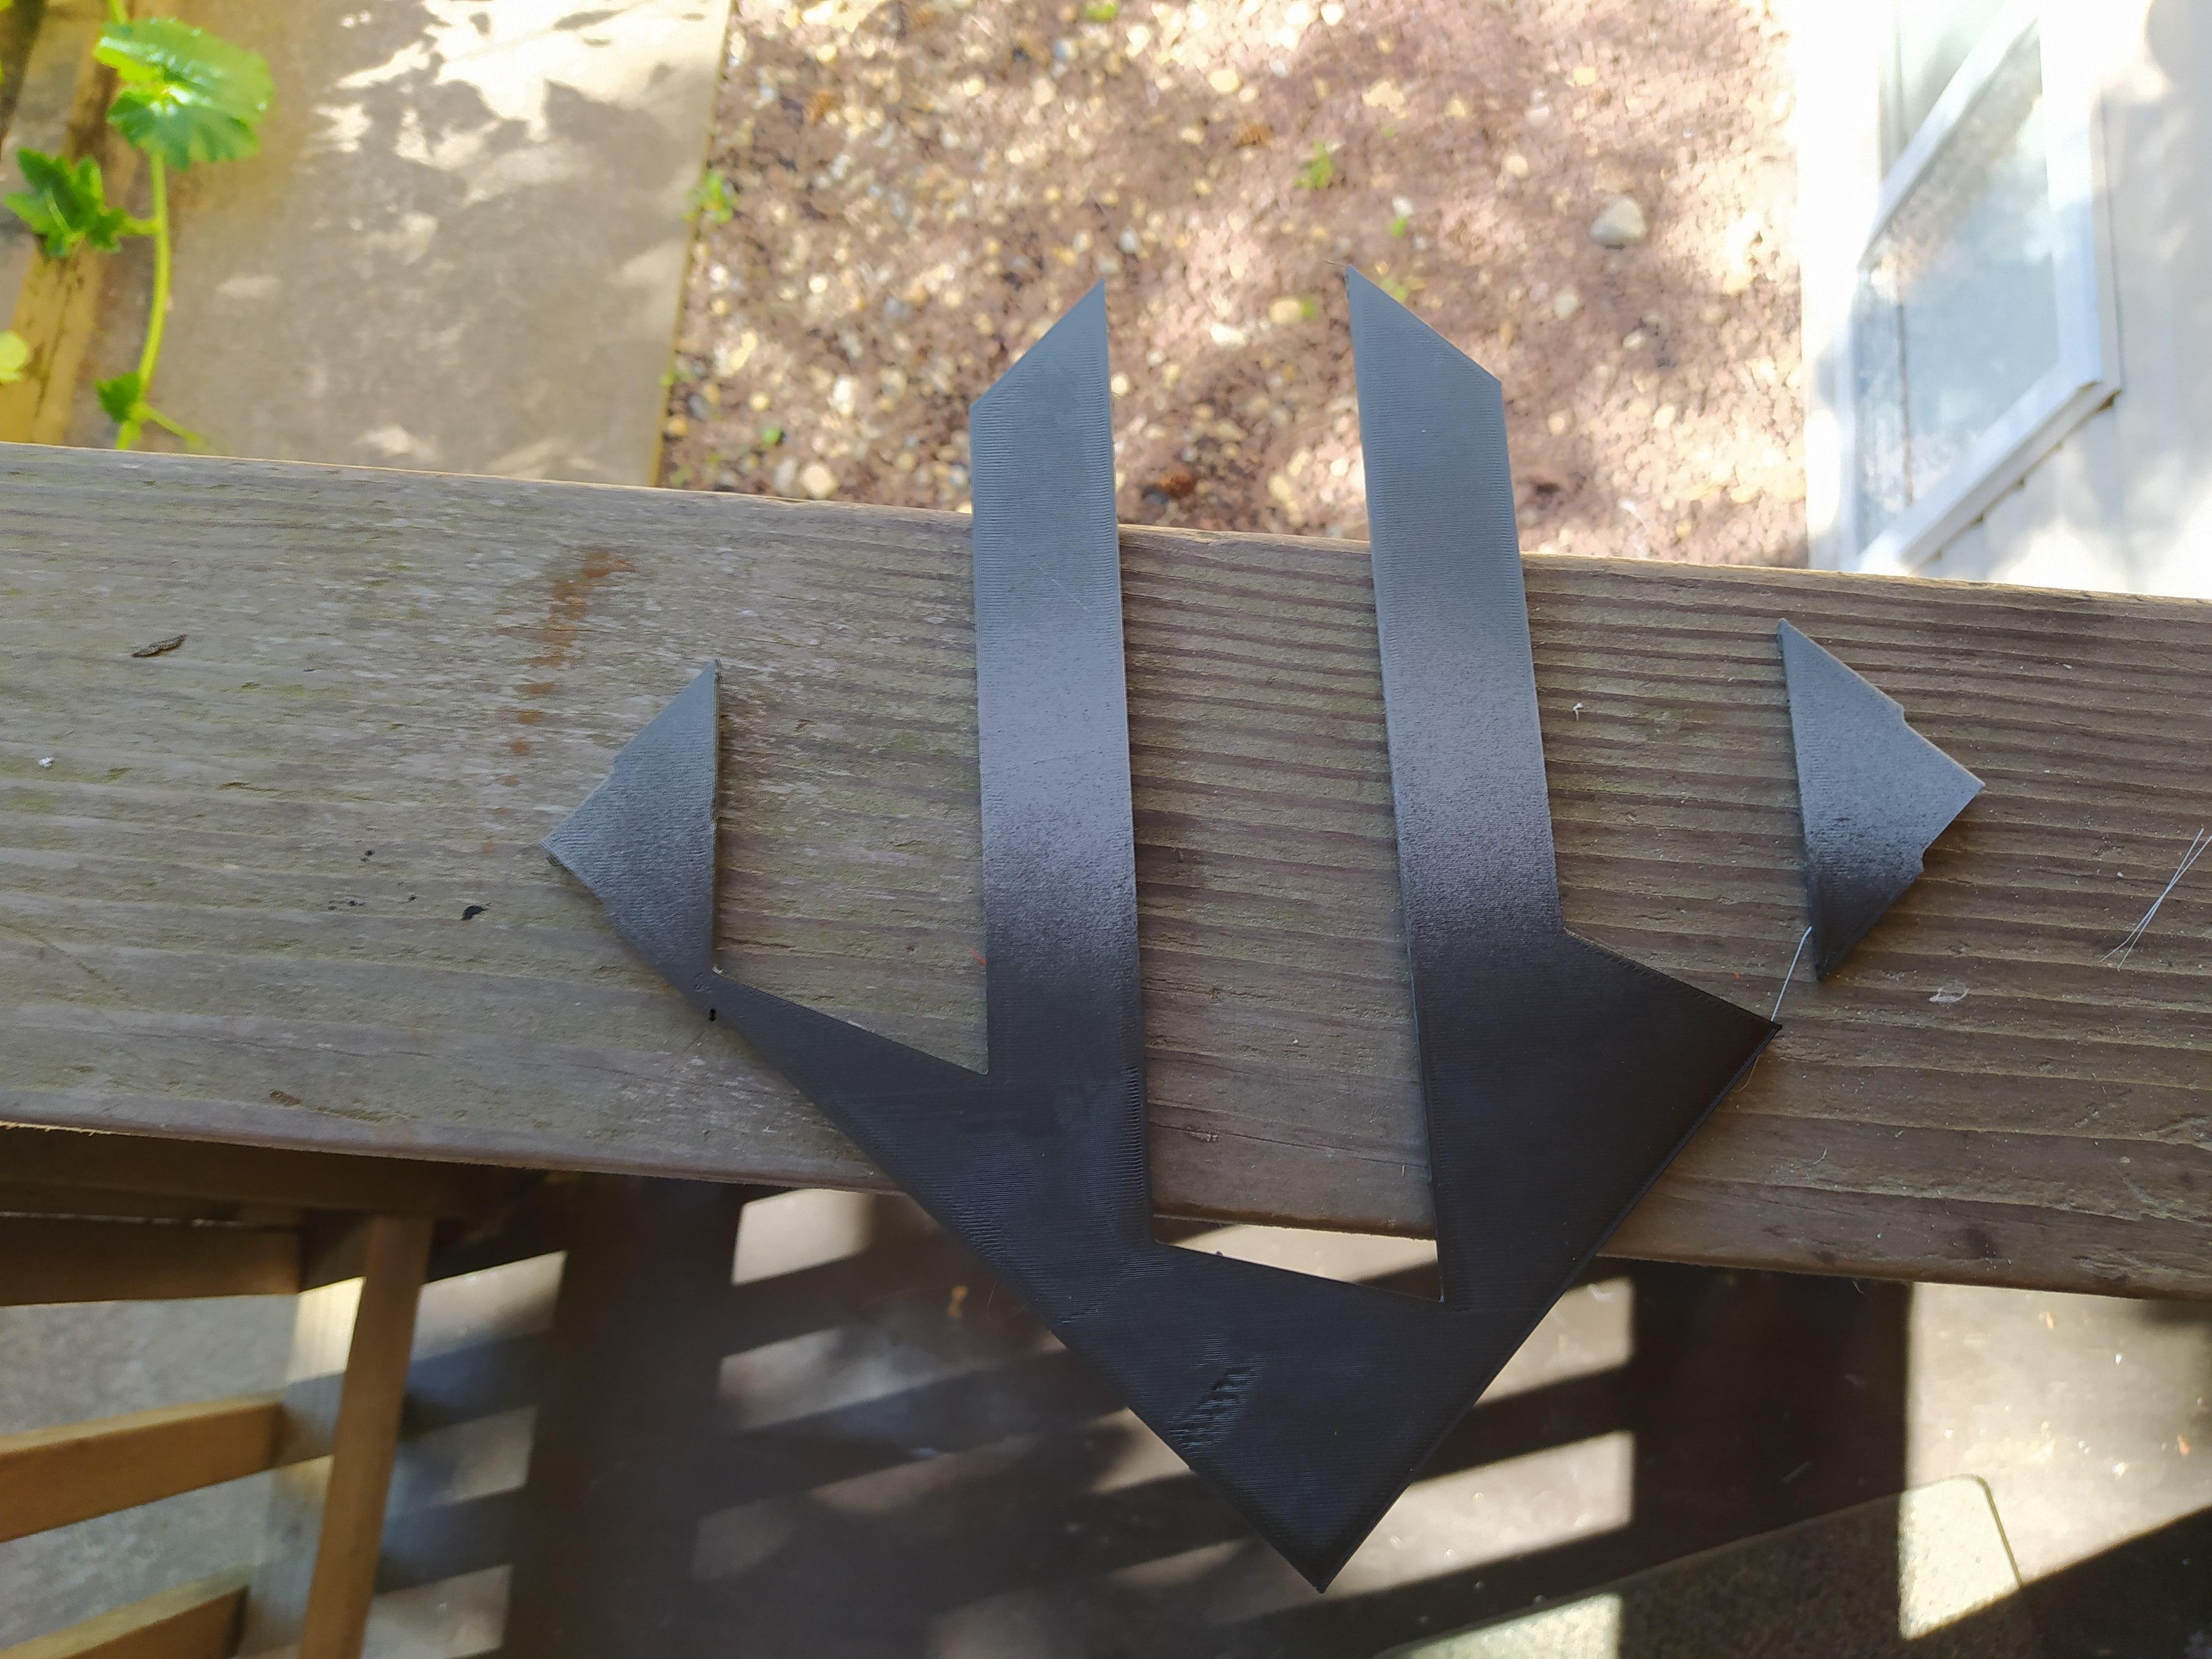
dark gray -> blank -> black
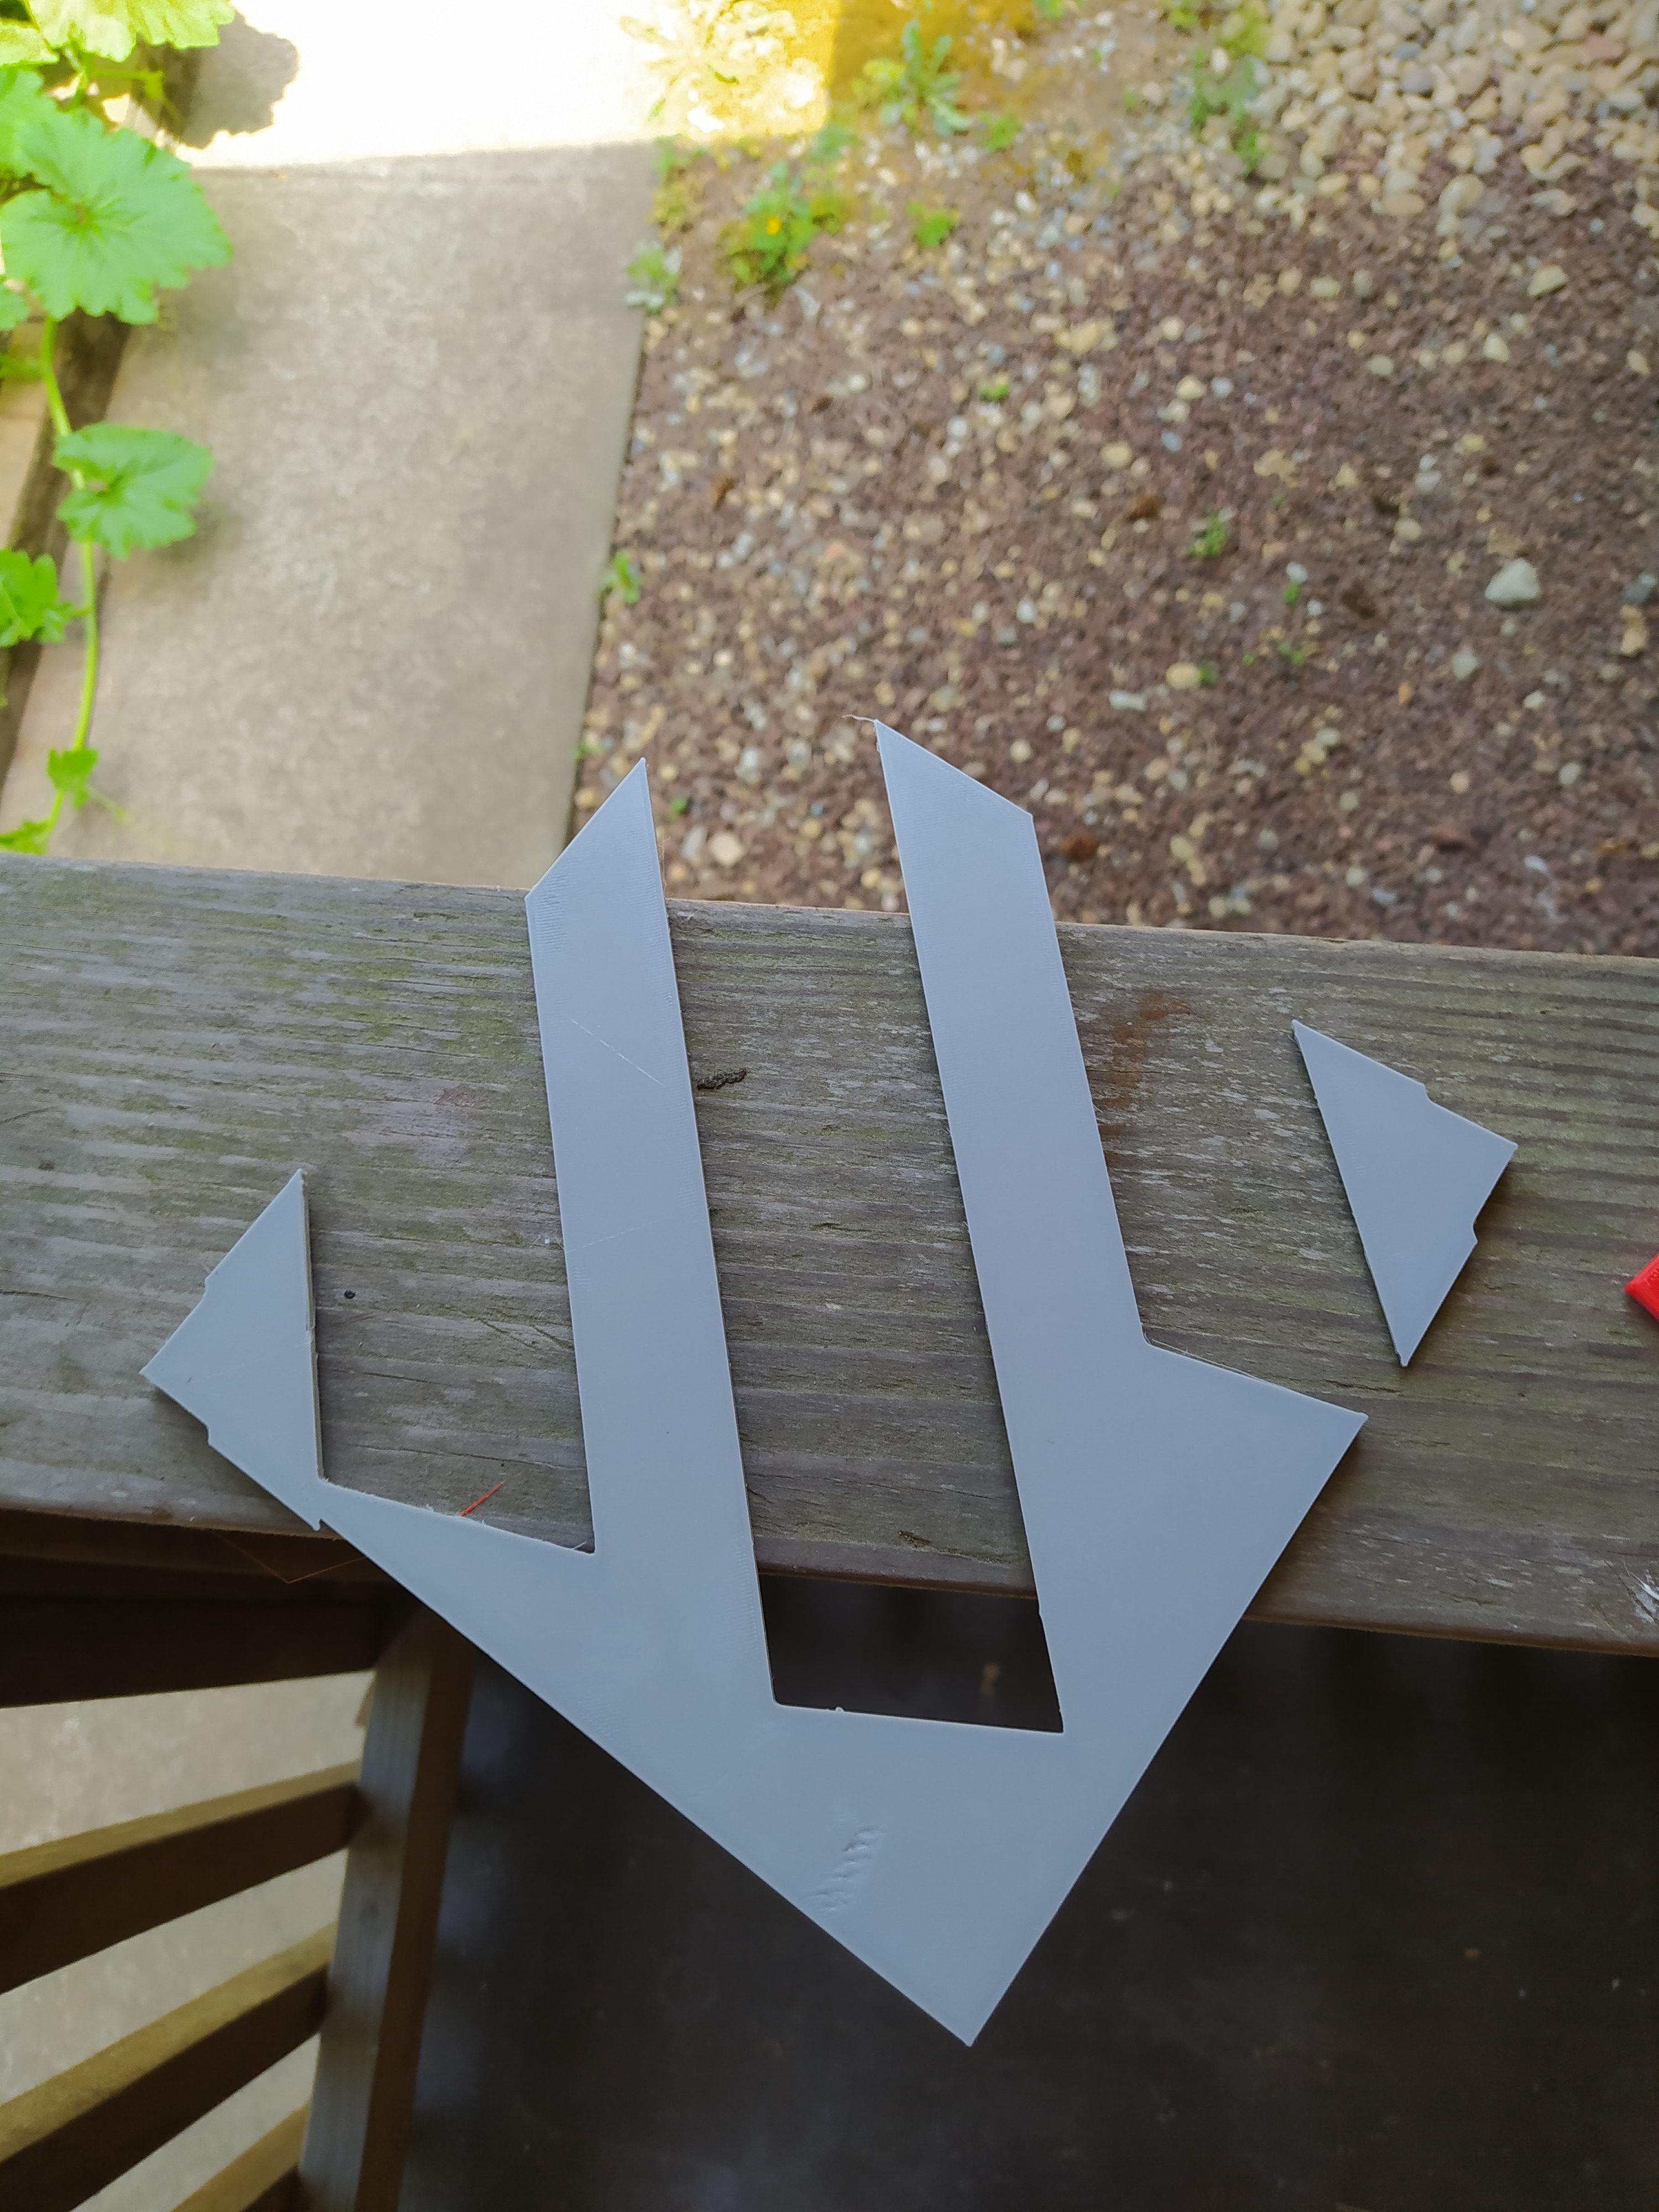
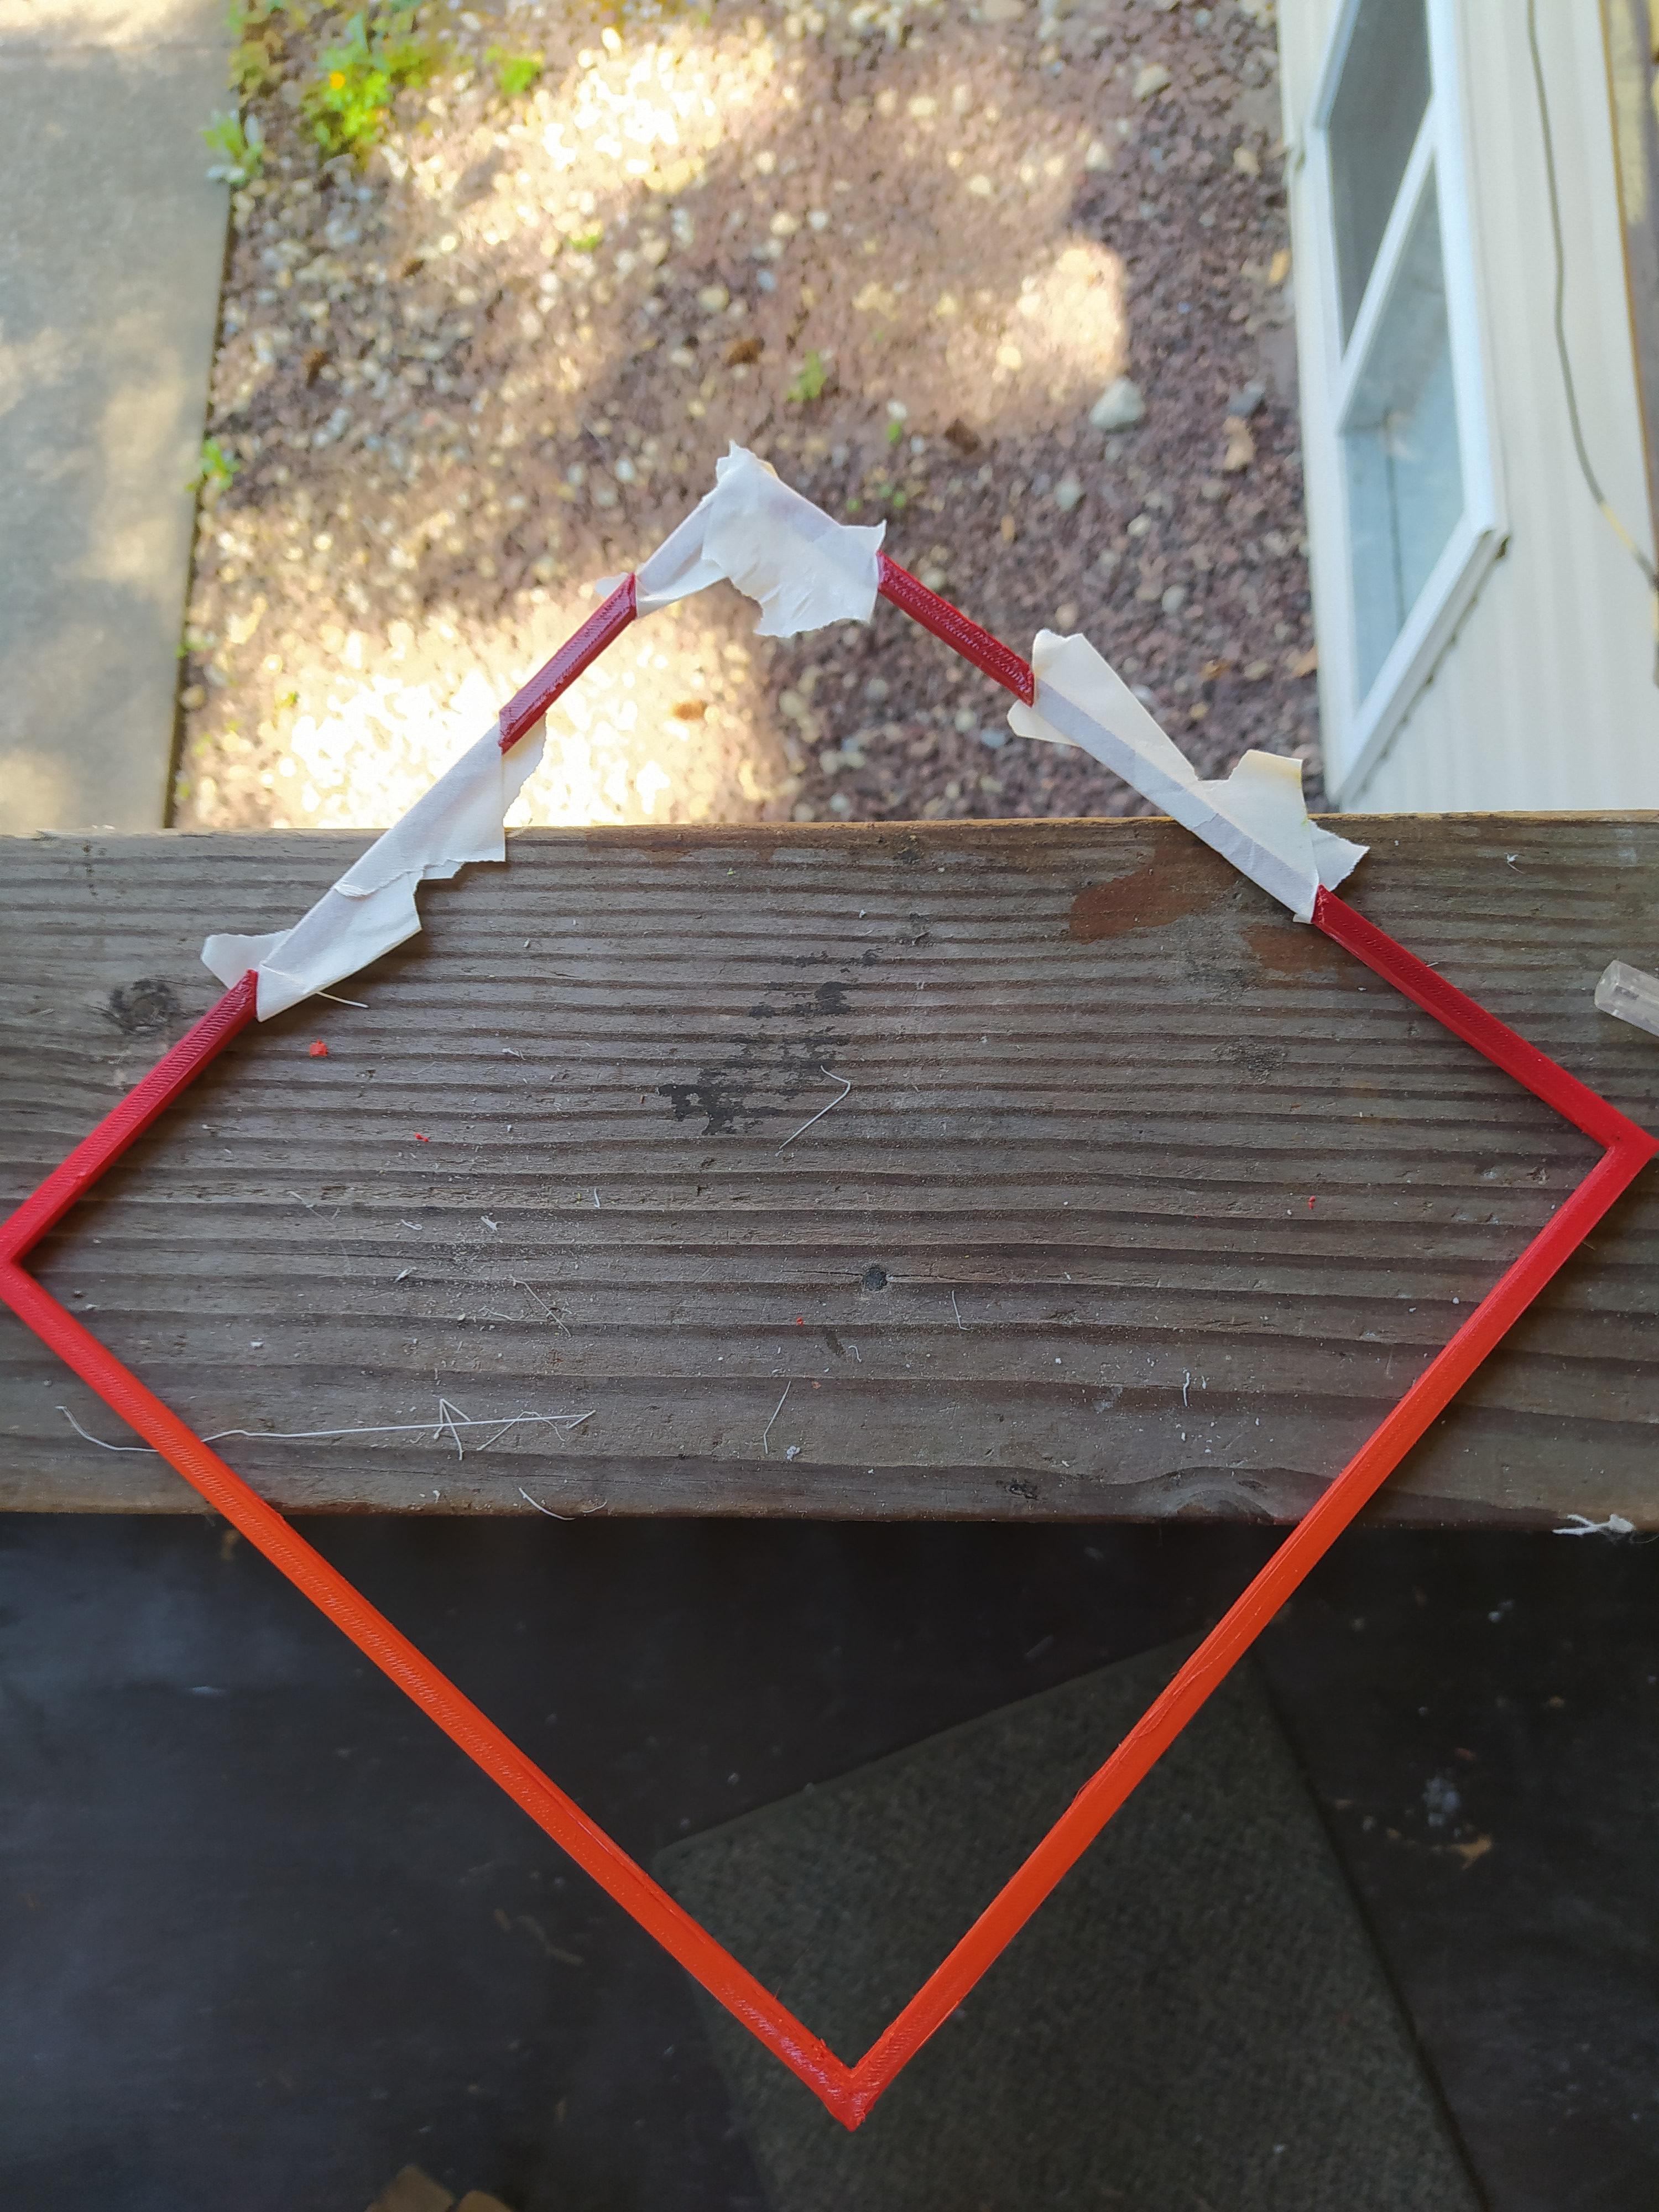
For the Thin Part:
Wrap the thinner part as shown in the picture when the paint dries and follow the Gray Parts step.
Transition can be done by lifting further away from the part
Step 3 : LED Strip Placement
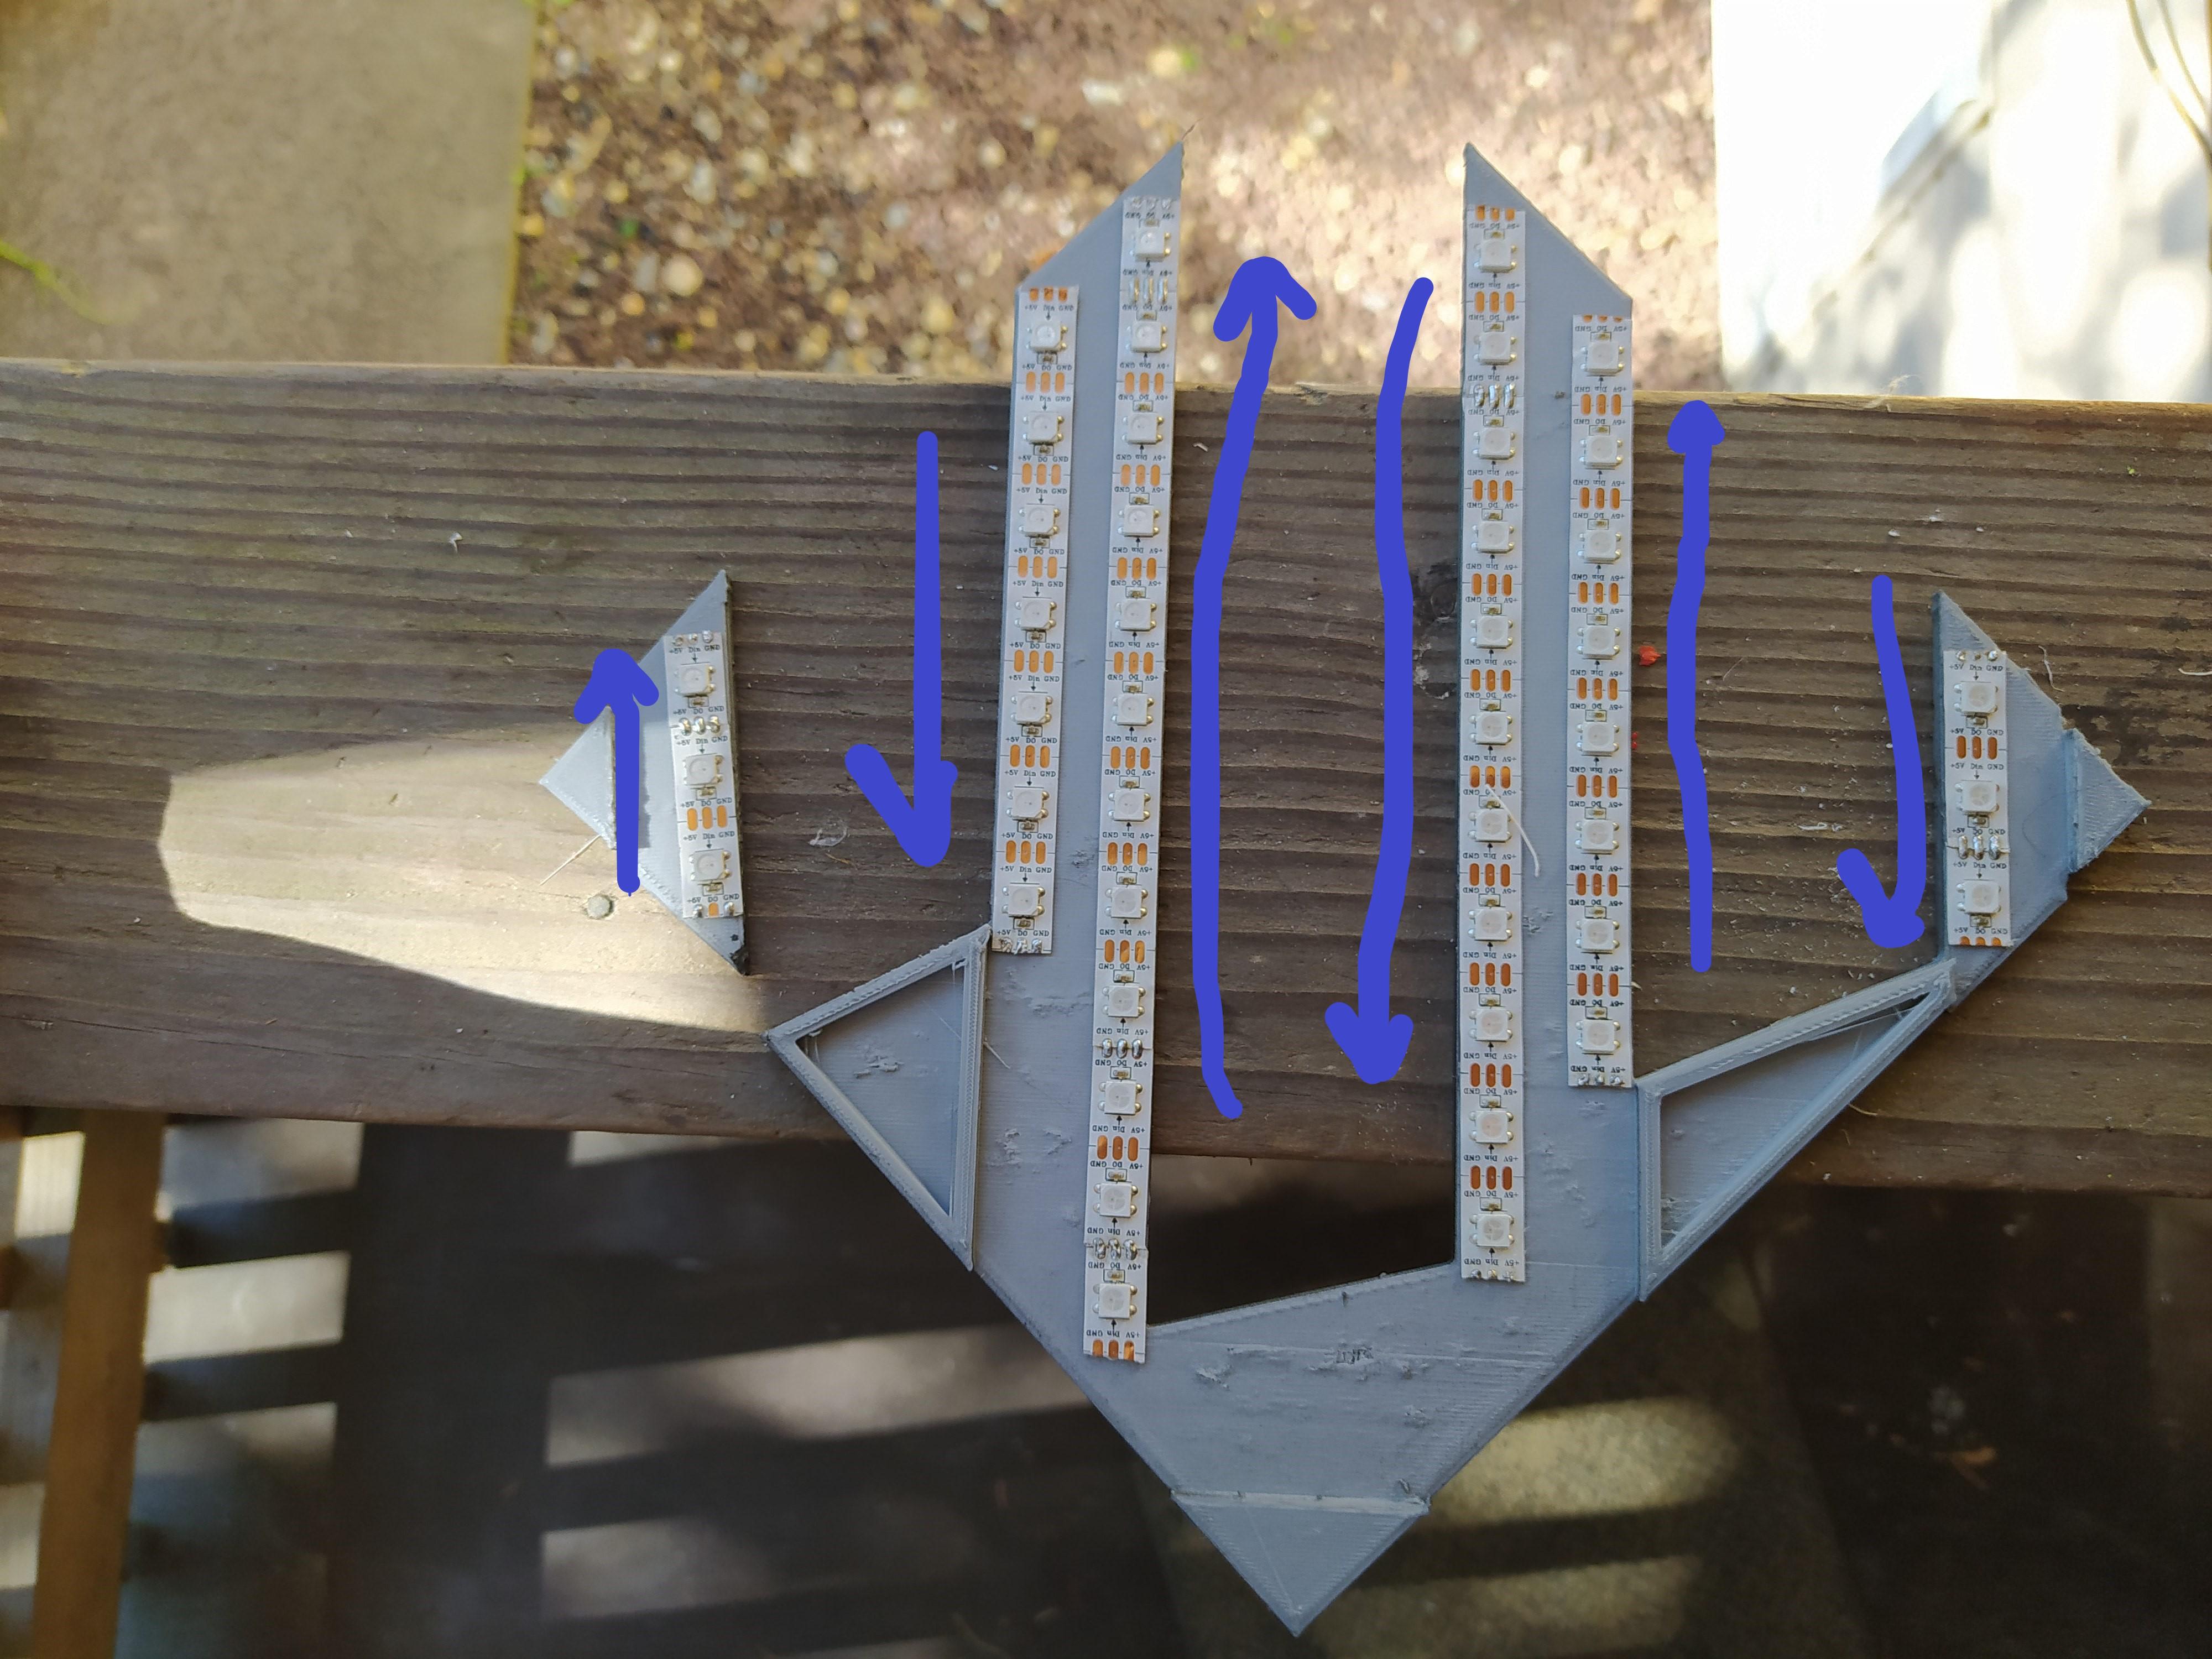
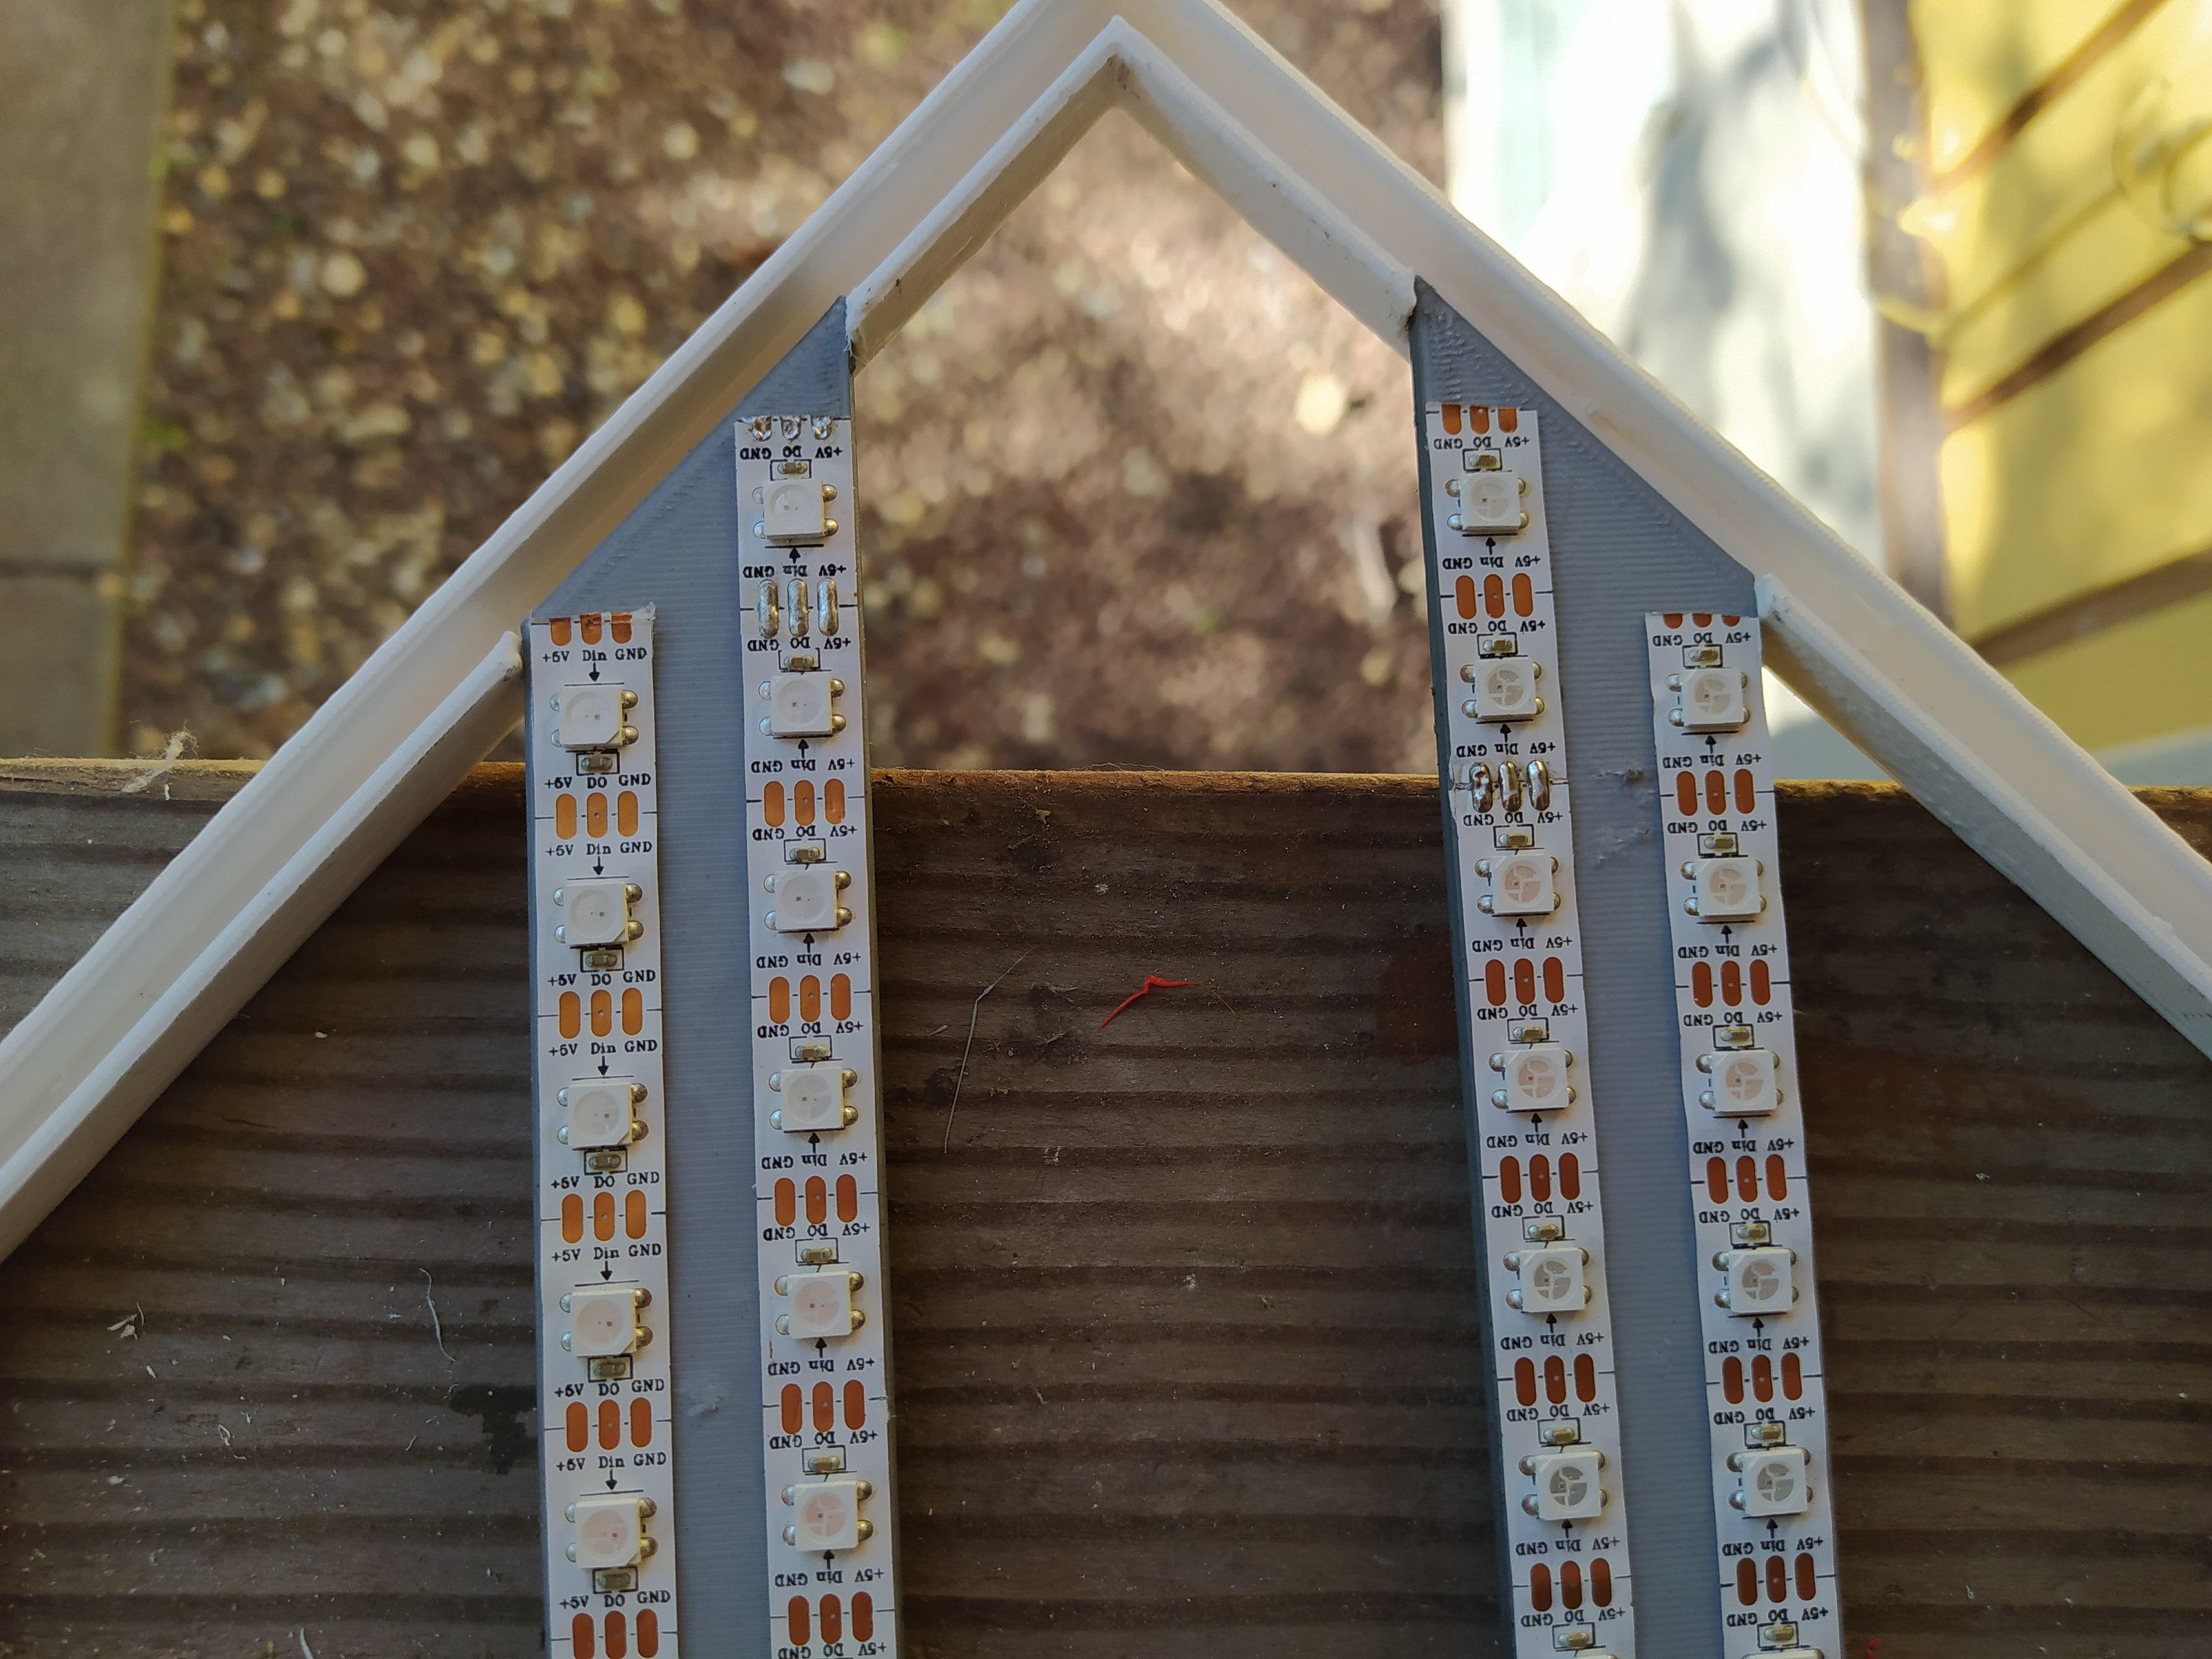
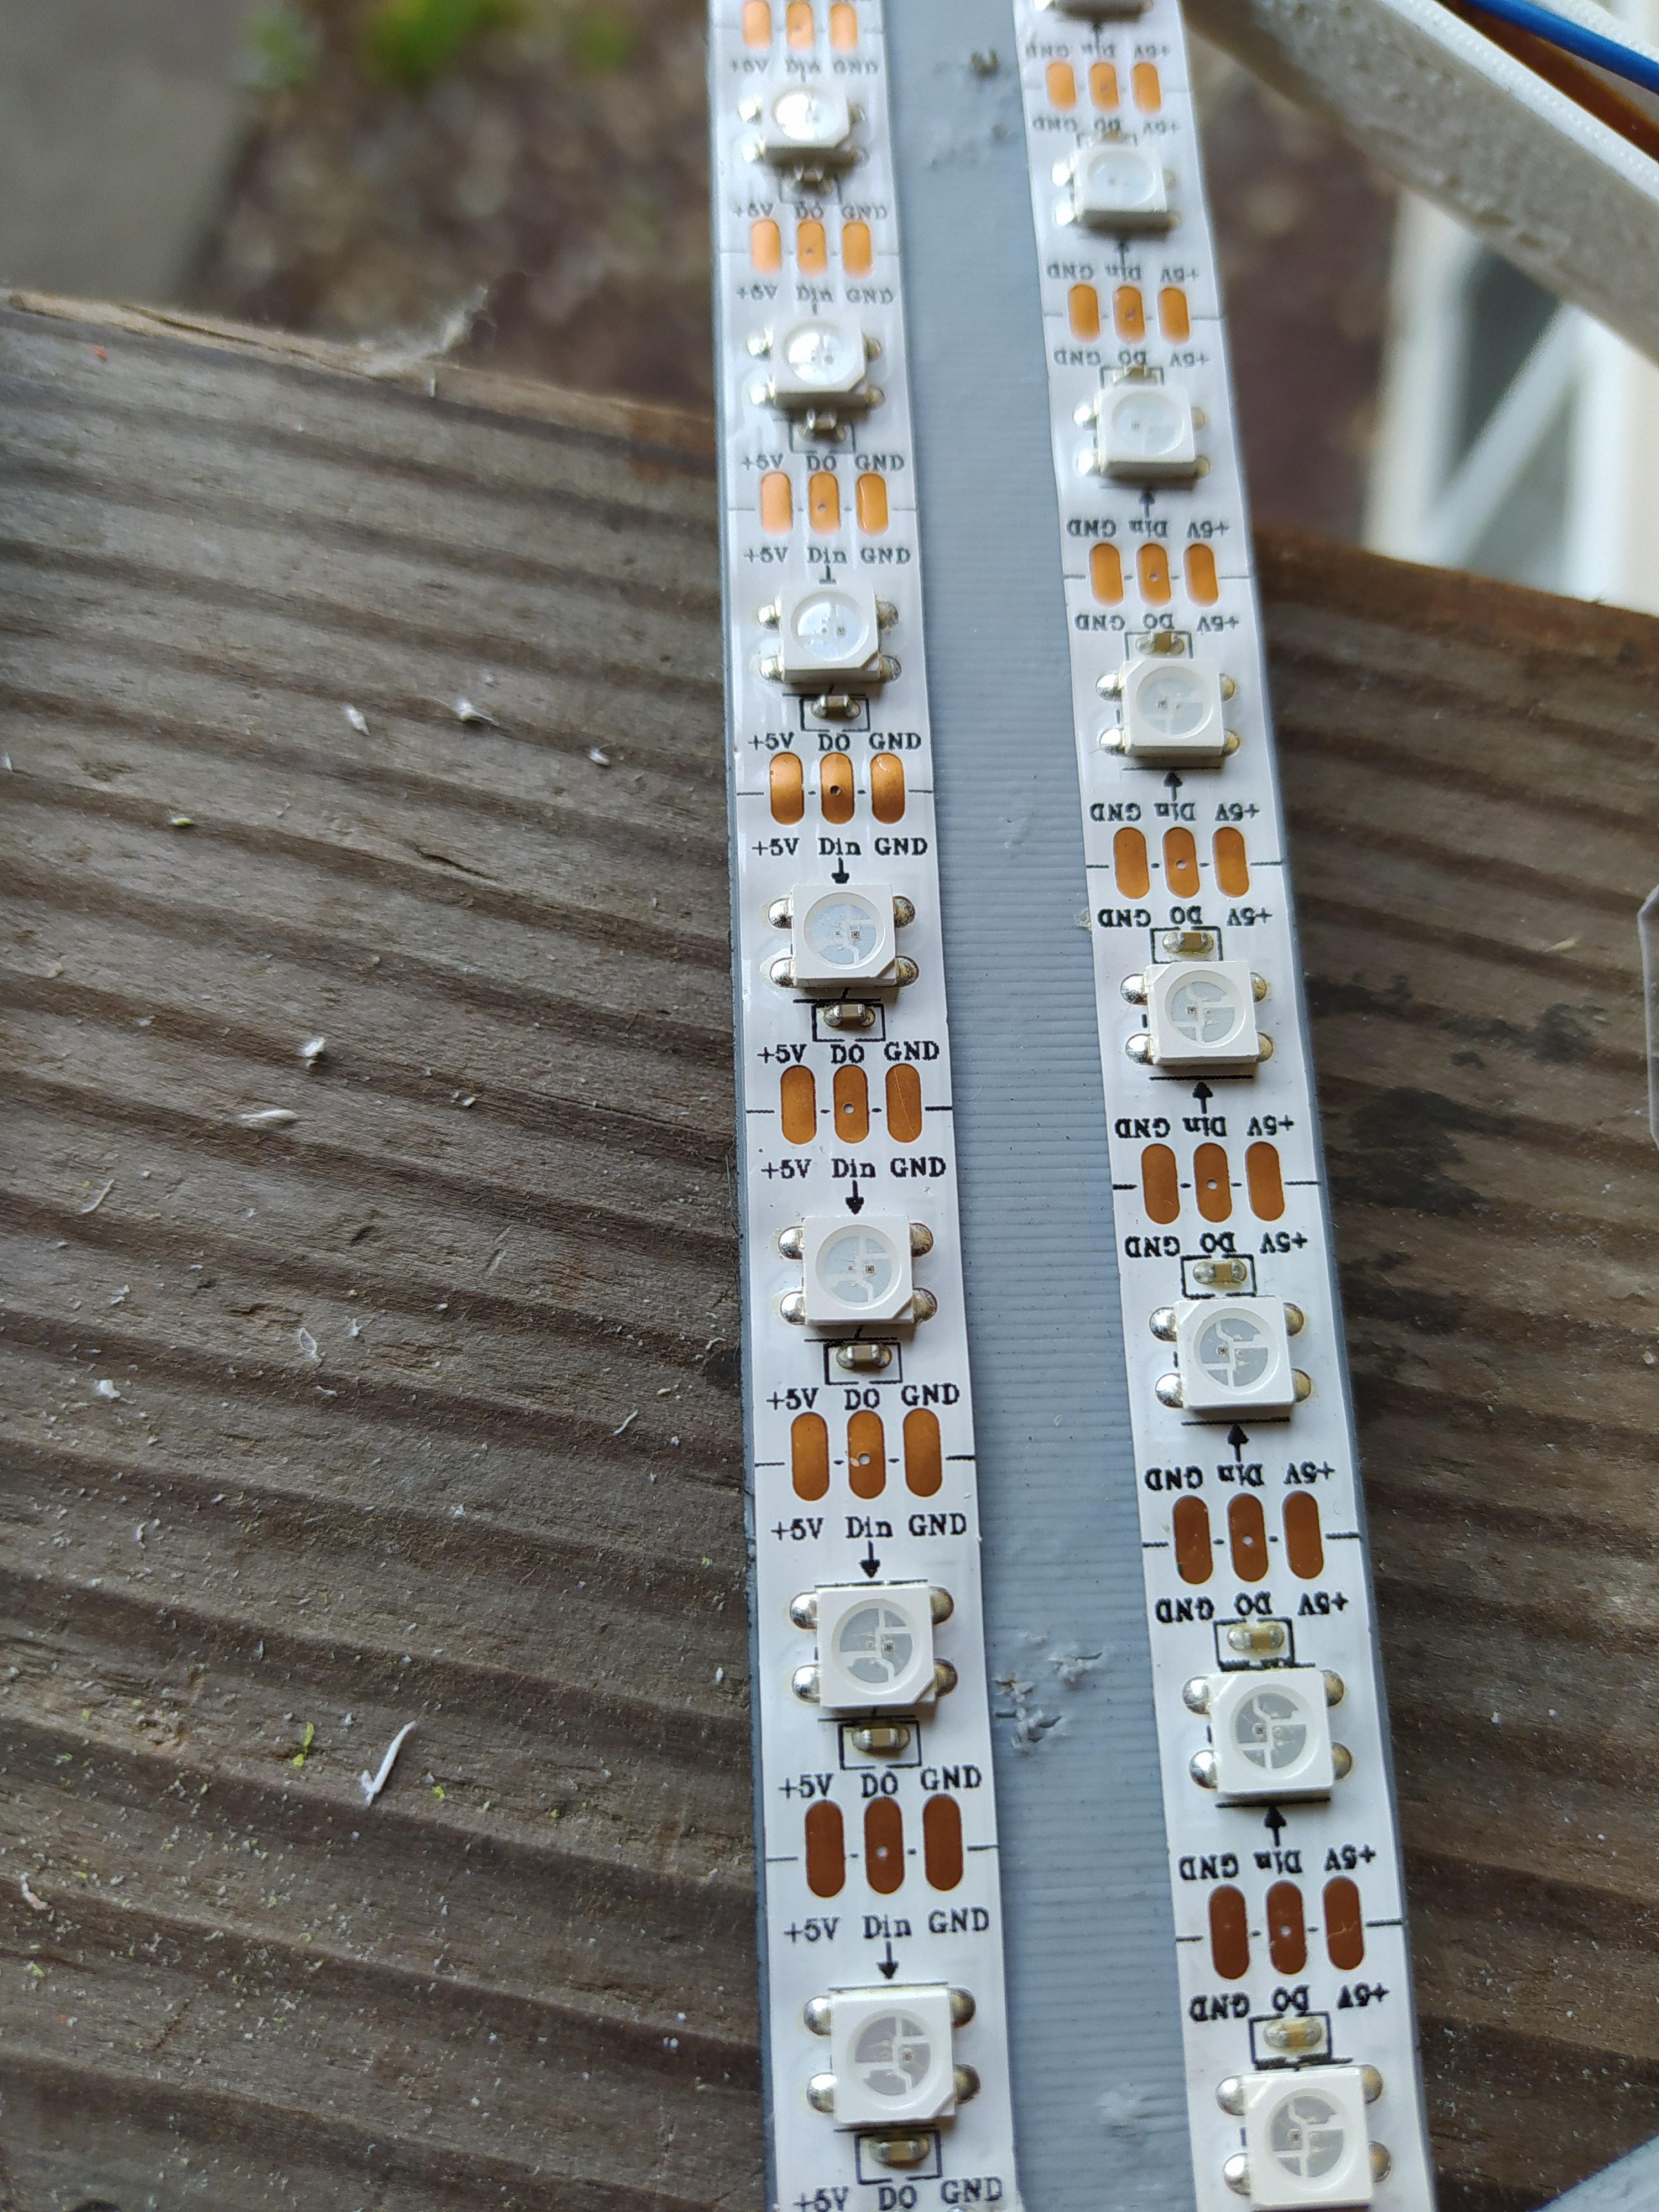
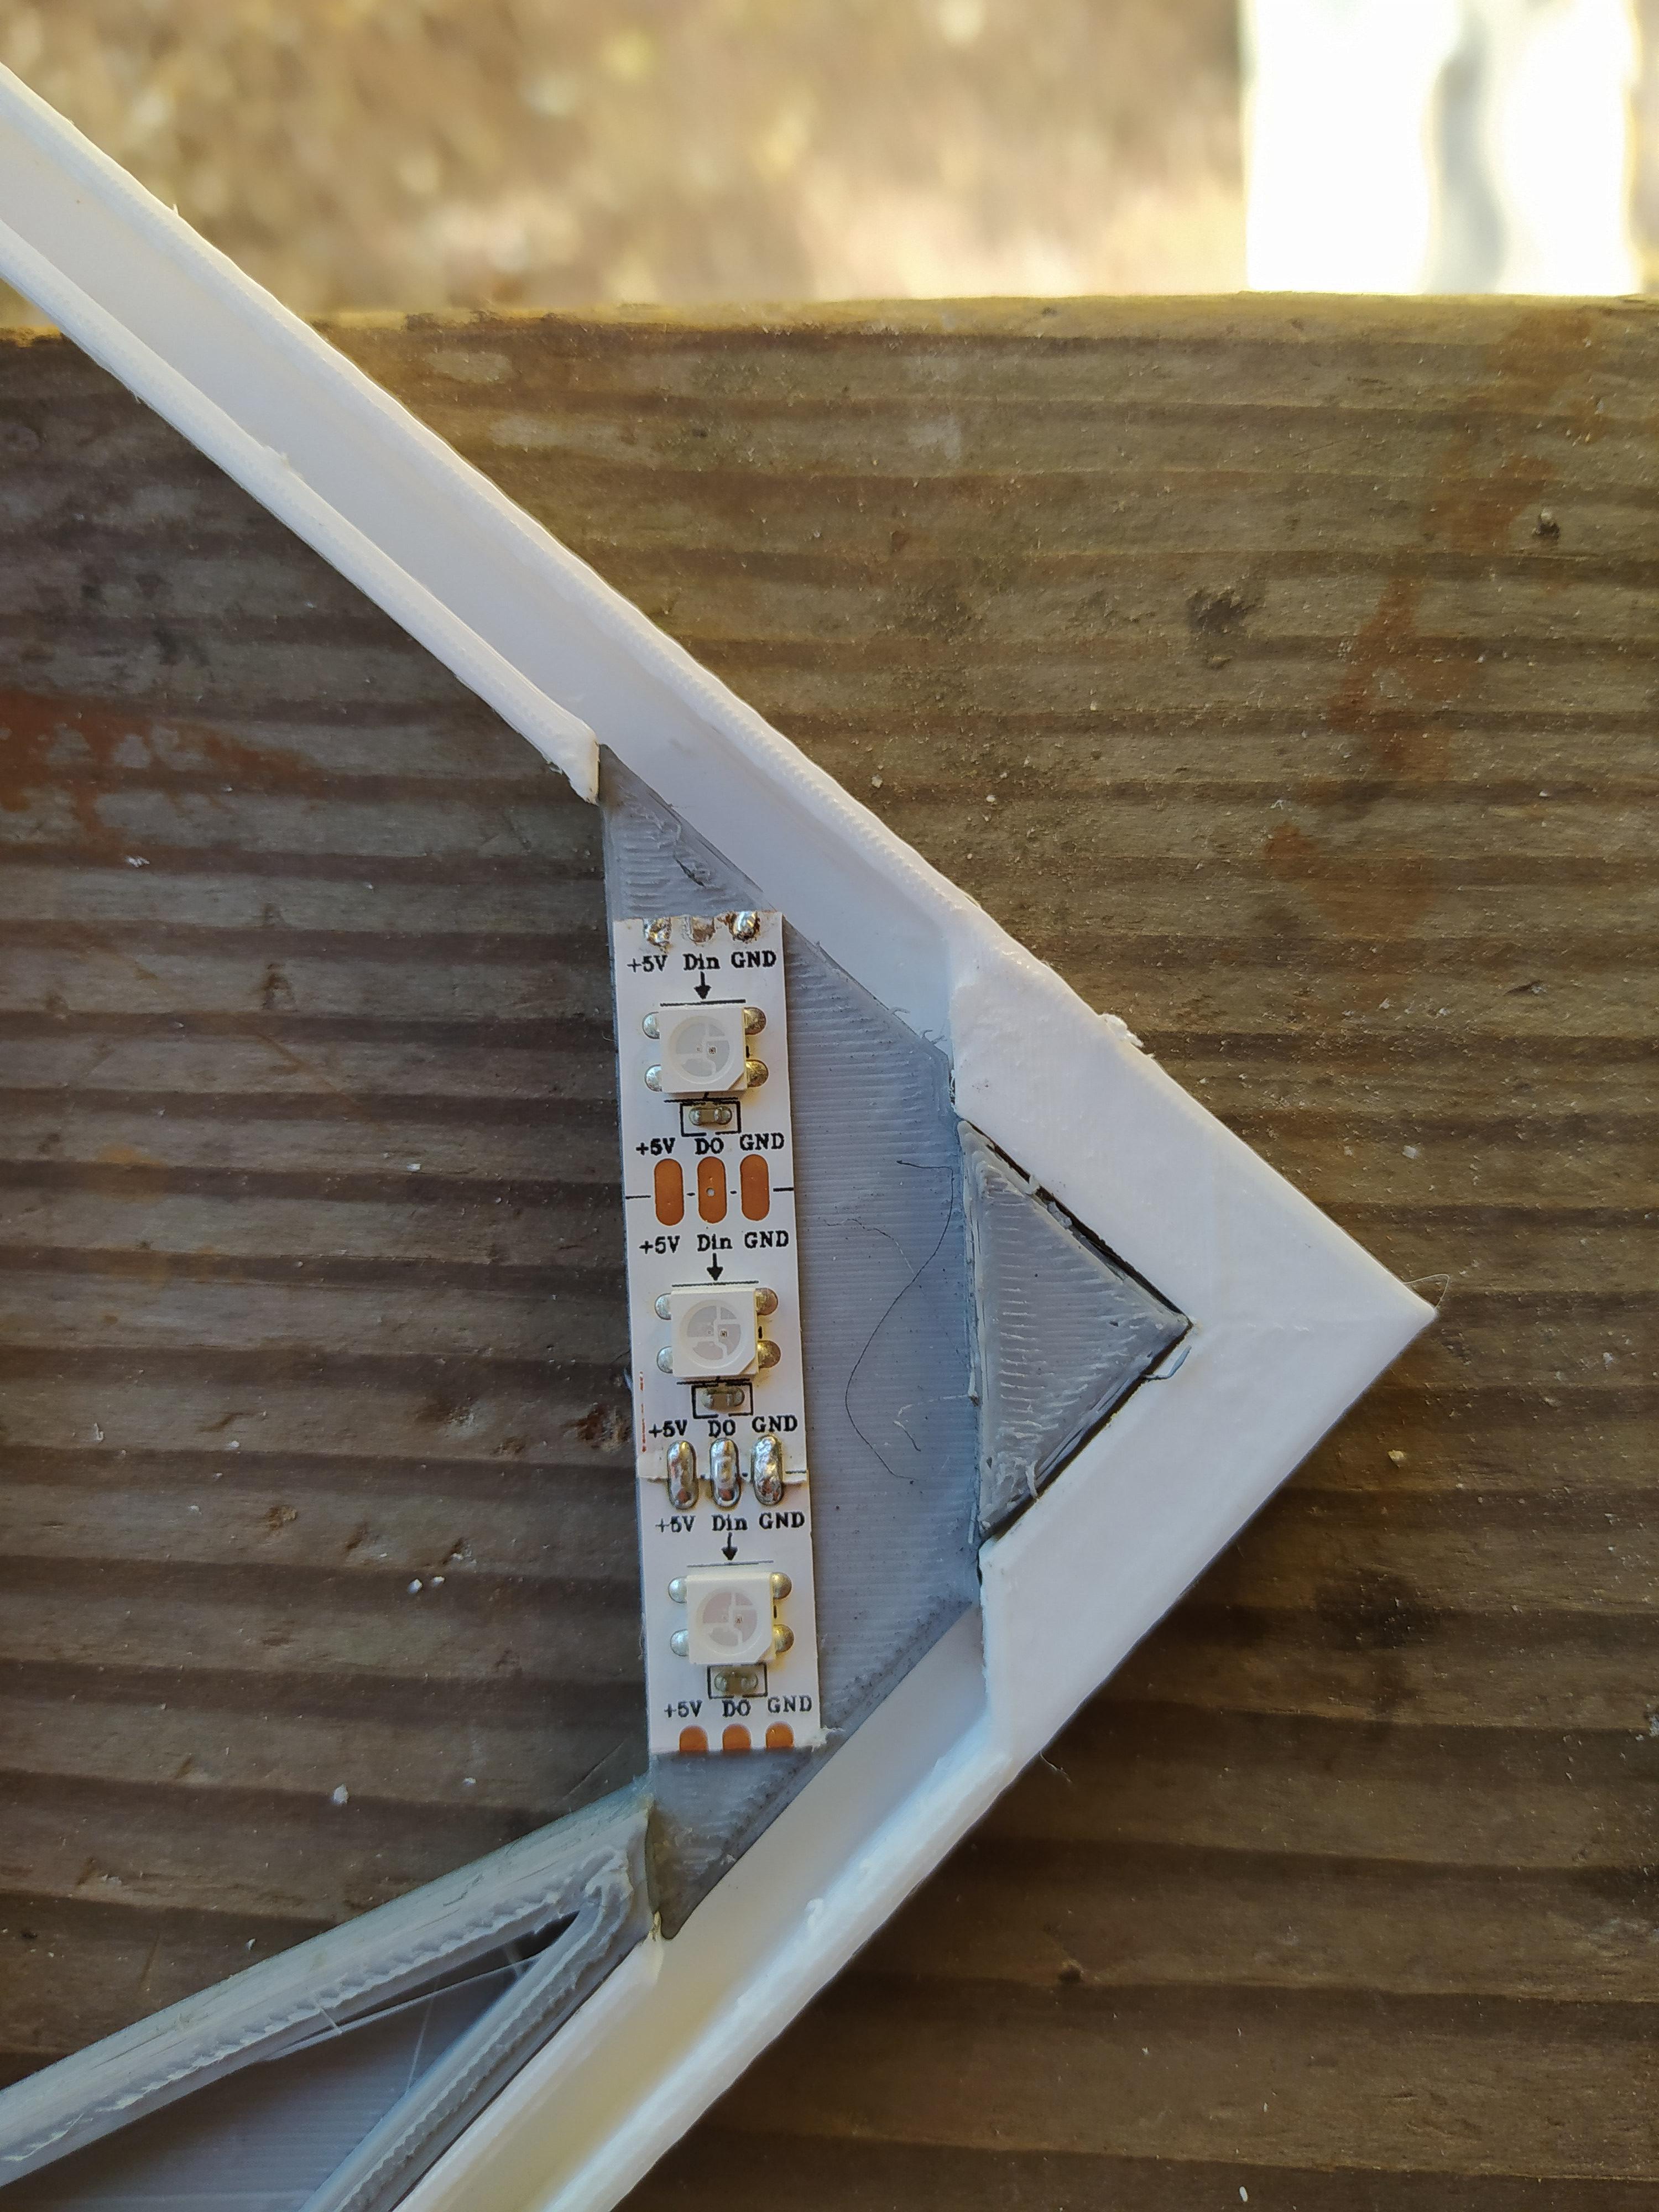
Place the SW2815BECO LED onto the gray part, as shown in the picture.
Warning: Make sure that the arrows on the LED are connected head to tail otherwise it won't work later.
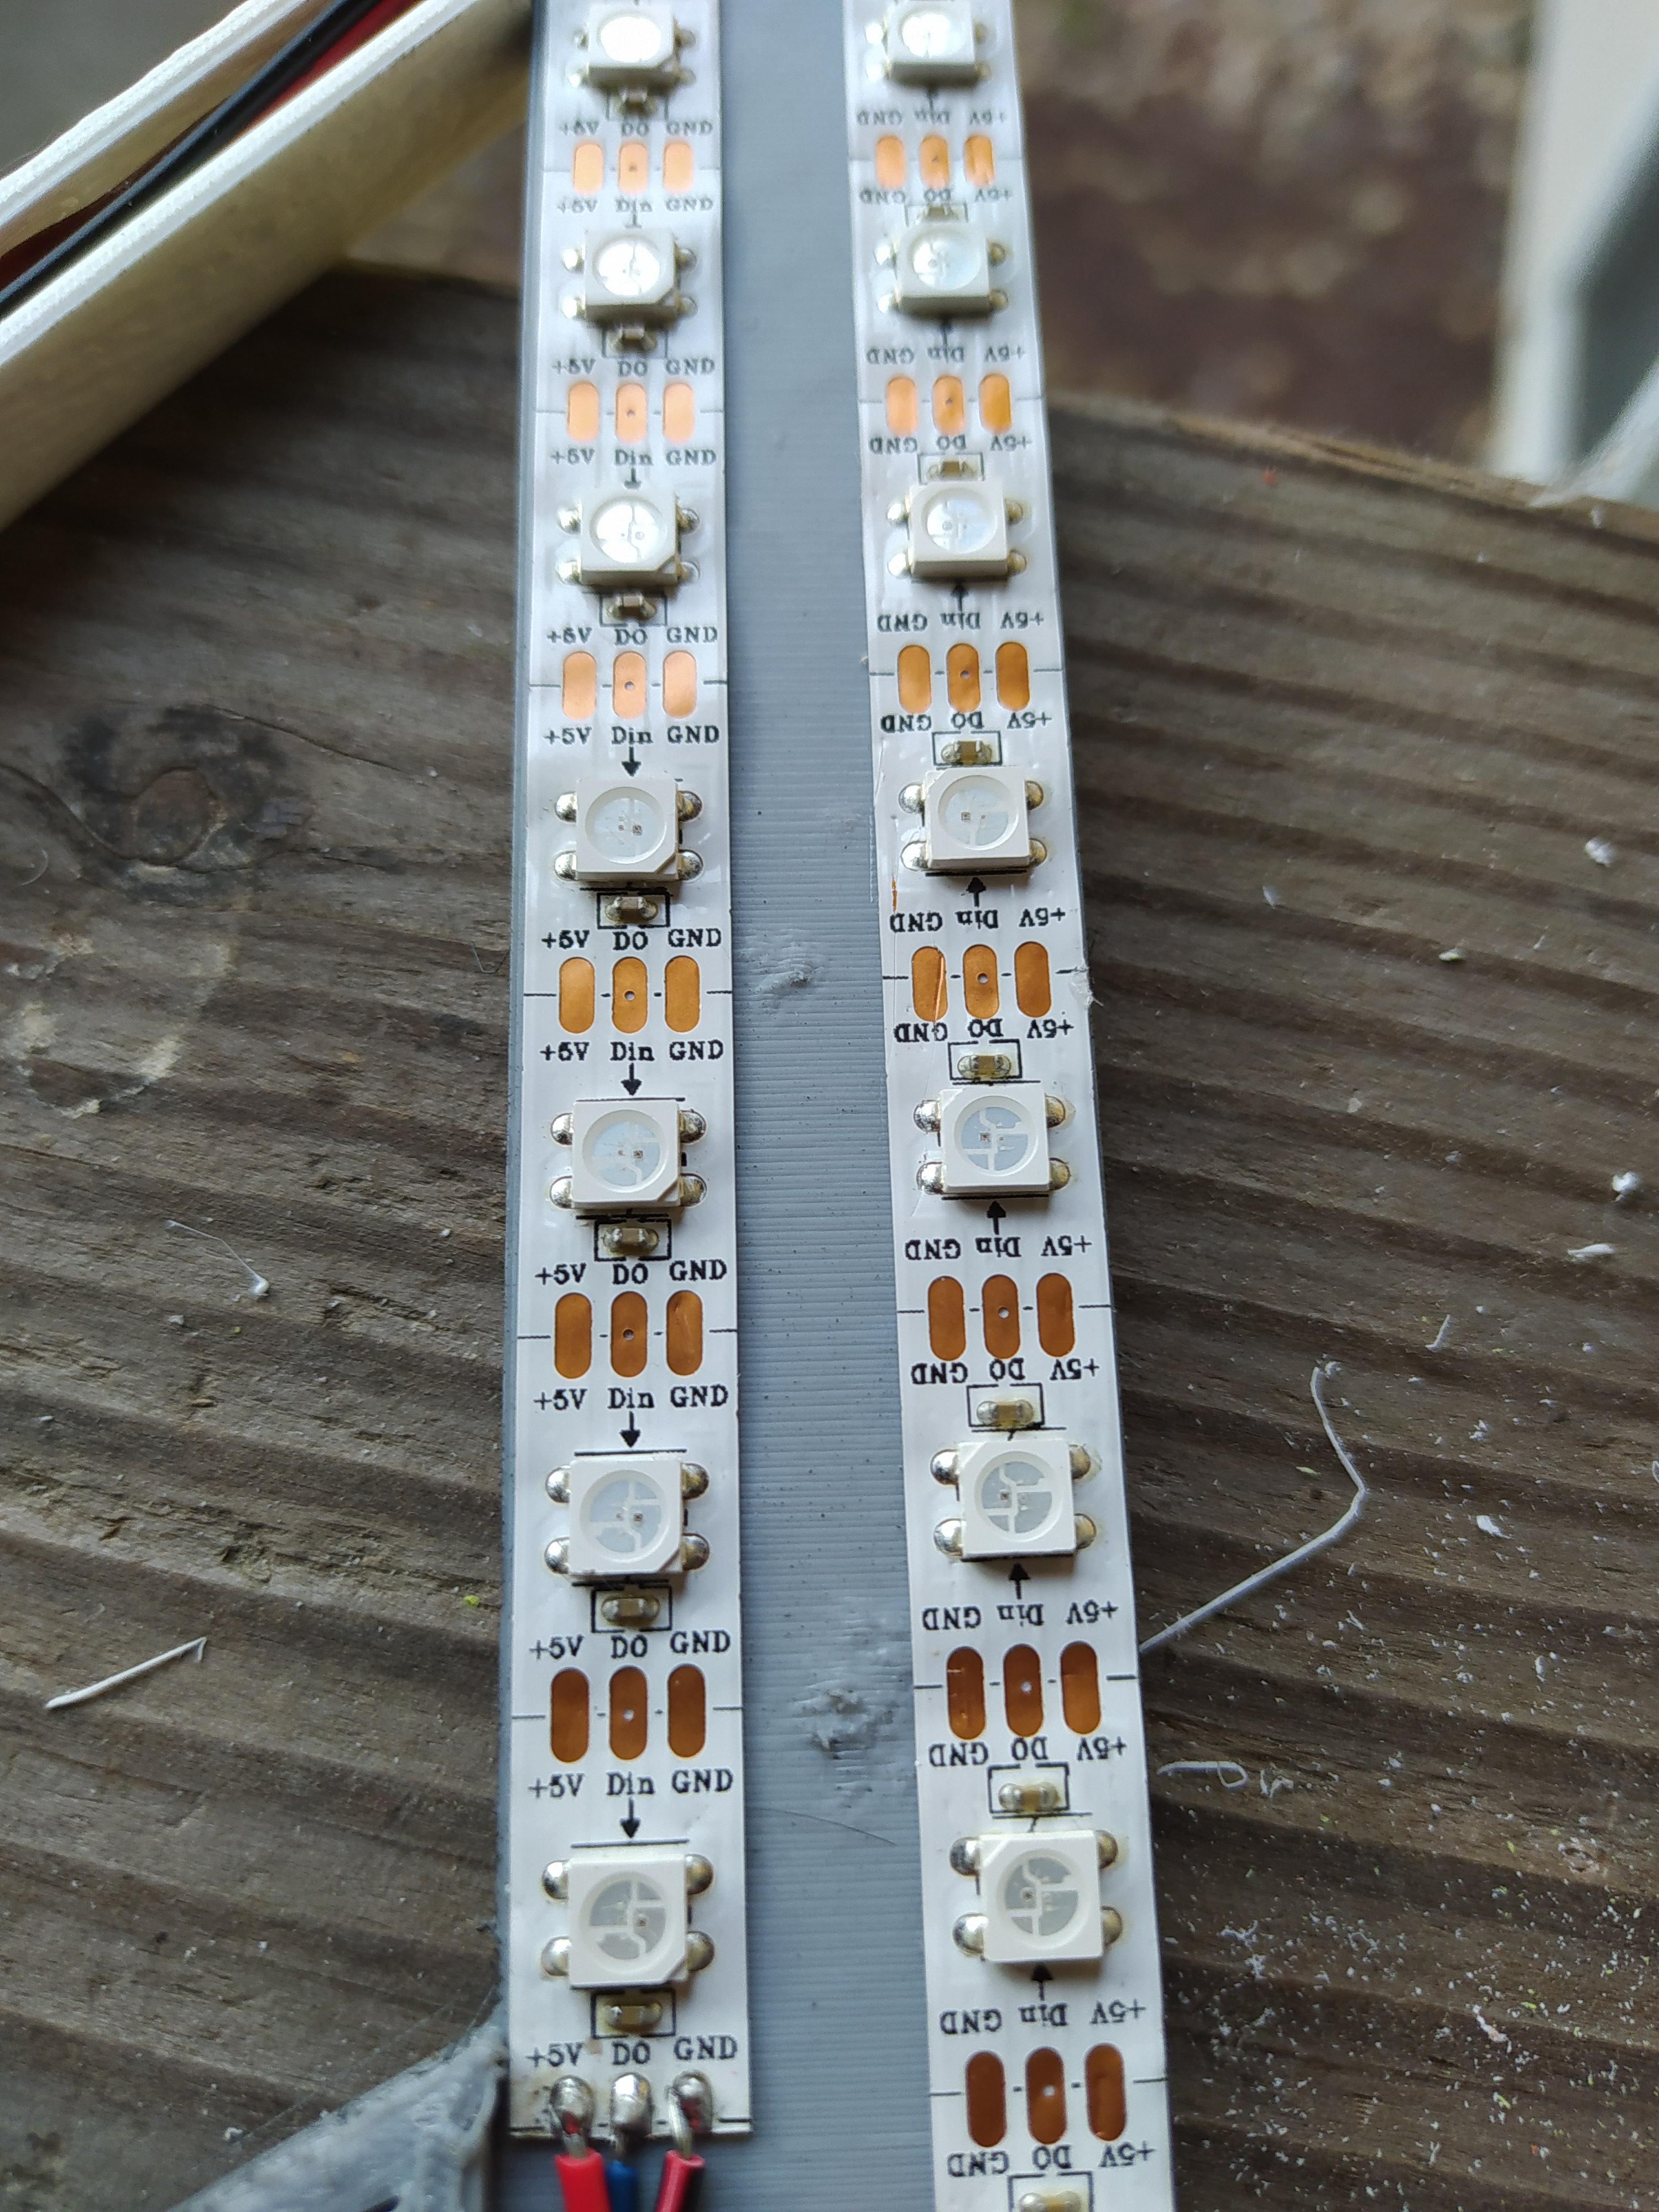
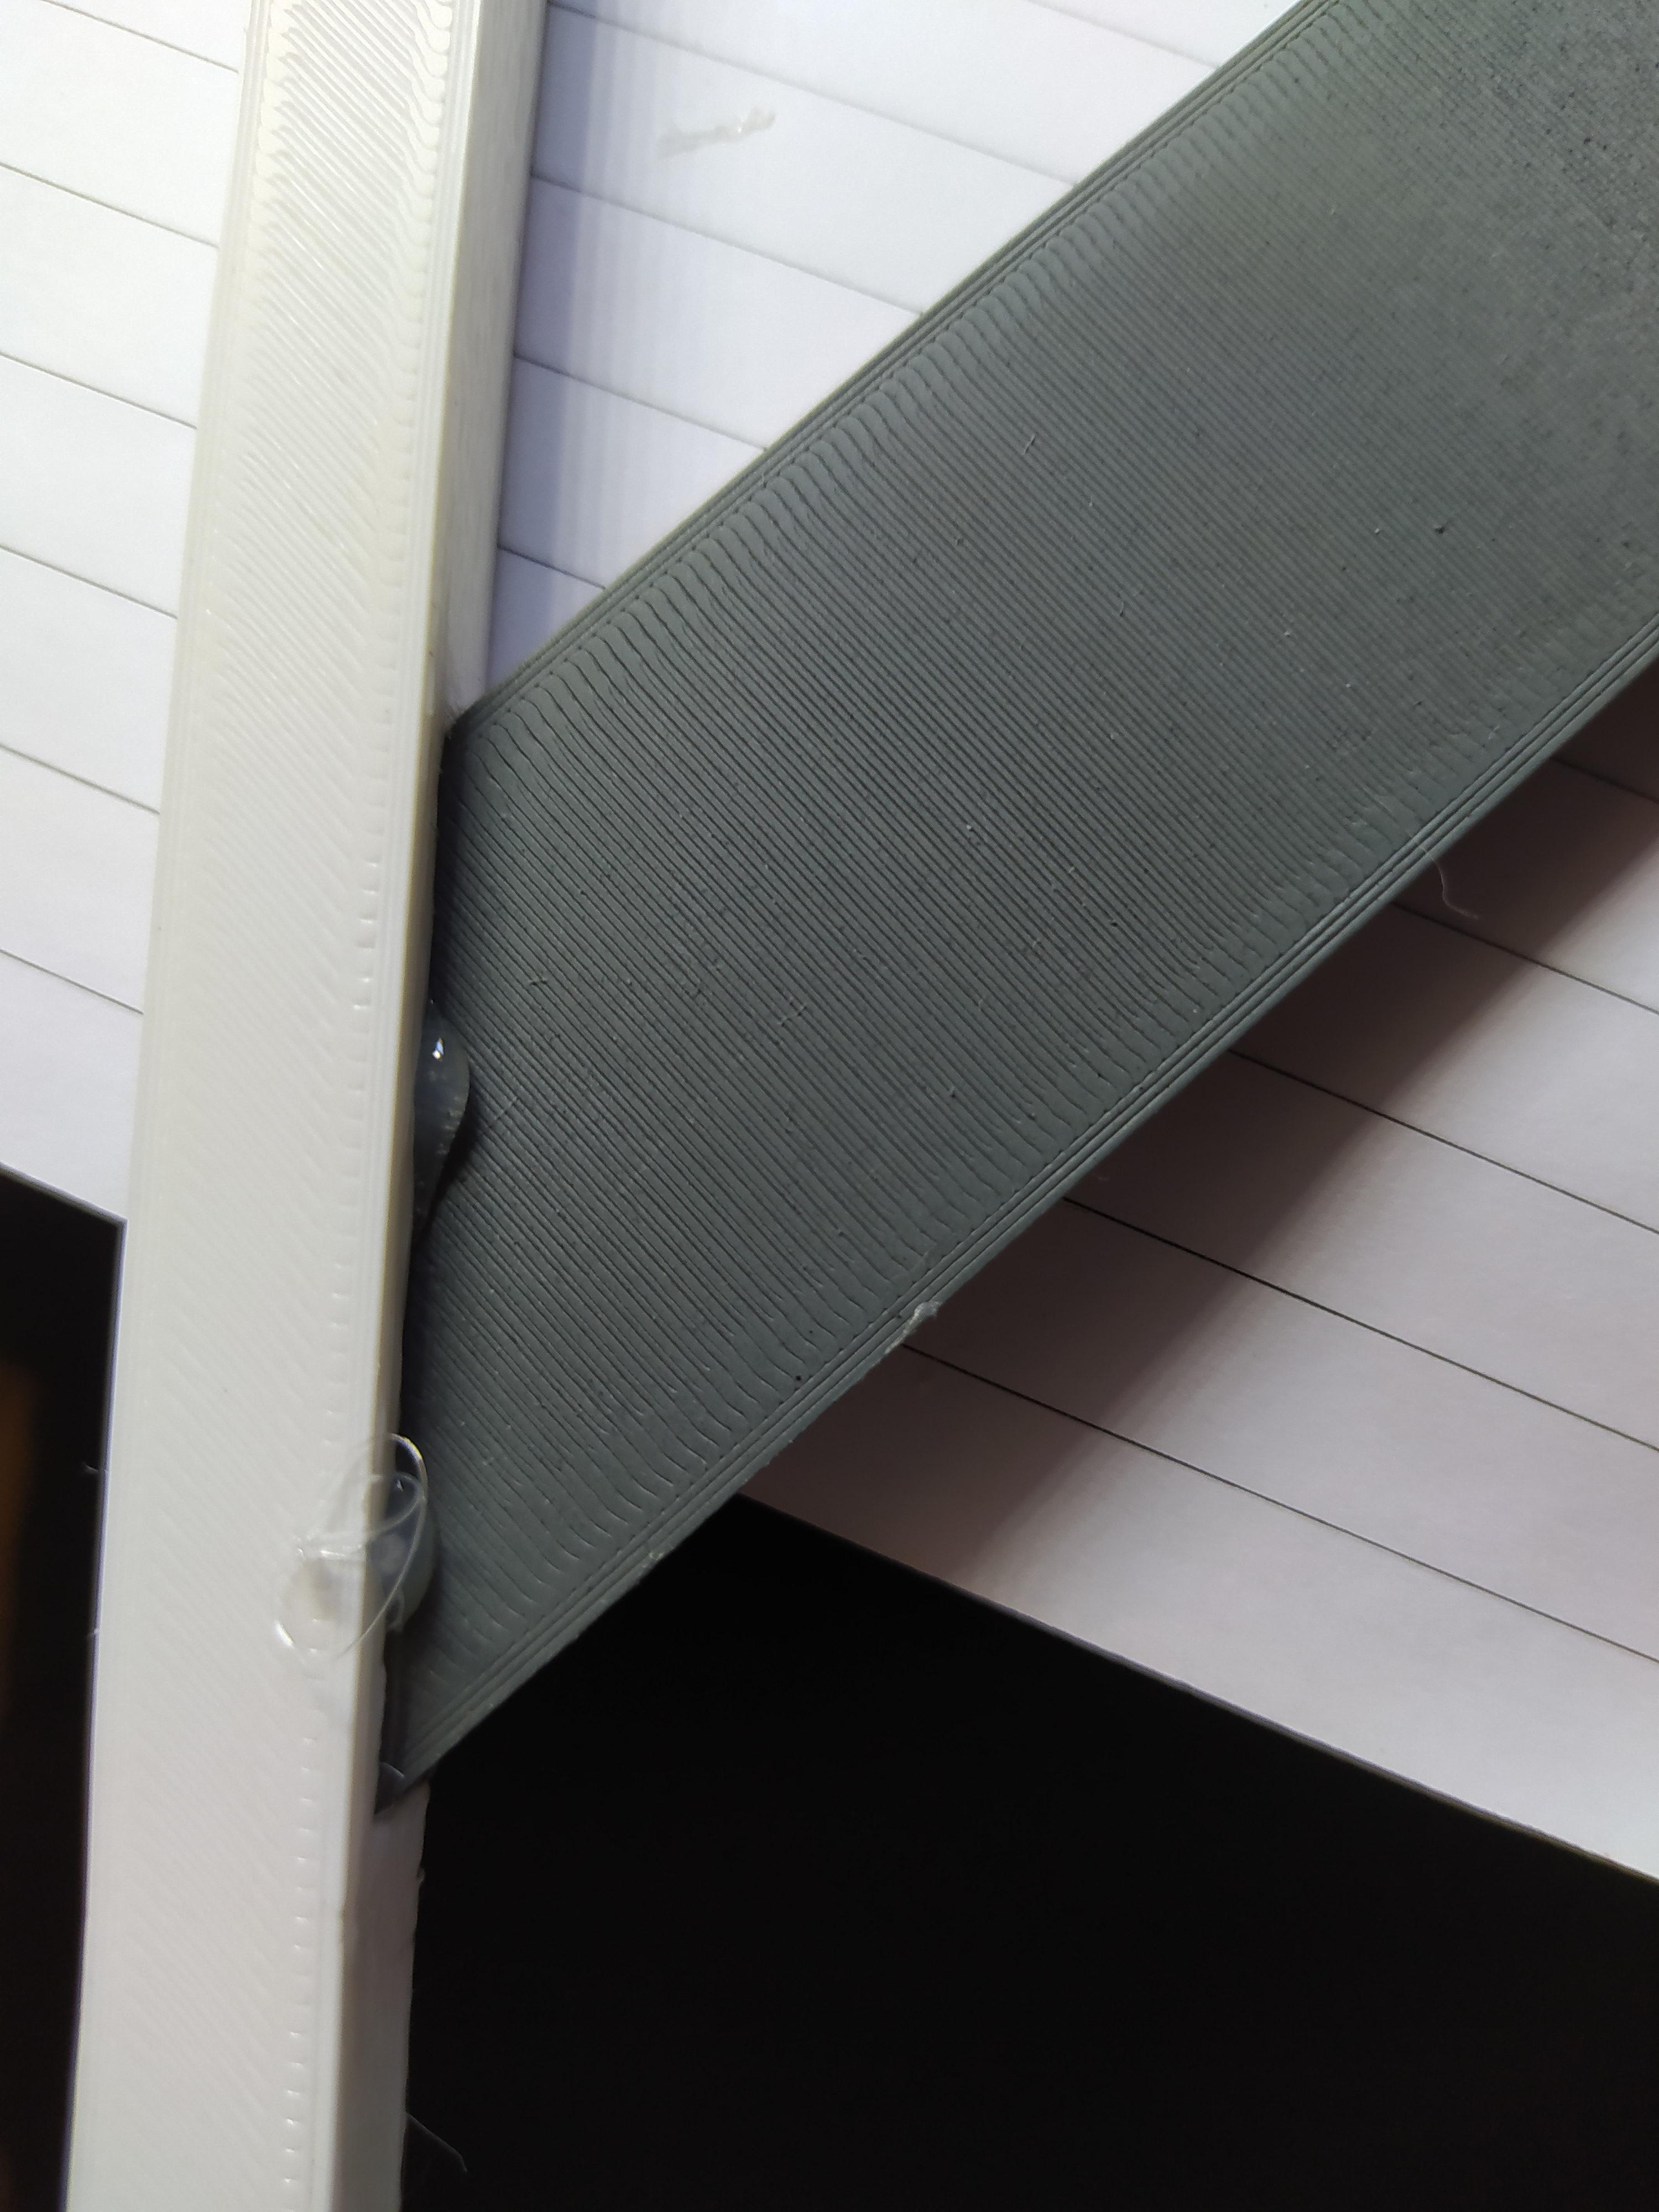
Step 4 : Solder the Wires
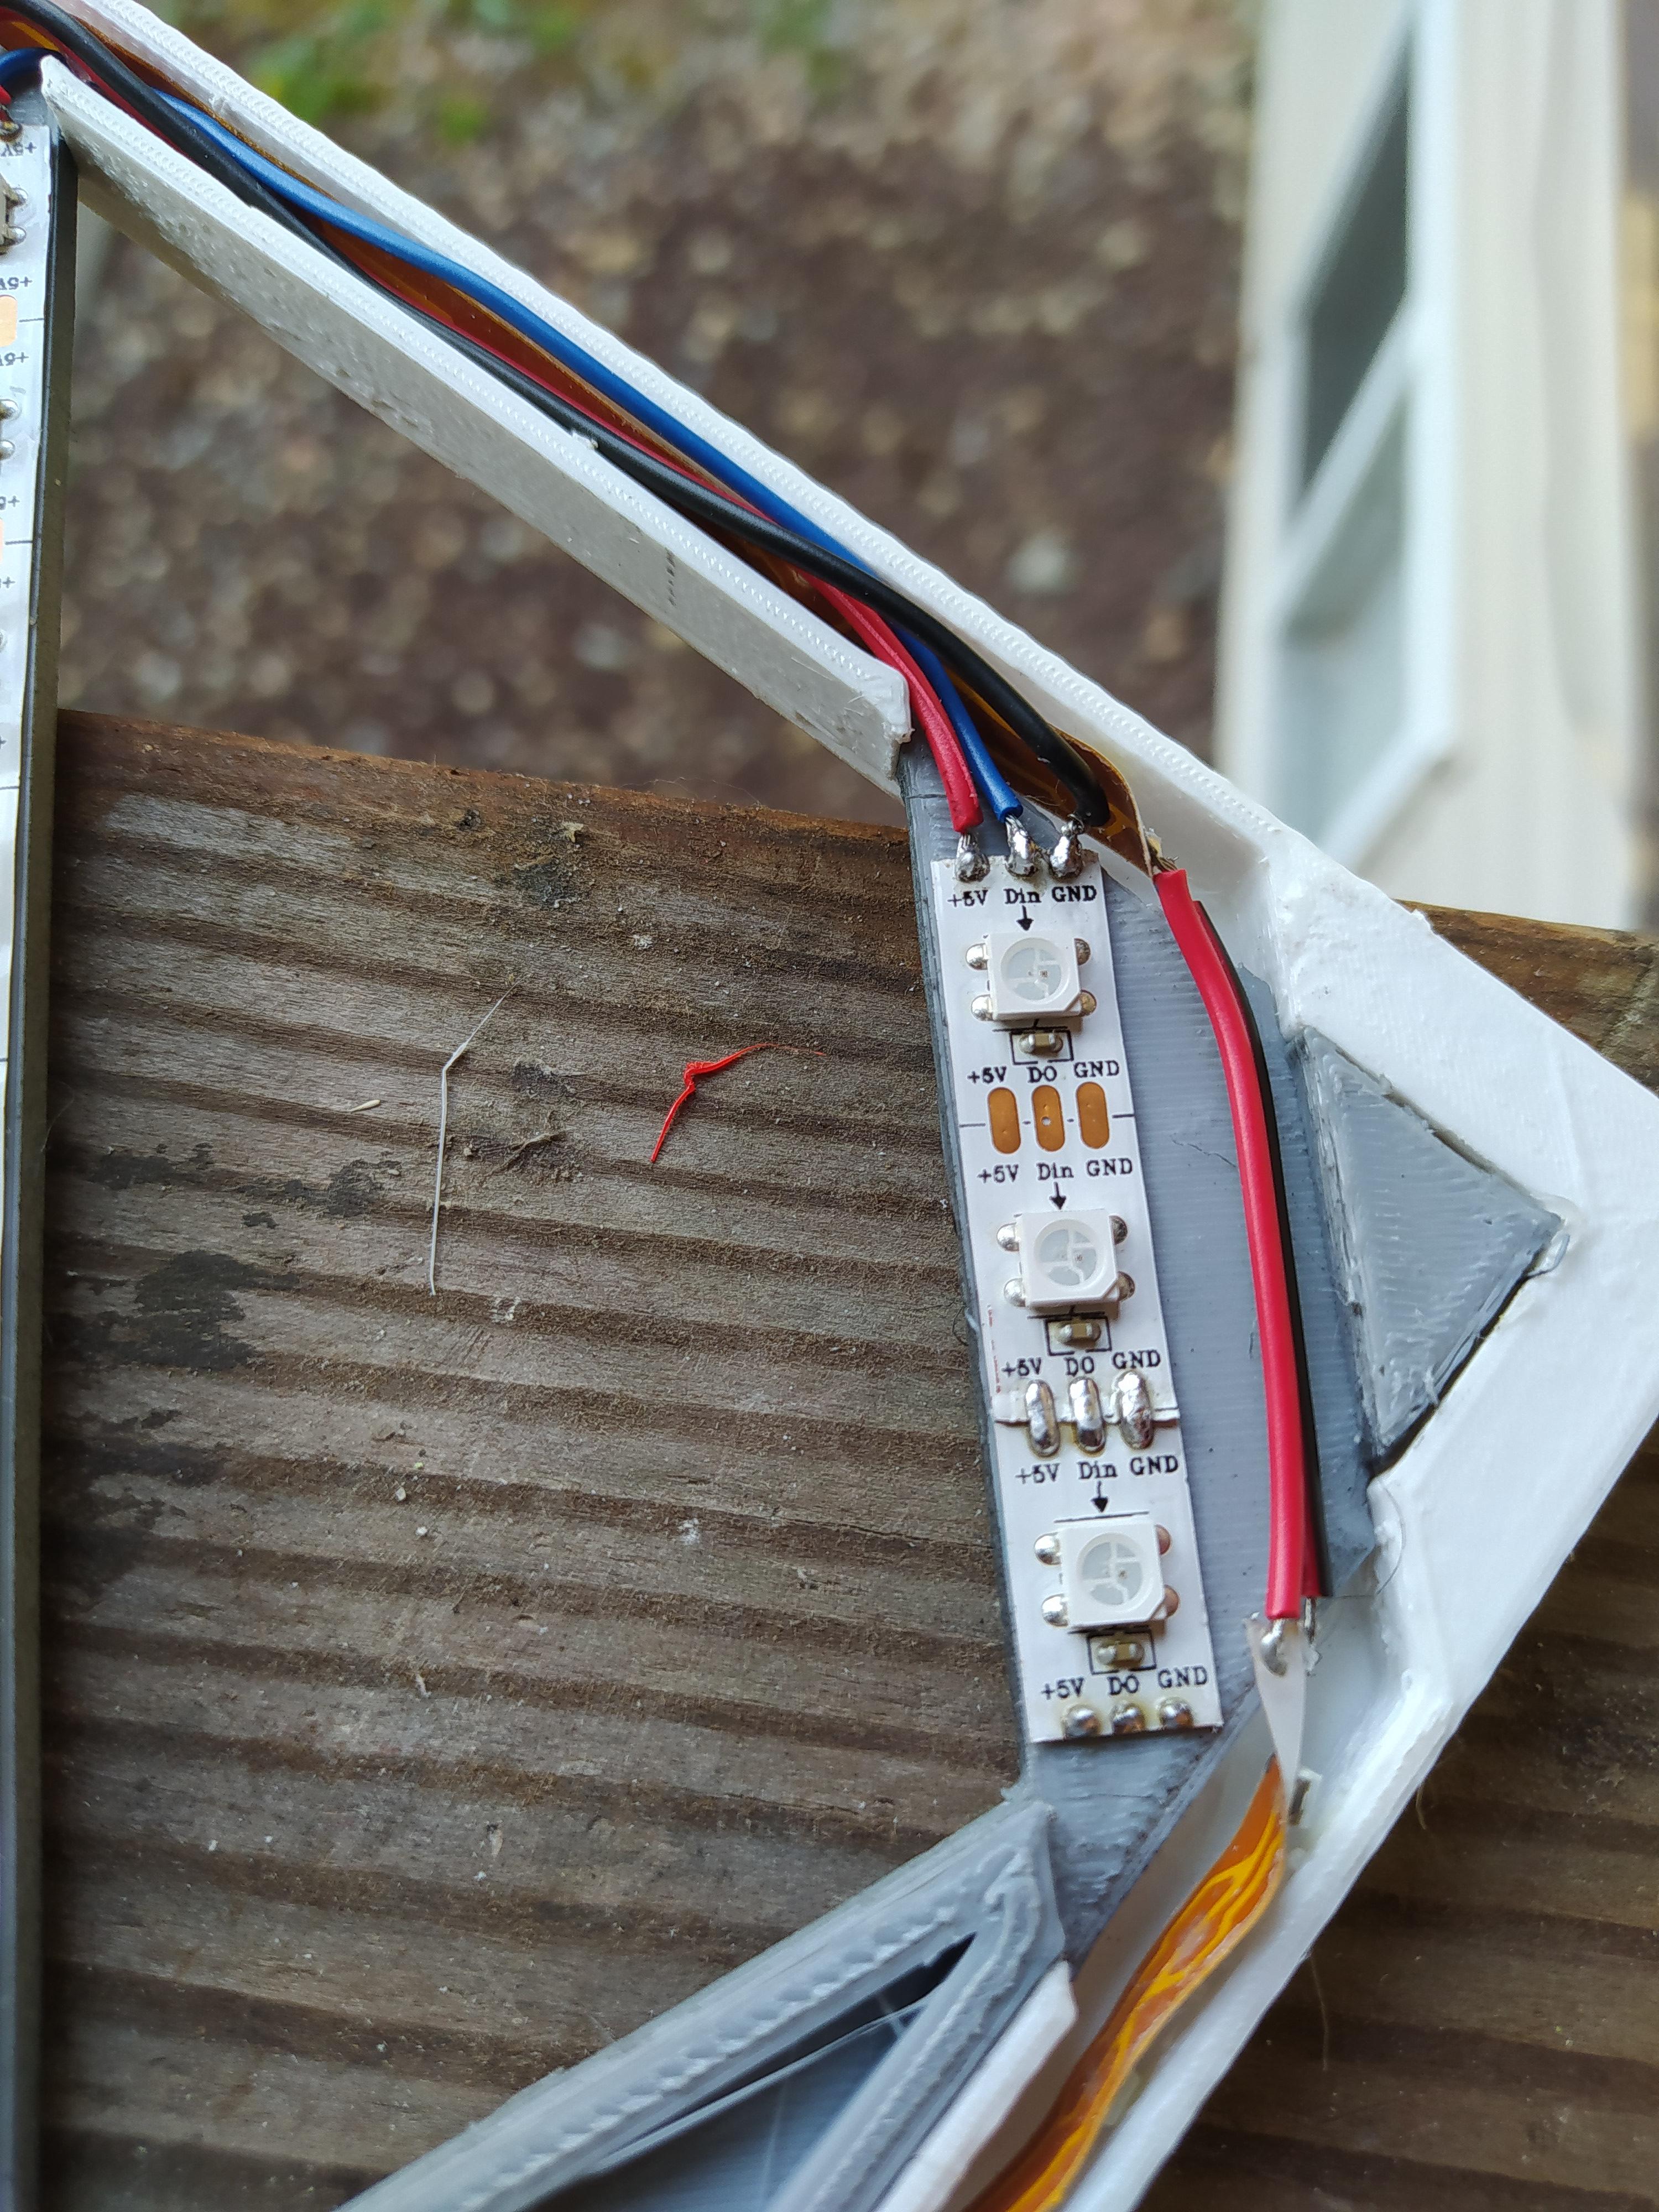
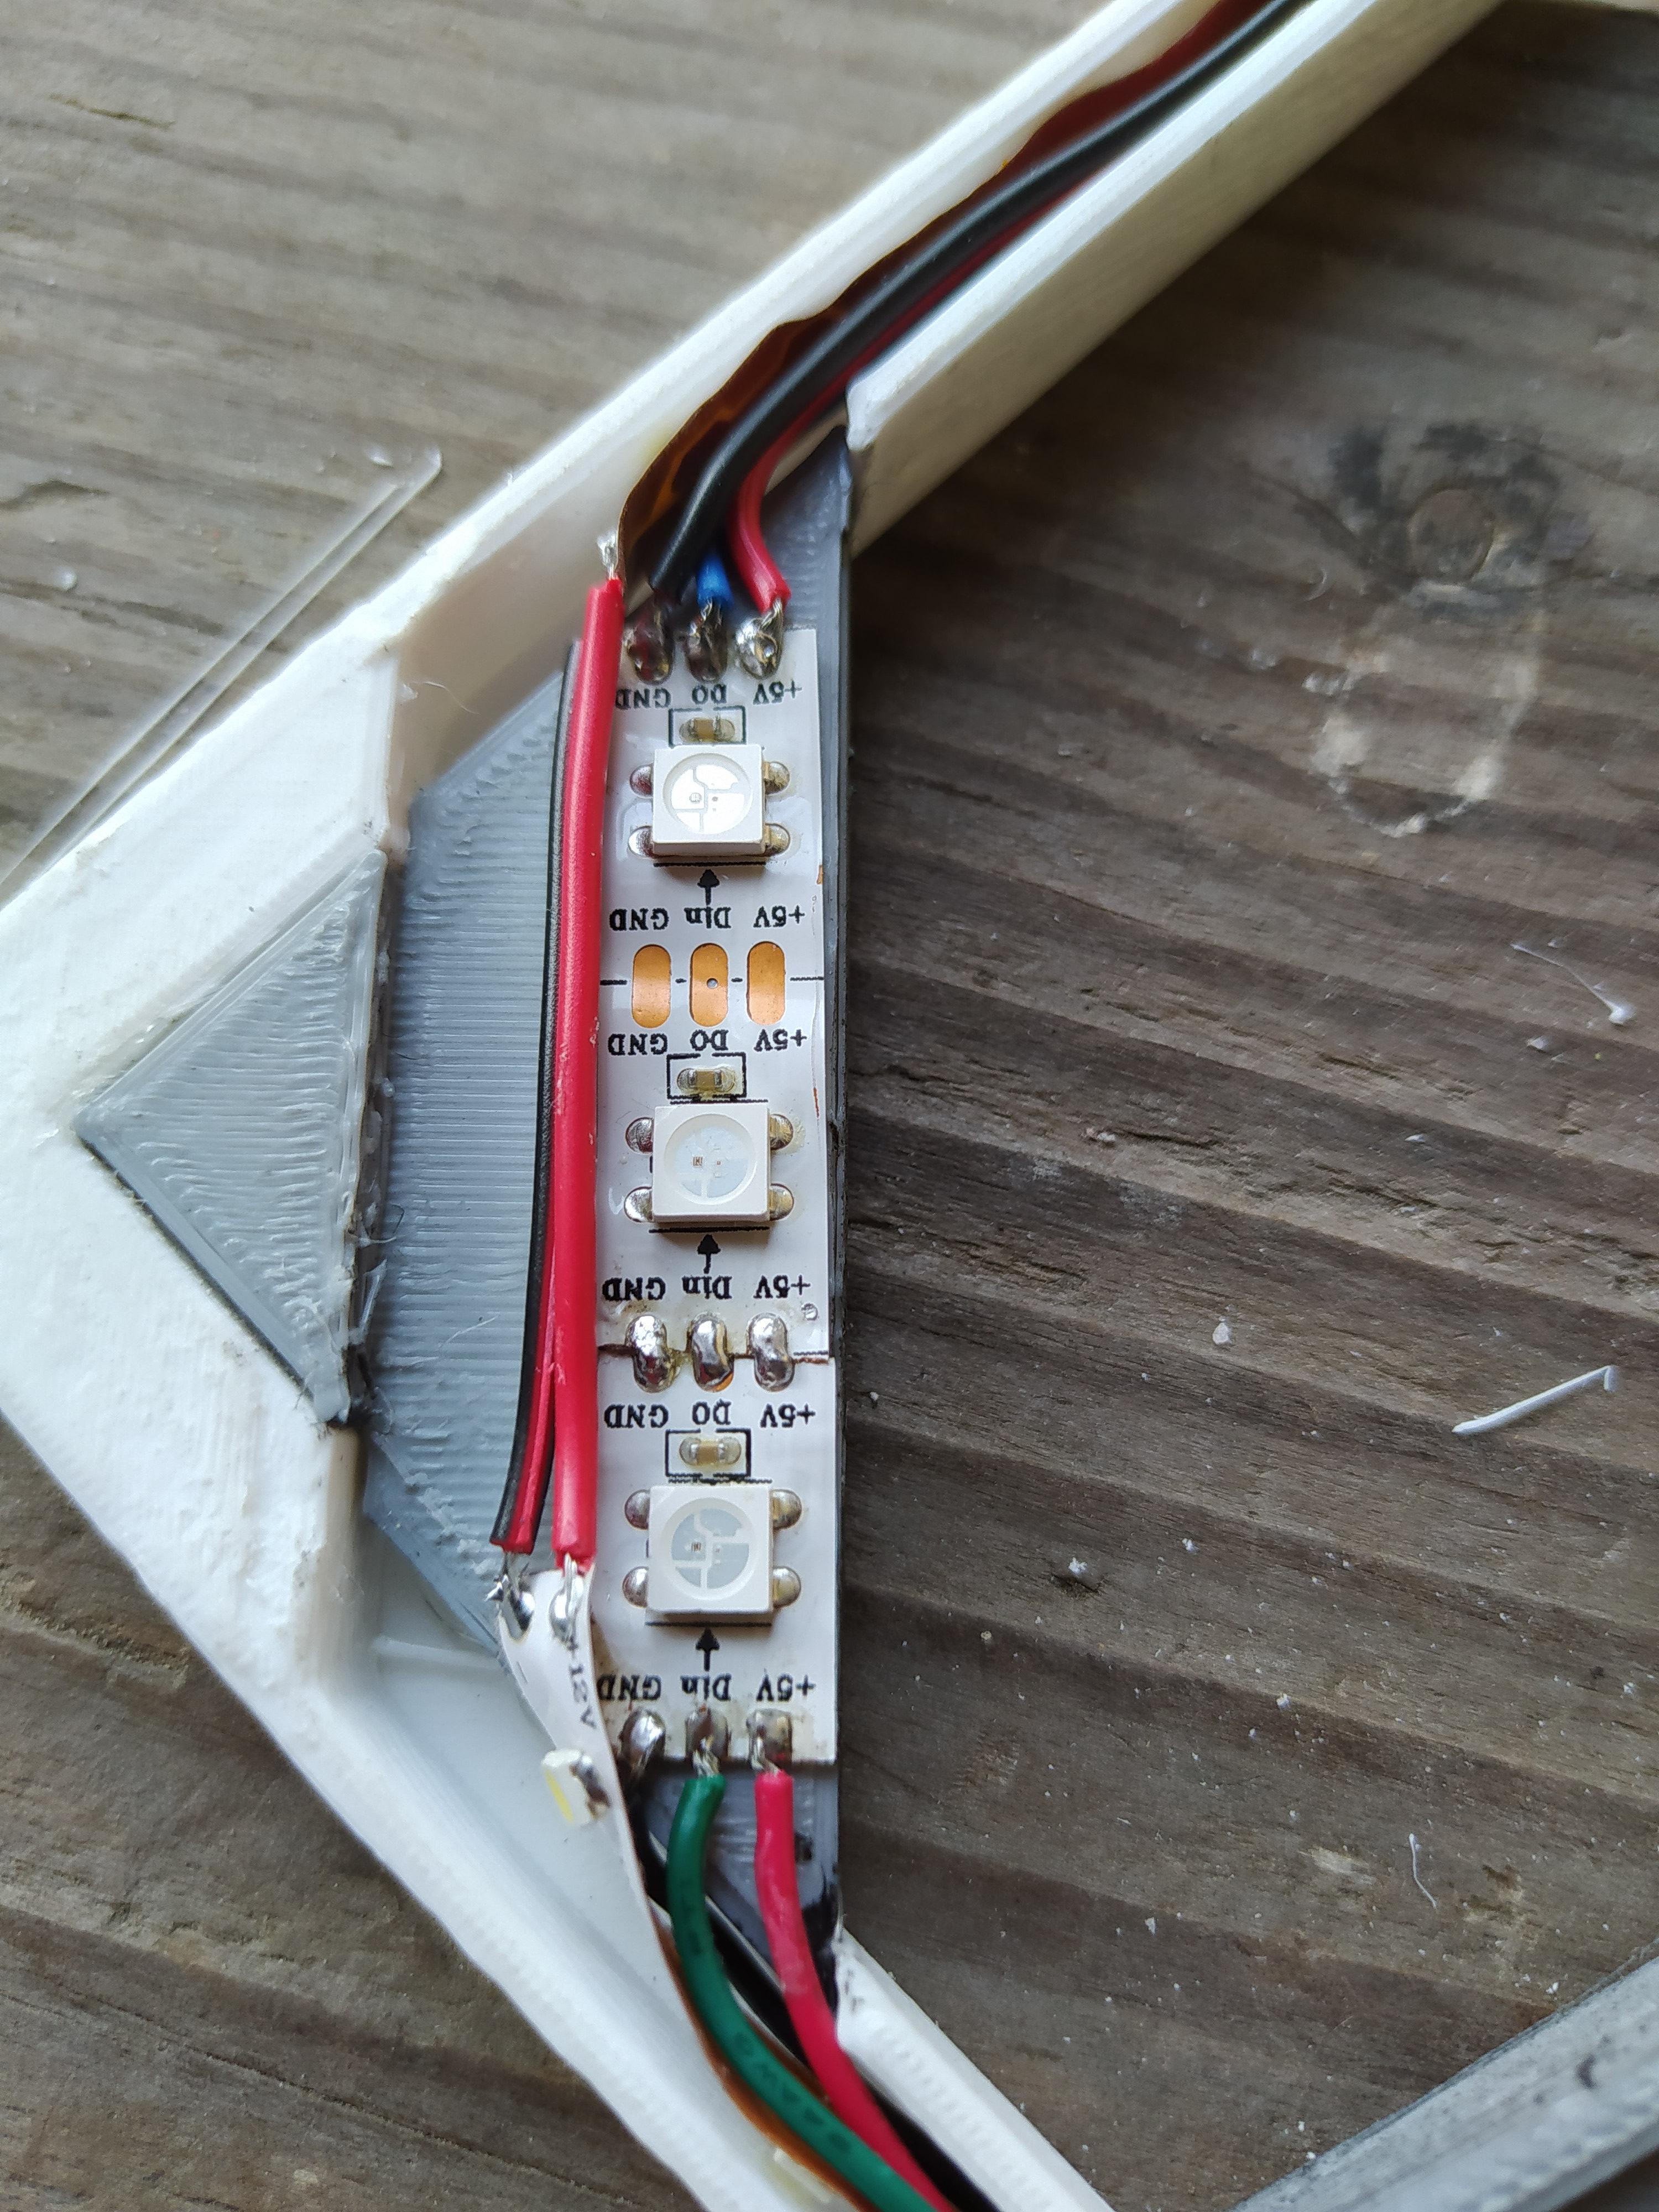
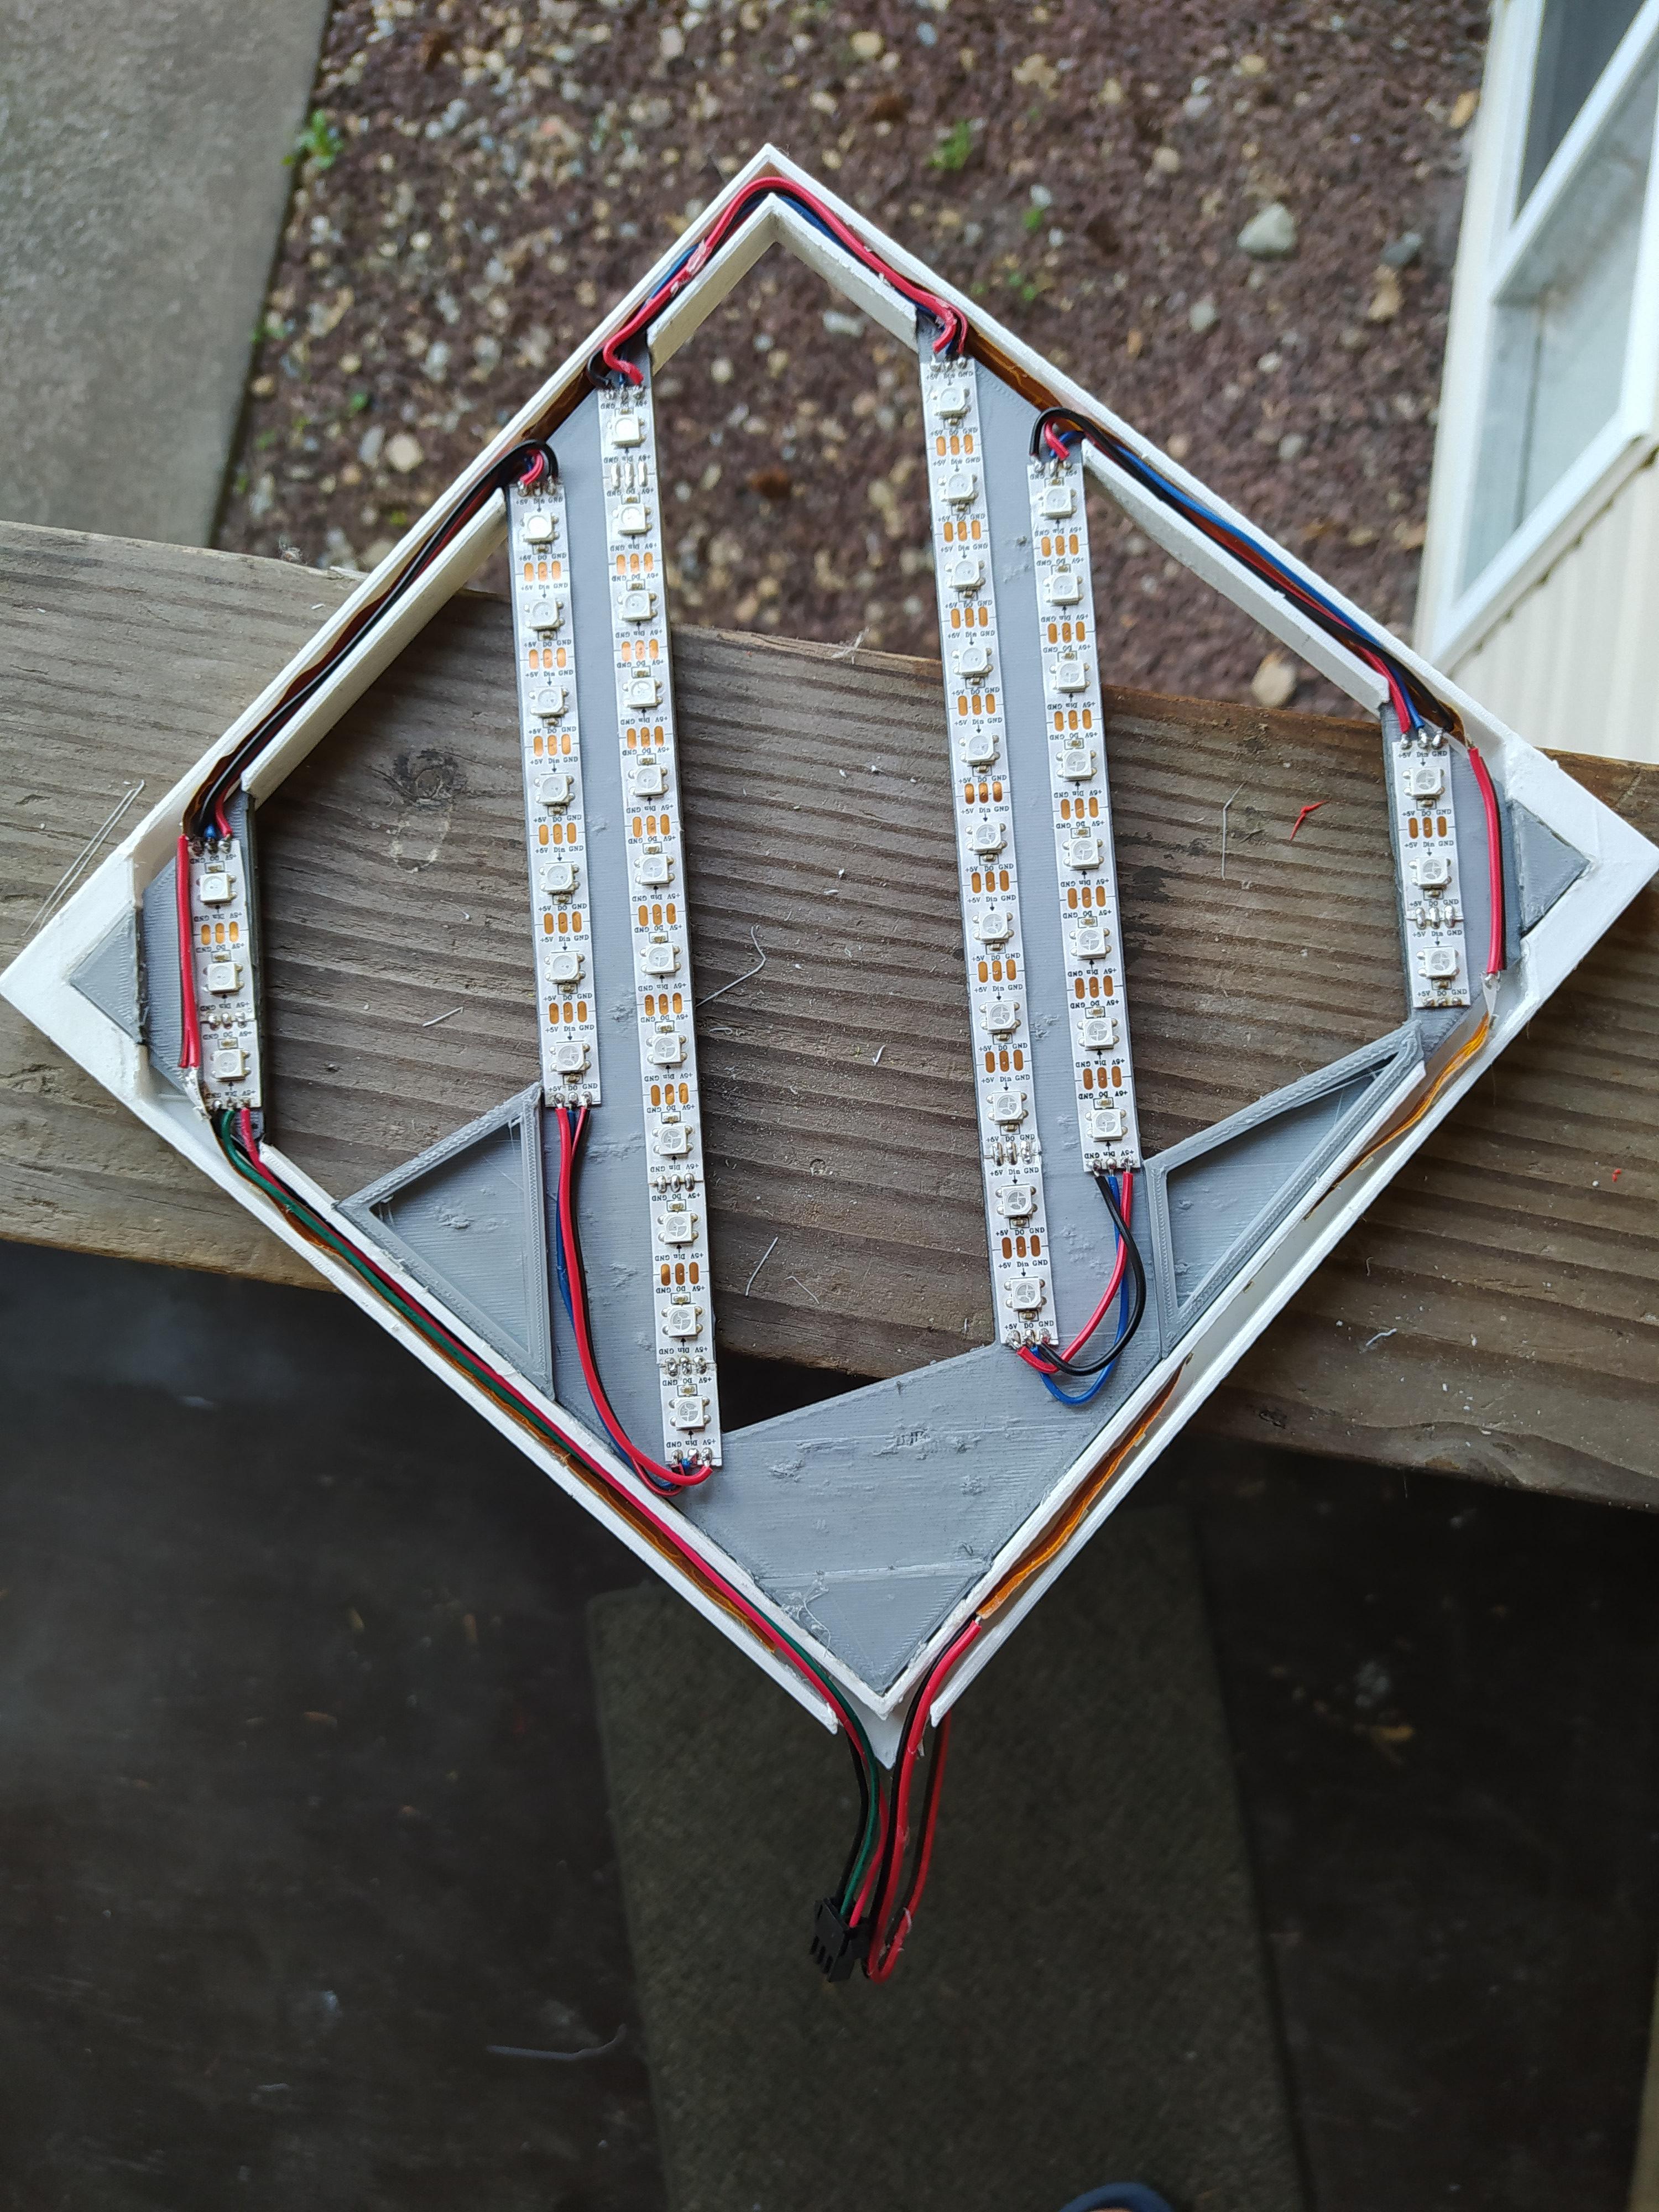
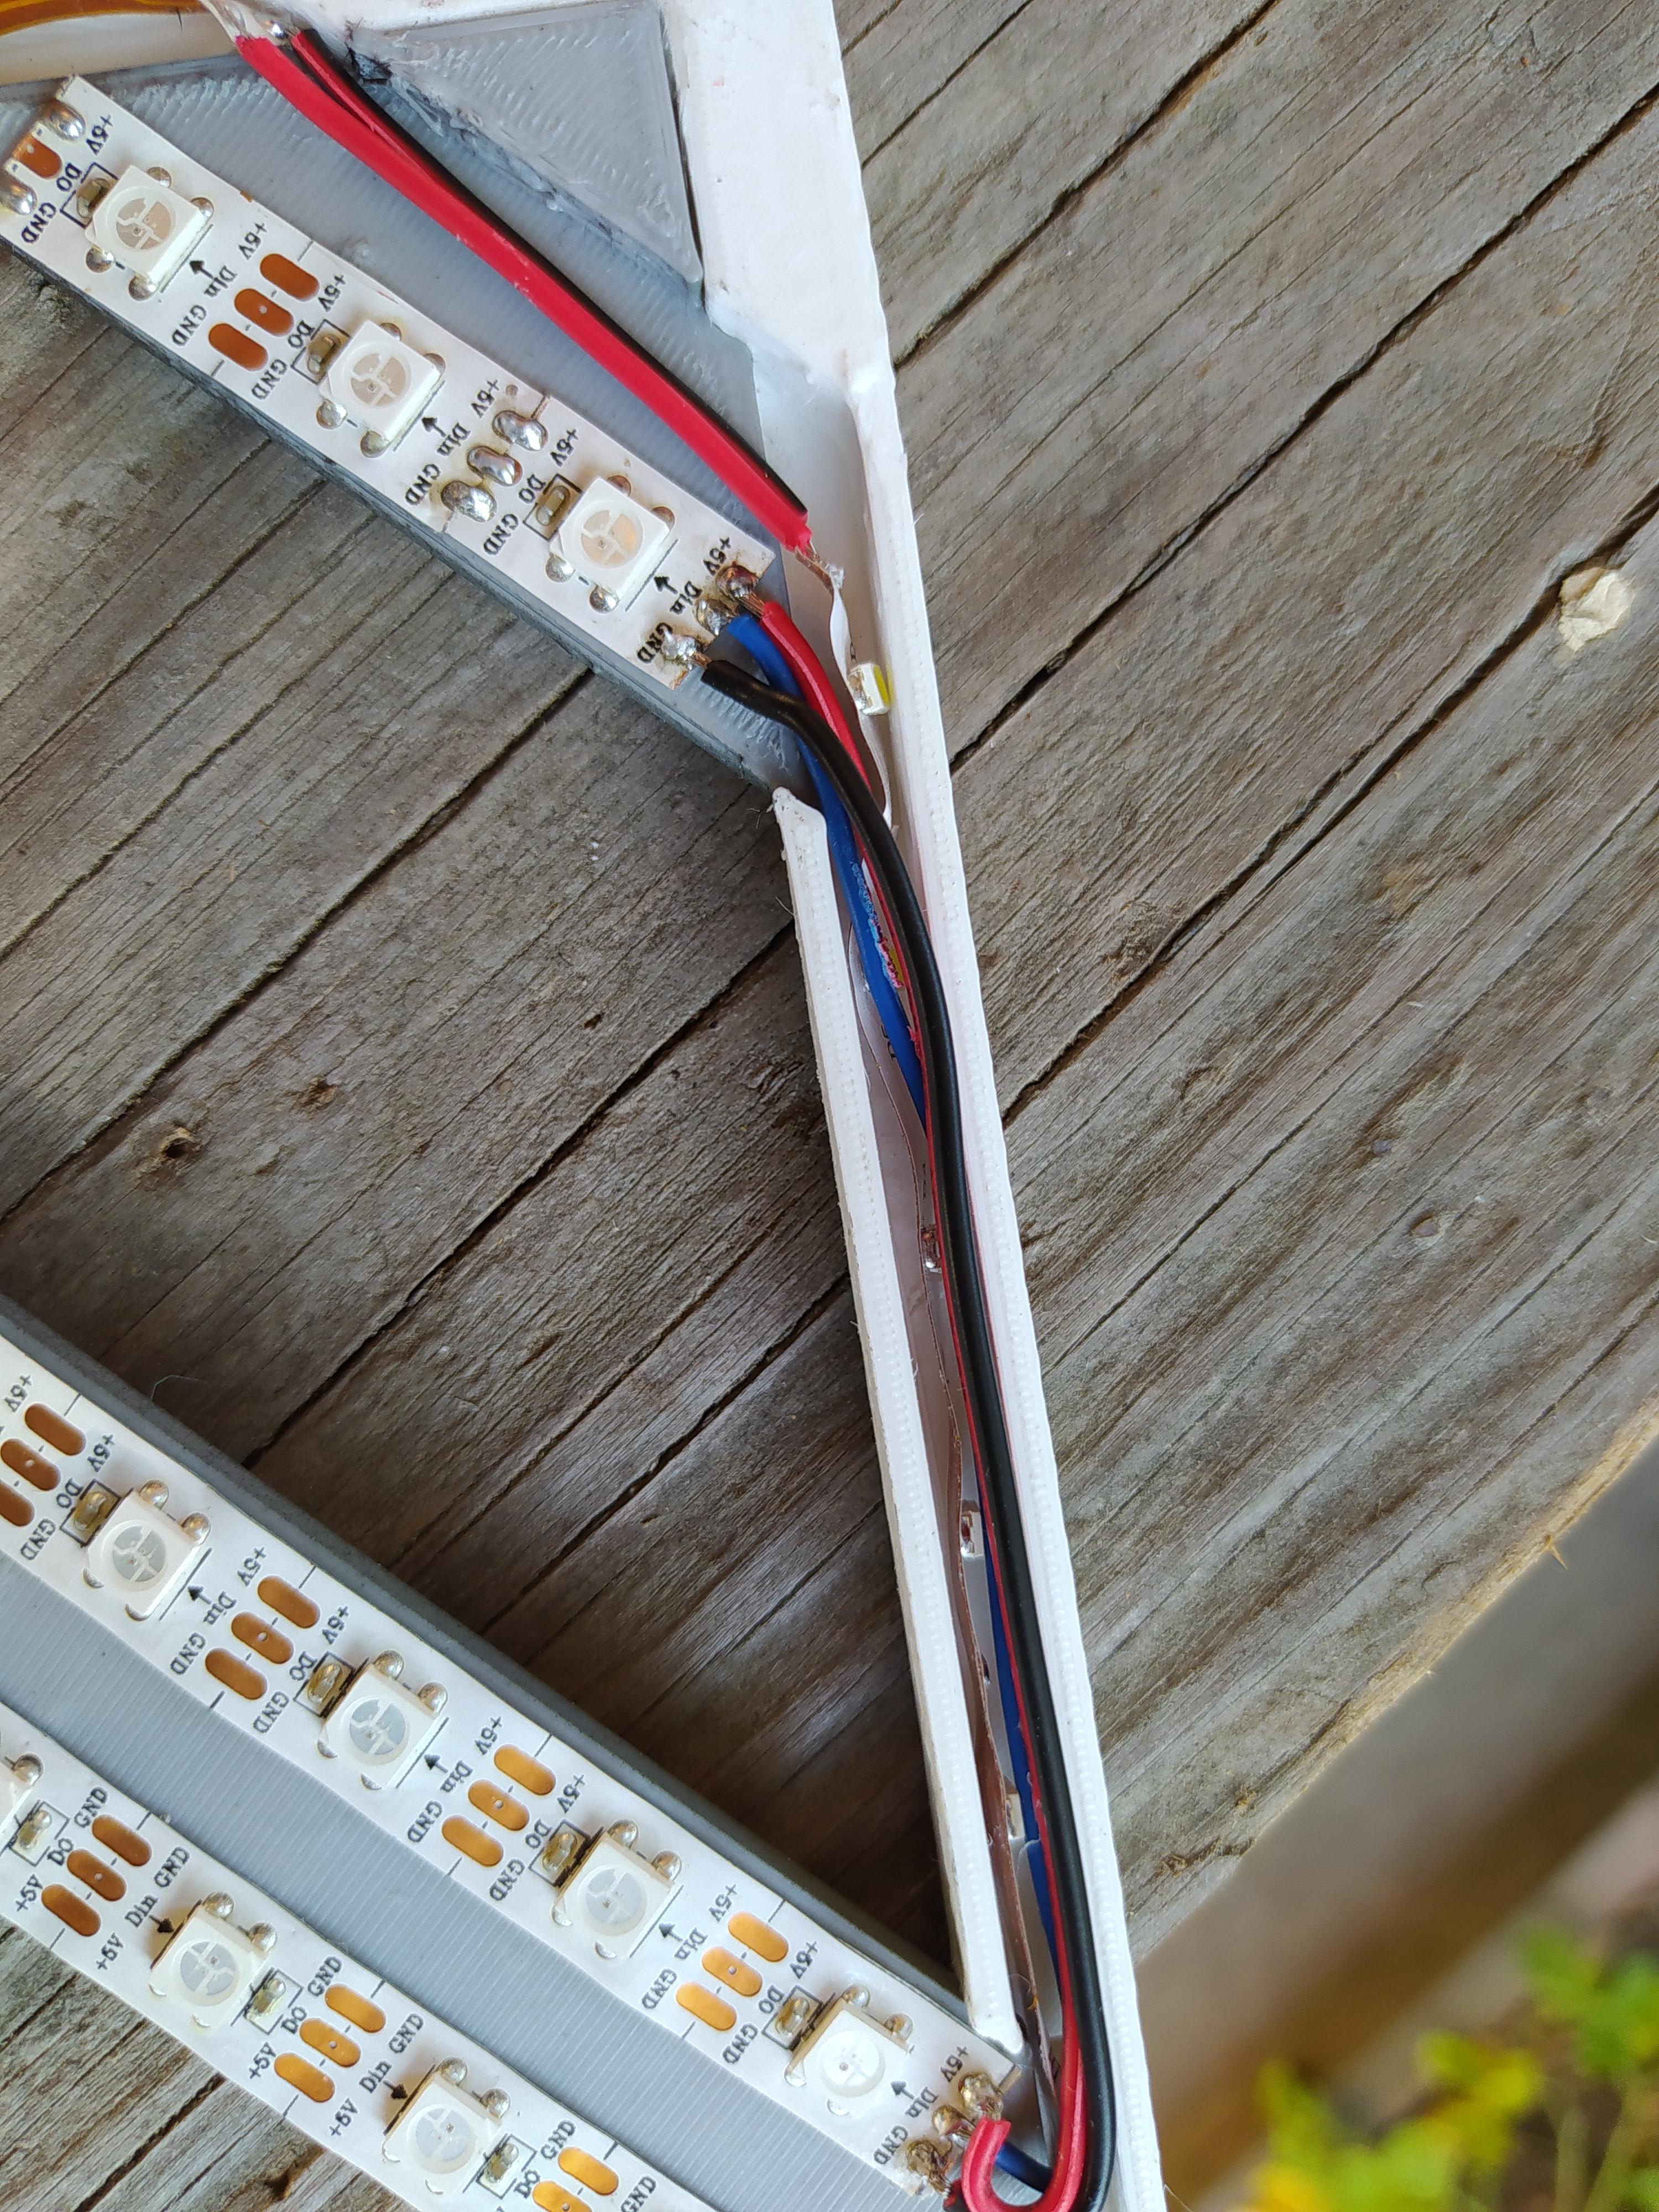


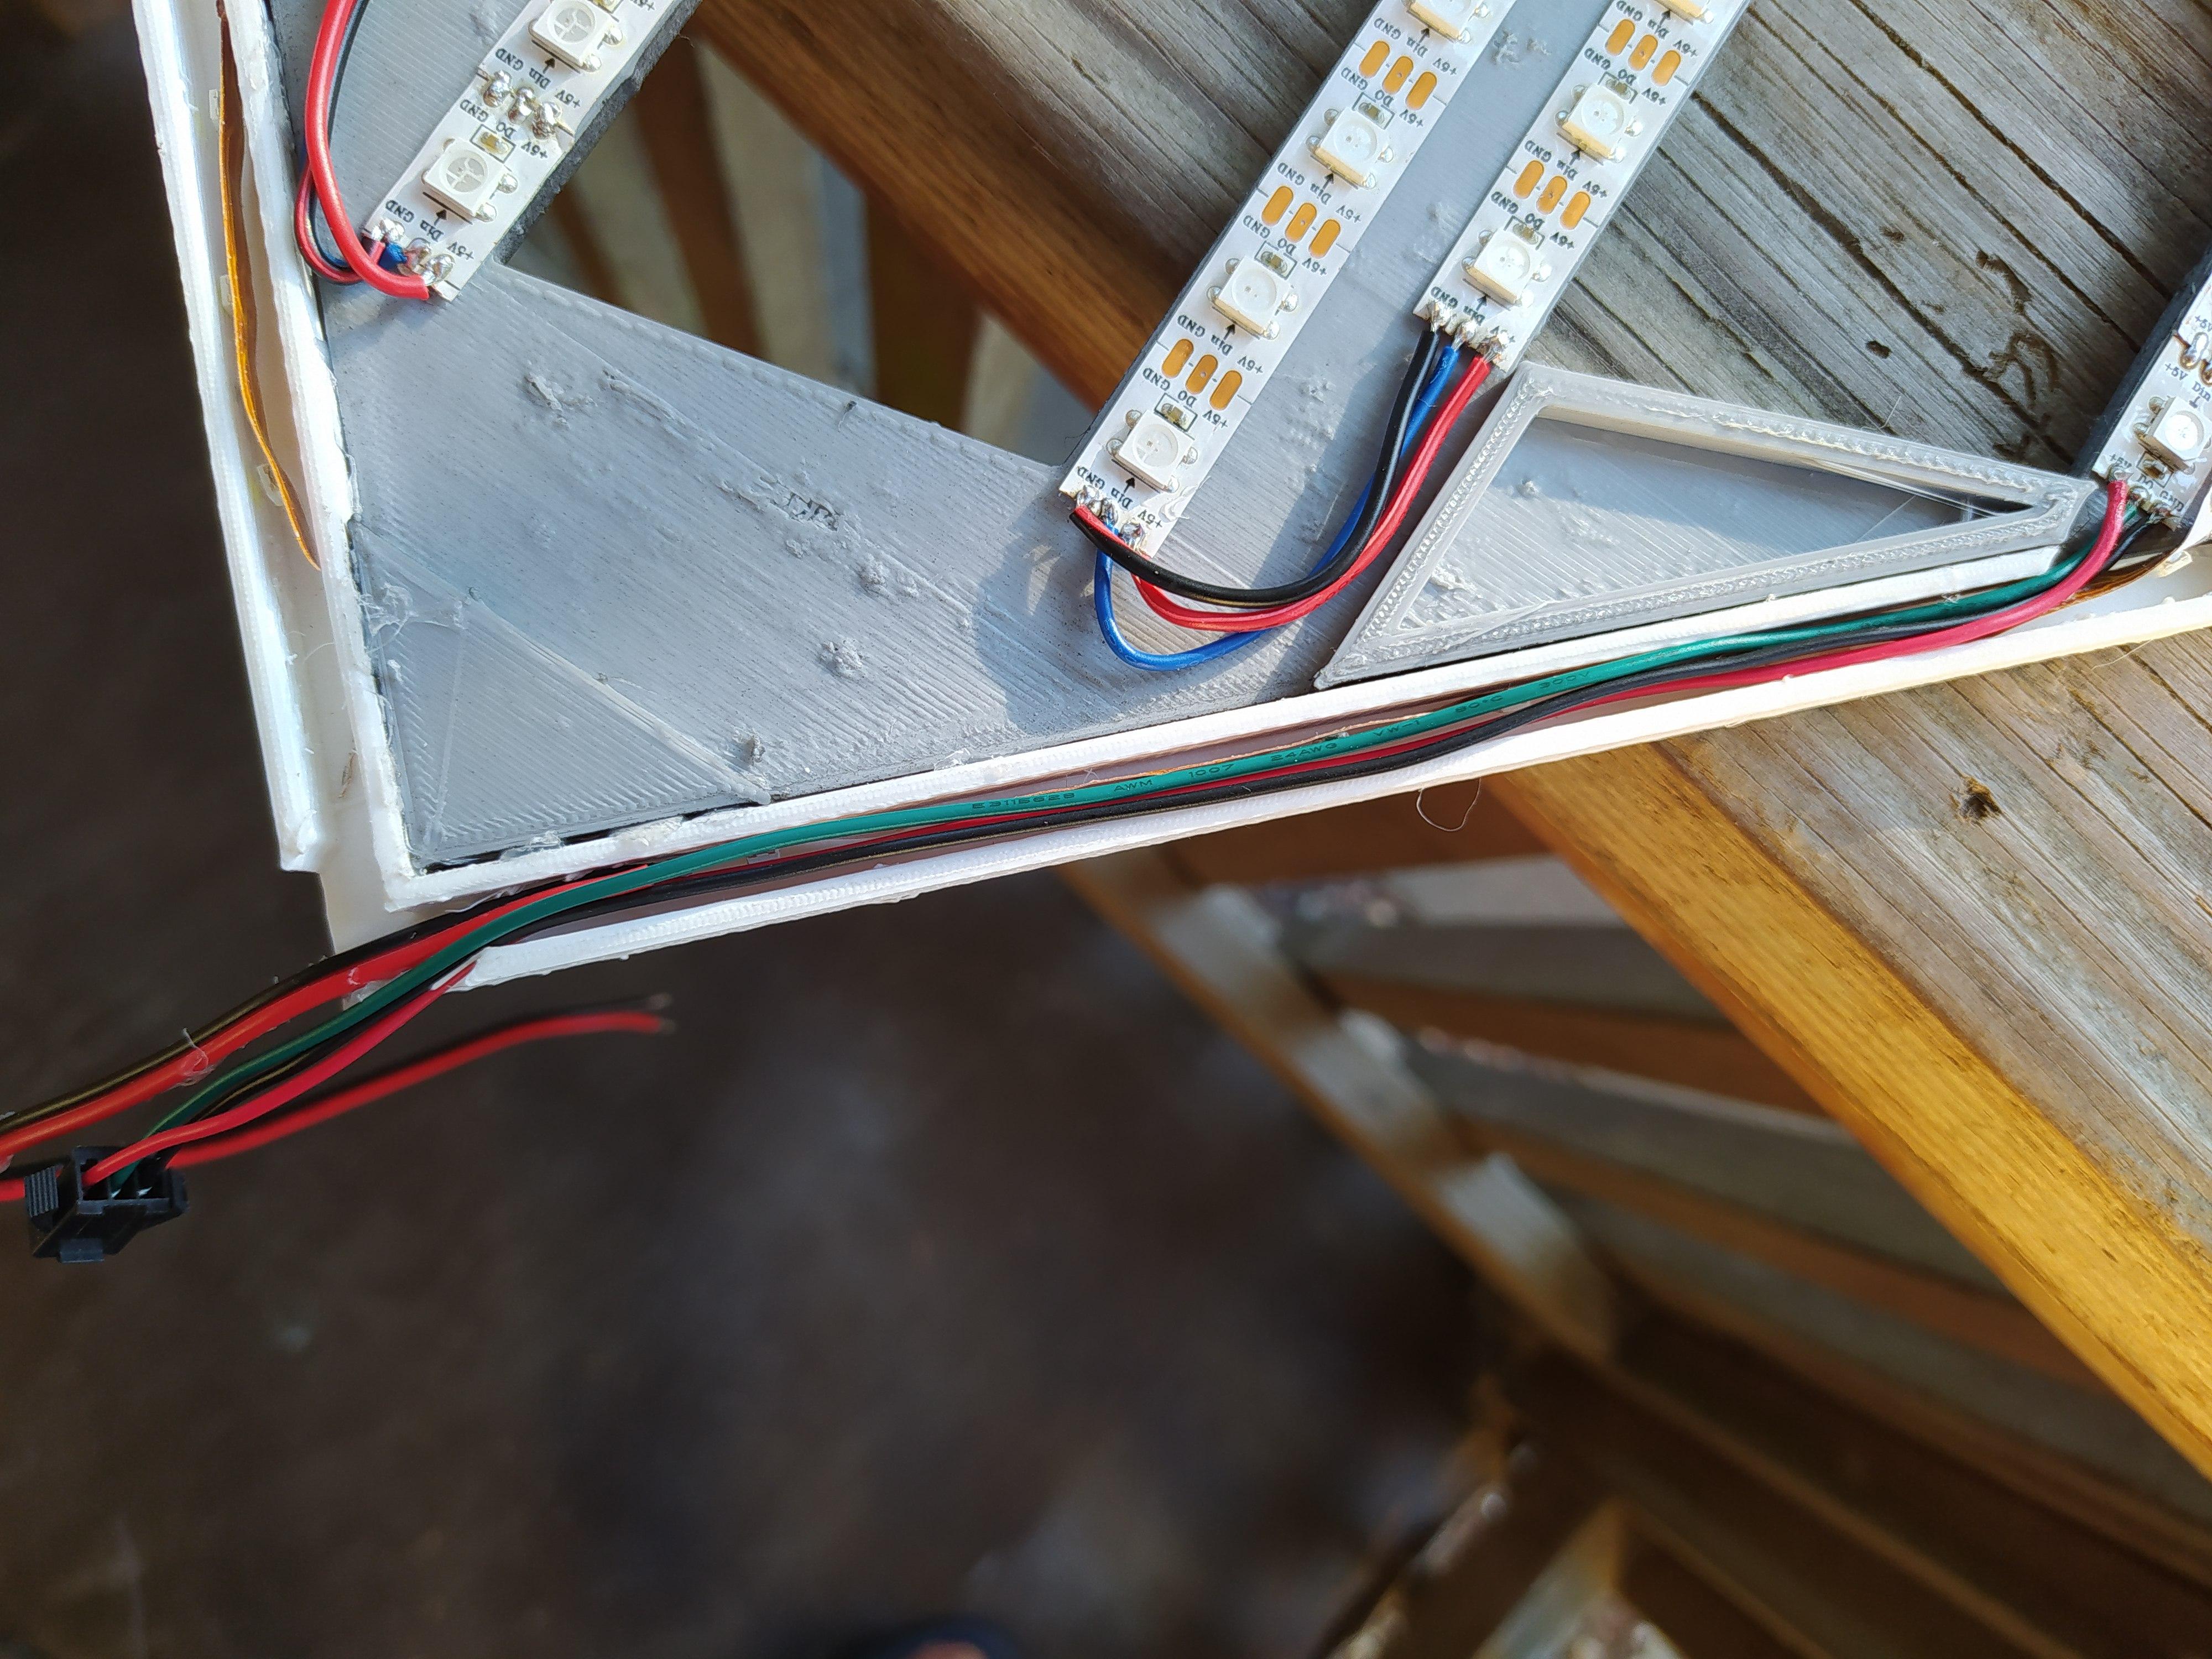
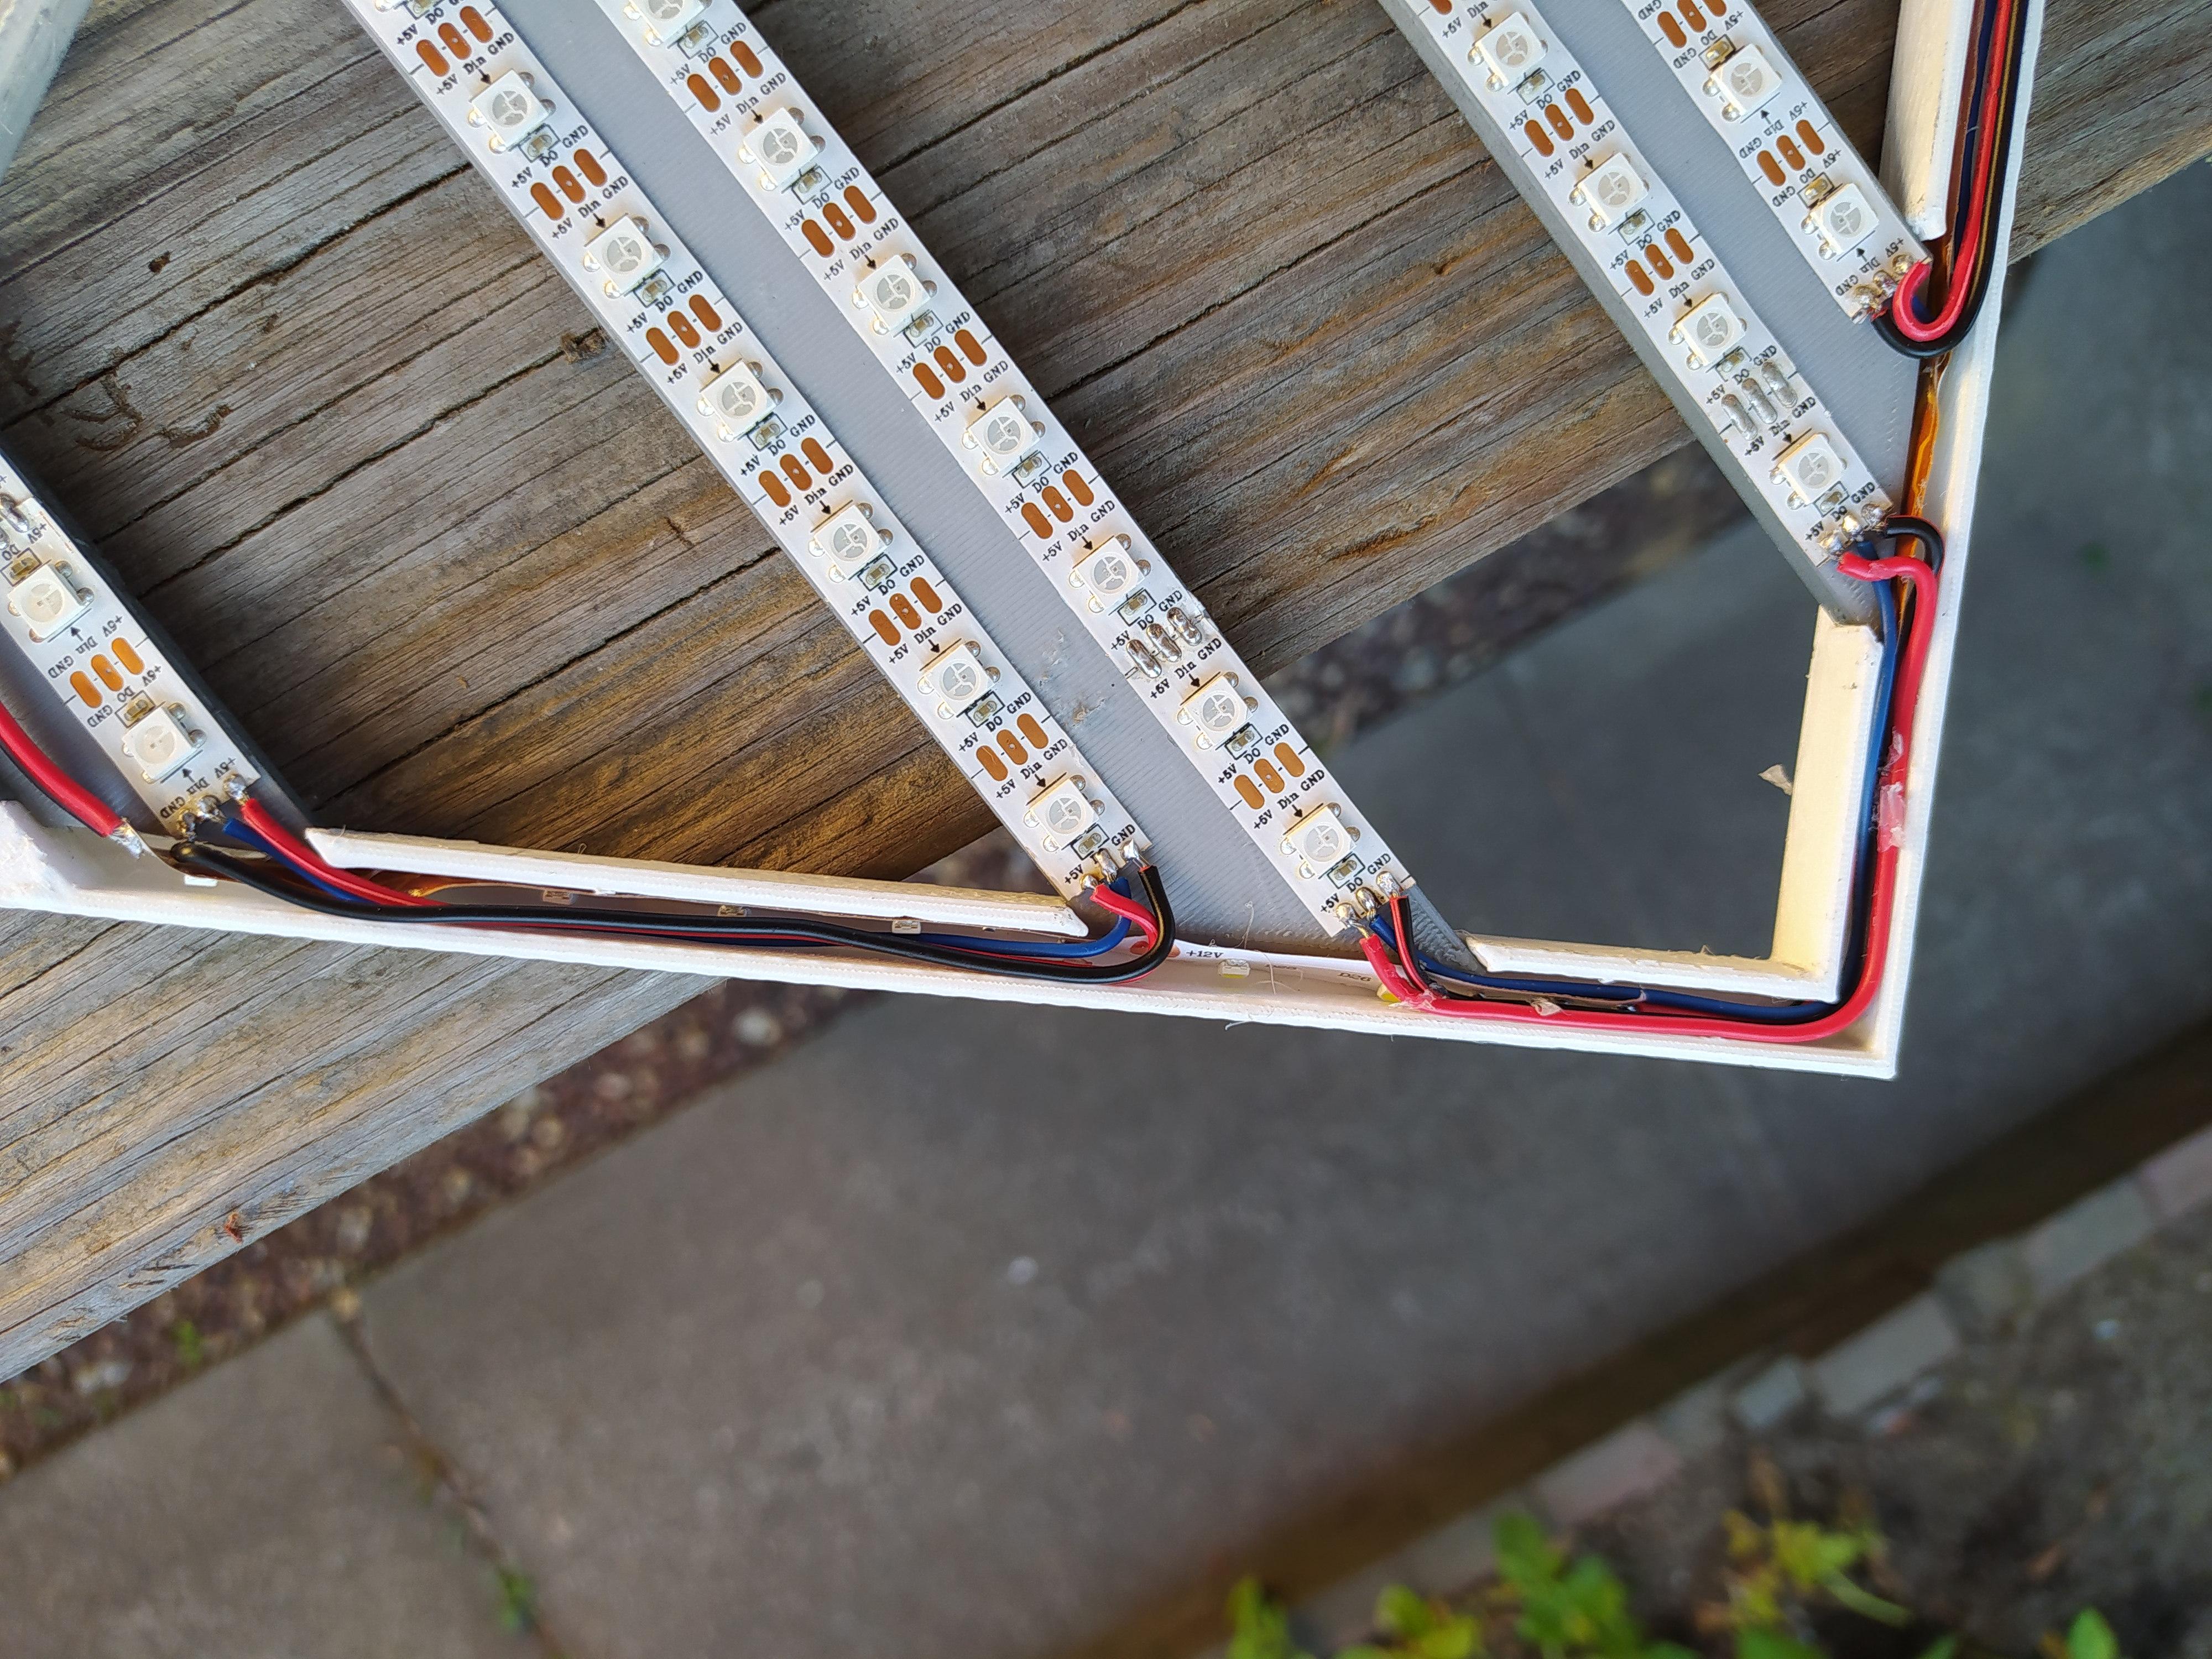
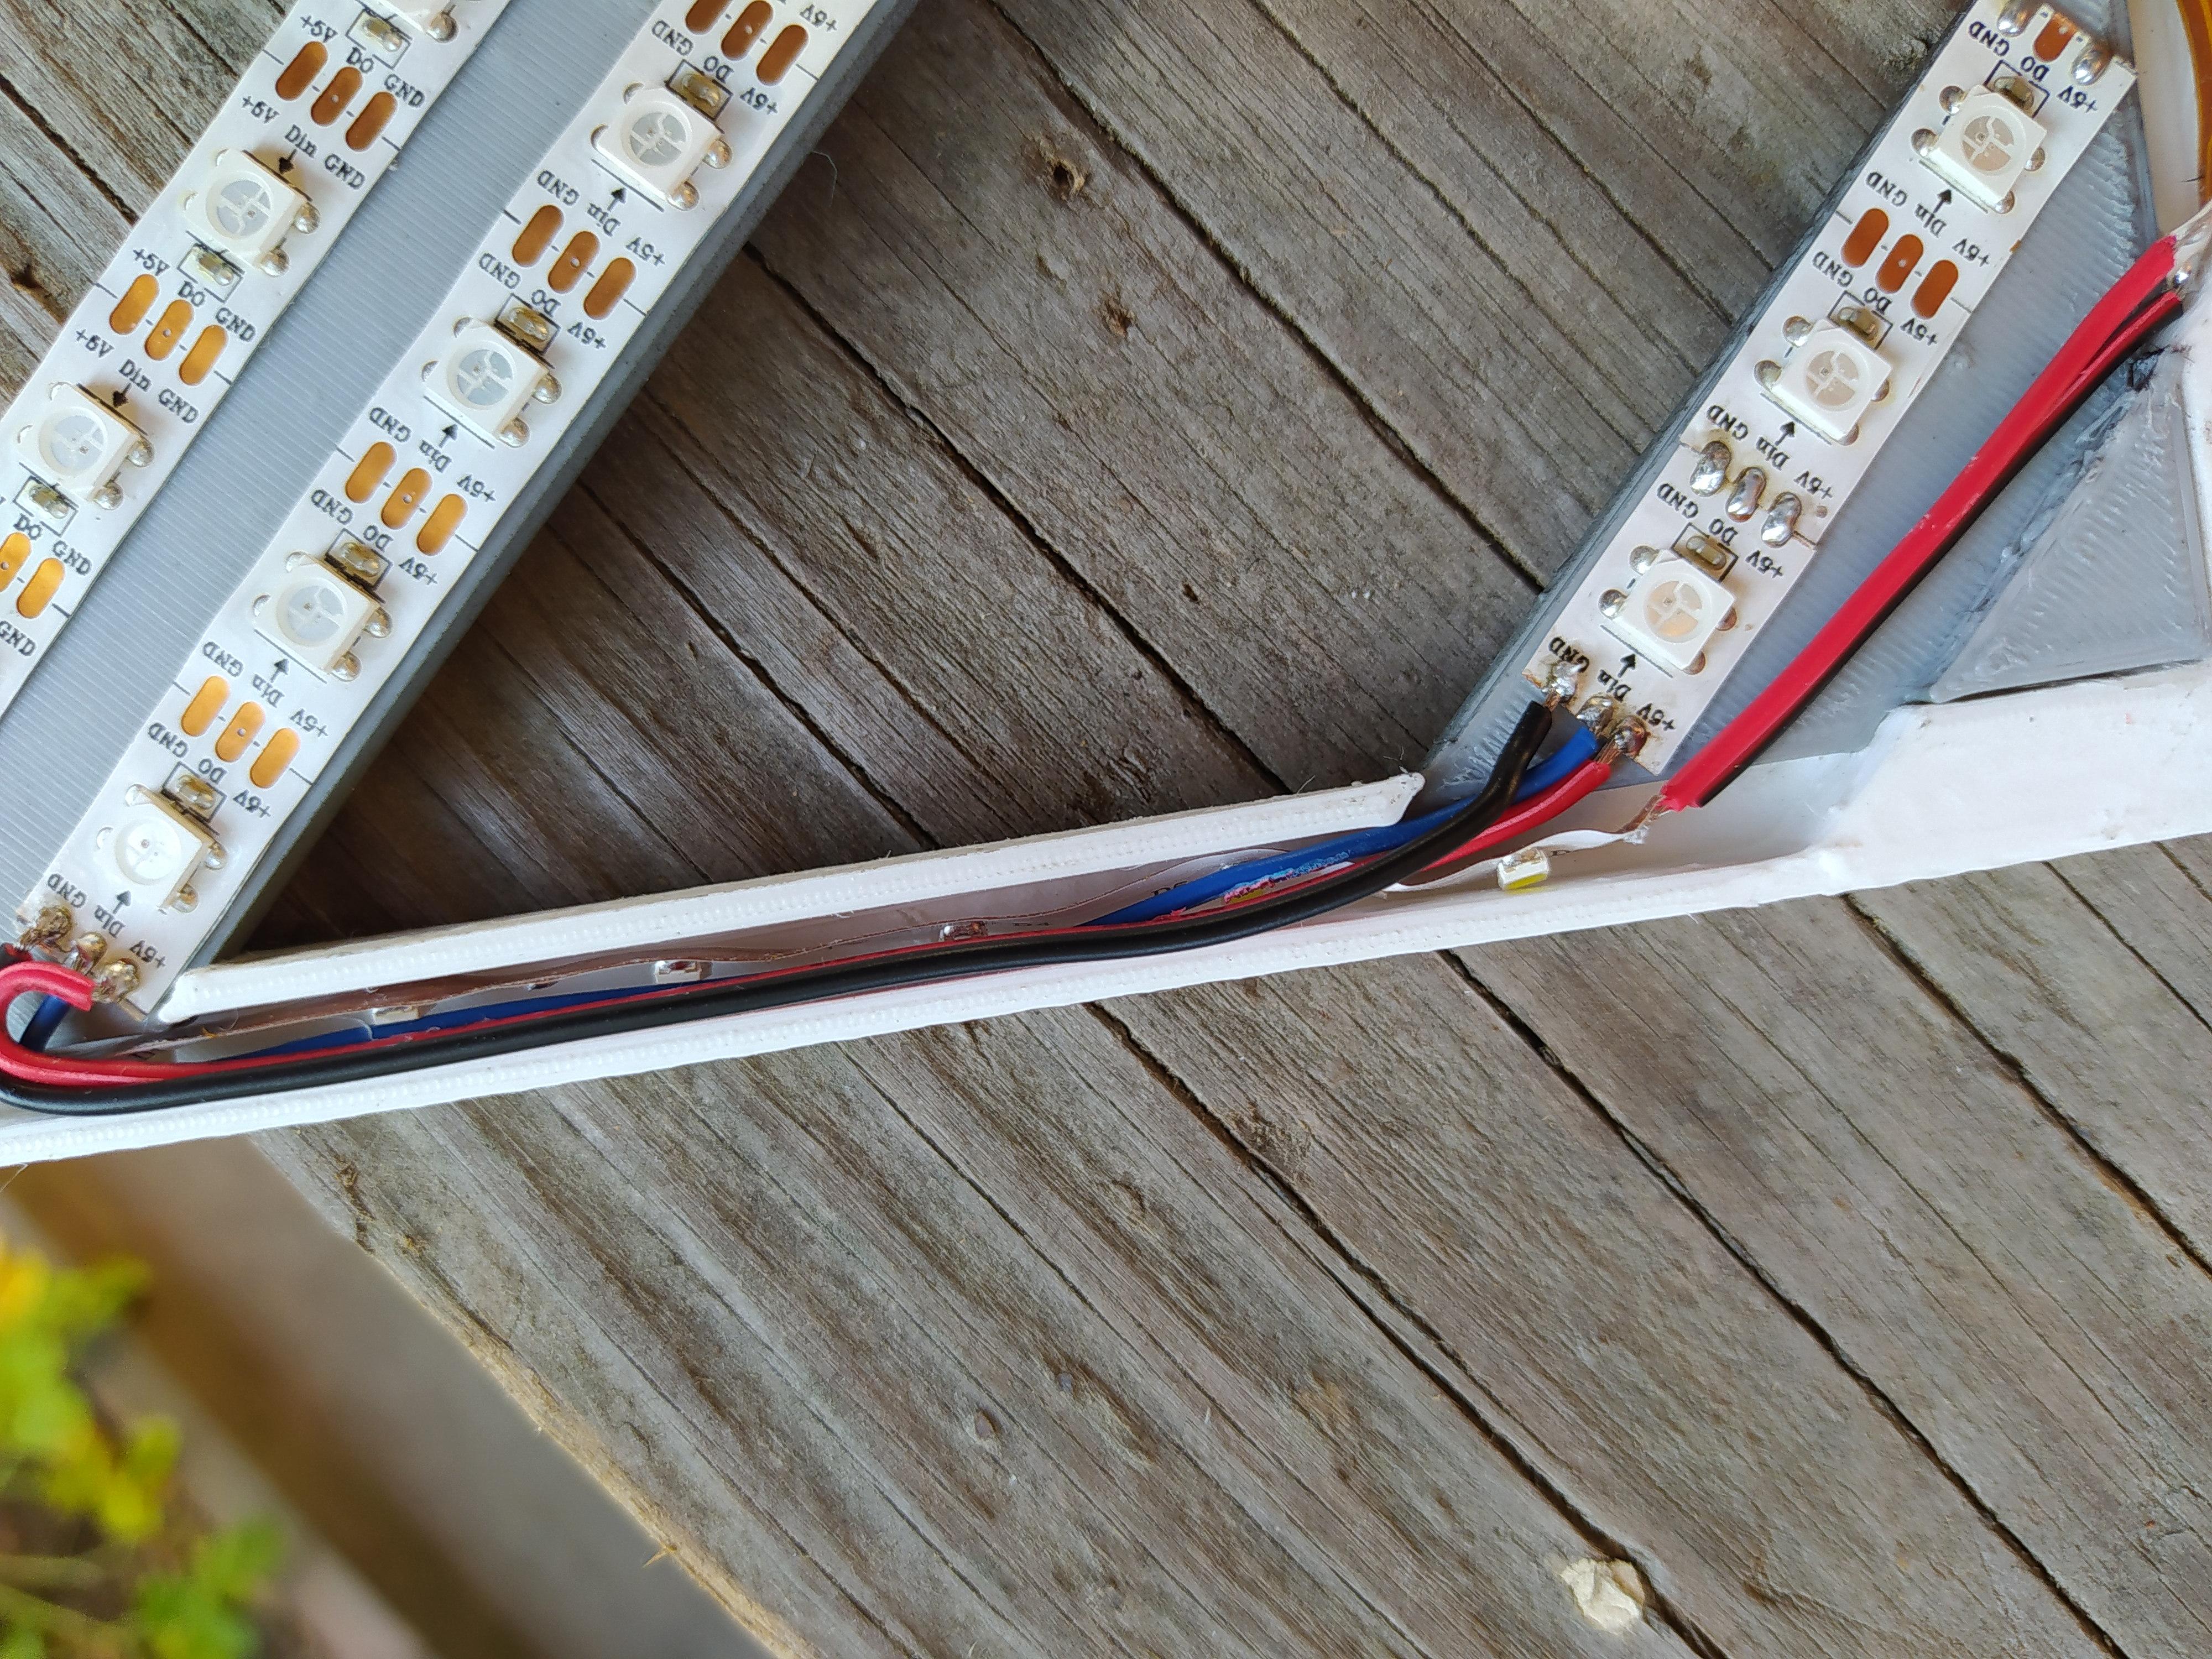
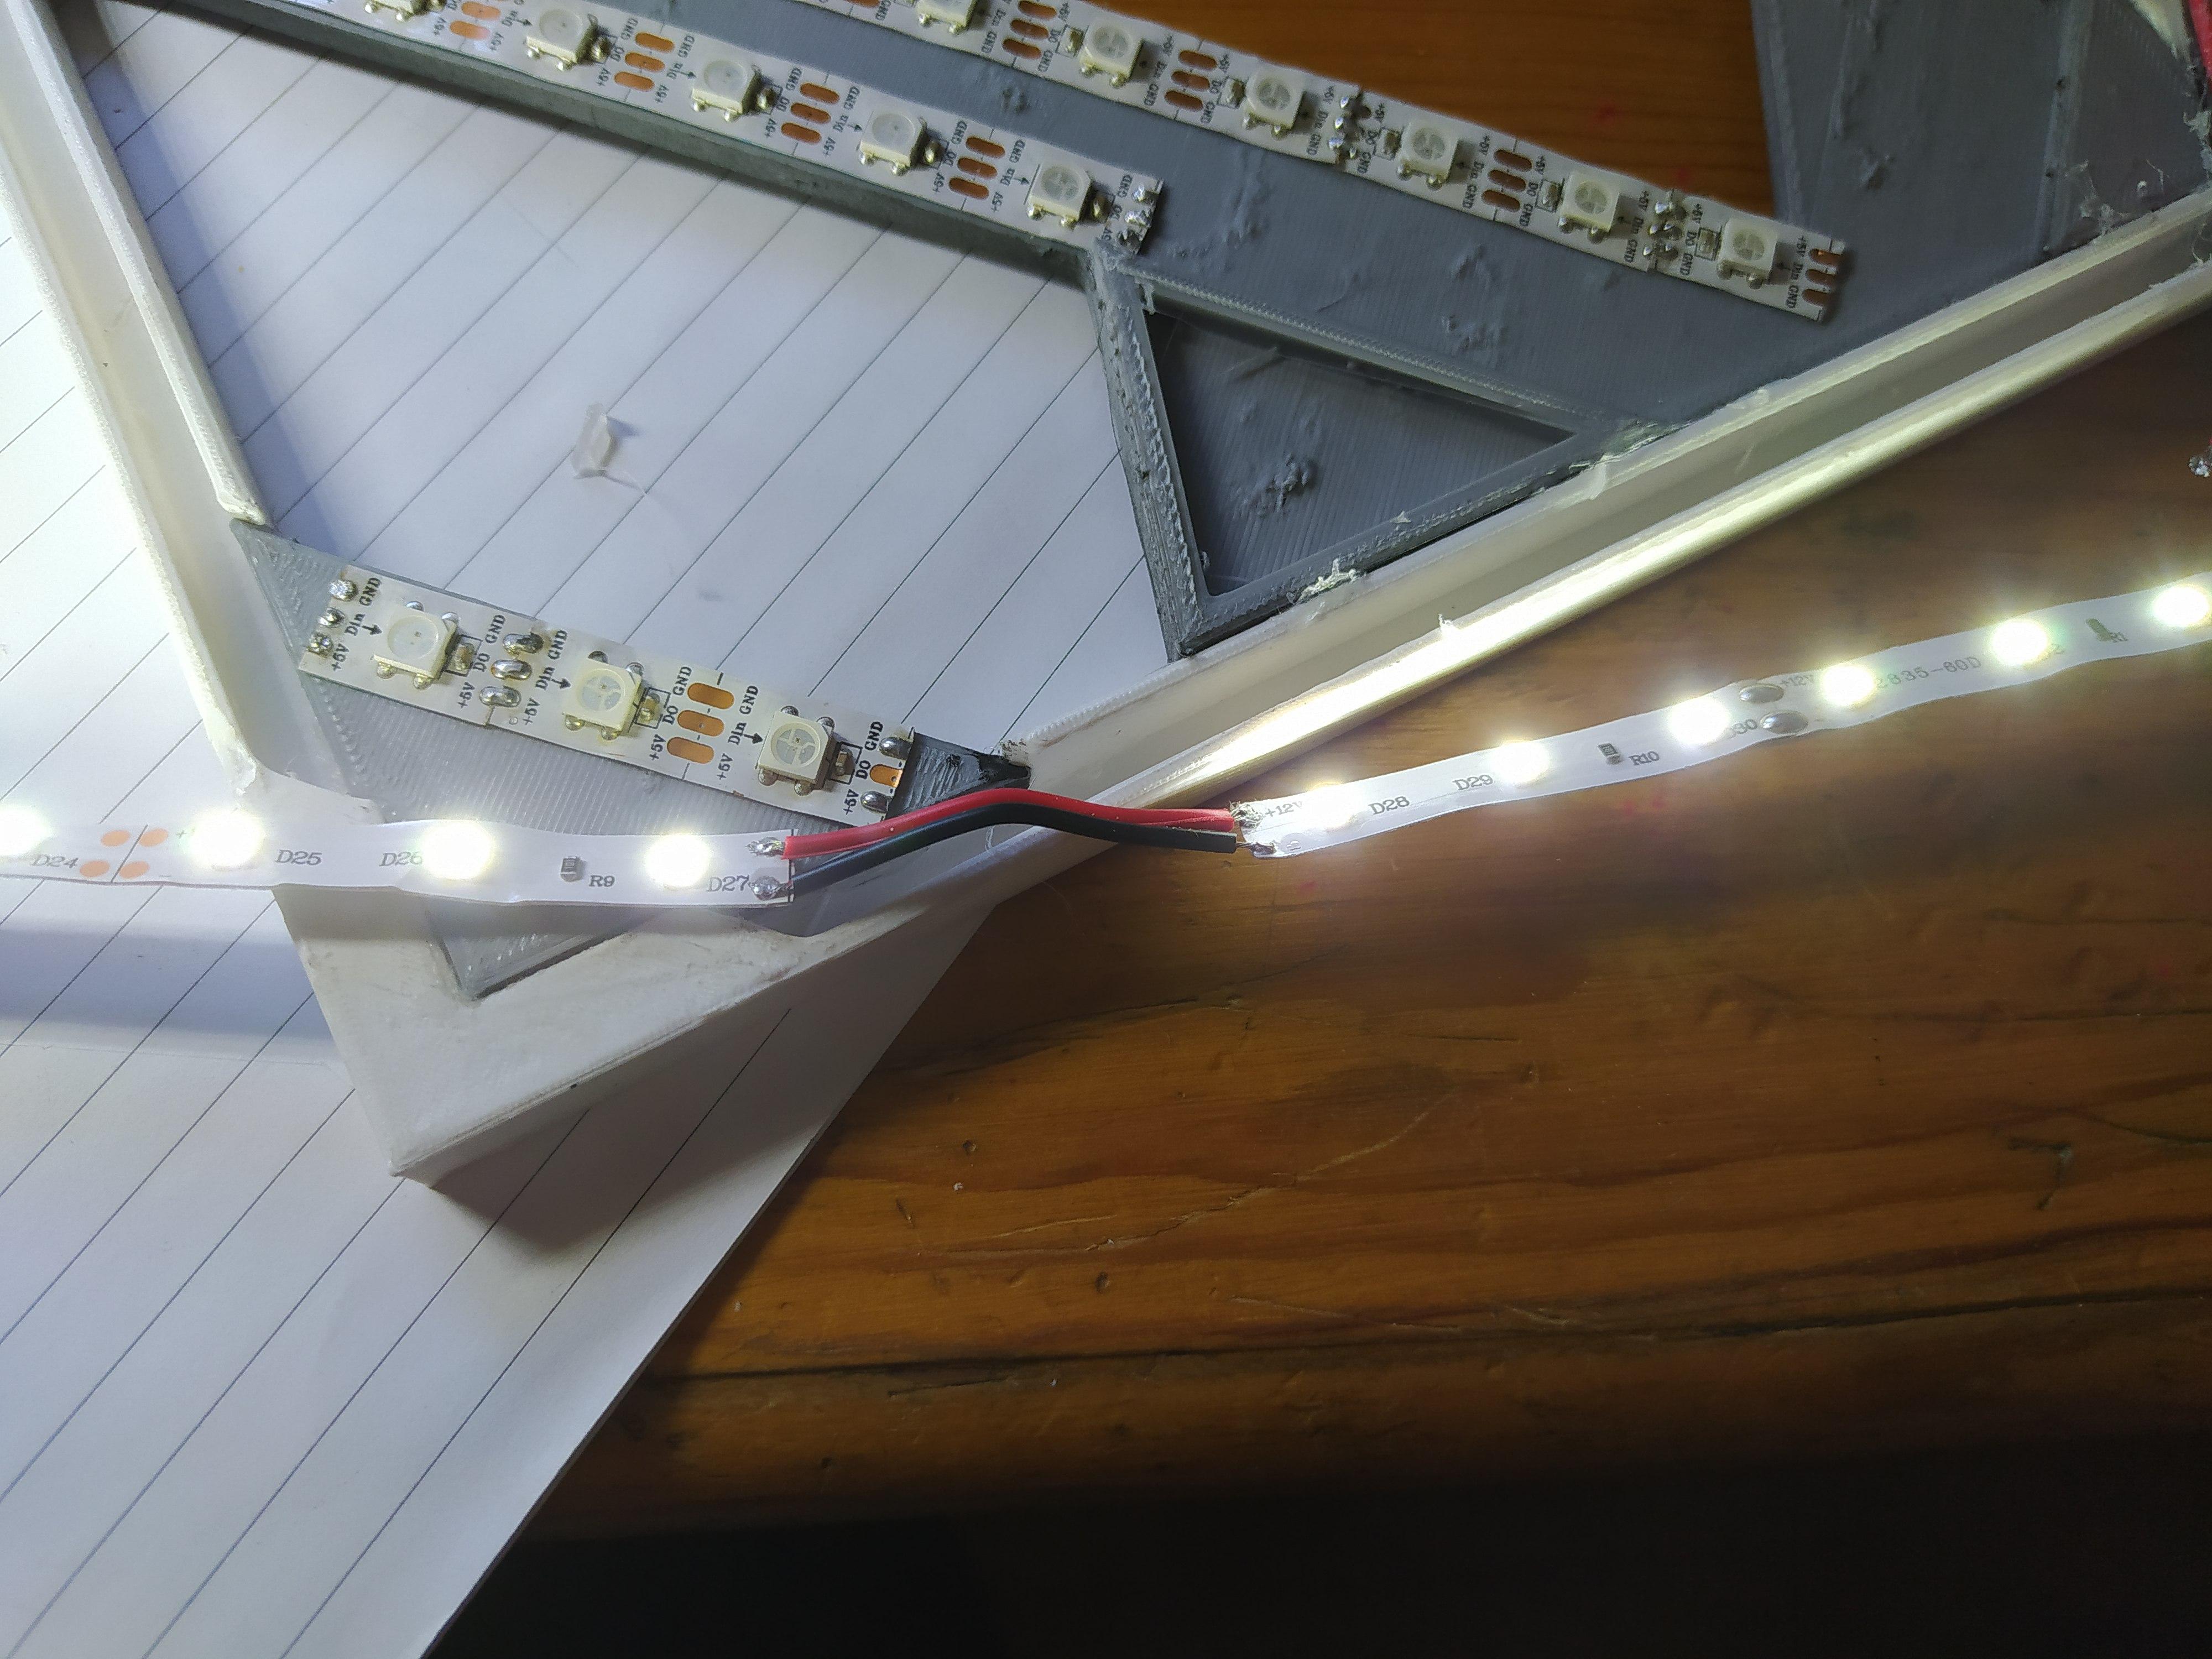
Connect the LED strip together, with positive - positive , digital - digital , negative - negative
Make sure the wires are flat against the print and doesn't lift higher then the gray parts.
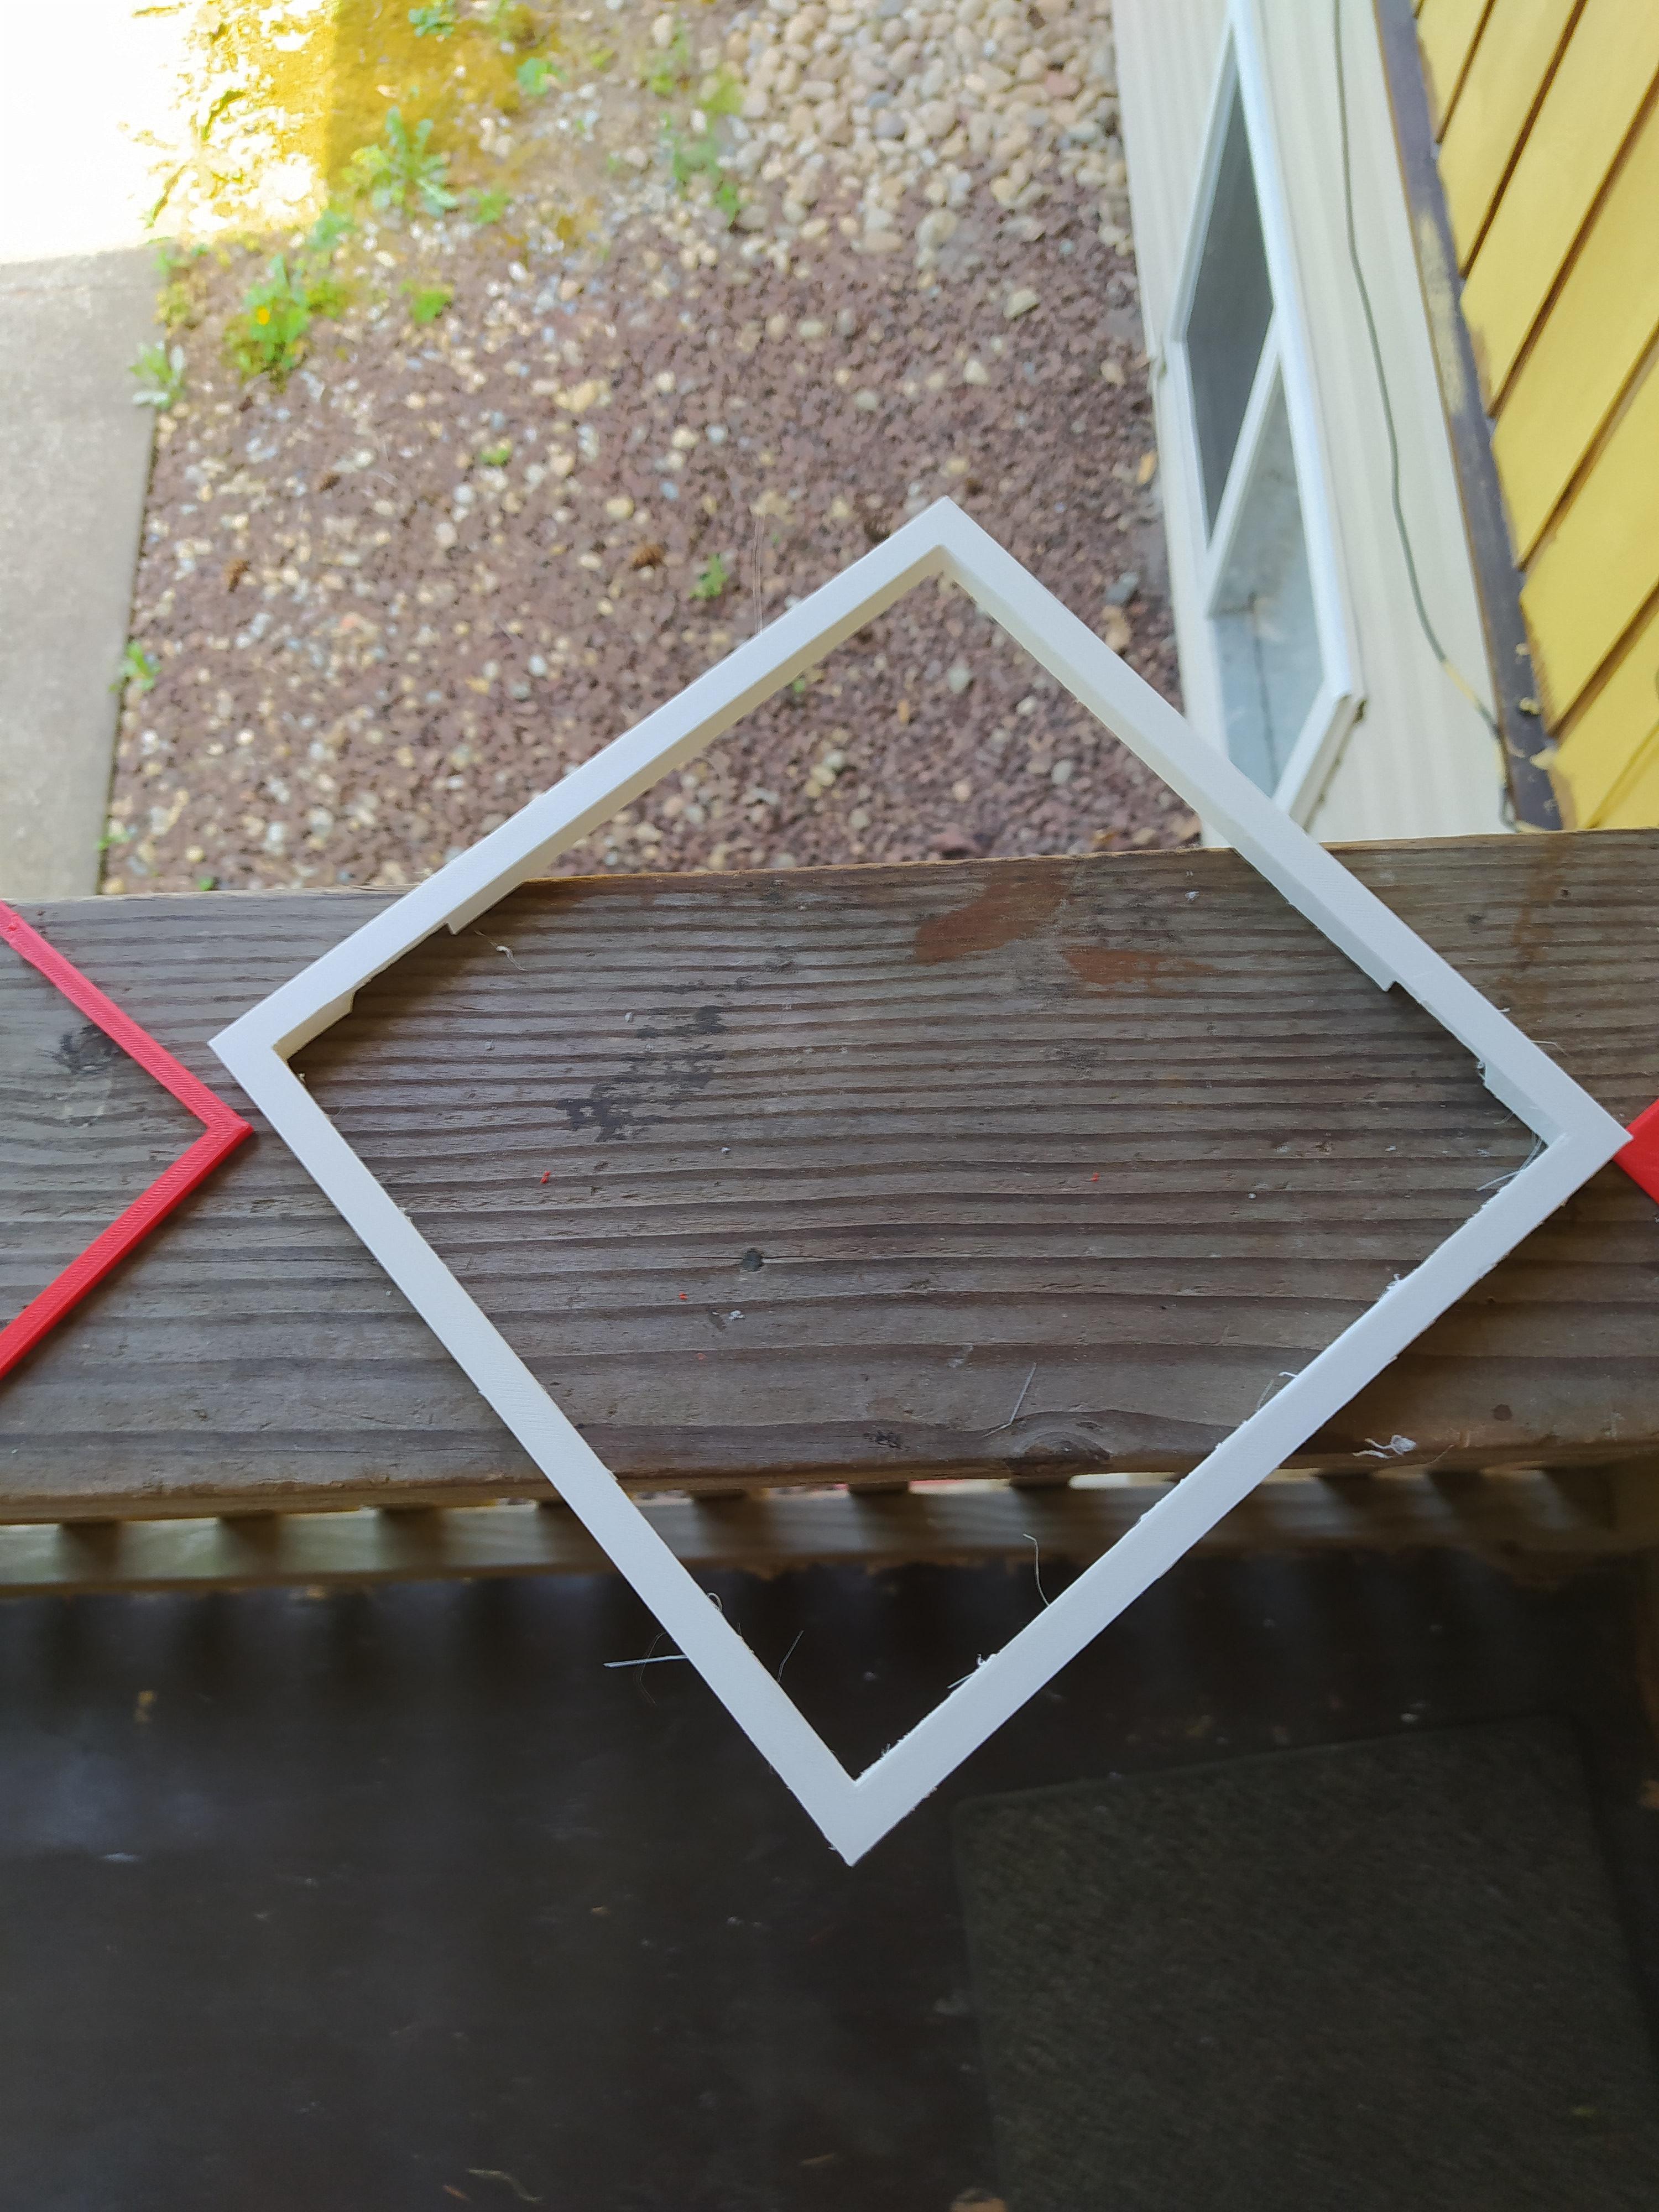
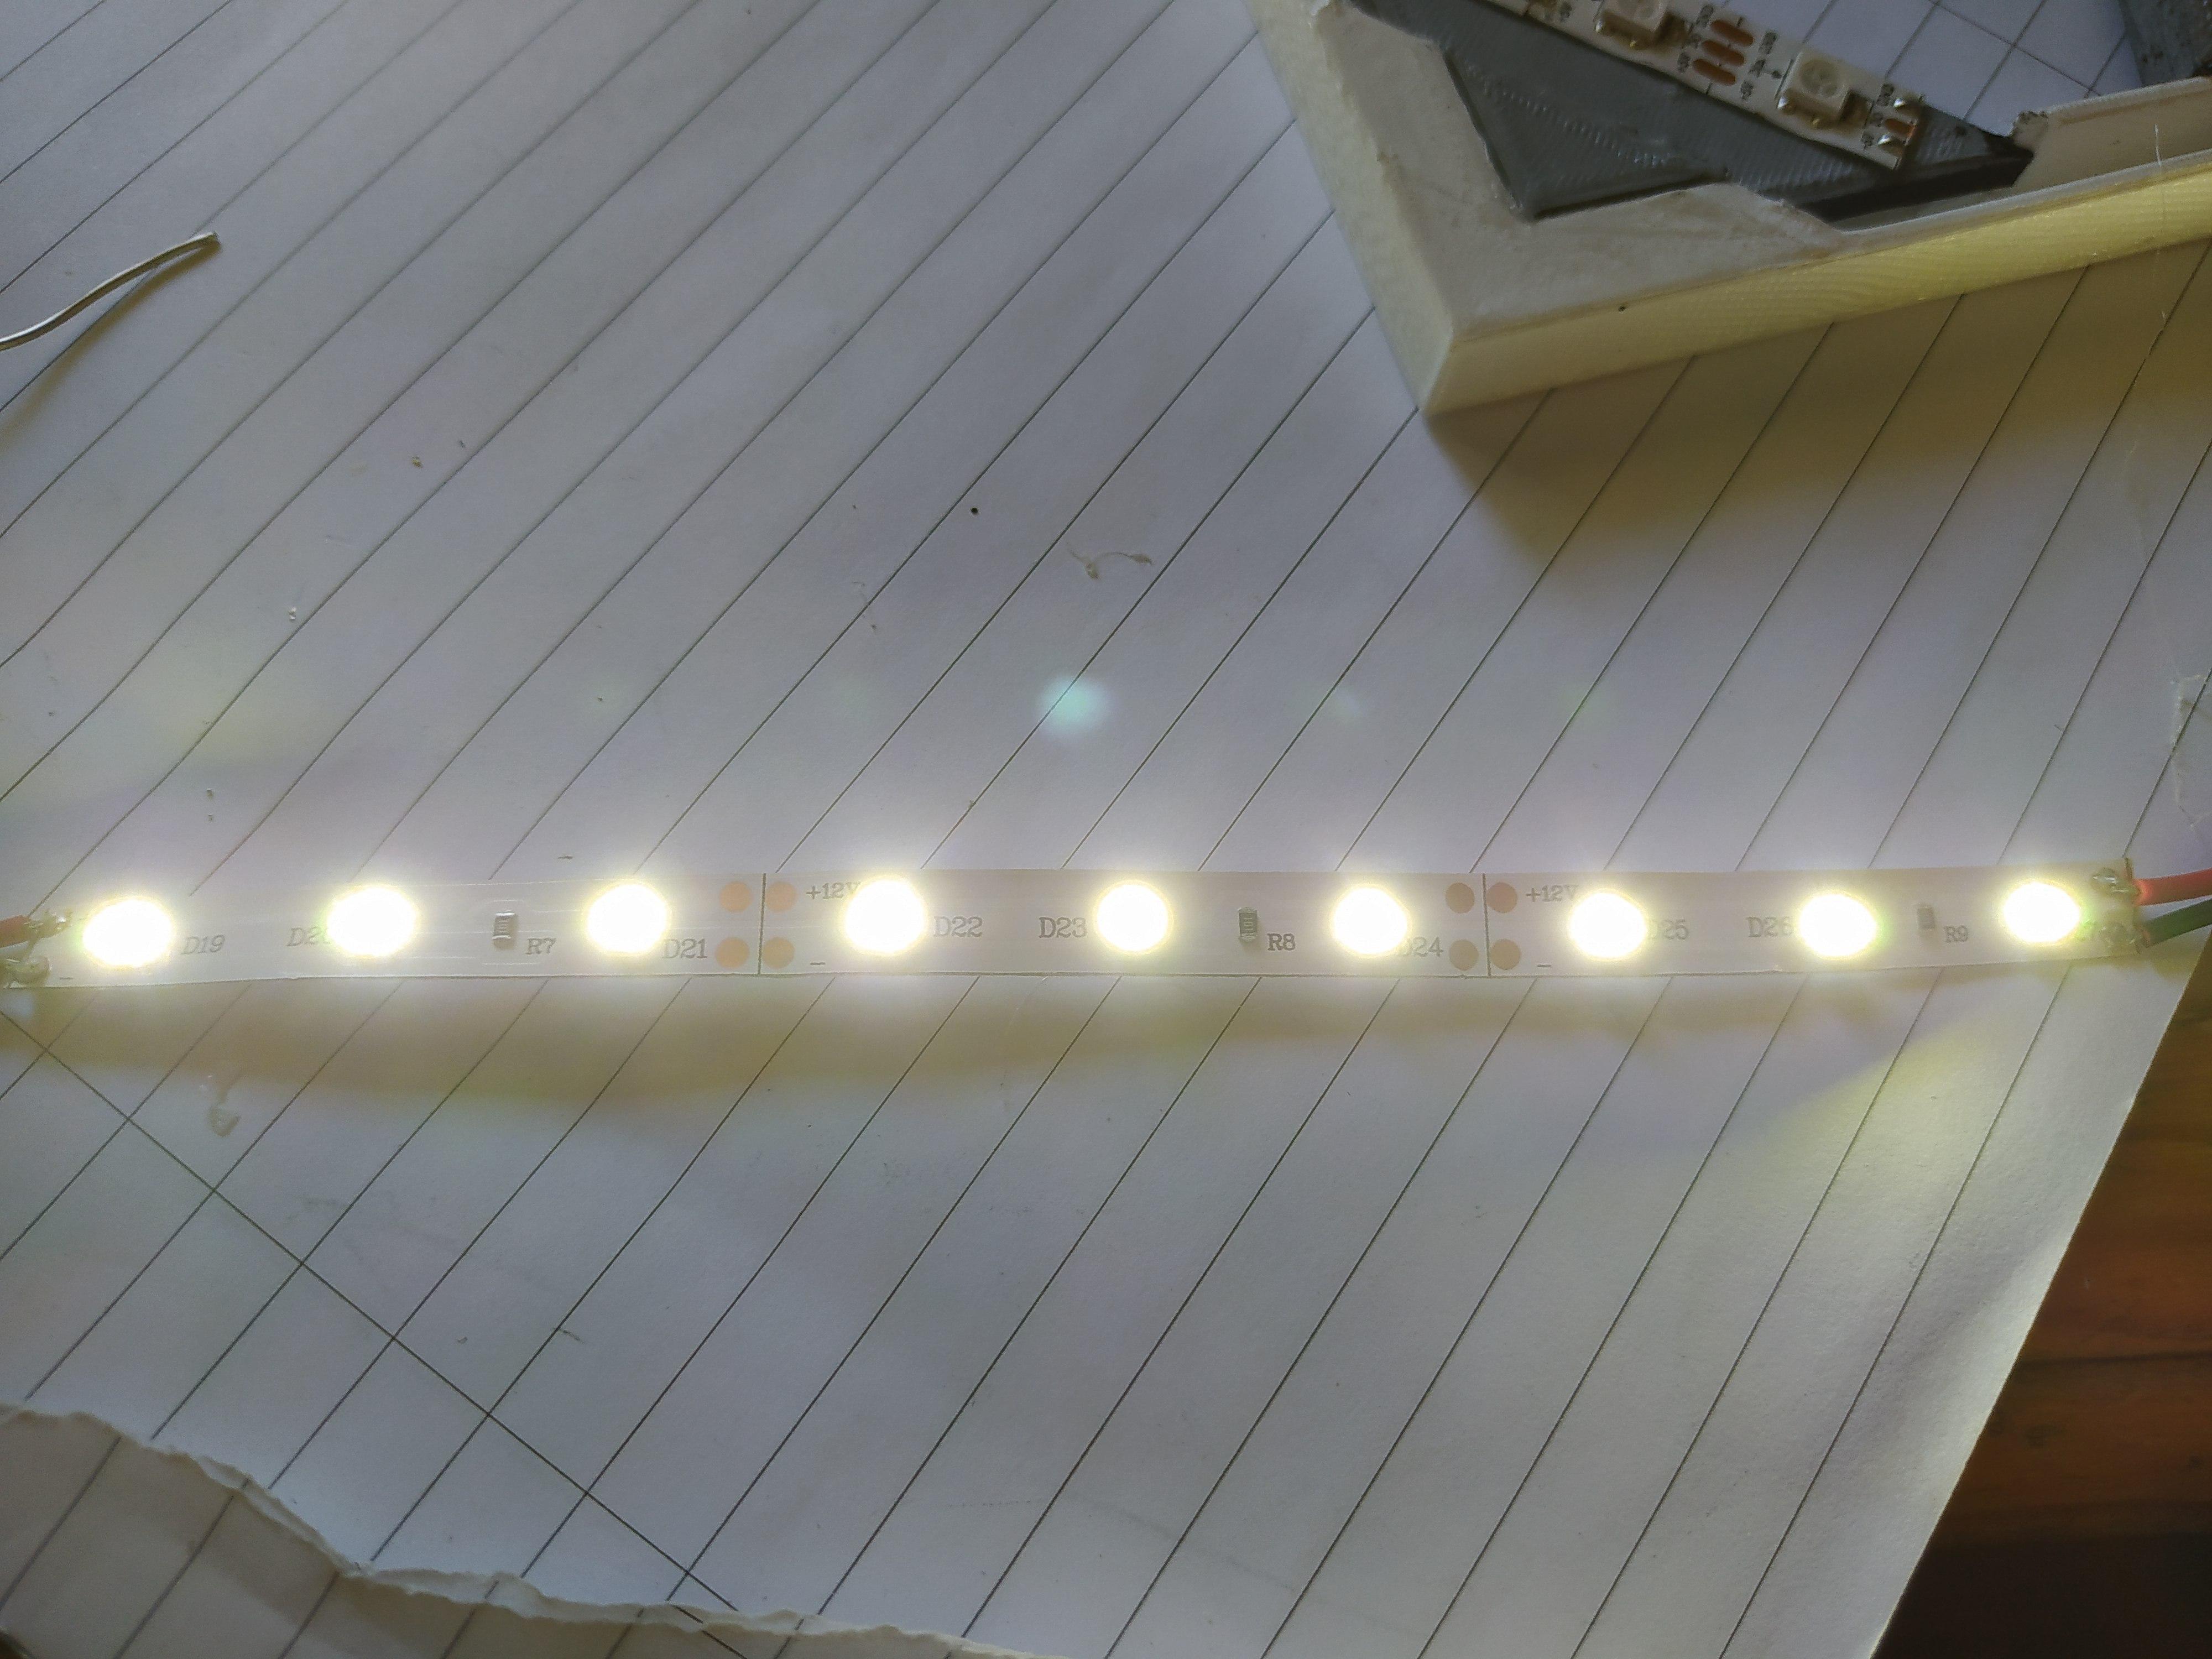
Place in the white LEDs into the gap of the white printed part.
Tip: Make sure to test your LED before and after the wiring because you don't want it to be not working when your done.
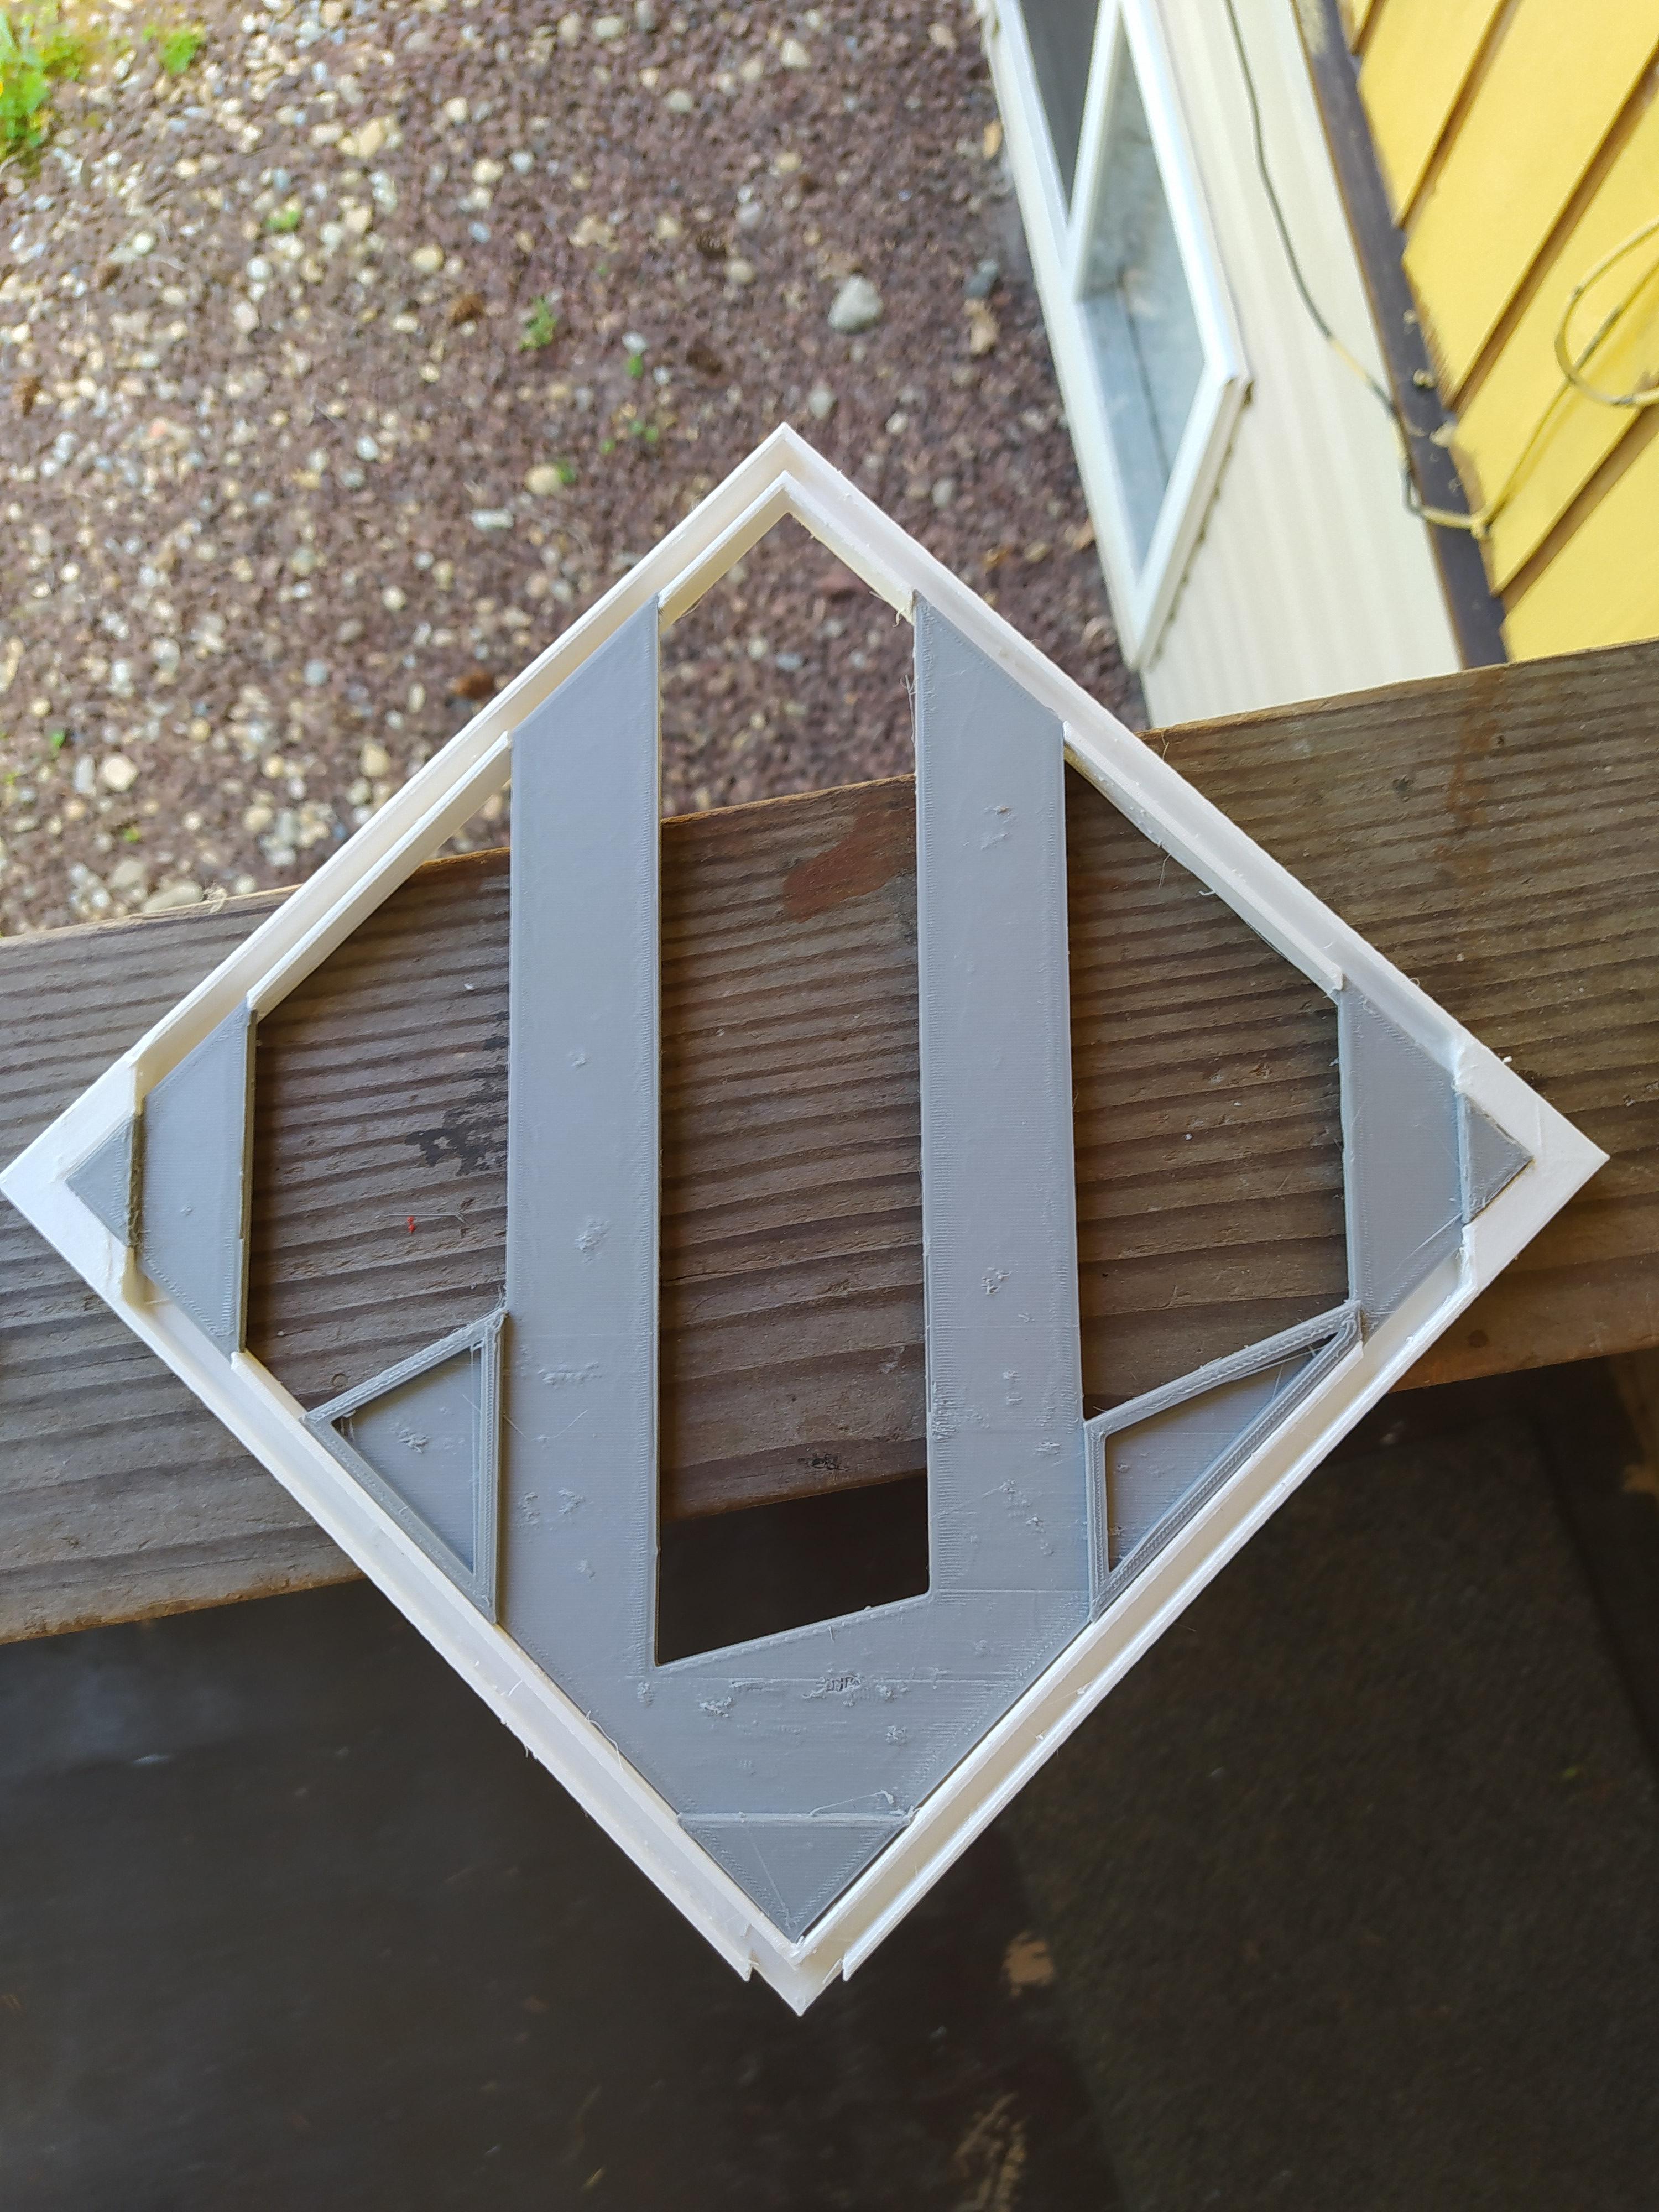
Step 5: Put Everything Together
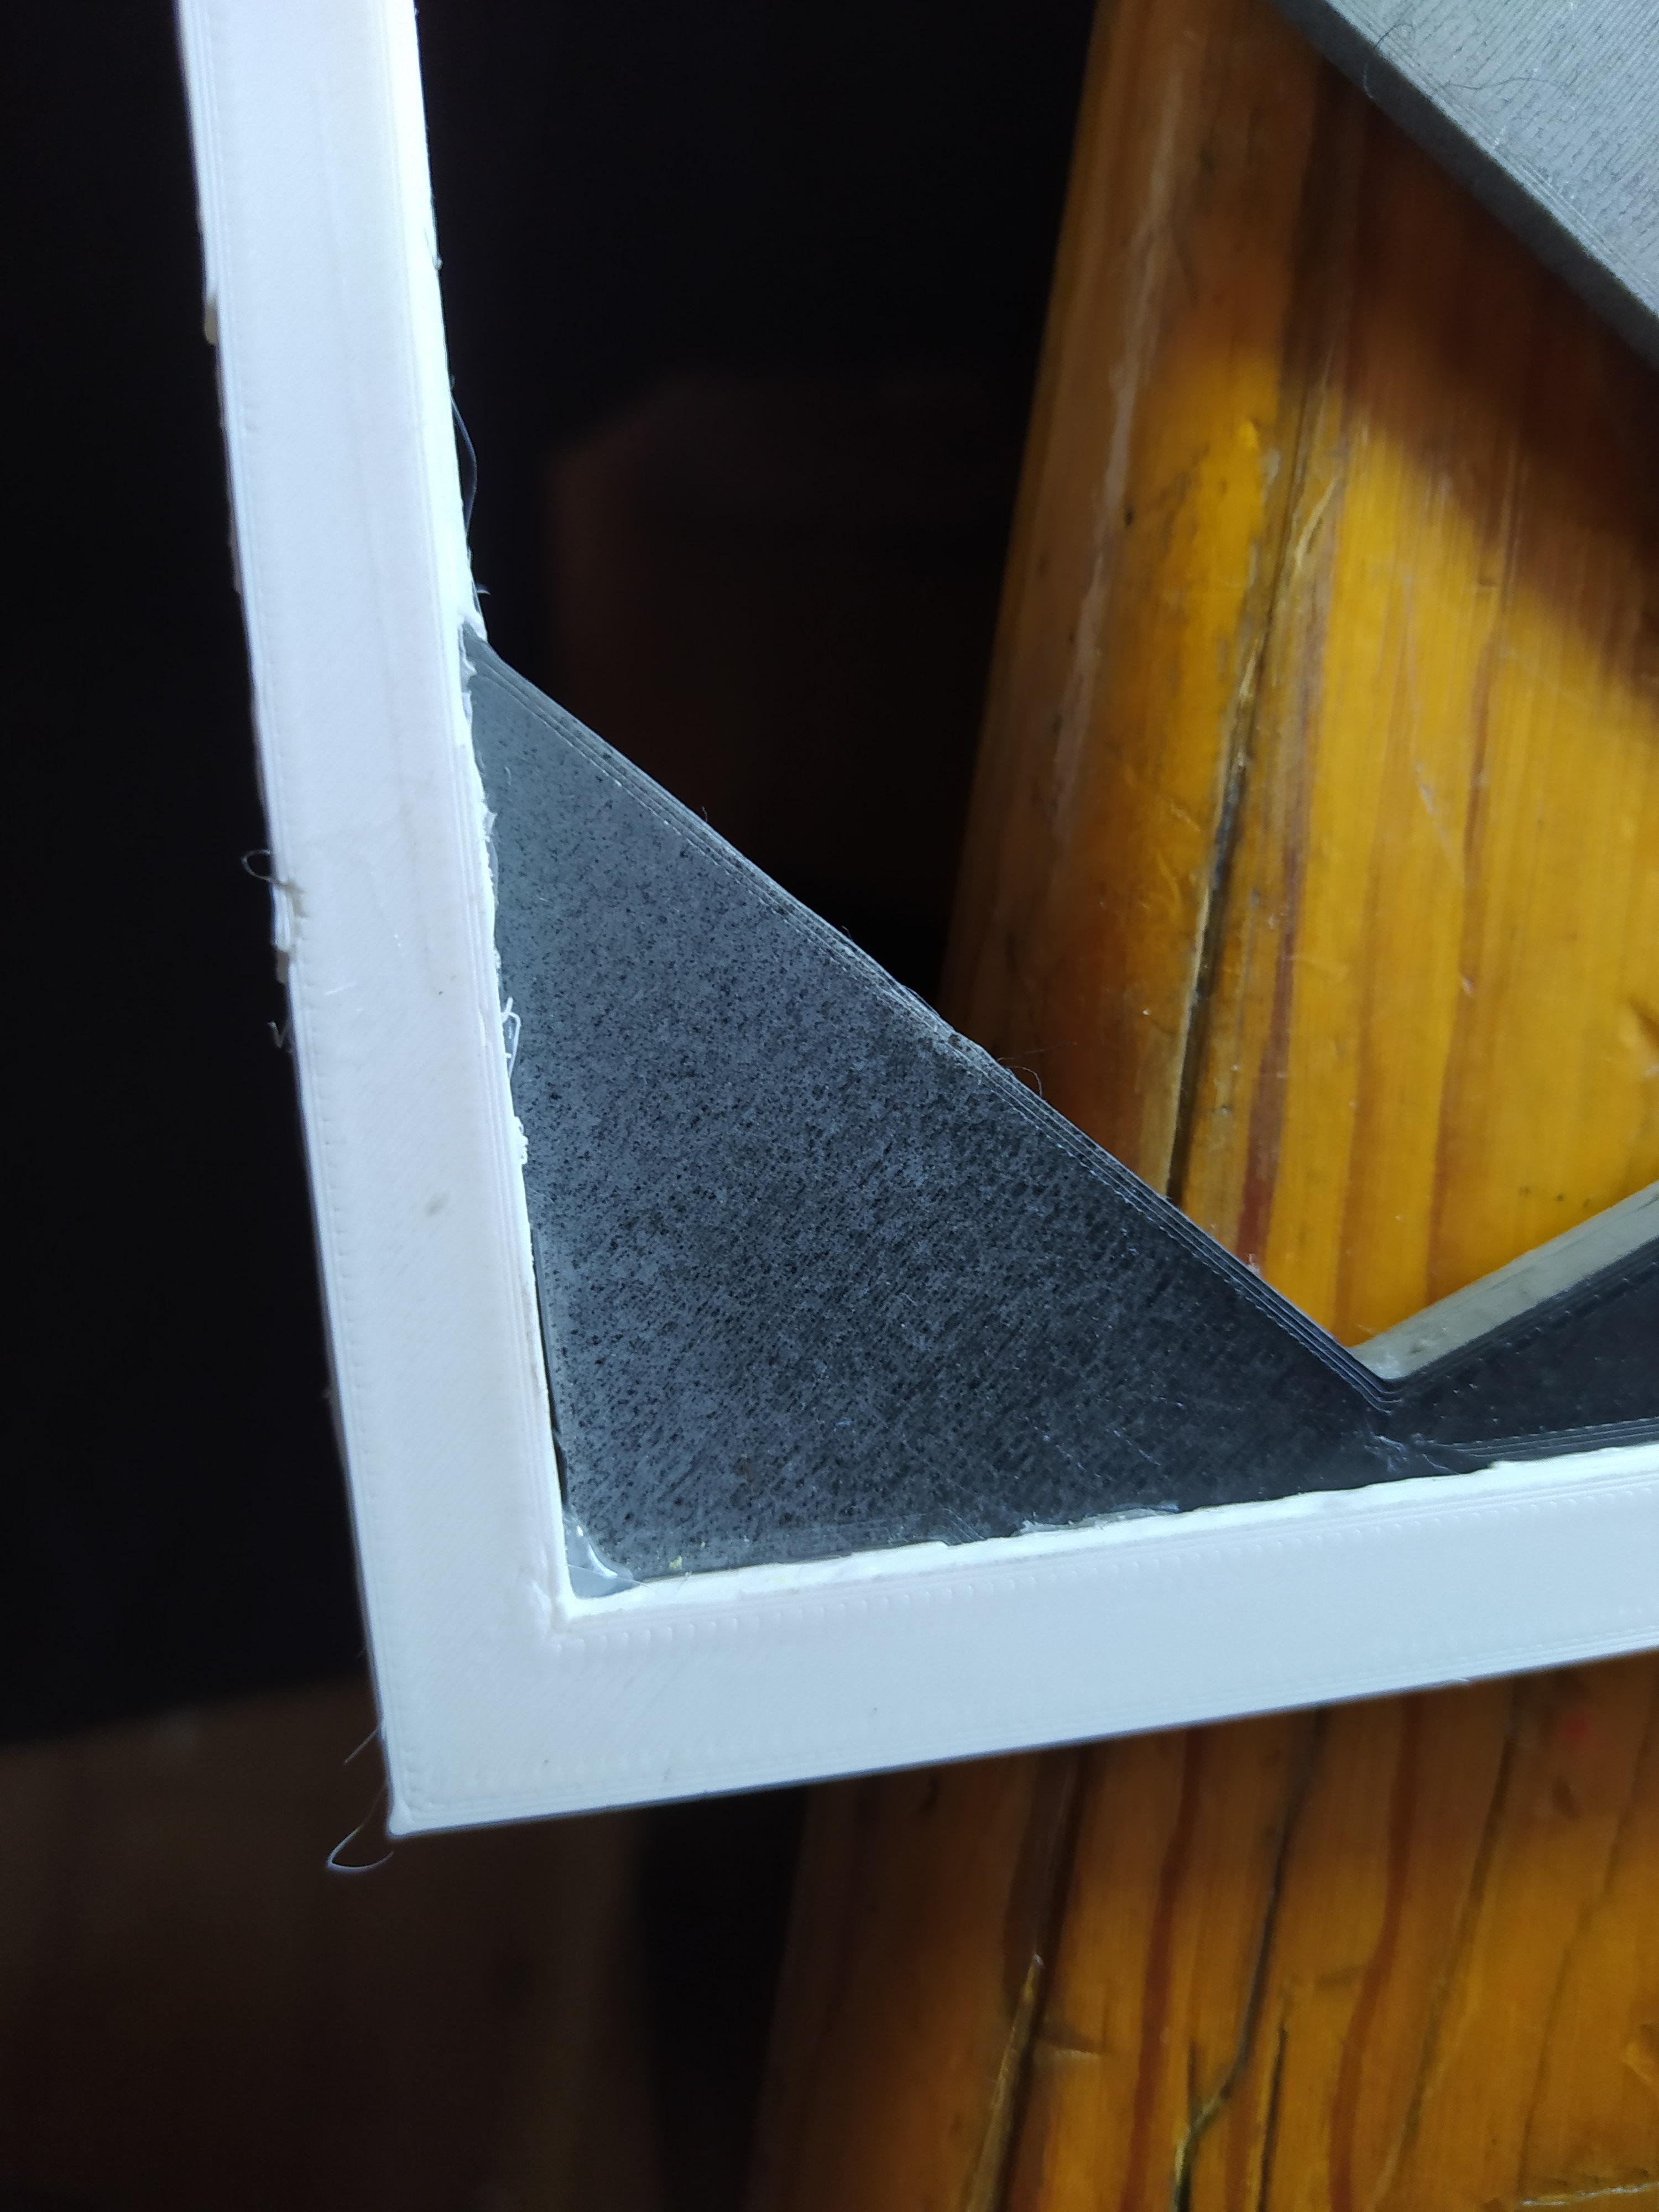
1.Start off by attaching the red parts together
2.Follow up by joining the white and gray parts together
3.Attach all the pieces together
4.Slide in the three skulls
You can use use hot glue like me, but you need to do some clean up
All Done!!

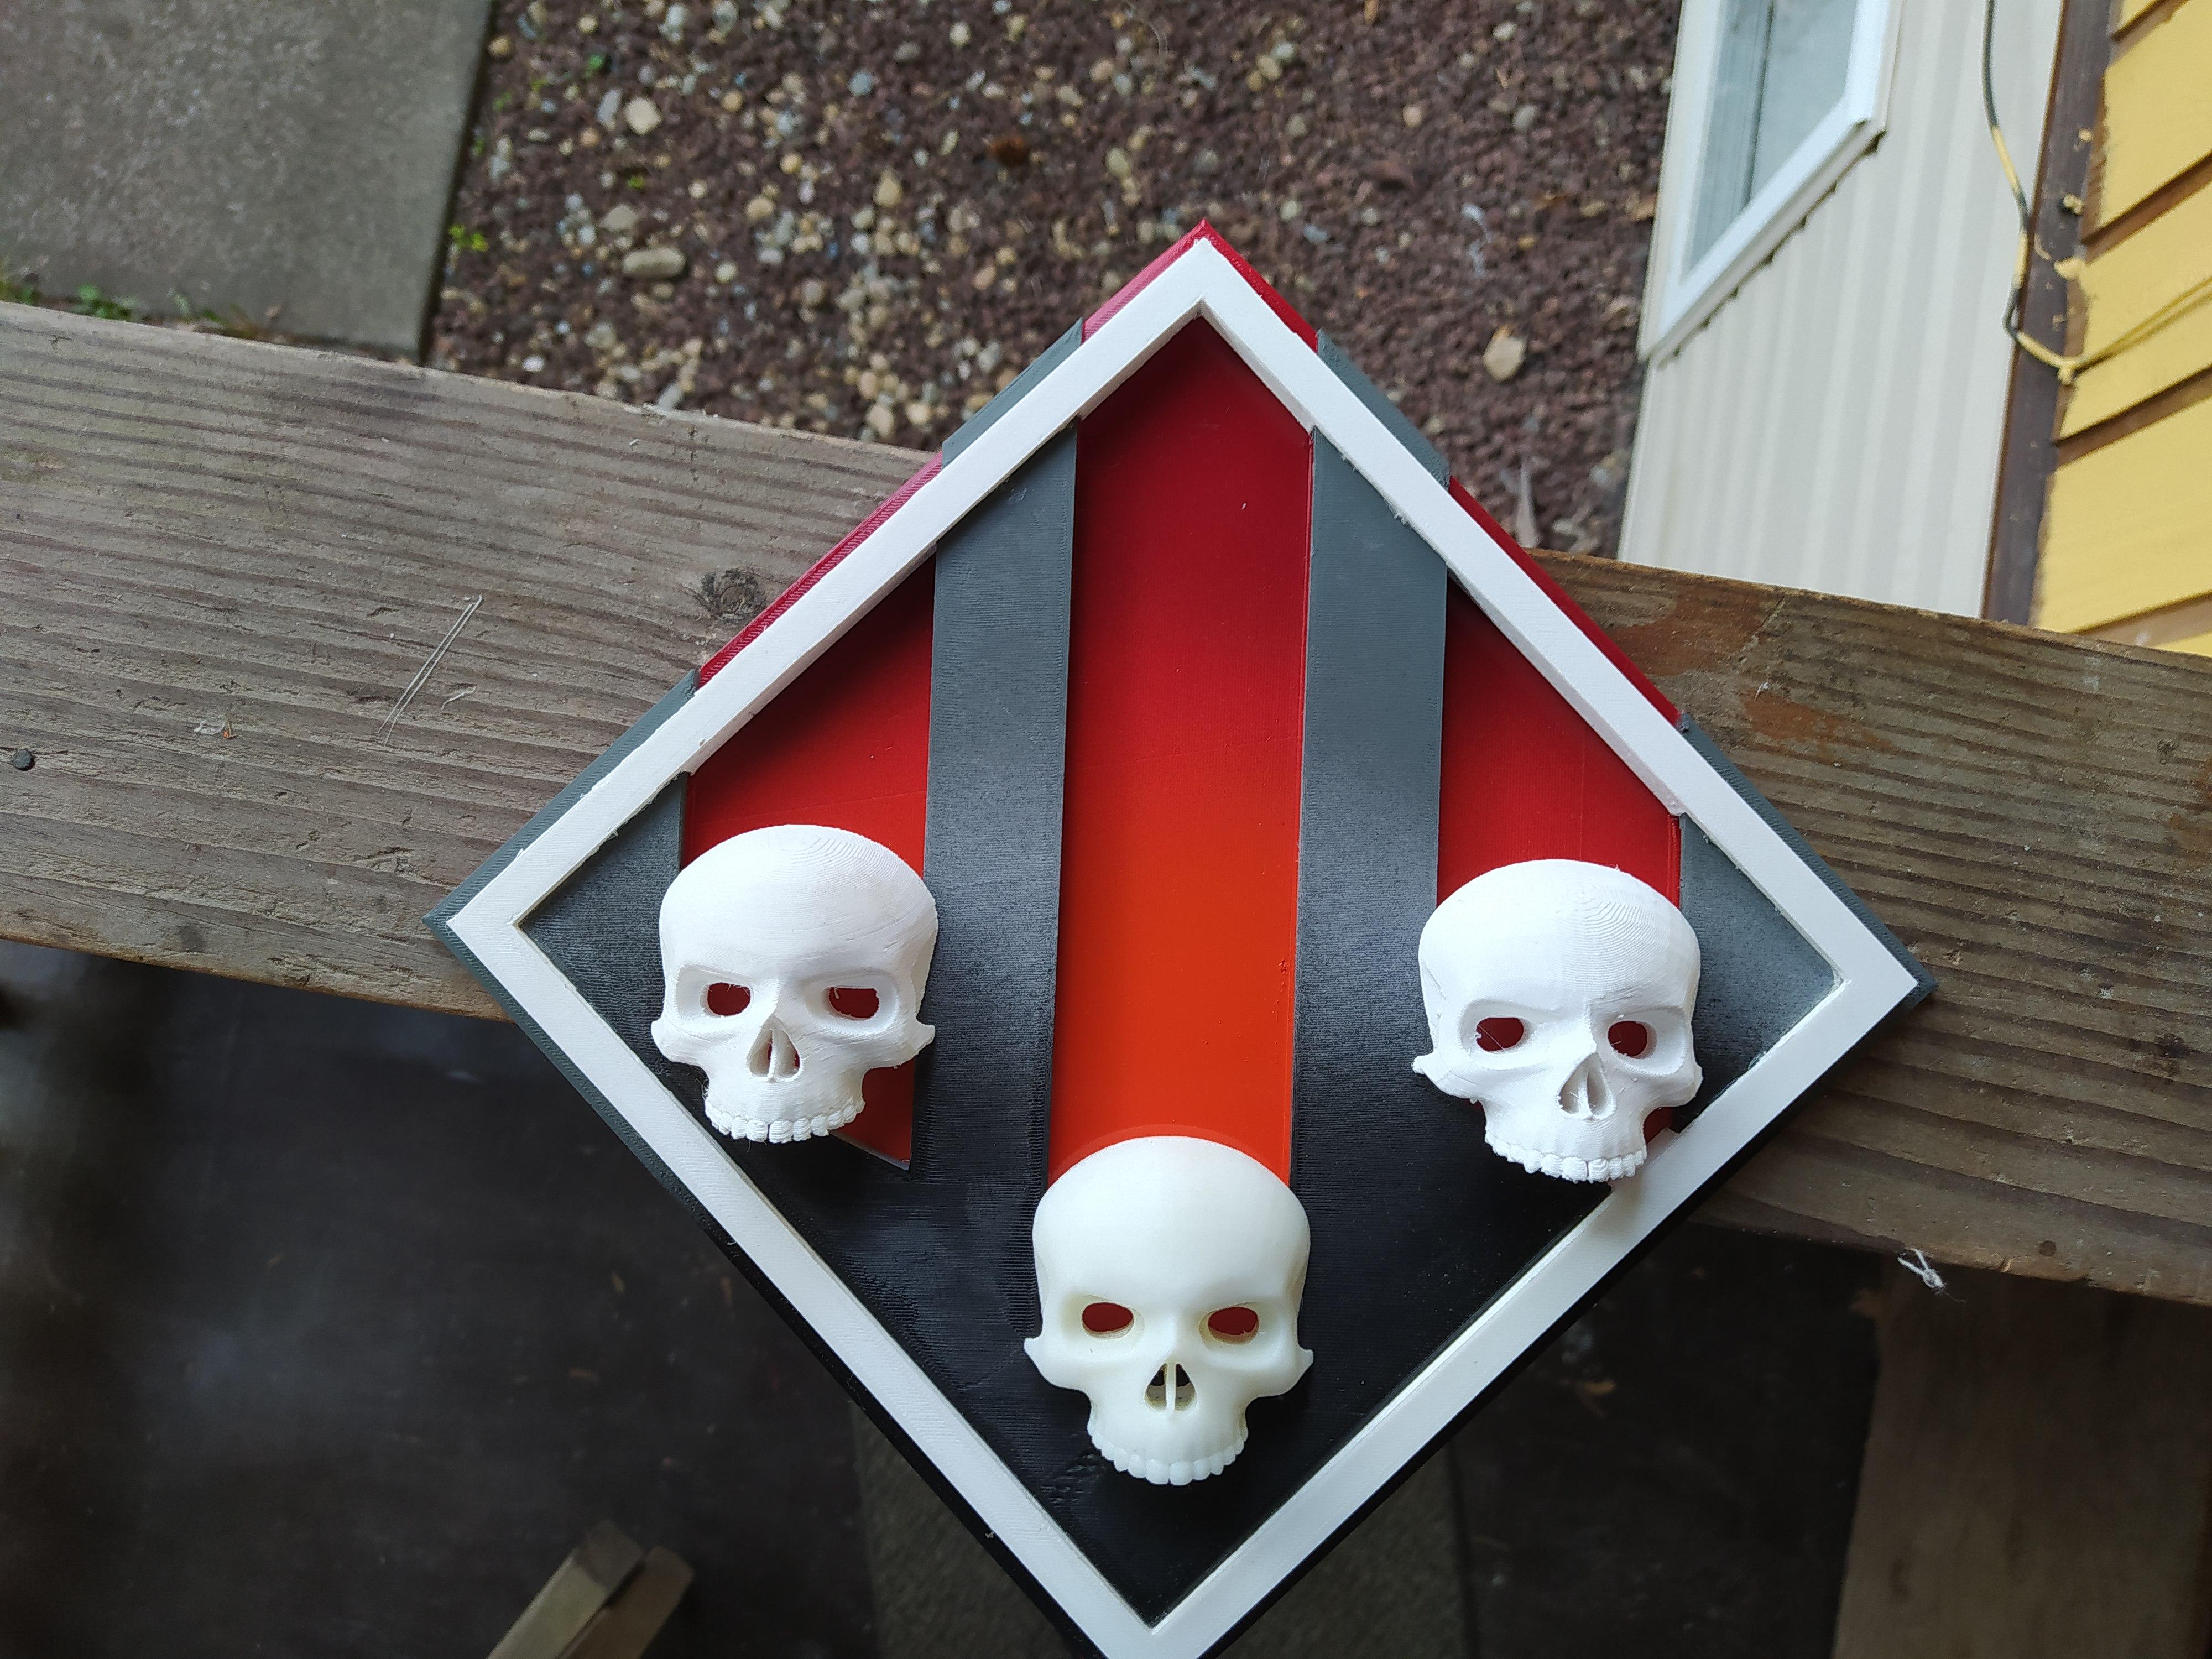
Plug it in
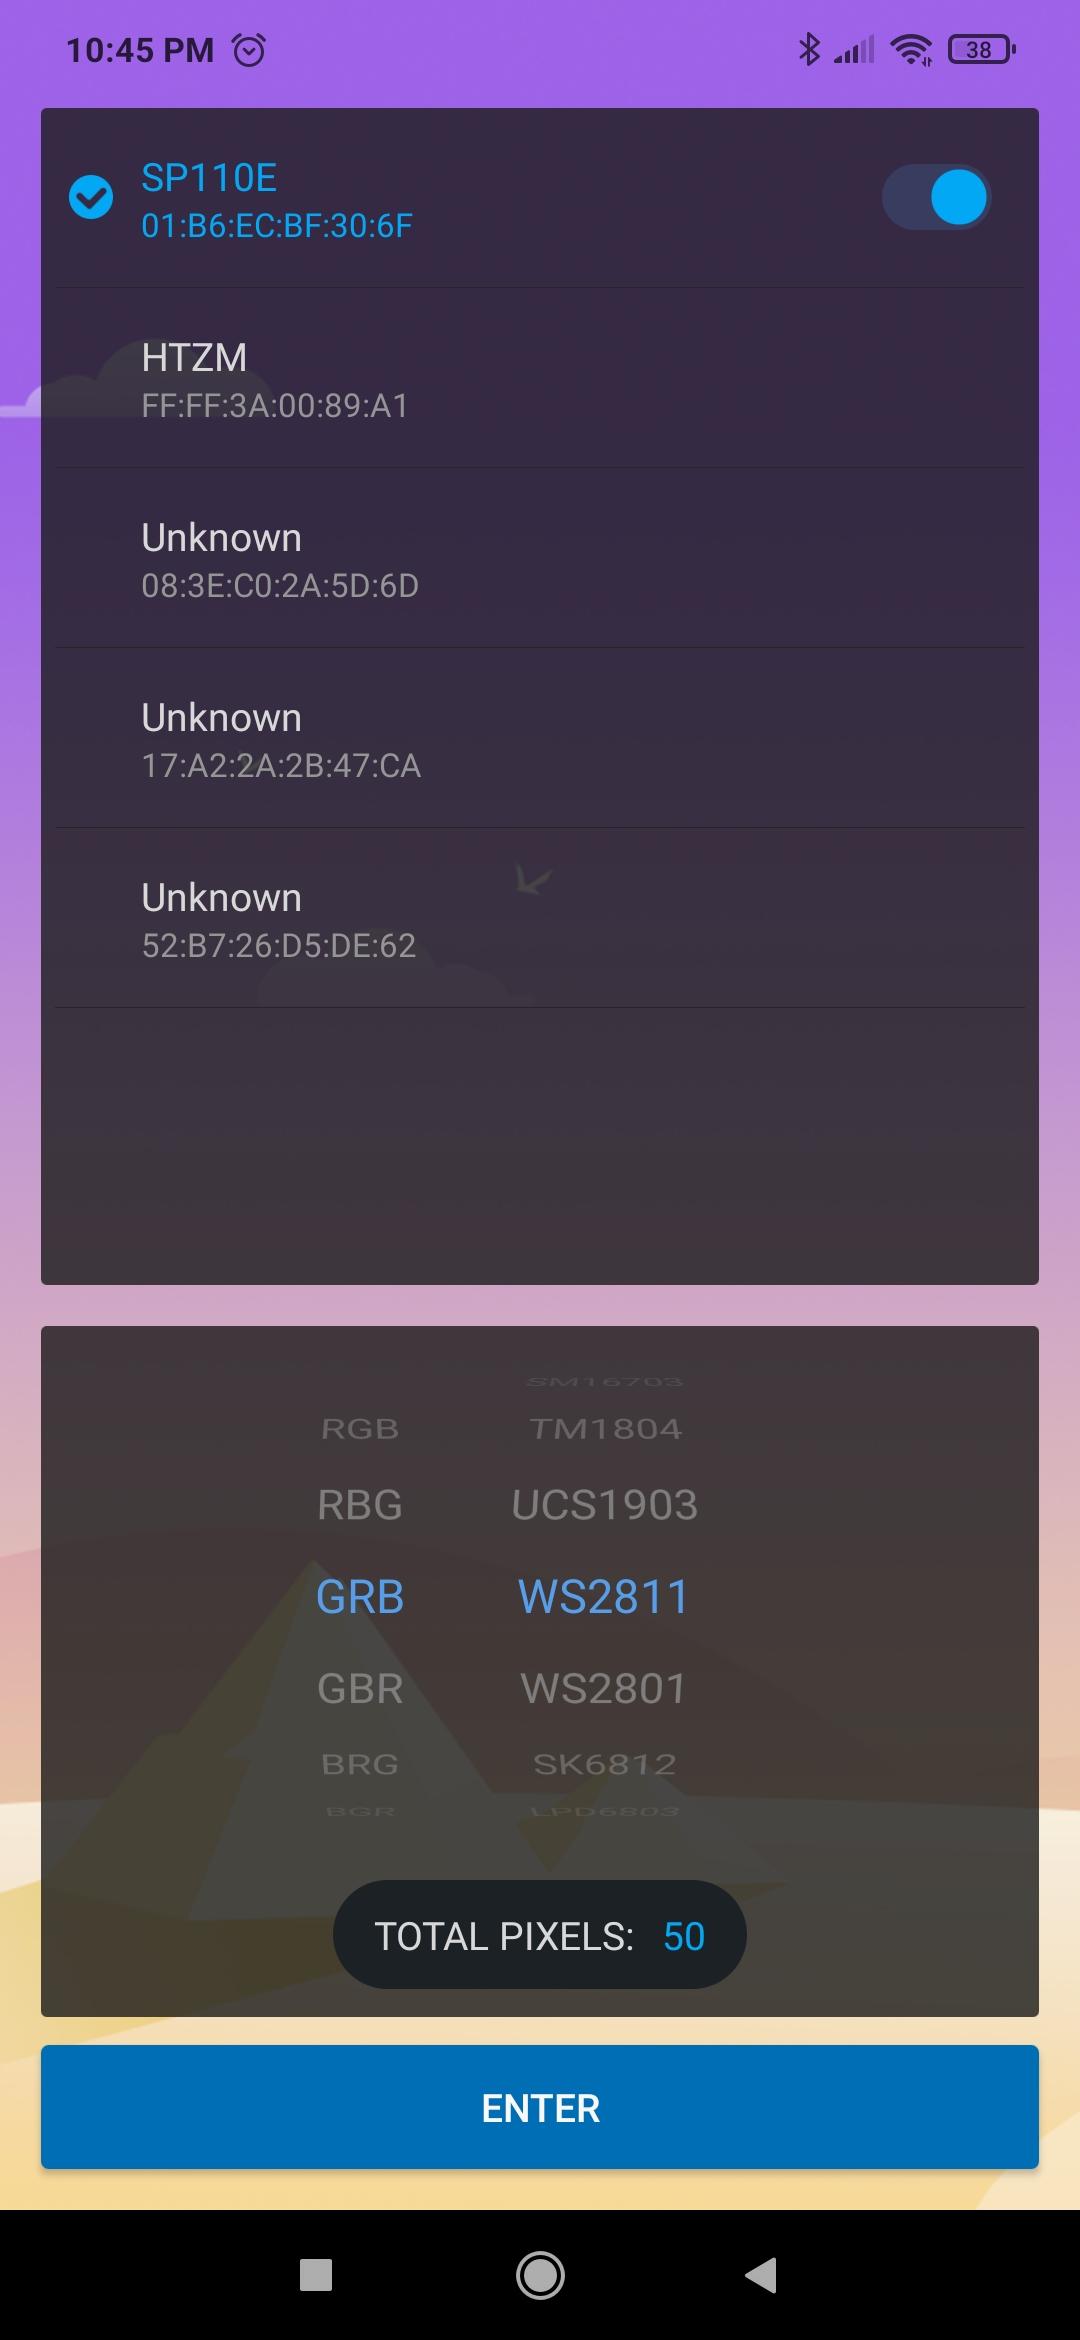
Download the LED Hue App, and add in these settings.
Pixel = # number of LEDs, if not all lights up increase the number of pixels
Enjoy Legends!!