Almost Perfect 360° Photo Spheres With a Cell Phone
by cartola in Circuits > Cameras
18639 Views, 17 Favorites, 0 Comments
Almost Perfect 360° Photo Spheres With a Cell Phone
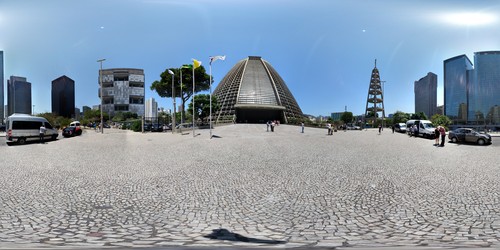
Do you know what is a 360x180° spherical image? Well, they have been widely spread by the Google Street View, and more recently by its extension, the Google Business View, but this kind of photography already exists since late 90's.
It can also be called as 360 pictures, immersive images, fulls sphere, photo sphere and maybe other names and a mix of these words. The most magic thing about them is that you can navigate them to have the same view as someone that was there at the place where it's been shot.
To navigate on one, if you don't know what I mean, just go to google maps and drag that small yellow guy to some street and see Google Street View. You can also go to my blog where I publish one spherical image (or a virtual tour with many) every week. There you will also find many references to learn more if you get interested by the subject. You can also read an article I've wrote about it sometime ago.
VR Glassess
Another very interesting way of experimenting these pictures is by using a VR glass, like Google Cardboard, Ritech, Beenoculus, Rift or any other. This way you can really increase the feeling of being there.
What you will learn (I hope)
I will show you here how you can highly improve a Photo Sphere made with your cell phone using a plumb line, navigate interactively on it and how to share it for proper navigation. As an optional step I hope you can watch it in one VR glass.
Excuses
Well, as I am not a native English person I am sorry for any language mistake. I will also ask anyone who sees a mistake or a better way to say something to give me suggestions at the comments. Thanks.
Materials
BASIC
For the basic thing, which is make a Photo Sphere and navigate on it, you will need:
- A cell phone compatible with Google Camera app (Android) or Photo Sphere app (iThings)
- A small weight - I've used a fishing lead, but you can use a screw, a little rock or anything
- A thin line - I've used a nylon fishing line
- A velcro or another thing to tie the string and put around the phone after
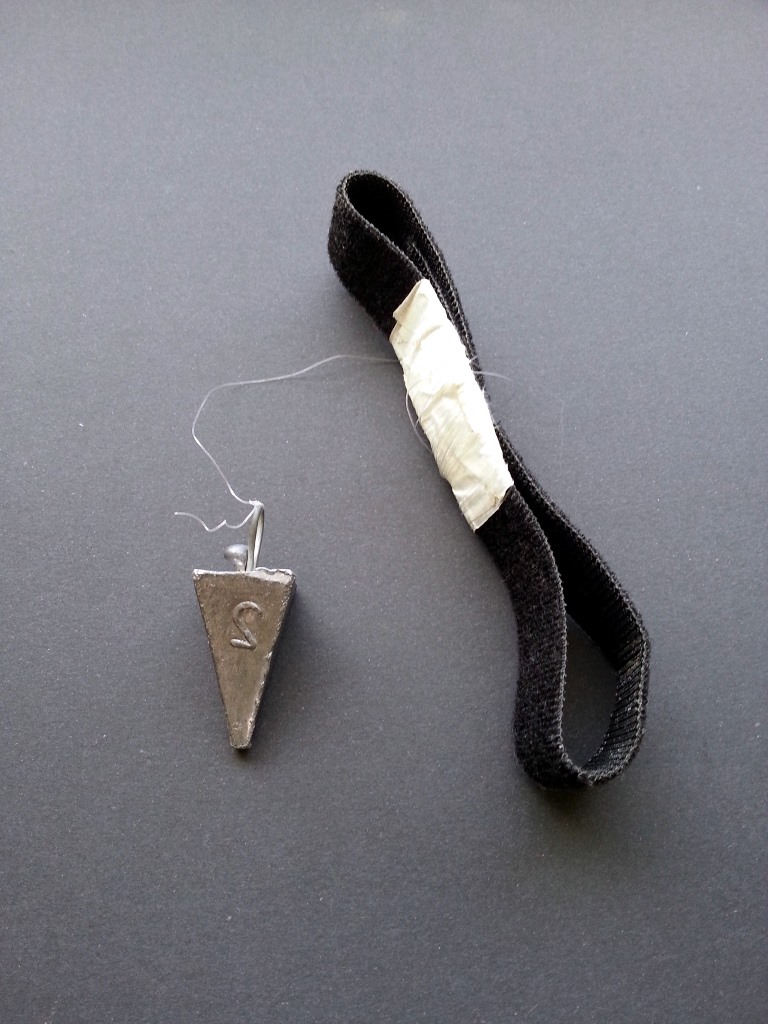
At the picture you can see my velcro, the fishing weight tied with the nylon string, that is tied at the other extreme to the velcro. The final objective is to use it as a plumb line tied to the cell phone. Obviously it can be made in many different ways.
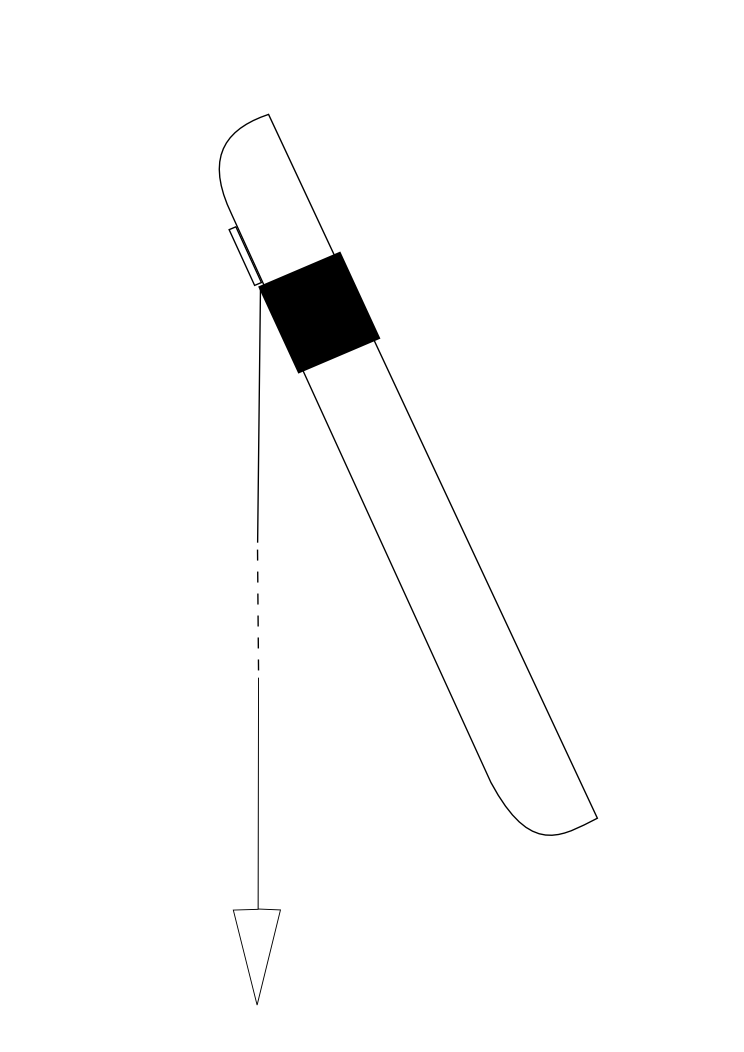
The string must be able to be positioned right down the center of the cell phone lens and as close as possible to the lens. We need to use it to rotate the cell phone around an imaginary line that passes through the entrance pupil of the lens. Rotating it around this axis will dramatically reduce parallax problems that will appear in the picture without using it. Professionals usually use panoramic tripod heads to make their professional cameras do this rotation using tripods. I myself have some of these heads, but nowadays I prefer to use this plumb line, which is called a PHILOPOD.
ADVANCED: VR Glasses
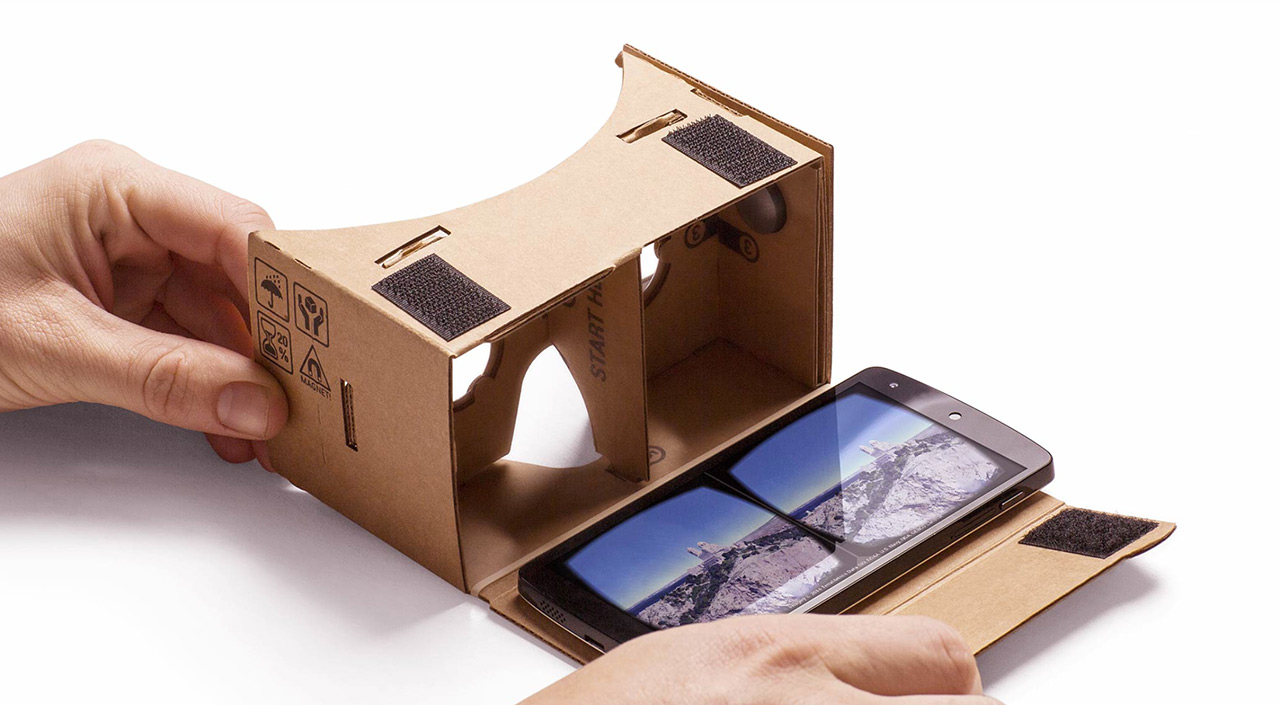
For navigating in your pictures with a VR glass you will need one. The most affordable is a Google Cardboard, which can be found at:
Other options are Ritech glass, Oculus Rift and probably any other. Google Cardboard could even be built by yourself (the project is open), but the tricky component, the lenses, can be difficult to have at home. If you need to buy the lenses maybe it's better to buy the whole glass.
Build the Philopod
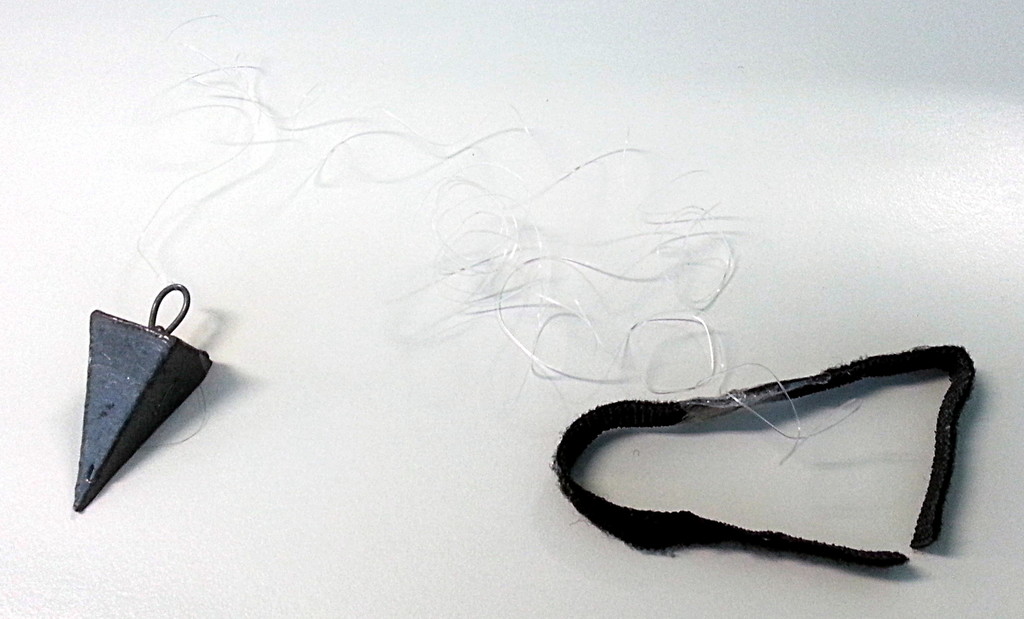
This is a very simple thing to build.
- take your weight (in my case the fishing lead) and tie one extreme of your line to it
- take the other extreme of the line and tie it to the velcro or the other thing you will use to hold the line to the phone (maybe a rubber or a paper (which I've already used))
It is possible to tie the line directly to the phone, but I prefer not, as this won't be good to constantly put the philopod on and off the phone.
It is also a good idea to make it in a way that it would make possible to position the line precisely on the phone and to move it to be at the front at one time and at the back of the phone at another time - we will see why later.
I have also used some tape to fix the line to the velcro, as the nylon line would move without it, maybe making it more difficult to position the philopod at the phone with precision.
A good way to make it with paper and tape is by covering one part of the paper with tape and use another tape with the edge folded to fix one side of the paper to the other (where the first suggested tape was fixed). With the edge folded and with the tape glued over another piece of tape you can easily put the paper on and off the phone.
Install the App
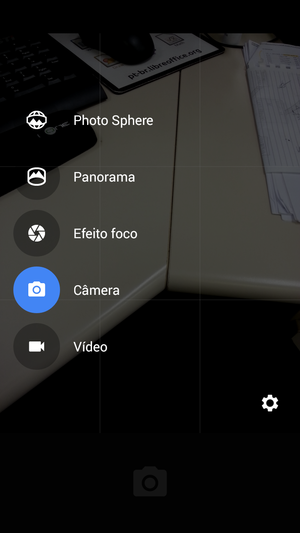
If you have an Android device go to Google Play Store and install Google Camera if you haven't yet.
If you have an iOS device go to iTunes and install the Photo Sphere Camera if you haven't yet.
After installing it on Android you should open it and verify if it has the Photo Sphere mode. Drag the screen from the left to open the options. This step is necessary as maybe some old phones won't have the necessary android version to be able to make Photo Spheres. In this case you will not be able to follow this instructable anymore, but you could try to make it the more complex way, taking the pictures and stitching them at your computer with Hugin or other stitching software. The philopod trick will still help achieving a good result. There are many references for this at my blog, mentioned at the introduction.
Unfortunately I don't have an apple device, so the screenshots shown here and the main points mentioned will be about Android, but I don't think the apple app is hard to use if you are an usual iOS user. I don't really know if the Photo Sphere function is available to all devices, so maybe you better test it too.
Put the Philopod on the Phone
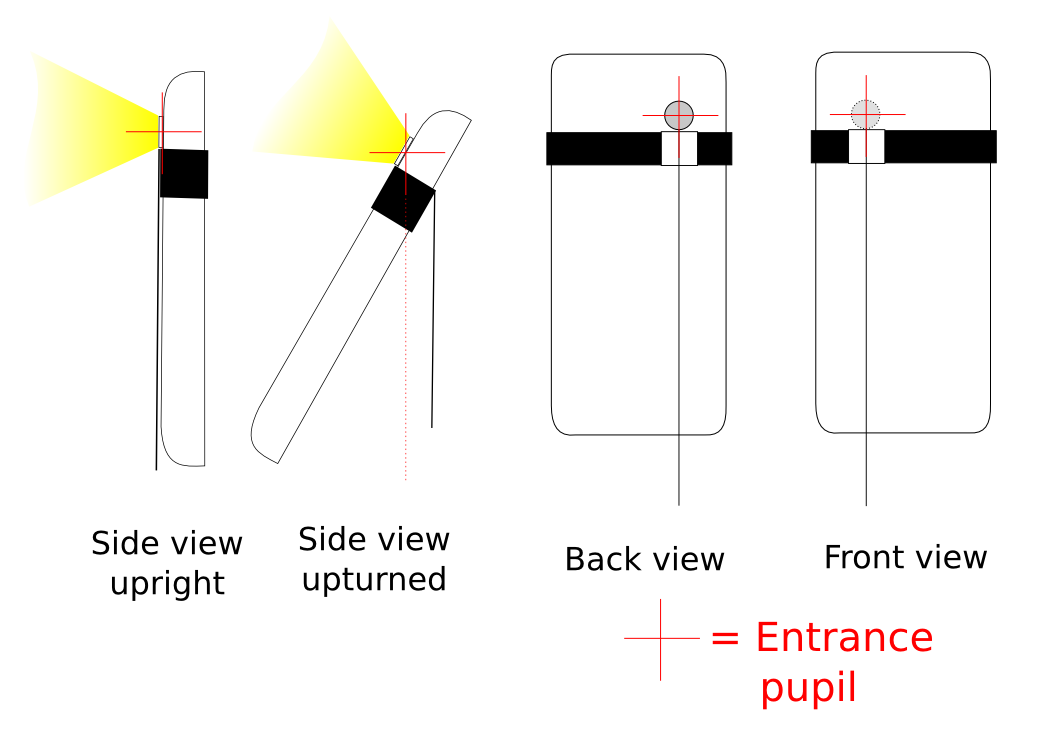
You should position the philopod in a way that:
- the line gets as close as possible to the lens, exiting from behind the velcro right below the lens
- the line gets centralized with the lens when looking straight at it (back phone view)
This first position will be ok to make pictures with the phone upright and turned down.
To make pictures with the phone upturned you should rotate the velcro around the phone or remove and reposition it so that:
- the line goes to the front of the phone
- the line gets centralized with the lens when looking at it from the front of the phone
- the velcro can be put further down so that the line gets closer to the entrance pupil axis (the picture doesn't show it like this).
Shooting the Pictures
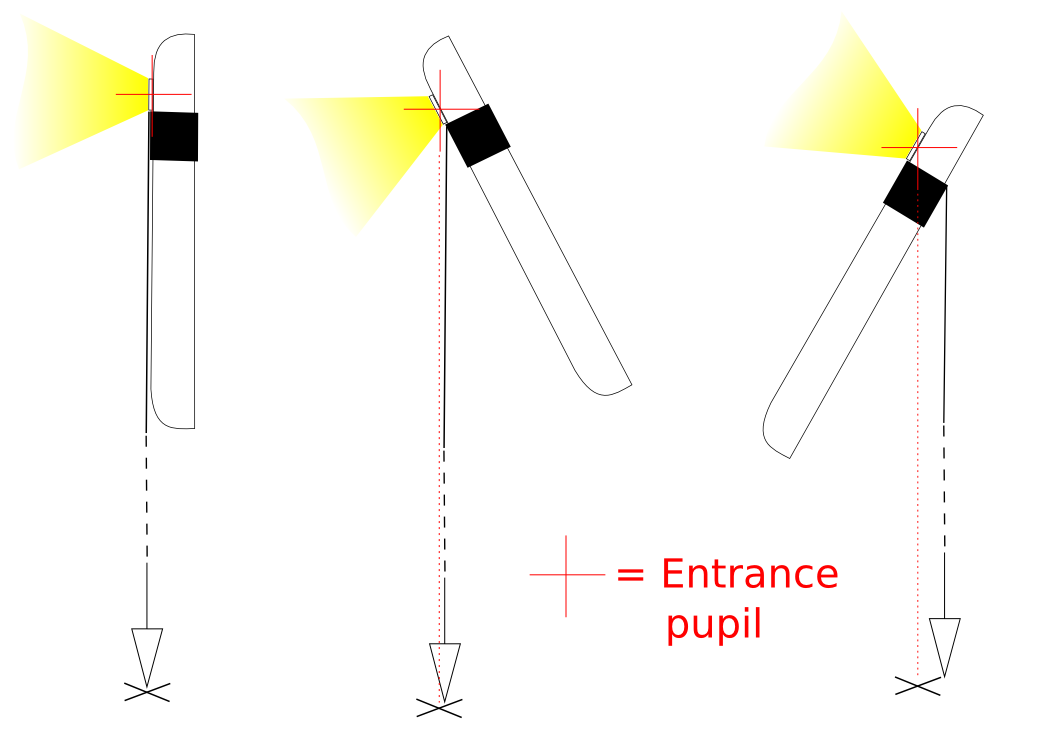
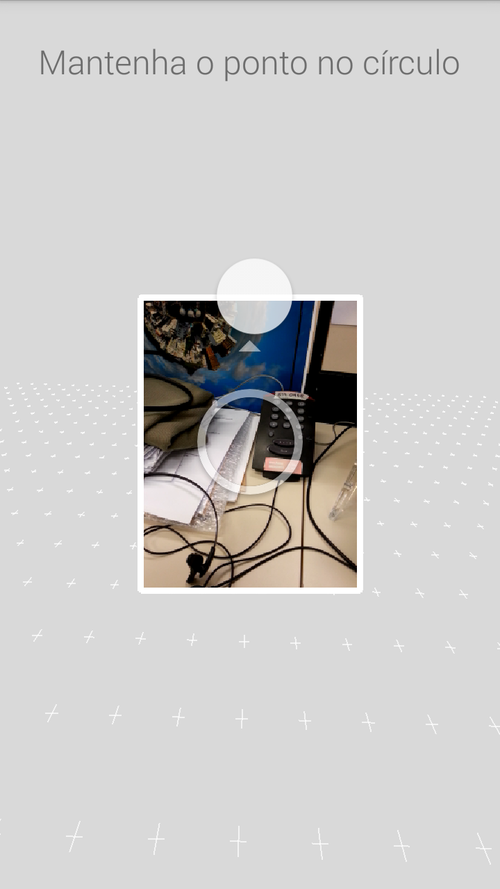
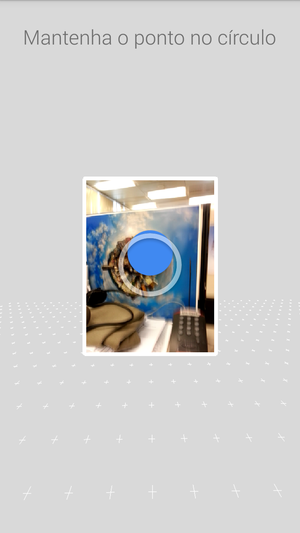
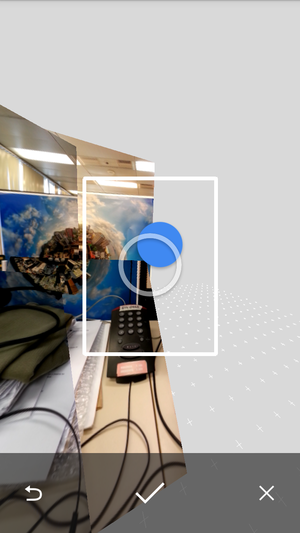
So, as we've seen at the last step, we have 2 philopod positions. I recommend that we start with the philopod right below the lens (position 1 at the first image), with the line at the back of the phone, so we can do a complete horizontal line of pictures.
When you enter the app and choose the Photo Sphere mode it will show a small picture frame at the center of the phone, like in the second image. It shows a fixed leaked circle at the center of the frame and a floating ball, which you should try to position in the middle of the circle by moving the phone.
When the ball stays inside the circle for a moment it gets blue and the phone automatically takes the picture. You can then rotate the phone to do the next one.
Simply making the pictures is quite easy. The secret at this important step is to use the philopod to try to keep the lens entrance pupil in the same place in space, so the images don't have parallax, so, to make the first picture:
- Find a reference point at the floor or create it if needed (a coin, a piece of paper, ...)
- Position the phone in space in a way that the ball gets close to the circle, but not enough to take the picture
- If it takes the picture you can go back and undo it, but pay attention, as it allows only one picture undo
- Now look at the floor and position the philopod over your reference point without rotating the phone
- Whet it is ok, rotate the phone to take the picture, trying to keep the philopod at the reference point
To do the next pictures I recommend repeating the same flow:
- Position the phone in space in a way that the ball gets close to the circle, but not enough to take the picture
- If it takes the picture you can go back and undo it, but pay attention, as it allows only one picture undo
- Look at the floor and position the philopod over your reference point without rotating the phone
- Whet it's ok, finish rotating the phone to take the picture
Go doing this to shoot an horizontal line of images first, then go shooting the down pictures, as the philopod is positioned ok for them. After finish covering the whole lower hemisphere change the philopod position, putting the line to the front of the phone, at the opposite side of the lens and position the velcro a little further down. Then repeat the flow to make the pictures of the above hemisphere.
Other general advices:
- Different kind of scenes will bring different quality at the final result. Shooting nature will make better pictures than shooting architecture. Do more geometrical lines on the scene, do more chances of stitching errors. Outdoor scenes, with sky above, will also have a better chance of having less errors
- Choosing the point from where to shoot can make big difference at the final result. If possible, choose a place where the floor is asphalt, sand, grass, concrete or any other abstract material, without geometrical lines. The point of view below (nadir) usually is where the errors are bigger
- If the scene is not controlled and there are people passing you should wait when someone is at your front. If the person doesn't leave you can finish with some half person at the final image. In those cases you can also shoot the whole person instead of doing the strict horizontal line
- If you have some control over the people just ask them to stand still for a moment :)
- The 360° picture has a different composition comparing to usual photos. Try to imagine the angle that the objects will occupy. For example, when shooting a room, if you get close to a wall, it will have almost 180° in your picture. It can also be used to play around. Try to shoot closer to someone and see how funny it gets.
- Be careful also with the high of the phone, you should try to keep it the same along all the shooting process
- When shooting completely up or down (zenith and nadir shots) you can try to compensate the philopod displacement by positioning it a little out of the reference point at the floor. When the line is at the opposite side of the lens (going to zenith) you can try to reposition it so the line gets closer to the entrance pupil axis
When you finish covering the whole visual sphere it usually knows it and finishes the shooting process, starting it again for a new picture.
You can also finish it at any point, but if the sphere is incomplete it won't stitch a complete Photo Sphere, unless it misses only some holes. If you don't close an horizontal and a vertical line of pictures it will stitch a partial panorama, in which you will also be able to navigate interactively at the phone.
Navigating on Your Picture
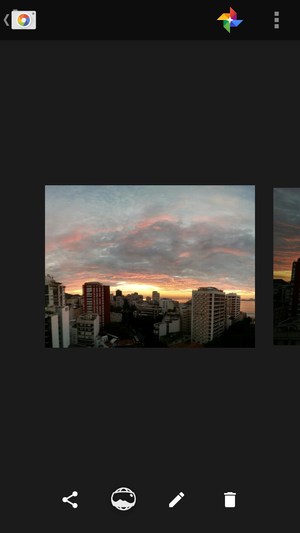
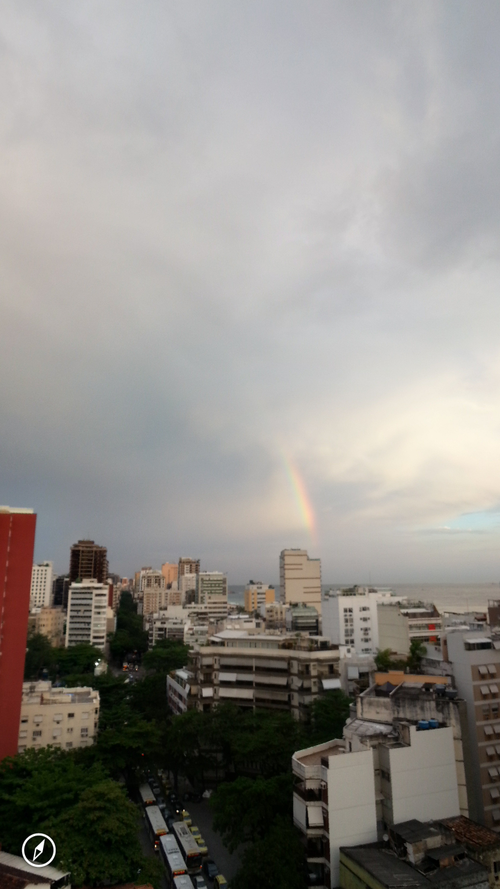
After shooting you can drag your finger from the extreme right of the screen to go to the gallery (picture 1).
If you do this right after shooting there is a chance that the picture will still being processed. When it finishes you will be able to see small icons at the bottom of the screen. The second icon is where you can click to navigate on the shown picture.
When navigating, if your phone has a gyroscope, you will see a small icon at the bottom left of the screen. Touch it to navigate on the picture just by rotating the phone on the air, without need to drag on the screen.
If your phone does sync with your google account (including the iOS app that can do that (if I remember well)) this pictures will go to google plus site and you will be able to share it with whoever you want and they will be able to navigate on it on their browsers.
Alternatively you can upload the final image, which is an equirectangular image, to sites like:
- http://www.360cities.net/
- http://www.tourwrist.com/
- http://www.viewat.org/
- http://www.360cidades.com.br/
- http://sky.easypano.com/
- http://www.spinattic.com/
All of them will make your equirectangular image available online for sharing.
Suggestion
You can try to make one picture using the philopod and another one without it to see the difference.
Optional: VR Glass Navigation
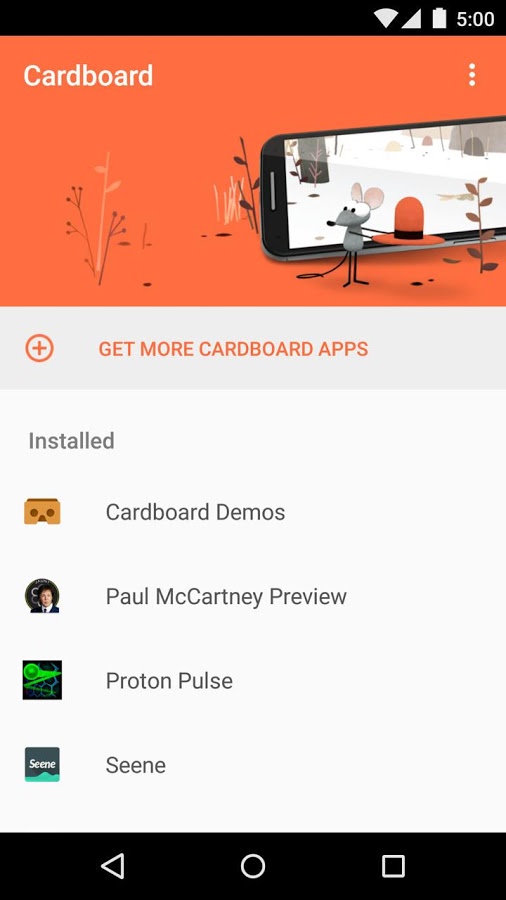
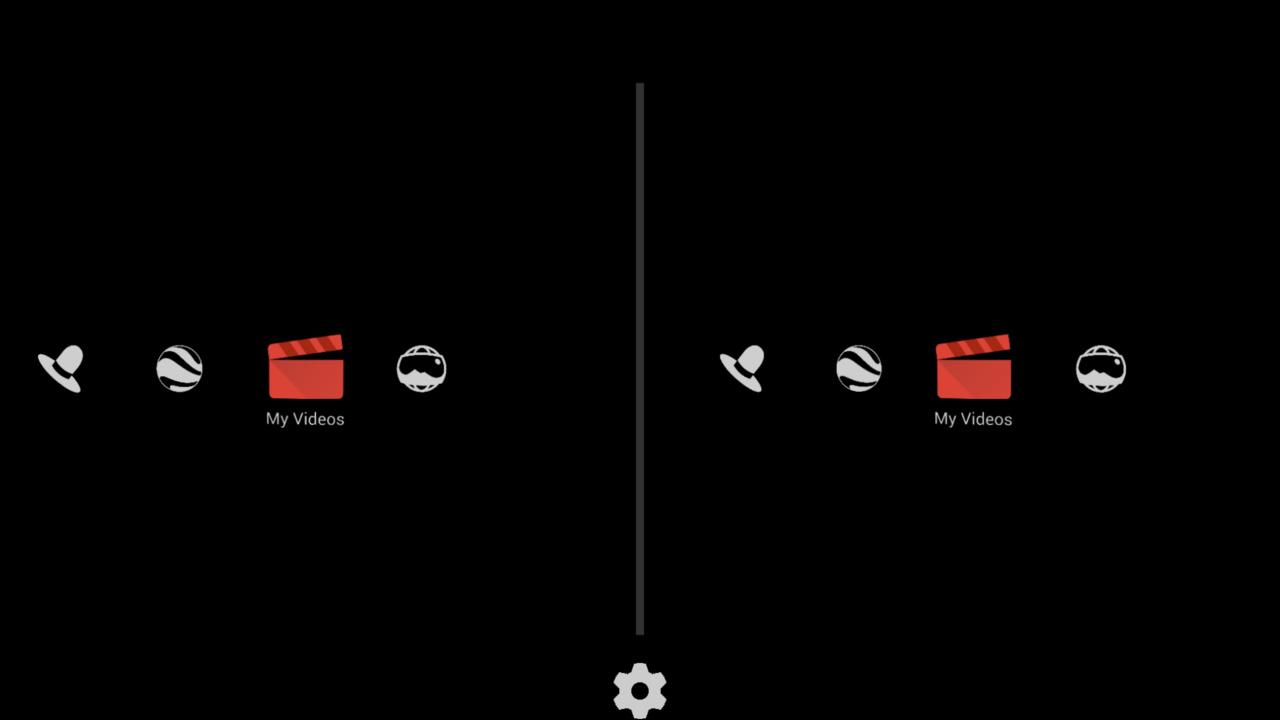
Once you have at least one panoramic image made you can try to navigate on it by using a VR glass. As stated, for this step you will need to have the VR glass. You can try it without having one just to make sure it will work with your phone.
Unfortunately I don't know an app to make it work on an iPhone. If someone knows, please let me know.
On Android devices you can install the Google Cardboard Demo app.
After installing you open it and click on the first option, called "Cardboard Demos".
It will take you to a black background screen, already working with the gyroscope - don't drag, rotate the phone to the right until you find the last option called "Photo Sphere", then click on the screen.
In the last step you could already be wearing the cardboard and could click with the magnetic button on its left. In my experience only a few cell phones are compatible with it, so, alternatively you can just touch the screen anywhere when your desired option is in the middle.
It will automatically find your pano spheres, which are files named PANO_XXXXX.jpg at your gallery folder. On Android phones you can make your pictures stitched at the computer on this folder with names like this to use the cardboard.
You can change to the next picture by touching the screen anywhere. I didn't find a way to go backwards unless exiting (back) and entering again.
THE END
Hope you enjoy your panoramas and find this tutorial interesting! Comments are very welcome and might motivate new tutorials.
If you liked this tutorial, please vote for it in the Photography Tips & Tricks contest. Just go to the tutorial header and click at the "Vote" orange icon :)