$35 Raspberry Pi 3 QBittorrent Seedbox
by Dhruvo in Workshop > Science
6453 Views, 2 Favorites, 0 Comments
$35 Raspberry Pi 3 QBittorrent Seedbox
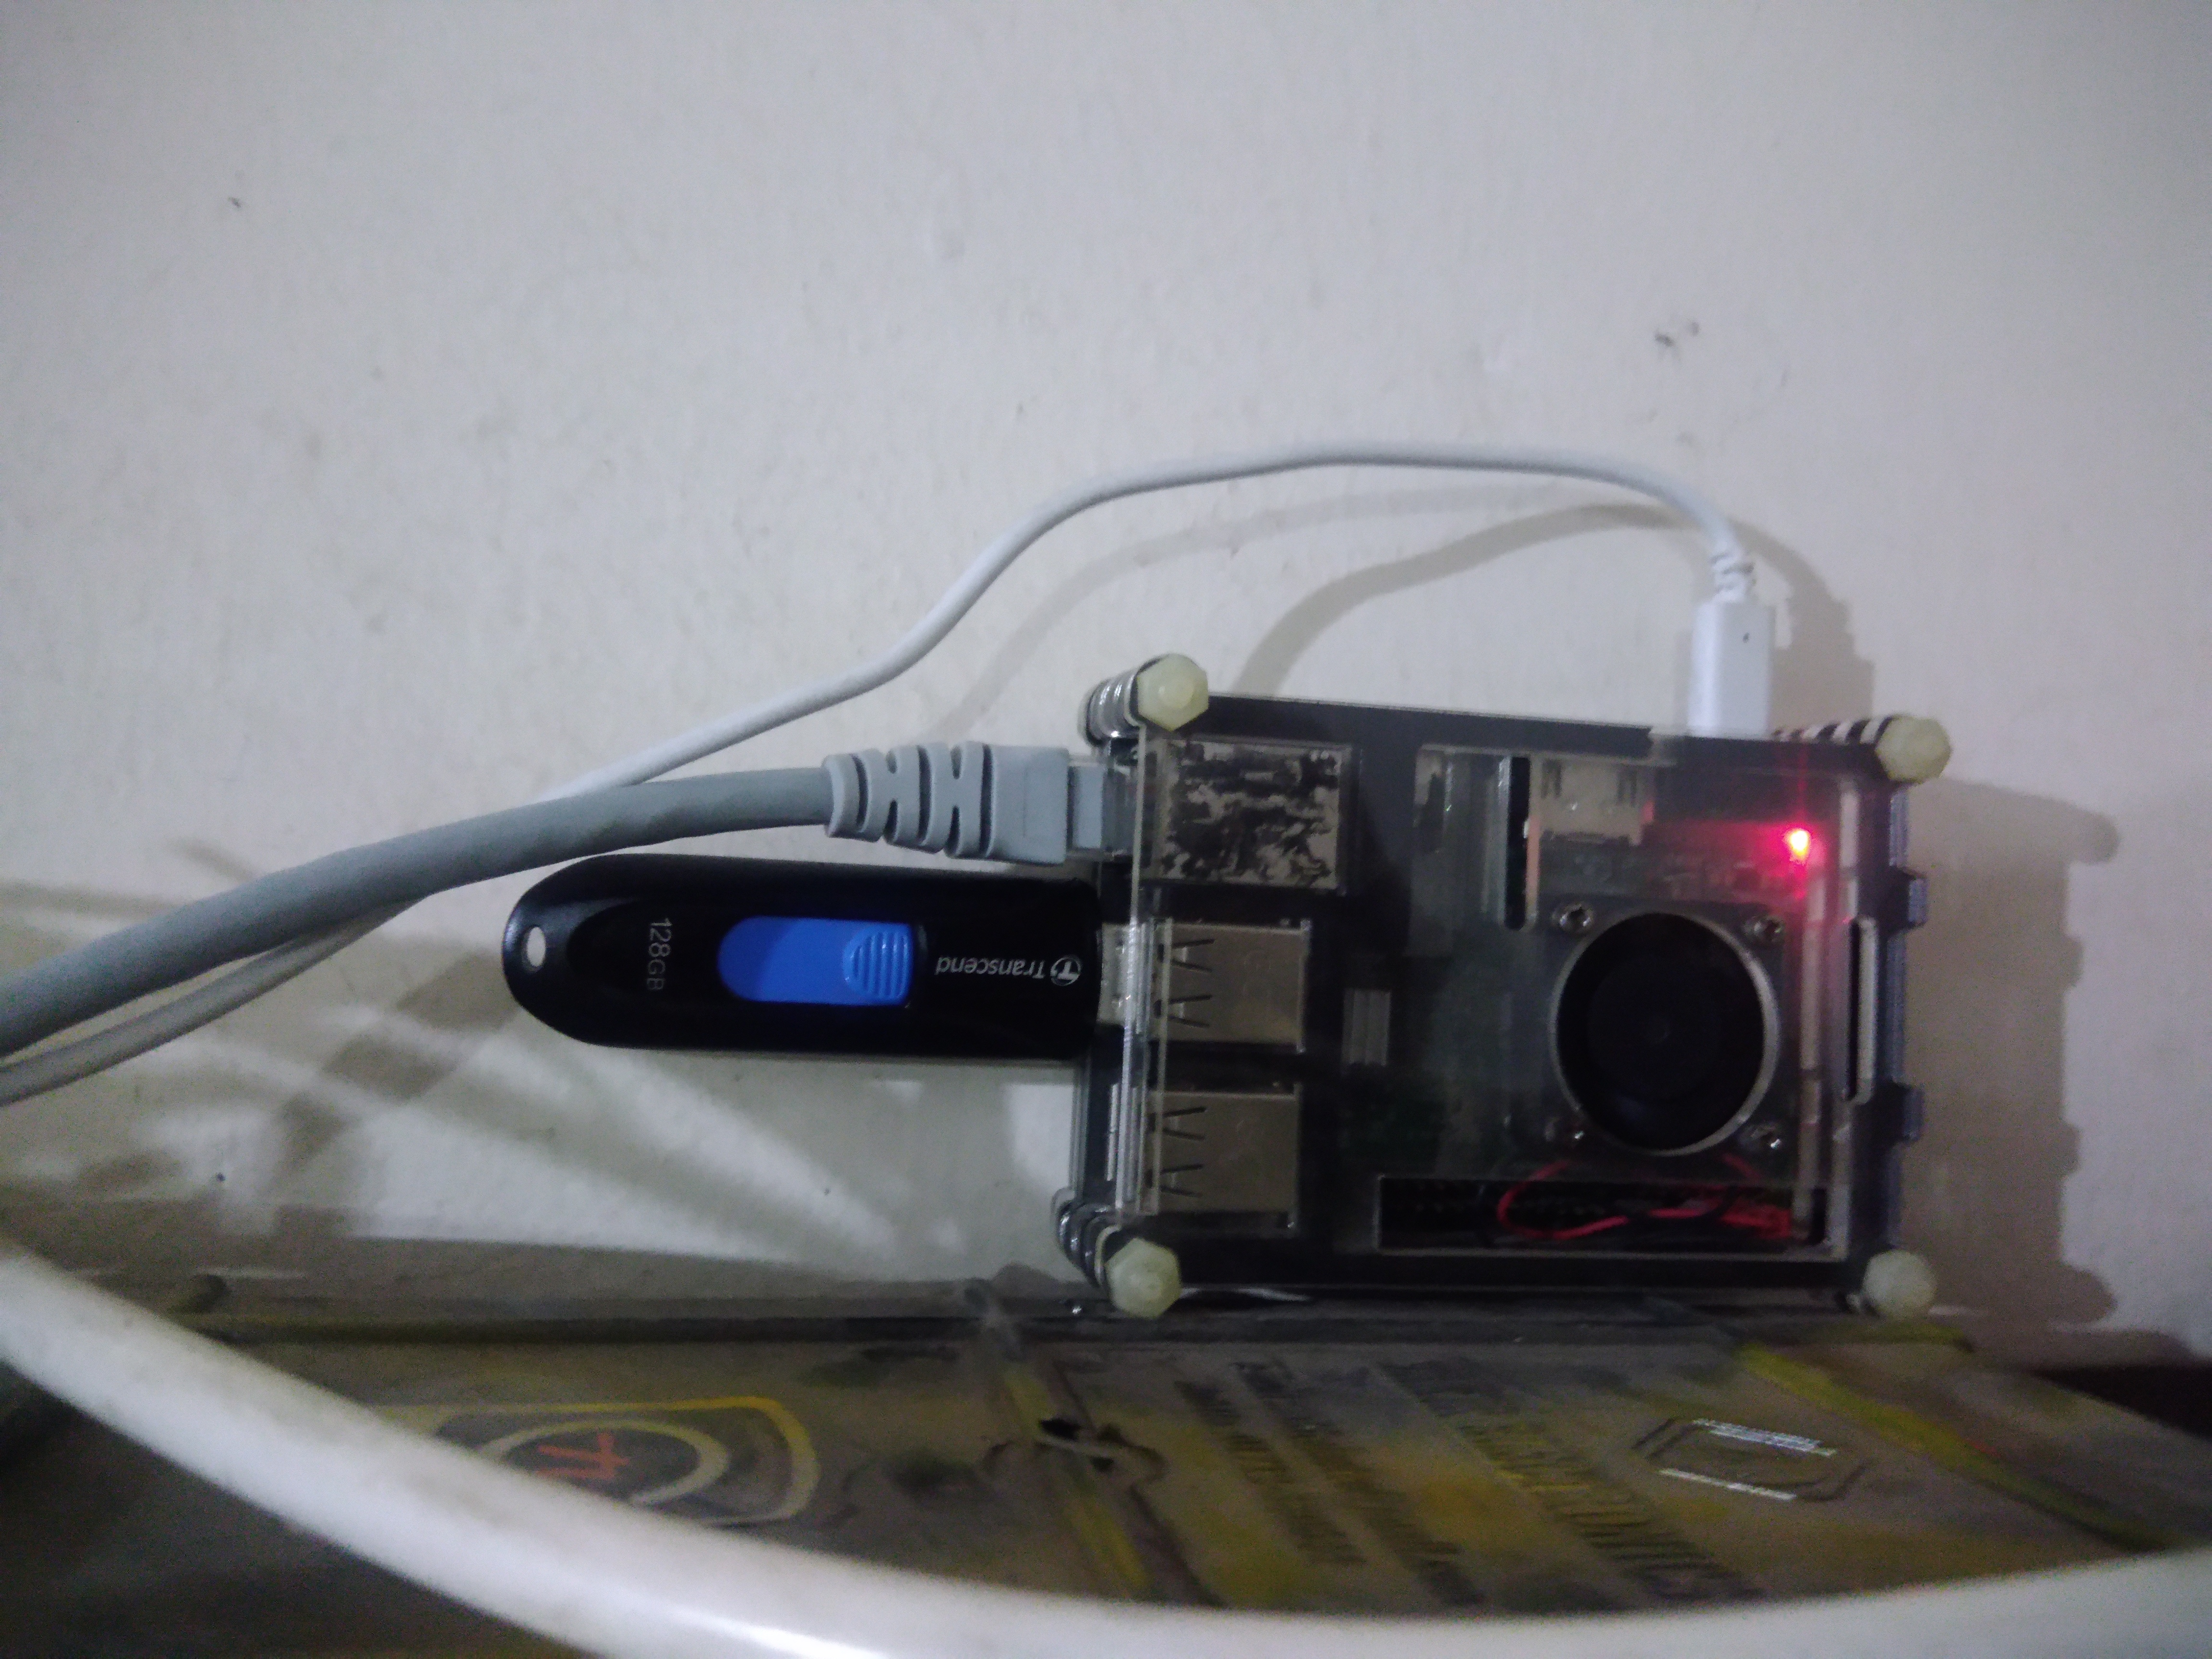
The Raspberry Pi is a series of small single-board computers developed in the United Kingdom by the Raspberry Pi Foundation to promote teaching of basic computer science in schools and in developing countries.
My main aim of the project was to help people to make their own raspberry pi qBittorrent WebUi server.It takes 20 days for me to make this project. I hope you will enjoy this project.If you have any question please ask me.
Required Hardware:
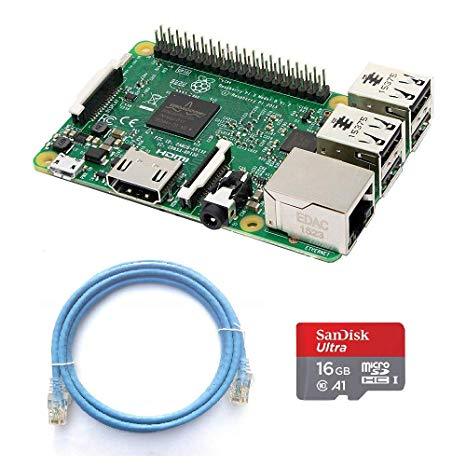
- Any kind of Laptop or PC(Preinstalled with Windows 7, 8 or 10).
- Raspberry pi 2, 3 or 4.
- Ethernet Cable.
- Router.
- Power Adapter.
- 32 , 64 or 128 GB SD-Card (Recommended Sandisk Sd-Card).
Software Requirements:
.png)
.png)
.png)
.png)
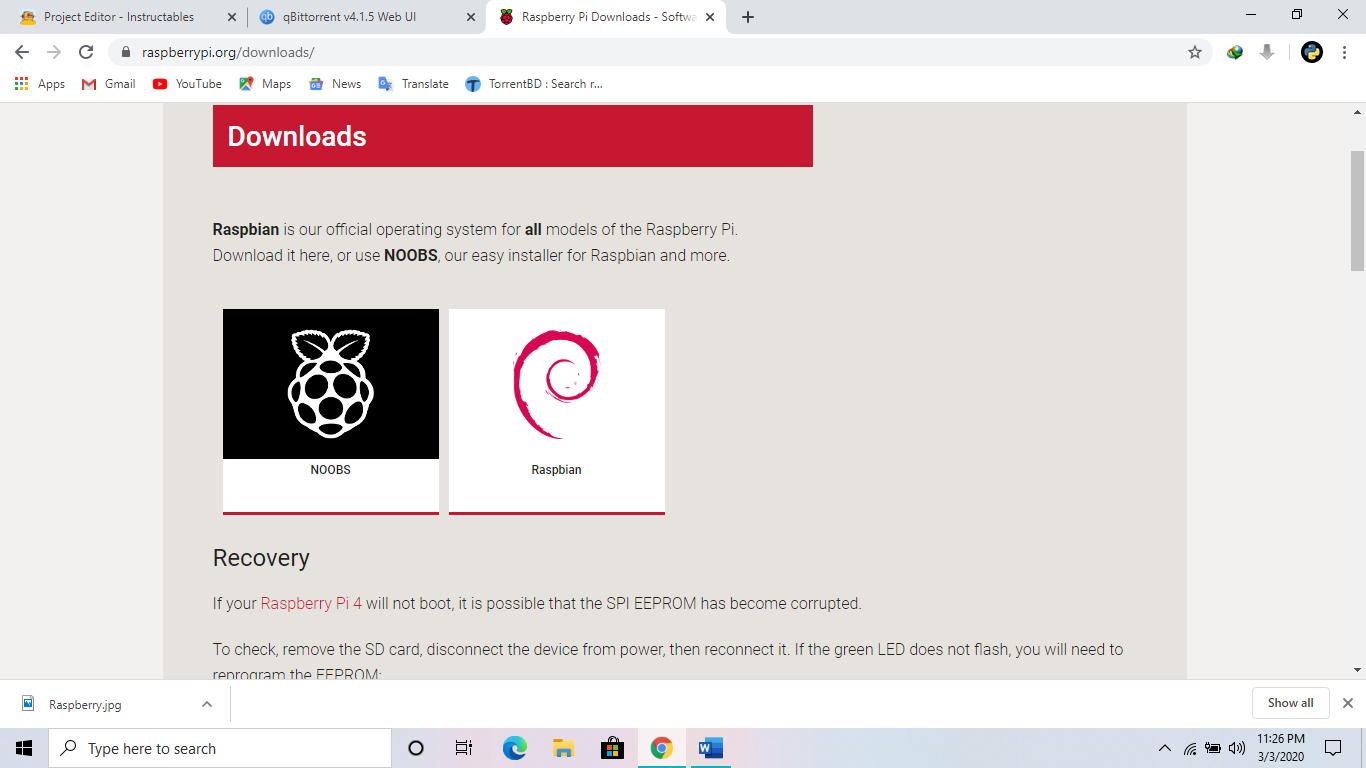
- Raspbian OS Lite(Recommended) or Full Raspbian OS.
- Balena Etcher or Win32 Disk Imager.
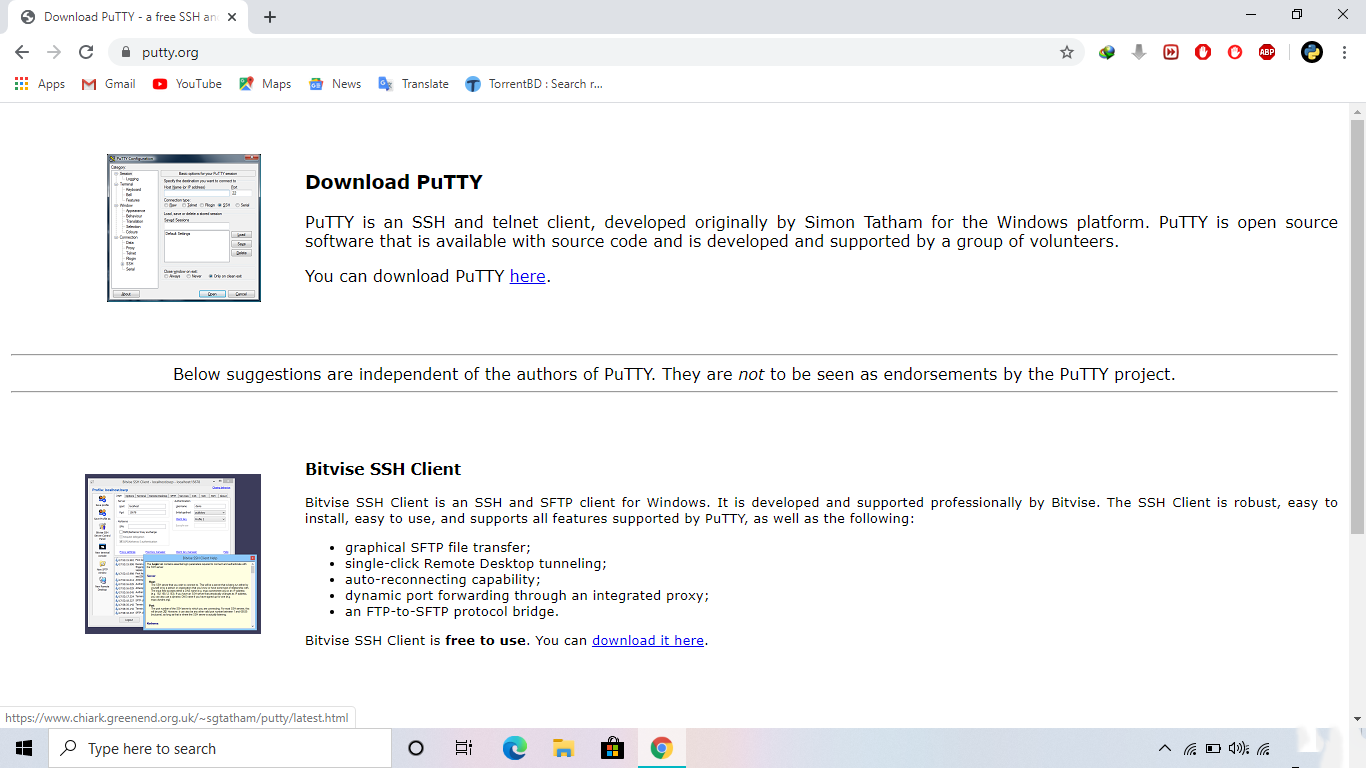
- putty.
- Advanced Ip Scanner or any kind of ip scanner software.
Follow the Below Steps:
.png)
.png)
.png)
.png)
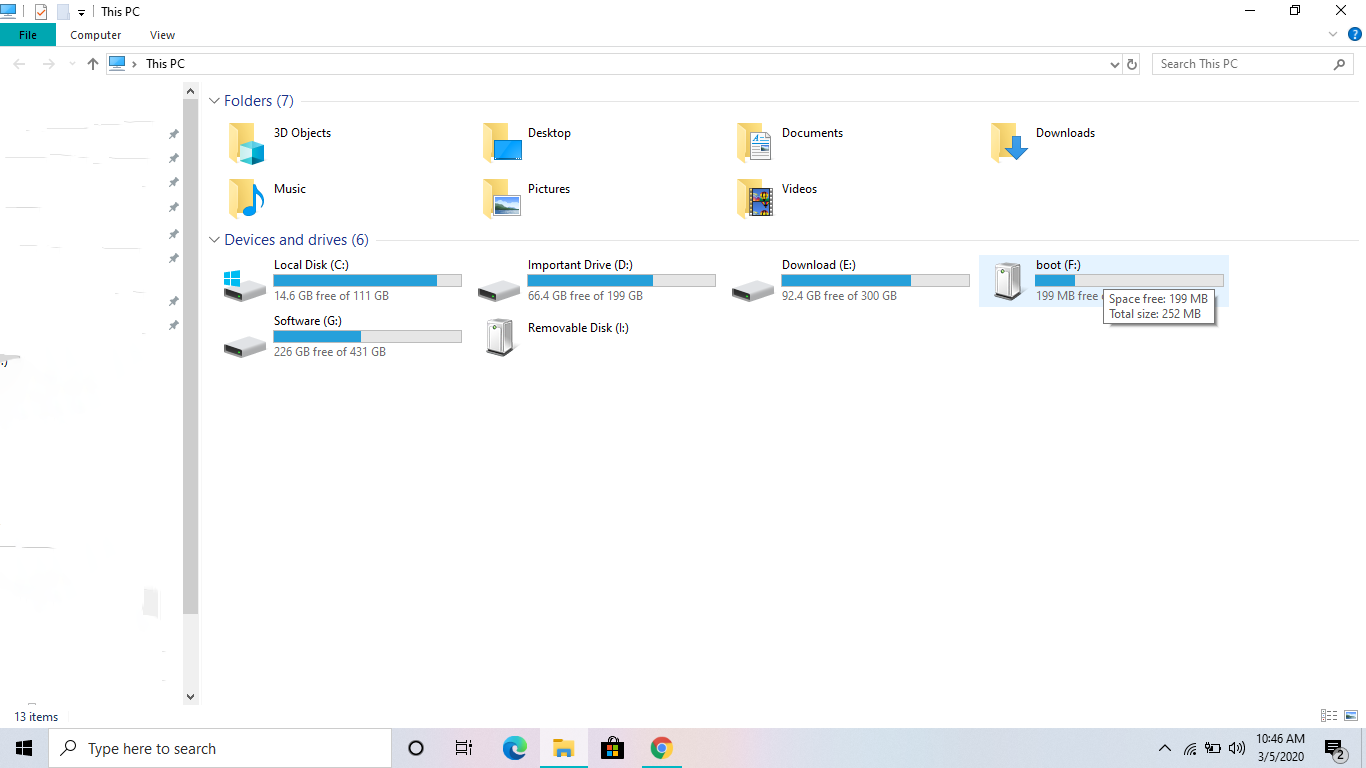
- At first, flash the Raspbian OS on the micro sdcard.
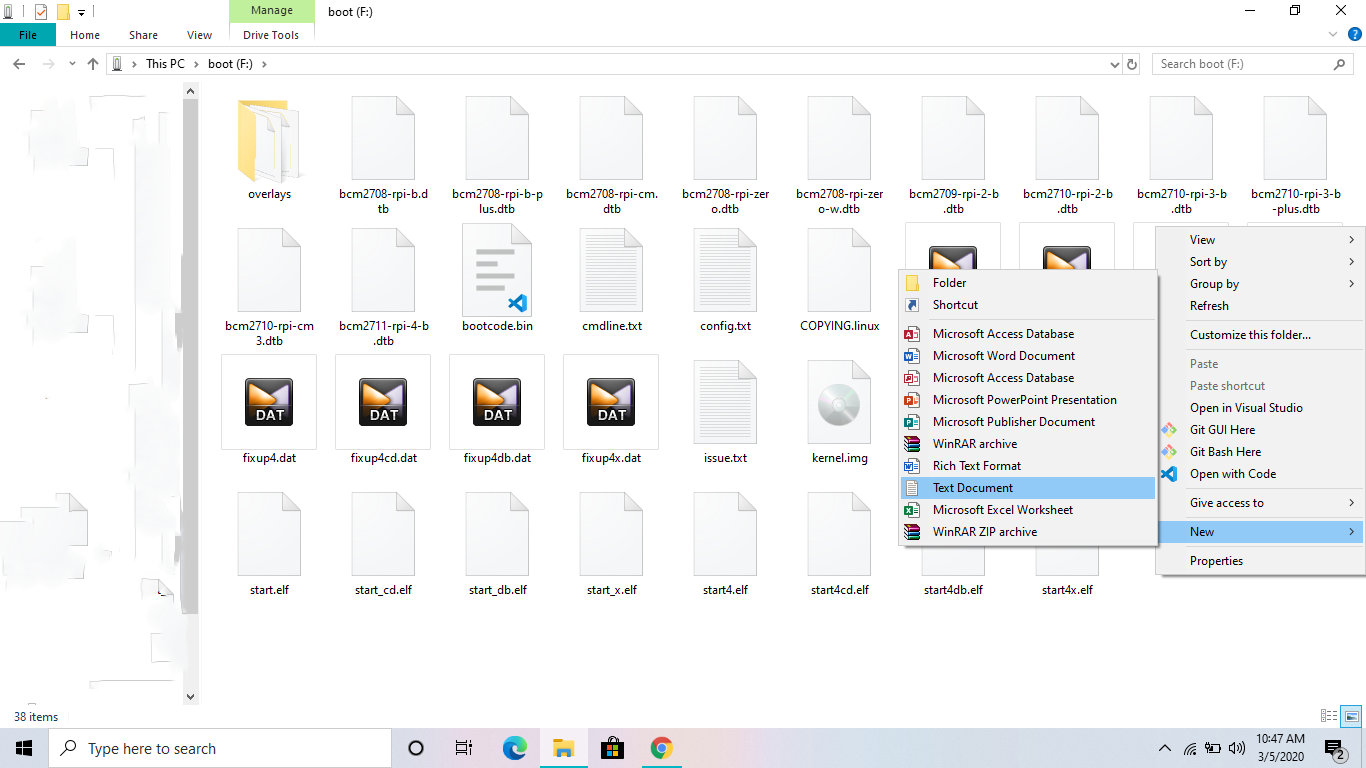
- Then save a blank file named ssh on the sdcard.
- Insert the micro sdcard inside the sdcard slot of raspberry pi.
- Install all the software mentioned above.
- Power on the Raspberry pi.
- Wait for a few minute to boot the pi.
- Connect the ethernet cable with the raspberry pi.
- Then connect the other end of ethernet cable to the LAN port of the router.
- Go to the ip address https:// 192.168.0.1 or https://192.168.1.1 (Check your router ip on the backside of the router).
- Then check for attached devices on your router.
- You will see a network attached wired device with ip address on your router.
- Copy the ip address and go to address reservation of your router.
- Copy and paste the ip address . Then save it.
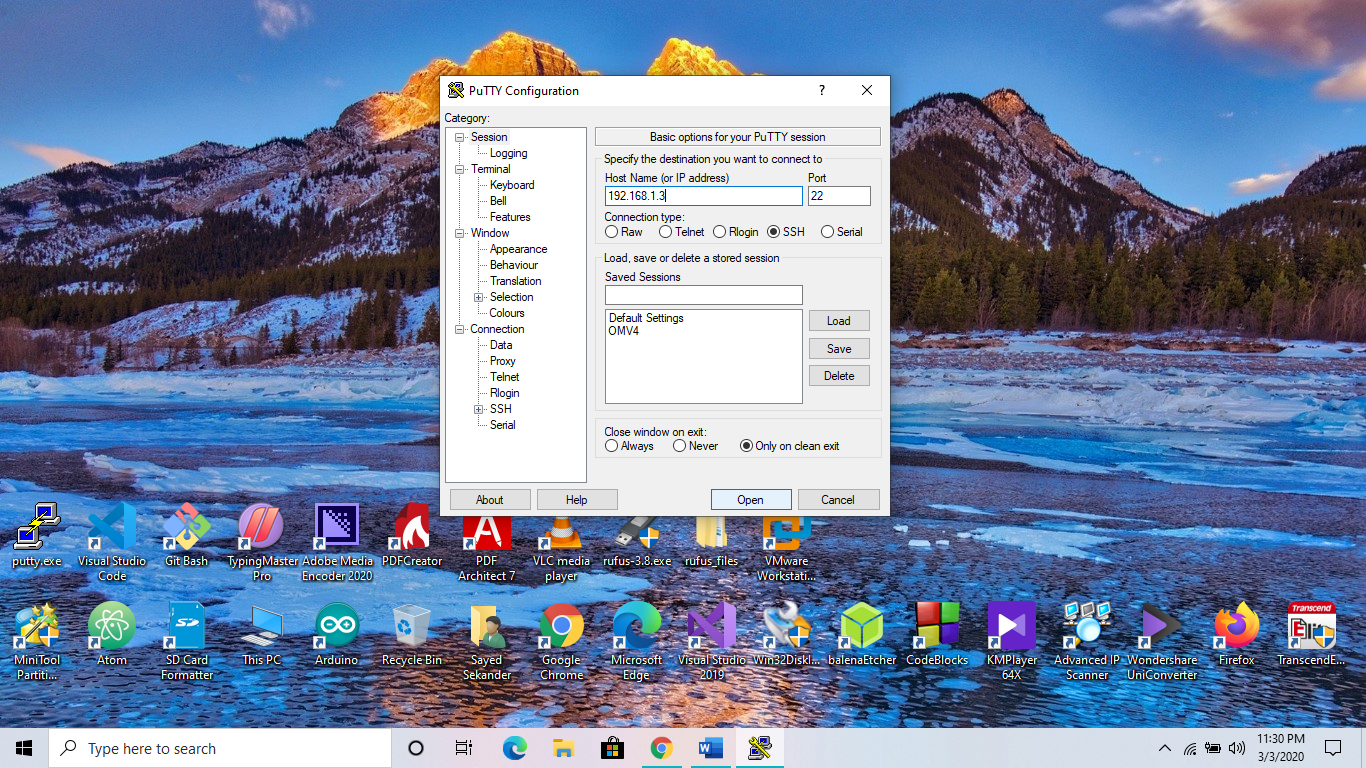
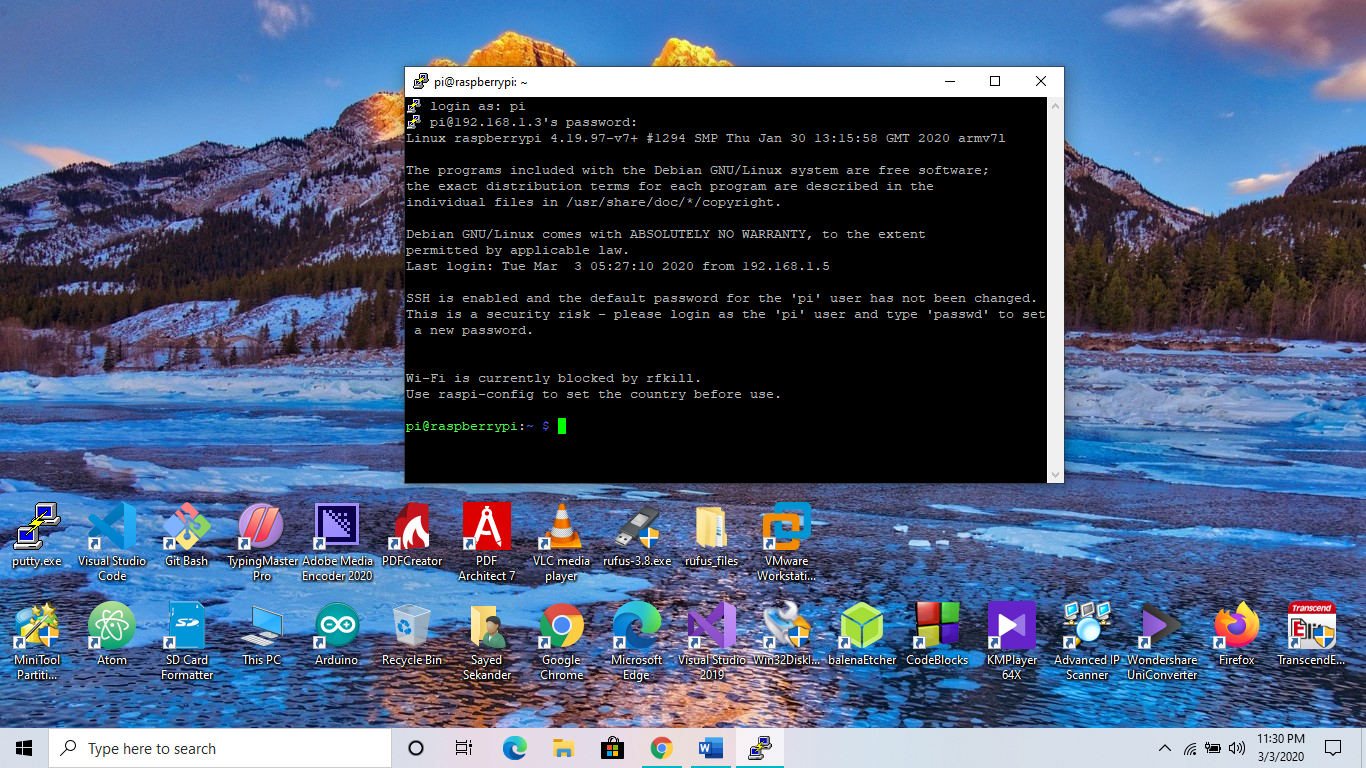
- After that open putty .
- Paste the ip address on the hostname.
- And then press open.
- Now , Login as: pi.
- Password is : raspberry.
- Type: sudo apt-get update -y && sudo apt-get upgrade -y
- You can also type: sudo apt update && sudo apt full-upgrade -y.
It's Time for Installing QBittorrent WebUI:
- Type: sudo apt-get update && sudo apt-get install qbittorrent-nox
- To add user type: sudo adduser qbtuser
- To edit user type: sudo nano /etc/systemd/system/qbittorrent.service
- Copy and paste the whole line here:
[Unit]
Description=qBittorrent Daemon Service
After=network.target
[Service]
User=qbtuser
ExecStart=/usr/bin/qbittorrent-nox --webui-port=8080
[Install]
WantedBy=multi-user.target
For Checking (If Everything Working or Not):
- sudo systemctl daemon-reload
- sudo su qbtuser
- qbittorrent-nox
After that press Ctrl+C
Then write exit
For Checking the Status of the Service:
- sudo systemctl start qbittorrent
- sudo systemctl status qbittorrent
- Press q
For Mounting External Usb or Harddrive:
.png)
.png)
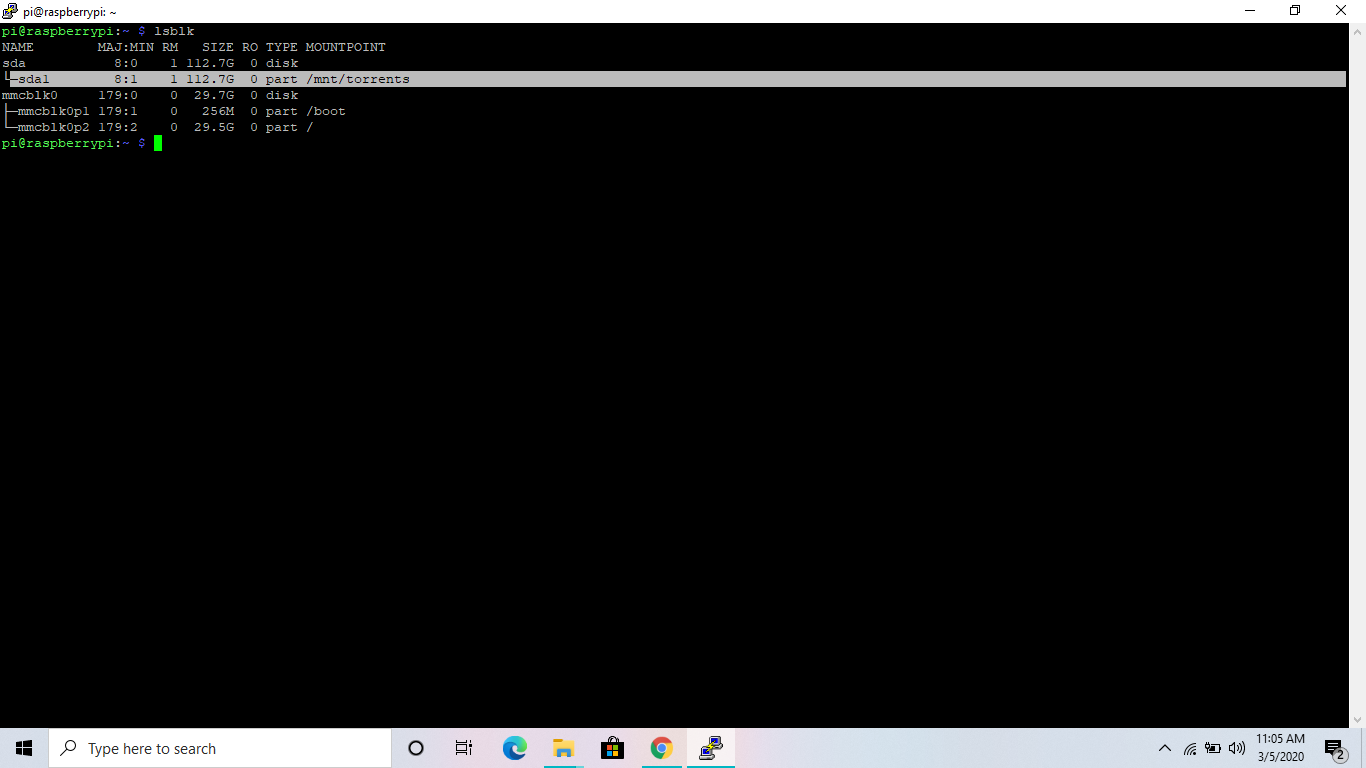
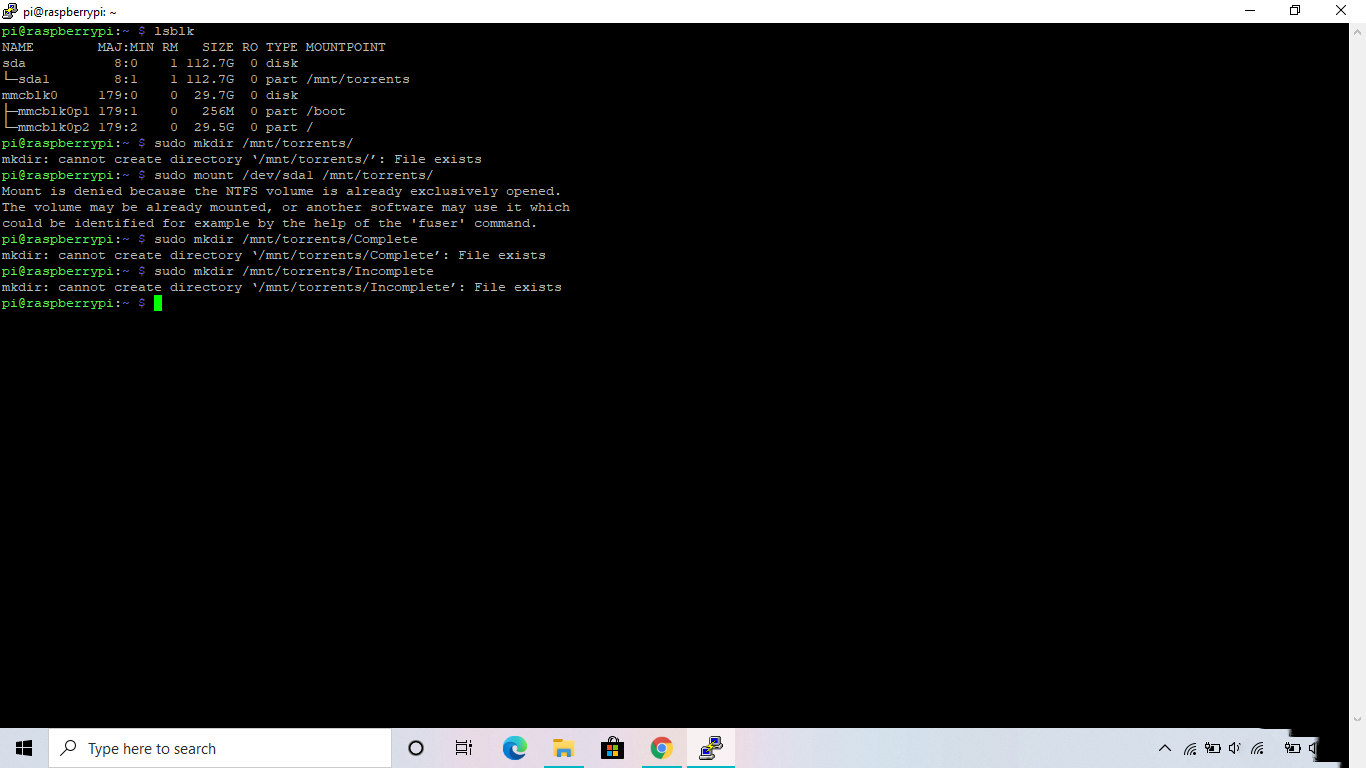
- Type lsblk
- Find your device with sda or sdb
- Type:sudo mkdir /mnt/torrents/
- Type:sudo mount /dev/sda1 /mnt/torrents/
- Again type:sudo mkdir /mnt/torrents/Complete
- Type:sudo mkdir /mnt/torrents/Incomplete
For Auto Mounting of Usb Device on Startup:
.png)
.png)
.png)
.png)
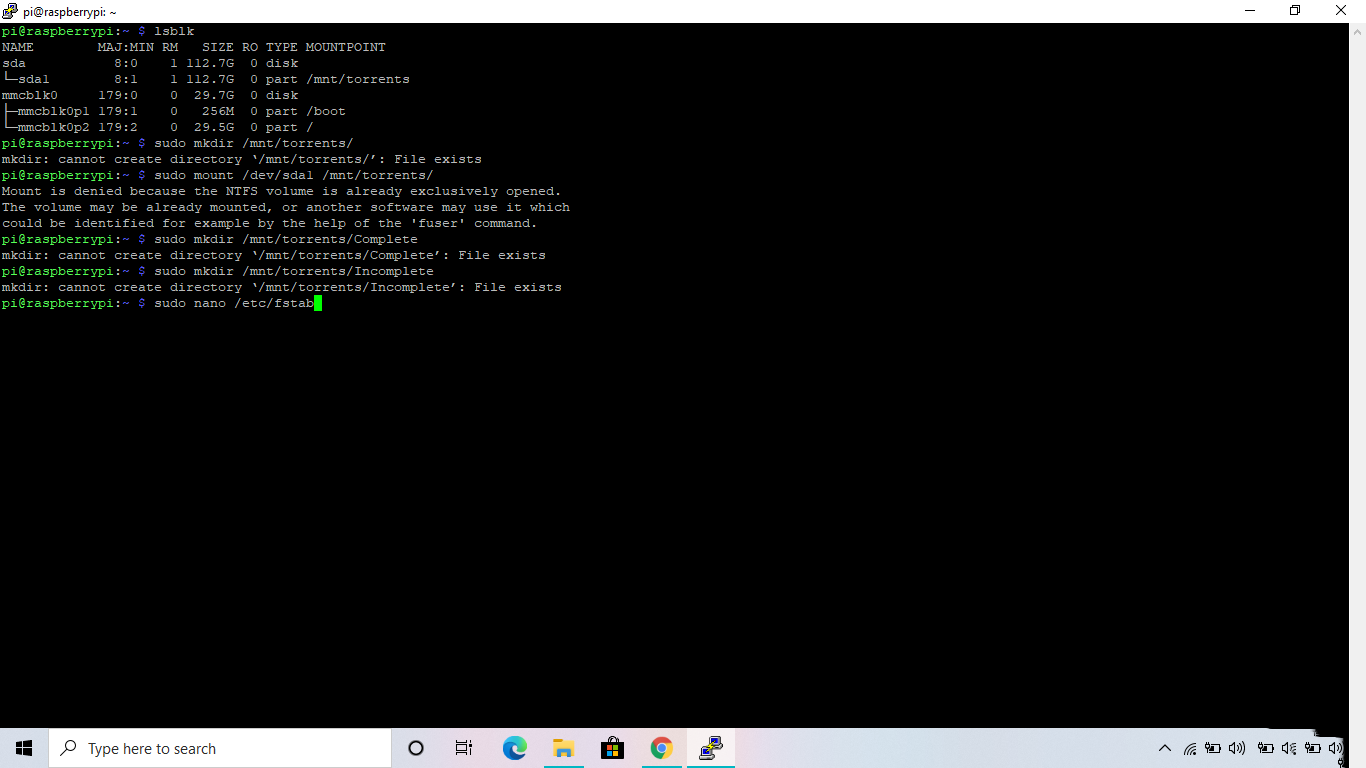
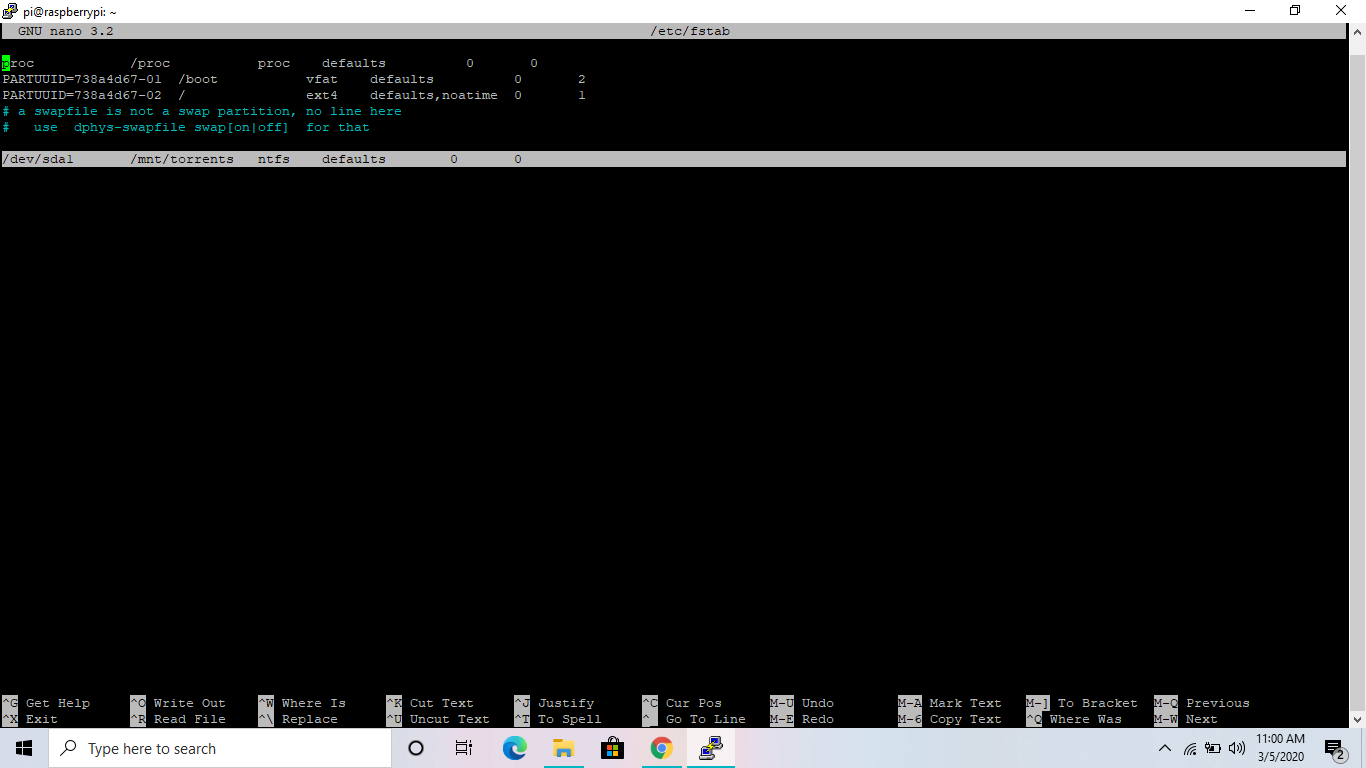
Type: sudo nano /etc/fstab
After that go to the bottom, Press enter and then write the following:
/dev/sda1 /mnt/torrents/ ntfs defaults 0 0
Remember type: /dev/sda1 or /dev/sdb1 according to your device.
Final Step:
.png)
.png)
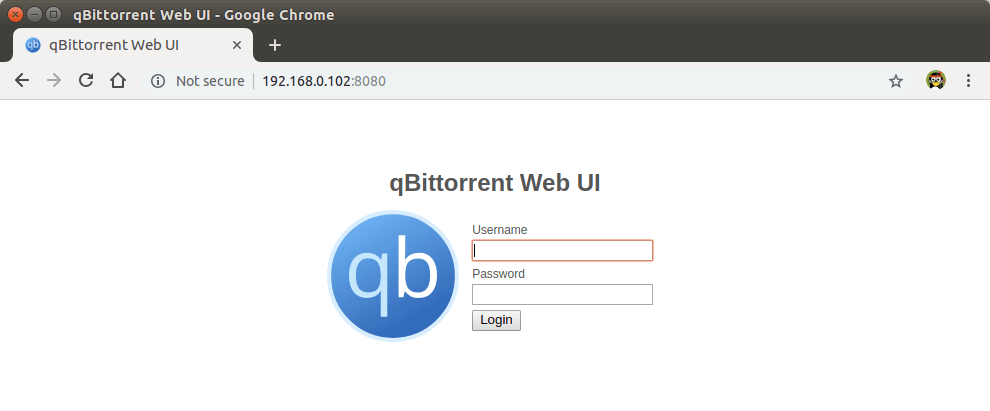
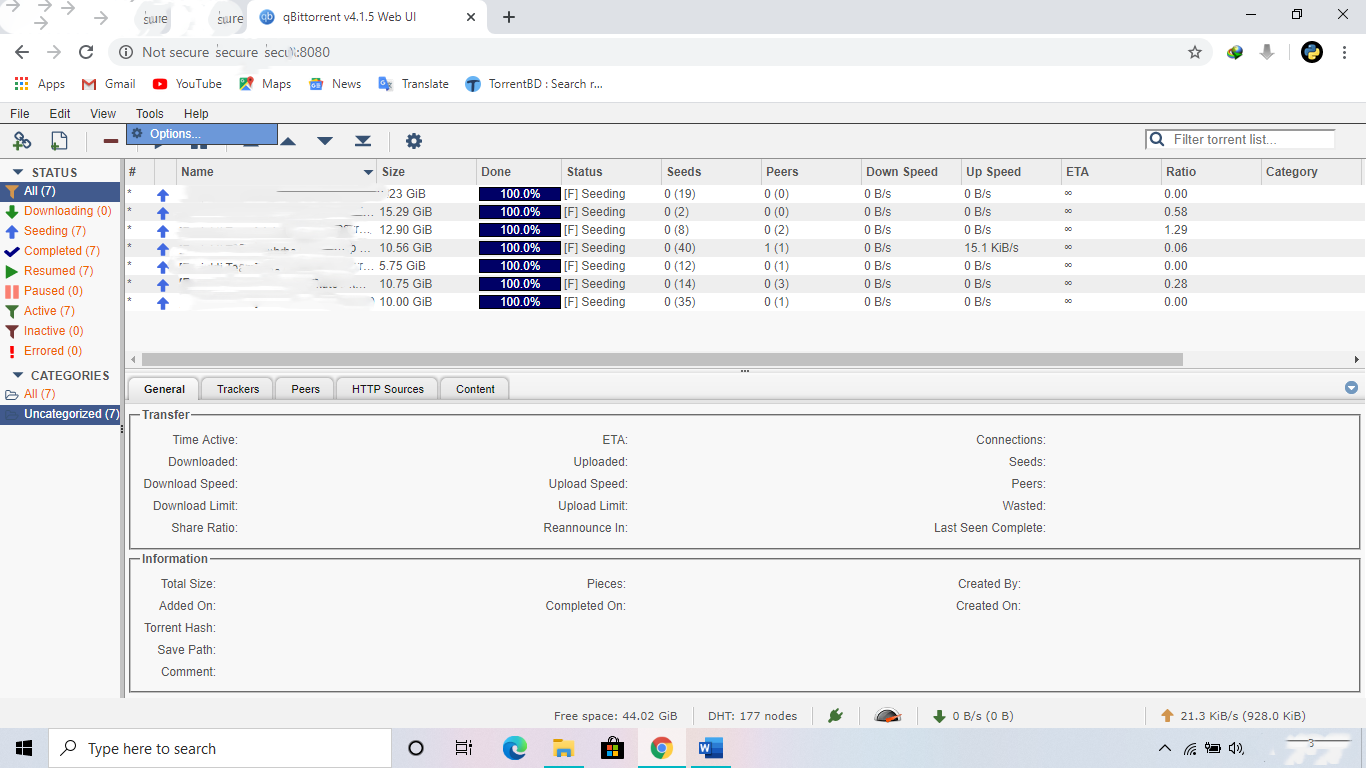
Now open your web browser and type: Your Raspberry Pi ip-address:8080
User: admin
Password: adminadmin
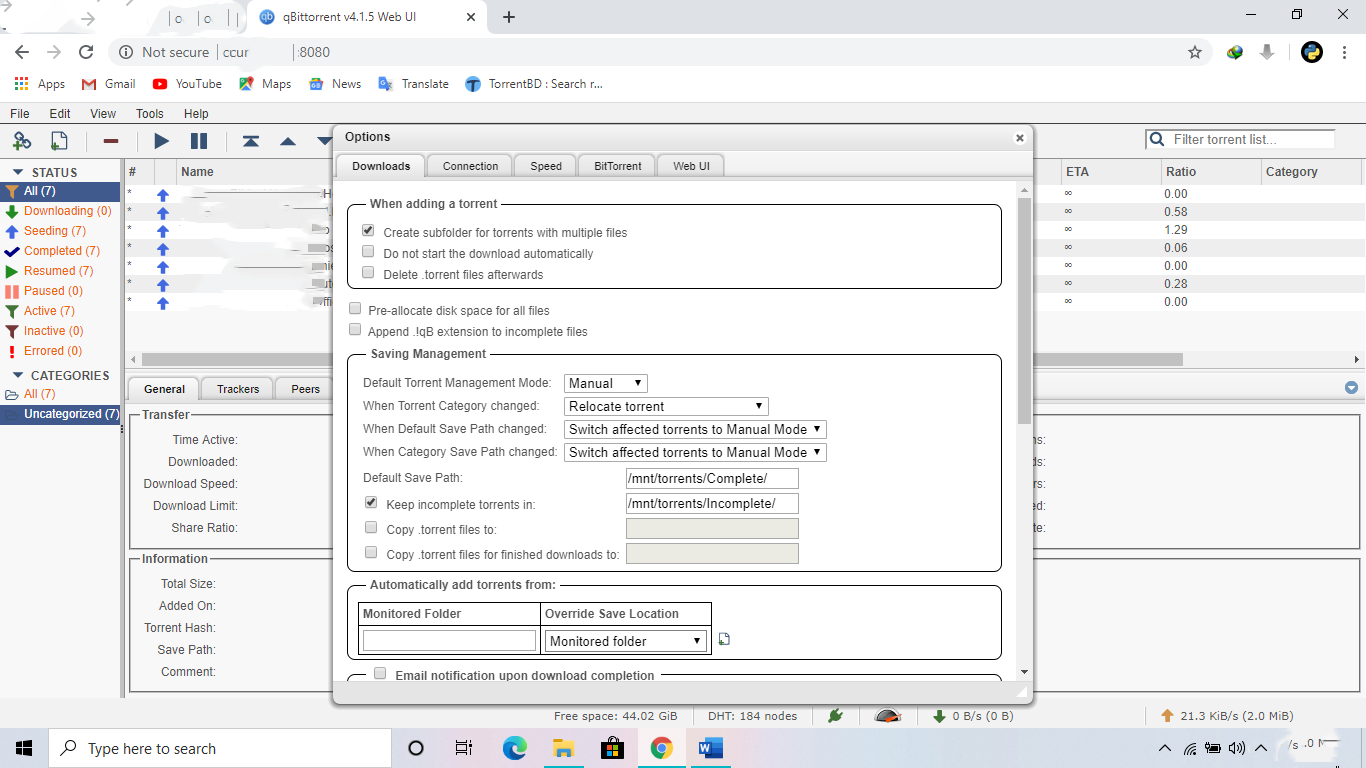
After that click on tools and then select option.
On the download tab save the option like the picture above.
Conclusion:

Now, you can connect to your seedbox at anytime.
But only when you are connected on your wifi or network.
Have a nice day. :)