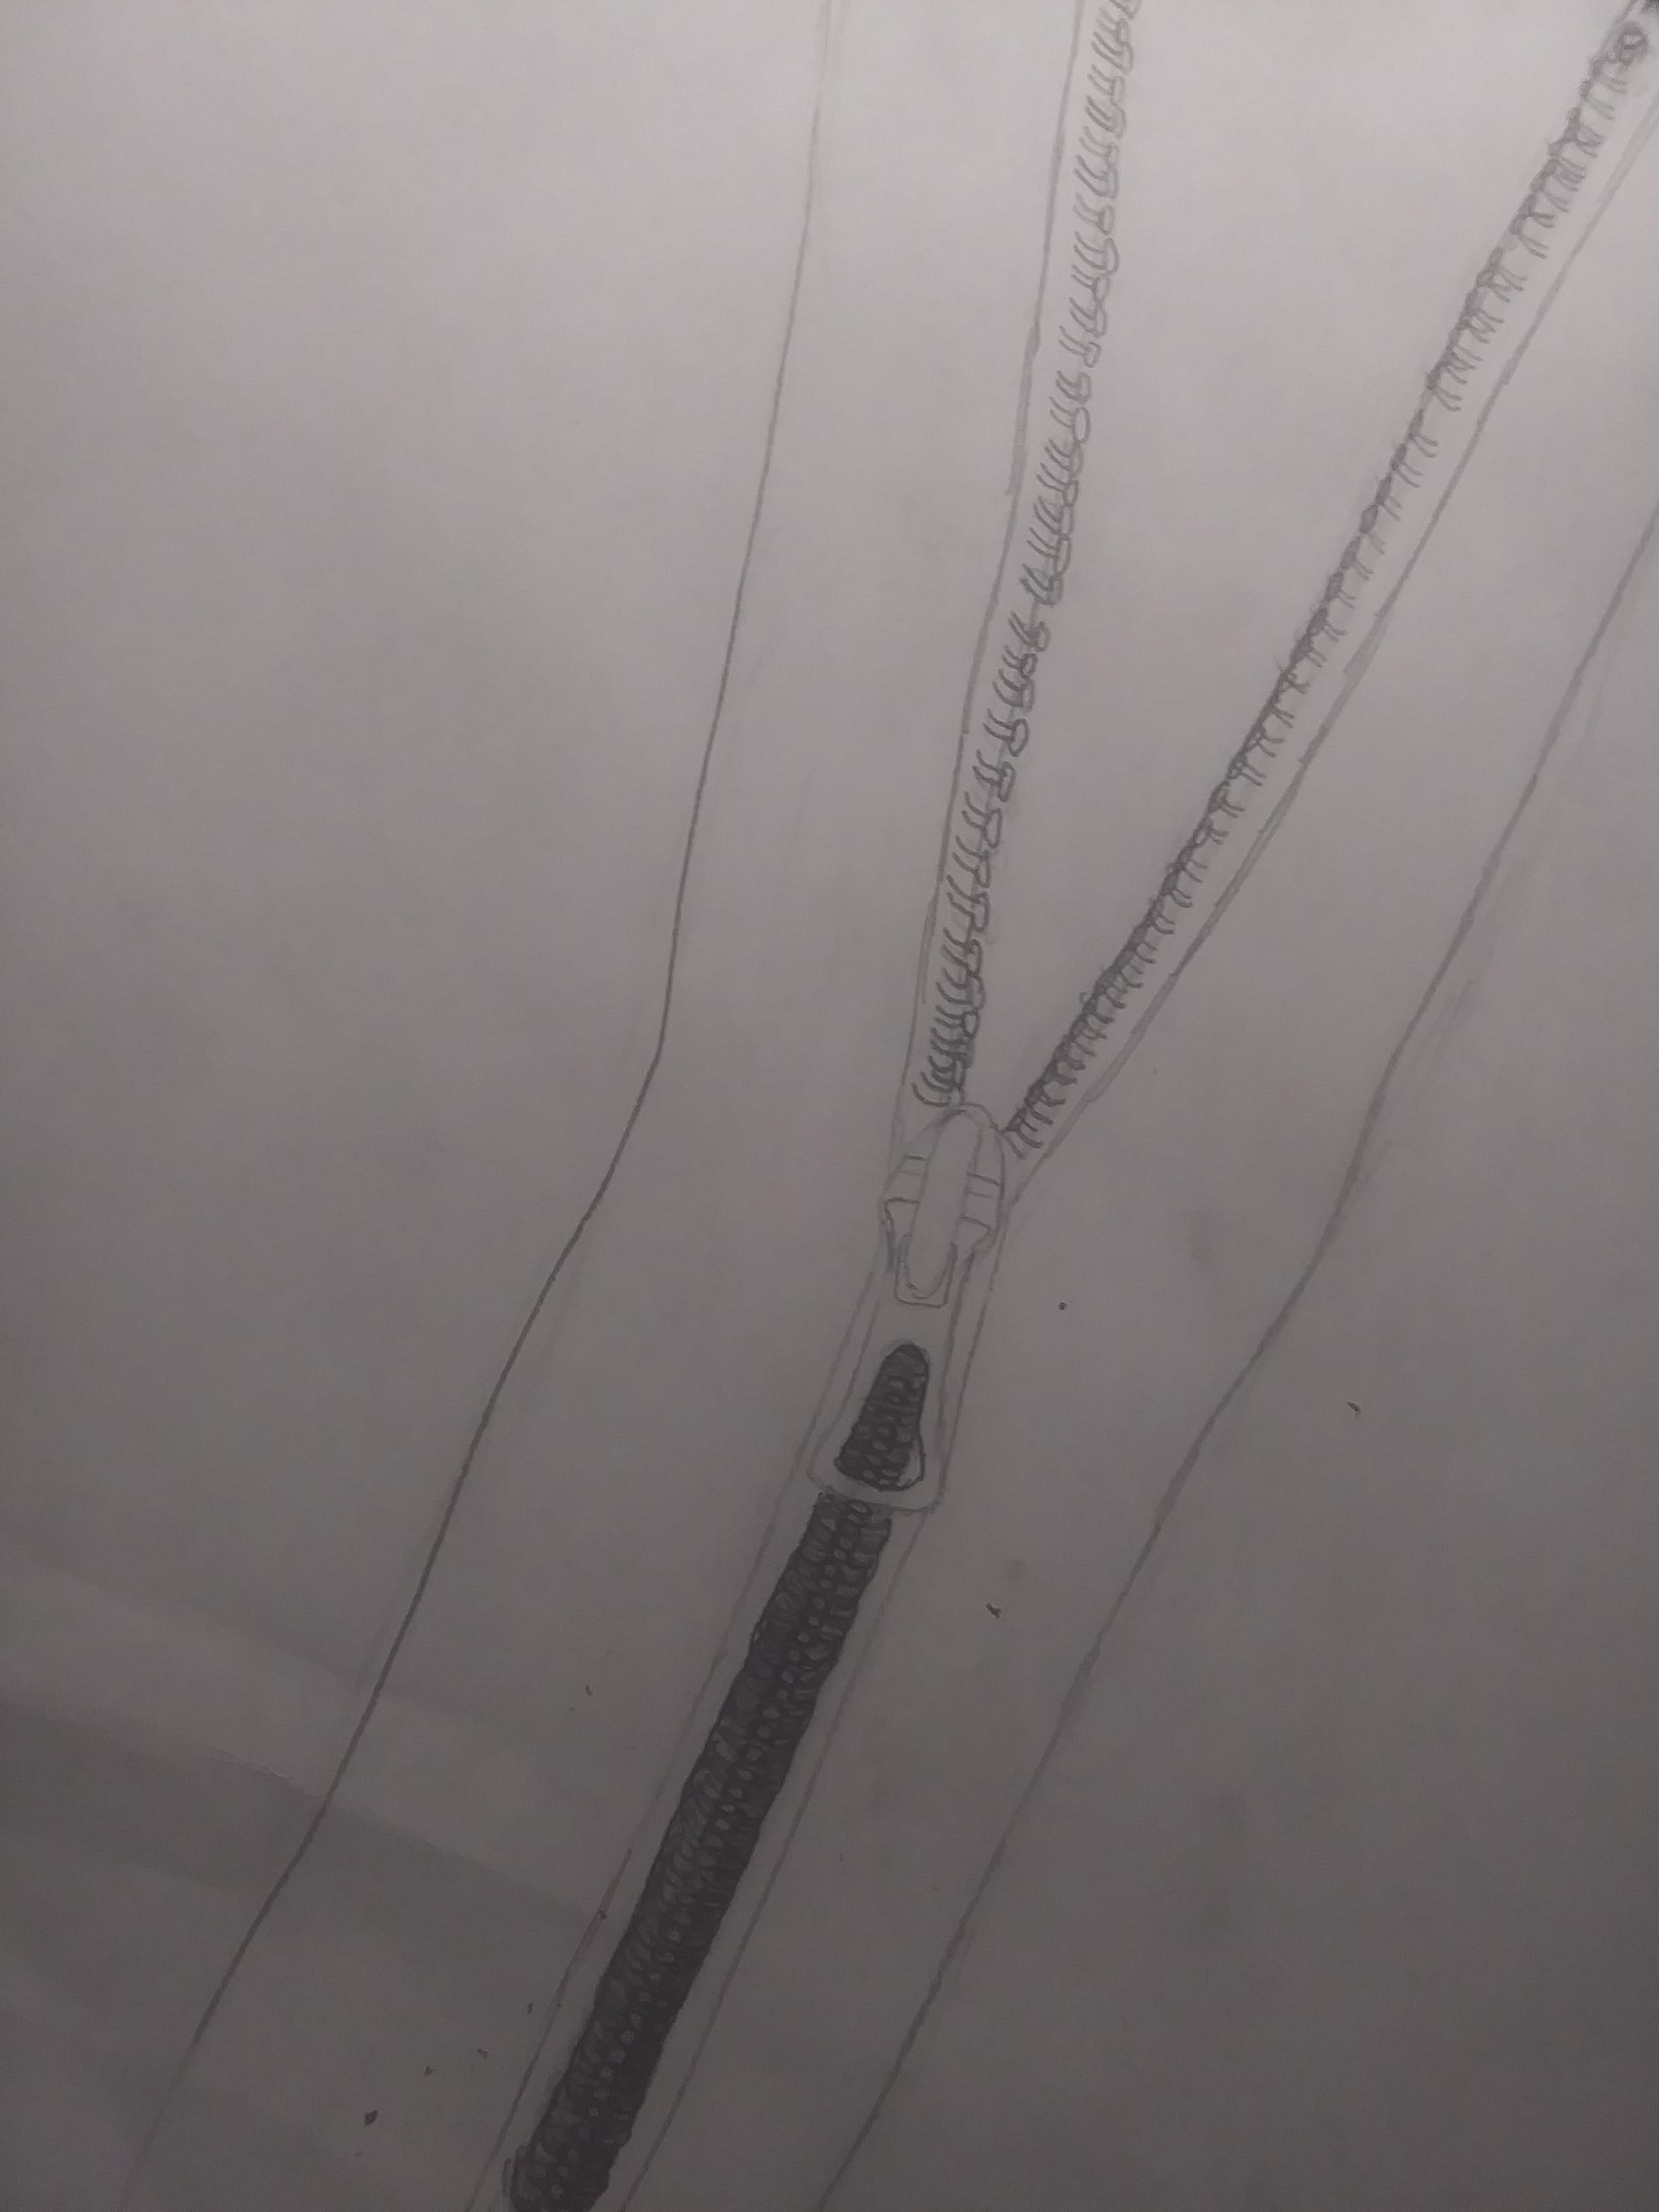
3 Step Zipper Drawing

I love to draw abstract things! A zipper is no exception. I have been drawing for three years now and this piece tested everything I know. I would not recommend it for a beginner that is just learning how to draw because it was hard, but it was also really fun!
This took me about an hour and a half. I did not draw this form my mind, I did use a picture. The link for the image is at the bottom of the Instructable if you want to take a look at it. Over all, the hardest part about this was that it took a lot of patients, but other then that, have fun!
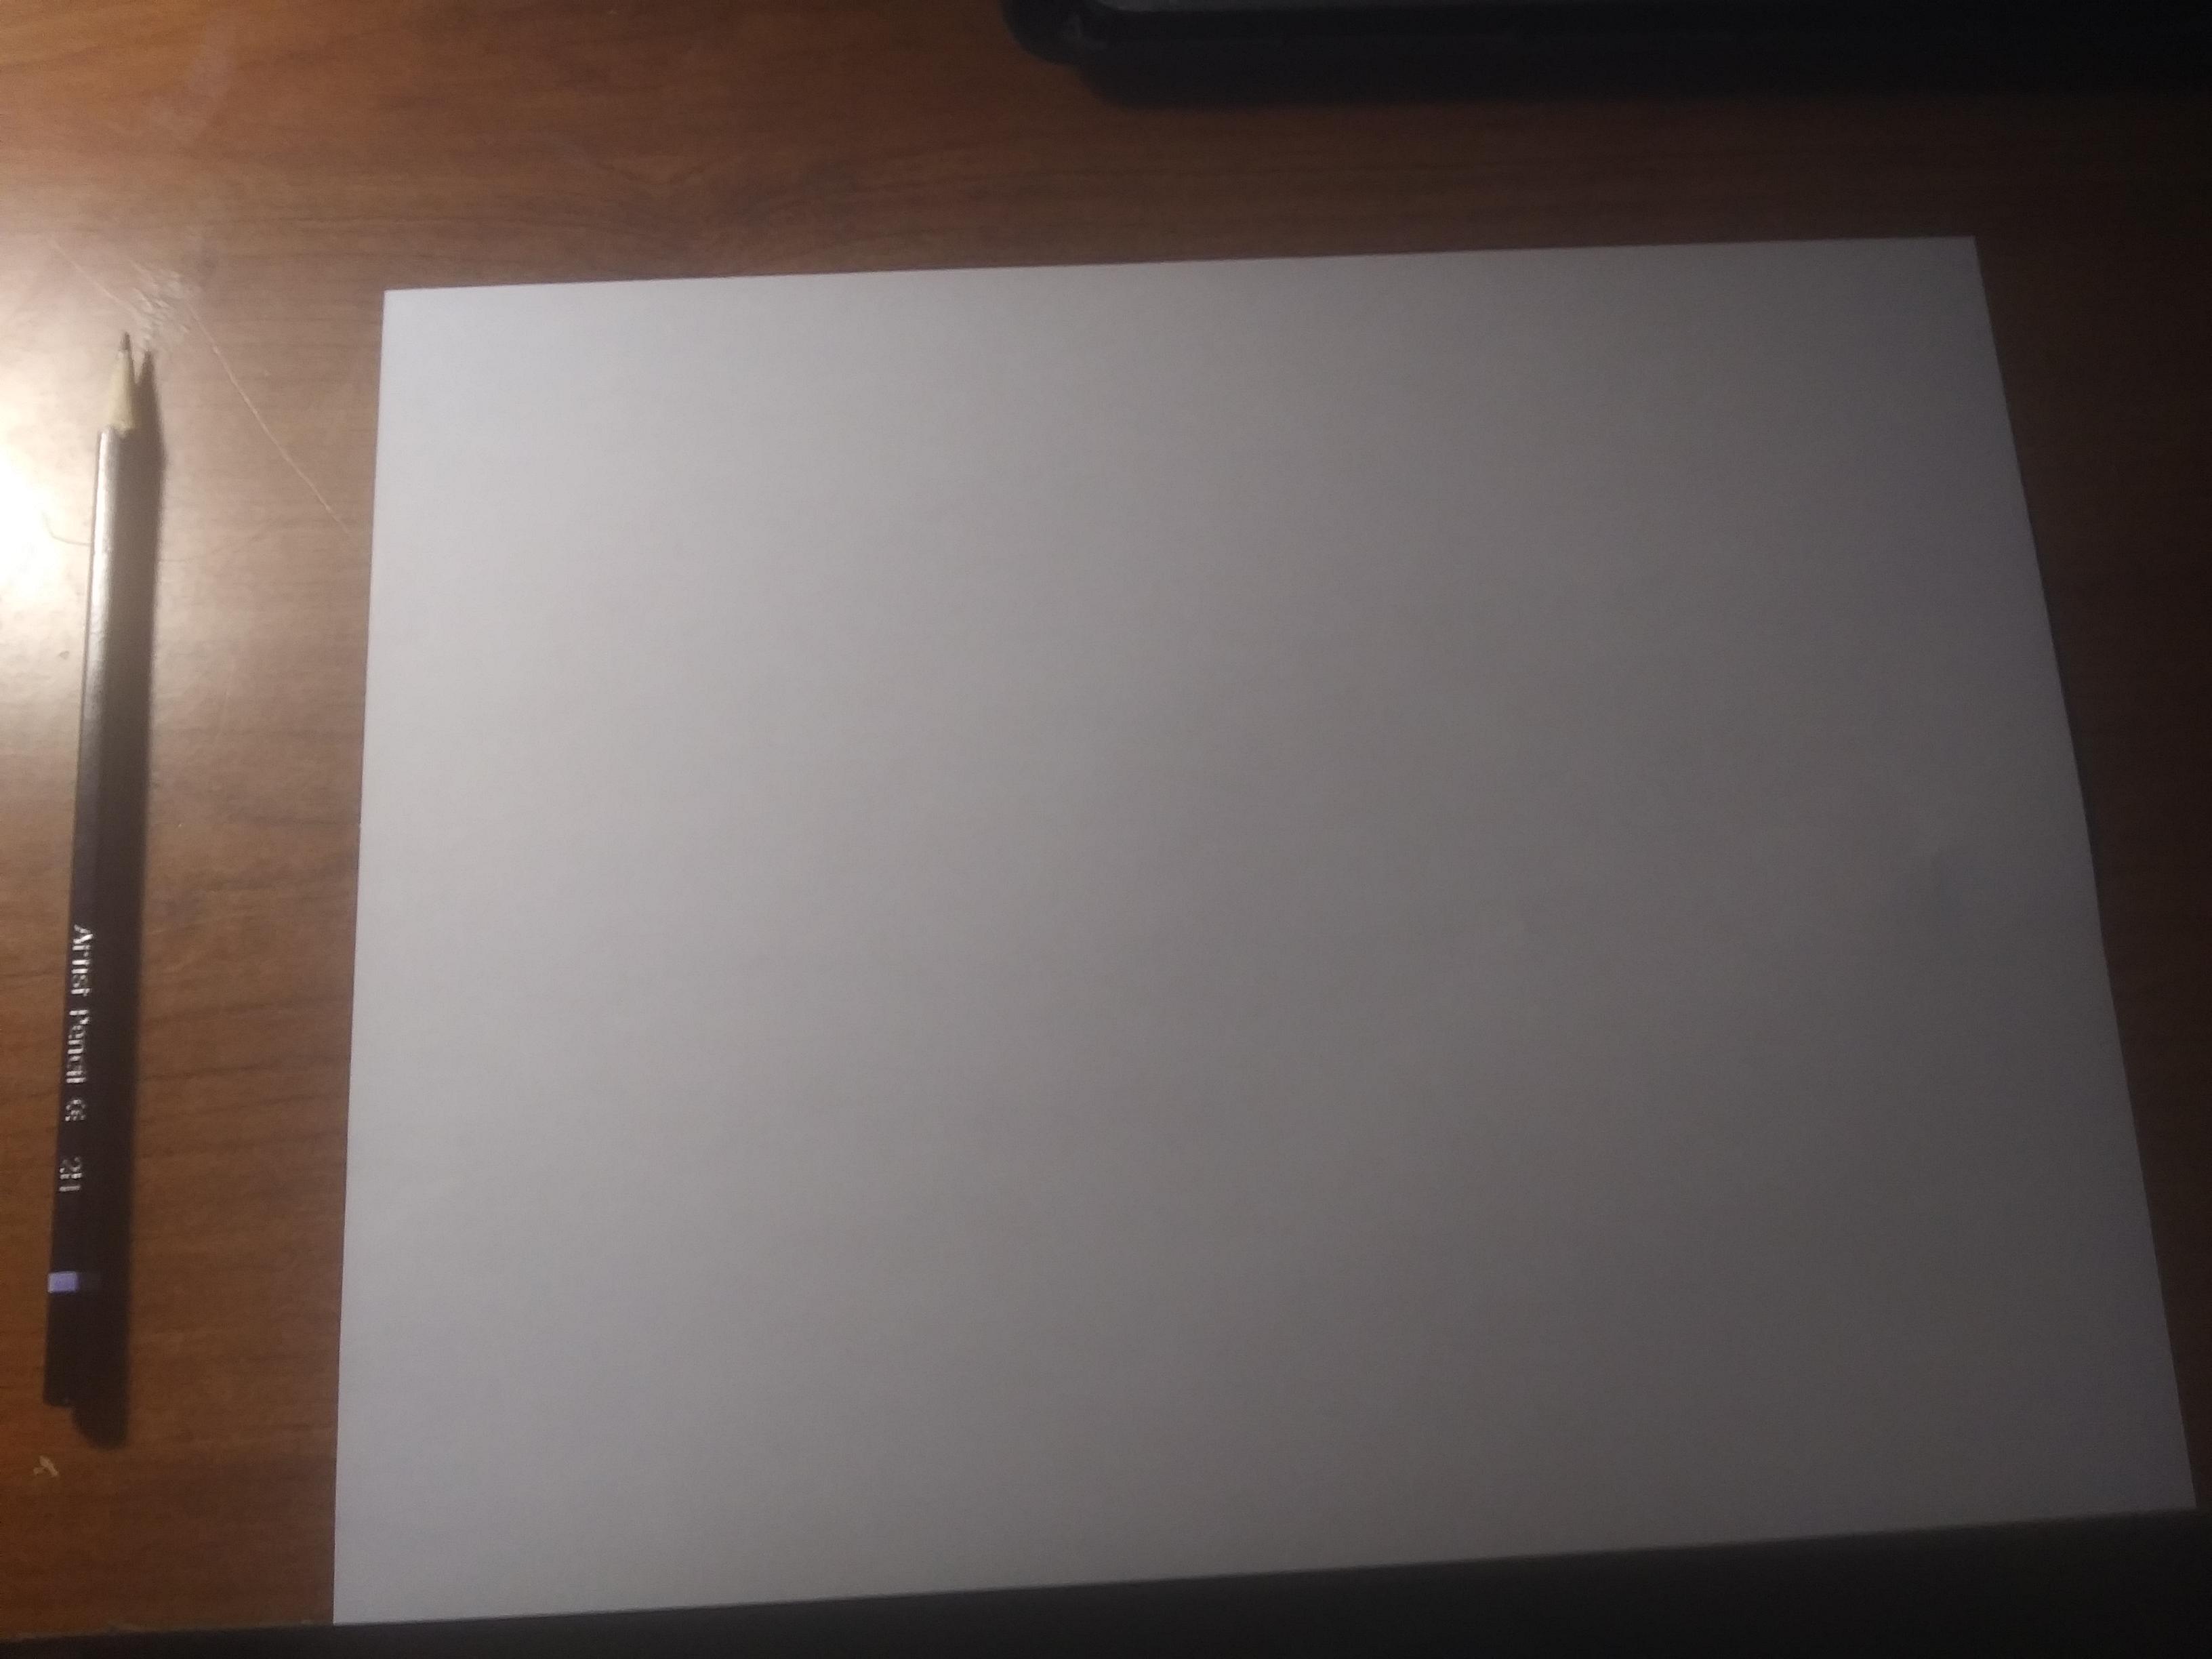
Supplies
So, I used classic drawing supplies:
- Three main pencils, 2H, 2B, and 5B; but, you can use whatever kinds you are most comfortable with!
- A normal eraser. You can use a gel eraser if you want, though.
- I used a half glove. It fit over my last finger and ring finger. It kept my hands form sticking and smudging.
- Printer paper will work better then drawing paper because it erases better, but you can use either one.
- A ruler.
- A small eraser.
- A blending stump
Step 1: the Outline


This is the most important step. Don't skip it! First, start in the top corner and sketch a rough outline of the zipper using the 2B pencil. DO NOT draw it too dark. This is just an outline and if you draw it too dark, then you cannot erase it! As for the zipper teeth, just draw a tub-like thing to show how big they will be. The only detail should be on the zipper pull tab. The teeth will be developed in the next step.
Do not move on until you are satisfied with what you drew as this first step will affect all the rest and your finished result.
Step 2: the Teeth


The most difficult and time consuming part of this drawing is drawing and giving the teeth details. I had to try many ideas until I finally got it to work. For this step, use a 2B pencil, or a medium dark one.
To start, draw curves were the teeth will be. This will be your guide. Once you have done that, draw humps going the other way on the other side of the zipper. This gives it that "zipper" effect. Now, lightly draw ovals at the top of each hump like in the picture. for the zipped up part, just draw ovals going down the center. You should start to see the zipper teeth taking form.
(This is the long part, but if you rush through it, it will not look good)
Now, draw a tear drop looking shape around each tooth with the head on the ovals. These should be dark and filled in. use the blending stump and blend them all together. For the zipped up part, they should look almost like ribs. If that is the case, blend them a little more with your finger.
For the pull tab, add shading on the edges so show depth. And make the edges darker.
Step 3: the Fabric


Almost done!! The last step is soooooo easy! Use a 5B pencil or the darkest you have! Add lines about 1/16 of an inch apart down the side so the zipper and then blend them together with the blending stump. then, literally scribble (inside the lines!) and blend it together. This gives it texter! Now, add a little more graphite about a half an inch away from the zipper. blend this with the stump and your are good to go!
Add Details!

The last thing to do is erase around the drawing to give it a more finished look. Add any details that you think are needed and, voila! You are done! Don't forget to sign your name at the bottom!
If you liked this instructables and you think that I should do more drawing tutorials, then please like, comment below, and vote for it in the zipper challenge! Thanks!
Here is the picture of the zipper I used! :