3 Ingredient Sun Catchers
by Sadie makes stuff in Design > Art
15041 Views, 25 Favorites, 0 Comments
3 Ingredient Sun Catchers


A form of glass paint made from 3 simple (and cheap) ingredients. Good for removable window clings or framing. The ingredients are cheap and accessible. You just need glue, food colouring and acrylic paint, that's it! Not to mention how fun they are to make. I've been playing with the technique for the past few weeks making all the mistakes so you don't have to. I hope you enjoy it.
Gather Your Stuff

- Tacky glue (I've tried other glues, don't bother, Tacky glue or bust)
- Food colouring (gel or drops)
- Black acrylic paint OR black puffy fabric paint
- Needle nose bottle
- Sheet protector
- Palette
- Paint brush
- A picture to trace, I've provided two sheets for download, but colouring in sheets and hand drawn images are fine too.
- Wooden skewers
- Cup of water (not pictured, gonna haft to use your imagination, sorry.)
Optional
- Frame
- Small bottles for the colours
- Light board
- Glitter paint
- Glow paint
Framed or Peel and Stick?


First decide on if you want to have your sun catcher in a frame or if you want to make a window cling. For designs that are very big or very intricate then frame is the way to go. This is also better if you move a lot and want to take it with you when you go. Peel and stick sun catchers are better for simple designs and they are just a fun kind of thing to make and stick to hard surfaces. It will peel off damage free at the end.
Pick a Picture


Time to pick the picture you want to use. Stained glass patterns and simple cartoon shapes
work best for getting the hang of it but once you get the hang of it then anything goes. Searching keyword+coloring page or keyword+stained glass will also provide images like the ones in the pictures.
I drew some up little pictures of critters that you can print, there's a beginner one and a more advanced one for if you want a bit more of a challenge.
If you intend to peel and stick your picture then avoid long spindly lines and remember the bigger it is the harder it will be to peel it and stick it without it tearing or folding over and sticking to its self.
Colouring in books are good sources too.
What Kind of Frame?

If you are doing a peel and stick then you can skip this, but if you are making a framed one then pick a frame where the glass is intact and there are tabs or something on the frame its self to hold the glass in. Some frames like the one on the right have things on the board that hold everything in place. We are not keeping the board (wouldn't be much of a sun catcher if the board was there blocking the sun) so that won't work for us.
Second hand shops usually have many second hand frames to choose from if you don't want to spend big money on one.
Before You Start

For a peel and stick print the picture and put it inside the sheet protector. If you are using a frame then remove the glass and put the picture under it.
Making the Liner


Now puffy fabric paint works too but its much more expensive and in some places much harder to find. If you are using puffy paint then you can skip this step.
If you are making the liner yourself then you need to fill roughly 2/3 of the needle nose bottle with tacky glue and 1/3 of the bottle with black acrylic paint. Leave a little room at the top so that when you mix it with the skewer it doesn't overflow. The paint not only colours the liner but it also helps the liner stay raised like puff paint and the glue keeps the liner flexible, easy to work with and peelable. Too much glue and the liner spreads too much and makes details disappear, too much paint and it doesn't flow nicely out of the bottle and it loses the tacky feel that makes it stick to surfaces.
If you are having trouble filling the little bottle then before you fill it squeeze the bottle and fill it with paint or glue until it wont go down anymore. Then slowly let go of the squeezy hold you have on the bottle, it should suck the paint down. Stop when you have just enough room to add more paint/glue, then release more of the squeeze and repeat.
Outlining the Image


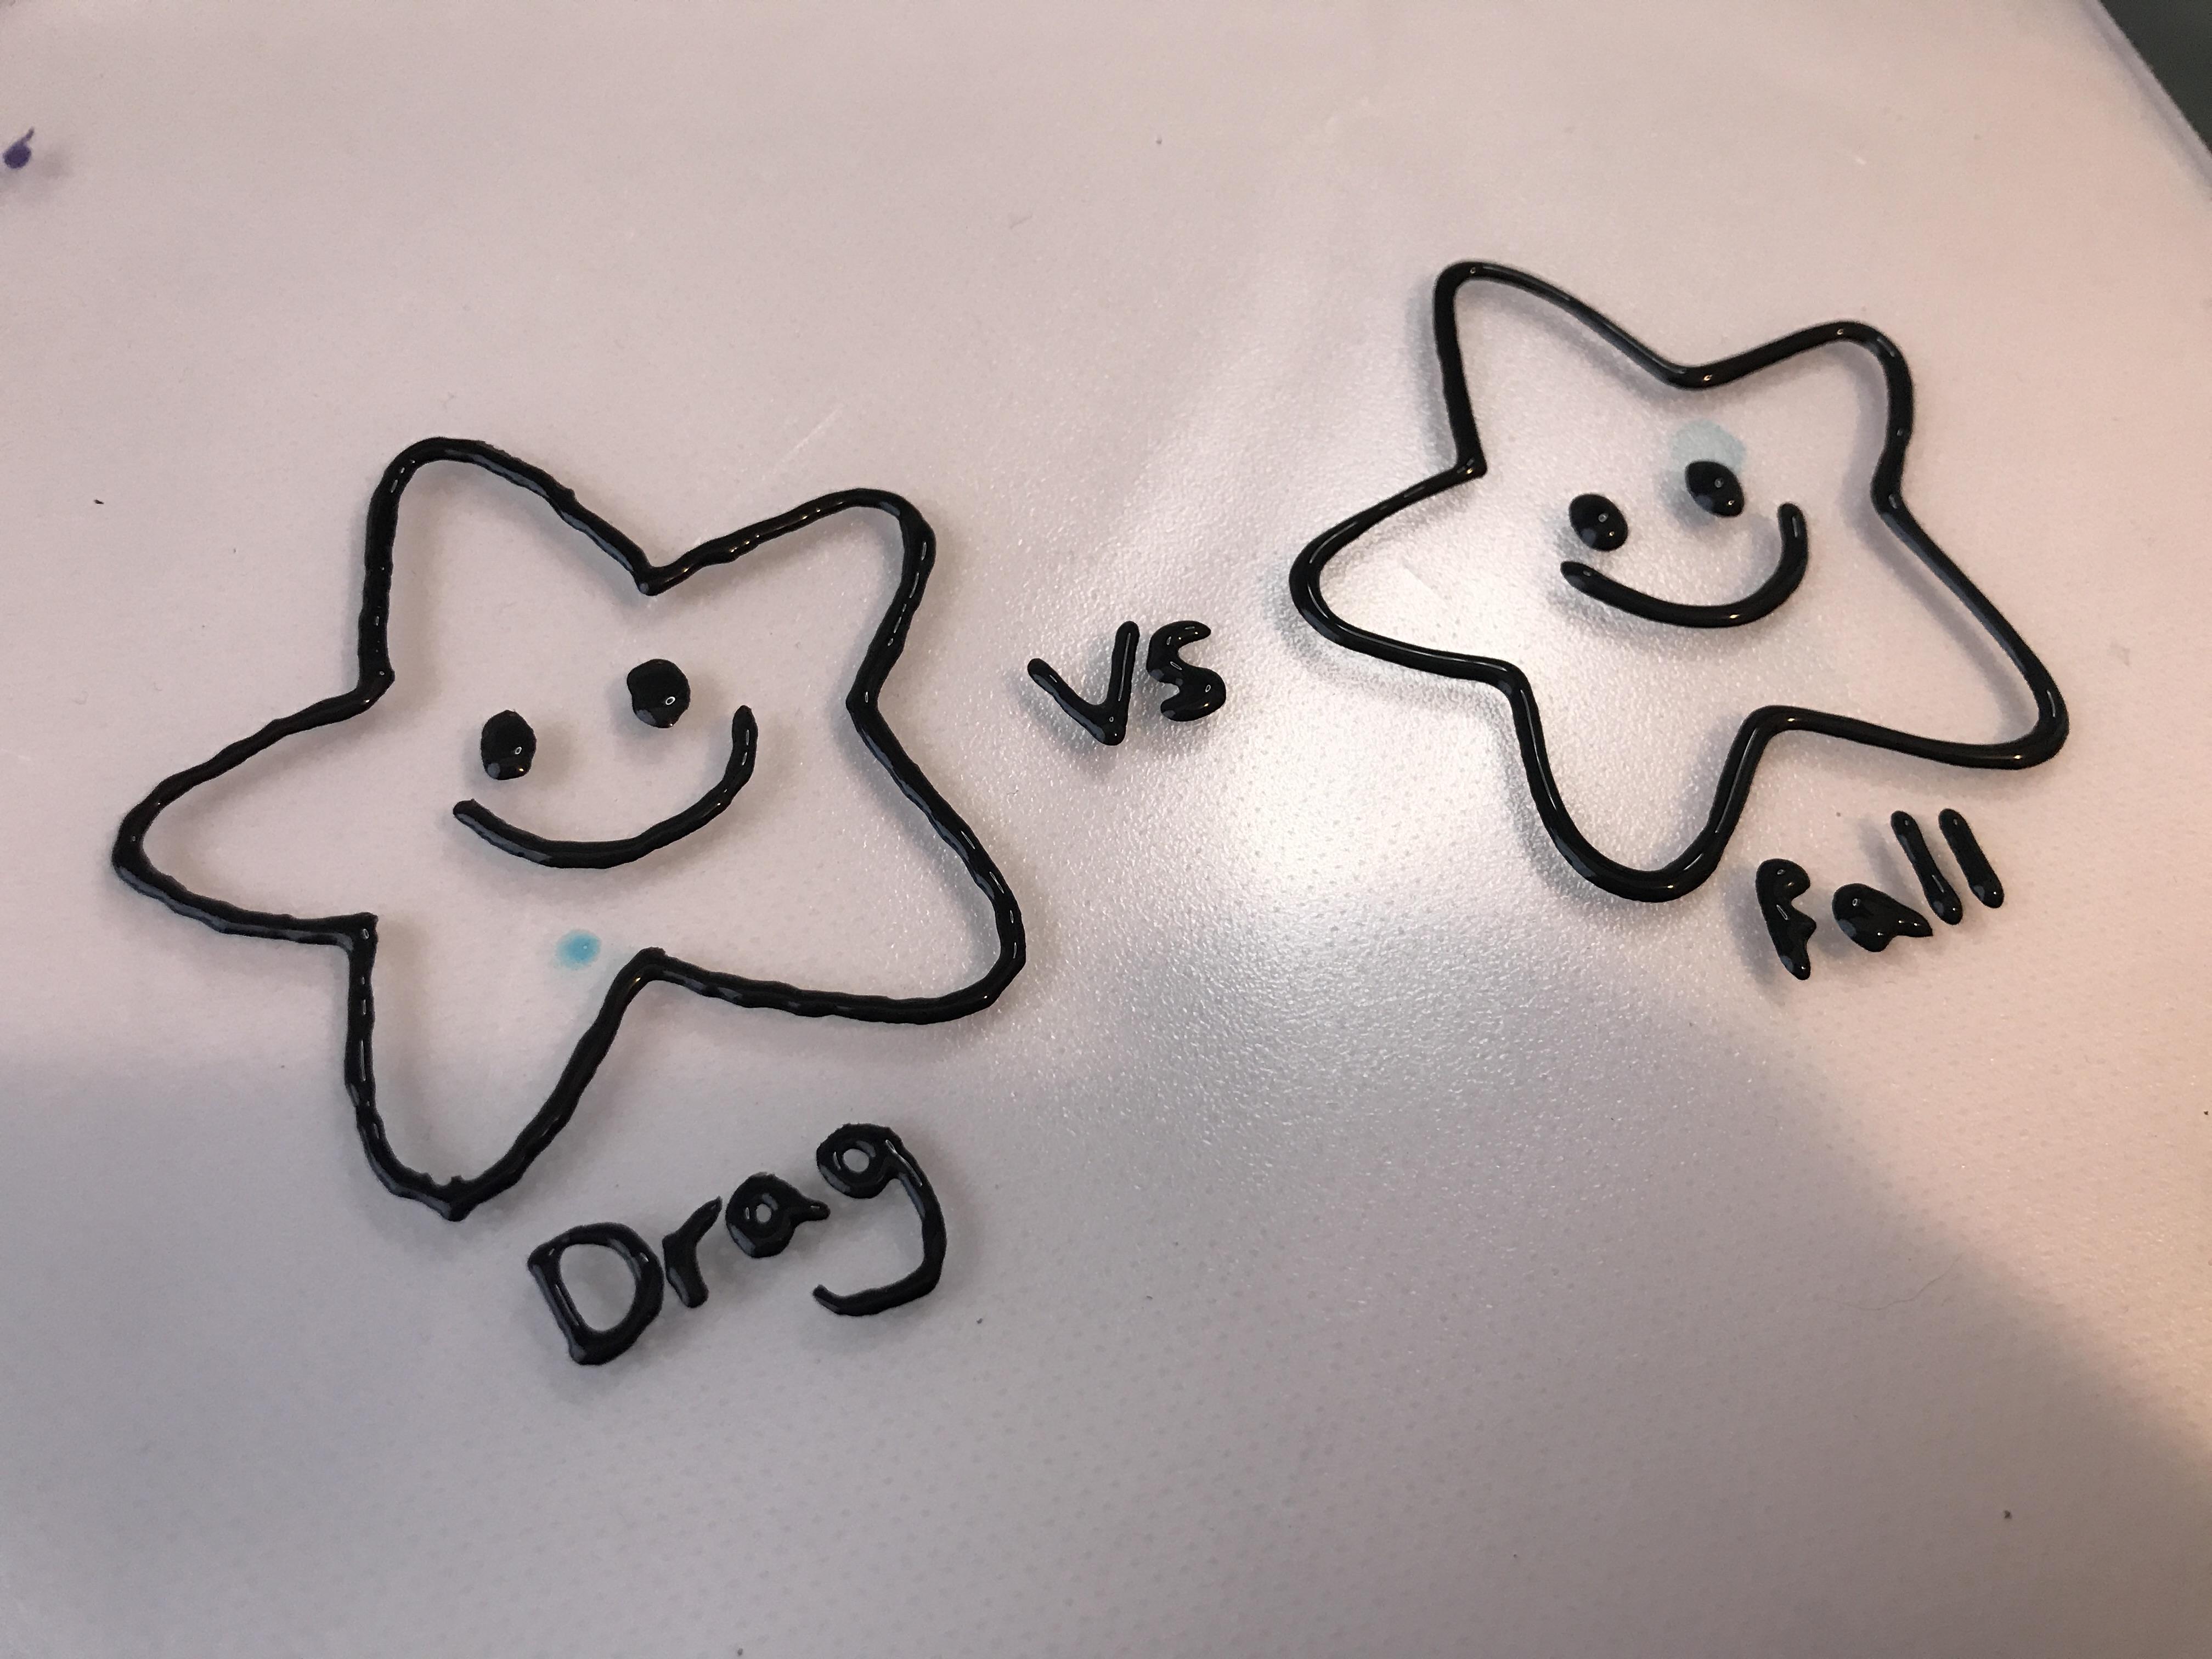
Outline your picture with the liner. Try to let the paint fall onto the sheet as opposed to dragging the nozzle along the surface. It takes a little getting used to but the lines end up much nicer.
If you are going to peel and stick then make sure the outlines are on the thicker side and free from gaps. Work from the top corner and work your way diagonally down to avoid smudging. For right handed people start from the top left corner for left handed people start from the top right.
Leave the lines to dry overnight. Be sure to put it up out of the way of critters and kids. This stuff cleans off of hard surfaces pretty well but carpet and fabric lounges are not as forgiving. I don't have photos, but I included a drawing above that pretty much covers how it went down.
Be patient, rushing the waiting will ruin the whole thing. Again trust me. I know.
Mixing the Colours


The lines are set and survived the night without being walked over or poked, yay! Time for colours.
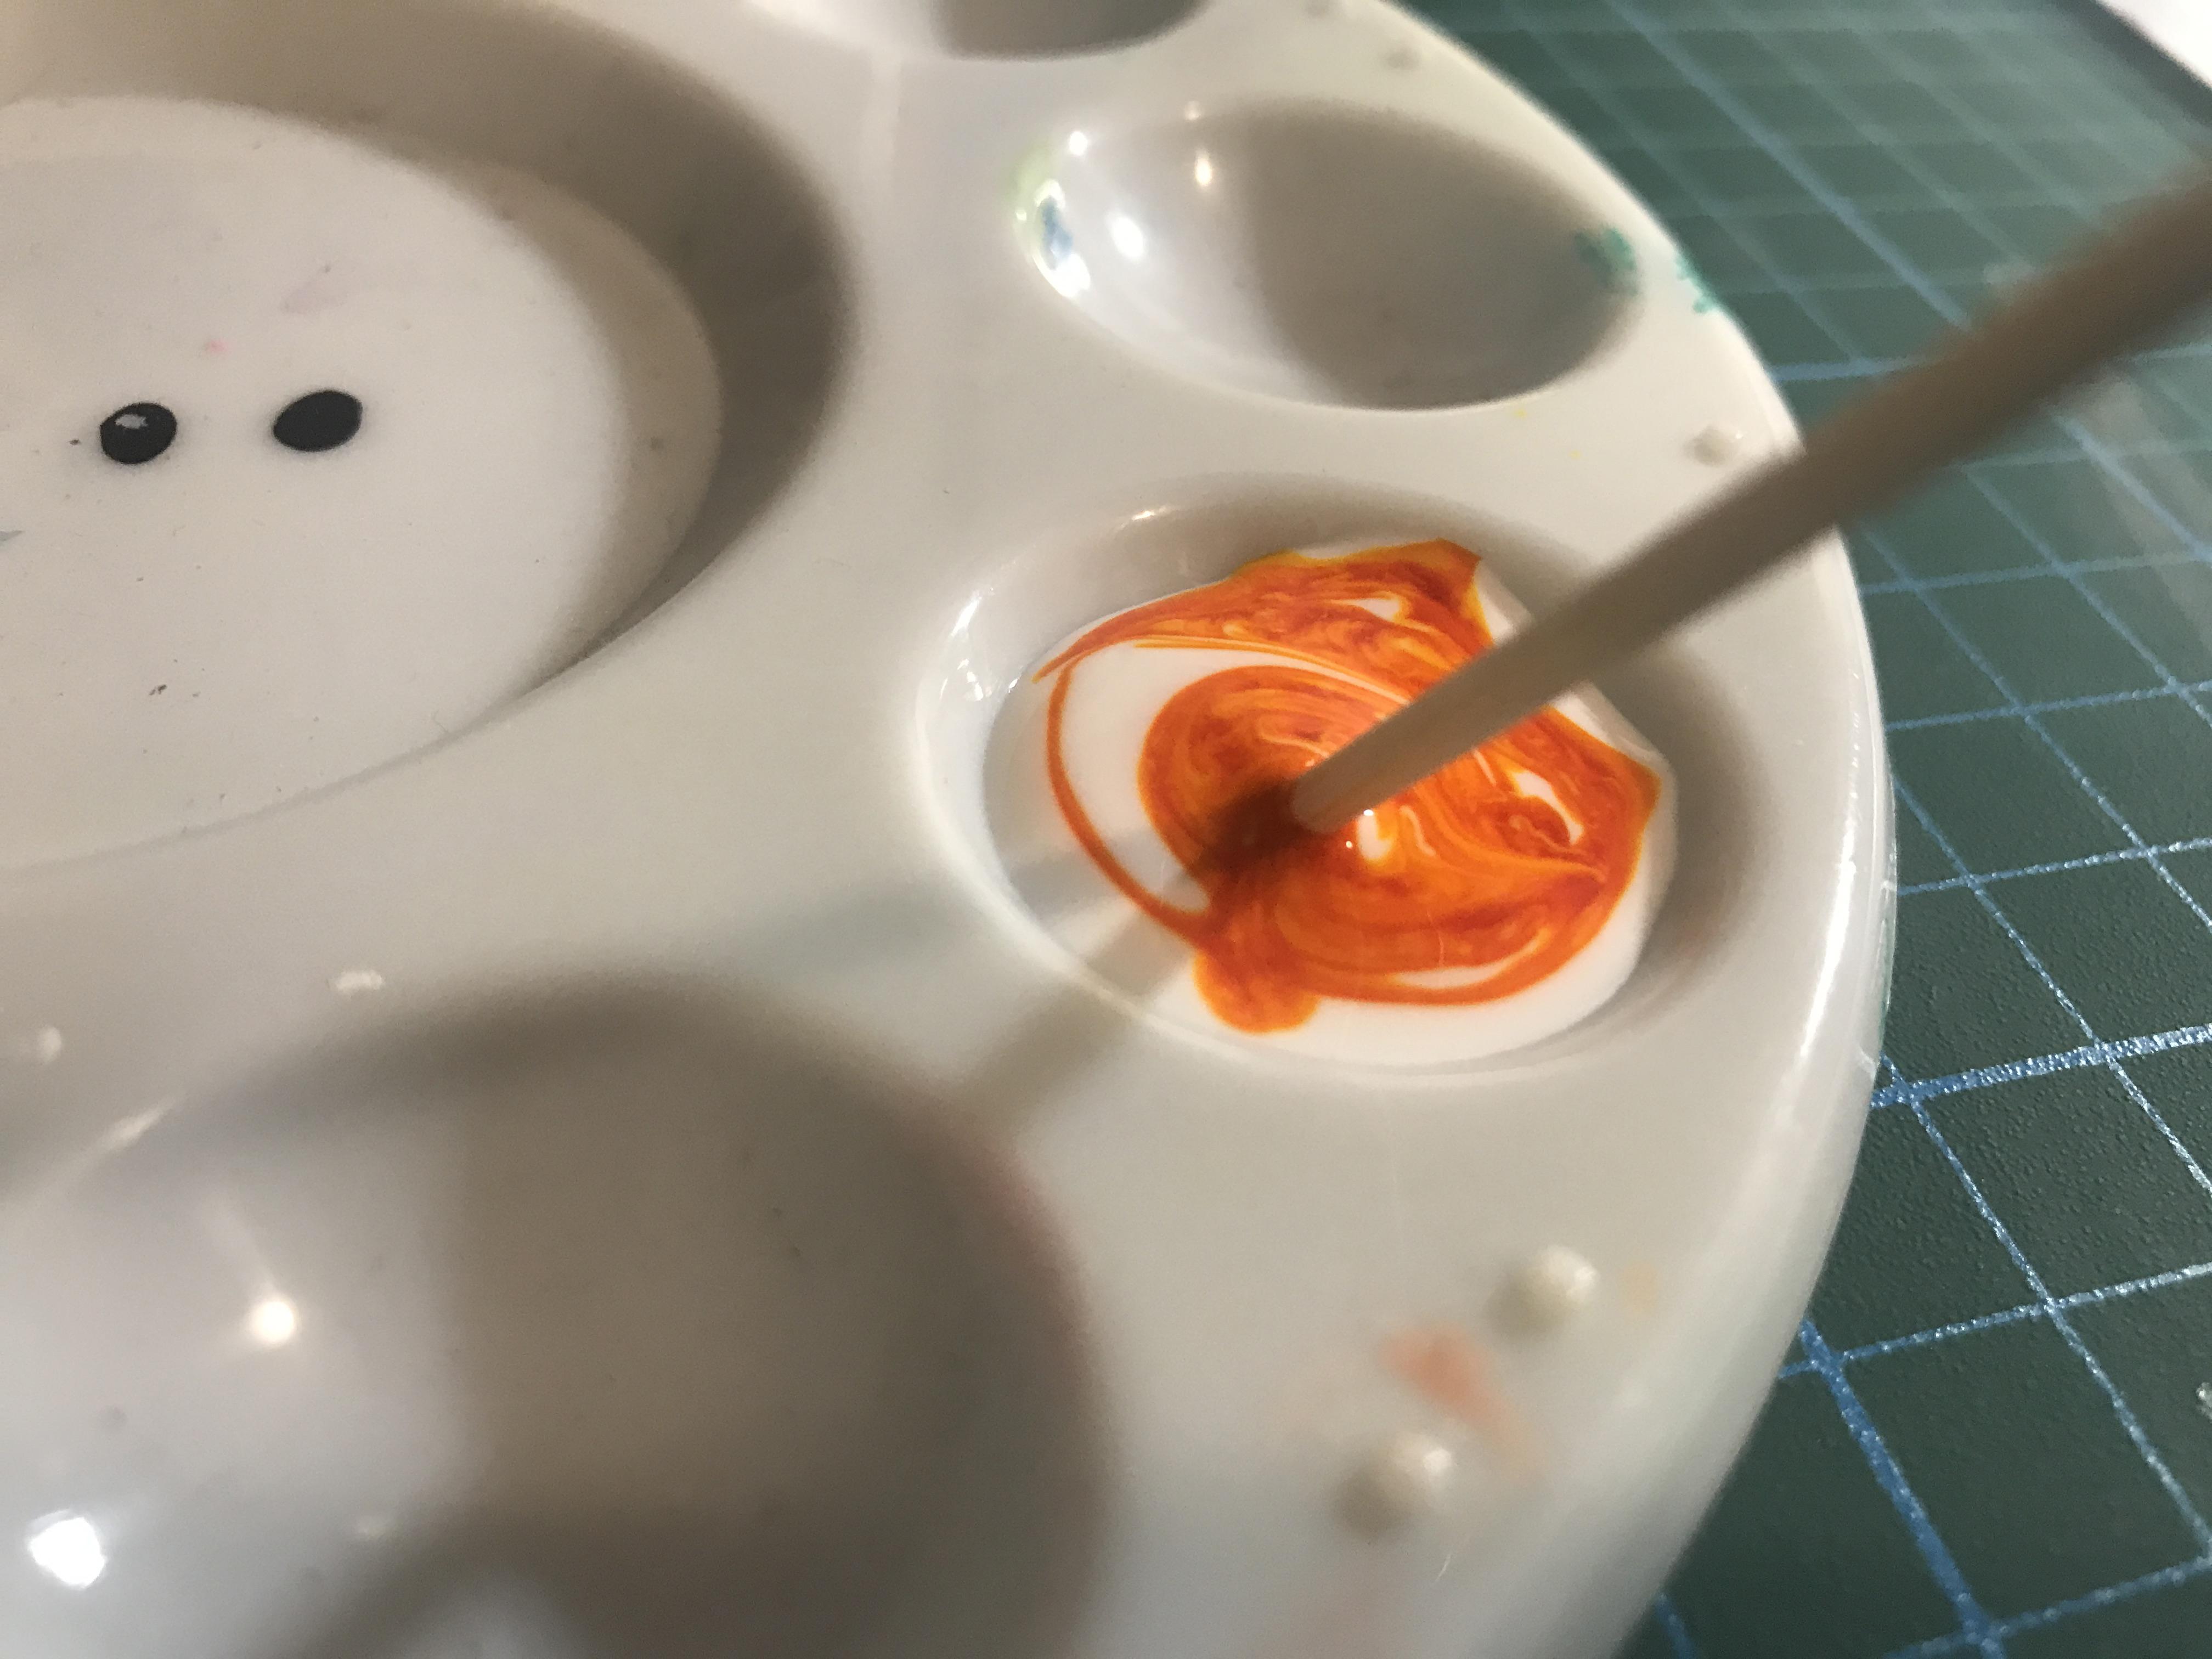
In the palette mix a dollop of tacky glue with a drop or two of food colouring. Mix it up with the skewer or brush. Remember it dries darker than it looks (it also dries transparent, so if yours is opaque dont worry about it). Iron mans hand in the picture above is wet, it dries the same shade of red as the body. So don't over do the food colouring. They also get skins as they dry so its best to mix the colours as you need them.
You could also put the food colouring directly into small bottles of tacky glue for easier application. I don't have access to that many bottles so I don’t, but you definitely could. I have a feeling that would be a much easier way to go about it though.
Clean the brush and your skewers in a cup of water.
Filling Them In


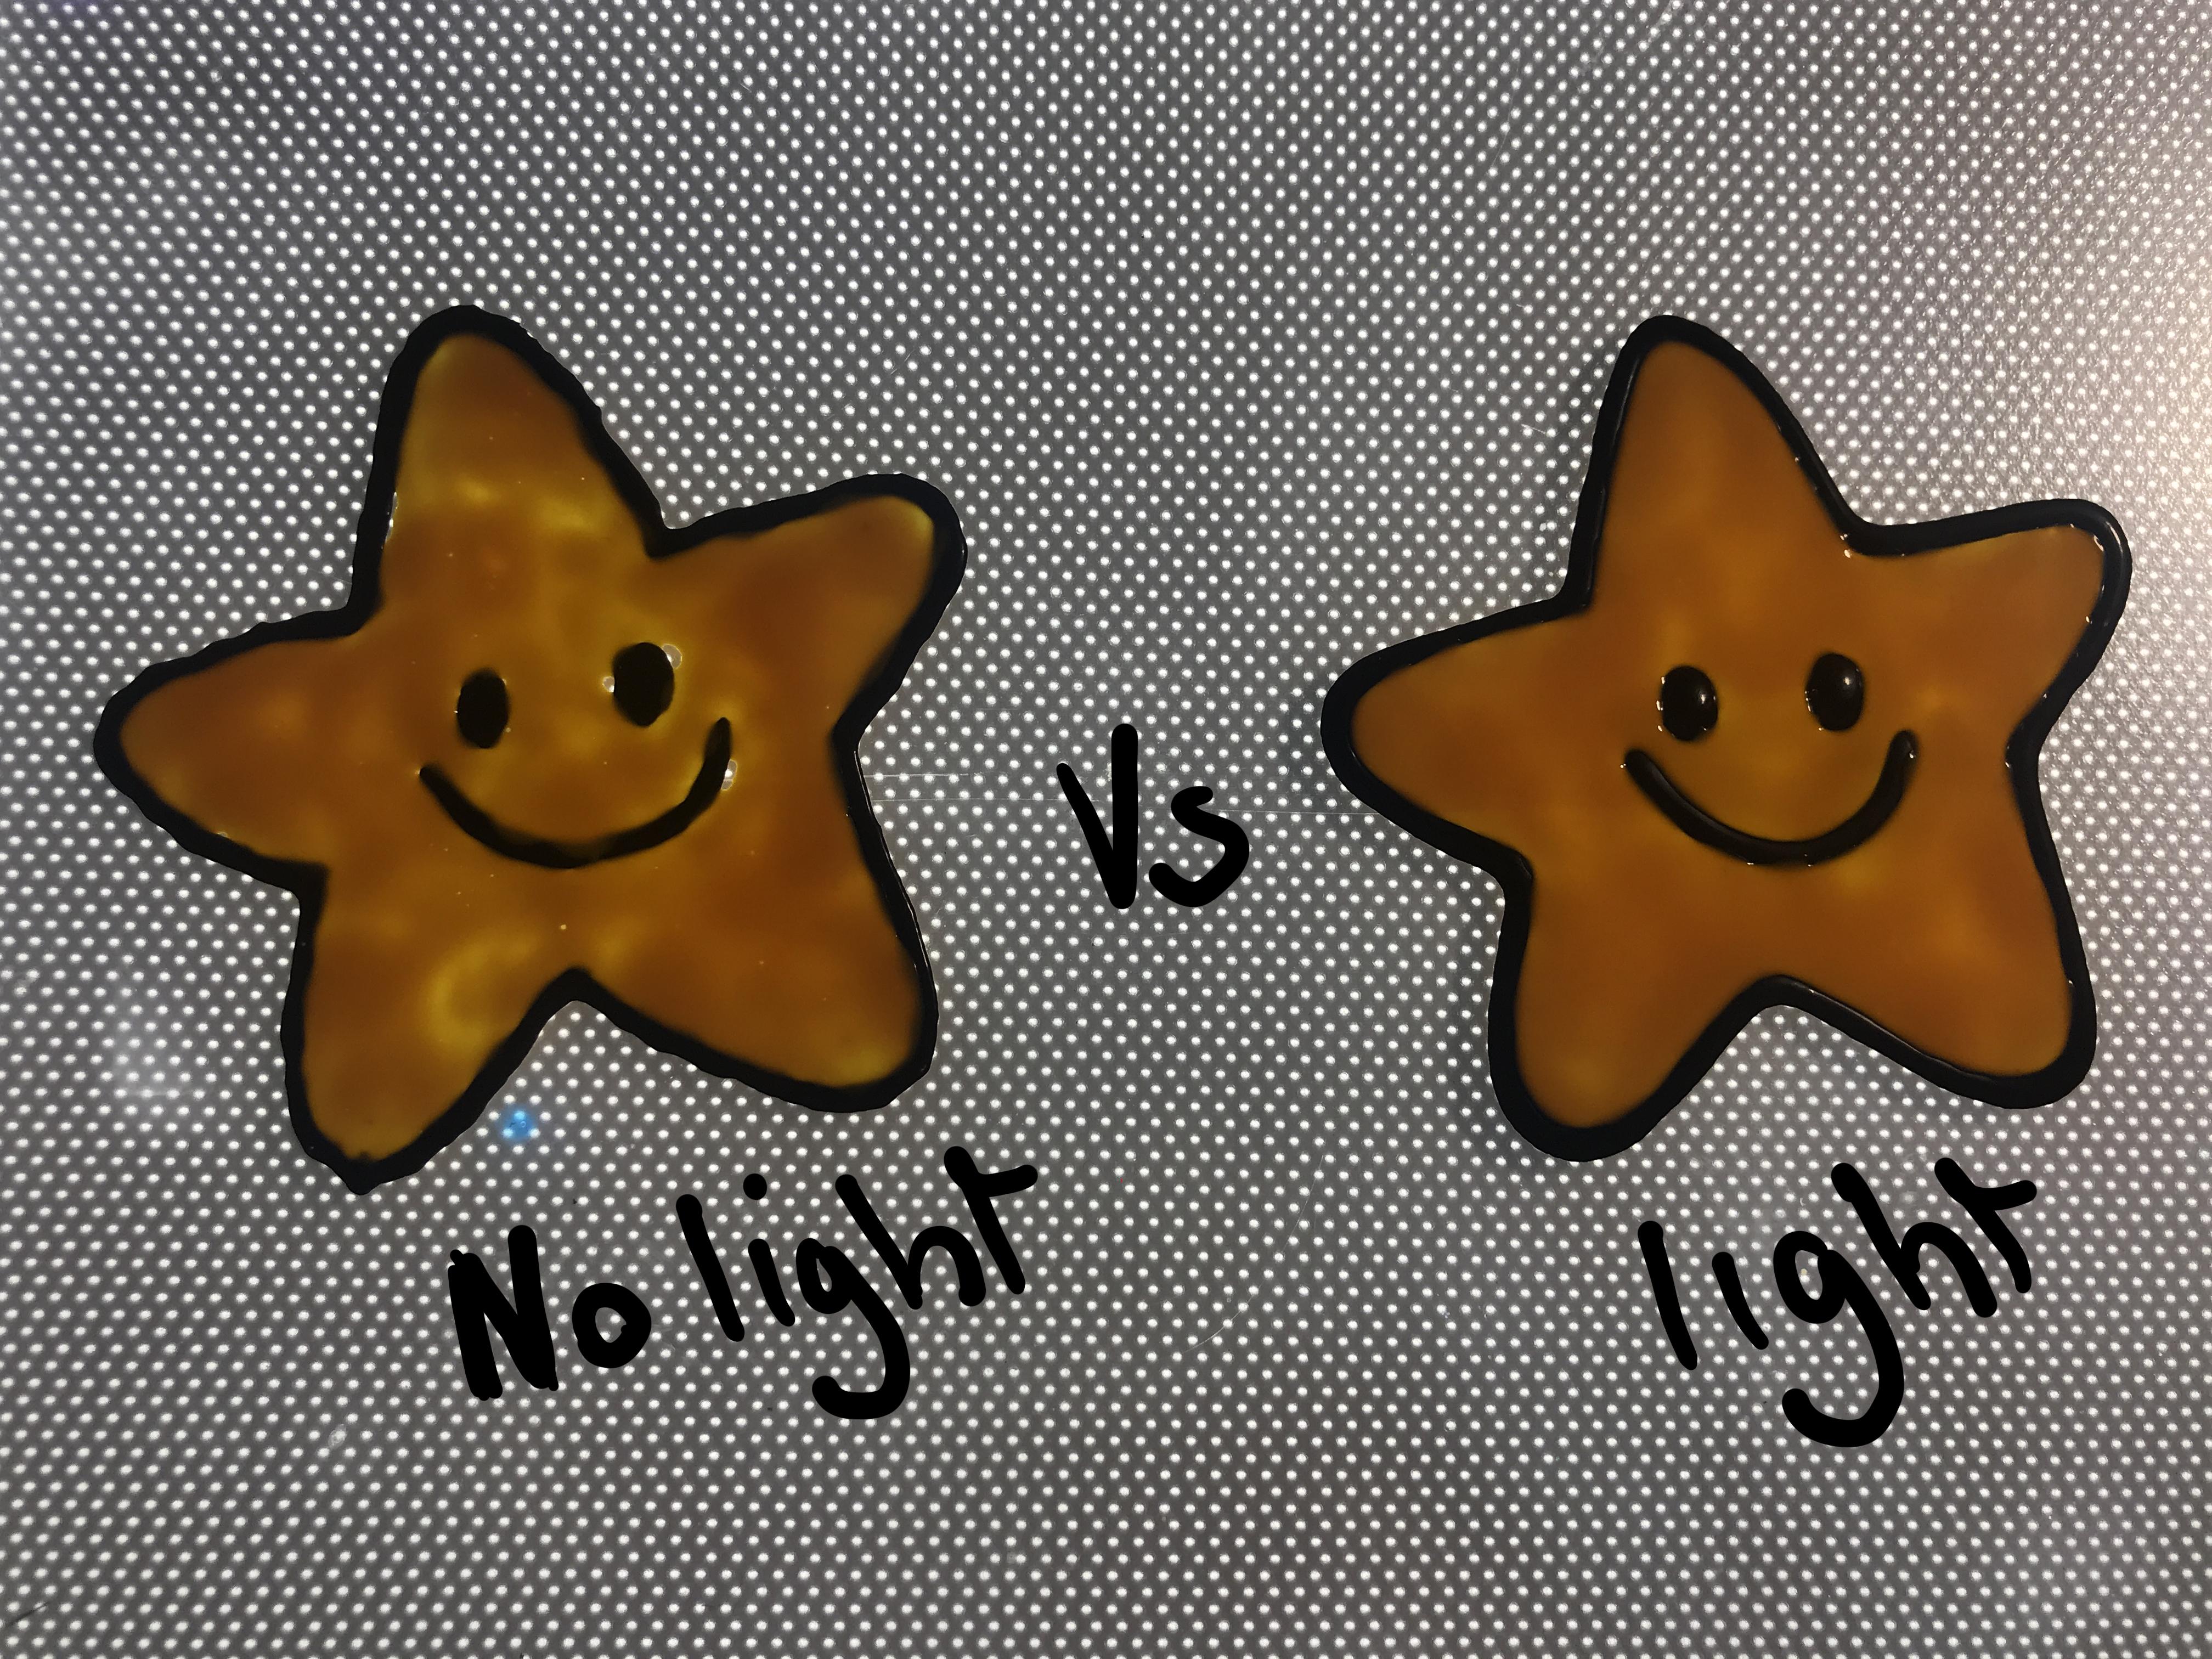
If you have a light board now's the time to break it out and put your outlines on top of it. You can remove the paper from the sleeve if you want. A light board is not a necessity, but it highlights imperfections as they appear so you can fix them as you go.
Tips
- Use a brush to thickly apply the coloured glue, for a cleaner look avoid the outline by a hairs width then use the skewer to push the colour up to the edge.
- For peel and stick pictures there must be no thin spots and the paint must make full contact with the liner, the glue stretches when its peeled and small gaps will tear into big holes if you don't sort them out at this stage.
- Dab the brush with thick blobs of paint to avoid brush marks.
- Swirl colours together with a skewer for cool effects.
- For white paint add a little white acrylic paint to the glue instead of food colouring. Acrylic paint doesn't let the light through very well though so for best results don''t use too much.
-Bubbles are unavoidable, but if you see any poke them with a skewer. This will lessen the amount of bubbles you end up with at the end.
-Don't use a heat gun to pop the bubbles. It works with resin but here it melts the sheet protector and makes a big mess. Embrace the bubbles.
Let Them Dry. Seriously, Leave Them Alone.


This part can be hard, especially if you're making them with kids, but you have to let them dry fully before you try and do anything with them. Don't poke them, pod them, move them, hold them, ANYTHING. Put them somewhere safe out of the way of everything and walk away. As you can see above, the creatures are very light and the light doesn't shine through them yet, because they are wet. Meanwhile there are no opaque spots on spider-man and the light shines through clearly, that's because he's dry. I knew this but I poked at the dinosaur to "fix" a bubble anyway and made a giant mess instead.
Ruining them at this stage is painful and if you try and peel a sun catcher that isn't ready it will basically fall apart. So it really is best to give it more time then it needs, 12 hours should be pretty safe. Walk away. Watching them dry makes 12 hours feel much longer than it really is.
For a little something extra, once they are dry you can add a little glitter glue or glow paint. Glitter glue and glow paint don't have the right sort of tacky feel to be clings so don't mix them with the base tacky paint. Then leave it to dry again.
All Dry?


OK so its been 12 hours, you have the place to put the peelable sun catchers all picked out. windows, fridges, glass doors, mirrors anywhere with a smooth hard surface is fair game. Prepare the surface by wiping it down with a little water and vinegar. Then start from the edge and slowly peel it away from the plastic sheet. Be careful to not let it fold over and touch it's self. Getting it to let go once it does that is nearly impossible. Then stick it to the place you prepared earlier. All done!
Got a framed one? that's a much easier one to finish, weak spots and long thin pieces are no problem here. Just put the glass black in the frame and push the tabs back down. Just a reminder, don't put the wood back in. Sun catchers look much nicer when light shines through them.
You can also drill small holes into the top of the frame and screw in some eyelets for hanging.
All Done!


That's it you're all done. Hopefully you had fun and my mistakes helped your sun catchers turn out better than my first ones did (Hint, if they stick to stuff and let light through then congrats, you did better than I did!)