3-D Print a Name Tag for Your Pet
by JamieA71 in Workshop > 3D Printing
9315 Views, 14 Favorites, 0 Comments
3-D Print a Name Tag for Your Pet
For this instructable, I will show you how to make a name tag for your pet’s collar.
It’s easy to get an inscribed collar at any pet store or online, but it's just not as much fun as making something out with your own two hands.
If you're concerned about having enough 3-D printing experience or not being able to follow these directions, do not fear. Everything mapped out will be at a beginner's level. You won’t have to know anything about 3-D Printing or design to be able to make this object.
Before you begin reading the instructions, go ahead and go to https://www.tinkercad.com/ and create a free account. After you make your account, login and click "create new design."
Now, you're ready to begin.
Setting Up Your Workspace
Having an organized workspace is the easiest way to set yourself up for success.
1. Where it says in the right column, “Tinkercad Basic: Shapes,” click and change the selection to “Shape Generator: all.”
2. Scroll down and navigate to page 2, where you will see a shape called “metacapsule."
3. Add two of these shapes into your workspace by simply dragging them into the blue space.
4. On the same page in the “Shape Generator” section is a blue shape called “Custom Font Text.” Drag one of these to your workspace as well. Don’t change the content of the text just yet, we will do that later. These are the only shapes you are going to need for this project.
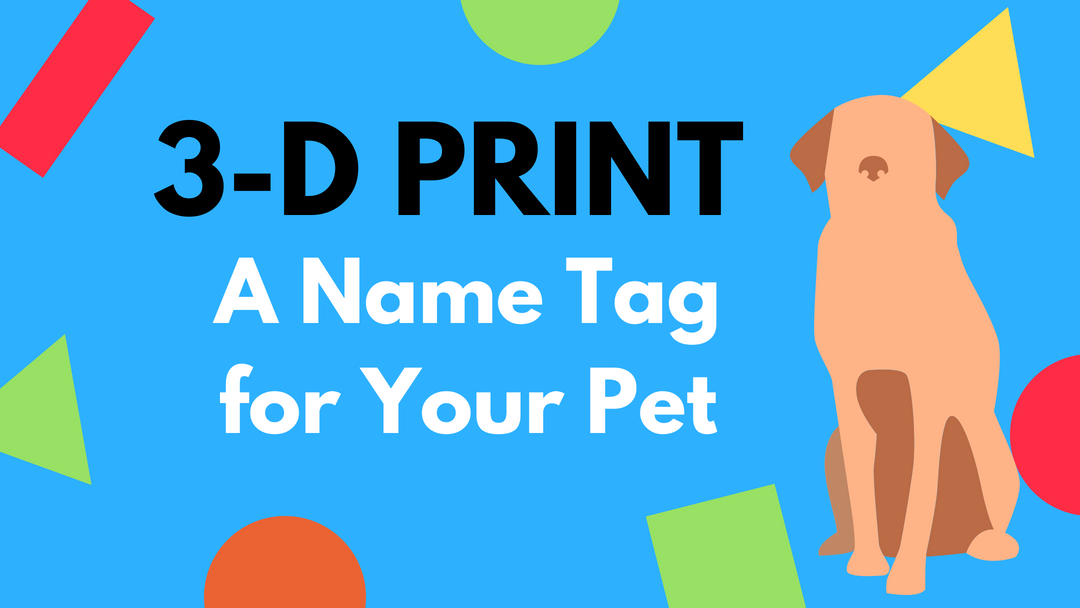
Now, we are going to set up the workspace so that it is in inches. In the lower right-hand corner, there is a white button that says, “Edit Grid.”
1. Click on “Edit Grid,” a dialogue box will appear that looks like image 1 above this step.
2. In the dropdown menu for units, select inches instead of millimeters.
3. In the height and width sections, type 5 in both boxes. This will give you a square grid to work with that will help you visualize just how big the pet tag will be.
4. Select “Update Grid.” Now your workspace is ready.
Creating the Tag Shape
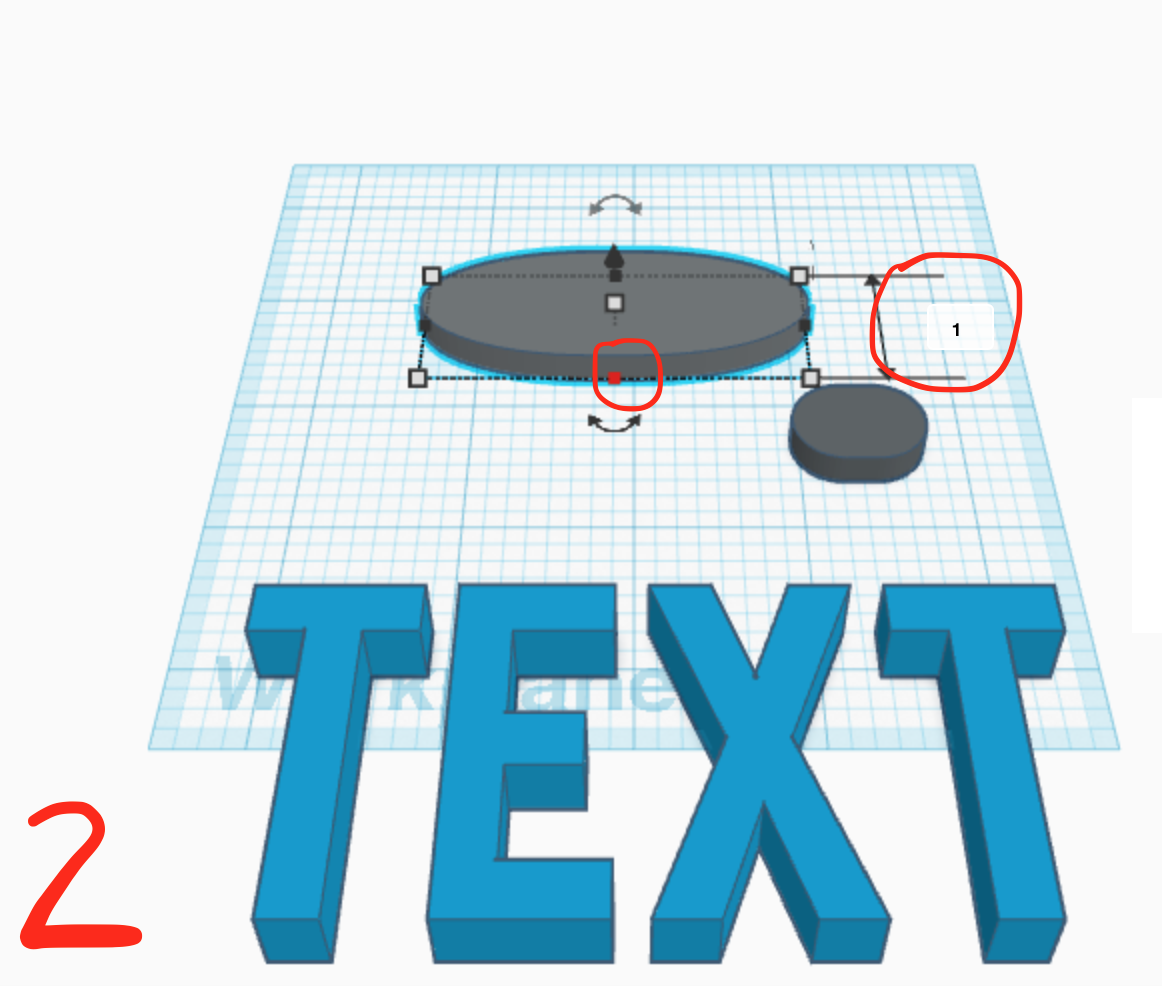
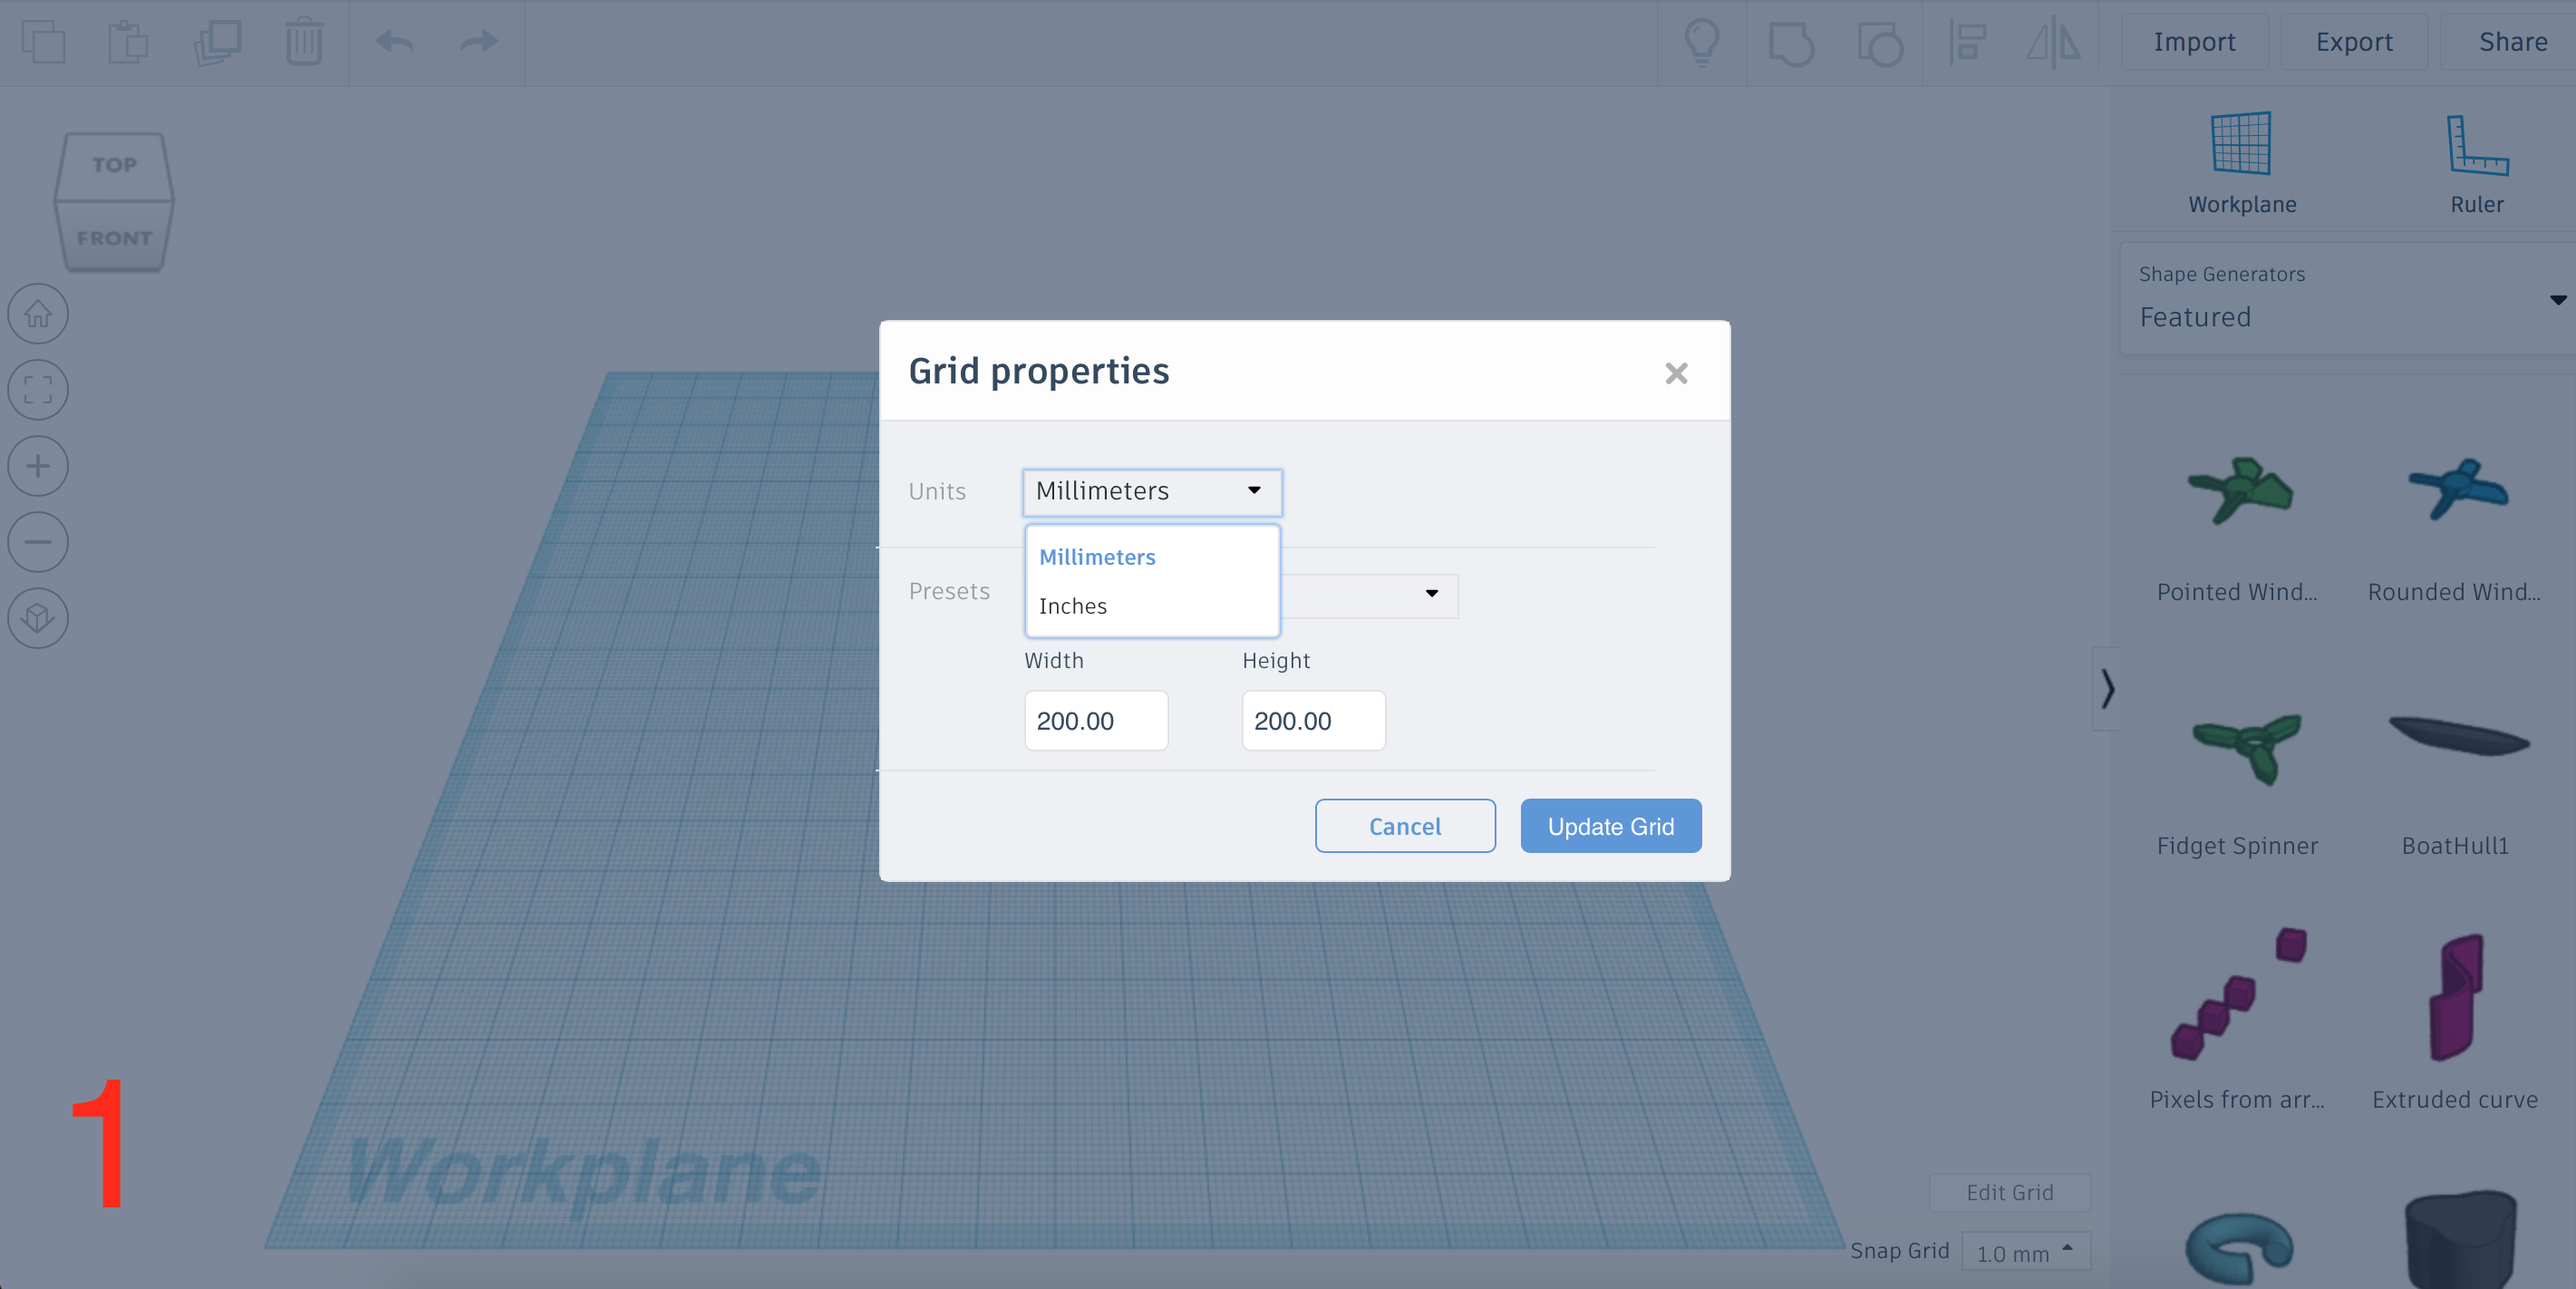
Now that your workspace is set, we are going to create the actual dog tag. We really only need to size one of the “metacapsule” shapes exactly. It is going to be 1 X 2.5 inches.
Because your workspace is in inches, this will be easy.
1. Select the shape.
2. Click on the point shown in the pictures above to adjust the size.
3. Simply drag the point until it reaches the specific size needed. You can also click on the white box to type in a size if you want.
View the pictures labeled 2 and 3 above this step for reference. Image 2 shows the length proportion and image 3 shows the width proportions.
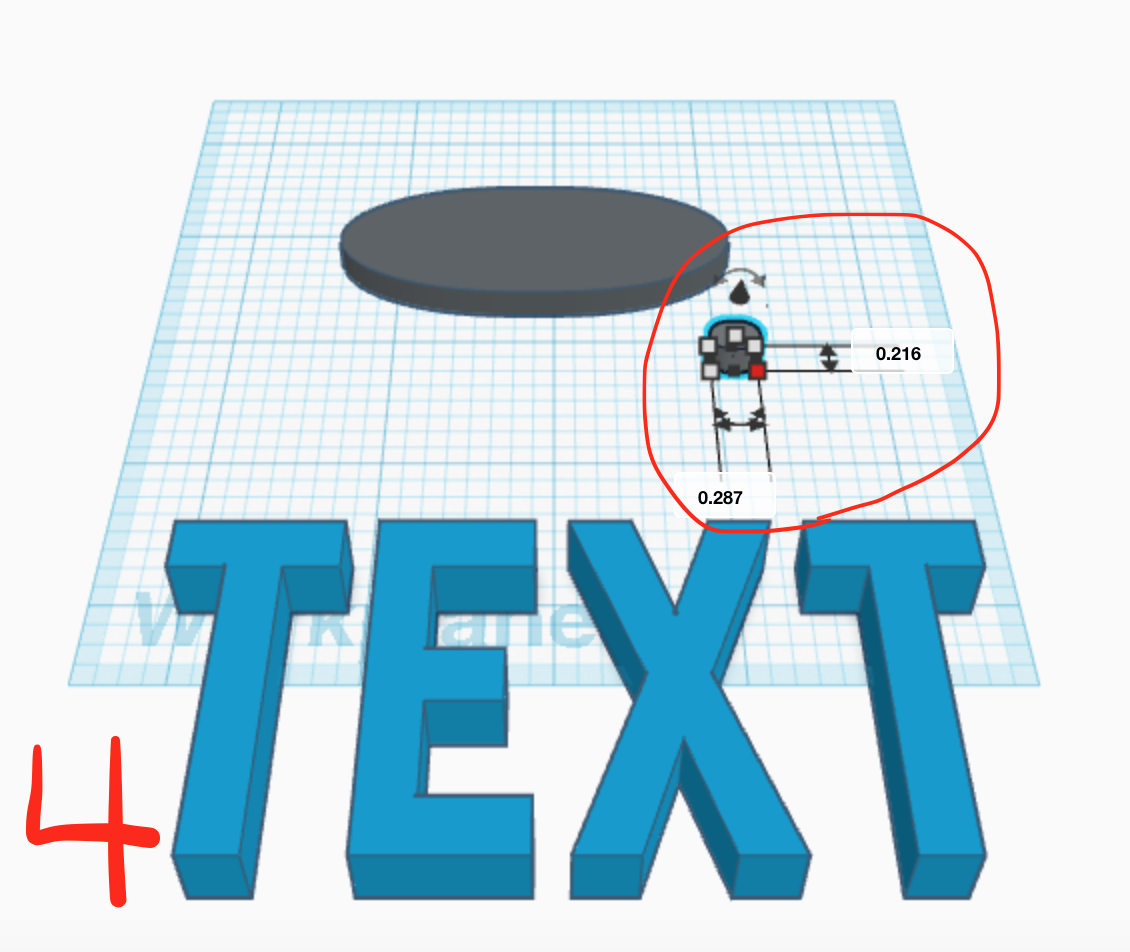
You will also need to resize the second “metacapsule.” It doesn’t matter what size it is exactly, but you want it to be relatively small. Simply select the shape and use the points to resize it. See the image above this step labeled 4.
Making a Hole in Your Tag
Now that your pet tag shapes are sized, we are going to make the hole so that you can attach the creation to your pet’s collar. This aspect is a little more challenging than the previous steps.
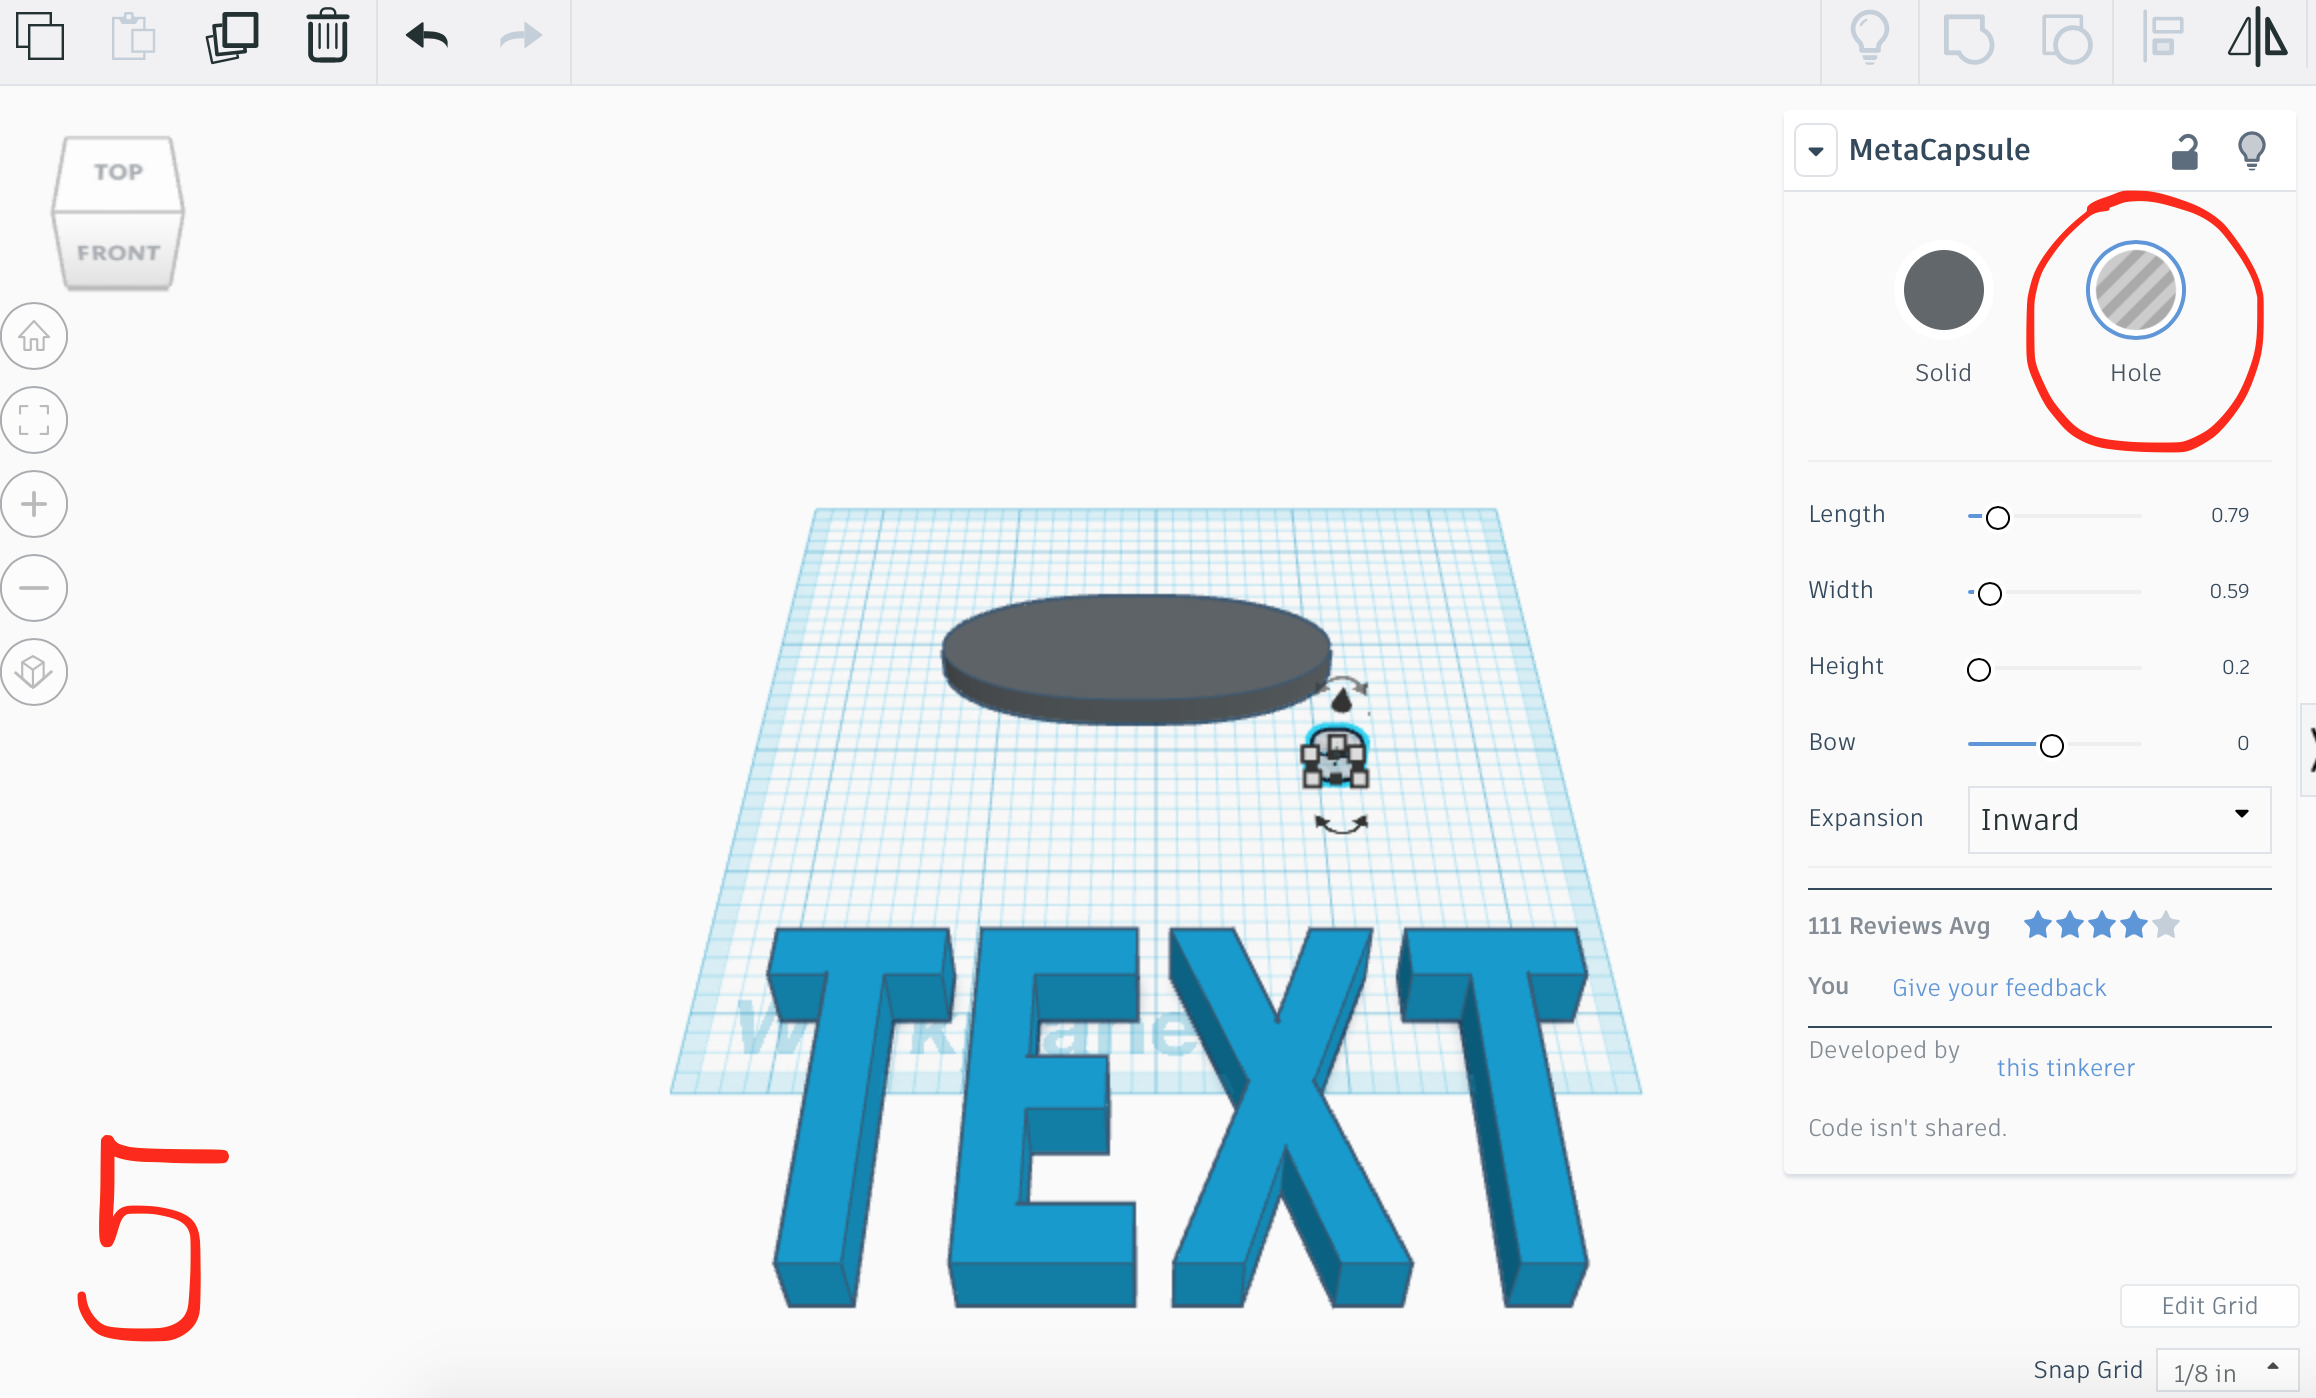
1. Choose your second (smaller) “metacapsule” from your workspace and click on it.
2. Now, you are going to see this striped icon that is selected labeled “Hole.” See the image labeled 5 for a visual.
3. Go ahead and click on that. Now your shape is transparent.
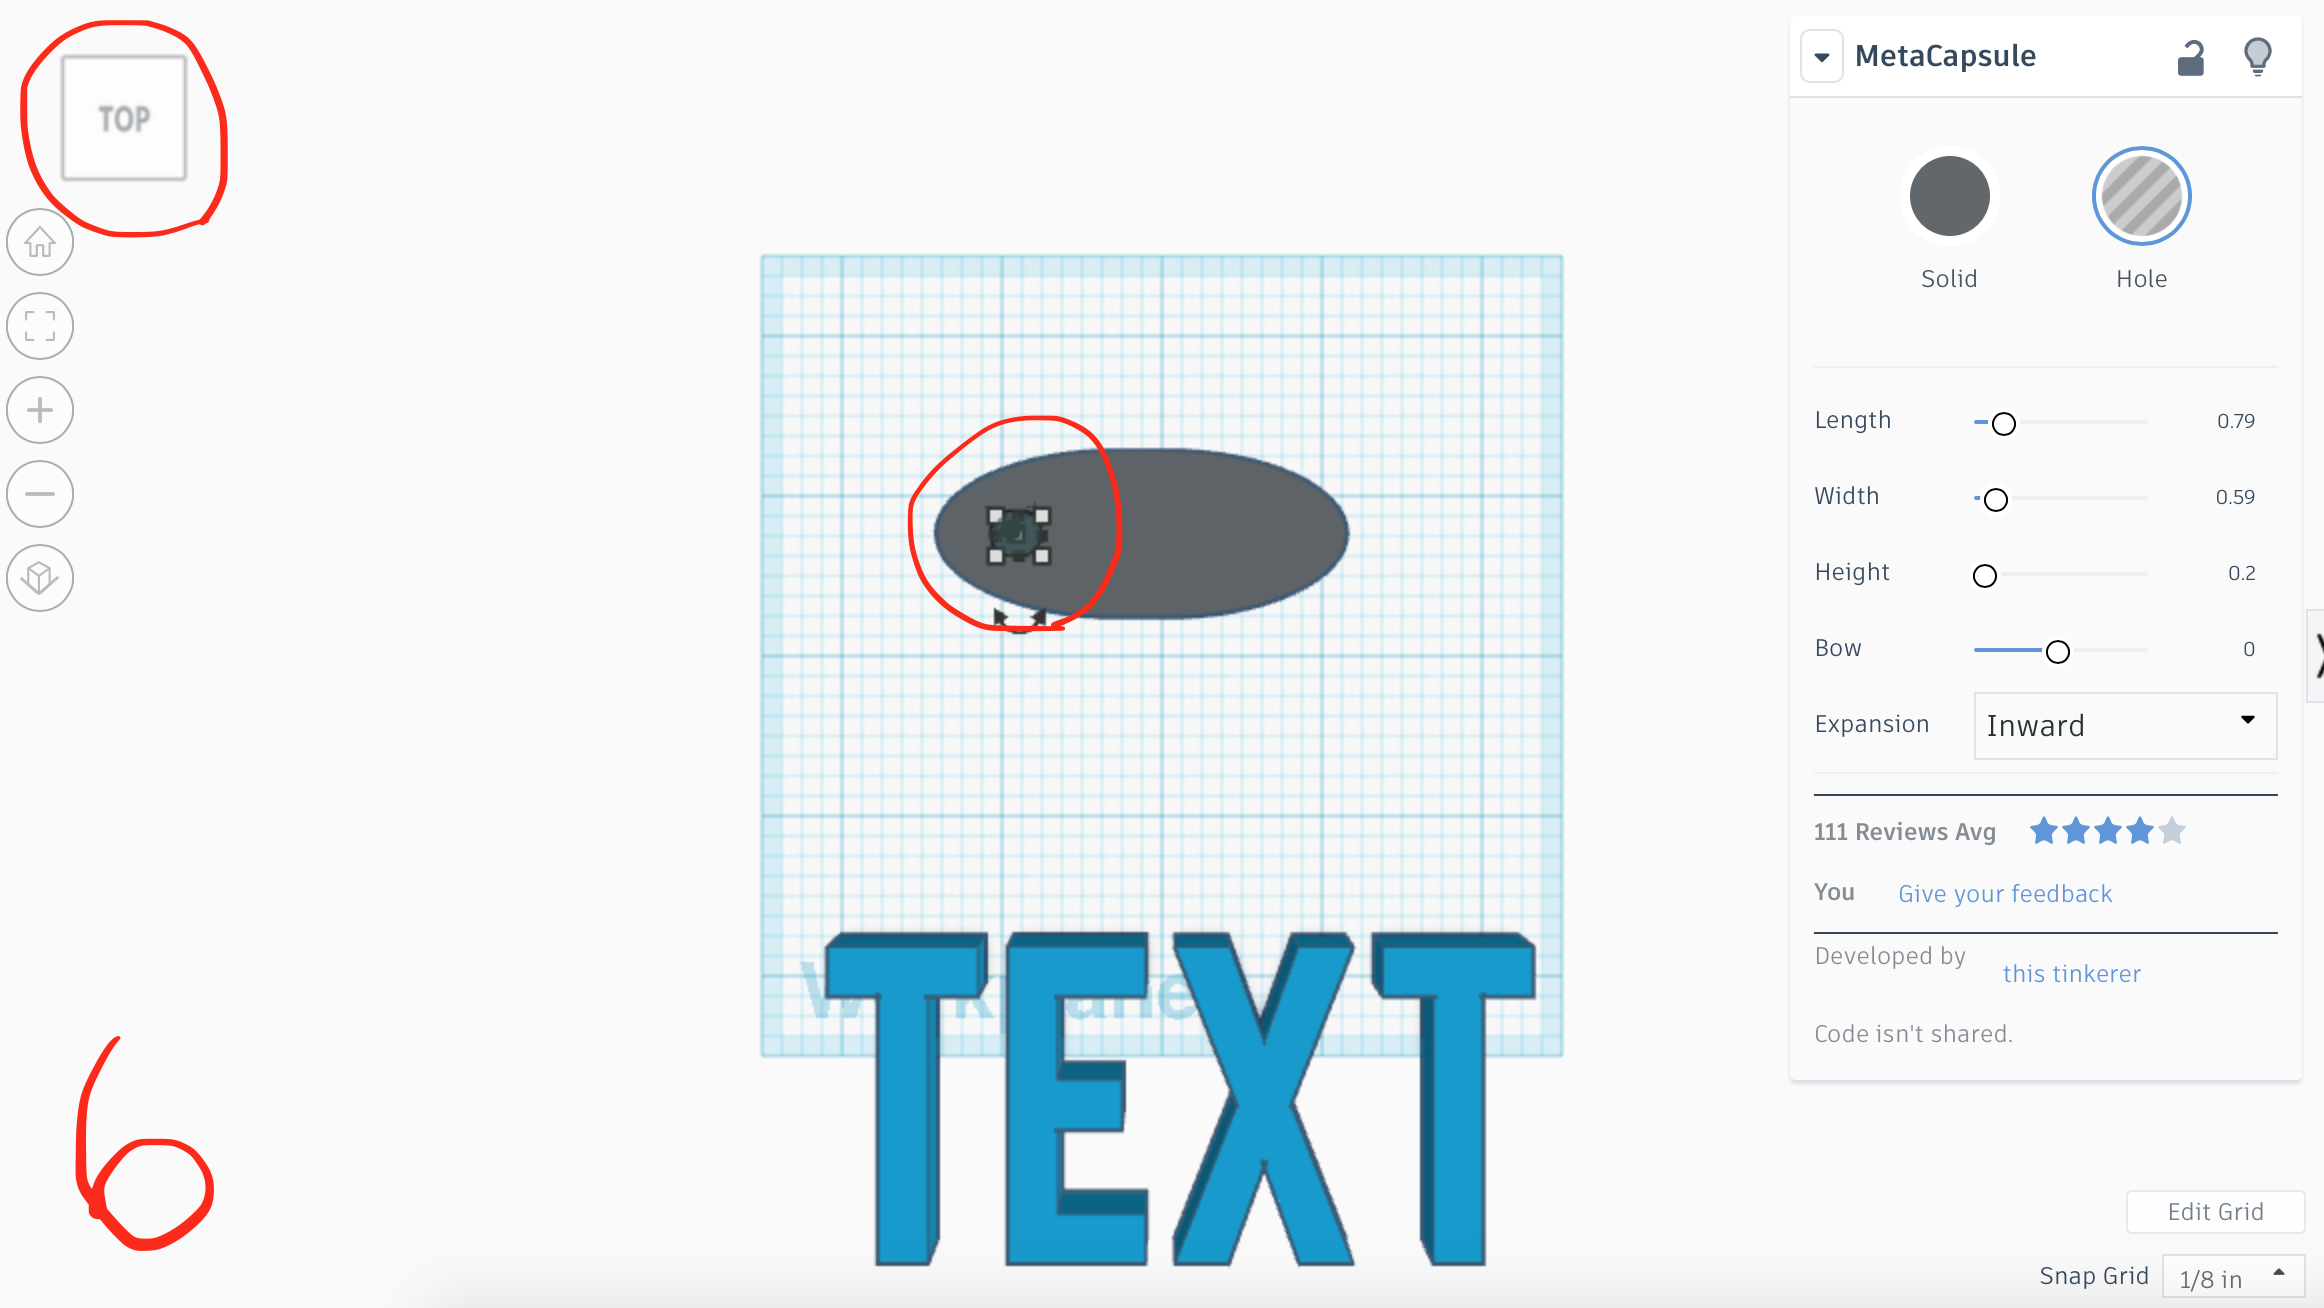
4. At this point, we are going to change views. Click on the box in the upper left- hand corner and select “Top.”
5. Then, drag your smaller shape into your larger shape as pictured in image 6 above.
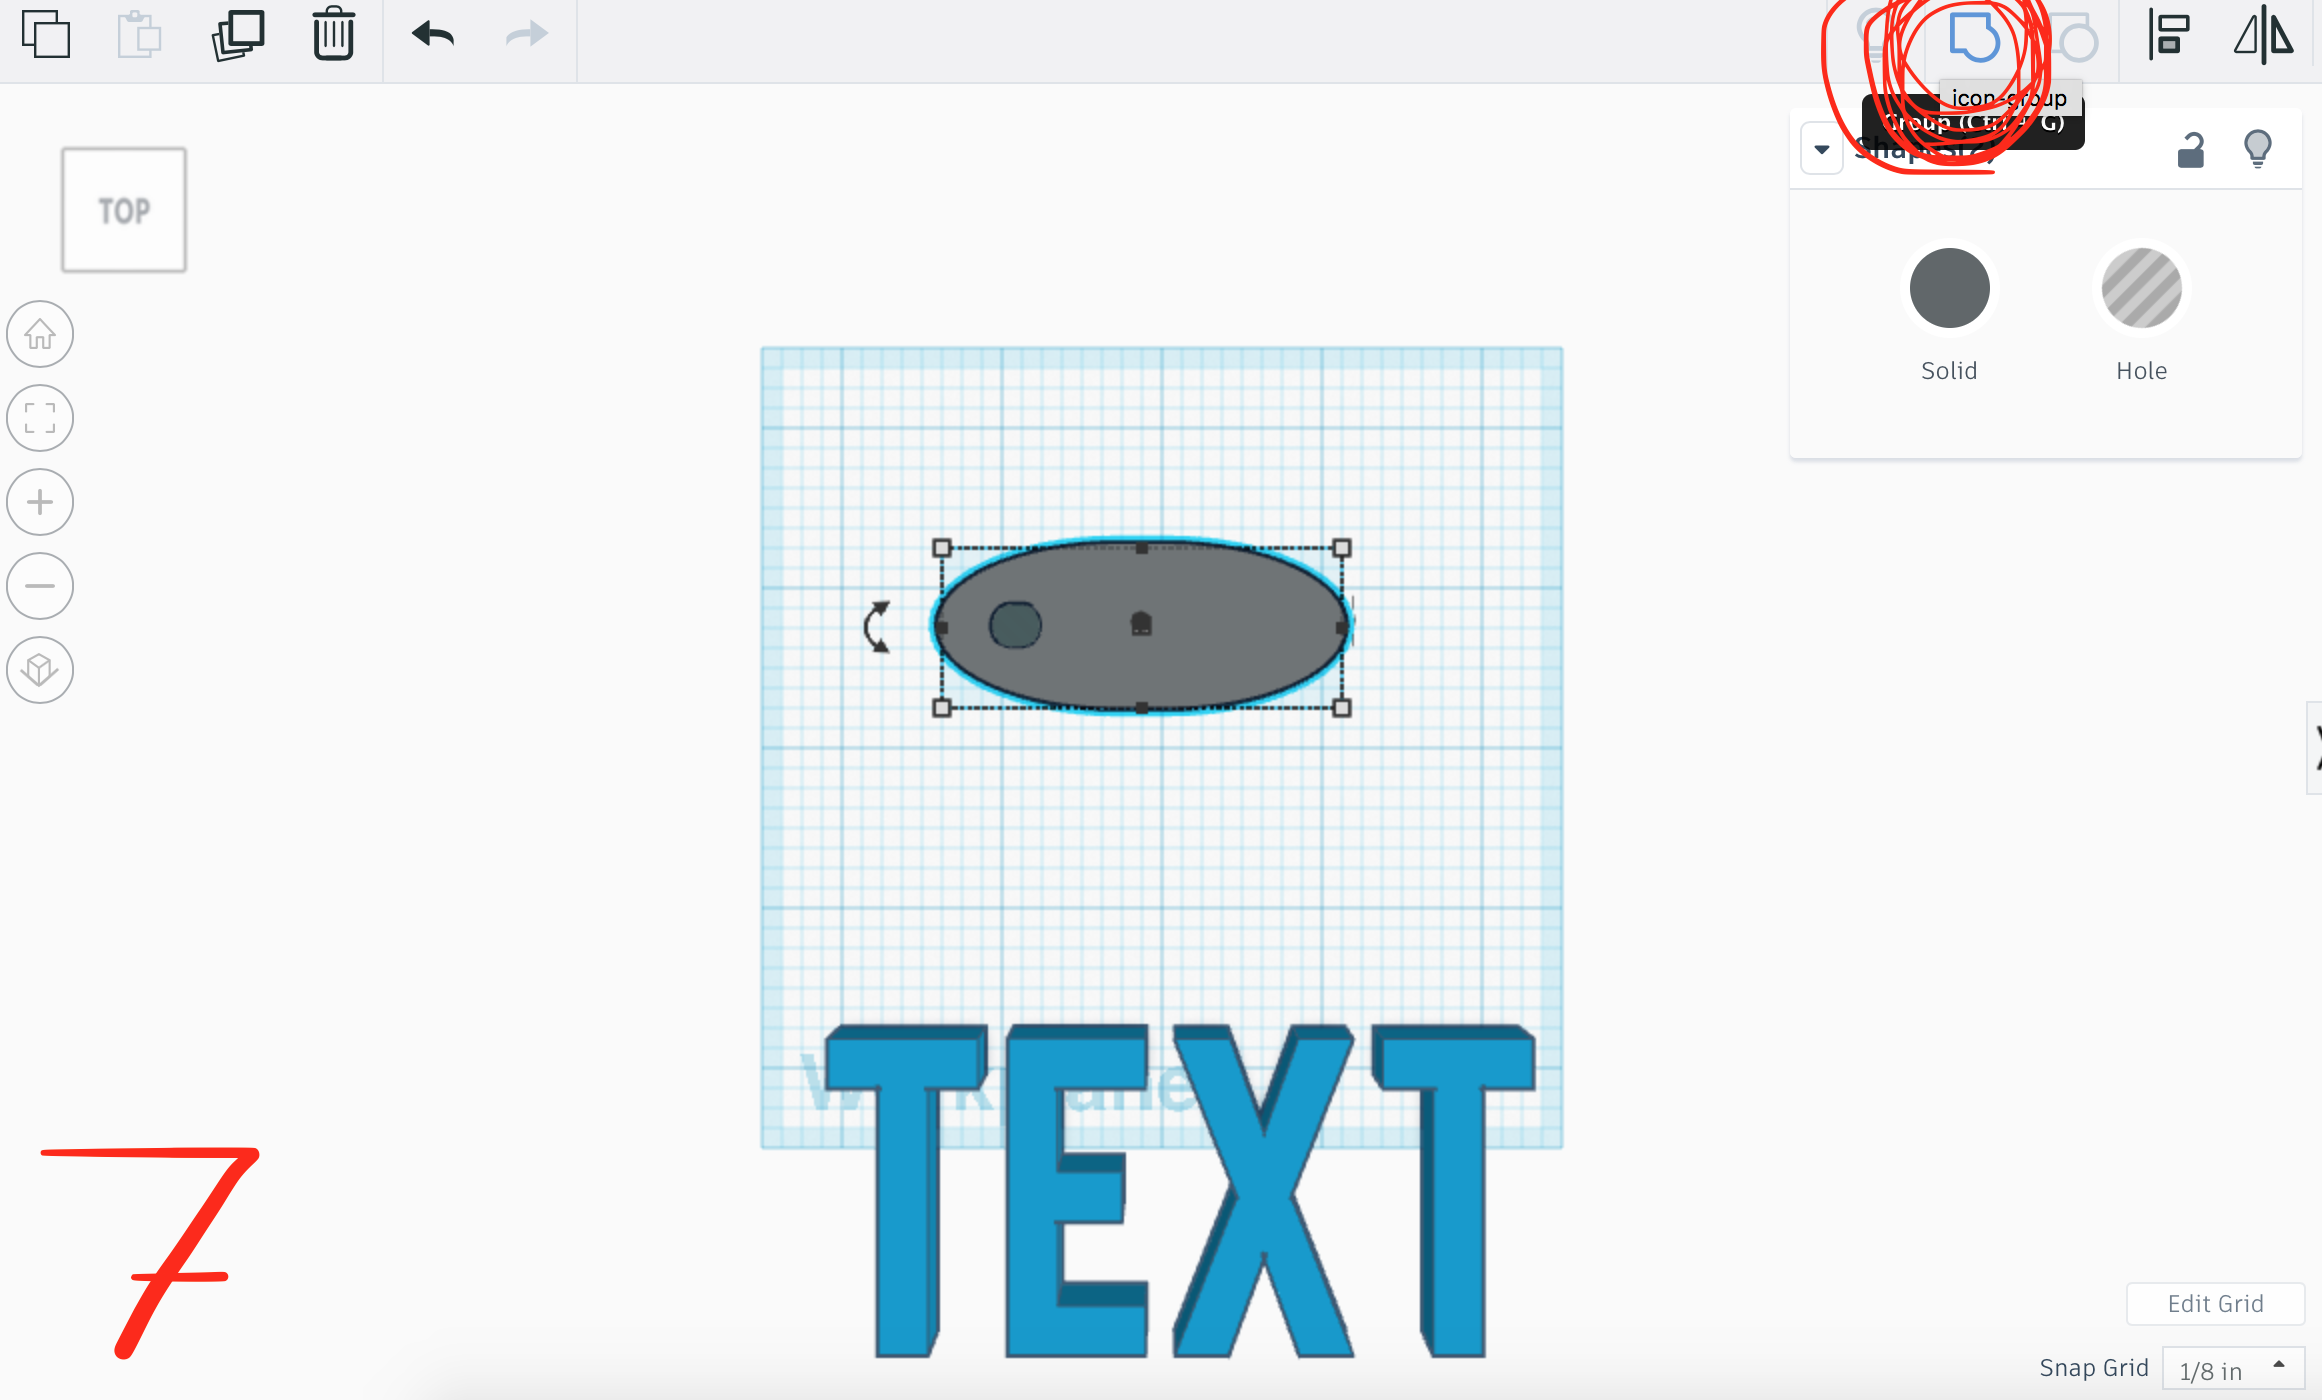
6. Now we are going to group the two shapes together to create the whole. You will need to select both “metacapsule” shapes by dragging your mouse over them. Do not drag far enough to include the text shape.
7. Once both are selected, we will be grouping them together. Select the icon that looks like a square and a circle combined in the upper right-hand corner. If you can't find it, it is circled in image 7 above.
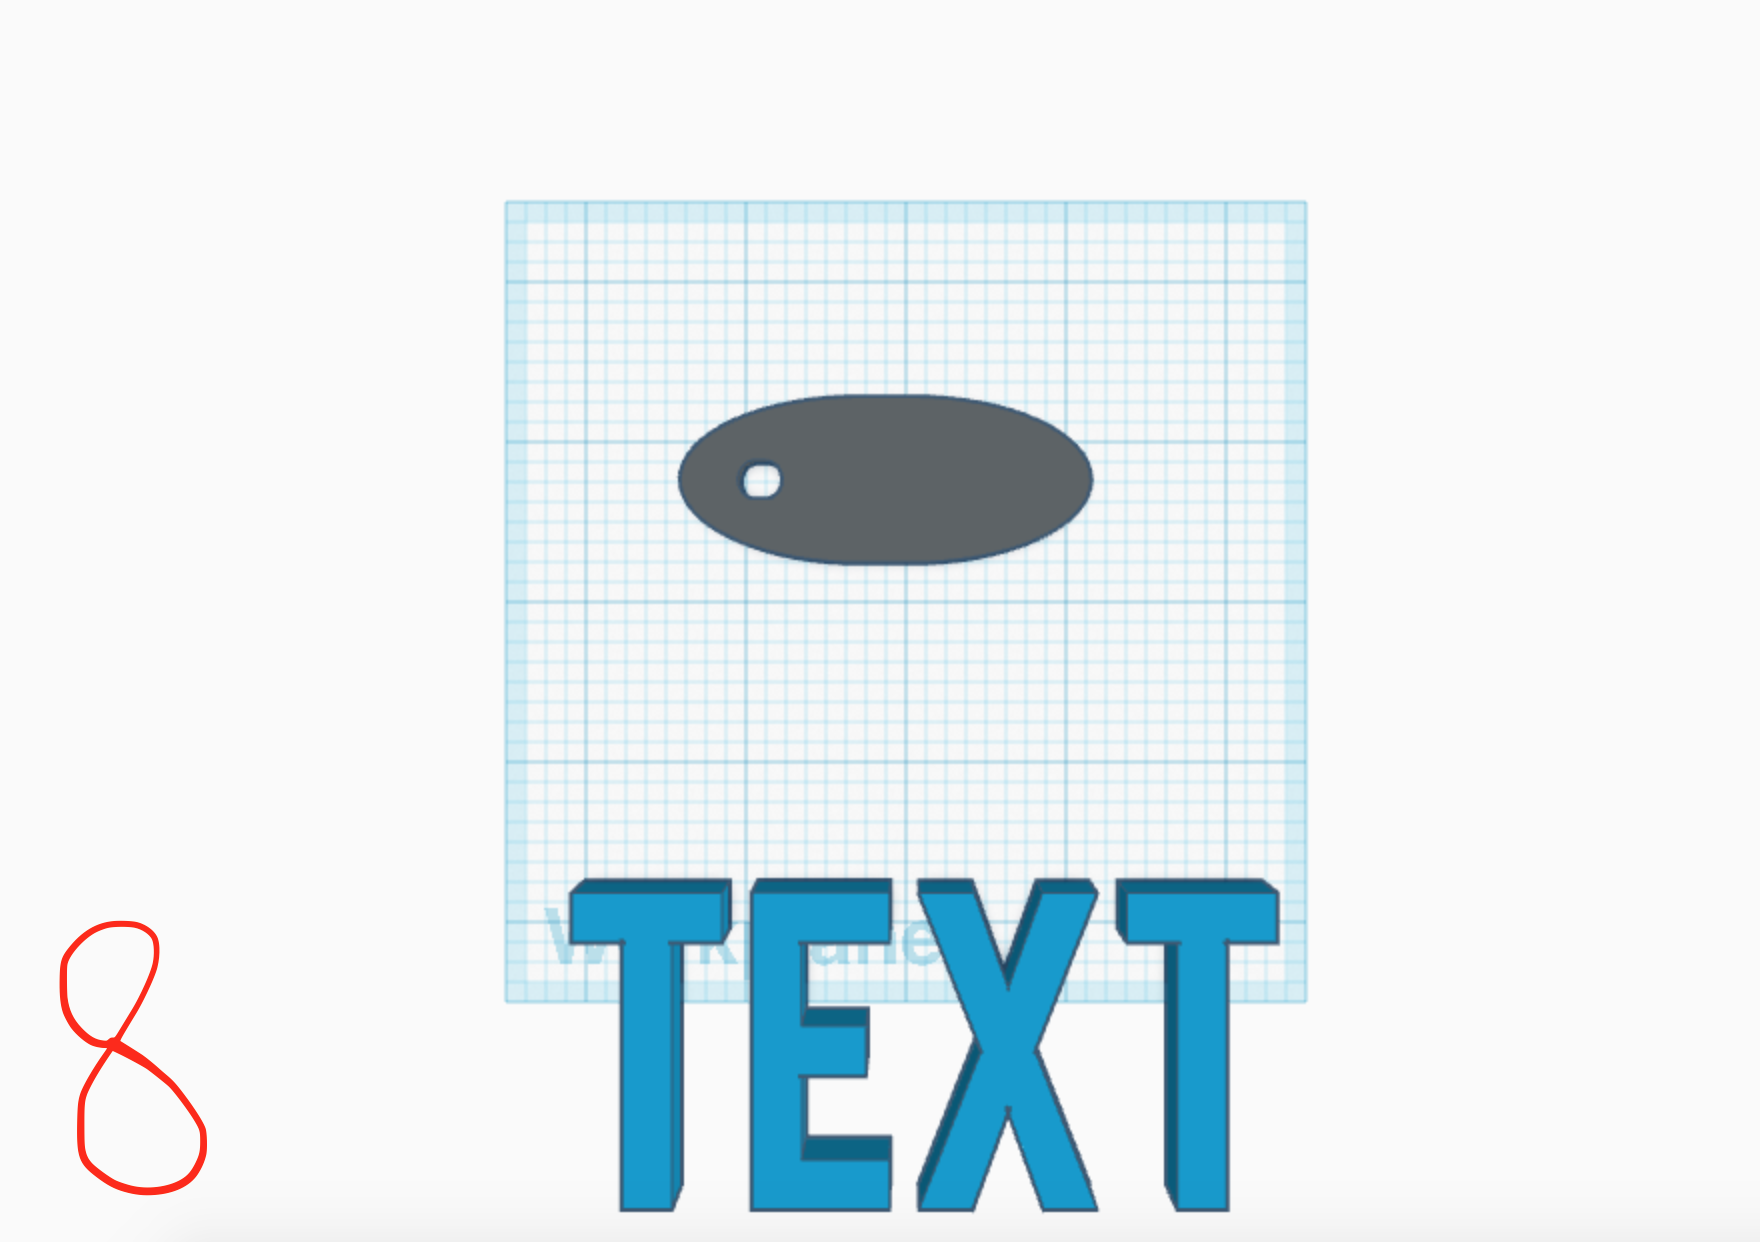
Your pet tag will now have a hole in it. It should look like mine in image 8.
Adding Your Pet’s Name
Next, you are going to add your pet's name. Because you already have the text shape in your workspace, this step will be simple.
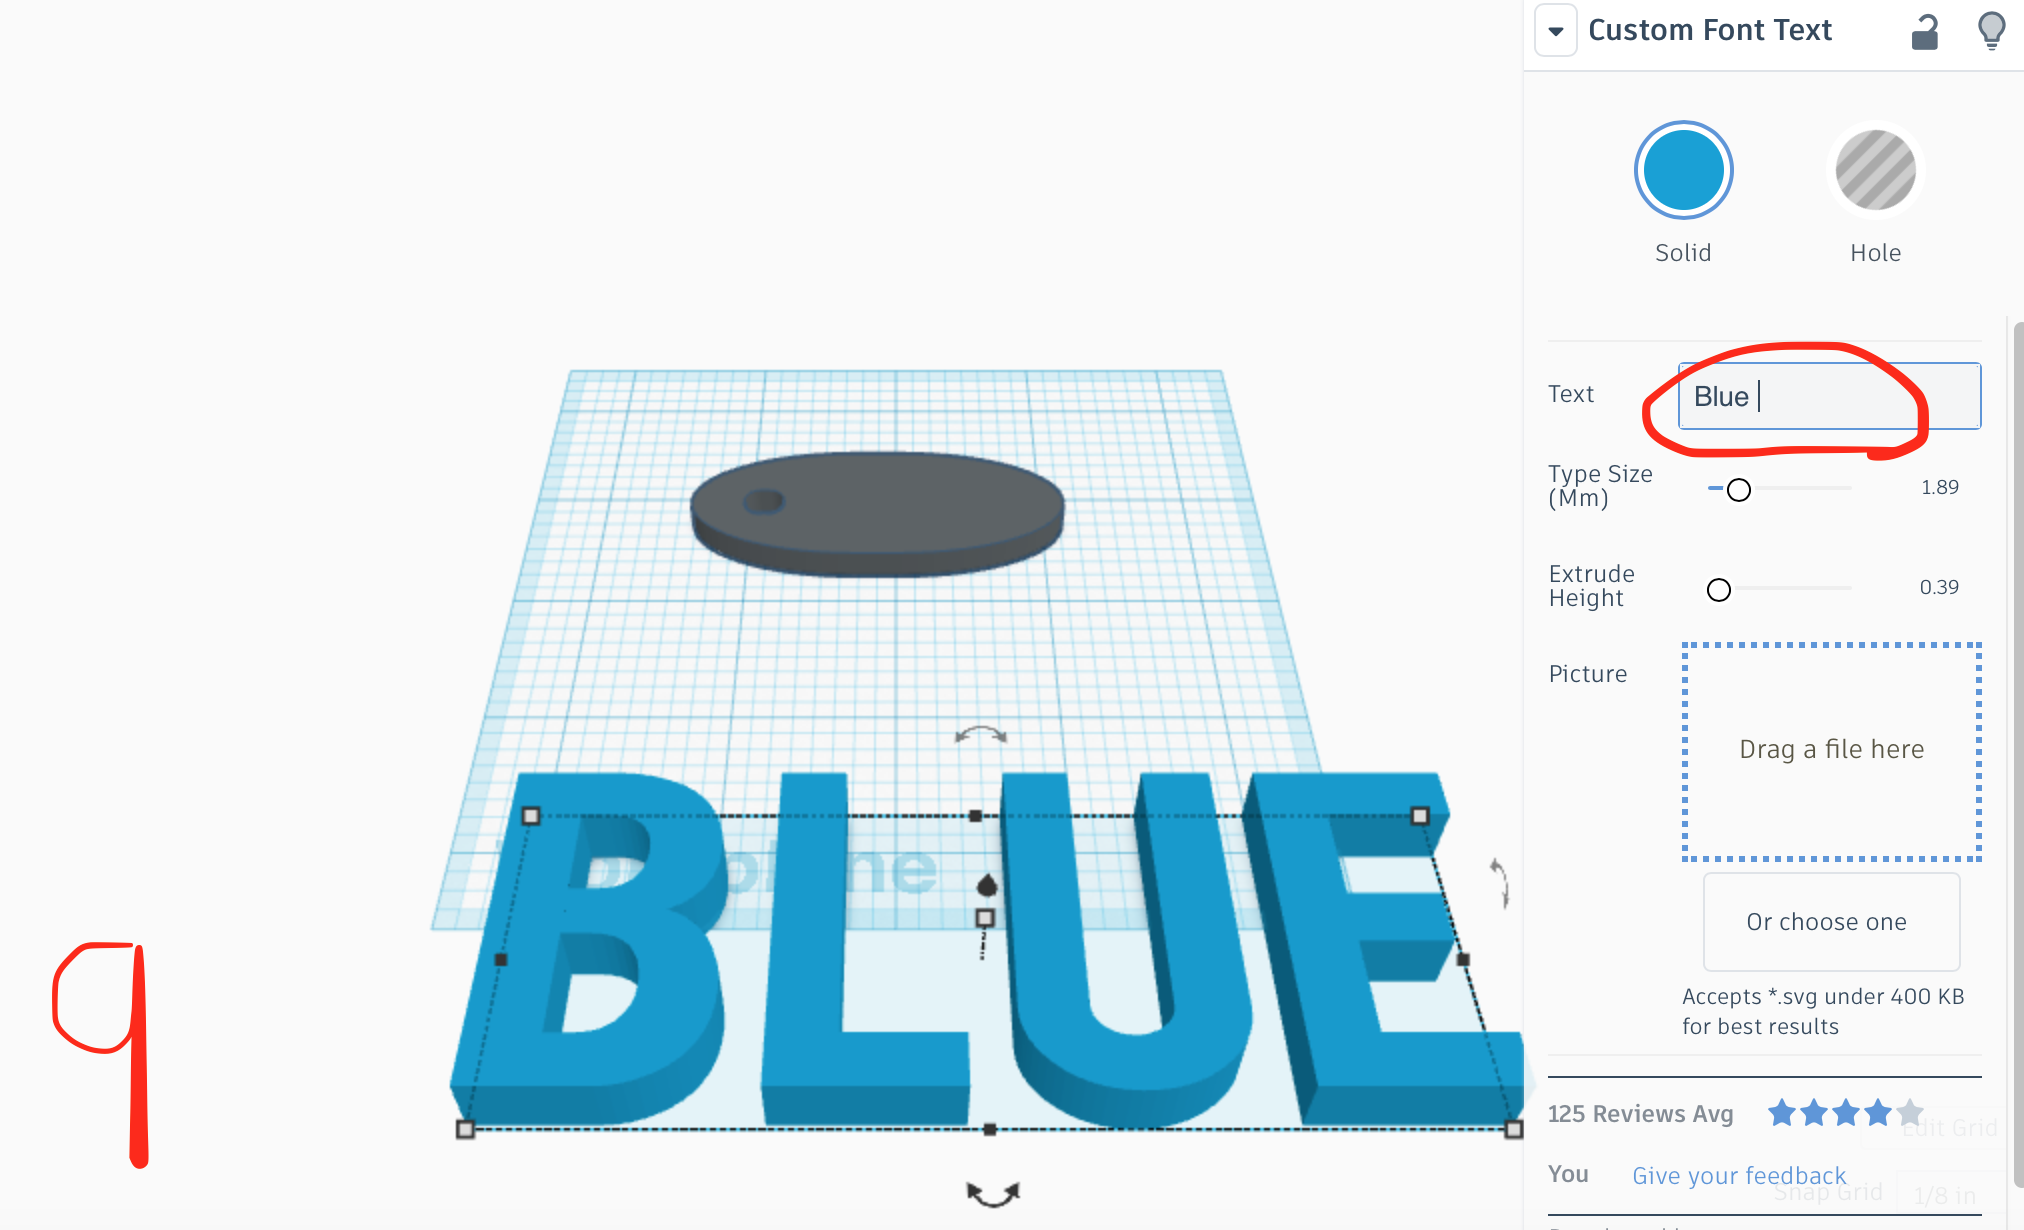
1. Start out by clicking on the blue text shape.
2. In the upper right area, demonstrated in image 9, you will see that you can change the content of the text by typing in the box that is circled. Here, you will type in your pet's name. My foster dog's name is Blue.
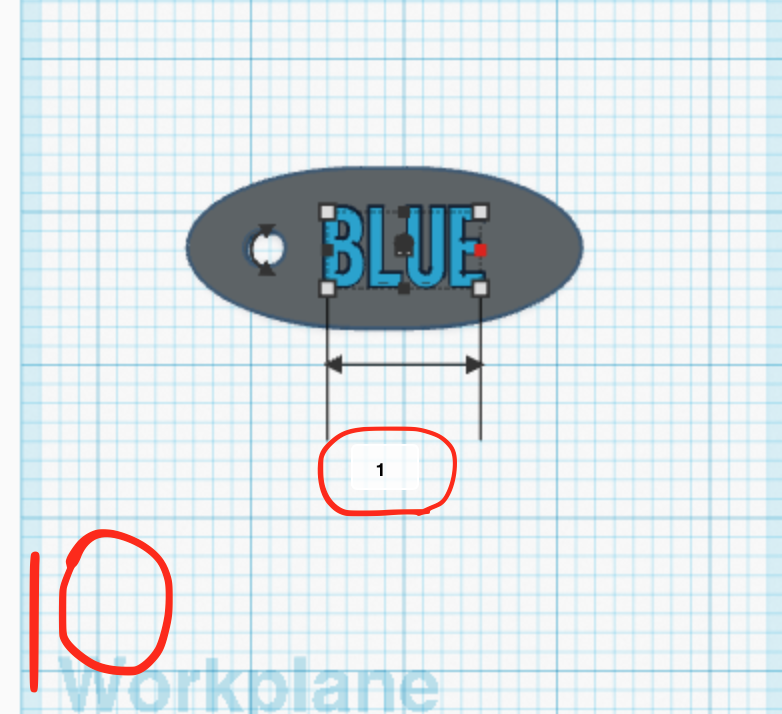
3. Now we are going to resize the text. The first thing you should do is chose the middle point on the right size to edit the length. Mine is one inch, but yours may have to be smaller or larger depending on how many letters are in your pet's name.
4. Drag the name over your name tag shape.
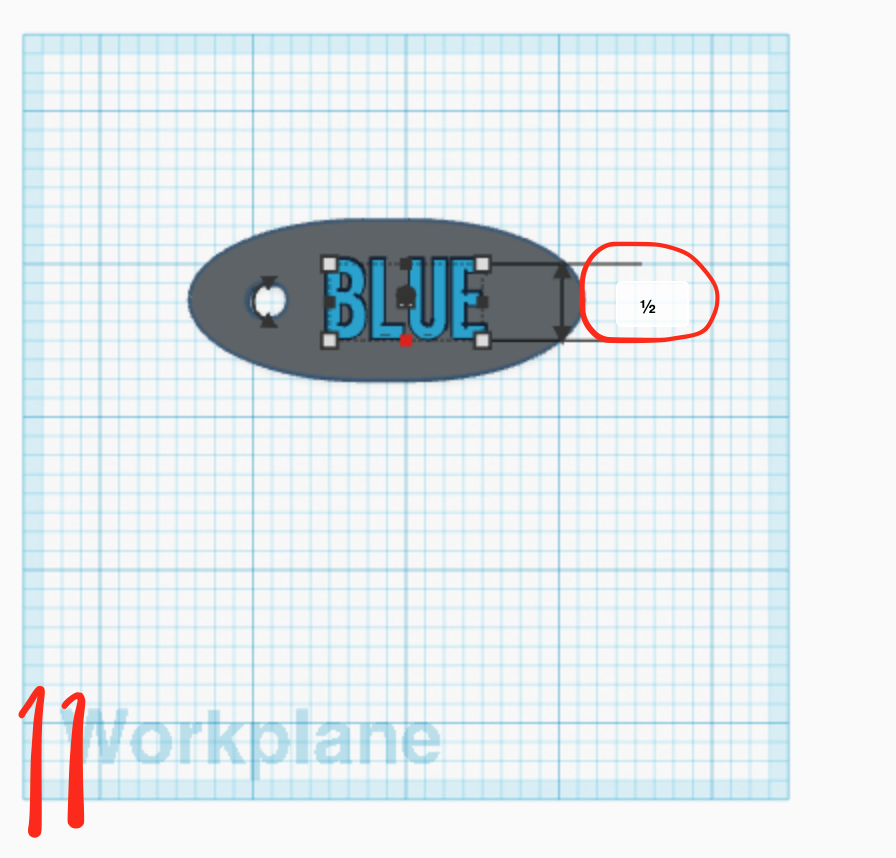
5. Choose the middle point on the bottom to type in 1/2 for the width. Again, you may have to choose a different size if your pet's name is longer or shorter.
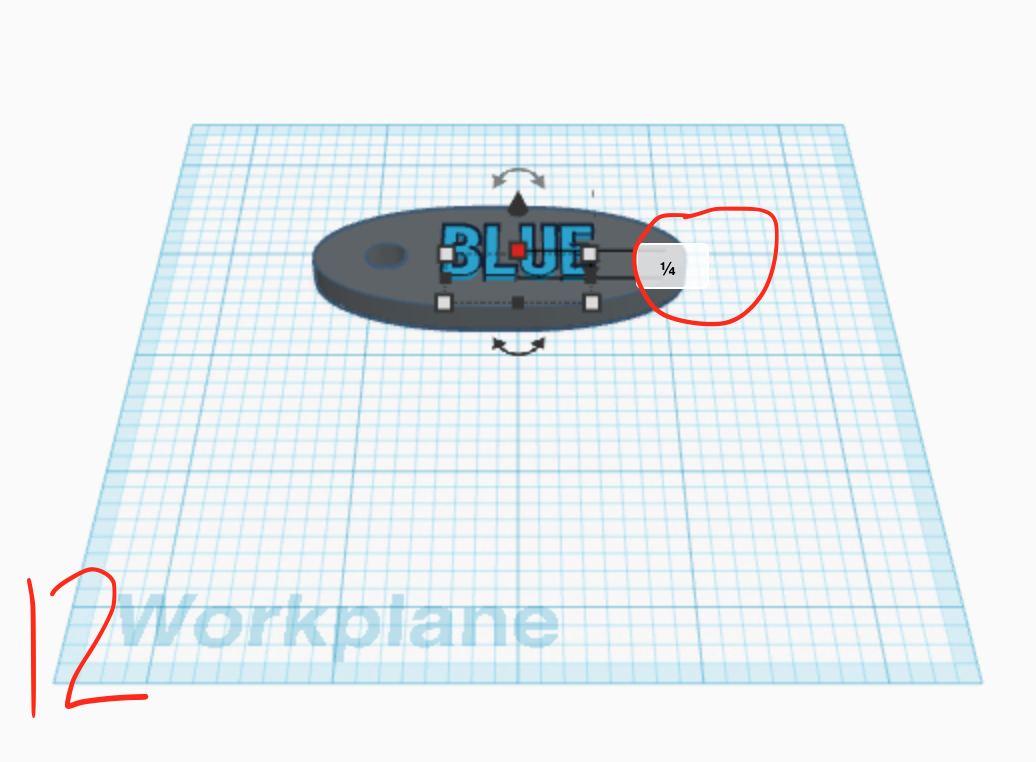
6. For the height, I chose 1/4 inch. This is fine for any name.
Saving Your File
Don't even think about exporting your file before you group your objects together. If you forget to do this step, your object may have a printing malfunction.
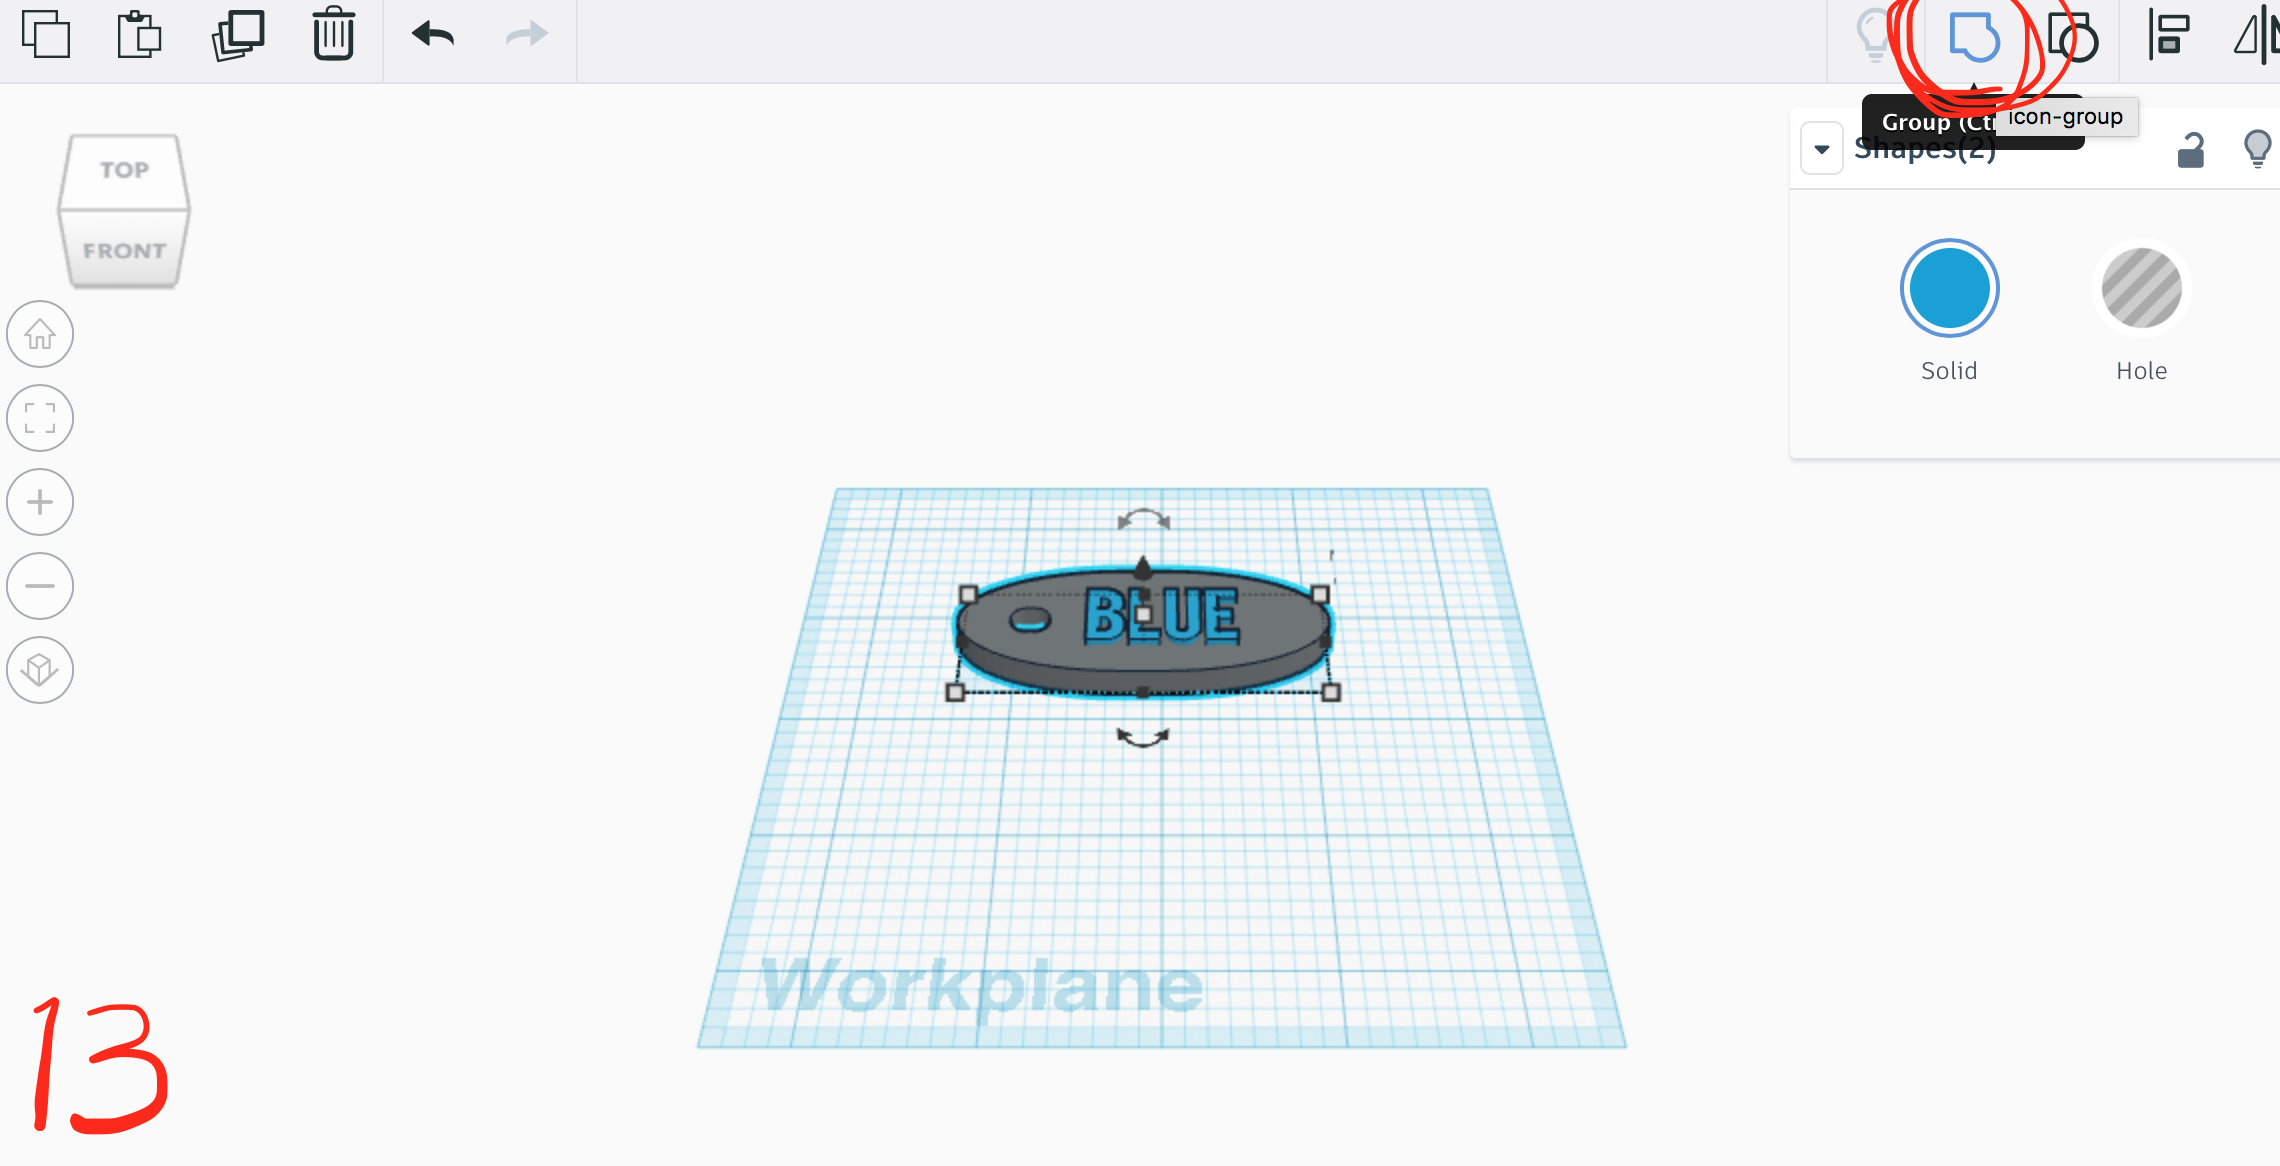
1. Drag your mouse over your name tag with the text on top of it.
2. As shown in image 13, click the "group" button again. This will group your object together.
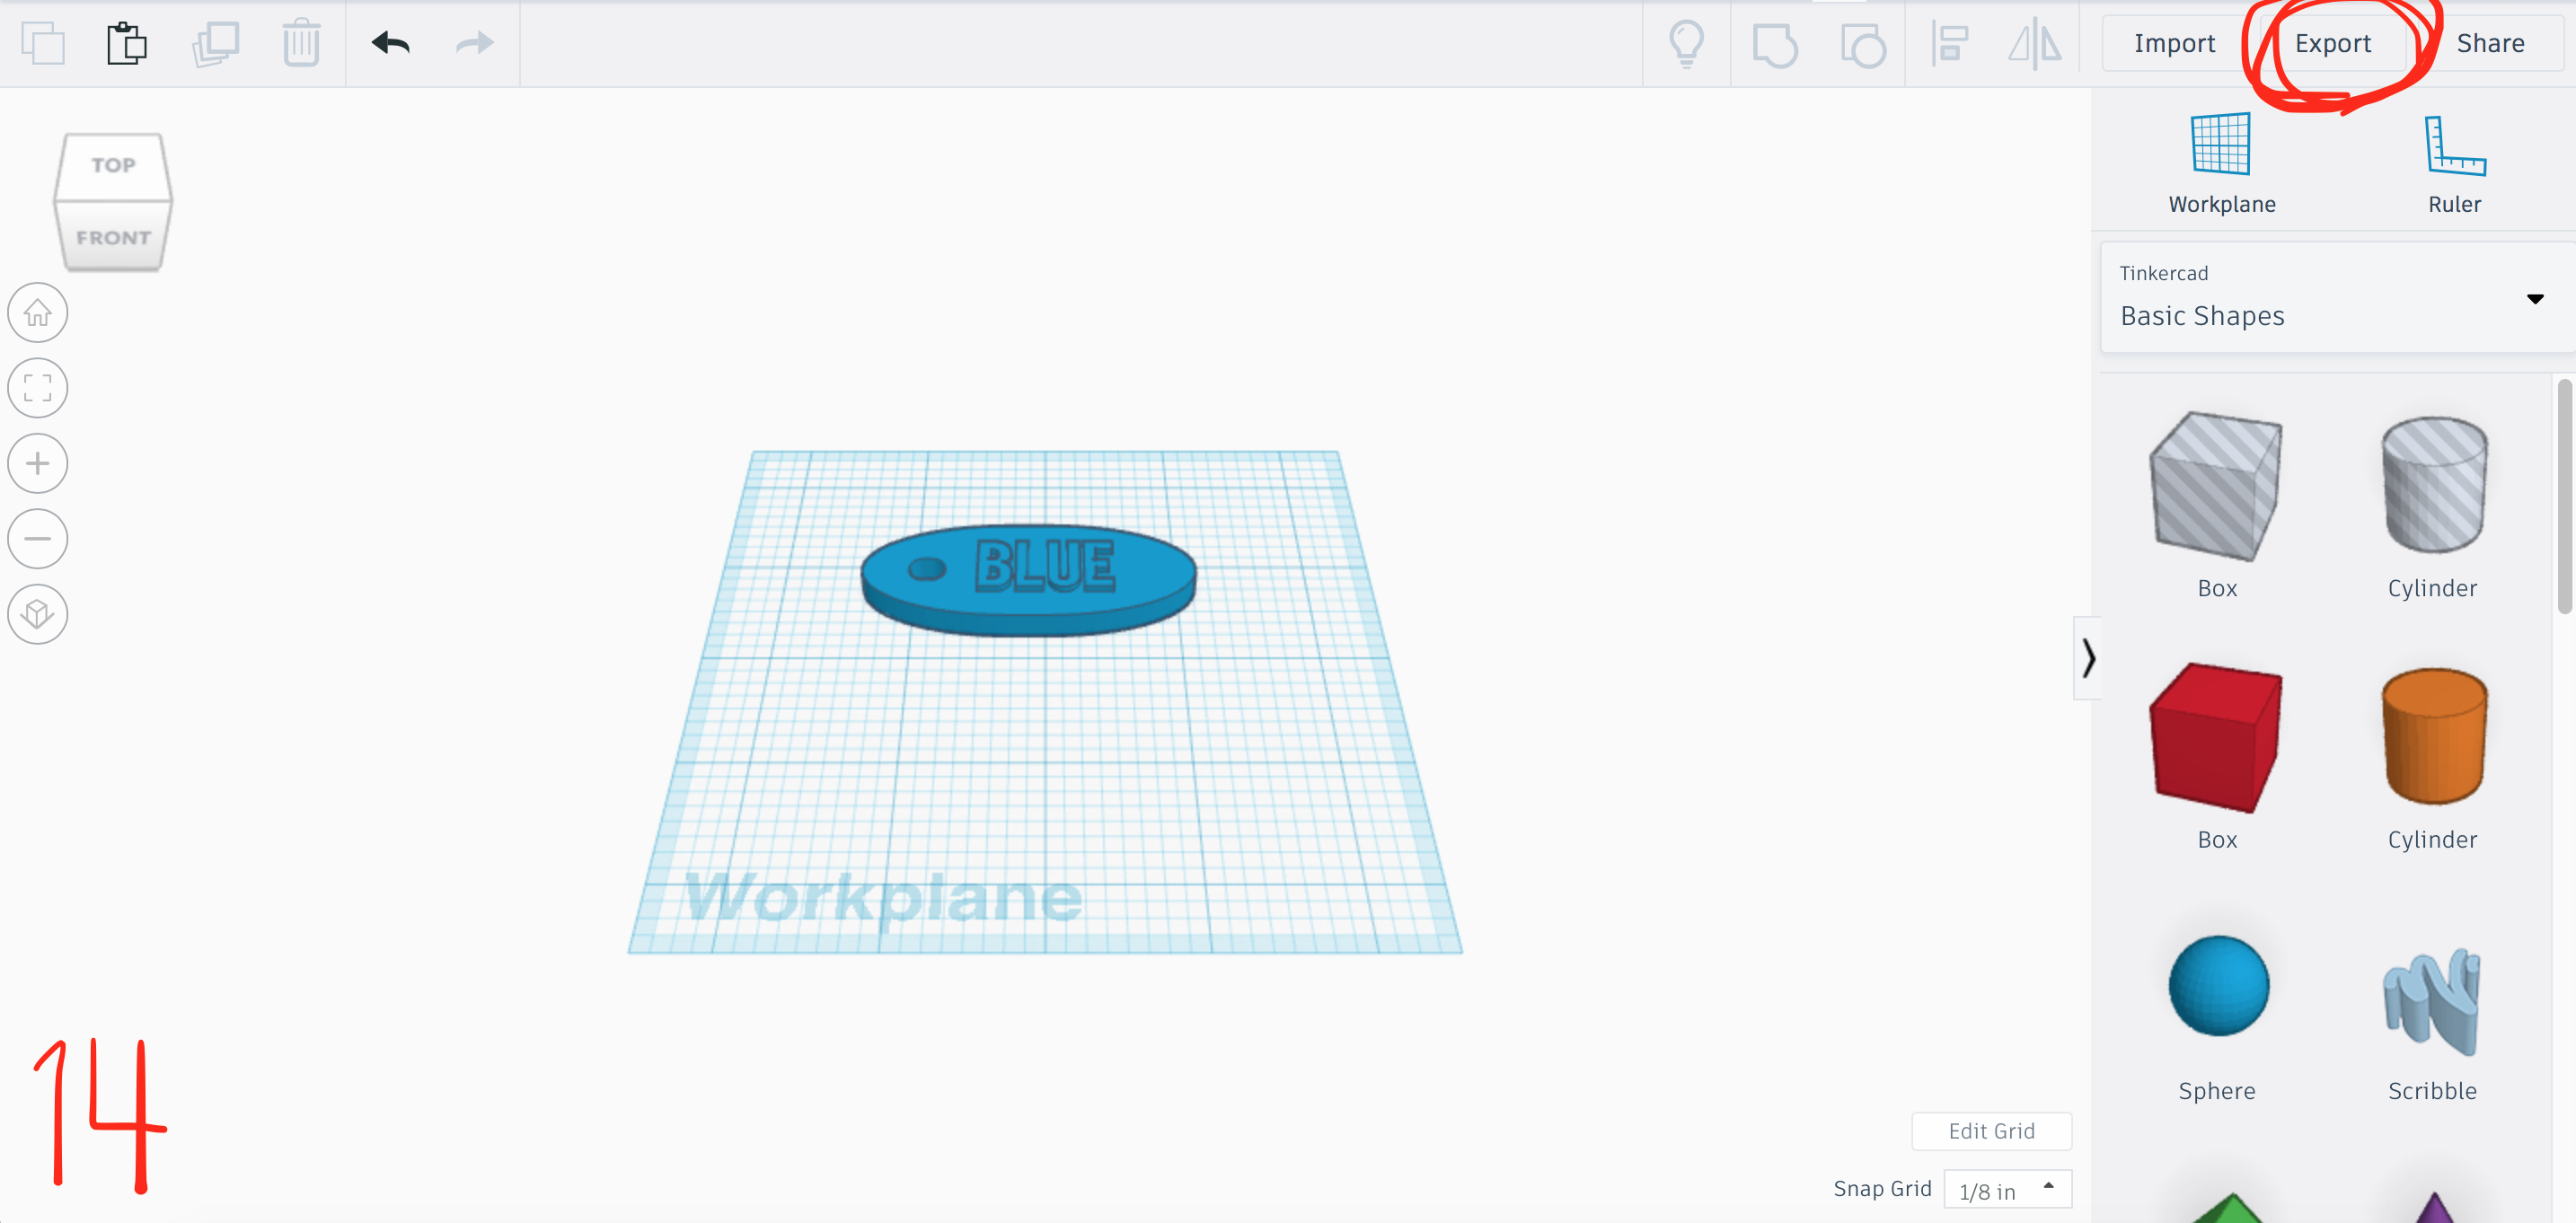
Now that you have the object grouped together, it's time to save the file. It's important to save the file in the right extension for your 3D print job. Because I will be printing through the library at the University of Florida, I chose the .STL extension.
1. In image 14, you will see that I have circled the "export" button in the upper right corner. Click on that.
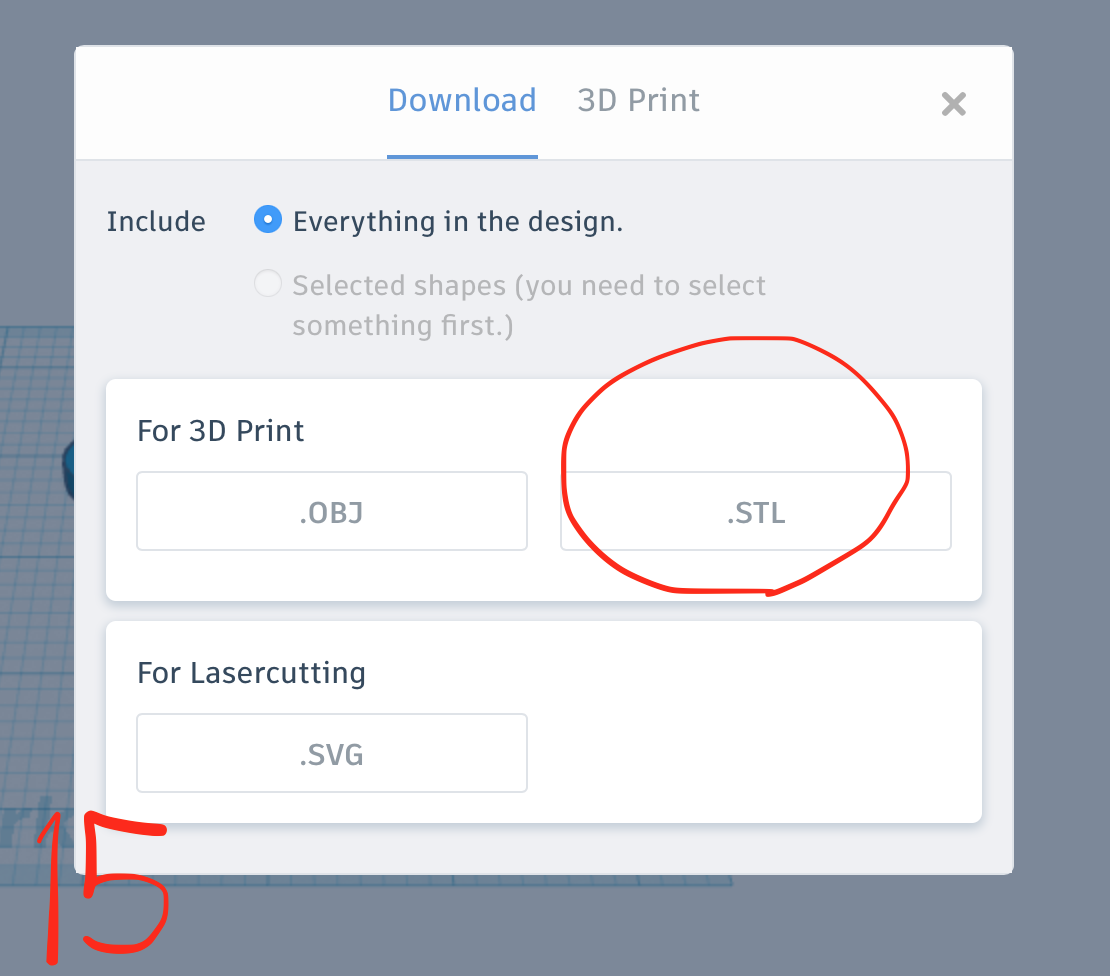
2. A dialogue box will pop up to save your extension. I chose the .STL file.
3. The file will immediately download to your computer.
Printing Your Design
3-D Printing your design can either be the easiest component of this process or the hardest, depending on your access to a 3-D Printer.
If you go to the University of Florida, one of the easiest options is to submit your print request to the Marston Science Library. If you have this privilege, simply go to https://3dprint.uflib.ufl.edu and enter your information to submit the request. You will need to include your UFID number along with some information about your project. Marston prefers to have the download as a .STL file.
After you submit your request, they will send you a quote regarding its cost. For this name tag project, the cost was only $3.00. Marston Science Library will not print your design until you pay for it. They will email you when your design has been processed to pay for it and when it is ready for pickup.
You can also check out a 3-D printer through Marston and print your own design. This process is a little bit more challenging, as you will need to download the correct software to your computer and follow the instructions given by the UF library. Sometimes errors occur within the printing process, such as device malfunctions, so I wouldn't recommend checking out a printer unless you are a quick learner or a very patient person. On the plus side however, checking out your own 3-D printer will be free for small projects because UF provides a spool of filament.
Research your accessibility to a 3-D printer in your area before you begin. If you don't have access to one, there are companies online that will print for you.
As a disclaimer, my name tag printed in a slightly less oval shape than shown in the demonstration. This is because I remade the process of designing the shape in order to capture screen shots of the screen for your ease. You are more than welcome to make your shape a star, a heart, a square, a rectangle, or anything you'd like.
Painting and Decorating
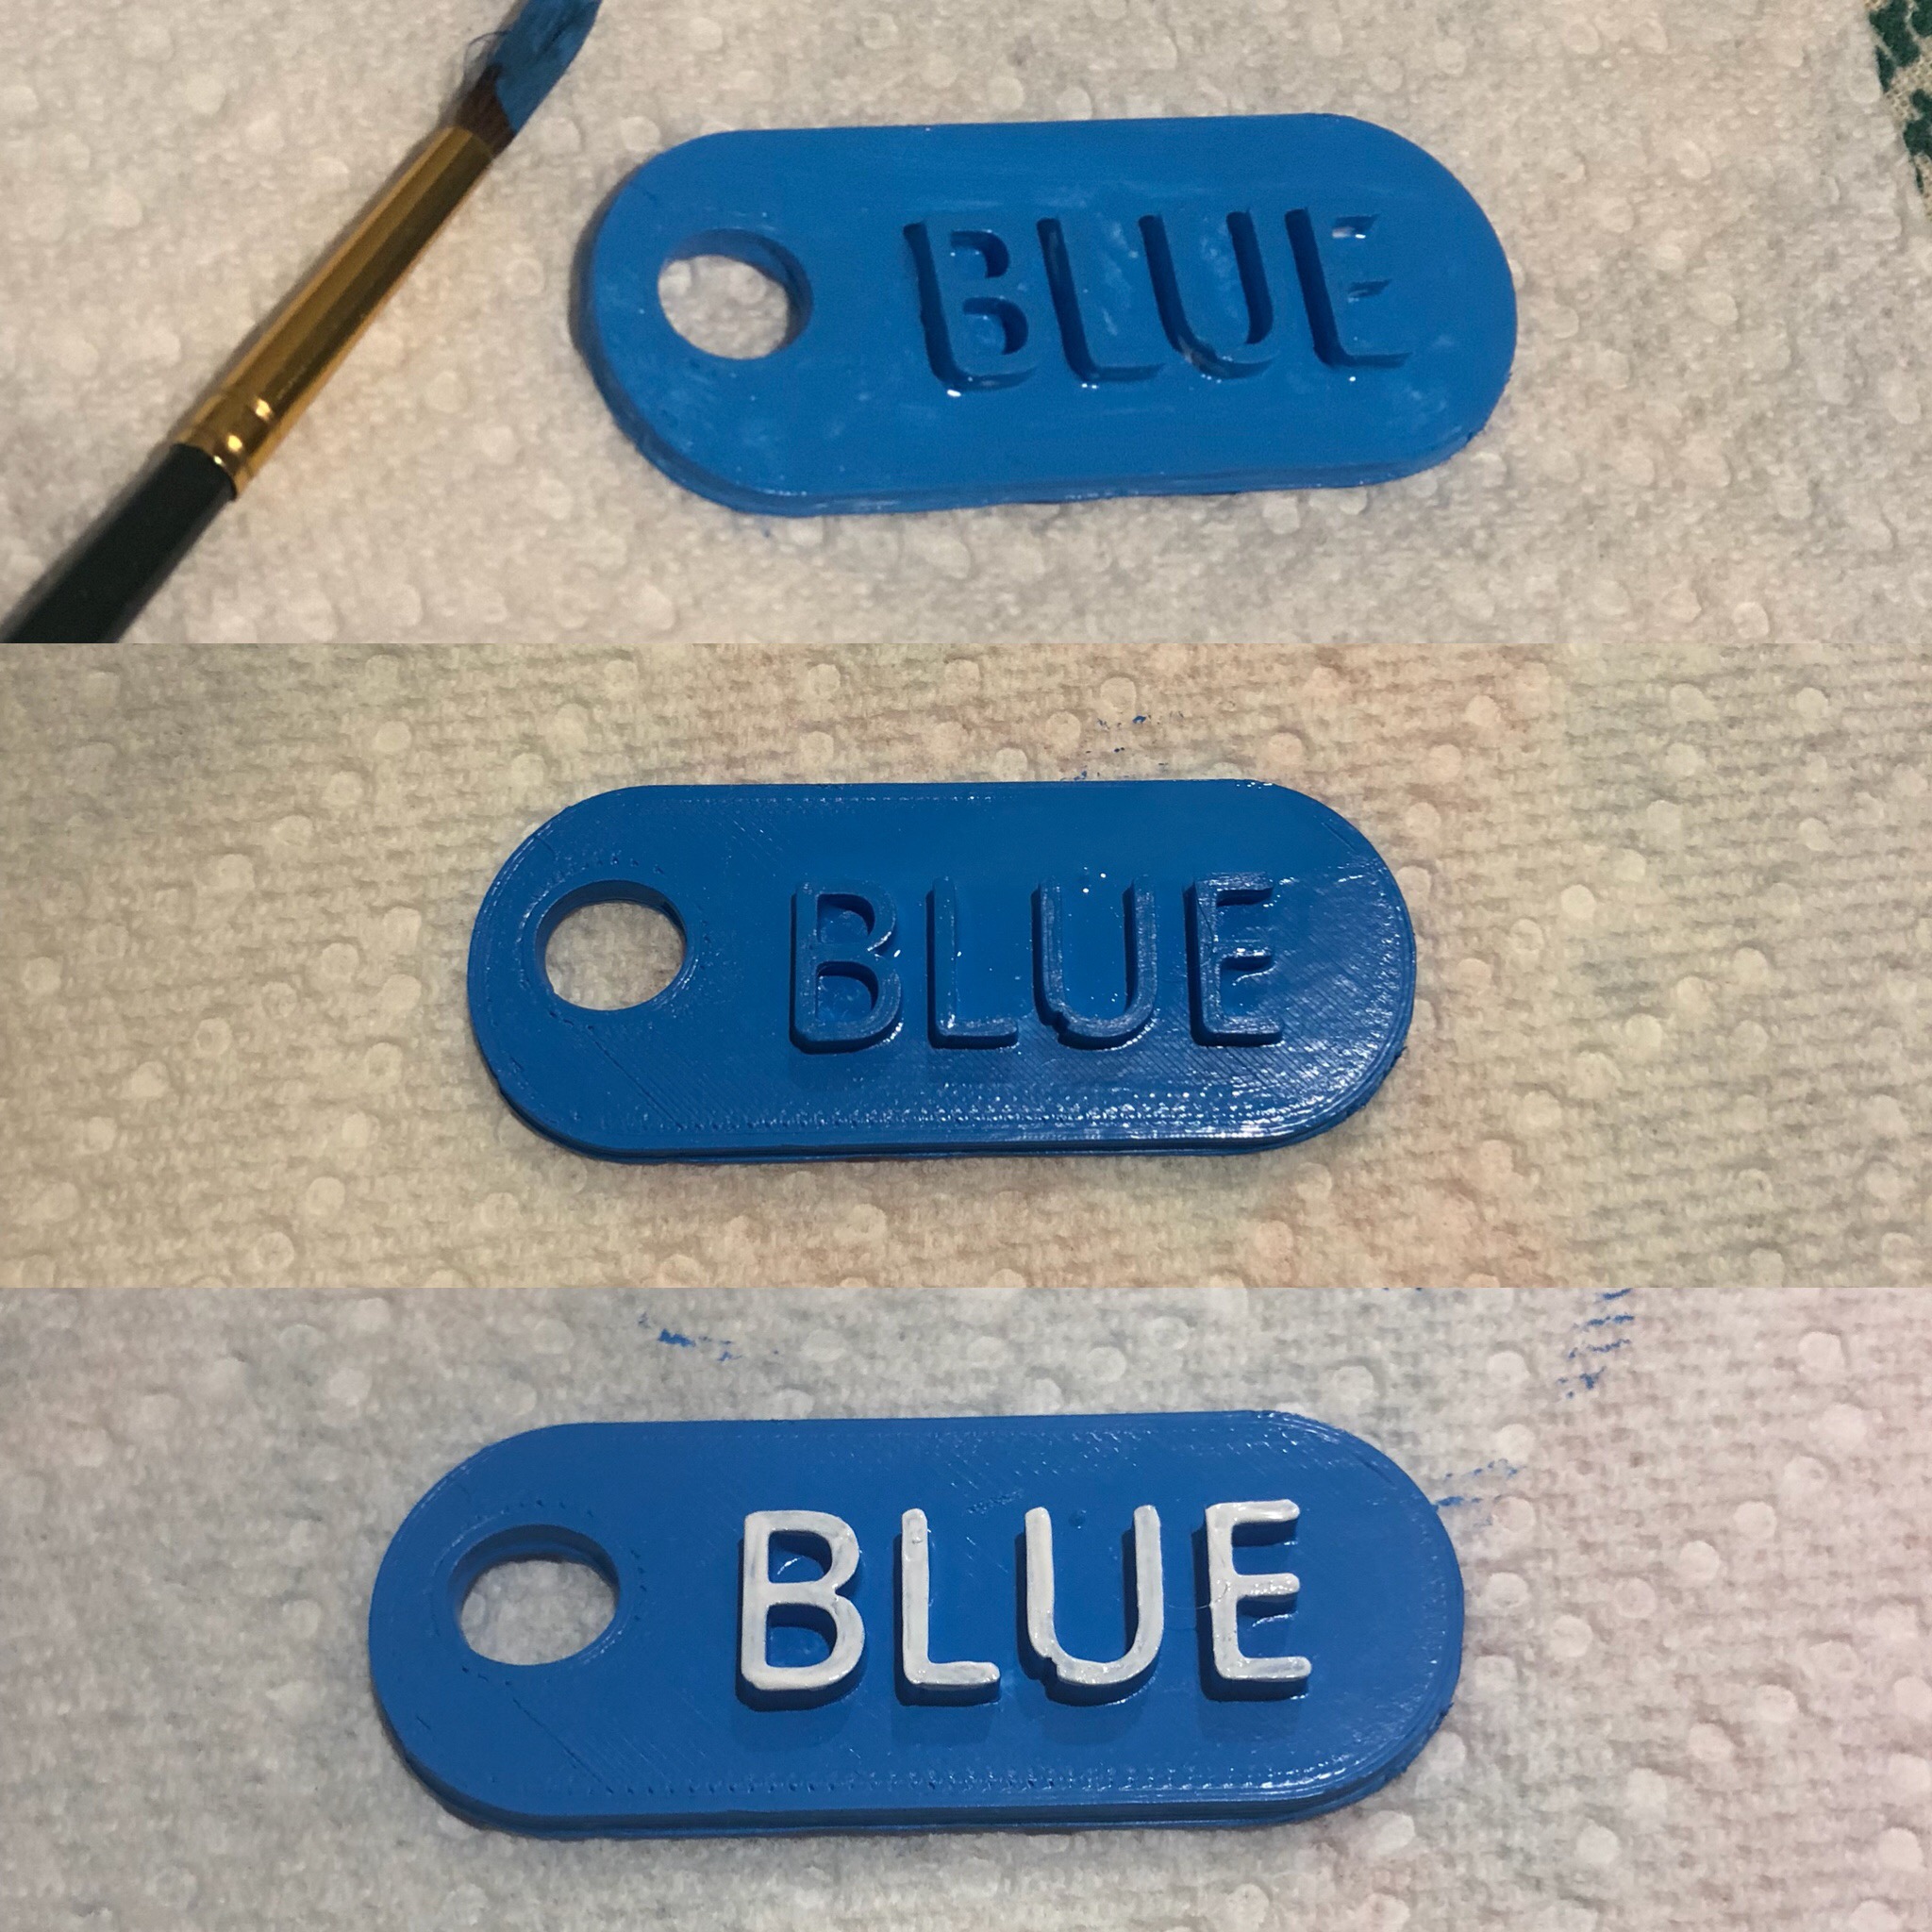
You can use as many colors as you like, I only needed two for my pet tag.
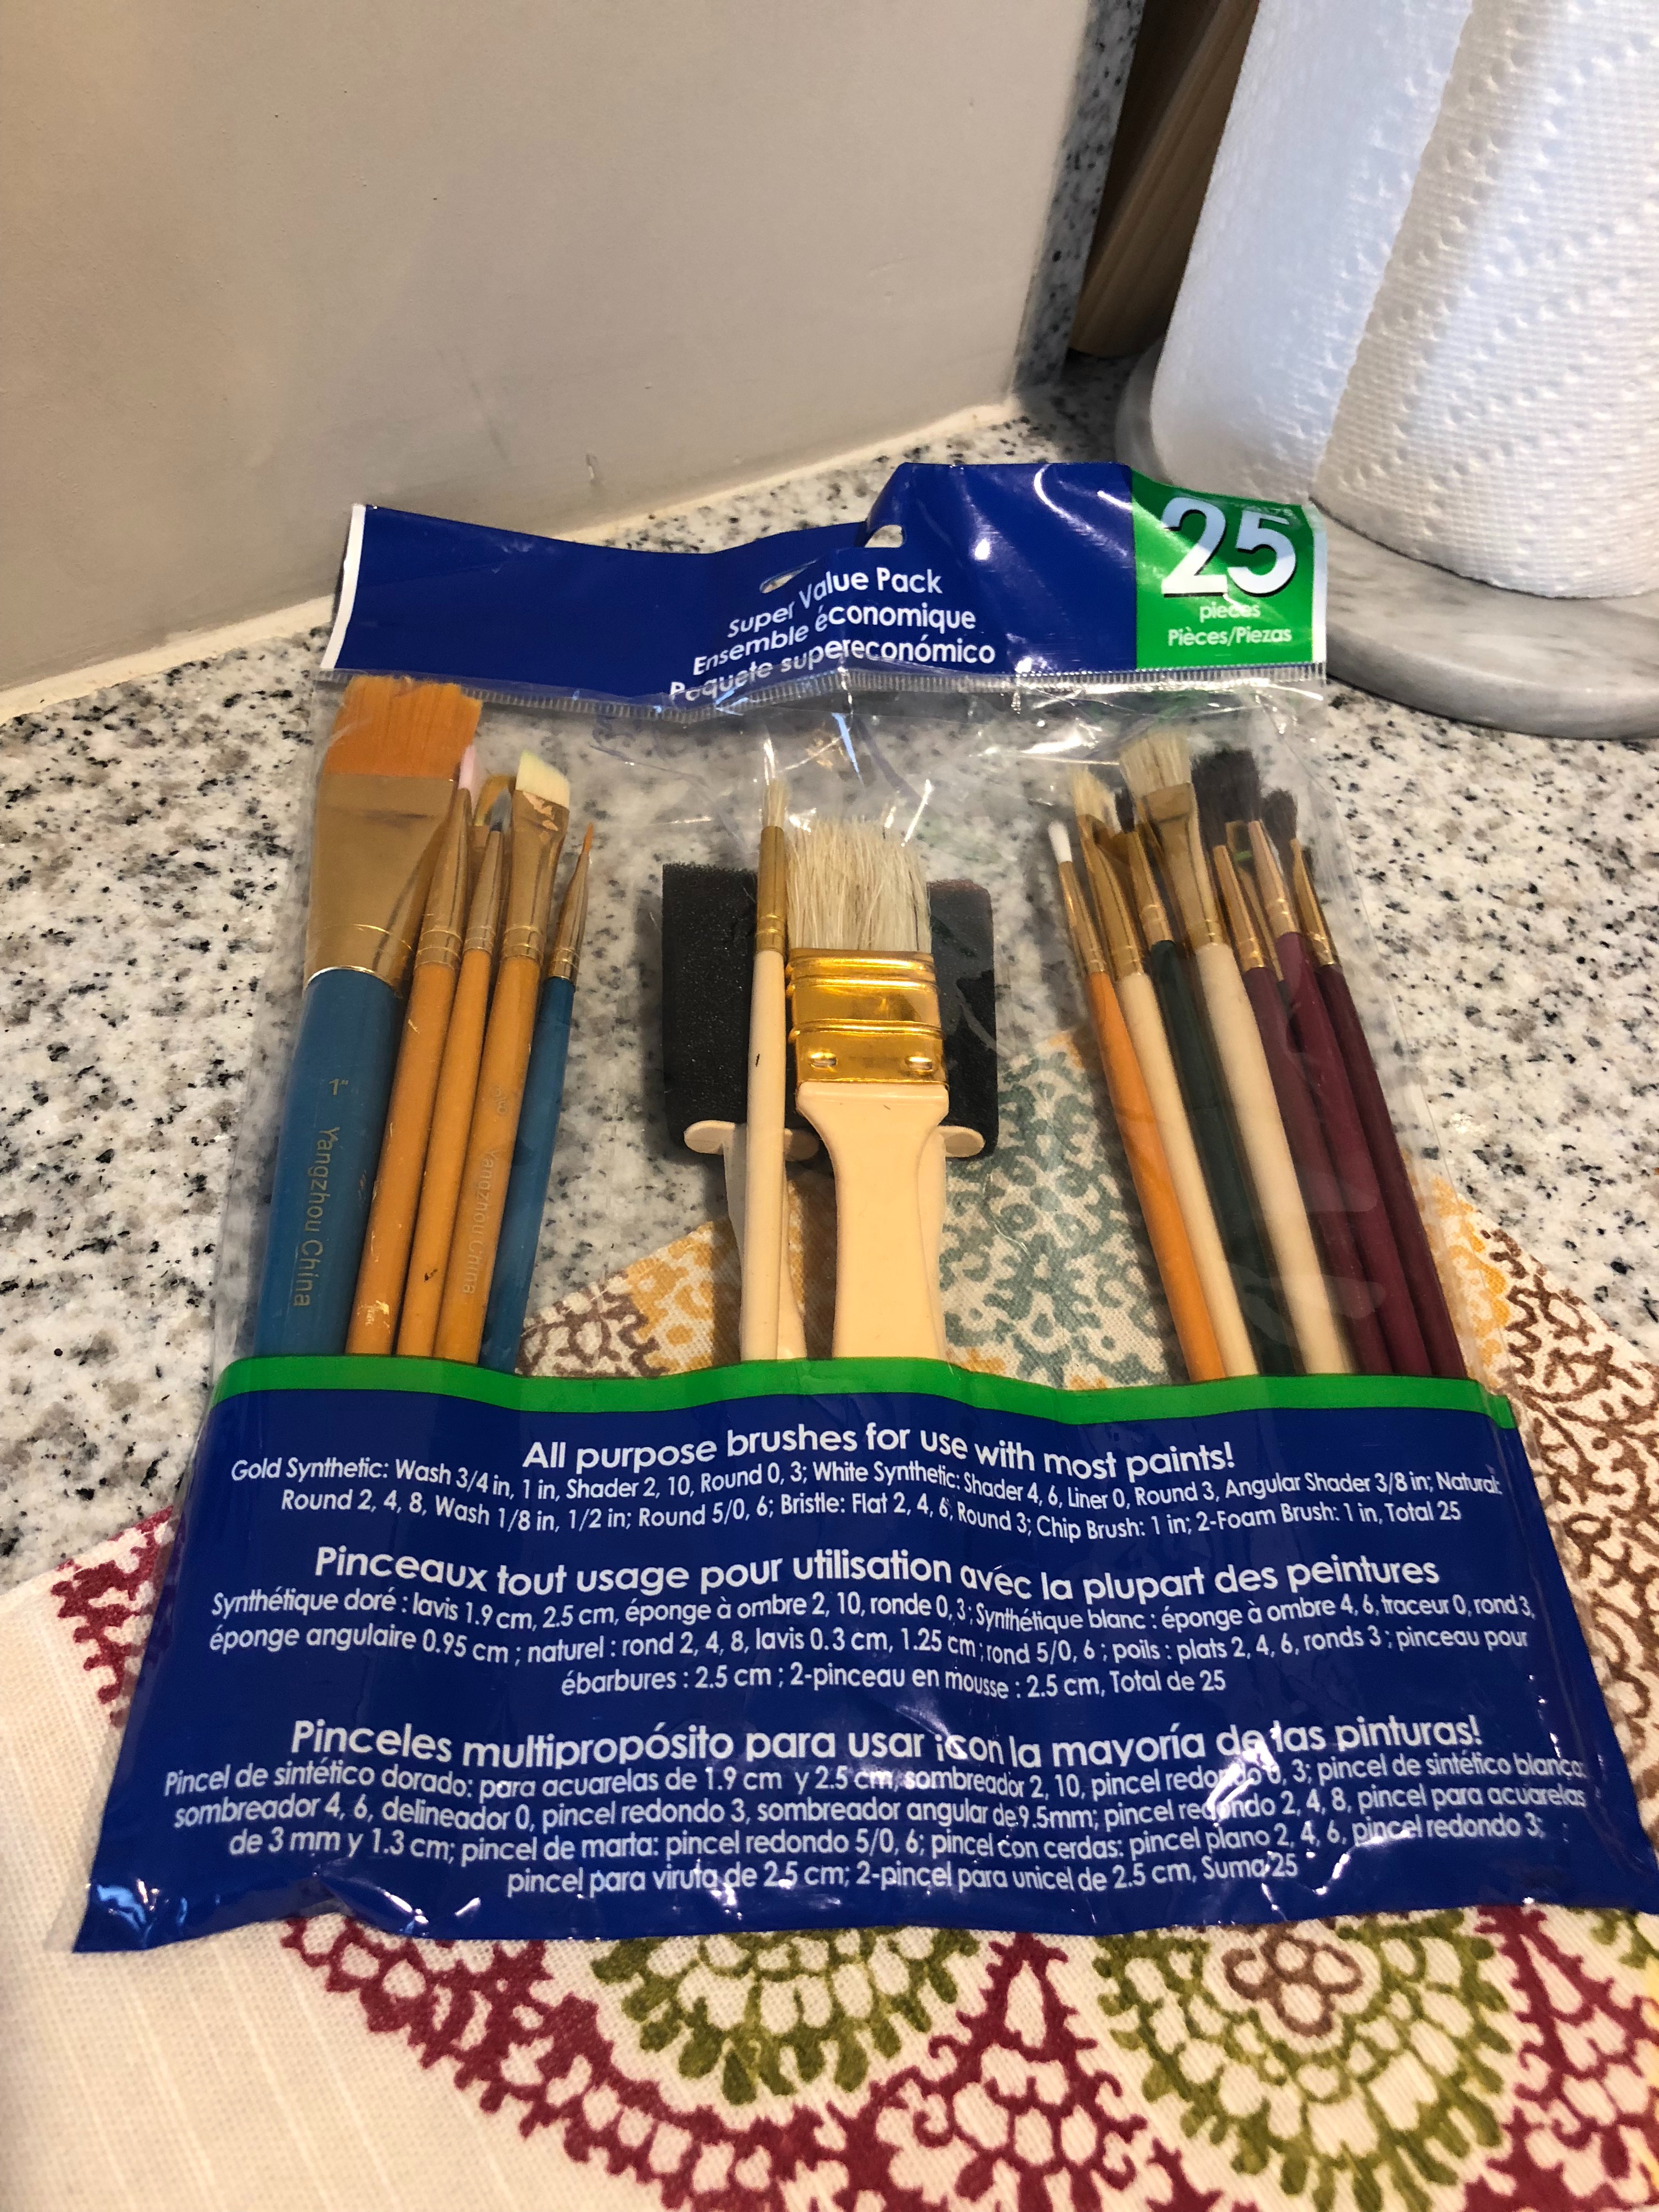
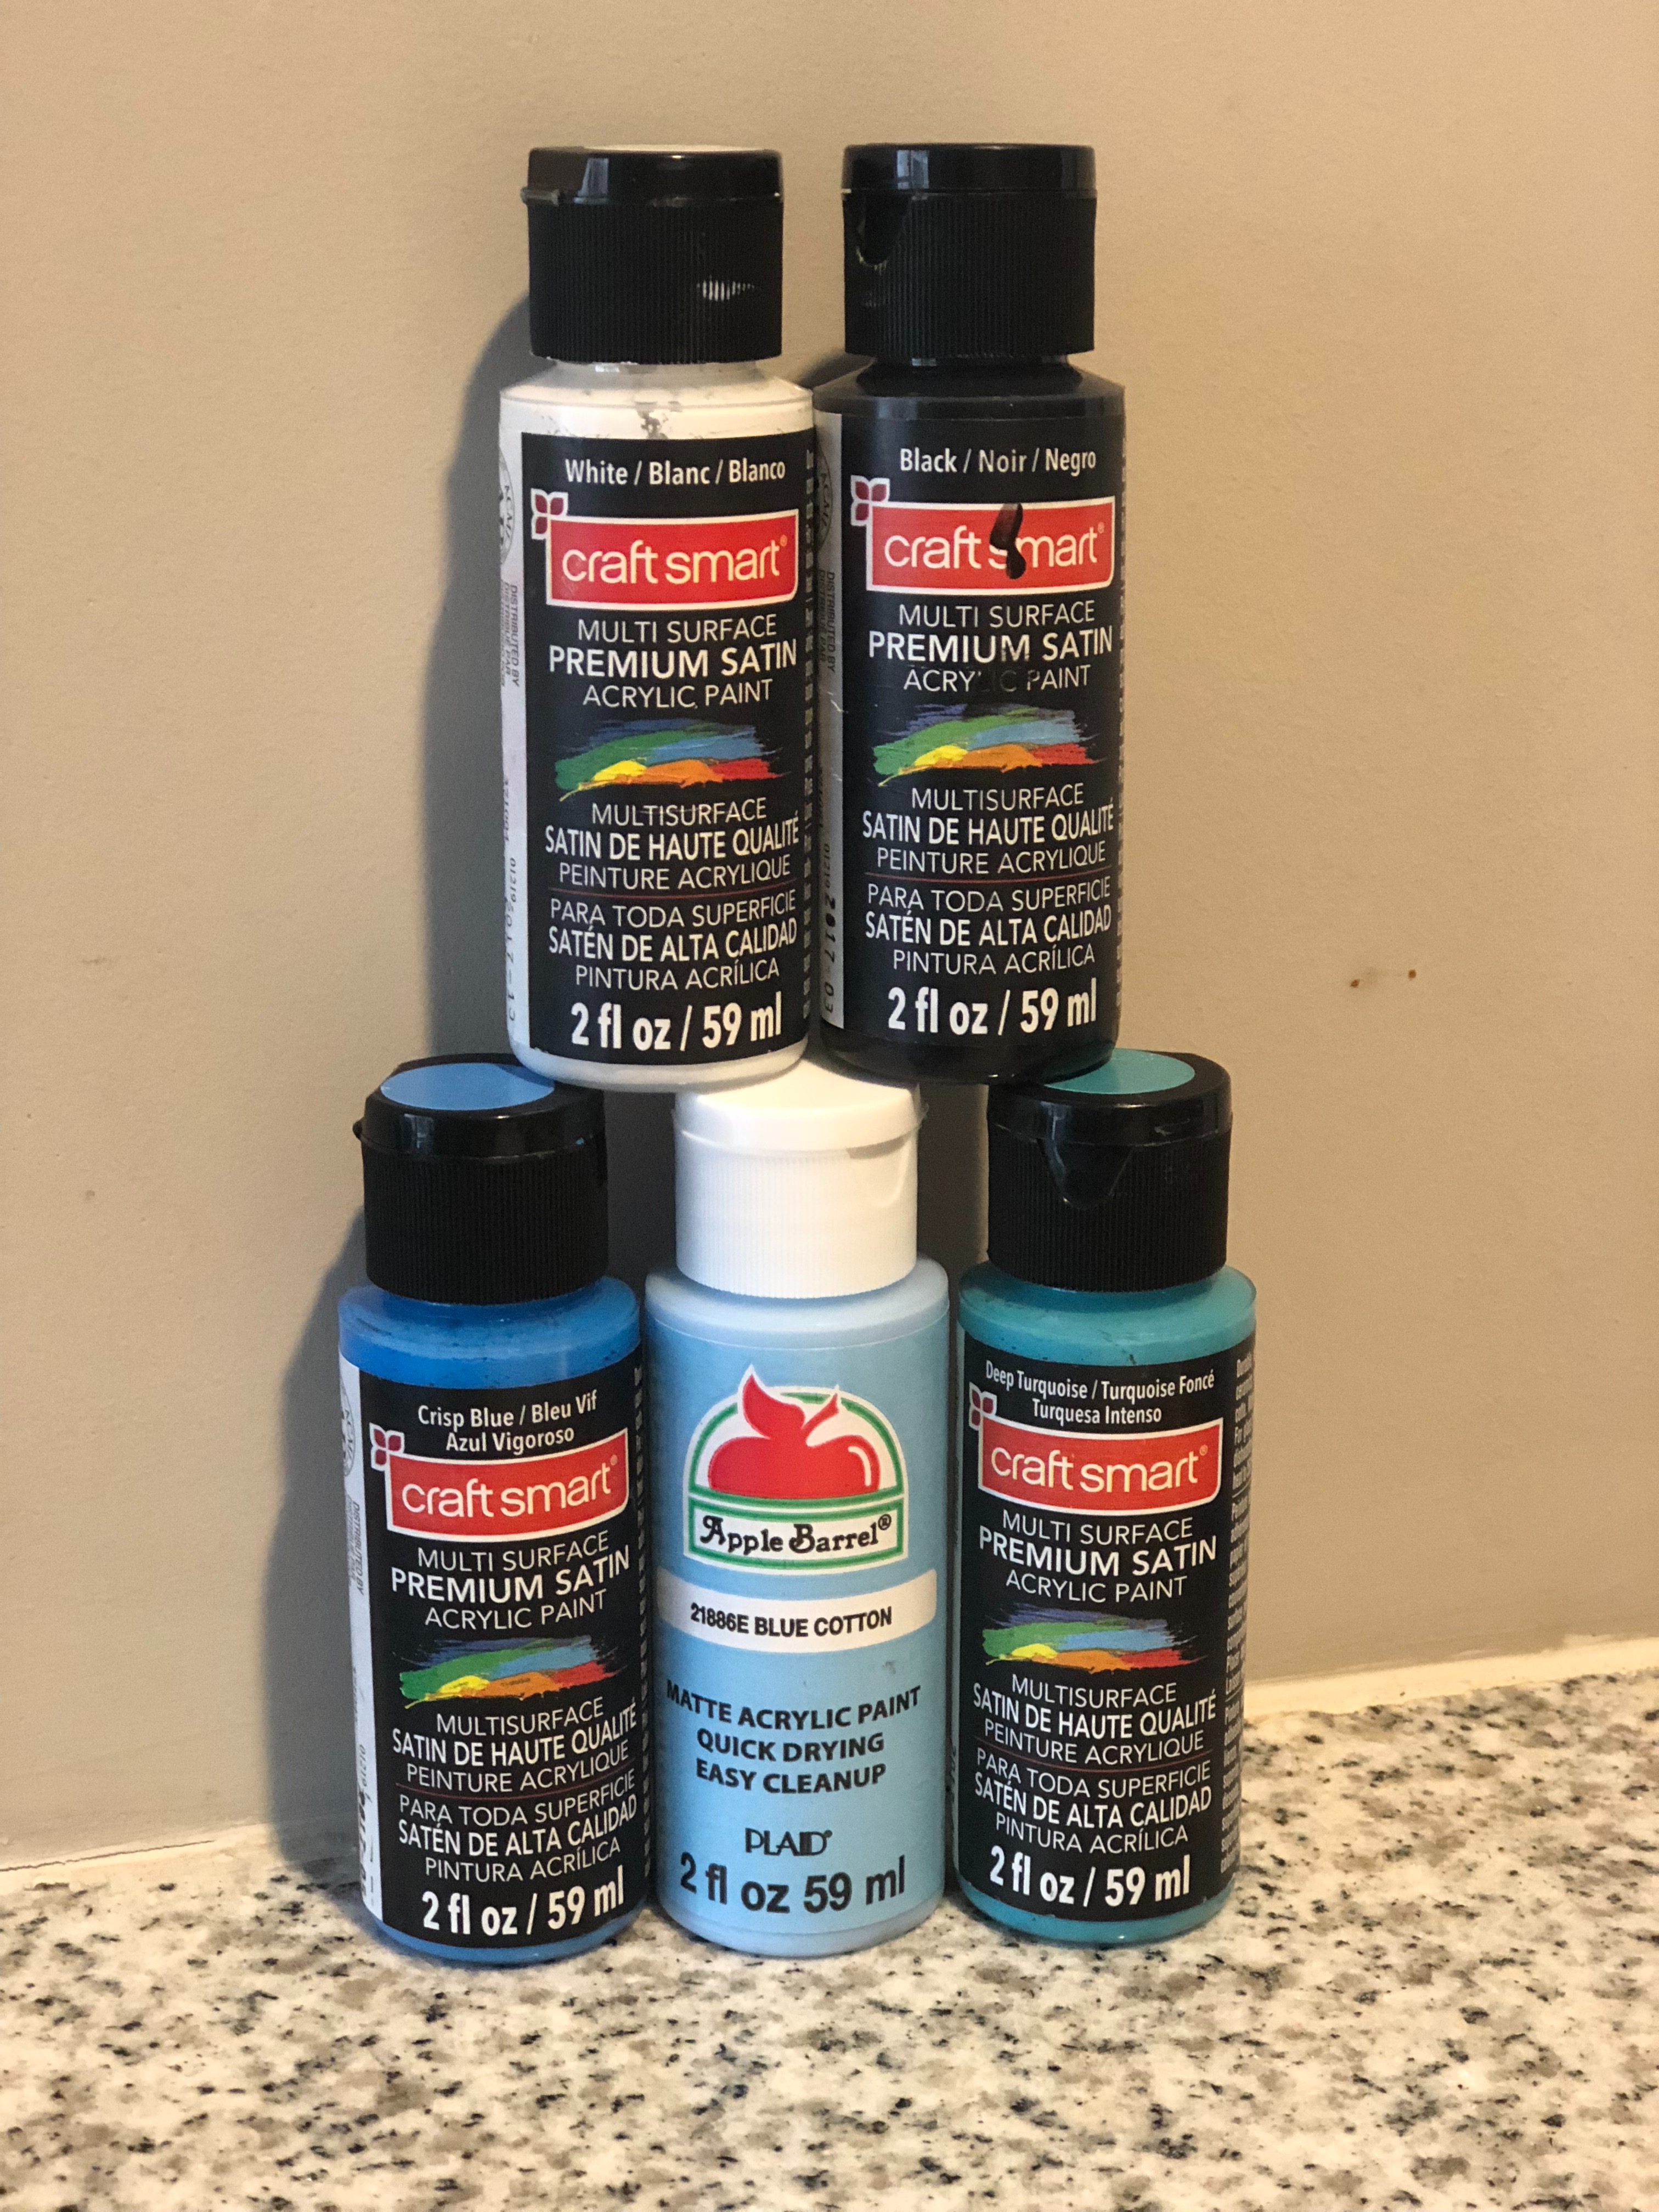
The only materials you will need are paint brushes and acrylic paint. Acrylic paints are relatively cheap and adhere easily to the 3-D printed filament. I purchased mine at Michaels and Walmart.
To paint your pet's name tag, you will only need four layers. You will need two coats of your base color and two coats of the text color.
It is relatively easy and adds a great personal touch if that's something you are interested in doing.
Putting It on Your Pet
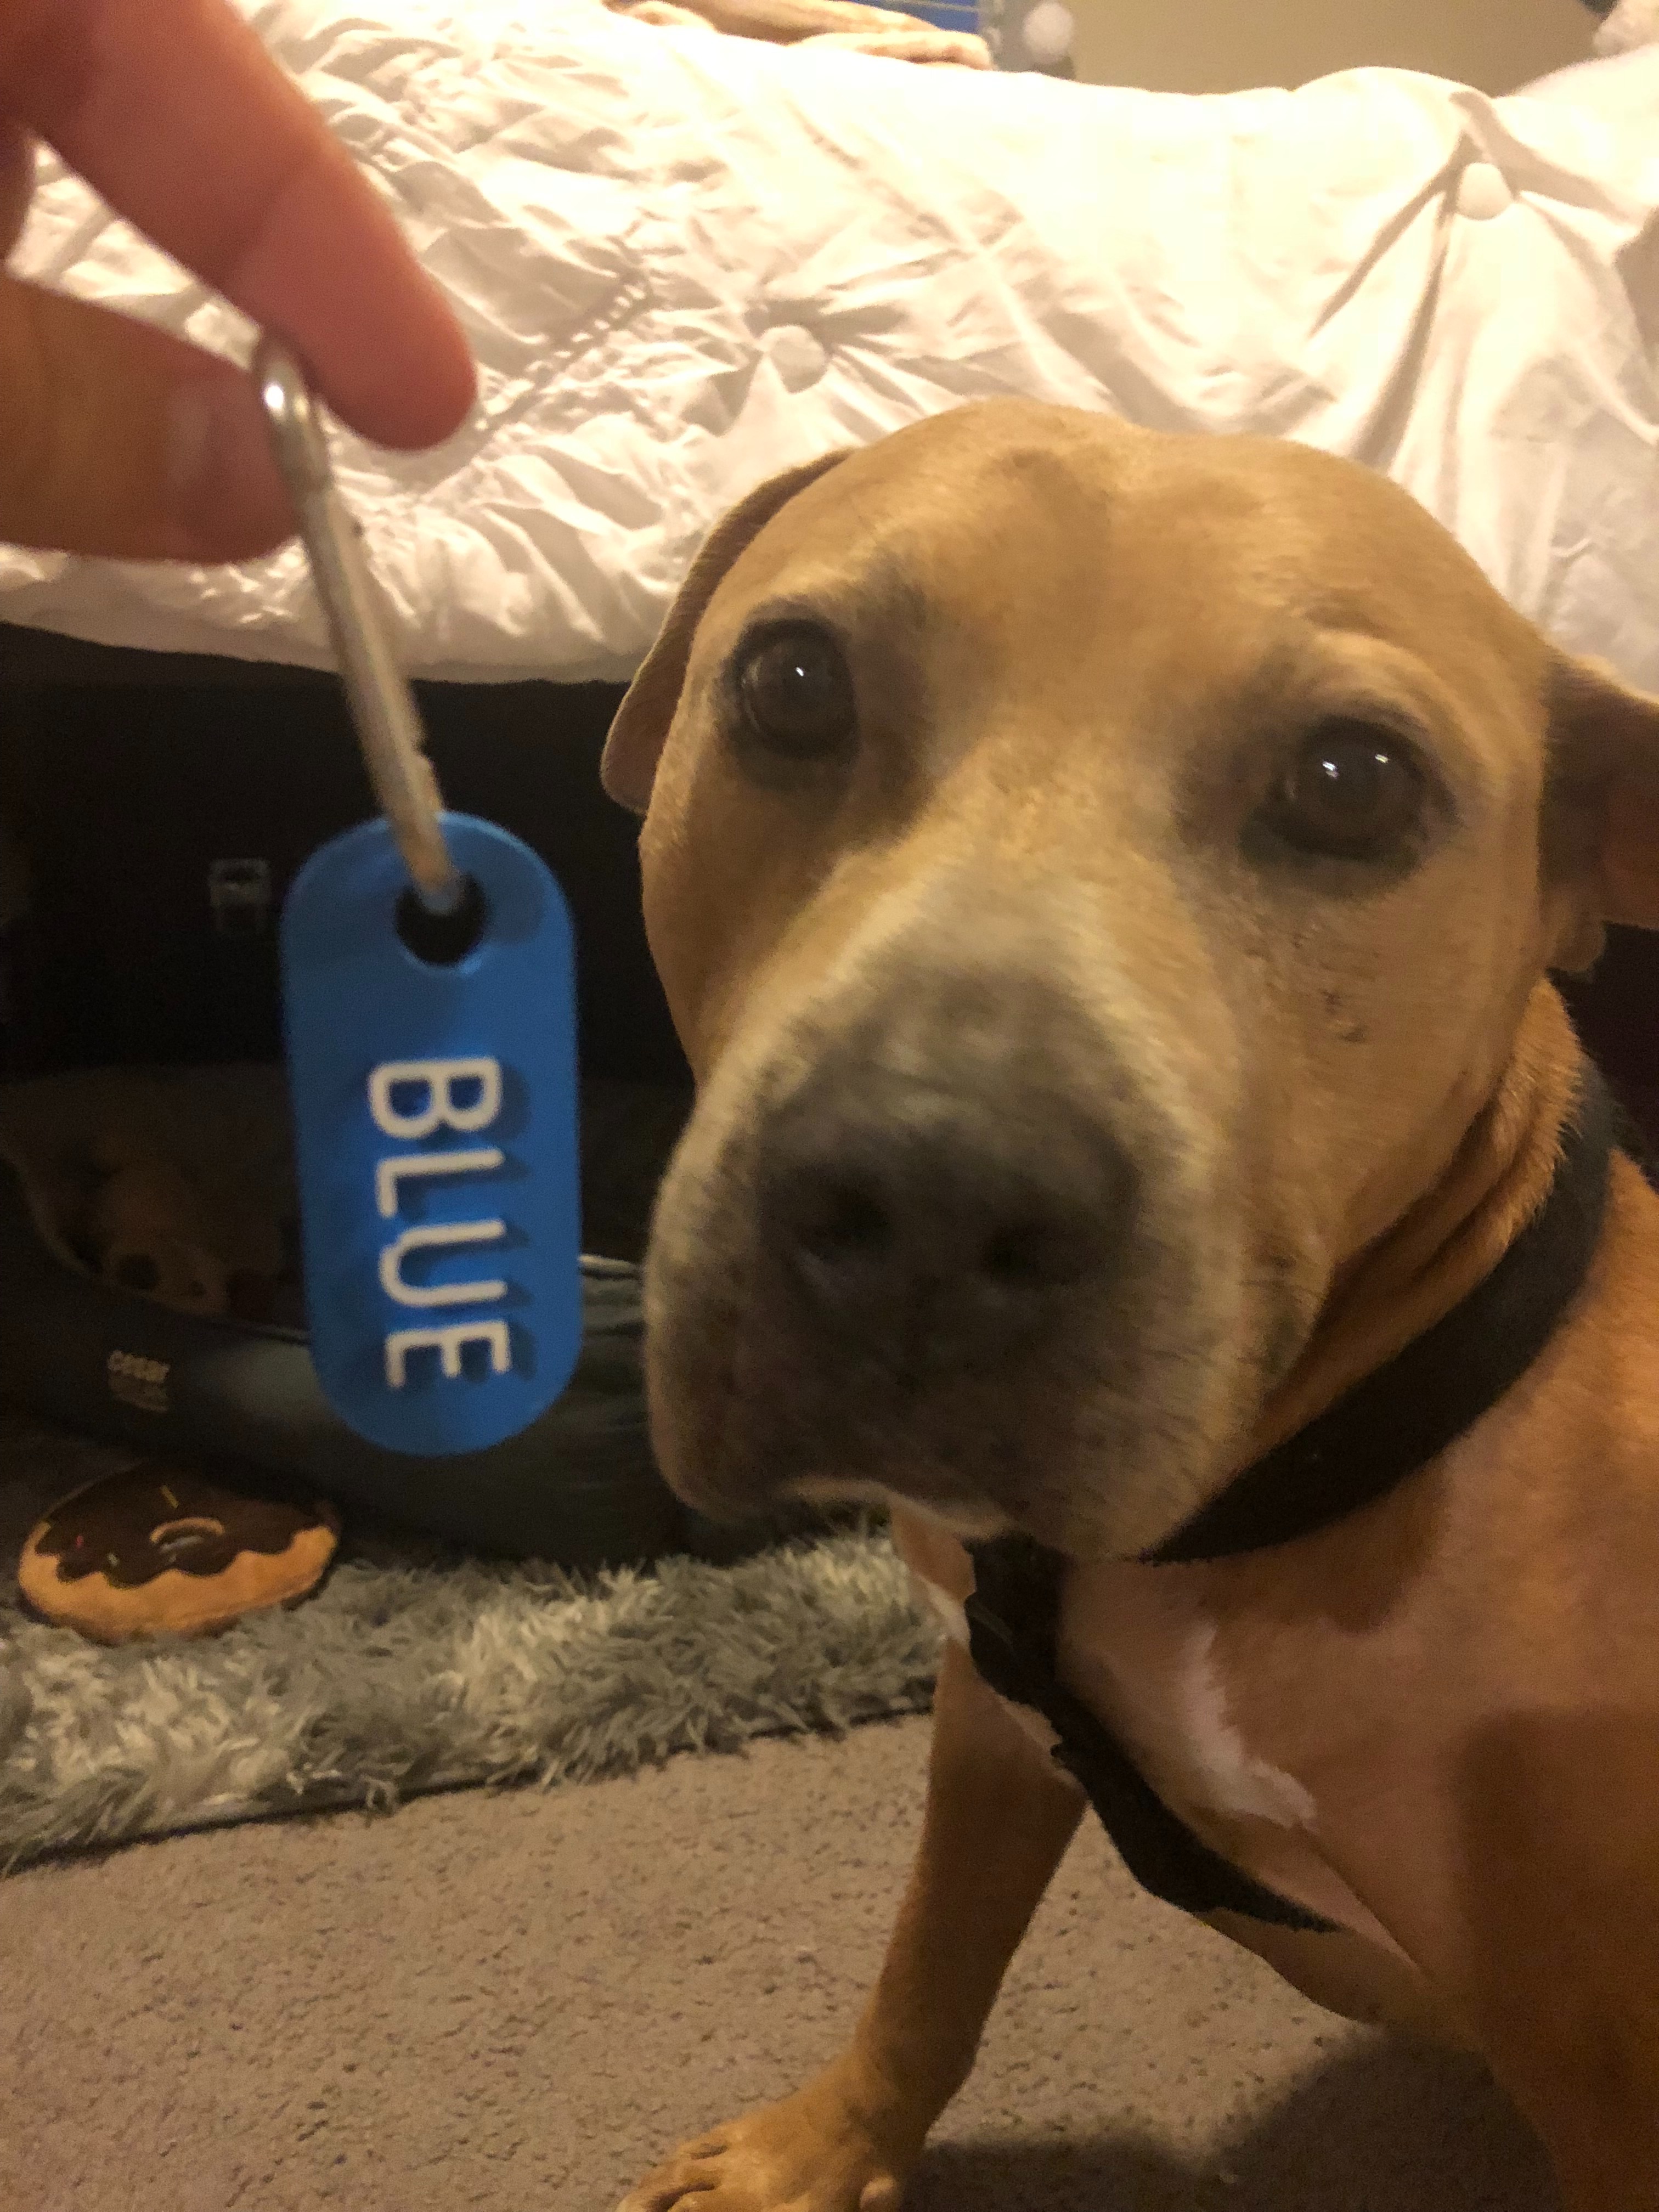
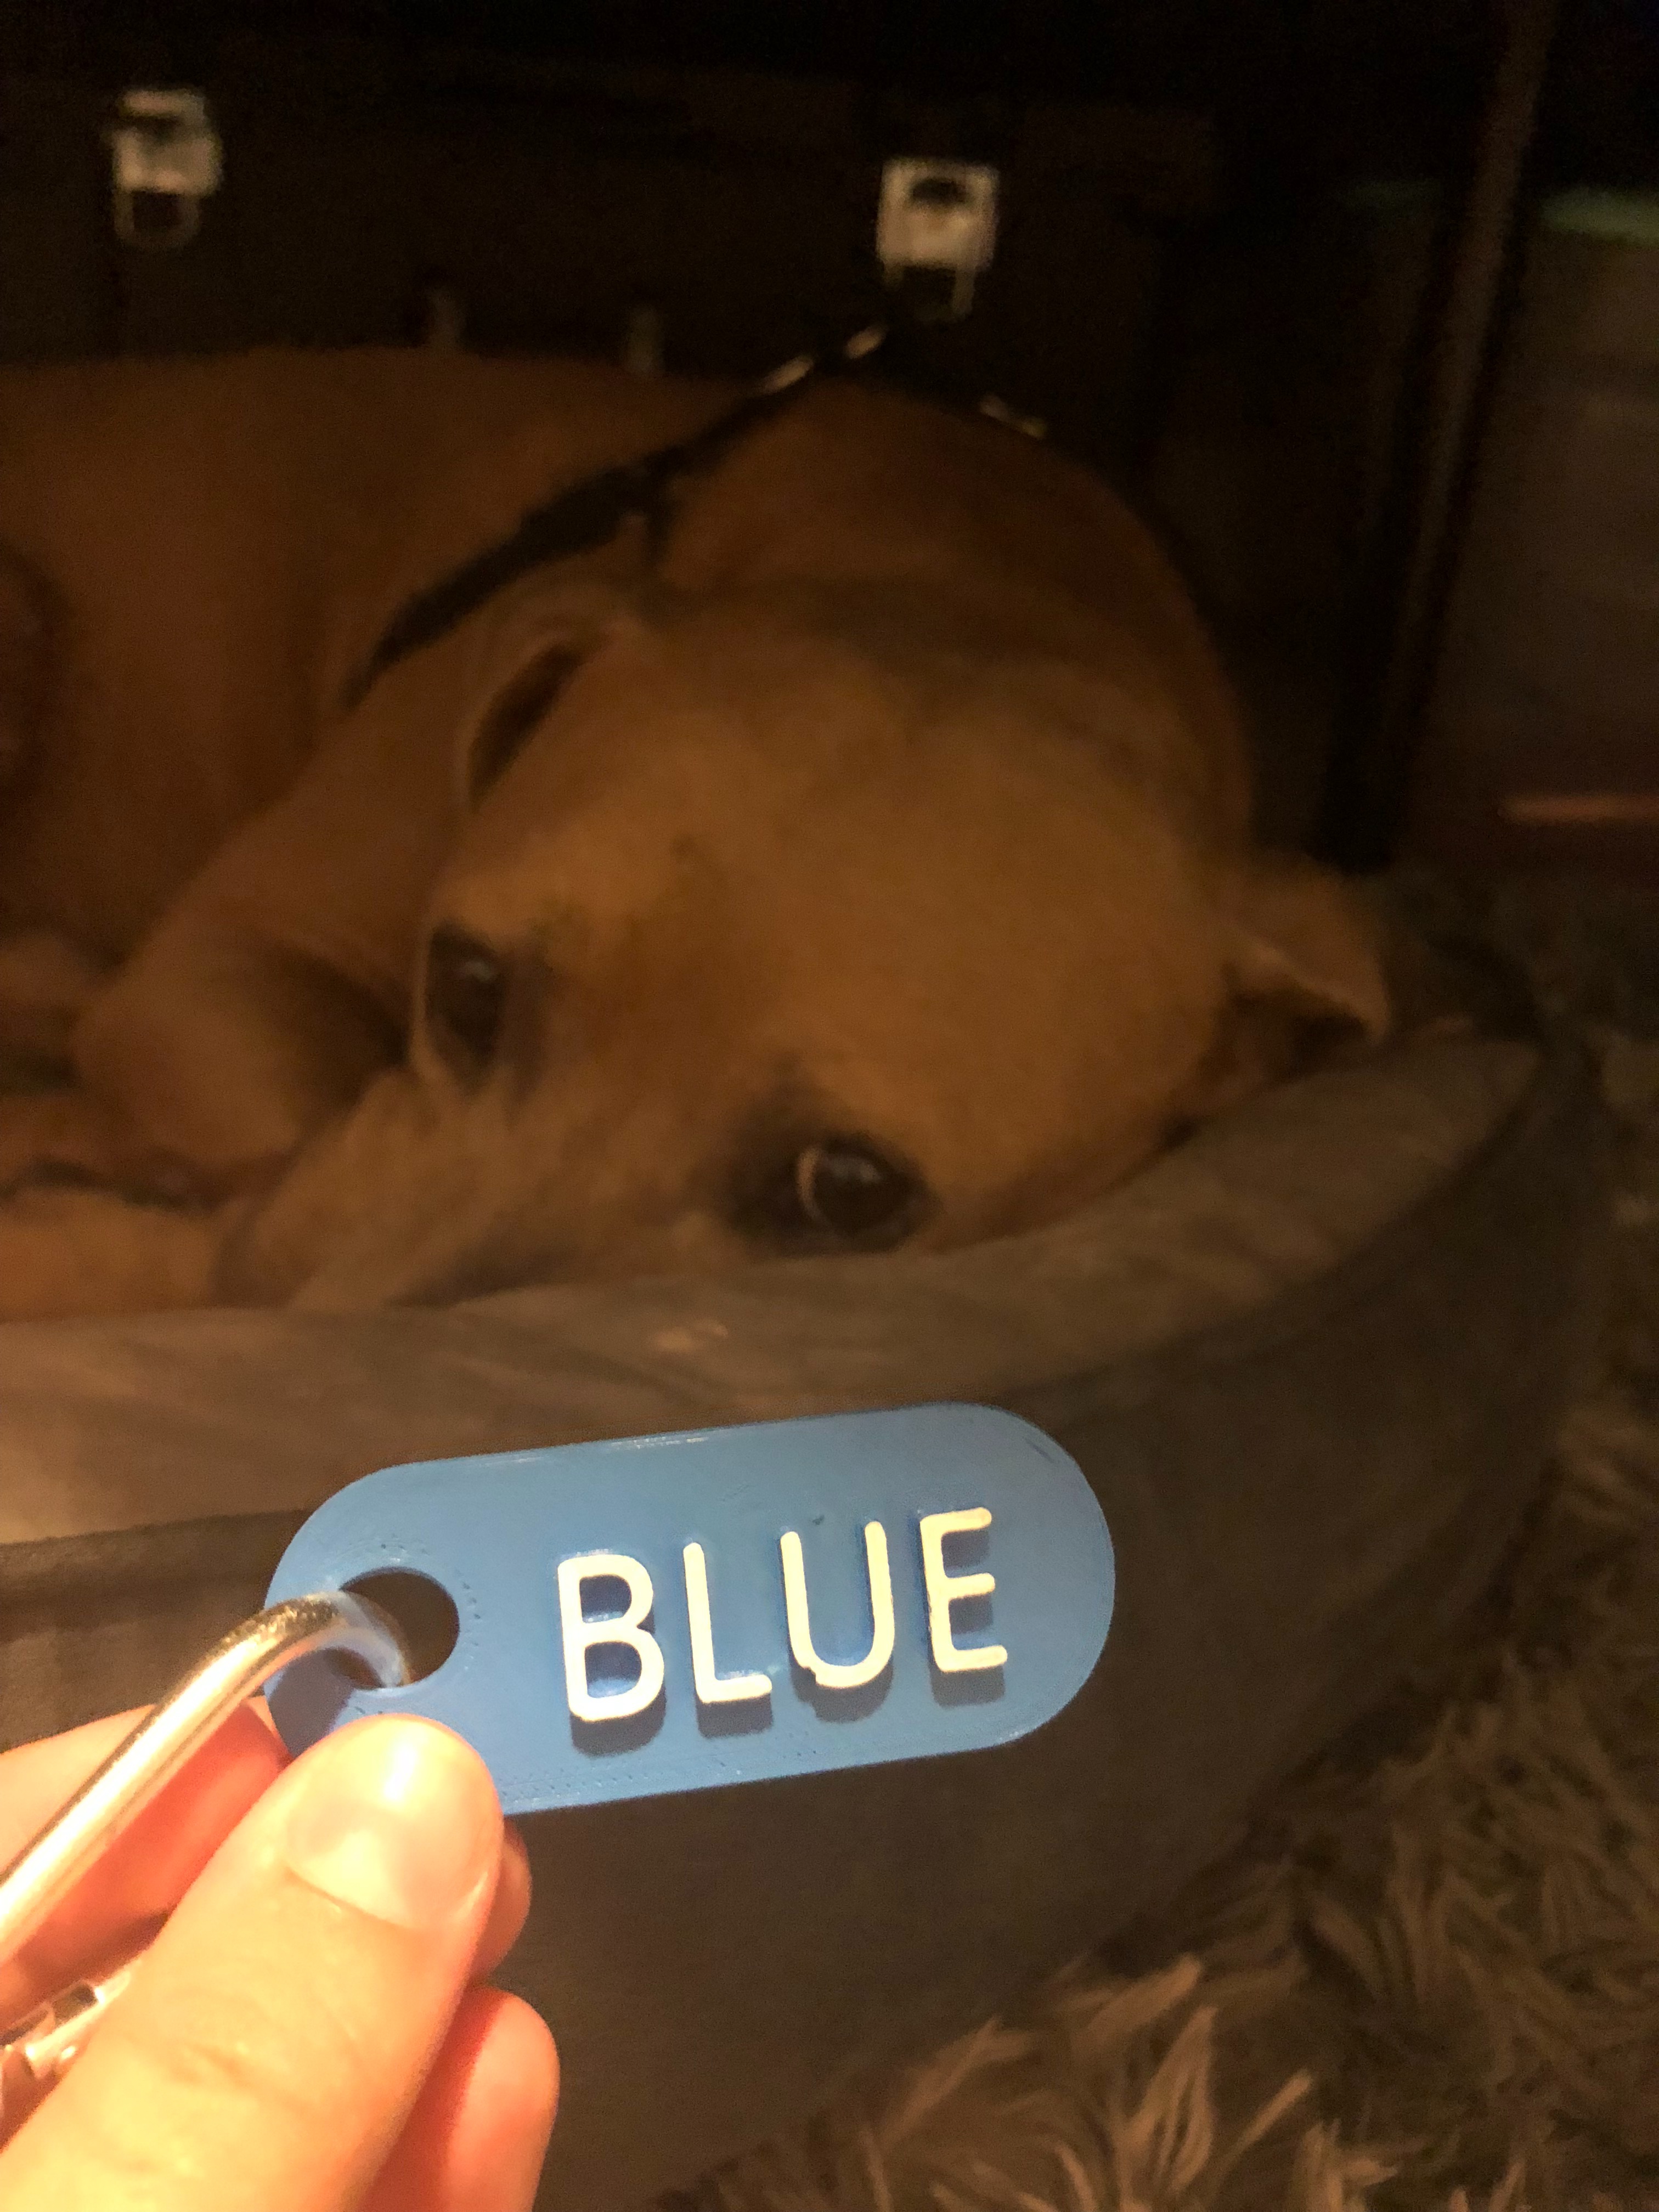
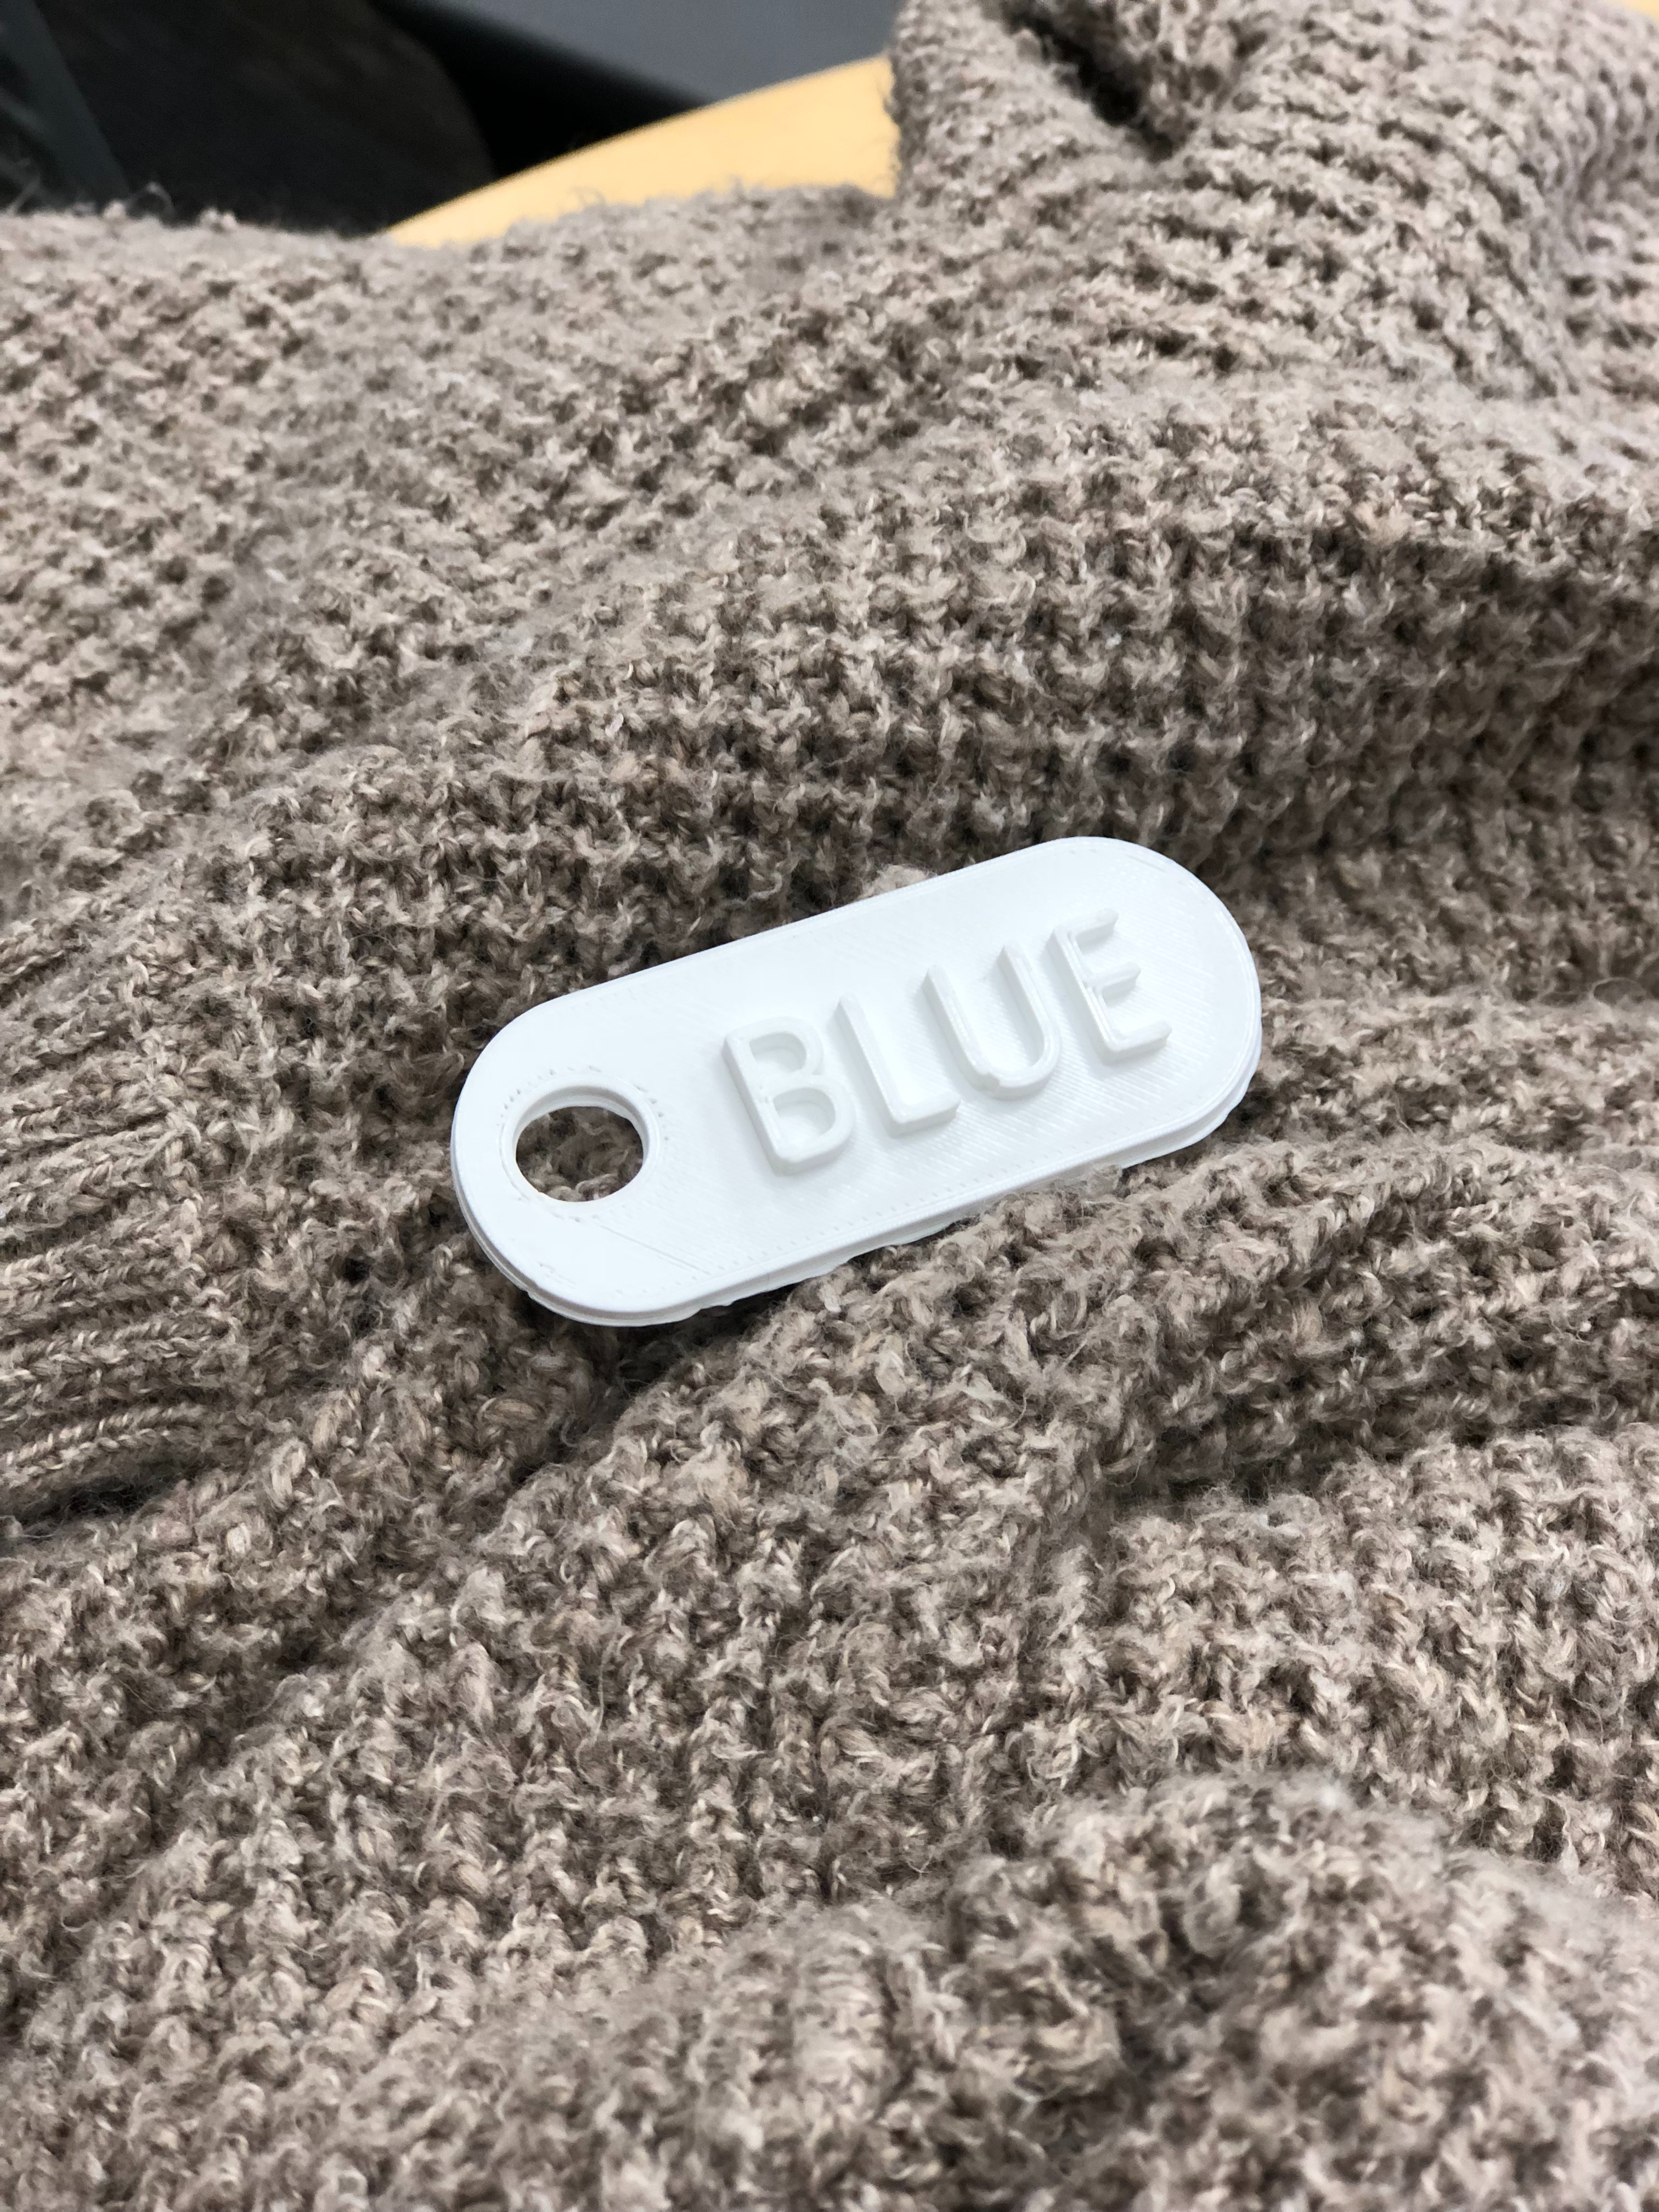
You are free to add whichever kind of clip or hook you want, my dog has a harness so I added a clip to my tag.
Once he discovered it was not a snack, he wanted no interest in it, but I wish you the best of luck with your good boys and good girls.