2D to 3D, Image to Svg to 3D
by Edgar in Workshop > 3D Printing
5380 Views, 11 Favorites, 0 Comments
2D to 3D, Image to Svg to 3D
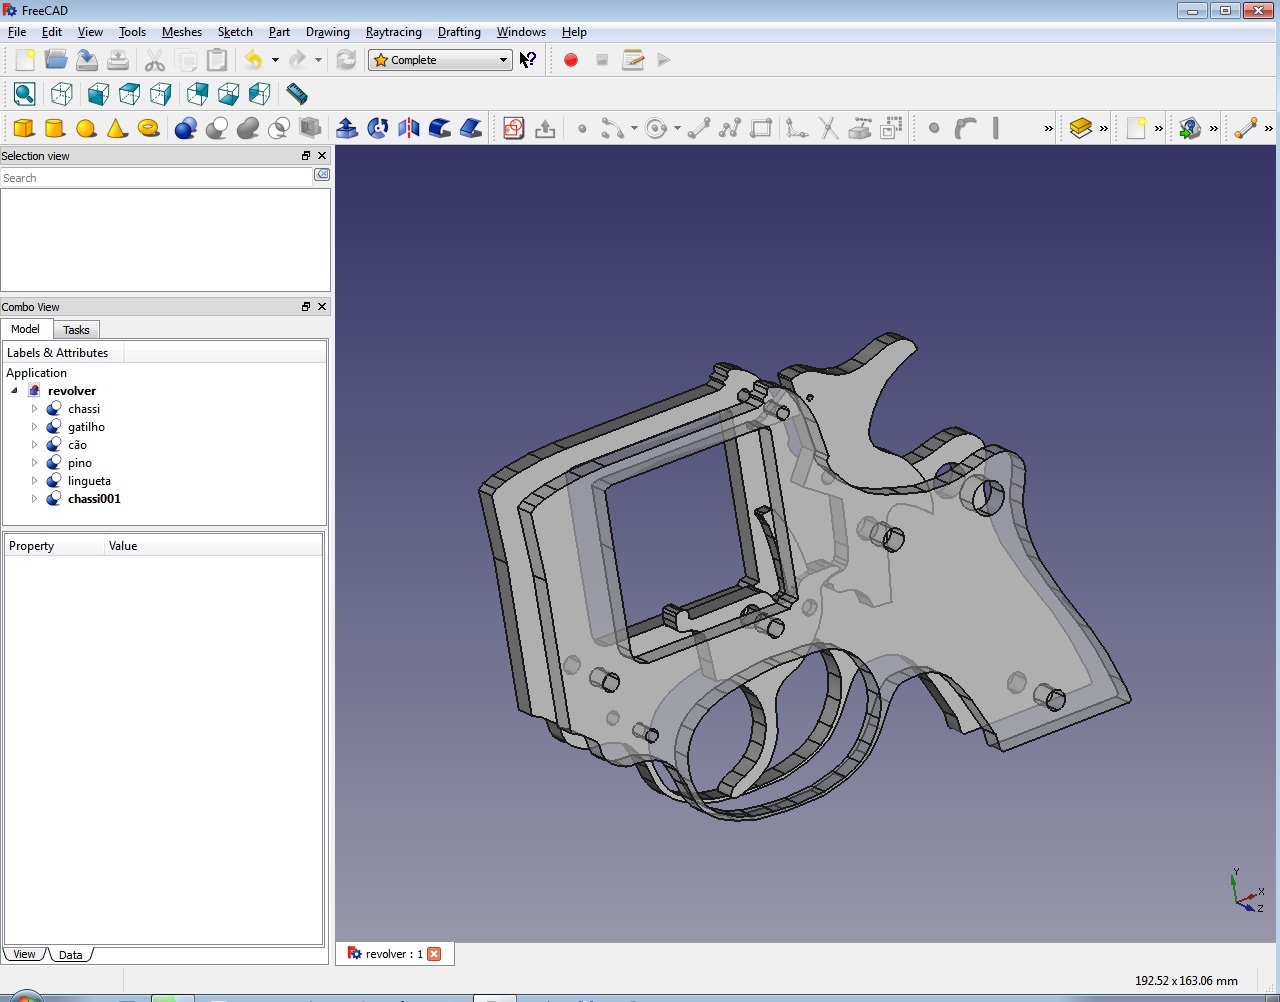
I've become fascinated with those X-Ray Videos of working Mechanisms, and so, I wanted to make some MDF cut plates of them, just for fun.
So, I went to the Net to search for some 3D Files, but the ones I've found are crap, either Homemade Firearms, or 3D for movies, so I went to do them from scratch.
Here's my tips on how to do it;
How to turn any 2D image, into an Object, or into many parts of a 3D Project.
Get Some Image
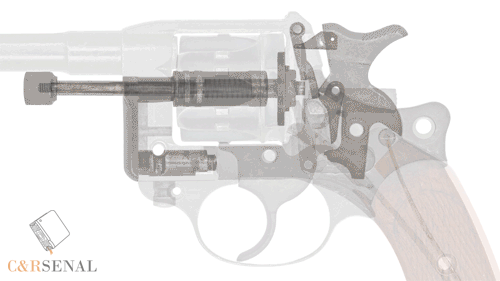
How I've managed to get a Video to Gif-Anim, to individual Images, is maybe for another Instructable.
Anyhoo, this is the Picture.
Now, as it's a Multi-layered Rx, it will be really easy to trace those pieces...
Trace on Vector
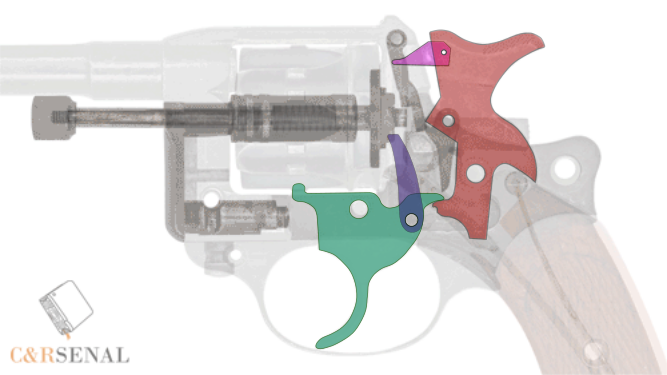
I use InkScape, for this, but any Vector Drawing program will do, although the Tool names may vary.
The way you do this, is to draw the contour of the parts, by using the drawing Bezier lines and straight lines tool.
It will draw a series of straight lines contour, but you can just click on the lines you want to become curves, and select "make selected nodes auto-smooth". (again, this is on InkScape).
I went and made the drawings of each part filled with different colors, and transparent colors, so one can set them apart, when they overlap.
The holes are made by making Circles, in these cases, could be any other forms, like on the trigger guard, and the squarish Barrel space.
Then, select the form to be "drilled", so to say, first, then select the Circle, and do Path>Difference on the Menu, and voilá! A hole!
Save Each Part
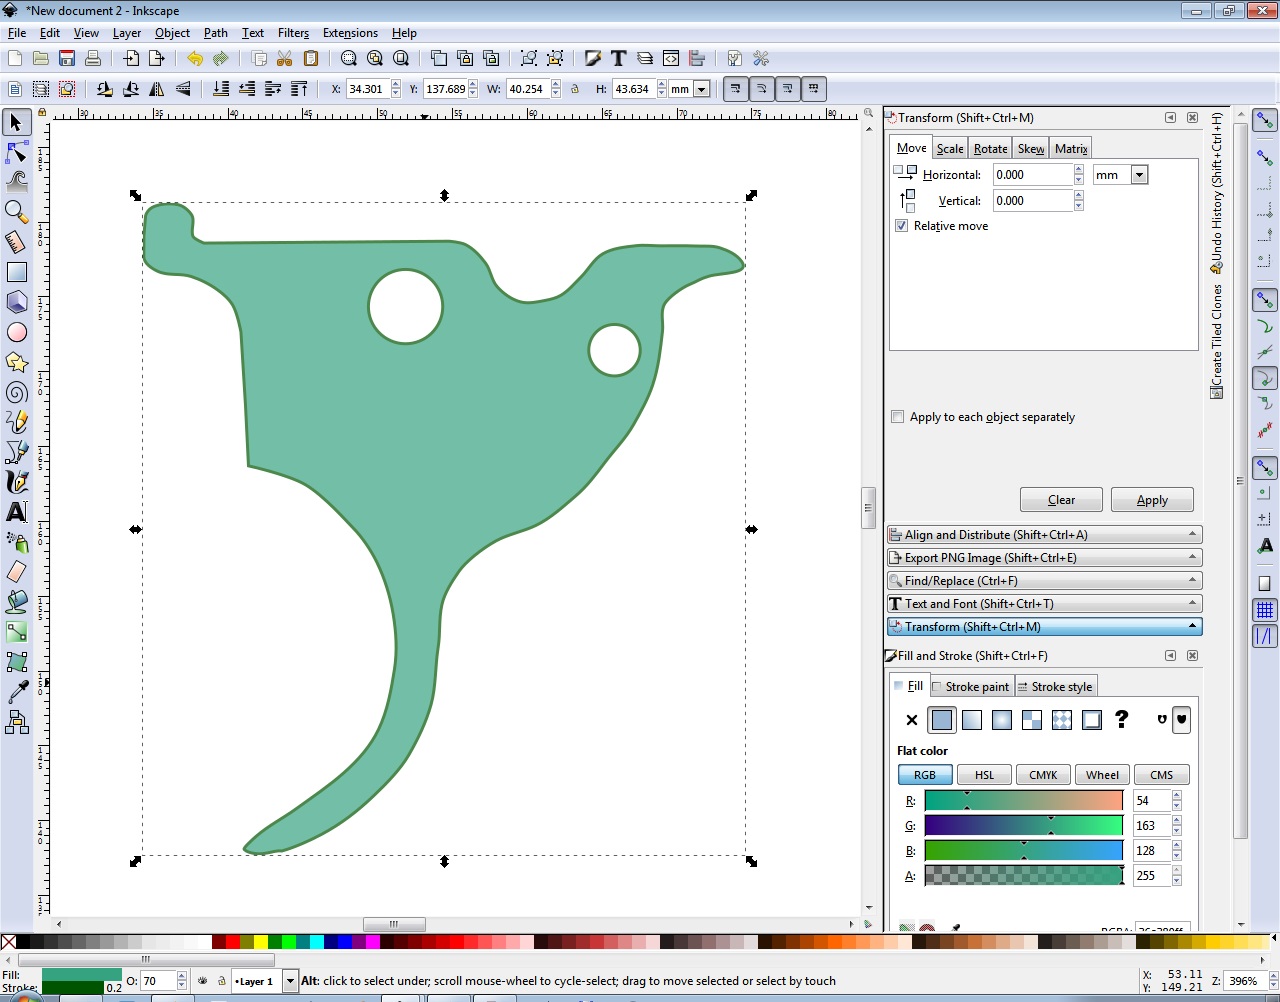
Be sure to save the total drawing, but also save each one part must be saved, individually.
Just select "copy", open a new Document, and select "paste".
In this example, I saved it as "trigger".
Now, we go to FreeCad!
FreeCad
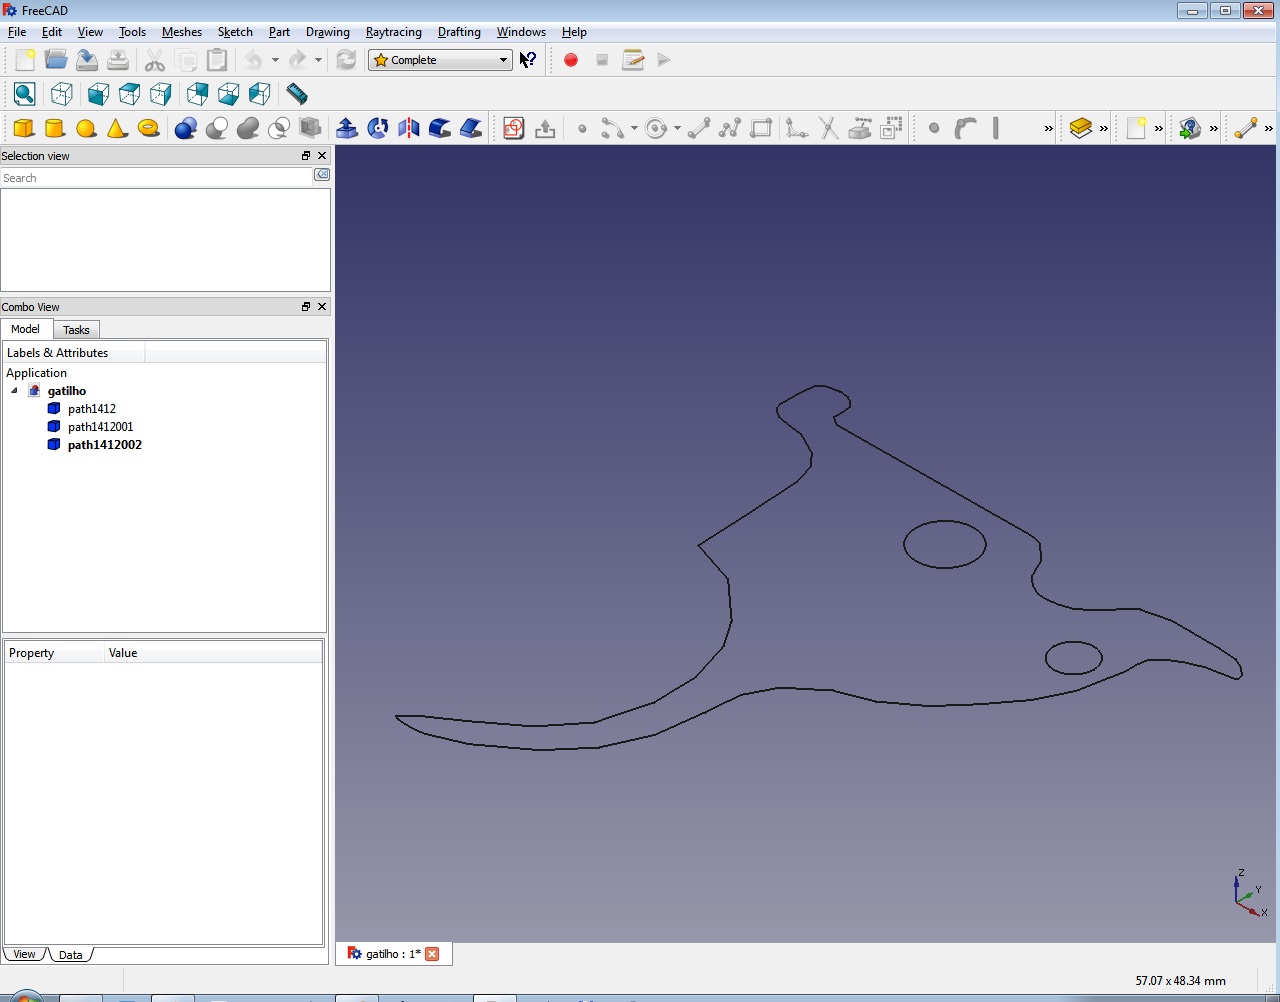
Once on FreeCad, you import the Svg, as a vector, and you get this.
It is just a bunch of lines, for now.
Now, what?
Upgrade
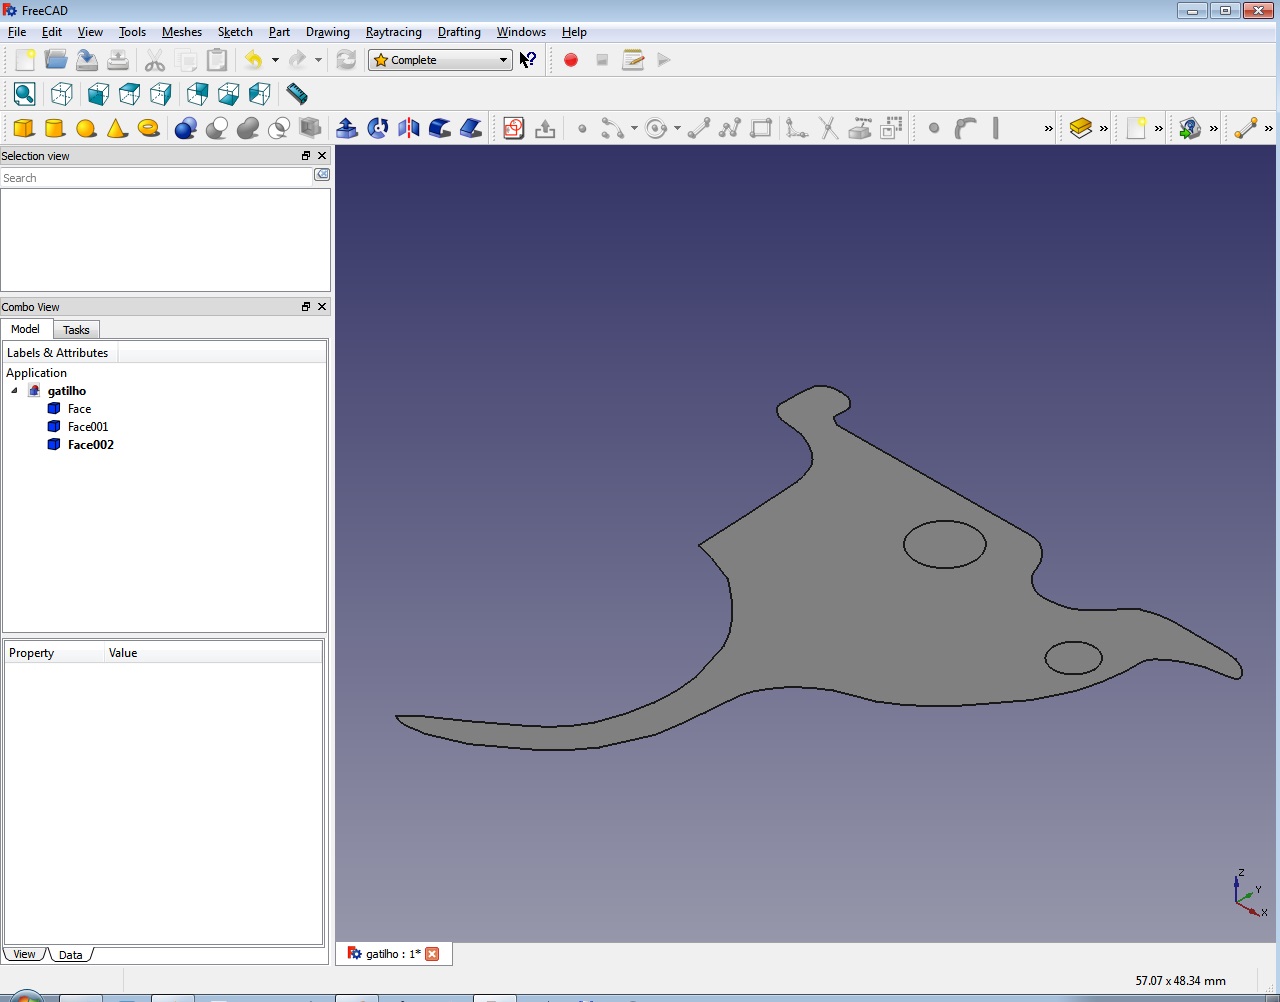
It's a mater of now, selecting all those shapes, and doing Drafting>upgrade.
Now, they are filled shapes, that can be extruded into Objects.
How?
Extrude
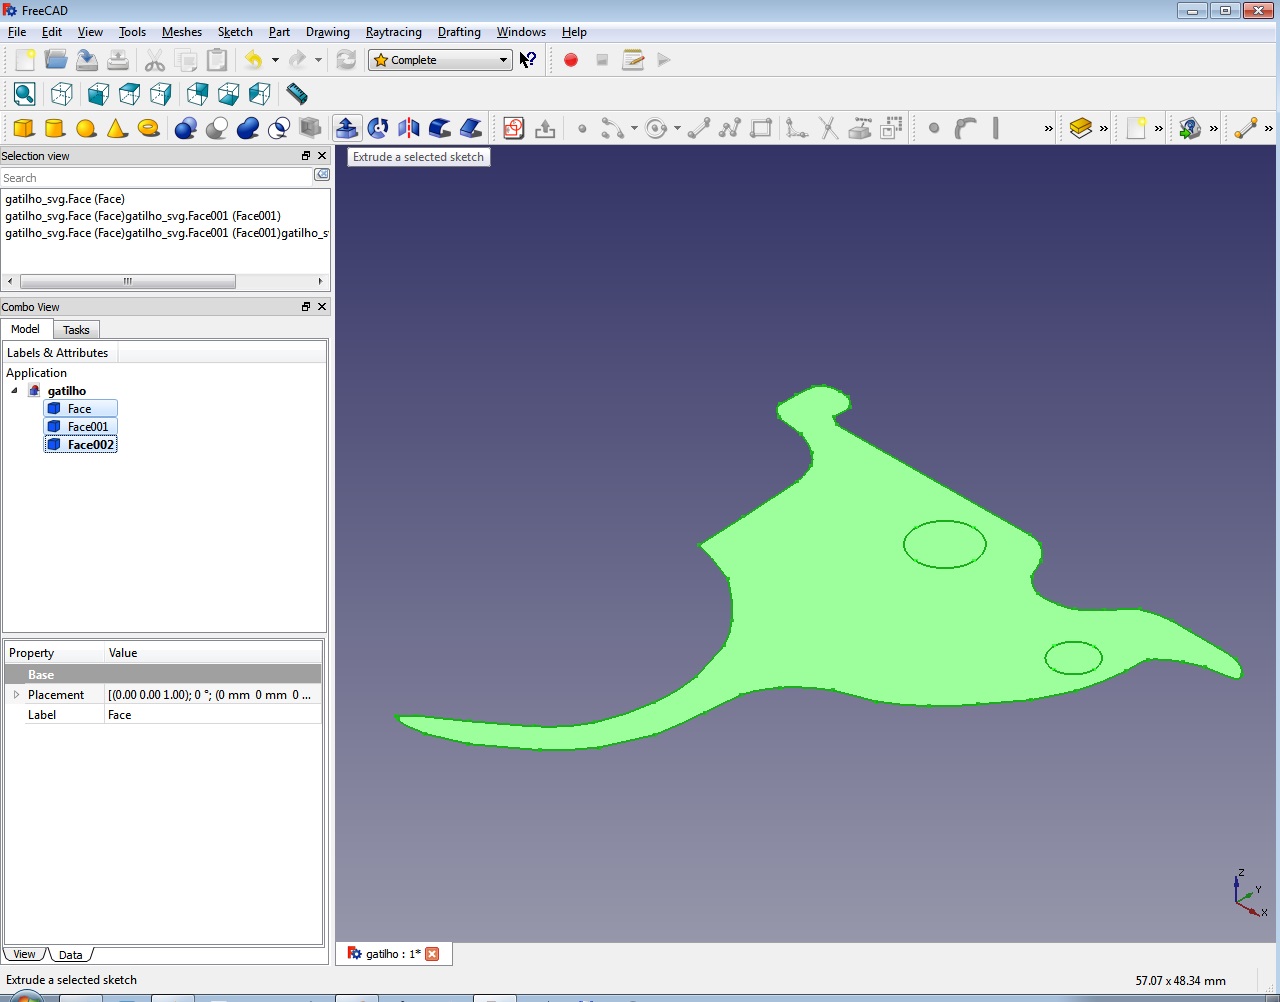
You do "Extrude a selected object" to all those shapes, to a certain amount, in this case, 5mm.
You will get the following, next step...
The Extruded Bunch
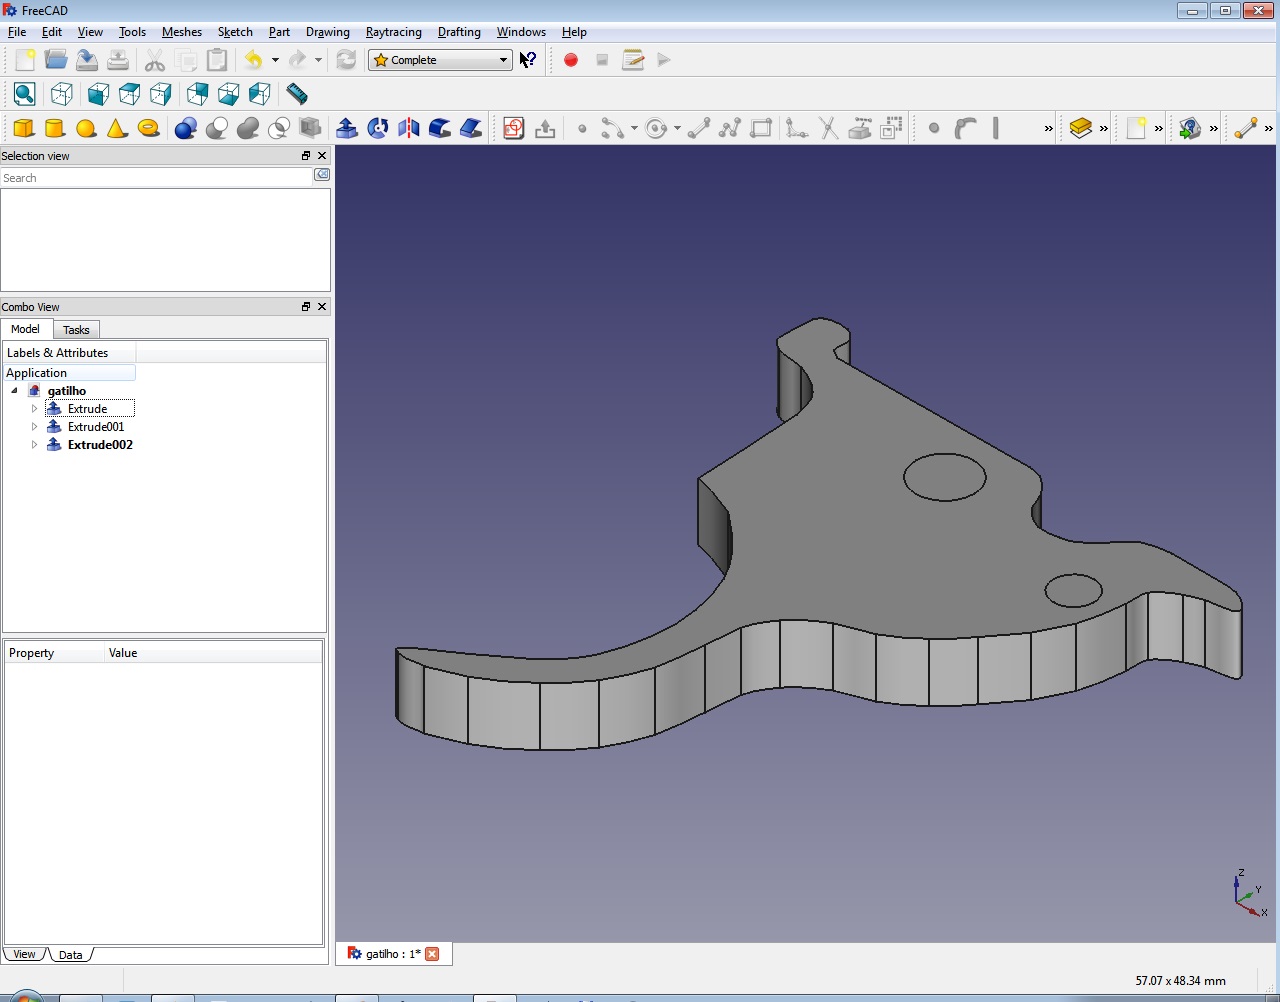
You will get...
ALL the shapes extruded!
But one, is to be the part, while the others, are to be the holes.
Next step.
Choose Two...
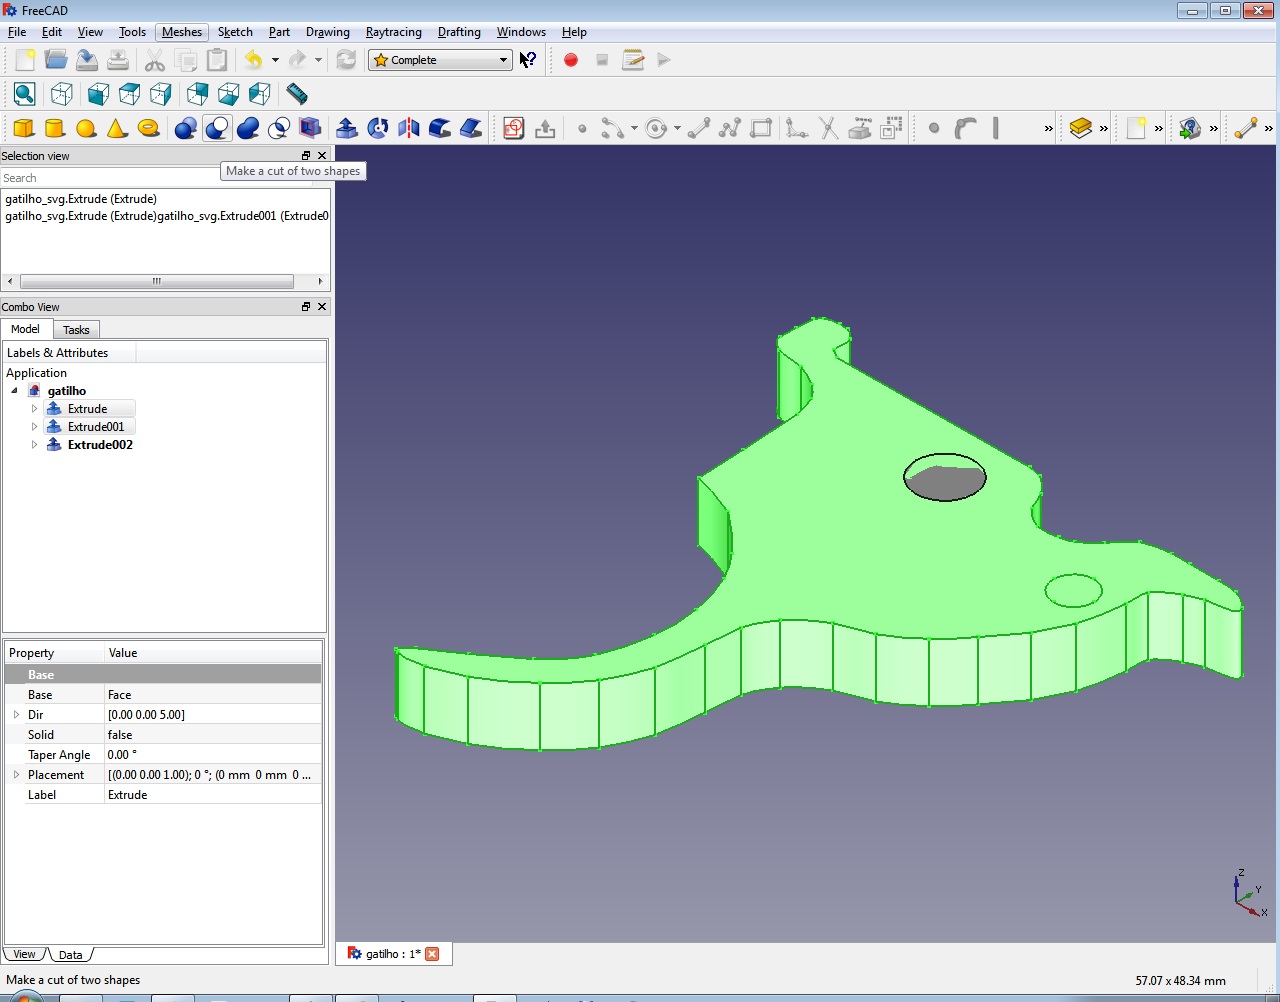
Select the main part, first, and one of the holes, then, do, on Boolean Operations, "Make a cut of the two shapes". Or what's the equivalent, on other 3D program.
Presto!
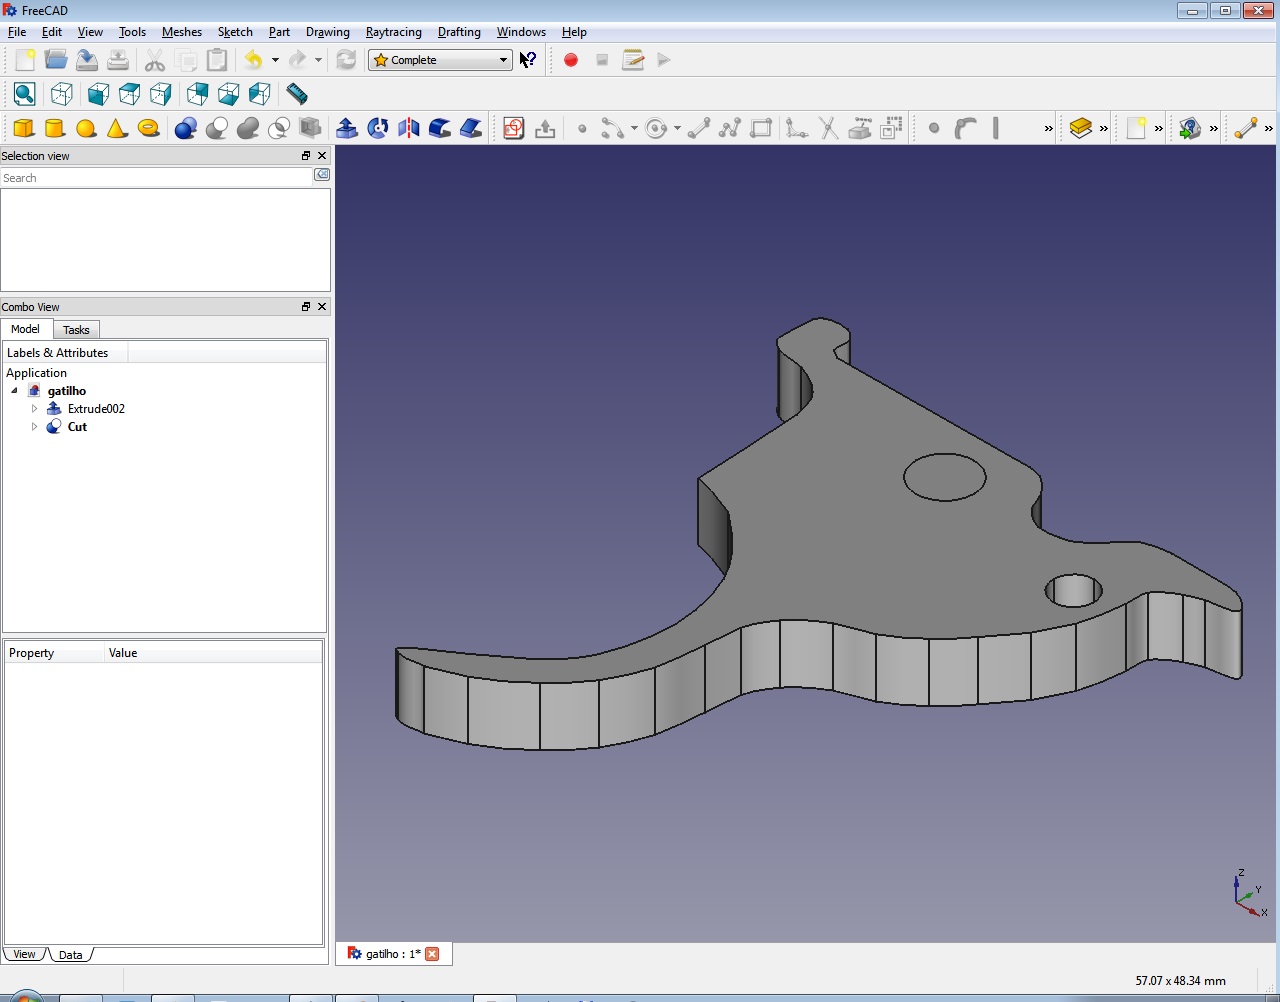
If you look closely, now, you've got a hole!
And the resulting shape is now called "Cut".
So select first the "Cut", then the other part that is to be a hole, and repeat "Make a cut of the two shapes".
Do that until all holes are cut. Or slots, or whatever cavities.
...
Look, It's in 3D!
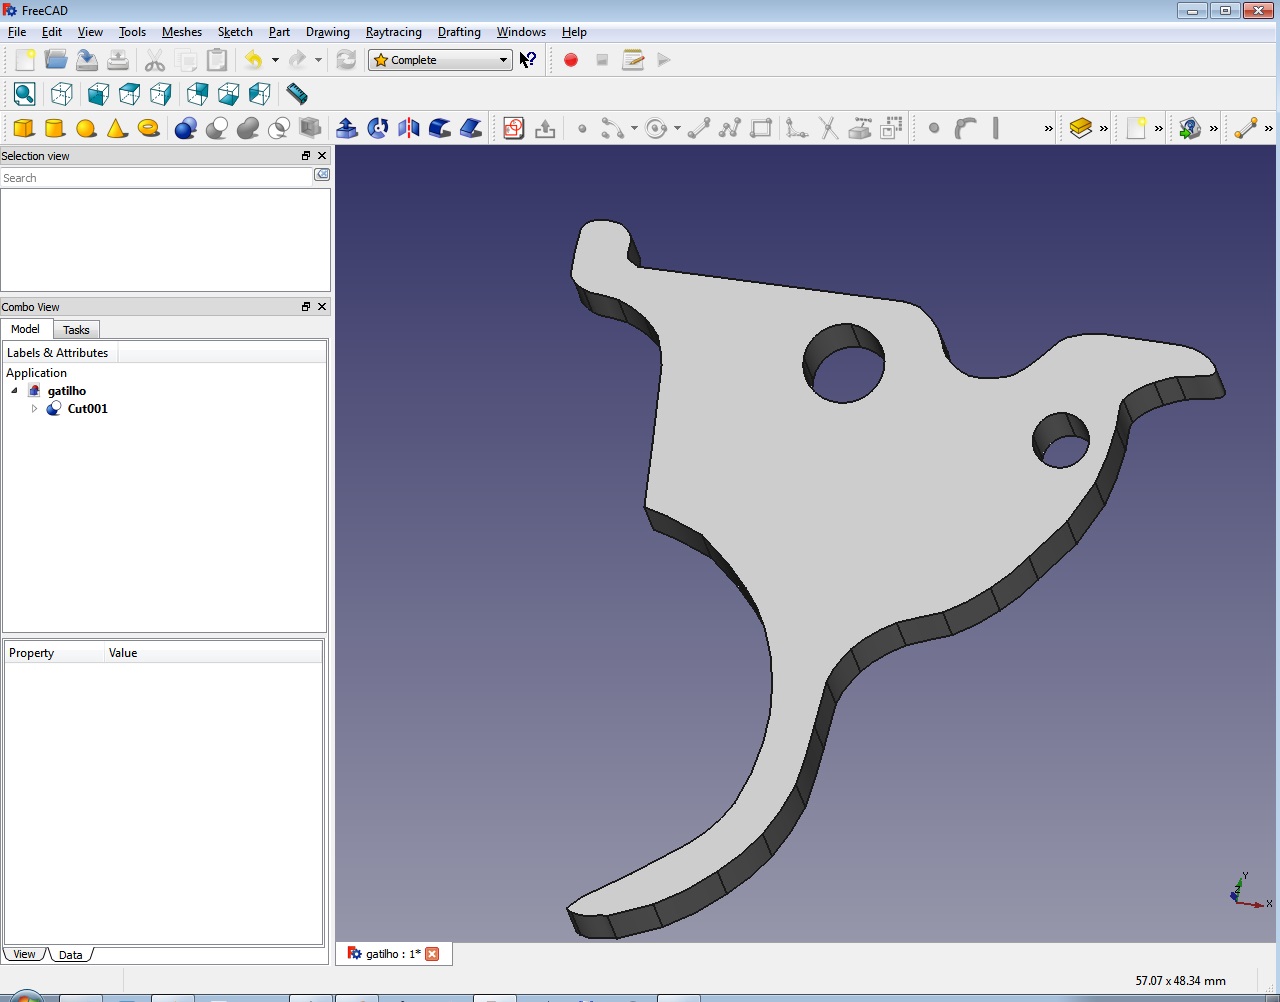
Now, you have a real 3D Object!
You can add fillets, further add some part to it, etc.
And when you're satisfied with the thing...
Stl, for You to 3D Print!
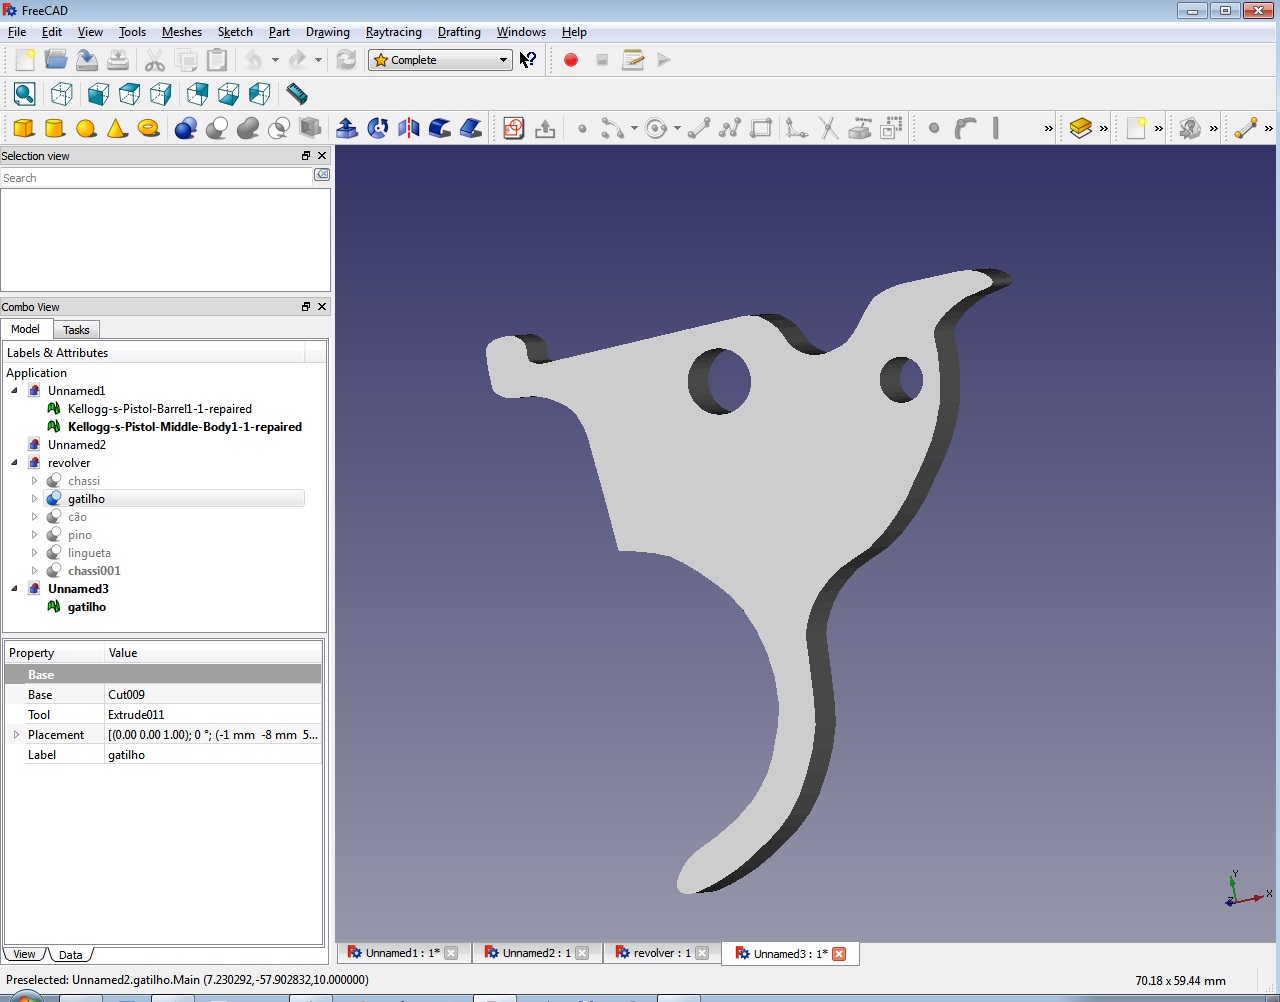
You then export it to the Stl format.
You will now be the proud owner of an Stl Object, or many of them, that can easily 3D printed, CNC-milled, or whatever.
Have fun!