2D Geometric Art
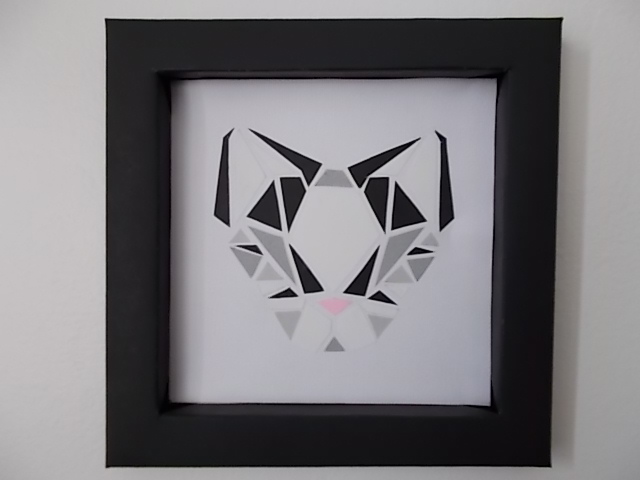
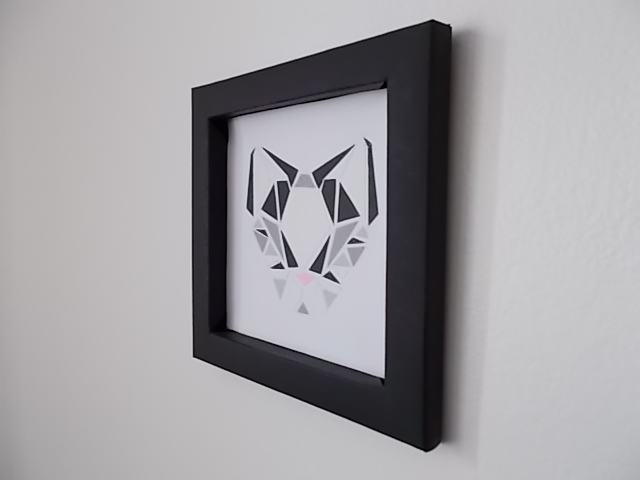
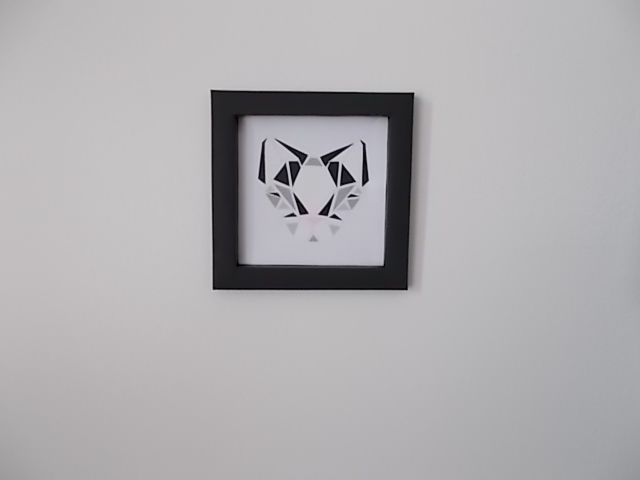
Perhaps you could call this a spin-off of my other project, 3D Geometric Art, but this was my gift for a cat-loving friend. I wanted to make something cat-related for her and searched for pictures of cats before my eyes landed on this picture. The geometry of it appealed to me, and I thought it would be a perfect touch because we have the same math class (calculus, but there are some geometric aspects...). The idea can be adapted for lots of other shapes and designs though.
Materials
- paper (colored paper, scrap paper, and paper for the background)
- glue
- pencil
- ruler
- scissors
- window
- OPTIONAL: beads or other embellishments, poster board/paper and clear plastic (I just savaged some from a page protector.) for making a frame
Customize the materials to your liking. For example, instead of paper you could use starburst wrappers.
Creating a Design
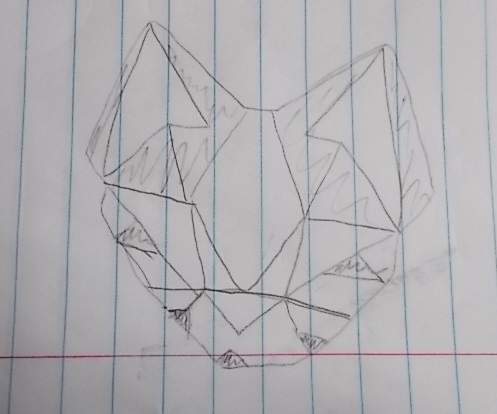
Search around for inspiration for your creativity. Maybe you like waves; do some sketches of waves' curves and do a Google search for examples to set off your imagination. Look up "geometric art" (actually, triangulated art will work better) borrow books from the library, take a walk outside--inspiration can be anywhere.
Once you've found an idea, shape it to fit your preferences. For my design, I later tweaked the cat to make more angles and whatnot.
Creating a Guideline Sketch
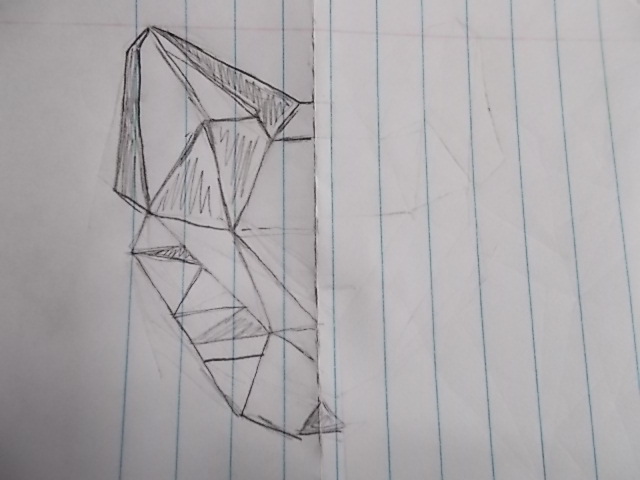
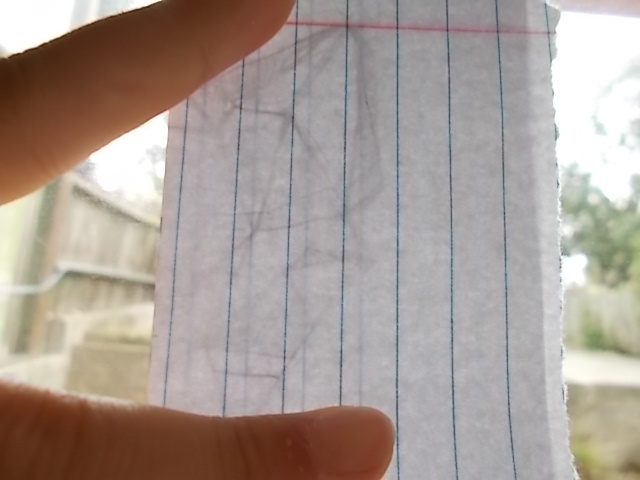
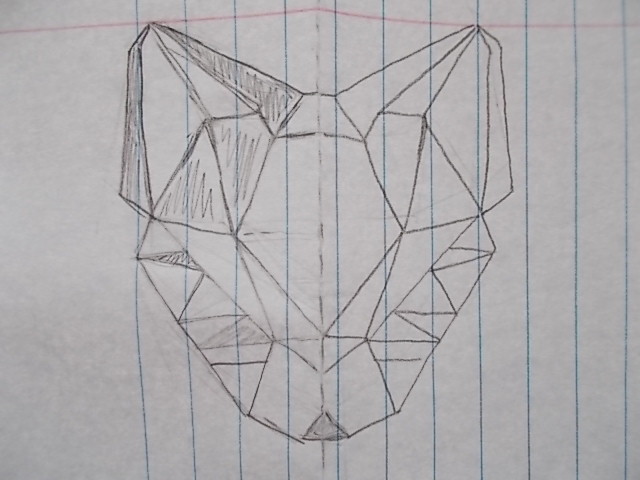
Take a spare piece of paper and draw your design on it. If you are doing something that's supposed to be symmetrical left and right, fold the paper down the middle before sketching only one half of it. Then hold the paper against the window and trace the design so that both left and right sides are identical. Note that your paper needs to be thin enough for light to go through and illuminate your design well enough for tracing.
Spacing Out the Shapes
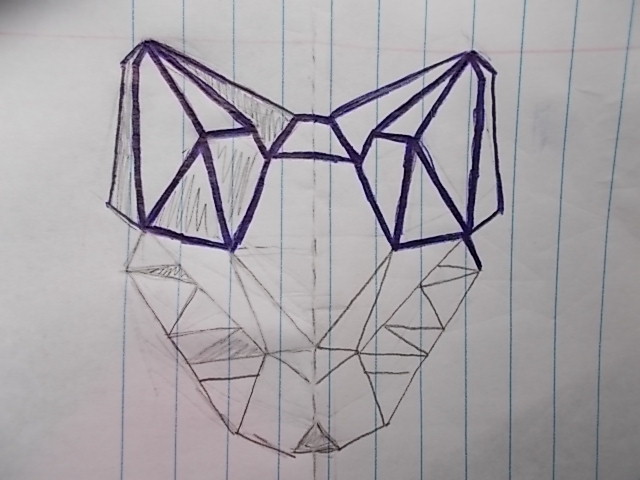
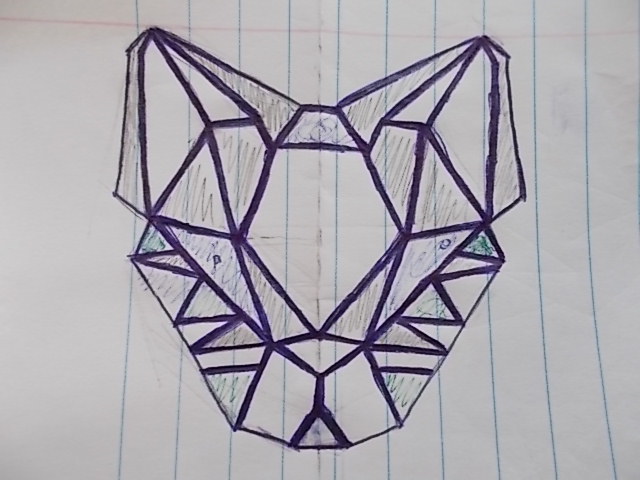
I wanted to have white space in between the triangles, quadrilaterals, etc. so I grabbed a dark pen and made the lines between the shapes thicker. The thicker lines will be the spacing, so vary the thickness to your liking. You can always chose not to have space; in that case, just skip to the next step.
Tracing the Shapes
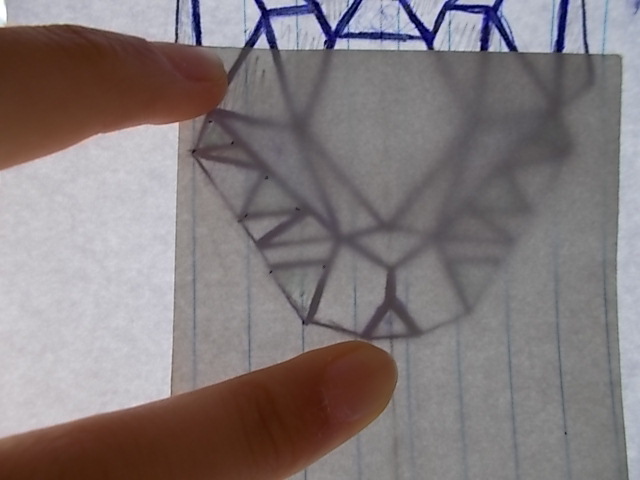
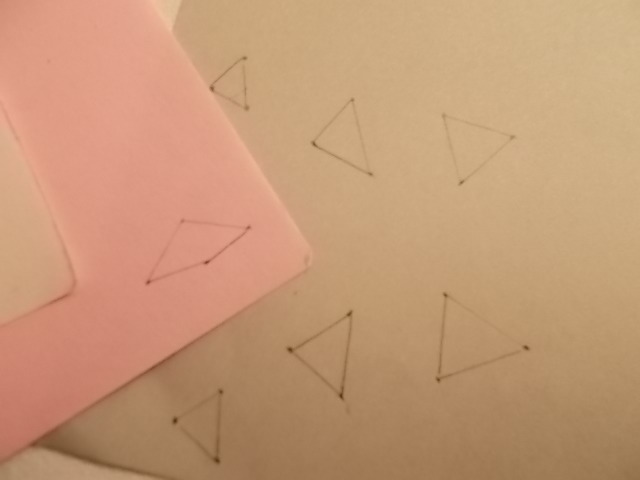
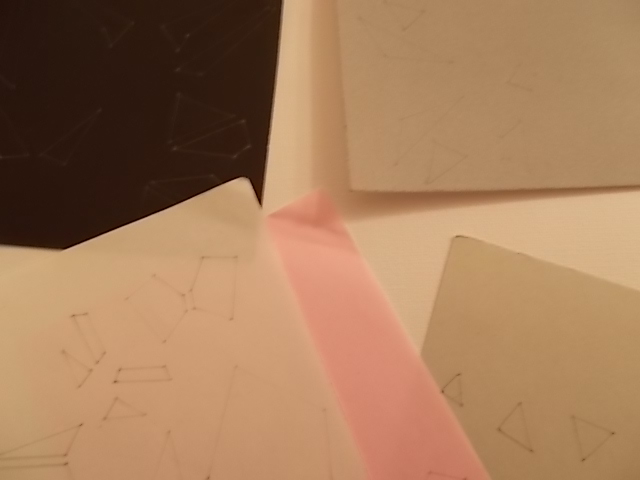
Take a piece of colored paper for the artwork and hold both colored paper and sketch paper up to the window, colored paper on top. For the shapes that need that color, use a pencil to mark the CORNERS of the shape. For example, if a triangle needs to be pink, put the pink paper on top of the sketch and put a point on the three vertices. Then grab a ruler and connect the points; this will make your lines much straighter than if you just traced the shape with a shaky hand.
Continue until you have all the pieces you need for the artwork.
Cutting and Gluing
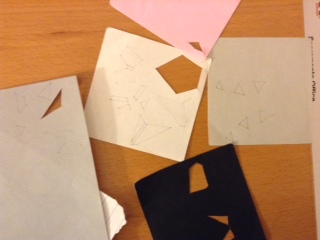
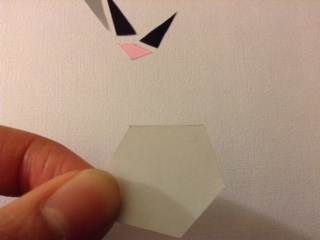
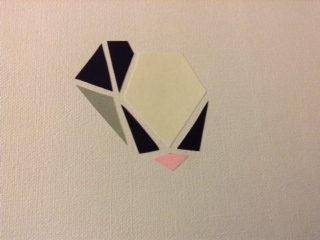
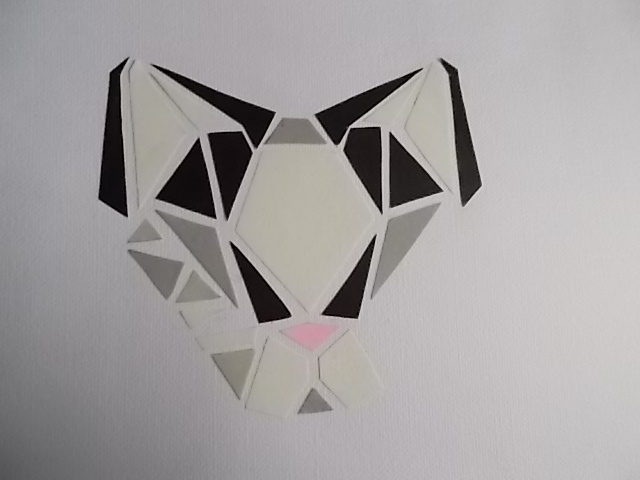
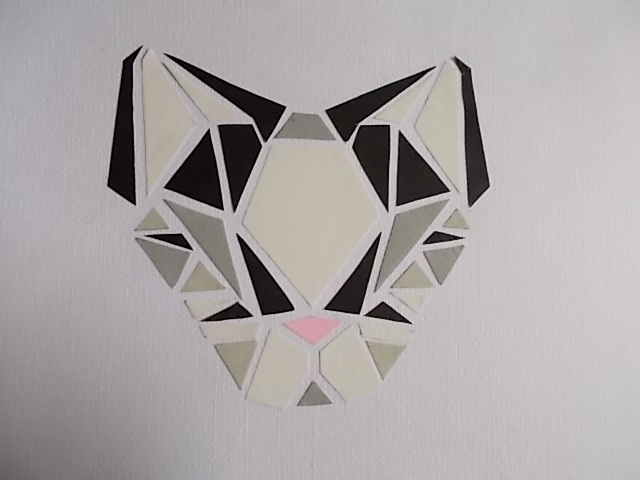
Cut out all the little pieces of your artwork. Once you've cut out a piece, use an eraser to erase any pencil lines that are visible on the exterior; you don't want your pencil marks to show up. Be especially gentle with long, narrow pieces because these are more likely to rip.
After erasing pencil marks, apply glue on the backside of the shape and put it in the correct position according to your design. You don't want to wait until later because you might accidentally sneeze and have a pile of triangles whose positions you don't remember anymore.
Trimming the Design
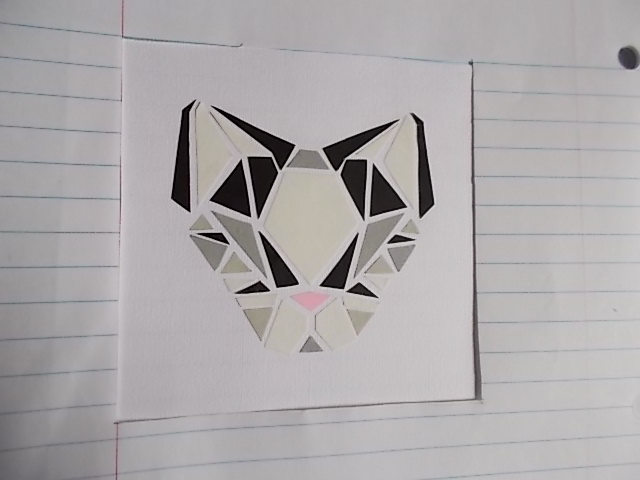
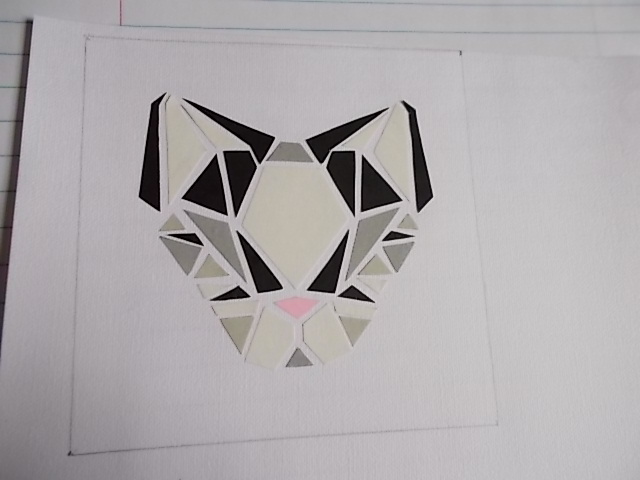
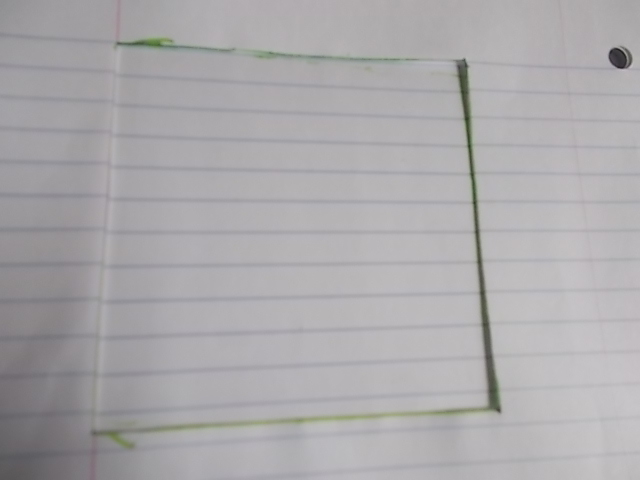
To trim your background paper to your desired dimensions, cut out a window, whose dimensions are the length and width that you want for your artwork; in my case, this was 10cm X 10cm.) in a scrap piece of paper. Put the window over your artwork and position the artwork until you're happy. Trace the window on your art before cutting along those lines.
I wanted a plastic screen for the artwork so I took a paper protector (one of those plastic sleeves for paper in binders) and cut out a 10cm by 10cm square using the same method as above. I used a highlighter (you could use a non-permanent marker instead) so that the lines would be visible. Pen and pencil will leave indents.
Optional Frame: Design
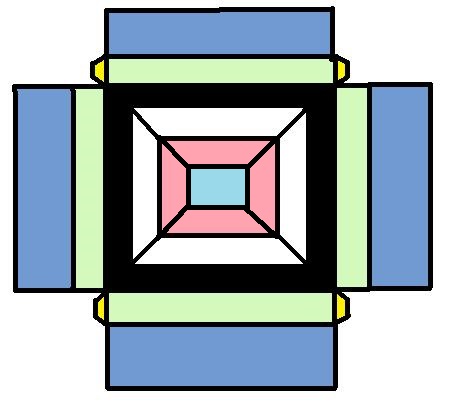
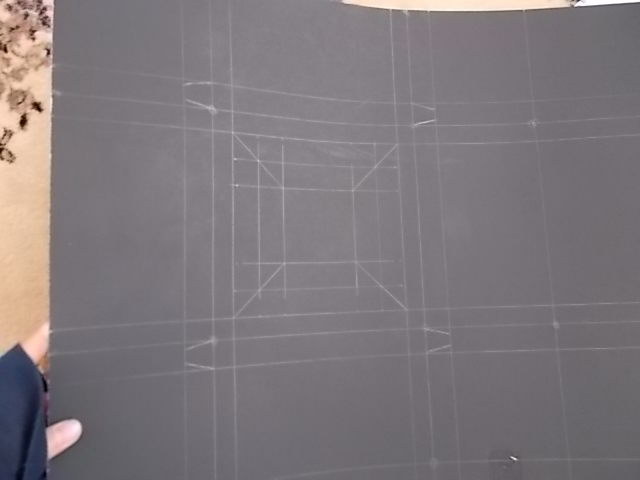
I like to frame my work so I used a poster board (22" by 28"). Alternatively, you could make a cardboard frame by following my tutorial here. I drew a simple design for it in MS Paint (see colorful picture above). The idea is that I would make a hole in the paper for the artwork to fit in, fold and glue the extra paper to the back, insert the artwork in the hole, and put the clear plastic screen on top of the artwork.
I measured the borders of my final design (10cm by 10cm). SO (on MS Paint picture):
- white square's dimensions = artwork's dimension = 10cm X 10cm
- black square's dimensions: 11.5cm X 11.5cm (so frame will provide a 1.5cm border)
- green rectangles' dimensions: 1cm X 1cm (determines the height of the frame.)
- white tabs'/trapezoids' height = green rectangles' height = 1cm
- pink trapezoids' height = less than frame's border = 1.25cm
- so blue square's dimensions = 6.5cm
- yellow tabs' height: 2.5cm (any measurement here is fine as long as the tab ends up big enough for gluing later)
- blue rectangles' dimensions: 8.4cm X 8.4cm (I got 8.4cm from dividing the length of the black square in half -- 11.5cm/2.)
I drew the pattern on my poster board, using those measurements as guidance, before cutting it out.
Frame: Folding
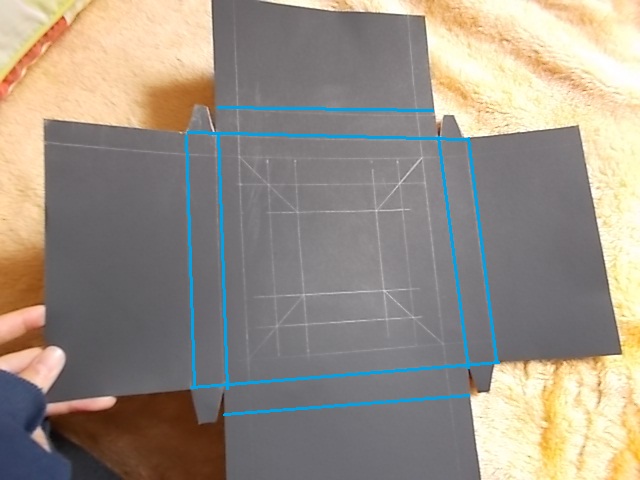
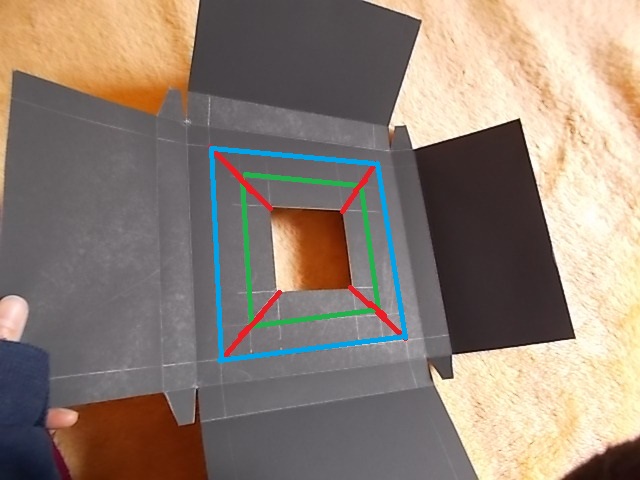
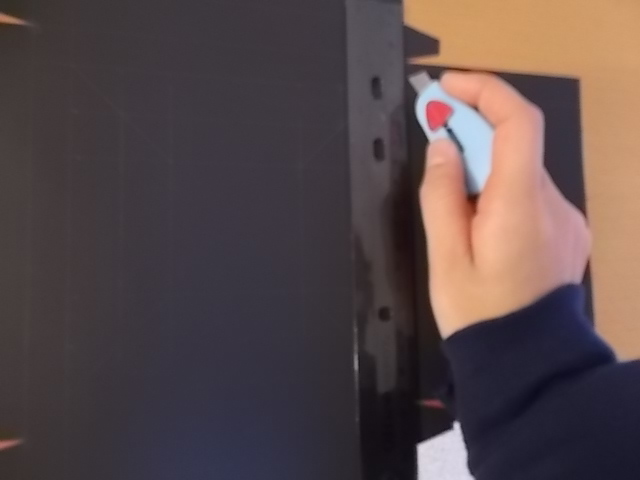
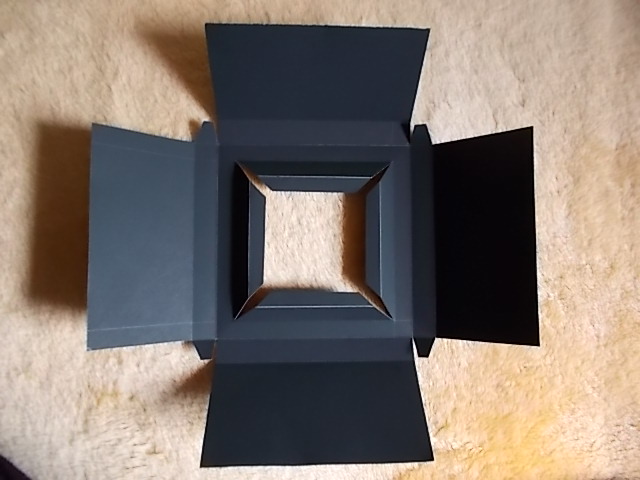
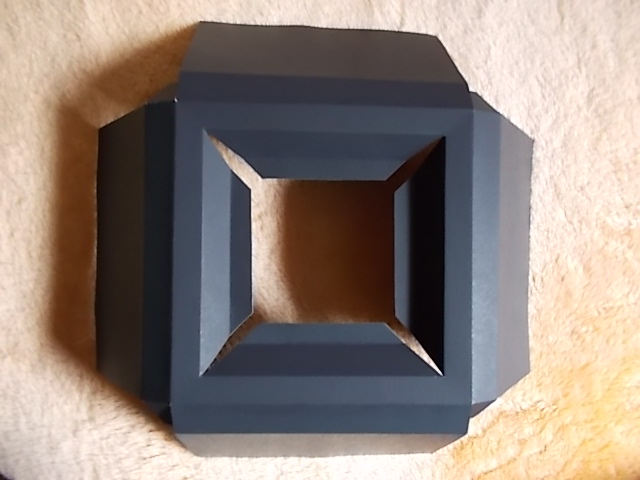
After cutting out the 2D frame design, I folded up the side pieces (see the pictures for what way and which lines), cut out the center square (blue from MS Paint image), and folded the inside trapezoids (see pictures again).
HELPFUL TIP: for folding and creasing thick paper, it's easier to lightly score the paper (drag the blade of your scissors or use a knife on the line) before folding along a line.
Frame: Gluing
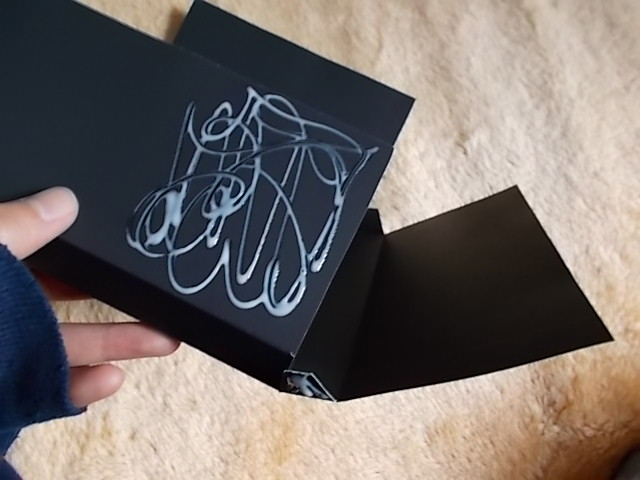
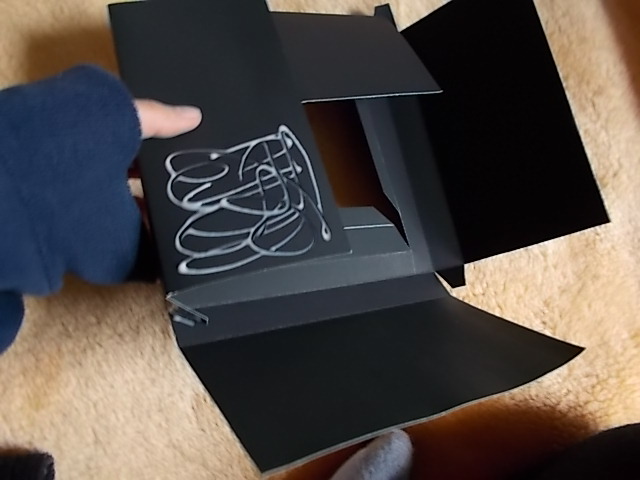
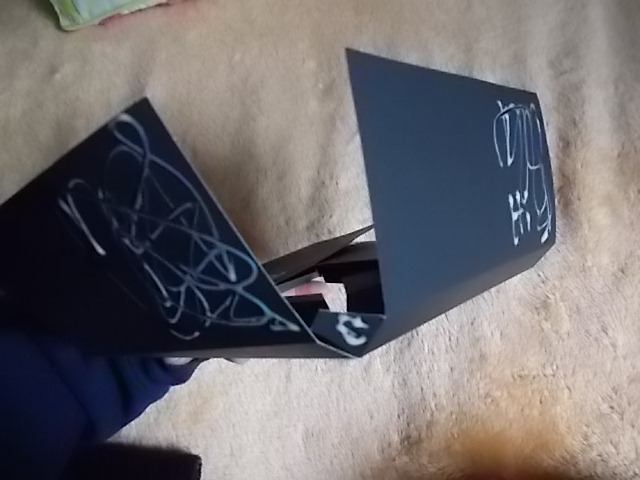
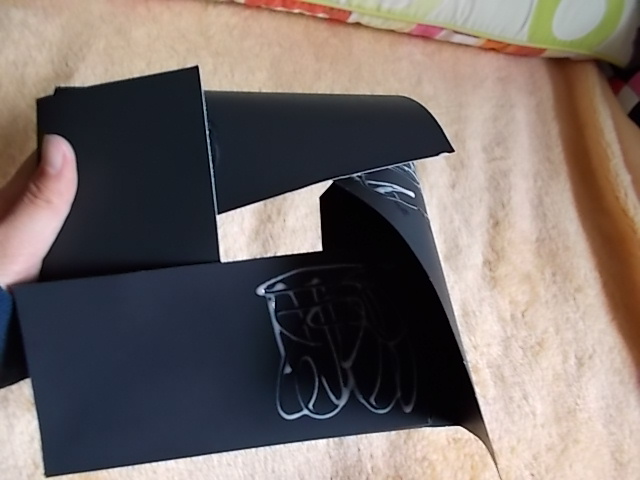
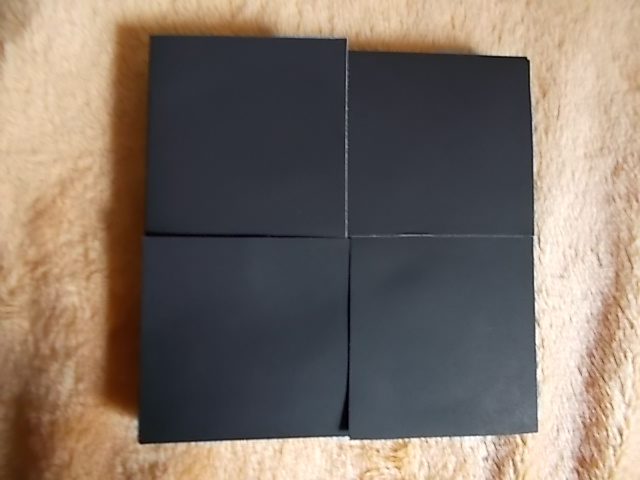
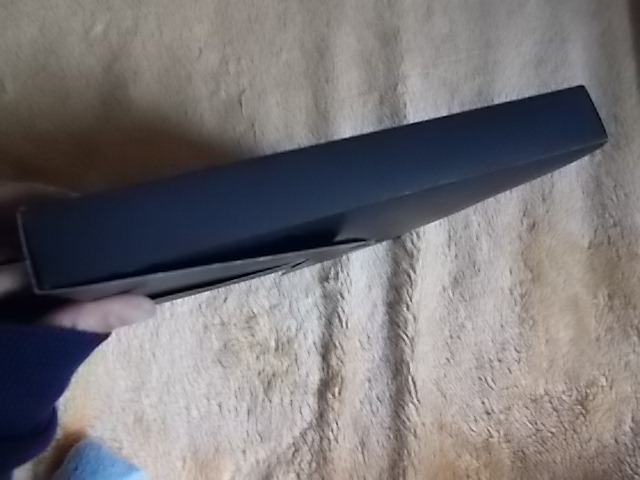
Glue the blue rectangles (from MS Paint image) in a pinwheel formation. (see above for visuals) Don't forget the four smaller yellow trapezoidal tabs too. Trim any paper that juts out in the end.
Inserting Artwork
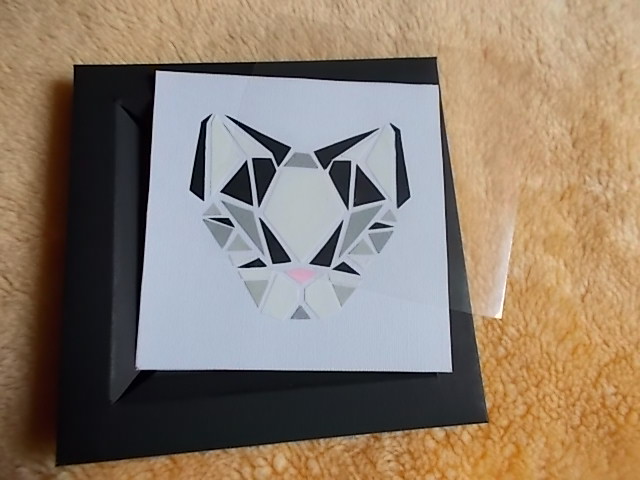
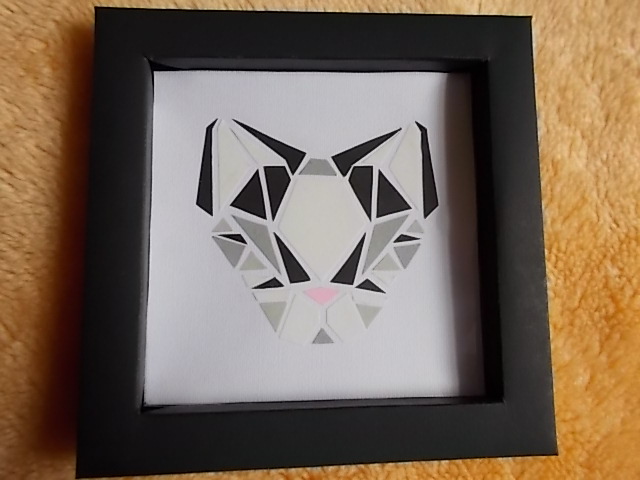
Insert your artwork into the hole on the opposite side of the pinwheel. This might take a bit of coaxing, and if the artwork really isn't fitting, trim the edges a bit.
Your new geometric art is finally done! Hang it up, present it to a friend--and have fun. ^^