$200 DIY 3D Printer Build
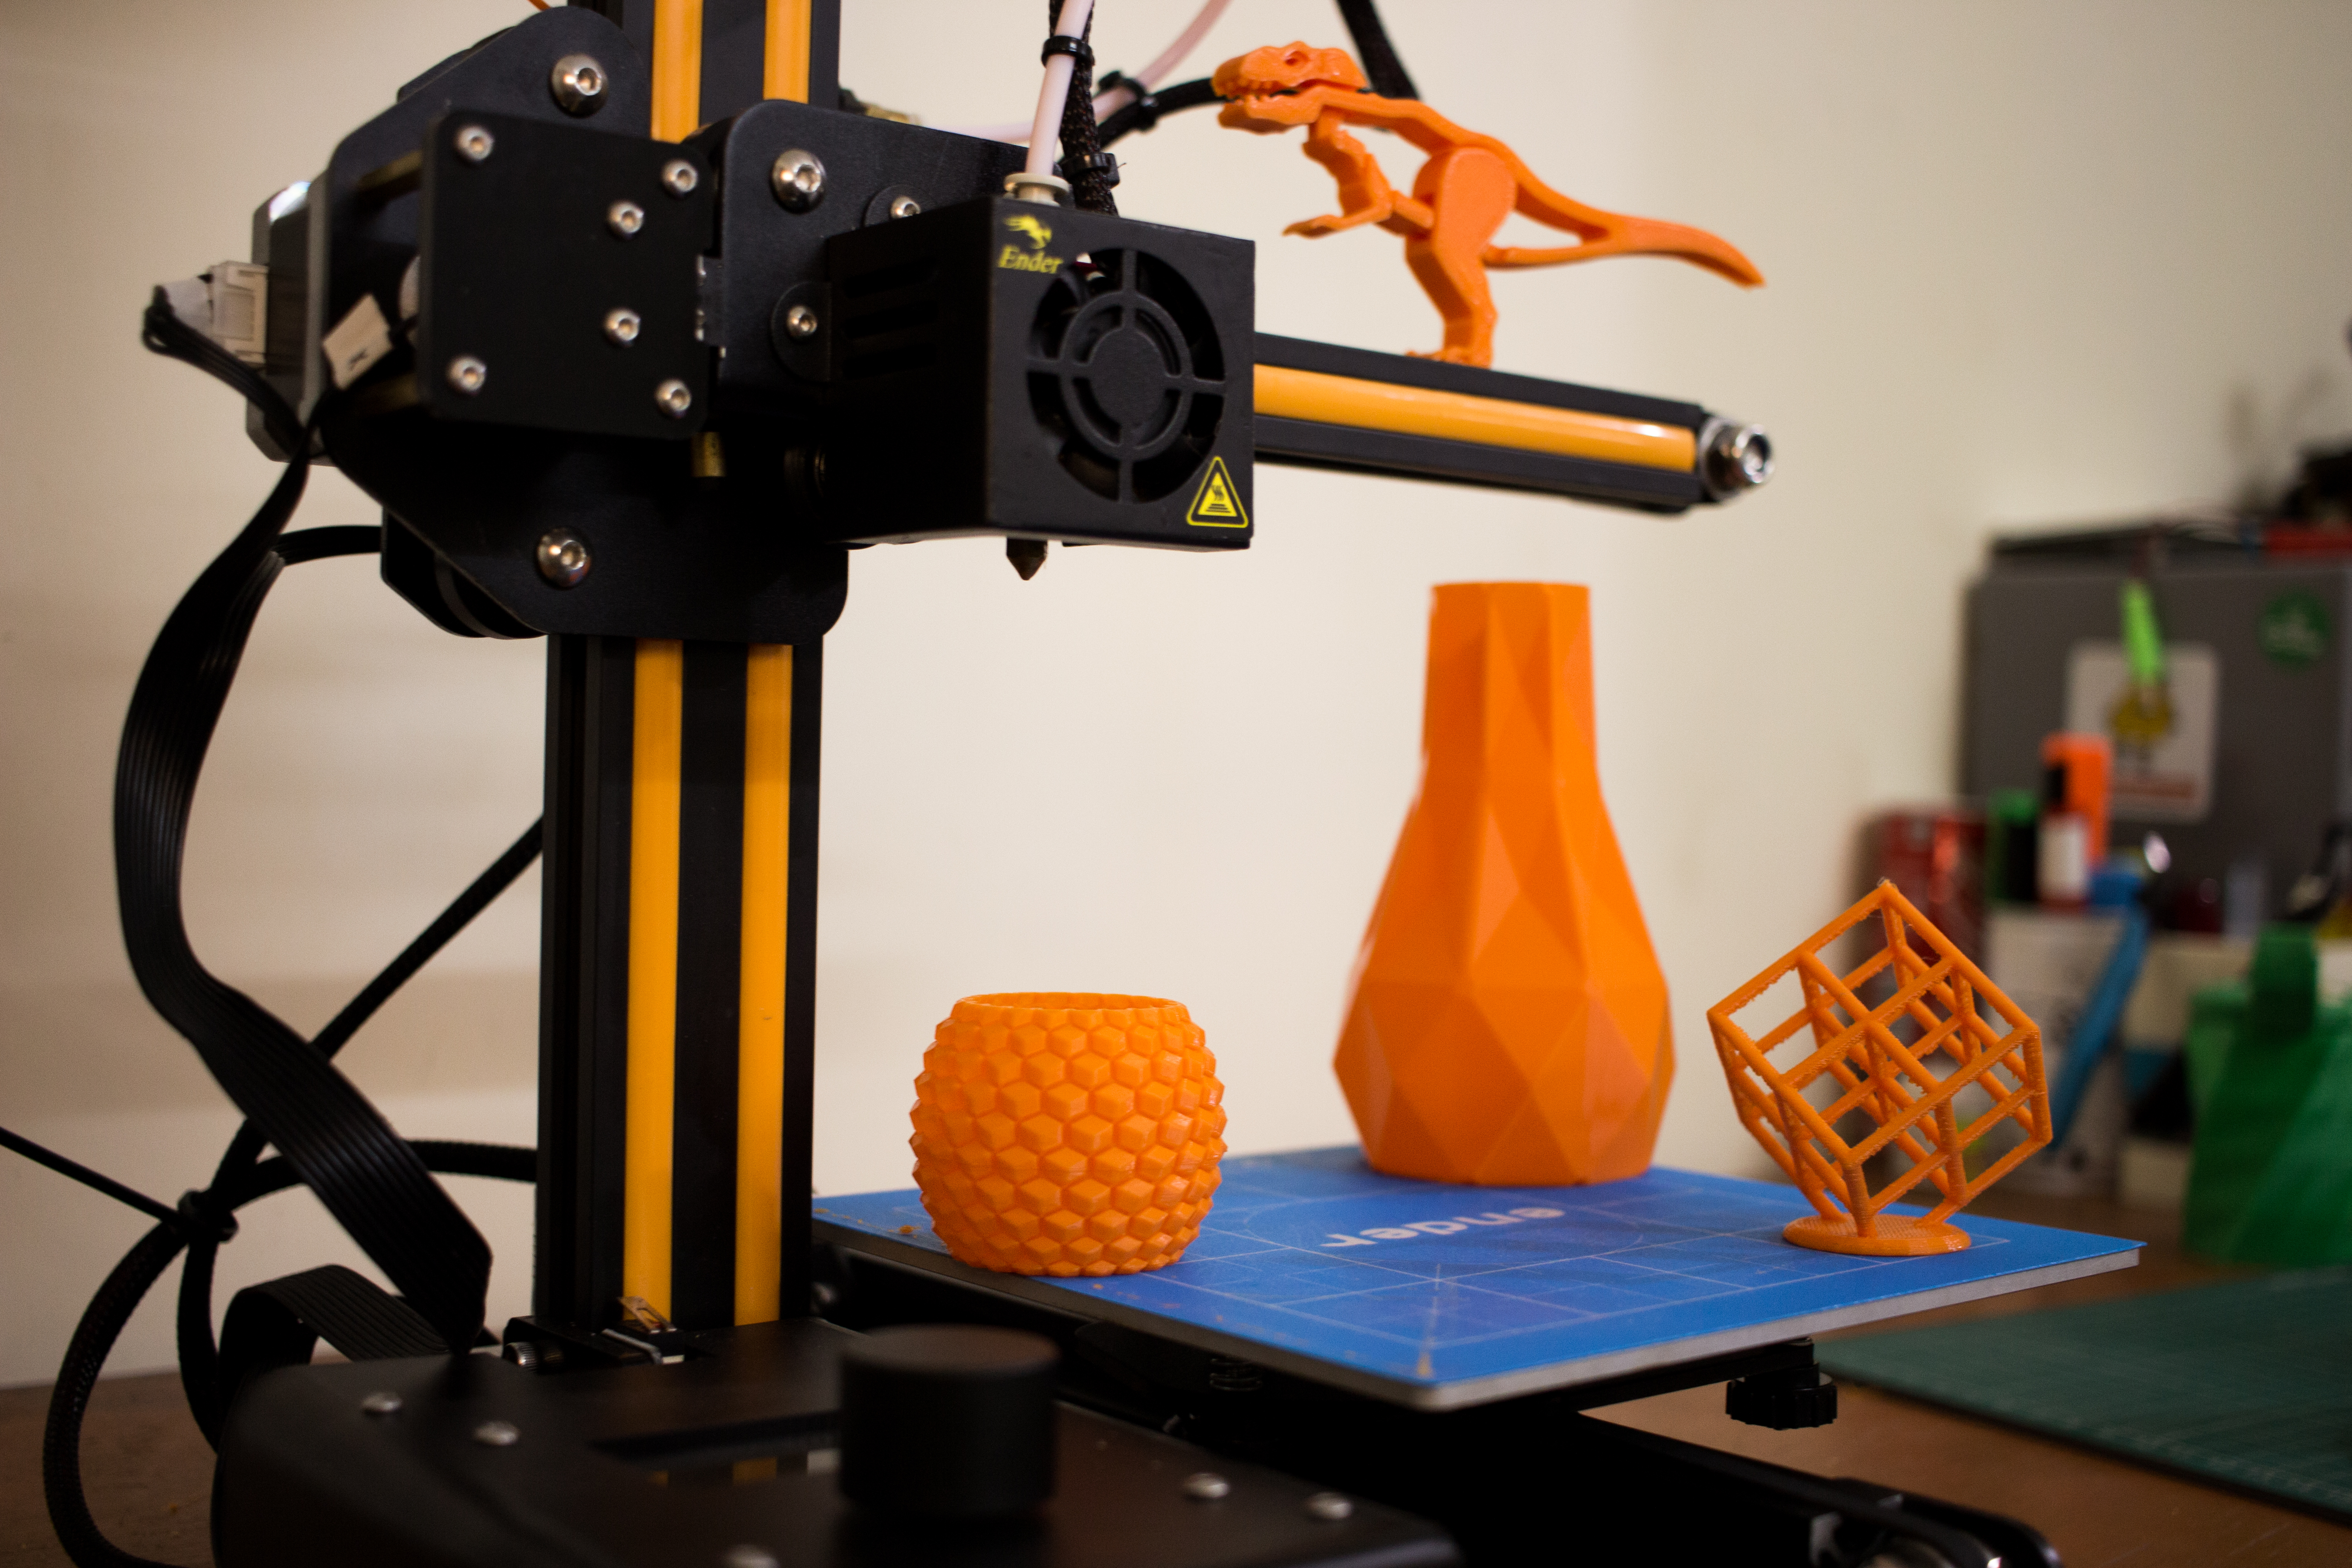
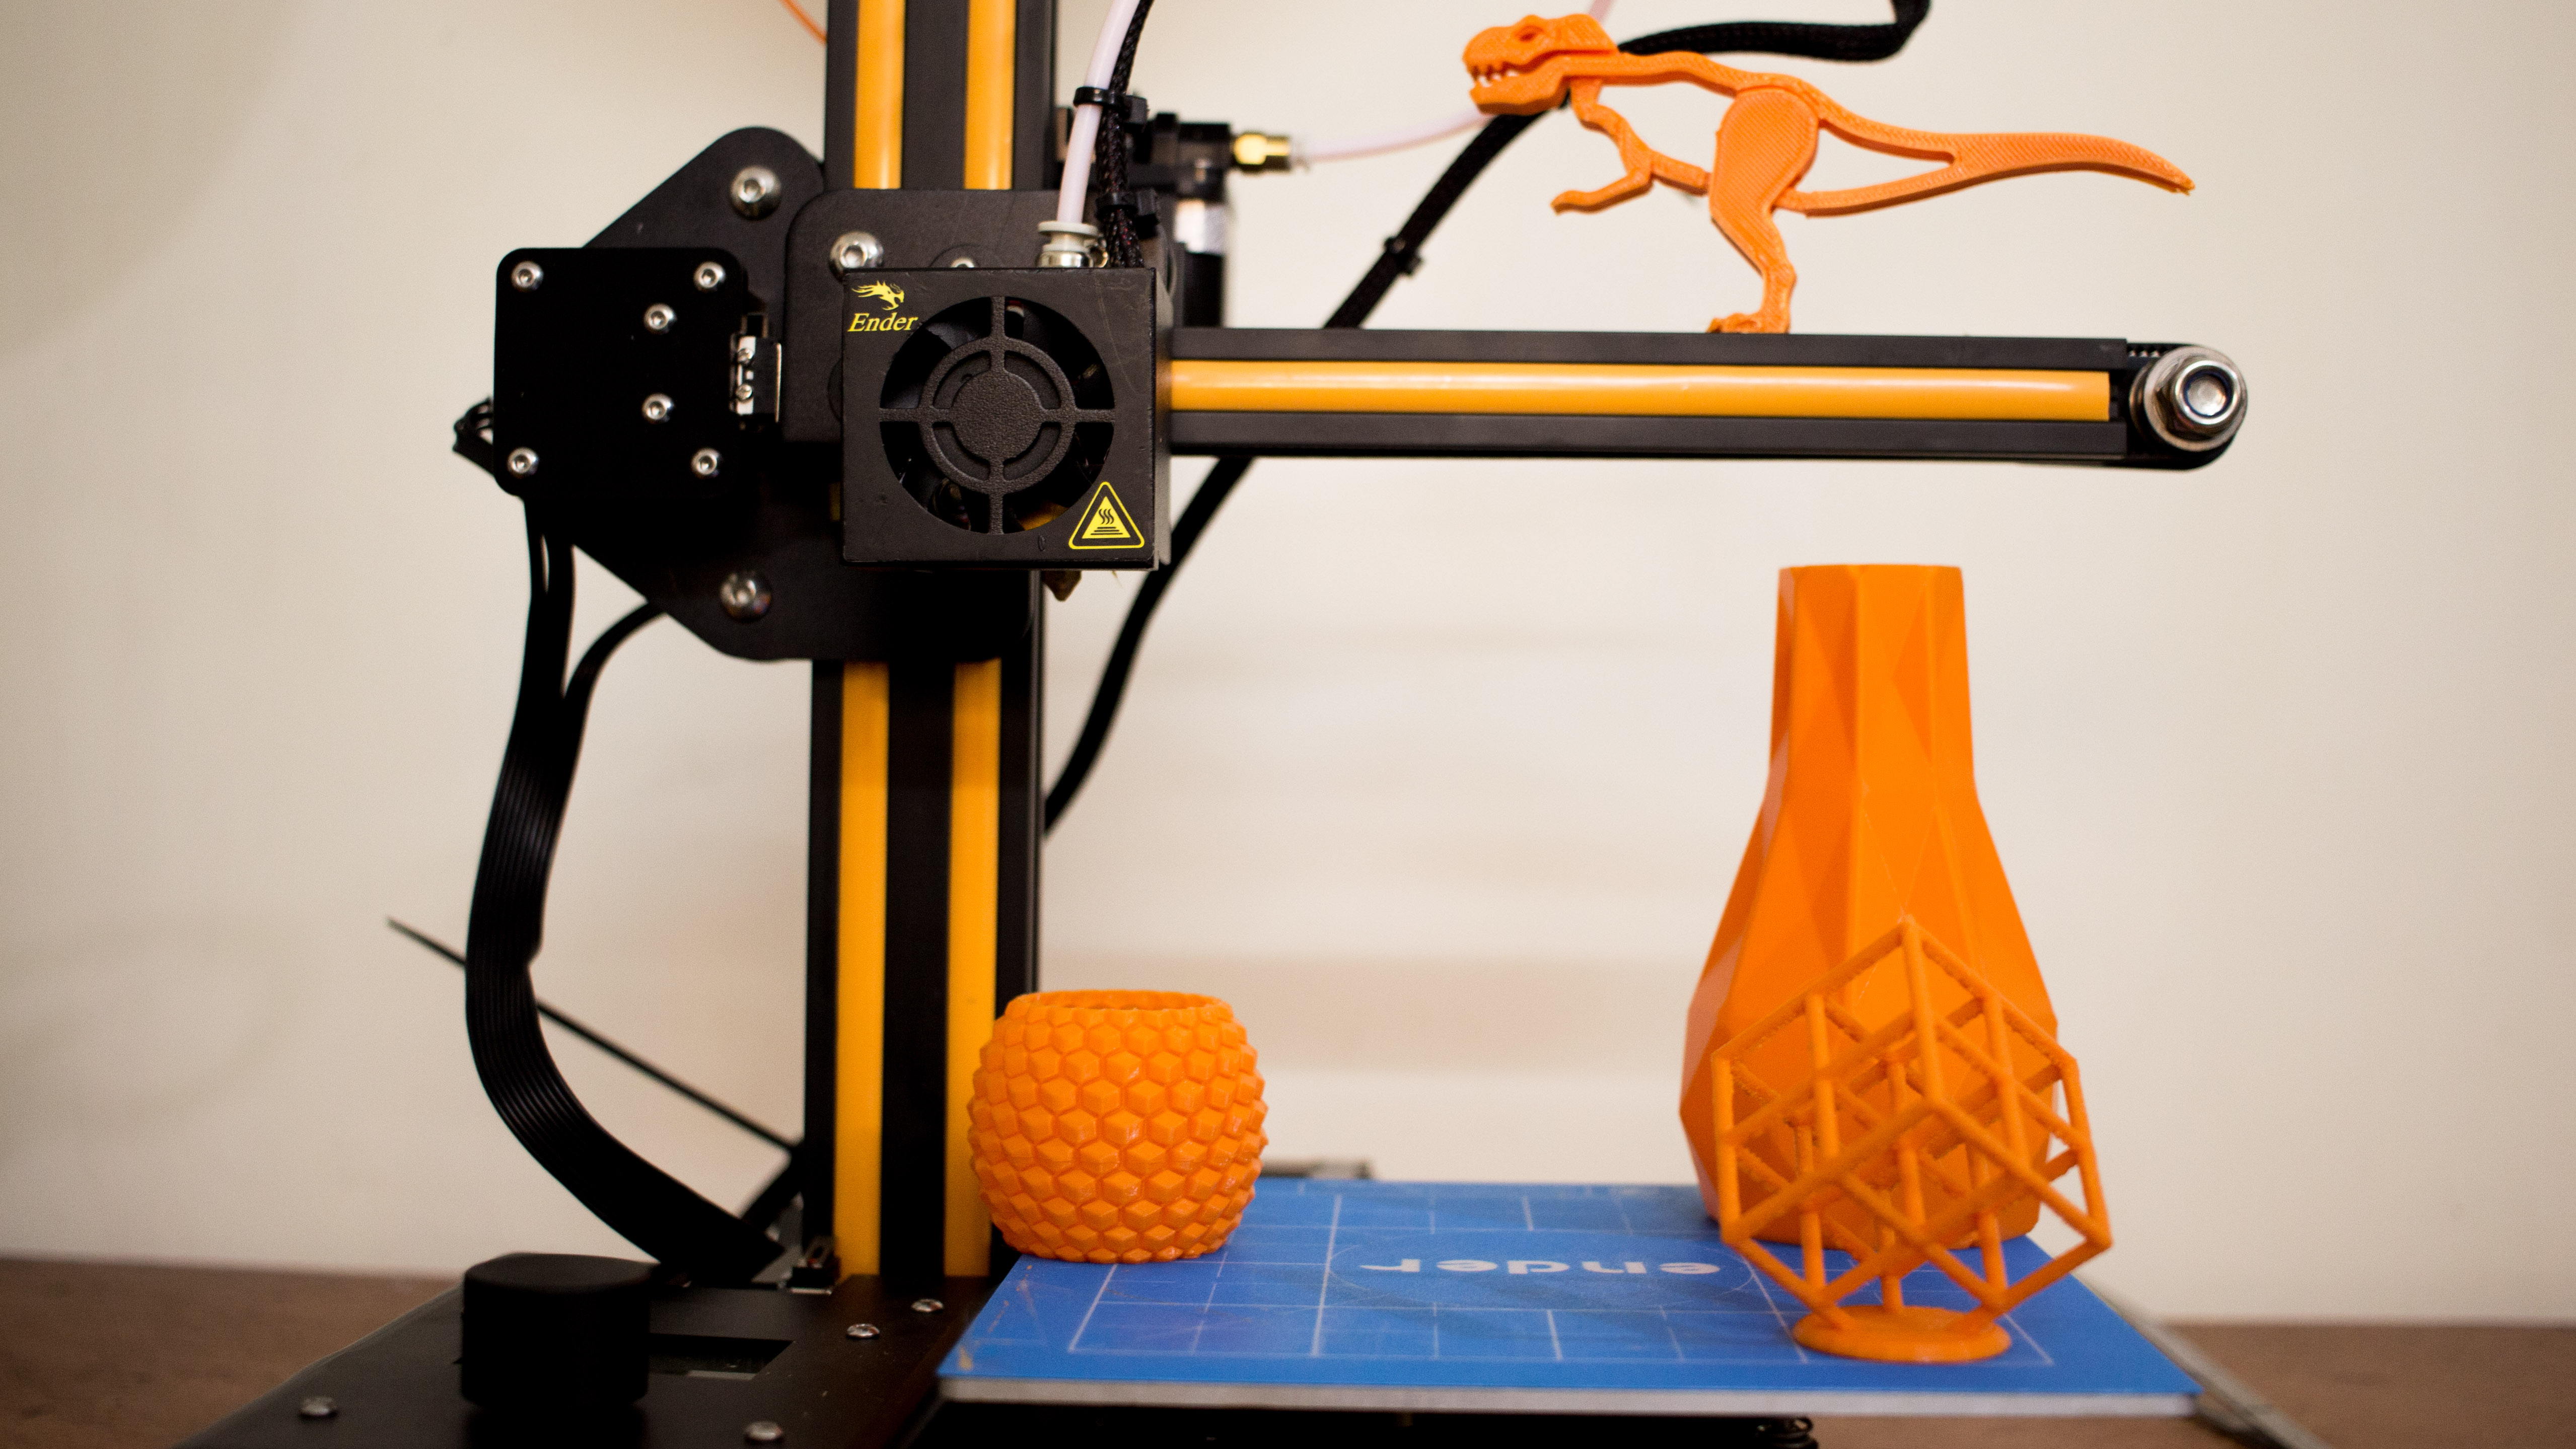
3D Printing Technology has been changing the world of quick prototyping and engineering rapidly , Every hobbyist, budding engineer dreams of getting into the technology and use it to make their design better and fast.I was just like you wanted to start 3D Printing always to make my imagination into reality, but the best 3D printer is really expensive like the MakerBot Replicator, Ultimaker costing more than 1000$.Which becomes impossible for a starter or hobbyist to buy. But there are very cheap kits nowadays to get started.I just started my 3D printing journey with a kit recently, and I will tell you all there are really great options to start but there are lot of things that you get missing to start with.
In this Instructables, I will show how to assemble the Creality ender 2 3D printer.
10% off Coupon GBTE
3D Printing Technologies
Before starting to make one 3D printer you should know what are the types of 3D printer that is available and how they work .I will try to give you a short idea about each type here.
- FDM (Fused Deposit Type )
- SLA(Stereo Lithography )
- DLP (Digital Light Processing )
- SLS (Selective Layer Sintering )
- SLM (Selective Layer Melting)
- LOM (Laminated Object Manufacturing )
FDM
FDM Technology build objects layer by layer from the very bottom up by heating and extruding thermoplastic filament.Firstly special software “cuts” CAD model into layers and calculates the way printer’s extruder would build each layer. Along to thermoplastic a printer can extrude support materials as well. Then the printer heats thermoplastic till its melting point and extrudes it throughout nozzle onto base, that can also be called a build platform or a table, along the calculated path. A computer of the 3d printer translates the dimensions of an object into X, Y and Z coordinates and controls that the nozzle and the base follow calculated path during printing. To support upper layer the printer may place underneath special material that can be dissolved after printing is completed.

Stereolithography (SLA)
The process of printing involves a uniquely designed 3D printing machine called a stereolithography apparatus (SLA), which converts liquid plastic into solid 3D objects.SLA 3D printers work with an excess of liquid plastic that after sometimes hardens and forms into solid object.After plastic hardens a platform of the printer drops down in the tank a fraction of a millimeter and laser forms the next layer until printing is completed. Once all layers are printed the object needs to be rinsed with a solvent and then placed in an ultraviolet oven to finish processing.

Selective Laser Sintering (SLS)
Selective Laser Sintering (SLS) is a technique that uses laser as power source to form solid 3D objects. SLS is more spread among manufactures rather than 3D amateurs at home as this technology requires the use of high-powered lasers, which makes the printer to be very expensive. This guy is an expert in making such printer as hobby 
Laminated Object Manufacturing (LOM)
During the LOM process, layers of adhesive-coated paper, plastic or metal laminates are fused together using heat and pressure and then cut to shape with a computer controlled laser or knife. Post-processing of 3D printed parts includes such steps as machining and drilling.OM printers use continuous sheet coated with an adhesive, which is laid down across substrate with a heated roller. The heated roller that is passed over the material sheet on substrate melts its adhesive. Then laser or knife traces desired dimensions of the part. Also the laser crosses hatches of any excess material in order to help to remove it easily after the printing is done.

Secure the Gantry
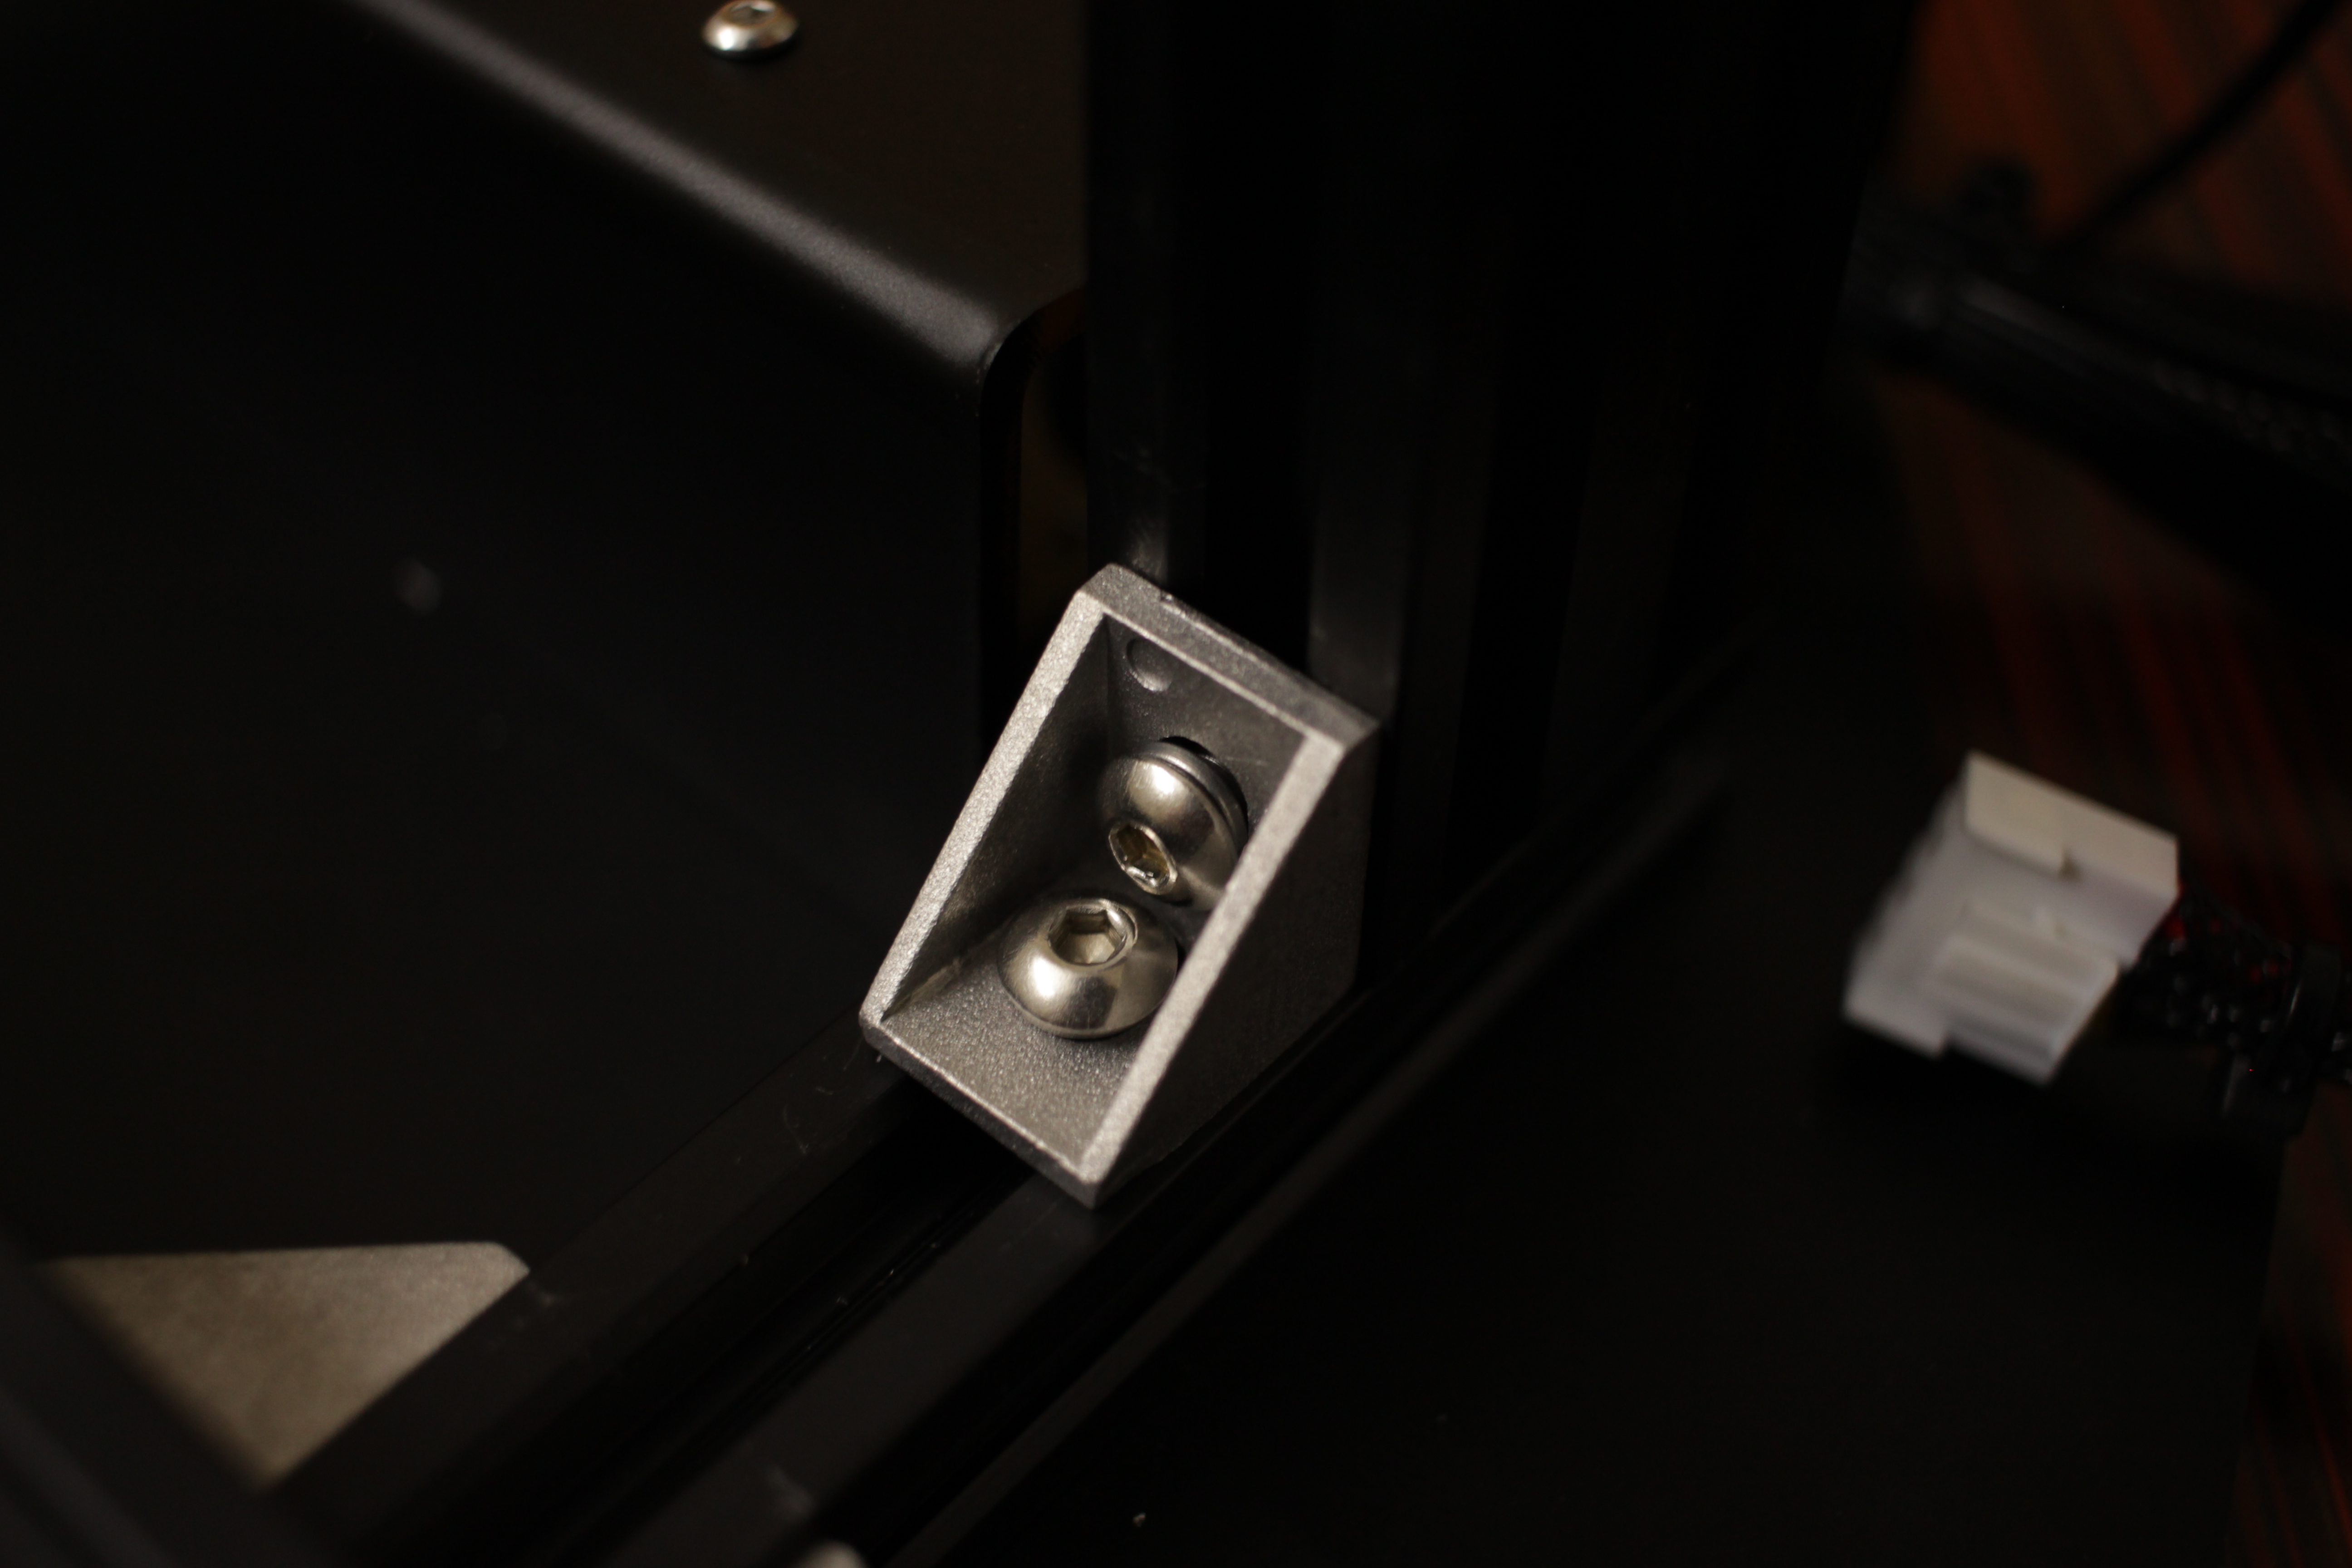
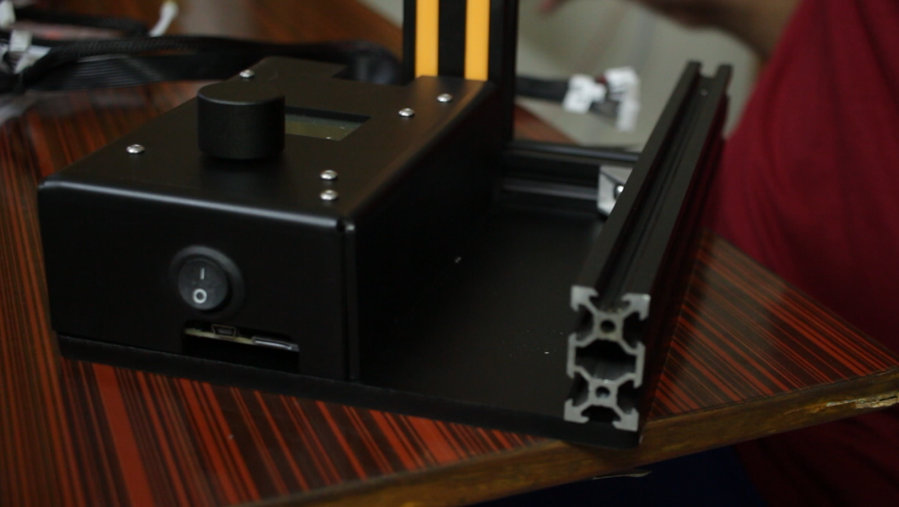
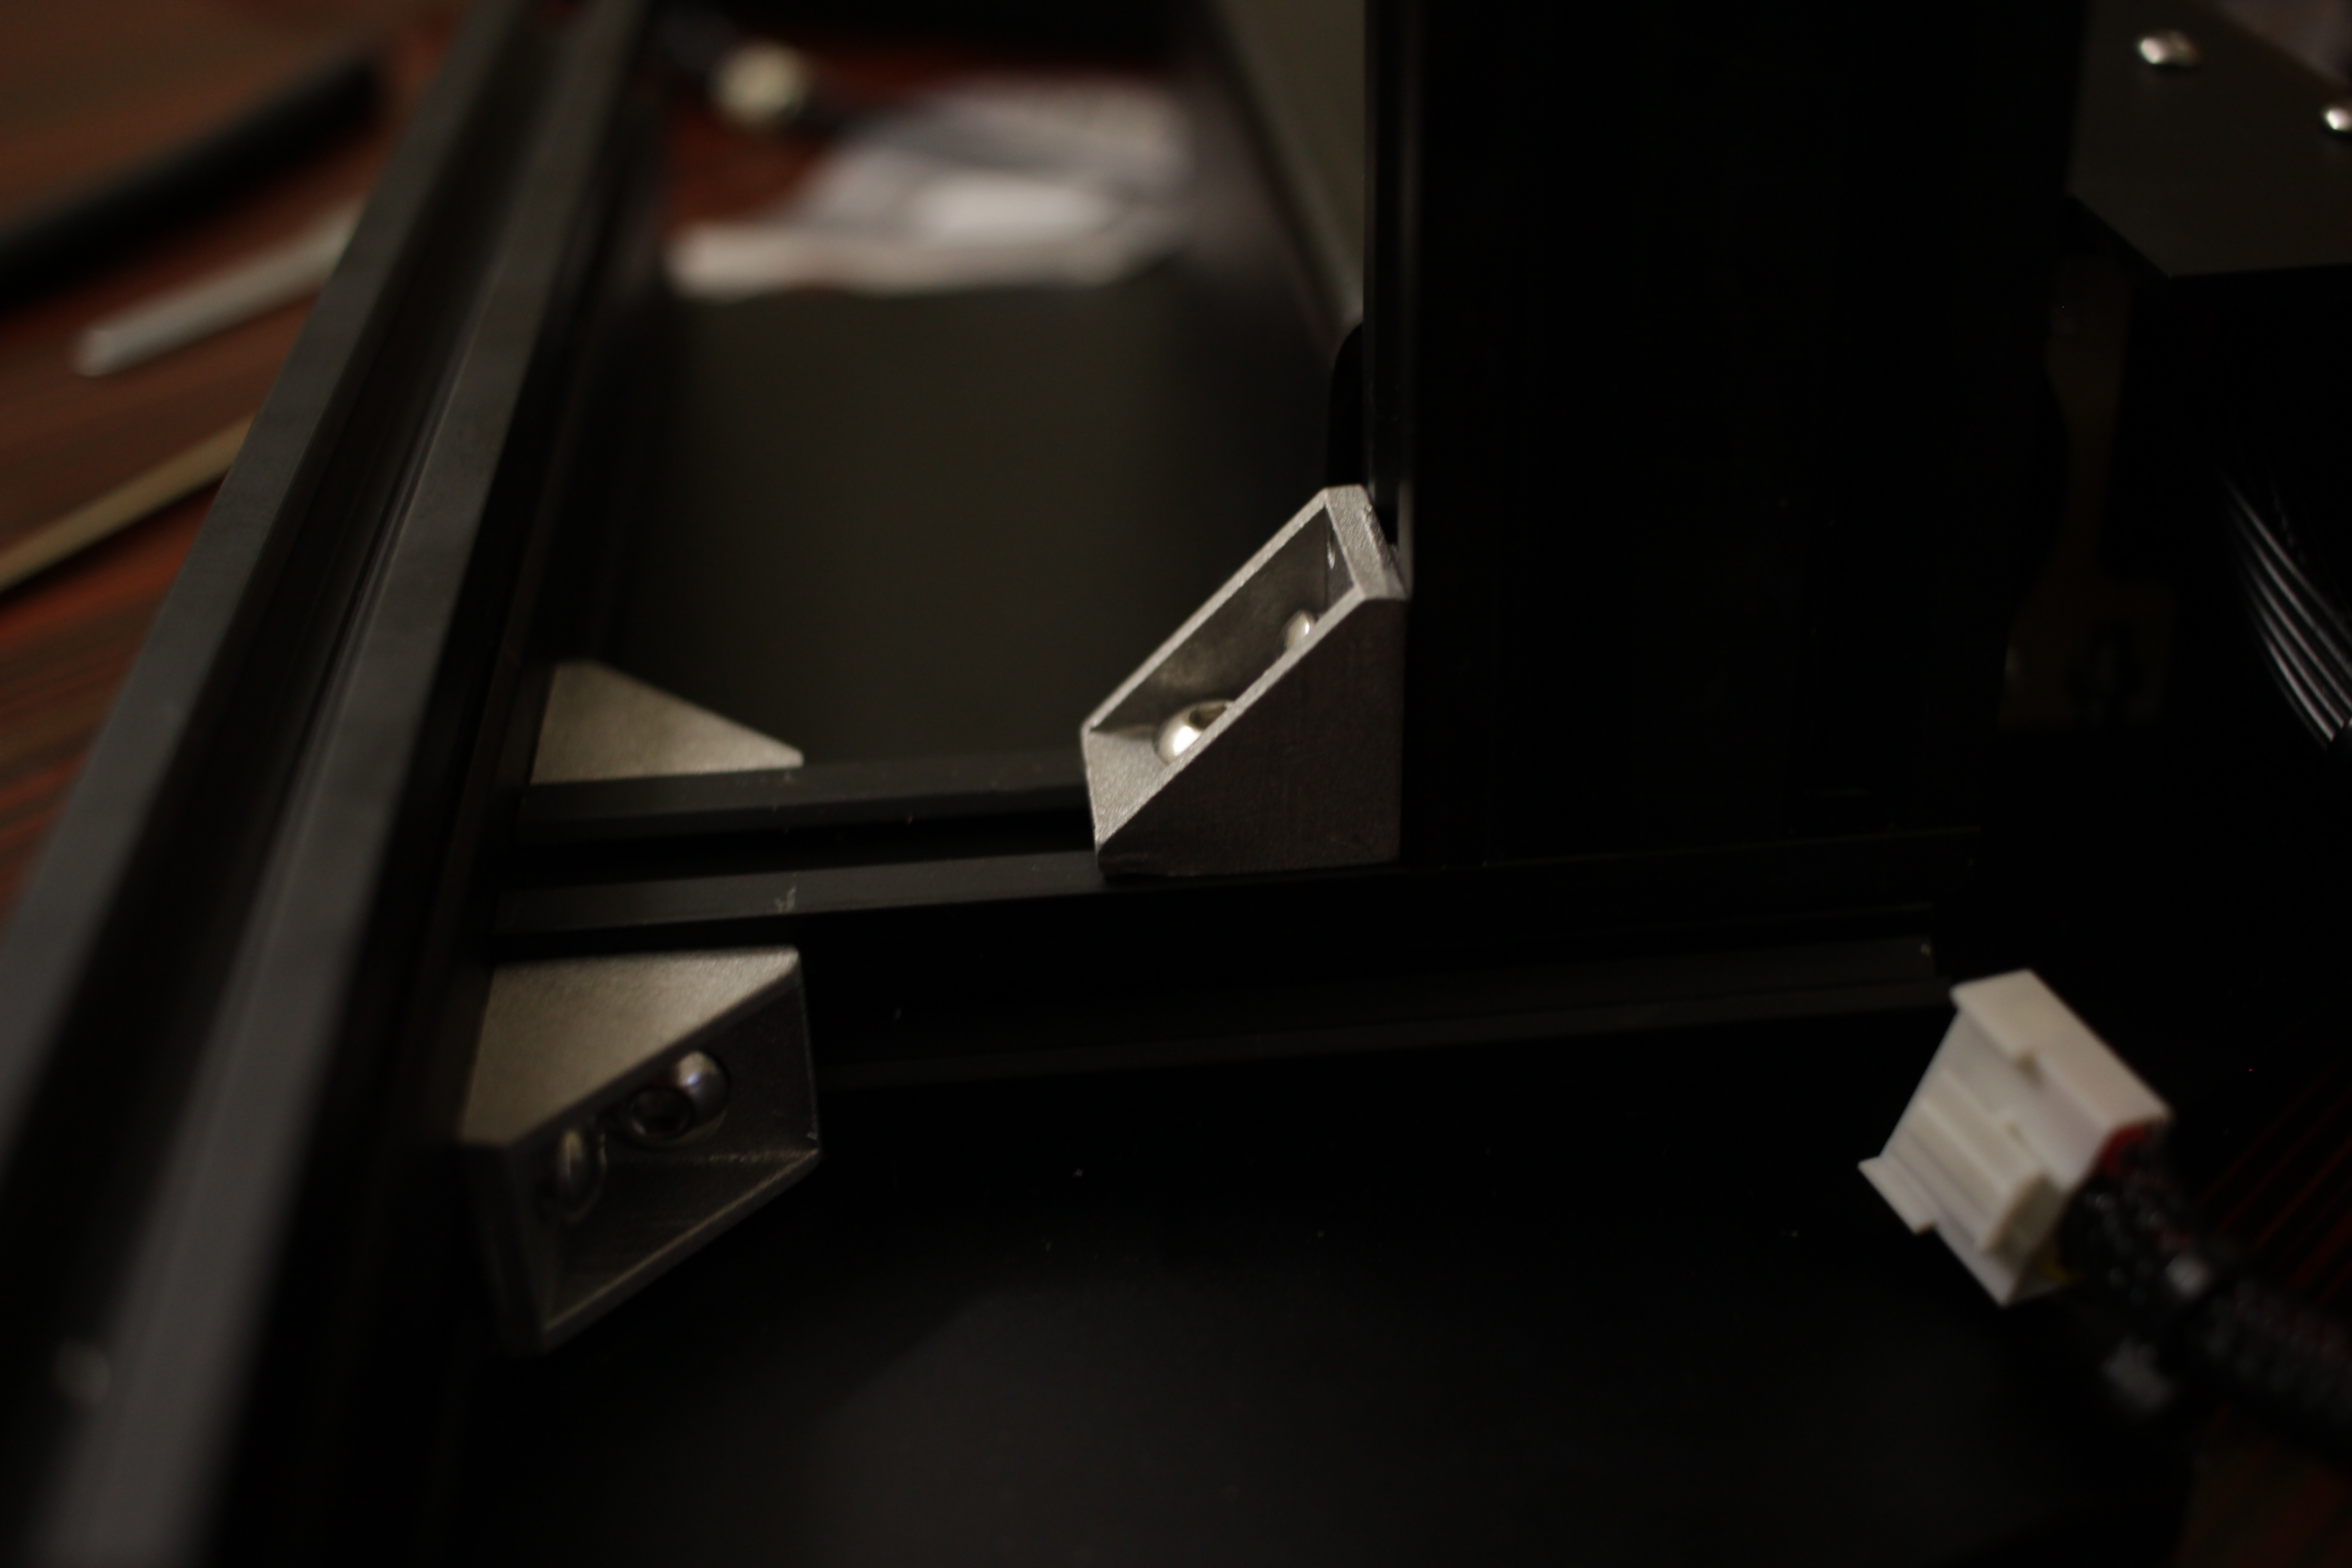
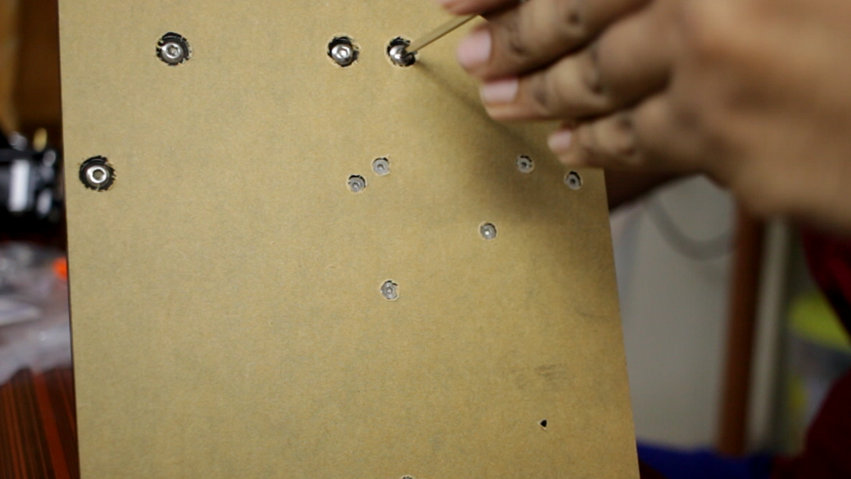
Start by securing the gantry to the base with a right angled bracket.The aluminum extrusion threaded hole on the bottom so that they can be attached to the base easily.using an m4 bolt I fix the gantry to the base.
All the tools are in the kit.
The Y Axis Assembly
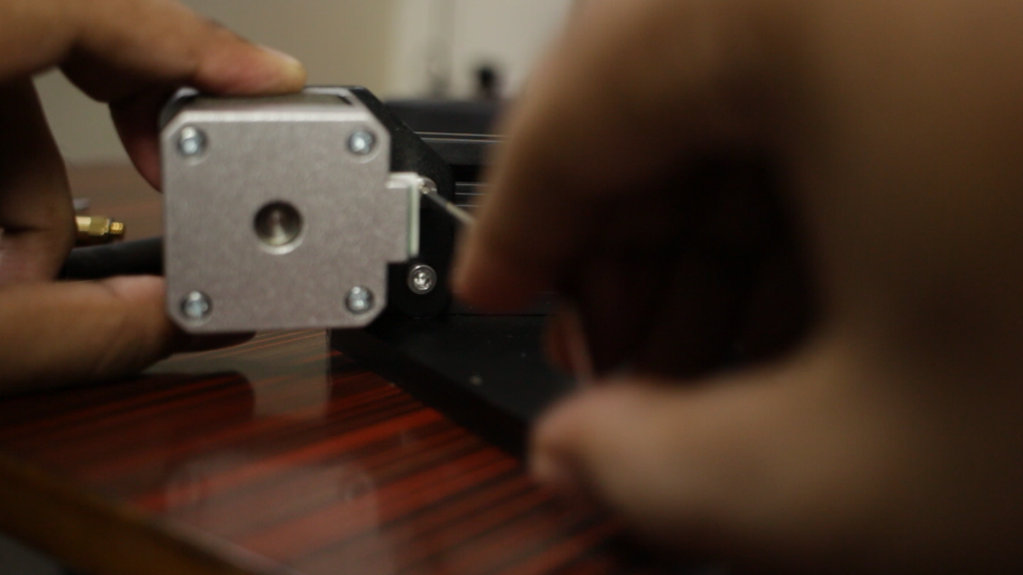
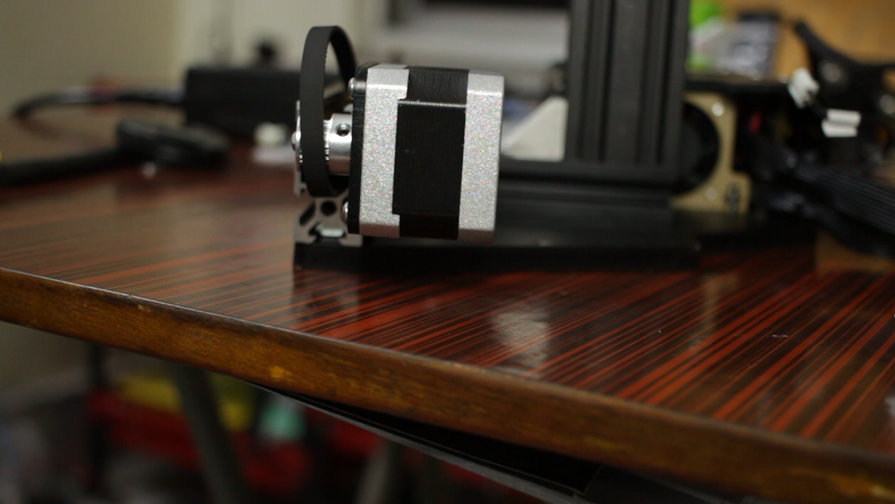
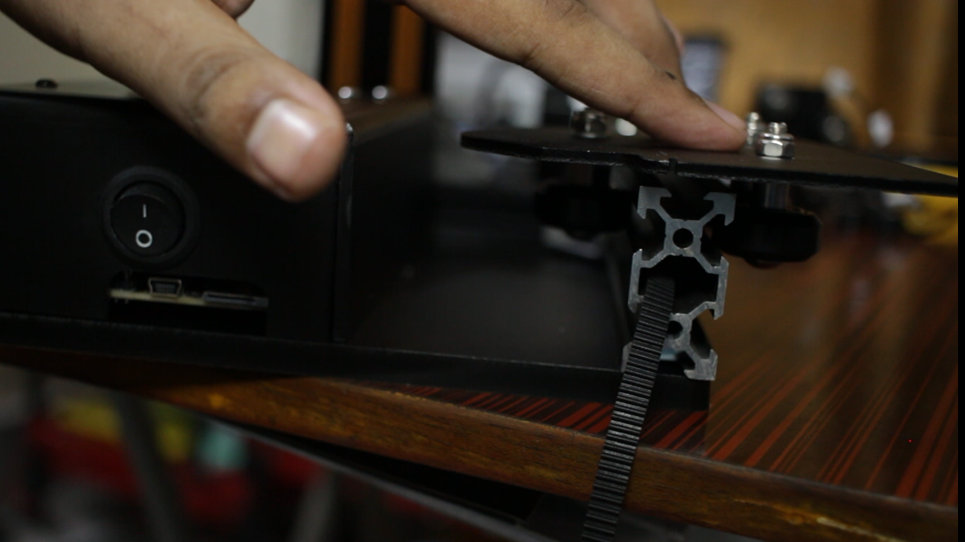
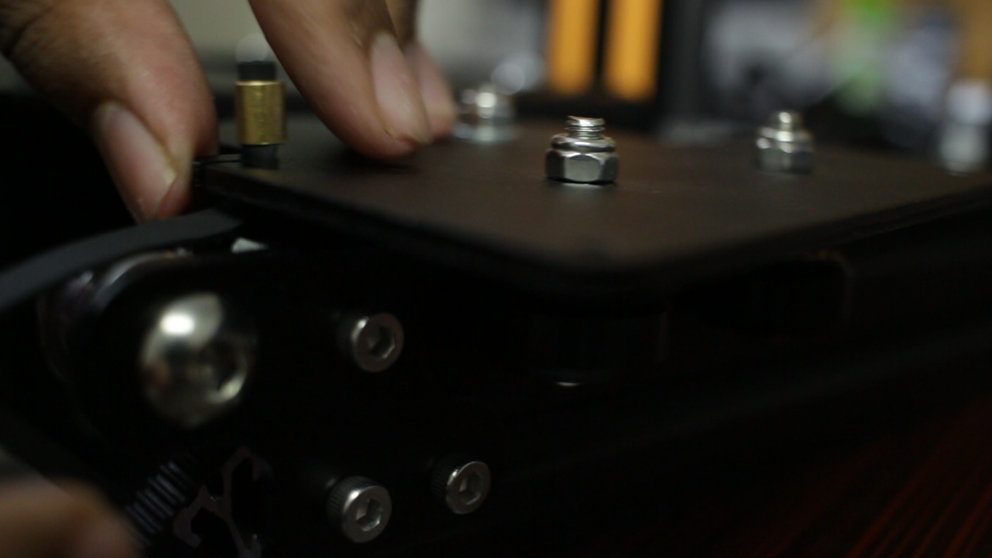
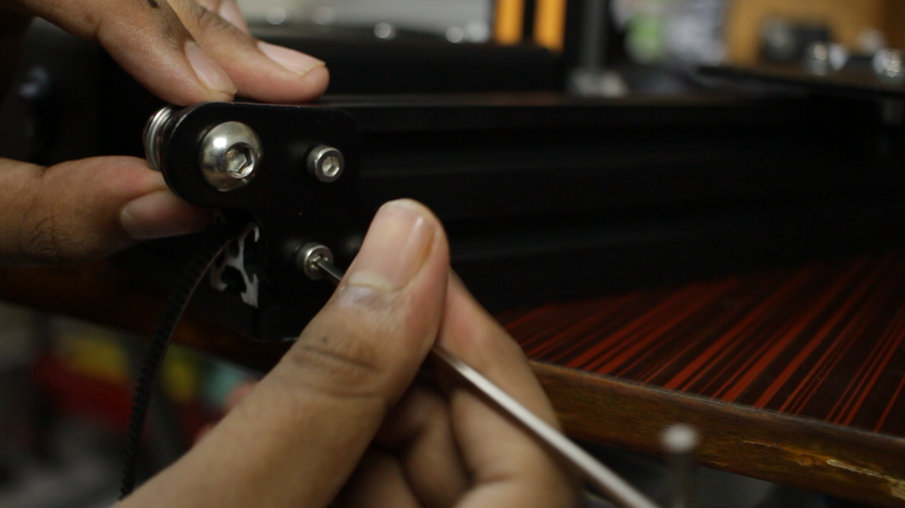
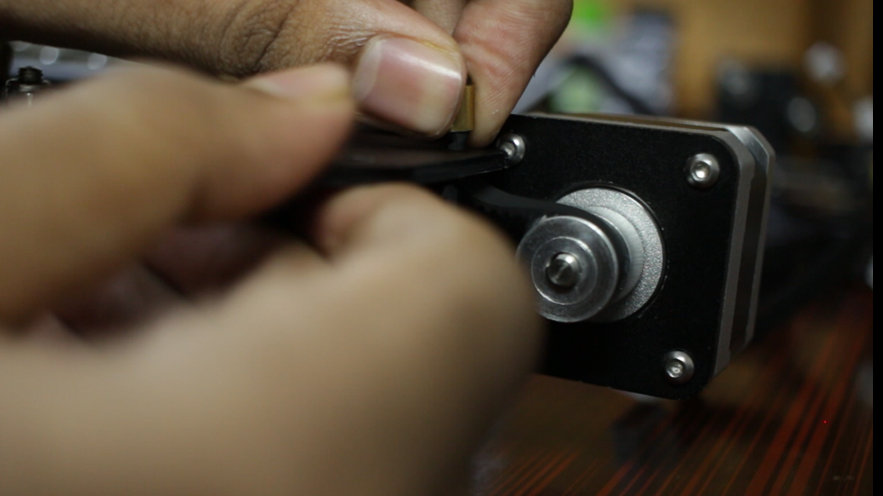
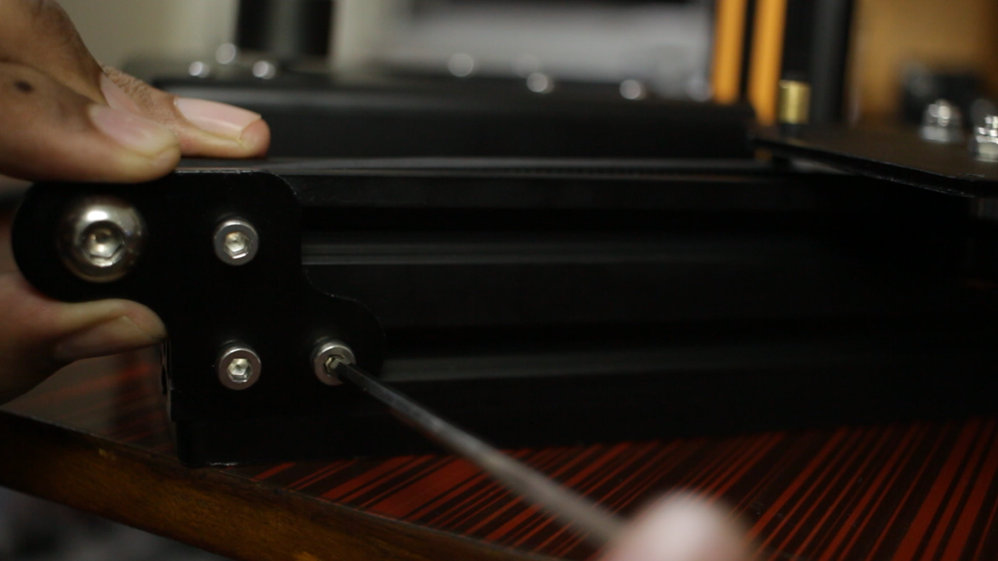
- Mount The Y Motor.
- Take the timing belt
- Pass it through the middle of aluminum extrusion
- Enter the Y carriage
- Tighten the Eccentric nut to the point that the carriage doesn't wobble at all.
- Mount the pulley (A bit inside initially )
- Fix the end of the belts to the Y carriage.
- Pull back the Pulley and tighten it
- This Ensure full belt to be stretched and no backlash can take place.
The Heated Bed
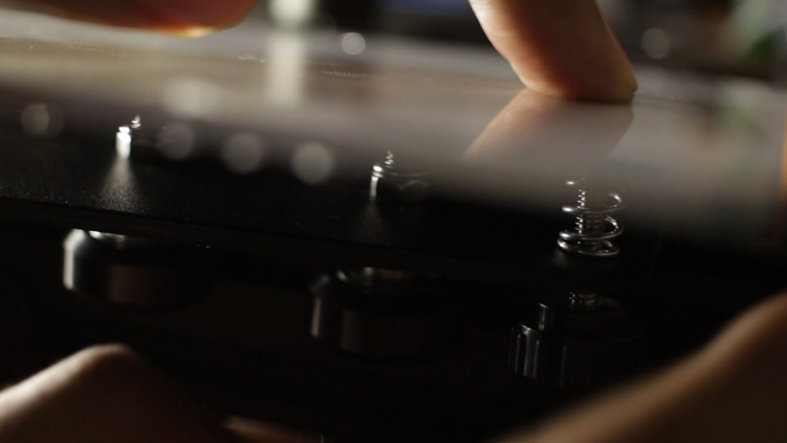
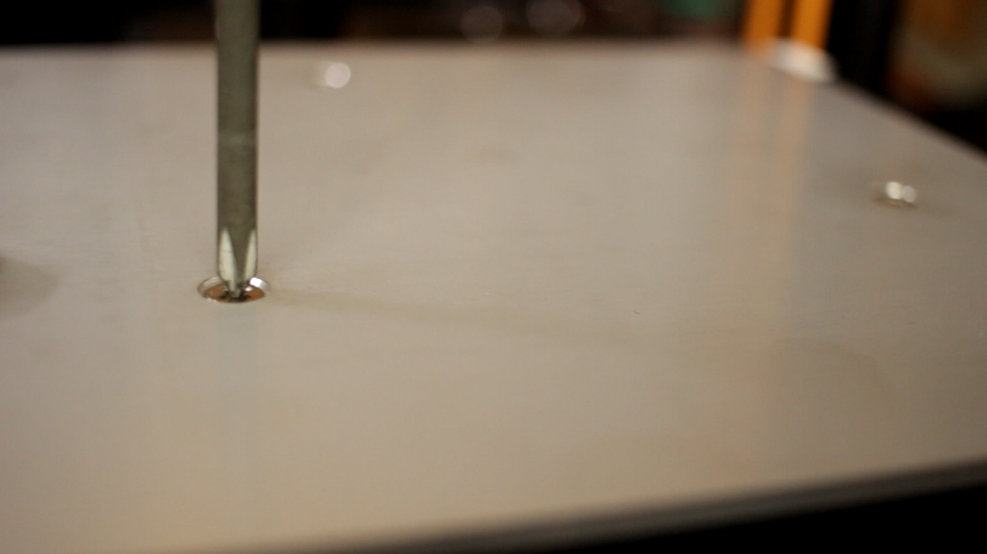
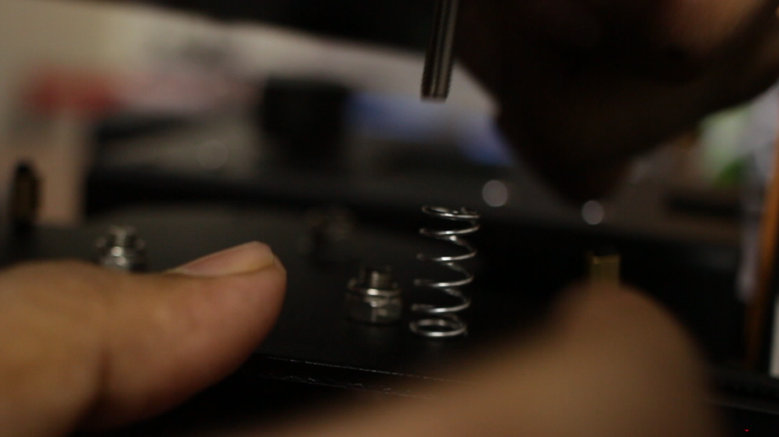
The Ender has a heated bed which makes it suitable for ABS Printing.The heated Bed fits on the carriage with three m3 12 cm bolts with spring and adjusting nuts. Using the adjusting nut the bed level can be adjusted.
Place the bolt and spring and tight it a bit with a screwdriver Take time to level the bed properly else all the print will fail.
The Z Axis
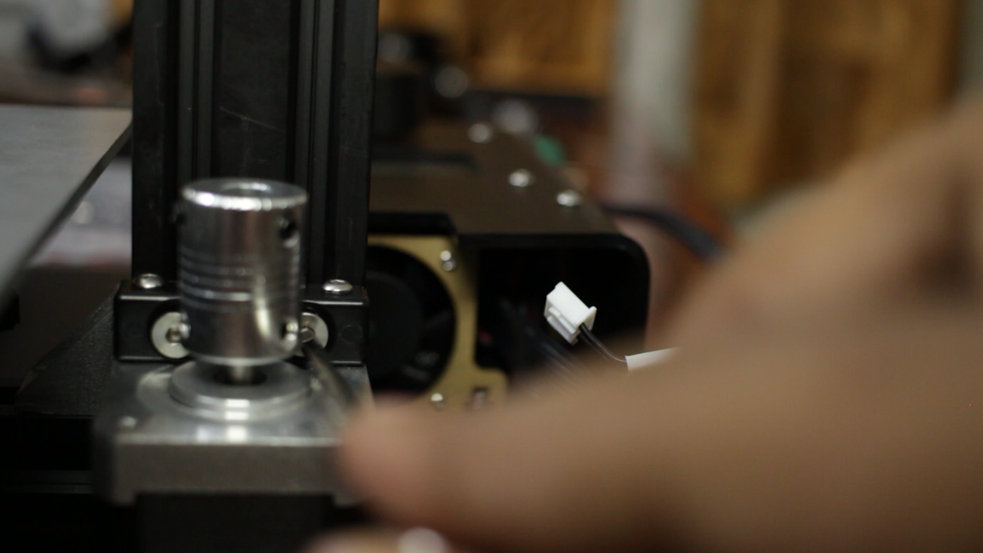
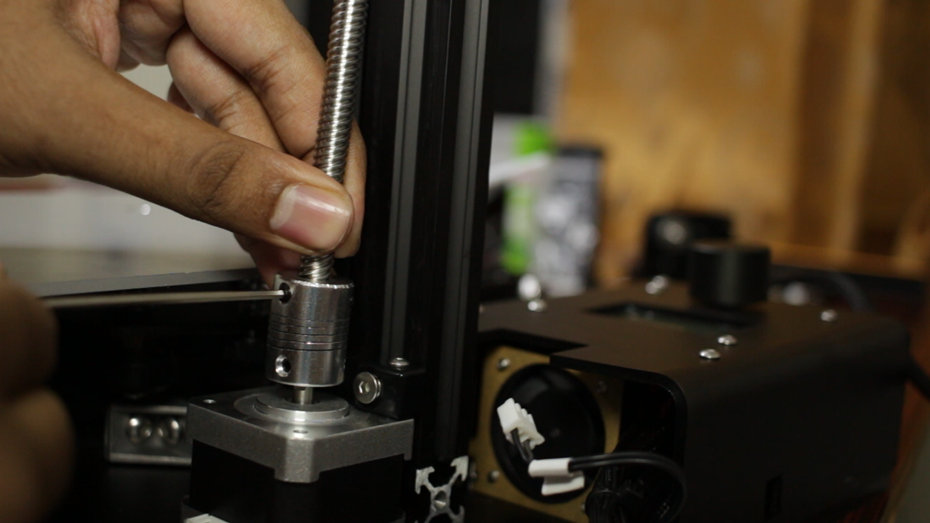
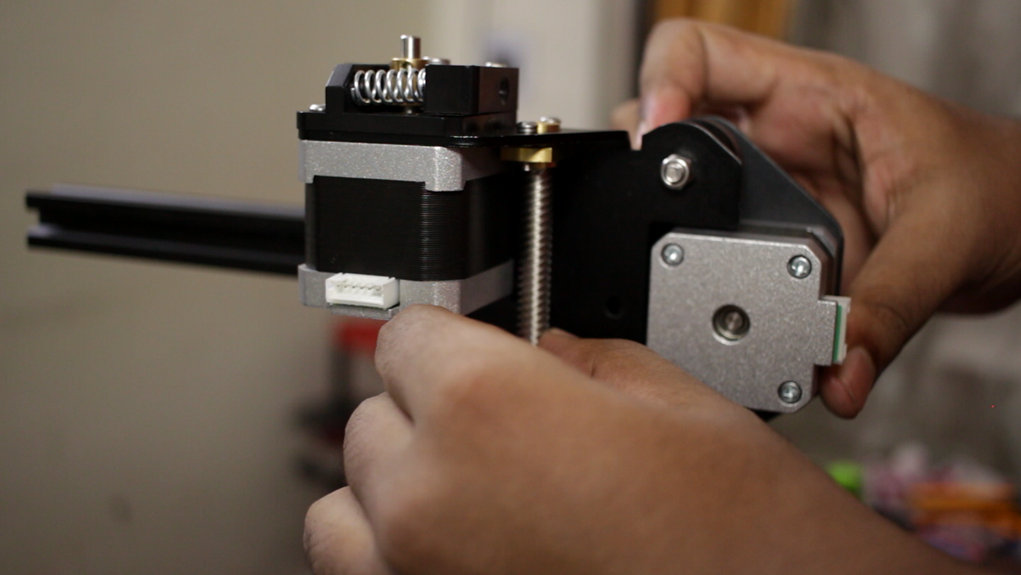
The Z axis is moved with a single NEMA 17.The Z motor is fixed to the aluminum extrusion with some bolts and a special nut. Then the coupler is added to the motor and tightens with the help of grub screw. Now we need to fix the 4-star Trapezoidal Lead screw in the coupler.Also, the Lead Screw is tightened with another grub screw.
Then the X Axis is fitted to the lead screw.then the lead screw is rotated to let the lead screw be in the flanged bearing;
The X Axis
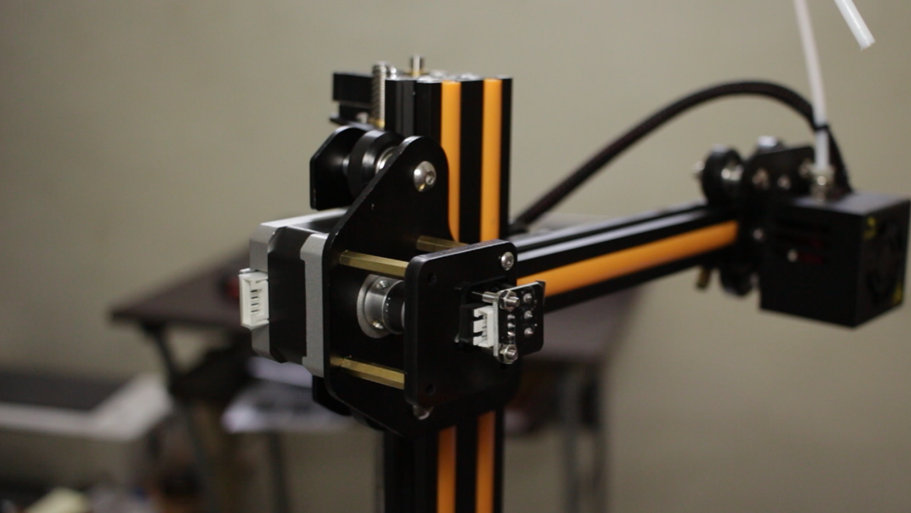
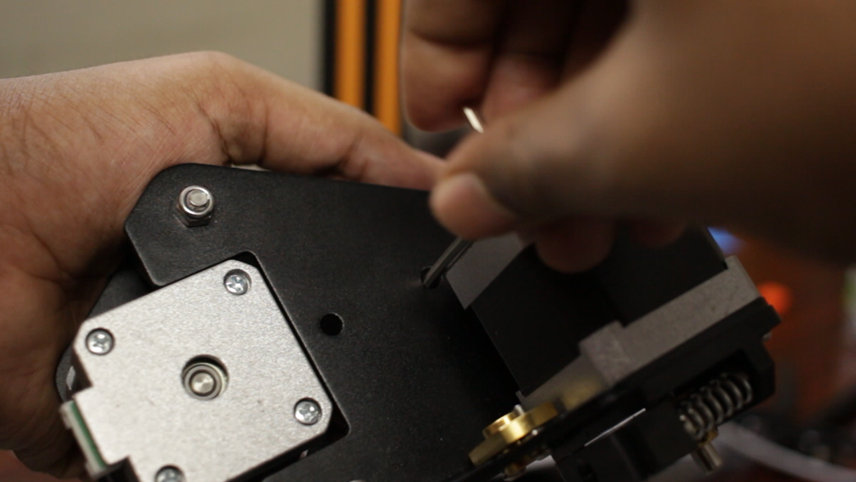
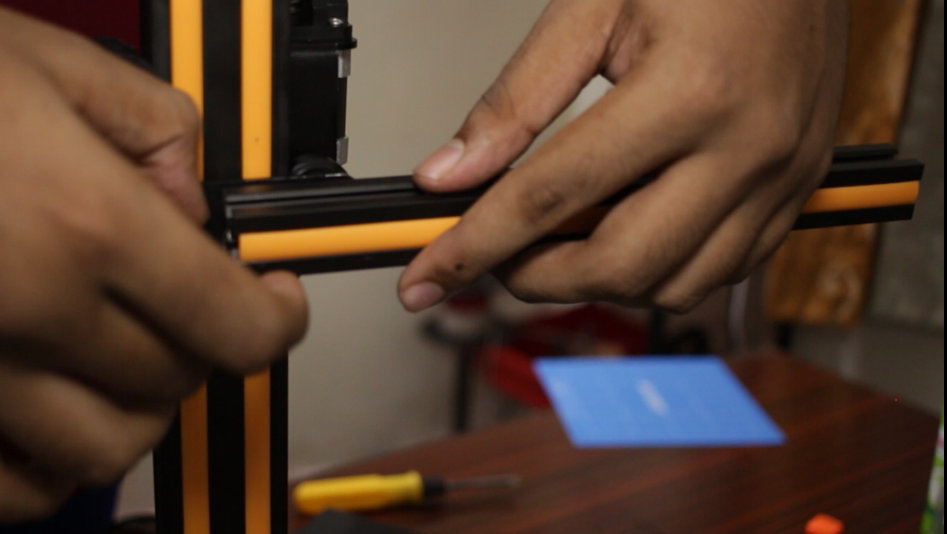
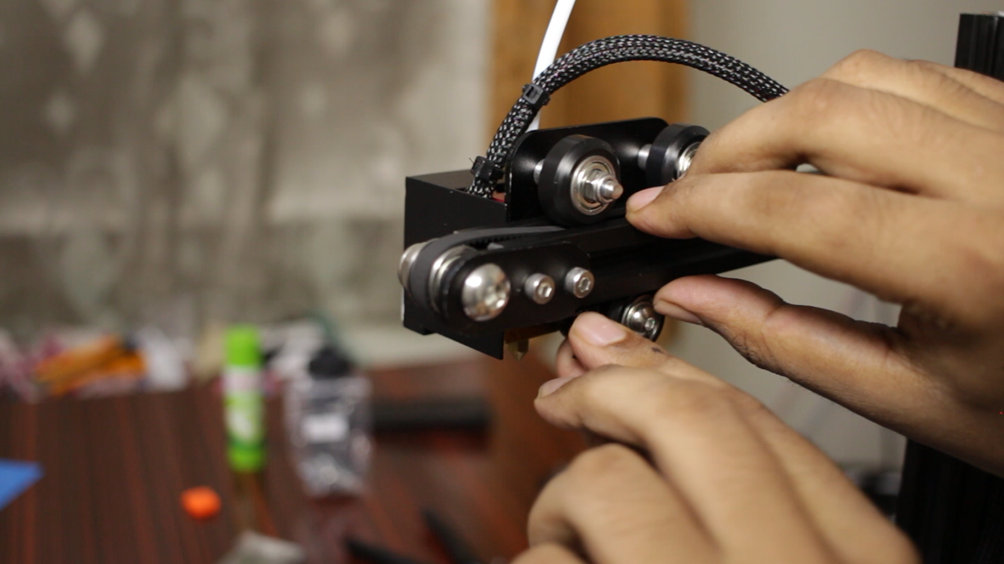
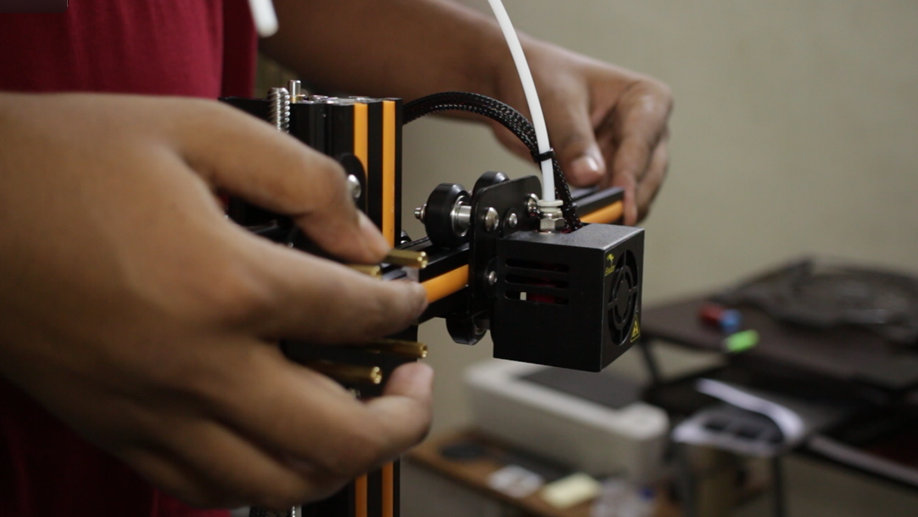
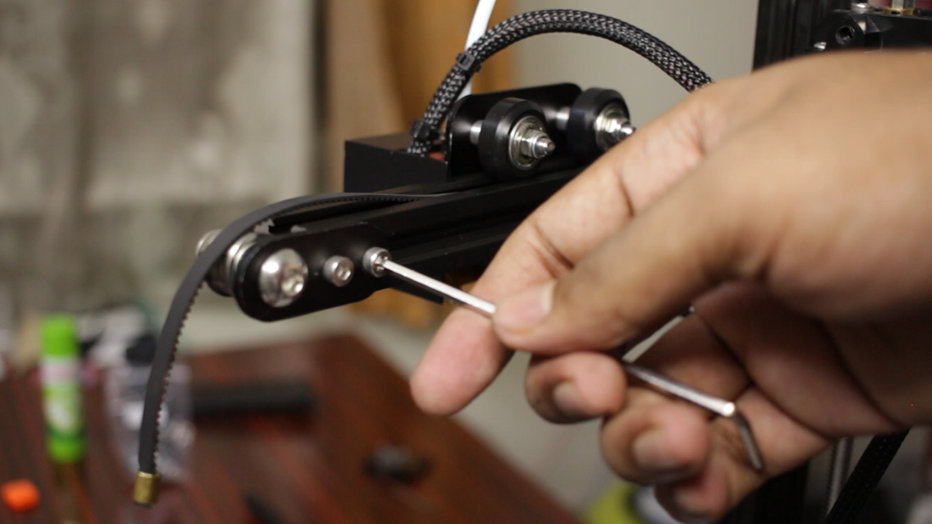
The X carriage comes with the motor mounted on the Z Carriage. Only one Aluminum Extrusion is needed to be fixed with the carriage with the help of two bolt.Then Insert The x axis on the aluminum extrusion.Like previously the timing belt is passed through the motor gear then passing through the aluminum extrusion it goes through the pulley and fits on the x carriage.now tighten the Pulley to increase the tension in belts.
The x carriage is fitted heated block.Attach the ptfe tube to the extruder motor and tighten it.
The Limit Switch
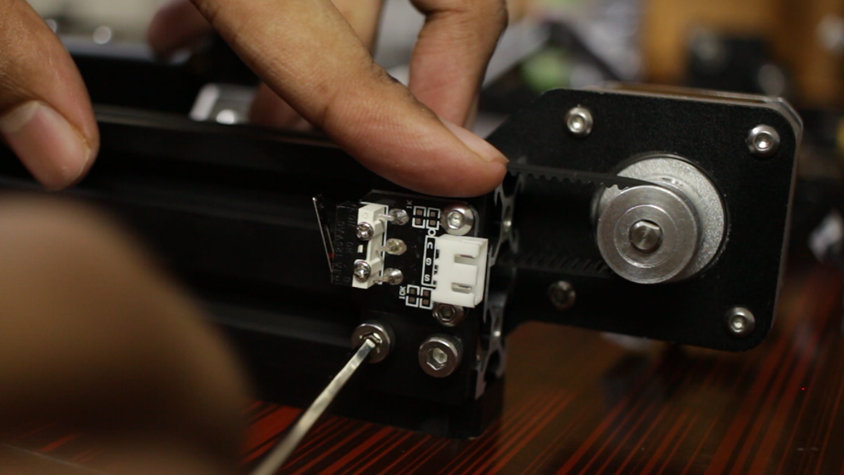
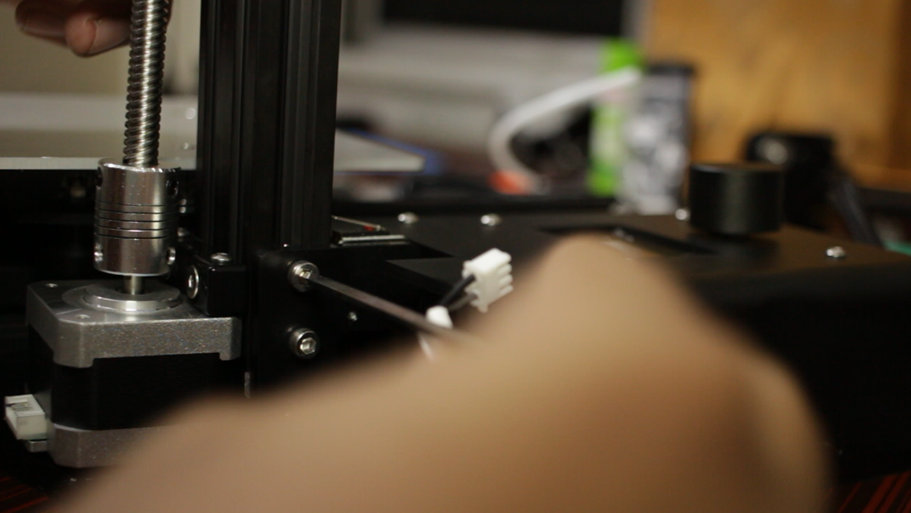
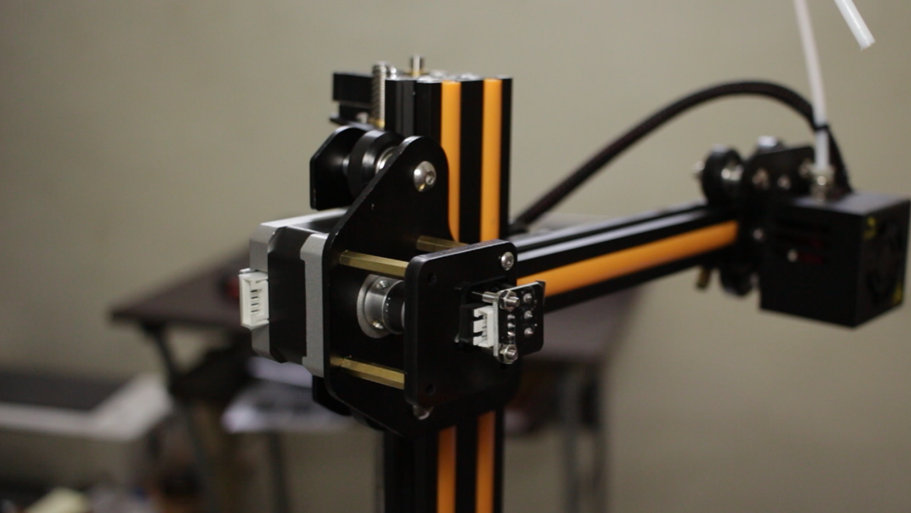
Attach all the Limit Switch.
One for the X axis, one for the Y and the other for the Z Axis.
Why do we need the limit switches?
The limit switches help in homing the printer. without the limit switches the printer won't know where to stop.
lastly, connect all the motors and the switches to the motherboard, since all wire are label it's very easy to connect.
Starting 3D Print
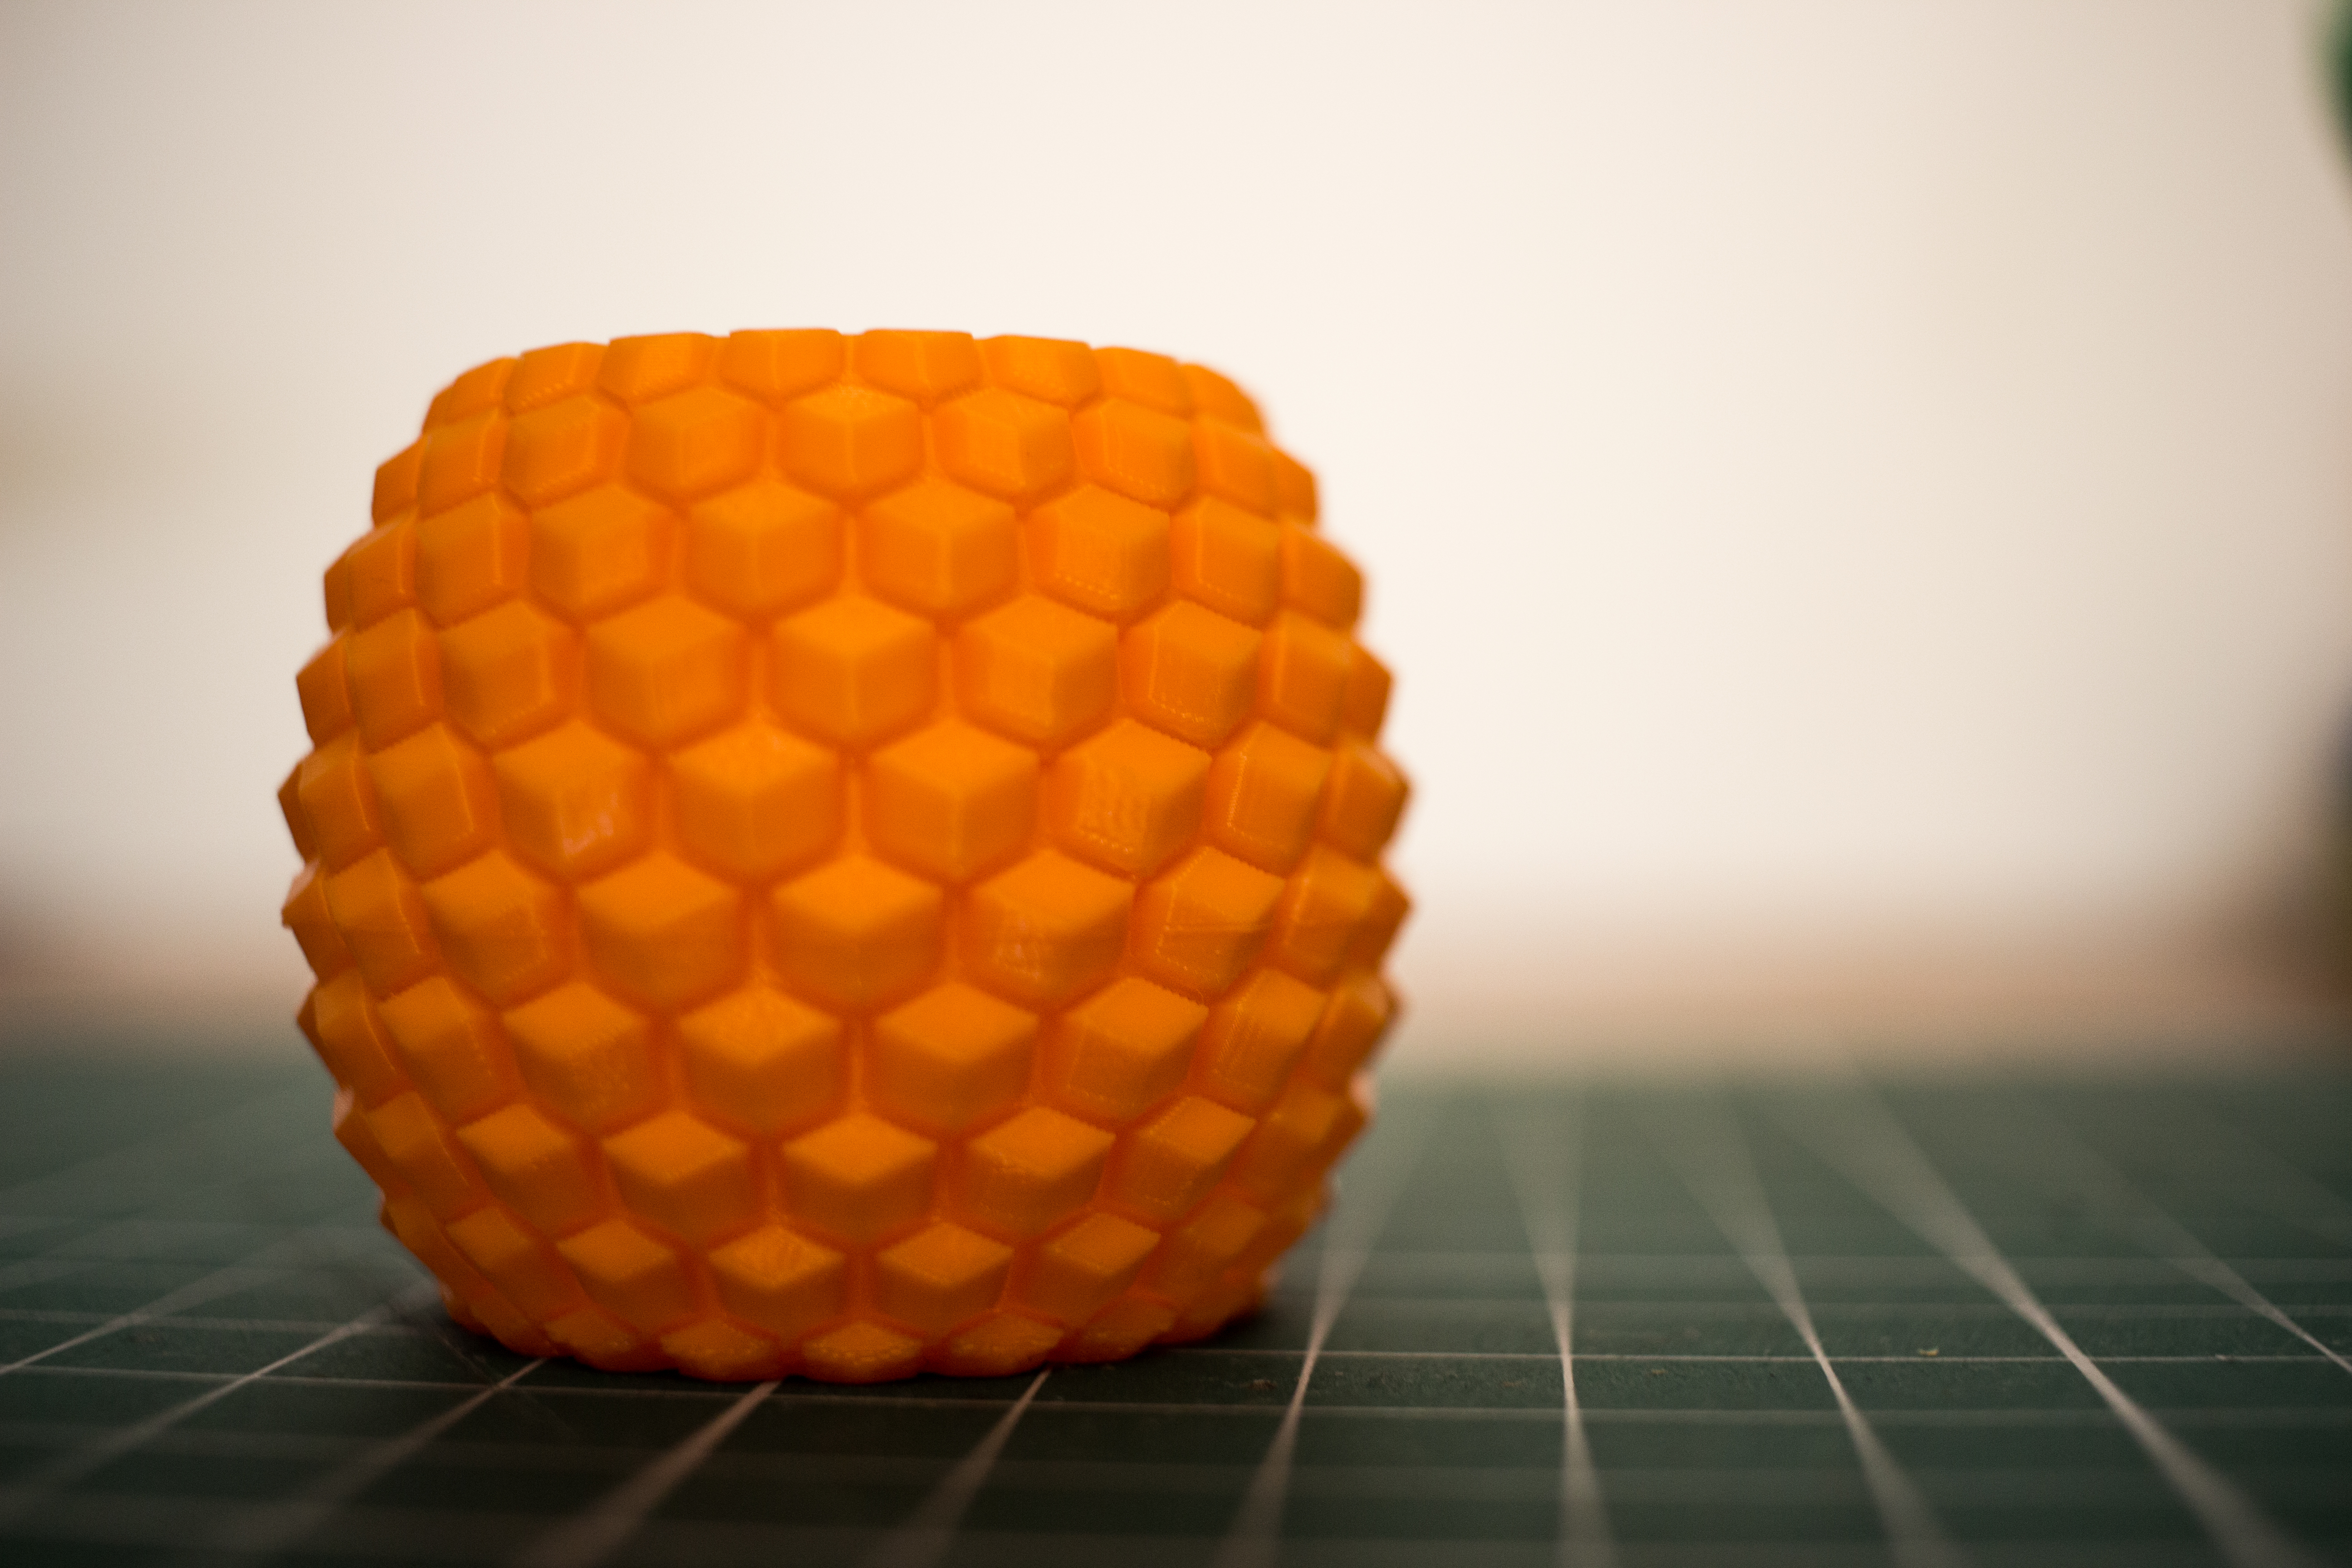
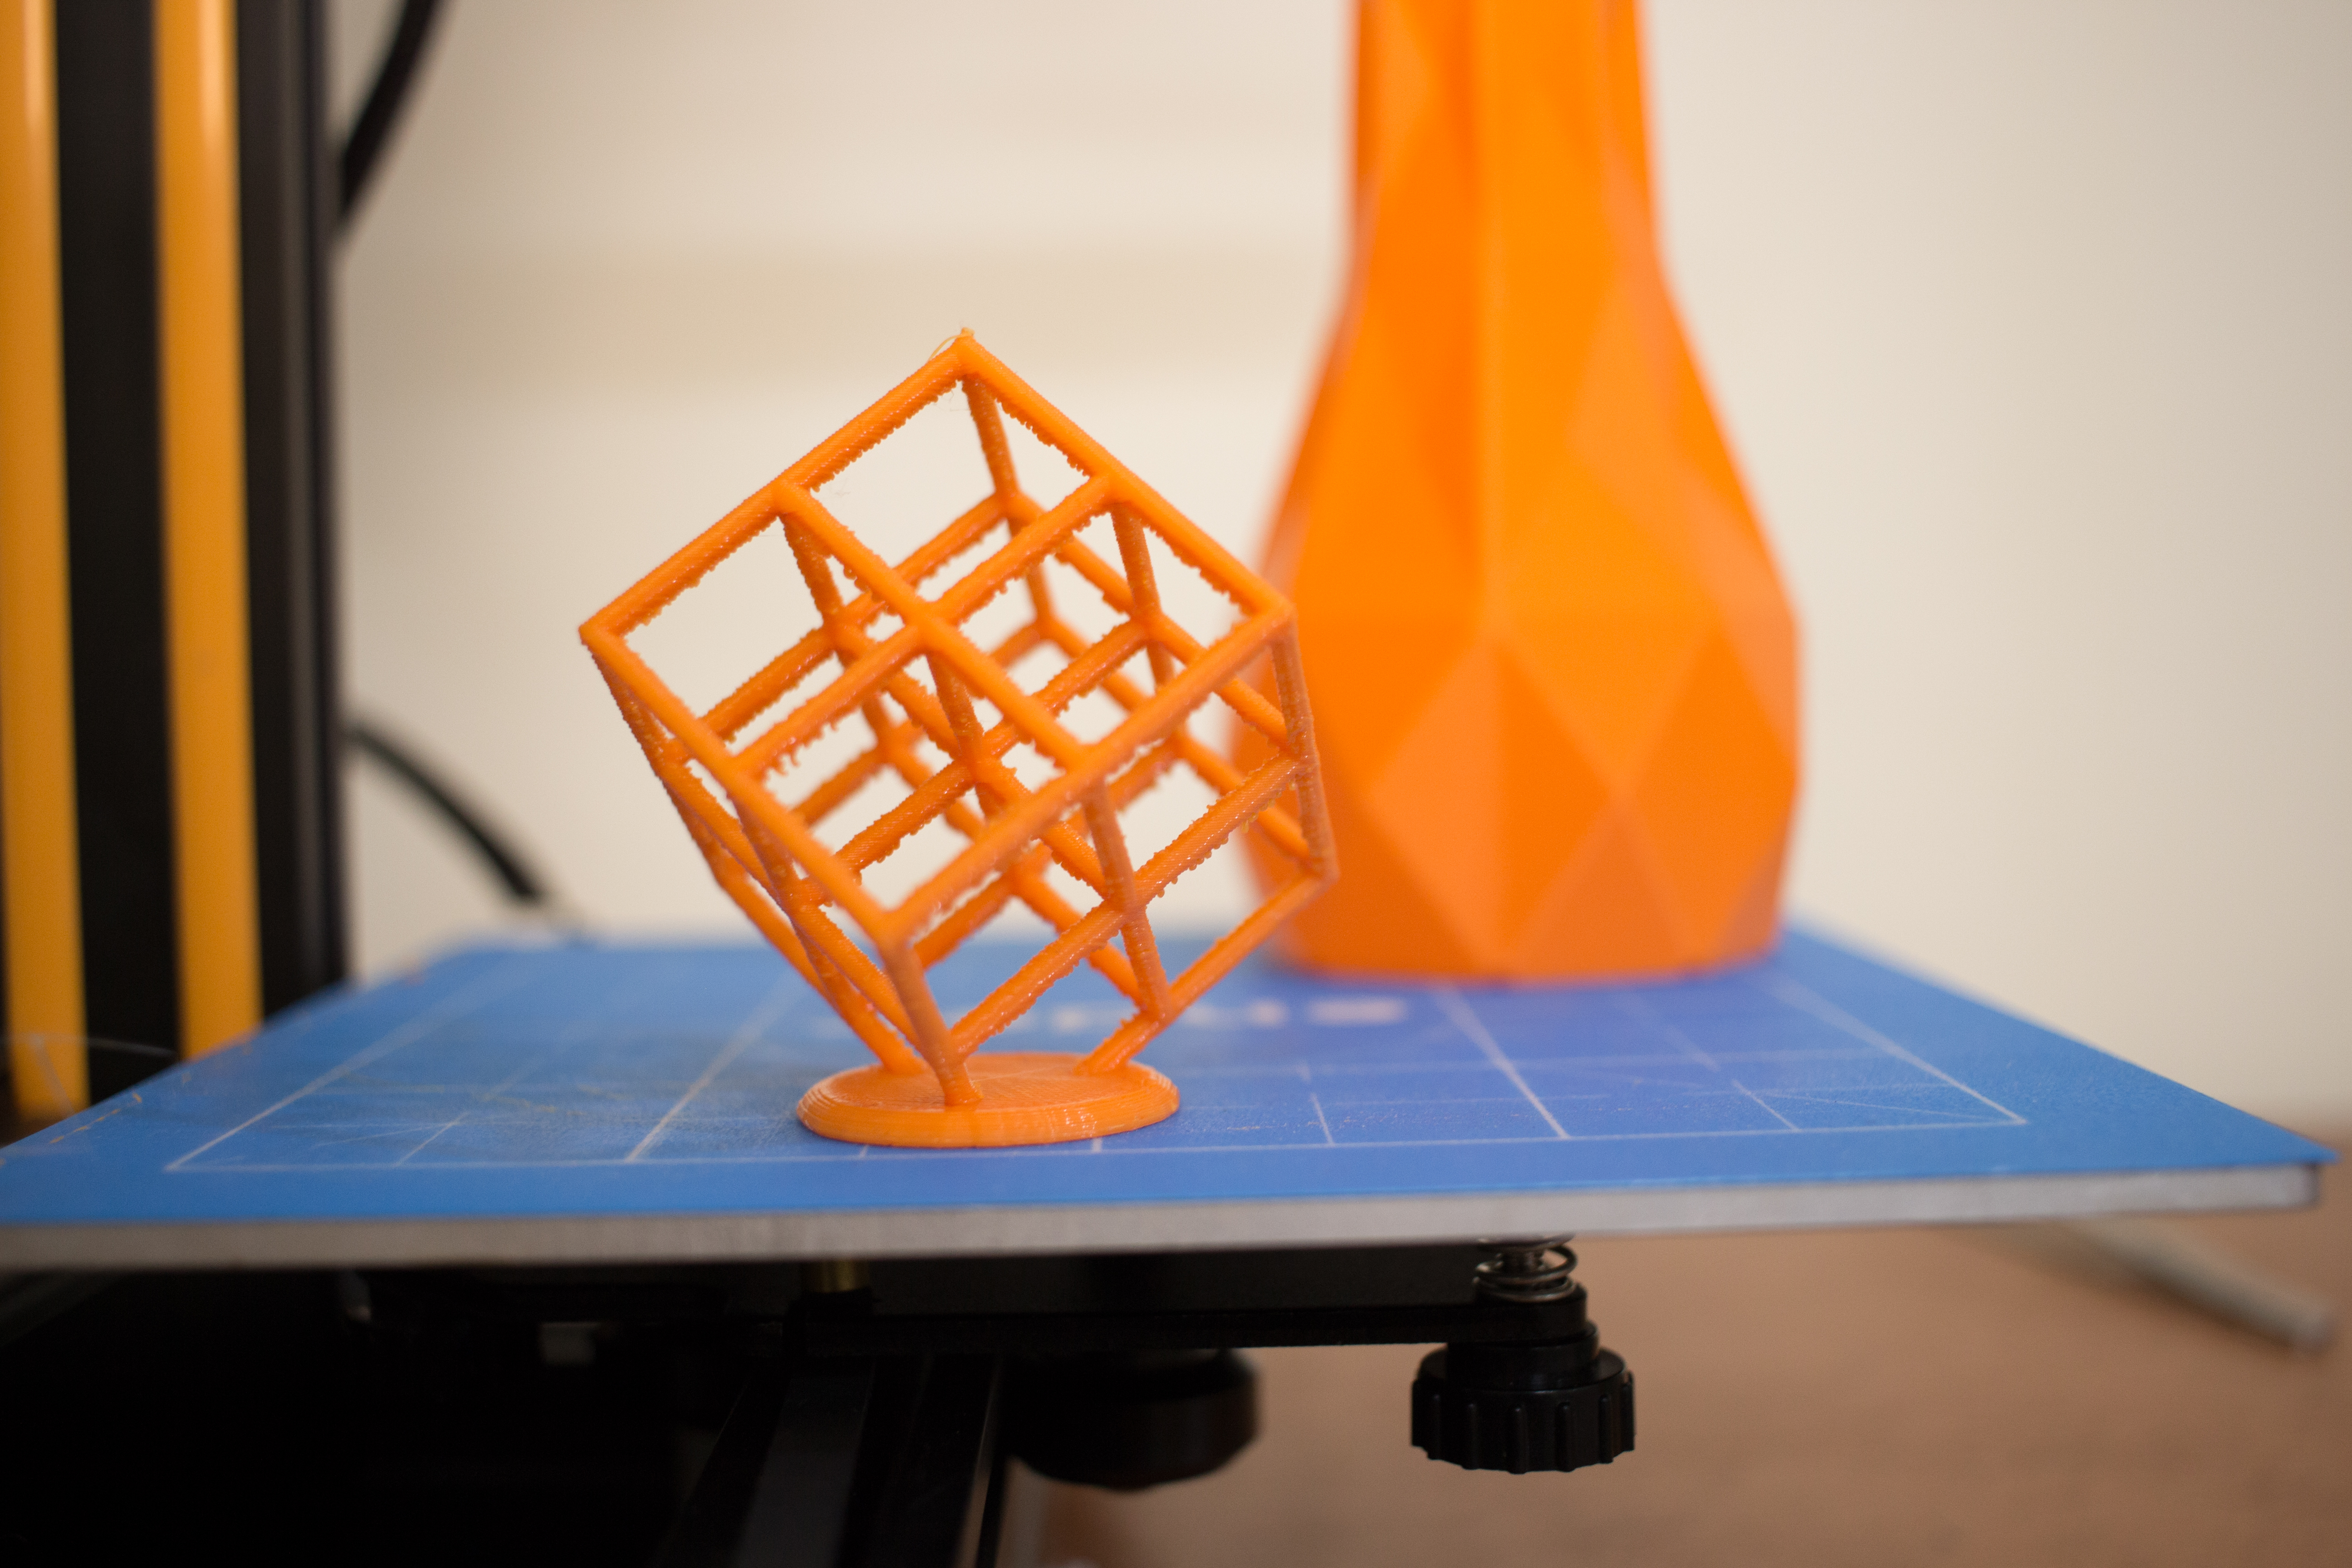
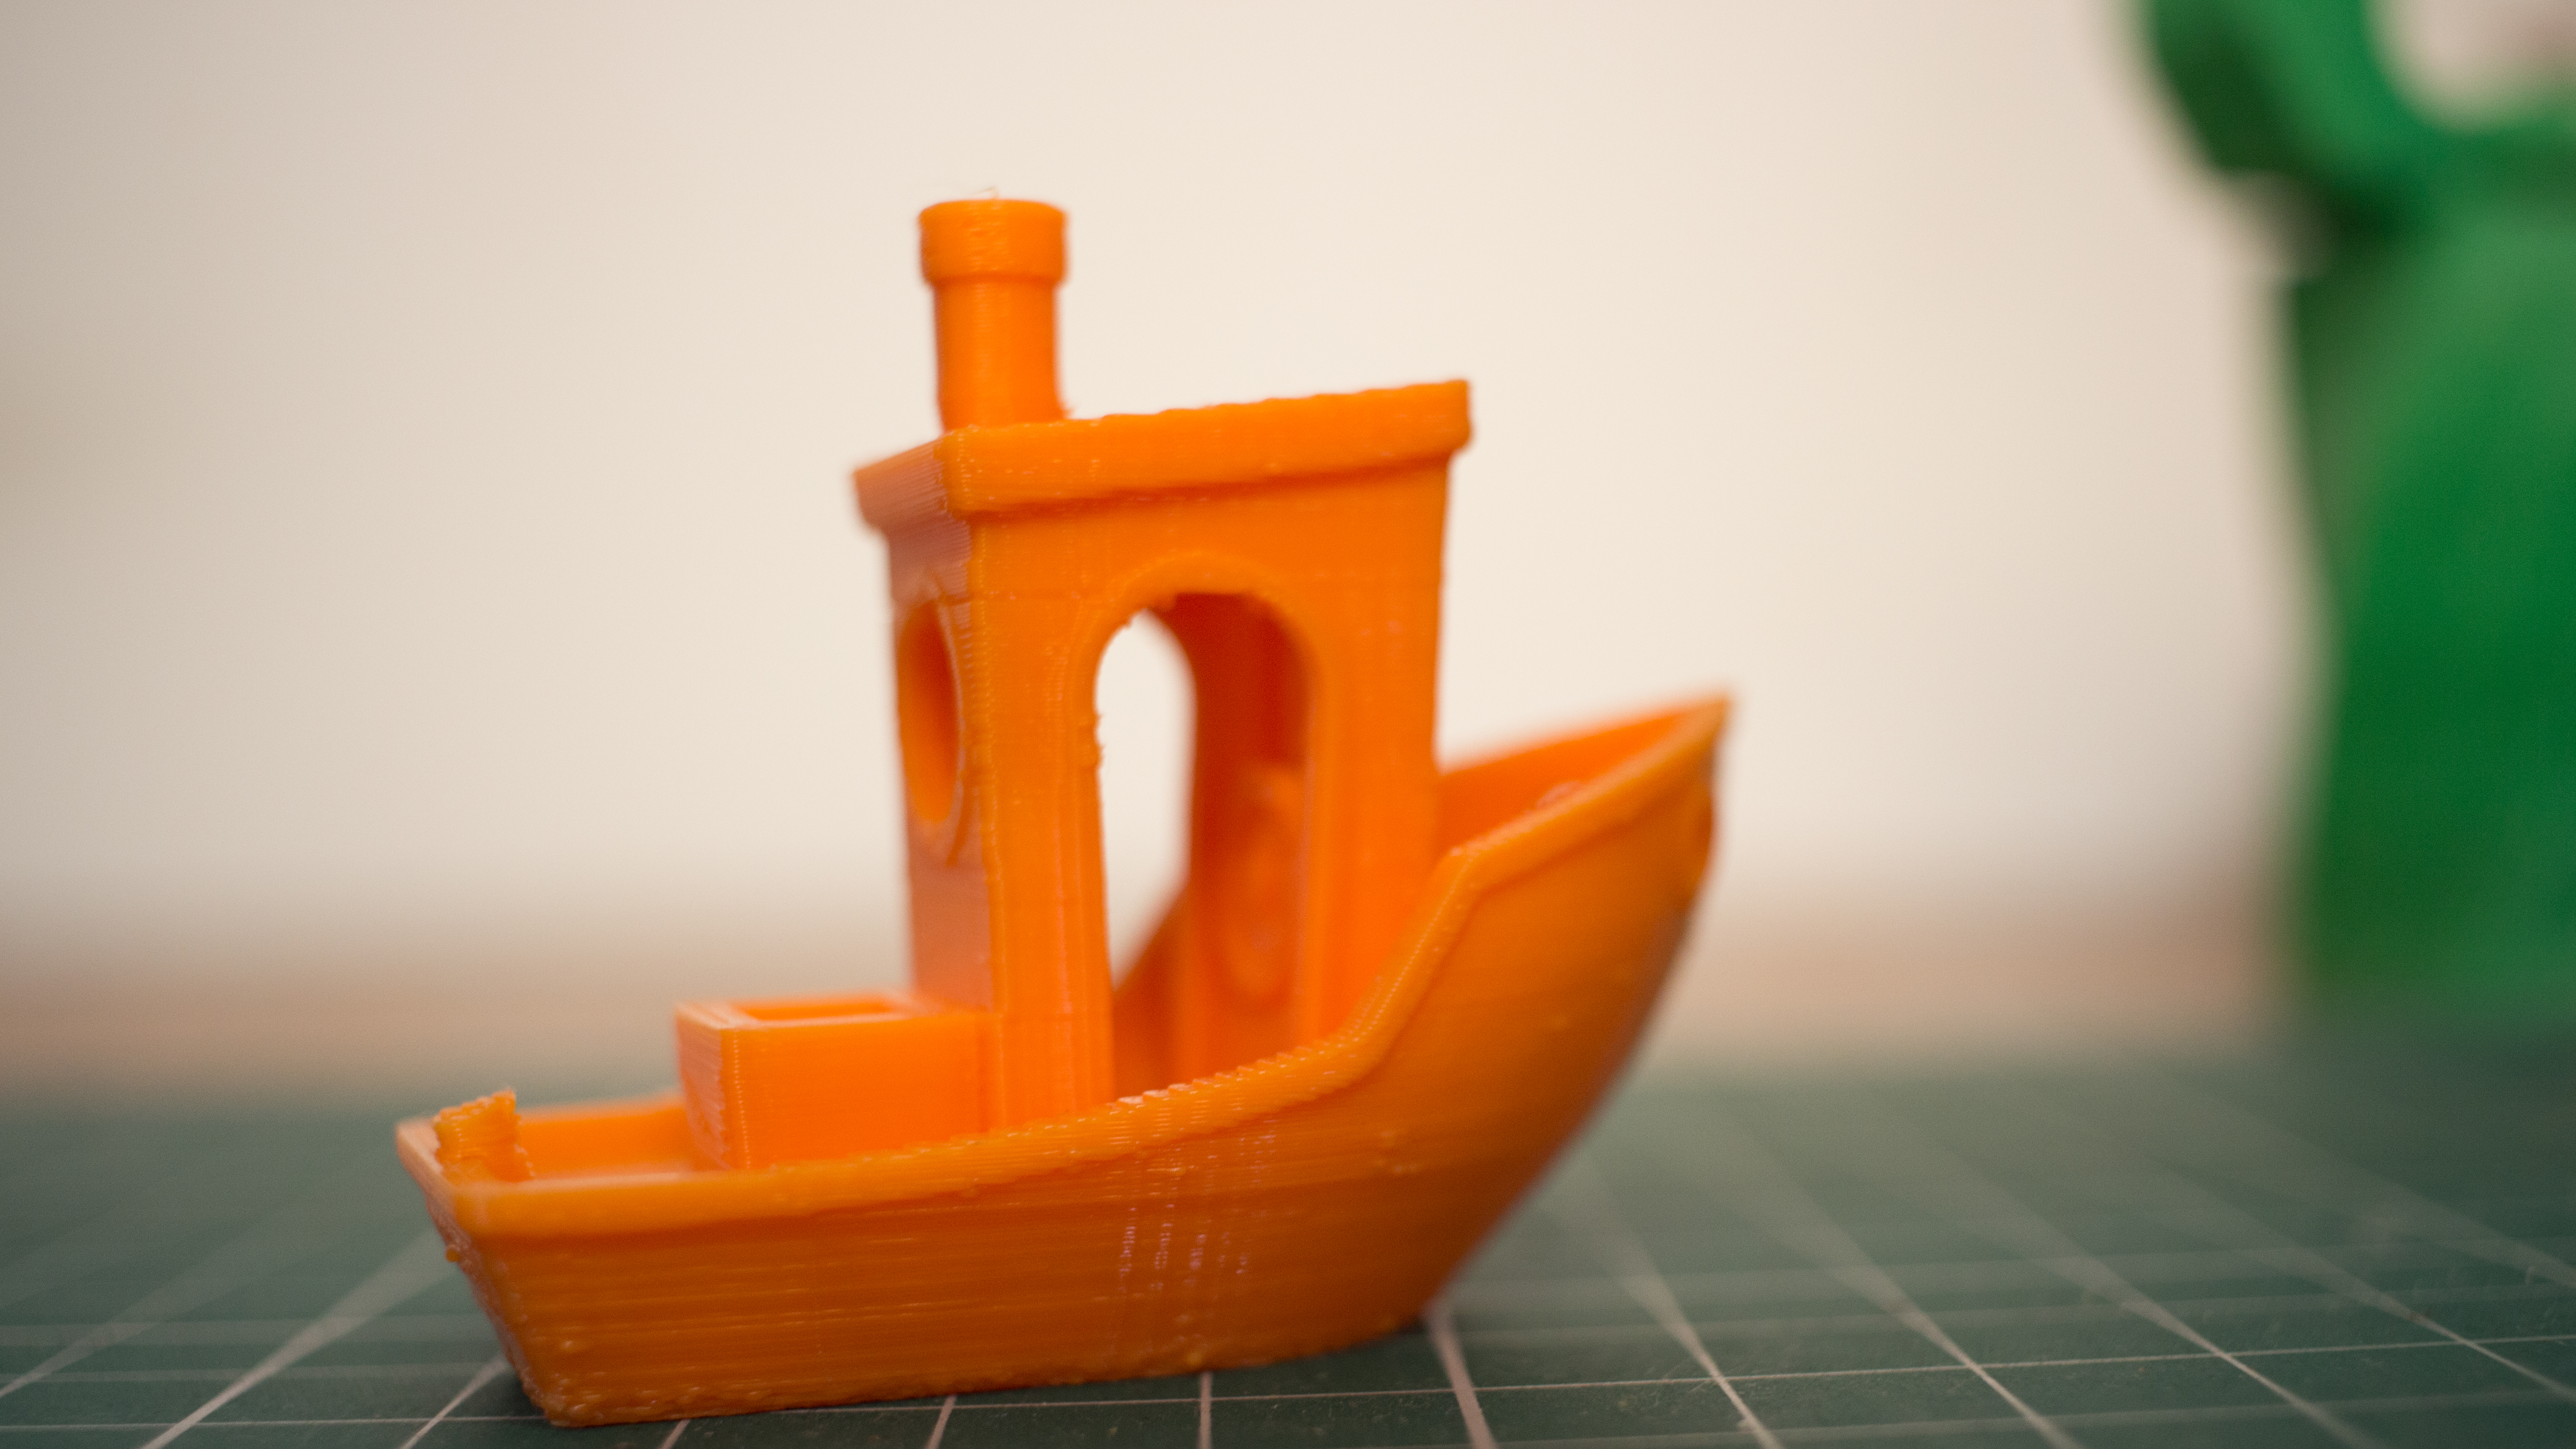
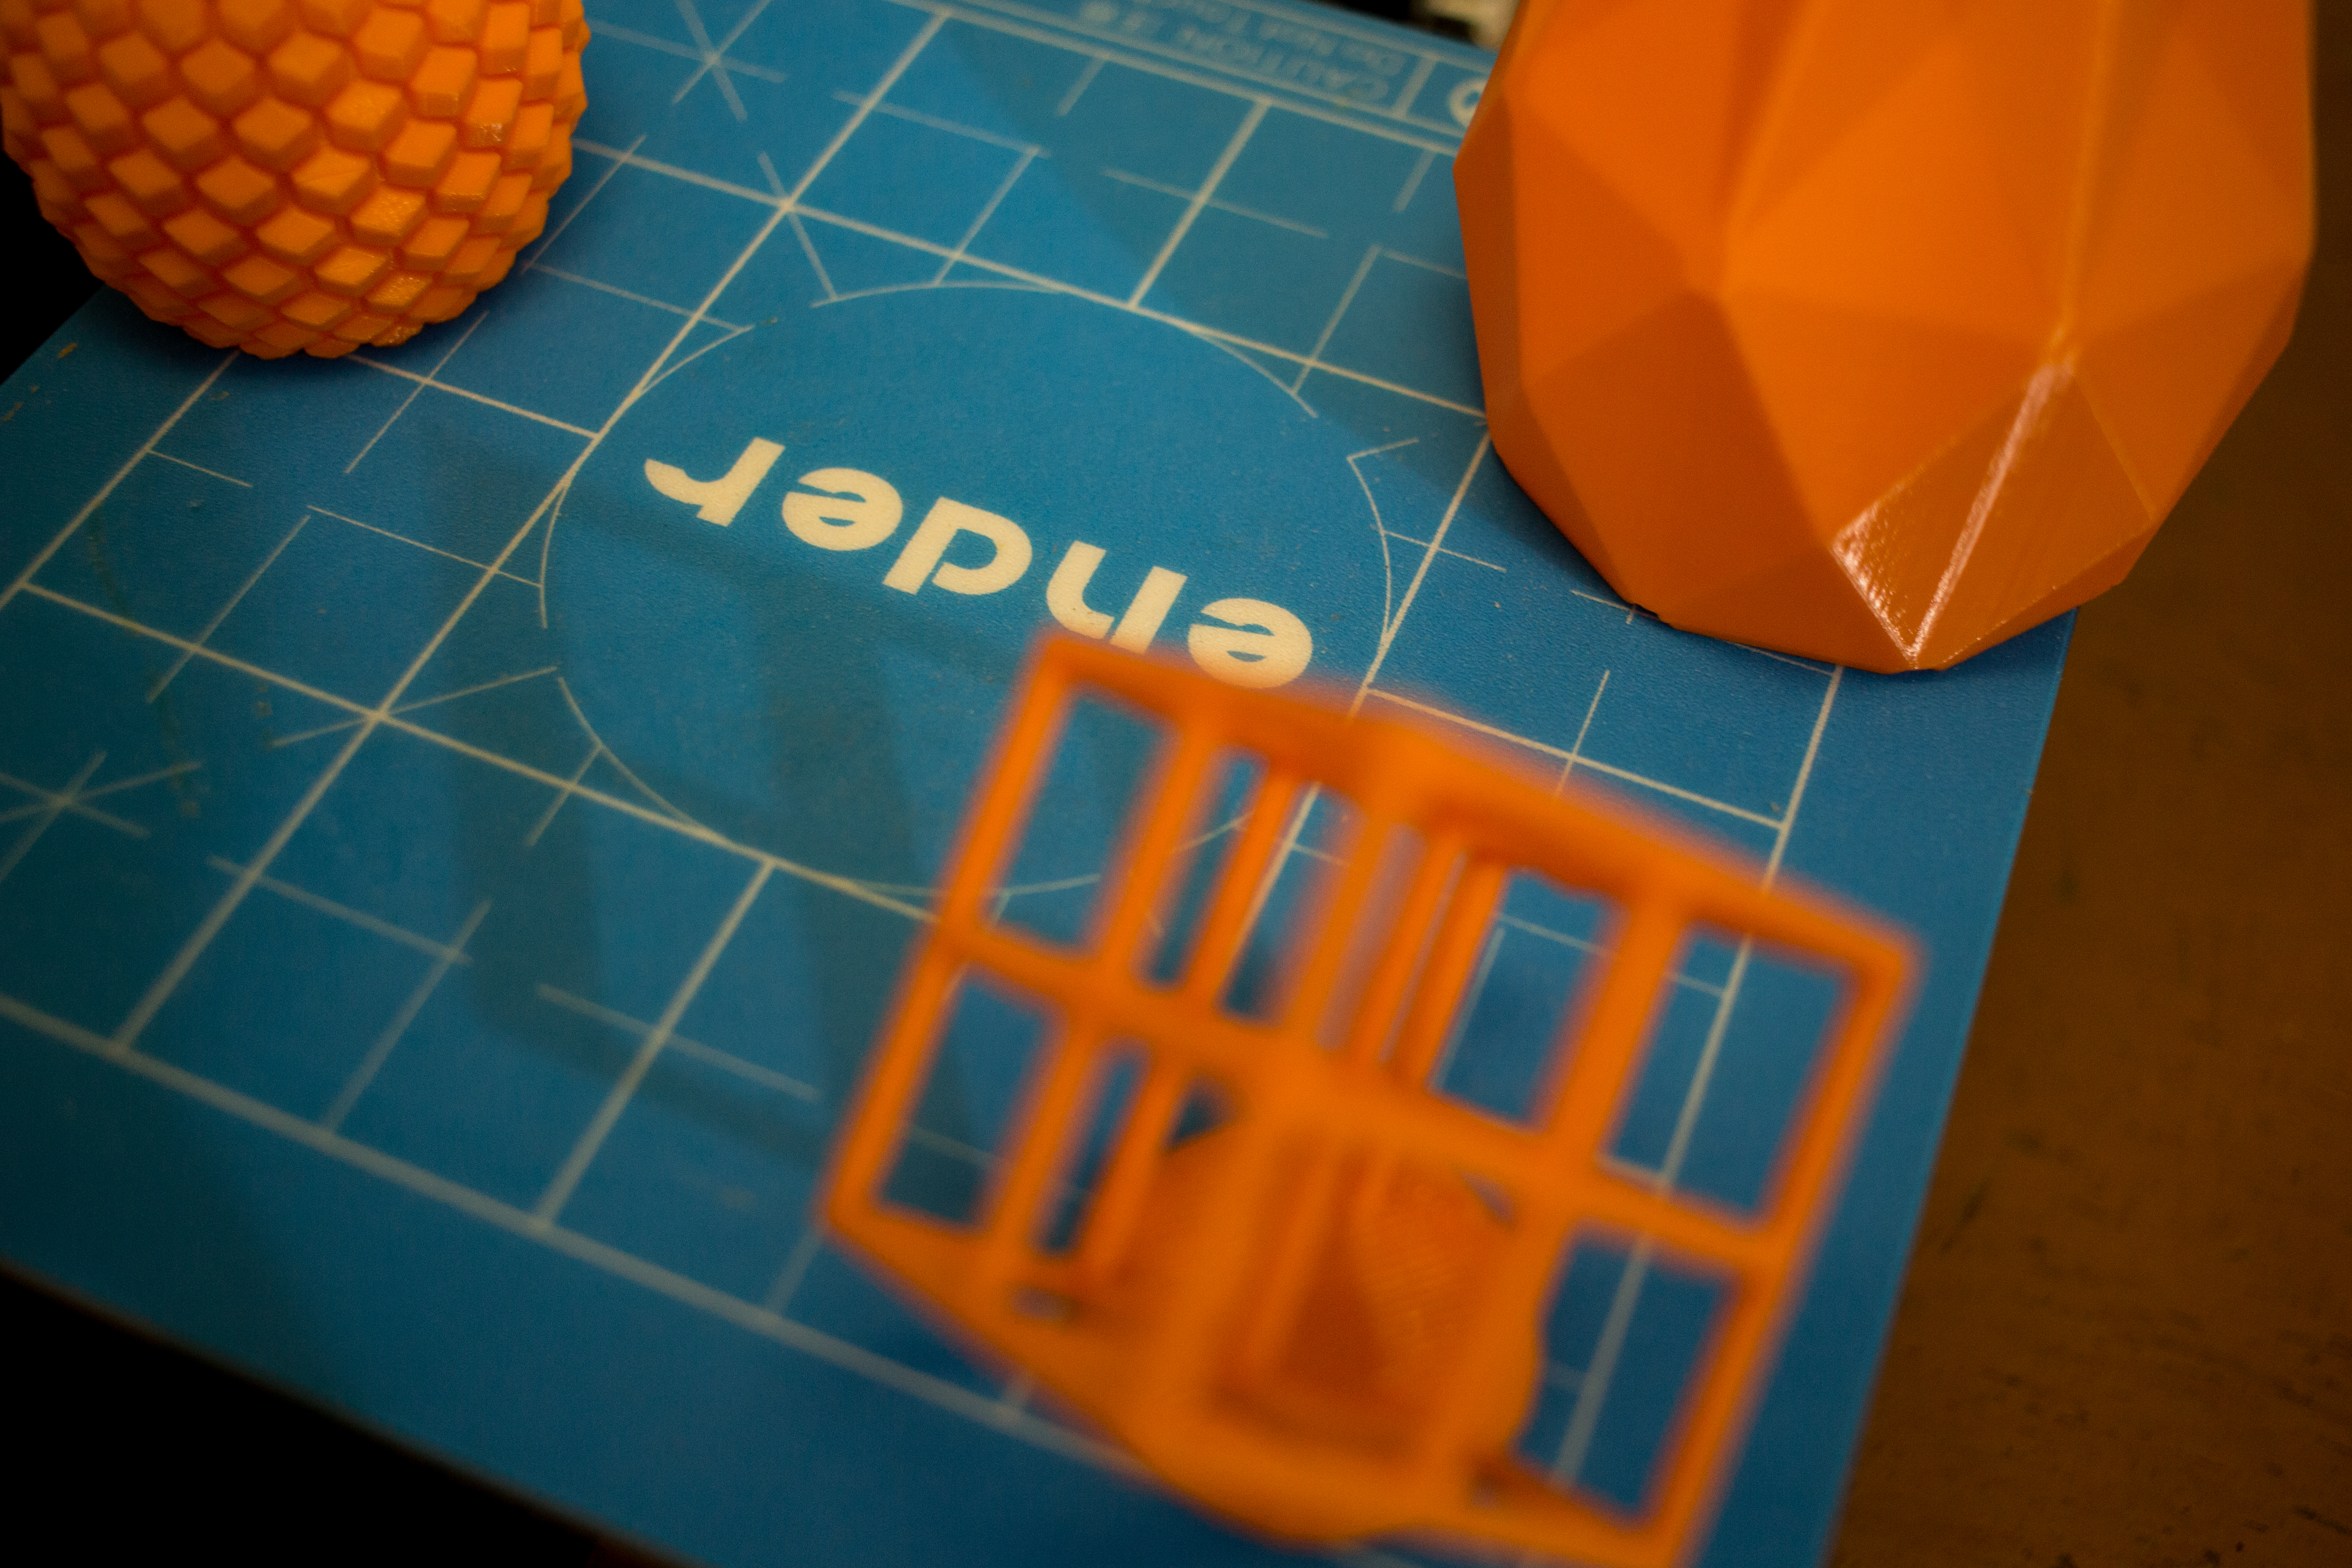
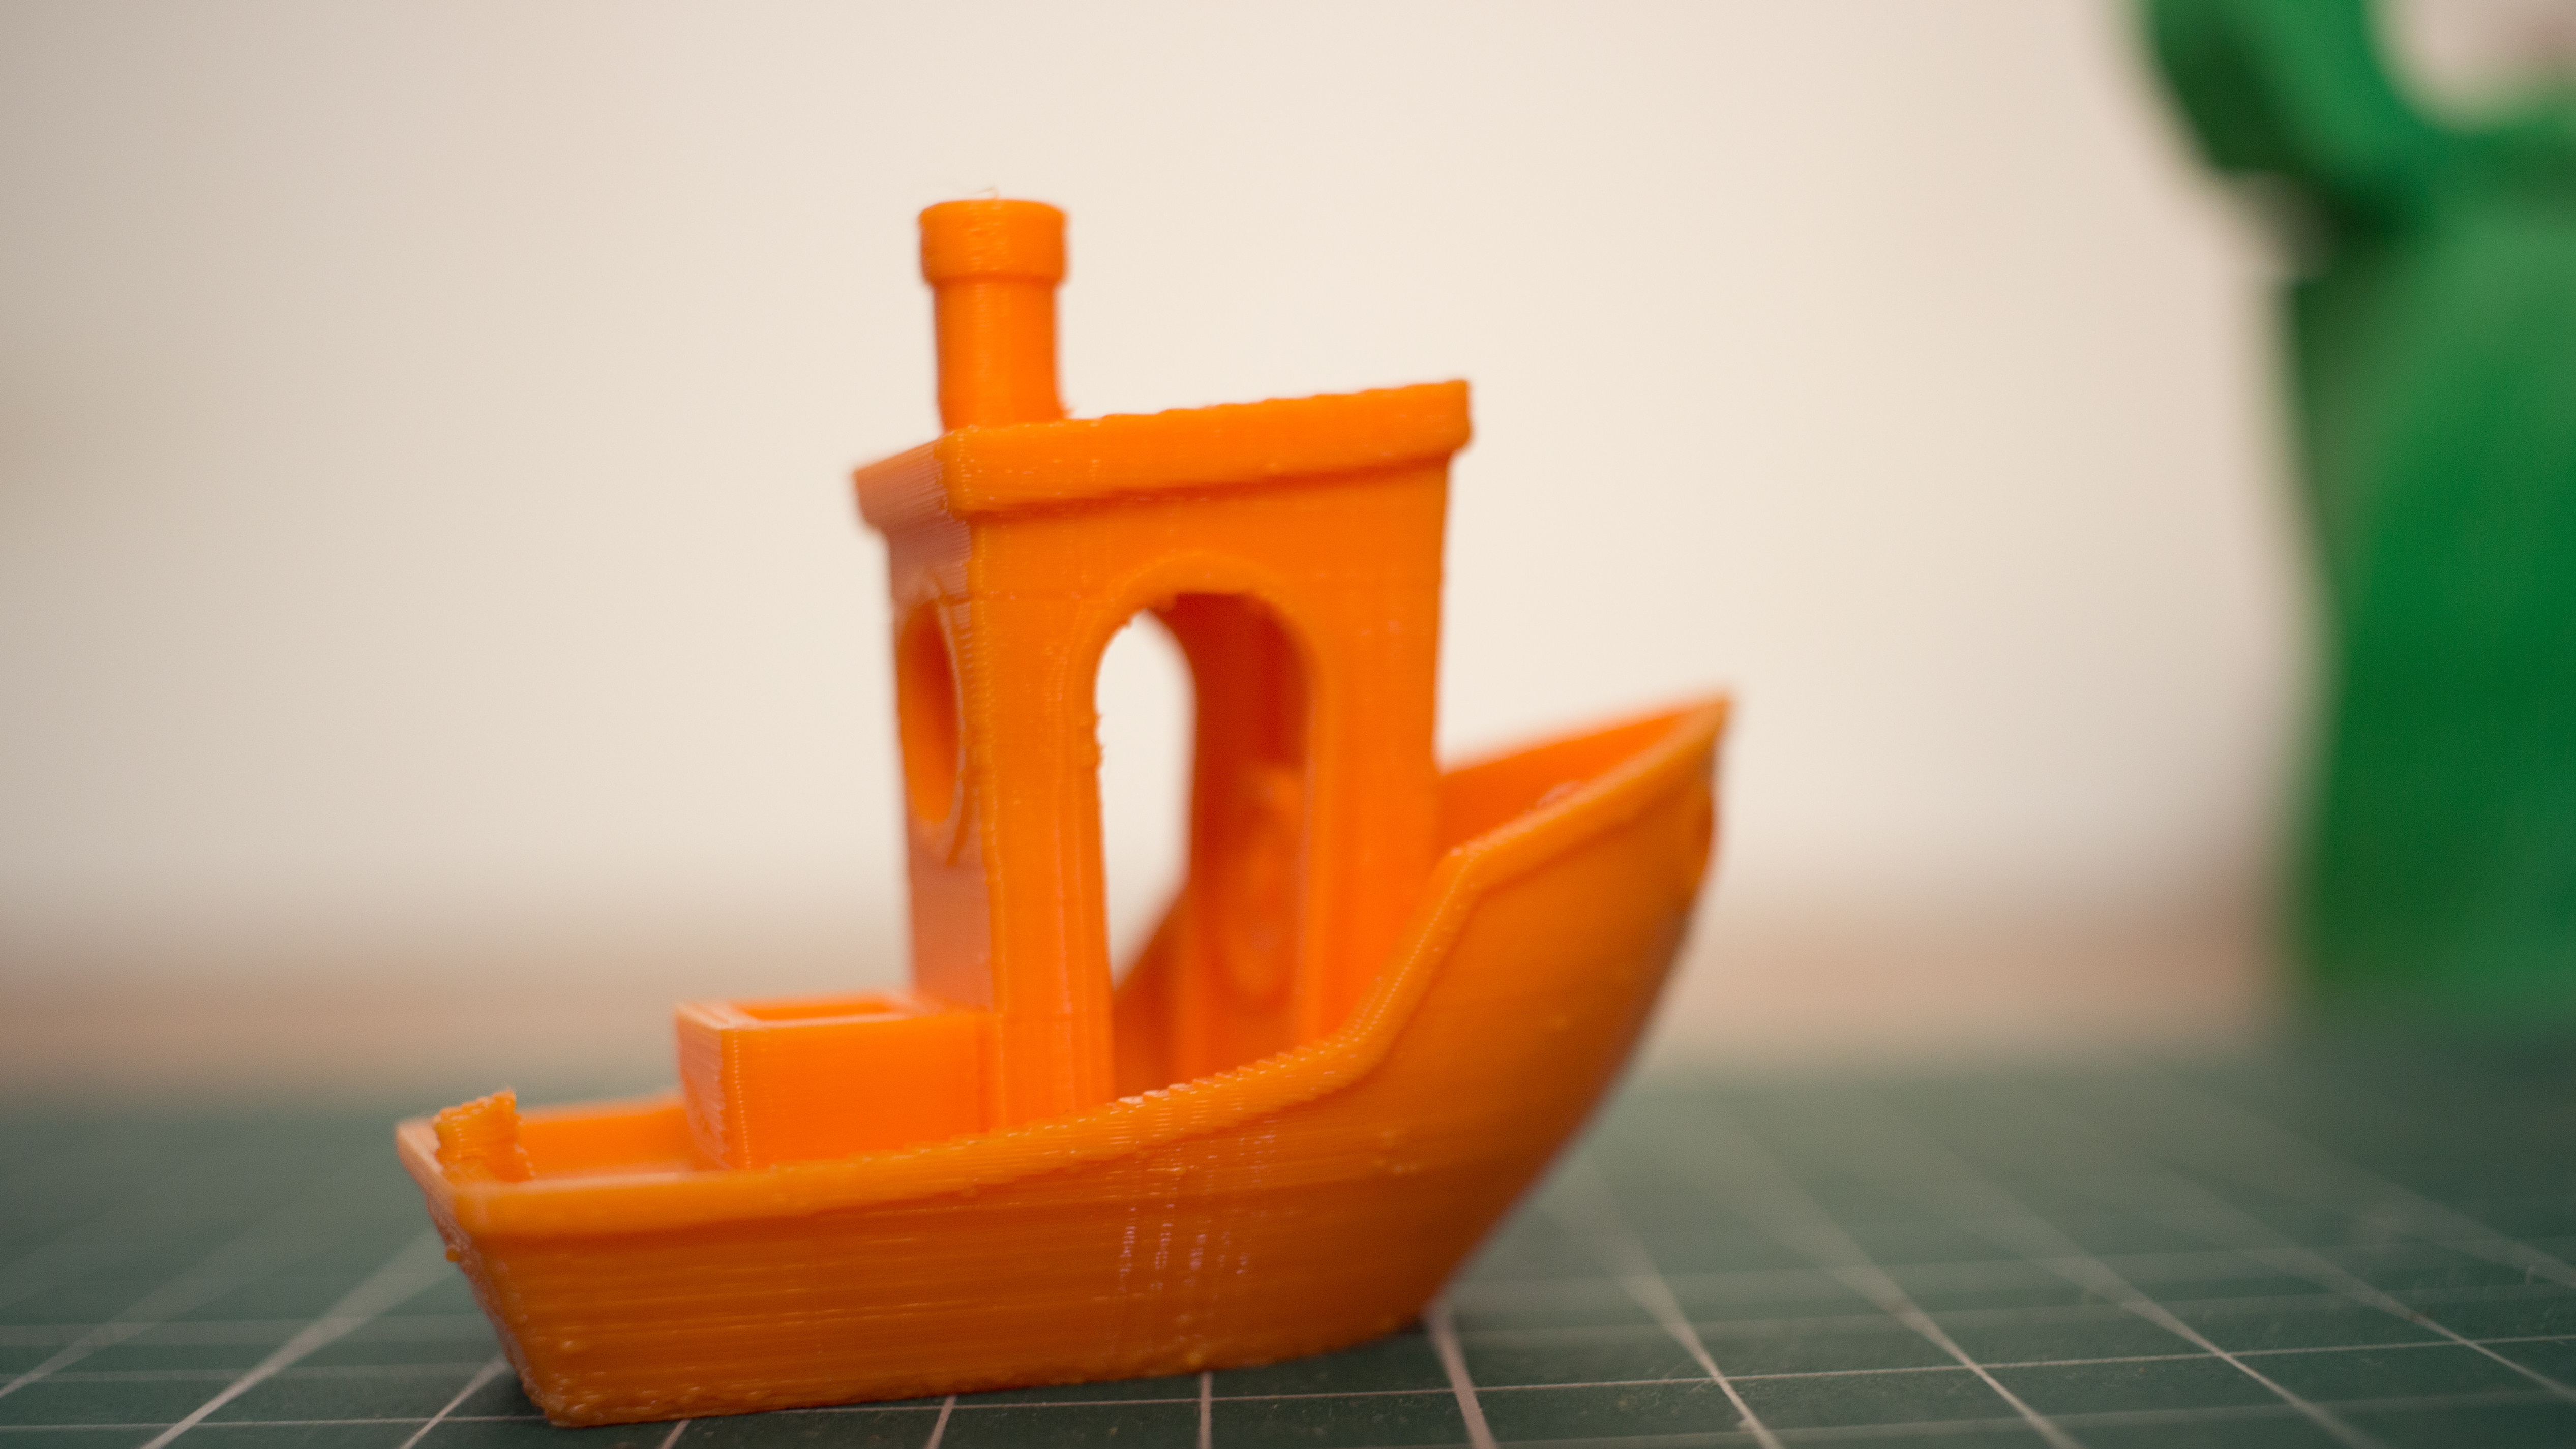
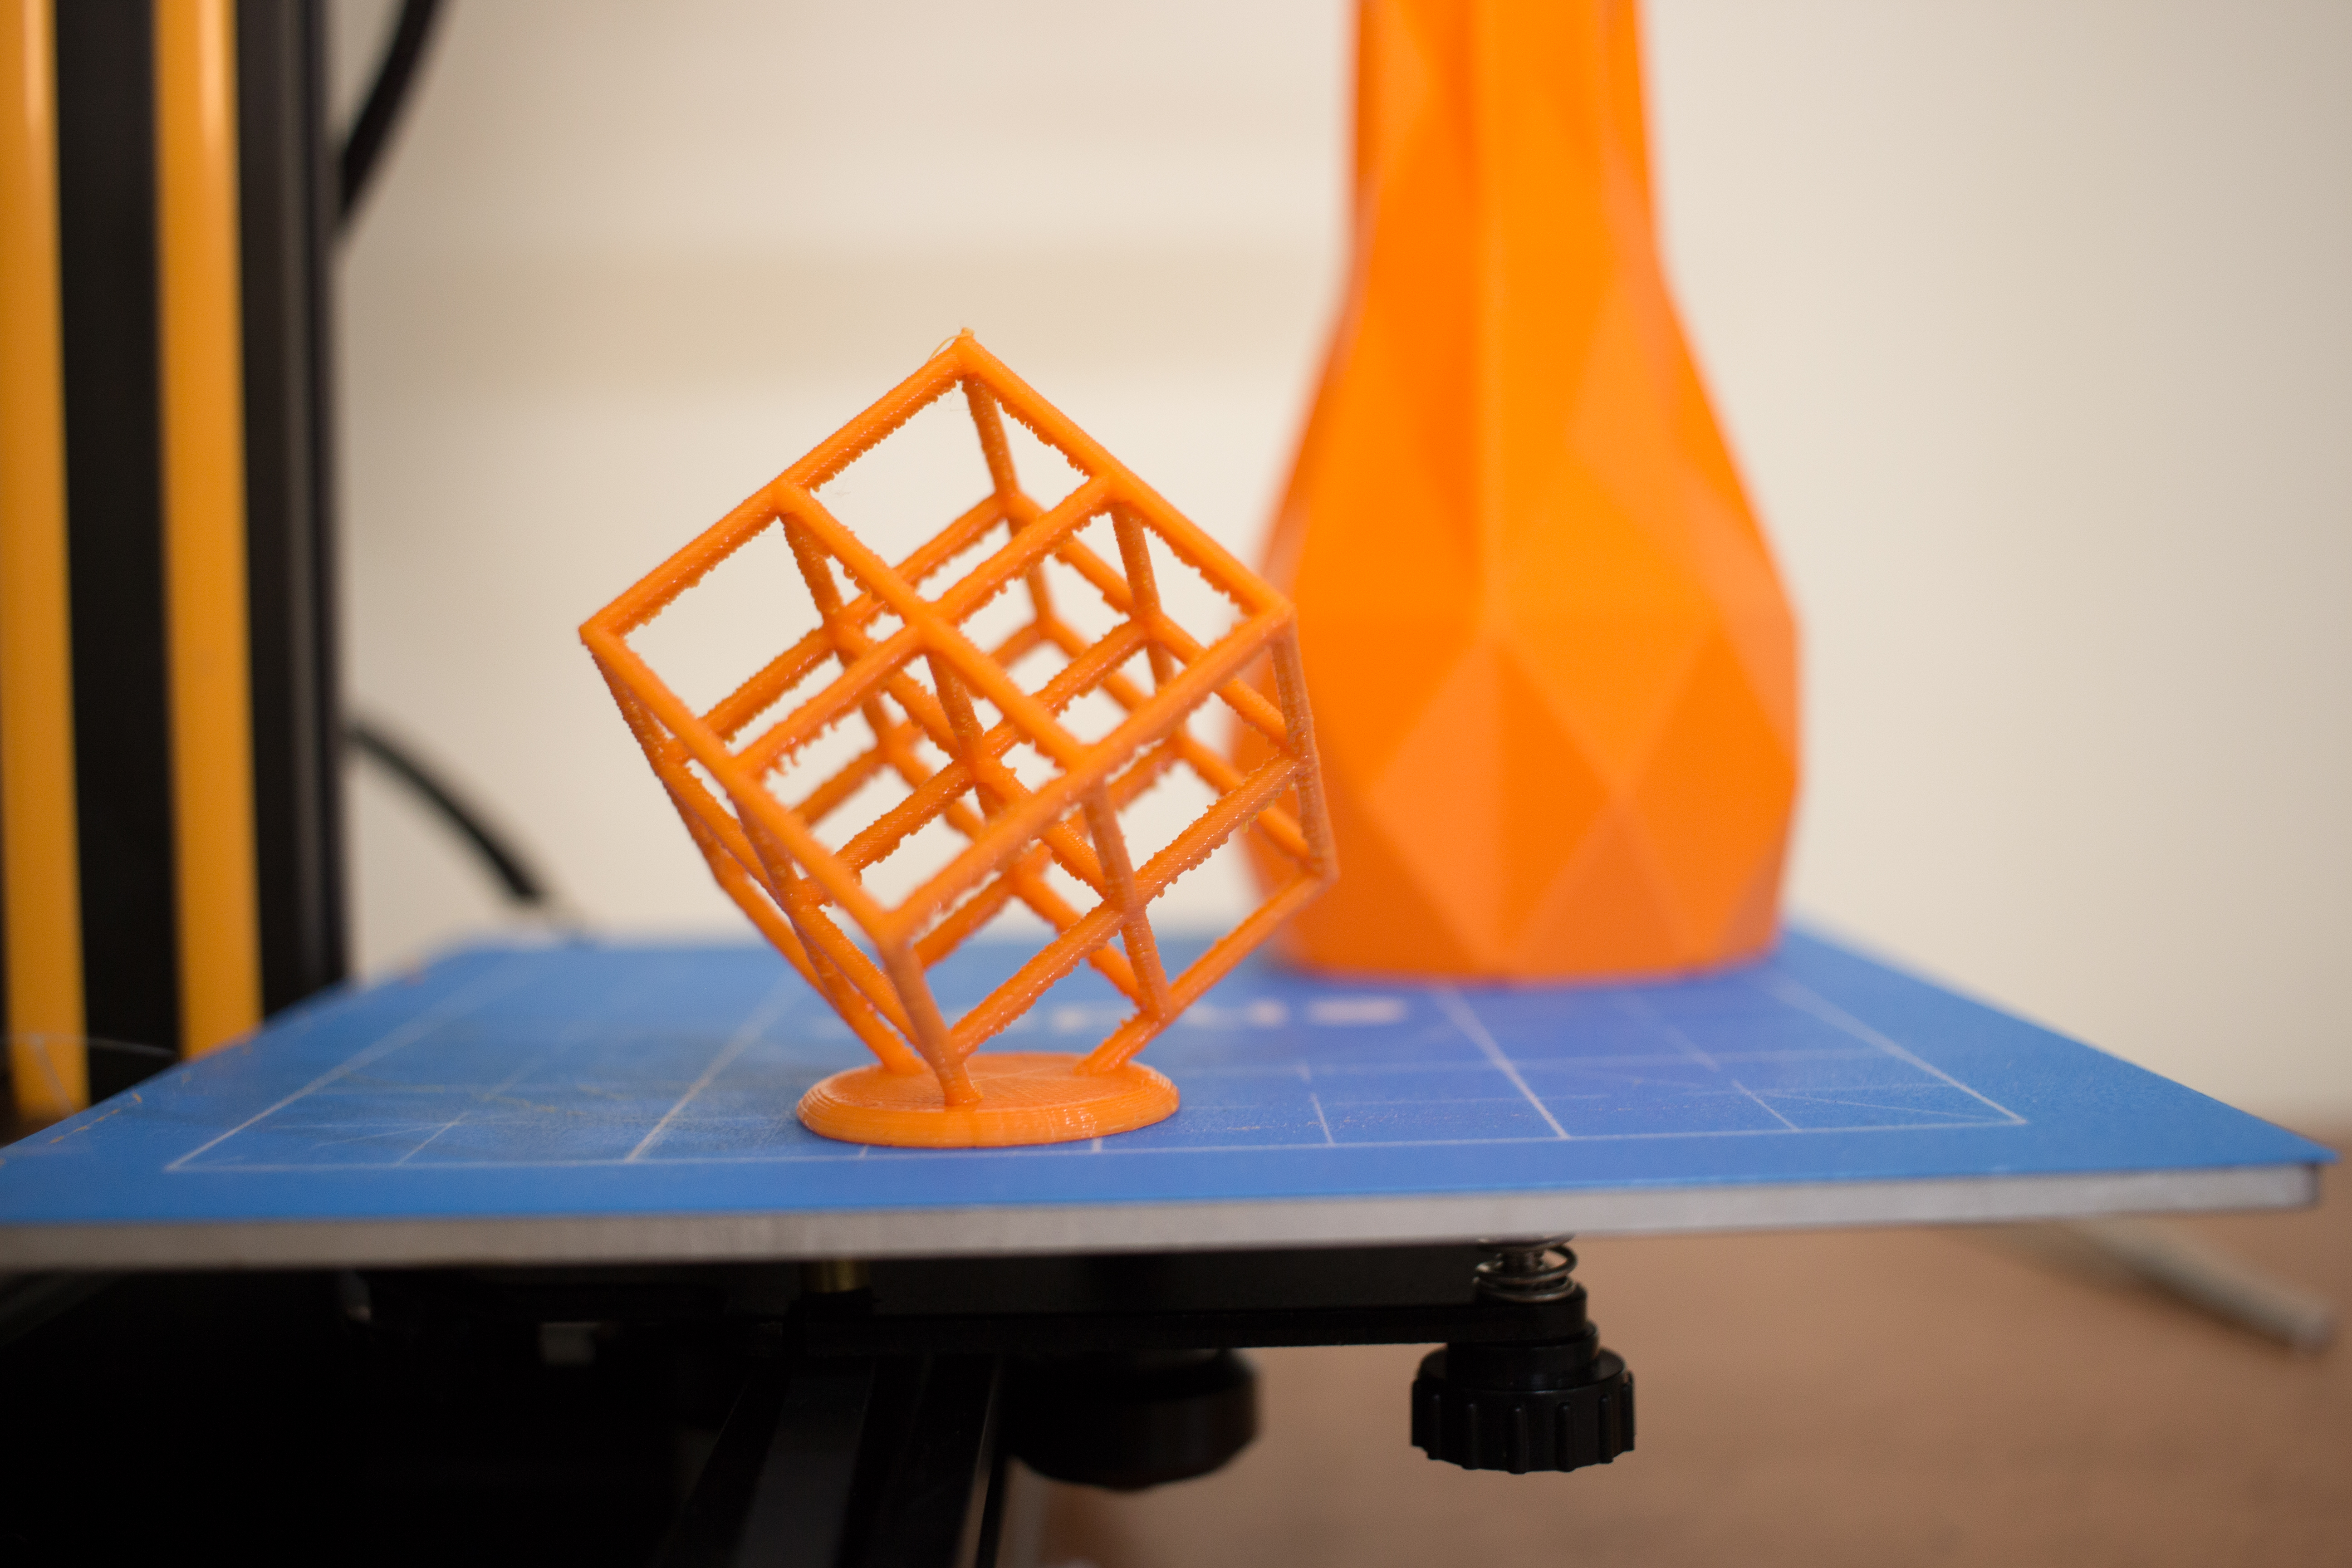
Now Enjoy 3D Printing Awesome project .Ender can print very fine Detail 3D prints.Compared to my anet it takes less learning and tweaking to get Great Prints out of The printer.
Future plan
I m planning to use this printer for some complex print project
keep an eye
follow me on my facebook page,
https://www.facebook.com/makewithRex/ Or
subscribe to my channel