20' Tall Video Game
by makefailrepeat in Circuits > Microcontrollers
3663 Views, 38 Favorites, 0 Comments
20' Tall Video Game
Those who follow me may, or may not, know that a few times a
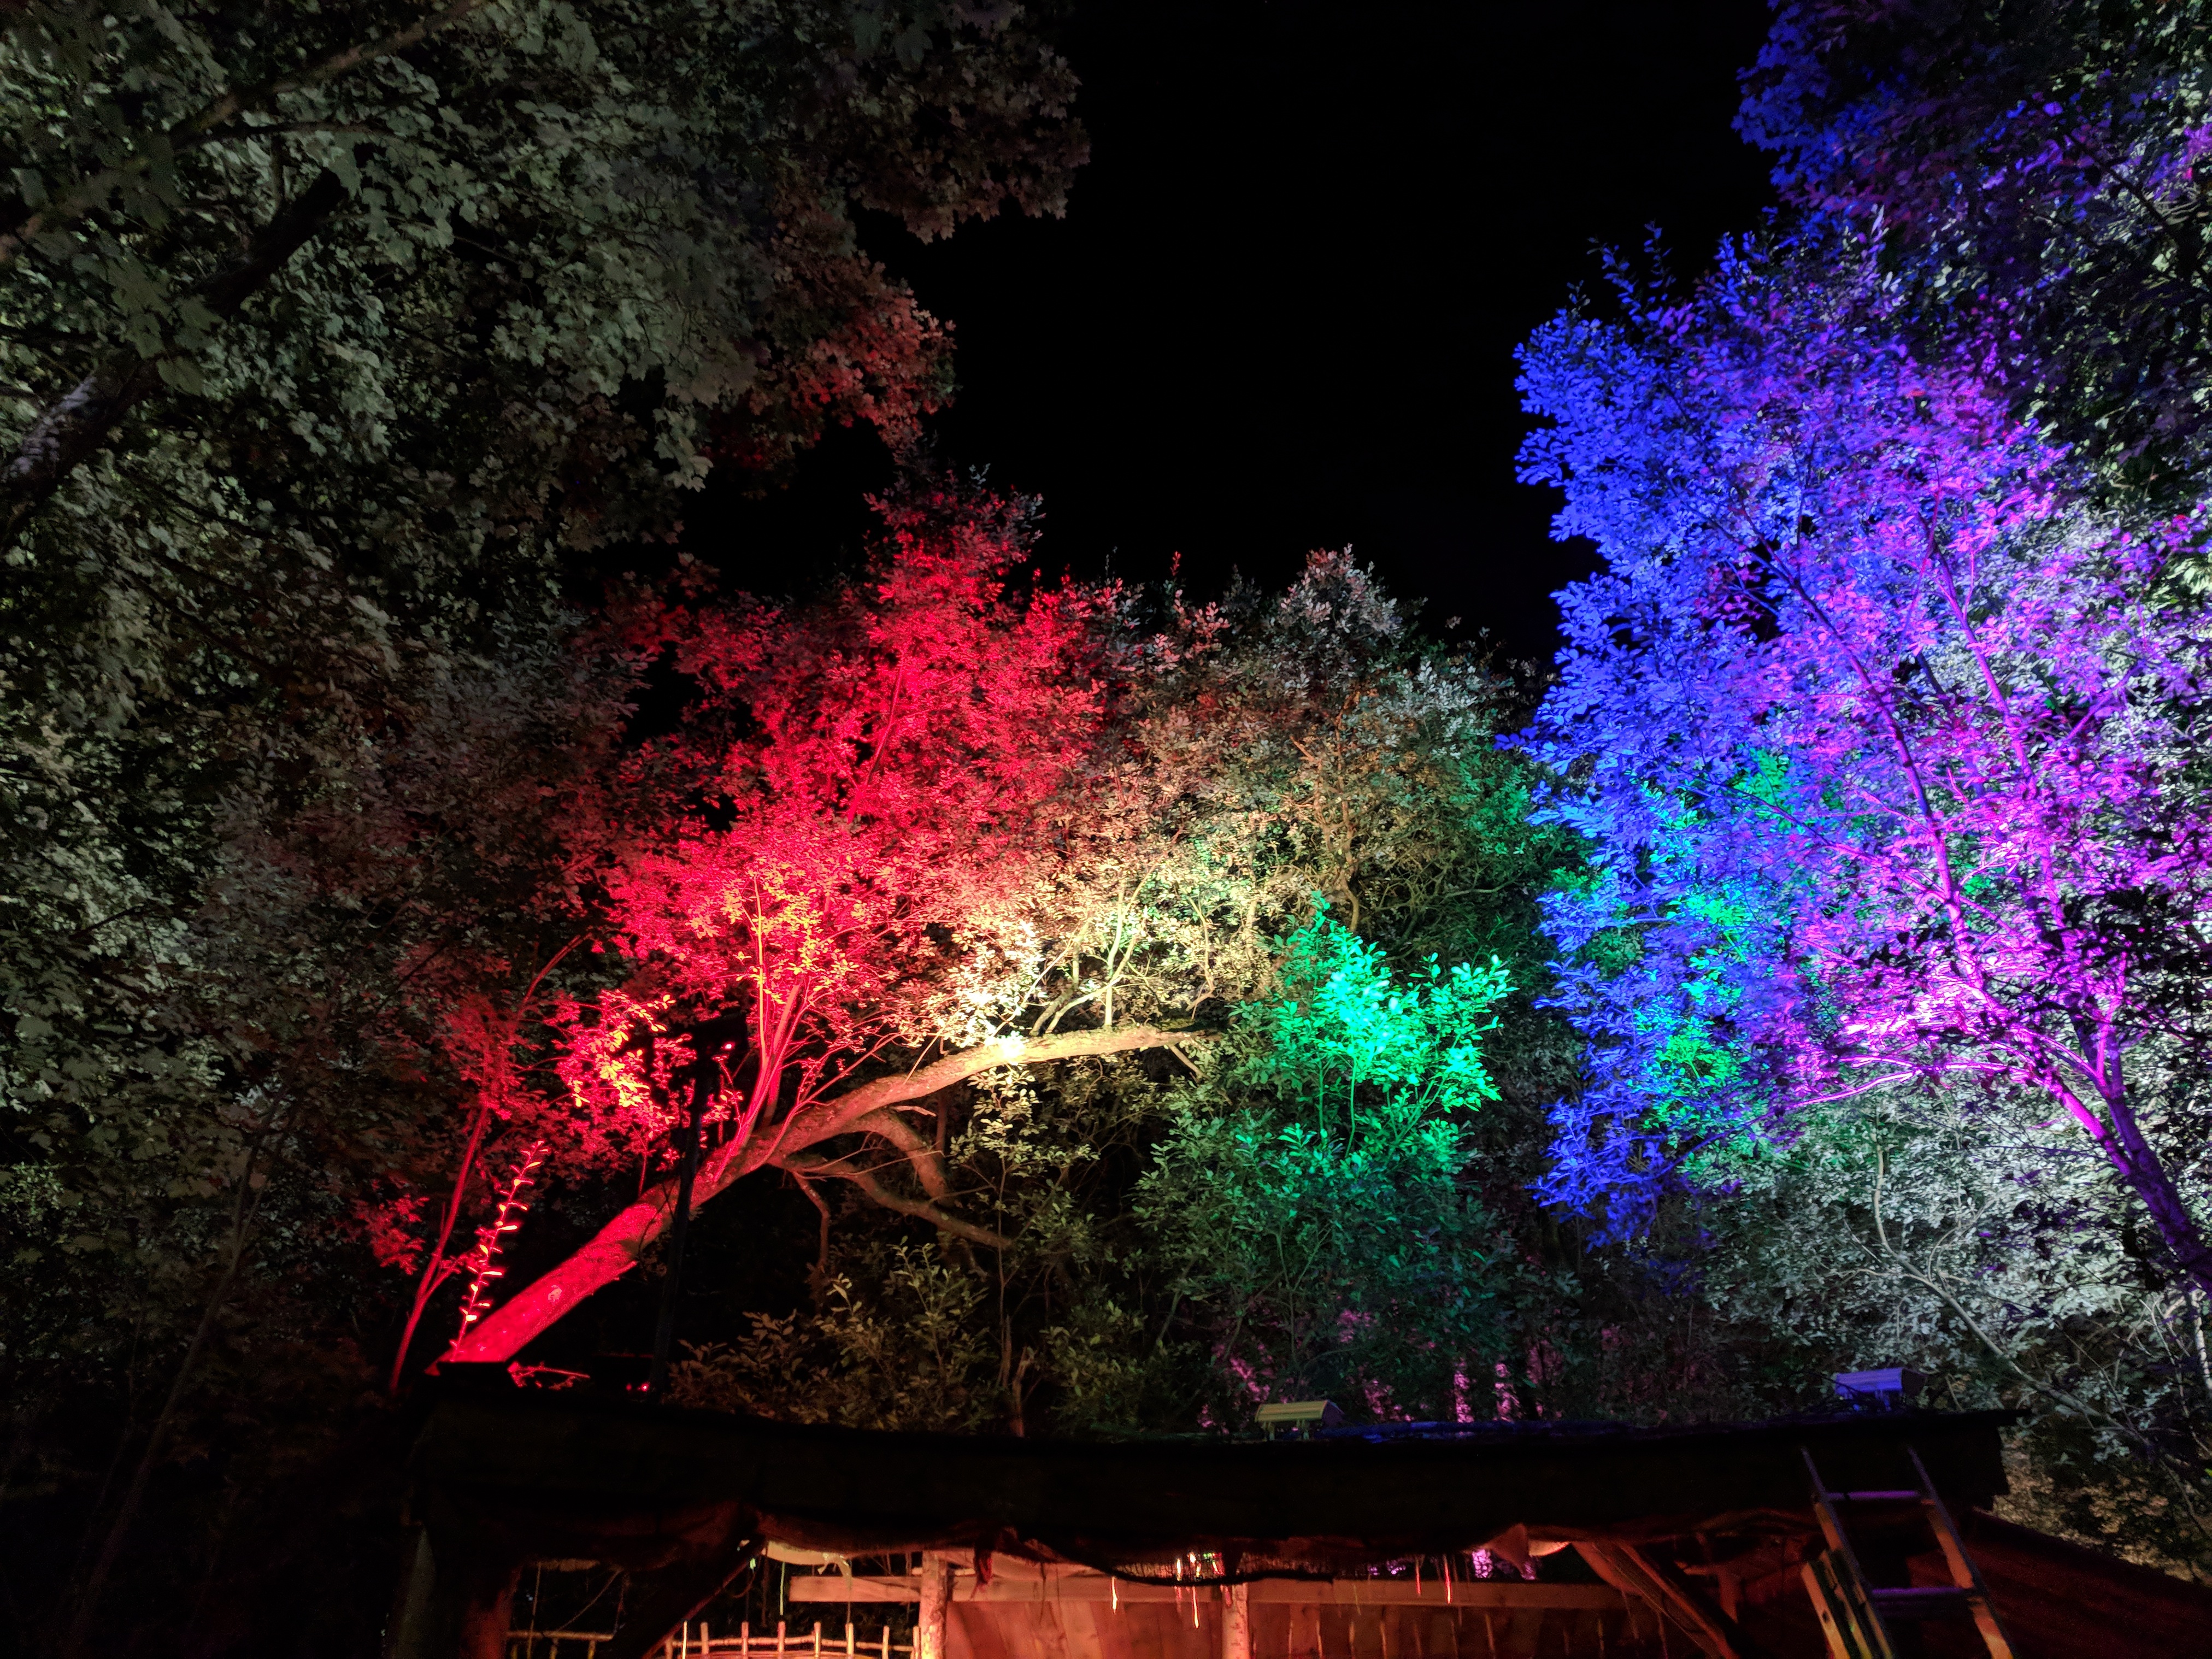
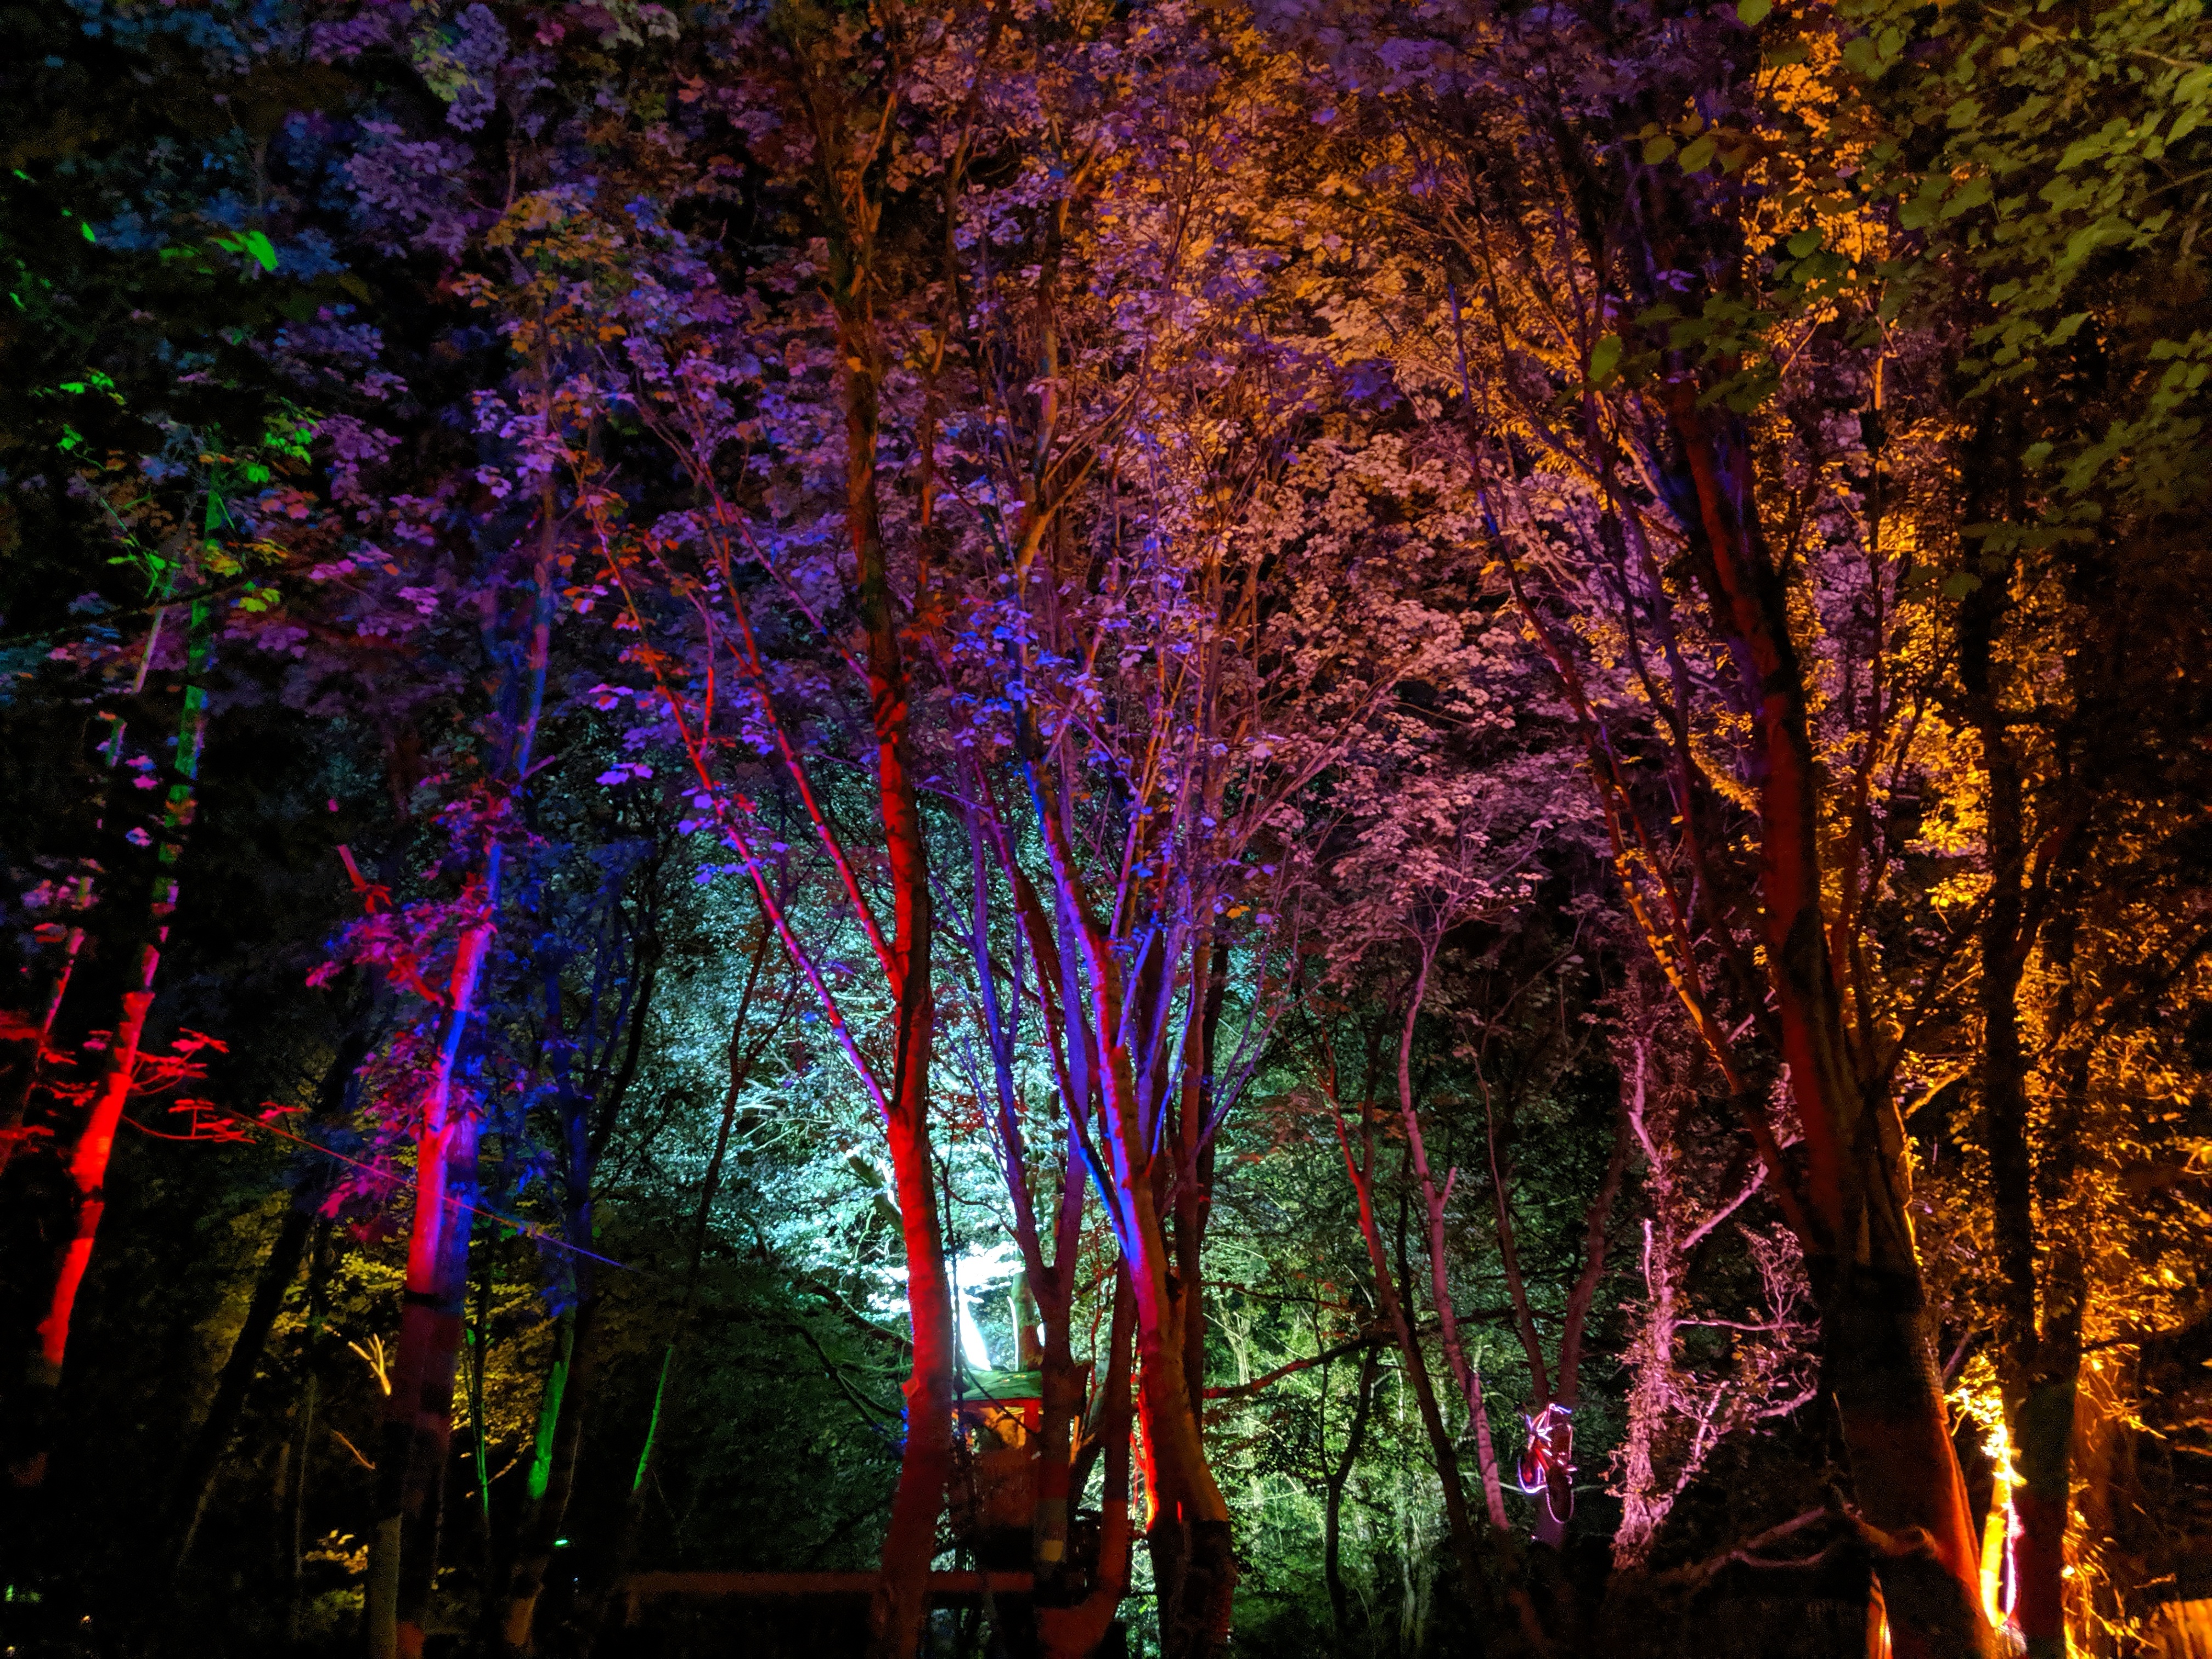
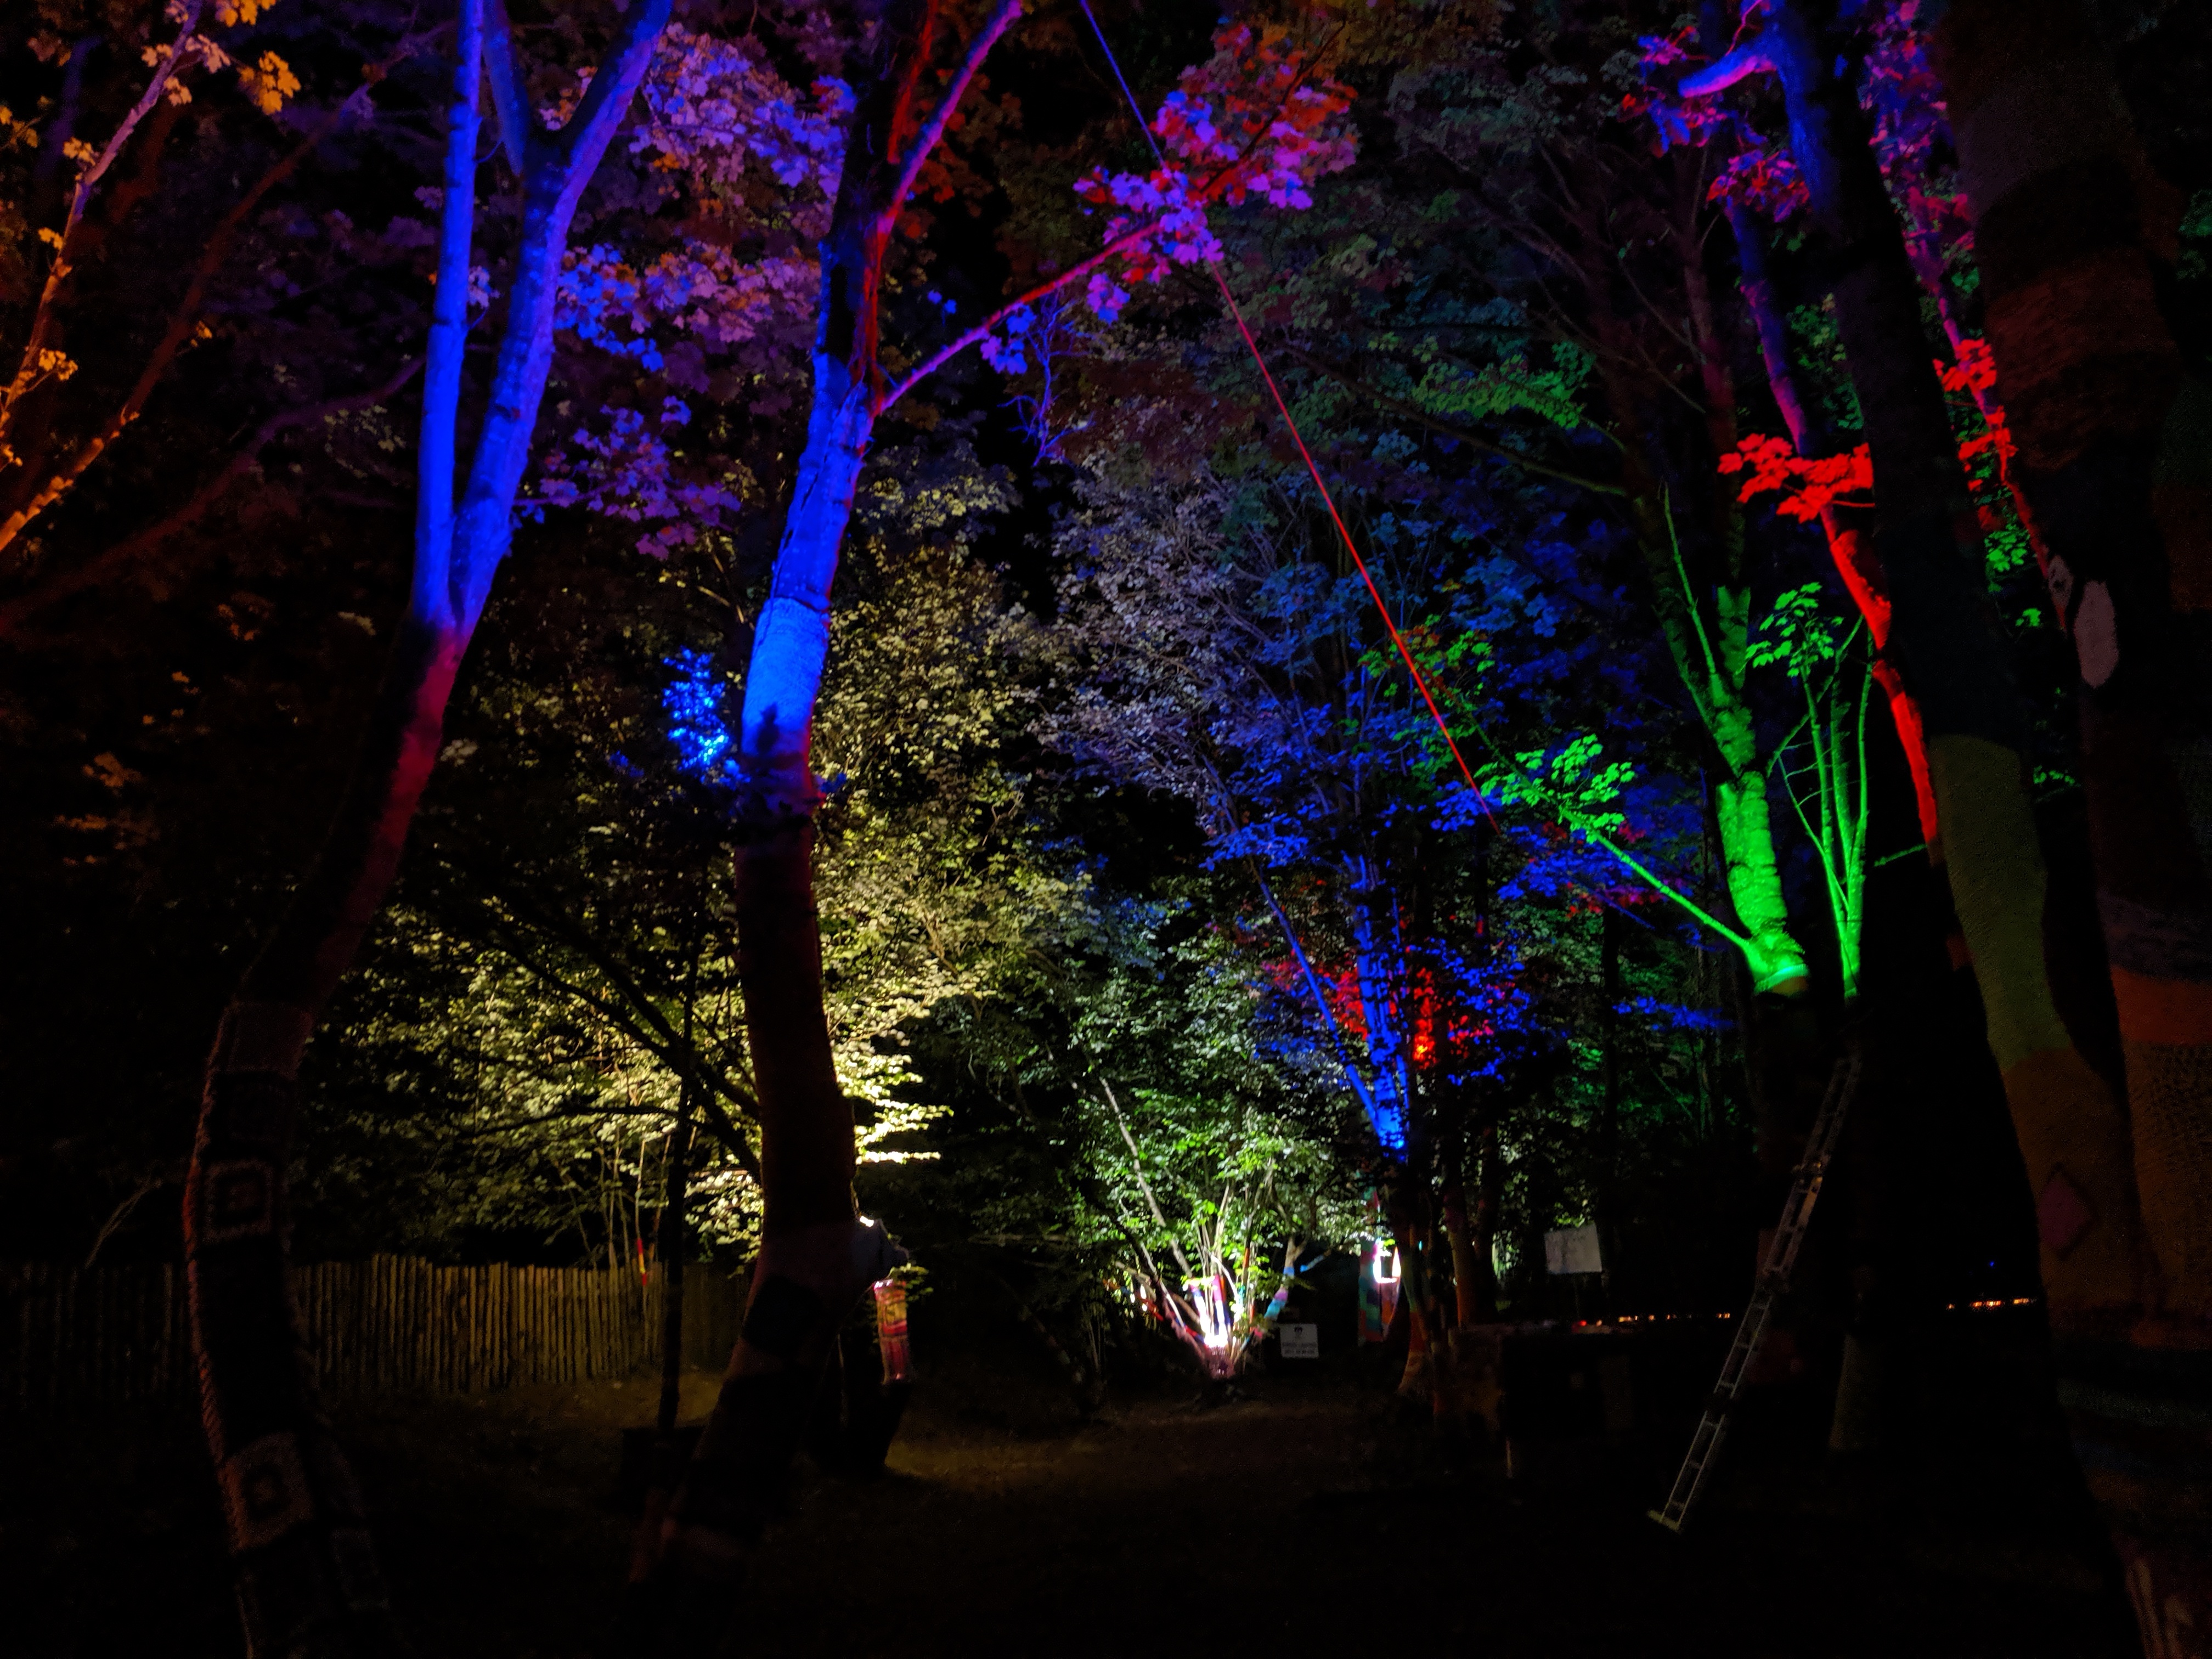
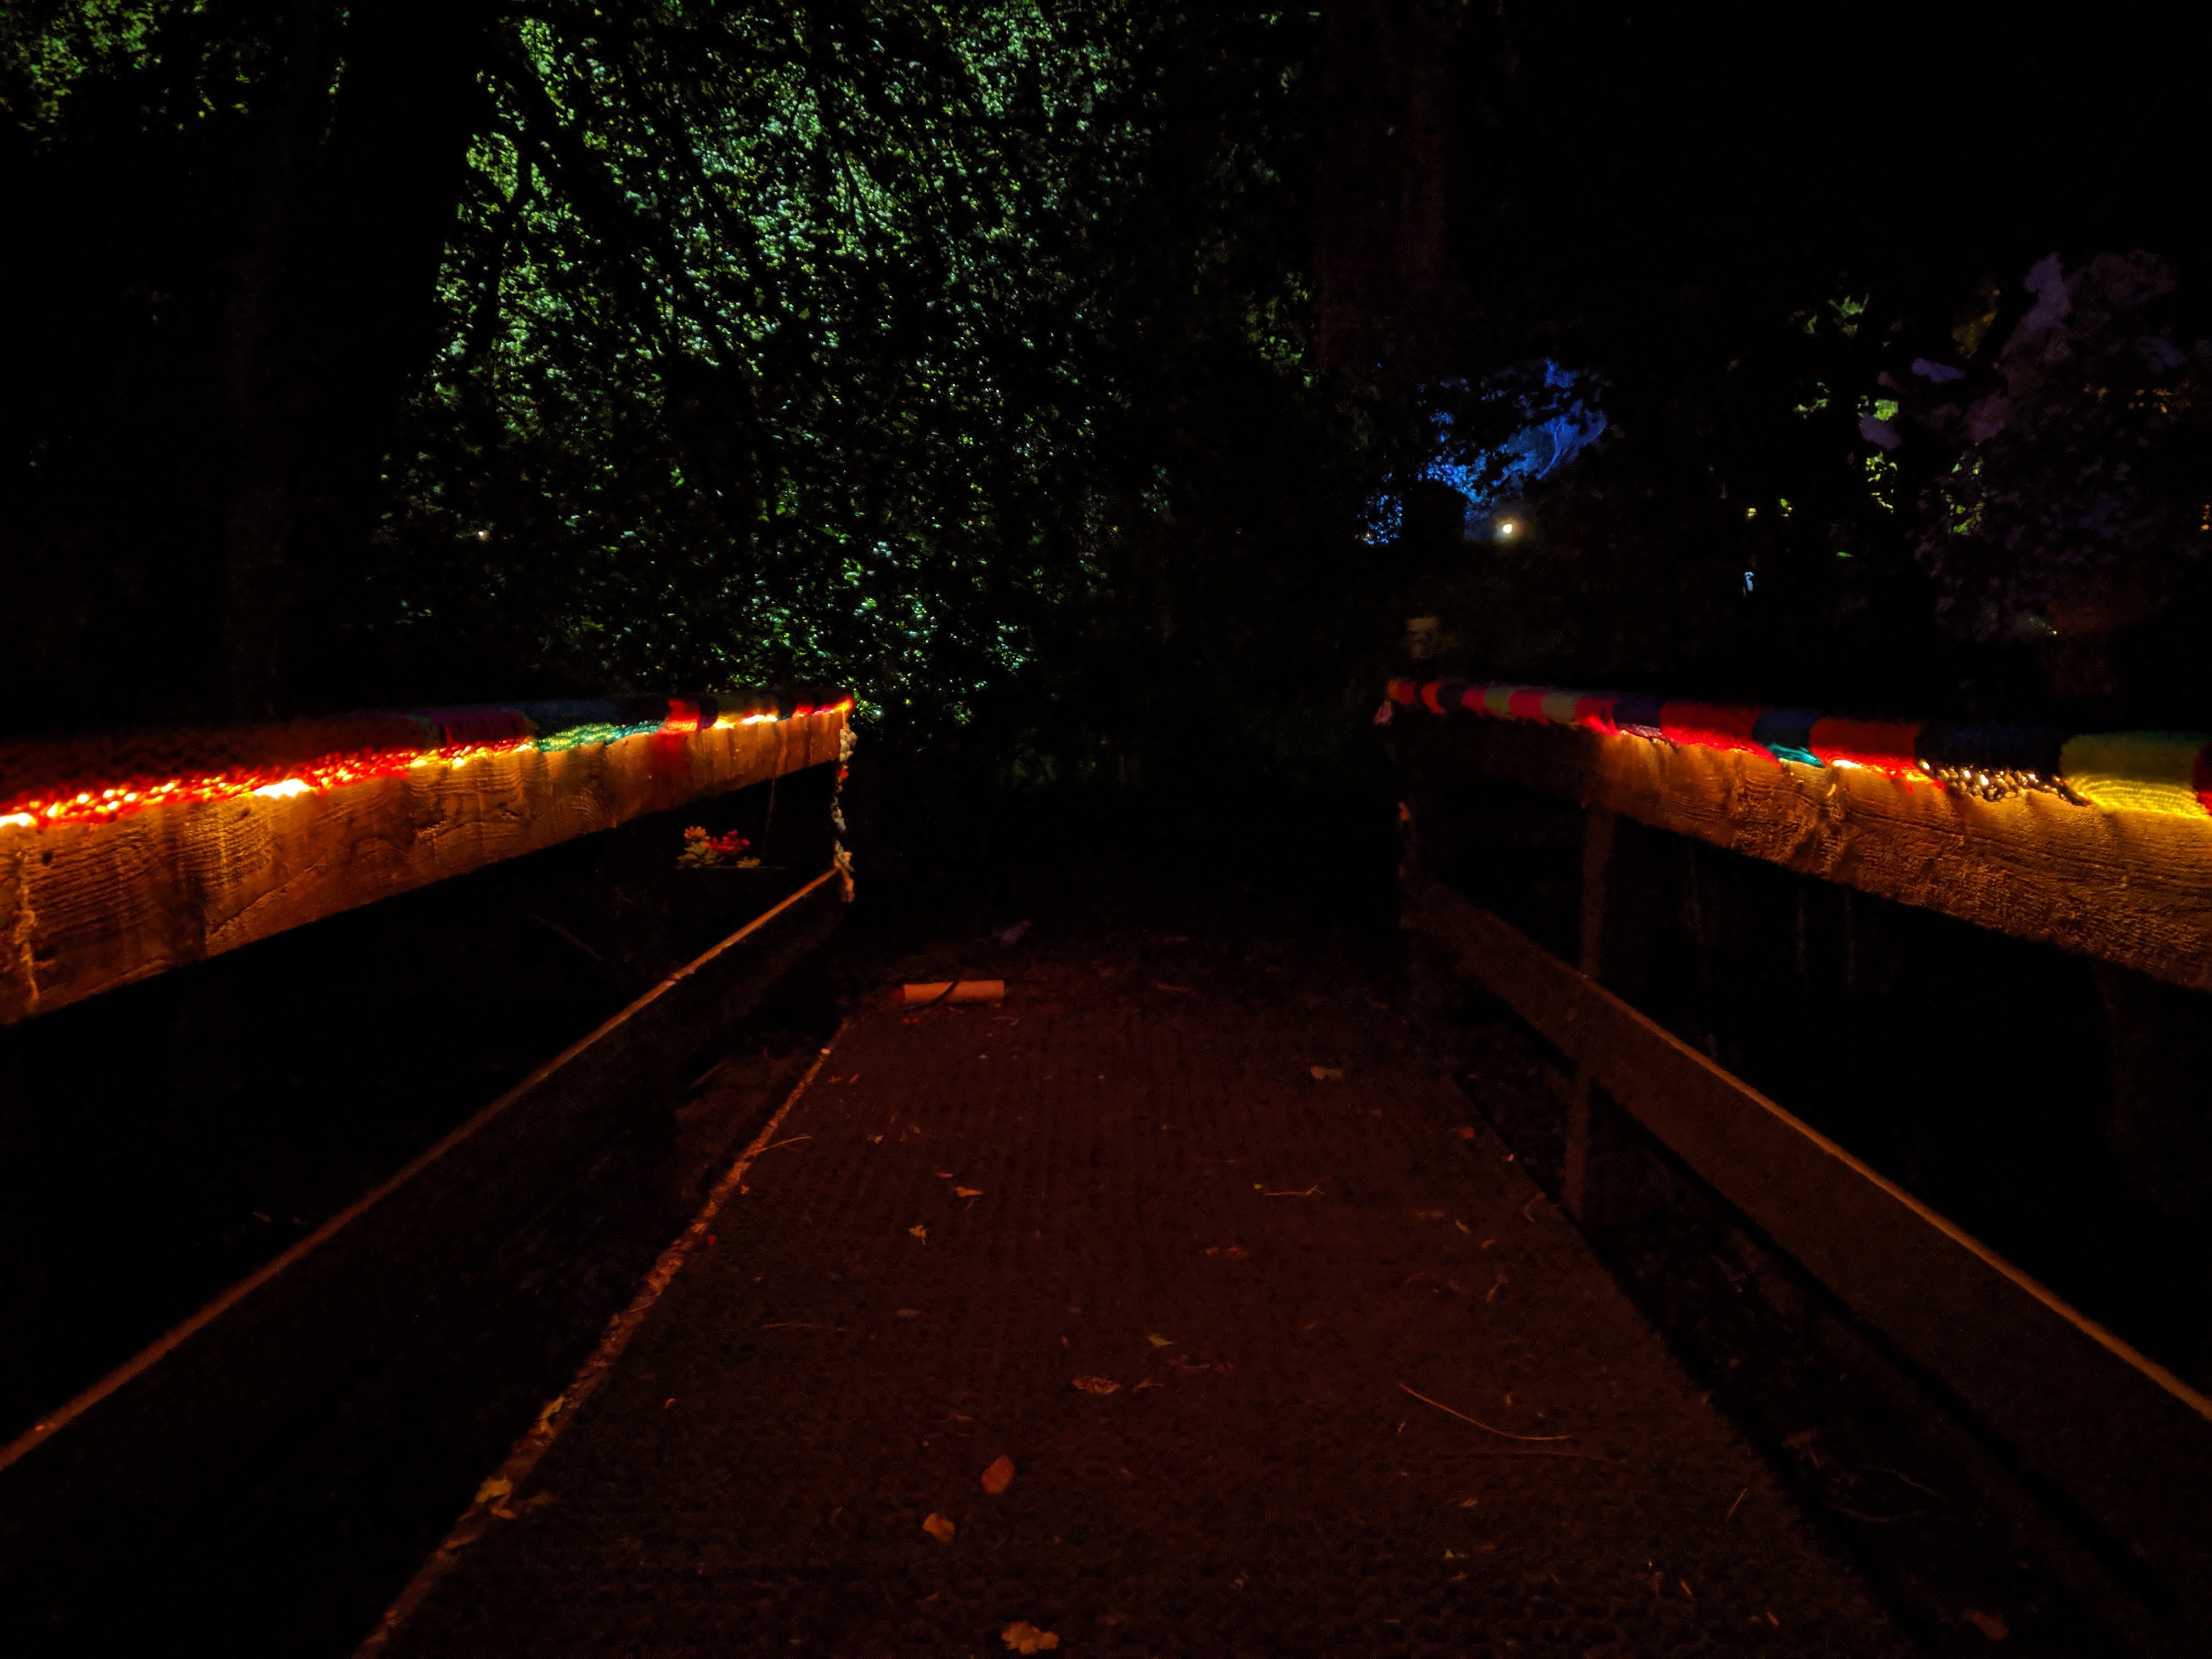
year I work with a company called Installations of Light, otherwise known as The Ancient Order of the Treeluminati! We design and build outdoor lighting displays based around lighting trees.
One of our yearly gigs is the Stendhal Festival which is the biggest music and arts festival here in Northern Ireland. This year I was asked to build something "special" for the event.
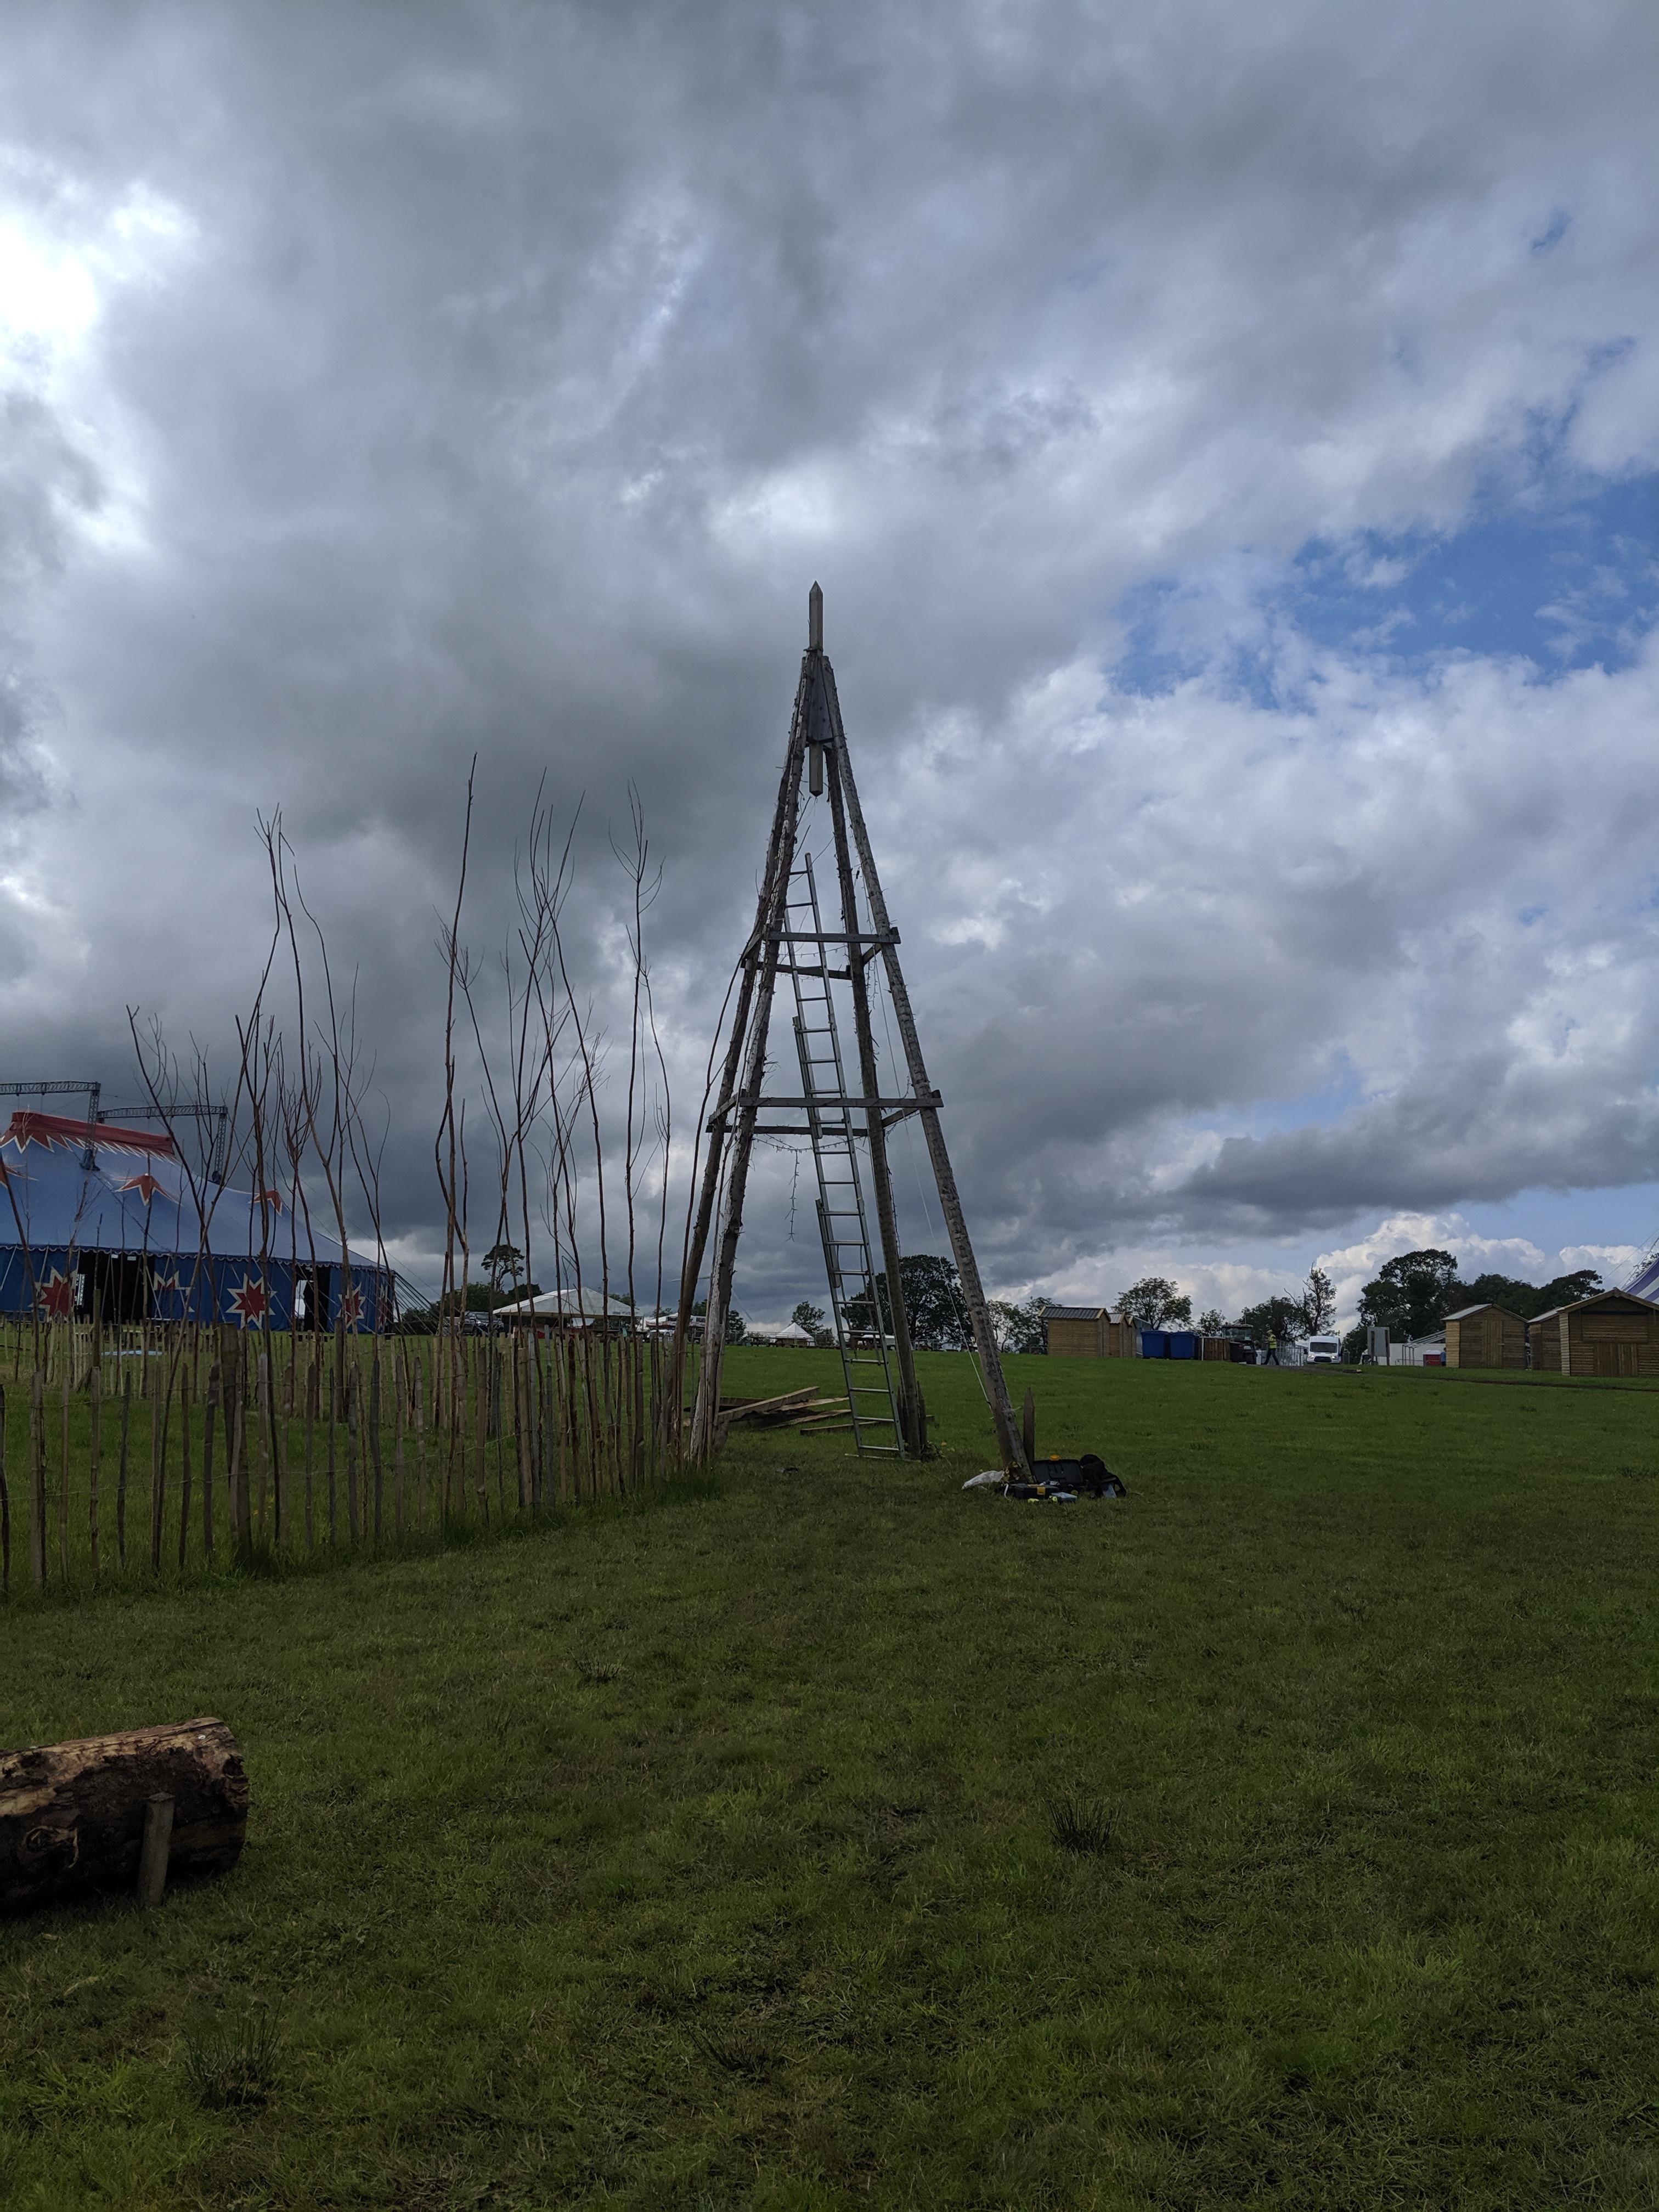
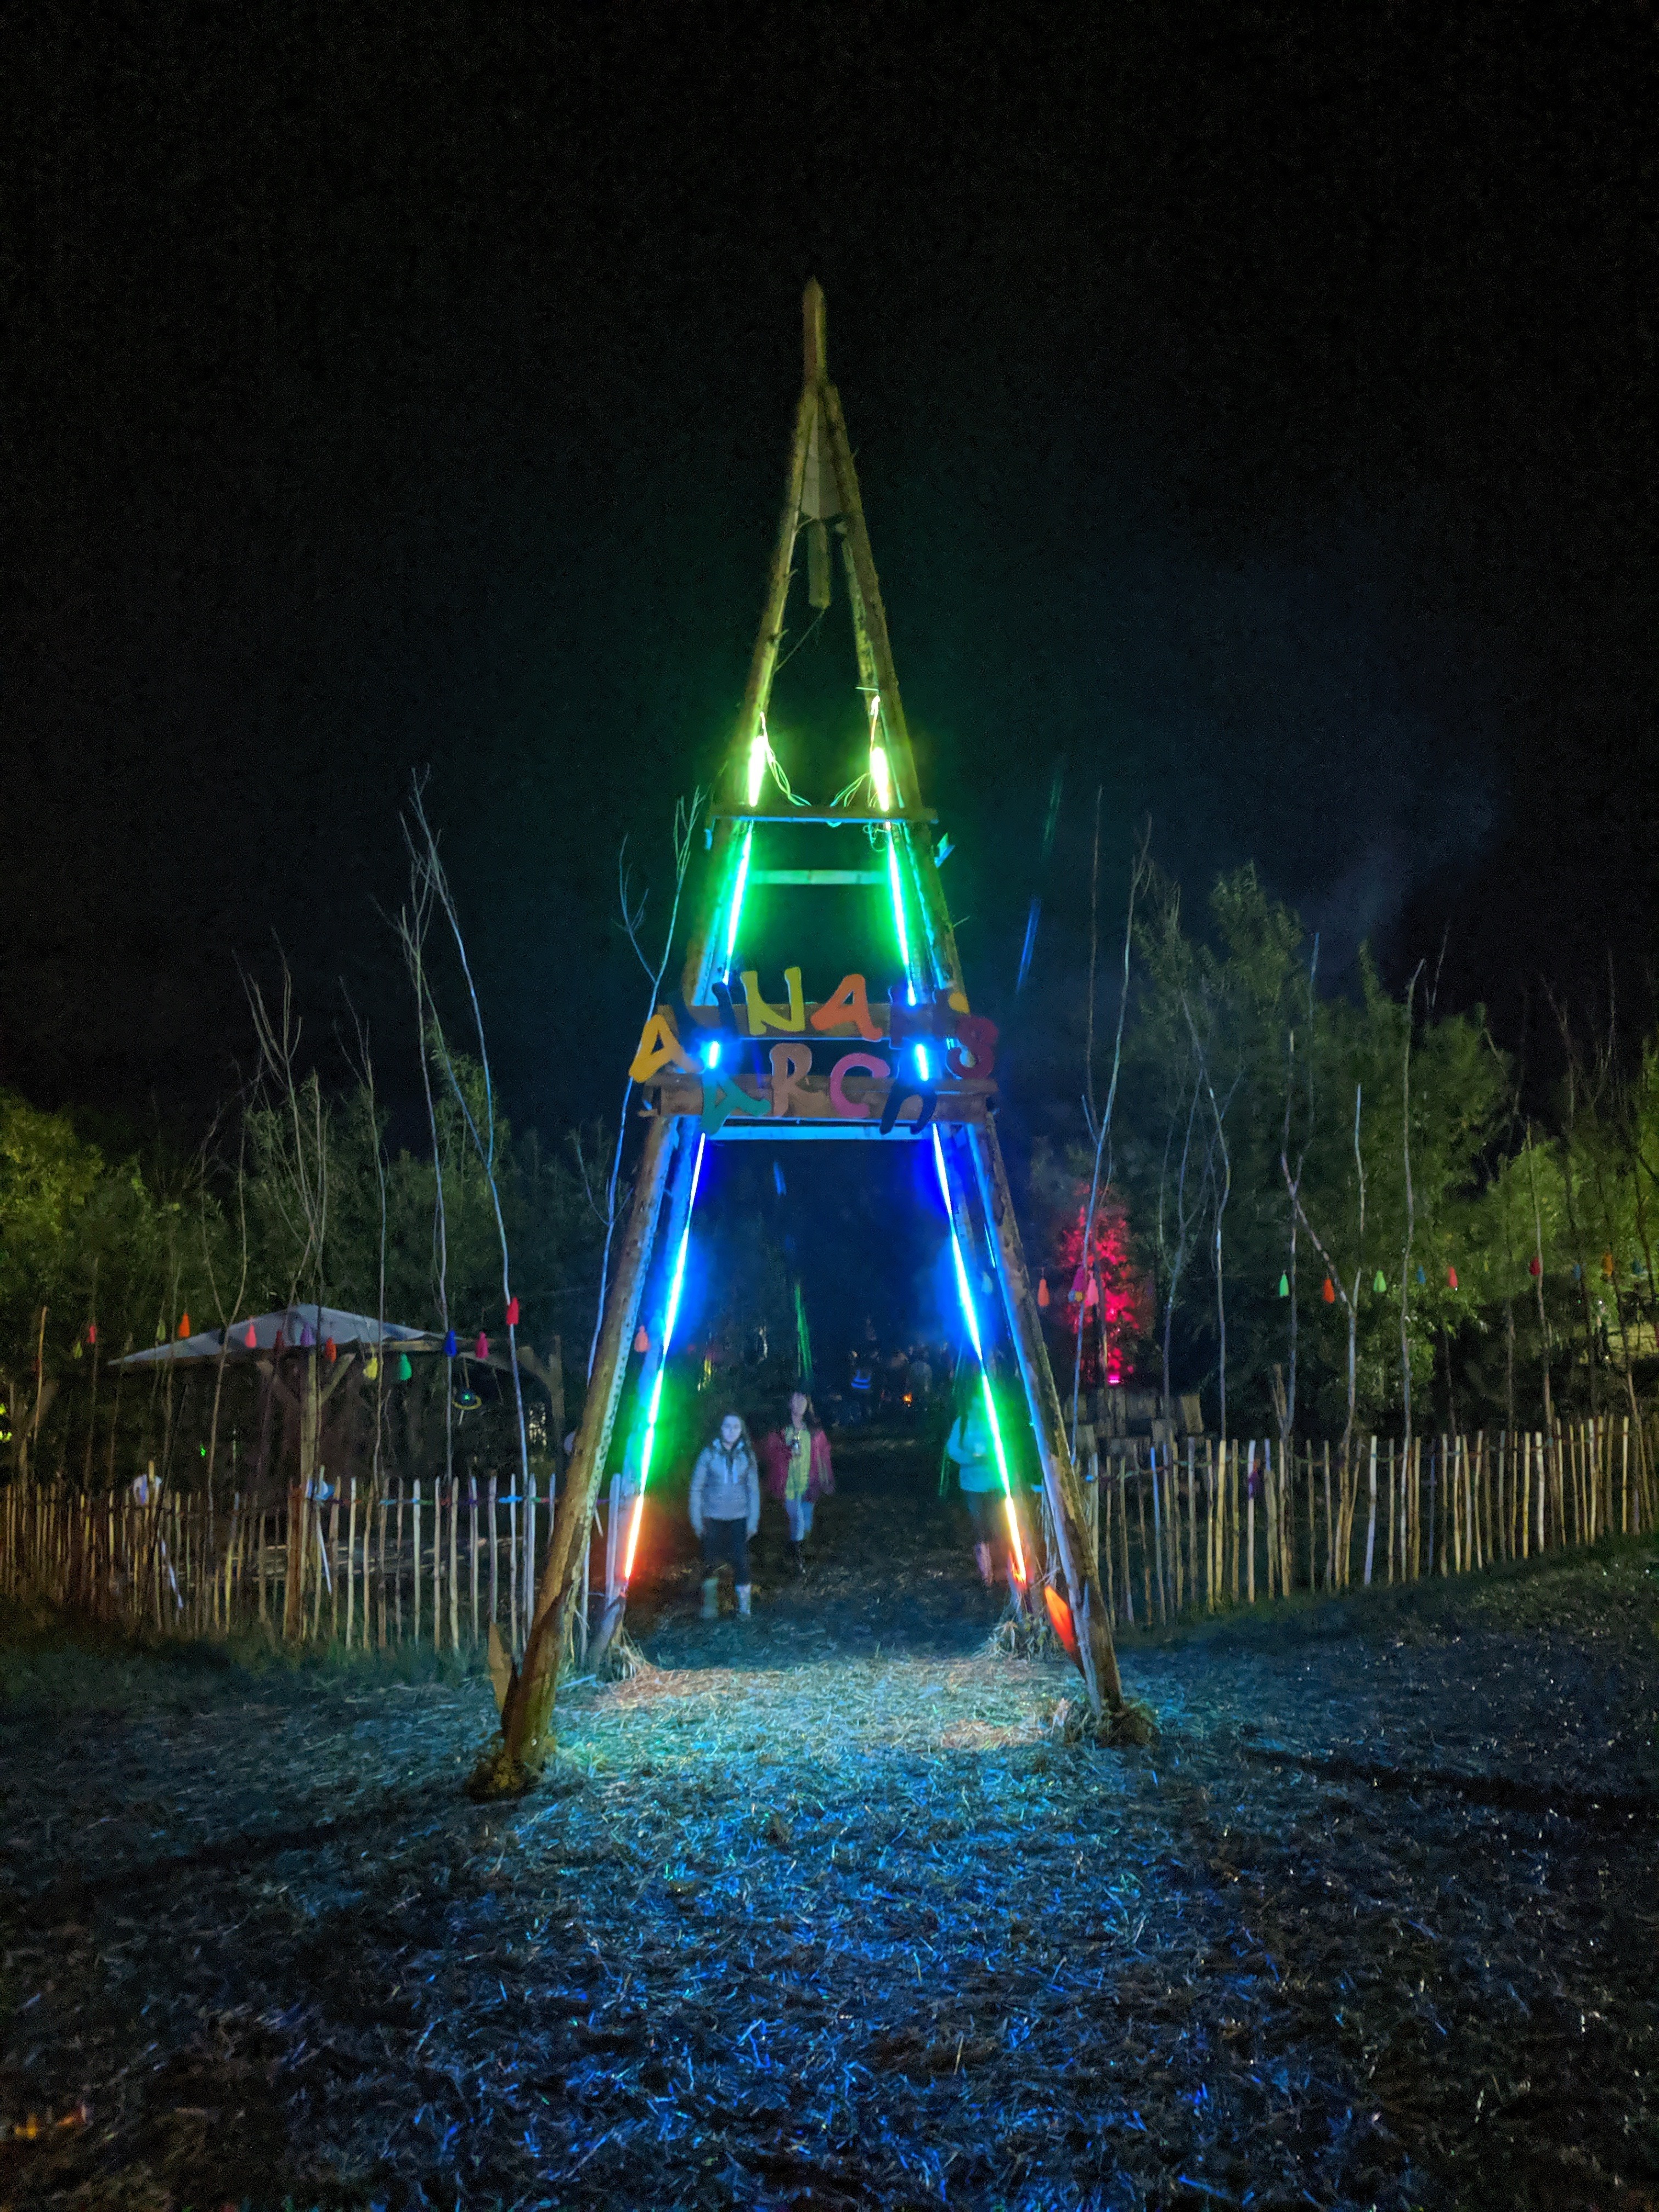
The guys at the festival had built a 20' tall tower arch at the entrance to one of the festival stages and so I decided to light it from top to bottom with ws2812 addressable LEDs, but what I didn't tell anyone is that I had built a 2 player video game into the display!!
Design
I had 5m strips of waterproof LEDs and decided to use one strip
per leg of the tower. As the tower was symmetrical I didn't see the point of having more than one channel and decided to control all the strip as one and have them mirror each other.
I decided to use an esp8266 board for a controller. This was mainly because I knew the controller would have to be kept out of reach at the top of the tower and didn't relish the idea of programming it from the top of a ladder. So using the built in WiFi and the ability to program the board over the air from the Arduino IDE seemed the best option.
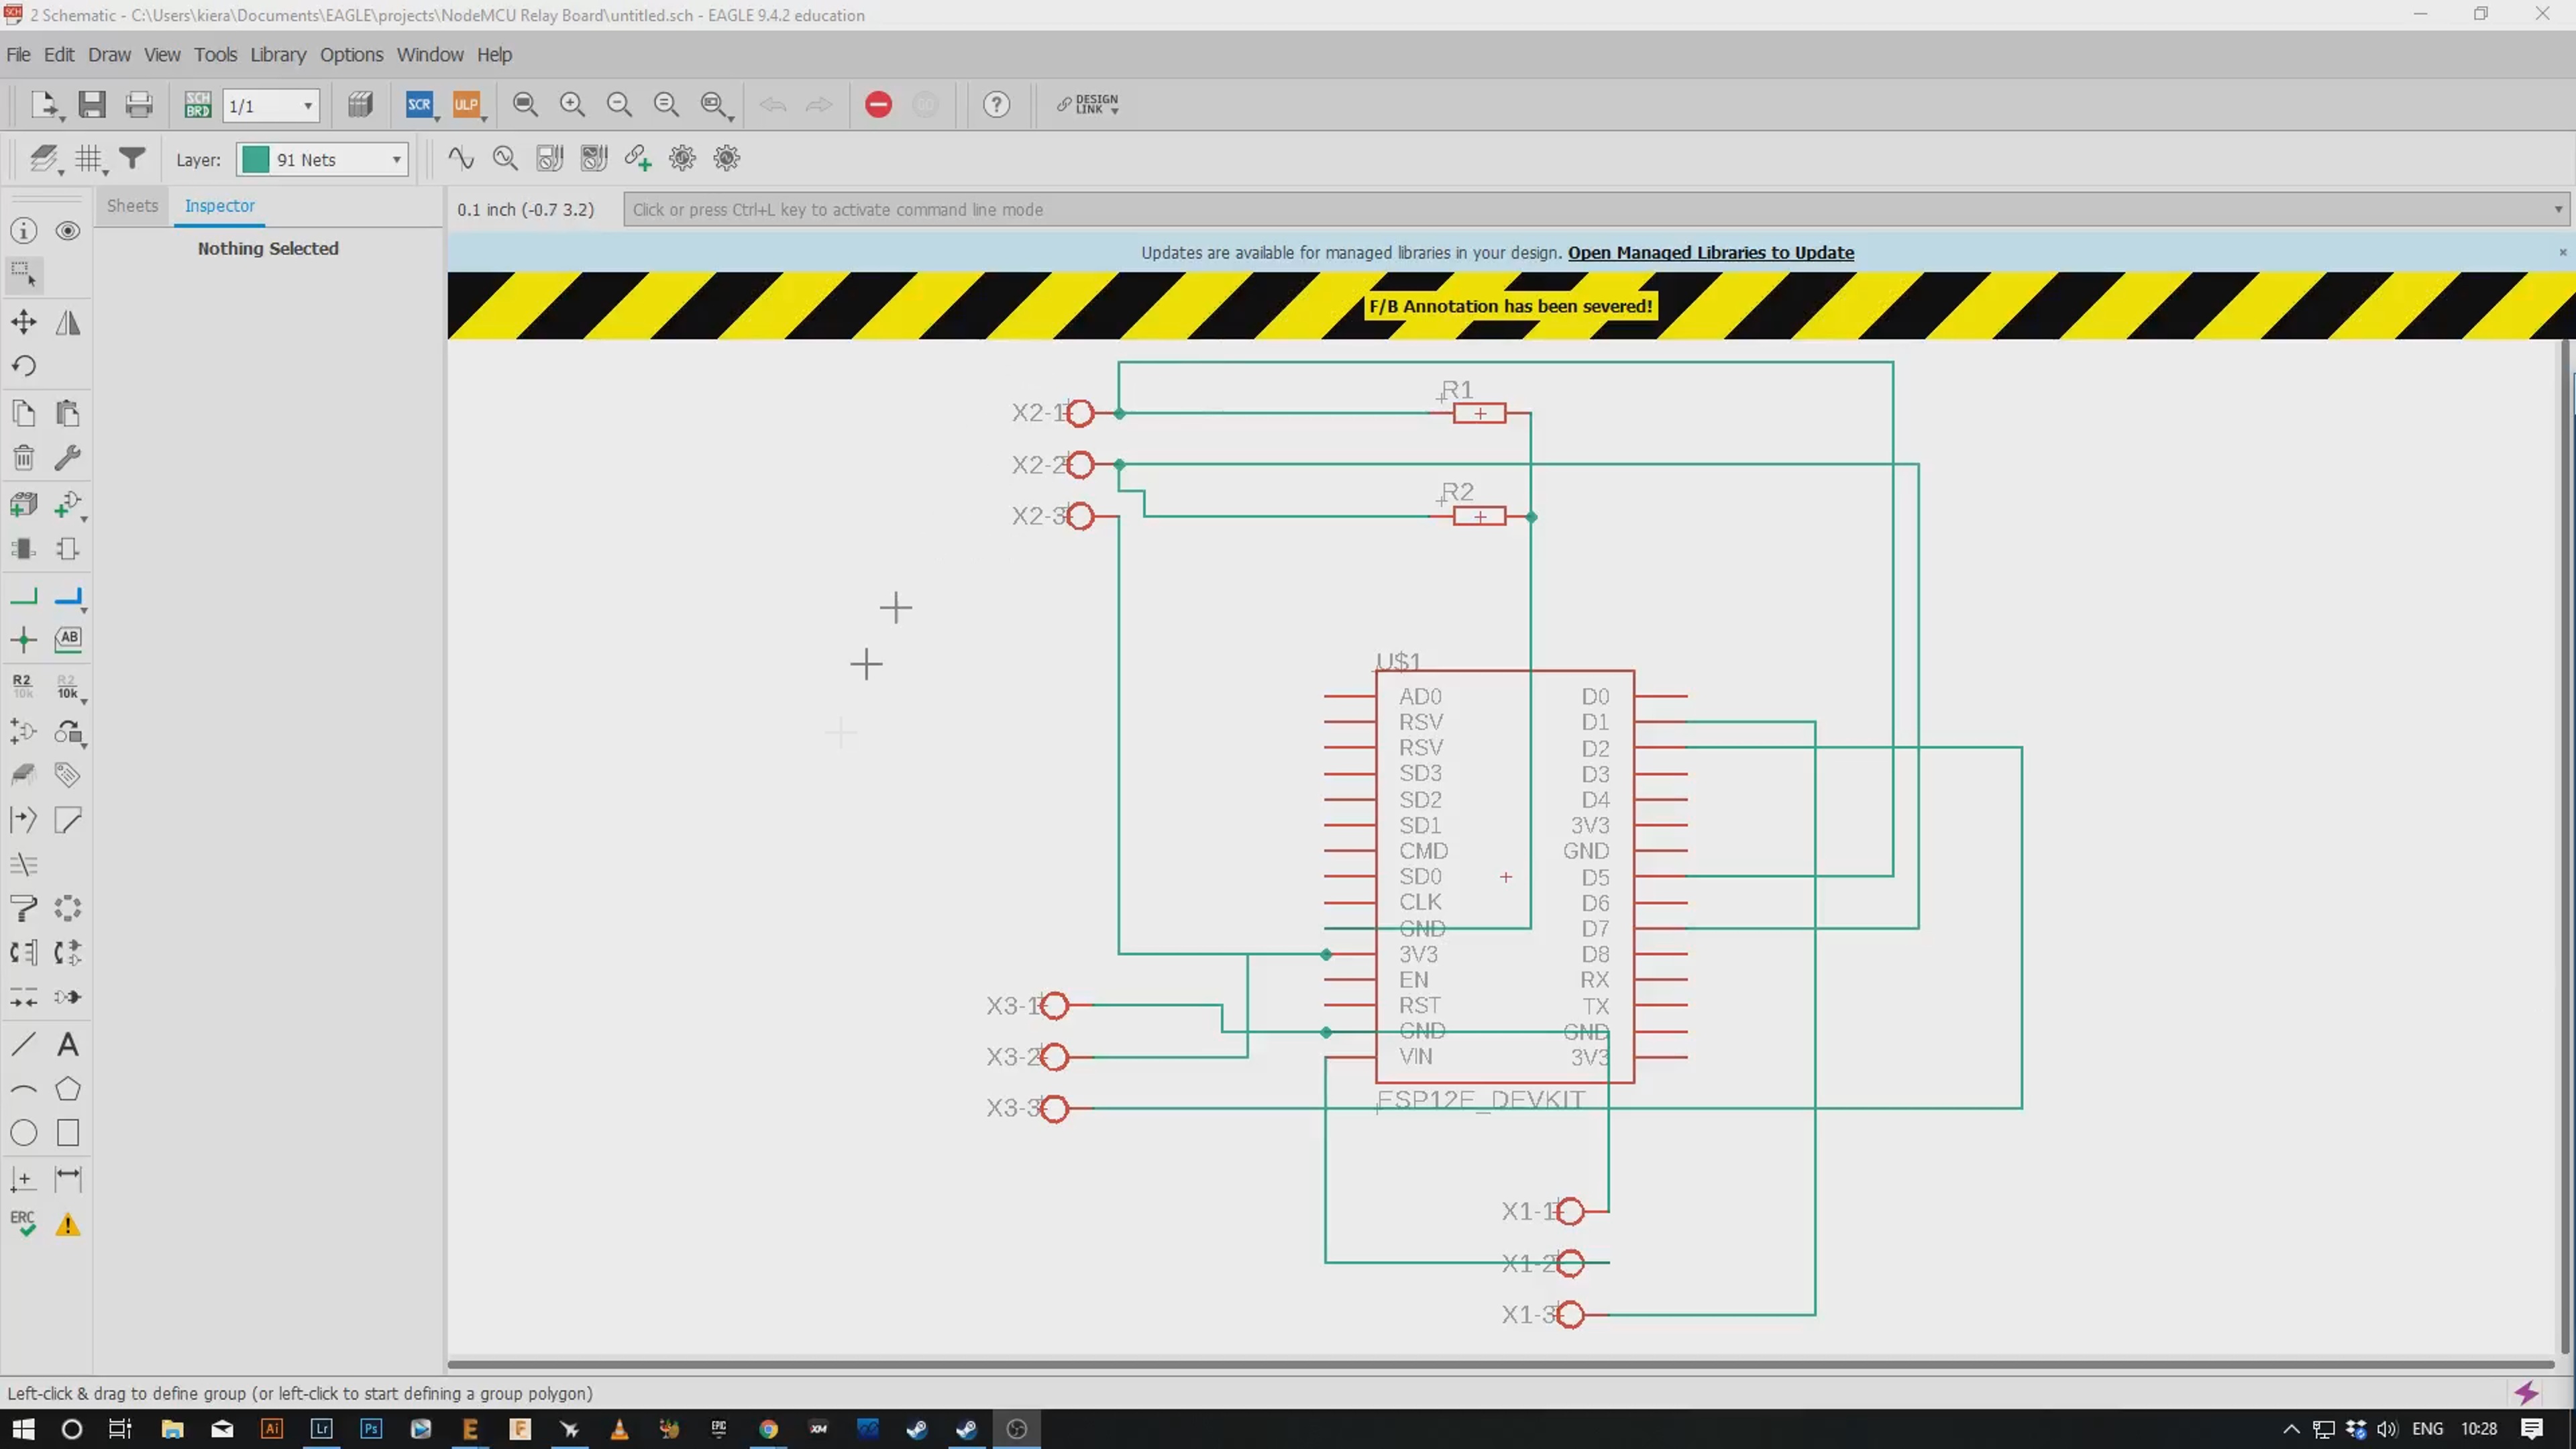
So what I needed was a breakout board. So I jumped into Eagle CAD and made a quick design.
I needed connections for 2 buttons and one strip as I was going to make a wire harness to connect all the strips together. I also decided to provide power to the board from the strips, that way I only had to power them and not worry about another supply for the controller.
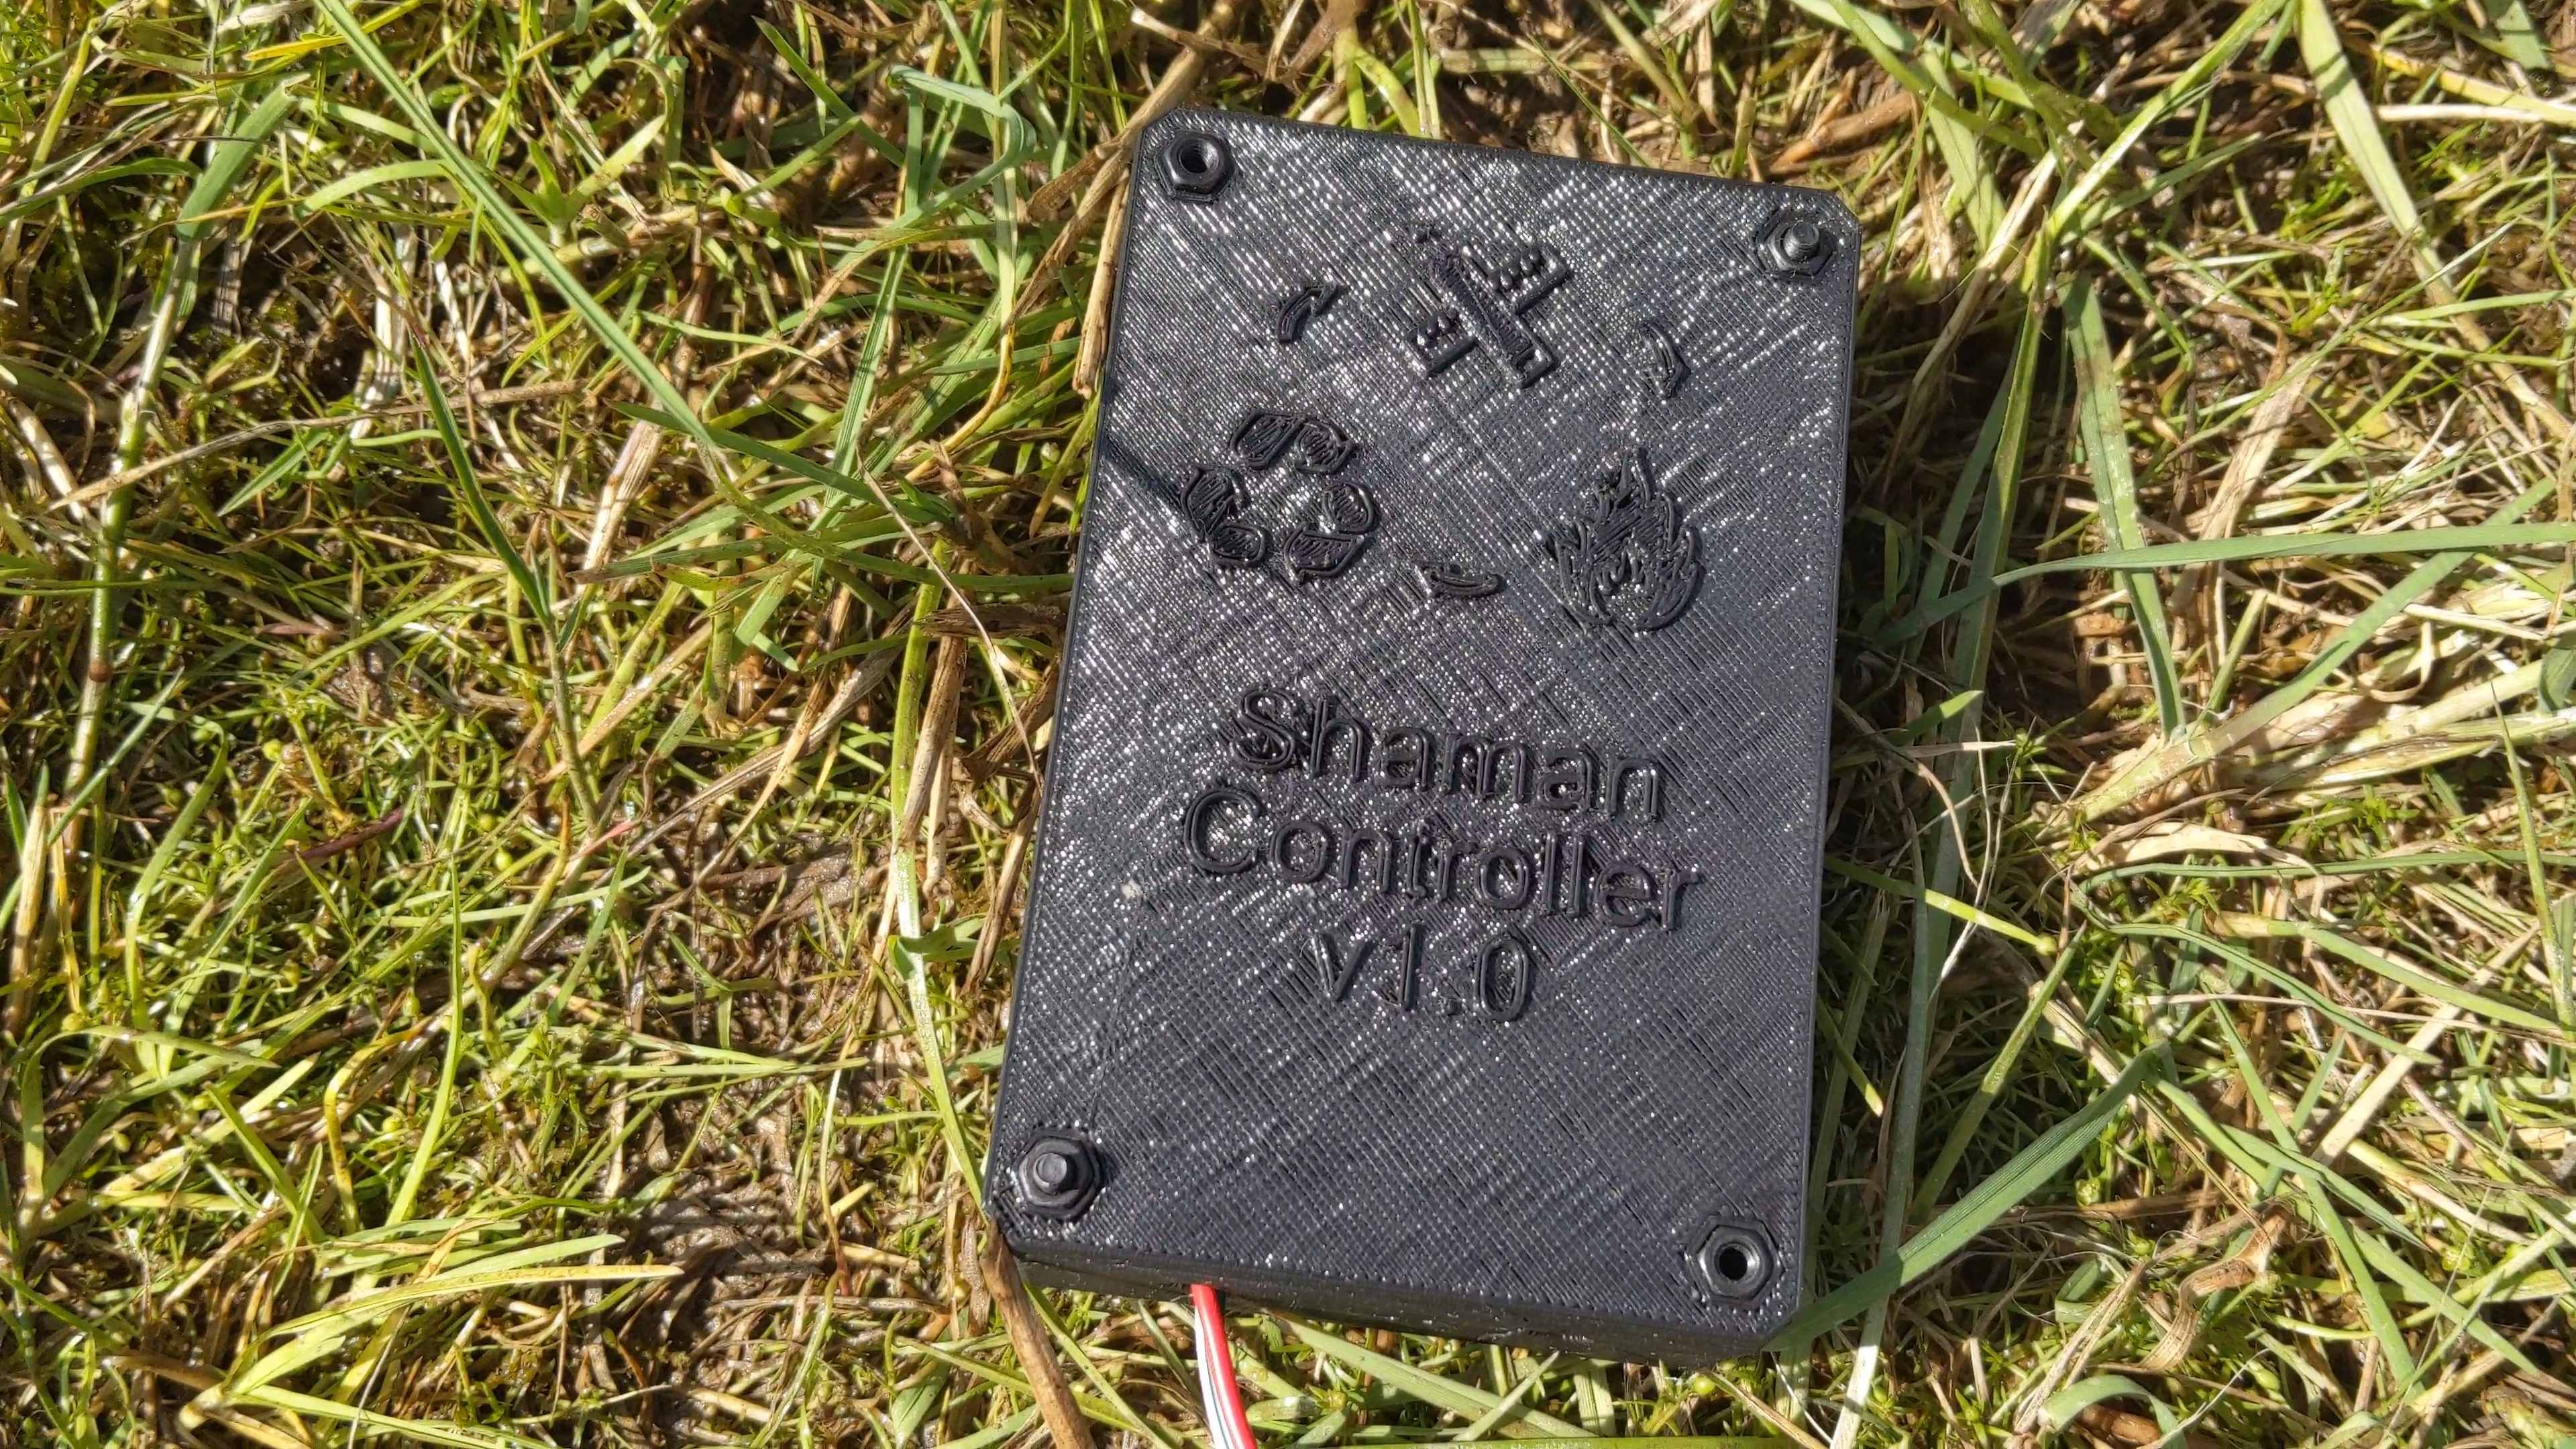
I also designed and 3d printed a box for it all to go in.
Making the Board
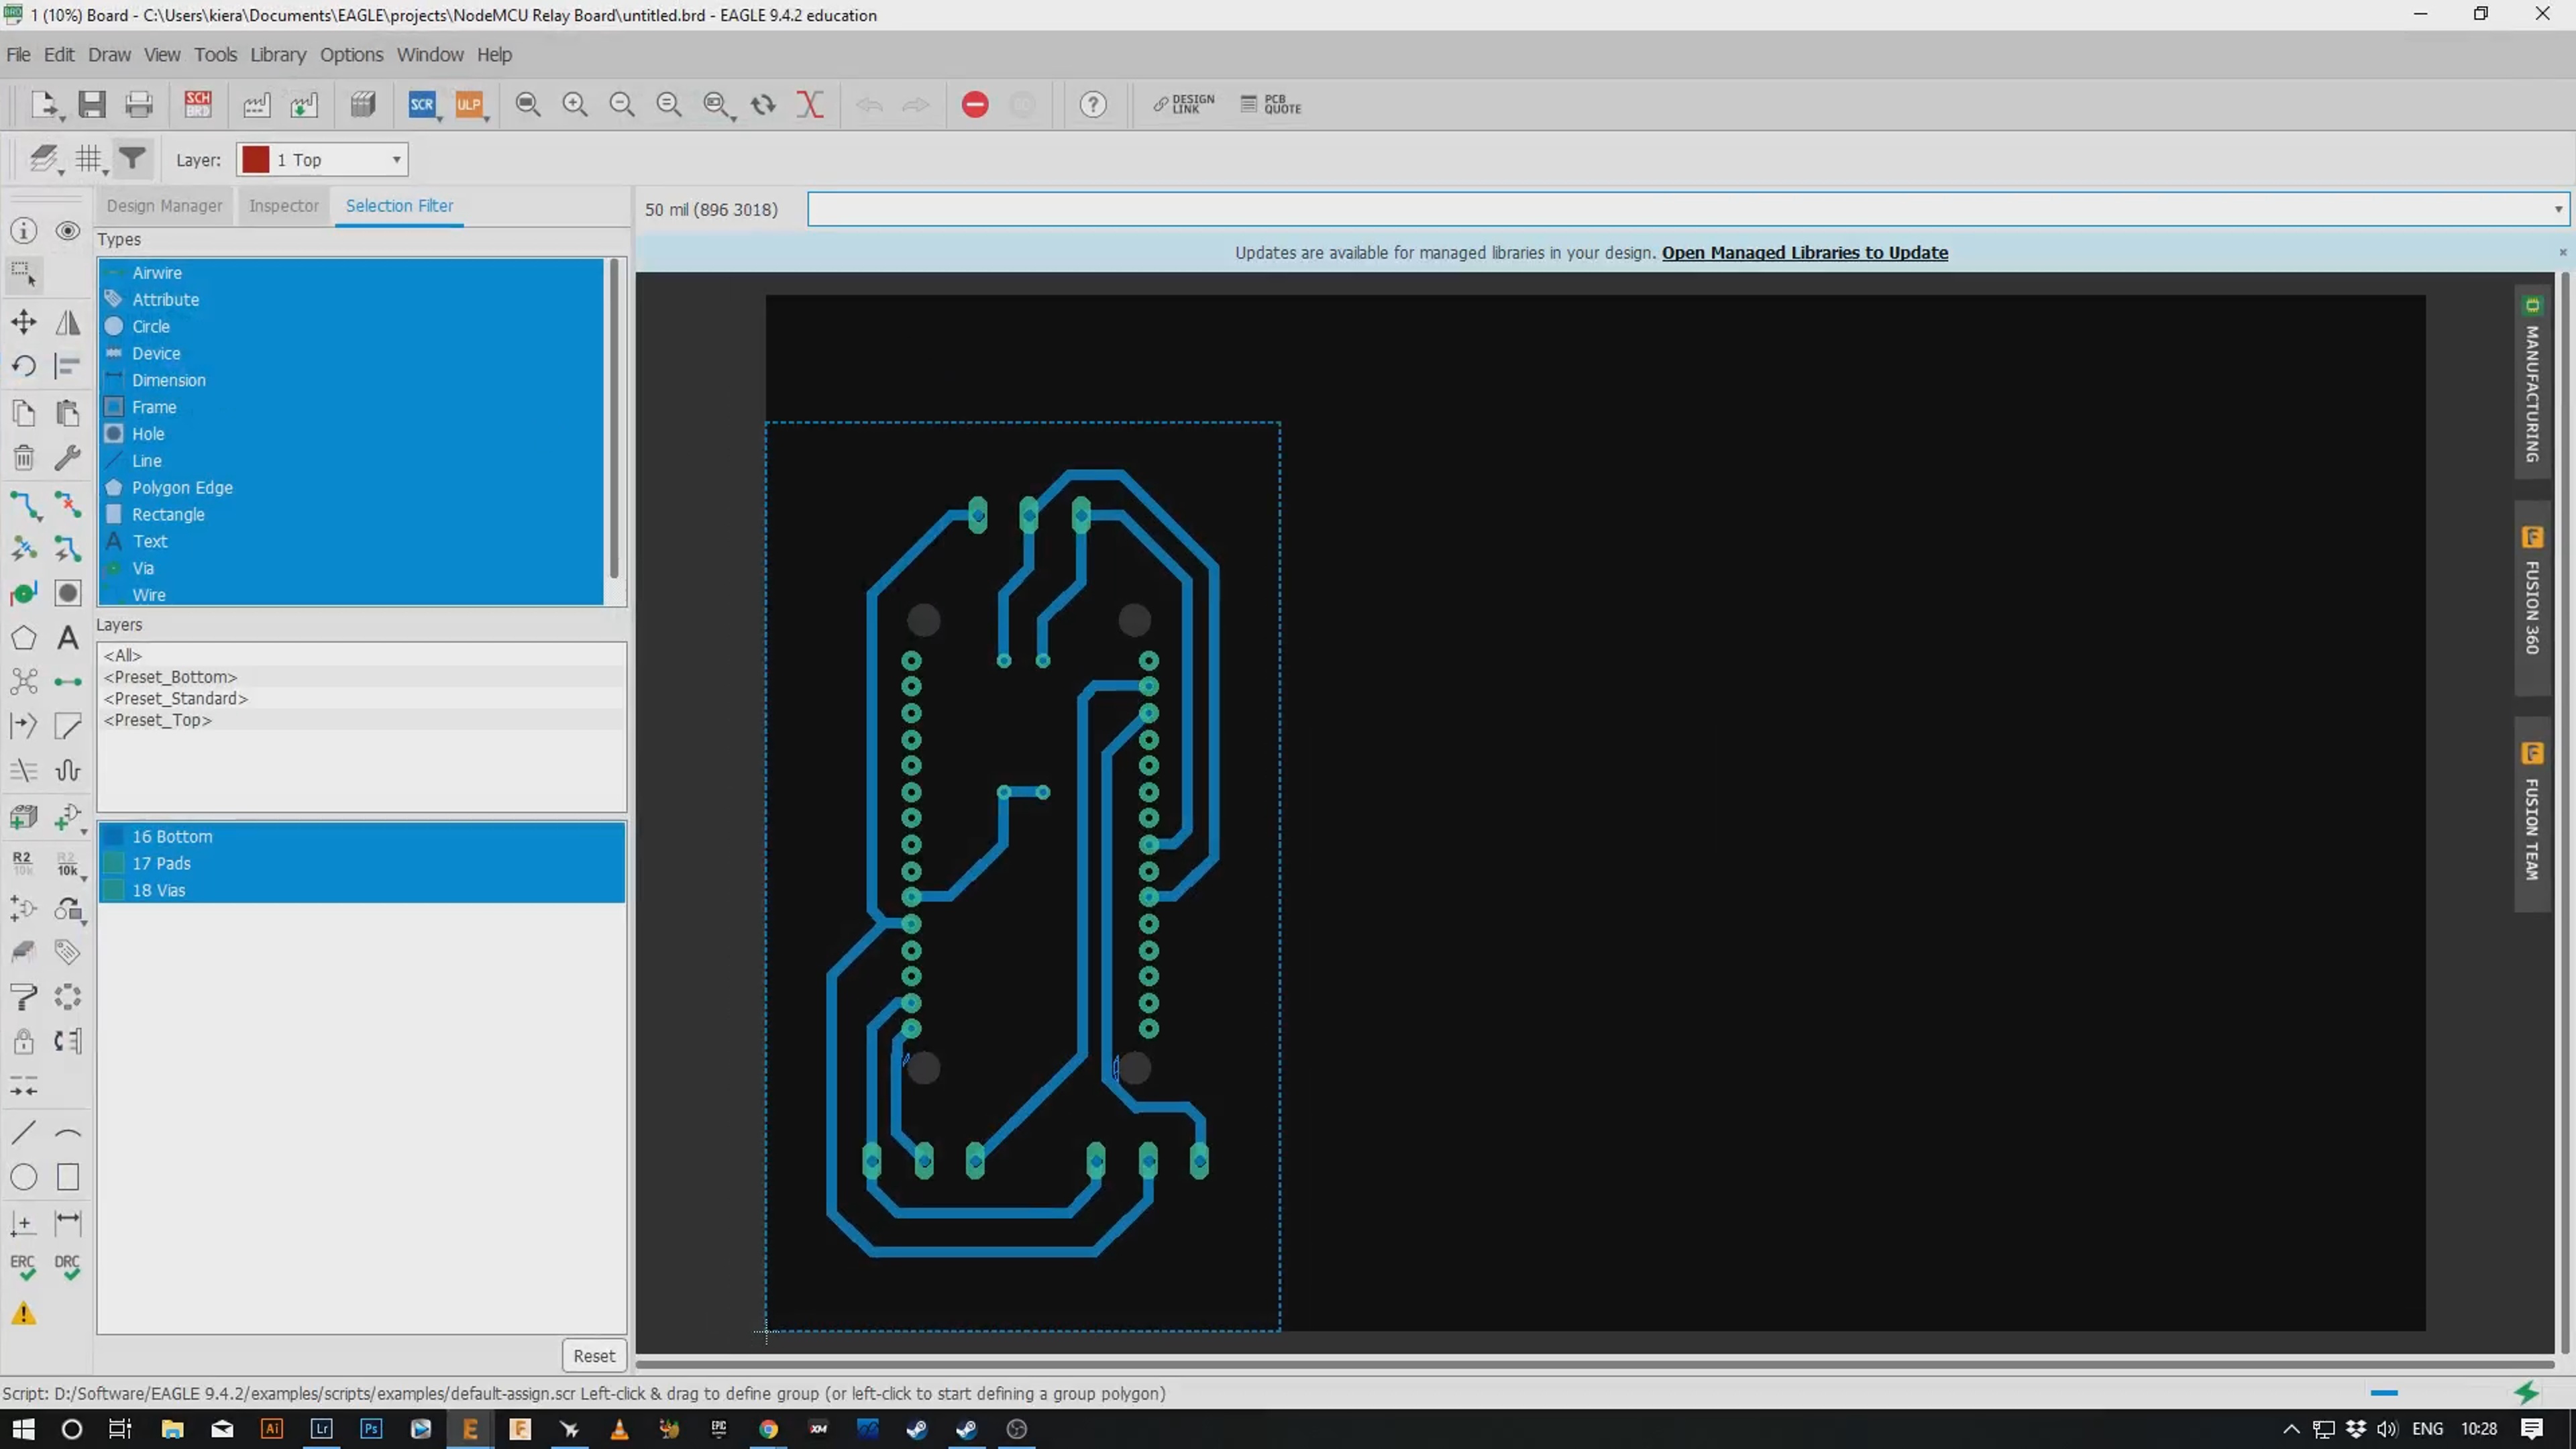
I made the board using a method I have been perfecting in recent
months.
This includes taking a DXF from Eagle Cad, cleaning it up a little in Illustrator and sending it to my laser cutter.
I covered a piece of copper clad board in black spray paint and using the laser, removed the parts needed to make a mask.
My laser cutter is only 40w so it definitely isn't going to take the copper off the board but I have found this method can give me a really nice board with good thin traces.
Then using Ferric Chloride, I etched the board and removed the rest of the mask with paint thinners.
Once assembled, I clear coated the back of the board to prevent and oxidisation.
The Game
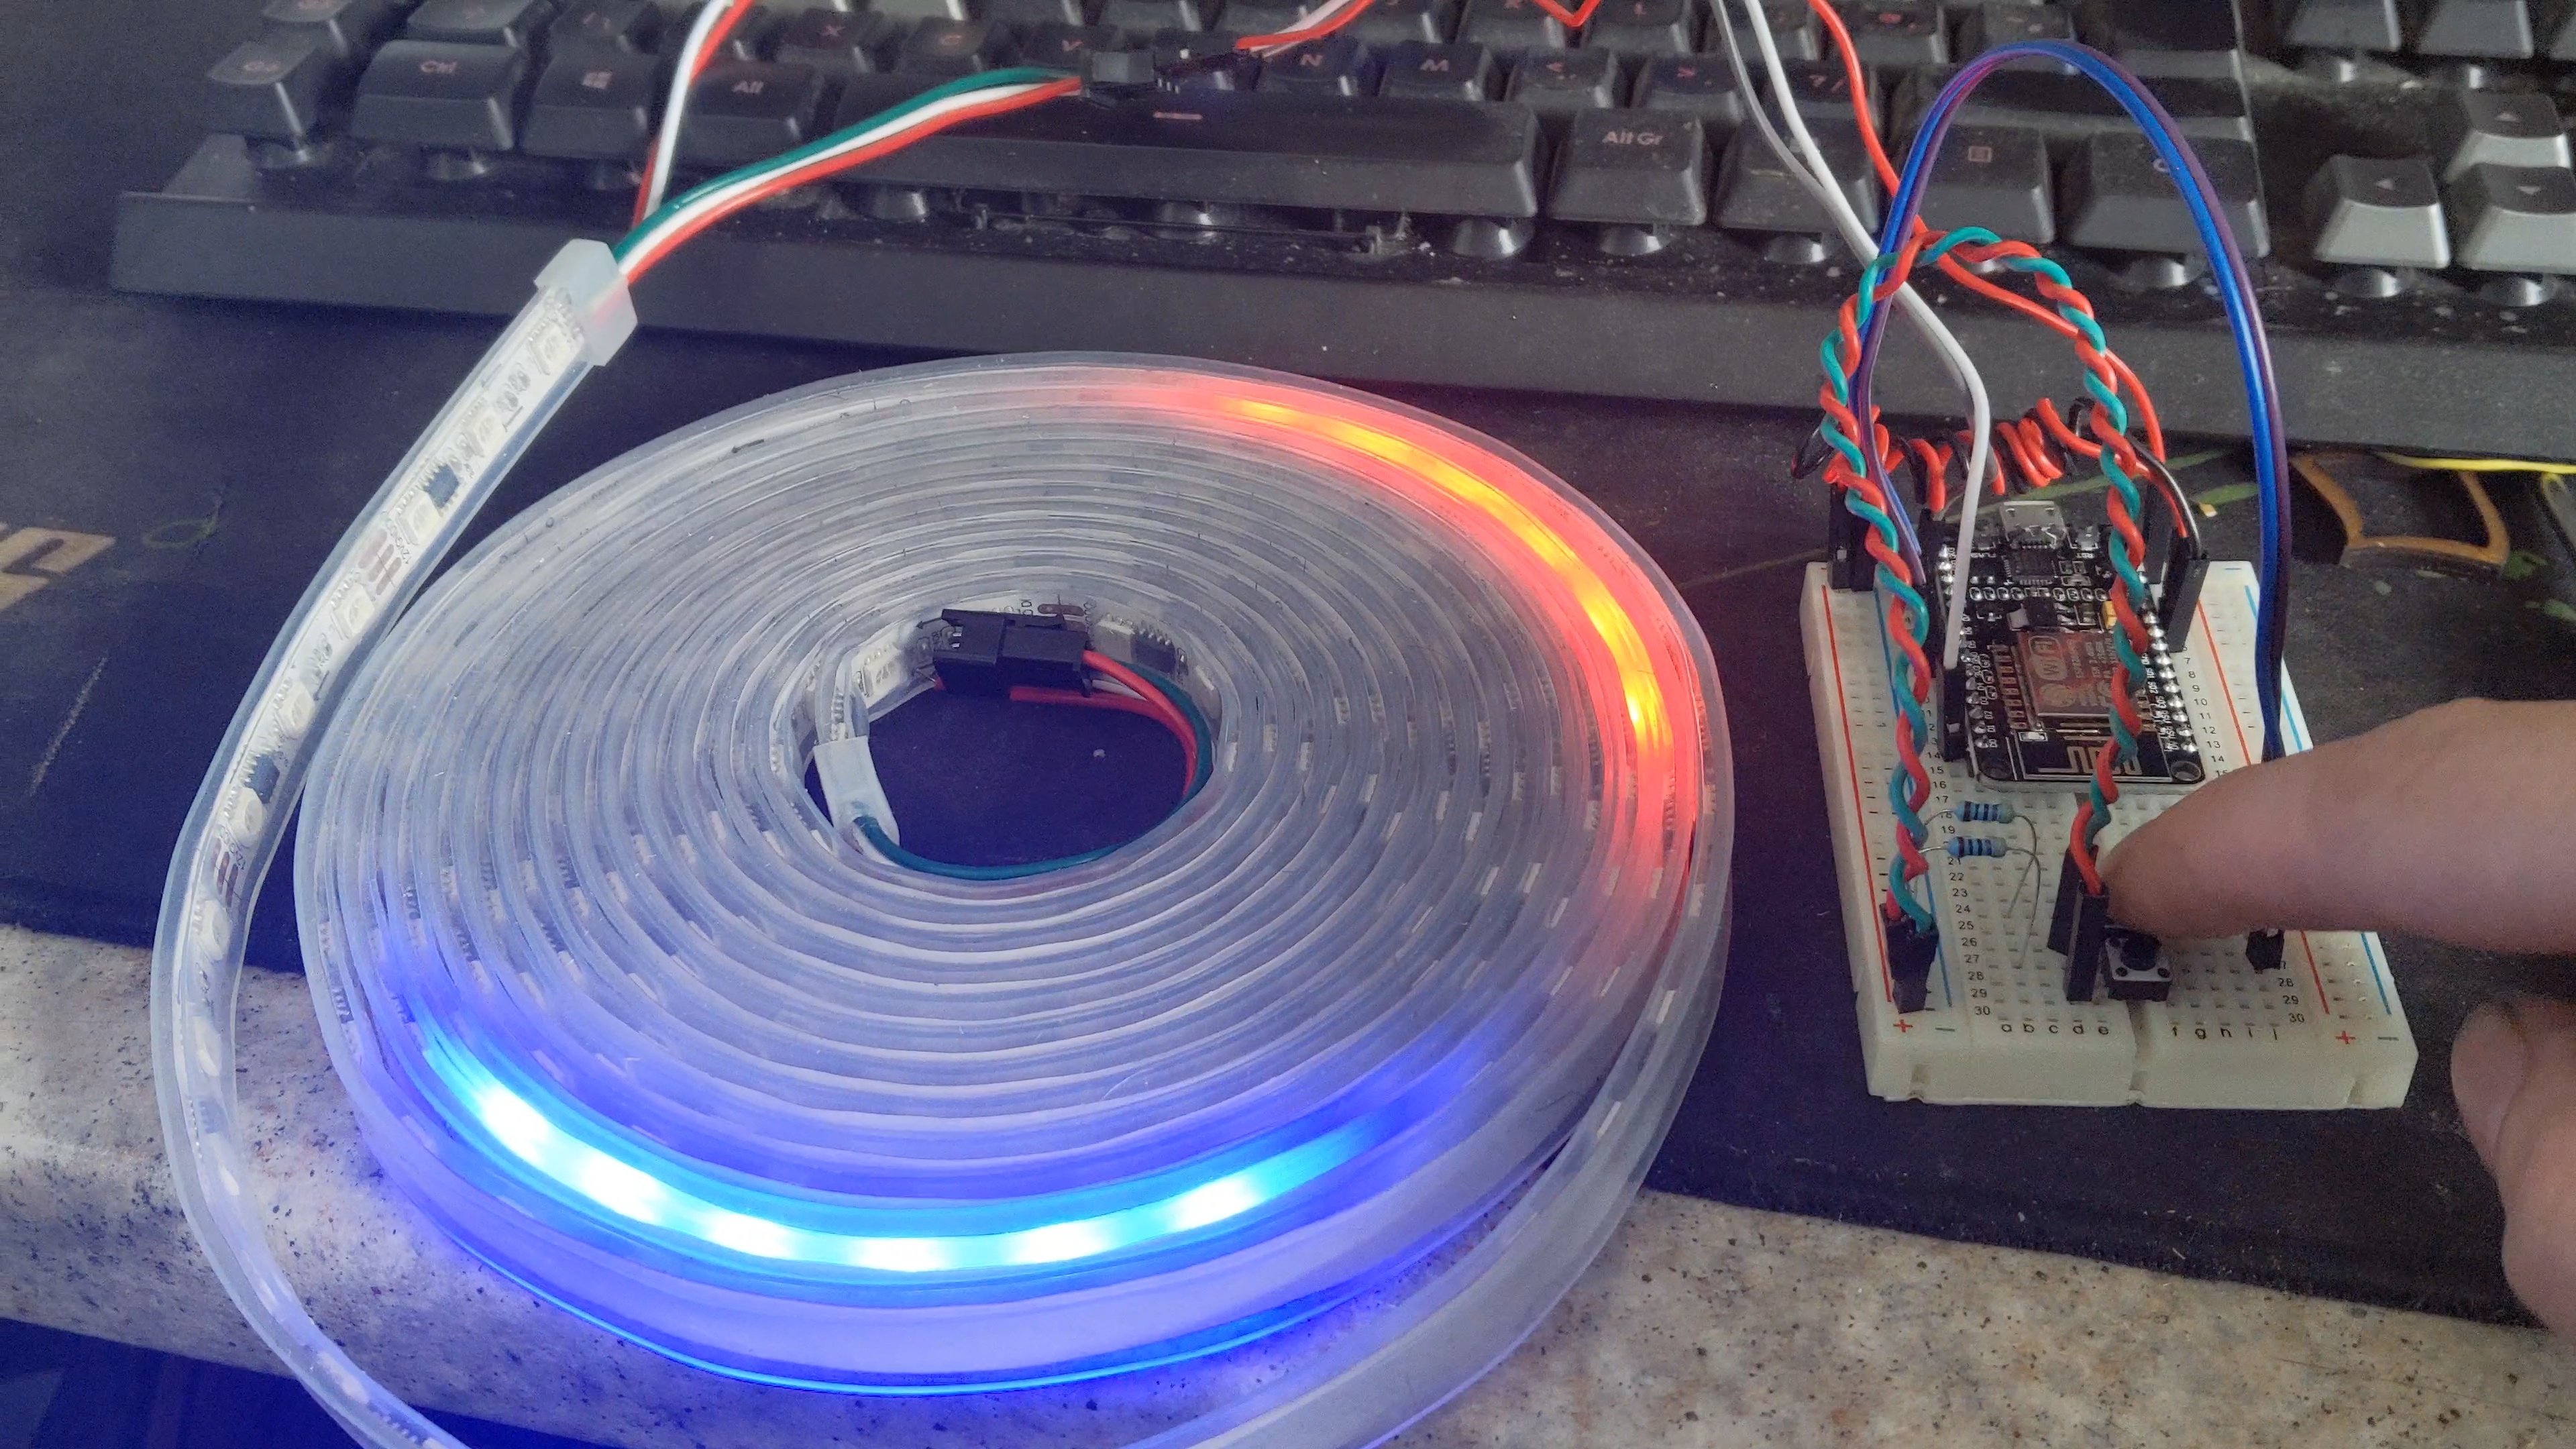
So, making pretty light patterns on an LED strip is easy, so I
won't go into that aspect of the build. The game section on the other hand is trickier, and with the very short amount of time I had before the event I was so happy when I found that somebody had already done most of the work.
Open LED Race was a project that a group put together for the Arduino Day 2019 event. It was designed as a digital scalectrix. An LED strip, wrapped into a loop would make the track and the faster a player tapped the button the faster the car would go.
These guys really did a fantastic job and you should all head over and show them some love:
https://create.arduino.cc/projecthub/gbarbarov/open-led-race-a0331a
https://twitter.com/openledrace
I simply took their code and twisted it to suit my own nefarious purposes. Setting the game to a single lap would mean that the race would be from the bottom of the tower to the top, or so I thought, what actually happened, because of the way I mounted everything, was a race from the top to the bottom. But it worked!
I coded the game to start if both buttons were held for a few seconds and return to the light show after the game or after a set time in case someone started the game and walked away.
The Build
Probably the most important thing we have to take into
consideration when designing and building lighting installation is glare... The last thing you want is to blind passers-by to the point that they can't enjoy the show.
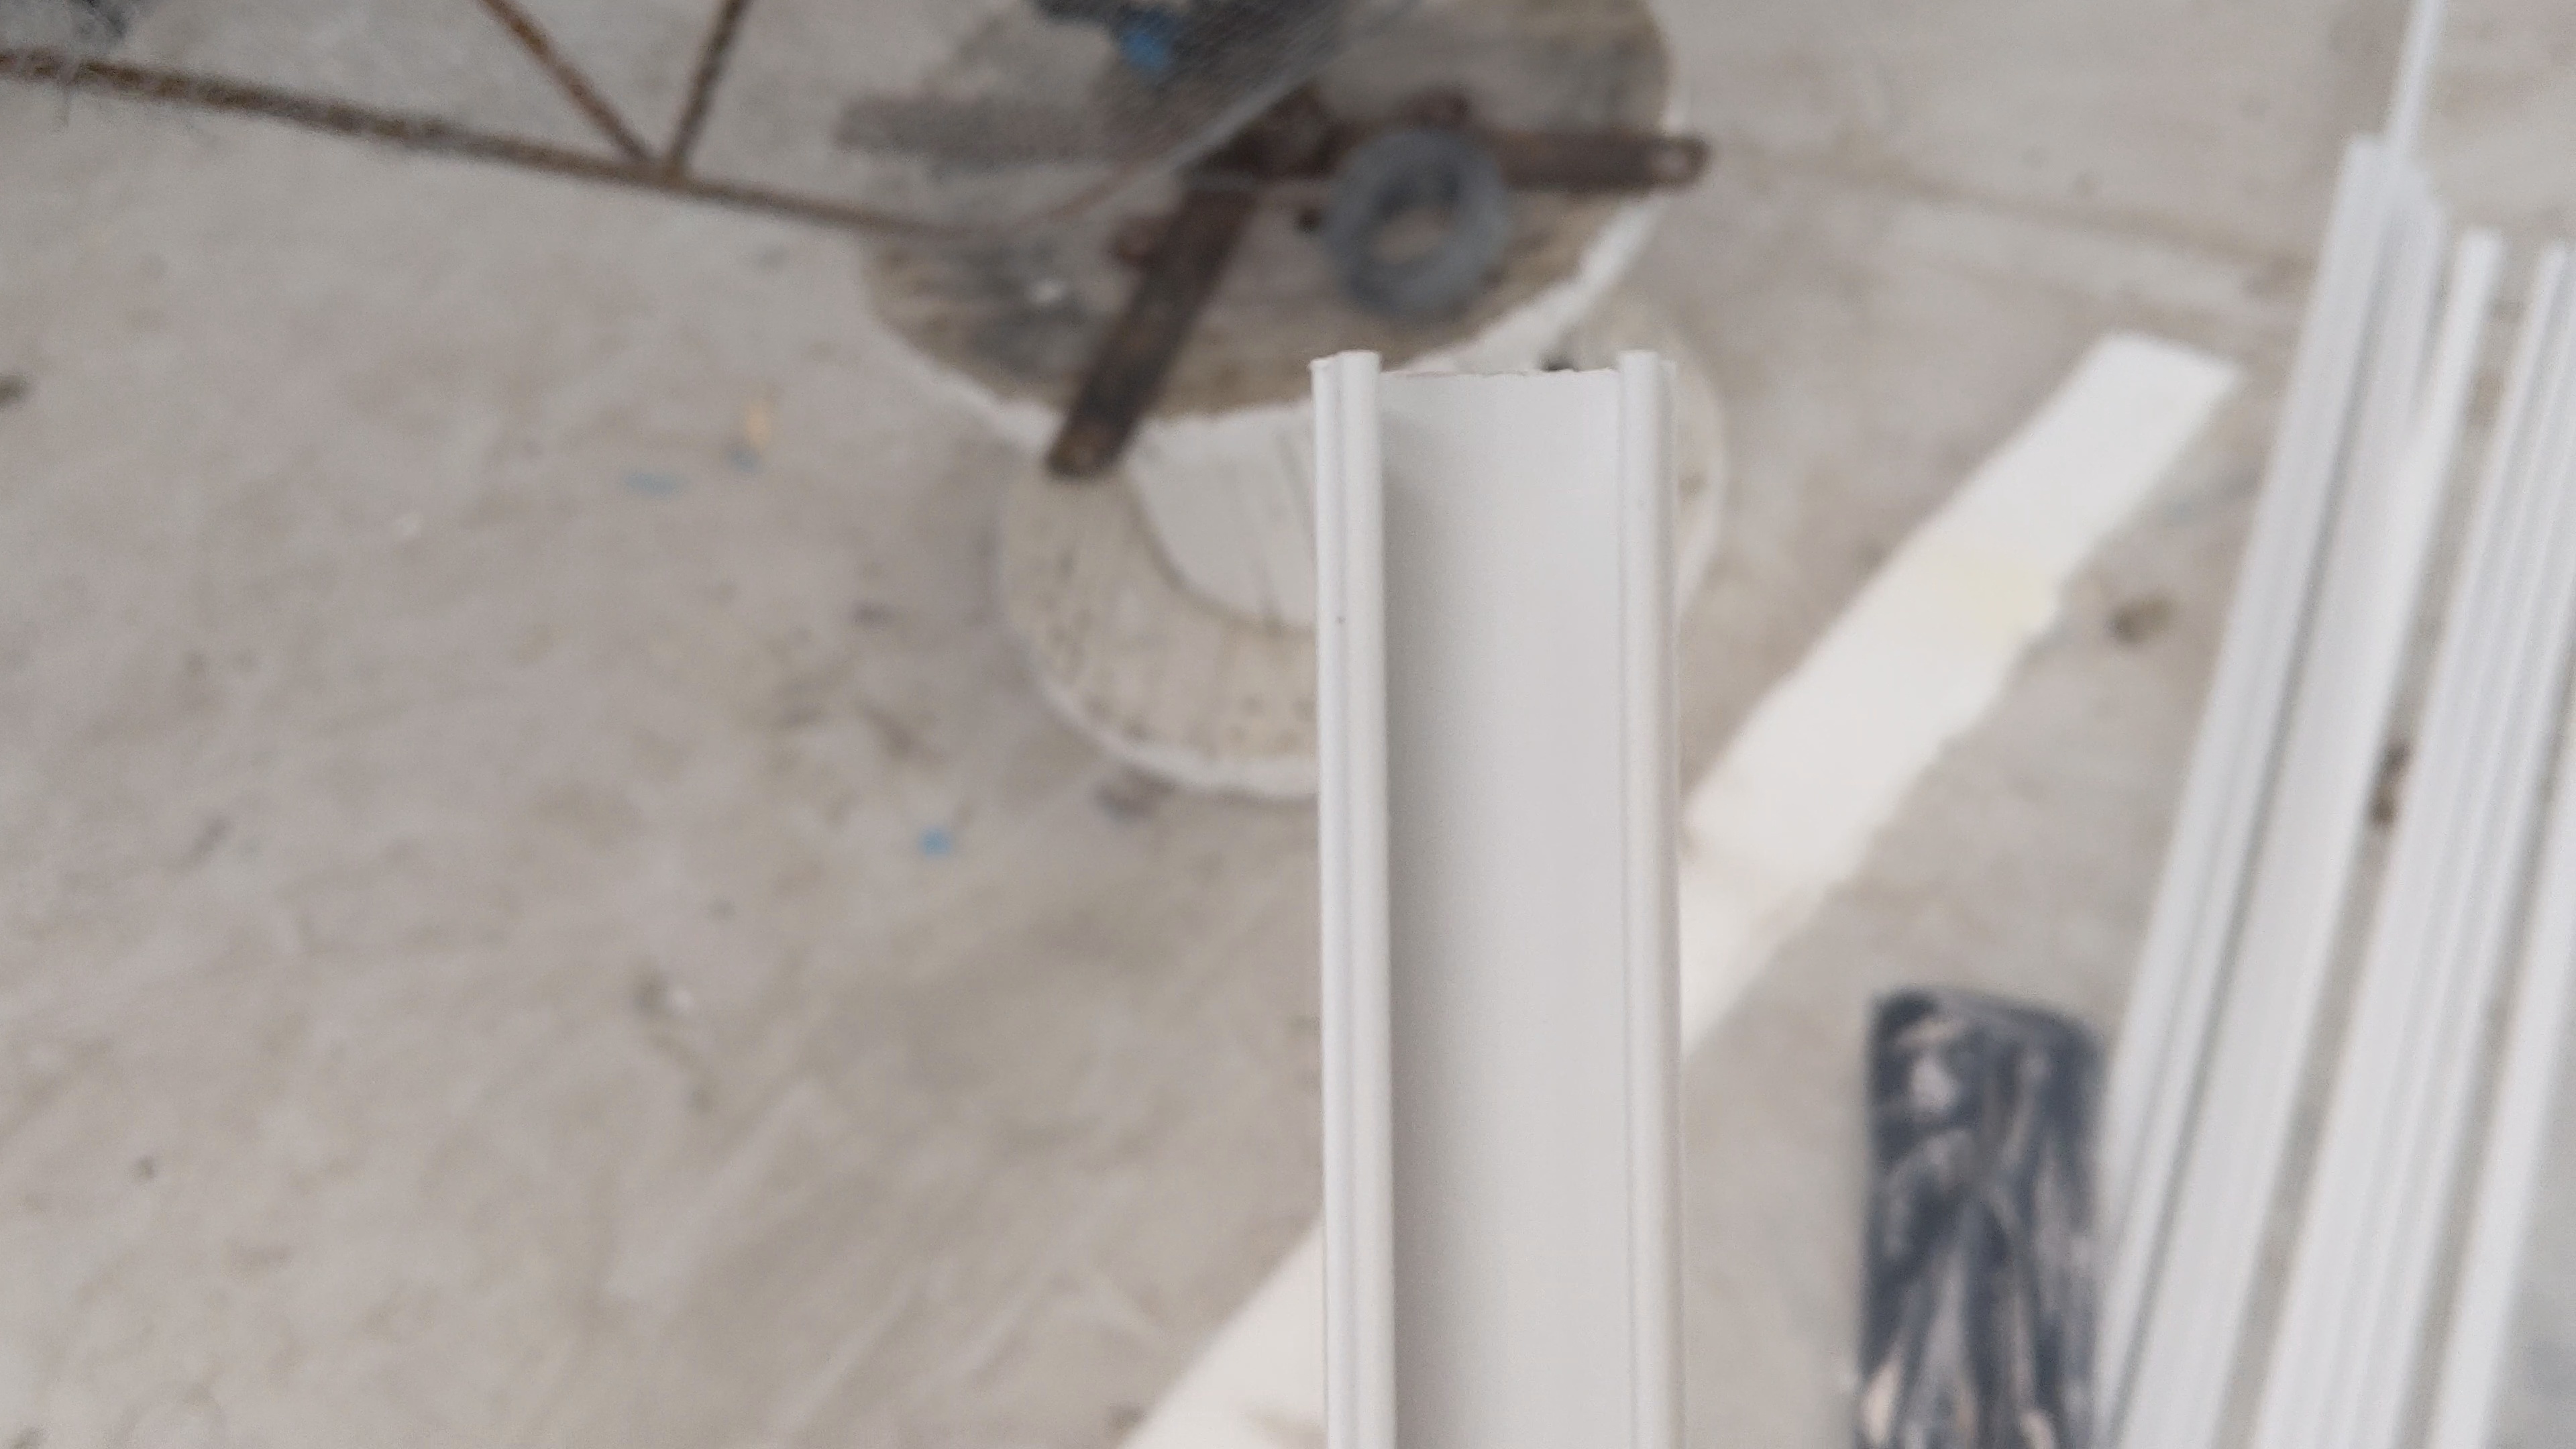
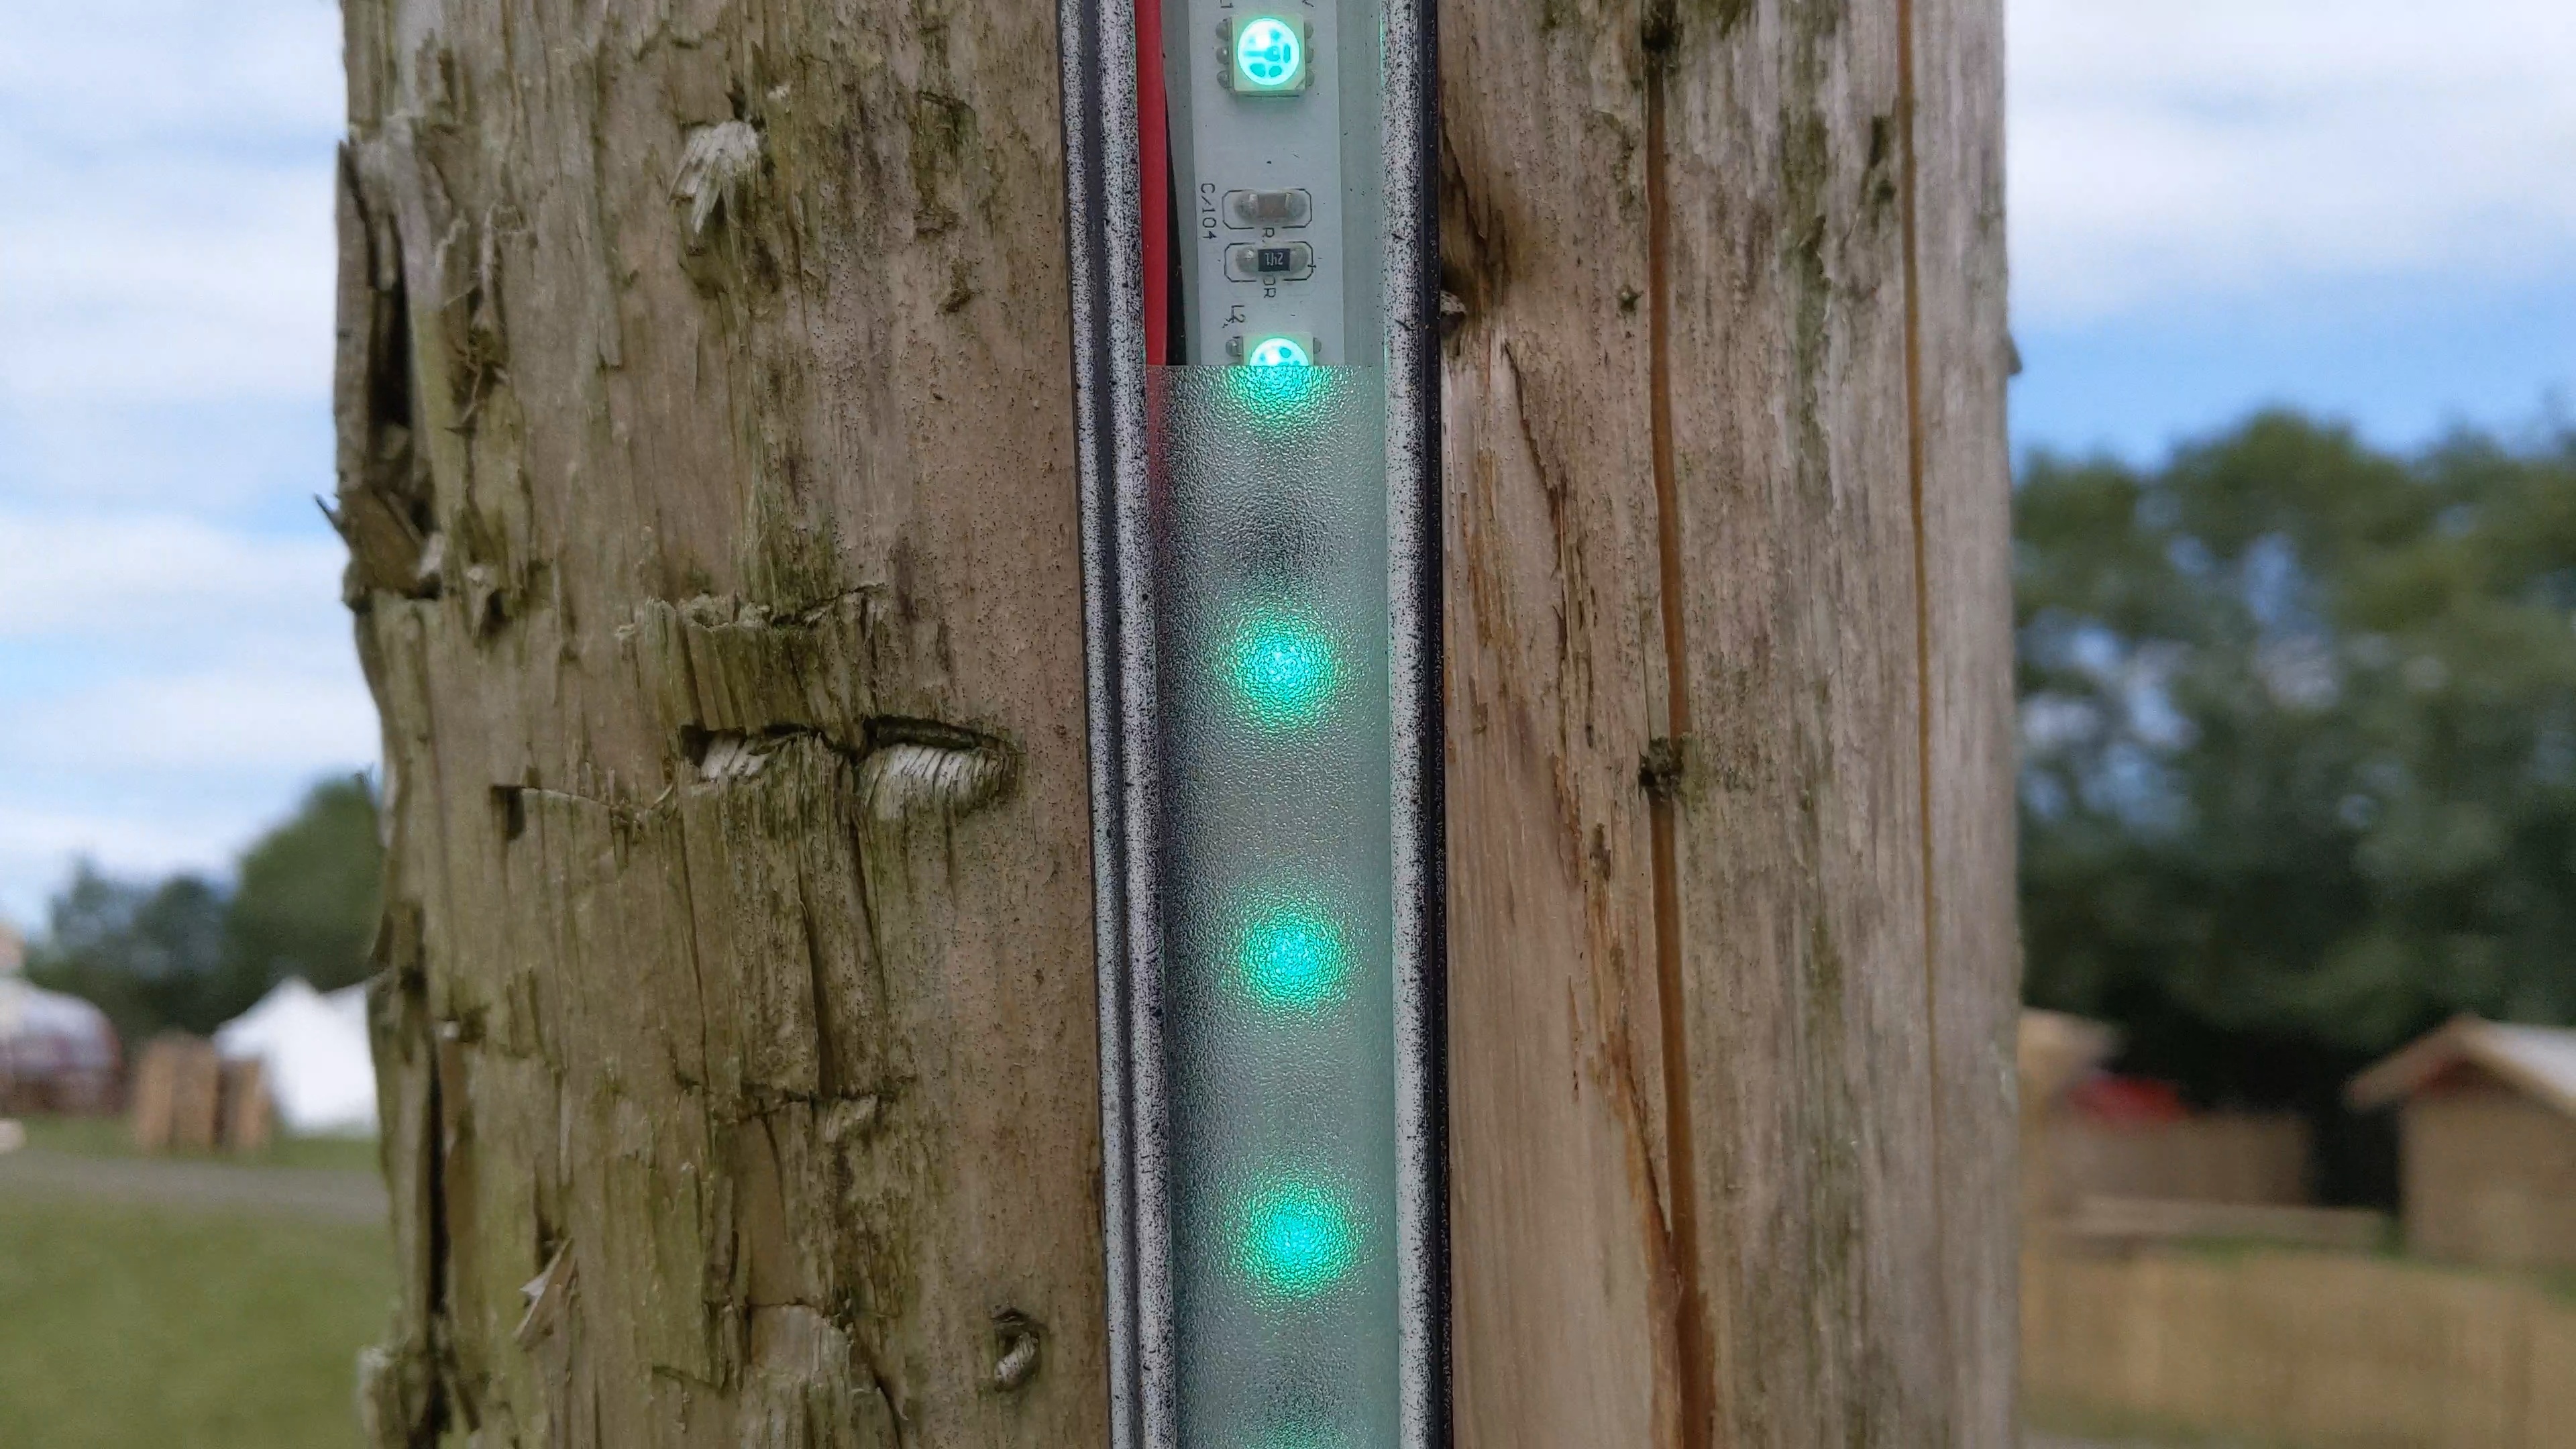
For this reason, I needed to put the strips inside a channel and to diffuse them somehow.
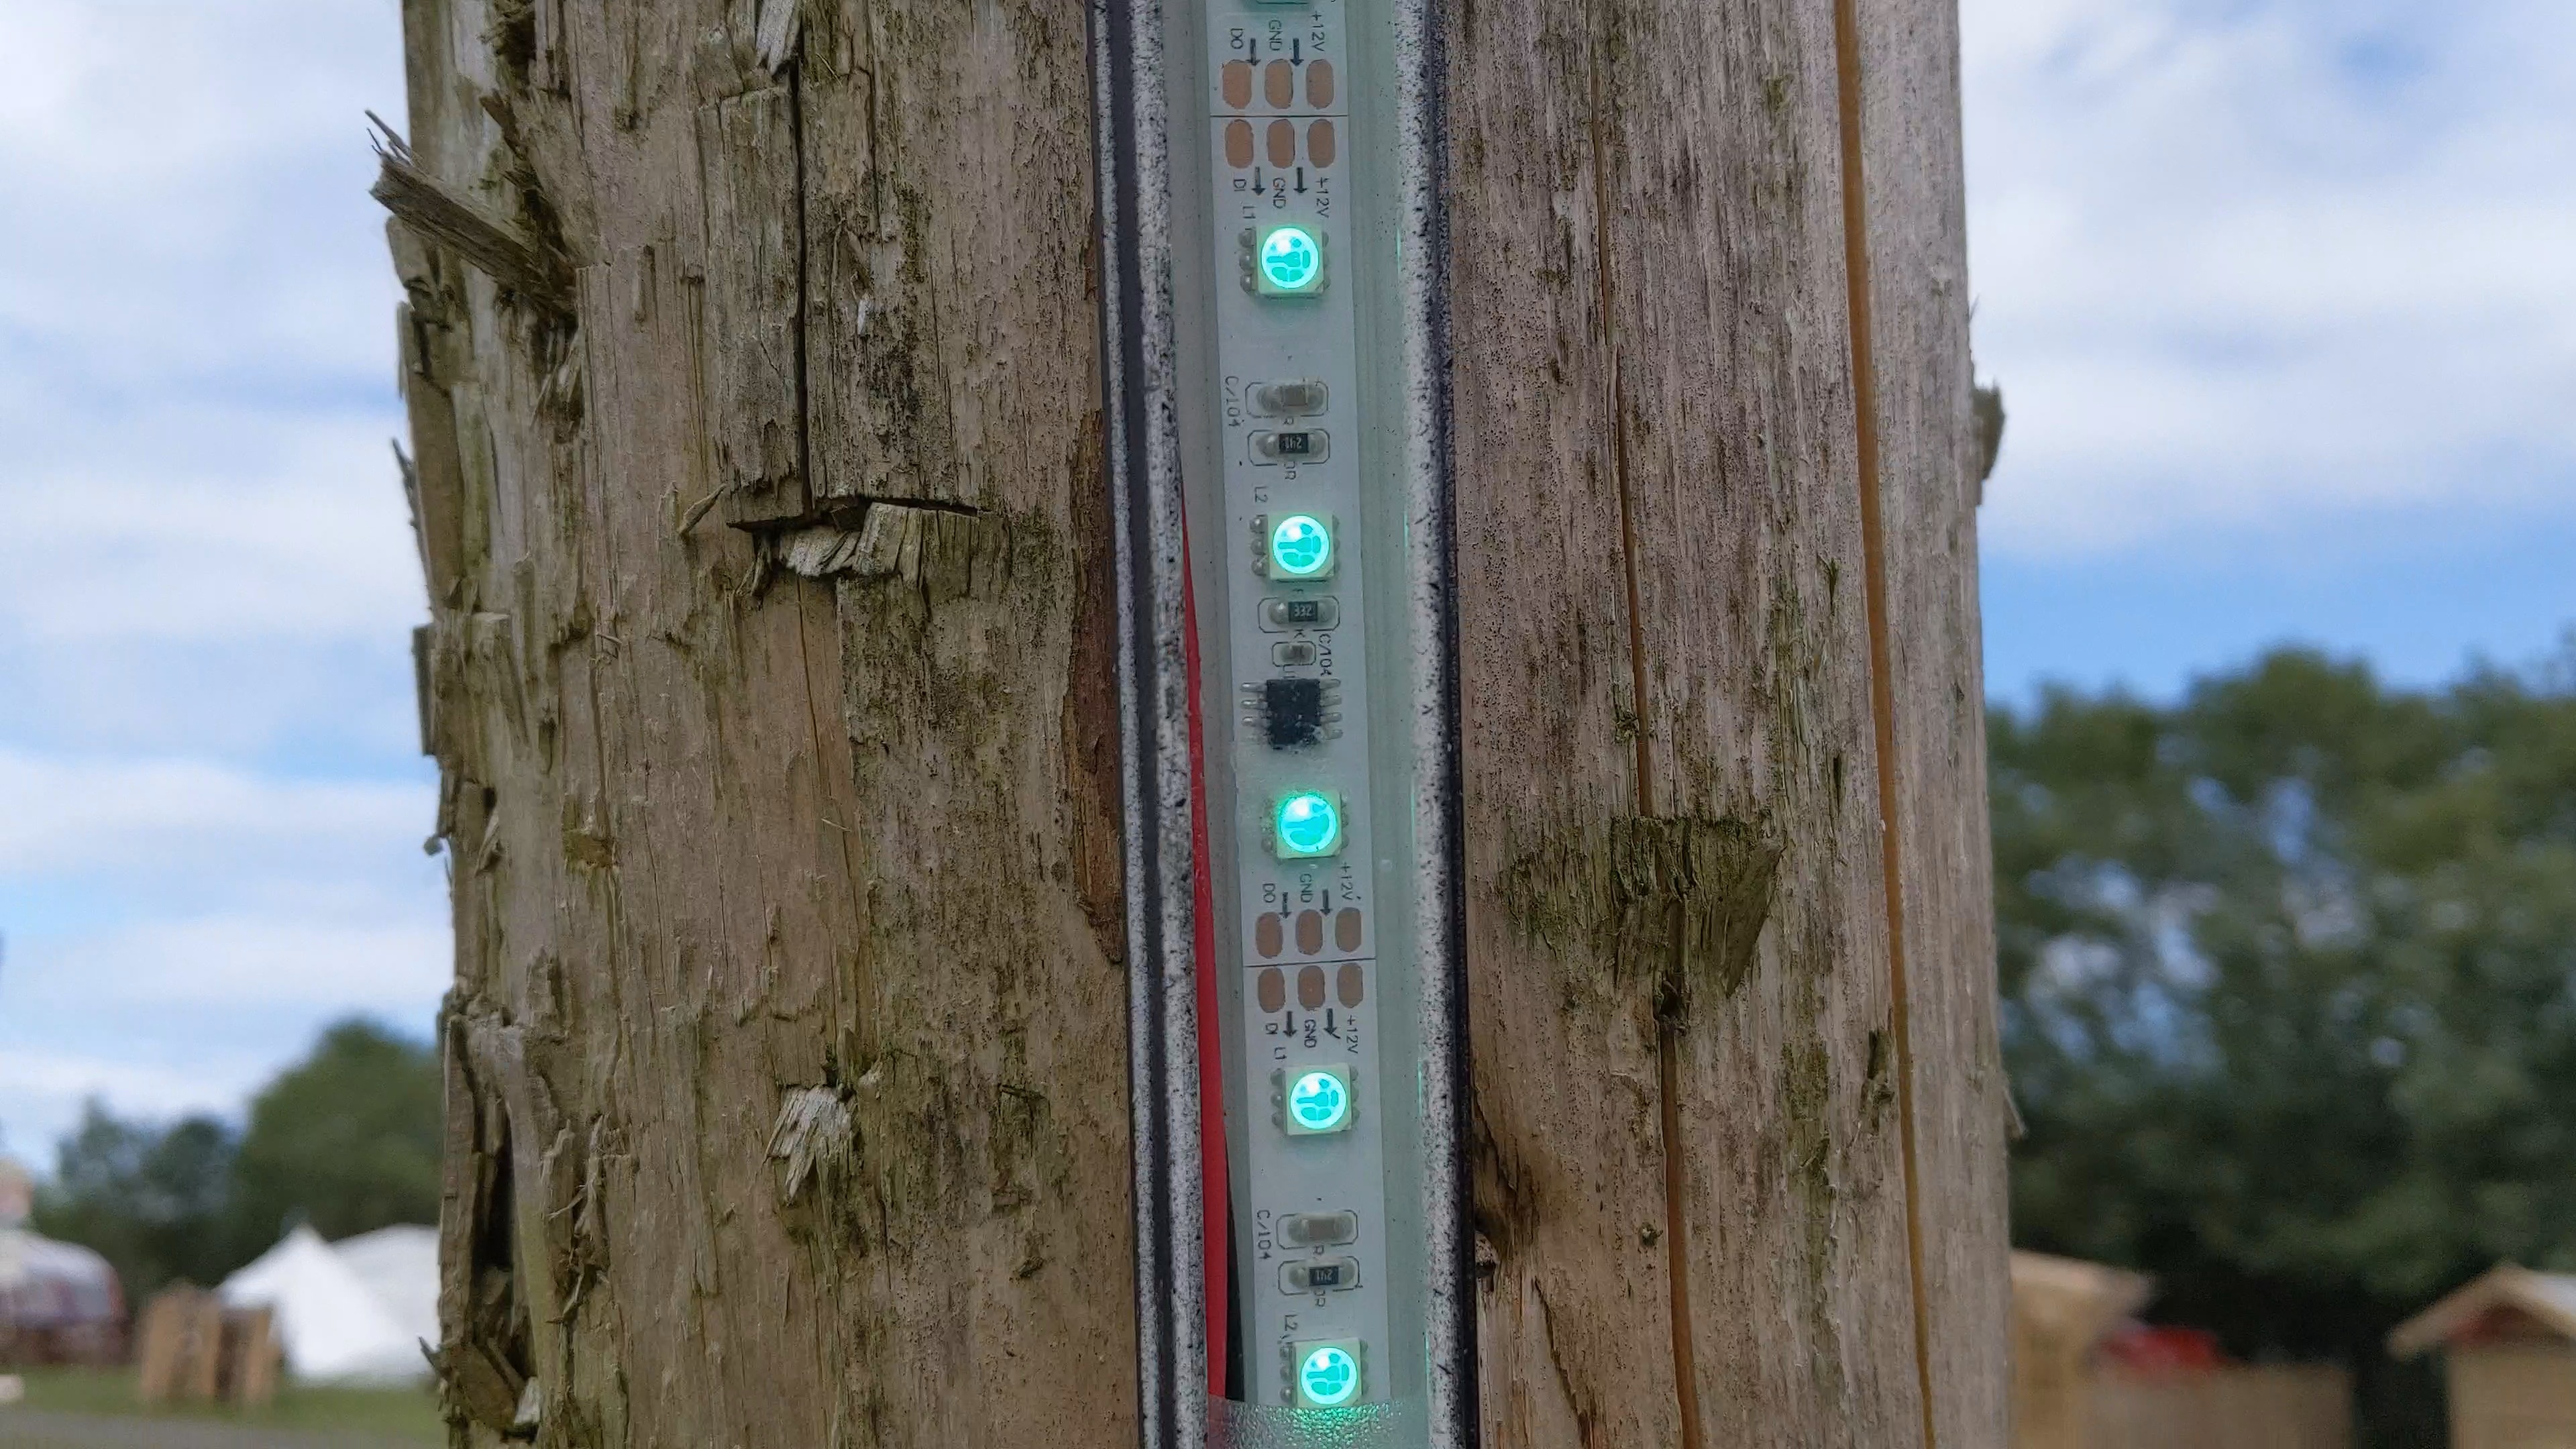
I ended up using simple cable trunking, spraying the outside black and screwing it to the inside of each pole.
Spray glue held the strips in place but still allowed them to be removed after the event.
For diffusion, I found some "privacy film", this is what you might use on a bathroom window or shower door to obscure the glass. It came on a long roll and my hope was to cut one long 5m strip and slide it into the channel. As it happens that didn't work so I used a lot of small pieces and slid them in one by one.
I mounted 2 12v transformers at the top of the tower which was probably overkill but these strips can pull a lot of current if all the pixels turn white at the same time.
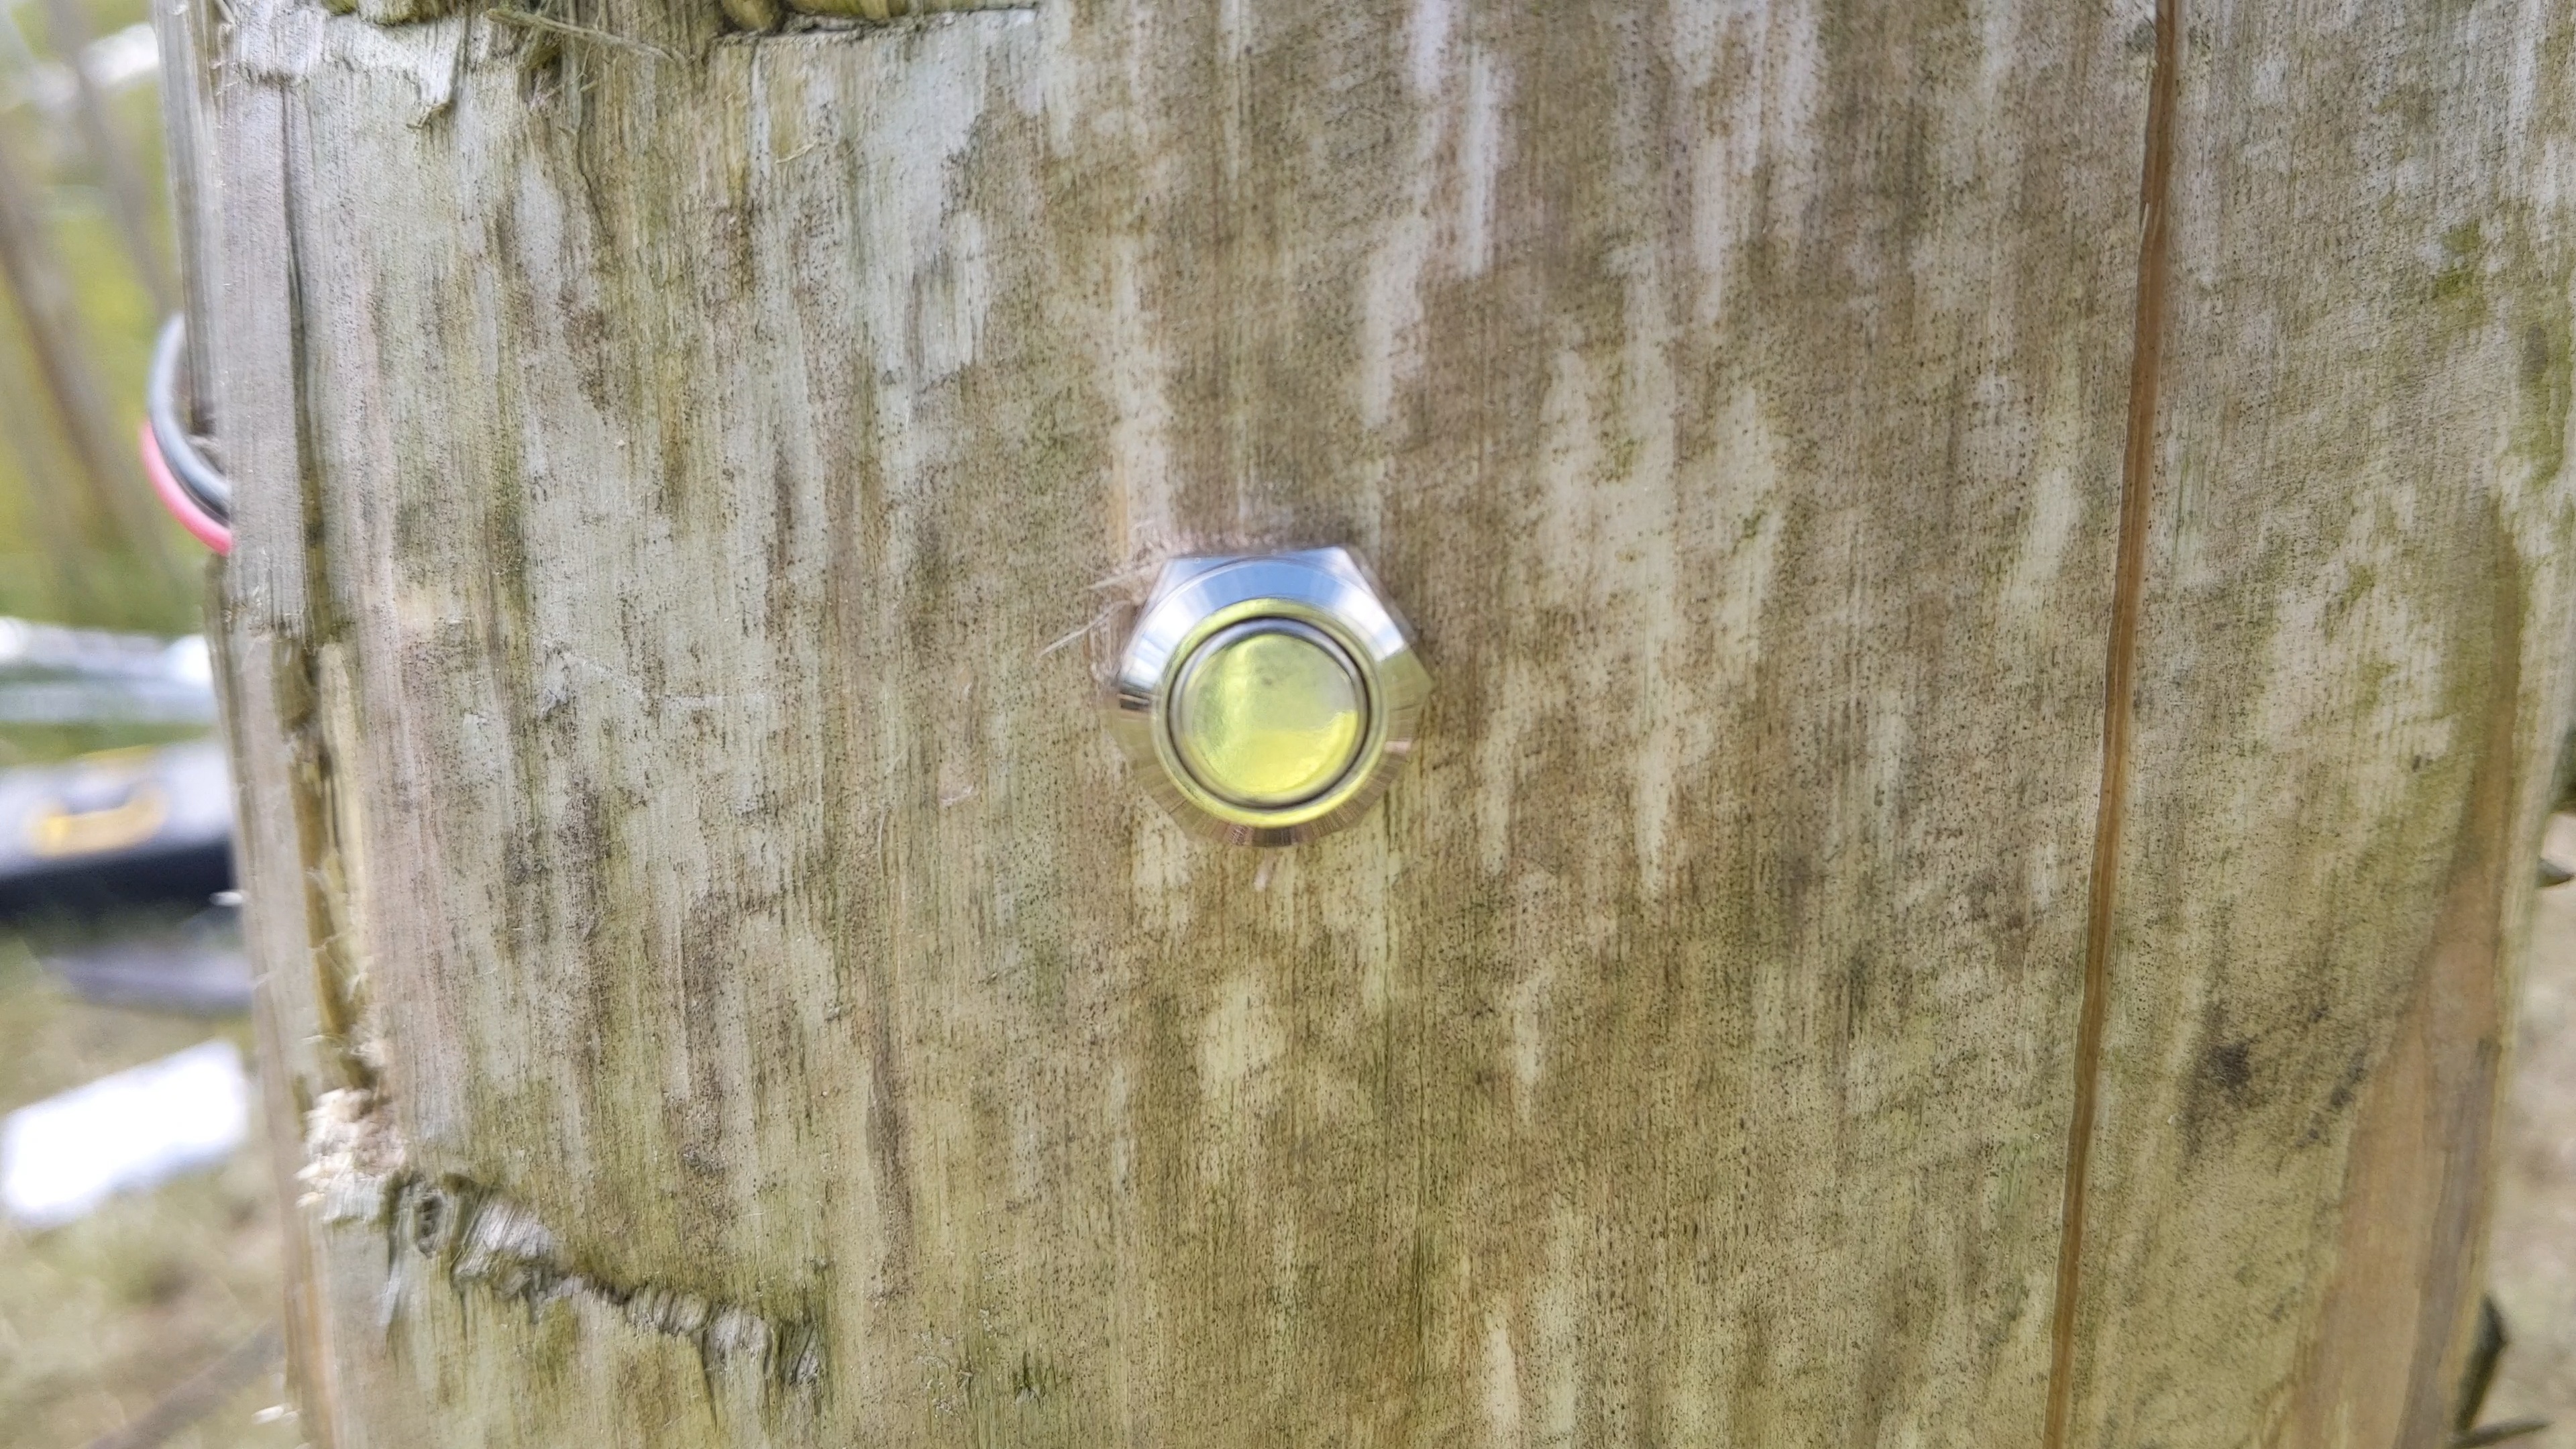
I decided to keep the buttons very small. This was to add a little difficulty to the game but also I was concerned that if I had a bigger button the people would be more likely to hit it very hard and fast which could break it.
The buttons I chose were waterproof metal buttons that you could only get a single finger into.
Also, as I said before, this was a secret game and the buttons were very hard to see.
Once mounted i ran the wires up the front two pieces of channel and it was done.
Conclusion
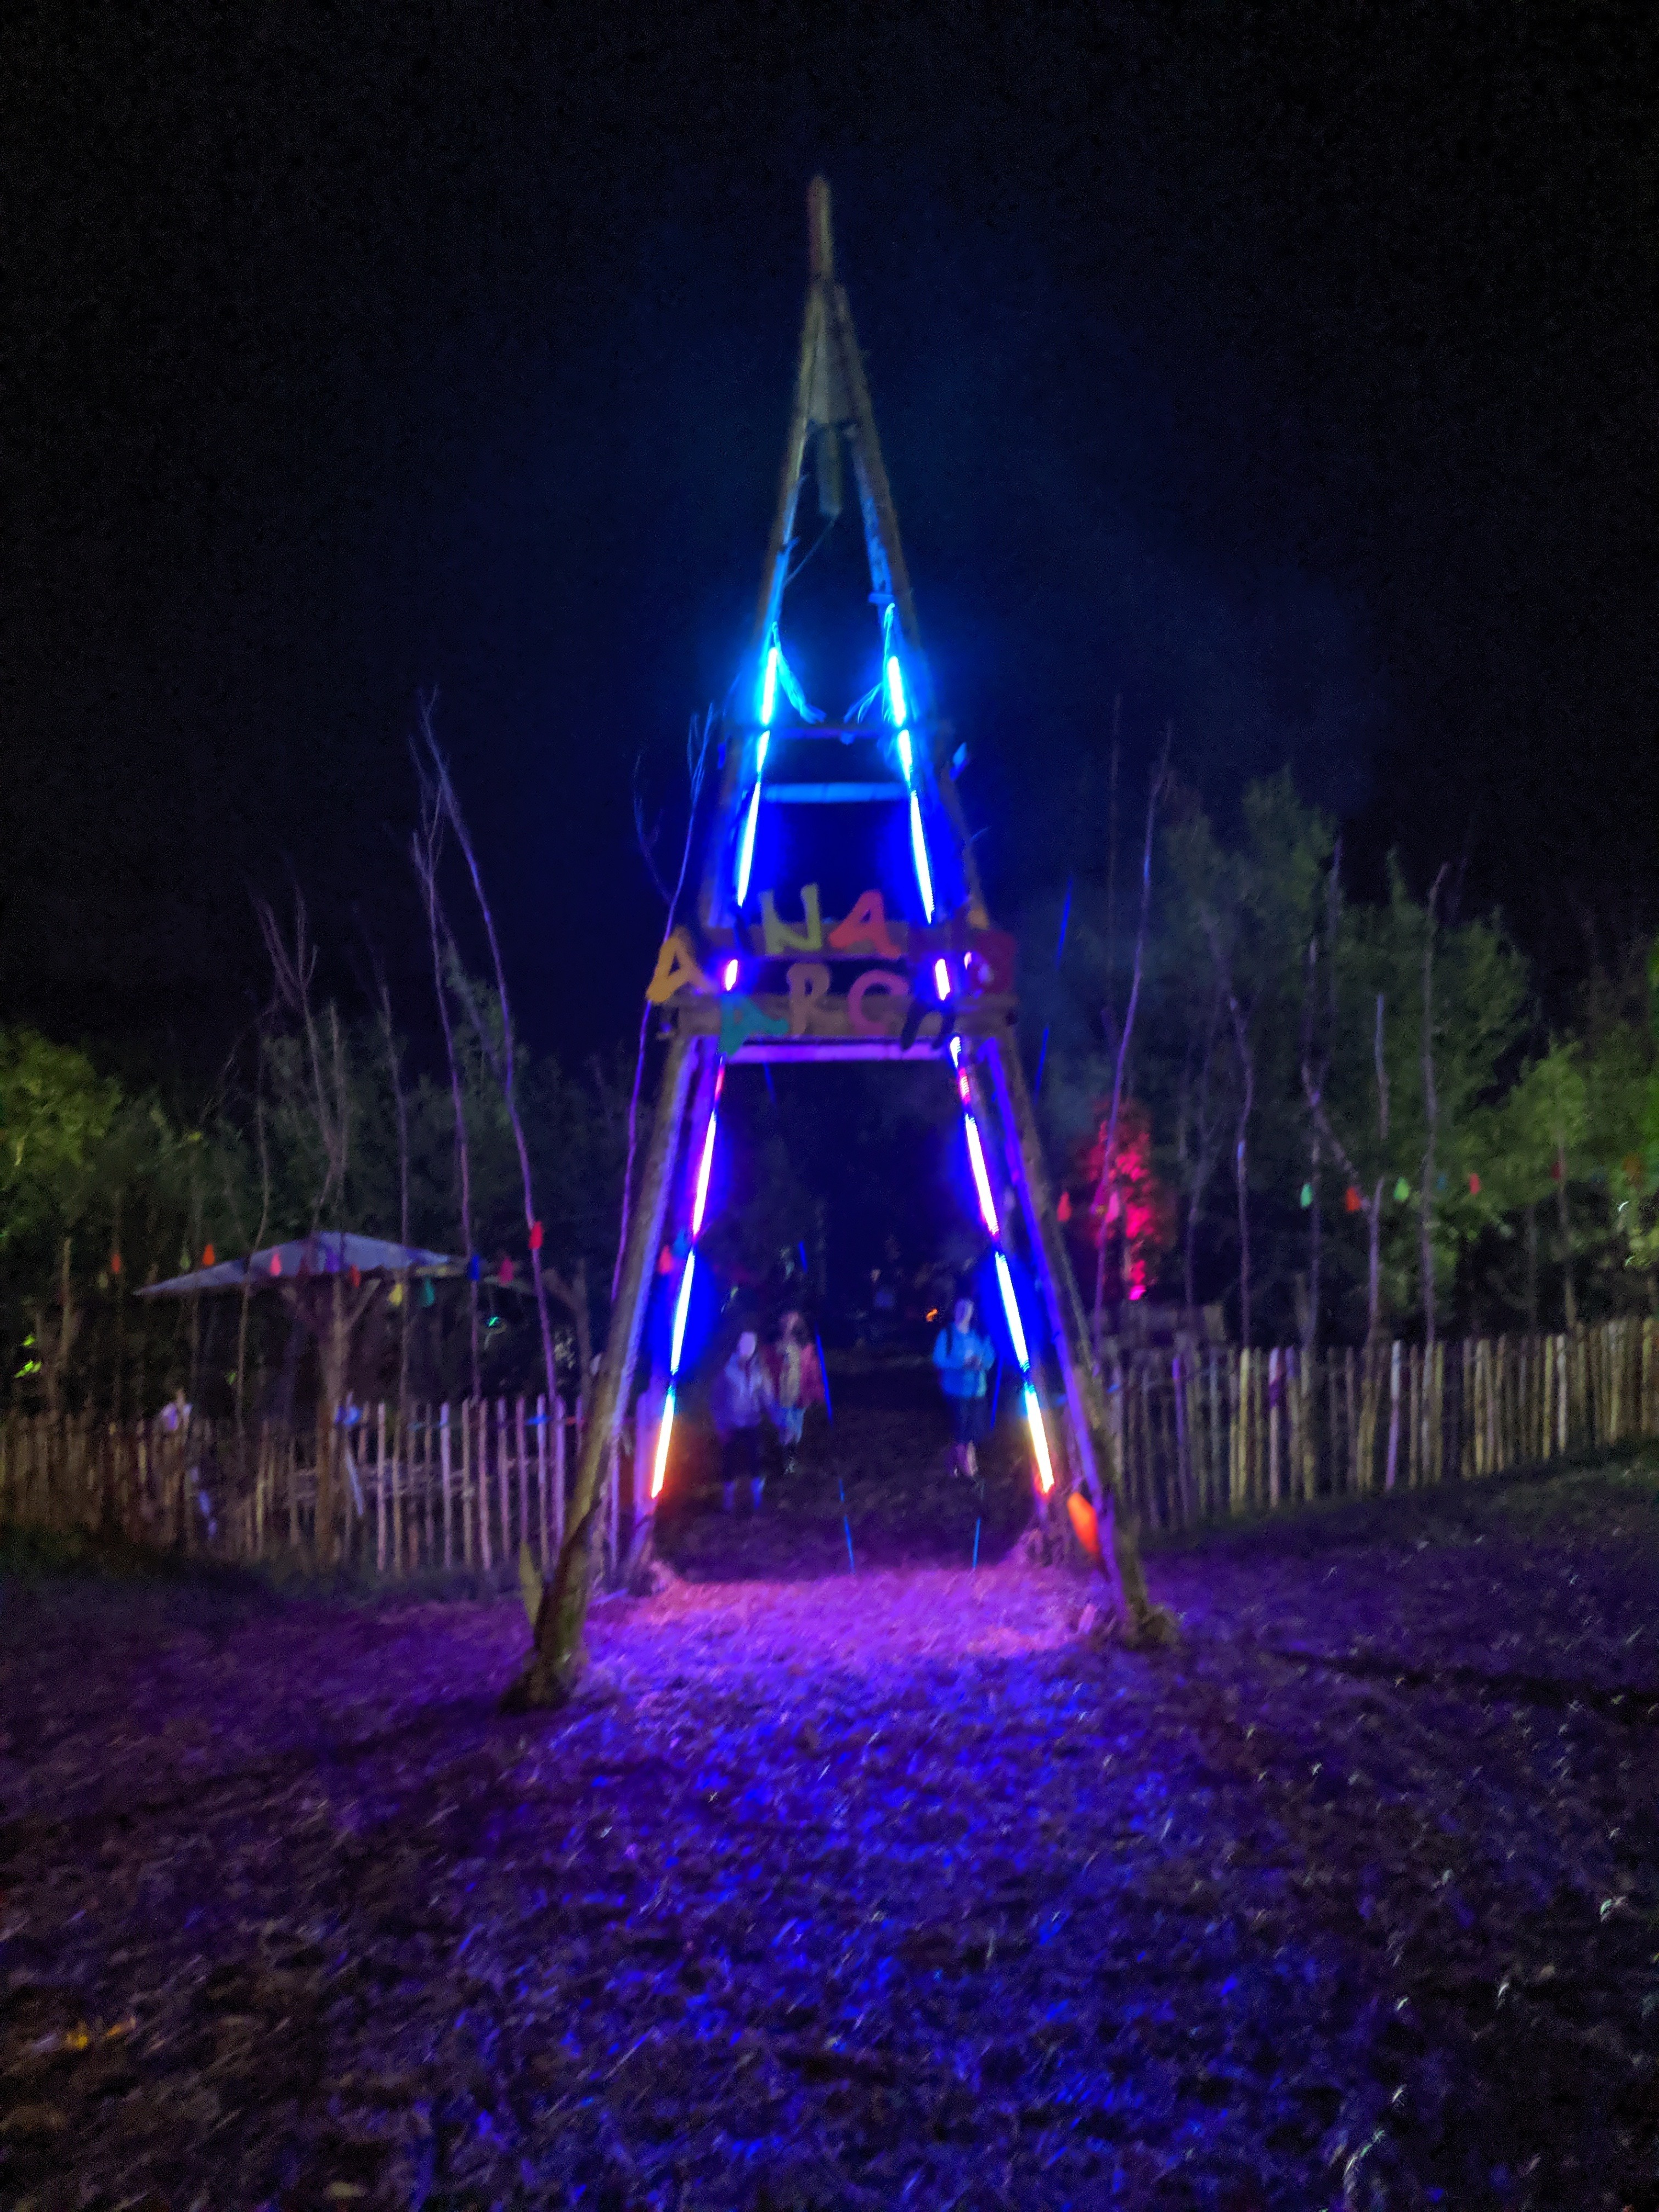
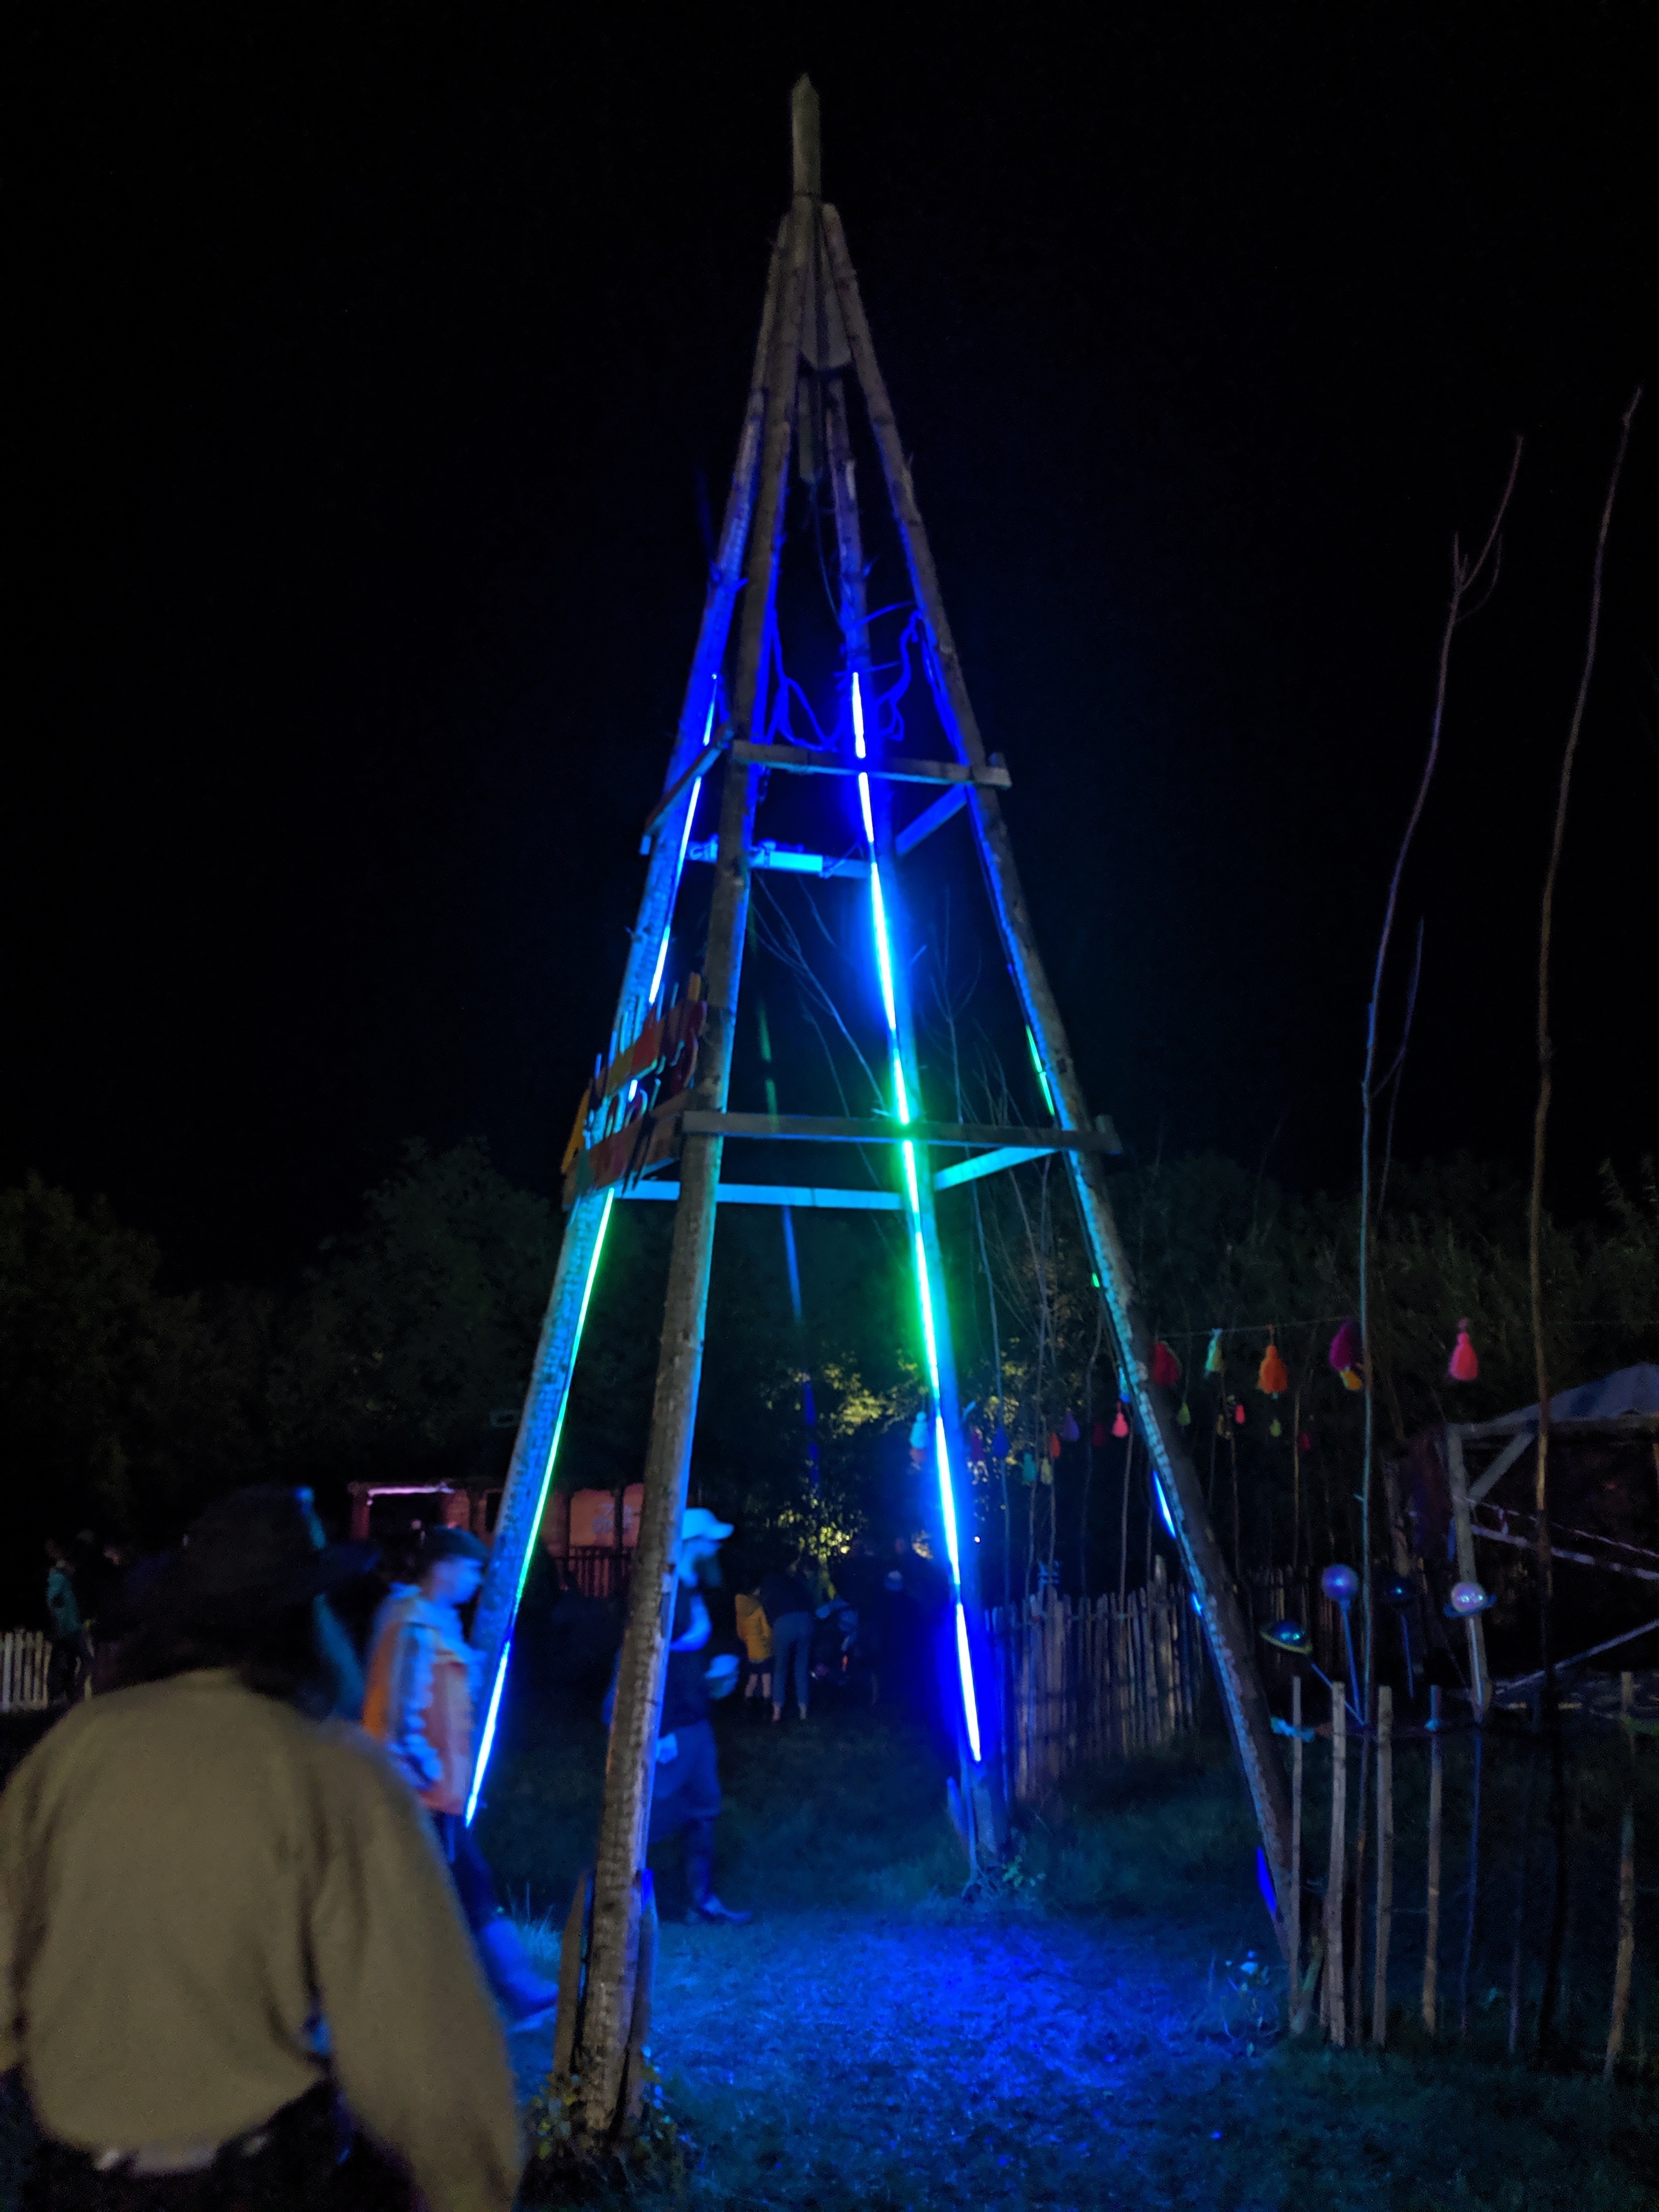
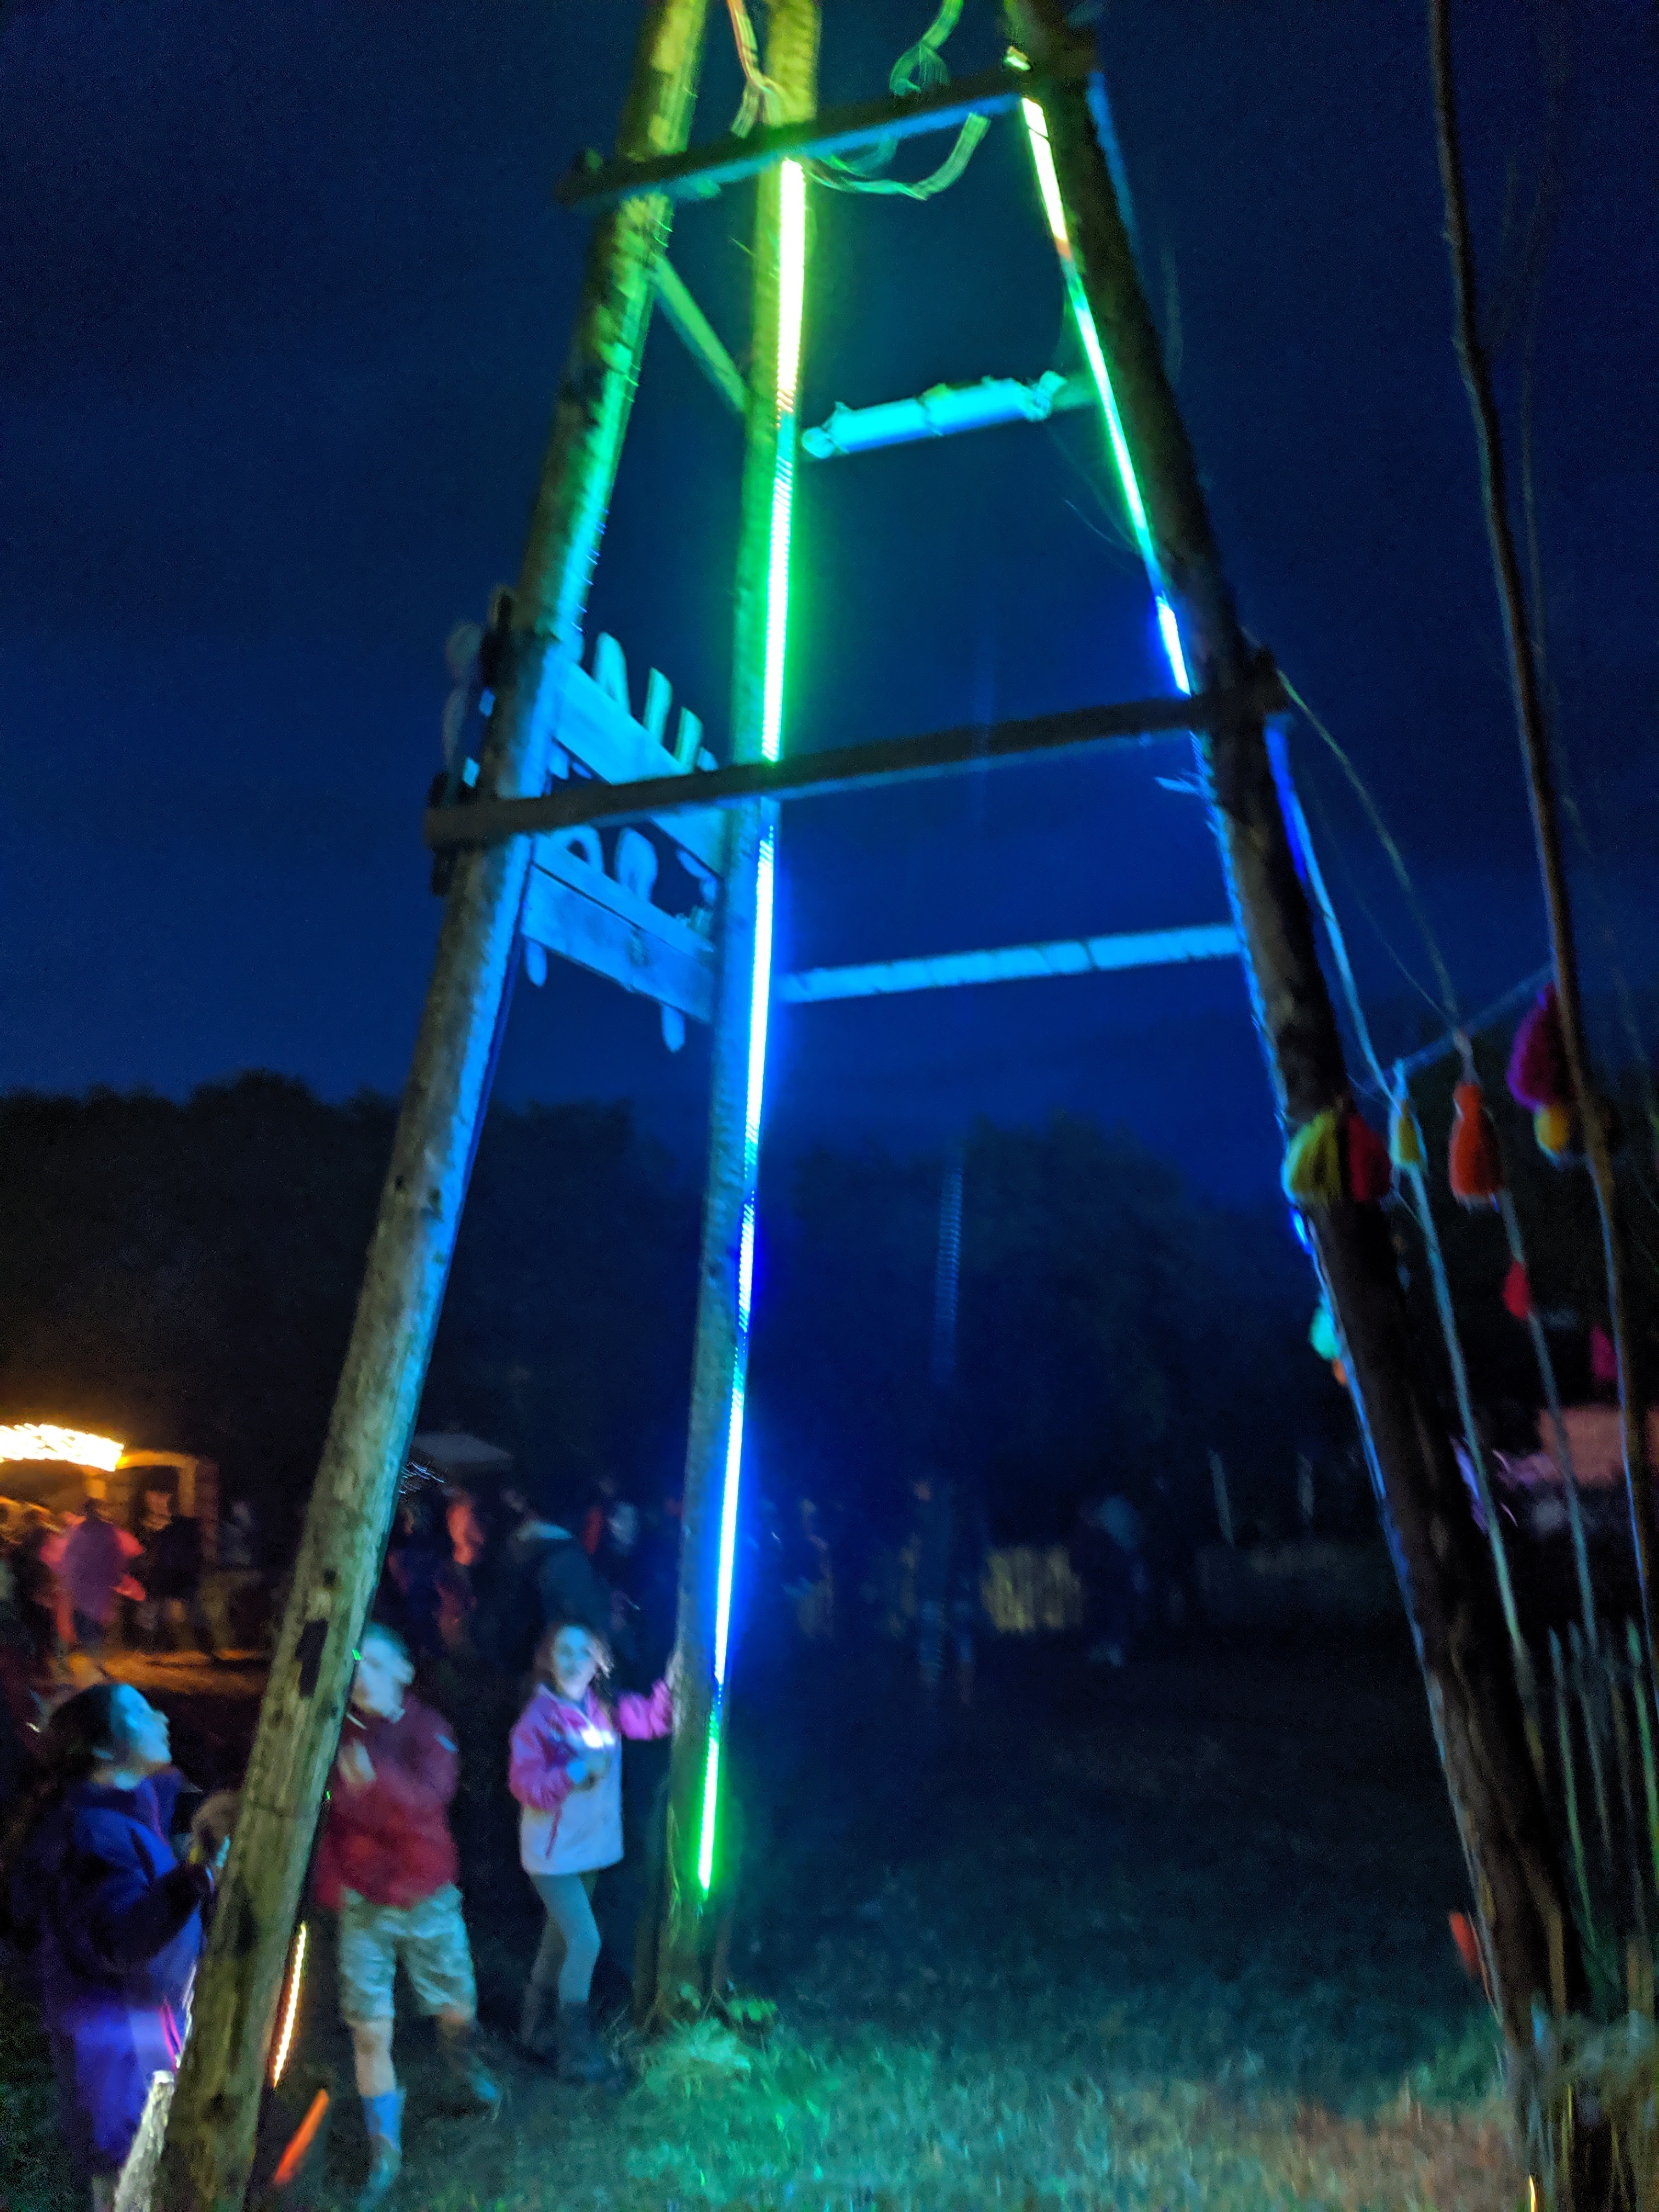
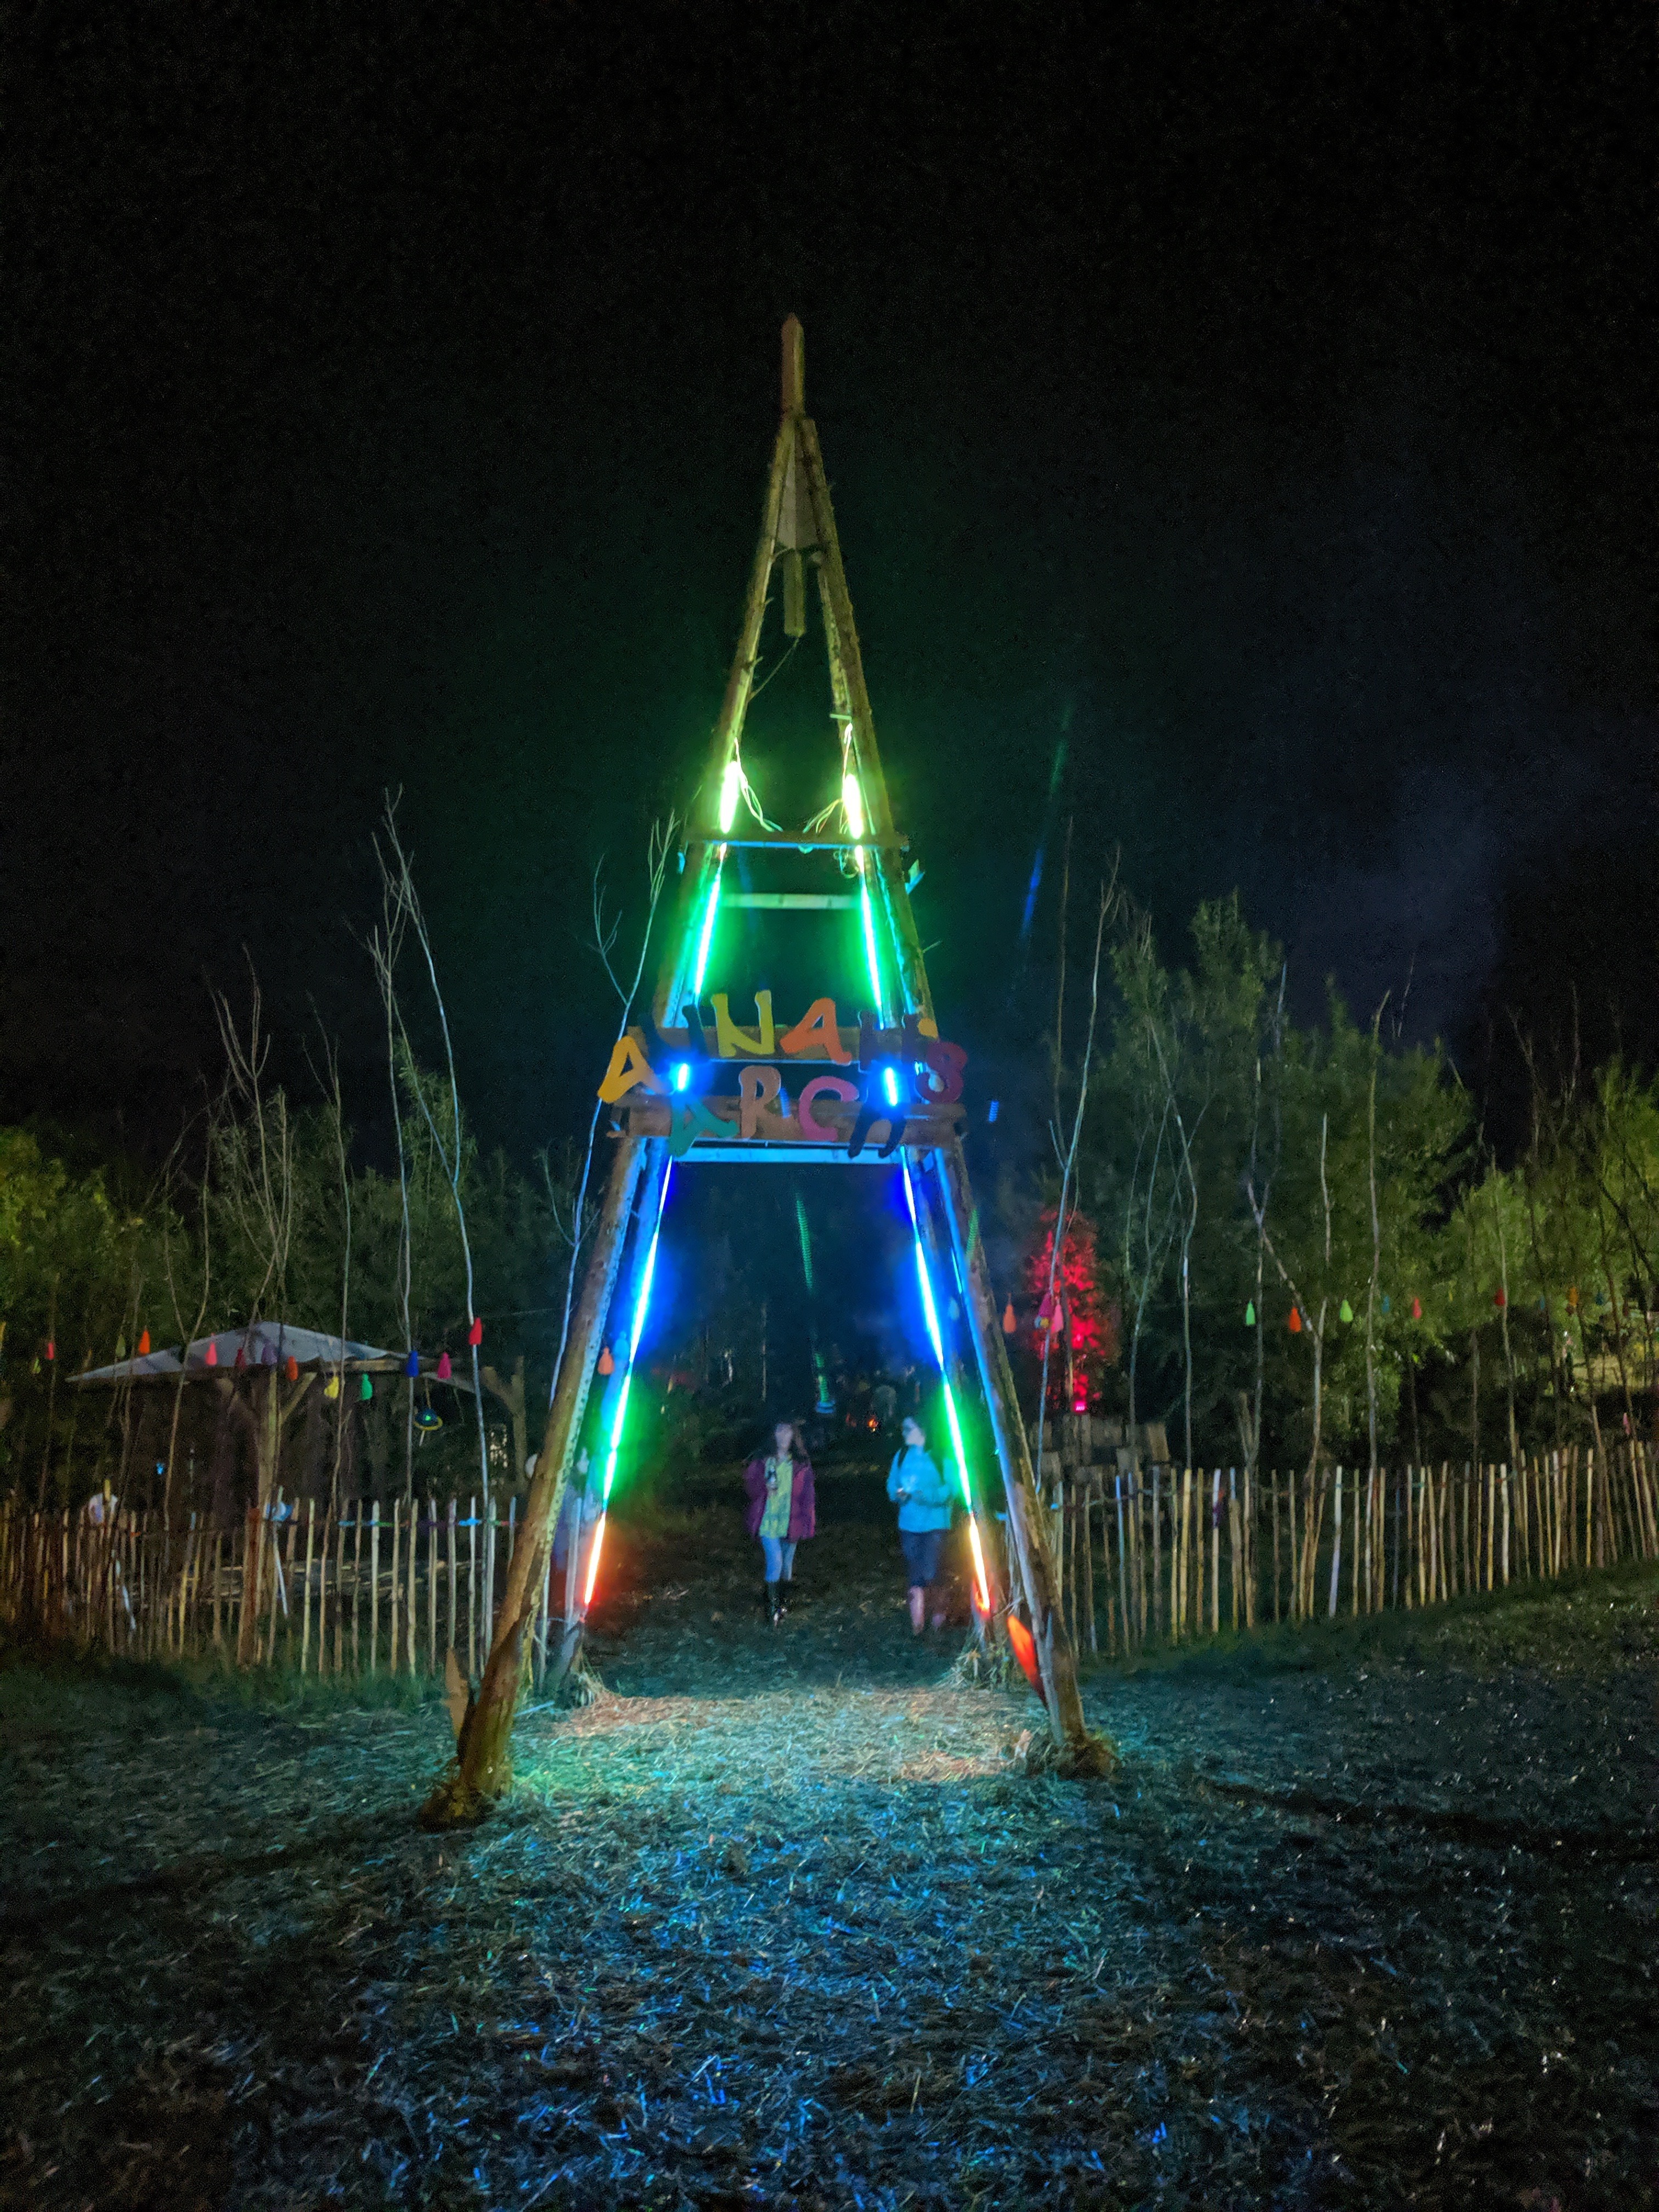
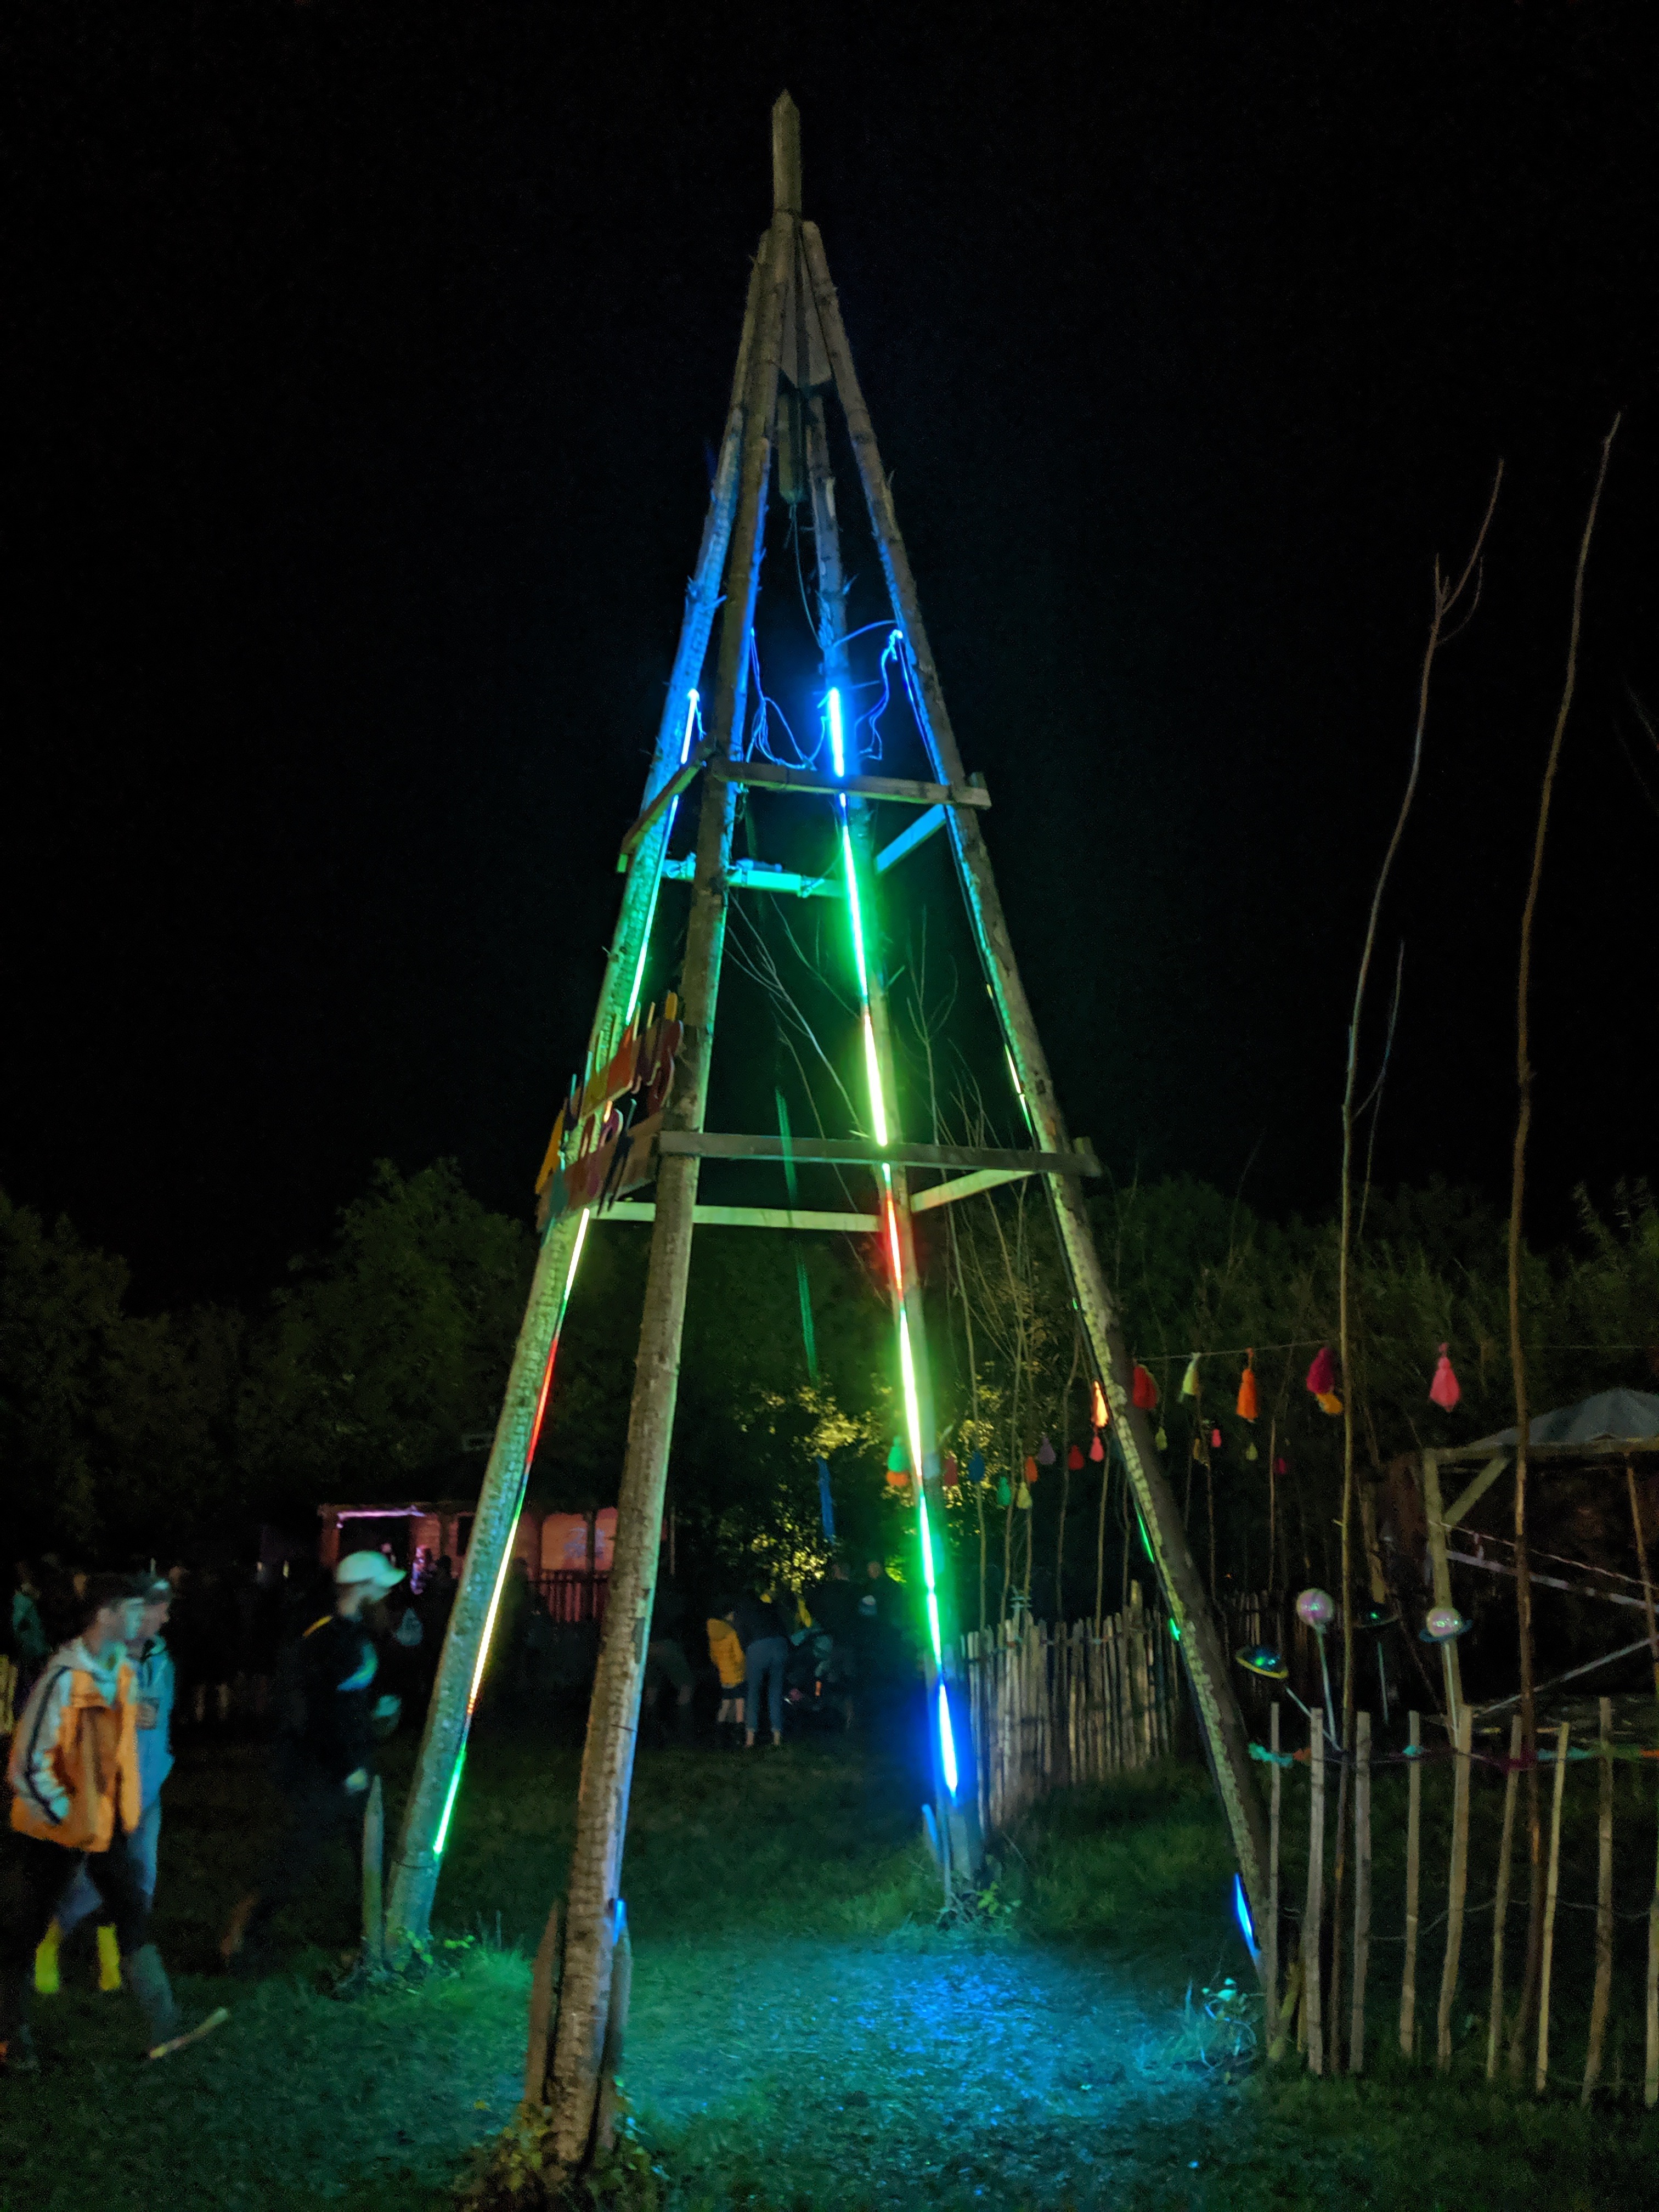
The tower was lit and could be seen from all over the festival
grounds which was great. But I still wasn't going to tell anyone about the game. I had a few games with some of the staff, who were sworn to secrecy and there were two very good reasons for this...
Firstly, the idea of a secret game on an installation of this size just seemed cool!
Secondly, it’s my experience that adults can't be trusted!! Especially when there's beer on tap!
And so I spent the weekend selectively challenging kids and families to a game every now and then. The kids would tell their friends and the word got out and at one point on Saturday night there was some serious competition between a group of about 20 kids and a handful of parents, it was a success!!
Next year I will likely do the same thing with some tweaks...
I need to change the colour of the starting lights. Red > Amber > Green
The code has some physics involved which I didn't use, namely Gravity and Friction
Aside from that I'm very happy with the results.