2 Raspberry Pis for Easy and Cheap Remote RAID
by 2deux in Circuits > Raspberry Pi
585 Views, 8 Favorites, 0 Comments
2 Raspberry Pis for Easy and Cheap Remote RAID
Purpose
- In the event of an incident at home, I want to be able to recover my major digital documents (pictures, identity papers, etc), and optionaly share them.
- I want to share this solution with someone else (someone I trust, parents, or friend)
- I don't want to depend on a public cloud (subscription,fees, evolving GTC, etc)
Principle
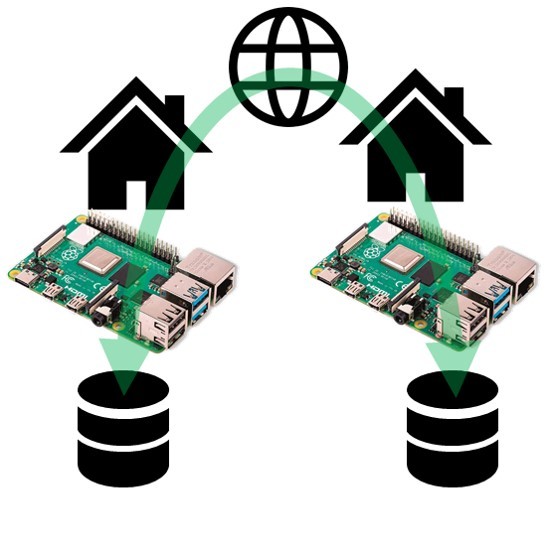
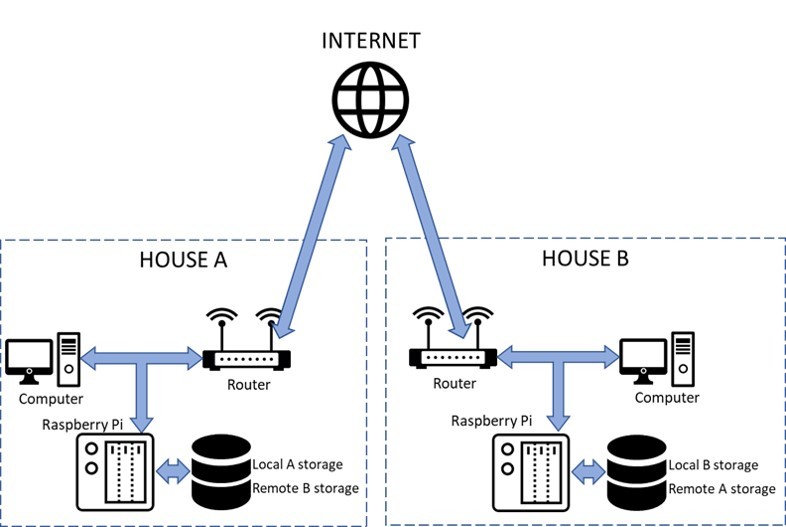
- Create 2 identical storage machines, put them in 2 different locations (for example, 2 houses).
- Assign a dedicated storage space to each location on each machine.
- Regularly synchronize the 2 storage spaces.
Supplies
Hardware
Each machine has :
- 1x Raspberry Pi 4 B 1GB
- 1x box for Raspberry Pi 4
- 1x power supply USB C 5V 3A
- 1x SD card Kingston SDC10/16GB
- 1x NAS HDD 1To WD Red Mobile
- 1x HDD box BX-2525U3
Software Windows
Packages Raspbian
- Rsync
- samba
Pro & Cons

Advantages
- This solution is cheap : I have no subscription fees and hardware is afordable.
- This "remote RAID" is quite easy to do. I don't need additional material or tool to do it.
- The Raspberry Pi can be used for additional applications like media center (kodi, ...), or domotic (jeedom, domoticz, ...).
- My data is not available on a public cloud that could be a target for massive data piratry.
- Using a HDD of 1To, the average electrical consuption is the same as a cloud.
- The firewall of my router and the SSH encryption of my connection securize the data exchanges.
Disadvantages/improvements
- Someone else has a copy of my documents. In my case, this person is from my family so I don't care.
- I use the default "pi" account, with a dedicated password for both machine. I could secure access a little bit more by using a separate specific account on each side rather than the "pi" account.
- I rely on my Internet services provider and SSH encryption for the security of the connection between the 2 houses. Research can be done to improve security level.
- For now, I've only made 2 partitions per drive. A smaller 3rd partition (~5Go) could be usefull for other Raspbian activity, to preserve the µSD card.
Prepare SD : Upload Raspbian
From a computer ( Windows 10 in my case ), follow the official installation guide (https://www.raspberrypi.org/downloads/raspbian/) to install "Raspbian Buster with desktop".
Add an empty file named "ssh" in "/boot/" disk
Add an file named "wpa_supplicant.conf" in "/boot/" disk
Open wpa_supplicant.conf and enter the text :
country=US
ctrl_interface=DIR=/var/run/wpa_supplicant GROUP=netdev
update_config=1
network=
{
ssid="MyWiFiNetwork"
psk="aVeryStrongPassword"
key_mgmt=WPA-PSK
}
Save and close the file.
Prepare SD : Customize the Card
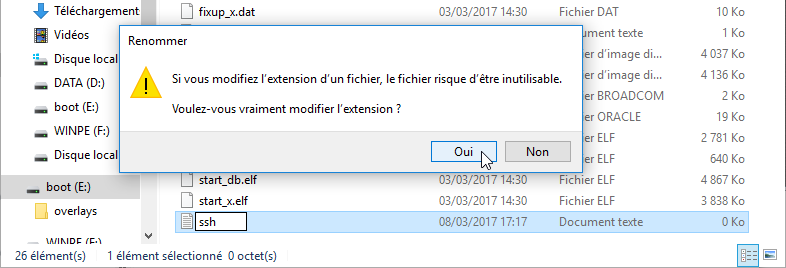
Add an empty file named "ssh" in "/boot/" disk
Add an file named "wpa_supplicant.conf" in "/boot/" disk
Open wpa_supplicant.conf and enter the text :
country=US
ctrl_interface=DIR=/var/run/wpa_supplicant GROUP=netdev
update_config=1
network=
{
ssid="MyWiFiNetwork"
psk="aVeryStrongPassword"
key_mgmt=WPA-PSK
}
Save and close the file.
Prepare the Raspberry Pi
Insert your SD card in the Pi
Power up the Raspberry Pi, choose a way to open a desktop :
- Using hdmi cable, screen, keyboard and mouse
- Using VNC from your computer.
For further information, visit https://projects.raspberrypi.org/en/projects/raspberry-pi-using/1
Way 1 : Connect to the Pi Using Screen, Keyboard, Mouse
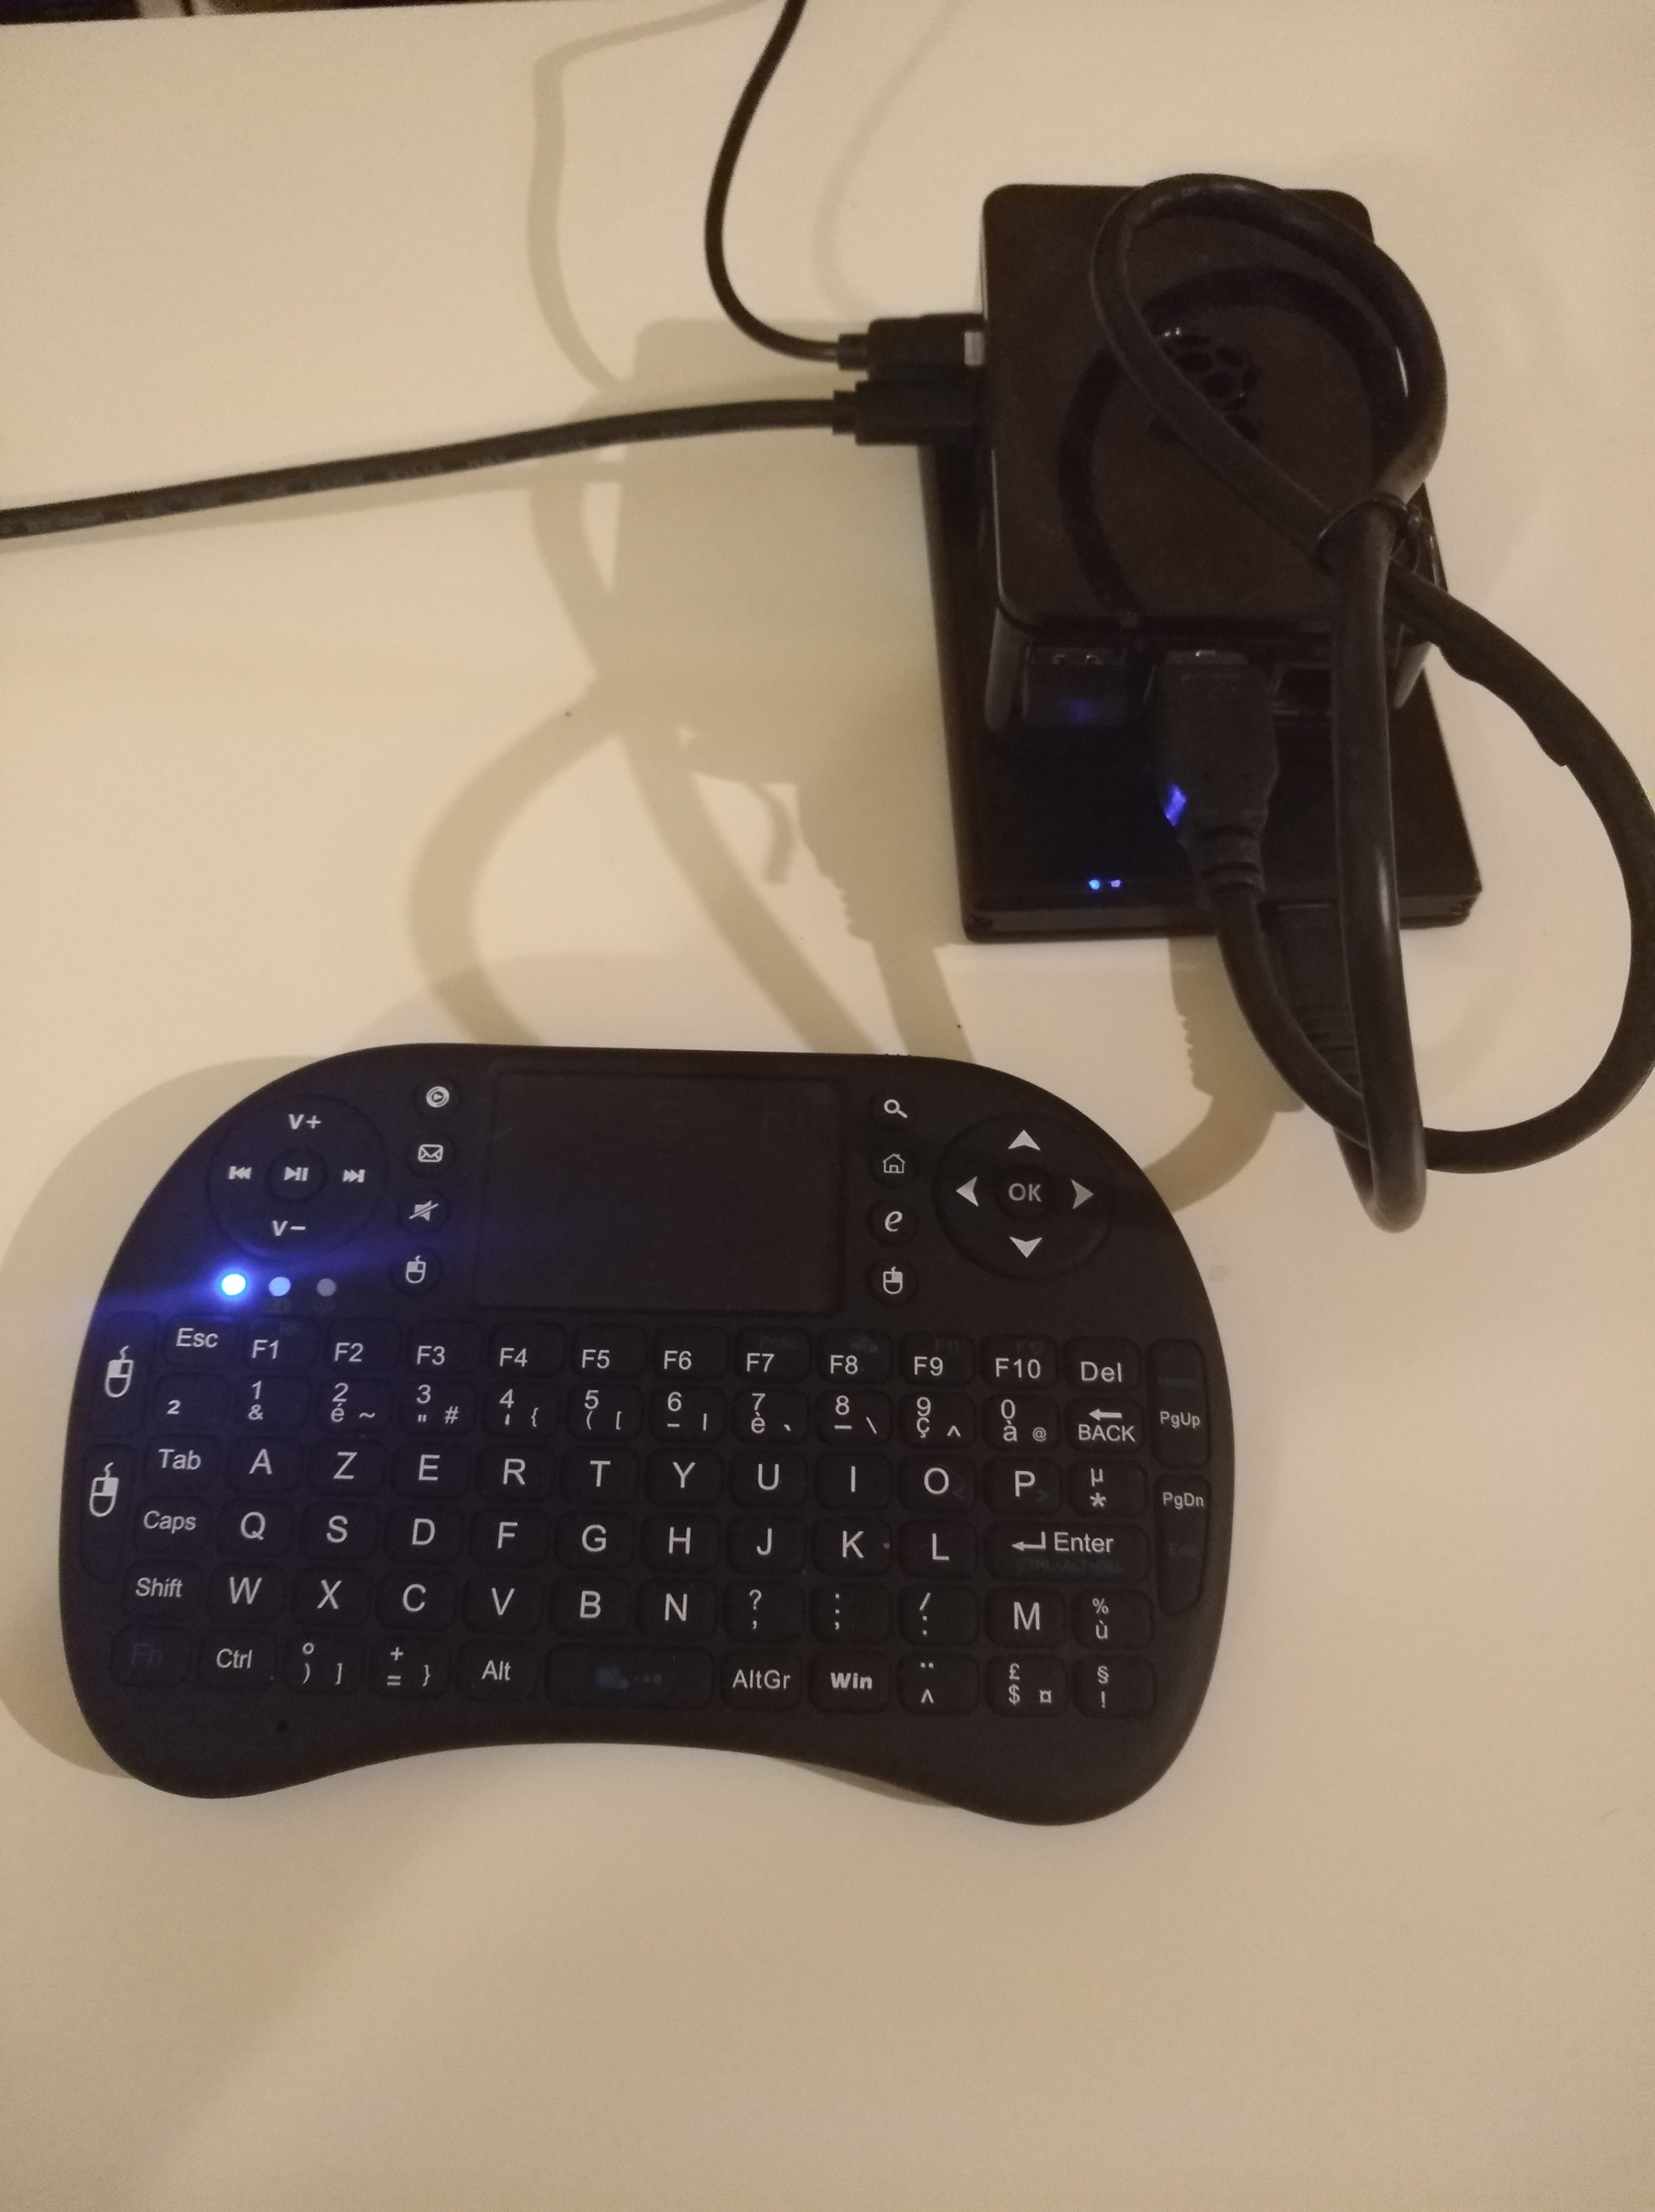
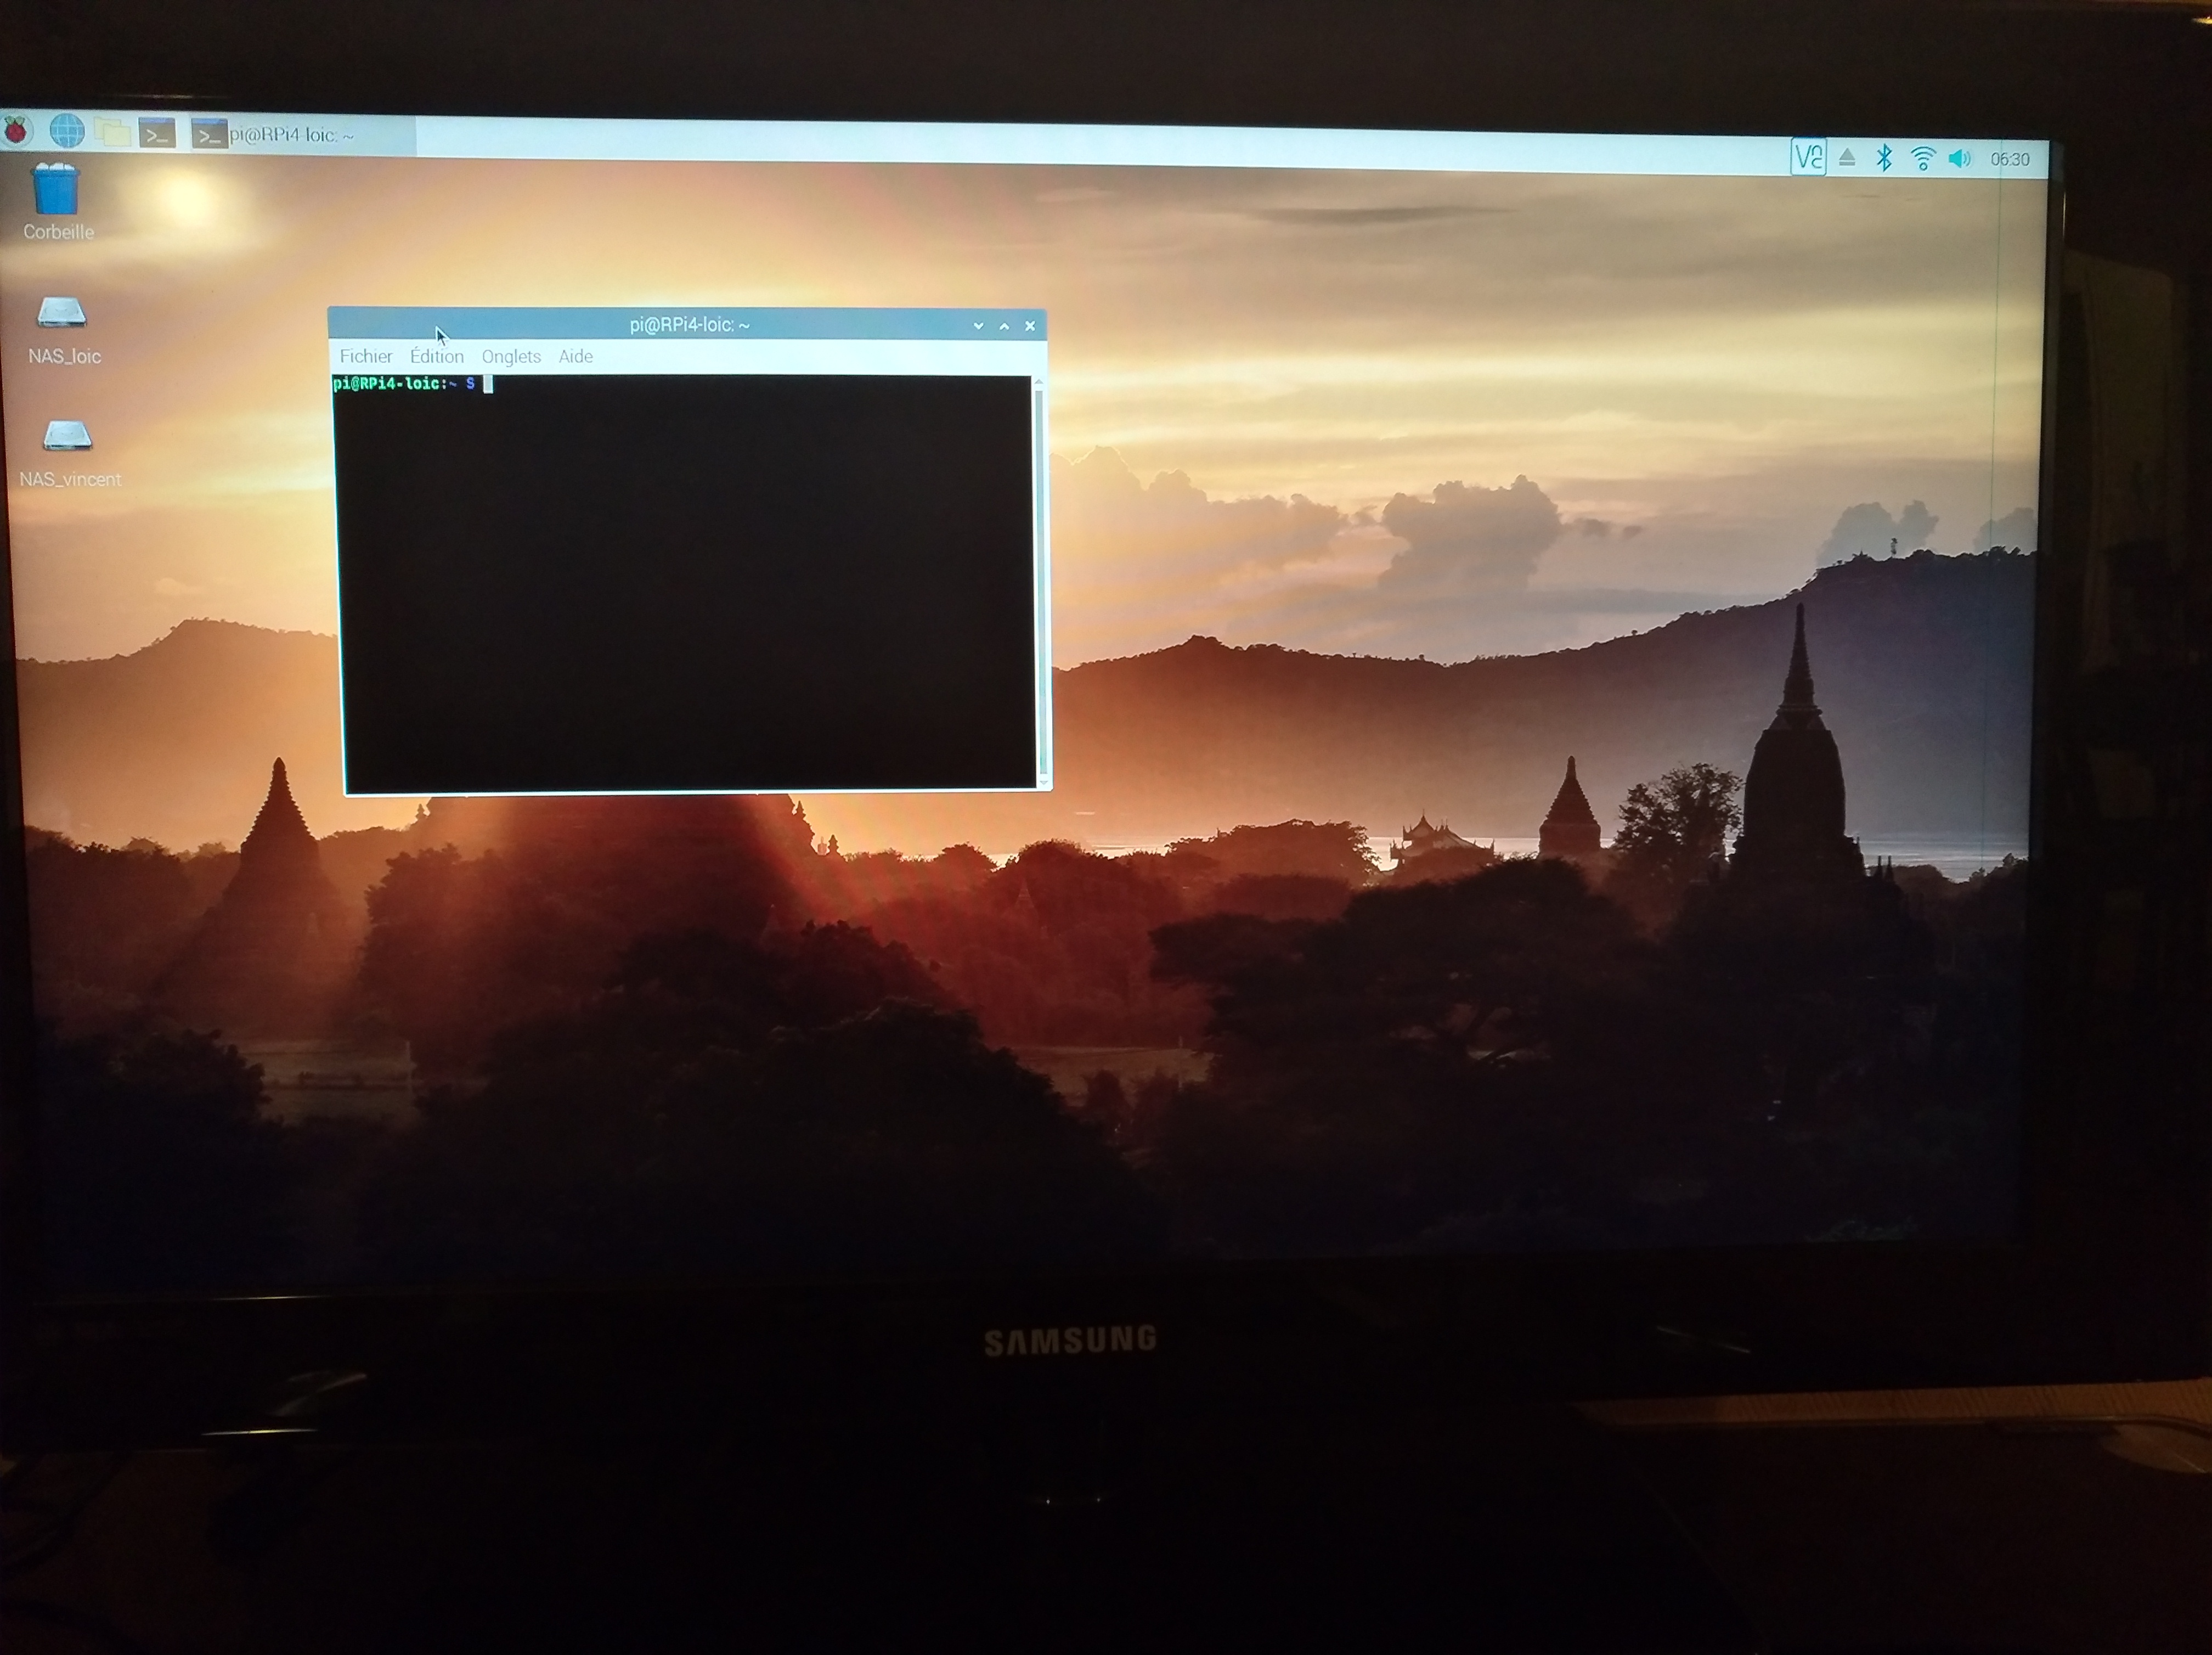
Connect the Raspberry Pi port HDMI0 to a screen with a micro-hdmi to hdmi cable
Plug a usb keyboard and mouse (or a wireless mini keyboard like a "Rii Mini i8 Wireless")
Plug the USB C power supply and power up the Raspberry Pi.
Raspbian shall start on your screen.
Once the desktop appears, answer the configuration panel to finish the configuration of your Pi.
Way 2 : Connect to the Pi Using VNC From Your Computer
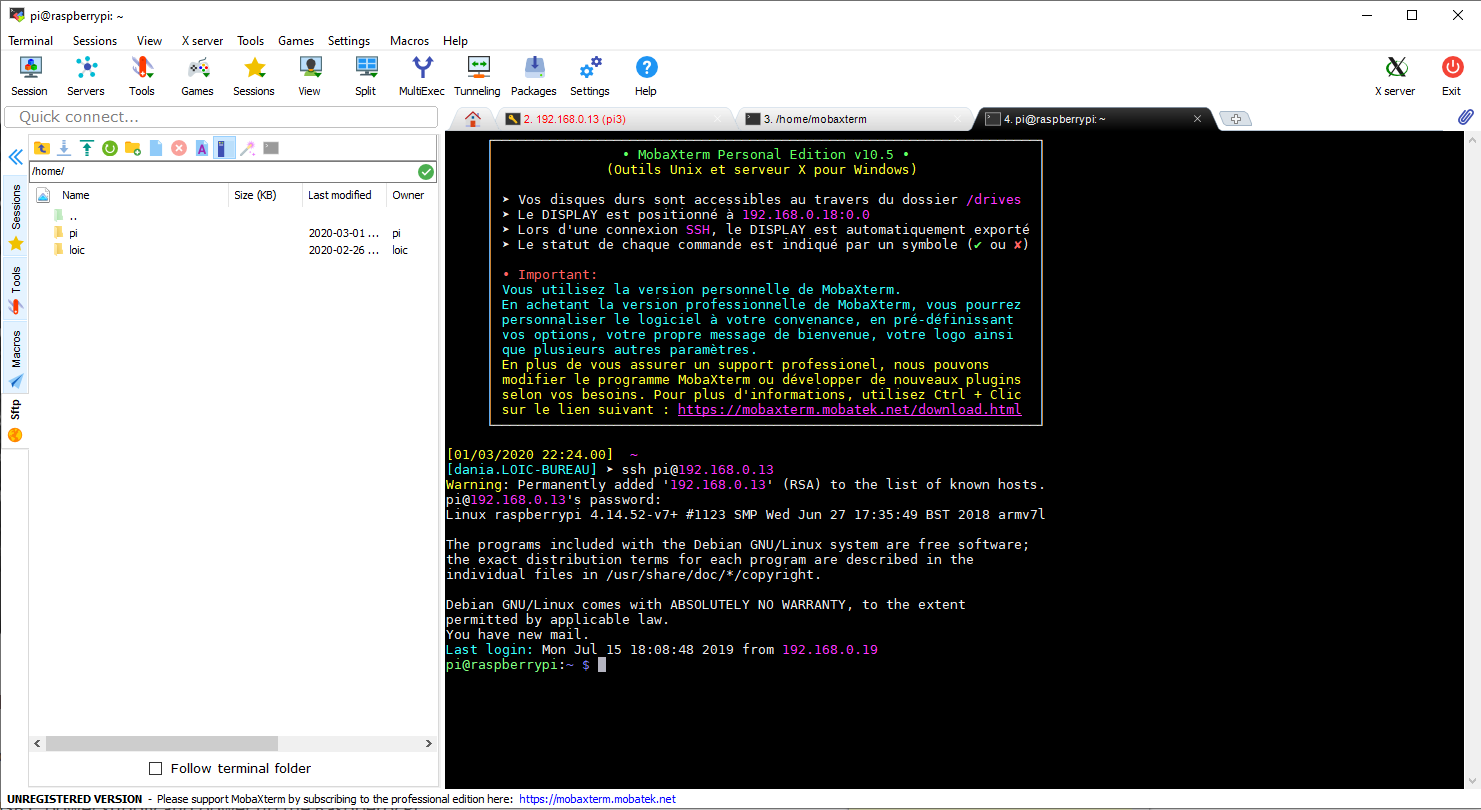


Connect the Raspberry Pi to your ethernet network ( by wifi or with a cable ).
From your computer, open Mobaxterm ( or putty ), start a new ssh connection (login pi, password raspberry) and configure your Pi :
ssh pi@raspberry_ip
sudo raspi-config
- in Interfacing option / VNC : set Yes
- in Advanced options / Resolution : set DMT Mode 82 1920x1080 60Hz 16:9
- in Advanced options / GL driver : set G1 Legacy Original non-GL desktop drive
Save and exit raspi-config
Reboot the Pi :
sudo reboot
From your computer, open VNC Viewer, and connect to the Pi using the login pi, password raspberry : the Pi desktop should appear.
Answer the configuration panel to finish the configuration of your Pi.
Once you have change the Pi password, the VNC connection could close. Restart it using your new password.
Prepare the HDD
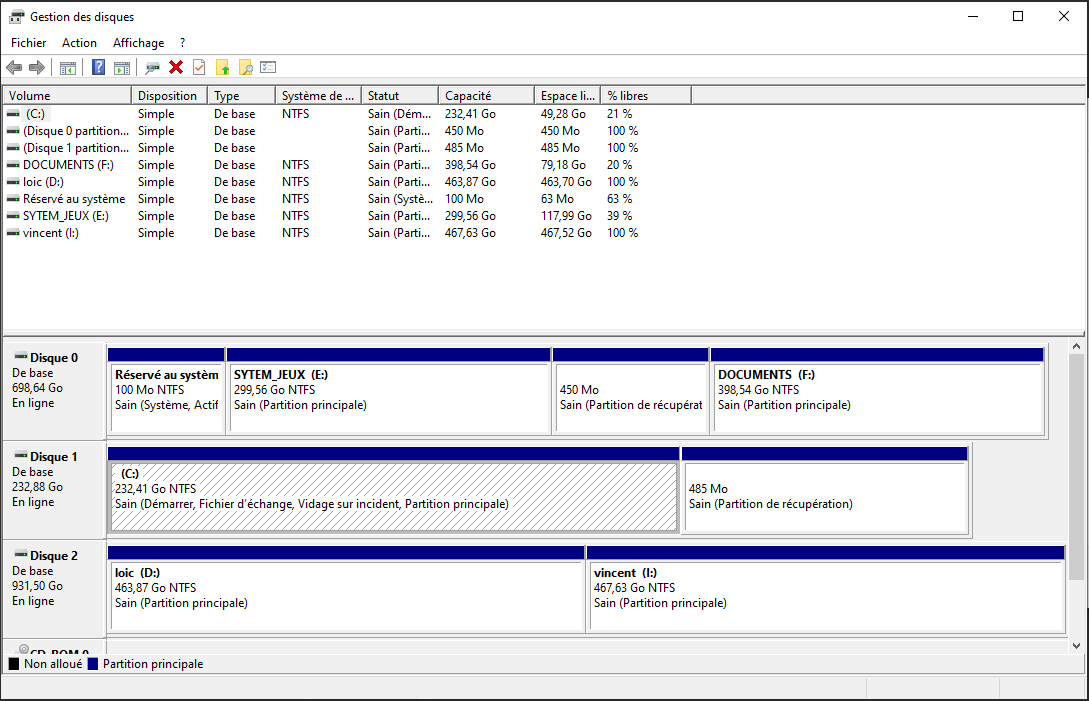
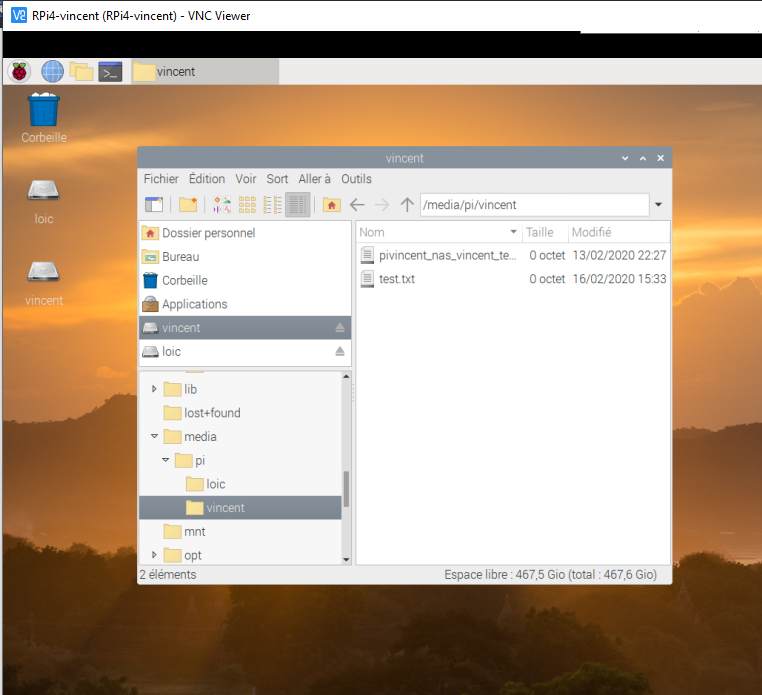
- Connect the HDD to your computer.
- Open Windows partition manager, select your HDD, and create 2 NTFS partitions ( or 3, if you want a small free space to preserve µSD card ). For example, I name the 2 parts "loic" and "vincent"
- Connect the HDD to the Pi : Raspbian should mount automatically 2 disks on the desktop. The drives are linked to the folder /media/pi/loic/, and /media/pi/vincent/
Configure Rsync : Create Synchro Script
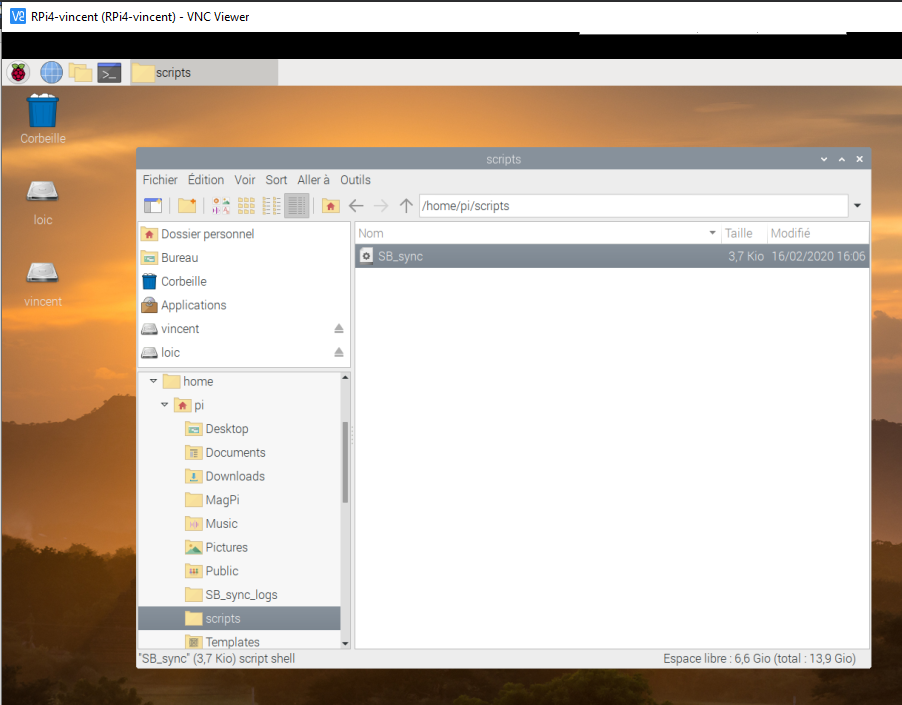
open a prompt on Pi desktop
In /home/pi/, create a script :
mkdir /home/pi/scripts<br>nano /home/pi/scripts/SB_sync
enter the text :
#!/bin/sh
######## A CONFIGURER ###########
ip_distante="192.168.0.19"
port_distant="xxxxx"
media_local="/media/pi/loic"
media_distant="pi@${ip_distante}:/media/pi/loic"
machine_locale="RPi4_loic"
machine_distante="RPi4_vincent"
################################

log_local="/home/pi/SB_sync_logs"<br>log_distant="pi@${ip_distante}:/home/pi/SB_sync_logs"<br>
currentDate=`date+"%Y-%m-%d %T"`<br>mkdir -p /home/pi/SB_sync_logs

#synchro de ${machine_locale} ${media_local}/ vers ${machine_distante} ${media_distant}/
echo $currentDate> ${log_local}/0.synchro_en_cours_${machine_locale}_vers_${machine_distante}
echo "Synchronisation en cours : de ${machine_locale} ${media_local}/ vers ${machine_distante} ${media_distant}/ " >> ${log_local}/0.synchro_en_cours_${machine_locale}_vers_${machine_distante}
${machine_distante} ${media_distant}/ " >> ${log_distant}/0.synchro_en_cours_${machine_locale}_vers_${machine_distante}

echo "Compte `whoami`" > ${log_local}/1.${machine_locale}_vers_${machine_distante}.log
echo "----------Début : "`date +"%Y-%m-%d %T"`"----------" >> ${log_local}/1.${machine_locale}_vers_${machine_distante}.log
/usr/bin/rsync -avhPS --chmod=a+rwx --delete -e "ssh -p ${port_distant}" ${media_local}/${media_distant}/  2>&1 >> ${log_local}/1.${machine_locale}_vers_${machine_distante}.log<p>echo "----------Fin : "`date +"%Y-%m-%d%T"`"----------" >> ${log_local}/1.${machine_locale}_vers_${machine_distante}.log</p><p>rm ${log_local}/0.synchro_en_cours_${machine_locale}_vers_${machine_distante}</p>
Configure lines 3 to 7 :
- replace "loic" and "vincent" by your drives name
- port_distant: for now, use 22 as remote port. At the last step, you will have to replace it by another value of your choice (as example : 34567)
save file and exit.
Configure Rsync : Perform a Synchro Once a Day
In the prompt, open crontab :
sudo crontab -u pi -e
at the end of the file, add a cron :
0 1 * * * /usr/bin/flock -xn /tmp/flocktmp.lock -c"/home/pi/scripts/SB_sync"
In this cron, the script SB_sync will be launched every day at 1:00 AM. Choose the hour you want, but change it between the 2 machines, so the 2 synchros will be performed one after the other.
Save and close the file.
Prepare Samba
Samba connects a linux storage to windows network.
Open a prompt and install the packages :
sudo apt-get install samba samba-common-bin -y
Autorize account "pi" to access Samba :
sudo smbpasswd -a pi
Save the default Samba configuration file :
cp /etc/samba/smb.conf /etc/samba/smb.old
Open the file :
sudo nano /etc/samba/smb.conf
And at the end of the file, add these lines to configure your drive to share :
[DOCUMENTS LOIC]
comment = NAS de loic
path = /media/pi/loic
valid users = @users
force group = users
create mask = 0660
directory mask = 0775
read only = no
browseable = yes
public = yes
Save file and exit.
[Optional] Samba : Configure Read Access to the Network Drive Vincent
Open the Samba configuration file :
sudo nano /etc/samba/smb.conf
And at the end of the file, add these lines to configure the other drive you want to access :
[DOCUMENTS VINCENT]
comment = backup de vincent
path = /media/pi/vincent
valid users = @users
force group = users
create mask = 0660
directory mask = 0775
read only = yes
browseable = yes
public = yes
Save file and exit.
[Optional] Samba : Access to Log
Open the Samba configuration file :
sudo nano /etc/samba/smb.conf
And at the end of the file, add these lines to access from windows to the synchro status :
[LOG SYNCHRO]comment = "logs de synchro entre machines"
path = /home/pi/SB_sync_logs/
valid users = @users
force group = users
create mask = 0660
directory mask = 0771
read only = yes
browseable = yes
public = yes
Save file and exit.
[Optional] Samba : Hide Useless Folder "/home/pi"
Open the Samba configuration file :
sudo nano /etc/samba/smb.conf
In the file, find following lines and add ";" at the beginning to comment it :
;[homes]
;   comment = Home Directories
;   browseable = no
;   read only = yes
;   create mask = 0700
;   directory mask = 0700
;   valid users = %S
Save file and exit.
Access to Network Drive From Windows
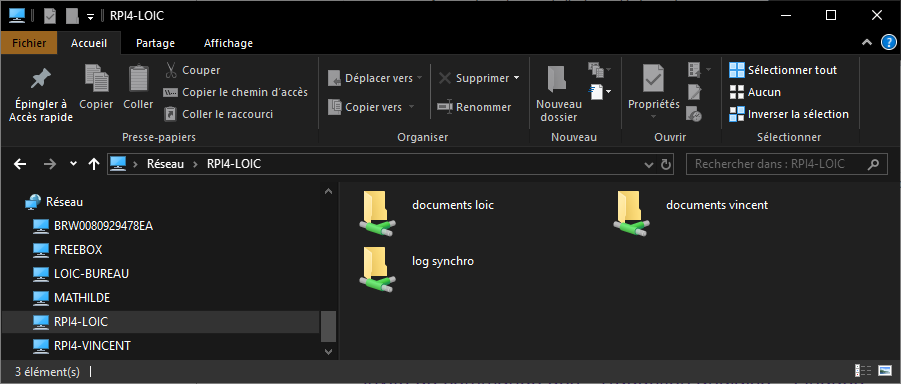
From Windows computer, open an explorer.
Click on "Network" and refresh window.
A computer with the name of your Rapberry Pi shall appear.
Open it using the account "pi" and your password.
You should see the folders added previously in Samba configuration file.
Prepare the 2nd Machine
Your 1st machine is prepared.
Repeat previous steps for the 2nd machine, replacing ( for example ) "loic" by "vincent".
Once the 2 machines will be prepared, you will need to exchange ssh key to authorize access between them, see next step.
Create SSH Between Local and Remote Machine
To simplify the sharing of SSH key, each Raspberry Pi shall be connected to the same ethernet network.
On each Raspberry Pi, open a prompt on Pi desktop and enter :
ssh-keygen -q -t rsa -b 2048 -N ''
ssh-copy-id pi@IP_of_other_raspberry
Test the Synchro
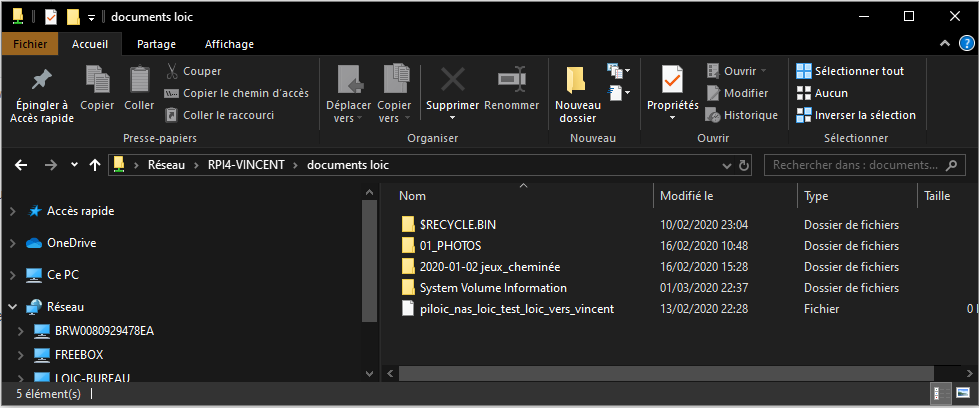
Your 2 machines are ready.
You can test the synchro on your windows computer :
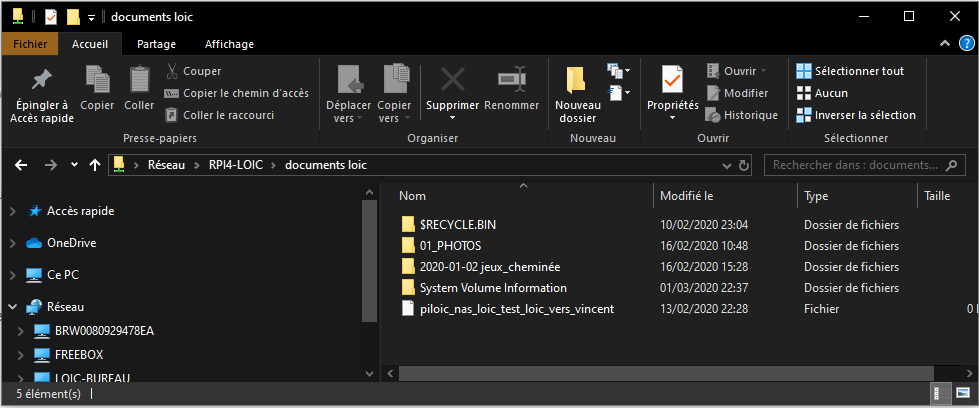
- add a file in your local network drive (i.e. \\Rpi4-loic\documents loic\test\test.txt),
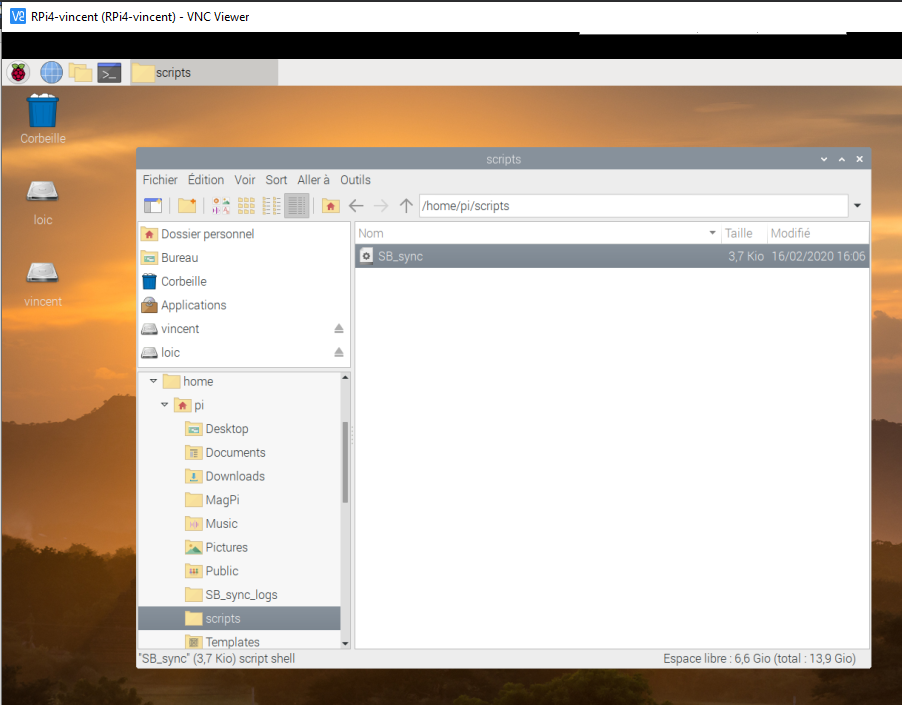
- run the script on your local Pi desktop (execute SB_sync in /home/pi/scripts)
- check that your file appears in the backup network drive (i.e. \\Rpi4-vincent\documents loic\test\test.txt).
You should be able to read and write files in \\Rpi4-loic\documents loic\test\, but only read files in \\Rpi4-vincent\documents loic\test\.
The next and last step is to move the "remote" machine inside a network of another place, and configure a connection between the 2 routers through internet.
Configure Internet Routes
In my case, for the local machine at home, I subscribe to an internet access including a router and a fixed IP.
For the remote machine, the Internet service provider is the same, so configuration is easier, and I don't need DNS.
In my home :
- In my router, I create a port's route from "remote_internet_fixed_IP" at "port_34567" to "my_raspberry_IP" at port "22"
- In my raspberry, in /home/pi/scripts/SB_sync, I replace the "port_distant" value "22" by "port_34567"
In the remote place :
- In the router, I create a port's route from "my_internet_fixed_IP" at "port_34567" to "my_raspberry_IP" at port "22"
- In the remote raspberry, in /home/pi/scripts/SB_sync, I replace the "port_distant" value "22" by "port_34567"
For your application :
- You have to replace the IPs and port_34567 by your own.
- In case of dynamic internet IP, you have to subscribe to a DNS.
With the help of the remote raspberry's owner, repeat the test of the previous step.
Finished!
Bibliography
Customize µSD card after formating ( SSH and WiFi )
Raspberry Pi Sync with rysnc by feralhosting