16mm Laser Etched Film
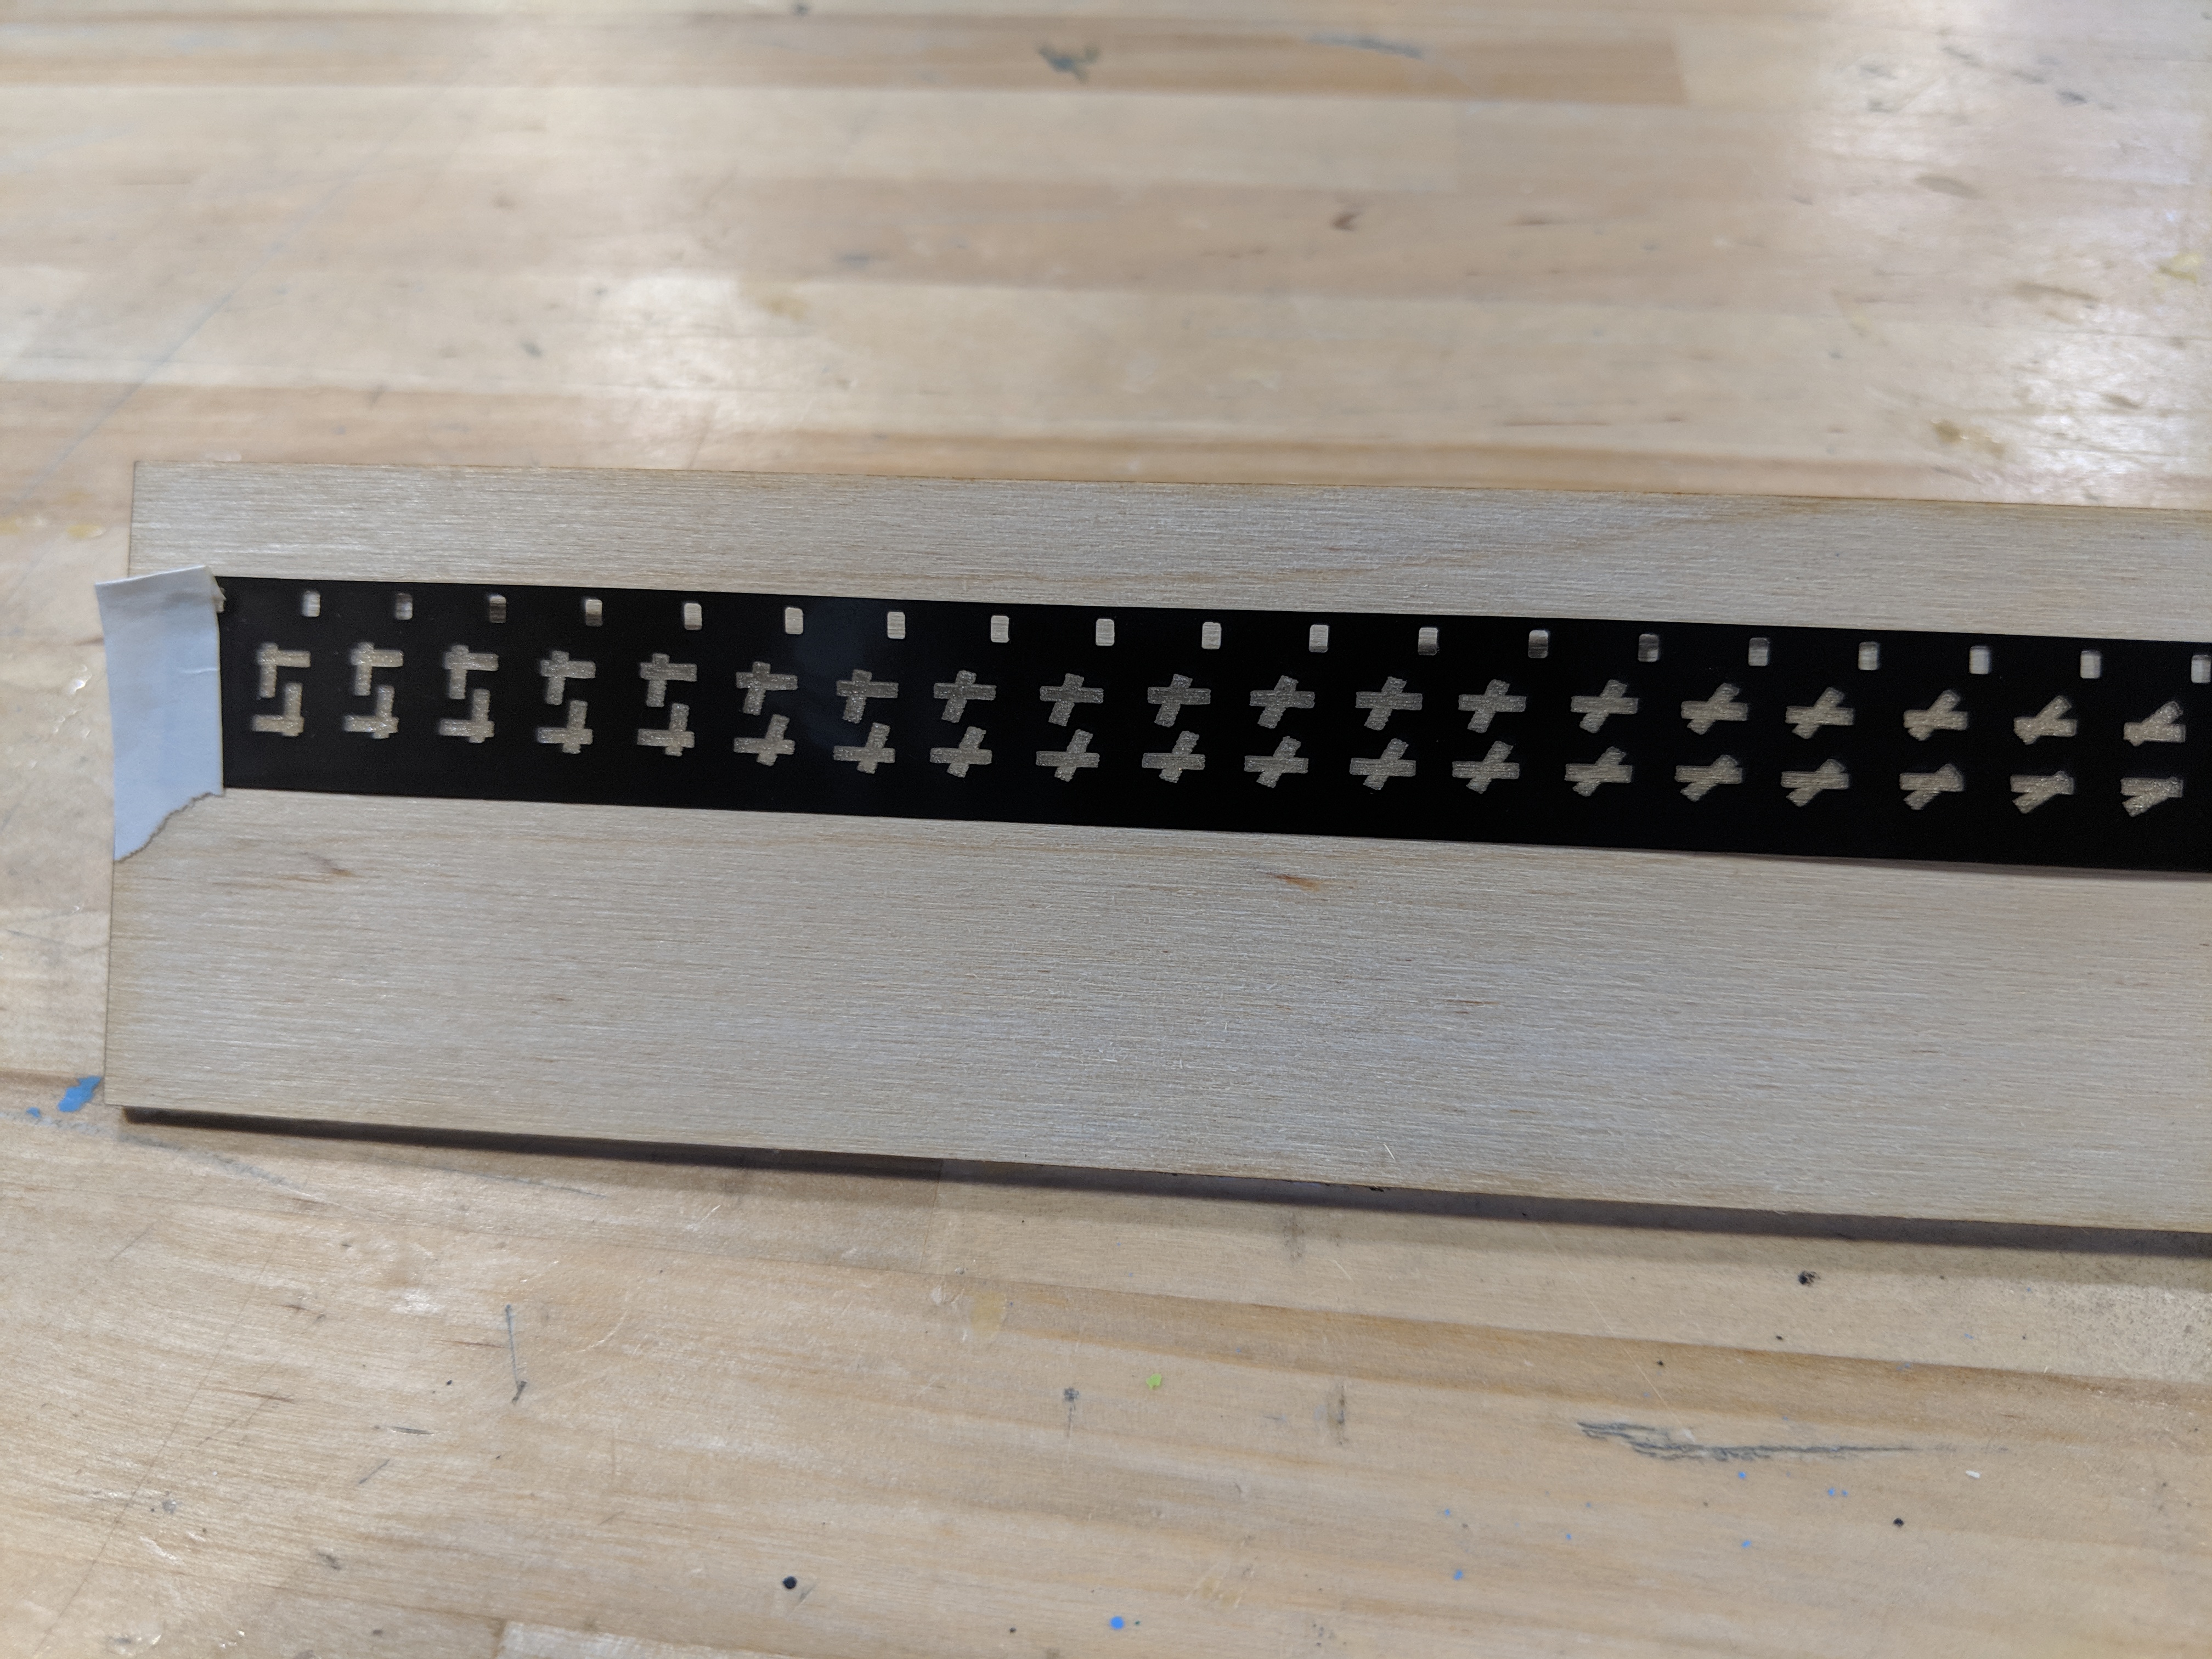
In this Instructable, we will create cameraless films by etching on unexposed film stock. I used 16mm film, created an animation in Adobe Illustrator, and etched onto the film with a laser cutter.
This Instructable assumes you have access and safely know how to use:
Laser Cutter
Adobe Illustrator CC (or other equivalent)
Adobe Photoshop CC (or other equivalent)
Film strip
Scrap piece of 1/8th inch plywood
Tape
Flashdrive
Film Splicer (optional: to prep film for viewing)
Film Projector (also optional: to view film)
Brainstorm
It all starts in your head – brainstorm ideas for an animation, while keeping in mind that the design needs to move or change enough to be noticeable from several feet away when it is projected. The animation can be realistic or abstract, using images or just lines and shapes. Some ideas for changes are growing, shrinking, transforming, spinning, and multiplying.
Make Sketches

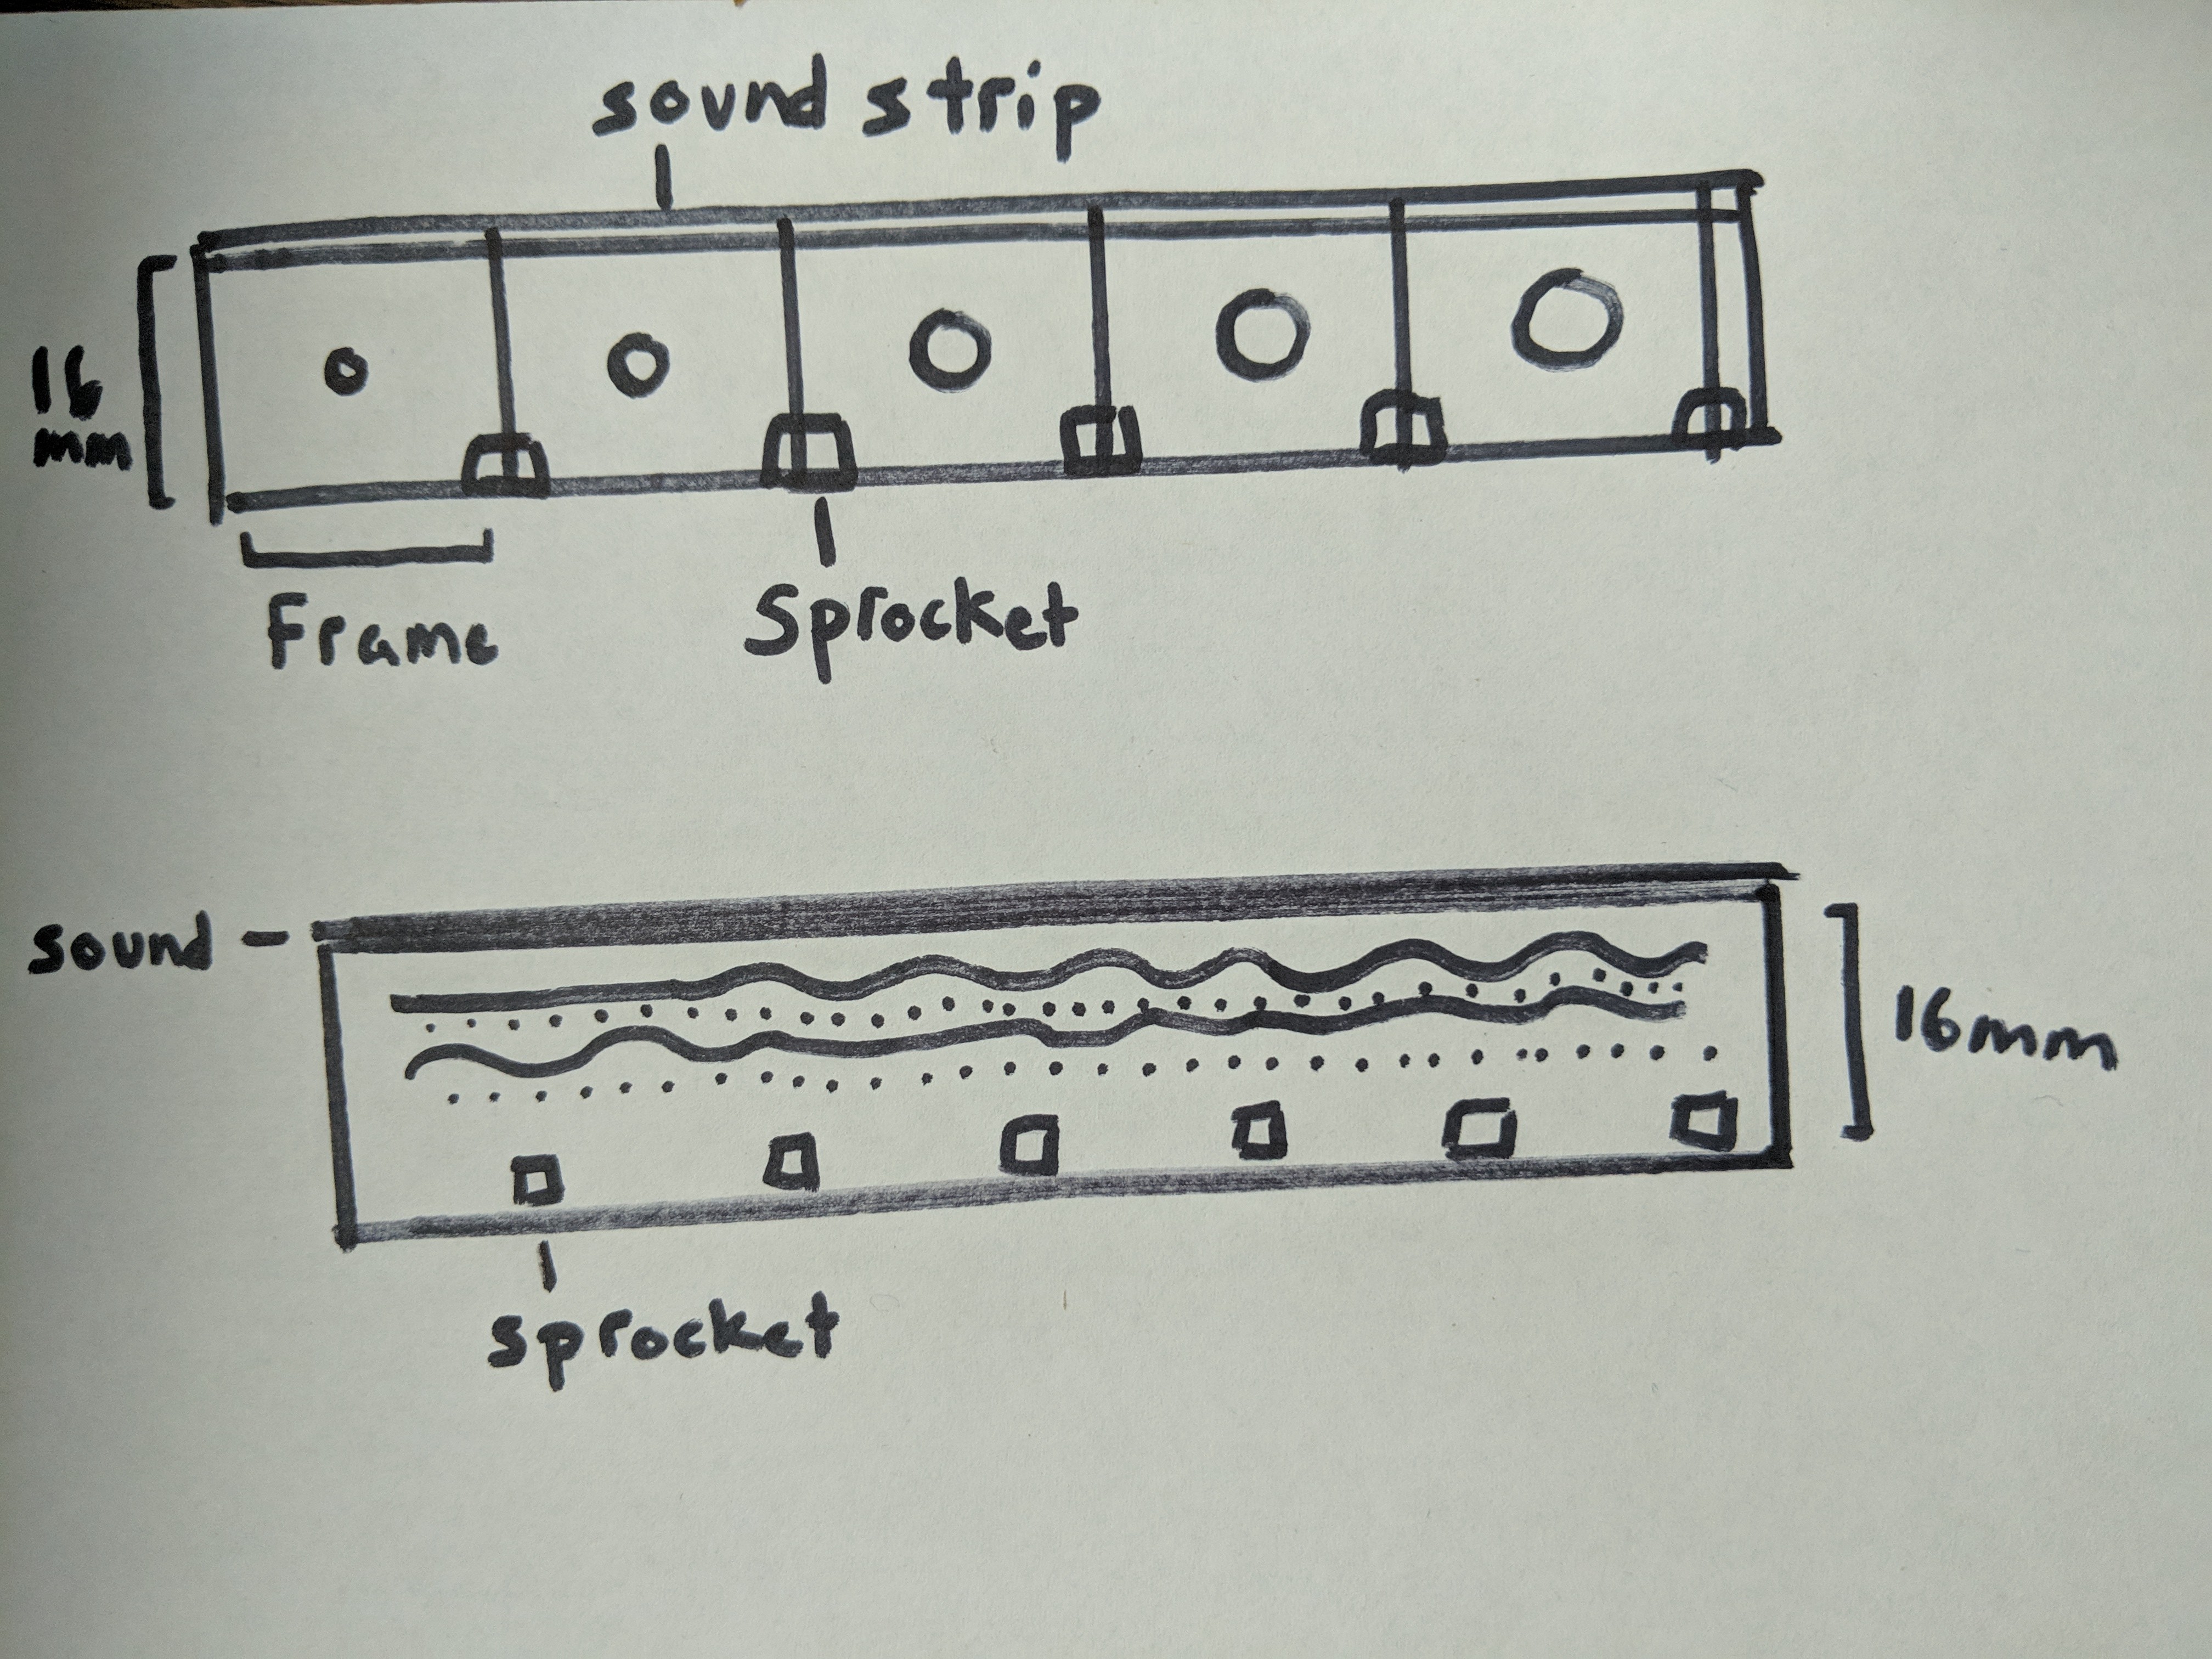
Planning and organization is always important, but especially for animation. The changes must be gradual, or the sequence will seem choppy.
Use sketches to plan out the animation. One way to do this is to sketch the beginning frame, the middle frame, and the end frame. Any medium will work – on paper, Illustrator, or Photoshop – as long as it can be imported into Illustrator as a black and white drawing.
If the animation is from a .gif online, it can be downloaded and will save as individual frames – perfect for this animation process.
Another way to approach this process is to disregard the frames entirely and view the whole strip as a single image.
Create Frame by Frame Animation
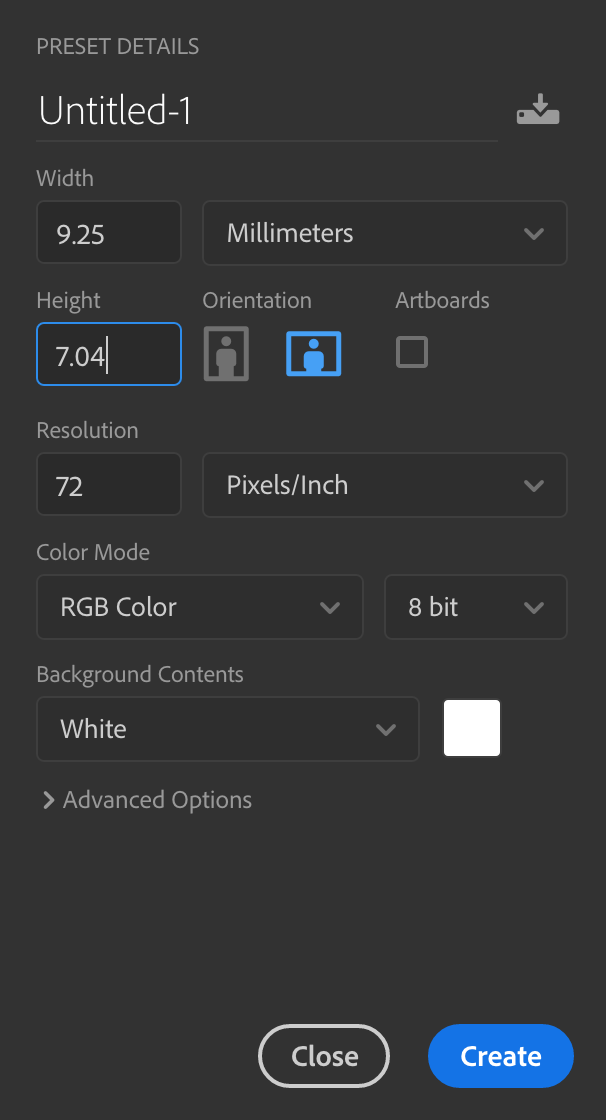
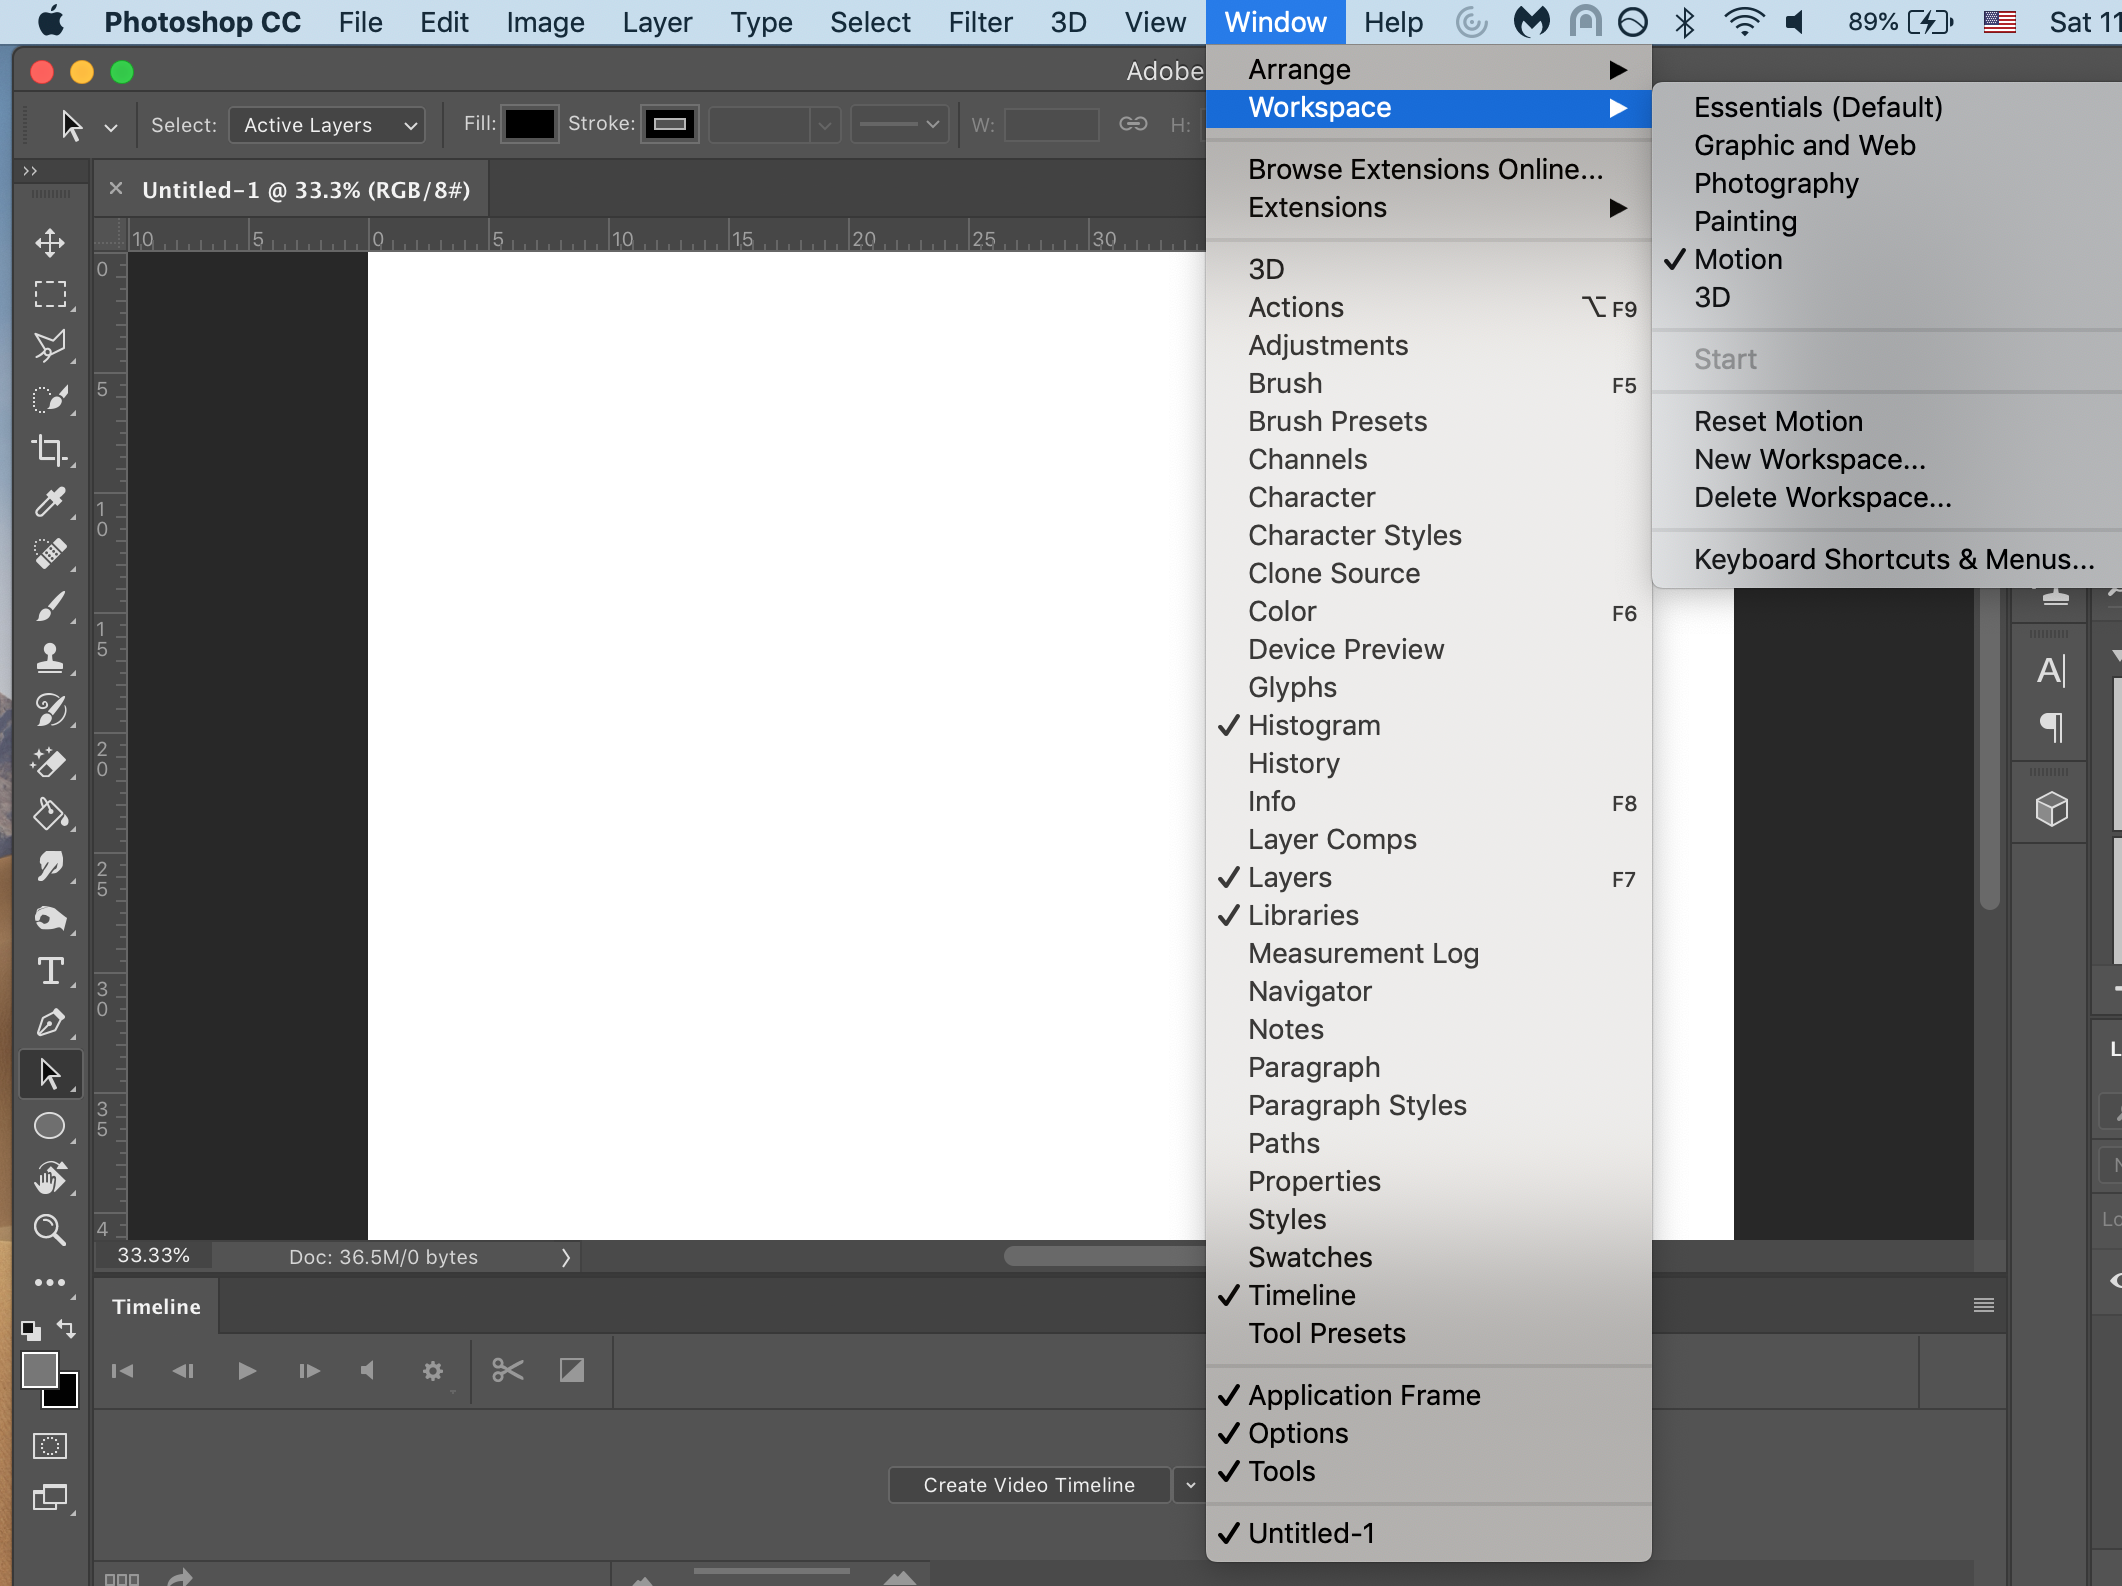
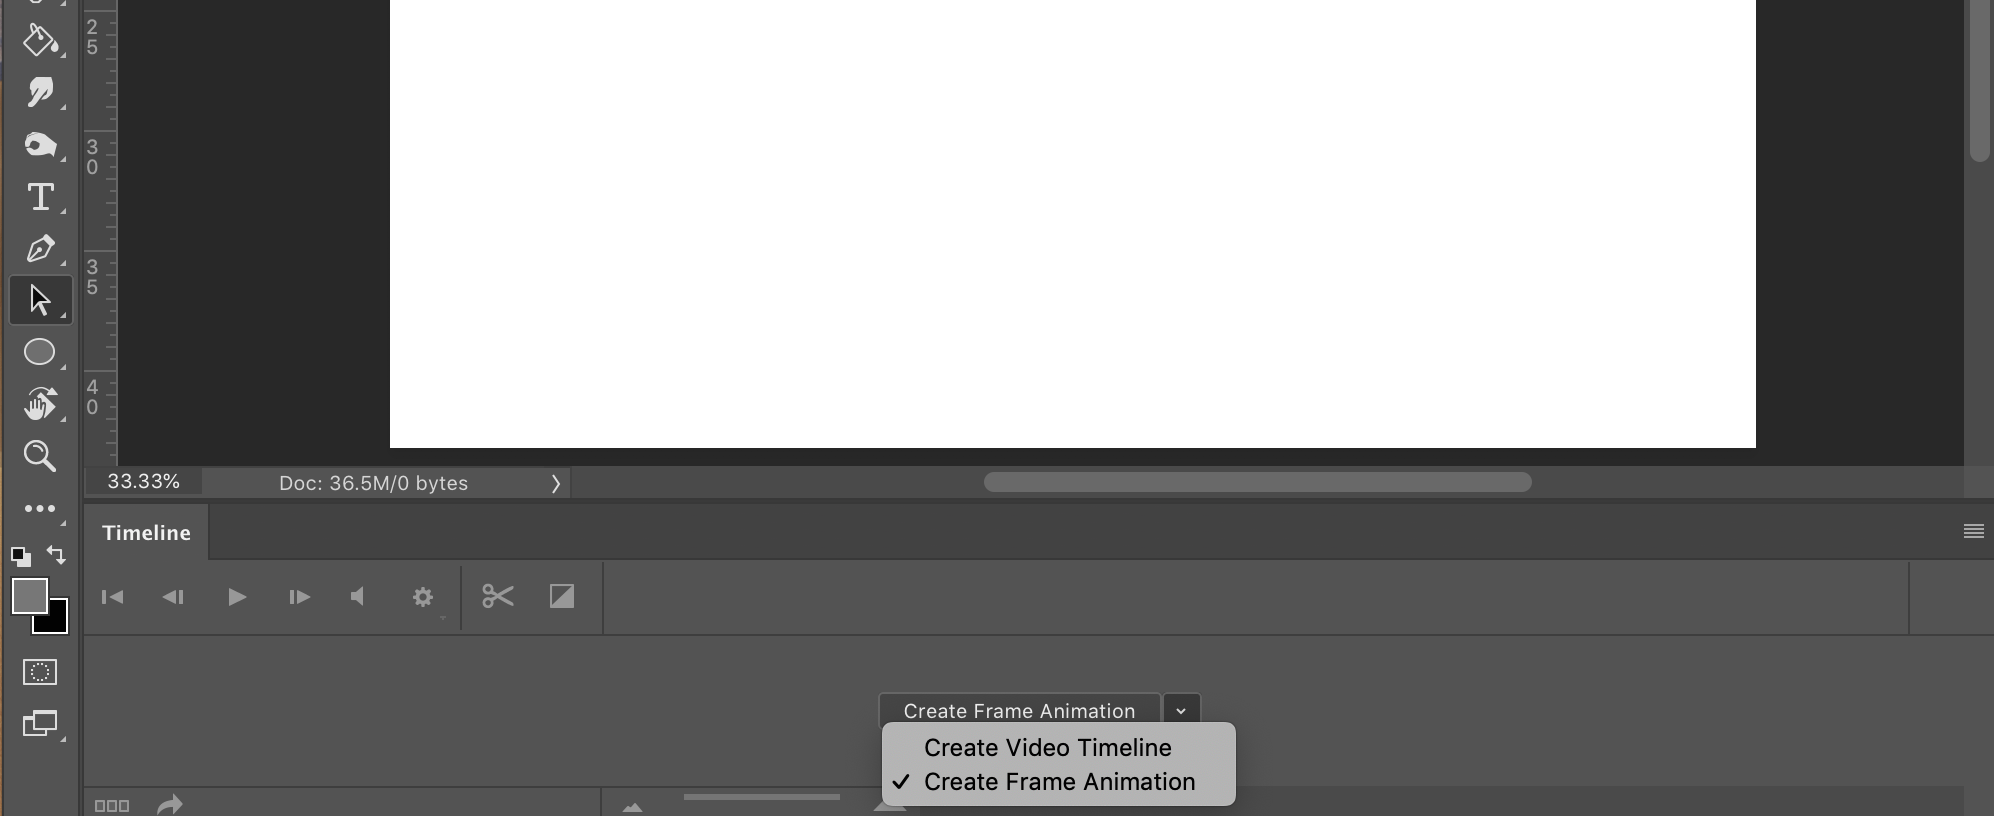
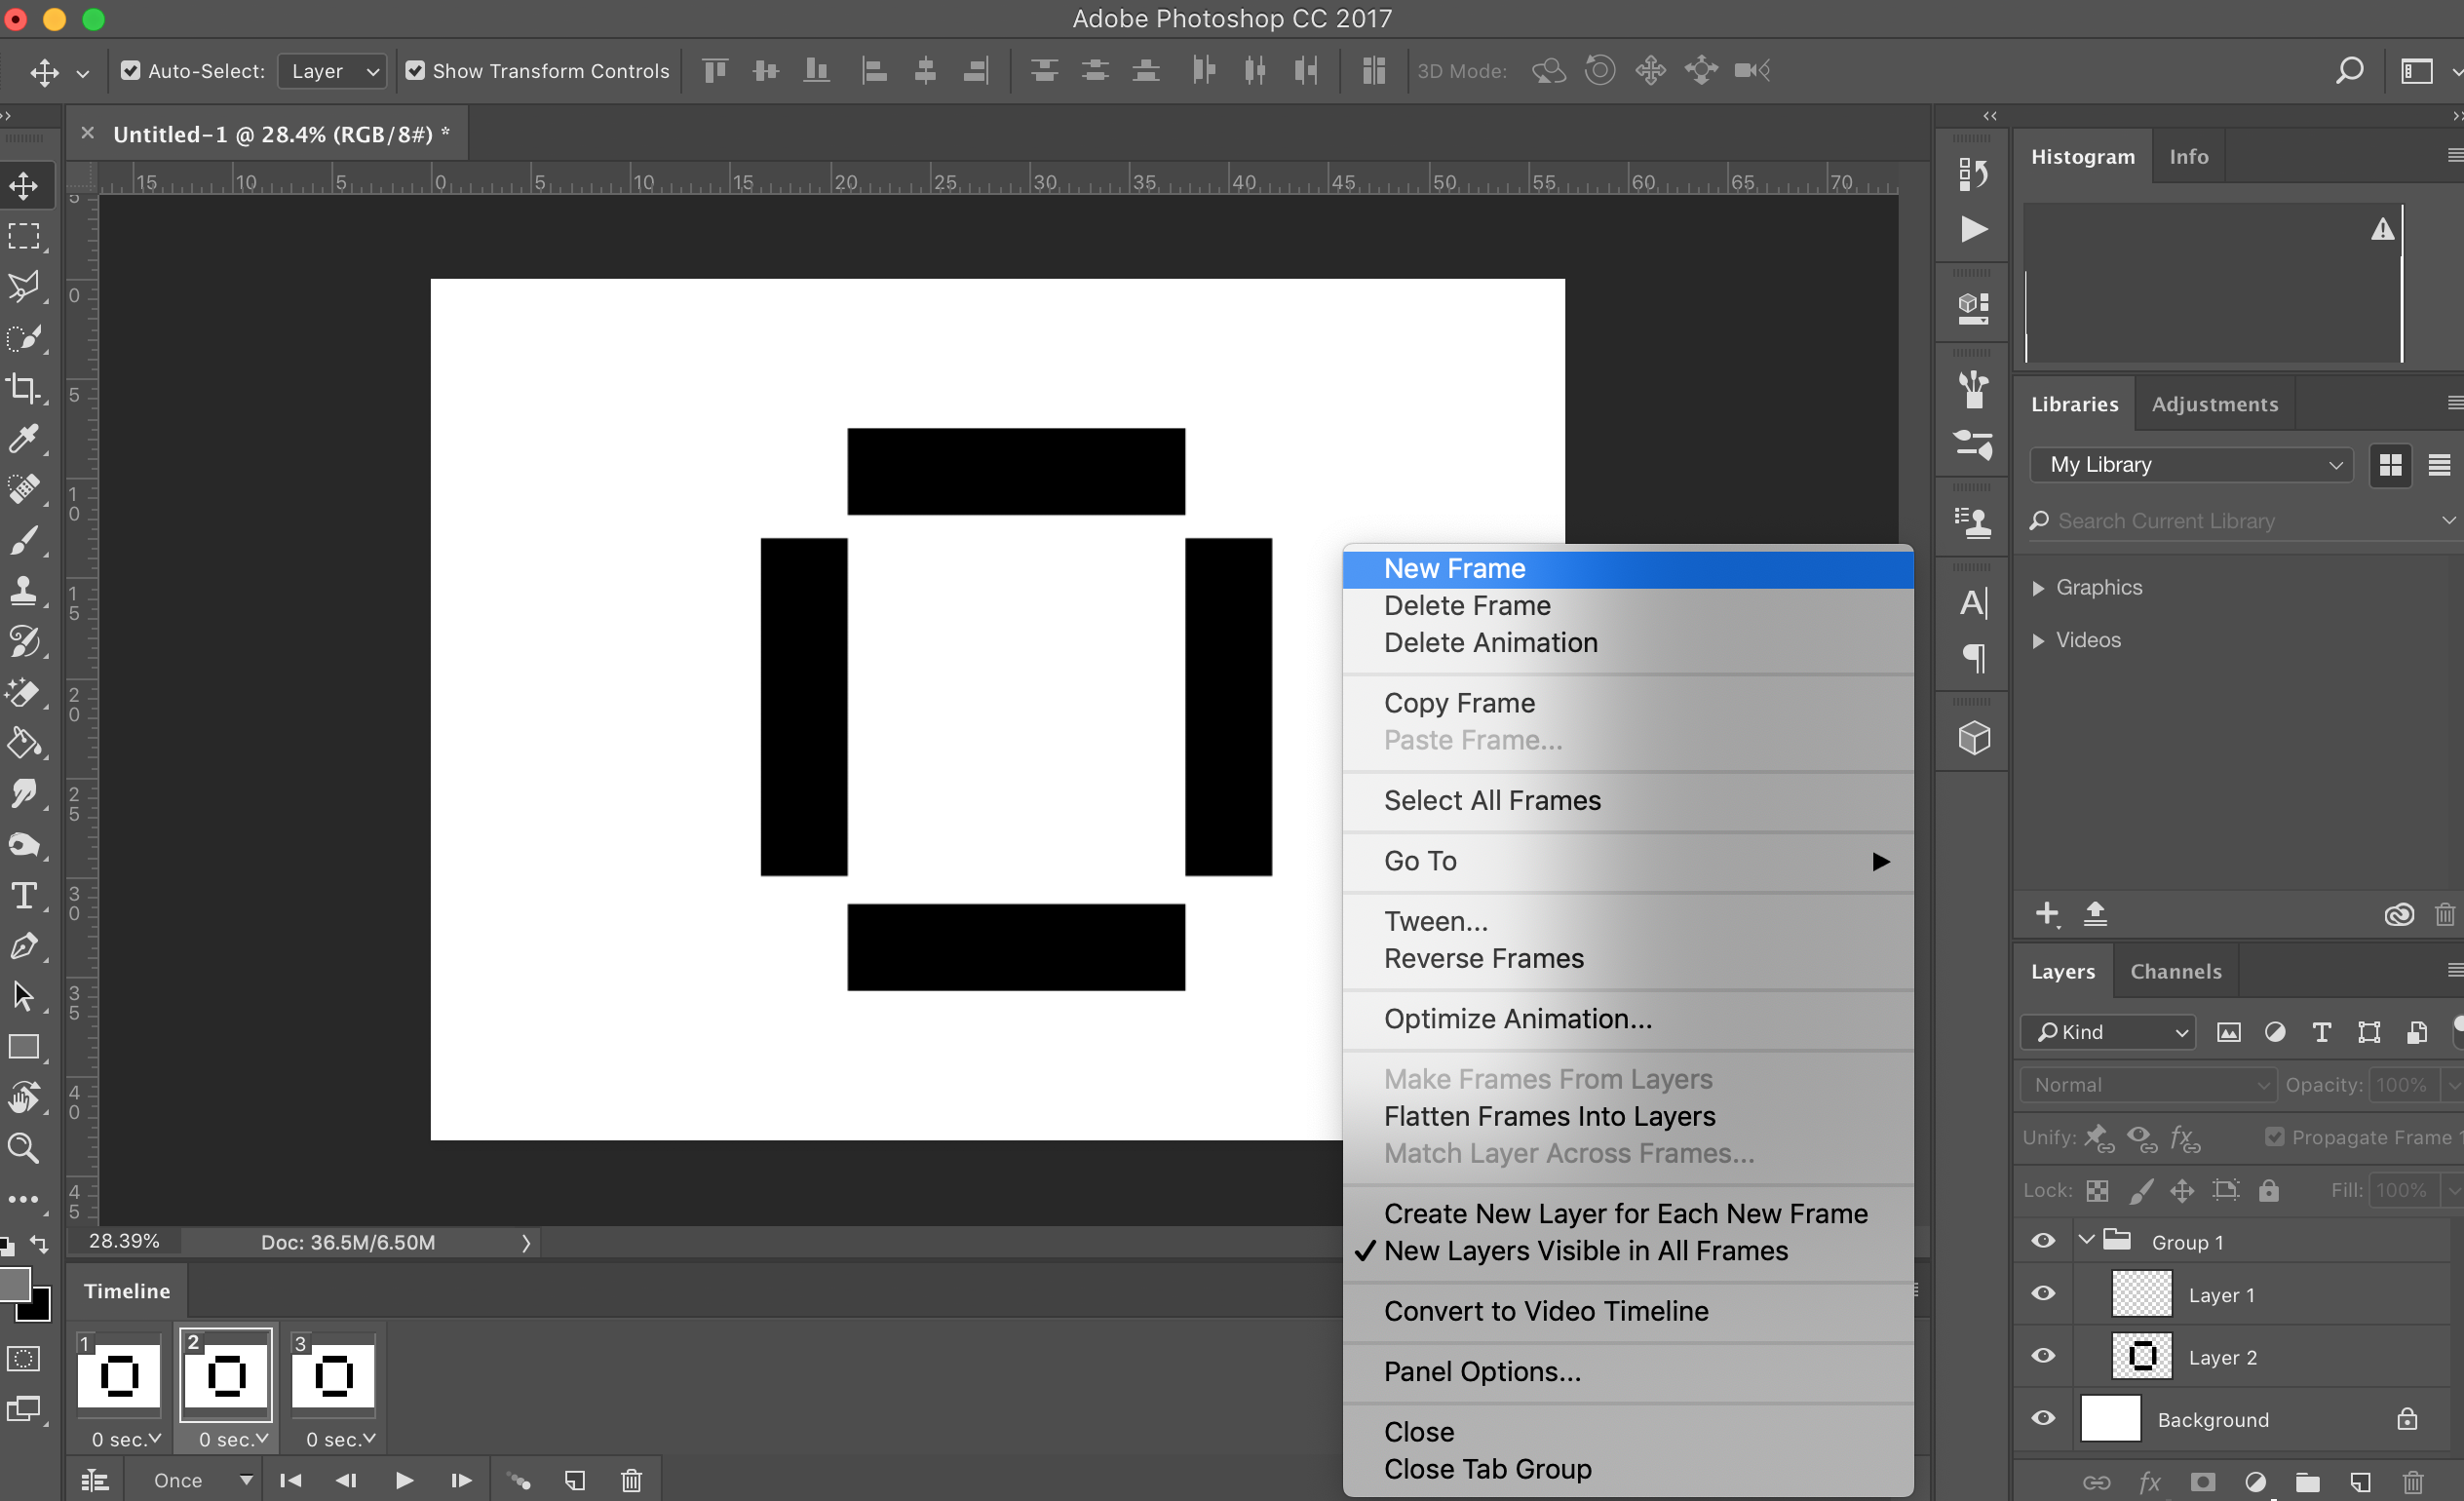
Open up a Photoshop Document and set the dimensions to set the dimensions of your frames to width: 9.253mm and height: 7.039 mm. These are the dimensions for each frame, so it will save time when we’re ready to line them up for etching. Select Film & Video in the new document window and choose the film preset. Once the document is set up, go to the Window toolbar, hover over Workspace, and select Motion. This will allow you to create the animation. Then, go to the bottom panel of the document that probably says “Create Video Timeline” and change that to “Create Frame Animation.” Create a new layer to work on. Enable Onion Skins – this shows a shadow of the previous frame so you can see the adjustments. If you have an image saved, place it in the first frame. If you’re going abstract and want to use Photoshop tools or brushes, create the first frame. Once you like how the first frame looks, click the three bar icon at the right of the screen and select New Frame. Adjust the image slightly on the next frame, then continue doing this for the length of your animation.
Convert to Video Timeline
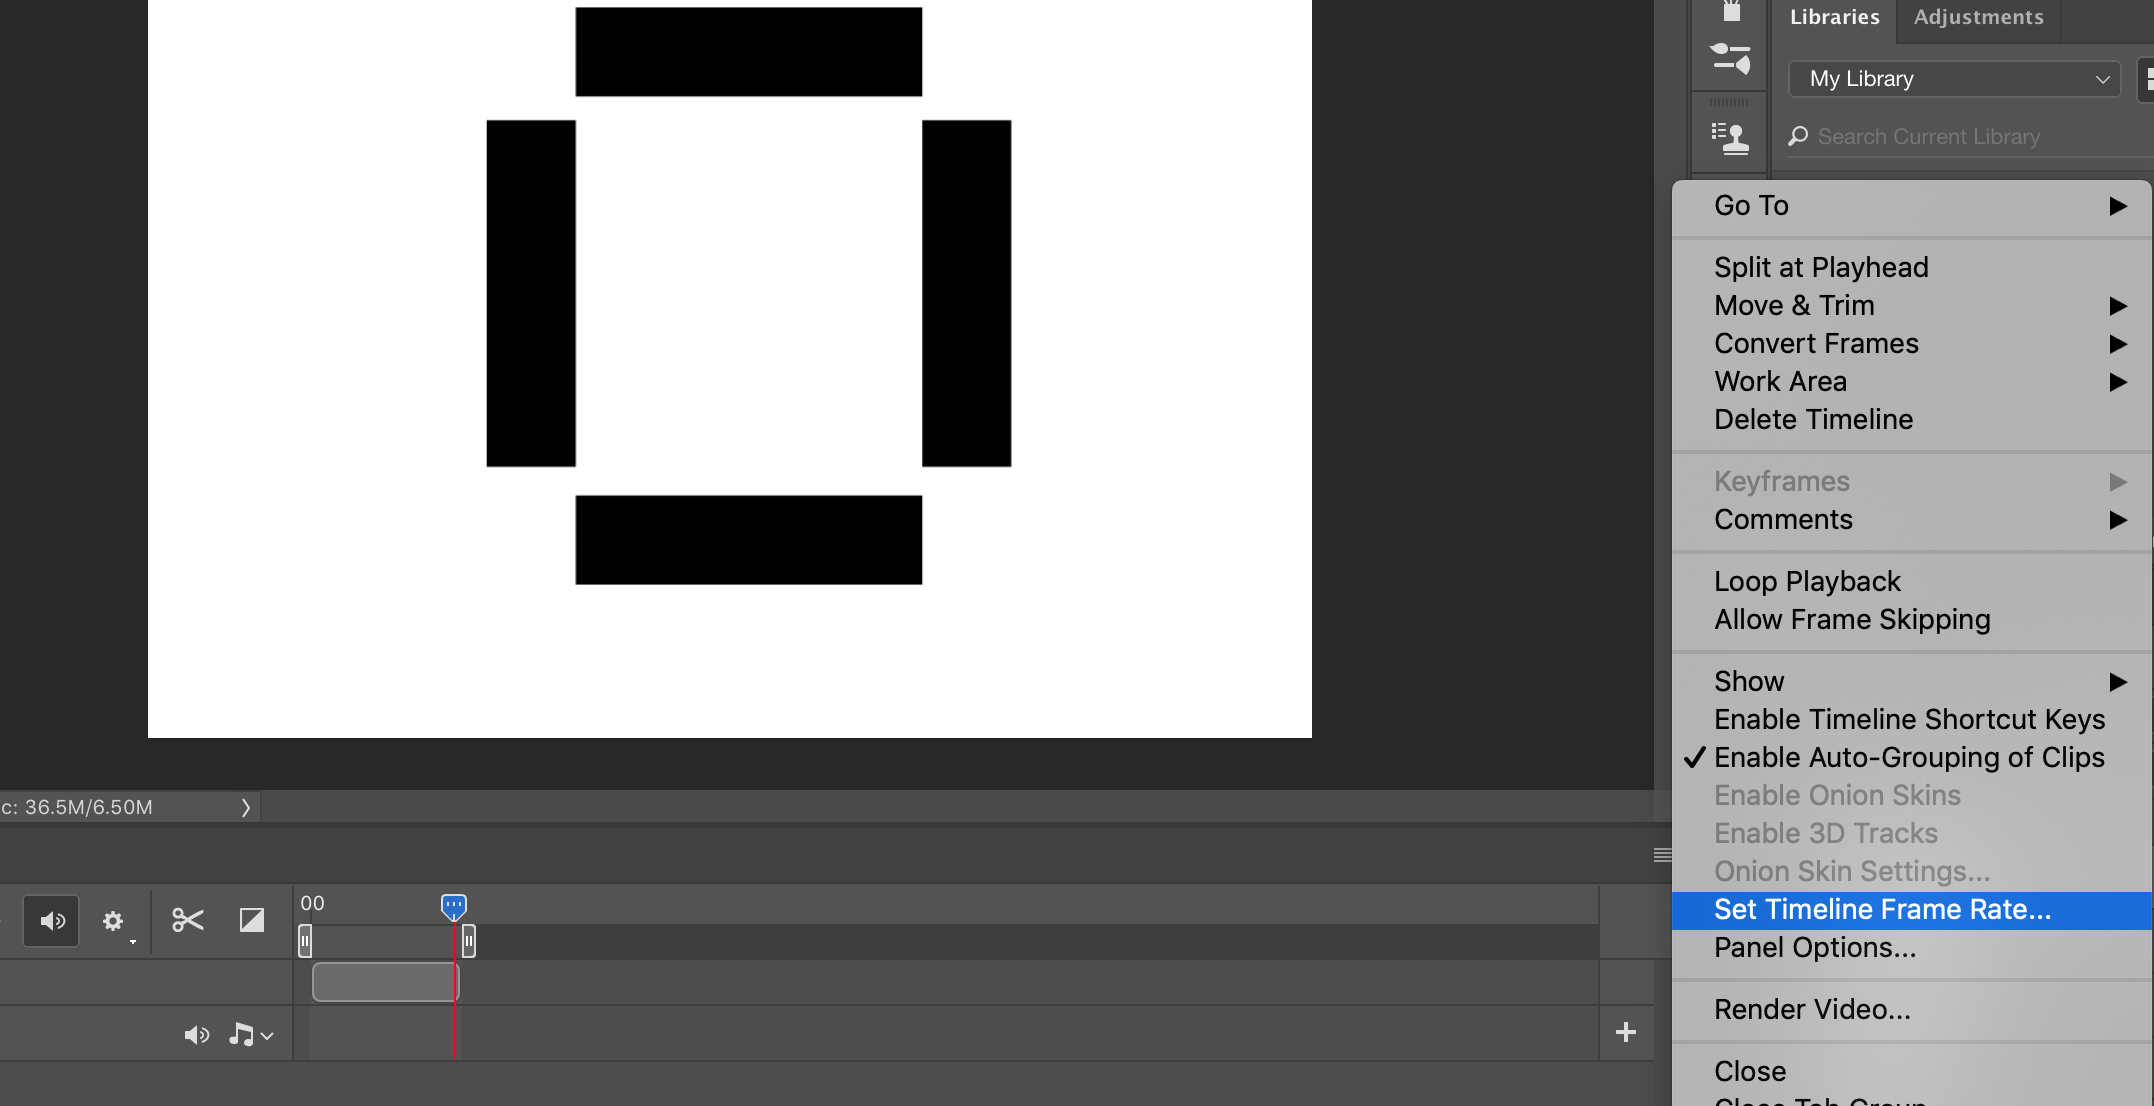
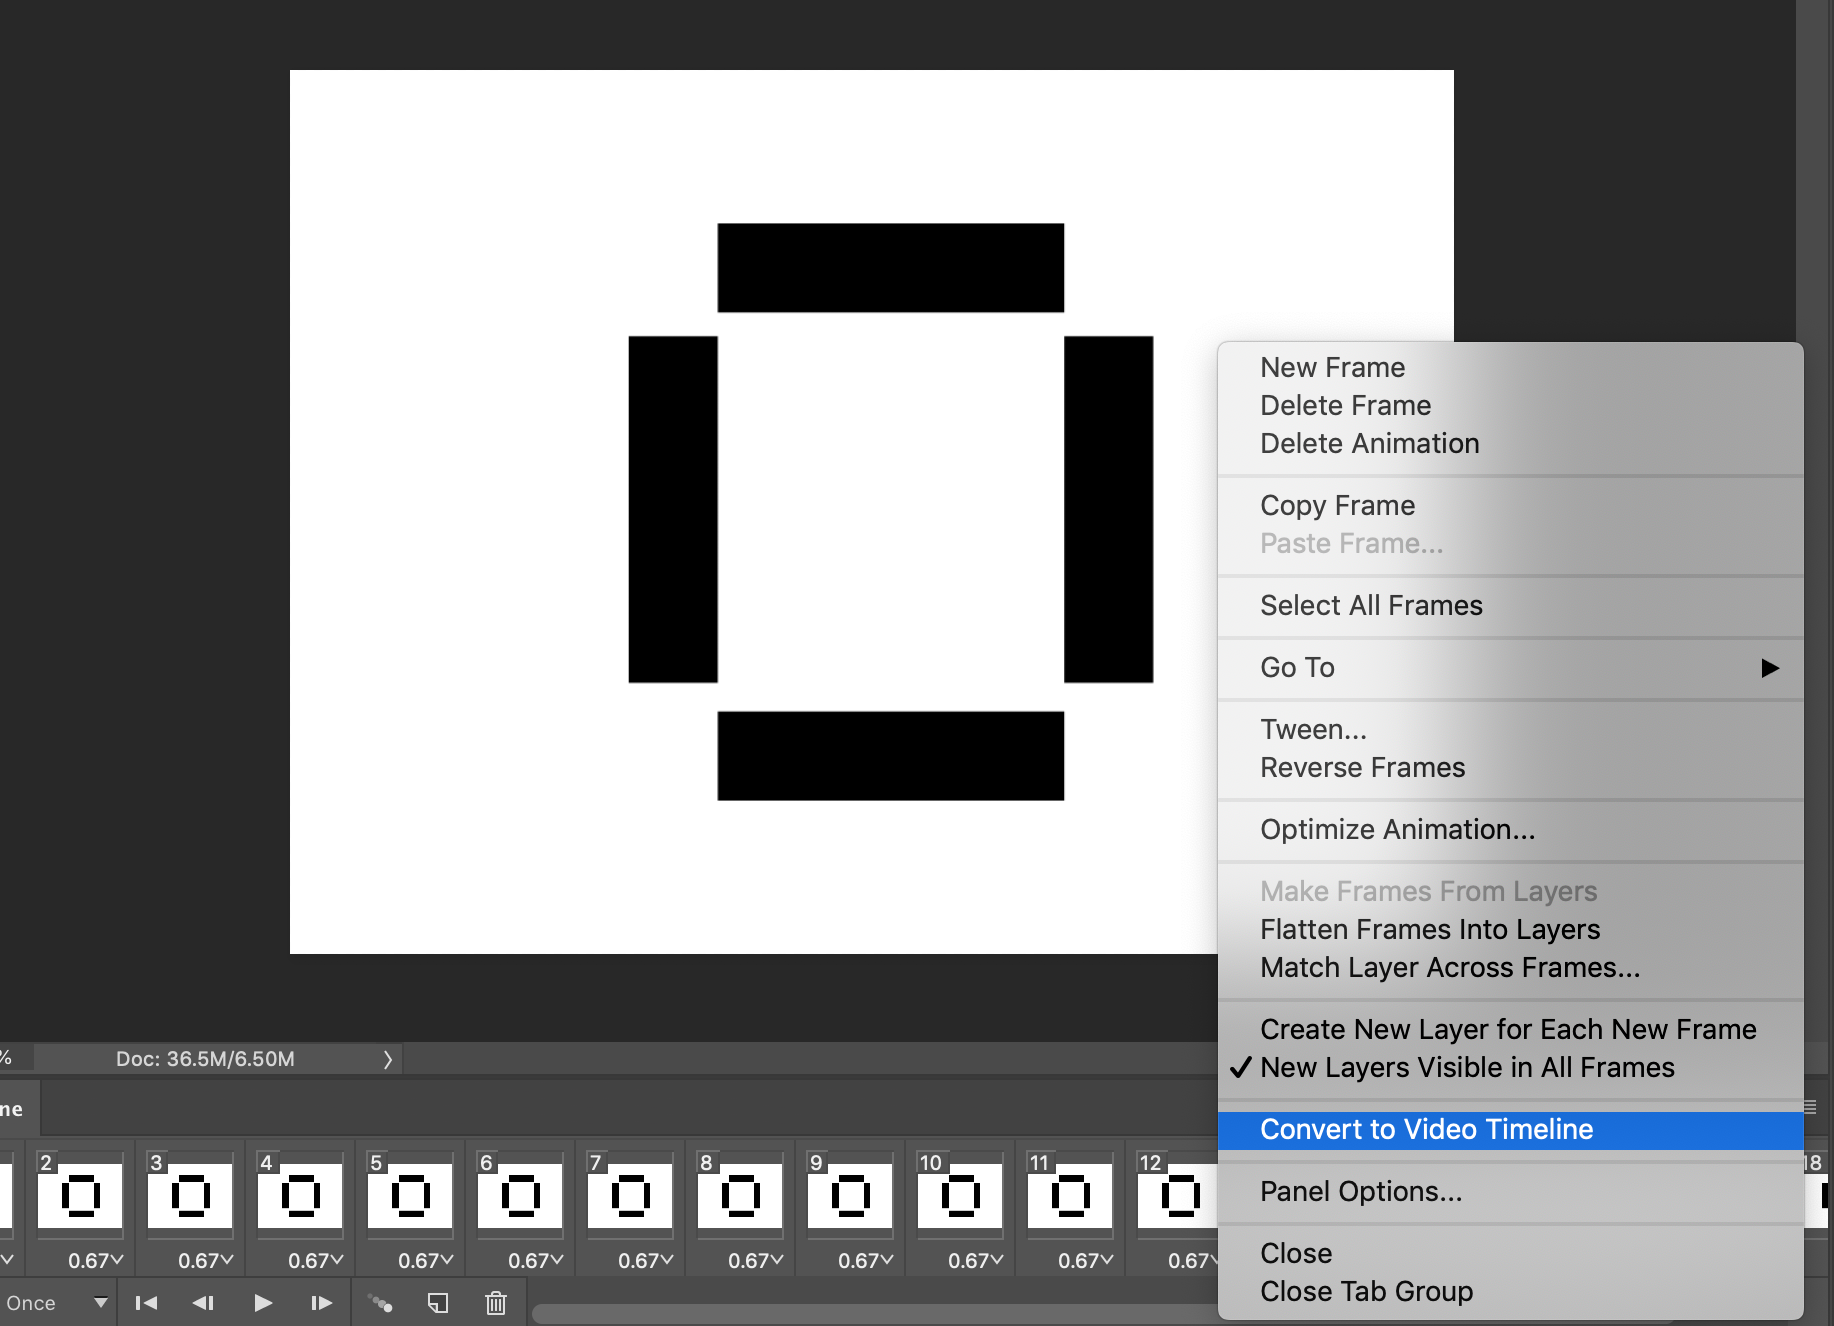
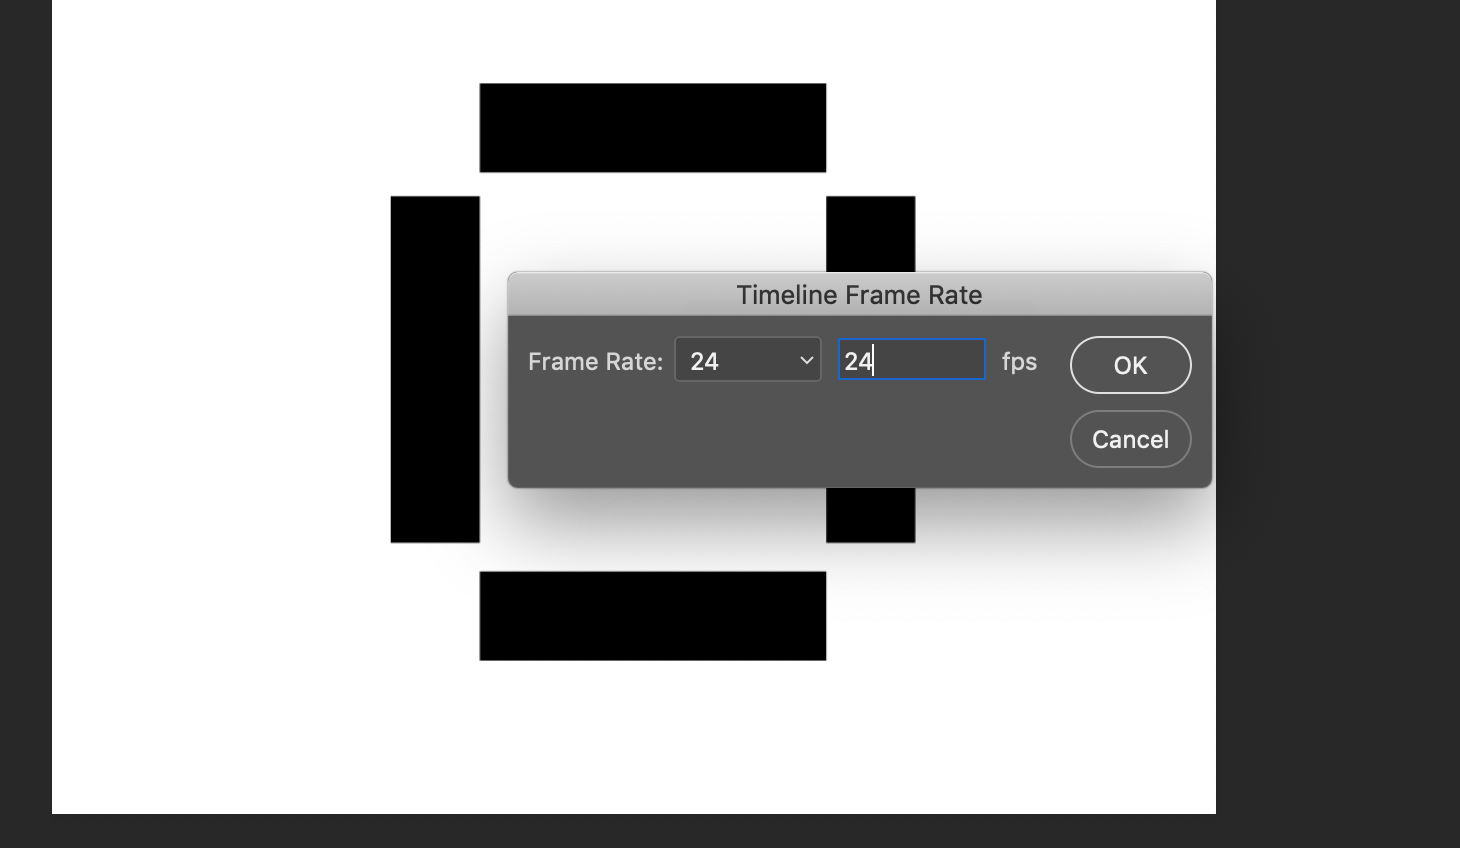
Now it’s time to convert the completed frame by frame animation into a video timeline and export that into Adobe Illustrator. The first step is to go to the three bar icon and select “Convert to Video Timeline.” Once that’s done, go back to the three bar icon and set the frame rate to 24 frames per second.
Render Video
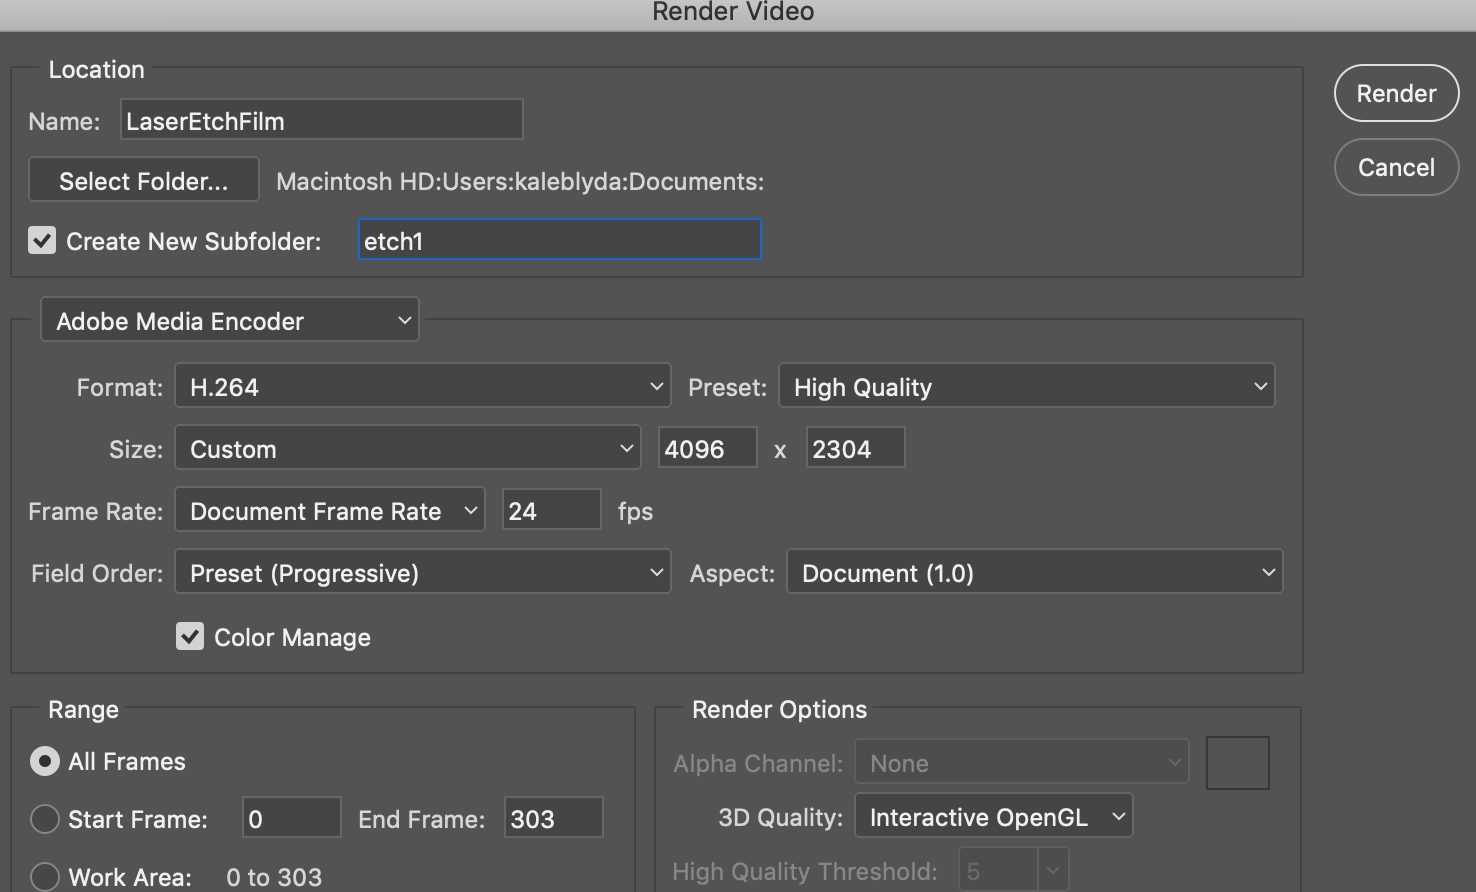
Then, go back to the same three bar icon again and select “Render Video.” Name the file something recognizable and select “Create Subfolder.” This will make sure all your individual image frames are kept in one spot for when we add them to Illustrator.
Arrange Frames in Illustrator
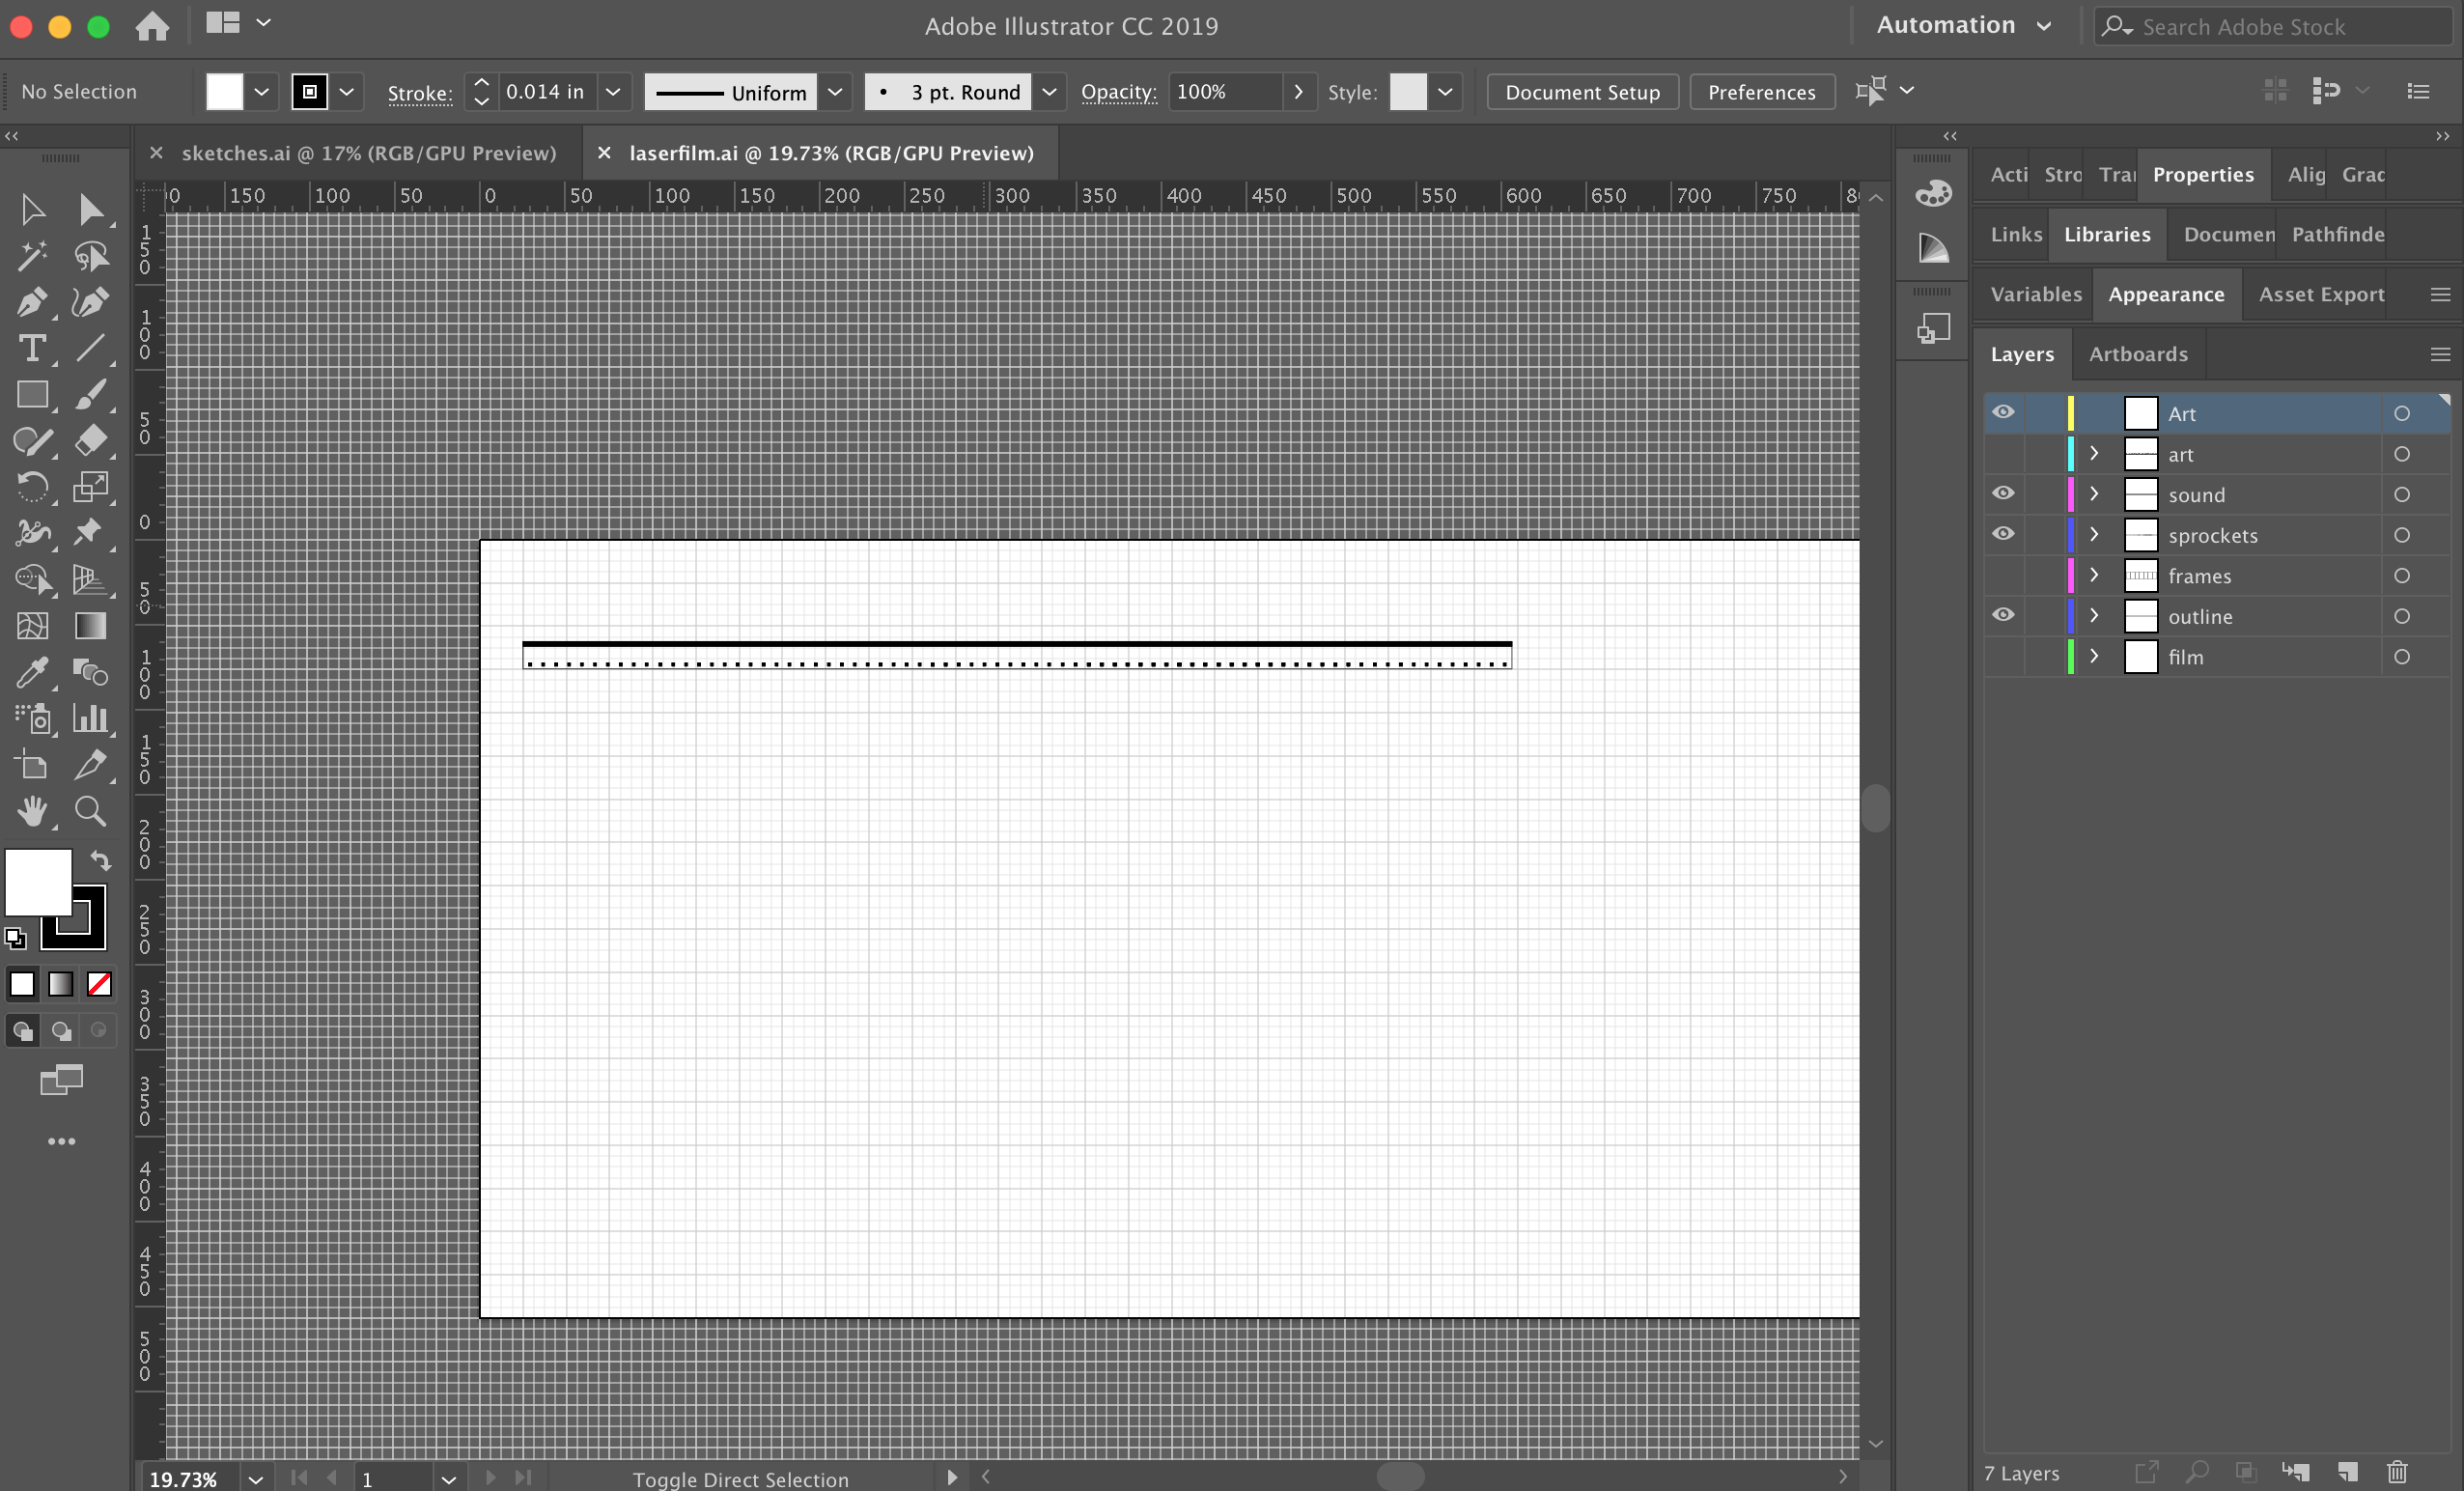
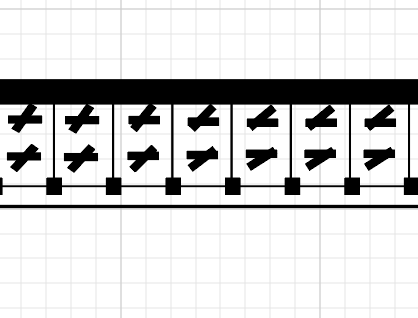
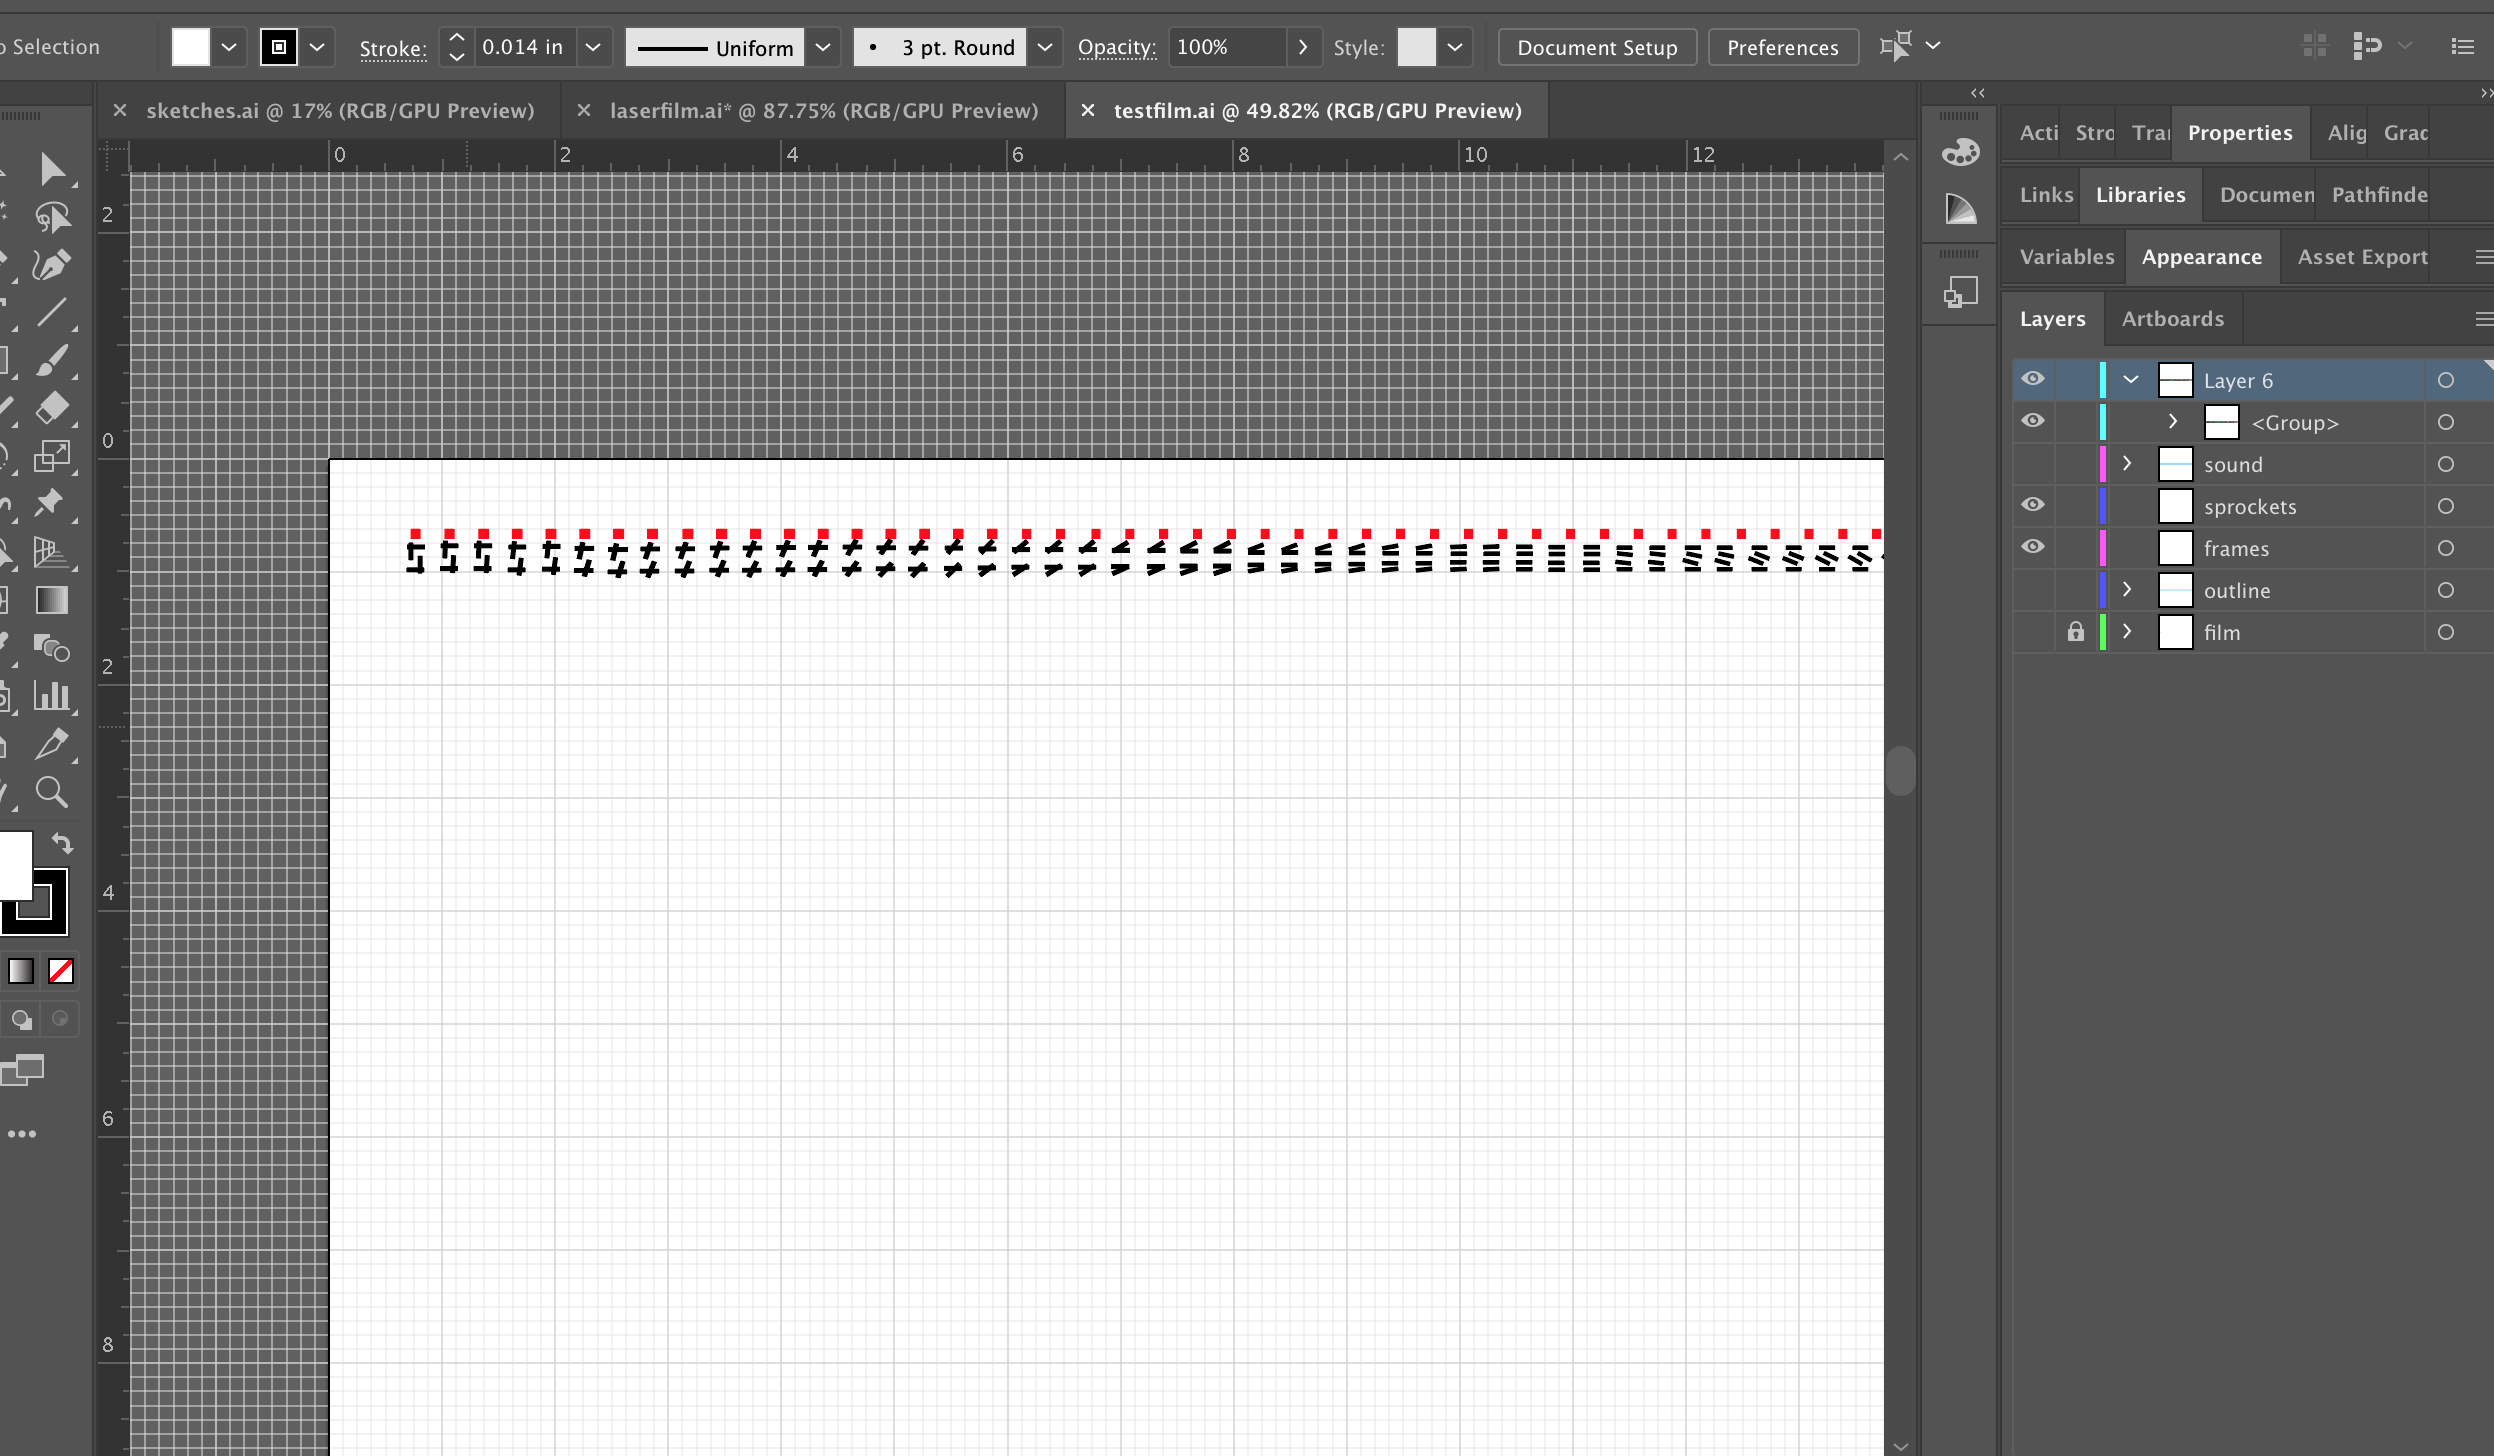
Open the template at the bottom of this step in Illustrator. It’s already set up with an outline of a 16mm film strip, including the sprockets and sound strip. Turn the layers that contain the sound strip and sprockets off, so that you can see the frames more clearly. Then go into the folder where all the frames form the last step are located and move the first frame into Illustrator. Rotate it if necessary, and align it within the first frame. I’d recommend repeating your first frame at least once, as it can get lost or damaged when splicing the film together. Add the second frame, and adjust as necessary, then line it up within the second frame. Repeat until every frame is aligned inside the template.
Prepare File for Laser Etching


Almost there!
Select the frames, sound strip, and sprockets. Change the color to something the laser cutter can skip over – if using black for the images, you can use RBG Red and set the power to 0%. You can also just make them invisible for the same effect. I chose to make the frames and sound strip invisible, but left the sprockets to line up the image for printing. Save the file onto a USB drive and get ready to print.
Print!
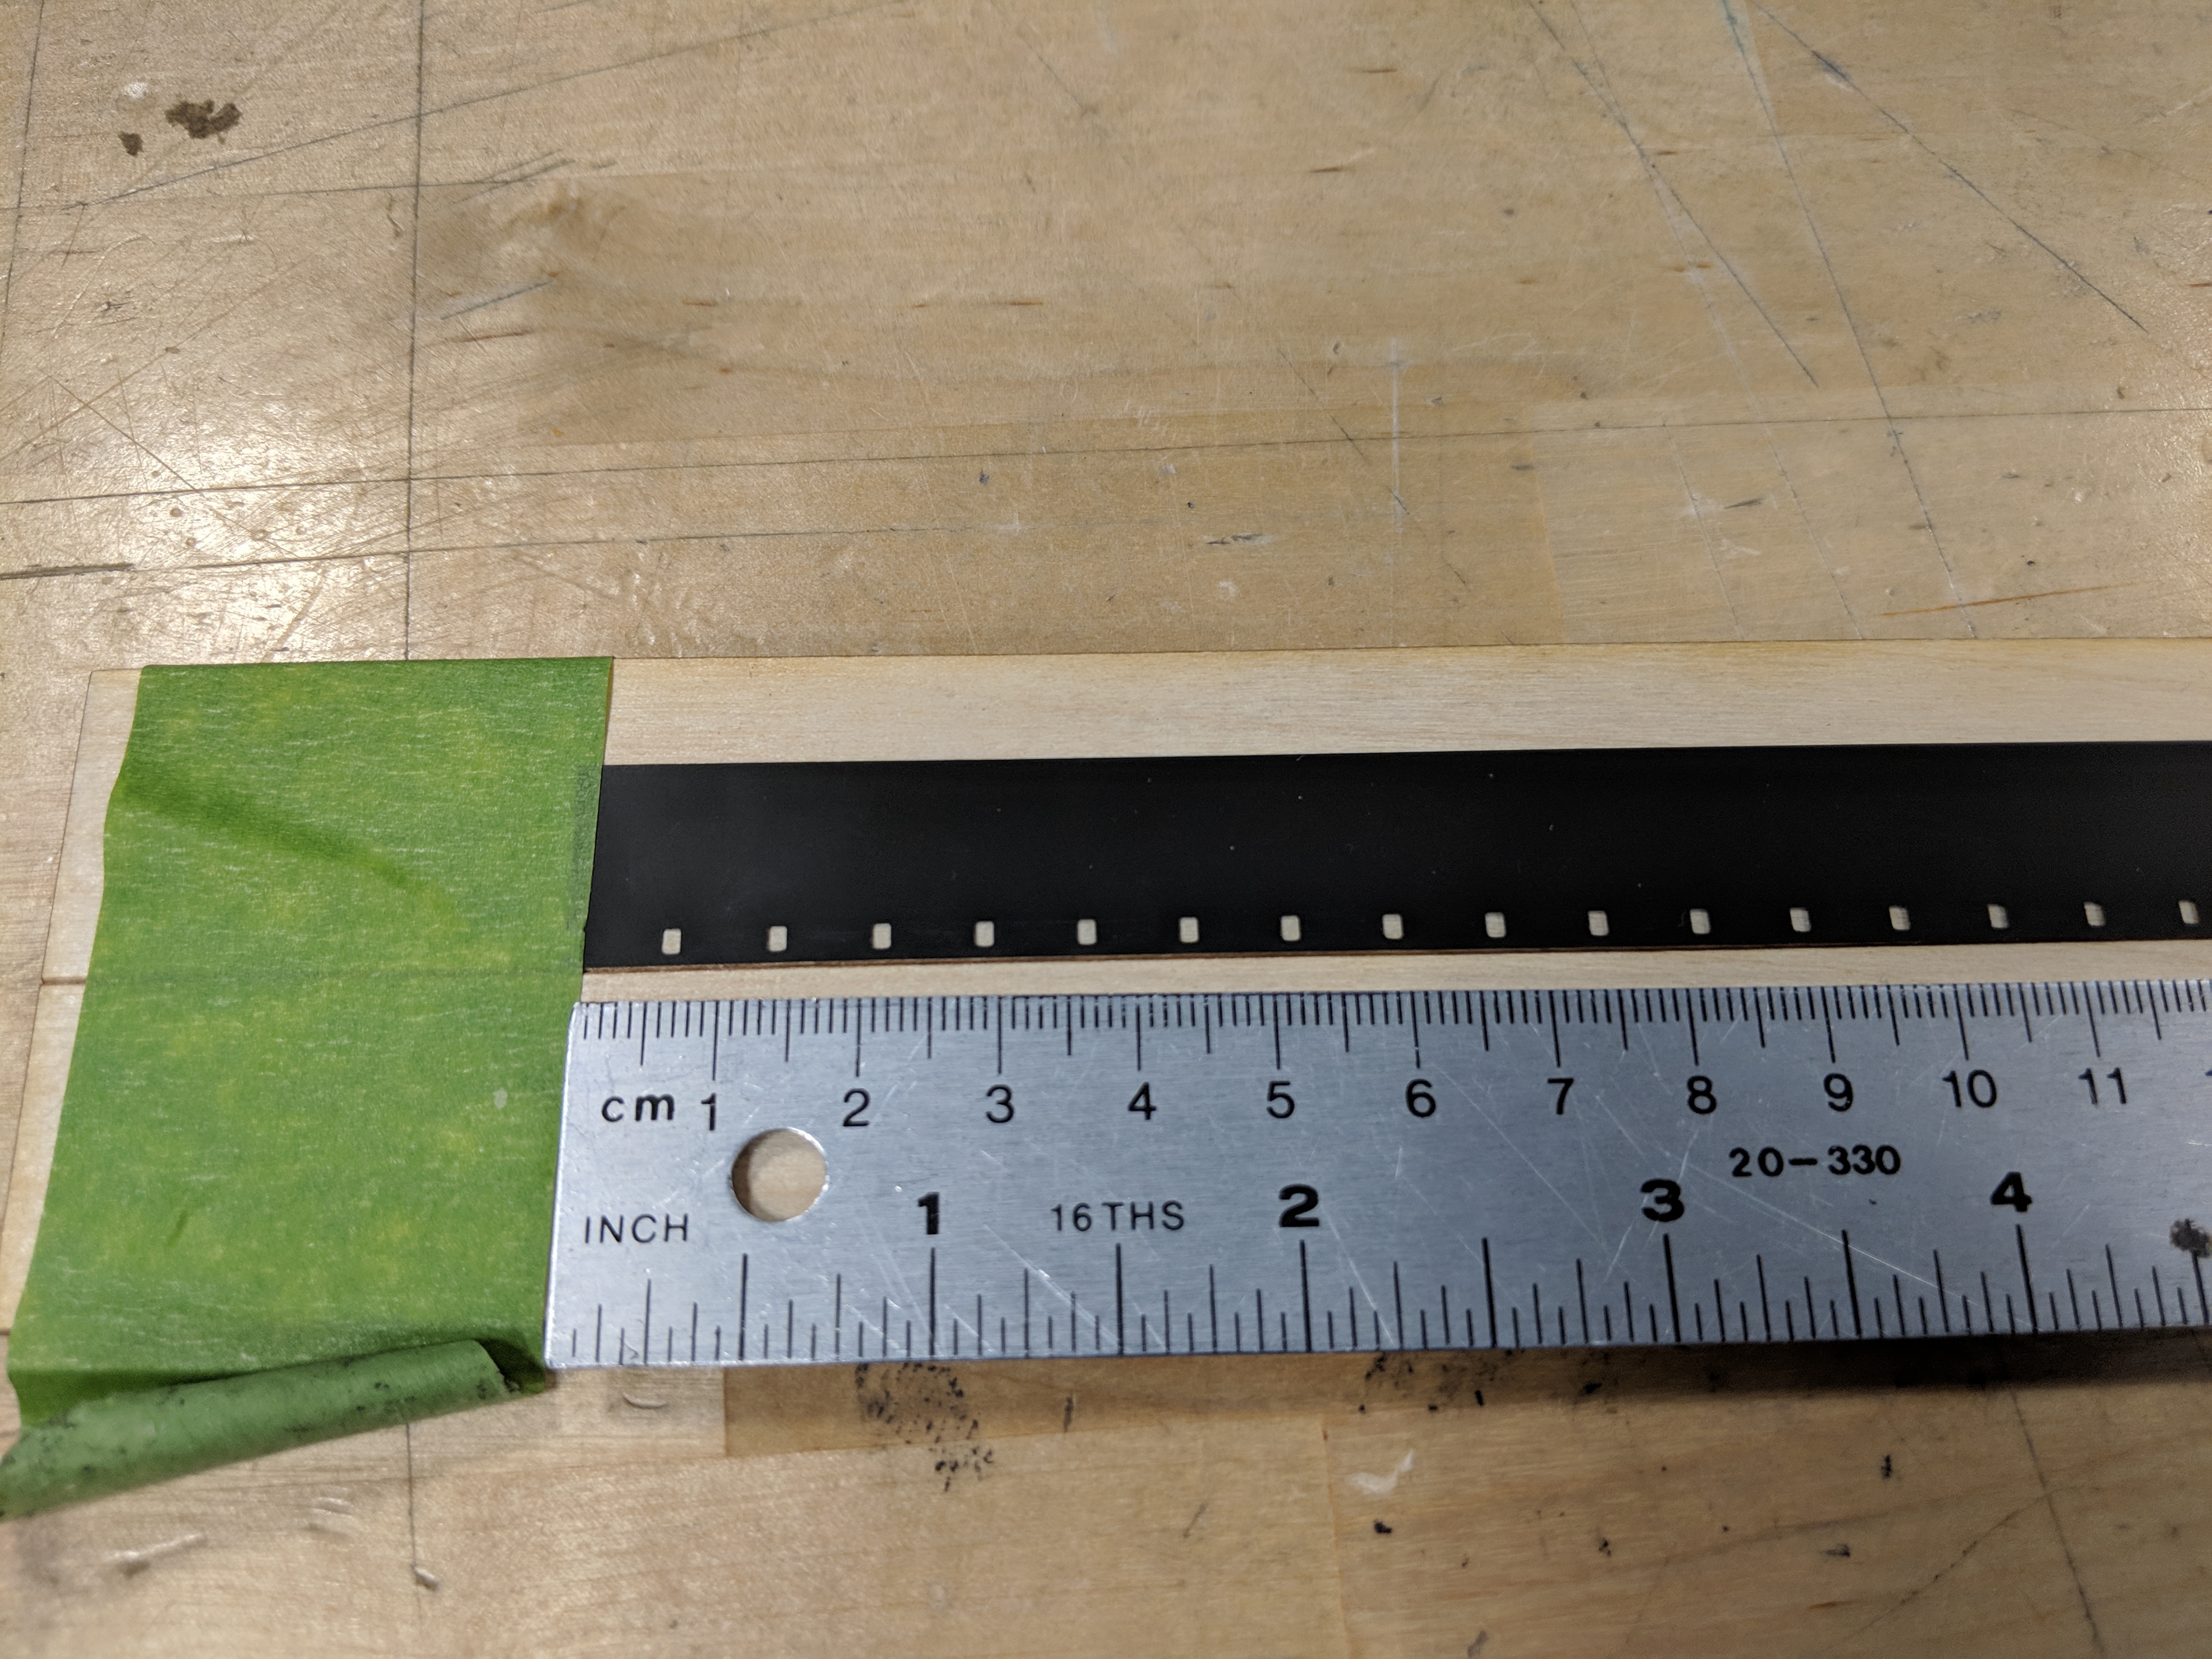
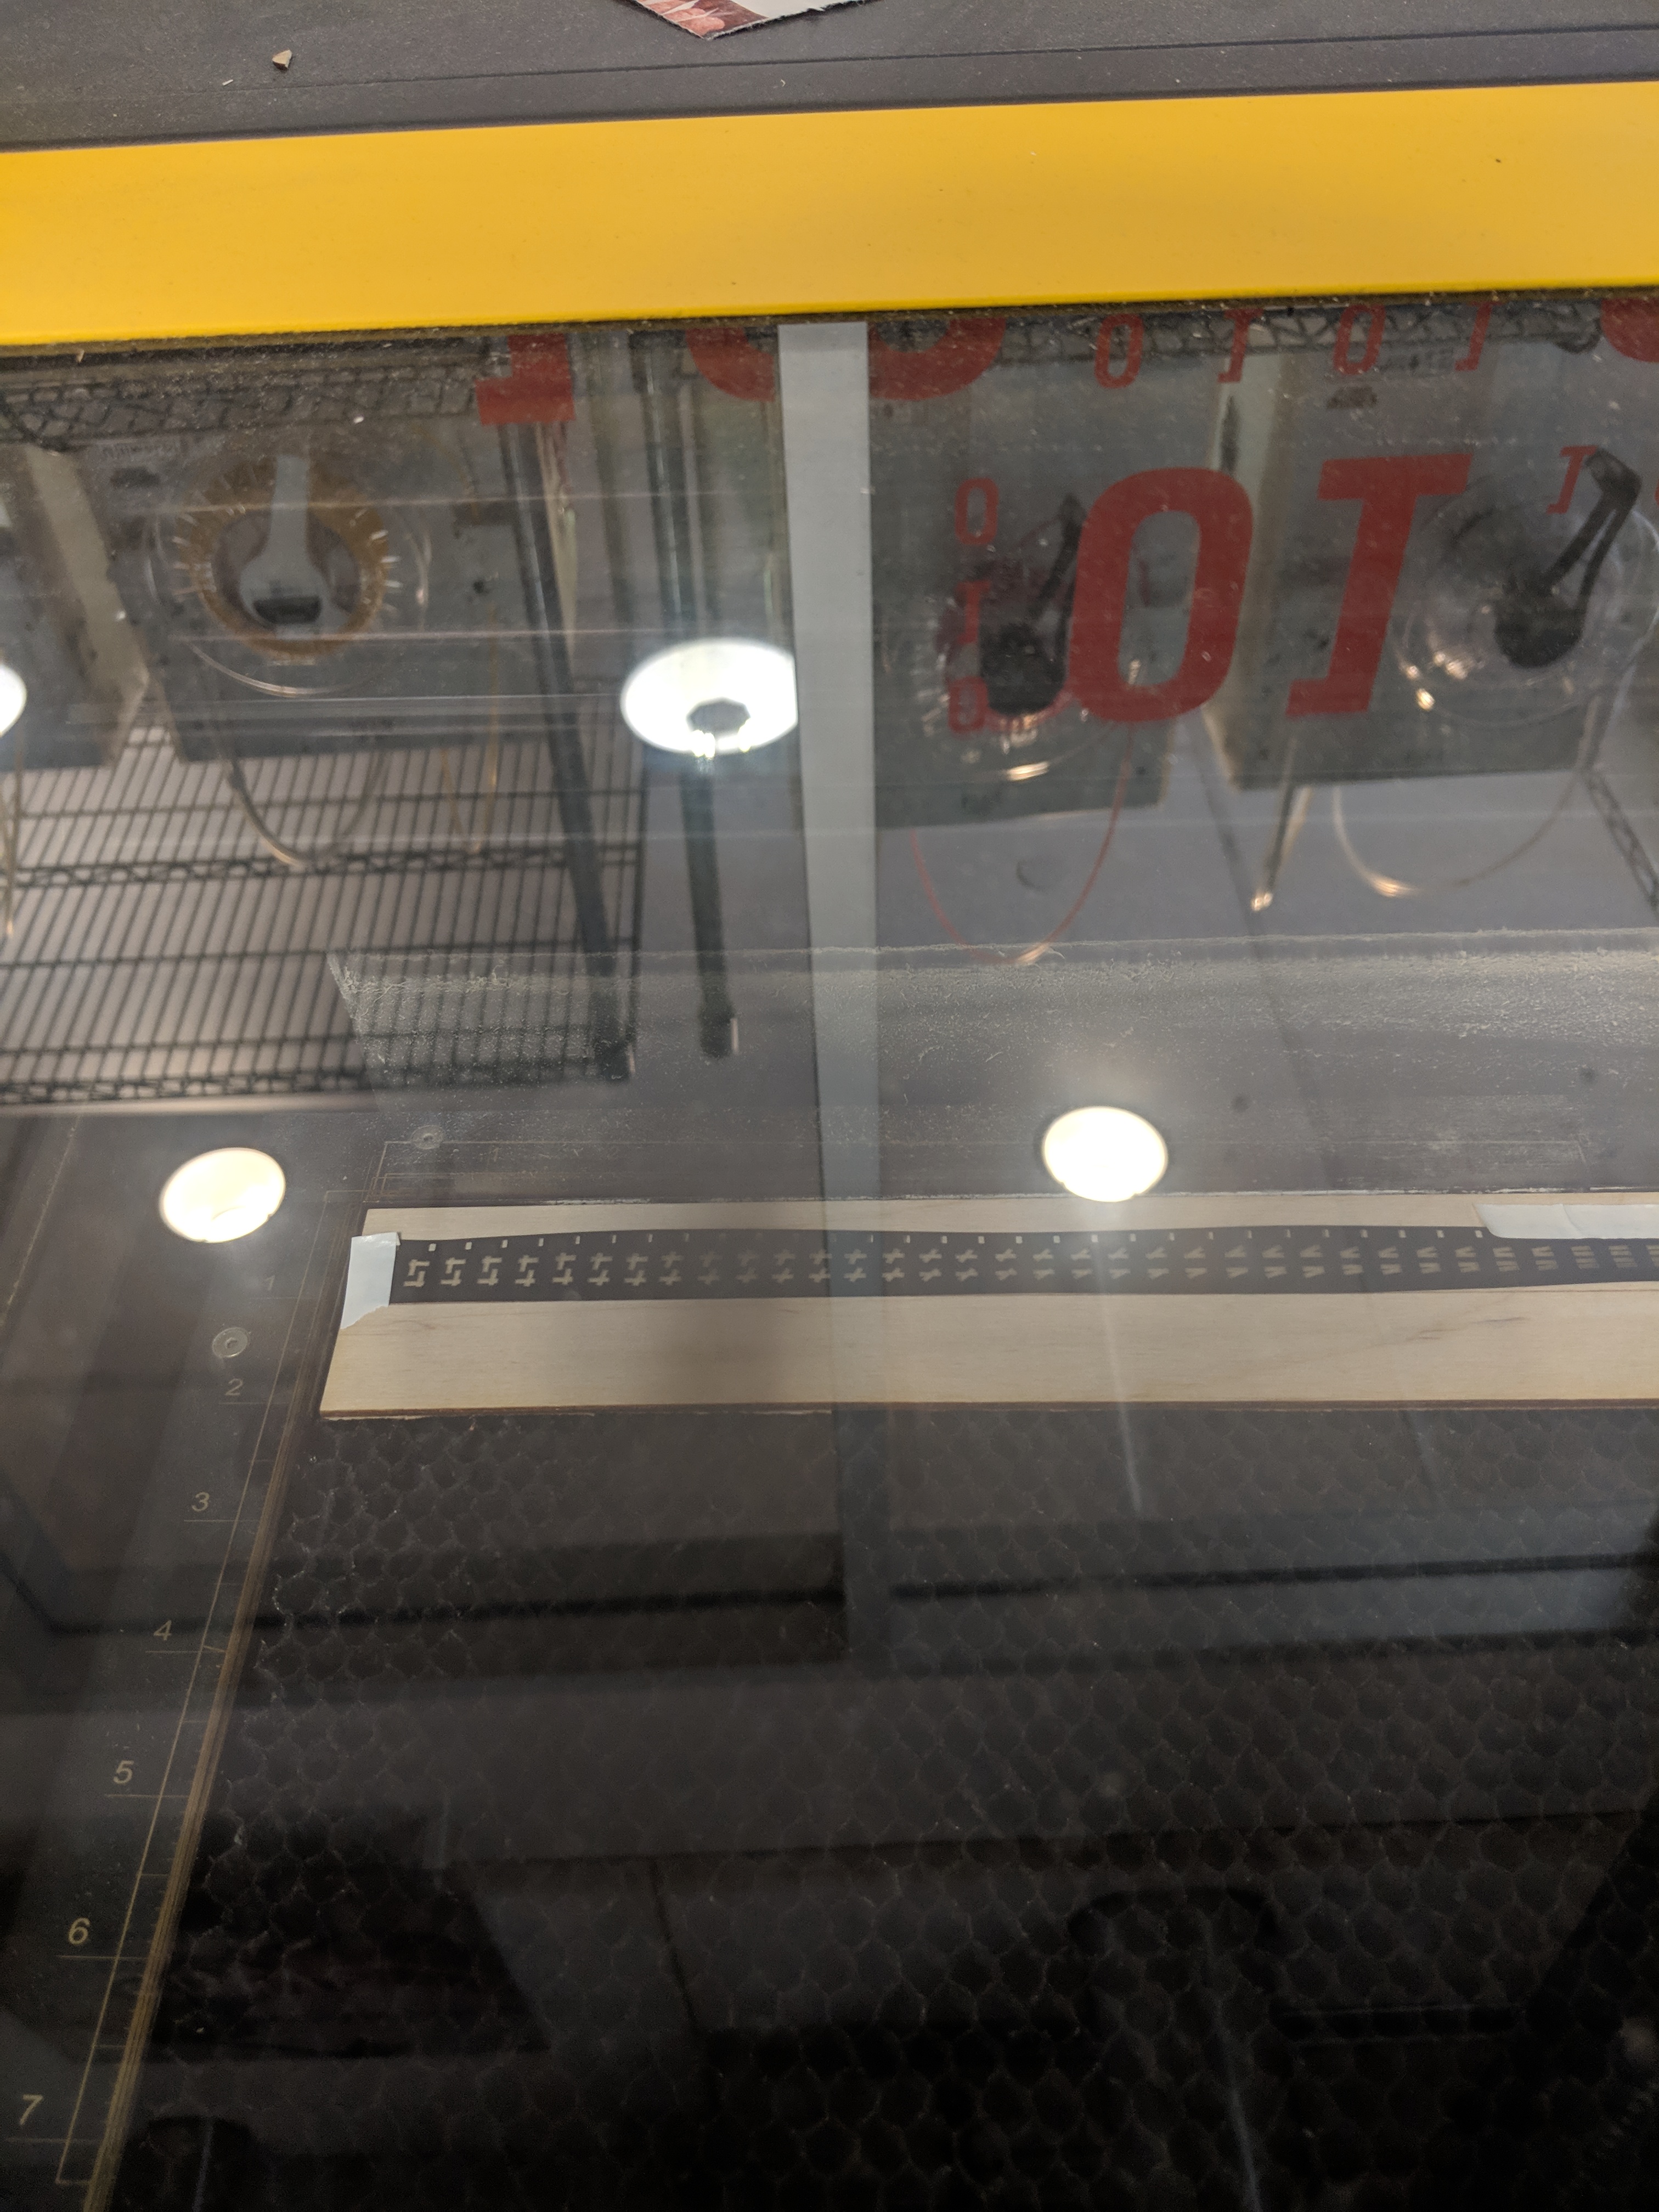
Here’s where the scrap piece of plywood comes in. Attach your film strip to the plywood using tape, emulsion side up. The emulsion side is less glossy than the base side – or you can test it with your tongue. If it sticks to your tongue a little bit, it’s the emulsion side.
Turn on the exhaust so the fumes are removed safely. Place the plywood and film into the top left corner of the laser cutter bed. Make sure the film is aligned correctly so that the etching goes directly down the center of the film strip.
Open the file on the laser cutter and move it so that it's aligned to the film. Go to the materials database and select Mylar Film --- this should set the power and speed to about 60-70% speed and 20-30% power.
Once everything is set up, select print. The laser cutter will etch your image onto the film. After it’s done, remove it from the laser cutter bed and admire your artwork!
View Your Artwork (optional)
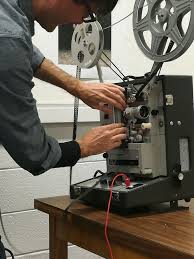
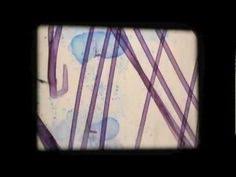
Once you have the final strip of film etched, splice it to the frames you want to show and play it in a 16mm projector.
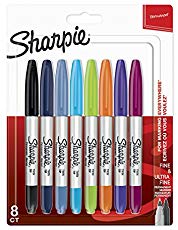
If you want to add color to your film, consider using sharpies – the color will show when projected. Acrylic paint is too opaque to work, it will just show up as black.
I hope this was helpful and you enjoyed creating your very own experimental film!