16-Bit Wood Mosaic - Sonic!
by MissionSRX in Living > Decorating
8196 Views, 165 Favorites, 0 Comments
16-Bit Wood Mosaic - Sonic!
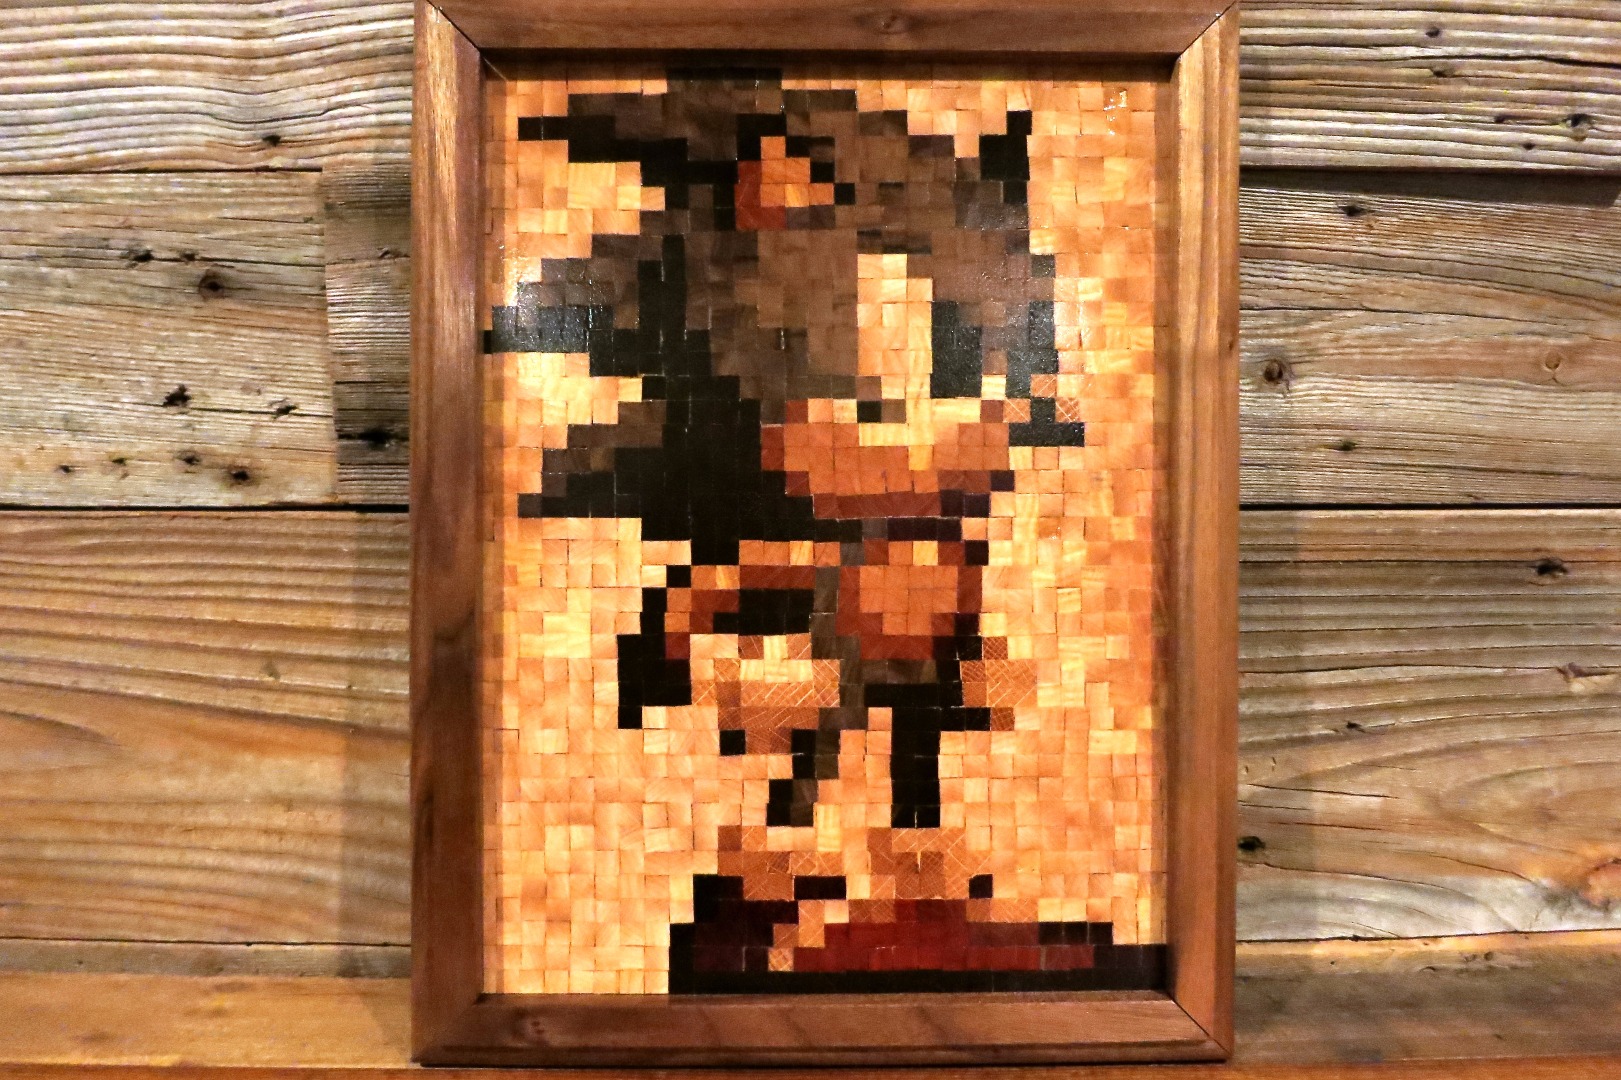
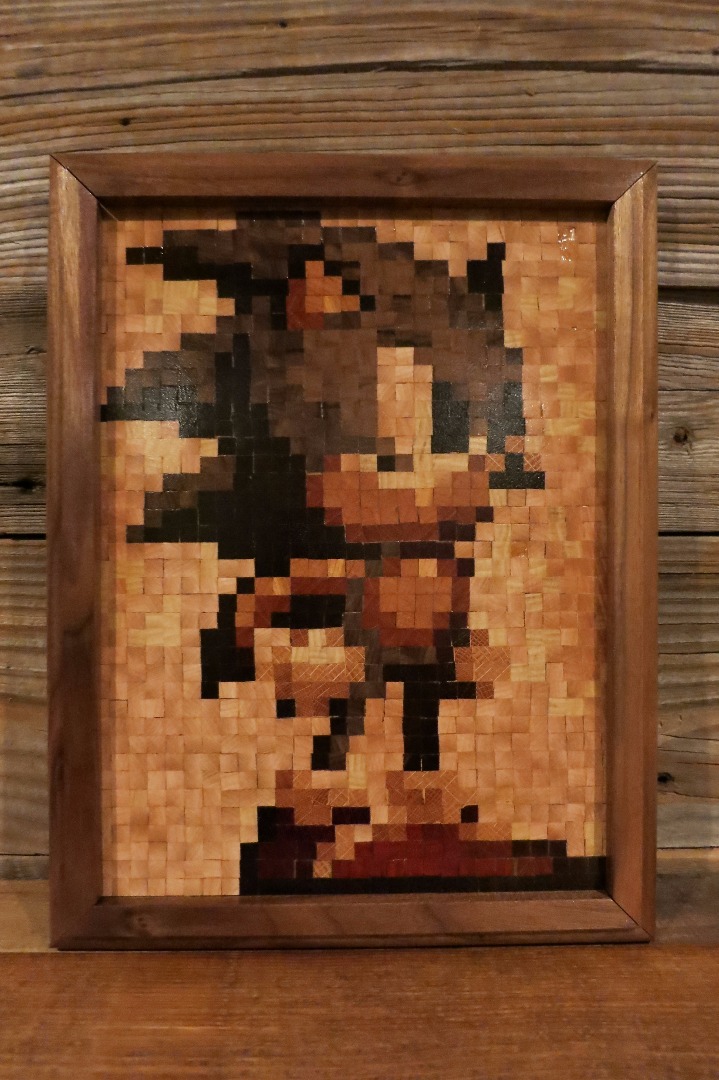
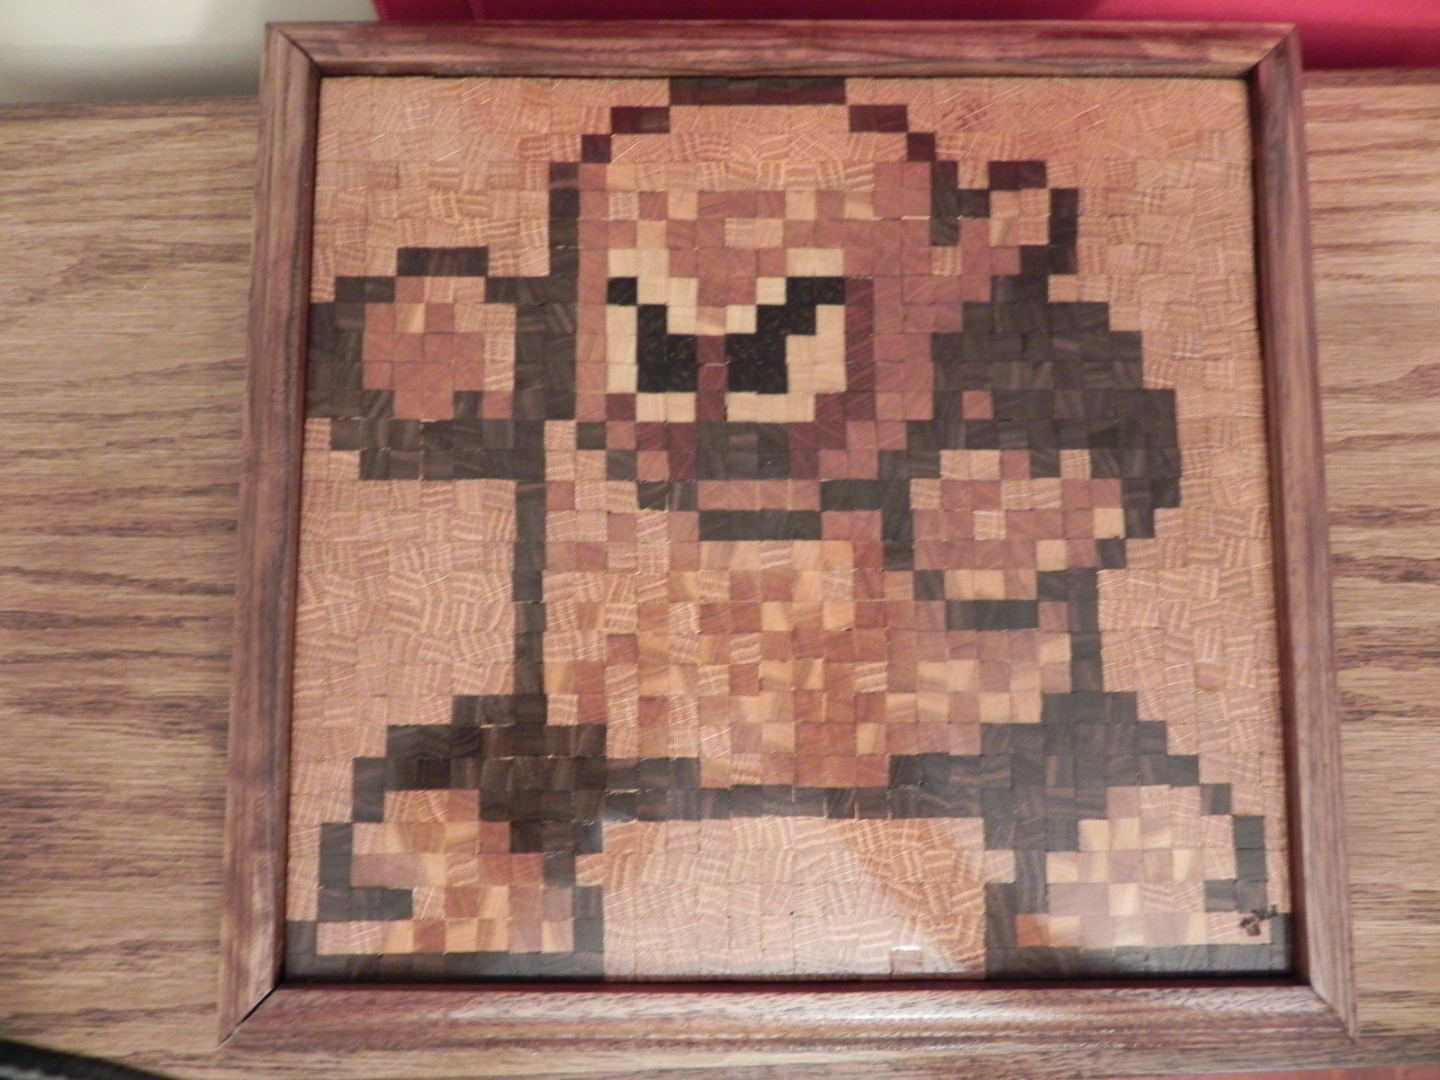
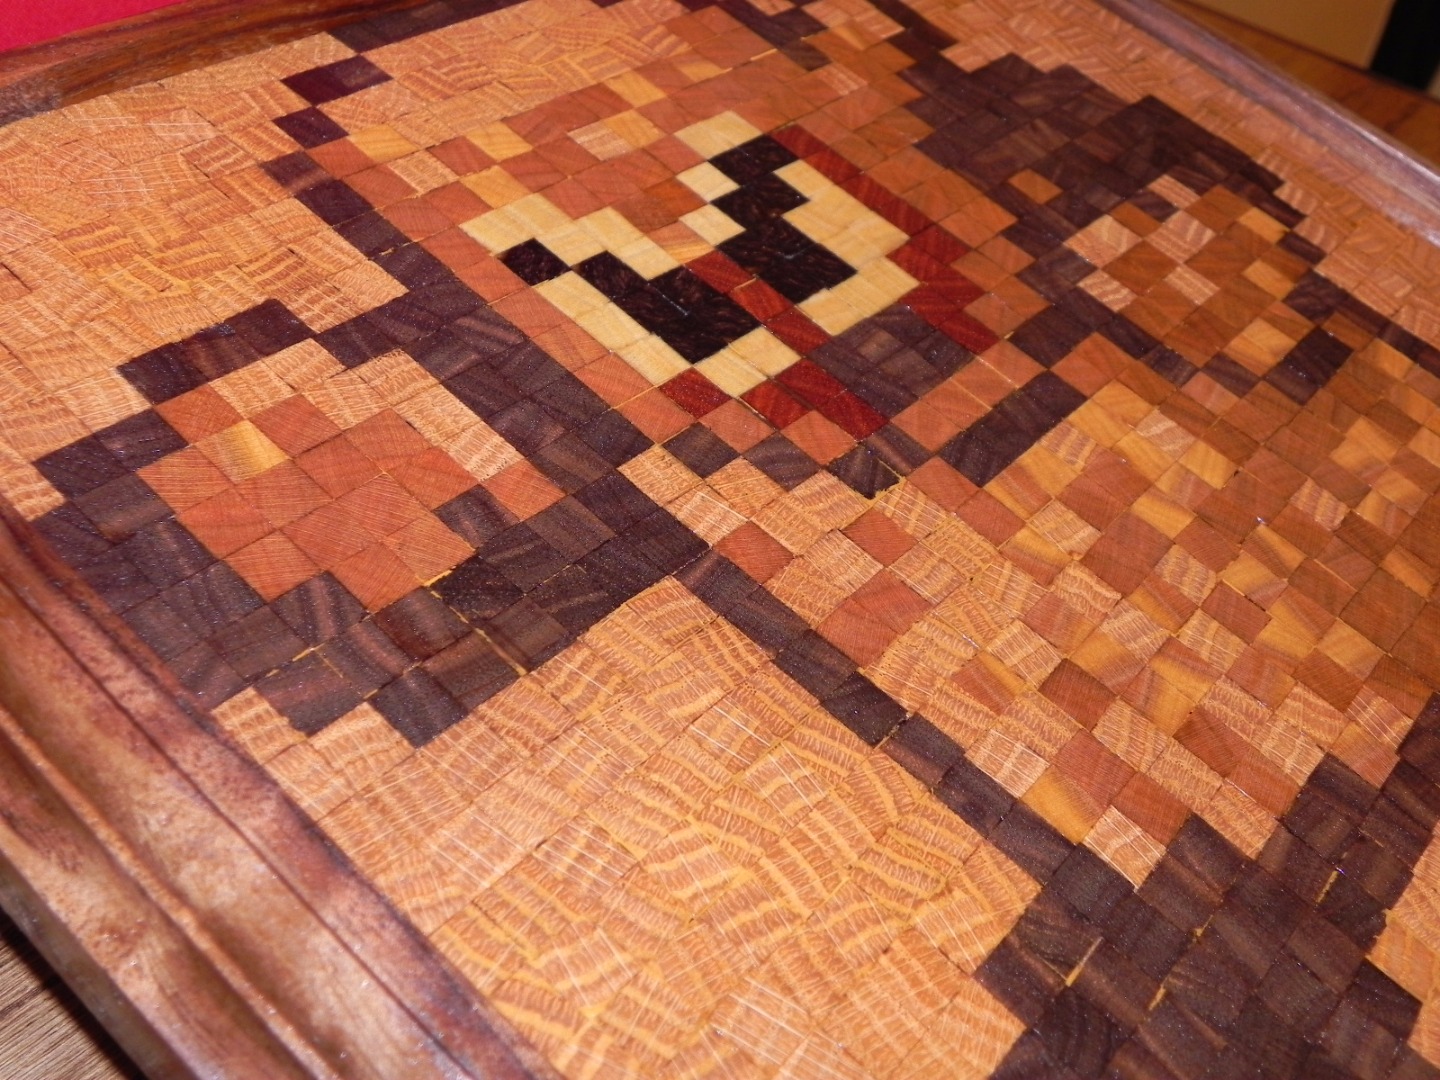
Over the last few years, I've seen a number of tutorials as well as pictures where wooden squares are used to recreate 8-bit sprites from classic video games. Most of these are fairly straightforward and use mass-produced wooden squares that are stained and painted to create a finished picture. After seeing several examples, I knew I wanted to make my own.
hat tips to:
Pie Ninja
and
Two major changes needed to be made to these in order to make them a reality for me. First, they are far too big for me to build and hang somewhere in my home or office; the family and coworkers just wouldn't appreciate it. Second, I didn't want to simply paint or stain all of the identical squares. That's... well, that's just too easy.
I first attempted an 8-bit Wood Man from Mega Man 2 and needed ~ six colors. That proved to be fairly easy. I ended up with Poplar, Oak, Walnut, Cherry, Bloodwood and Wenge.
This time I wanted to kick it up a little and go to 16-bit (and who would be a better subject than Sonic). That proved to be a little more complicated.
This project didn't take too many tools but does require a fair amount of medium CA glue and some patience. At the least, you'll need:
-table saw
-band saw
-miter saw
-framing square
-sanding machine of some sort
Choosing a Design
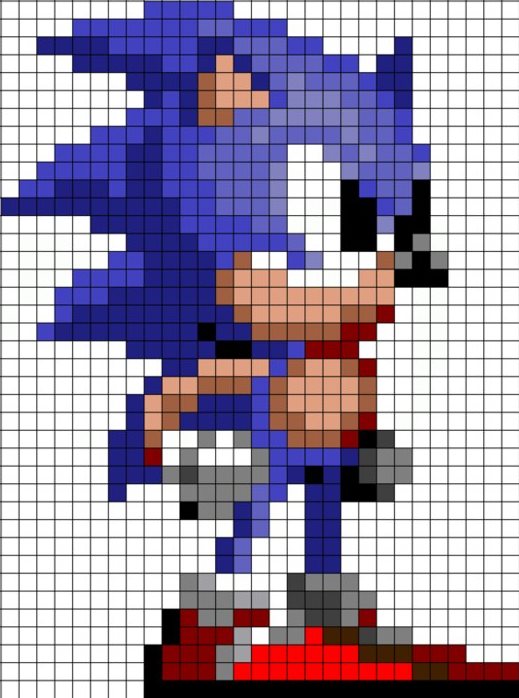
I wanted to go with Sonic, since he's a classic icon and still somewhat in the game. I found a handy screen shot with him on a grid. This was immensely helpful as it was a full pattern of what I needed to make. If you don't get that lucky, you'll need to draw the grid in yourself.
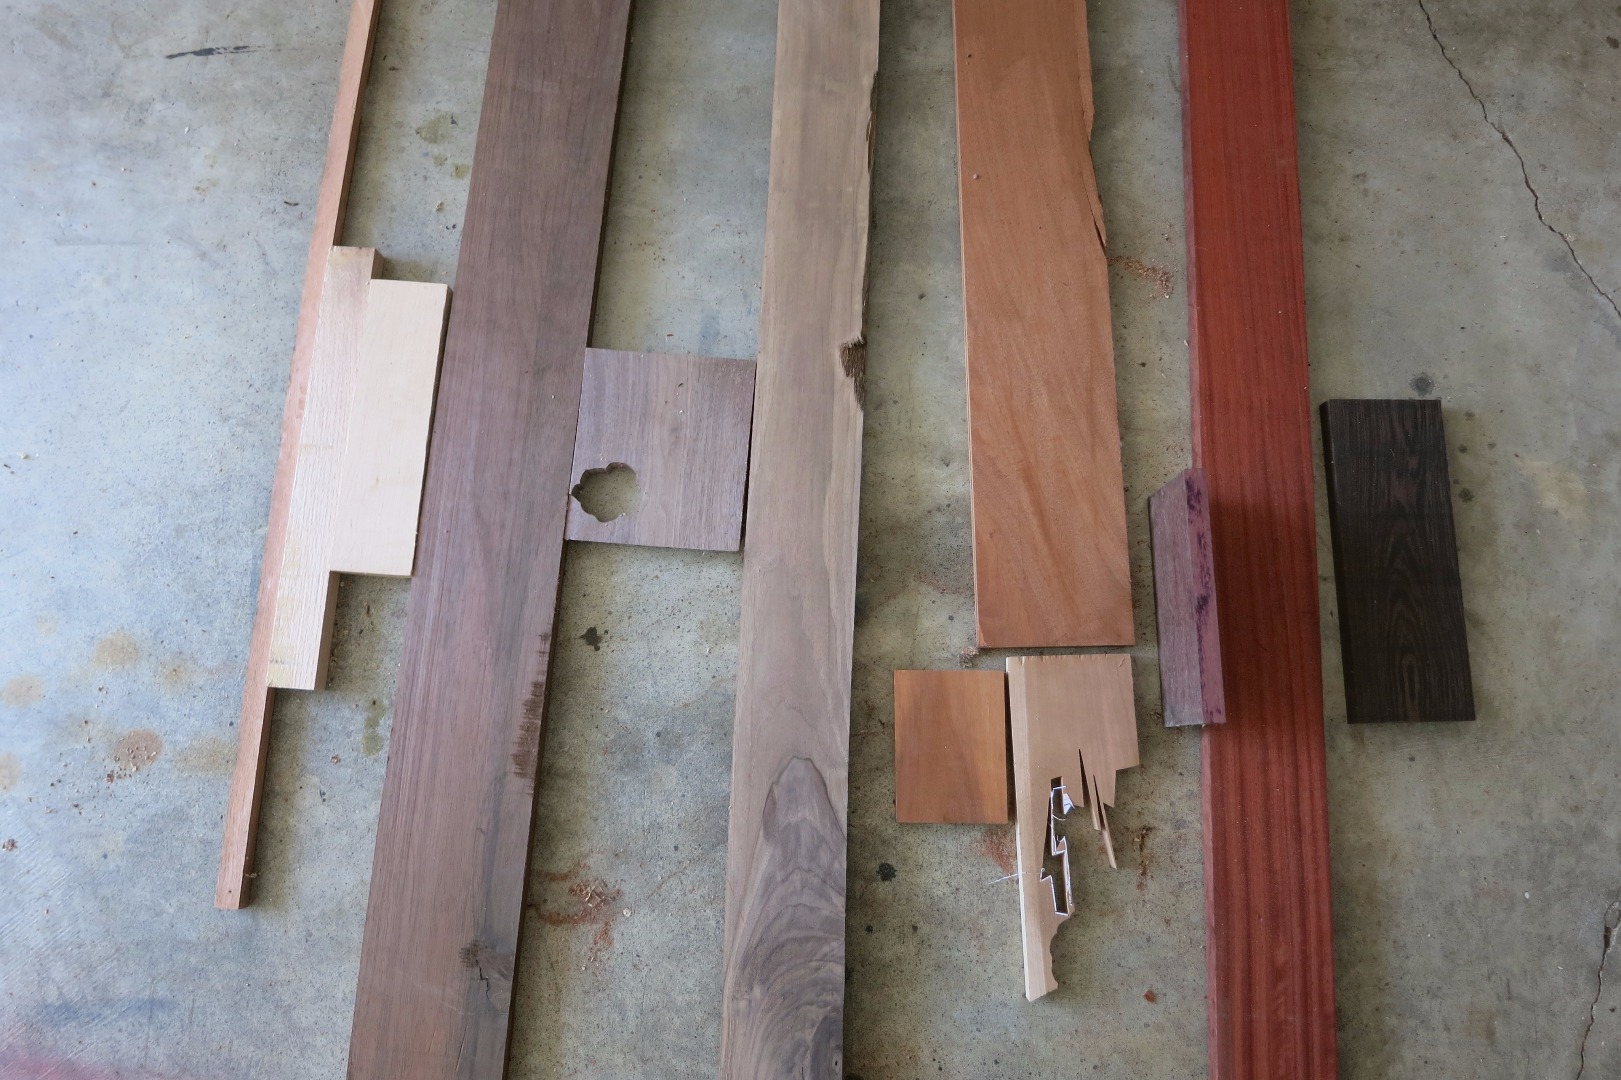
Now, my Sonic picture had 13 colors. 13 species' of wood is getting to be a tall order but I dug through the stacks until I found enough.
There are 4 colors of blue, so that will be the long pole. My best solution was to use multiple variants of walnut to match the blue dark to light. Below is the full breakdown:
Black-Wenge
Dark Gray-Red Oak
Light Gray-White Oak
White-Maple/Birch/Poplar (the poplar was leftover from Wood Man. *don't mix these!)
Dark Skin-Mahogany
Light Skin-Cherry
Dark Red-Purpleheart
Bright Red-Padauk
Dark Blue-Peruvian Walnut
Medium Blue-Dark Walnut
Light Blue-Light Walnut
Highlight Blue-Walnut Sapwood
Brown-Bloodwood
...Yes, that's a lot, I know, but don't despair. Rummage through your scrap bin, sacrifice a couple pen blanks and make a trip to the lumber yard. We're only making little pieces so you don't need a huge stockpile to start with.
Cutting Out the Pixels
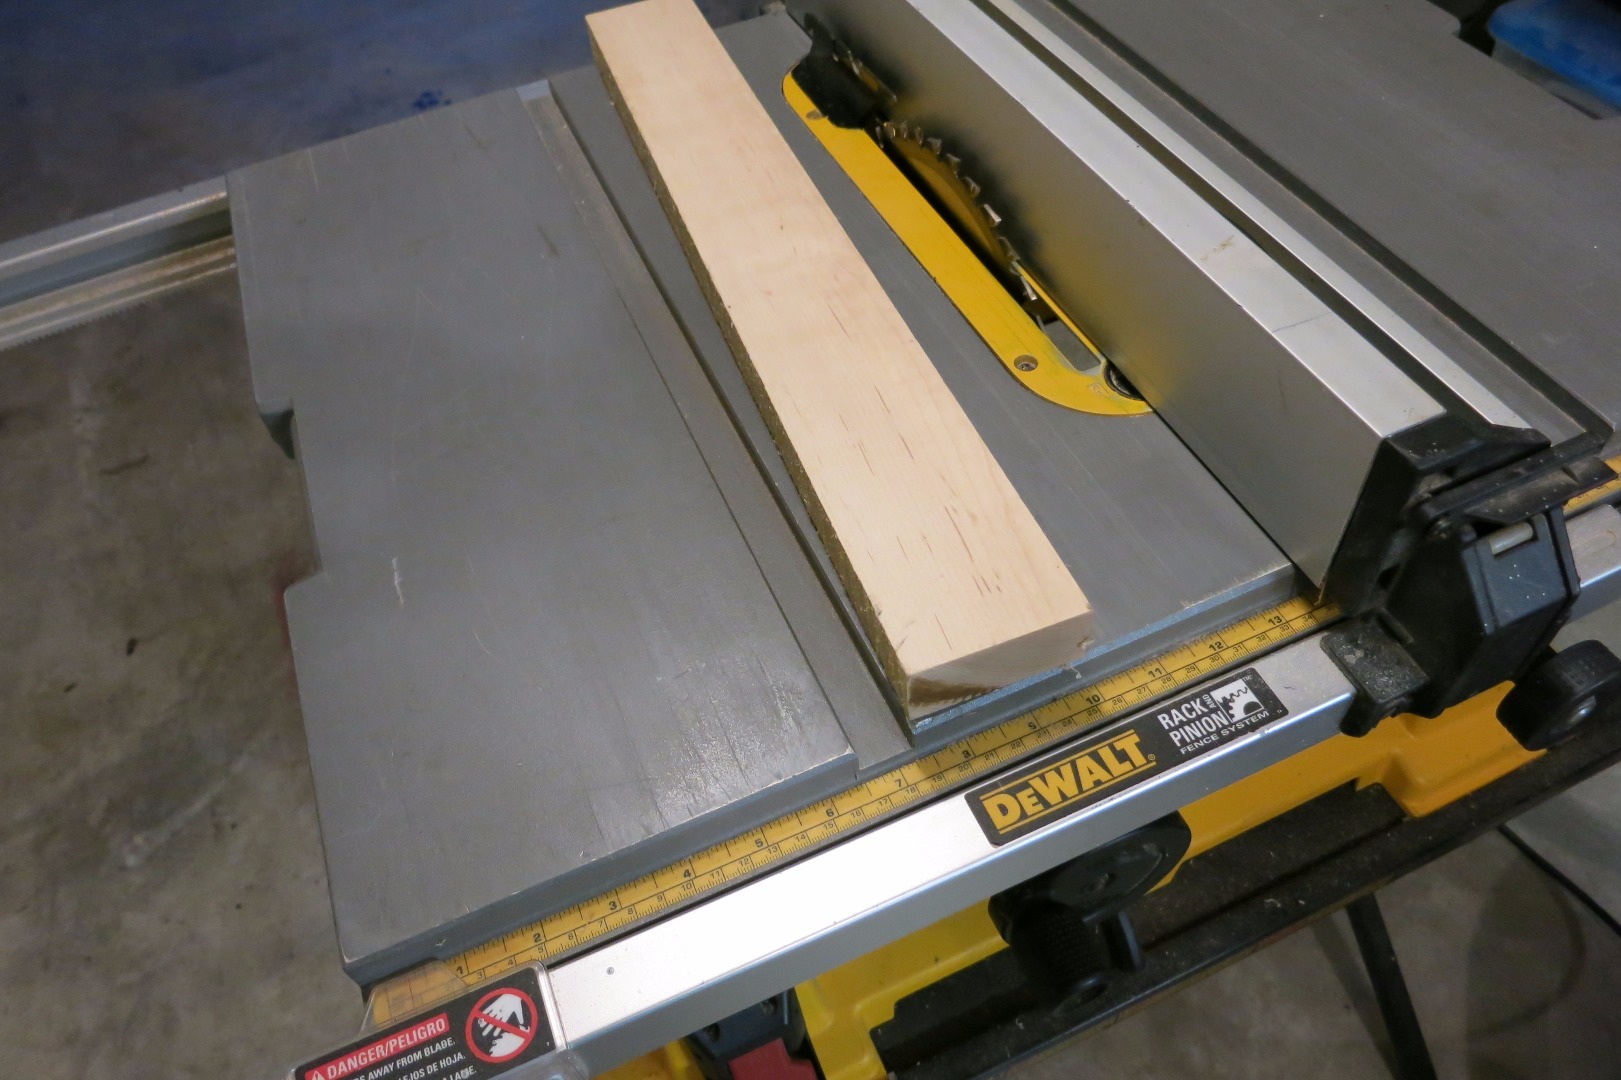
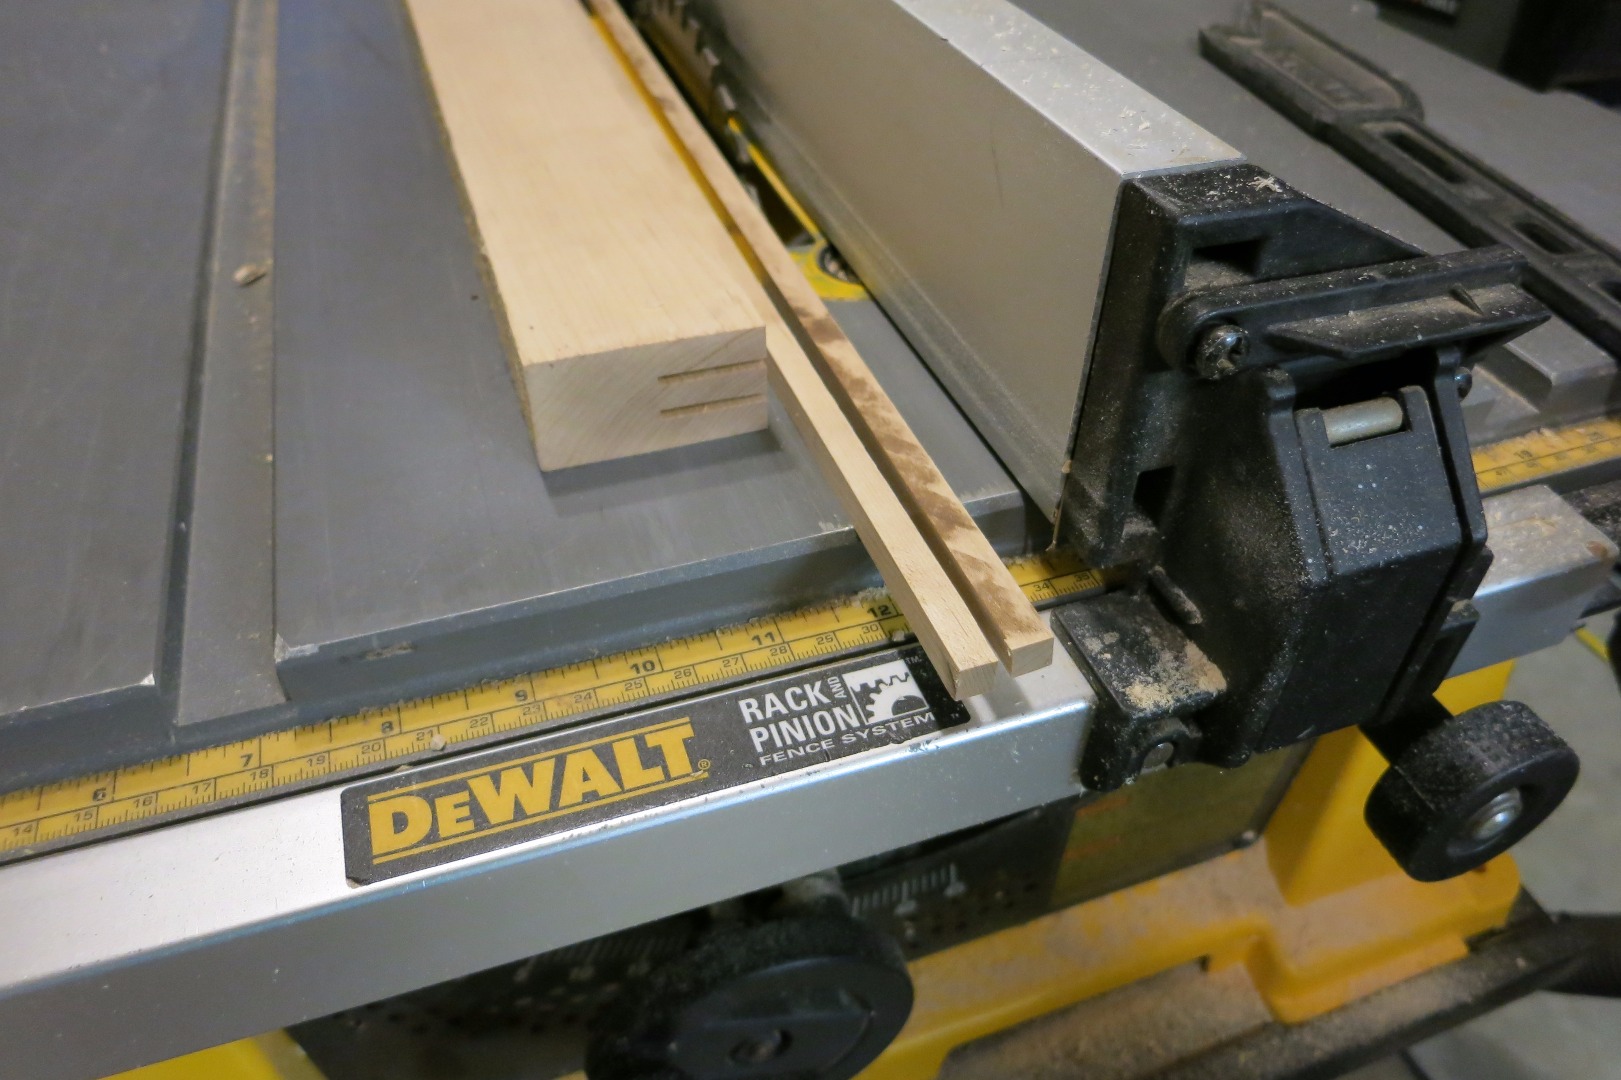
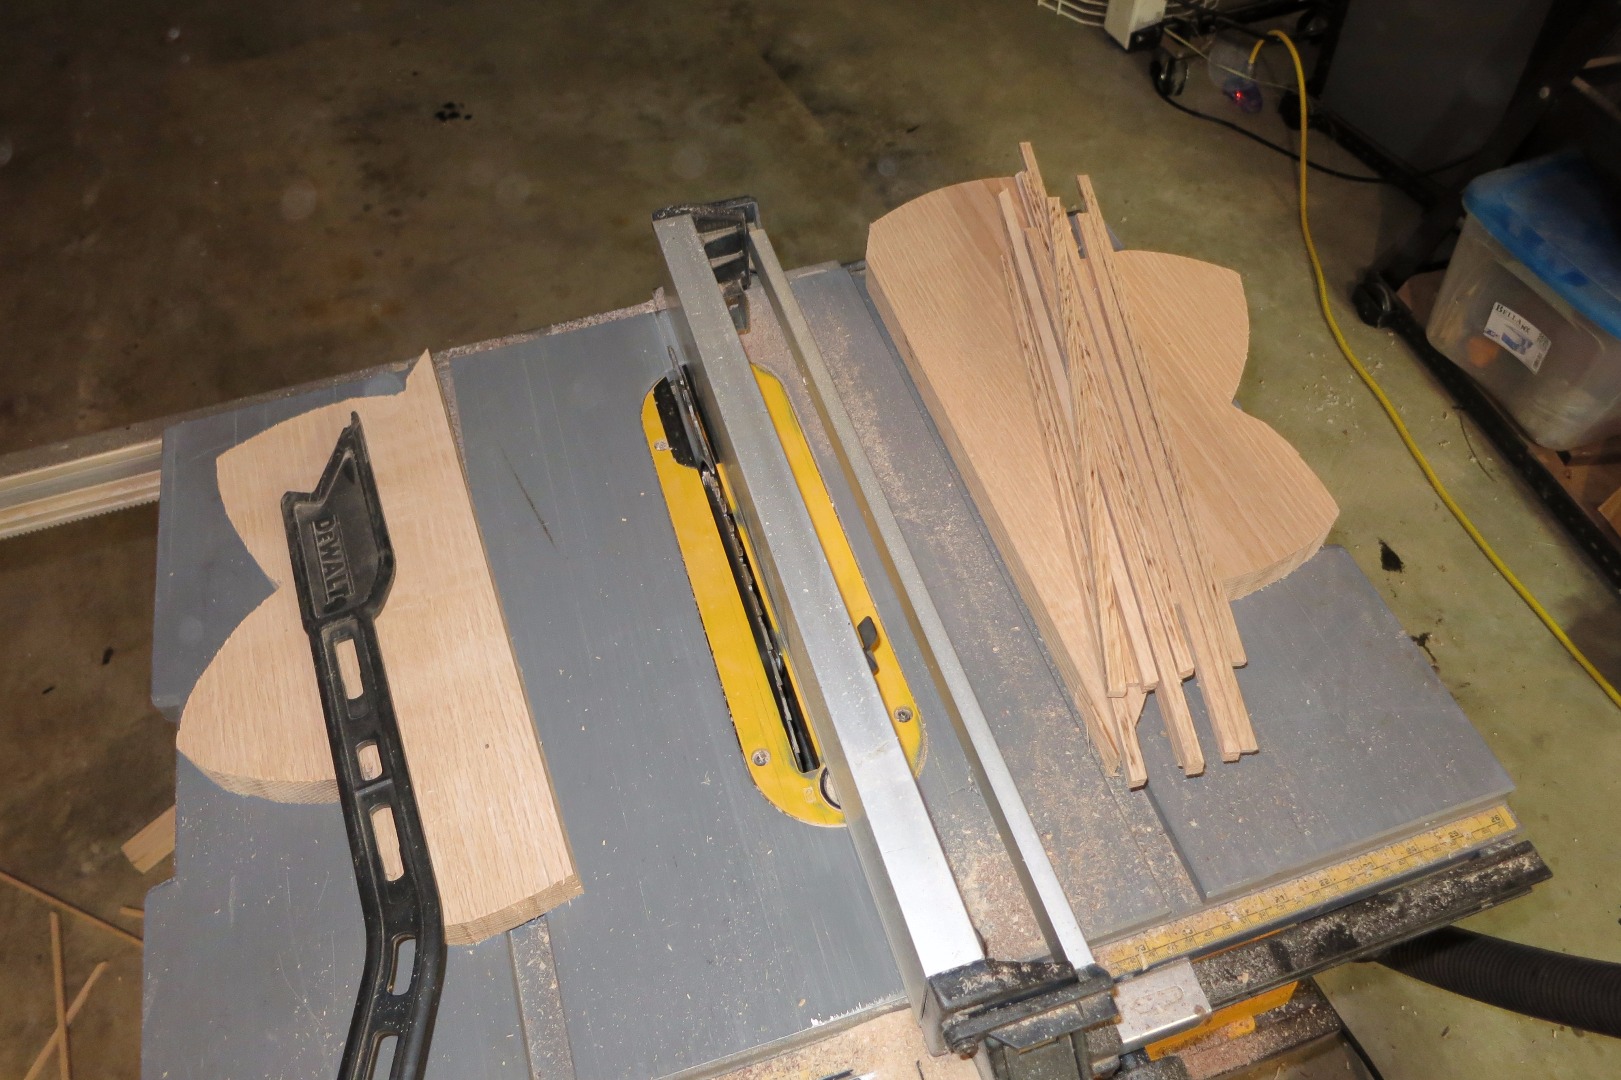
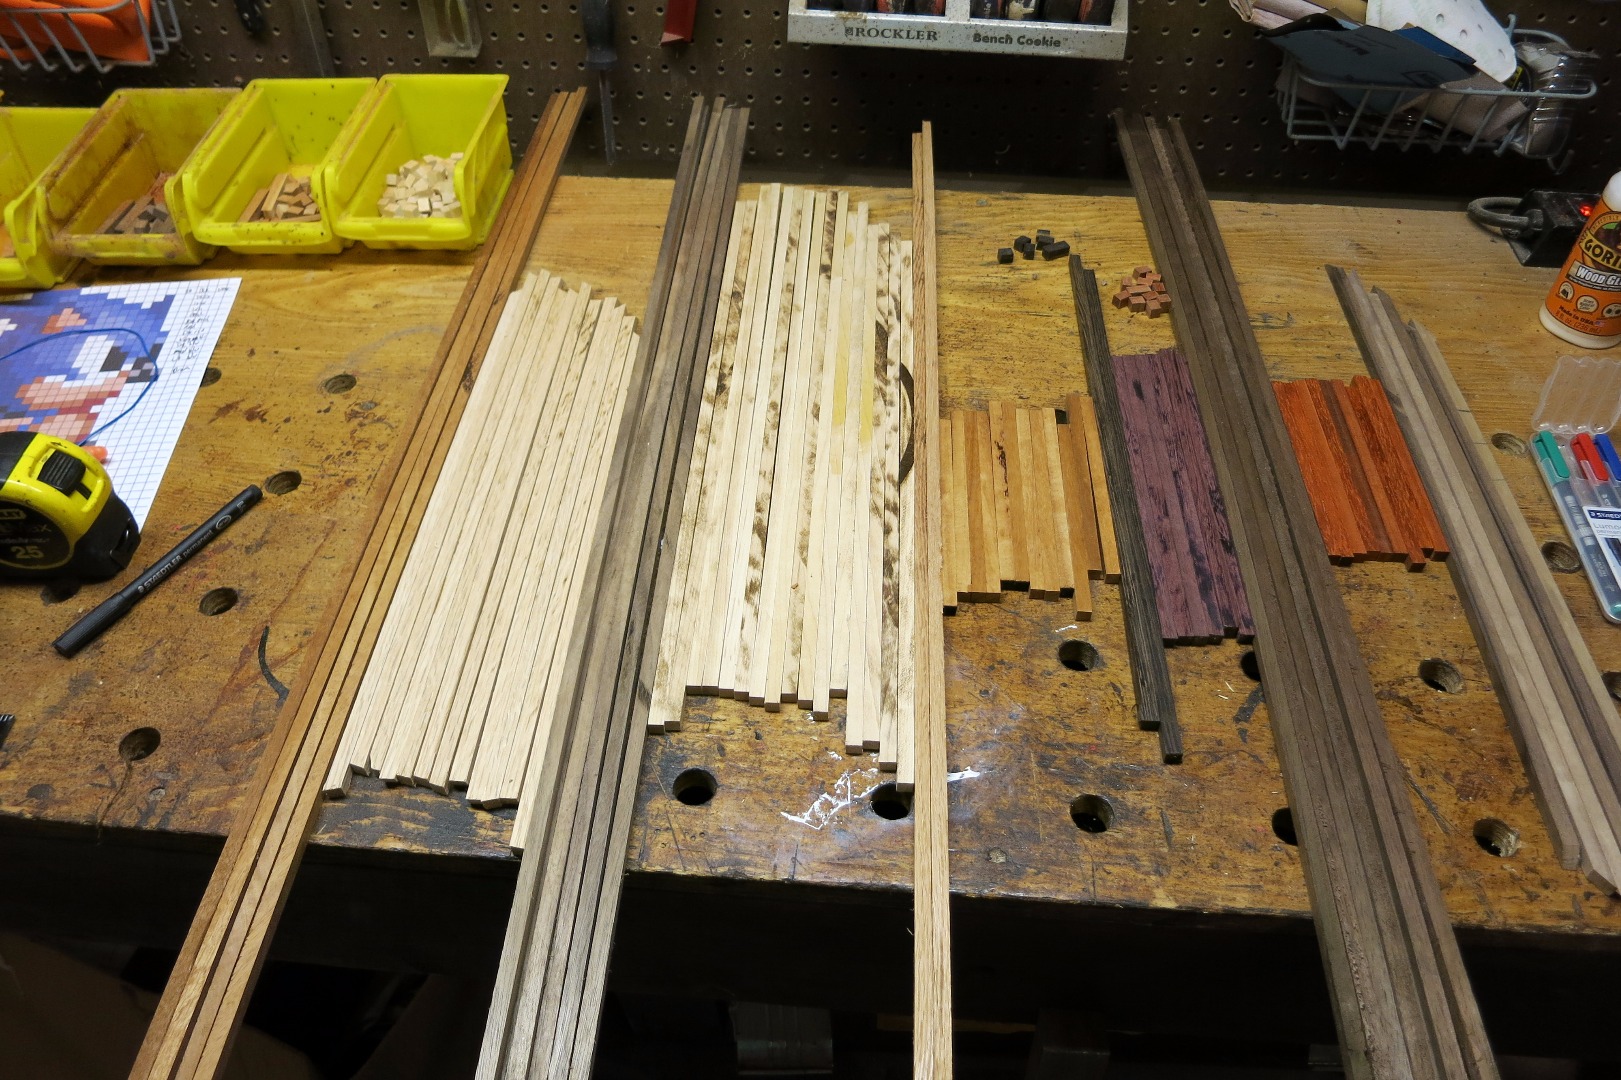
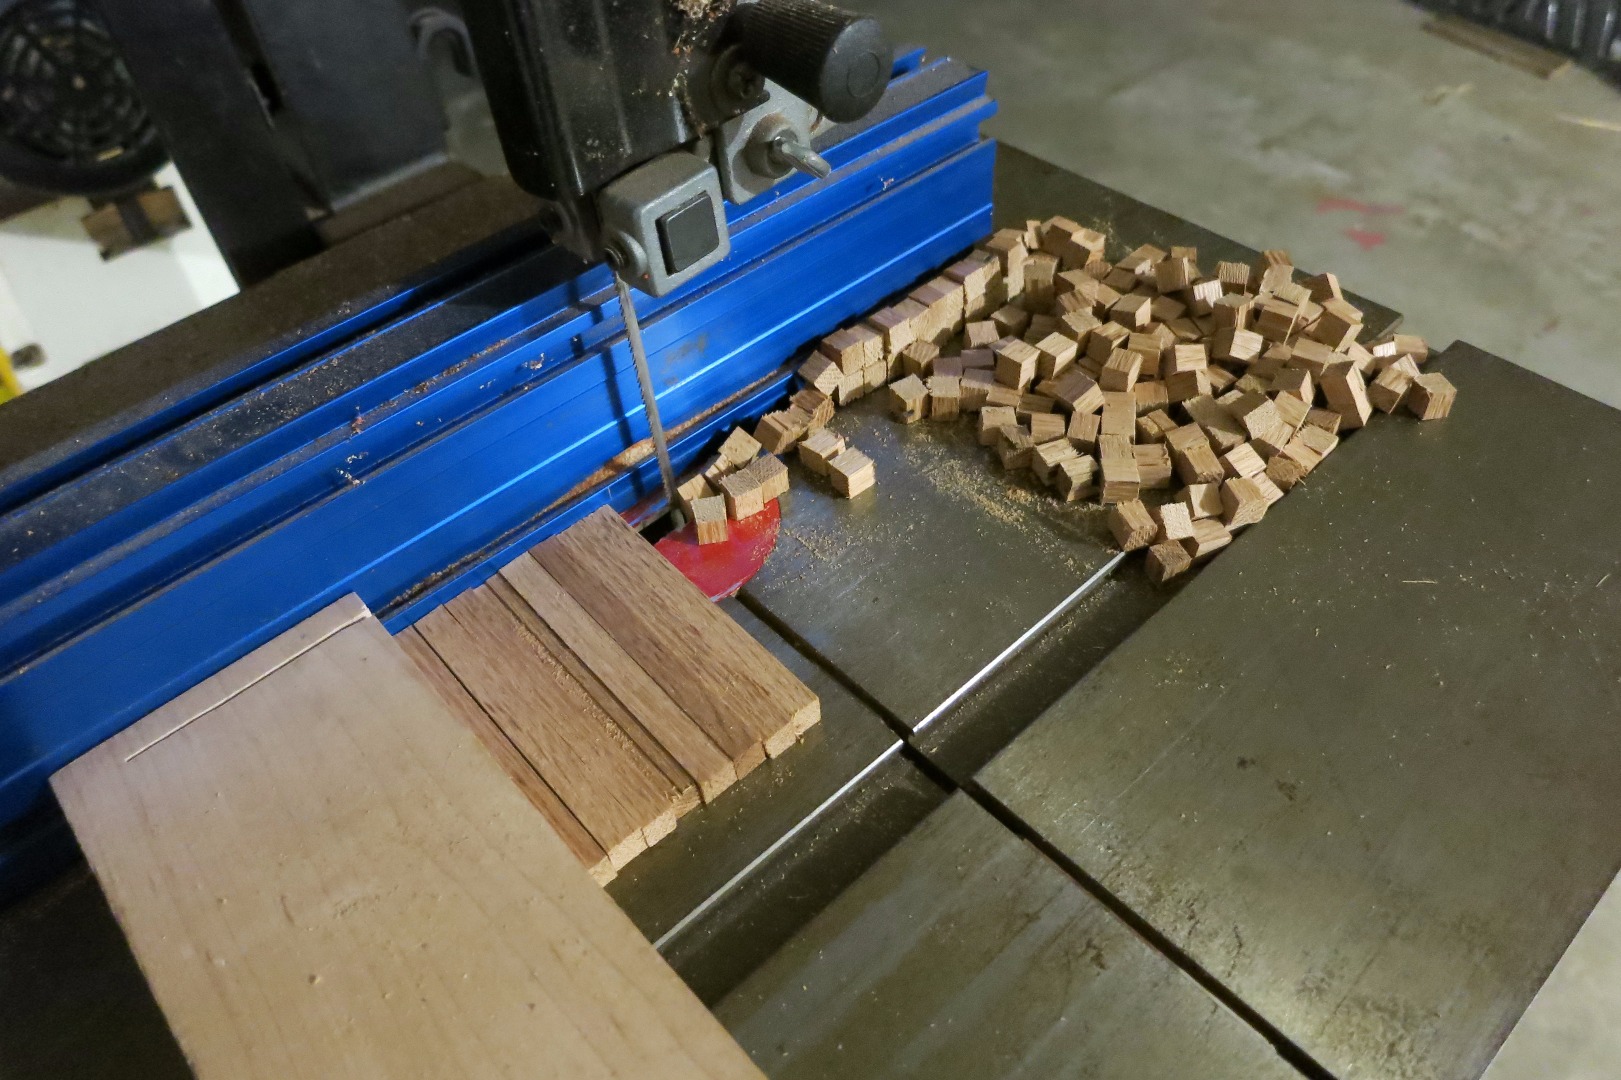
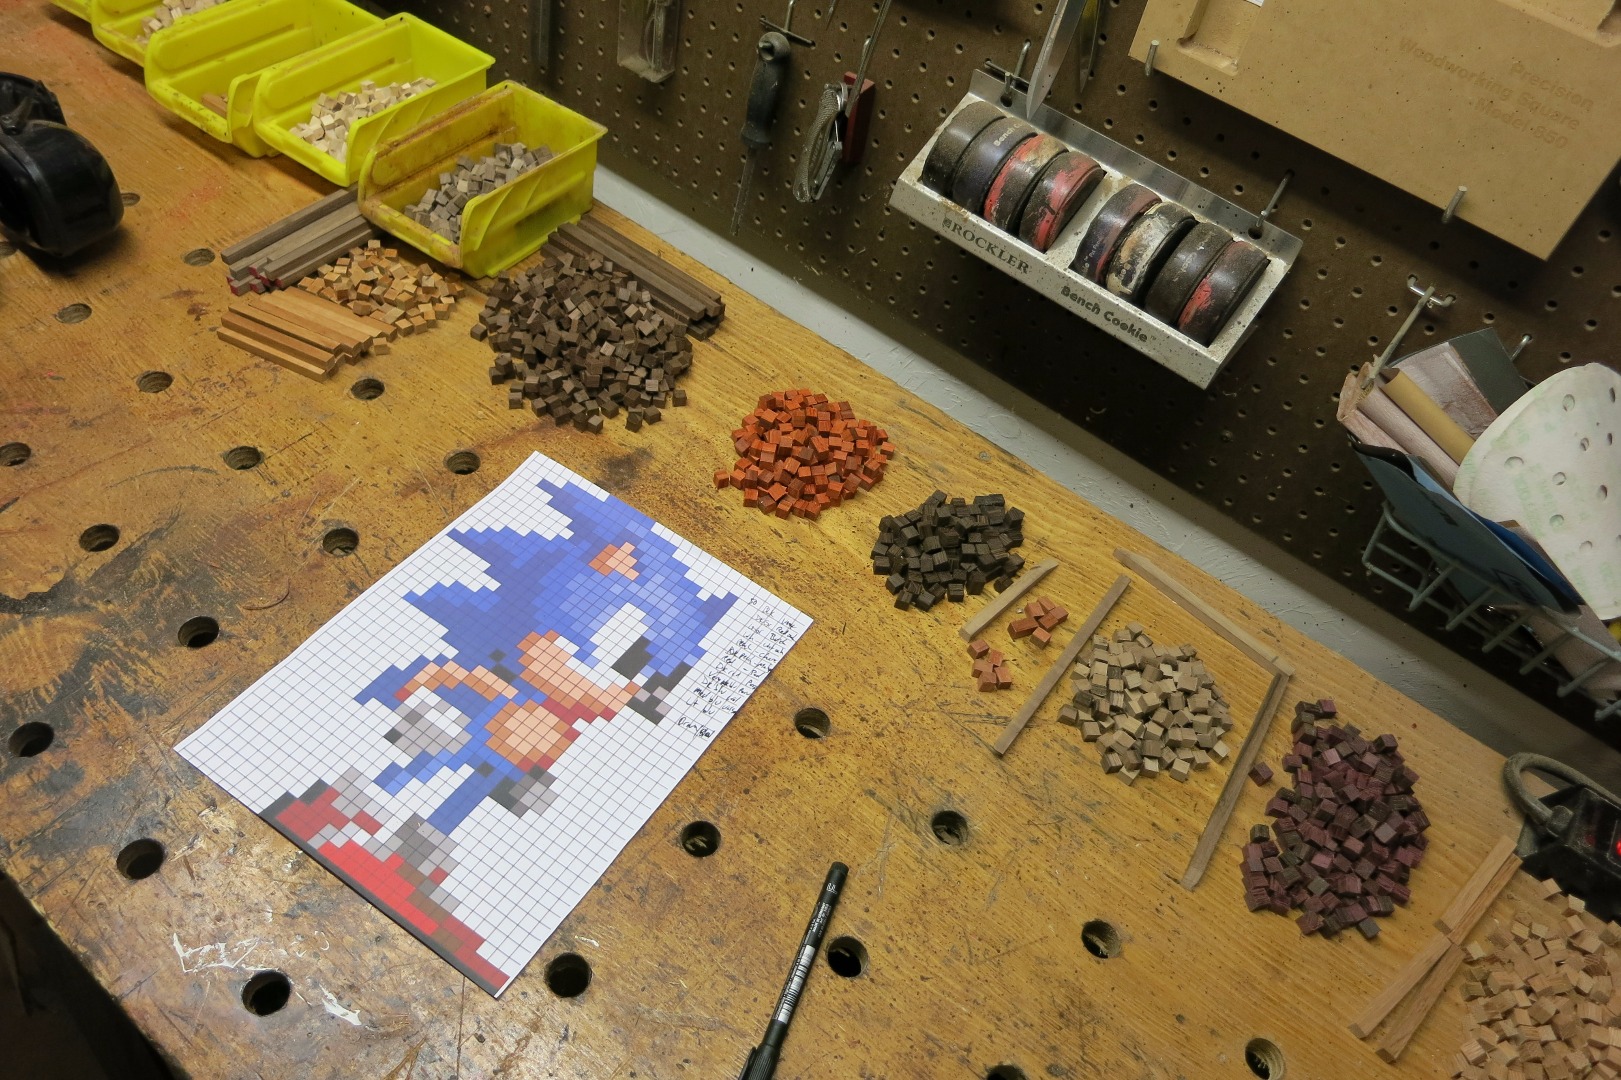
Time to get cutting! Don your red Converse All-Stars and cue up the Green Hills Overture.
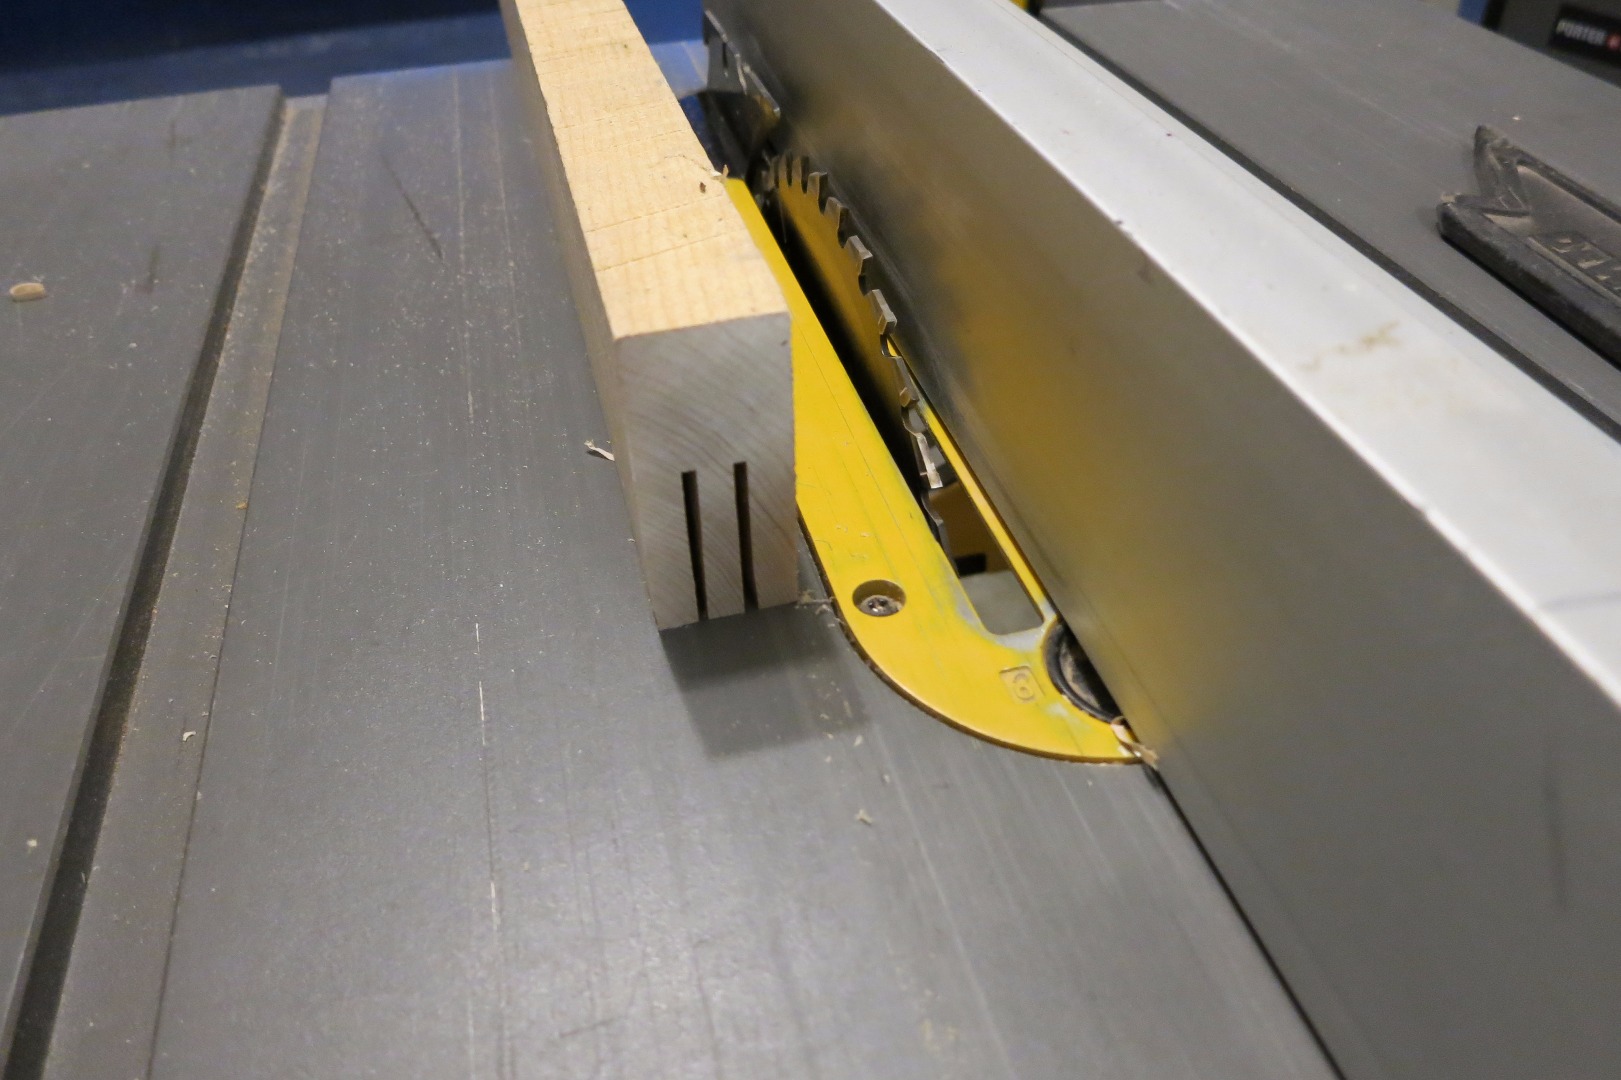
My main goal in picking the size is to get 2 pixels in the thickness of each 3/4" board. I started on the tablesaw and set the depth of cut to slightly over the thickness of the board and set the fence at 5/16". Run the board through vertically facing both directions so you're left with a single kerf centered in the middle board.
Once there, sit the board sideways again and trim off two sets of the strips. Use a push stick to keep the strips from riding up on the blade and to protect your digits. Rinse and repeat until your board gets too small.
After getting enough strips, move to the bandsaw and use a sacrificial fence to trim off 3/8" cubes. Make more than enough and get ready for the real work.
Gluing Everything Up
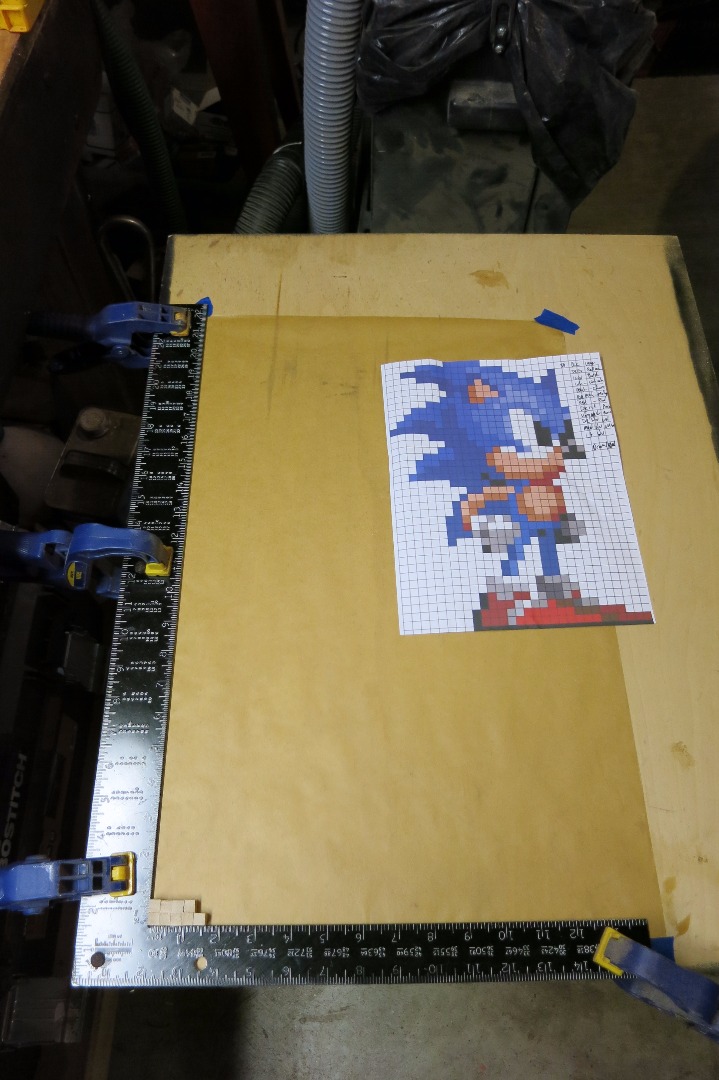
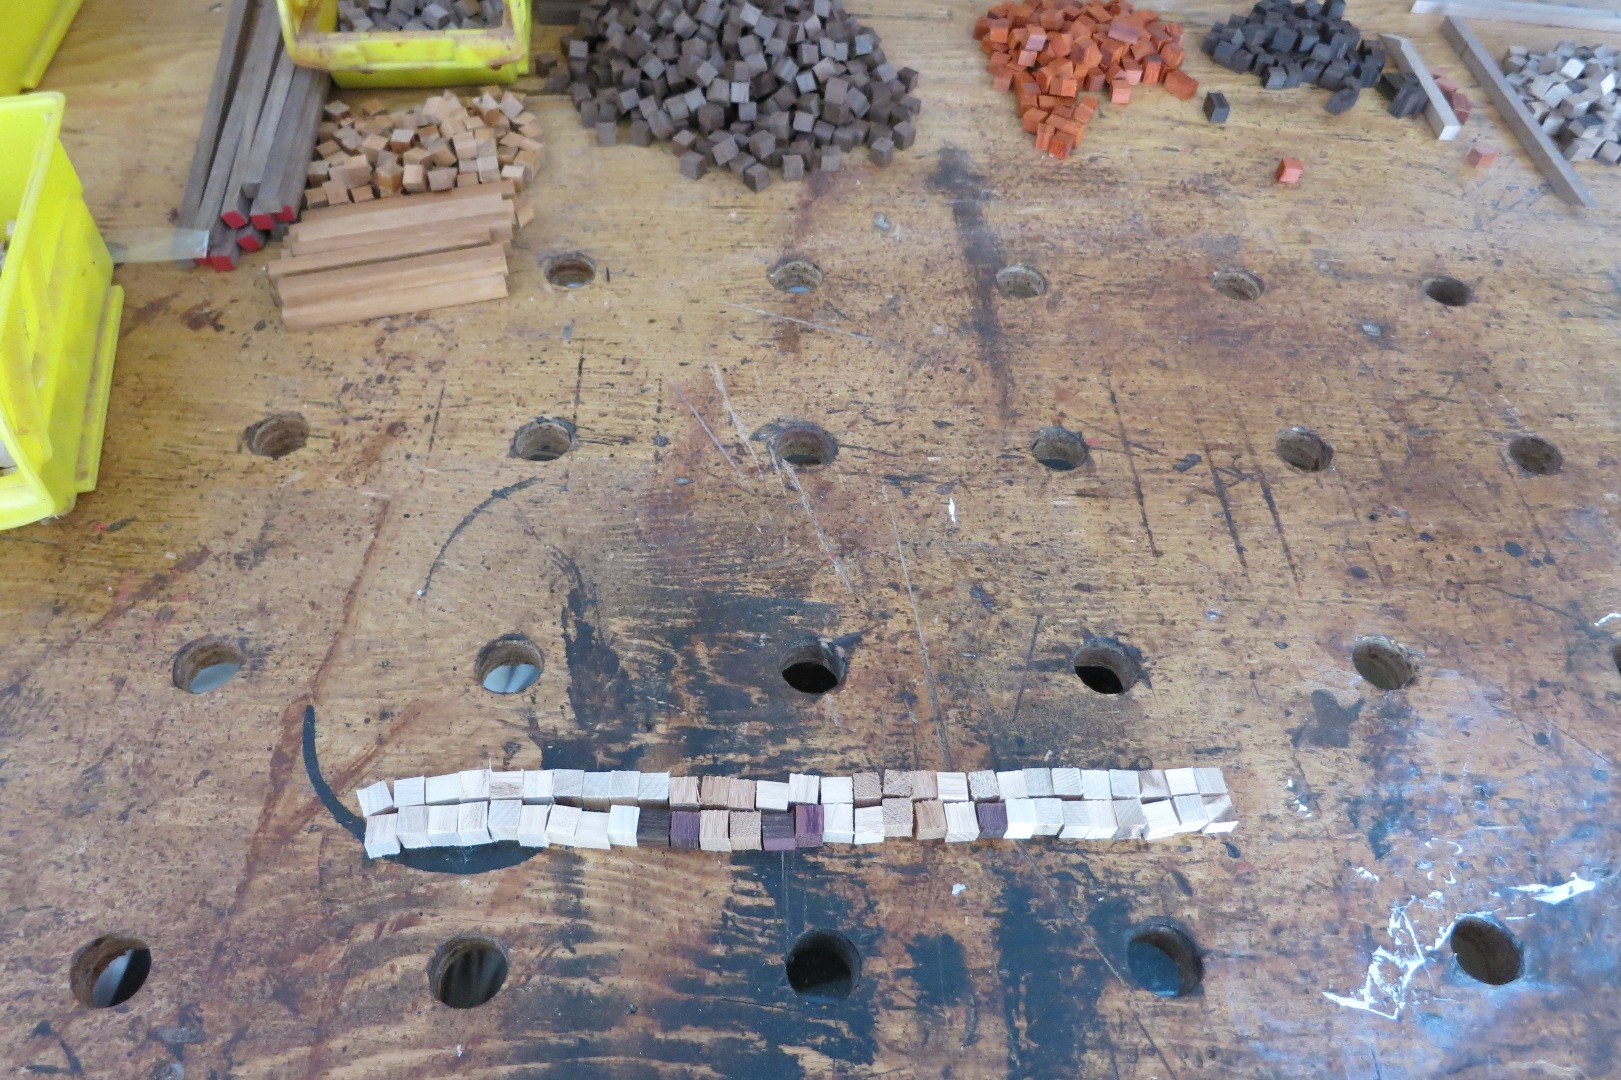
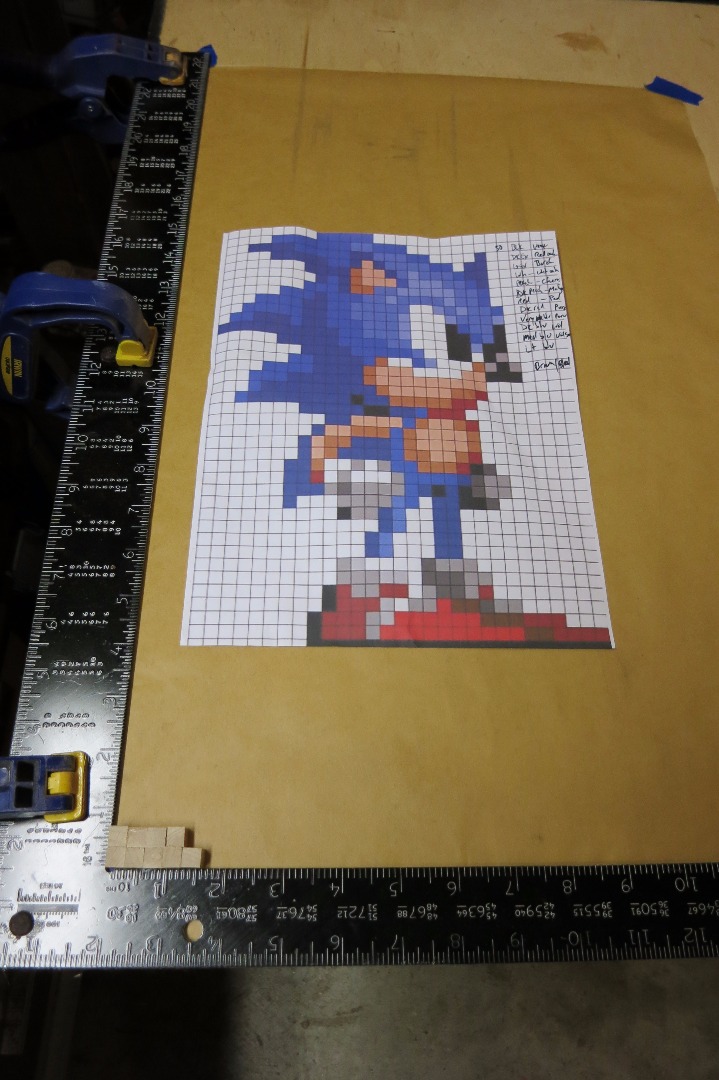
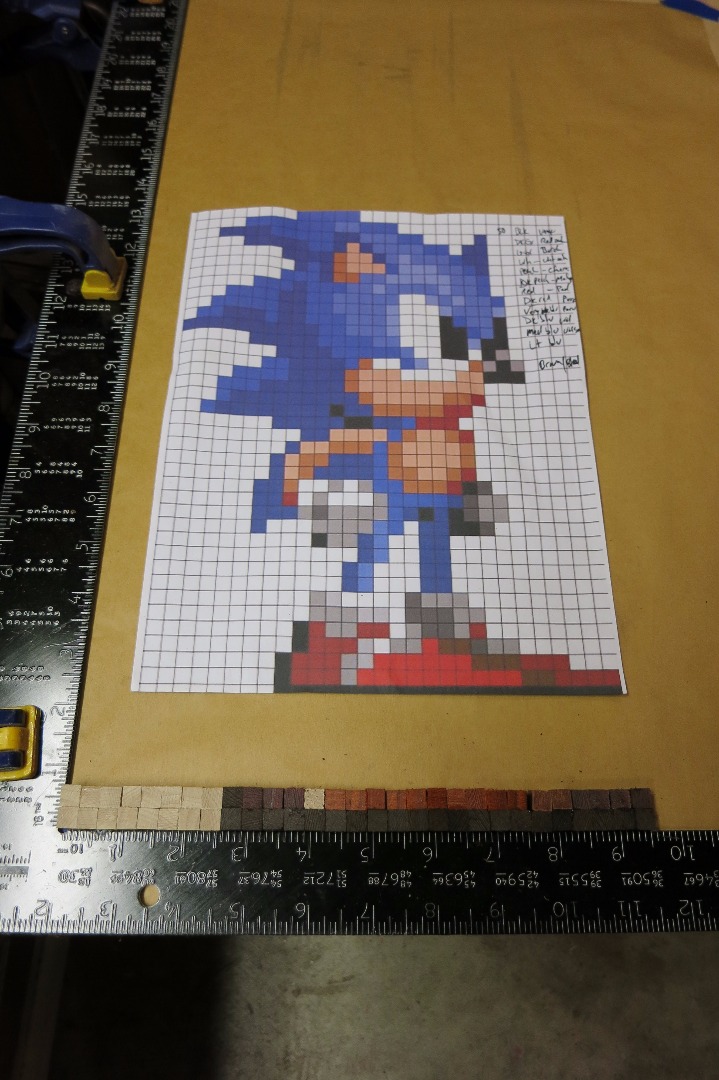
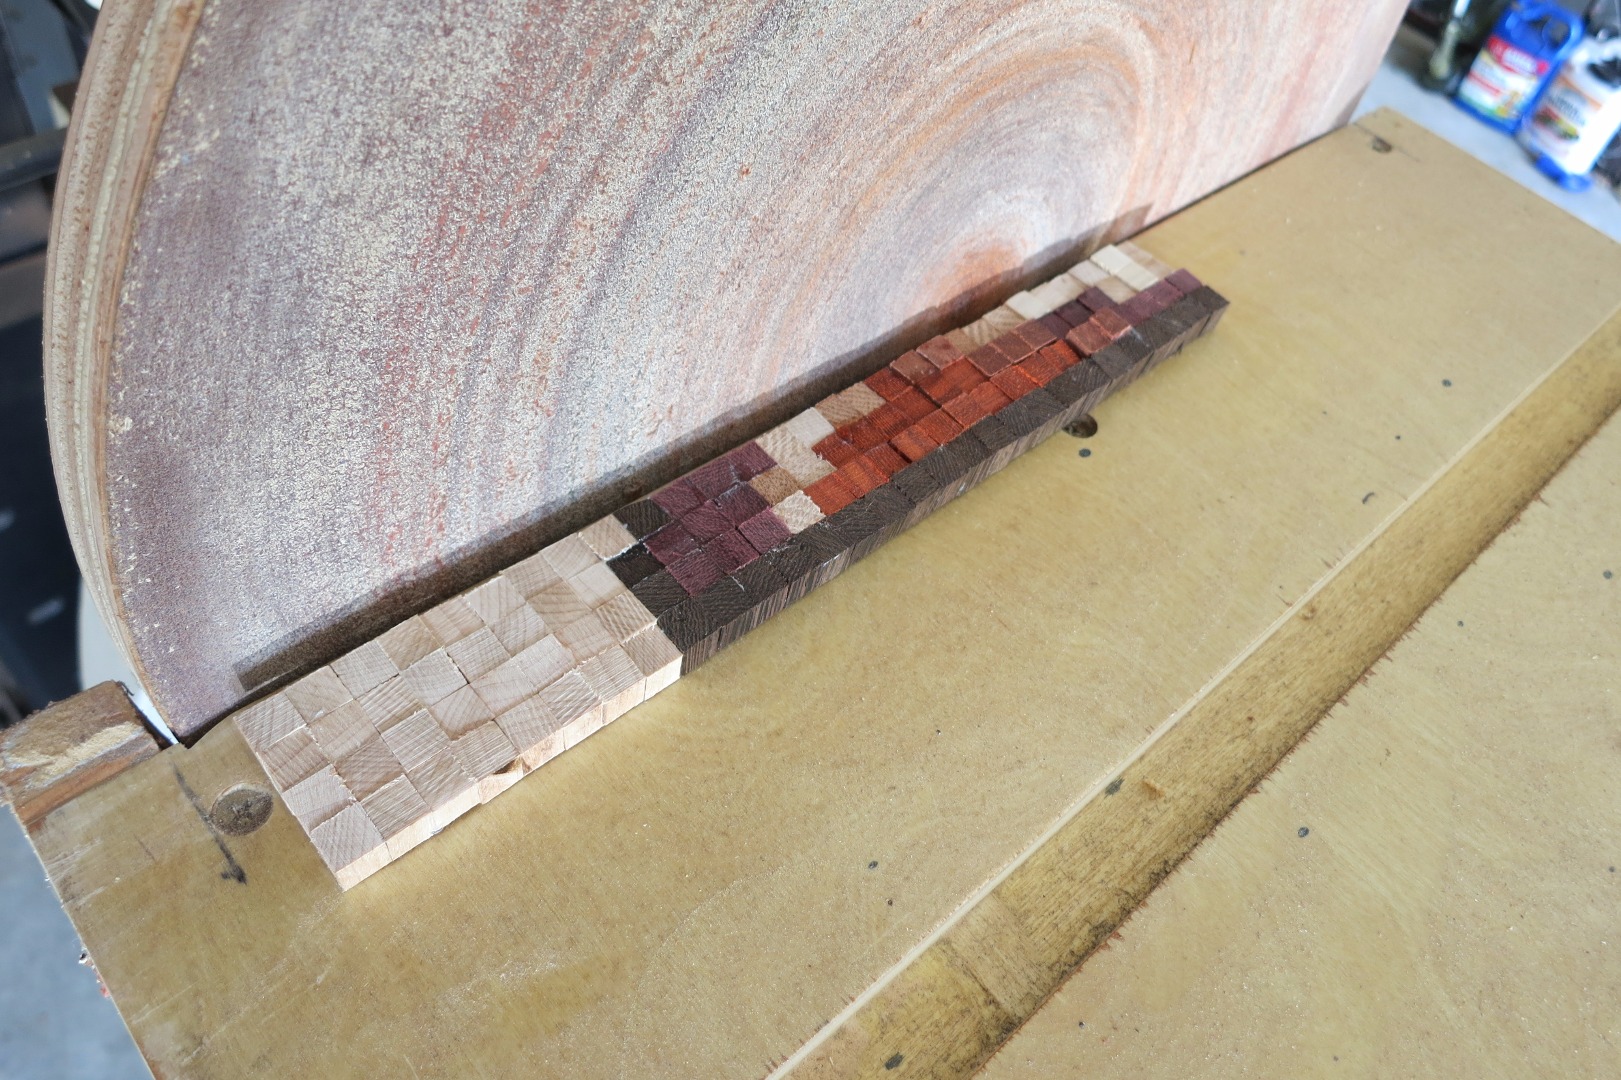
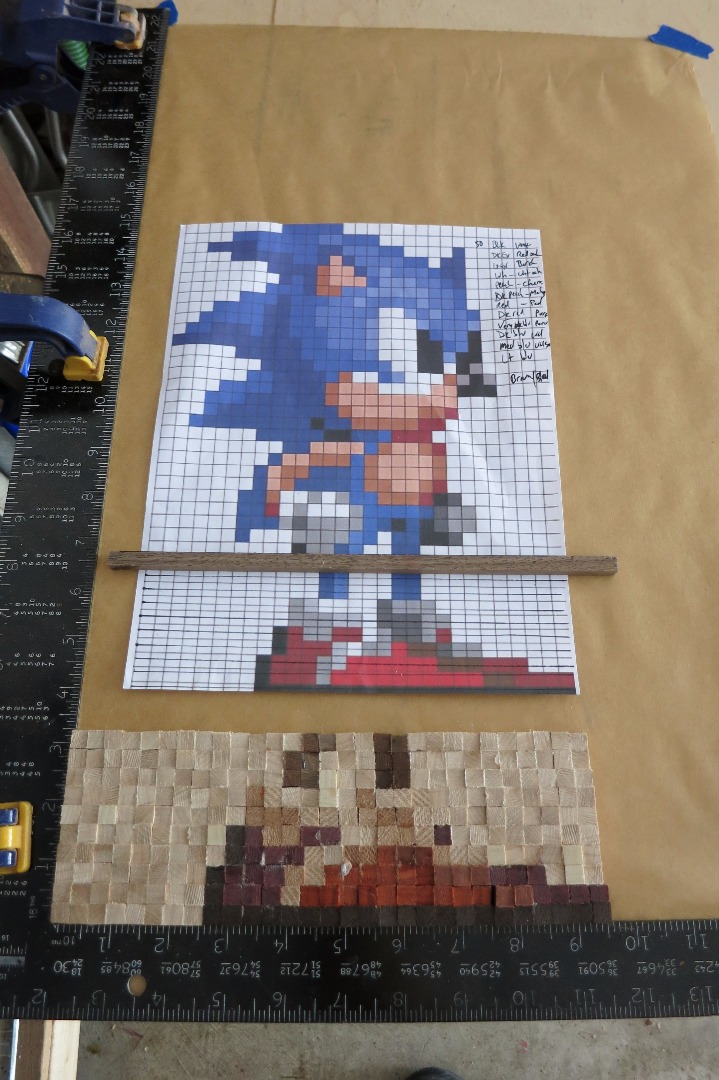
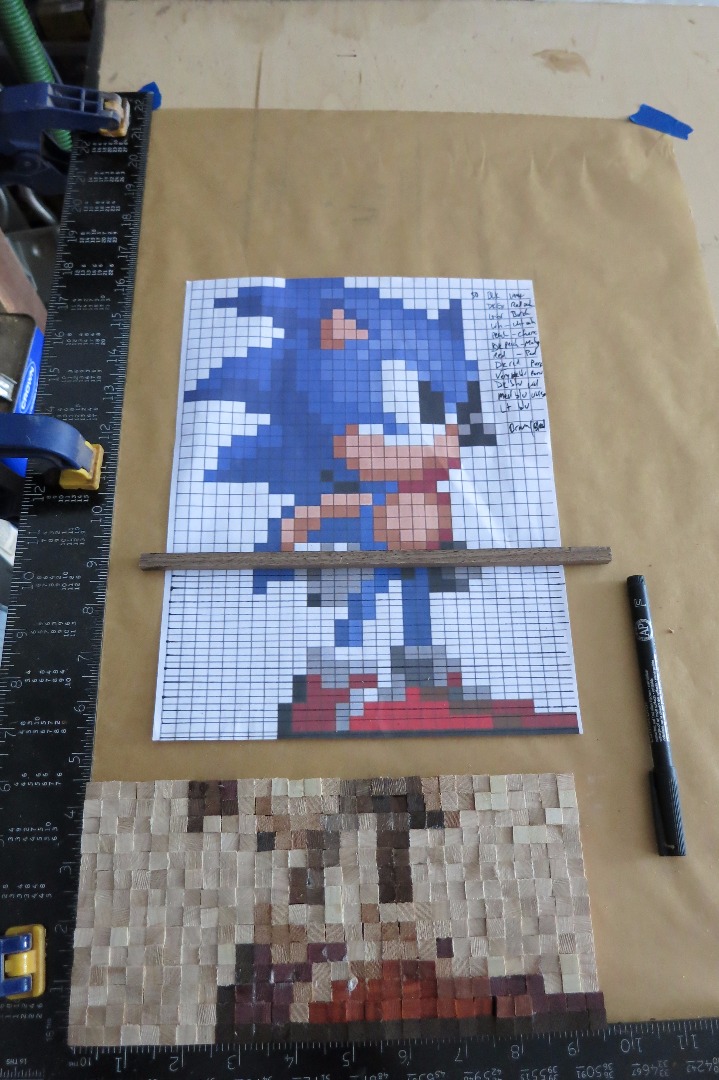
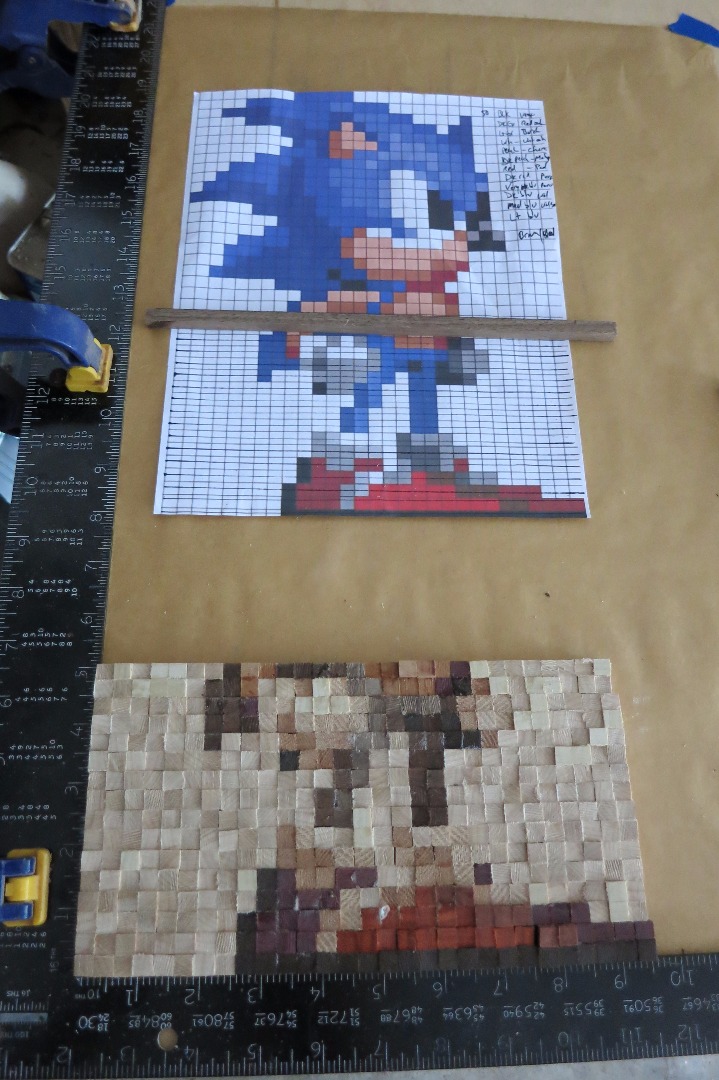
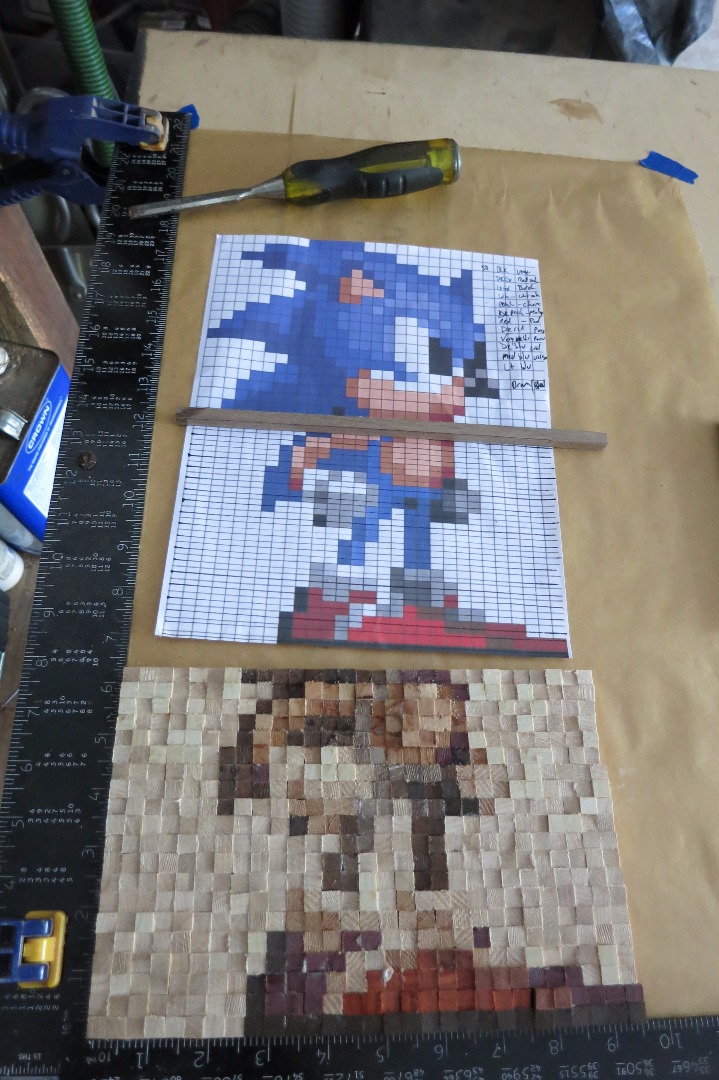
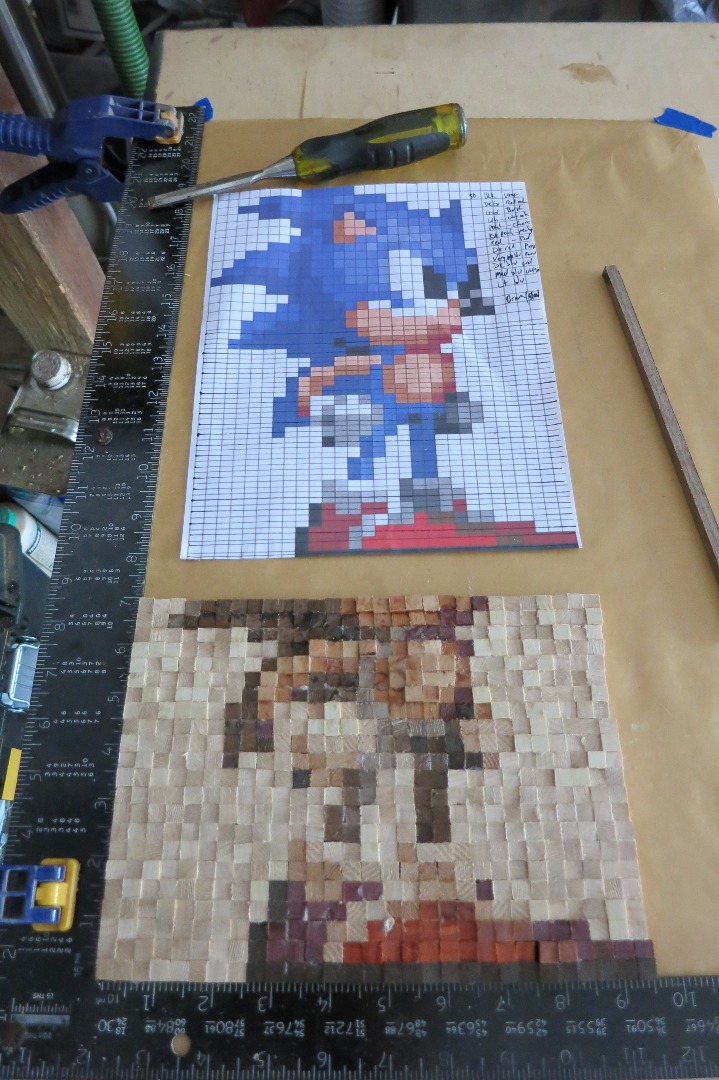
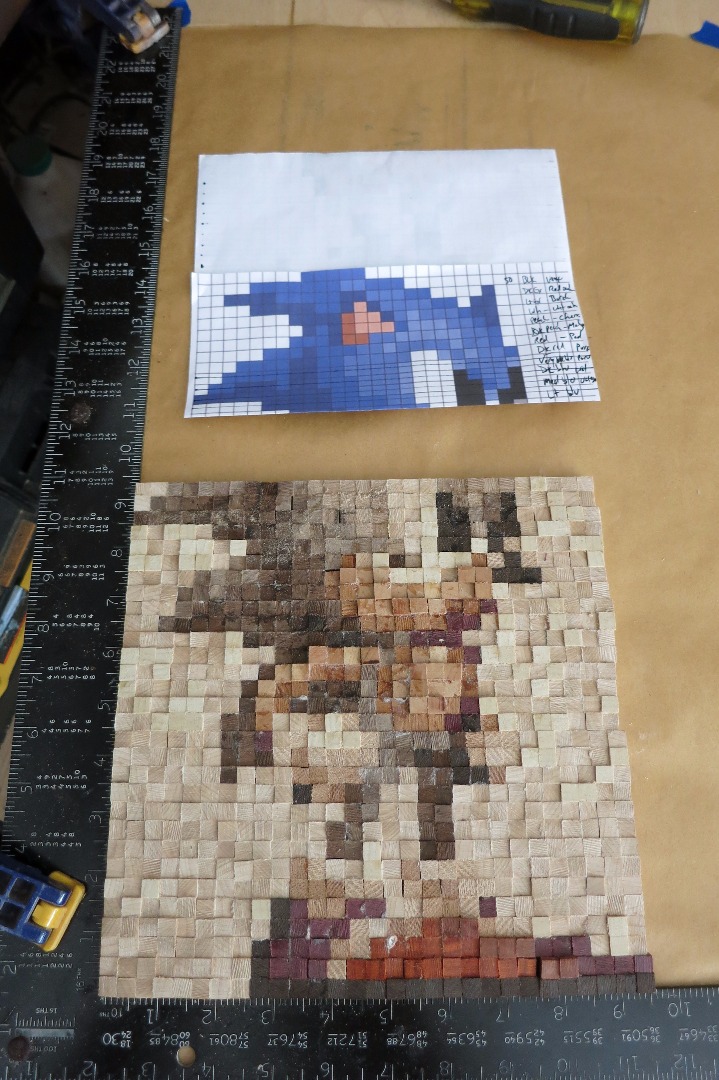
Time for the real work... Tape some wax paper to a flat surface like a stable board and clamp a framing square to the lower left side.
Start by laying out each line of pixels you'll need (I went two at a time) and work lower left-to-right, adding glue to each joint and sticking the pixels into place.
I'll make the assumption that you're not using a laser cutter for the pixels. Like me, you're using a small tablesaw that's not super-accurate. If this is the case, you're likely to have biases develop over the length of the board. If this happens, don't fret. Every few rows, let the glue cure, pull the composition from the backboard and use a stationary sander to straighten up the top row (see my other 'ible on making a disc sander on your lathe).
Keep on moving up, mark off the layers as you finish them off and be patient. The composition won't look like much until you're nearly complete.
1,260 cubes later and...
Sanding and Staining
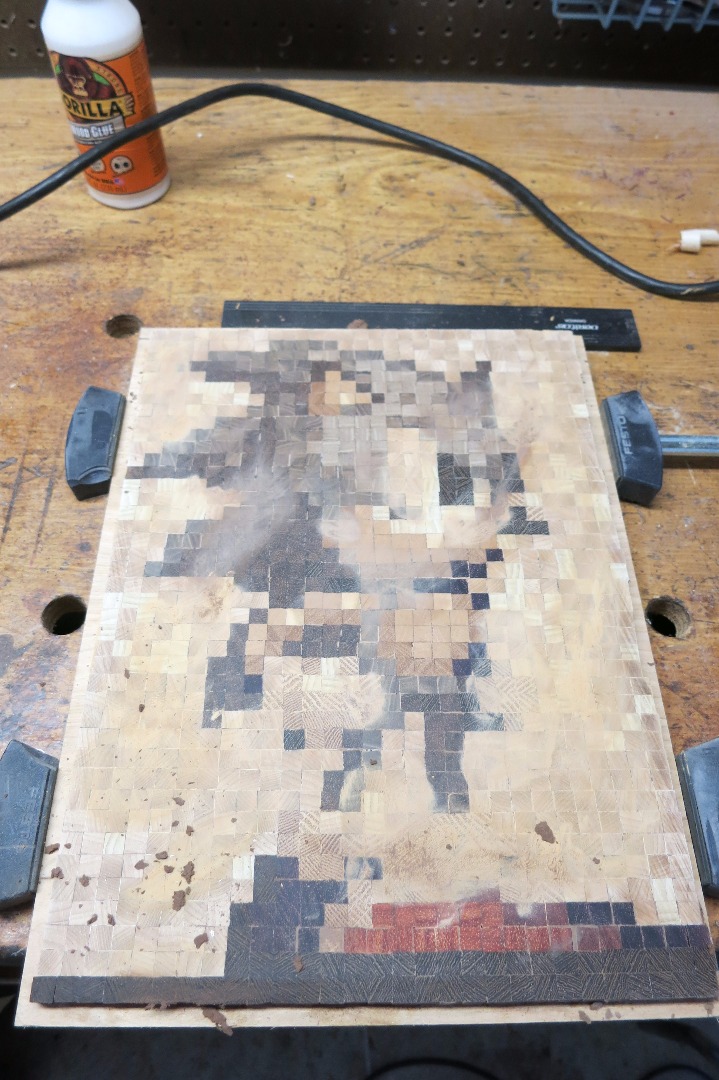
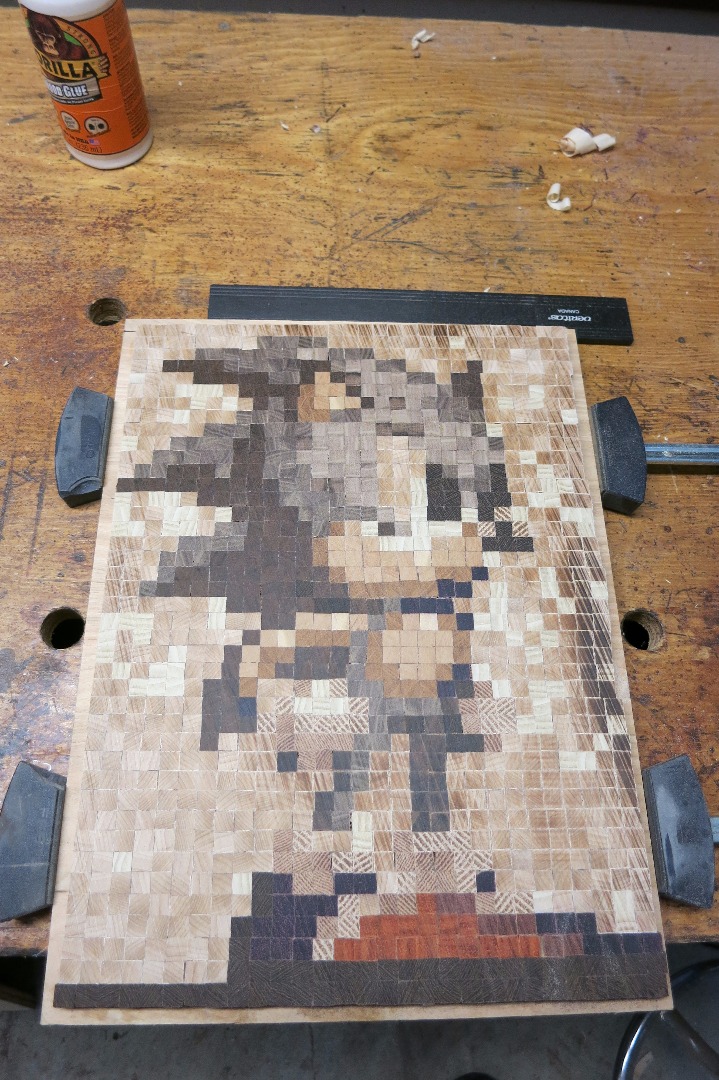
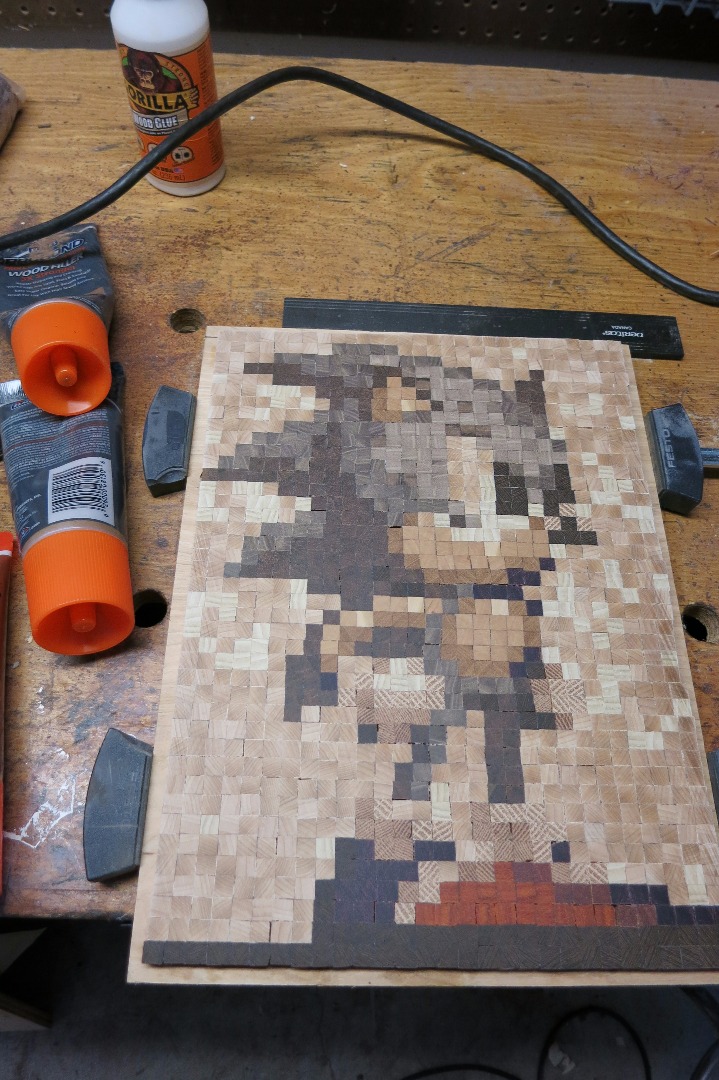
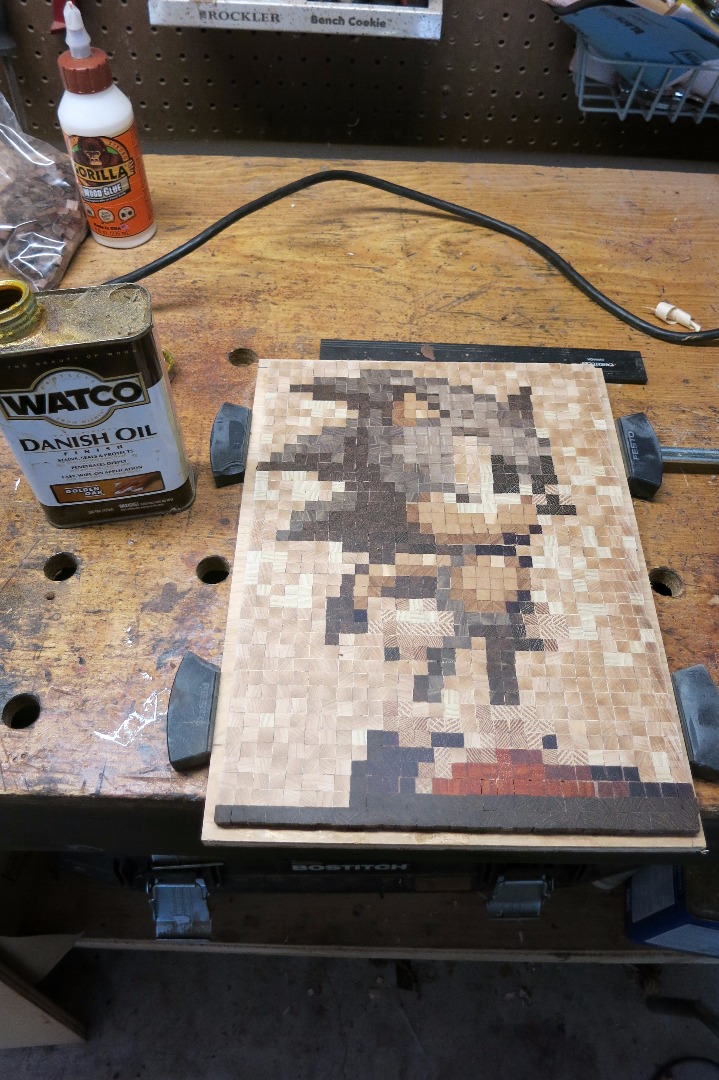
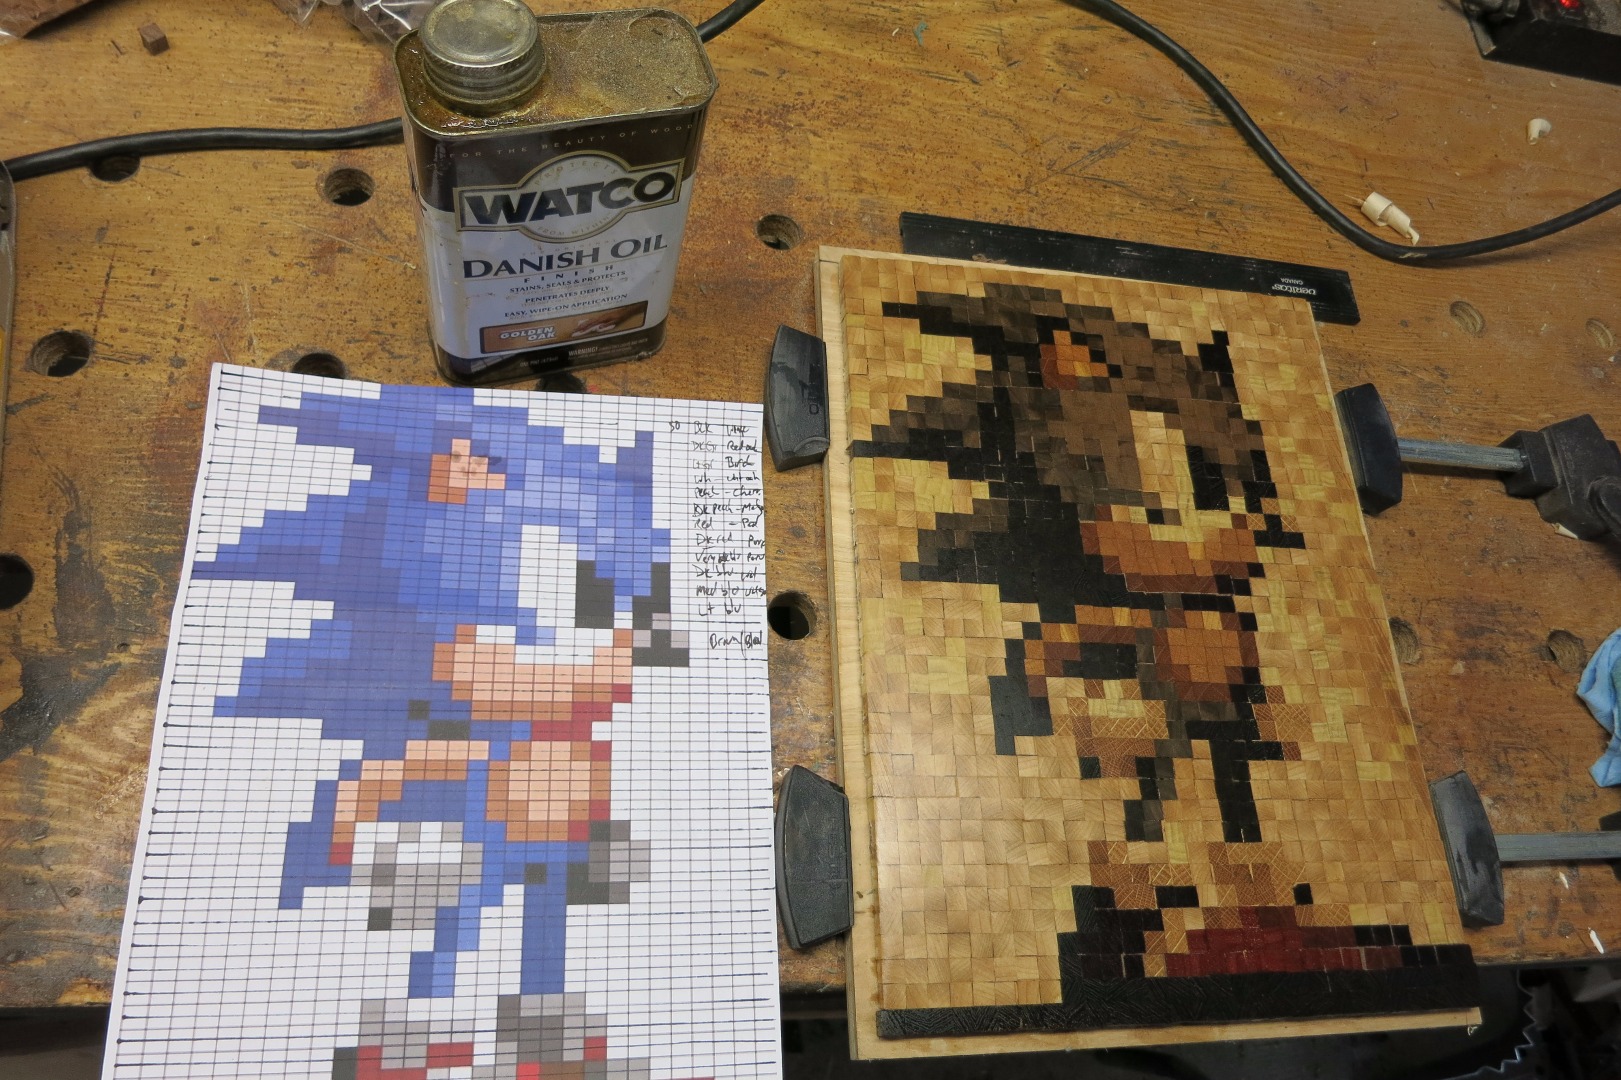
When you hit the top of the pattern, take a deep breath and pat yourself on the back. Well done!
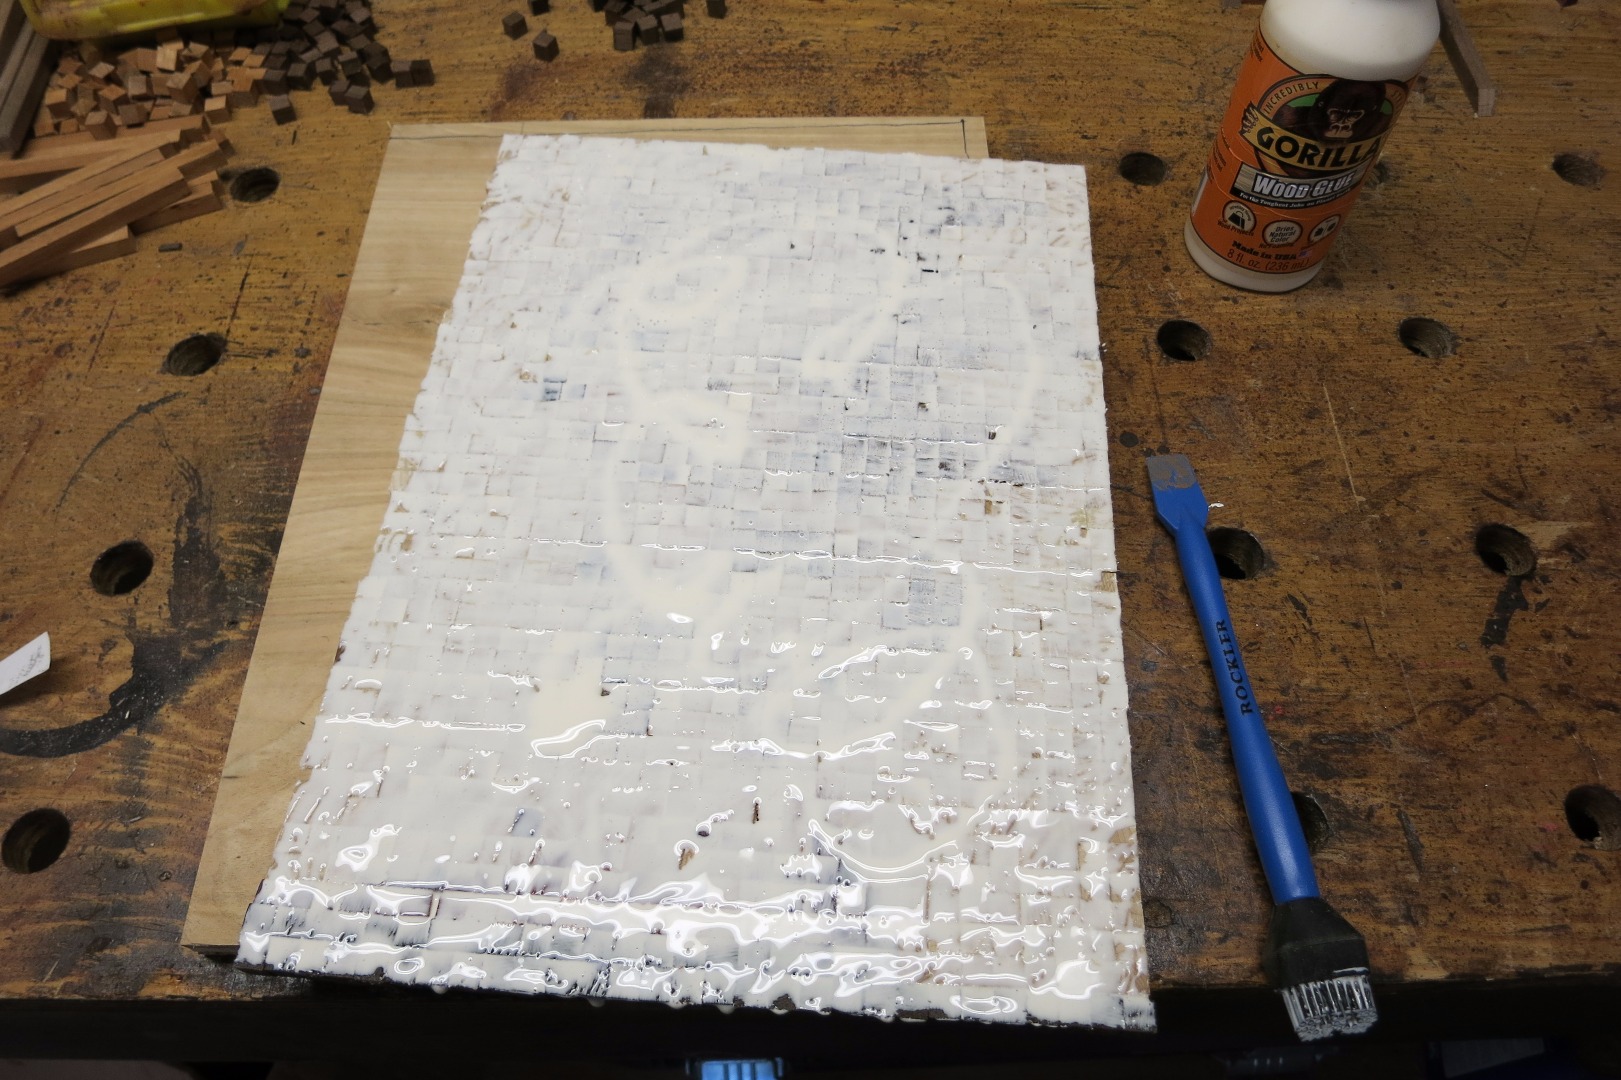
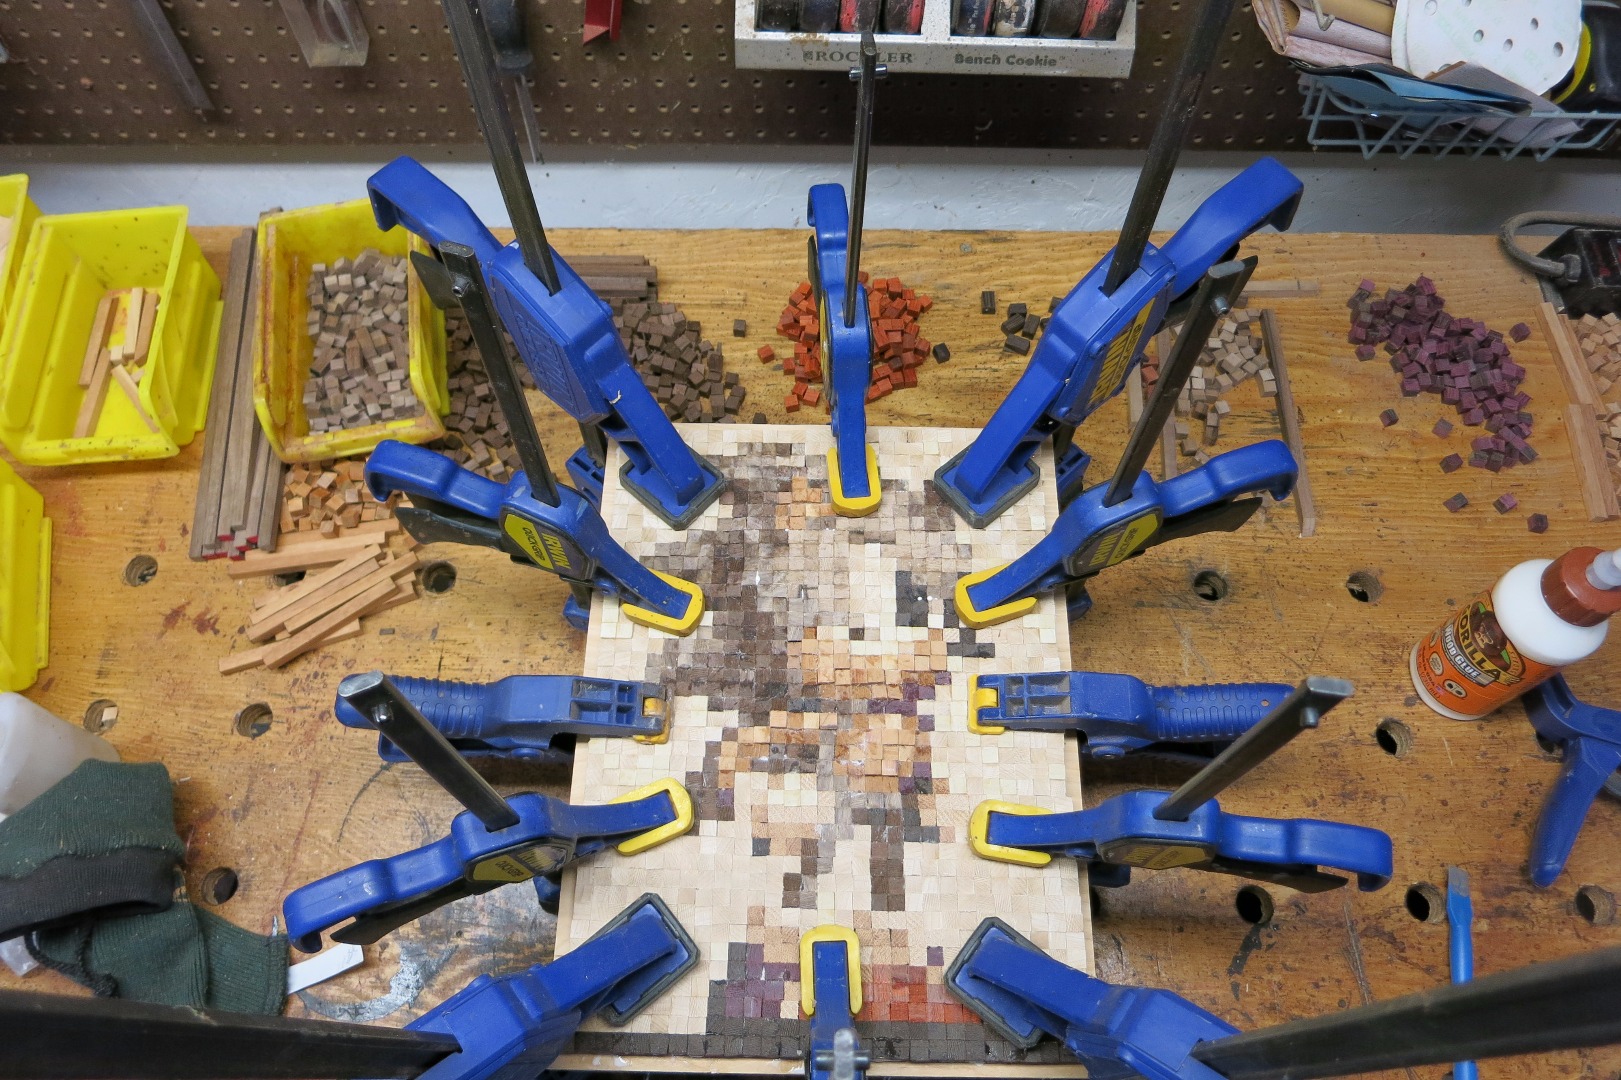
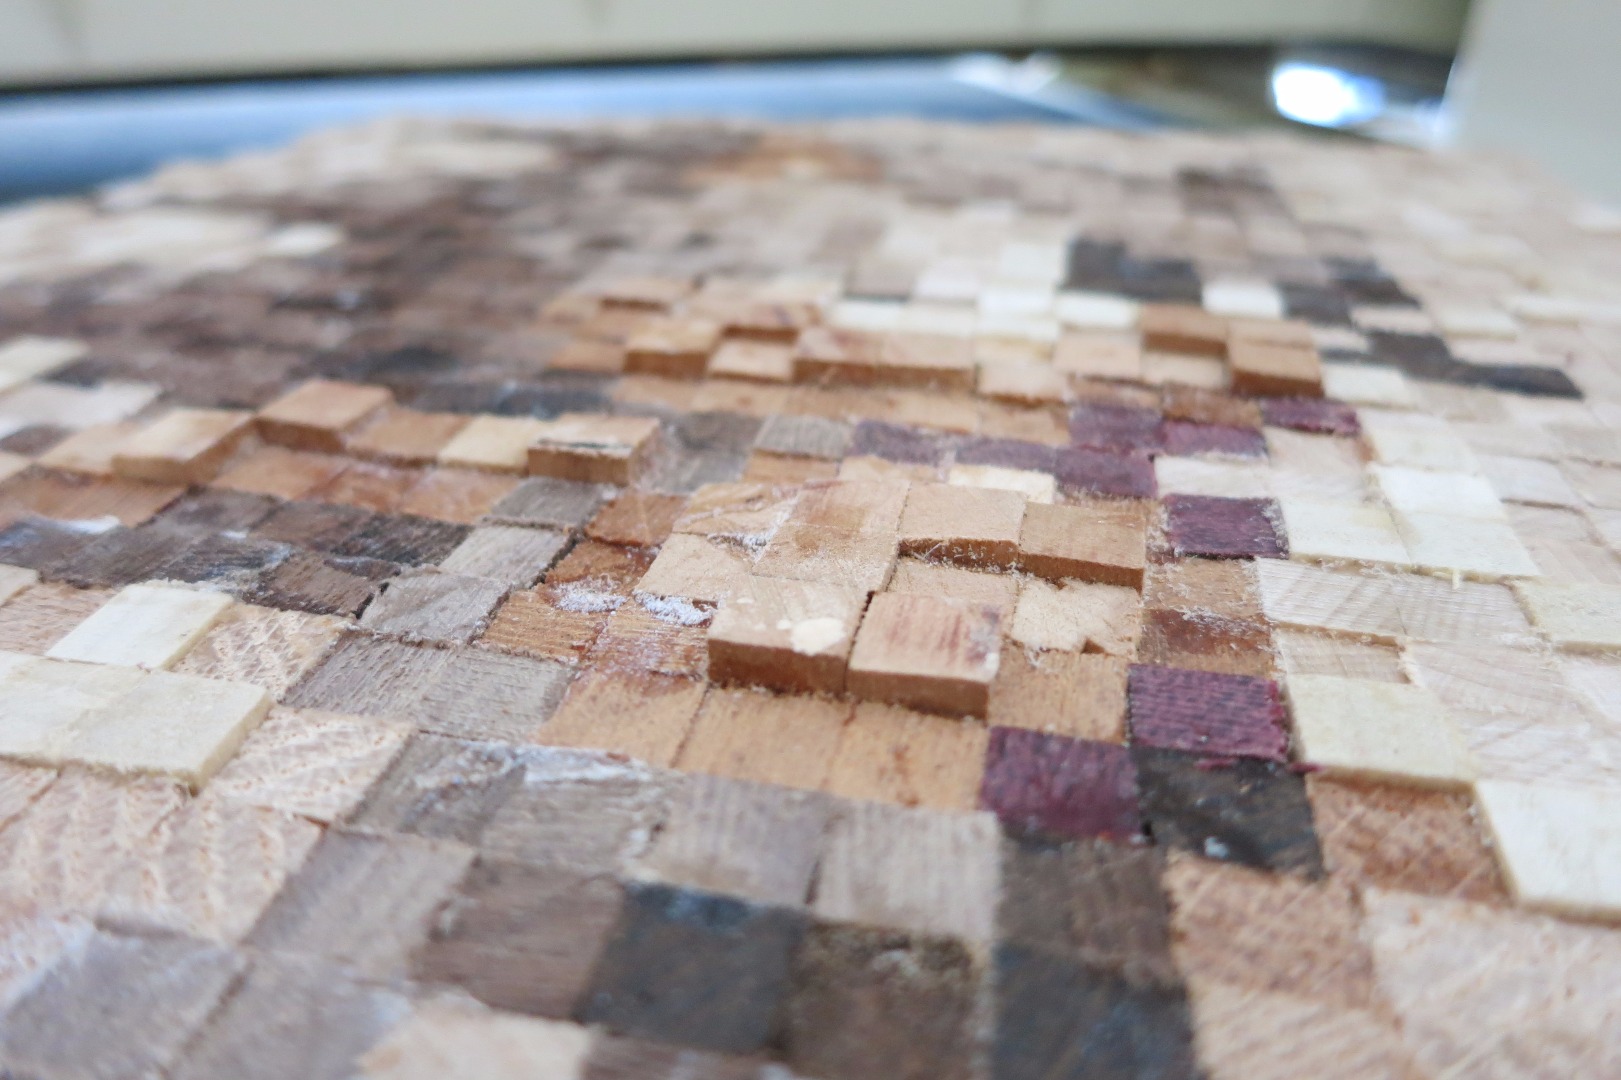
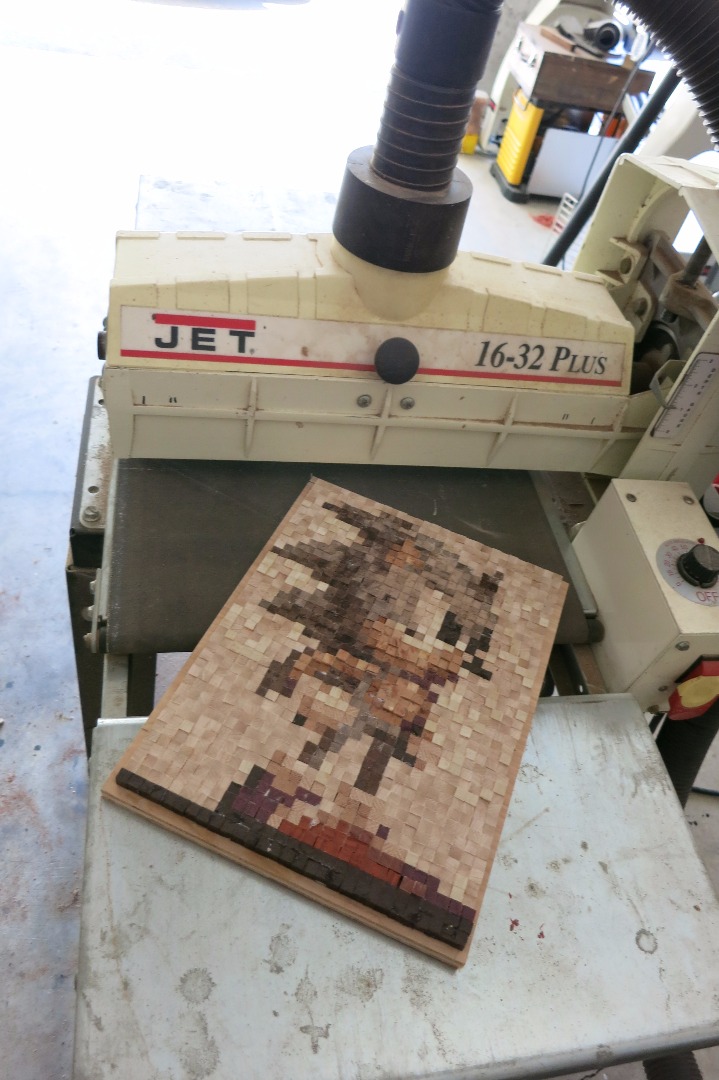
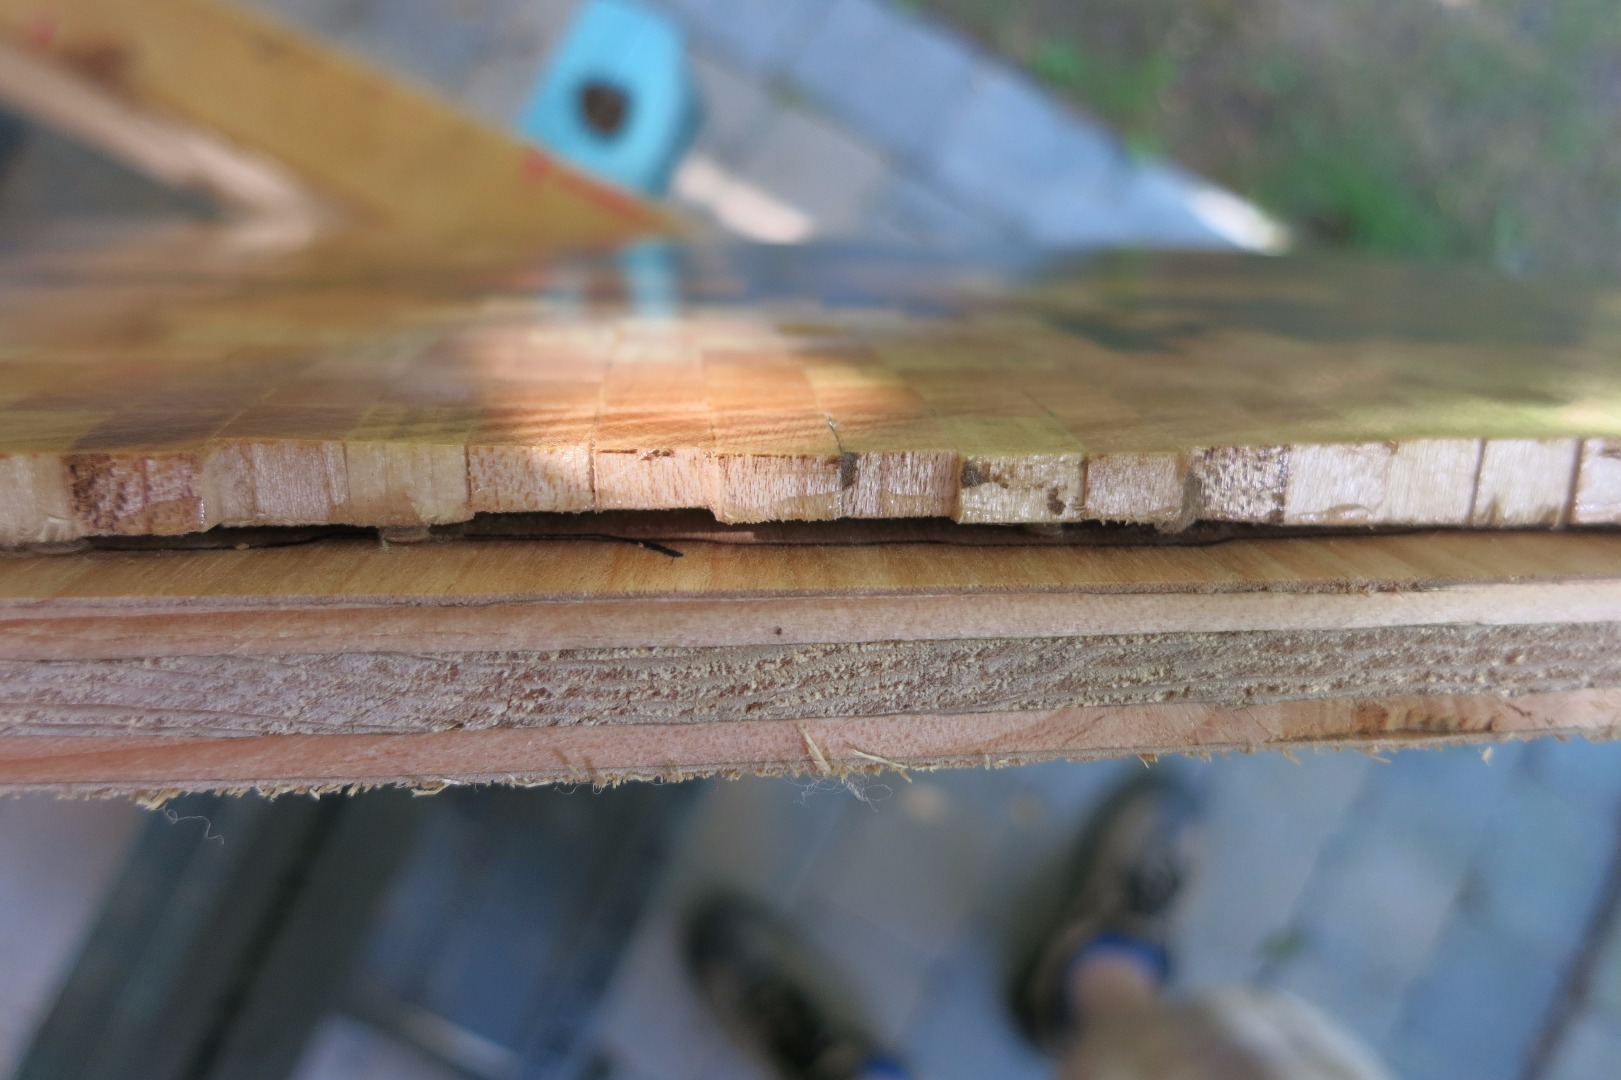
Drench the back in glue and attach the picture to 1/2" plywood. Once it's cured, clamp it down and use a drum or belt sander to get the top to a single thickness. At this point, it should start to resemble what you're looking for. Switch to a pad sander and sand from 100 to 320 grit.
It's looking good, but I still want to enhance the color. Take some Golden Oak Danish Oil and wipe it in to the surface. Much better!
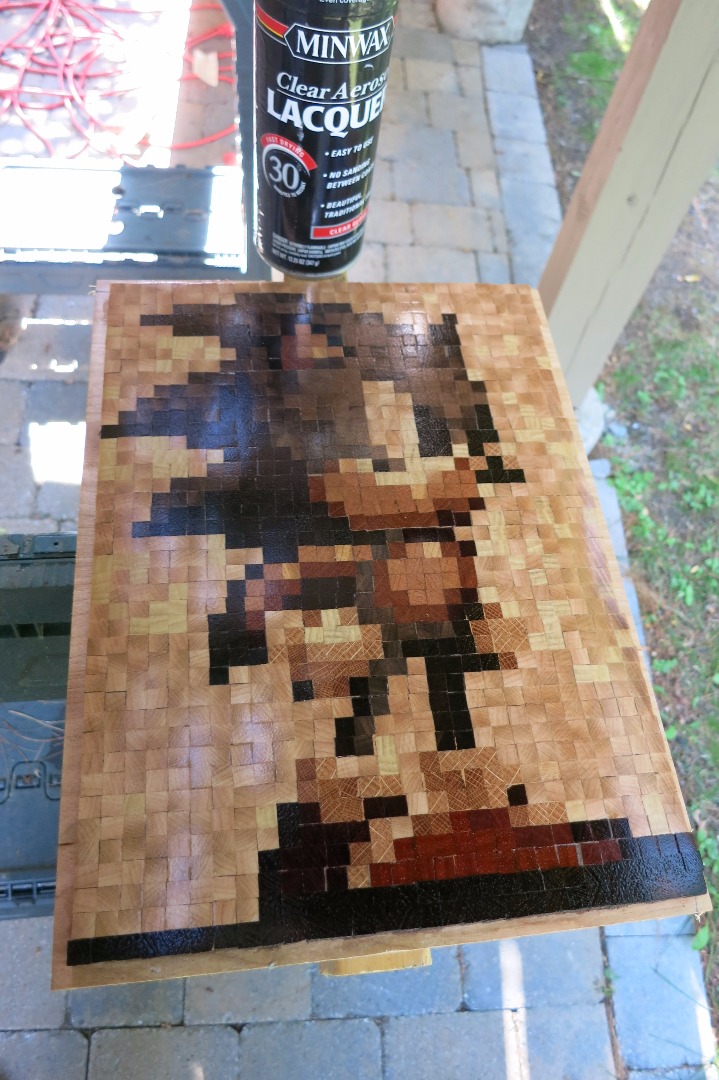
After the oil cures, spray on some gloss lacquer and buff it to a shine.
Finished!
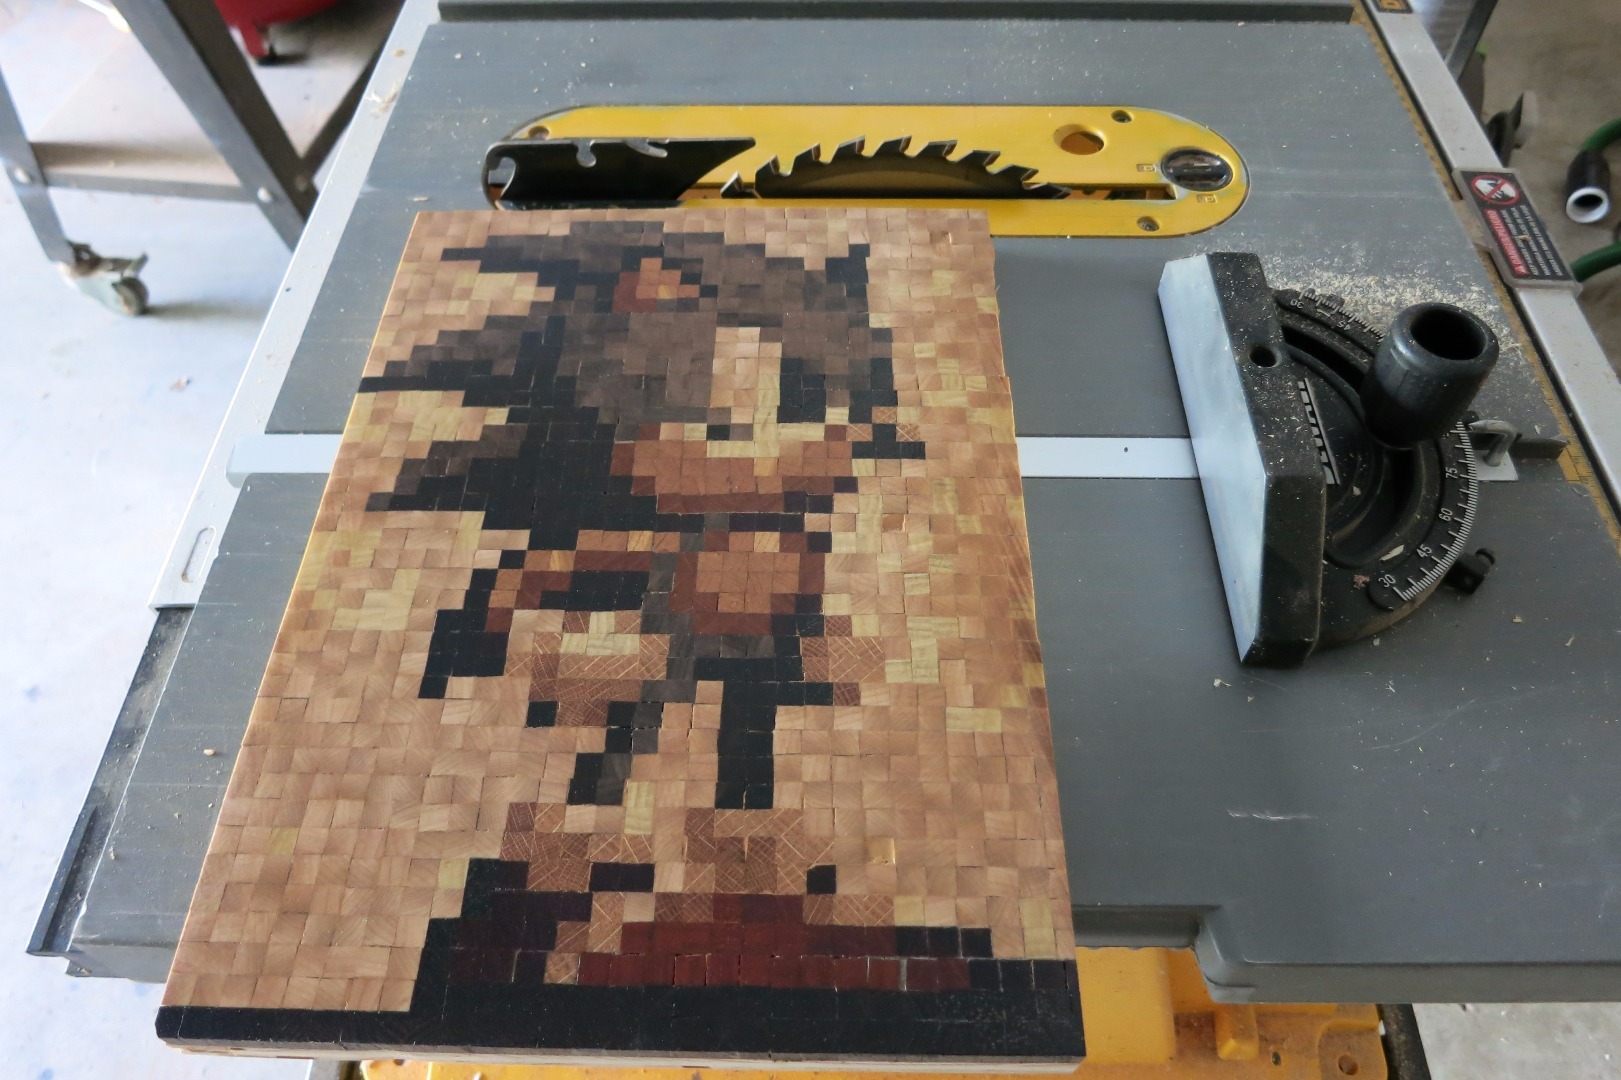
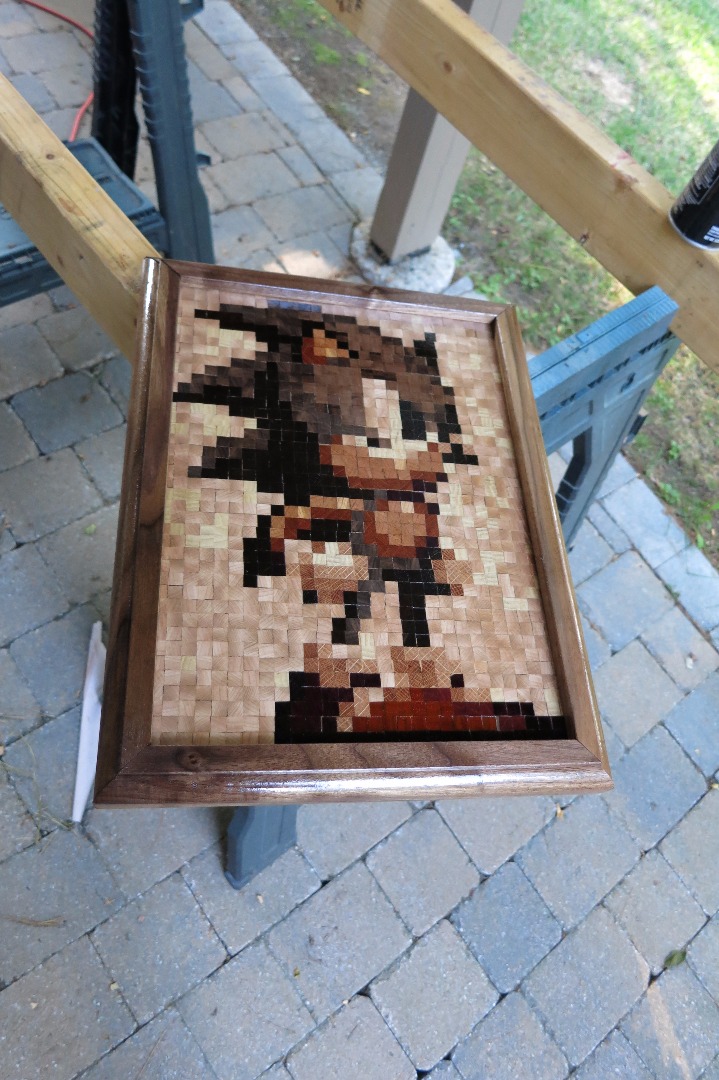
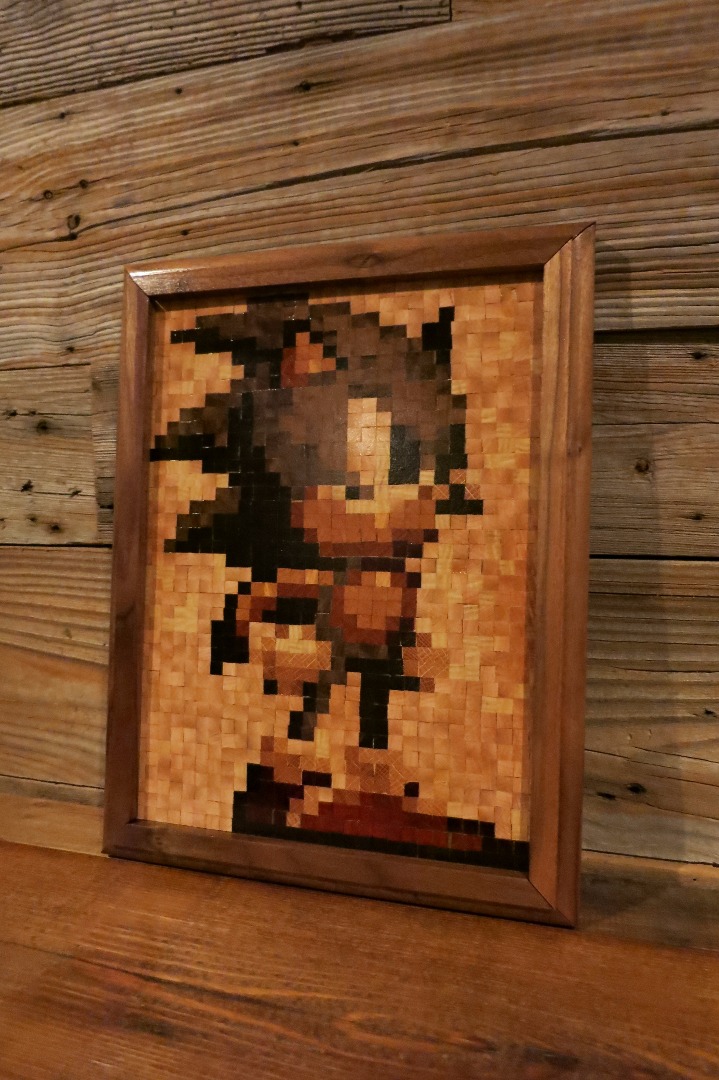
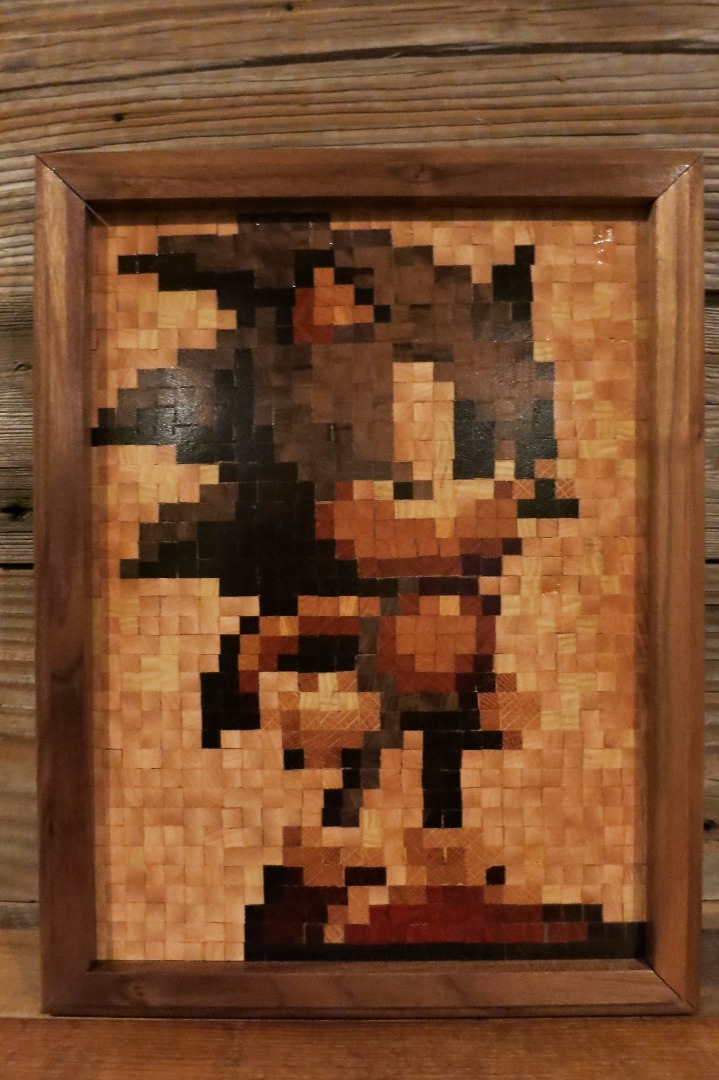
The frame was a little more work. Trim the plywood back and use the sander and tablesaw to get a square composition. Cut some strips of walnut, route the outsides and add rabbets on the inside. Size them to fit and glue everything together.
And that's it! Put your geeky fandom proudly on display and get ready for the next project!
So, What did I learn between Sonic and Wood Man?
-Add 1 extra layer of pixels all the way around the composition to account for trimming the board square and the frame rabbet.
-Use a single species per color. I mixed leftover poplar with birch for the background... mistake, they look different. I should have separated the two between the eyes and background.
-When sanding, make sure the backing glue has set. Mine started to peel up and get sanded away on the drum sander as it heated up. I barely caught it in time and had to go much slower with the belt sander to keep everything from burning.
-If using oak, especially for the background, stagger the way the grain goes. I did this for Wood Man and it looked much more finished.