1.5 Dollar Attiny85 - HOW TO PROGRAM IT
by scanos in Circuits > Microcontrollers
2870 Views, 18 Favorites, 0 Comments
1.5 Dollar Attiny85 - HOW TO PROGRAM IT

This is aimed unashamedly at novices in the area of microprocessors.
First question is what is the ATTINY85 and what can it do? It's a small inexpensive microprocessor from the ATMEL/Microchip family with 8 pins which may be programmed to do a lot of tasks, including interfacing with sensors and even playing music. In general,excluding the pins VCC (power),GND and RESET, there are 5 GPIO pins available for your programs. In this instructable, I hope to show you how to write your first simple ATTINY85 (A85 for short,hereafter) program.
Oh yes, WHY an A85? I know Raspberry Pi which is ok by me .Well, the A85 is small, power friendly, low cost, reliable well documented and can be incorporated into industrial PCBs. Say, you want to switch on lights when your PIR sensor detects motion. Well, a Raspberry Pi is something of an overkill for that whereas your 1.5 dollar A85 is an ideal candidate. I should say that there are some challenges with the AT85 in that it is difficult to debug and network in comparison to say ESP8266, RPis and Beaglebones but it is definitely worth persevering with it. It has a feature called sleep mode which allows the A85 to deliver awesome power efficient solutions.
So how do you program it and get it to do something? You will need the following:
1) A Integrated Development Environment (IDE) - My preference is the Arduino IDE.I am currently using version 1.6.12 which doesn't seem to have the bugs of earlier versions. This works well on Windows 8.1.
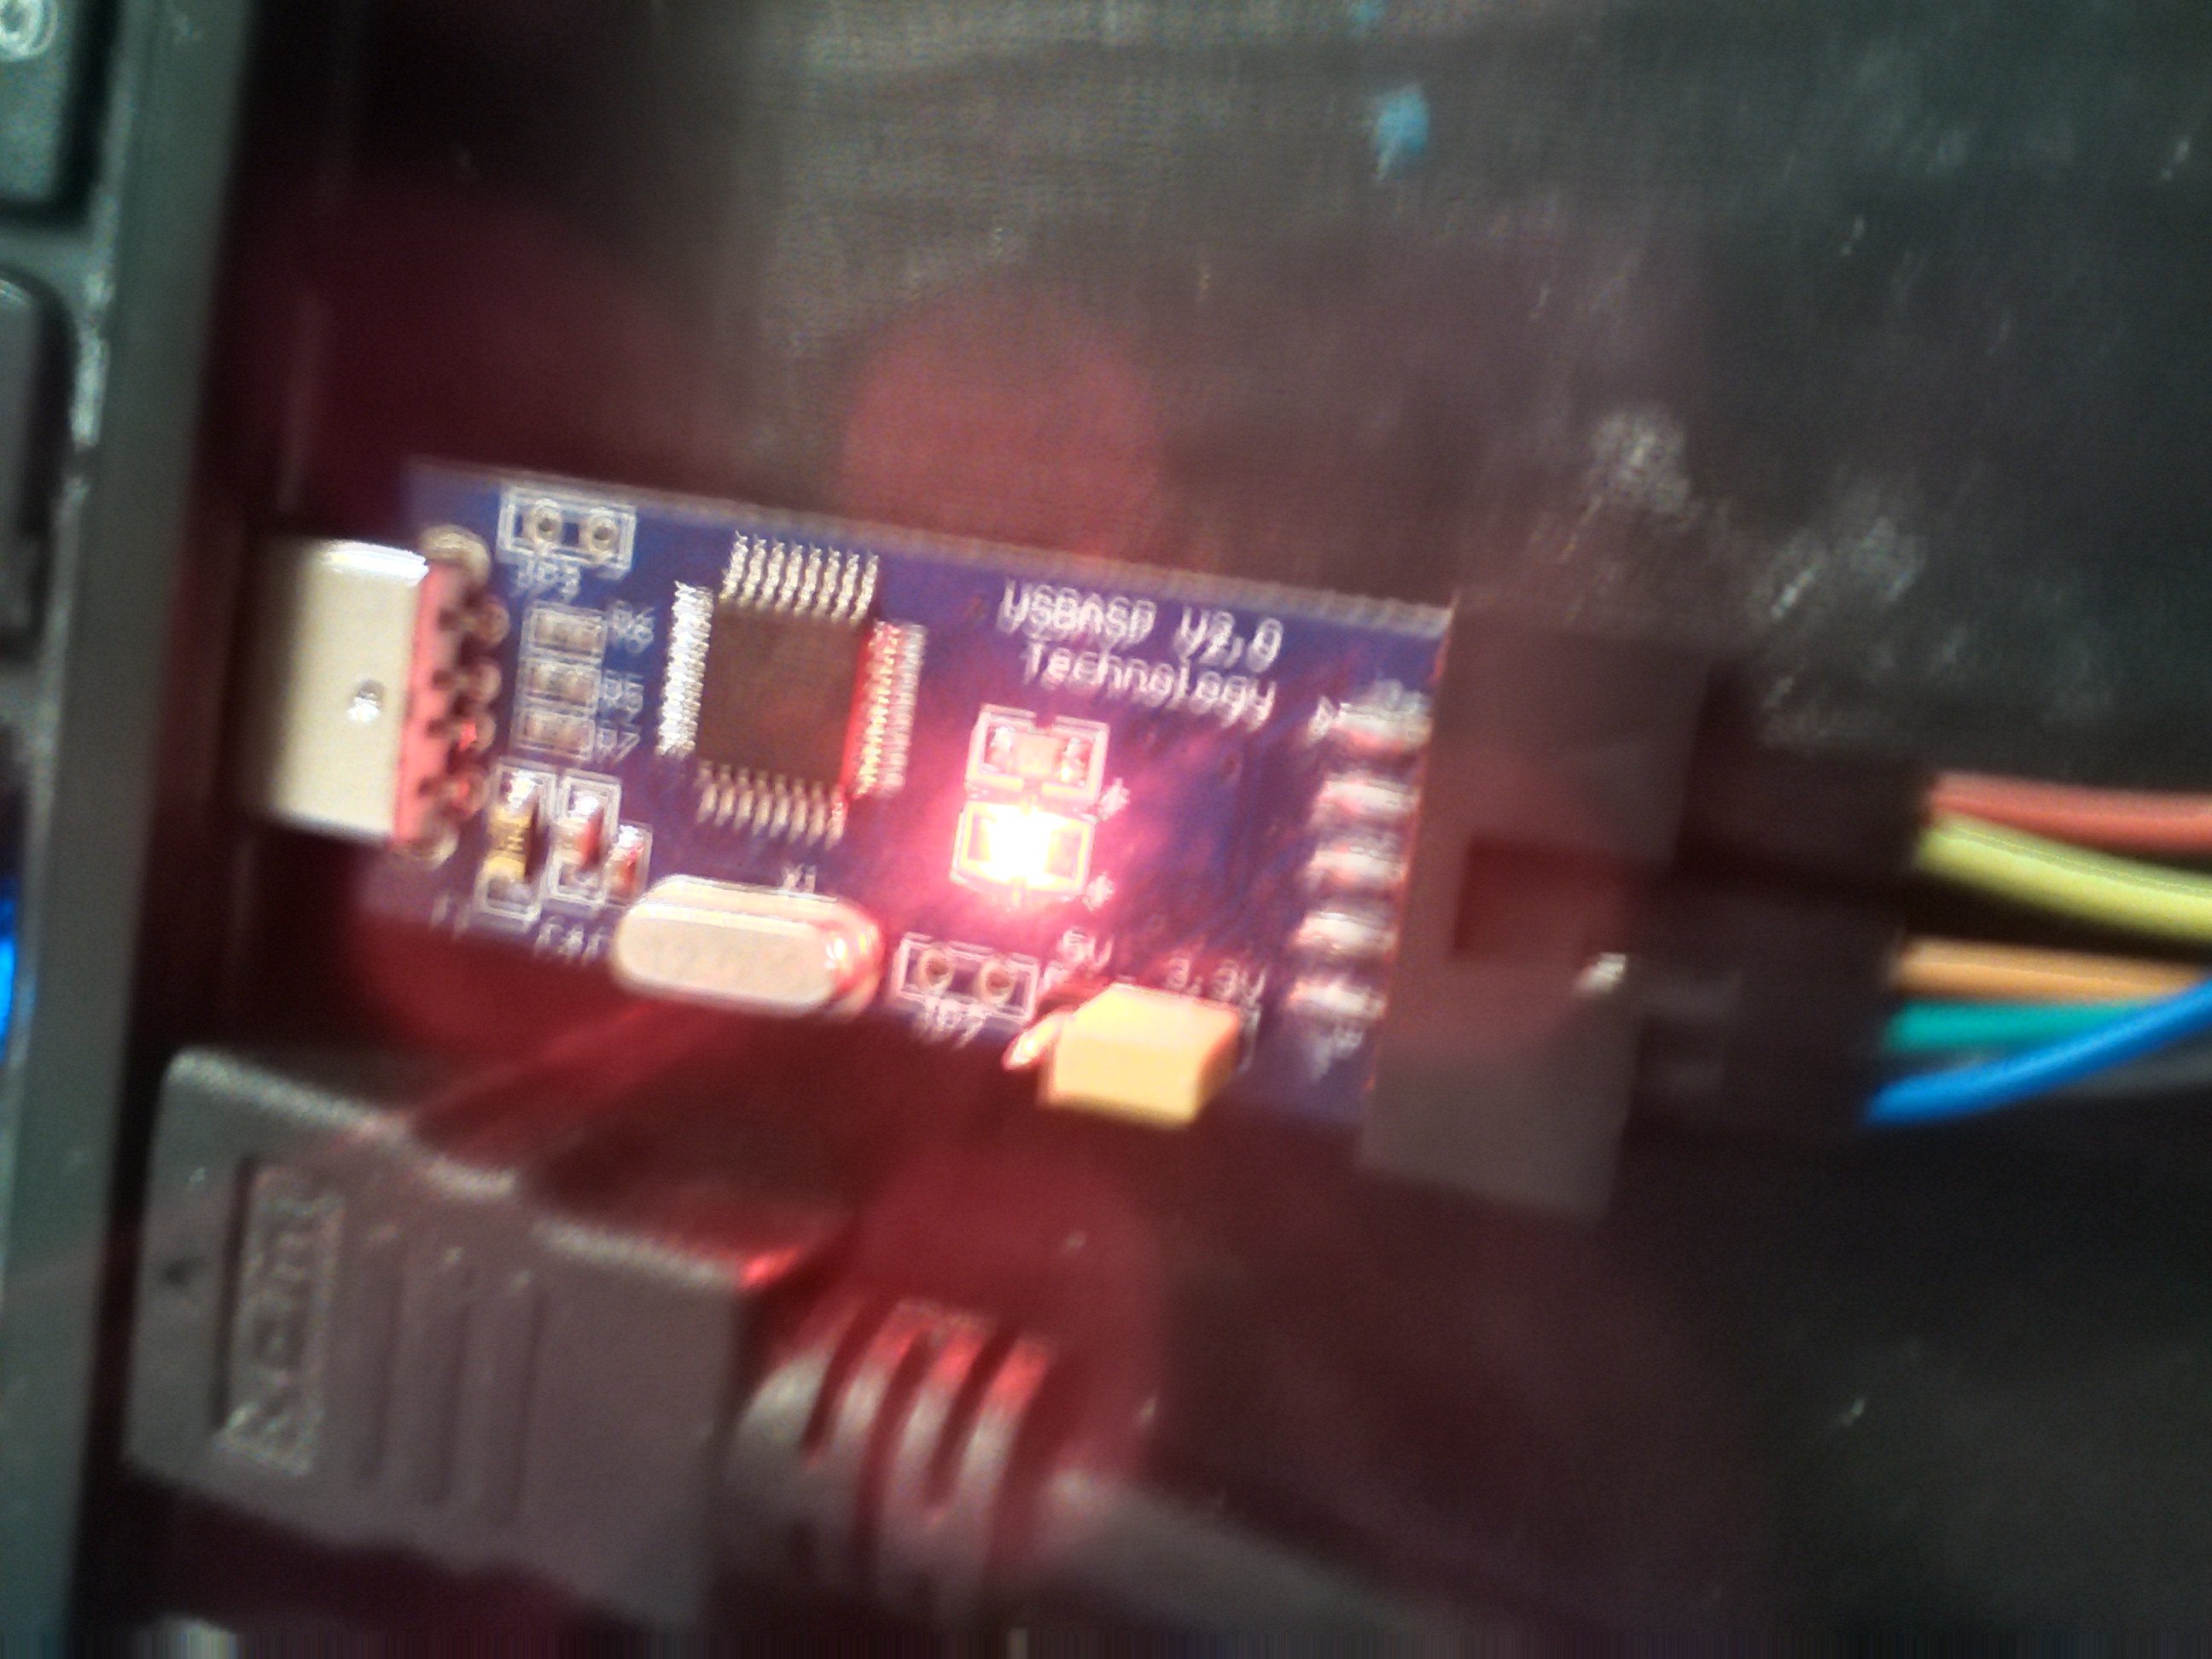
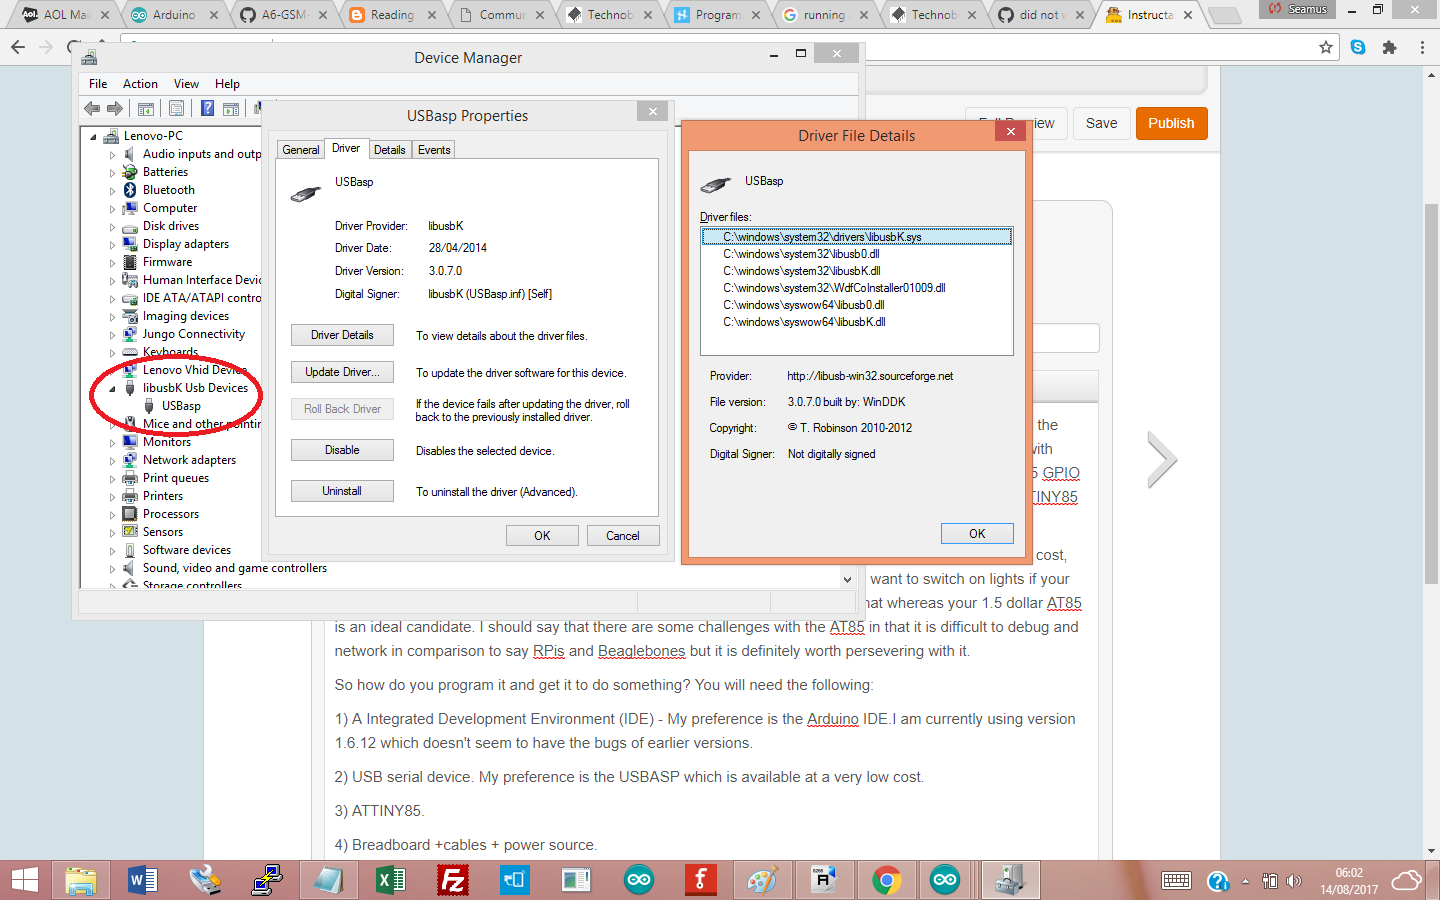
2) USB serial device. My preference is the USBASP which is available at a very low cost. I have shown in the image above, the driver version I am using. Please use this to find out how to install the driver.
3) A85. Please ensure that you buy the breadboard friendly version and not the surface mounted.
4) Breadboard, cables. LEDs and resistors.
5 ) Power source. I use a YWrobot Breadboard Power supply for burning code onto the A85 and a variety of power sources for operation, including a button battery. Again, the A85 is incredible flexible in terms of operating voltages - 2.7-5.5V. Indeed, if you can afford to run the A85 at low frequencies of say 1Mhz (which you can set through the IDE ) then you run the chip at 1.8V.
Connecting Things
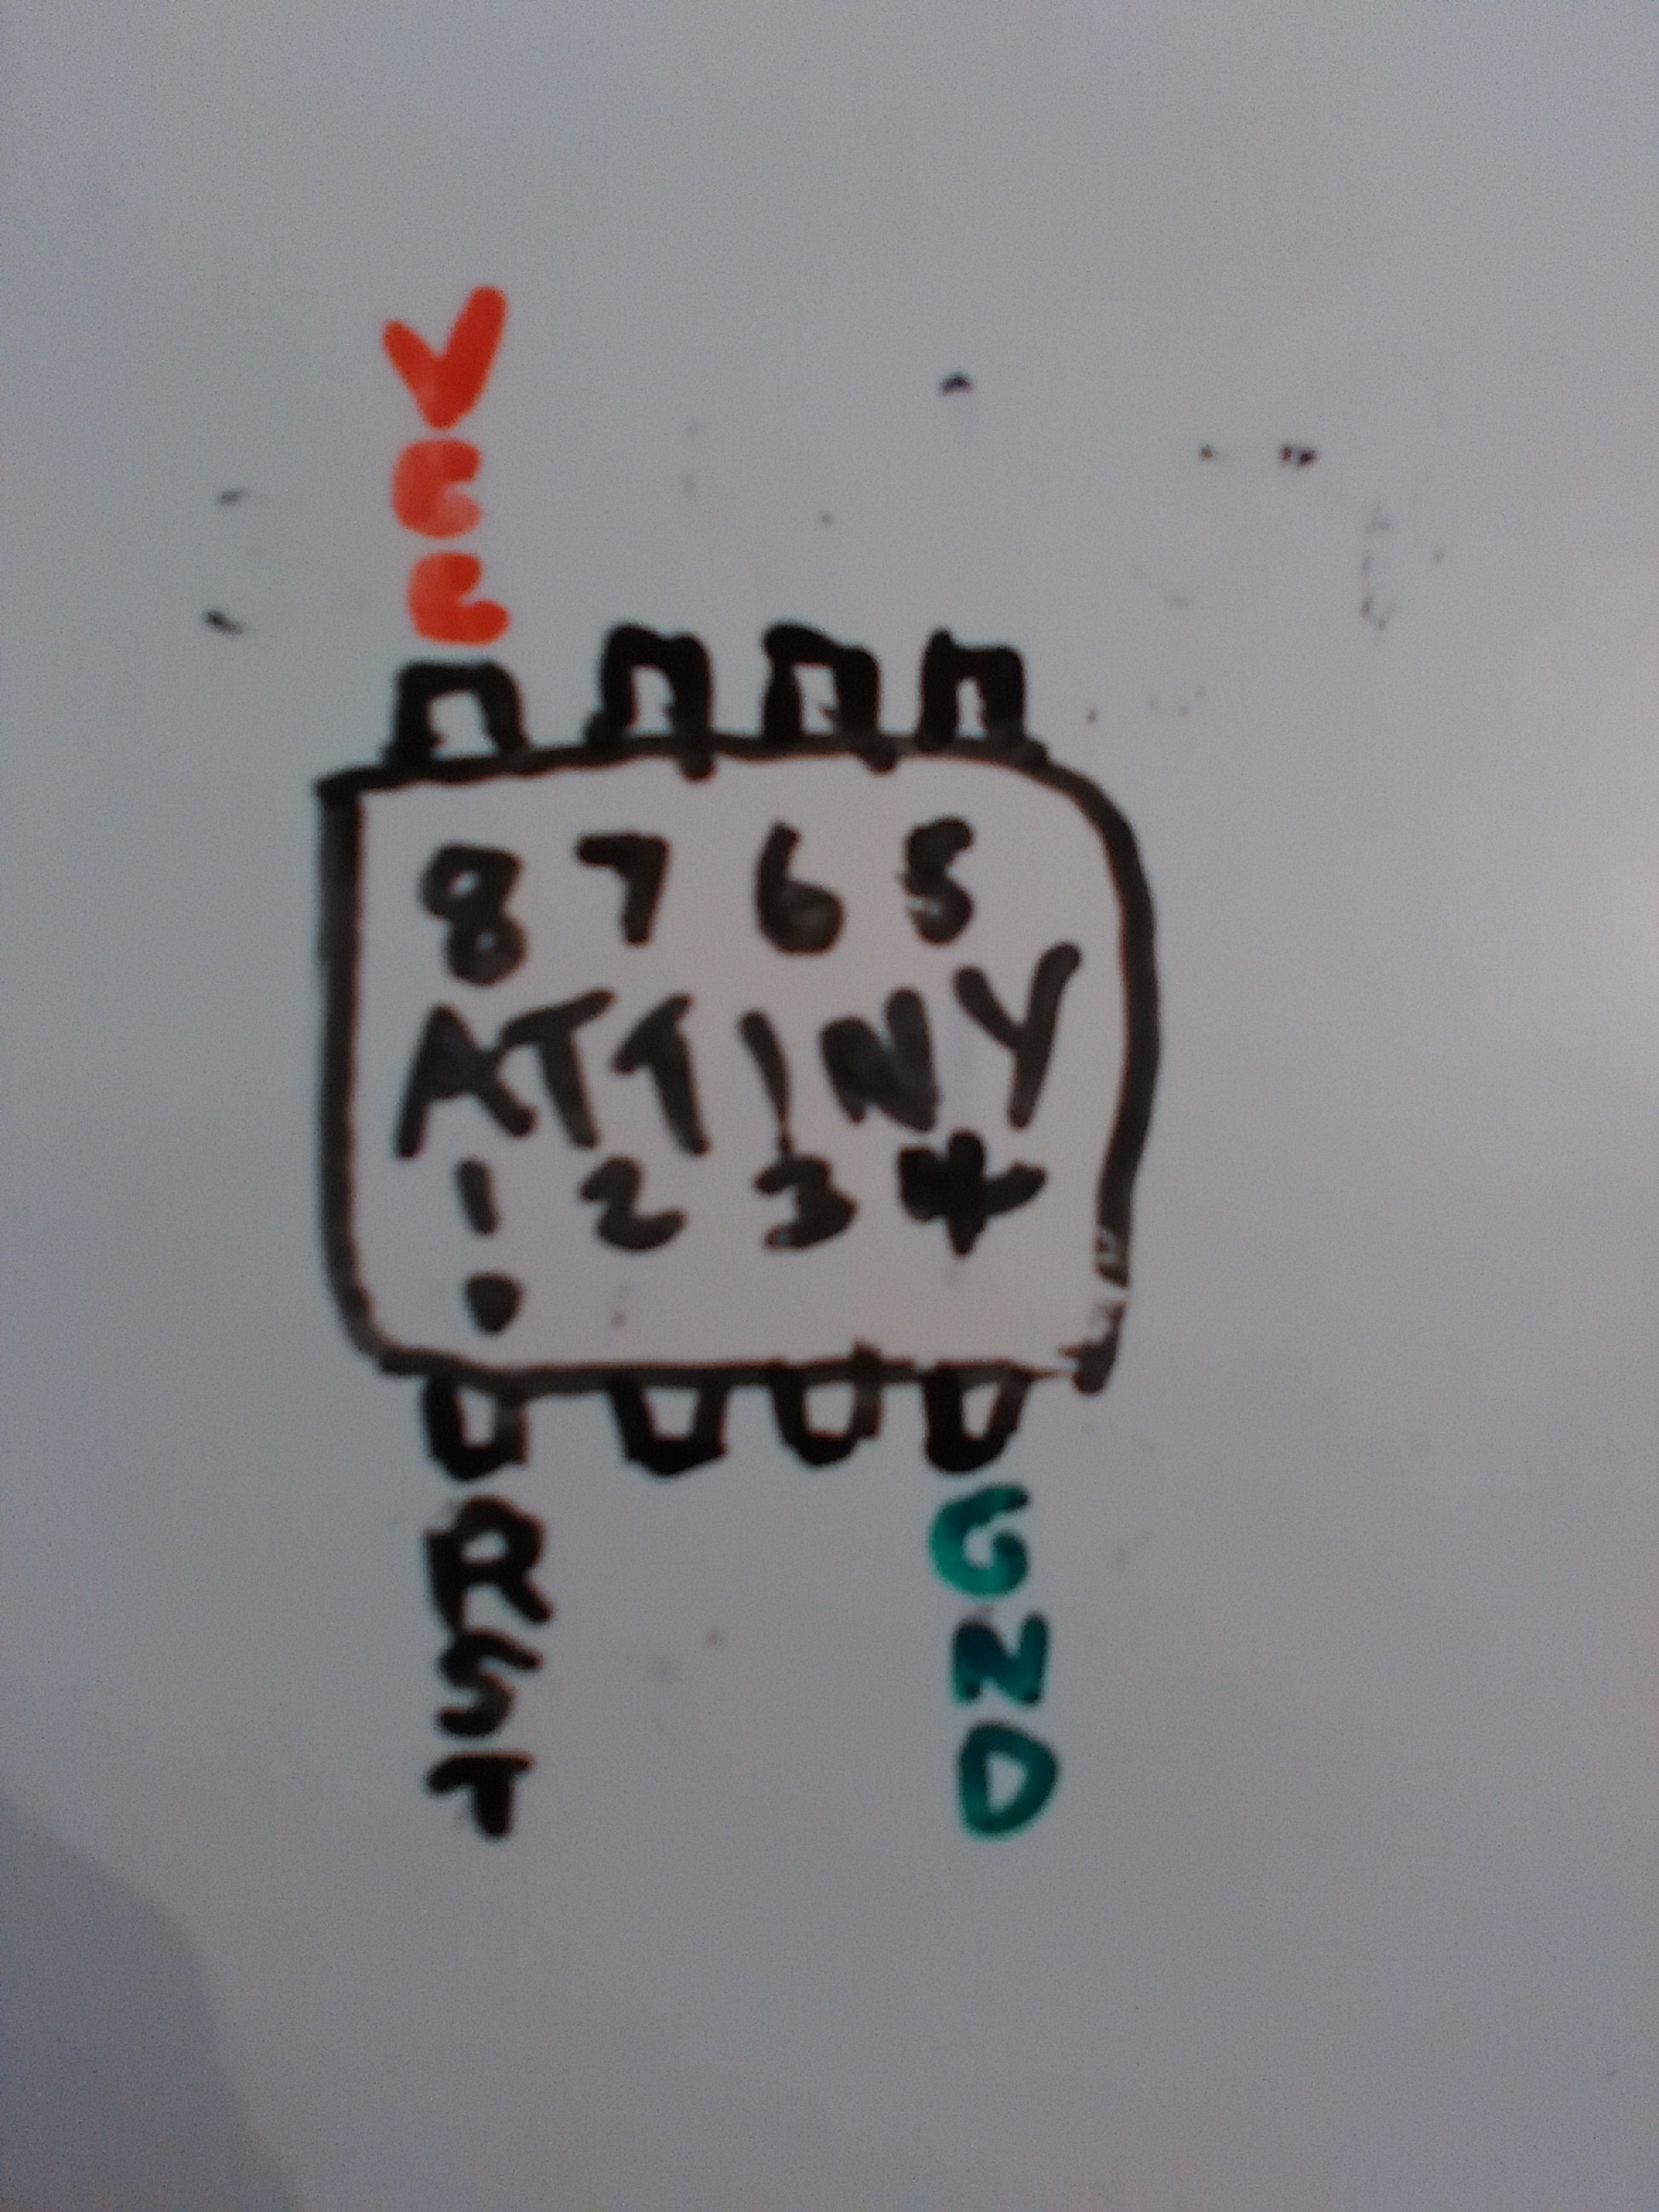
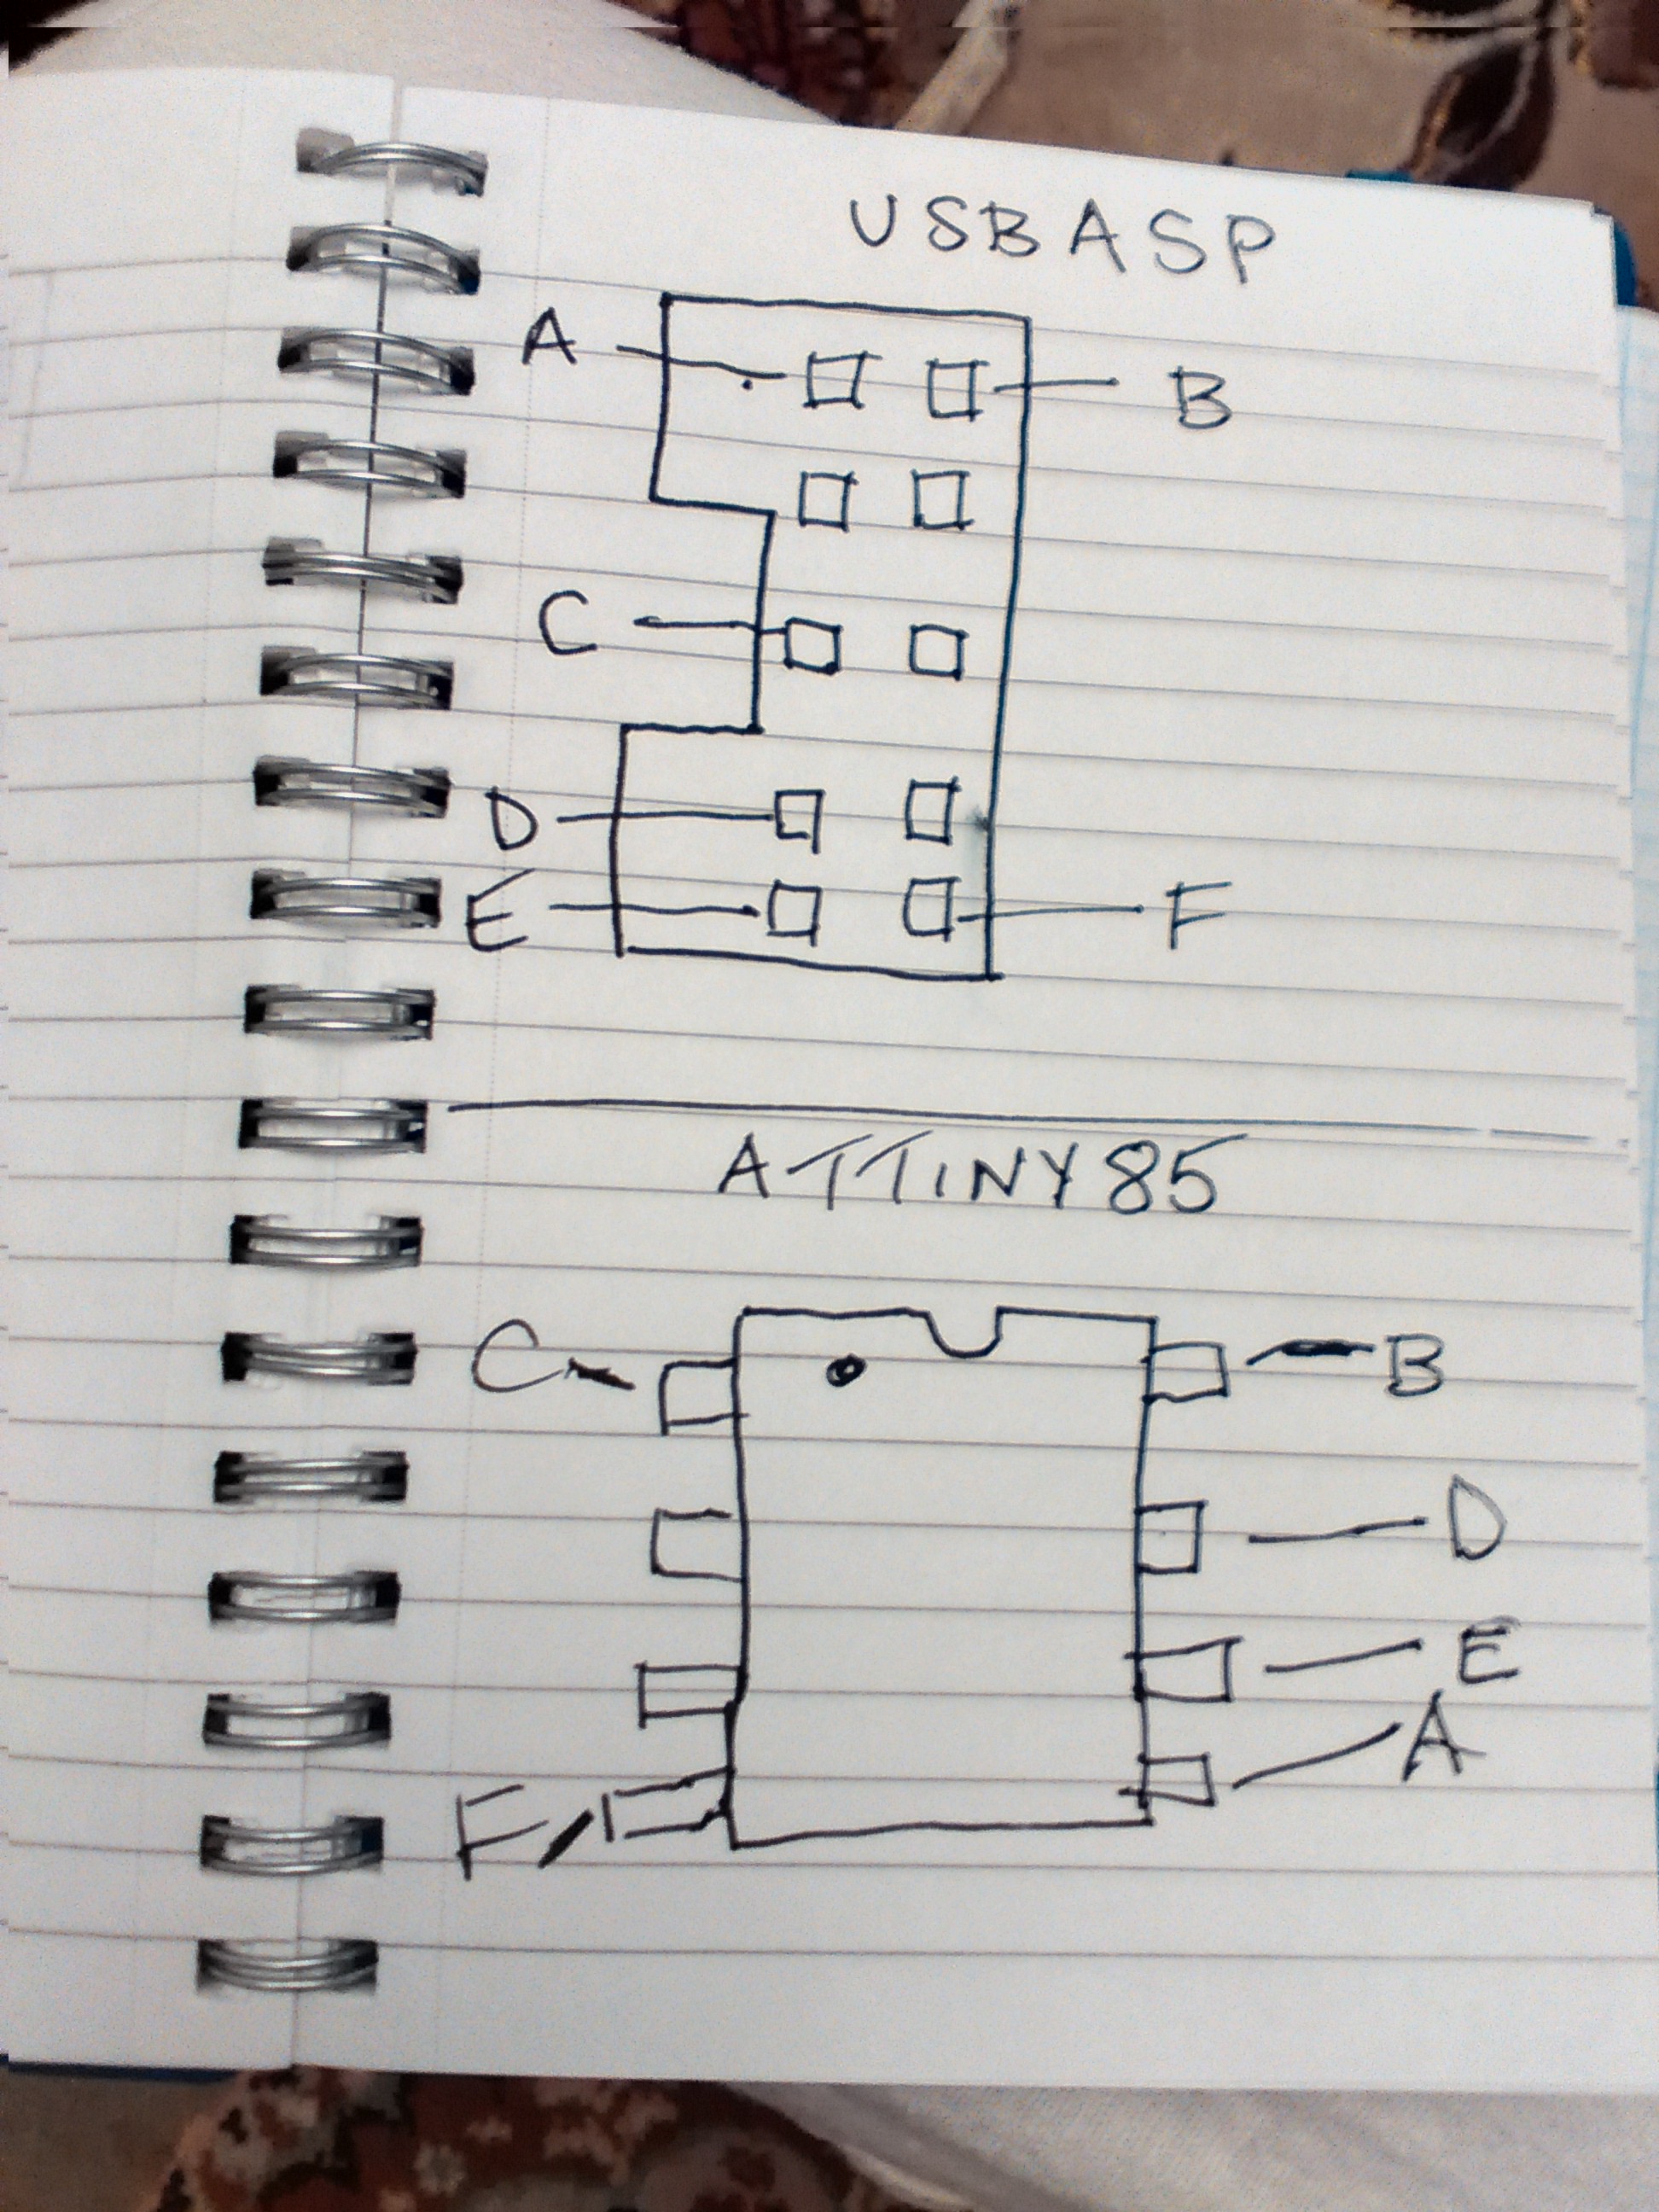
The A85 has two modes, programming and operations mode, respectively.
1. PROGRAMMING MODE
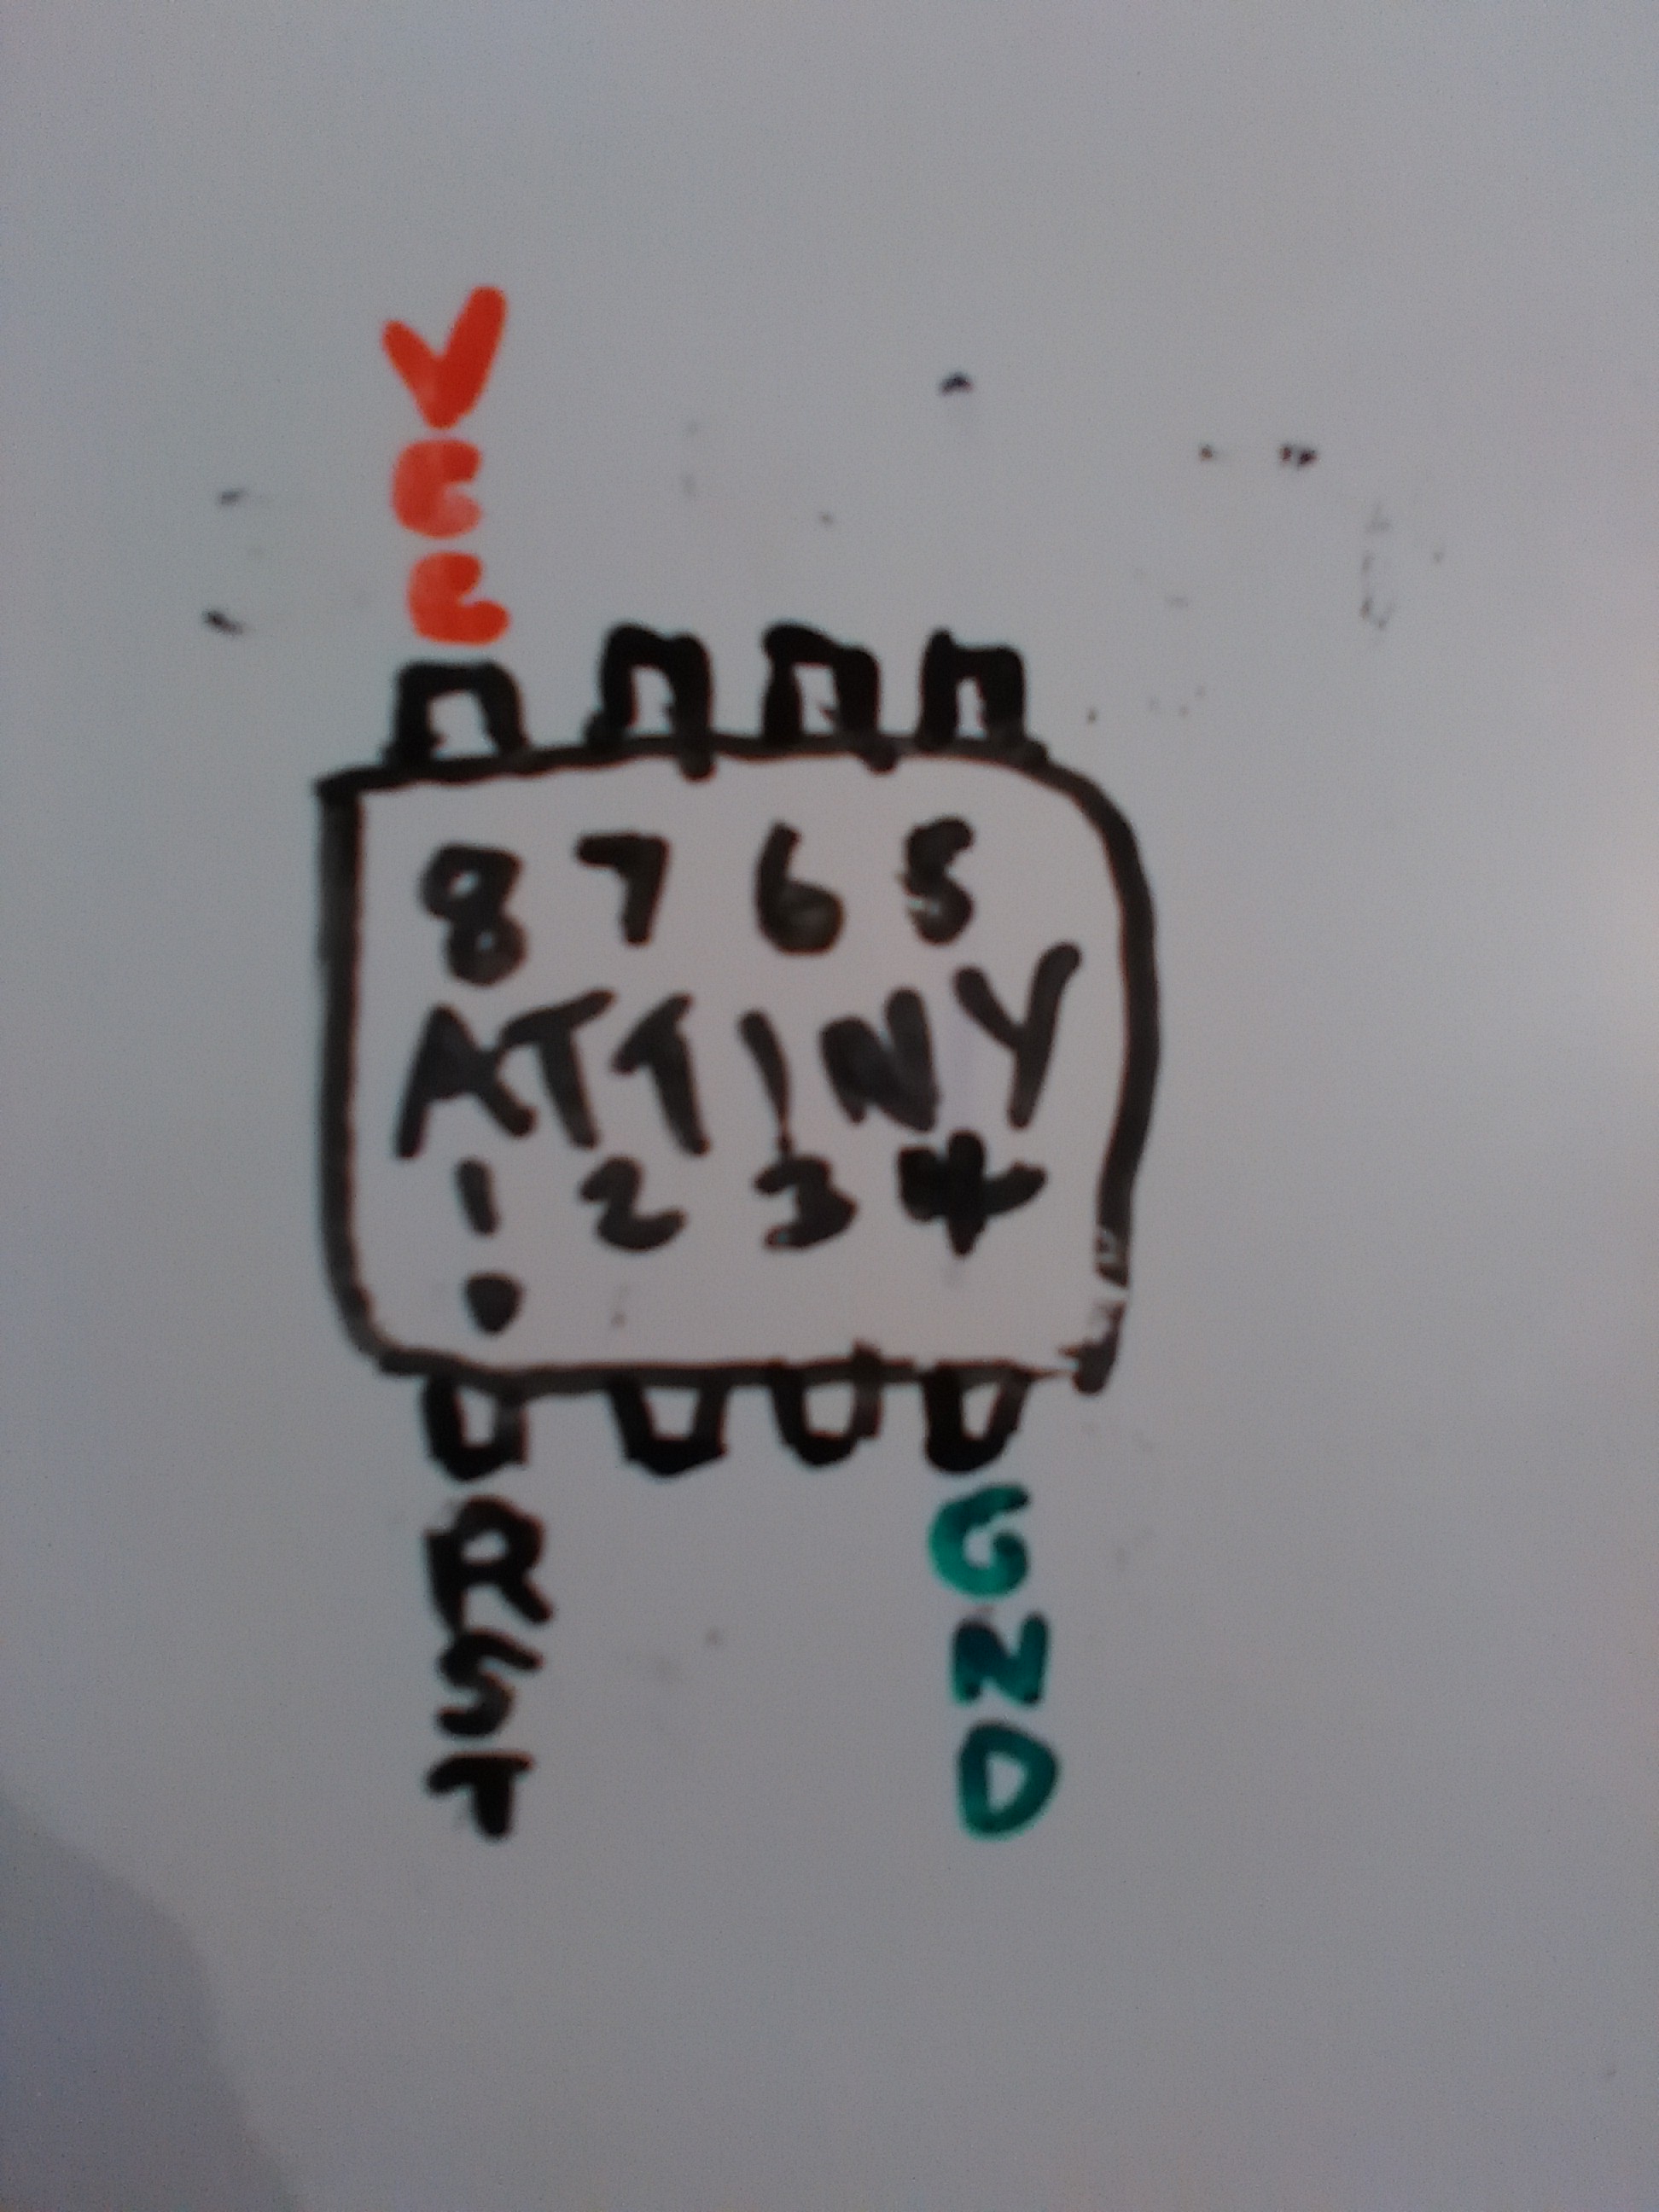
Firstly, identify the pins on the A85. To do this, find the little notch on the surface of the chip which is beside the RST/RESET pin. Using this as a reference point, you can identify the rest of the pins. All of this information is provided in the A85 data sheet - http://www.atmel.com/Images/atmel-2586-avr-8-bit-m...
Secondly, identify the pins on the USBASP. Your reference point is the gap on the plastic surround on the poosite end of the USBASP from the USB connector.
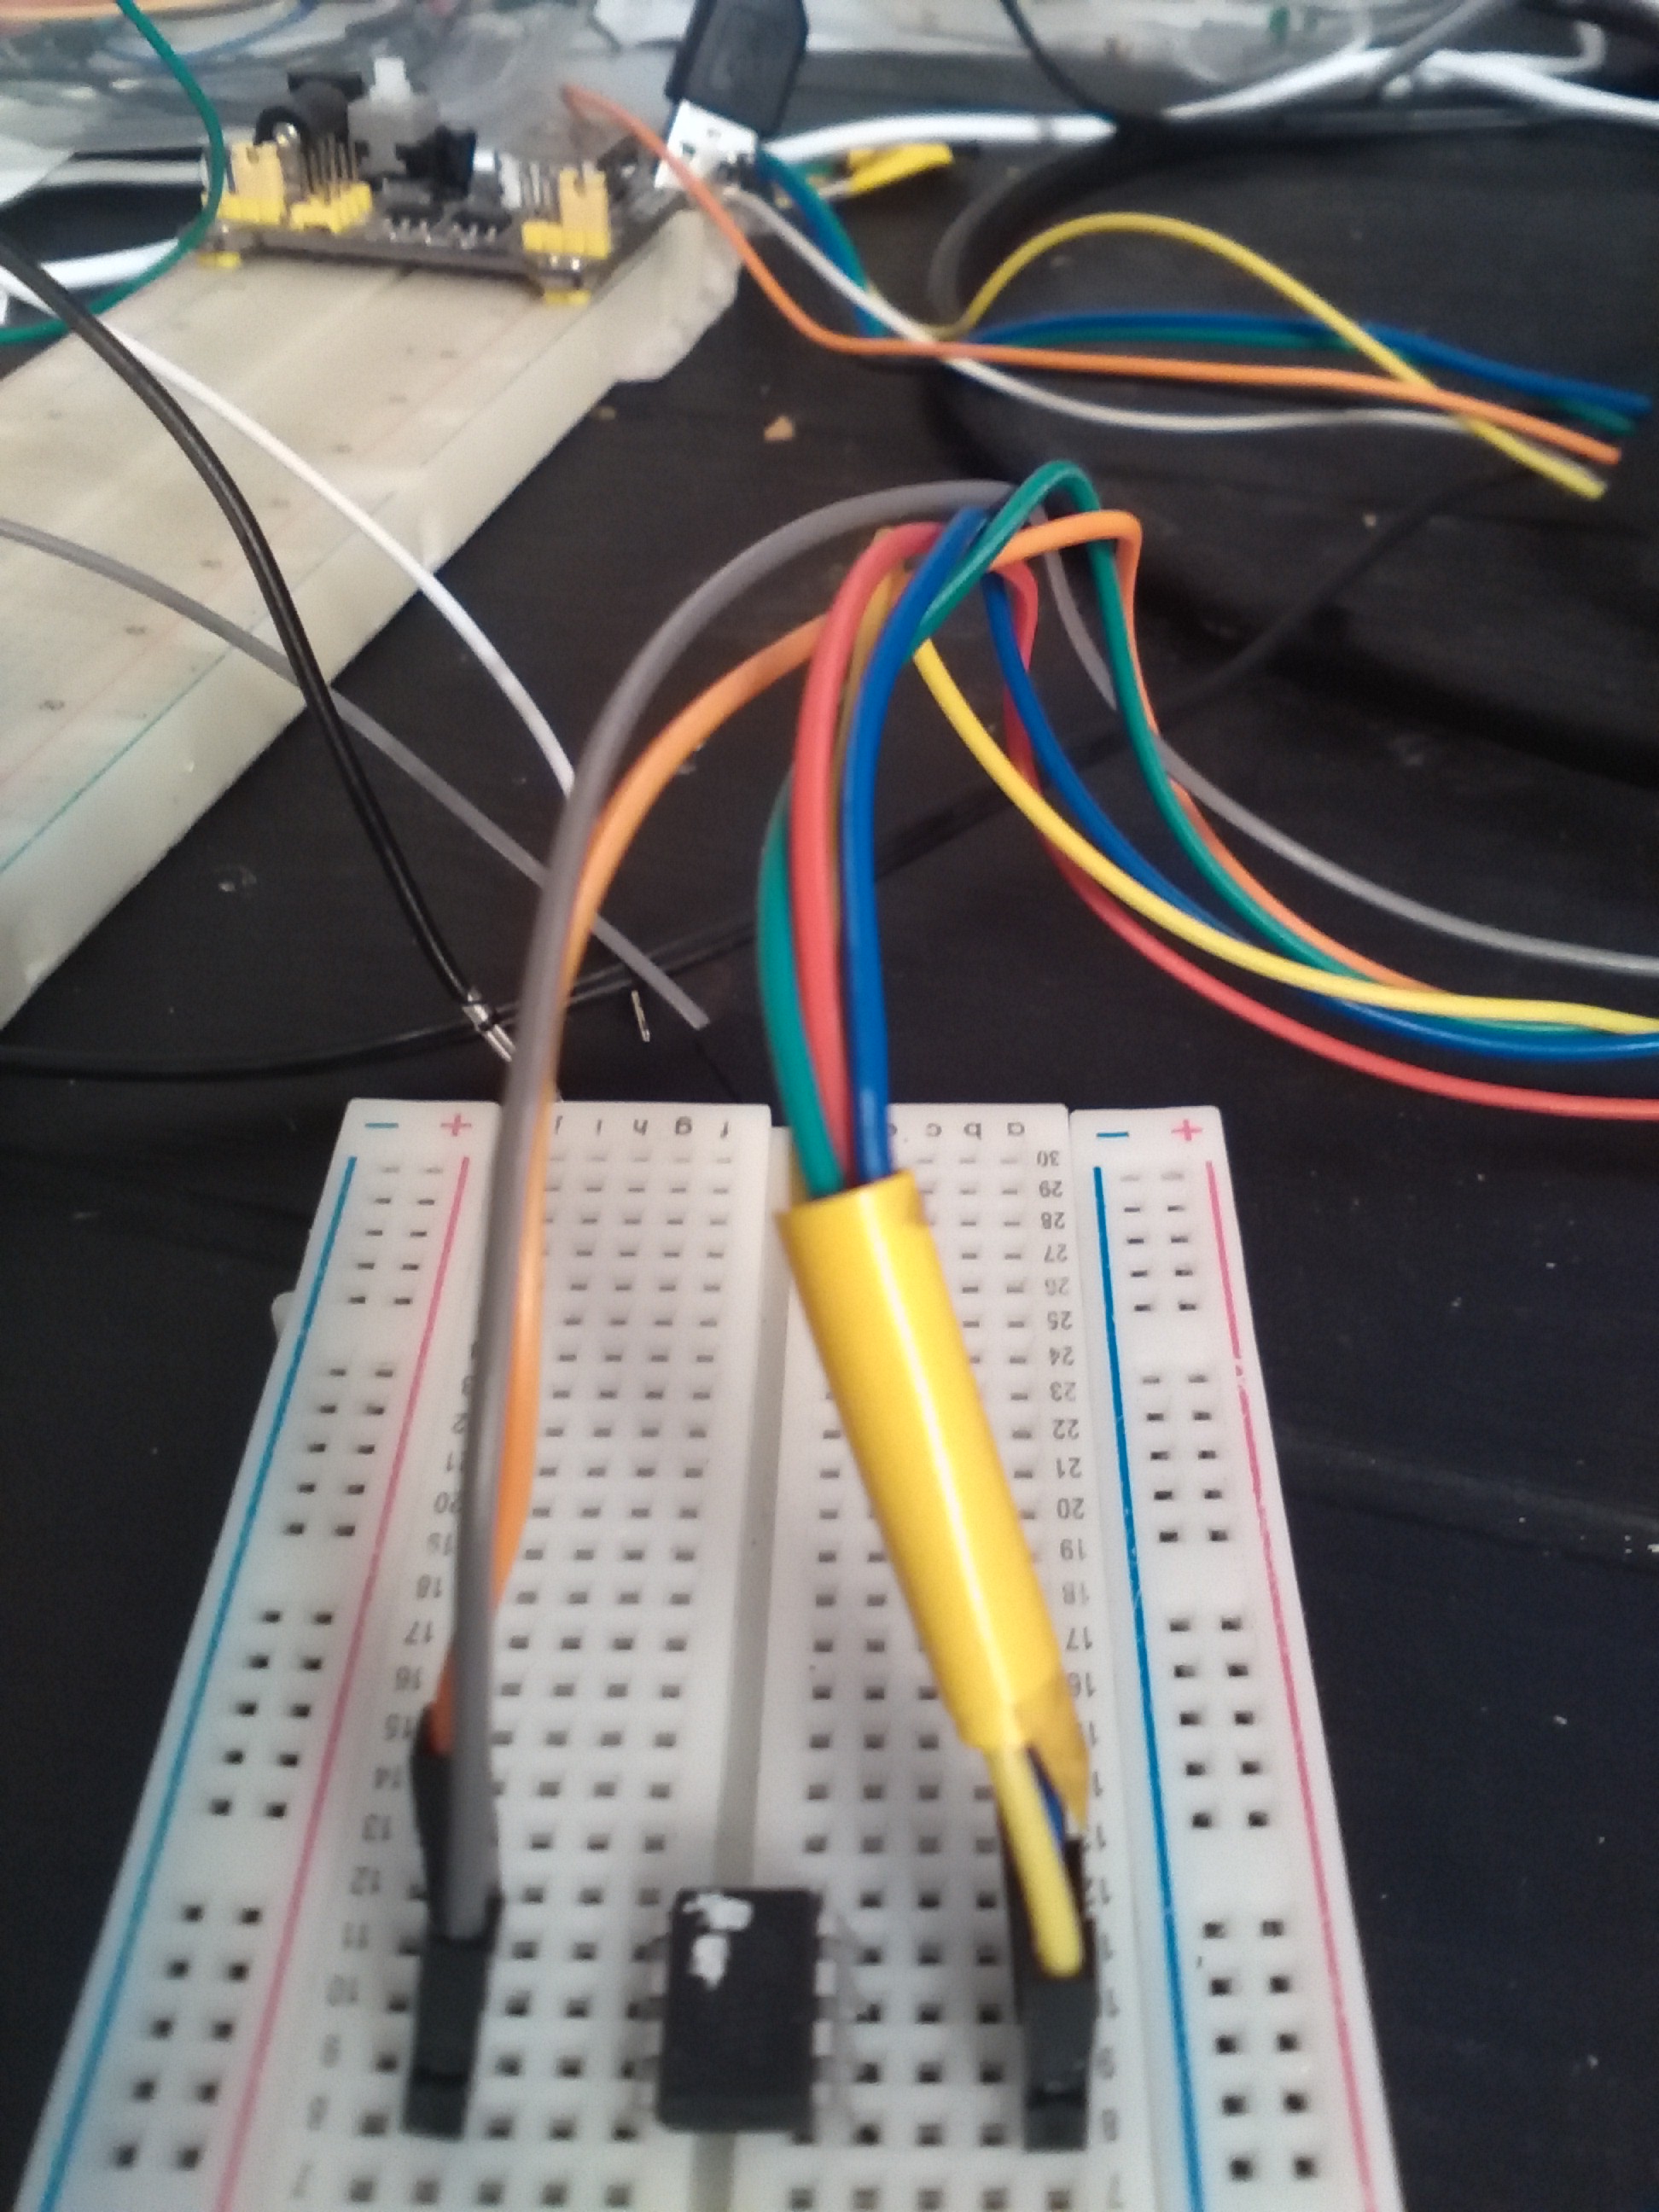
Mount the A85 on a breadboard, bridging it access the breadboard central divider. With breadboard connectors, connect the A85 to the USBASP following the scheme shown in the image above.
You are now ready to program the chip.
2. OPERATIONS MODE
To execute your program, you simply need to connect power to VCC and ground the GND pin. Then connect LEDs, resistors etc to other pins that your program requires for input / output.
Programming the A85
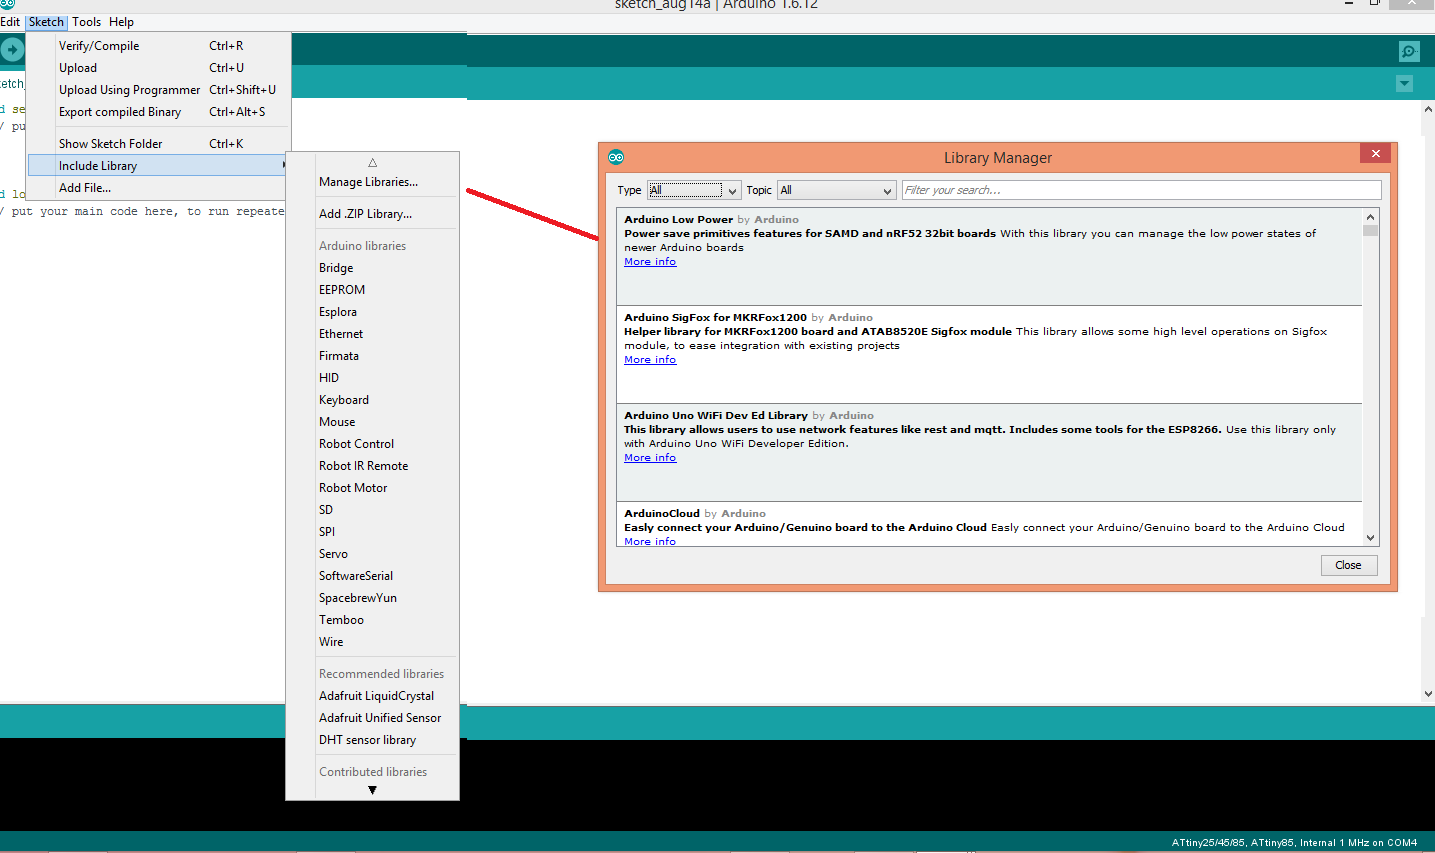
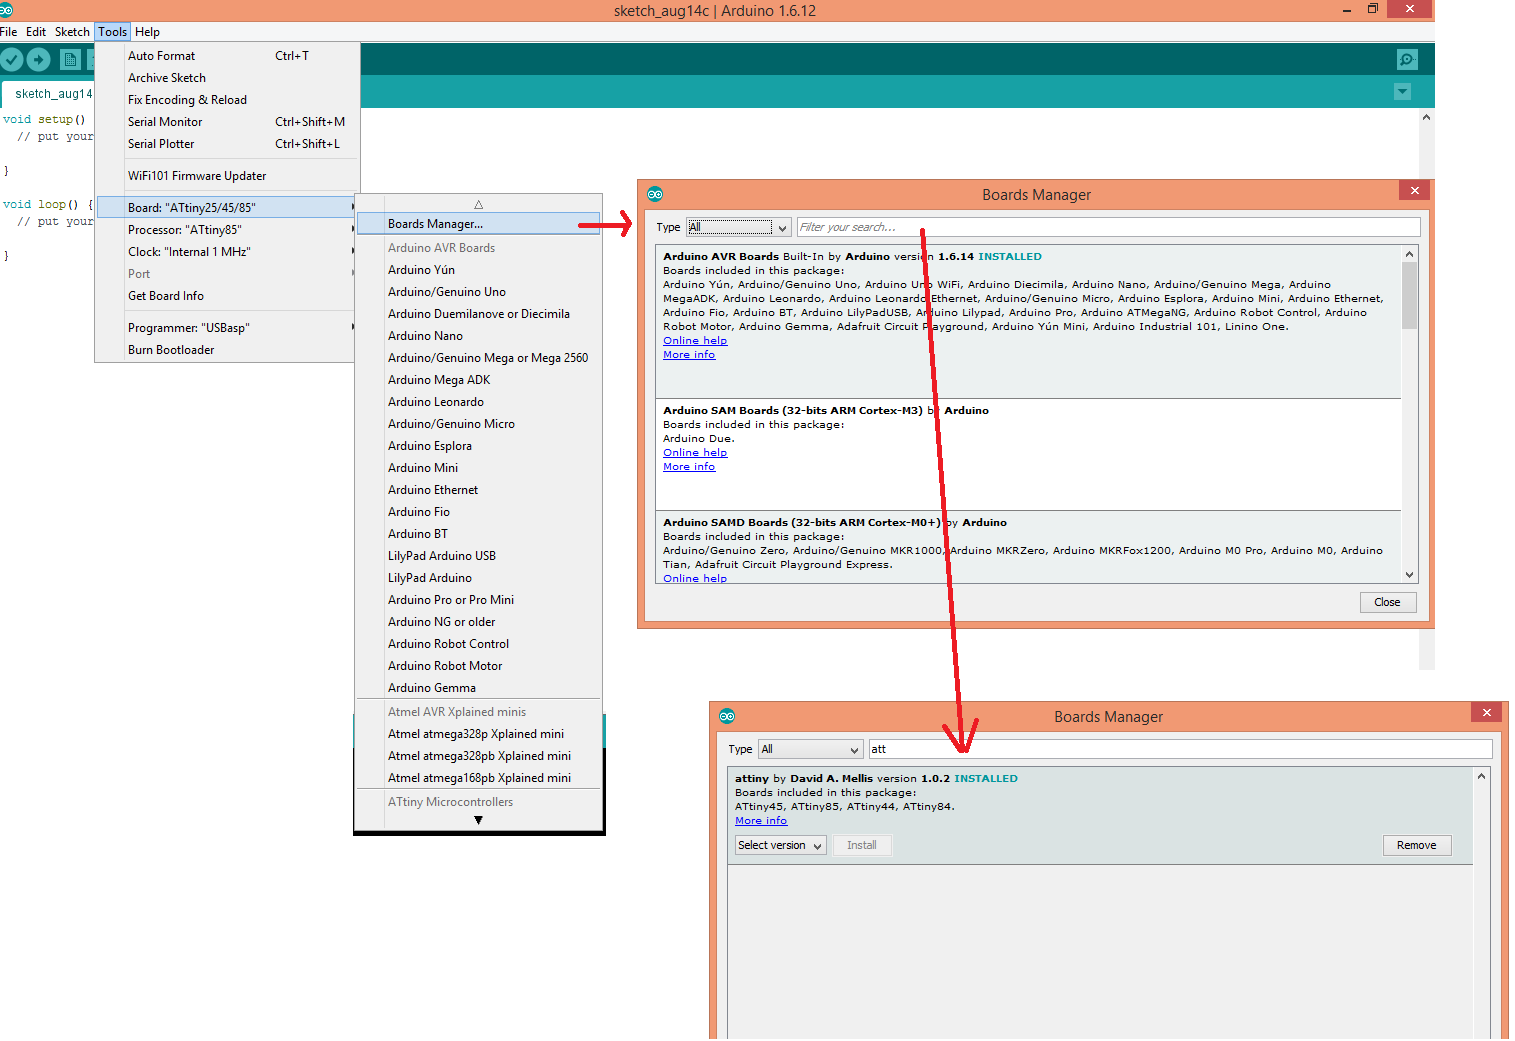
Open the Arduino IDE. When you create a new file the IDE, opens a window with the basic program structure
void setup() {
// put your setup code here, to run once:
}
void loop() { // put your main code here, to run repeatedly:
}
Before looking at our first program, you should familiarize yourself with the Arduino Libraries. To access this feature, select Sketch/Include Library/Manage Libraries from the toolbar which automatically update the available libraries.In the future, you will probably need to add libraries such as SoftwareSerial. See the relevant image above. Please note that to add a library, simply press the install button. For our first program, we will not add any additional libraries.
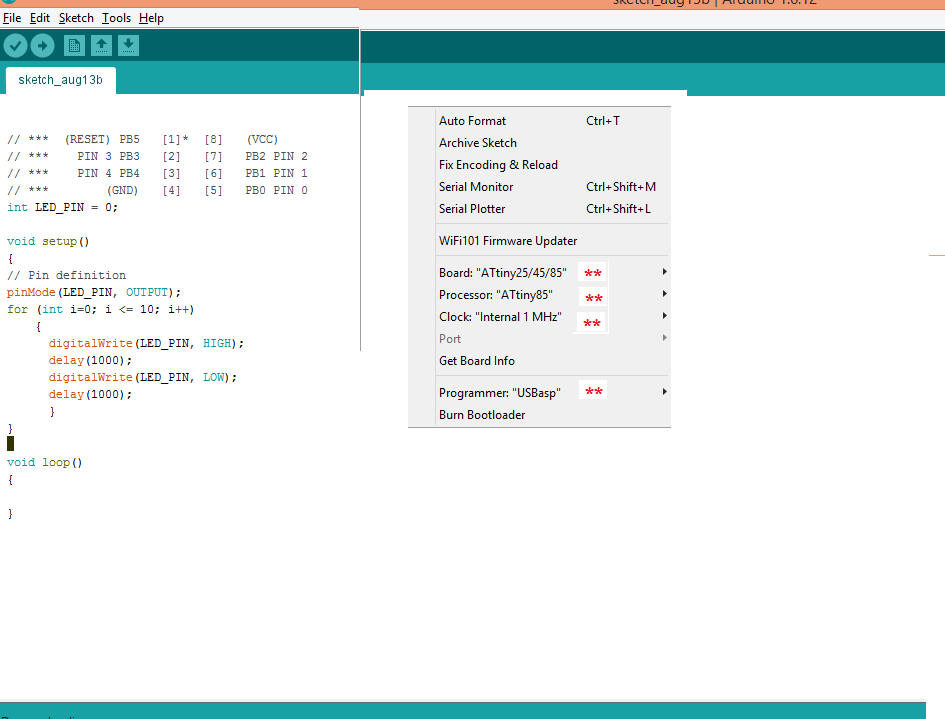
Secondly, select the ATTINY board as shown in the image above. Note, that you may have to install this using the install button to make it available.
Next, set the program environment as per the image above - board, processor, clock and programmer.
In terms of the program itself, we simple want to make an LED blink repeatedly and then stop
// *** (RESET) PB5 [1]* [8] (VCC)
// *** PIN 3 PB3 [2] [7] PB2 PIN 2
// *** PIN 4 PB4 [3] [6] PB1 PIN 1
// *** (GND) [4] [5] PB0 PIN 0 (LED)
The first part of the program is simple documentation to remind us where things go. Next, we create a variable which assigns the LED to PIN 0, int LED_PIN = 0;
Now, we go to the setup part. Initially we set the pinMode to OUTPUT for the LED. Had it been a switch, say, we would have set it to INPUT. Next we have a loop which runs 10 times, turning on the LED (digitalWrite(LED_PIN, HIGH); and off digitalWrite(LED_PIN, LOW);
DELAY(1000) delays the execution of the program for 1000 milliseconds ( 1 second).
void setup()
{
// Pin definition
pinMode(LED_PIN, OUTPUT);
for (int i=0; i <= 10; i++)
{
digitalWrite(LED_PIN, HIGH);
delay(1000);
digitalWrite(LED_PIN, LOW);
delay(1000);
}
}
You will observe that there is nothing in the loop section. Usually, there would be if you want to wait for an event happening or continuously execute some code.
void loop()
{
}
Uploading and Testing Your Program
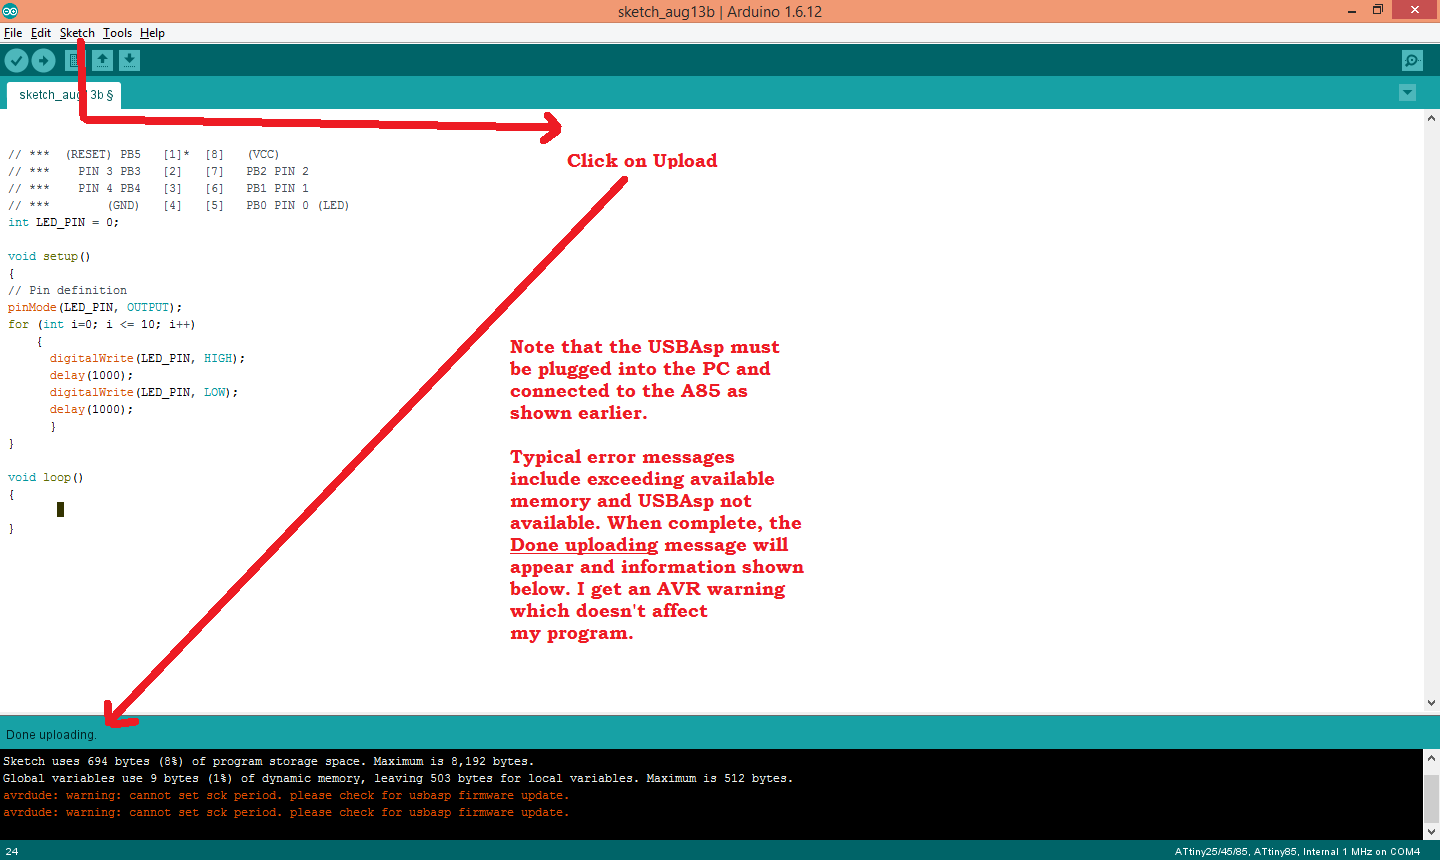
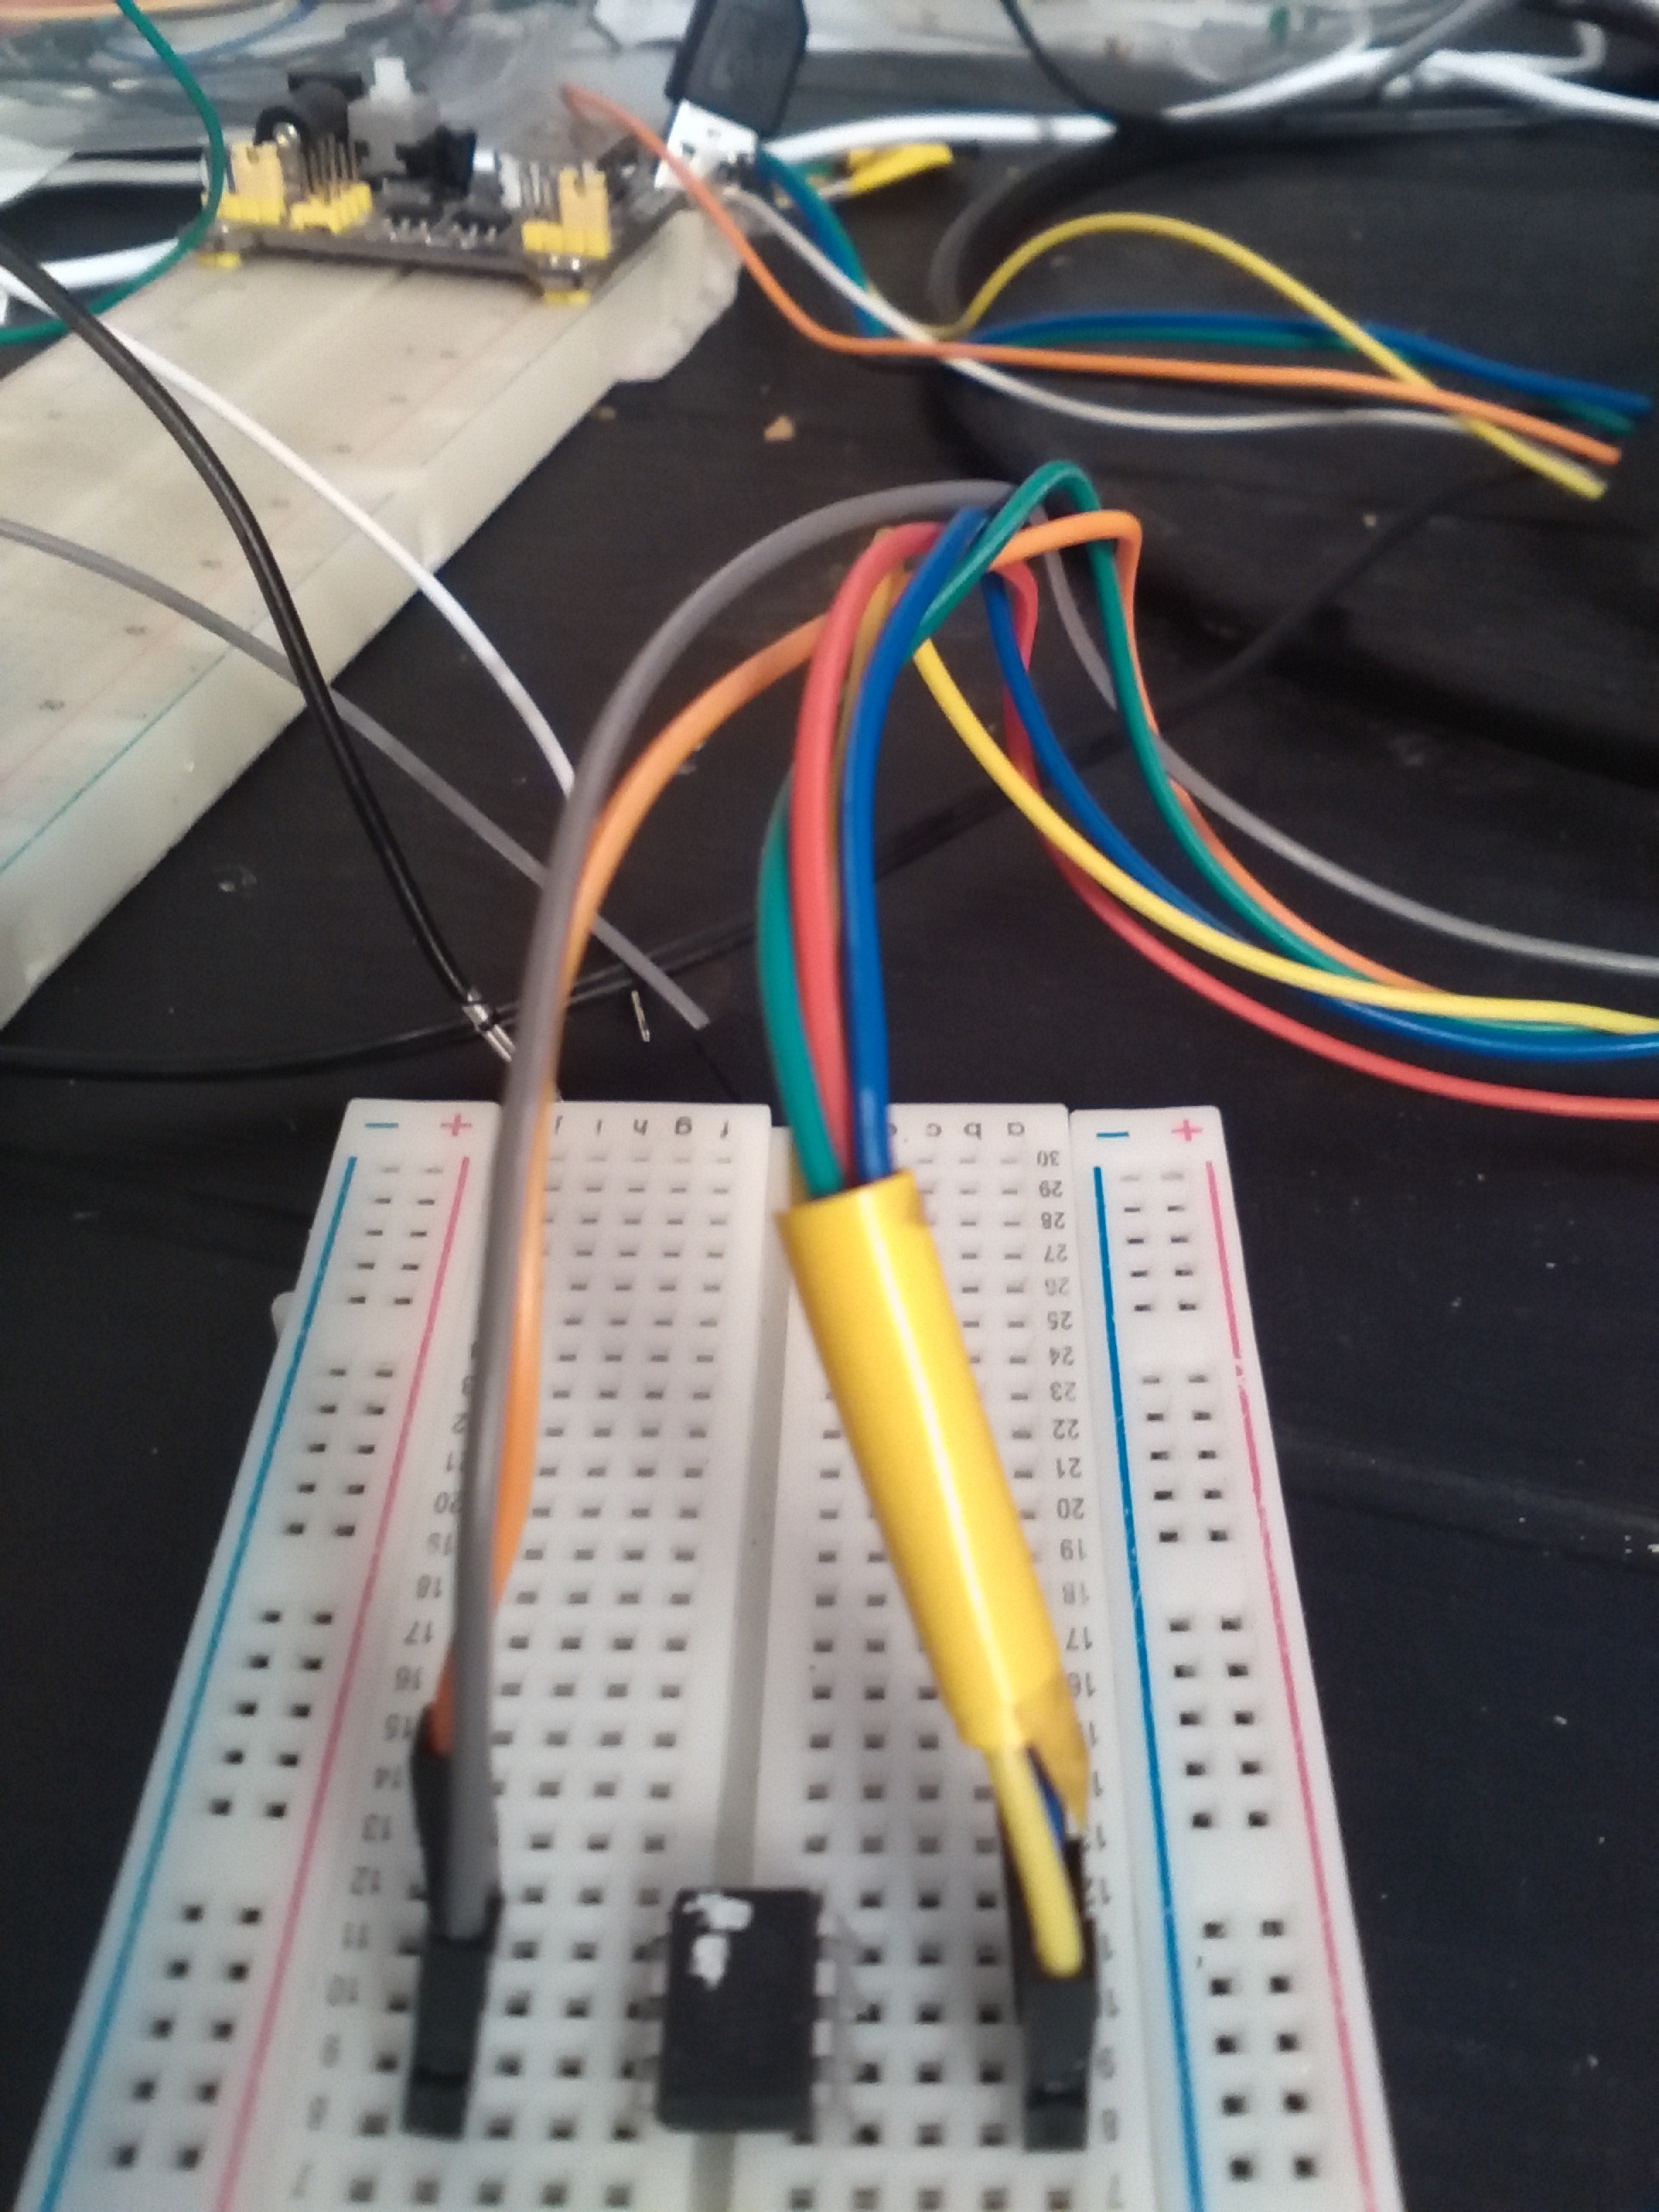
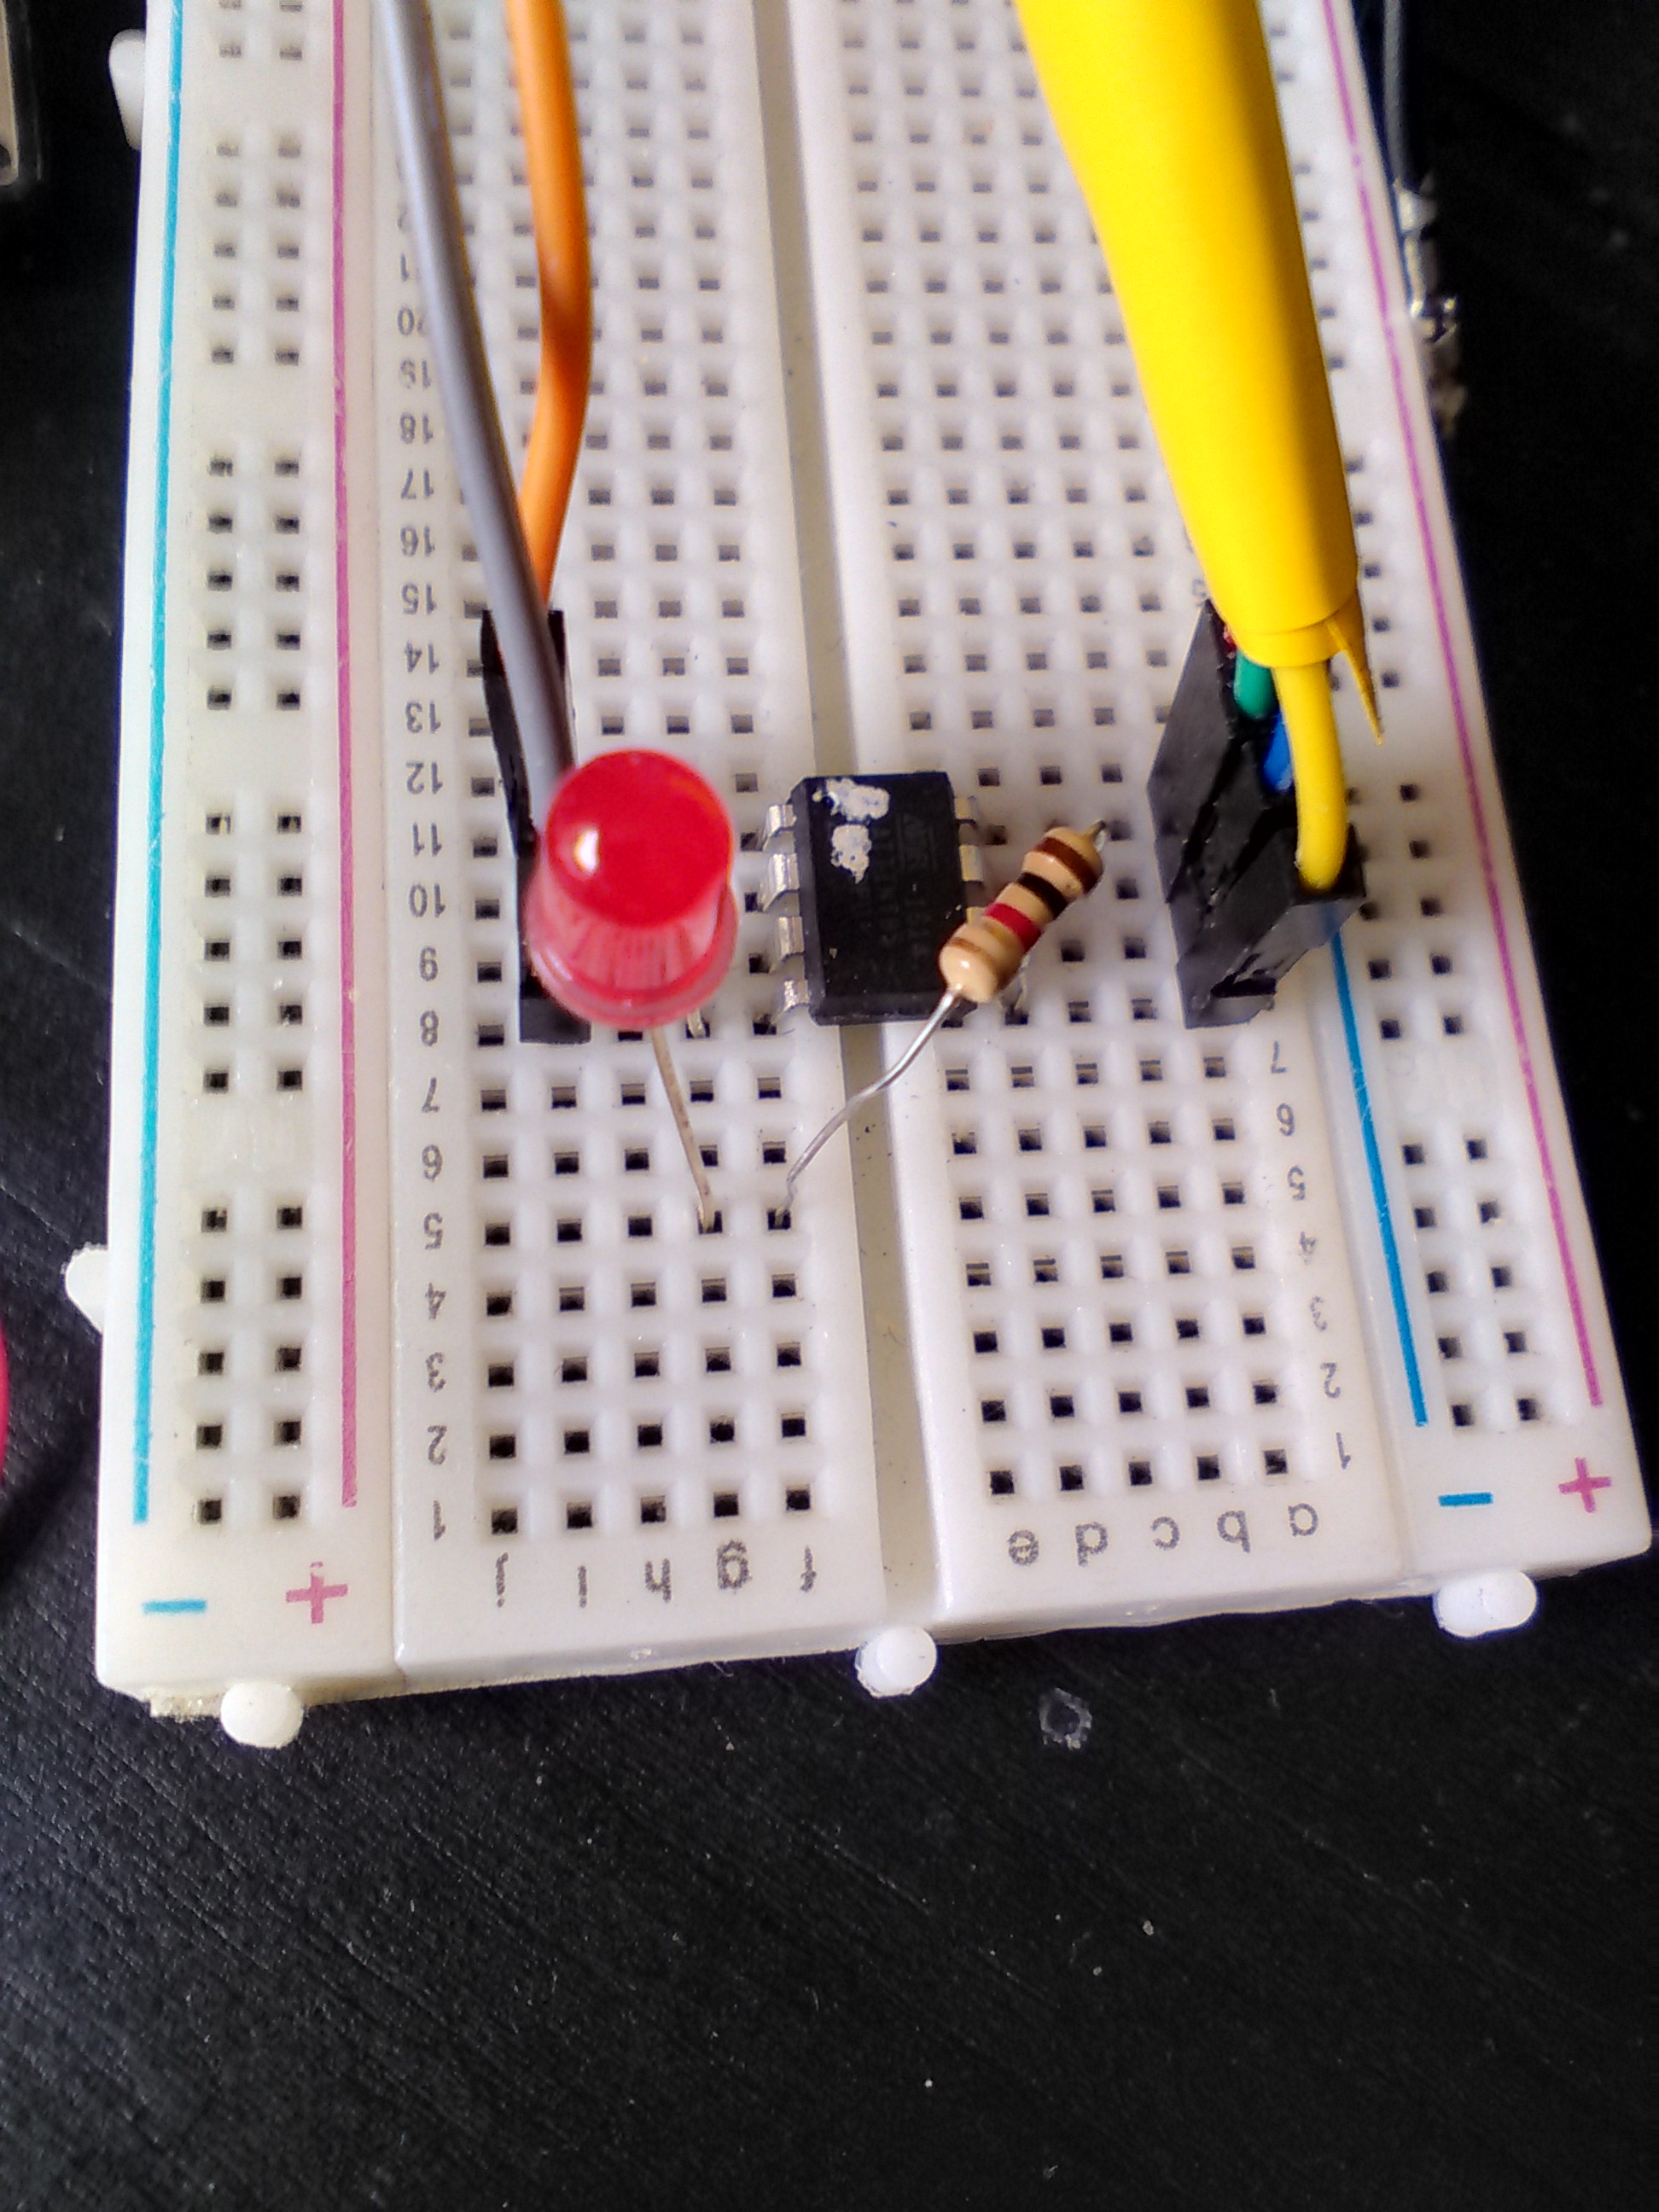
Follow the instructions as shown in the image of the program window. In terms of connecting the USBAsp to the A85, in programming mode, you should have 6 connectors from the USPAsp. To save time and reduce errors, I tape together the 4 connectors which are fixed to the right of the A85.
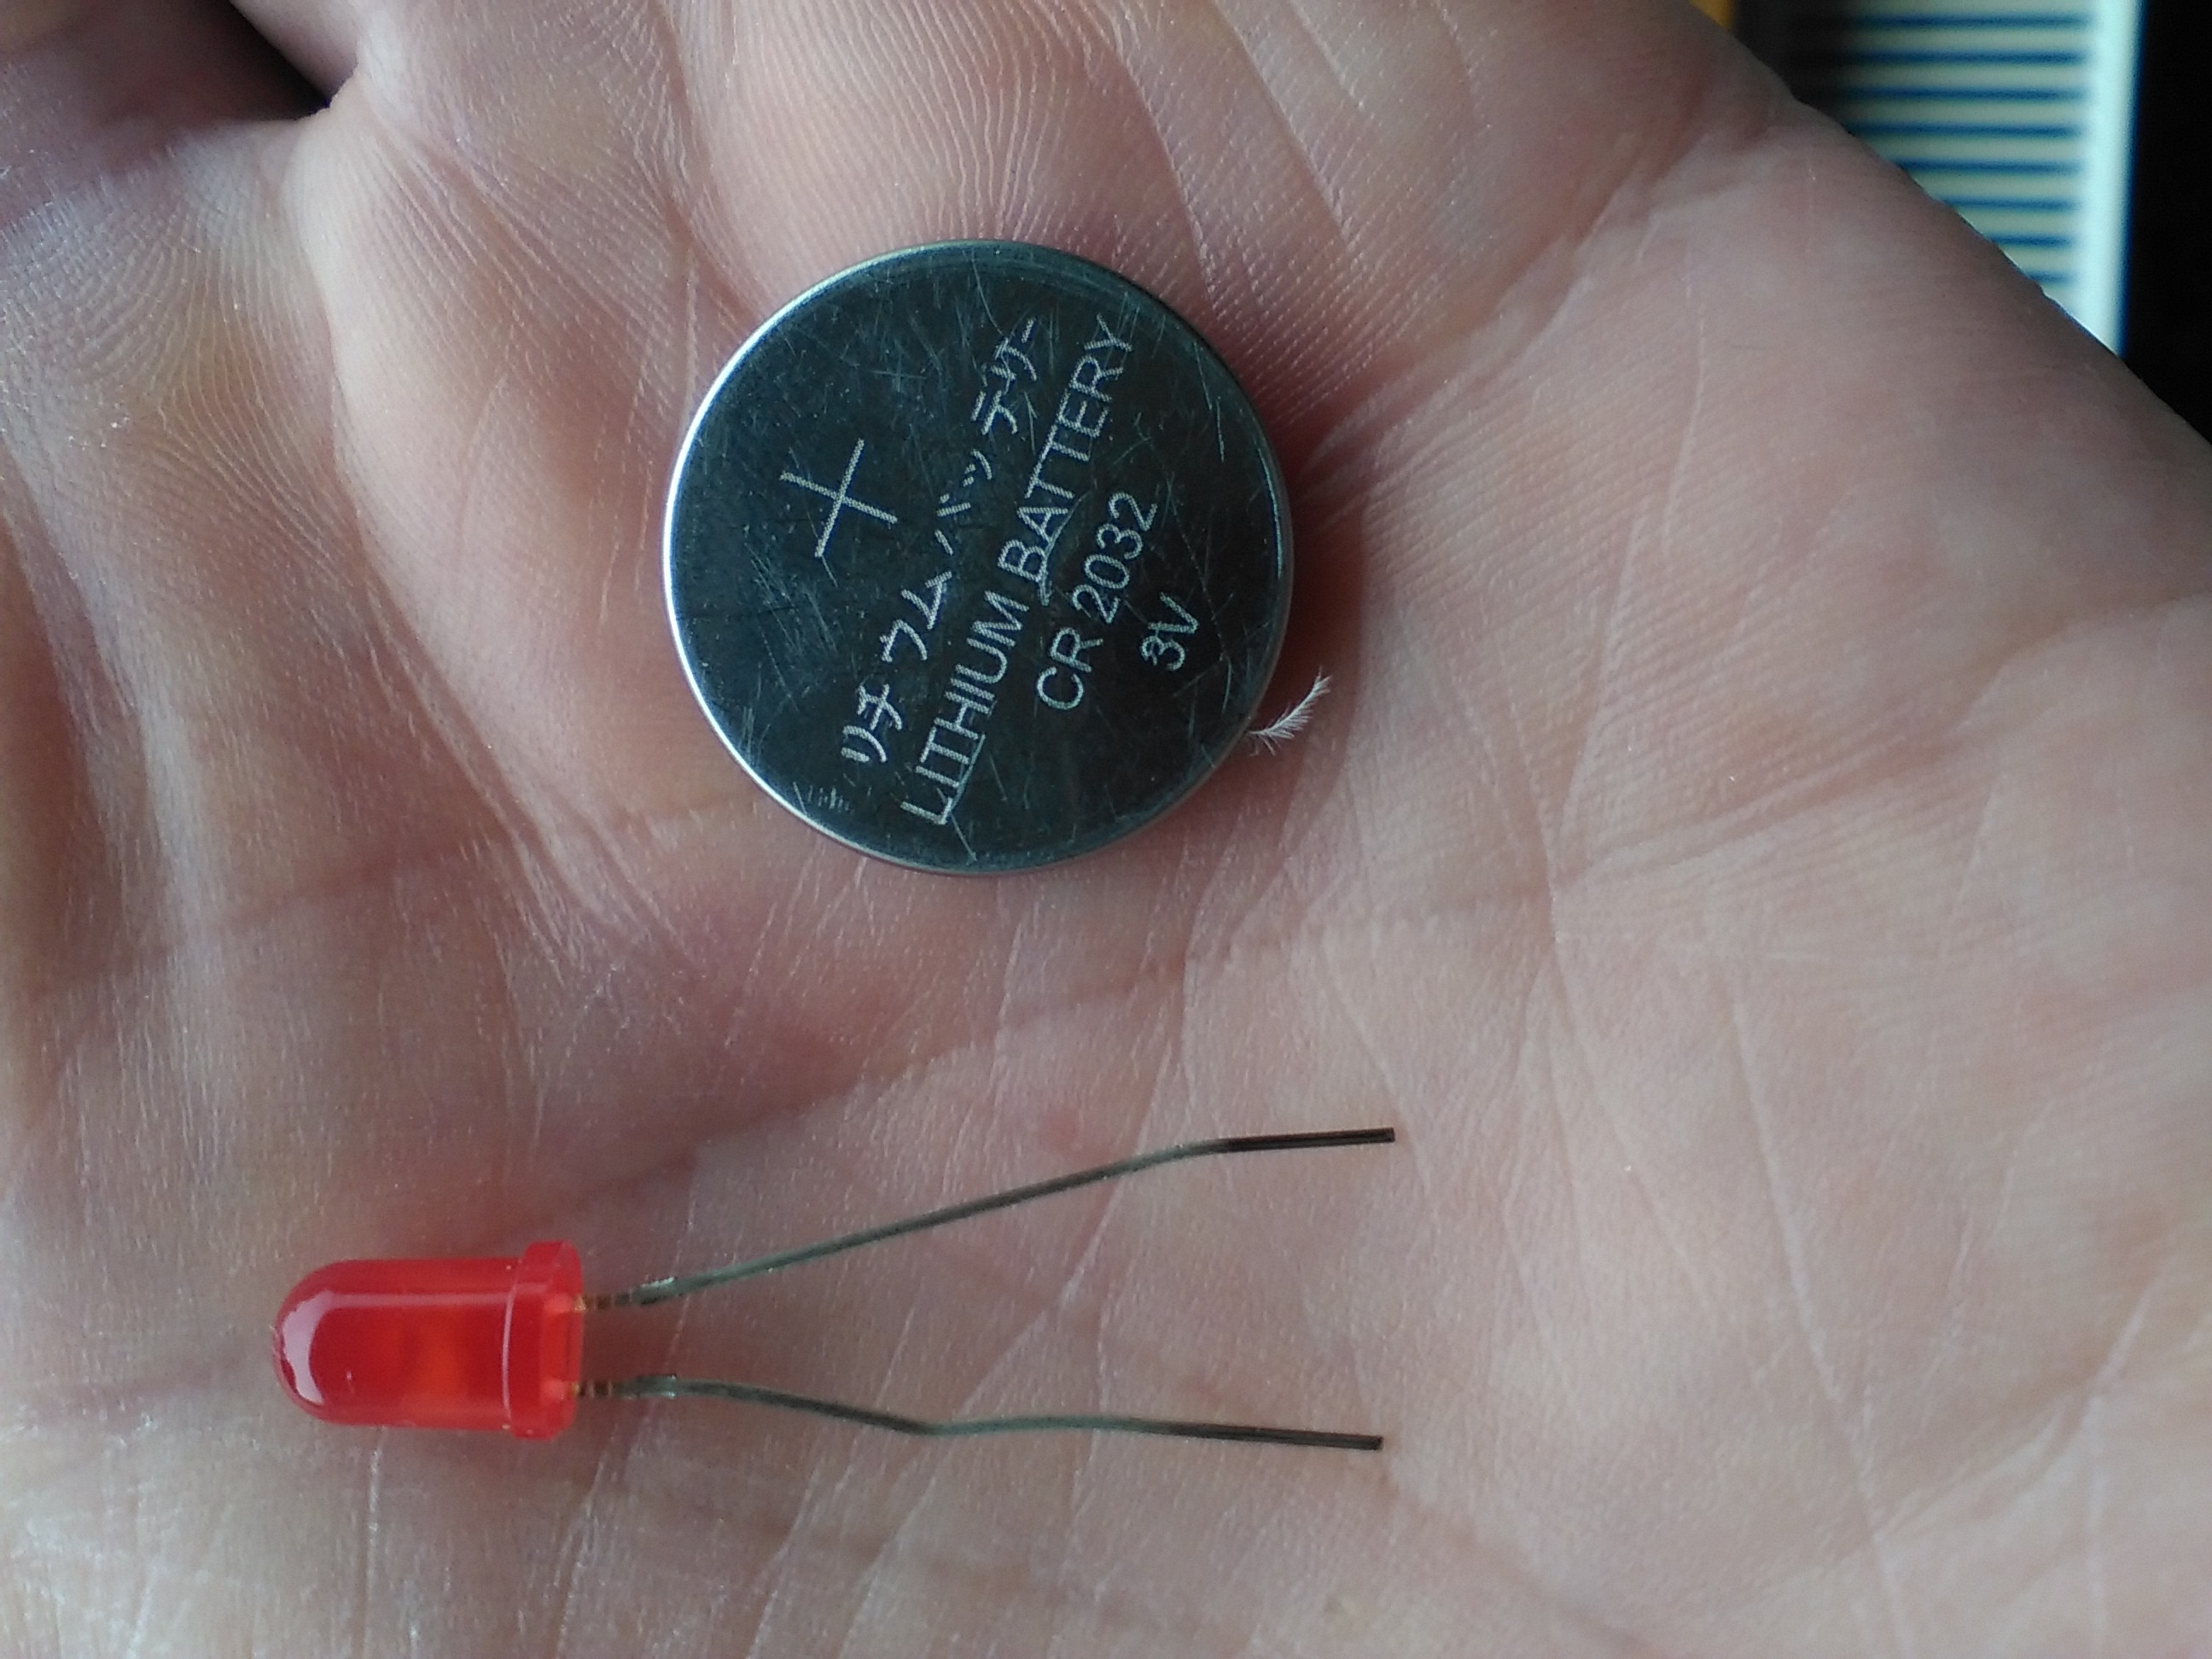
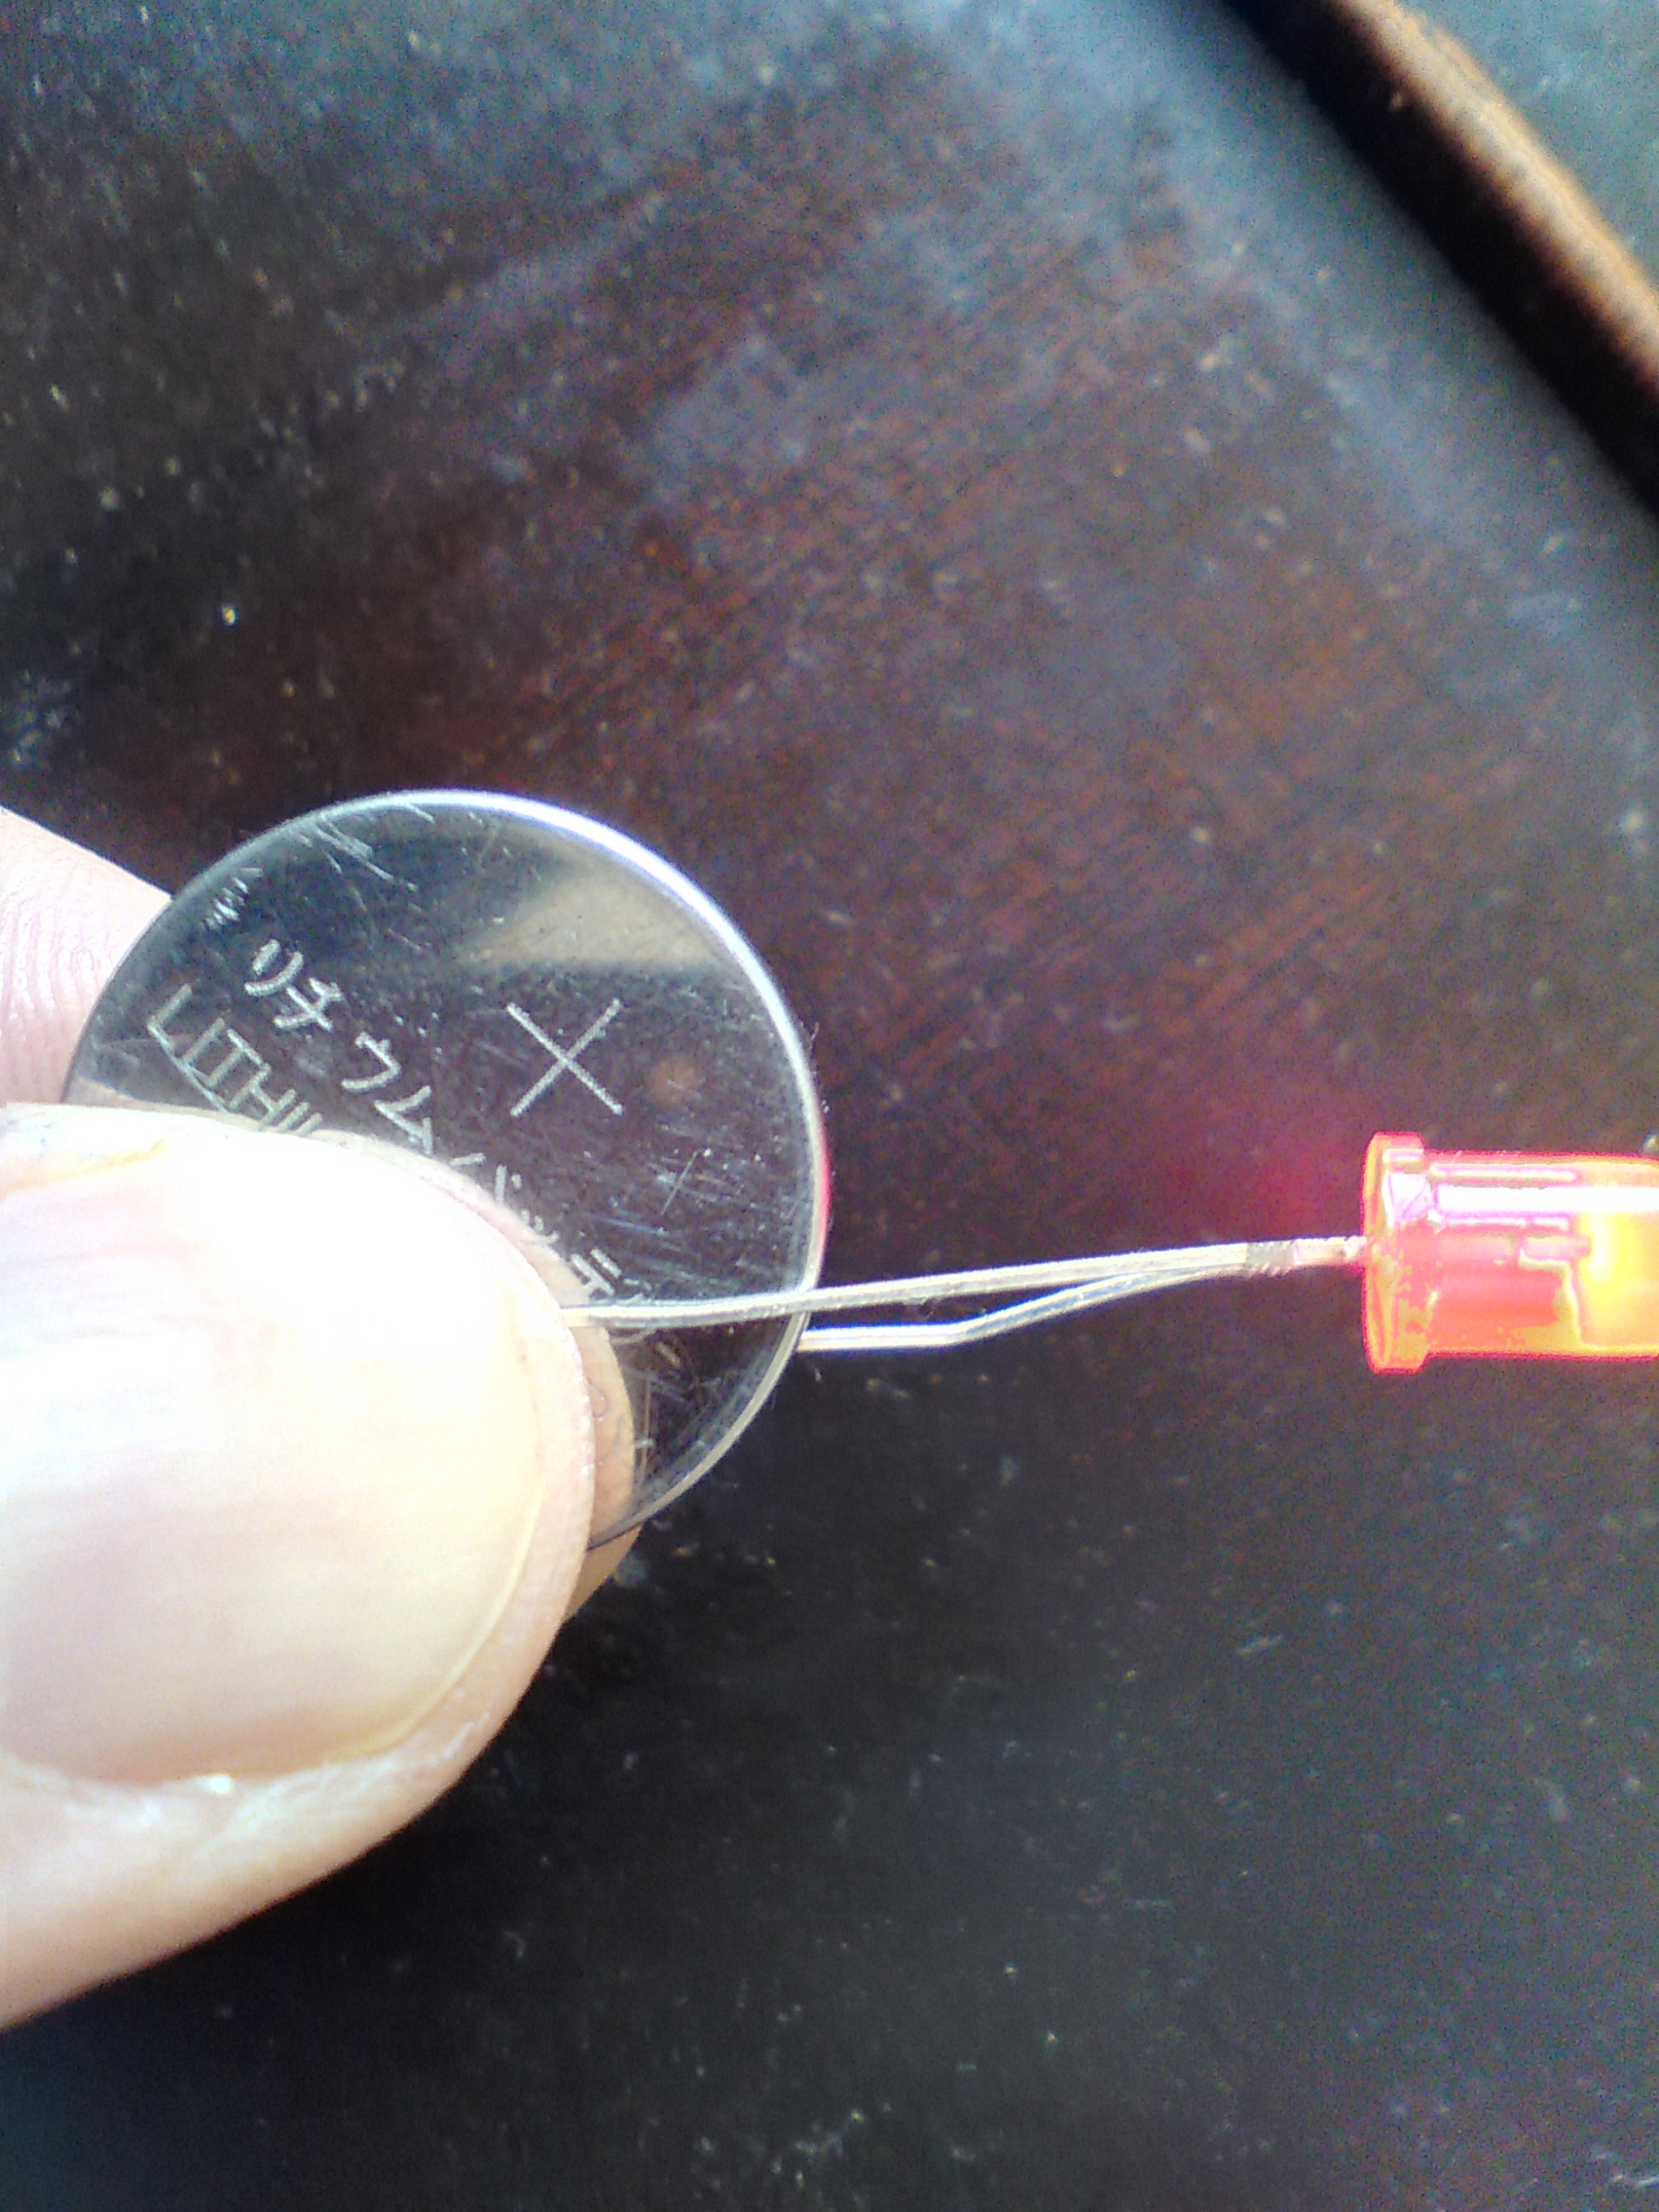
Before moving from Programming to Operation mode, just a tip about LEDs. The long leg of the LED should be attached to positive and the short to negative. Here, I have tested it with a button battery to show that the LED is a) working and b) I have got the polarity right. (Don't try this with higher capacity batteries such AAs)
To operate your program, connect one leg of a 1k Resistor to A85 pin 0 and the other leg to the long leg of the LED. Next, connect the LED short leg to the A85 GND pin. Next, connect the A85 GND pin to a GND source and the A85 VCC pin to a power supply. There are a number of ways to power the A85. For simplicity, I have used the USPAsp to provide power and ground and this executed the program, i.e. the LED flashed 10 times.
Hopefully, your program should work and you will be introduced to the fascinating world of ATTINYs. Whilst I have shown a very simple program, the ATTINY85 has a lot more features such as timers, sleep mode, interrupts and analogue ports. I hoep you have enjoyed this.
Usage of ATTINY85s
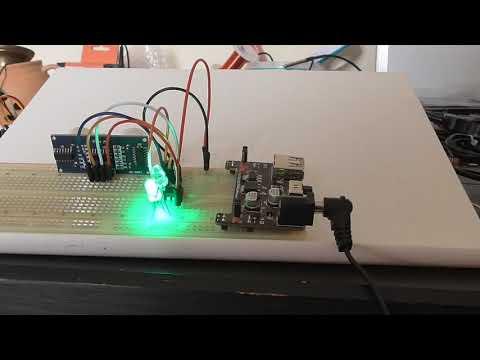 with an Attiny85)
This video shows how an ATTINY85 can interface with an ultrasonic sensor to detect movement in an intruder alarm system.