123D Secret Chamber Knitting Needles
by emilyvanleemput in Workshop > 3D Printing
26667 Views, 90 Favorites, 0 Comments
123D Secret Chamber Knitting Needles
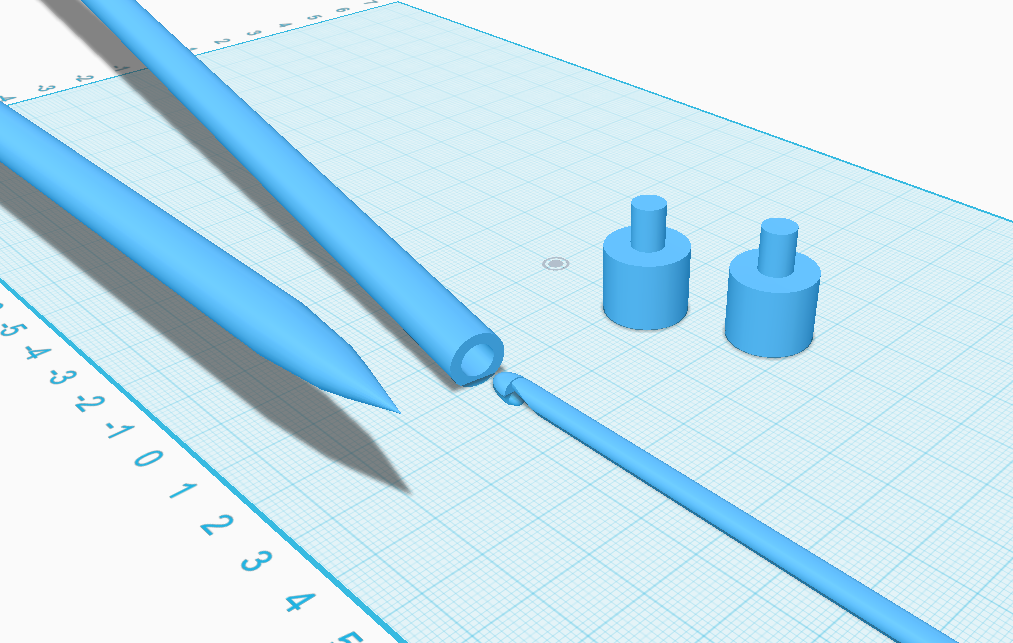
This instructable shows how I made this 3D model of my own invention made with 123D design. The following text explains what it is and what you can use it for. I hope you like it! (This is the first time I used 123D design, so it is possible this instructable doesn't show the fastest way to create this model, it shows a way)
So, what is it?
They are hollow knitting needles with fitting caps. Also shown is a crochet needle that fits in the hollow knitting needle.
And why would you use it?
This model gives a solution to a strange problem I sometimes have: what should I take: knitting needles or a crochet hook. When I take knitting needles, I feel like crocheting. When I take a crochet hook, I feel like knitting. When I take both, I lose my crochet needle. When I take none of them, well, that won't happen.
The 3D model can be found in the last step.
If you like the idea, I would really appreciate a vote in the autodesk 123D contest.
123D Design
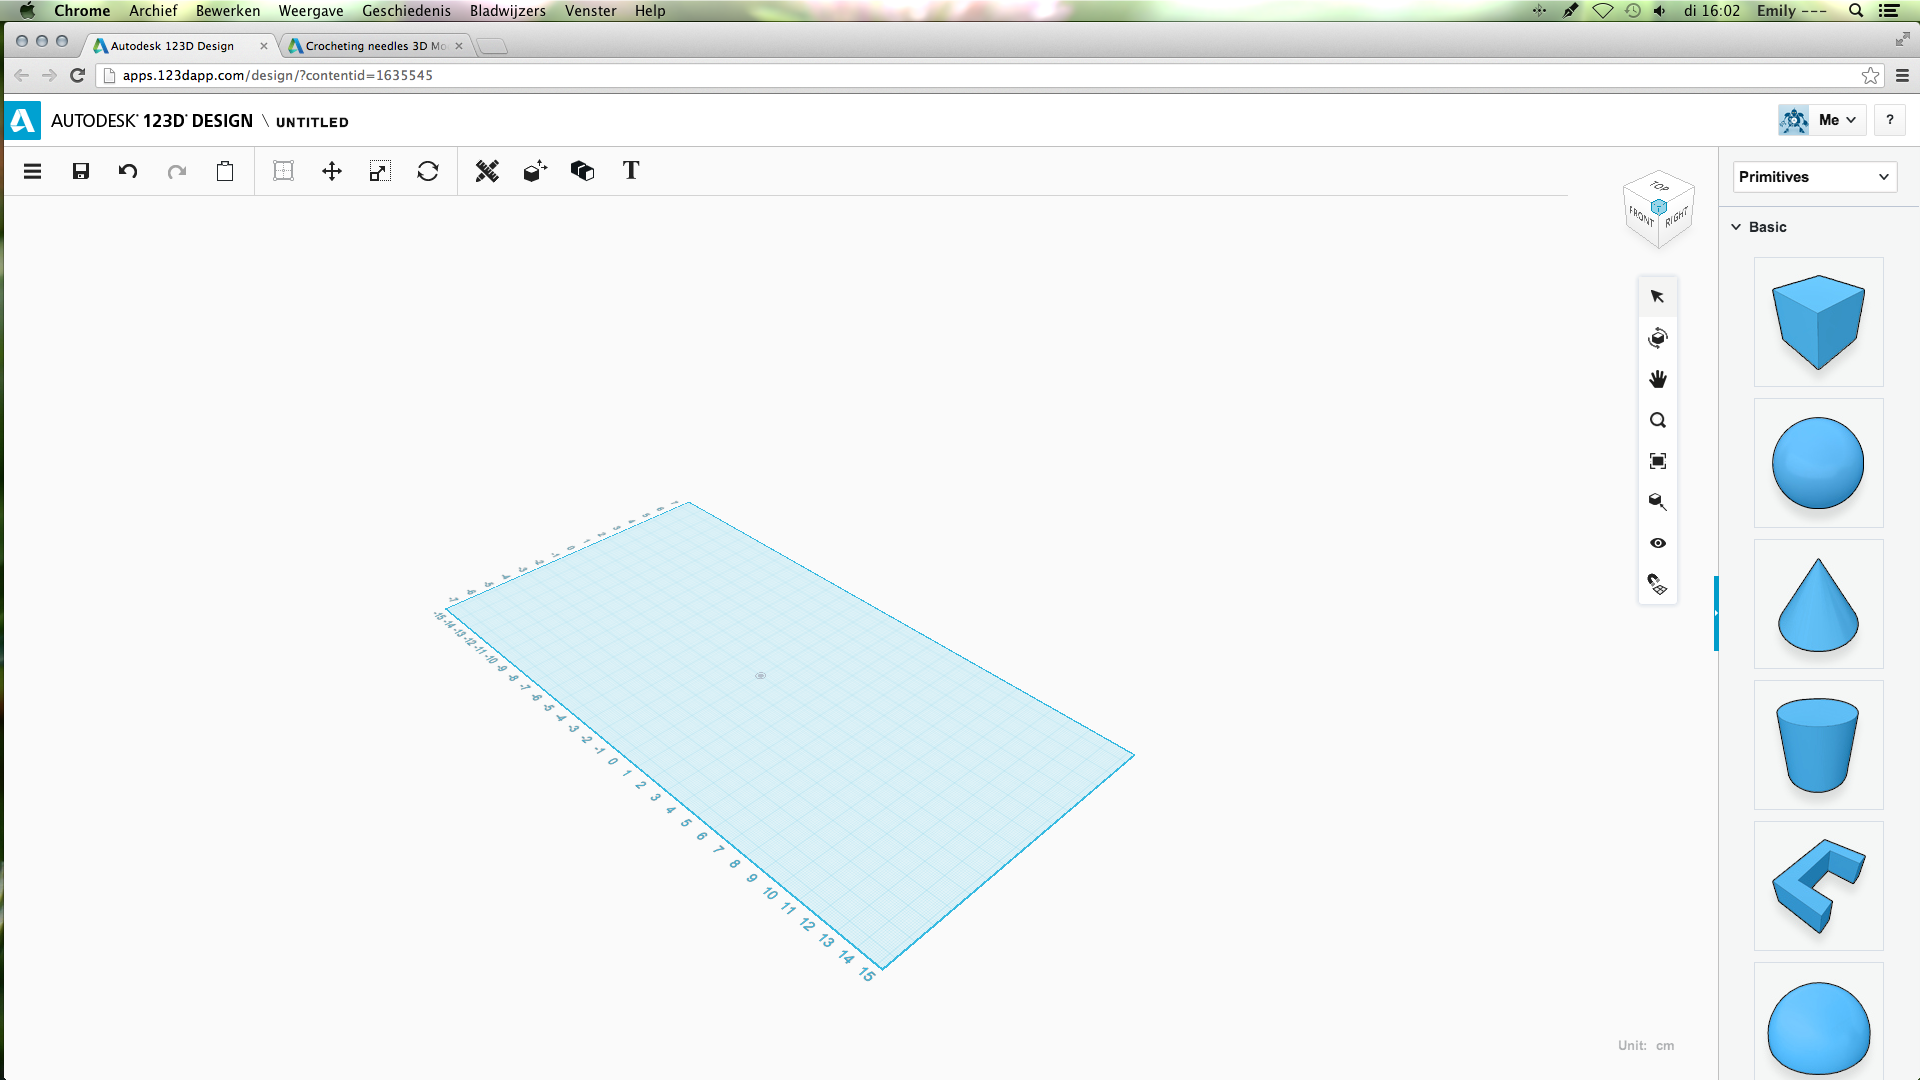
First, get 123D design. I made this in the online version. You can find it here.
The directions for the crochet needle are shown step 2/5
The directions for the hollow knitting needles are shown step 7/8
When you have done this, open a new file.
The directions for the crochet needle are shown step 2/5
The directions for the hollow knitting needles are shown step 7/8
When you have done this, open a new file.
The First Cylinder
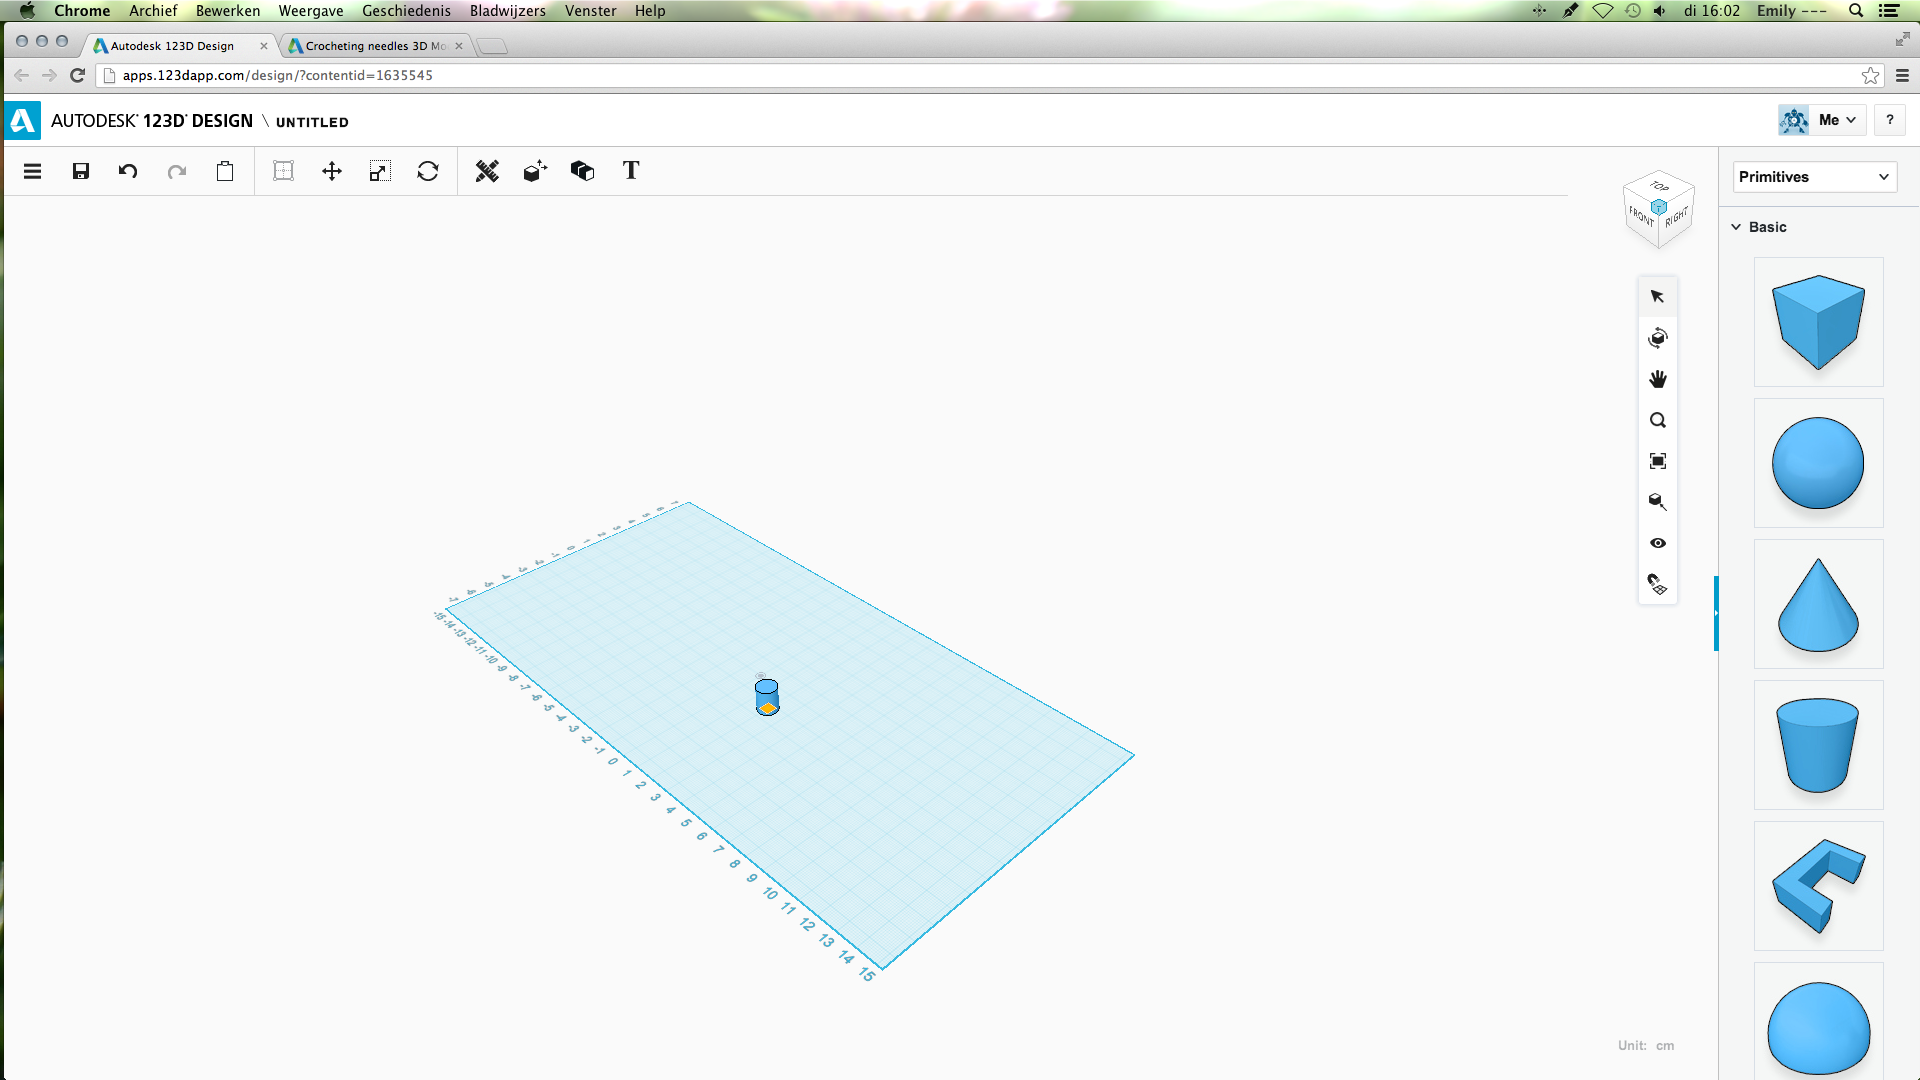
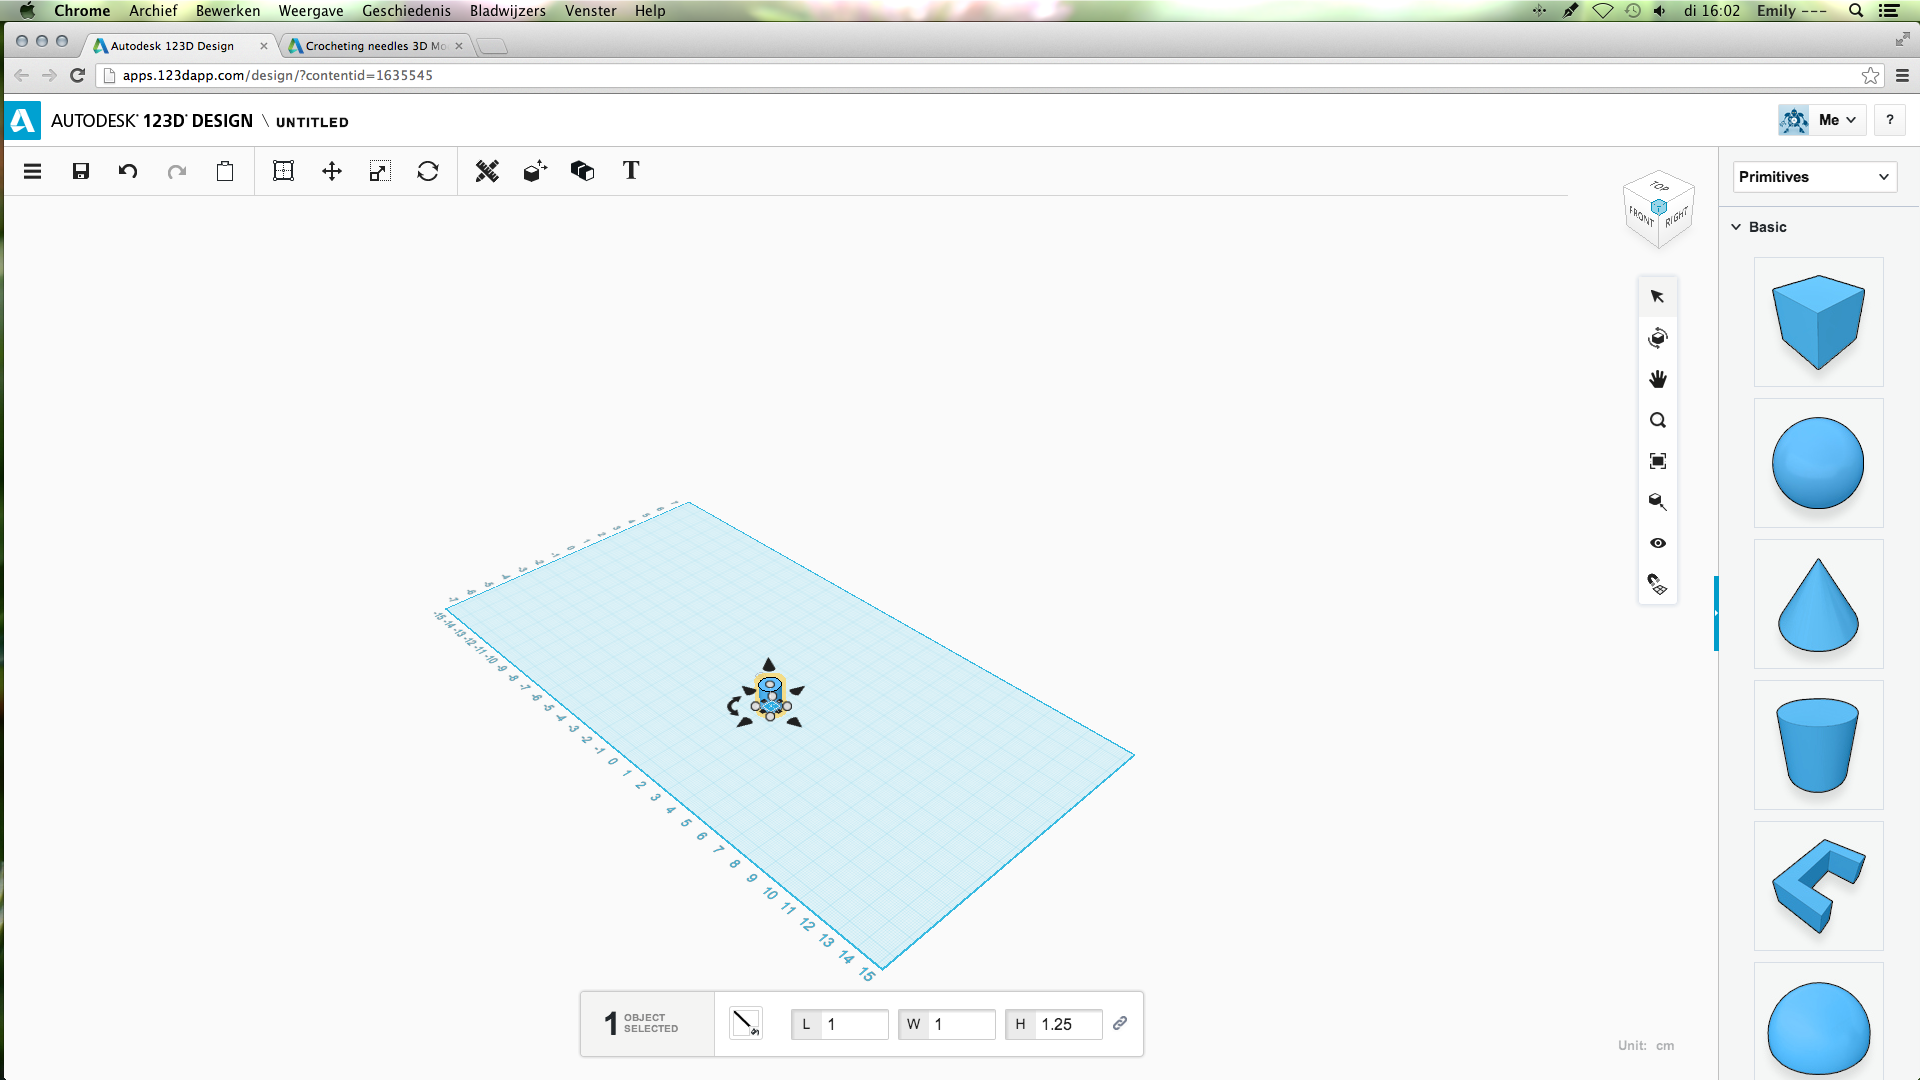
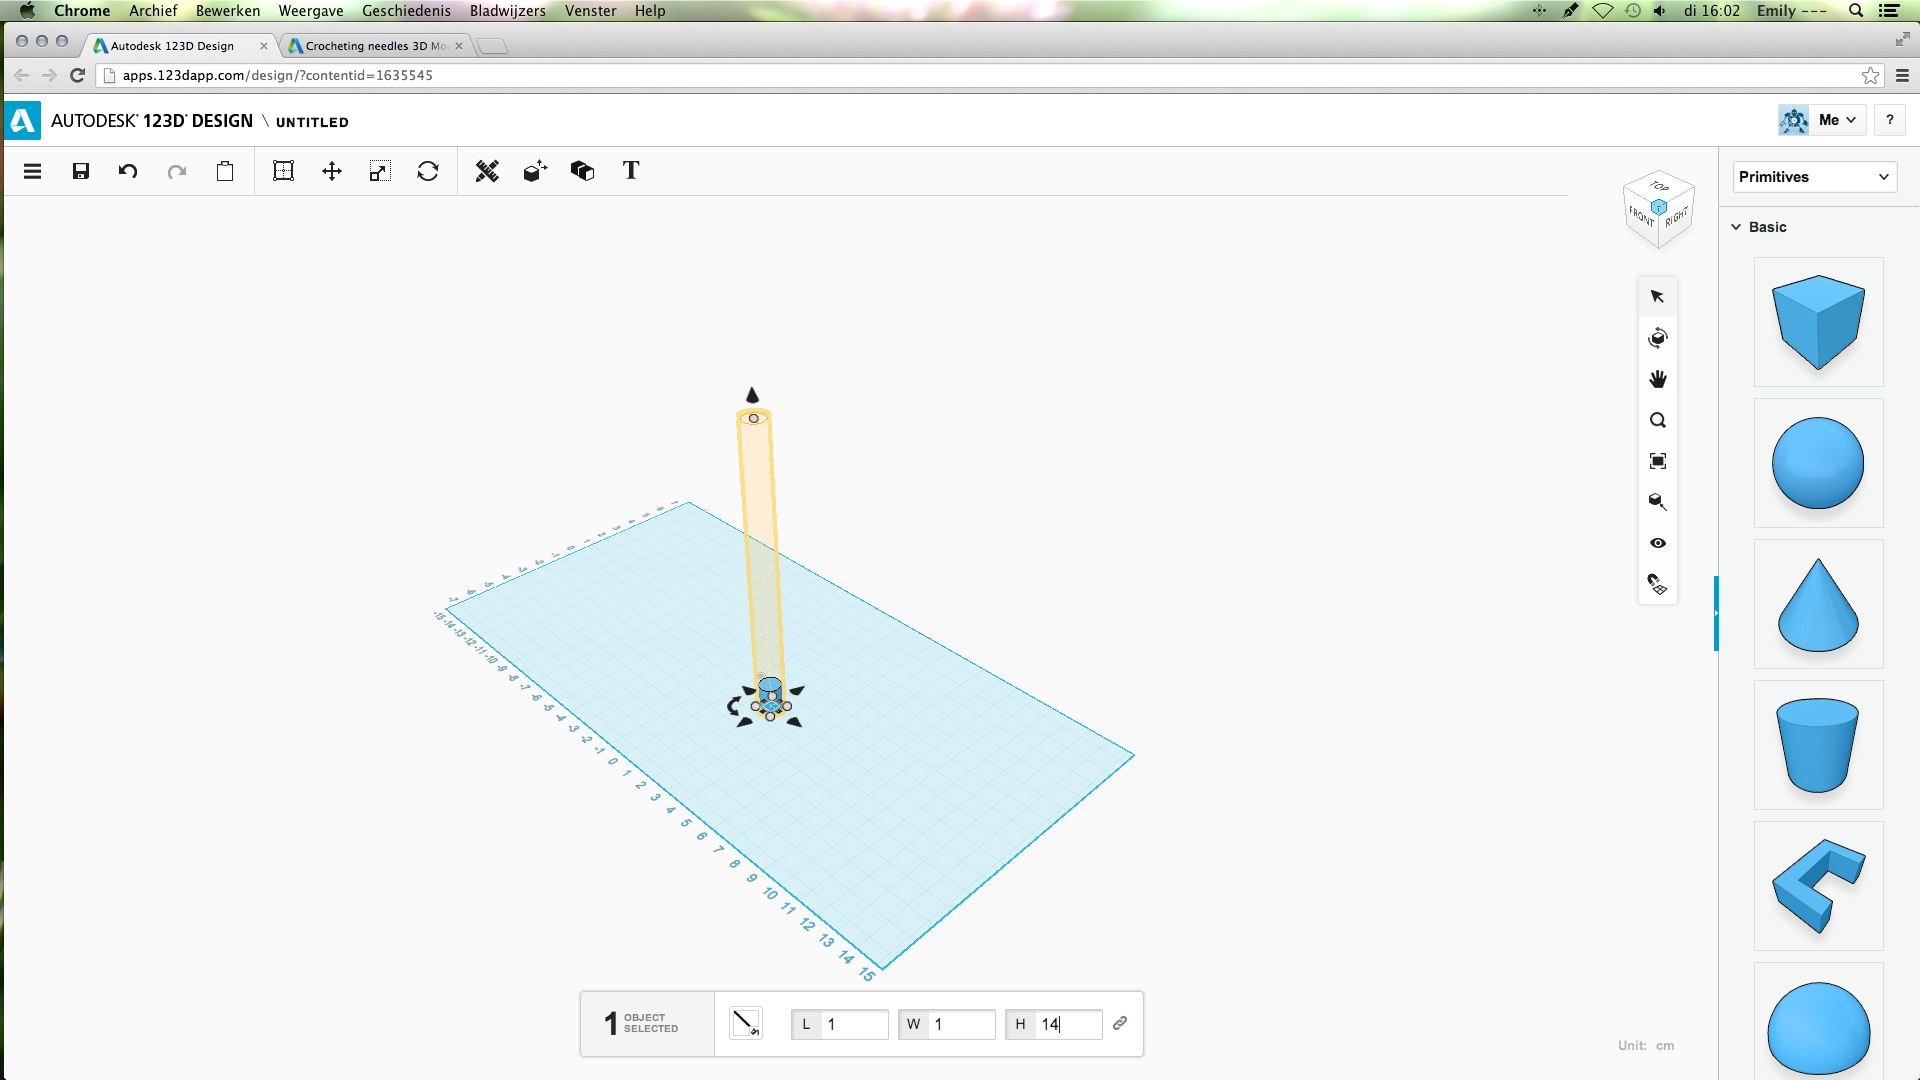
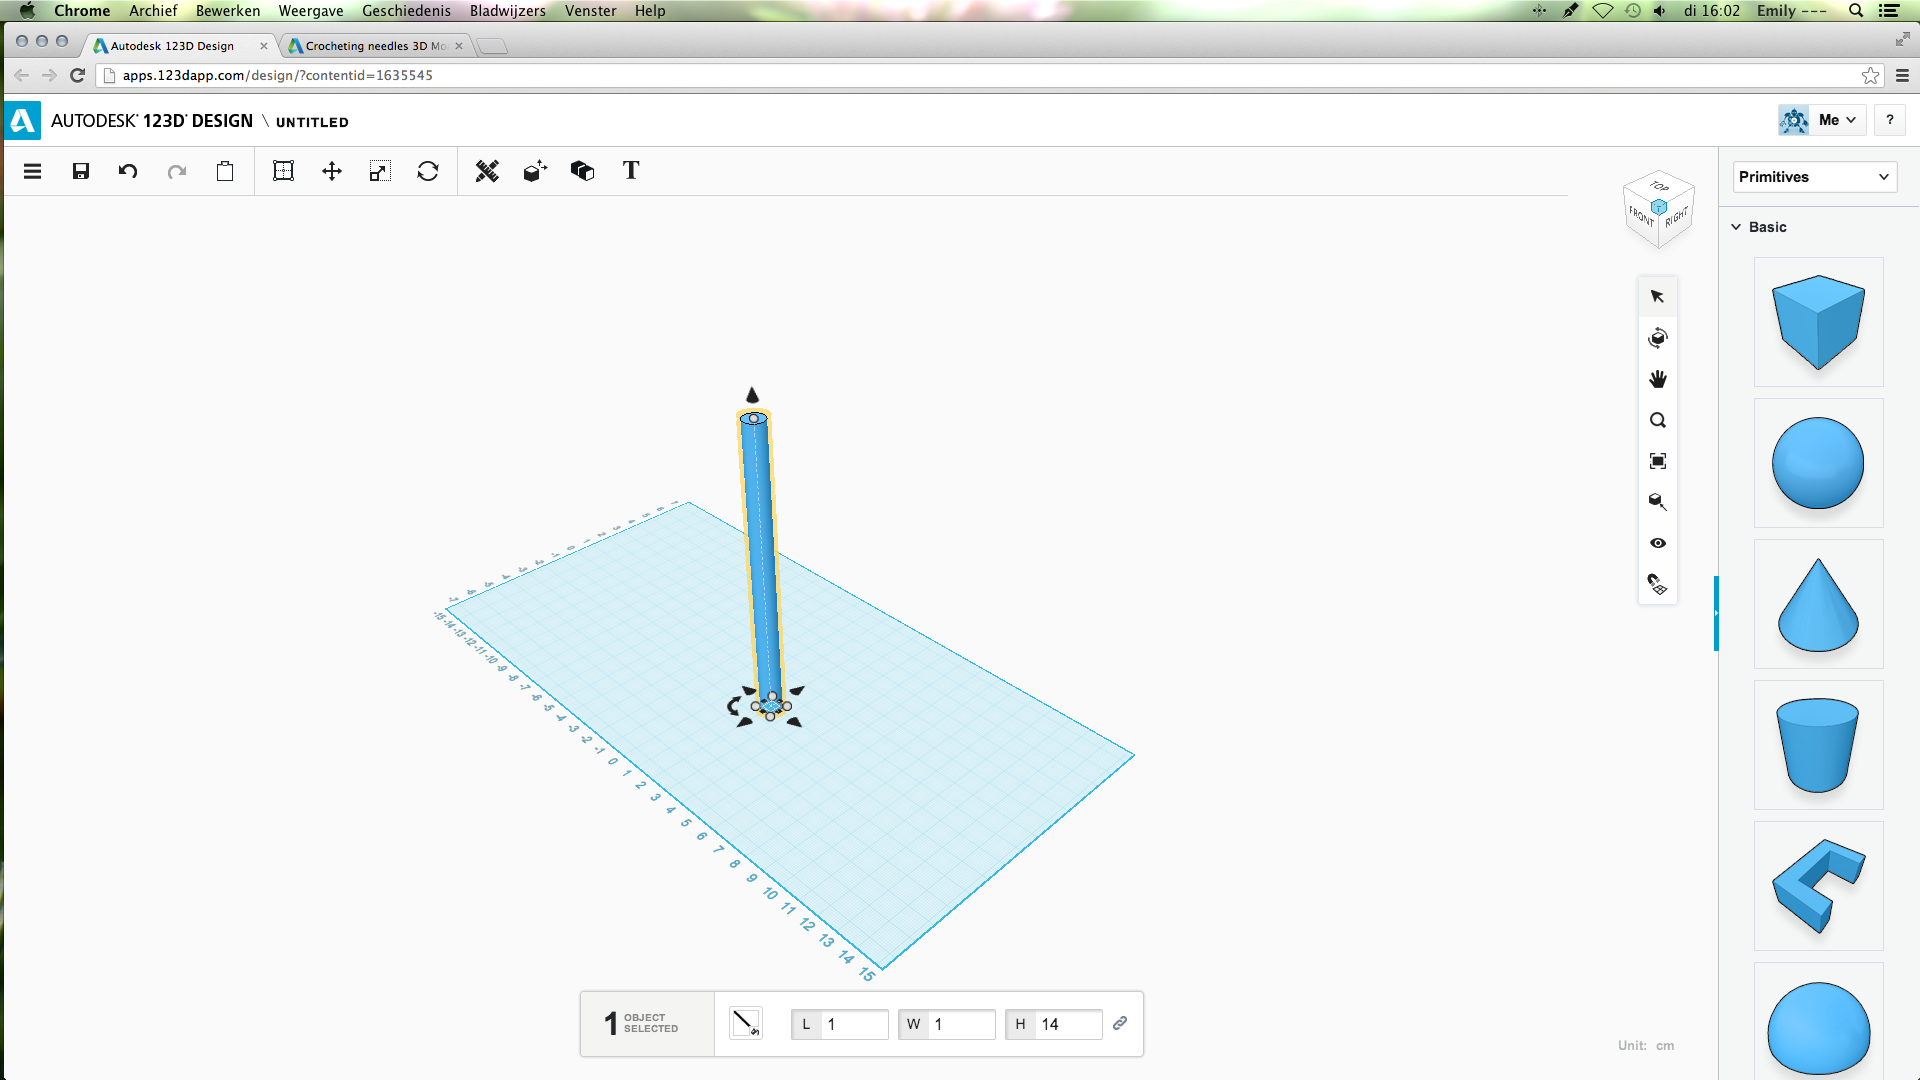
From the primitives basic shape on the right side, choose the cylinder. Drag it from the column to the left.
When you select it, you can change the size. Make the height 14 cm.
When you select it, you can change the size. Make the height 14 cm.
Cone, Resize, Fillet and Tweak
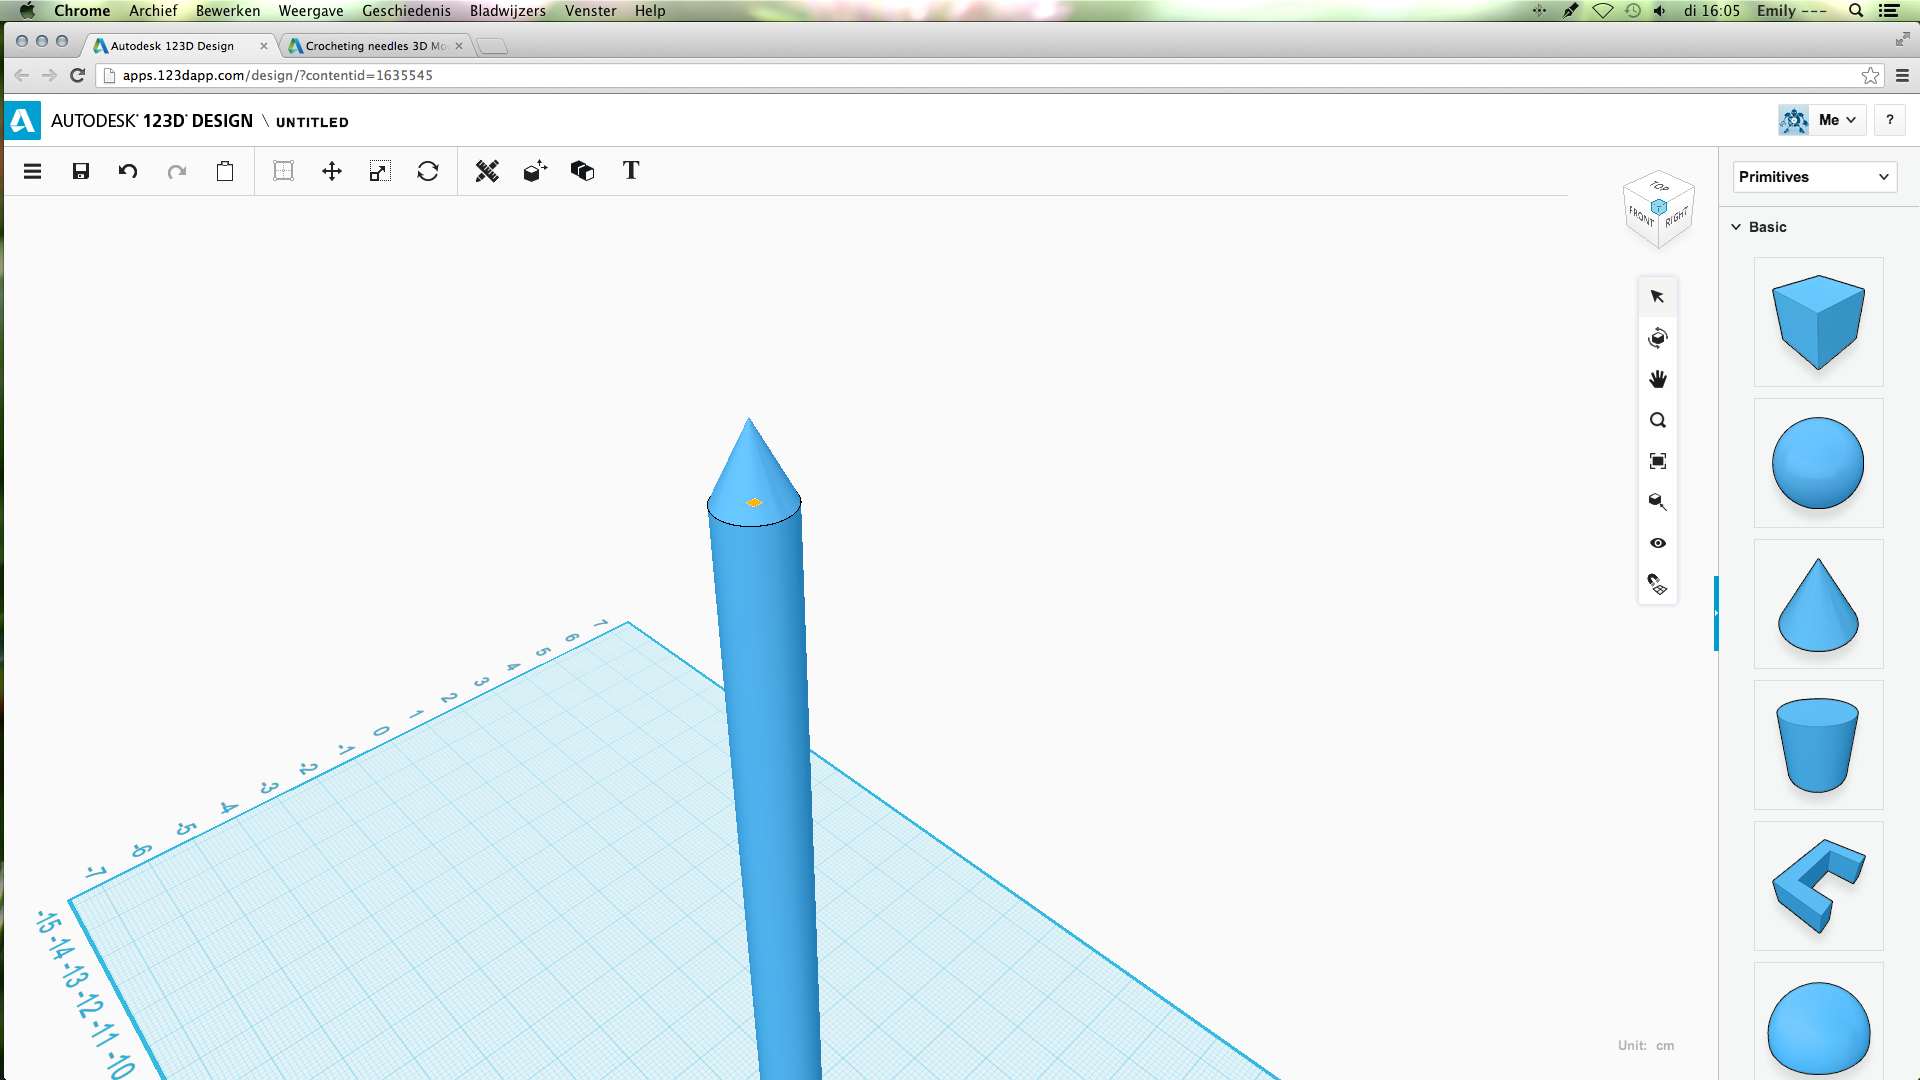
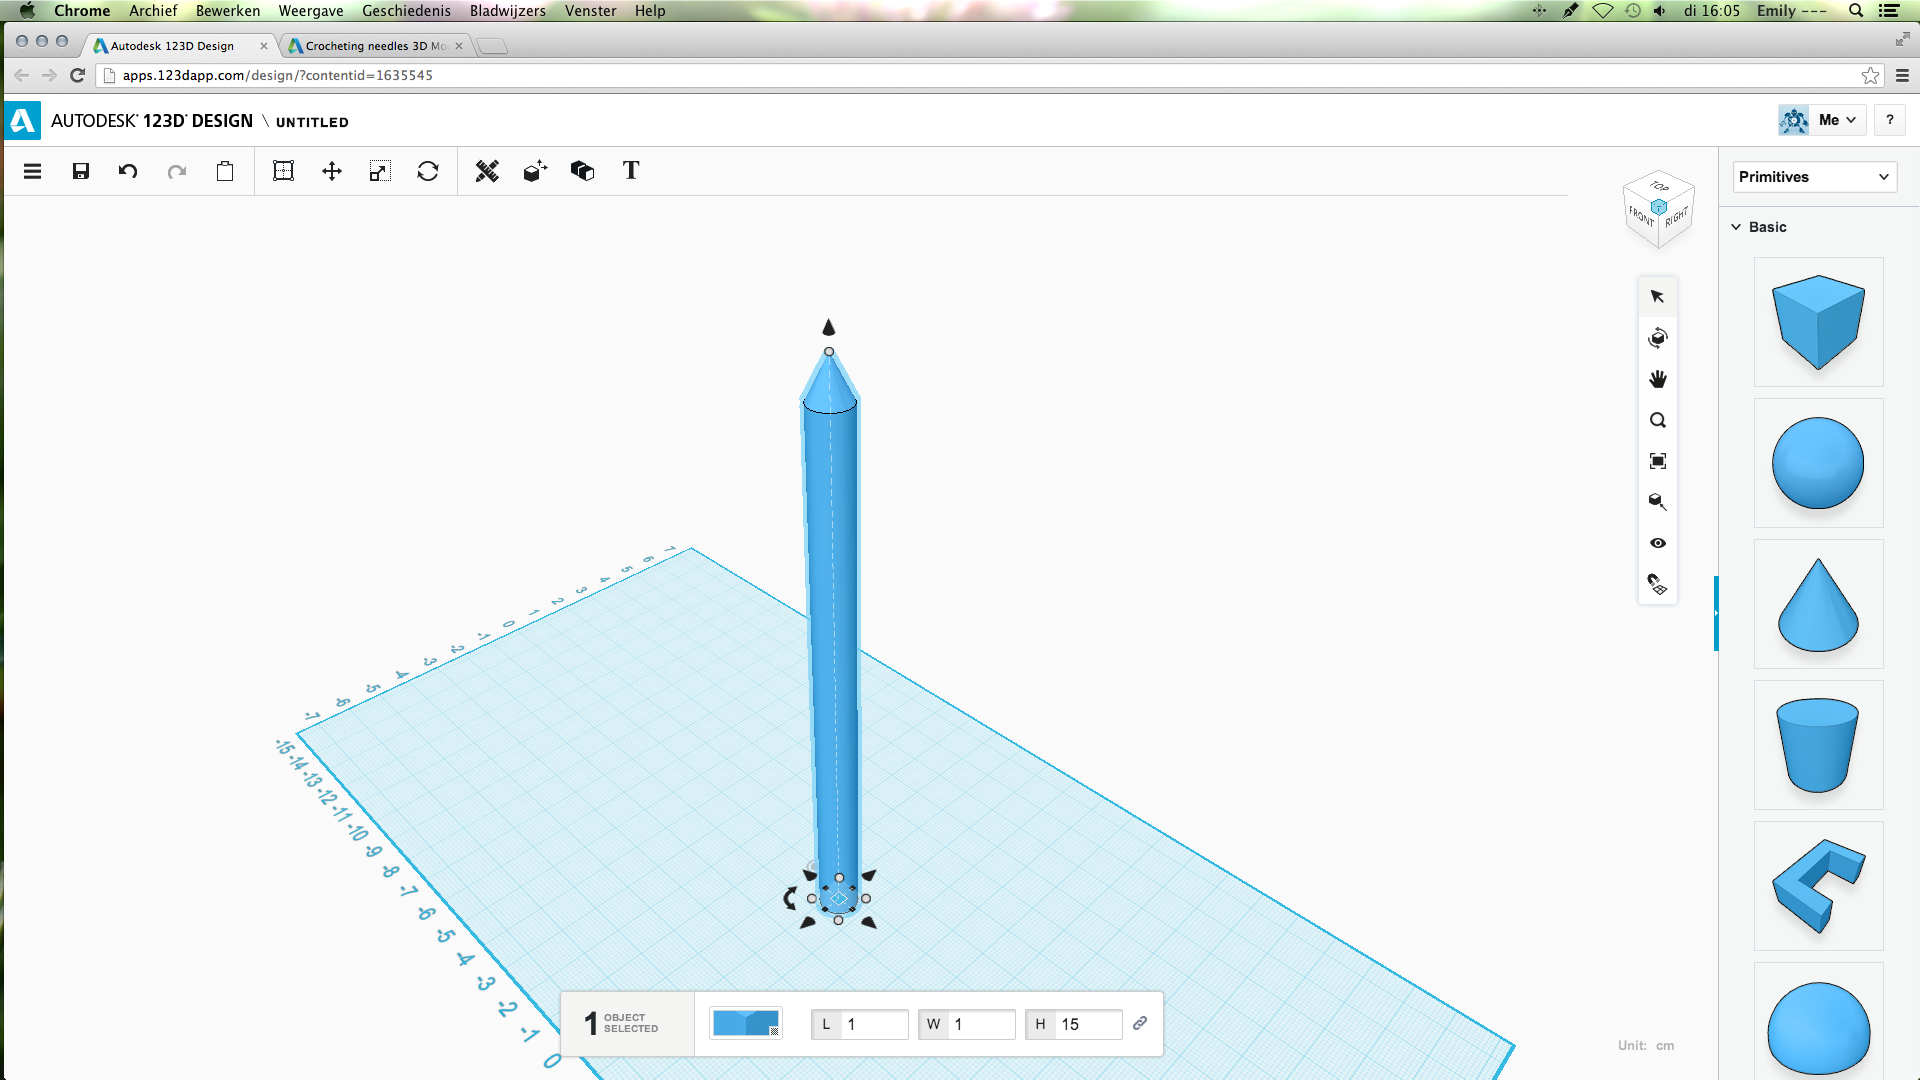
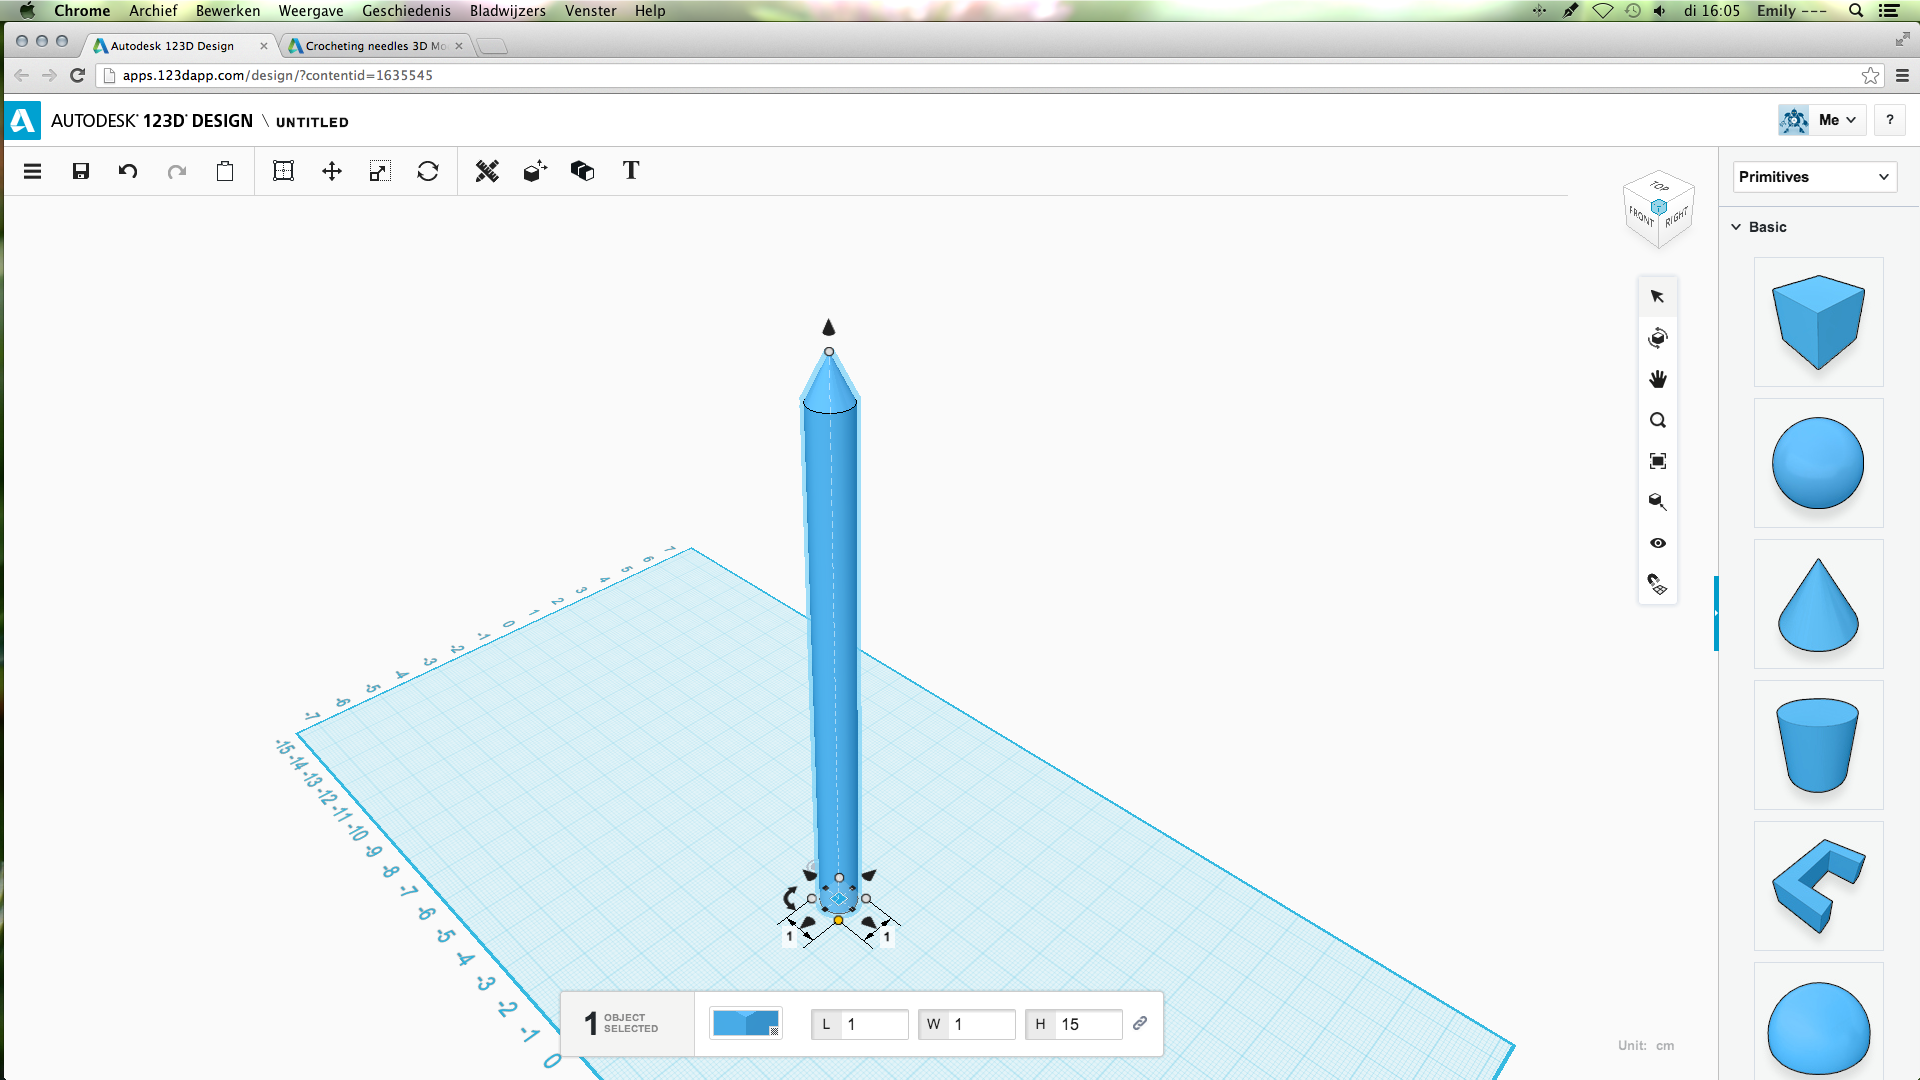
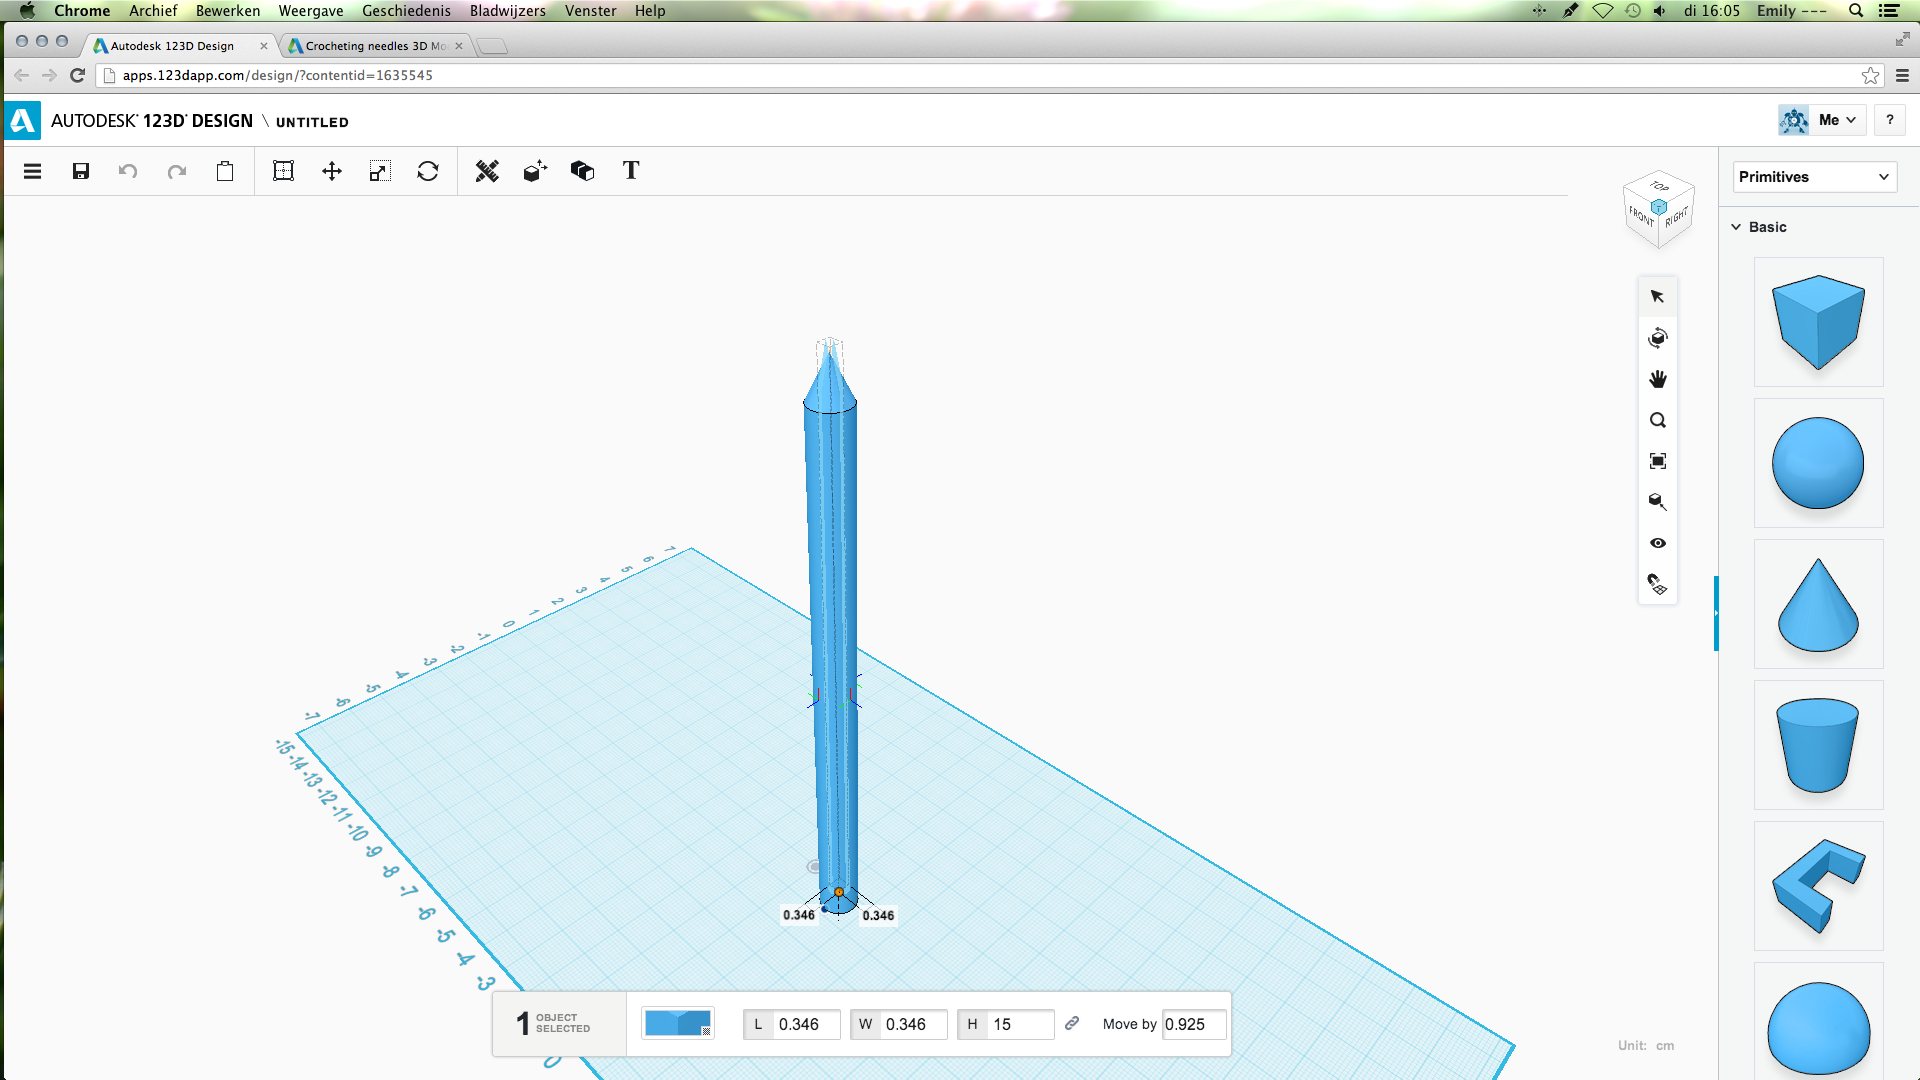
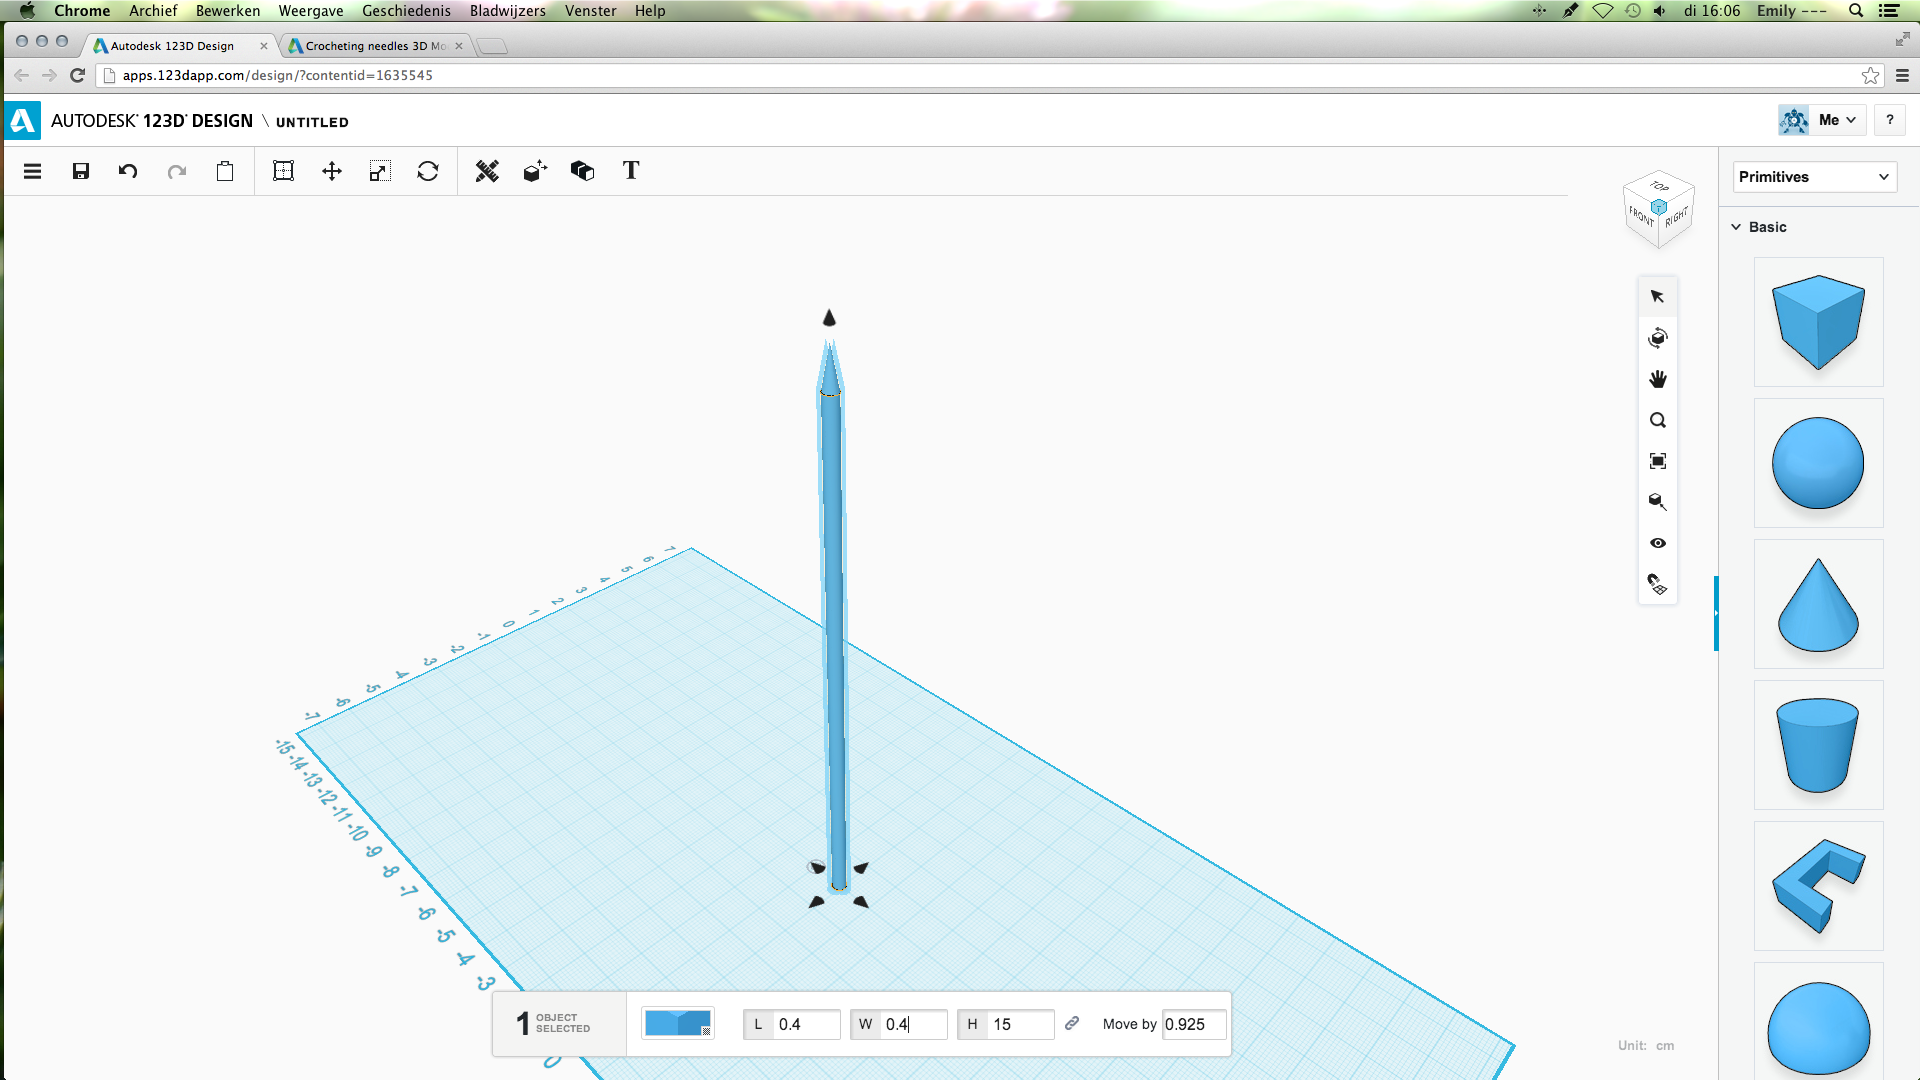
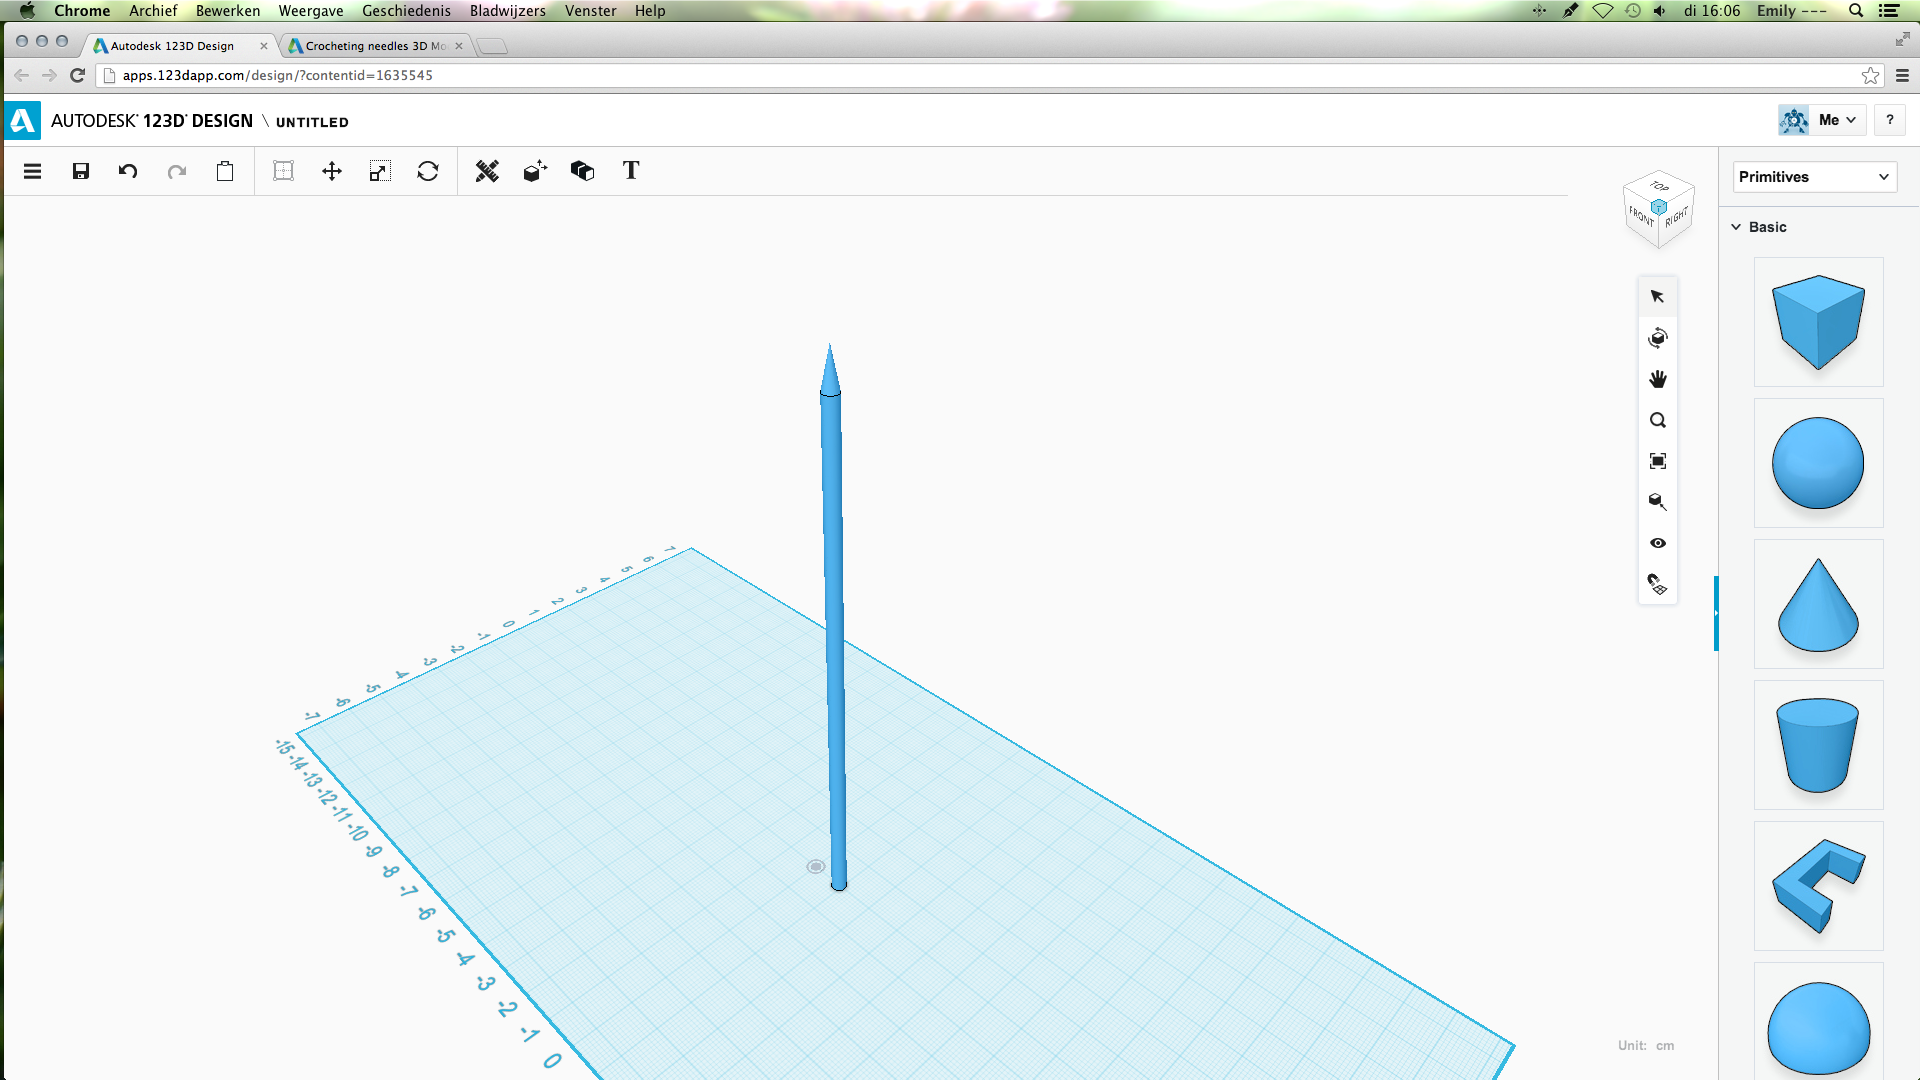
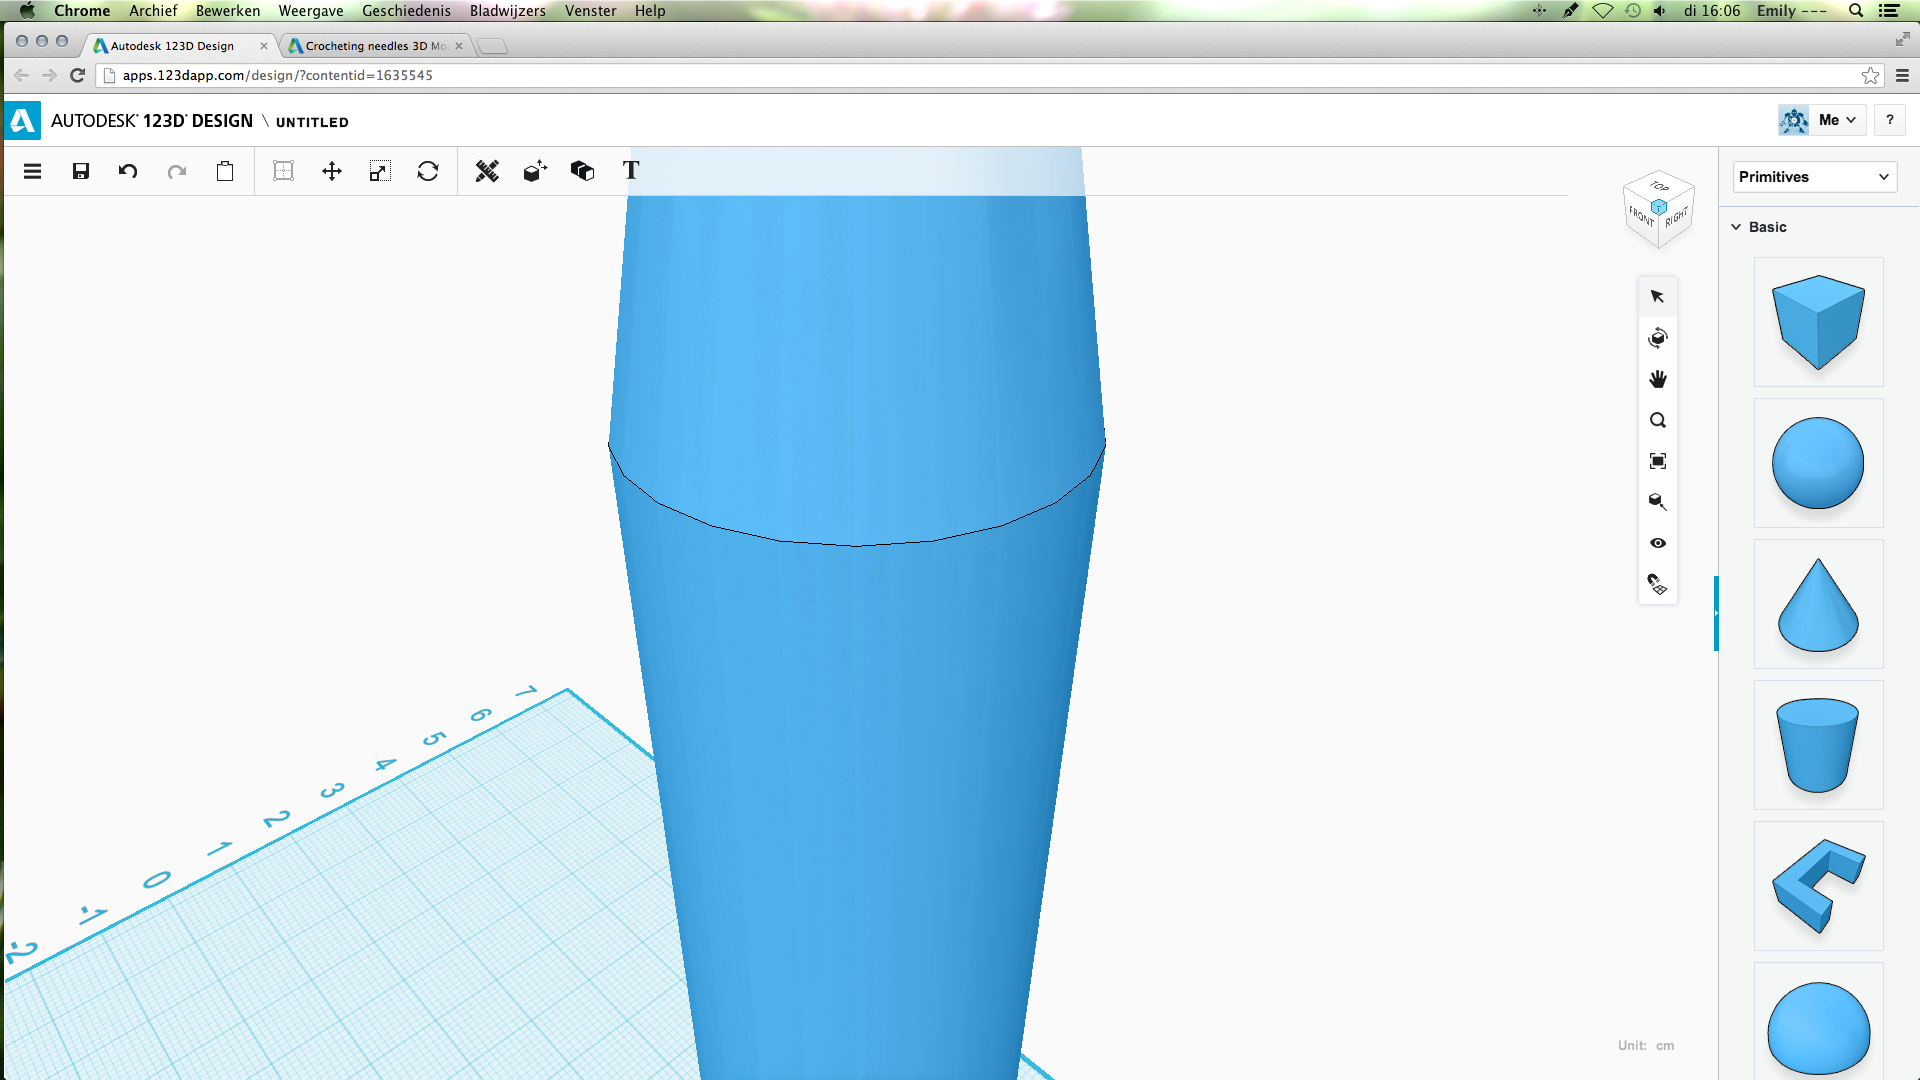
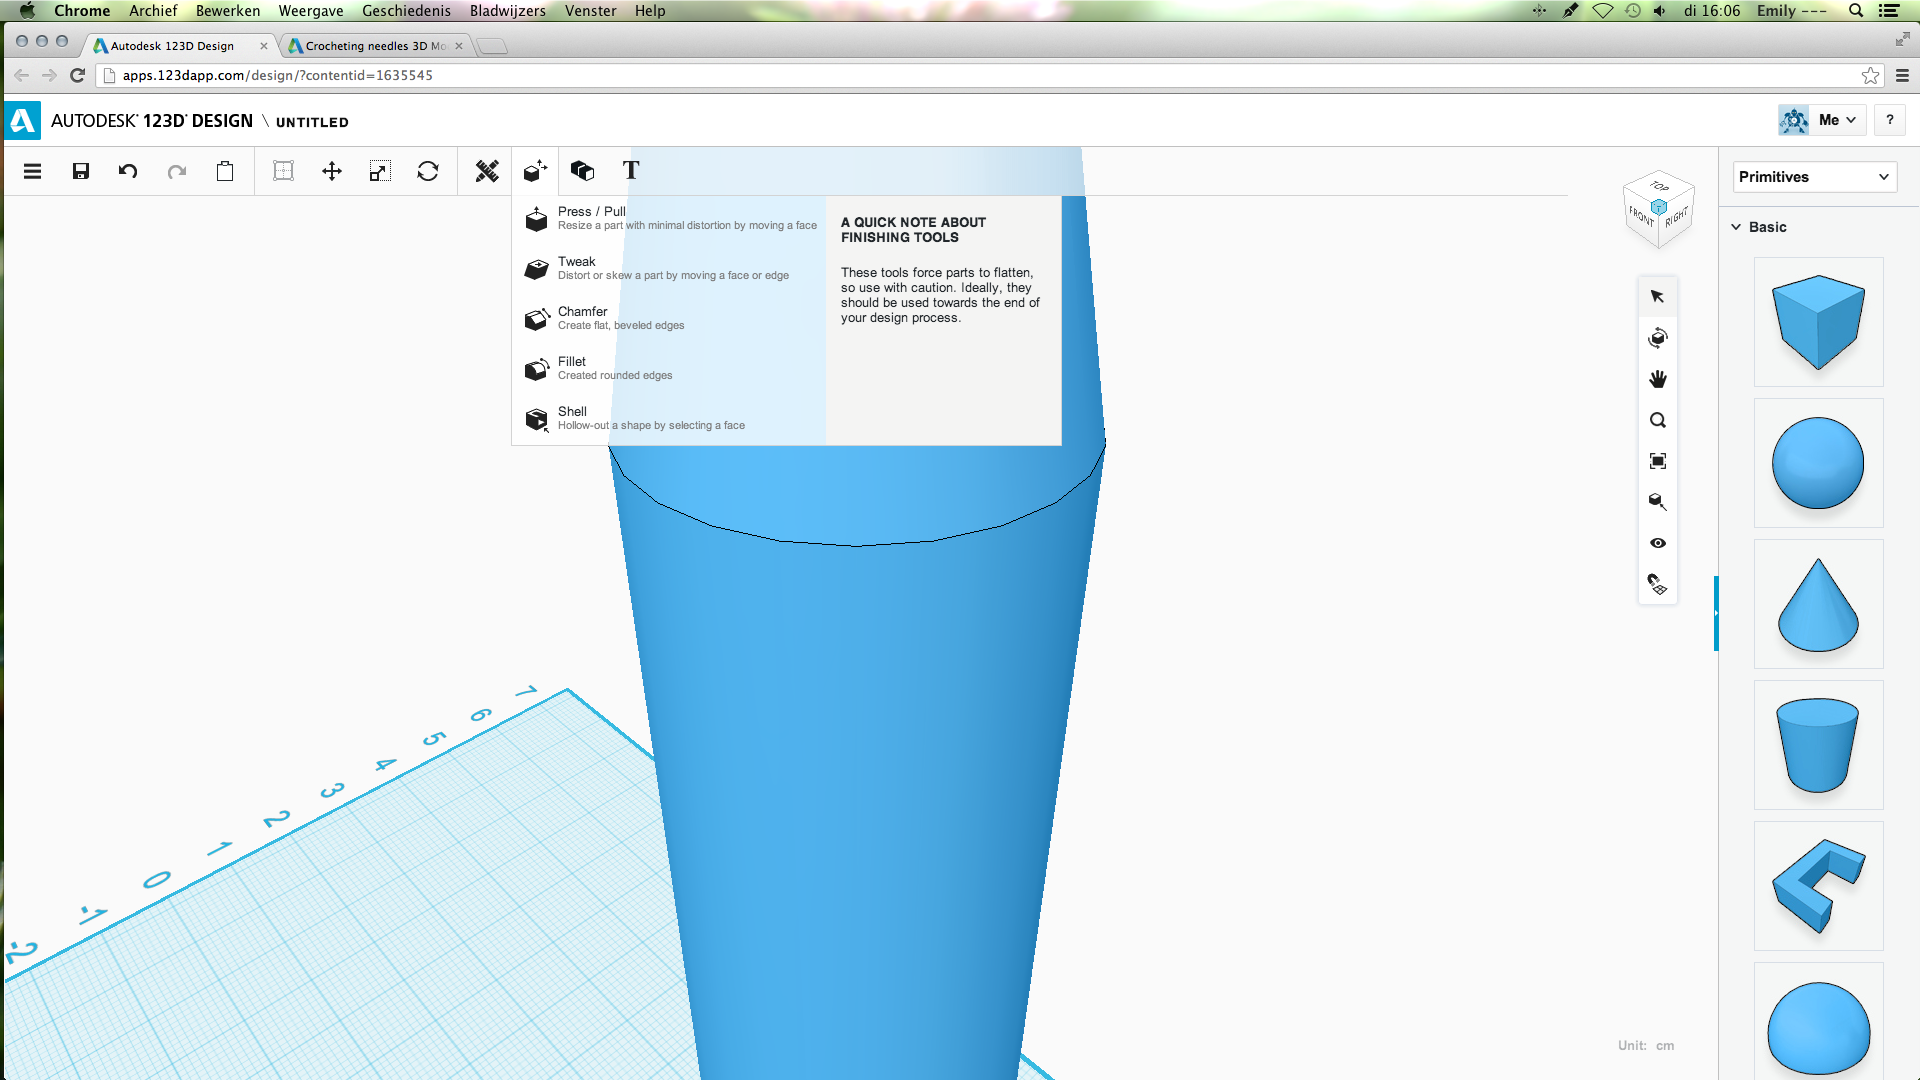
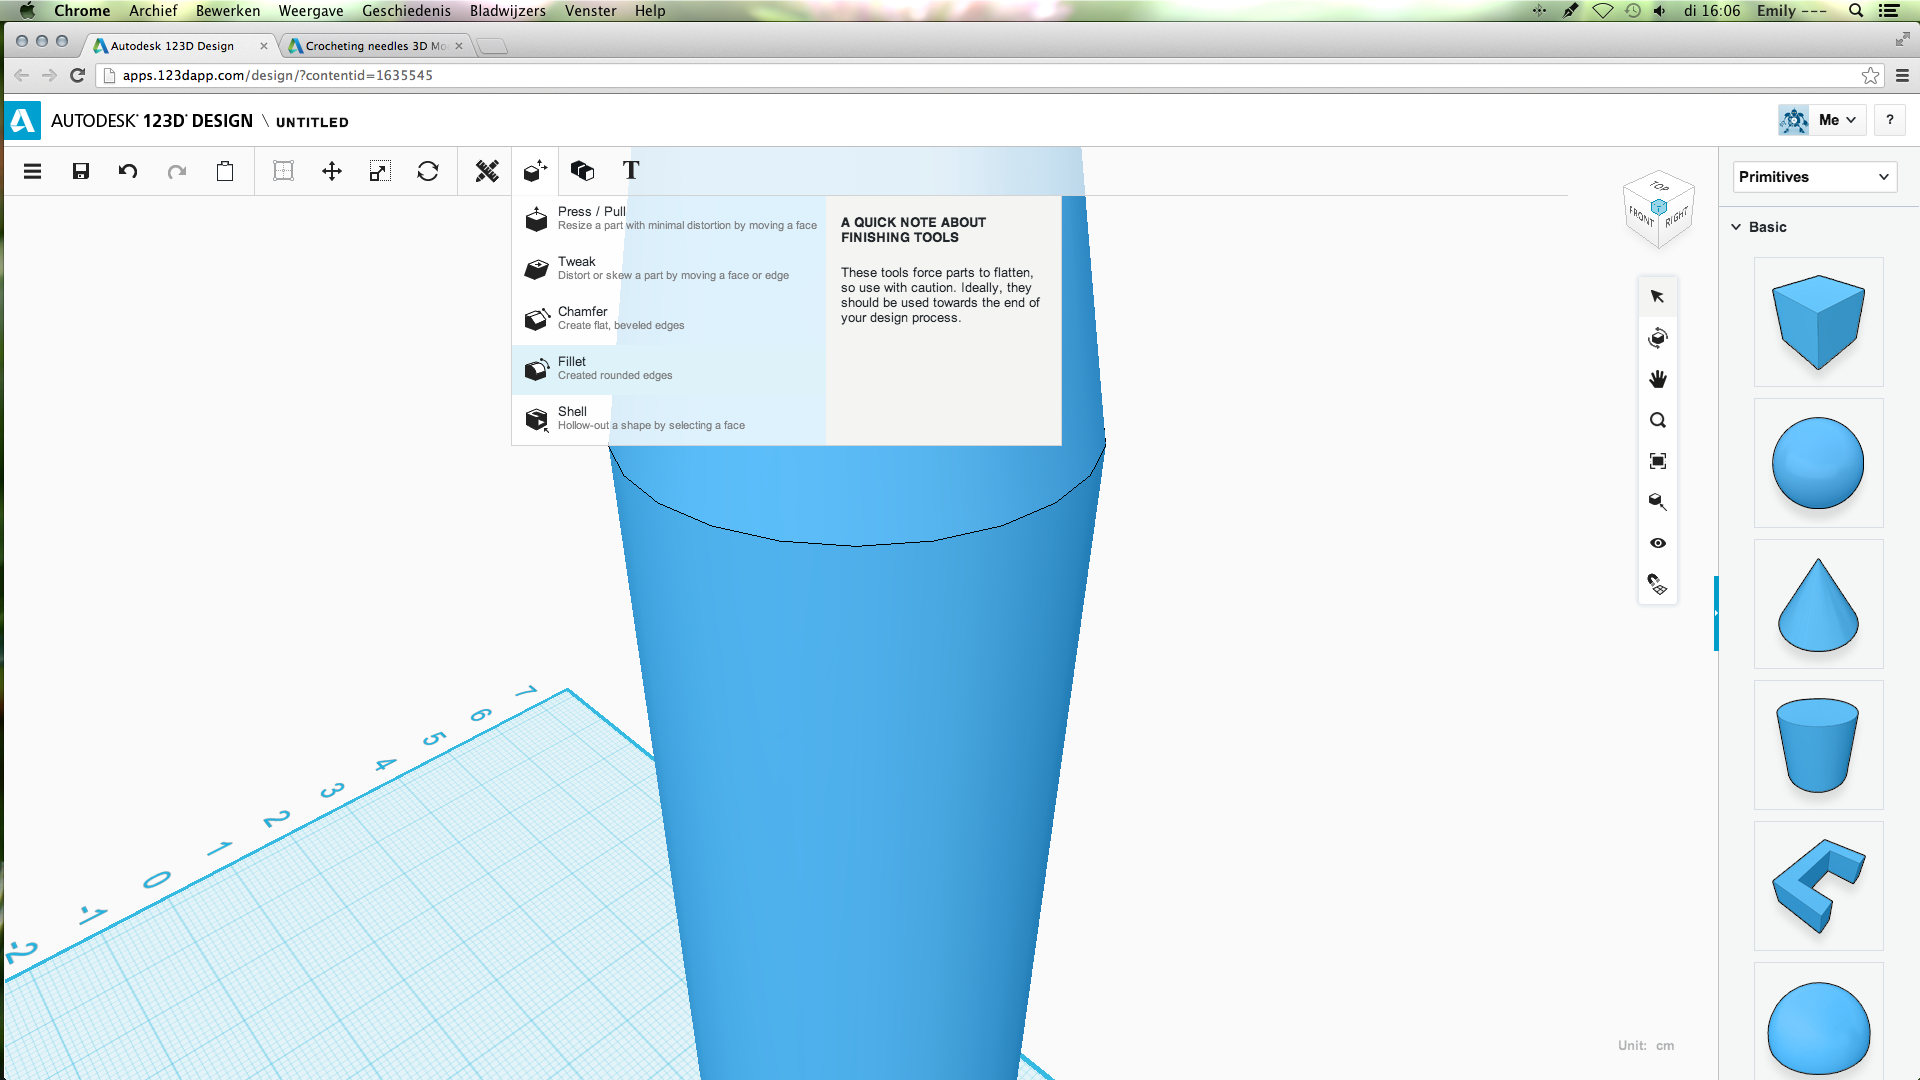
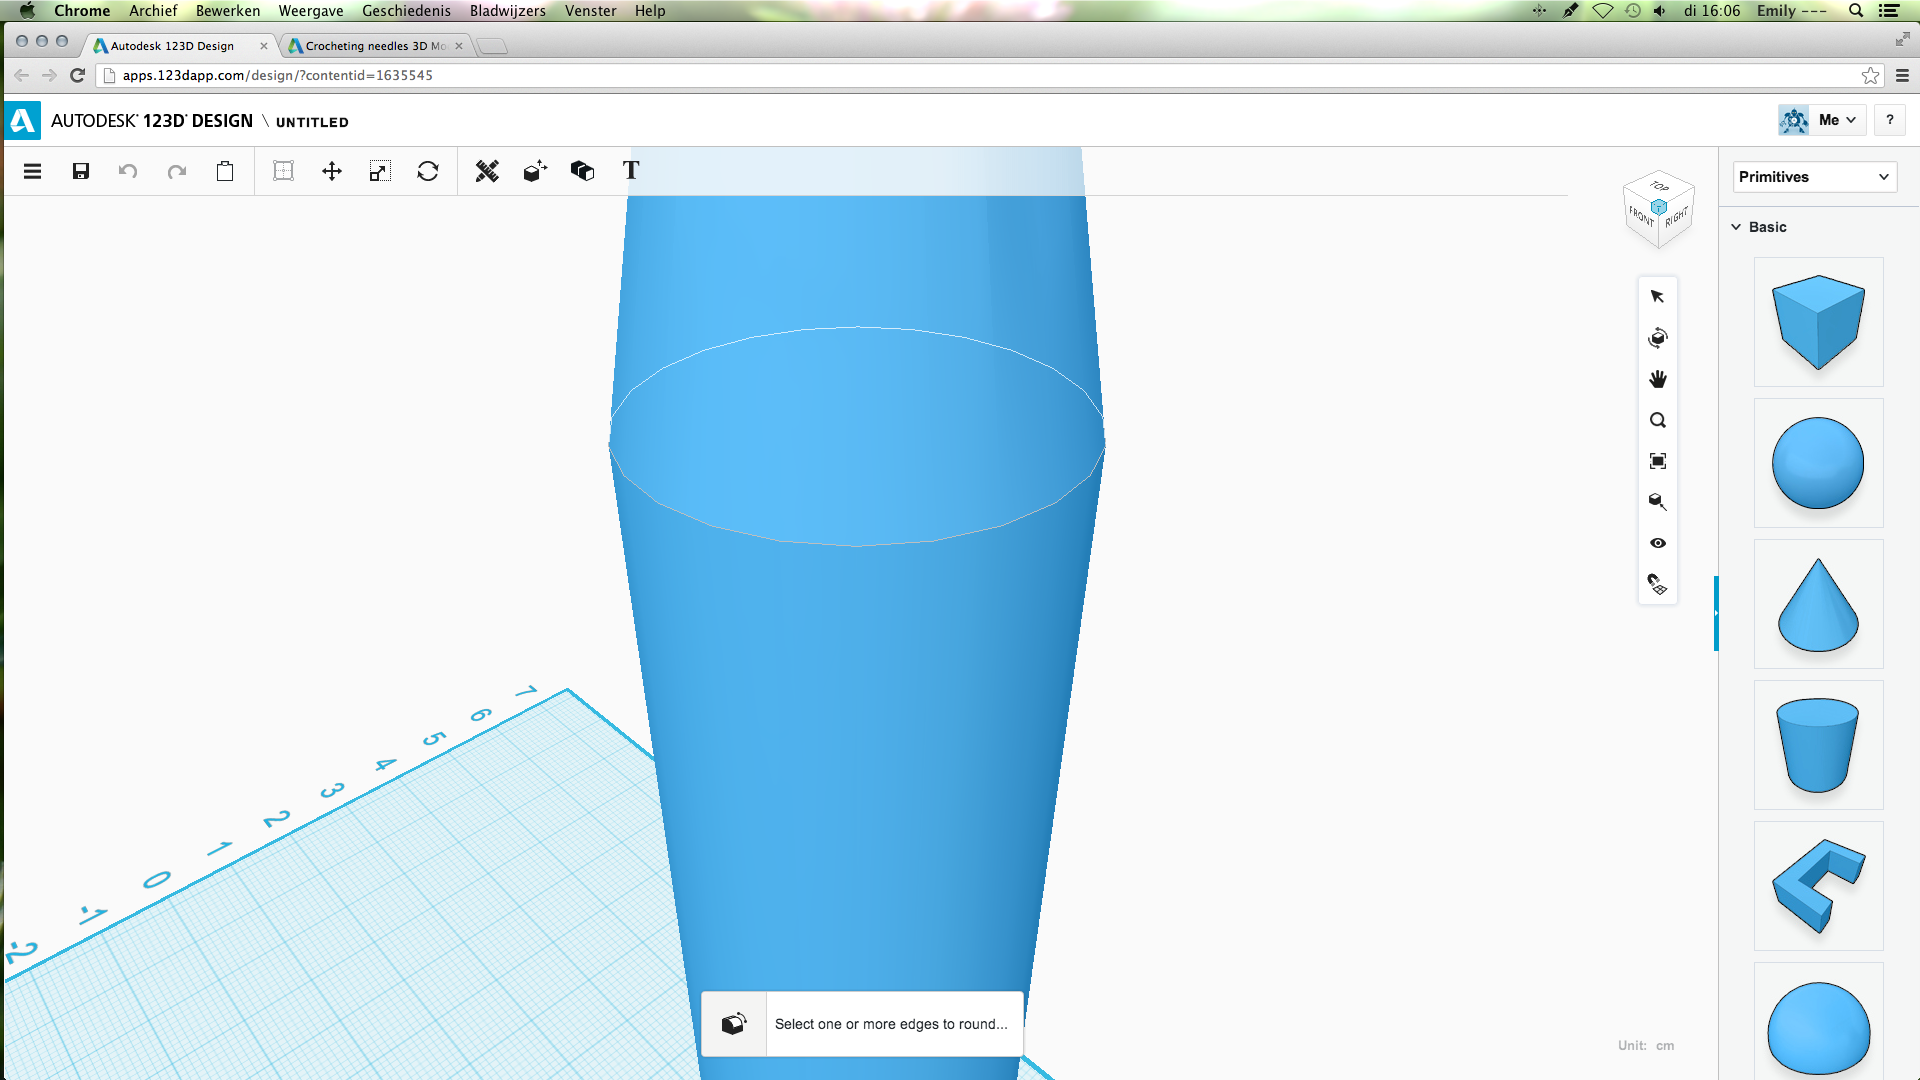
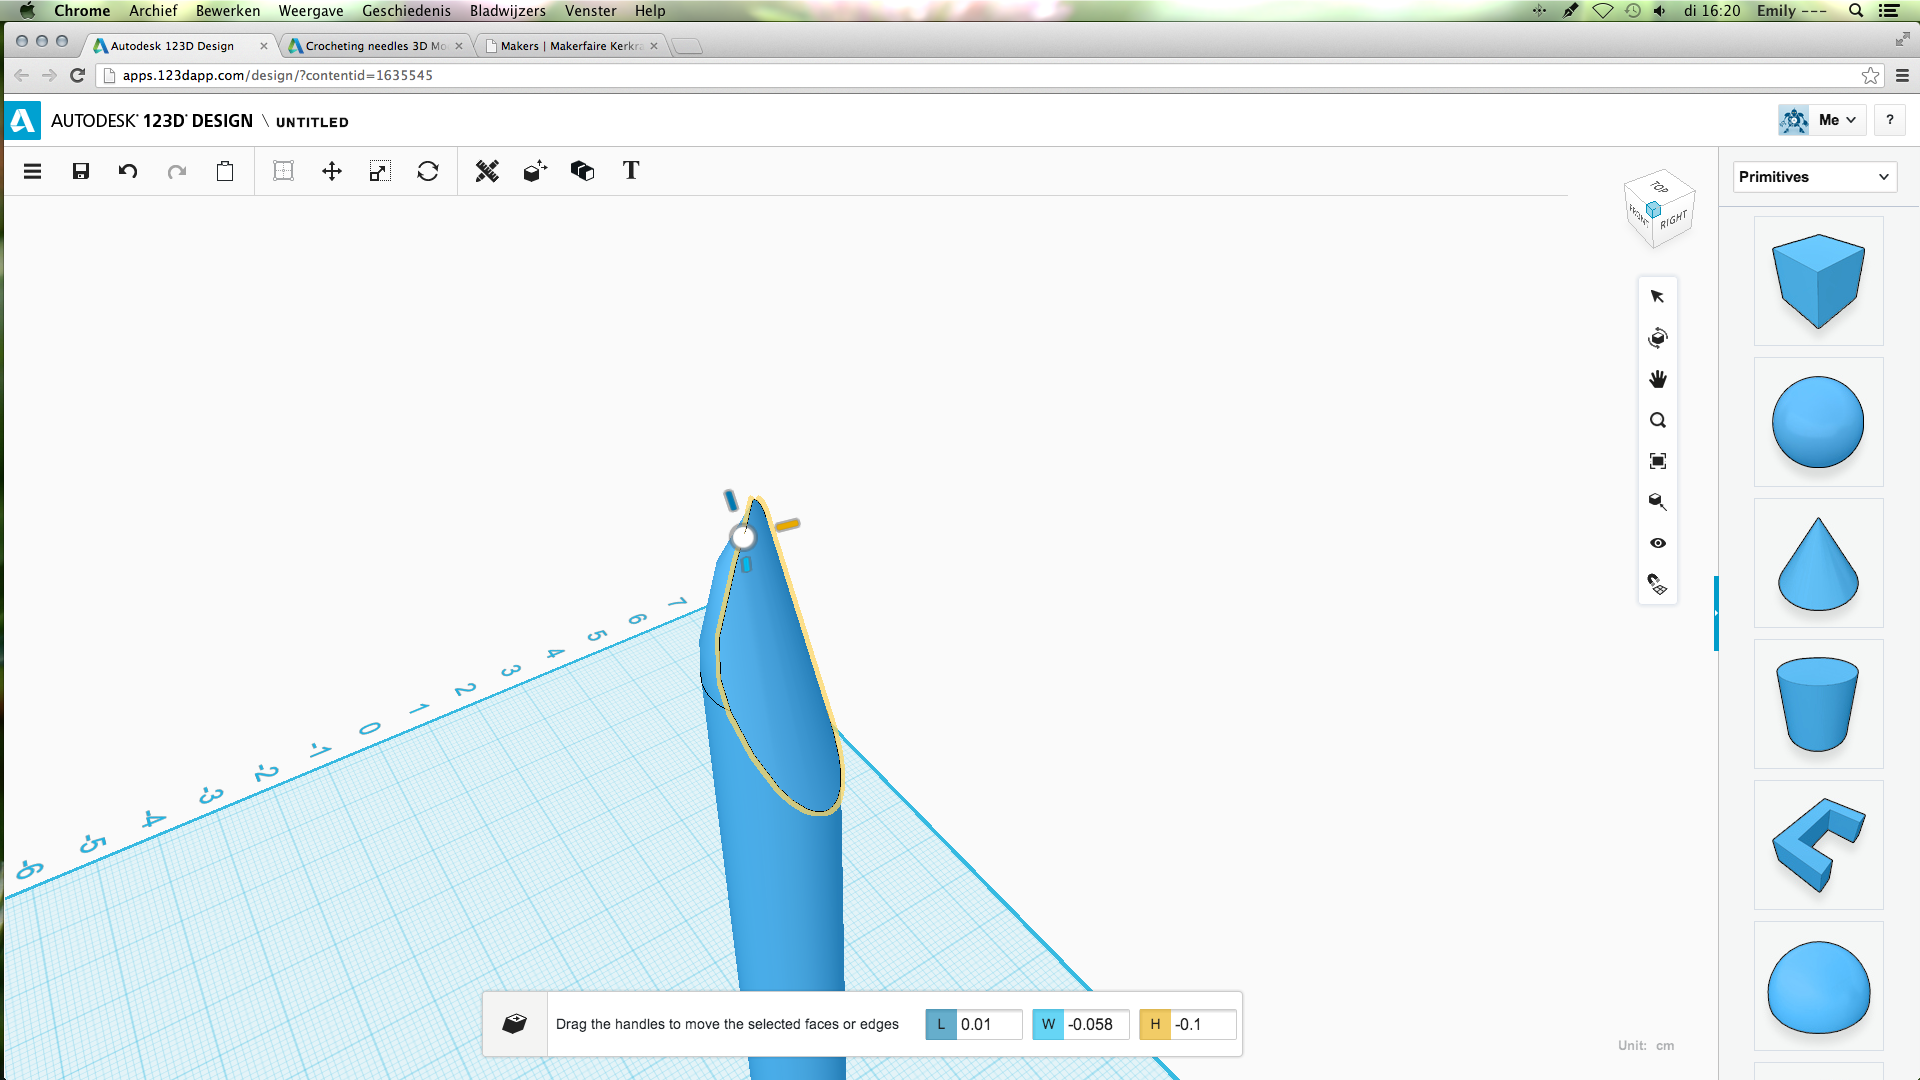
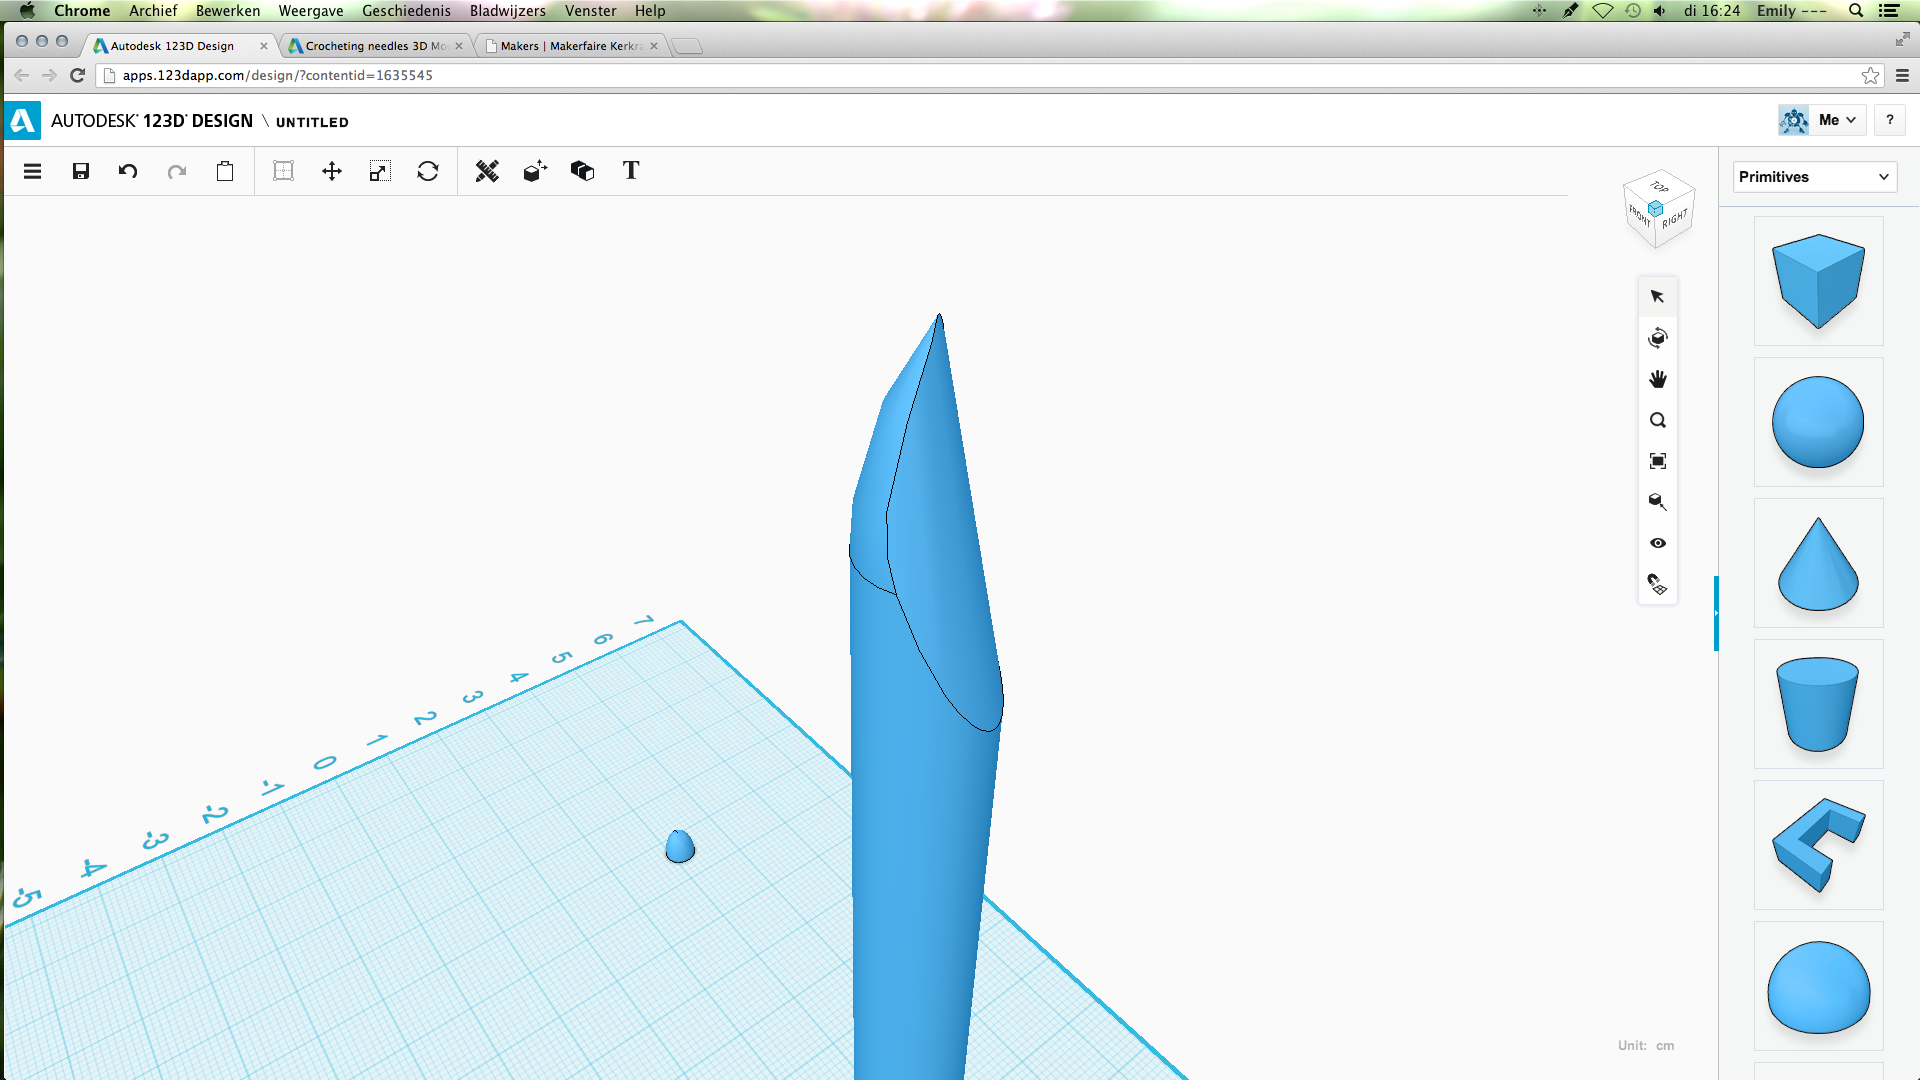
From the column on the right side, choose a cone. Put it on the cylinder.
Select the now created shape. Using one of the four small white dots, make the cylinder smaller, but keep ratio. When L and W show the same decimal number, change both of them to 0,4 cm.
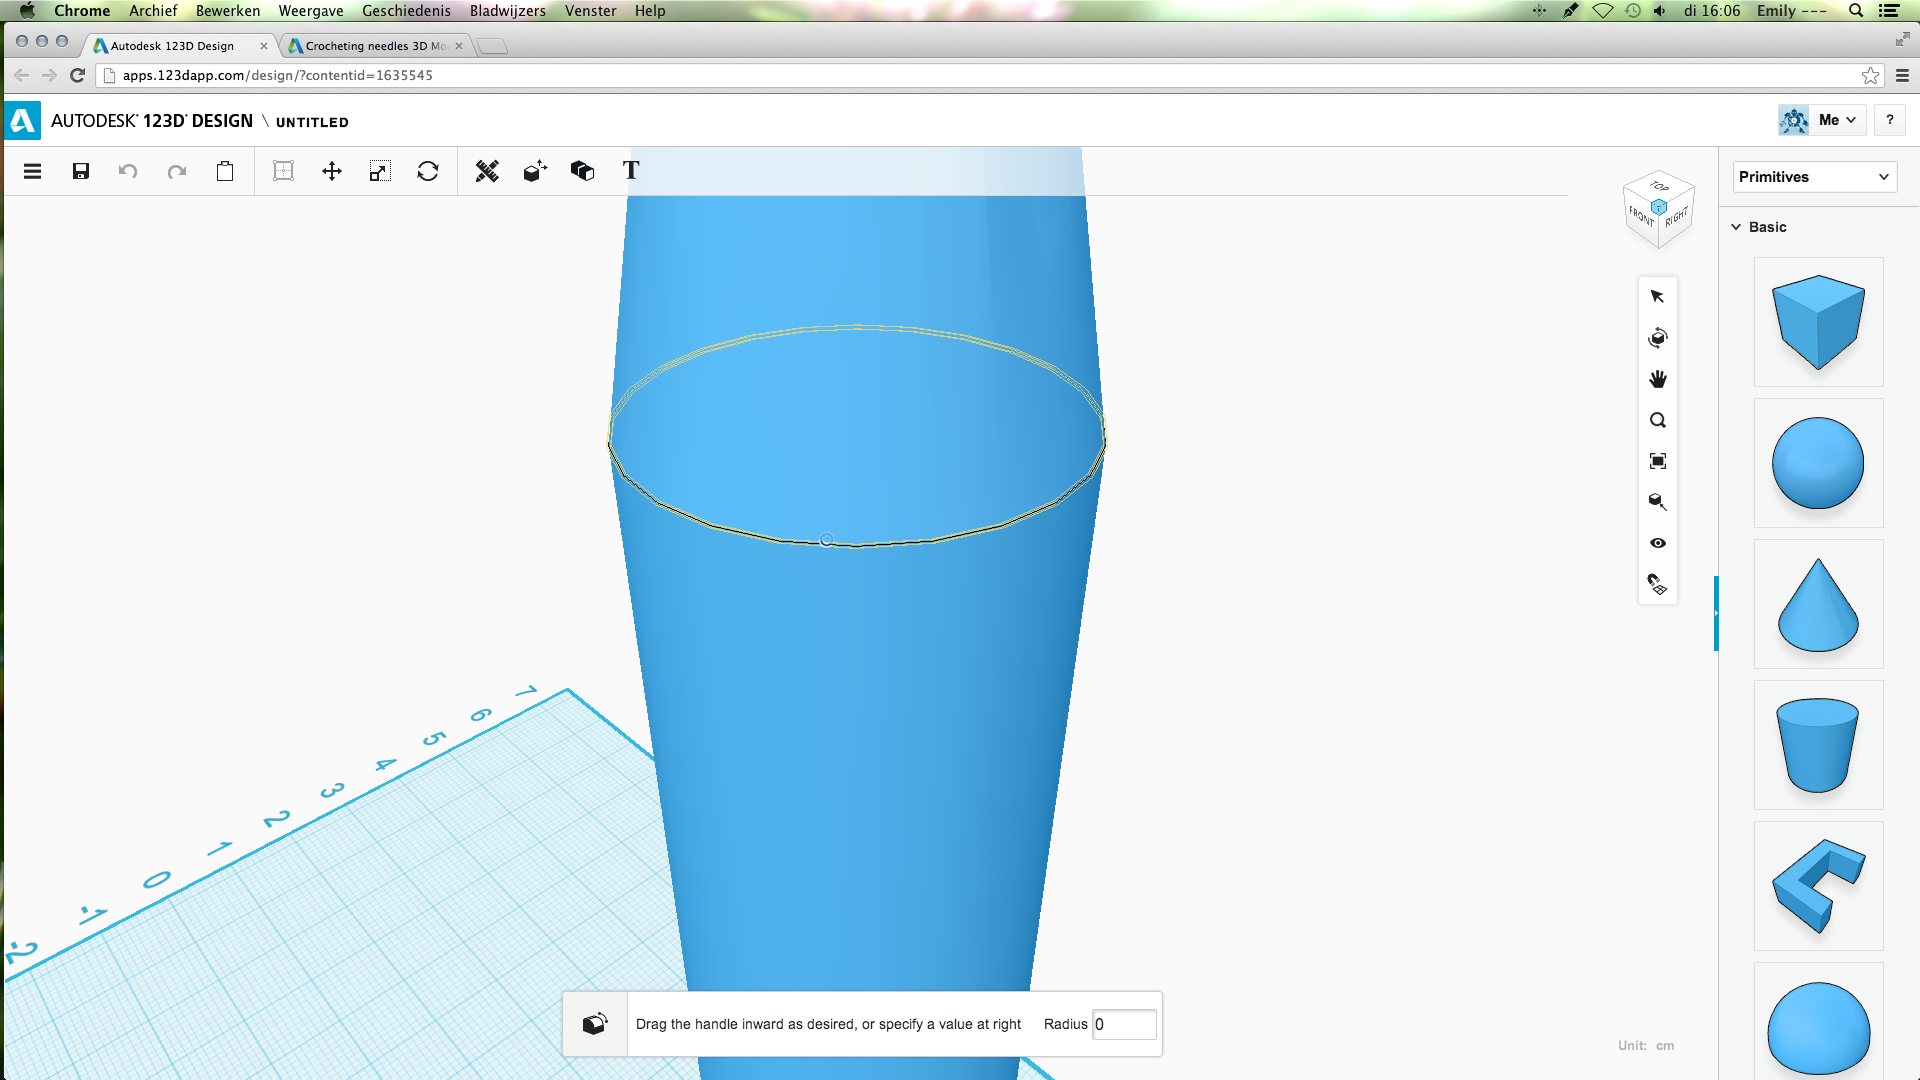
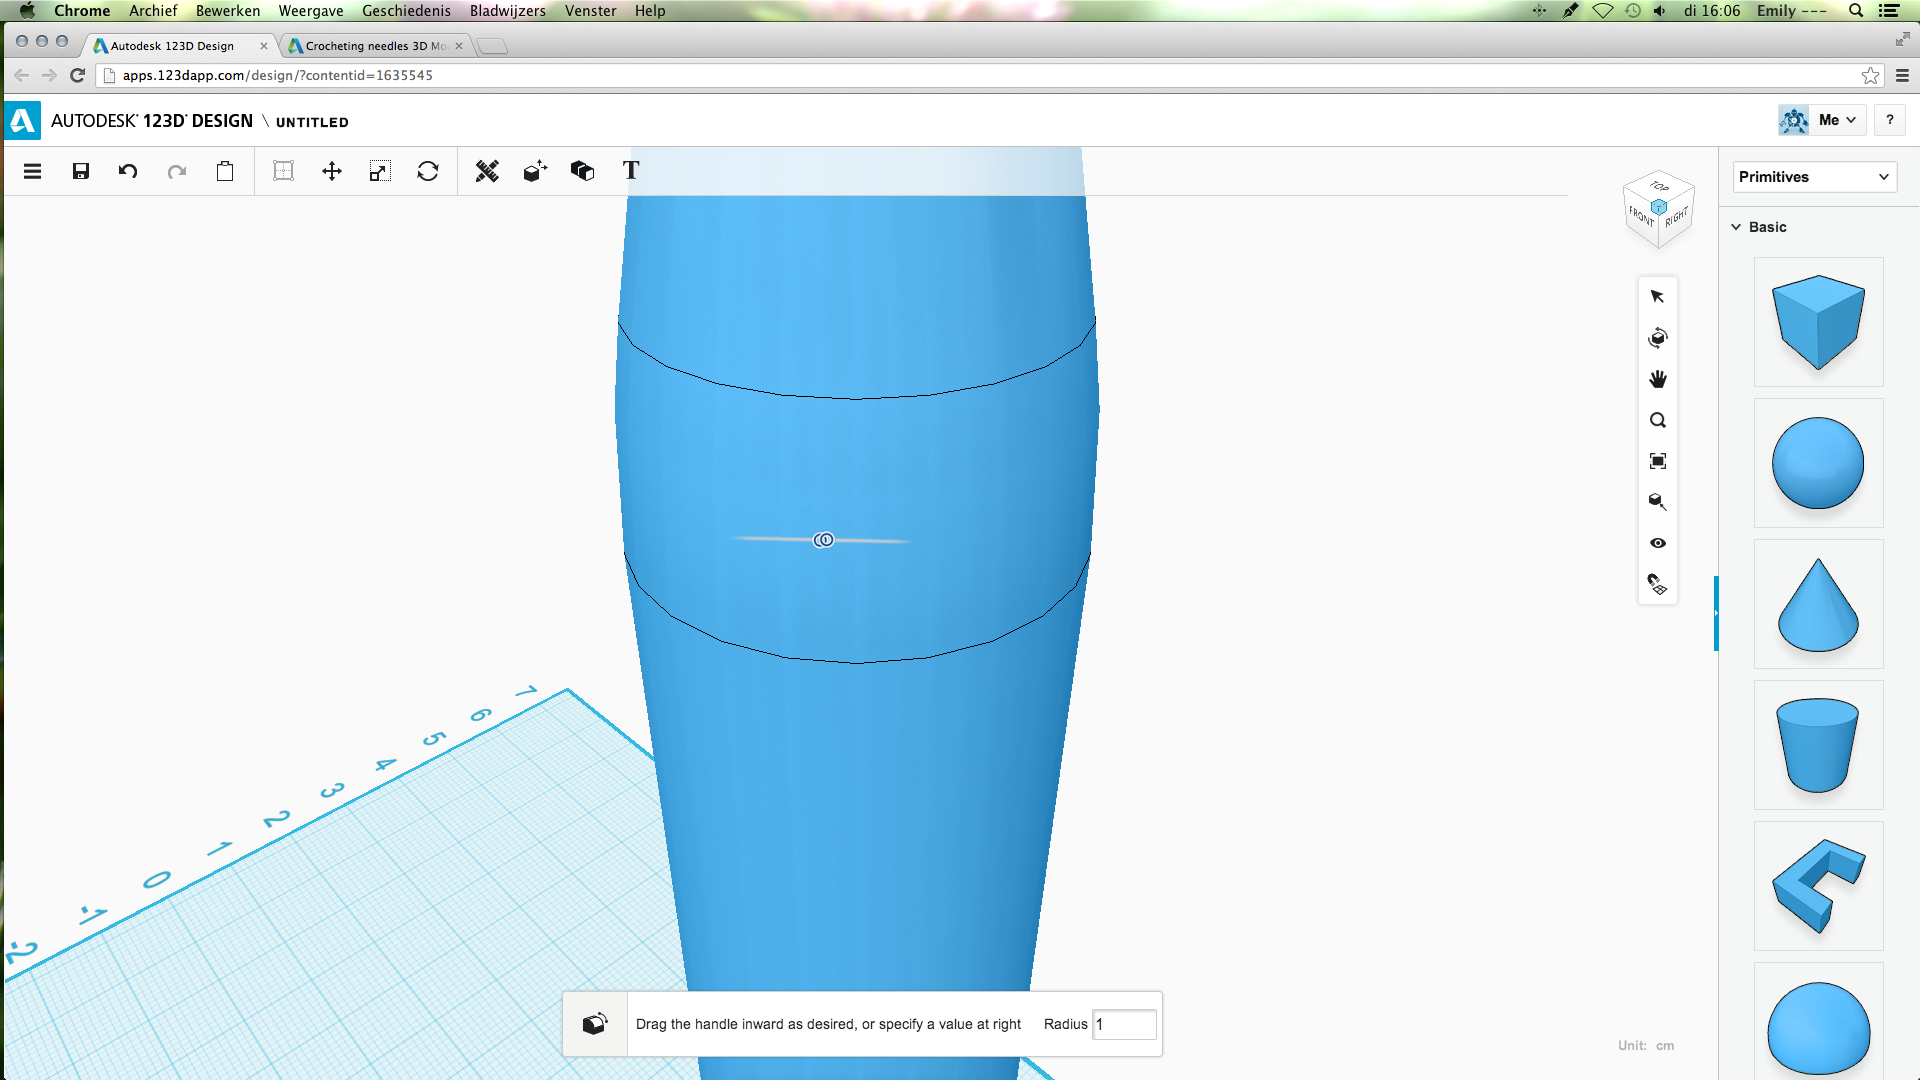
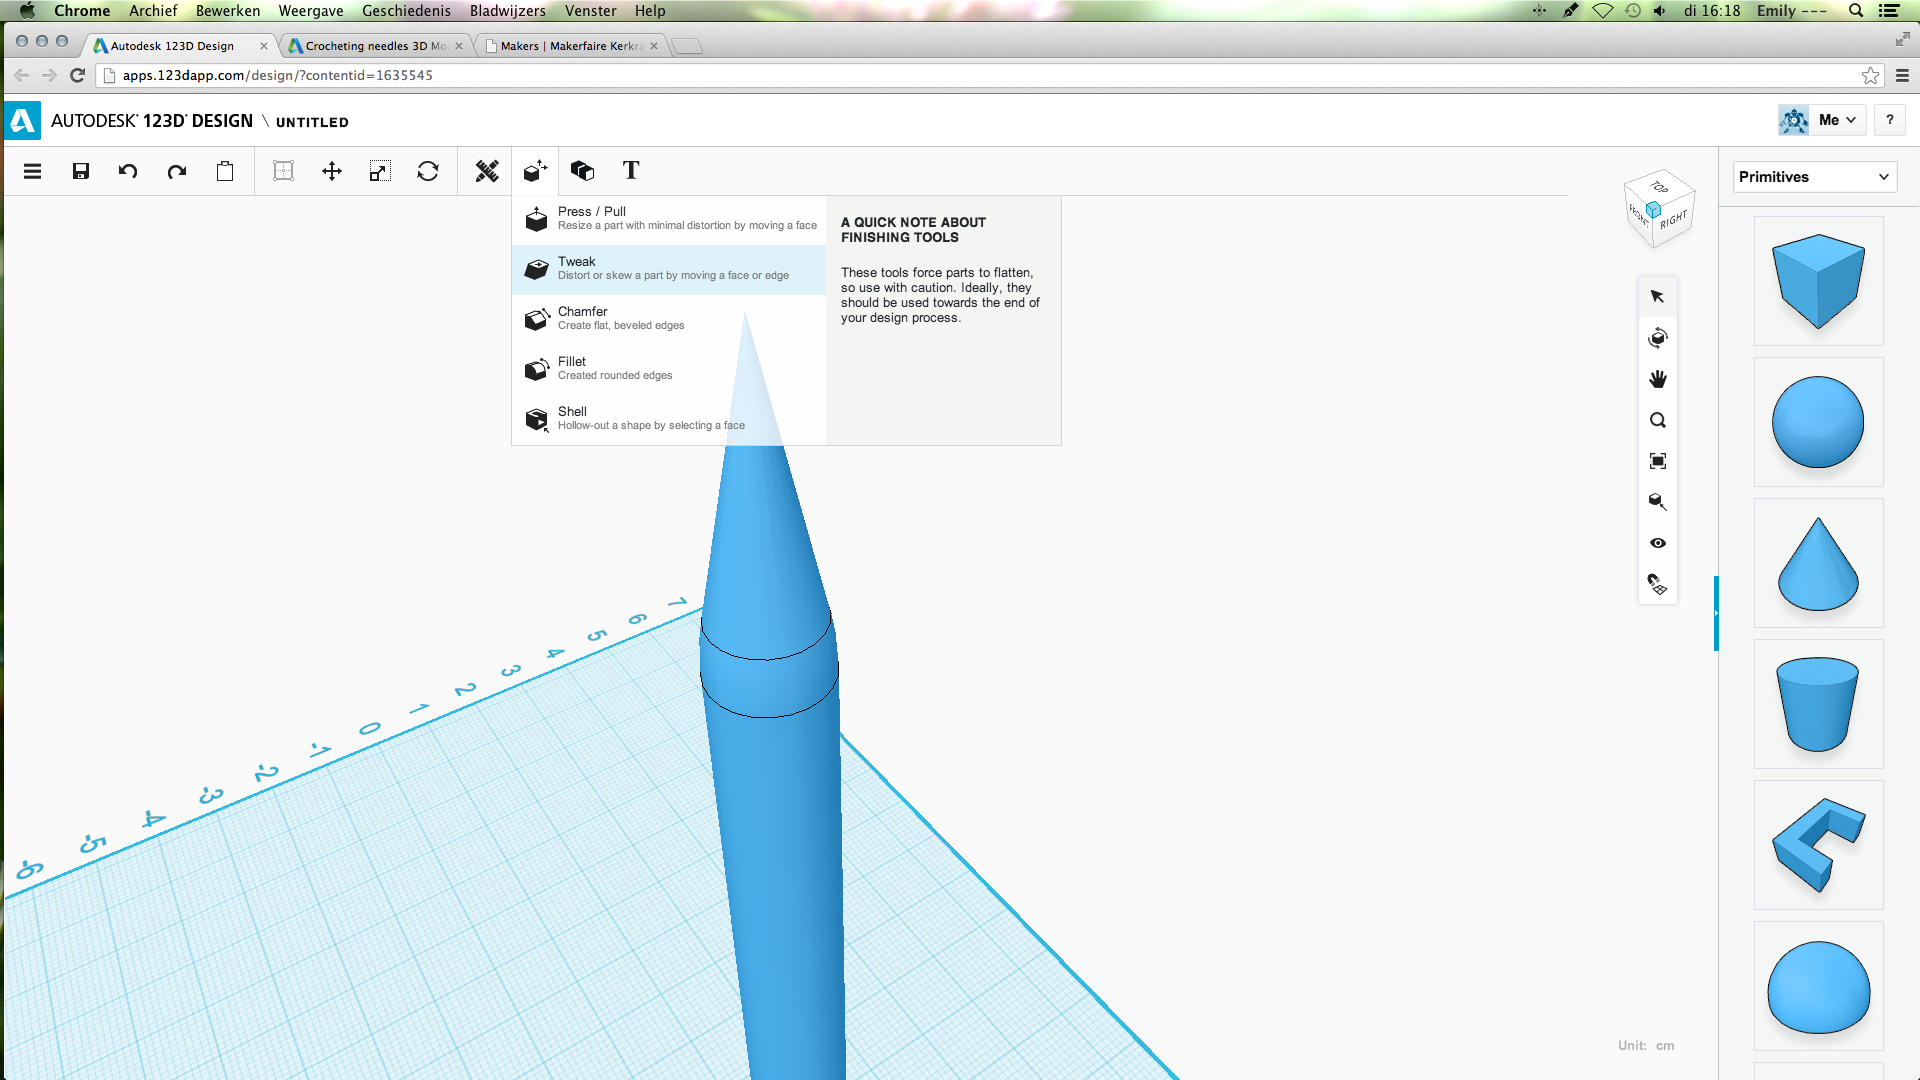
Using the fillet option (where to find it is shown in the pictures), click the join between the cone and the cylinder. Change the radius from 0 to 1.
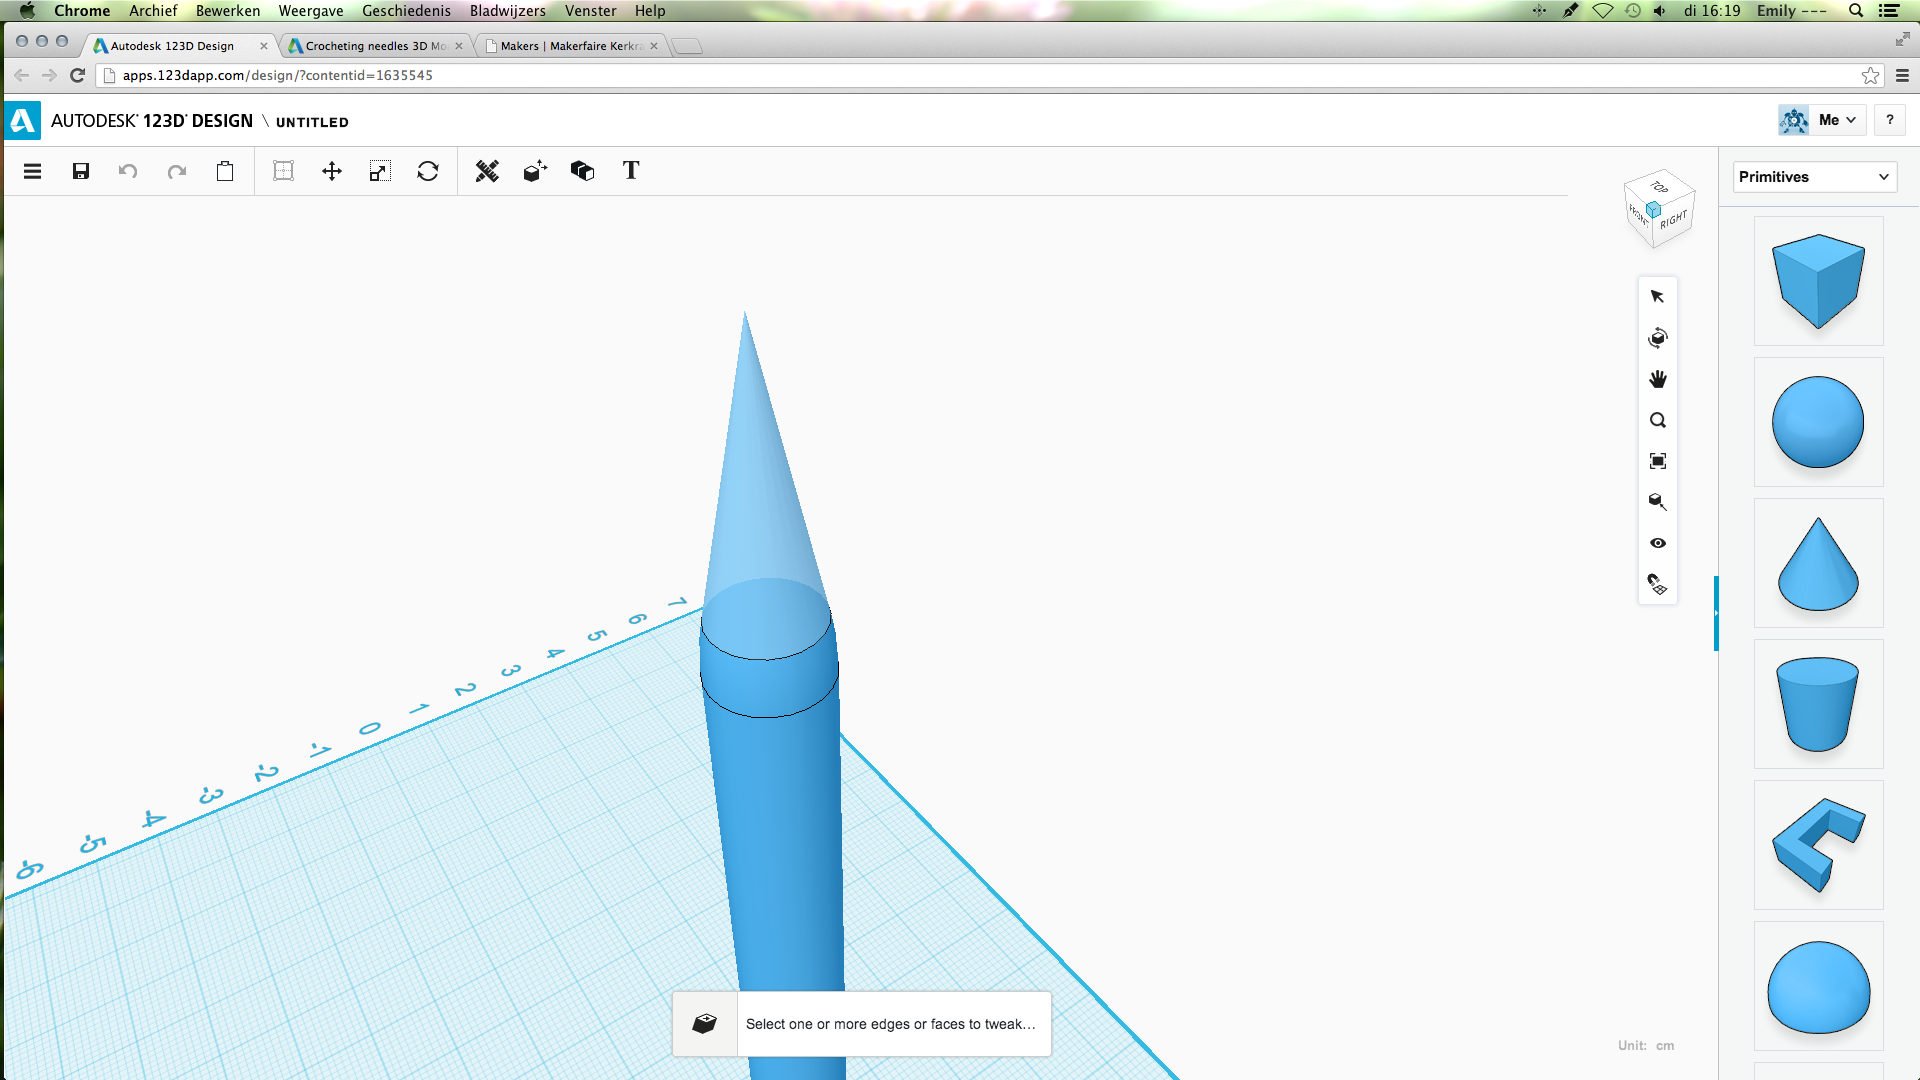
Next choose the tweak option (where to find it shown in the pictures) and select the upper part of the cone. Just experiment a bit until you reach the right shape. The numbers I ended up with are: L: 0,01; W:-0,058; H:-0,1
Add a Dome
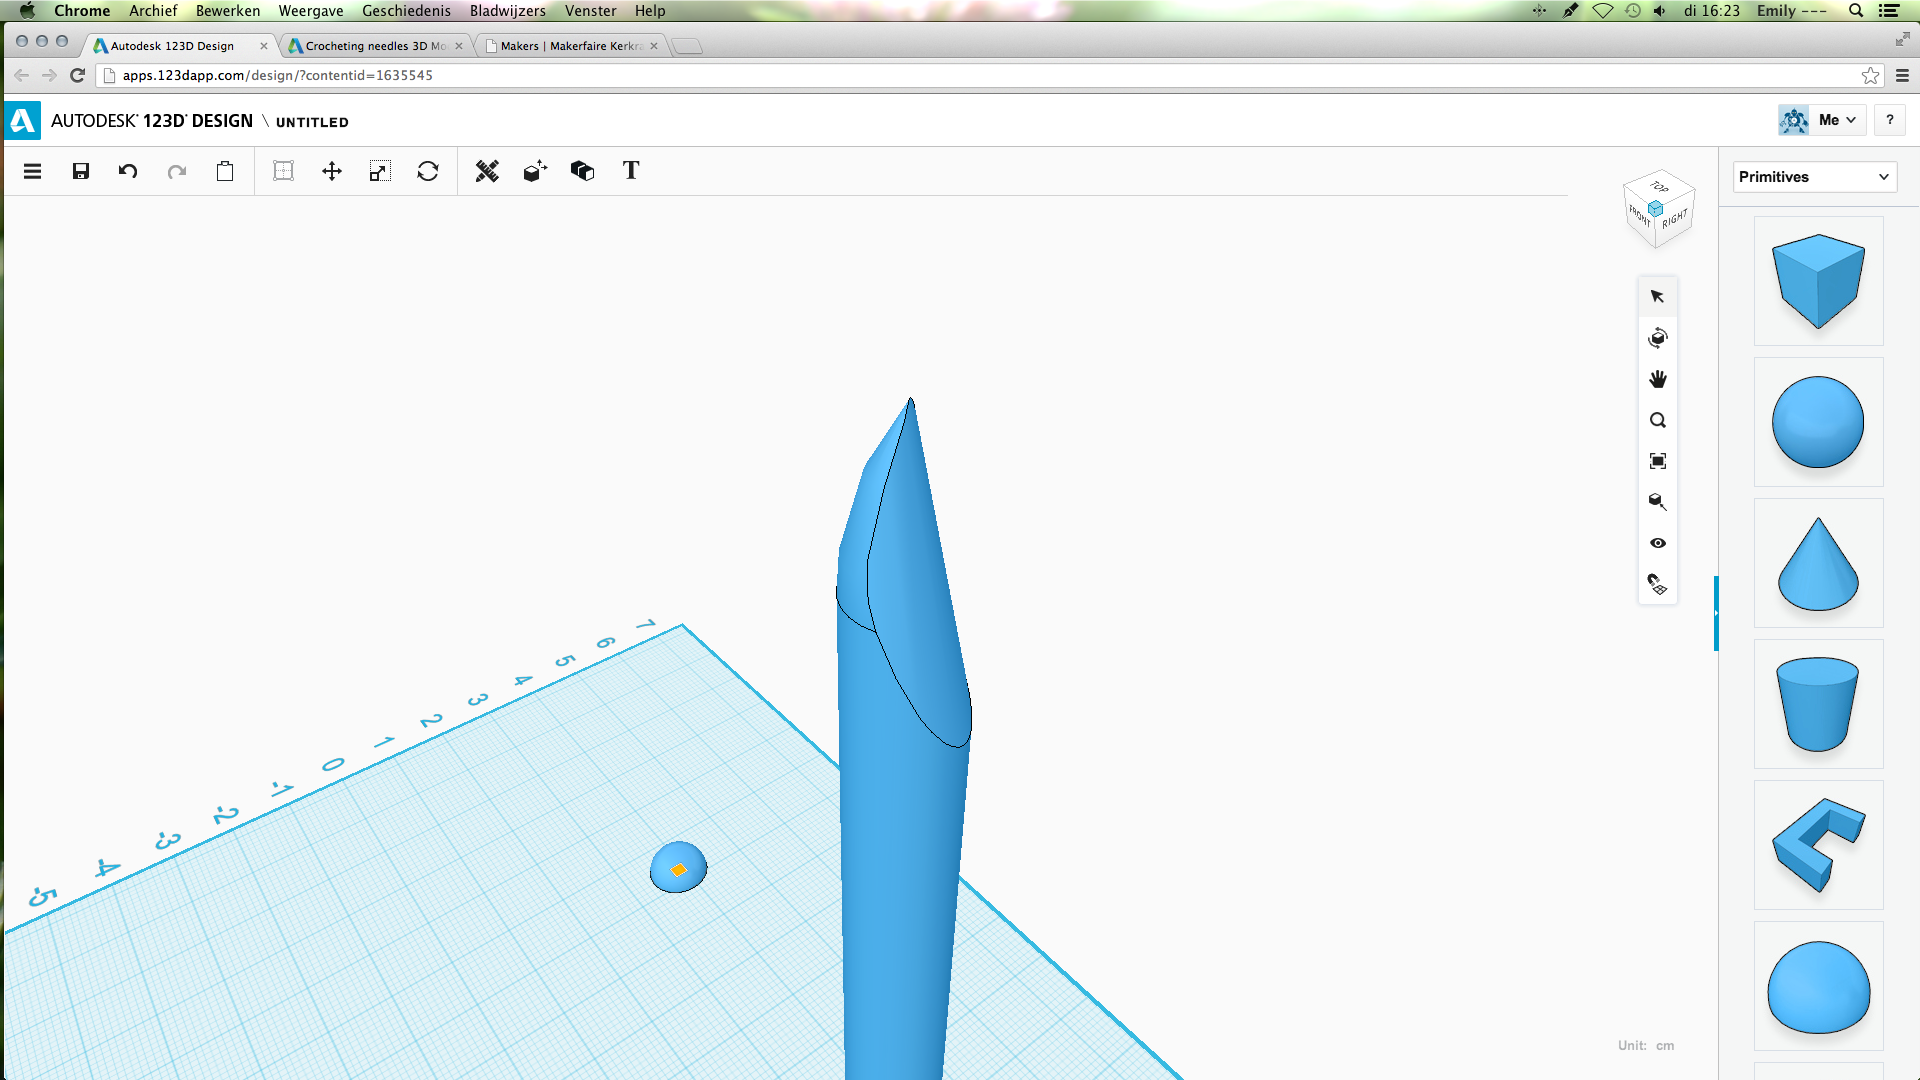
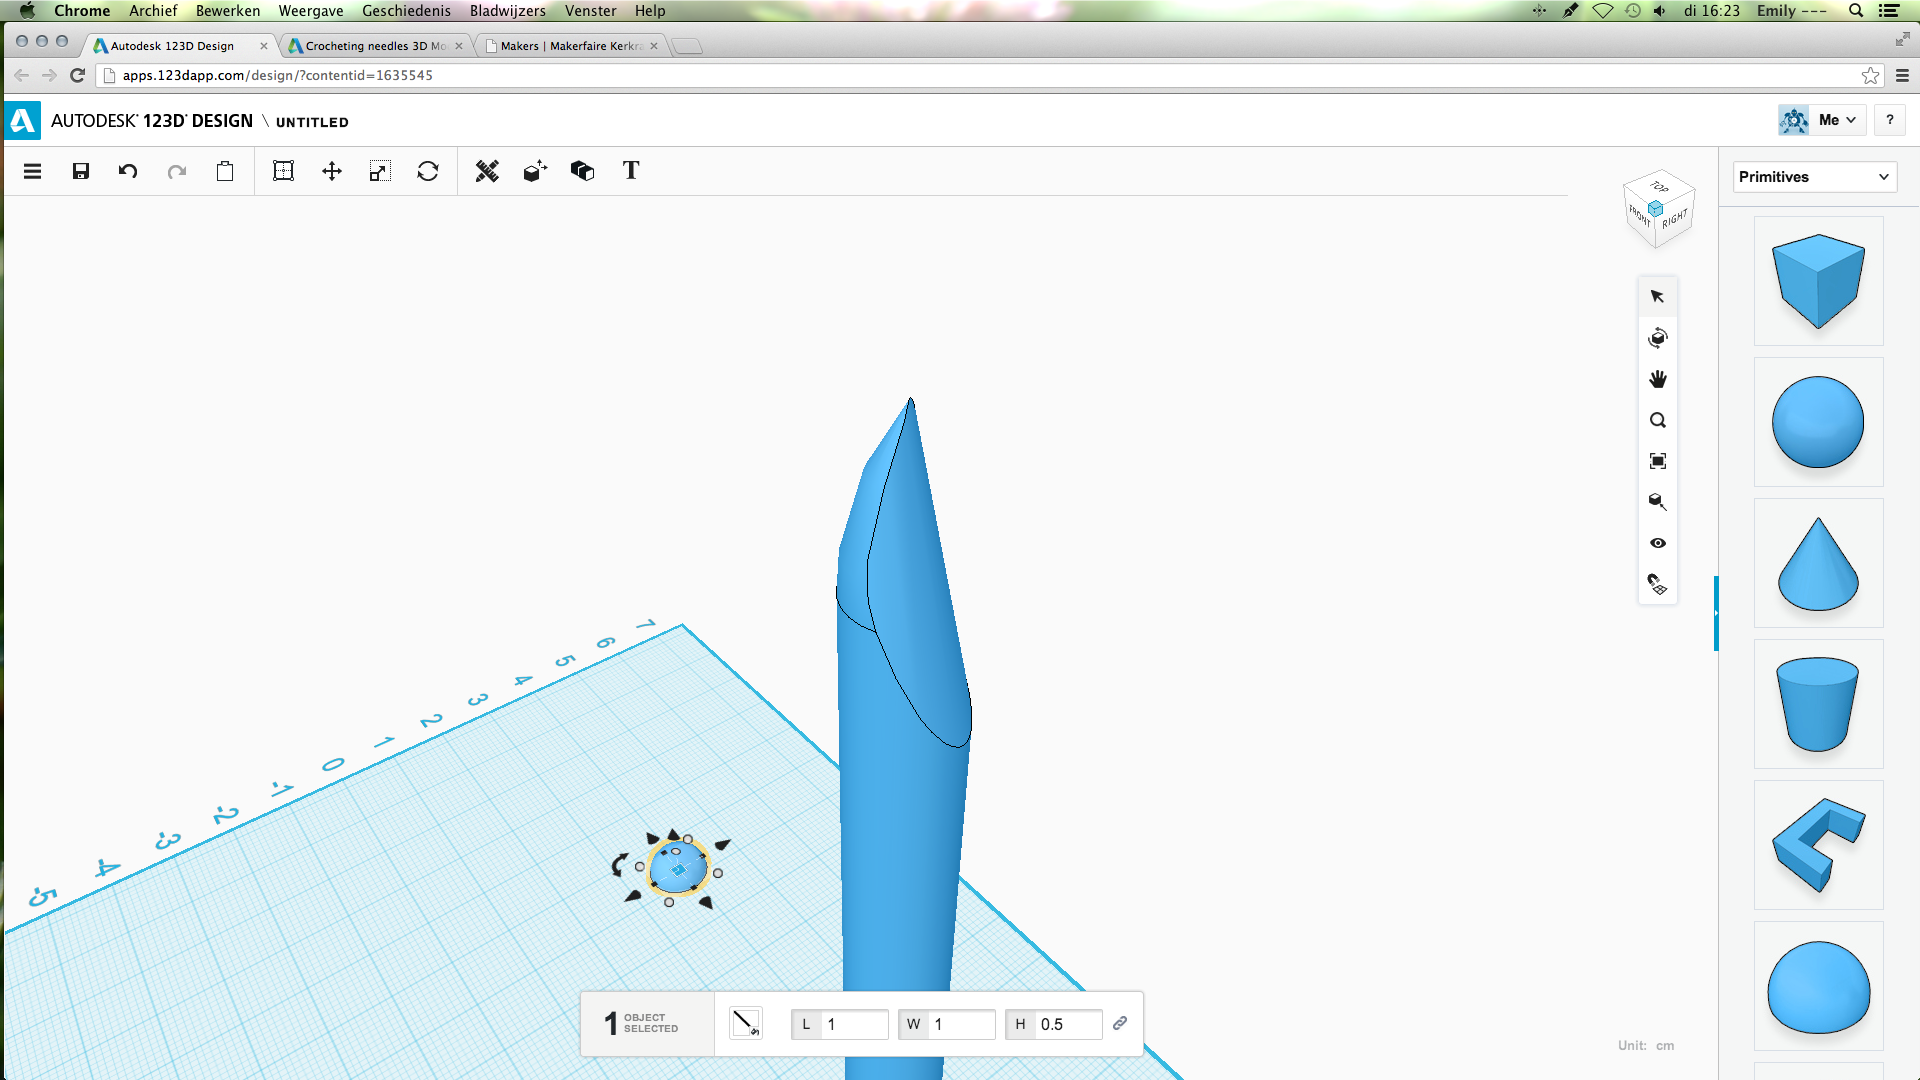
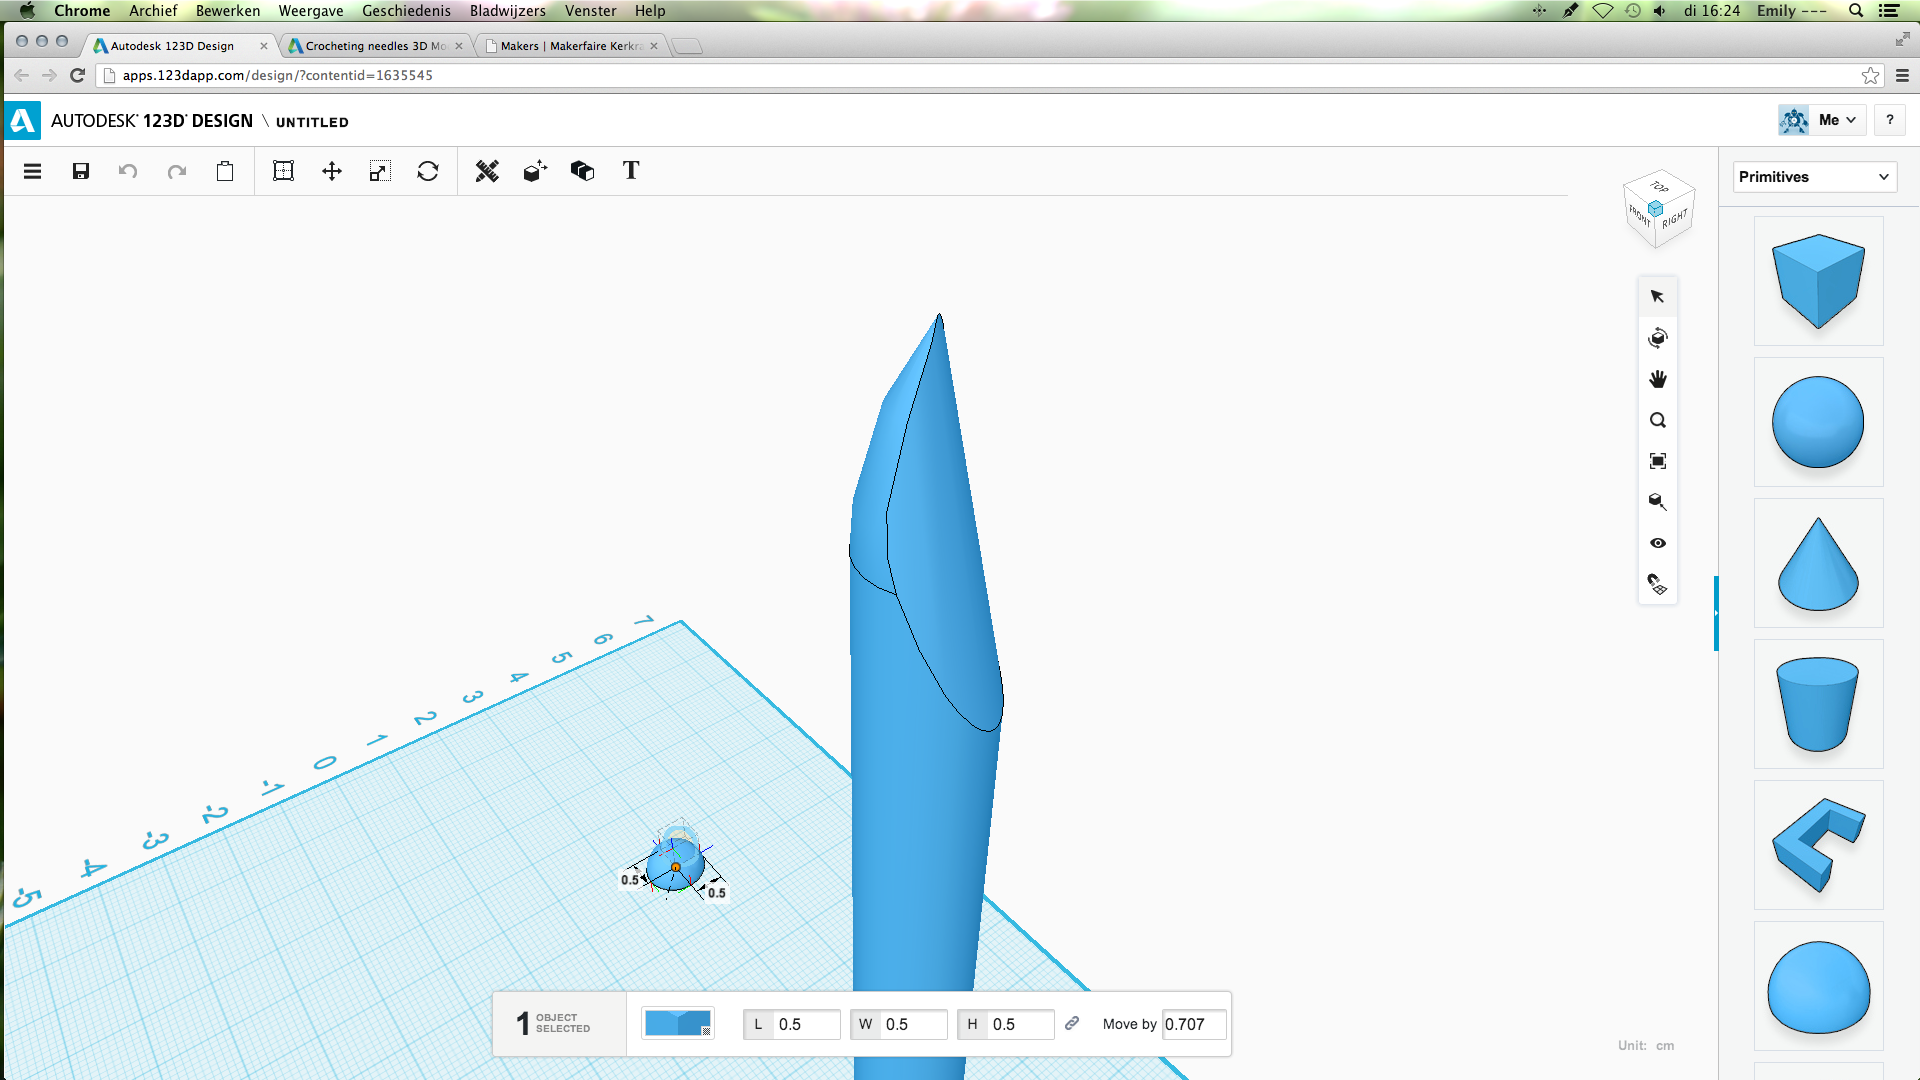
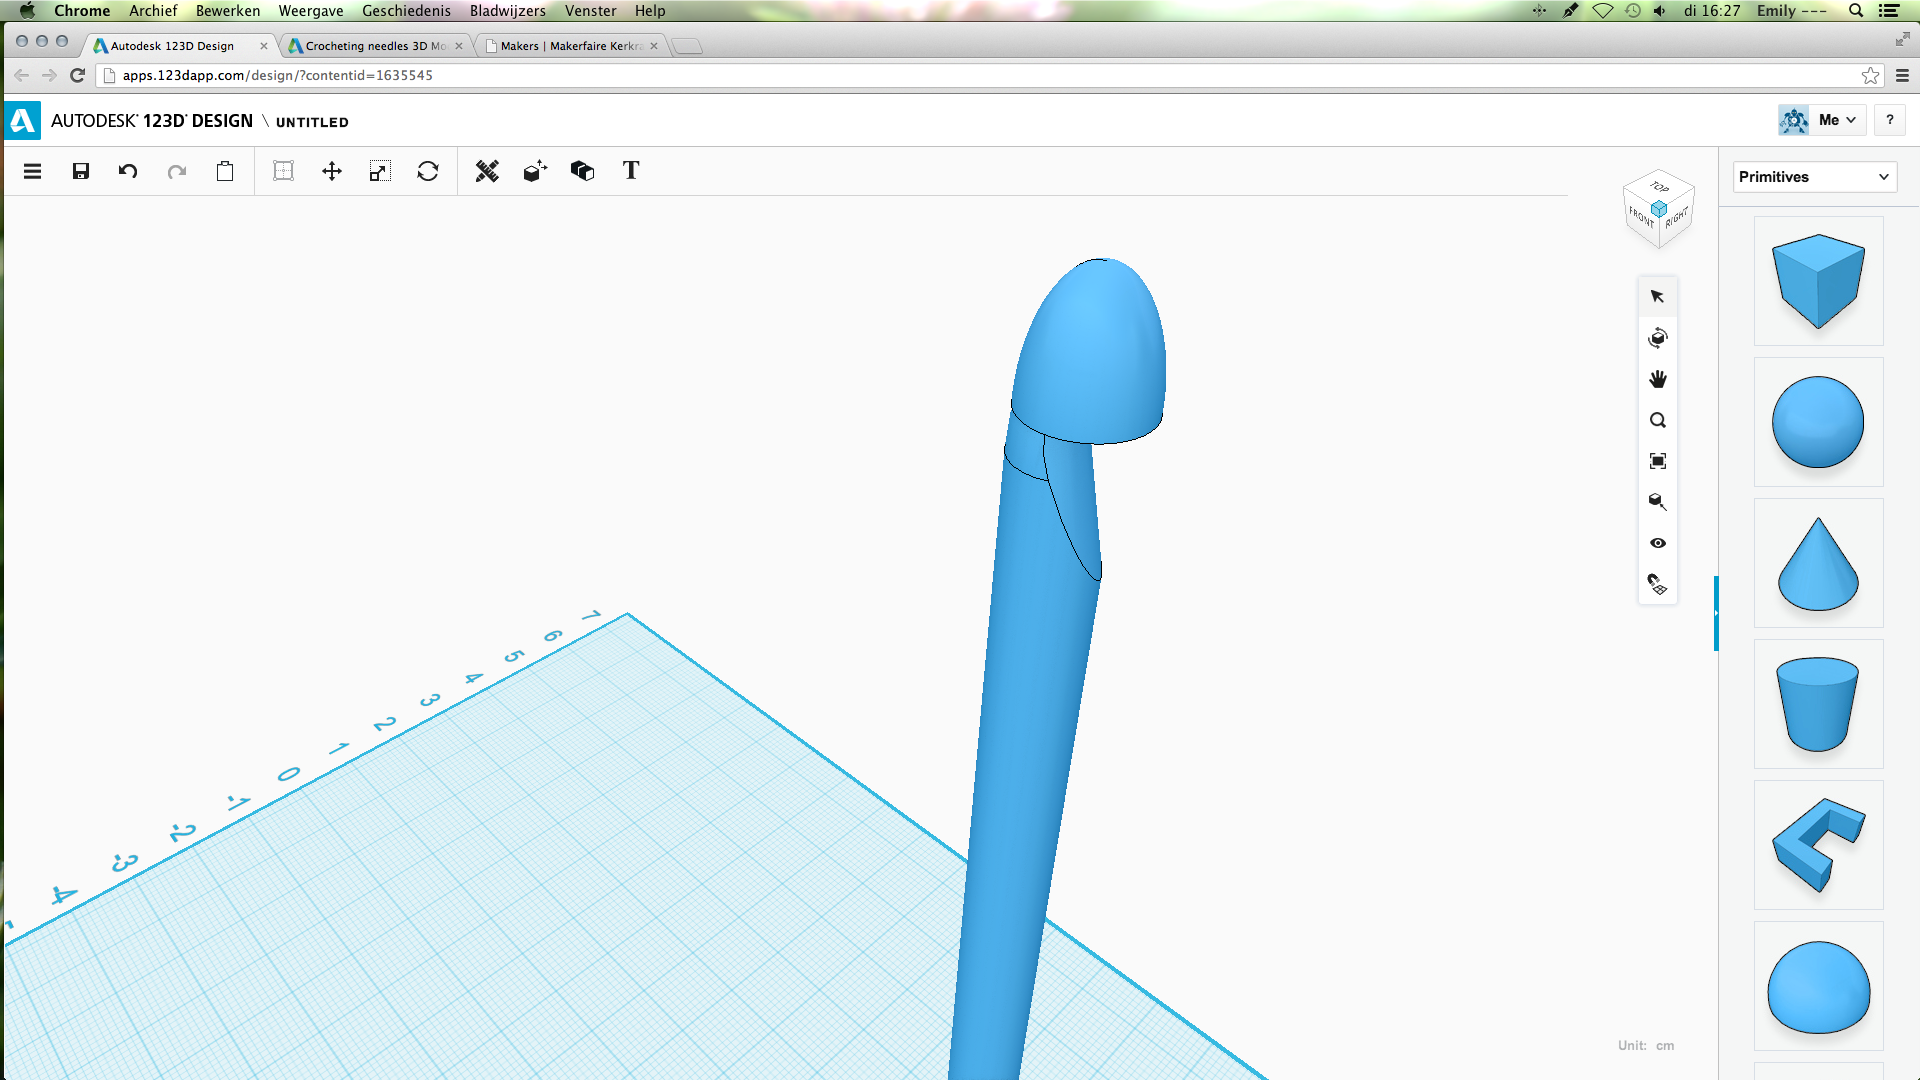
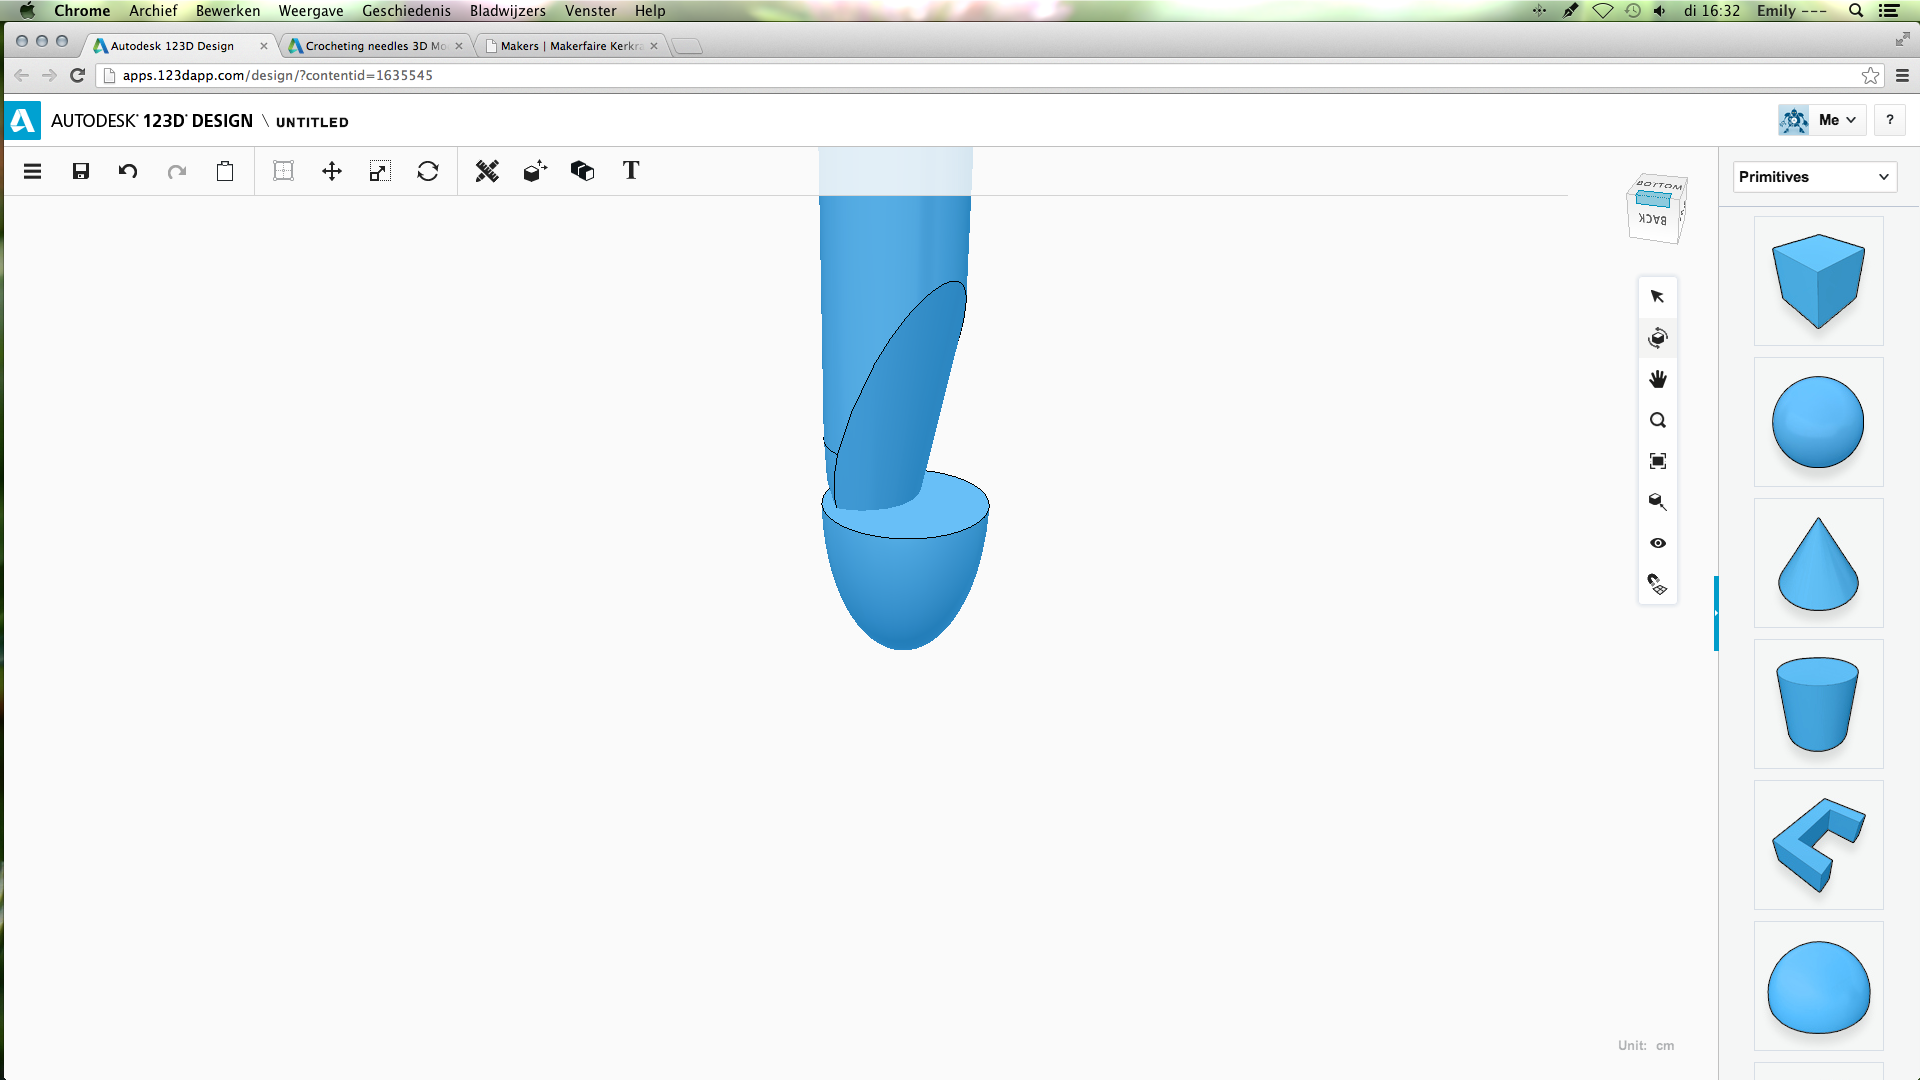
From the right side, choose the dome. Using the white dots, change the length and width to 0,5 cm.
After that, place the dome on top of the other shape, position it as shown on the picture.
Before going to the next step, turn your view to bottom view, so you can see the underside of the dome you just placed.
After that, place the dome on top of the other shape, position it as shown on the picture.
Before going to the next step, turn your view to bottom view, so you can see the underside of the dome you just placed.
And Another Dome
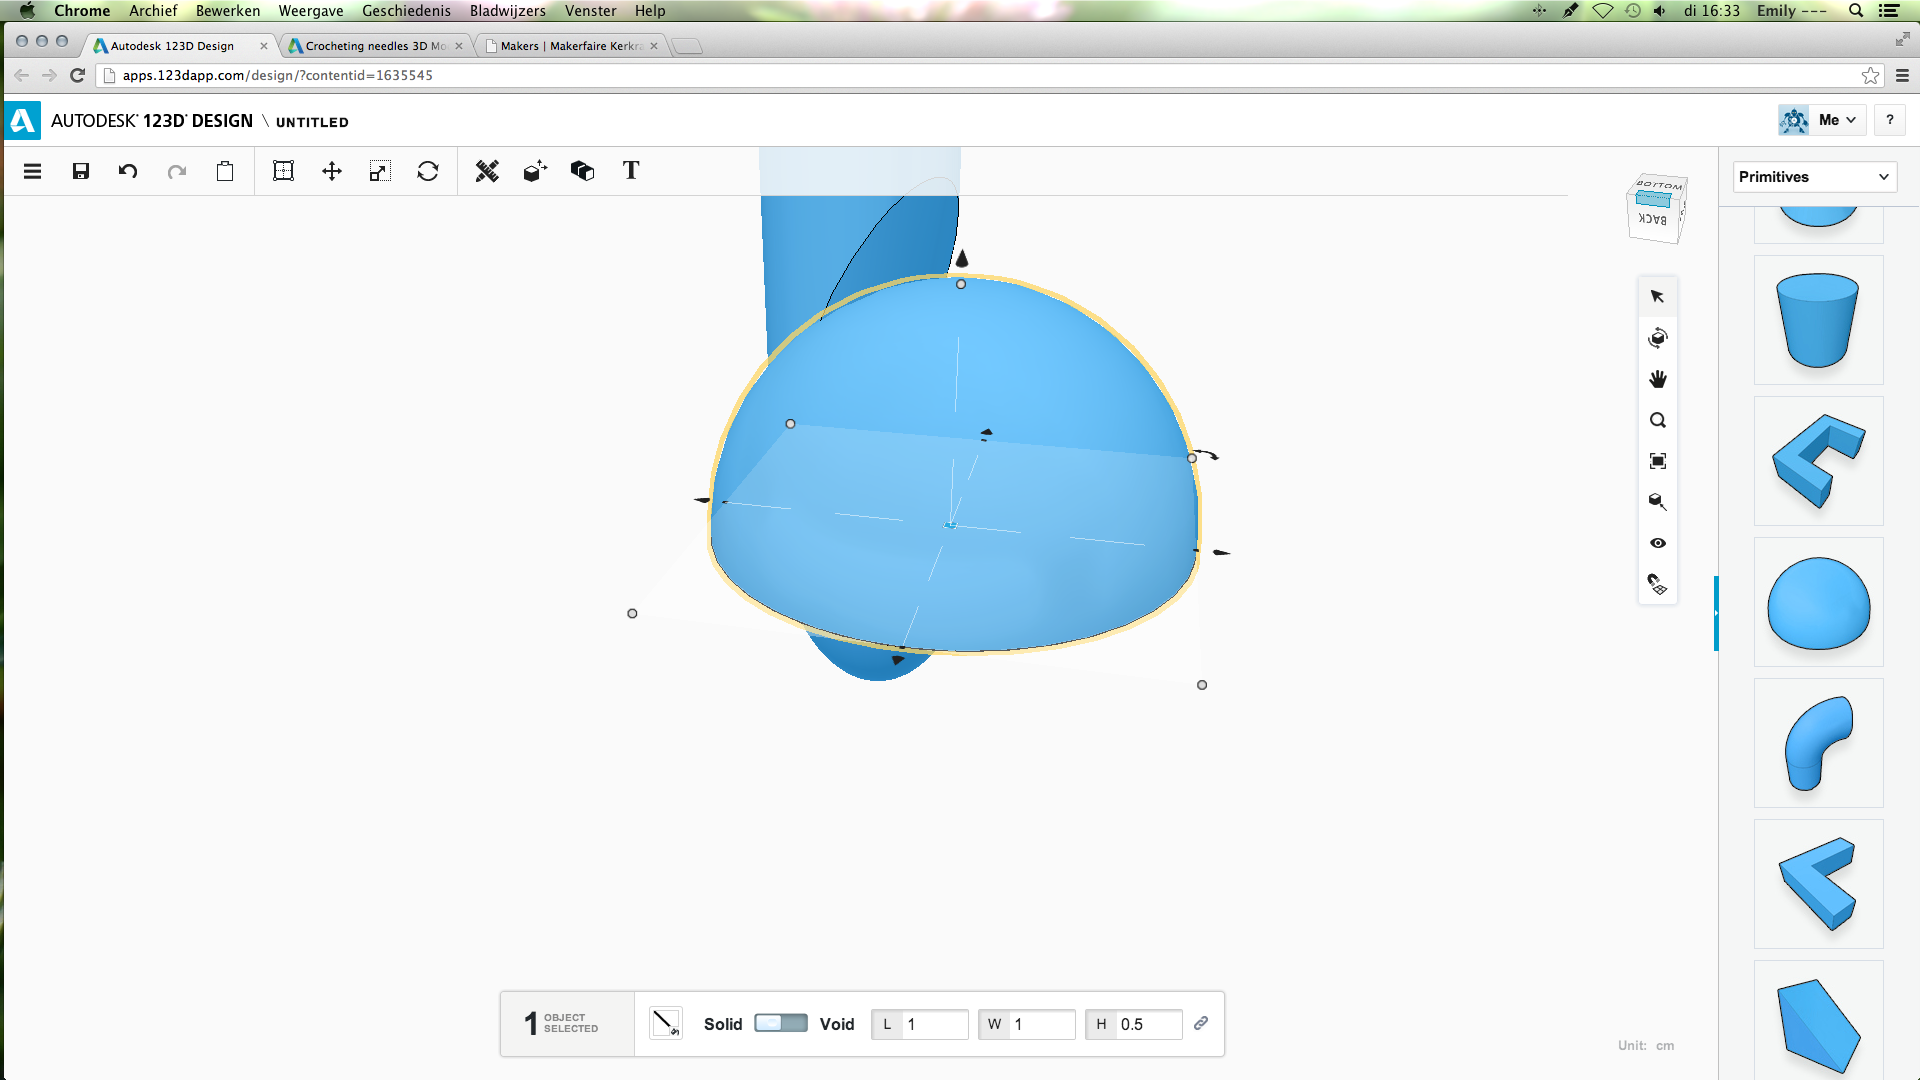
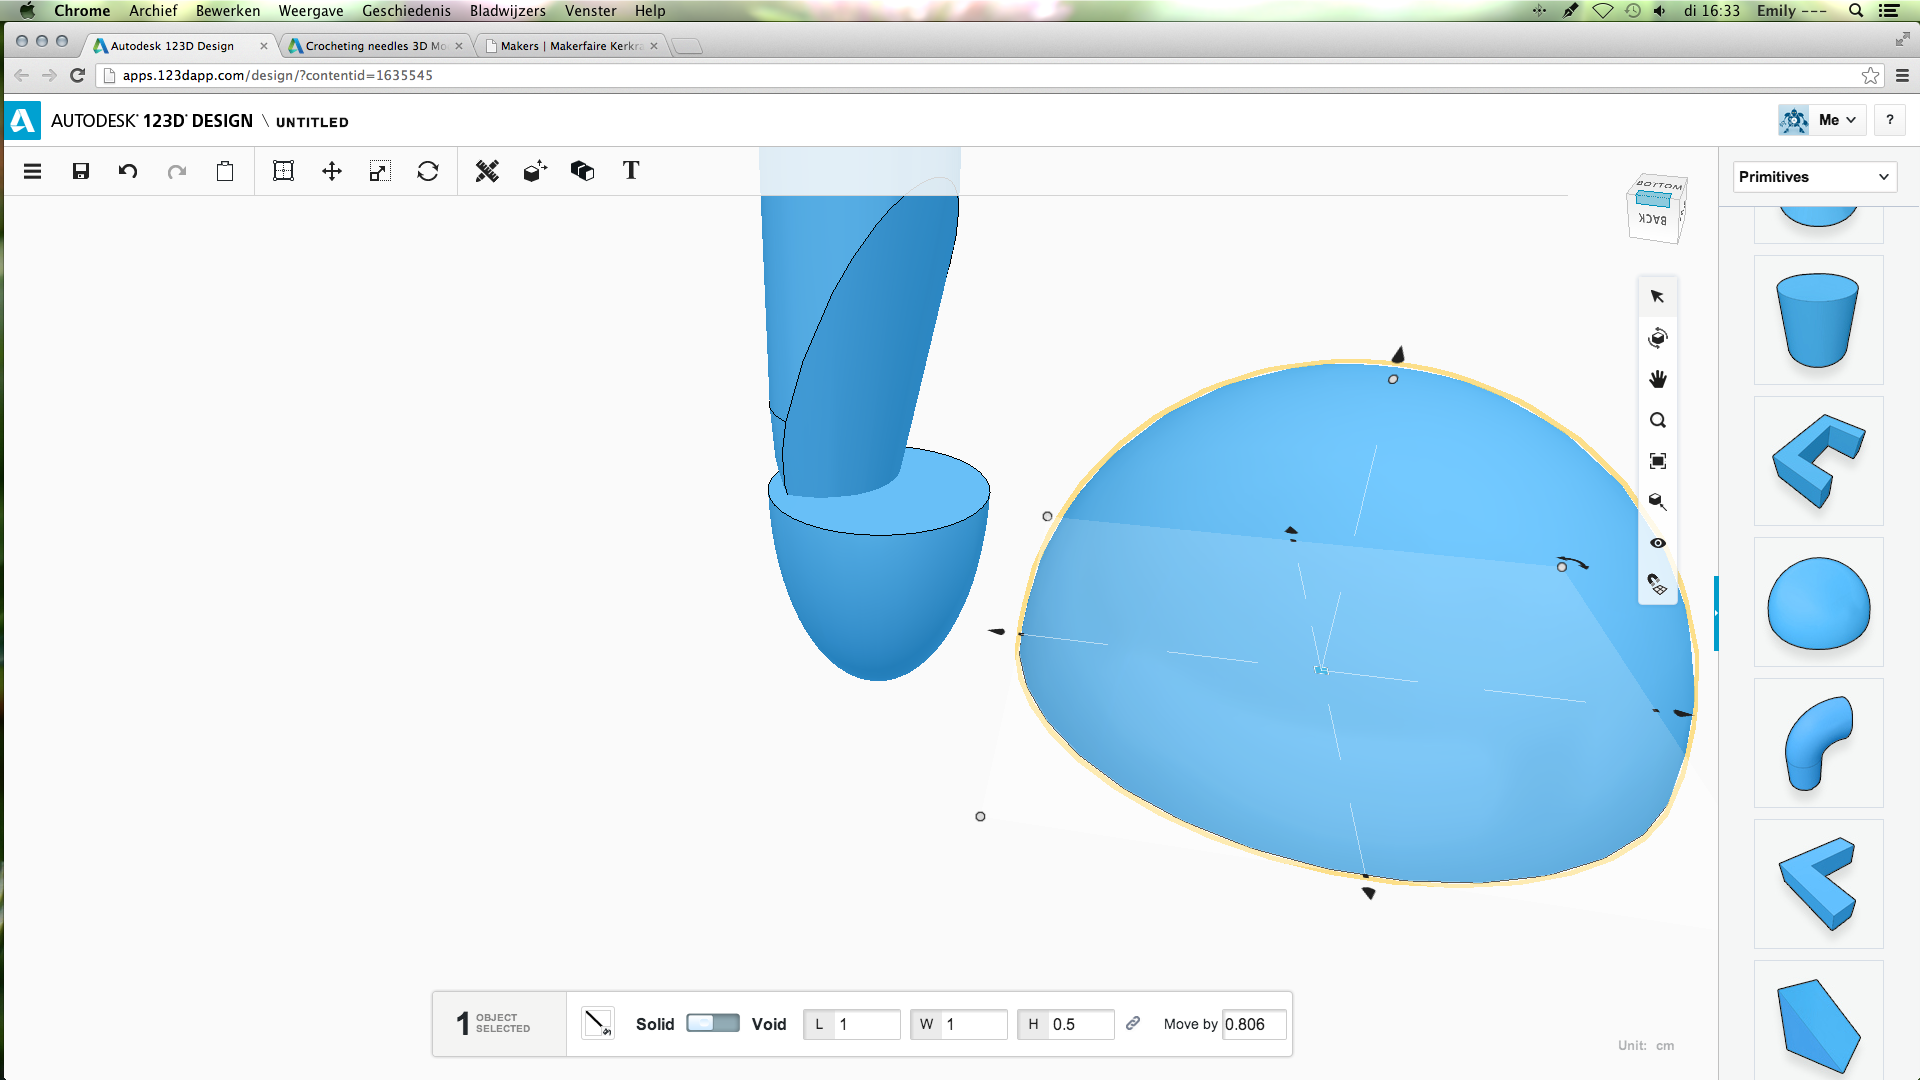
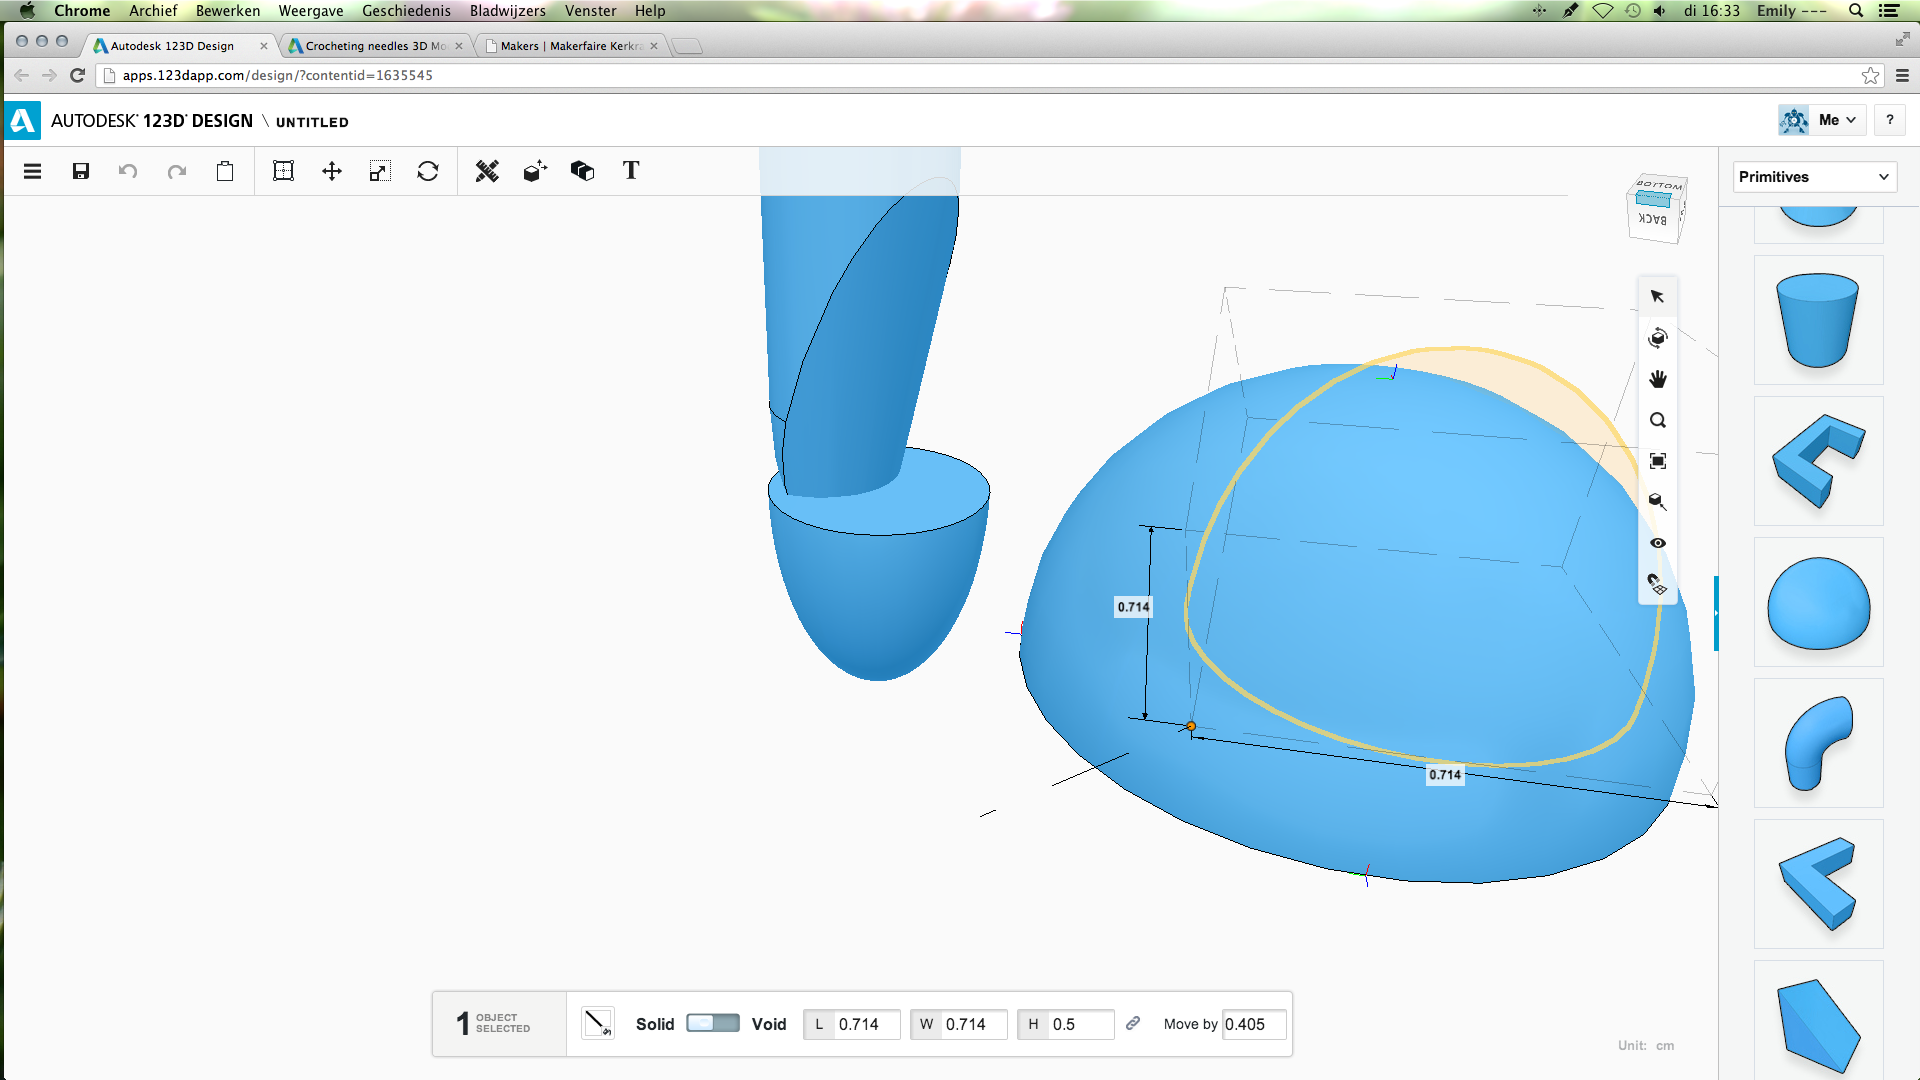
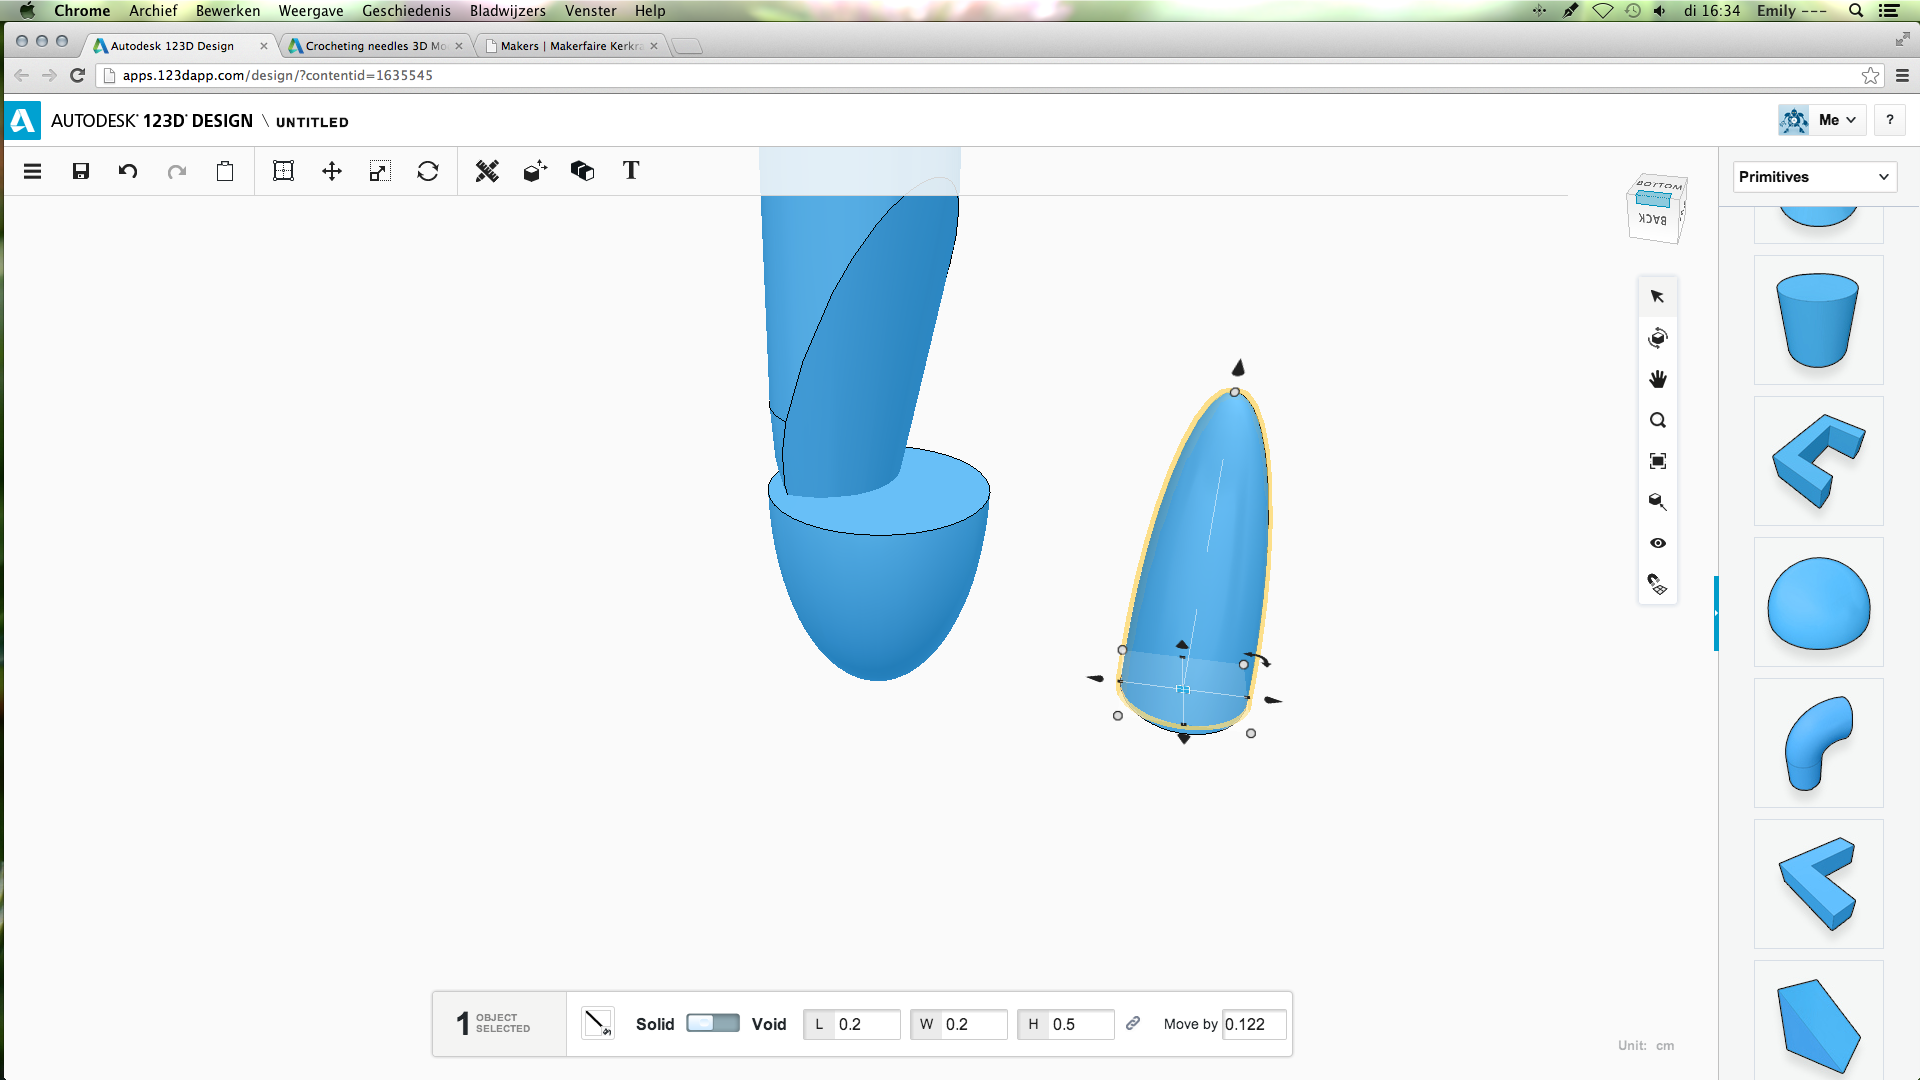
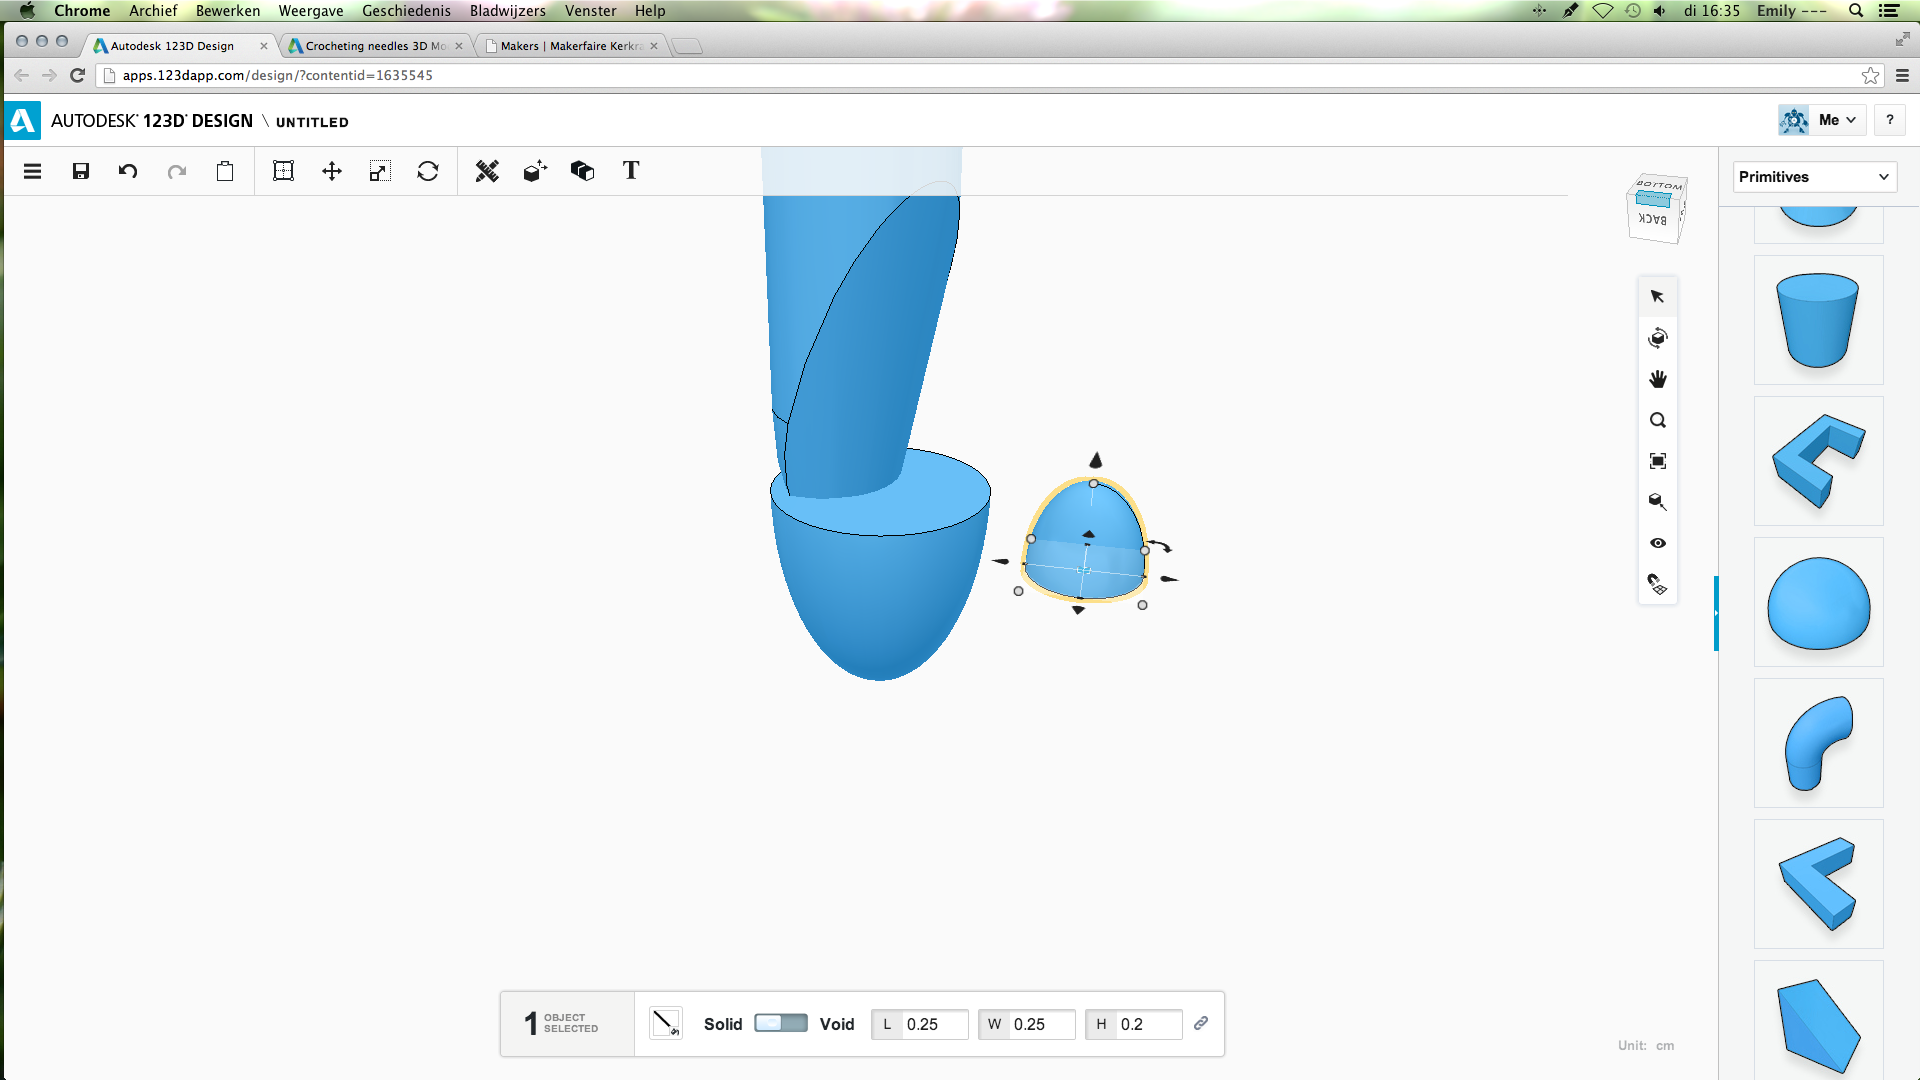
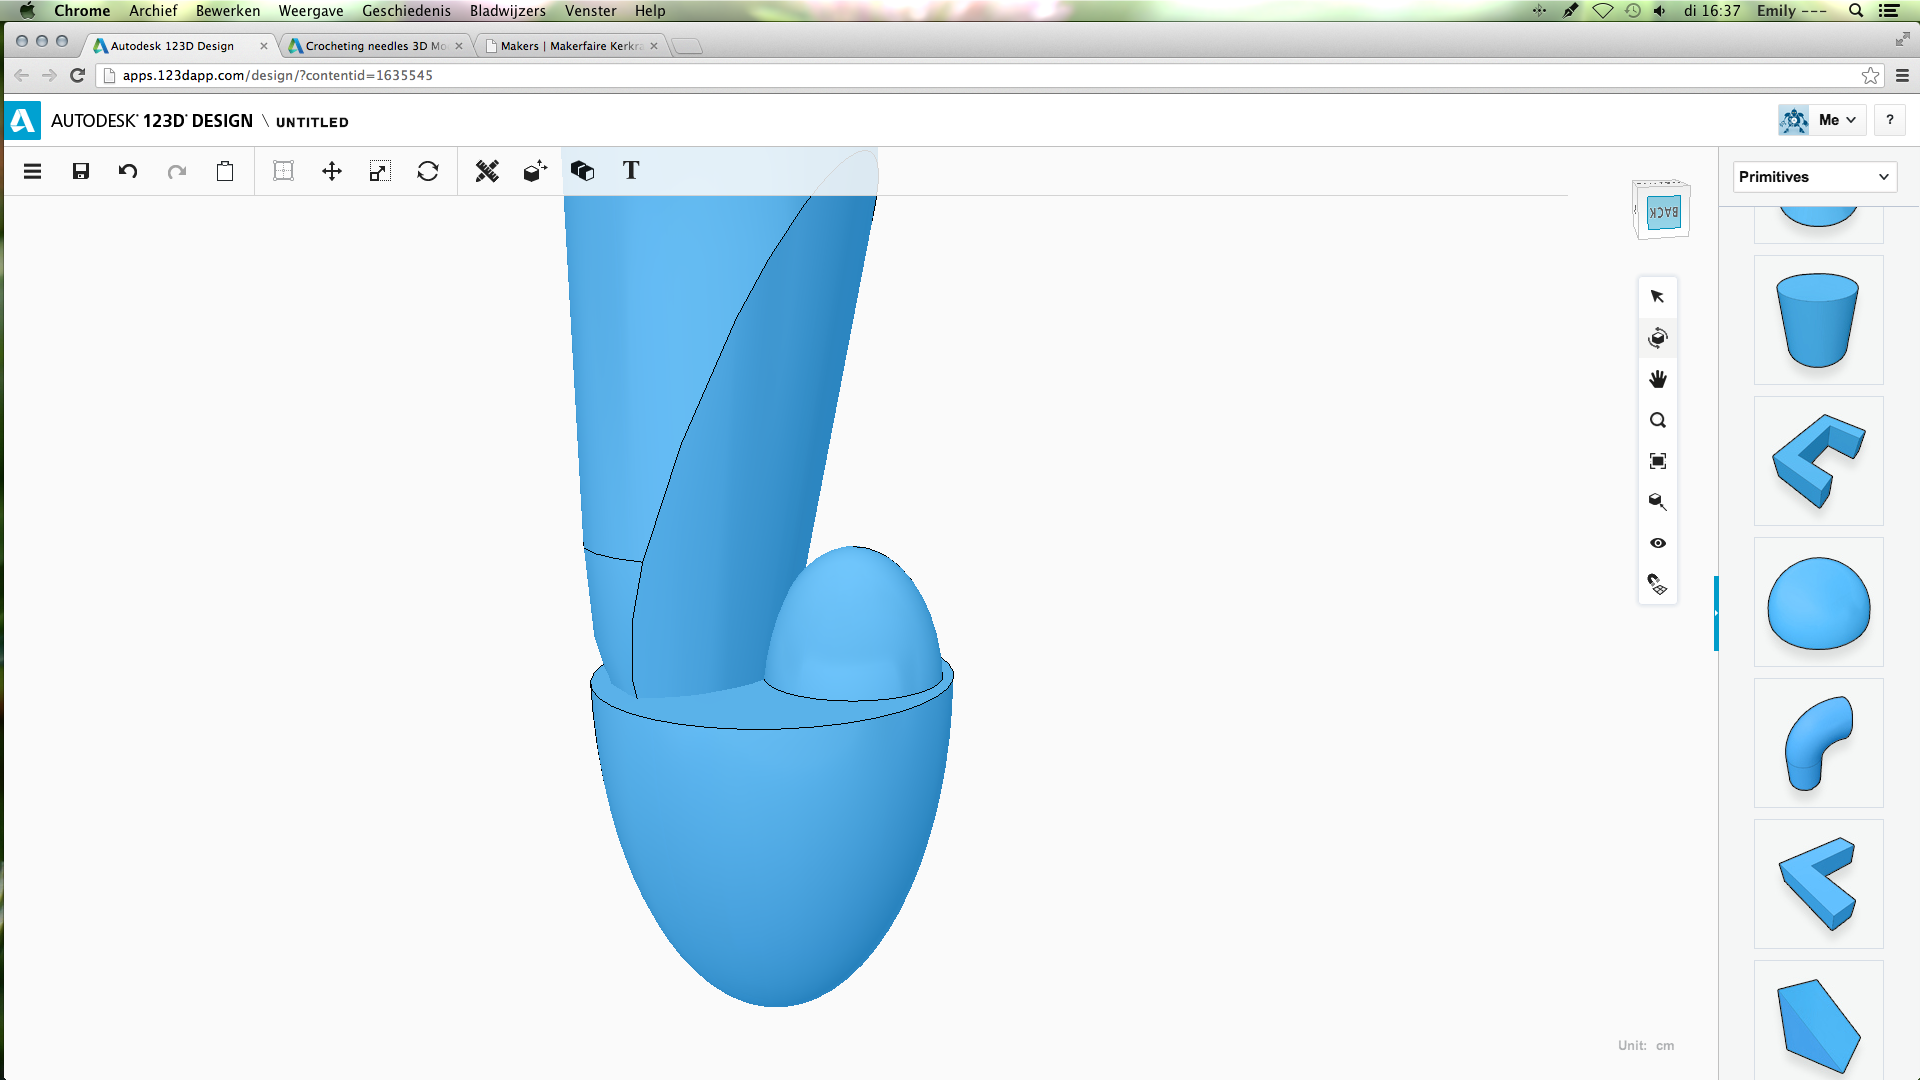
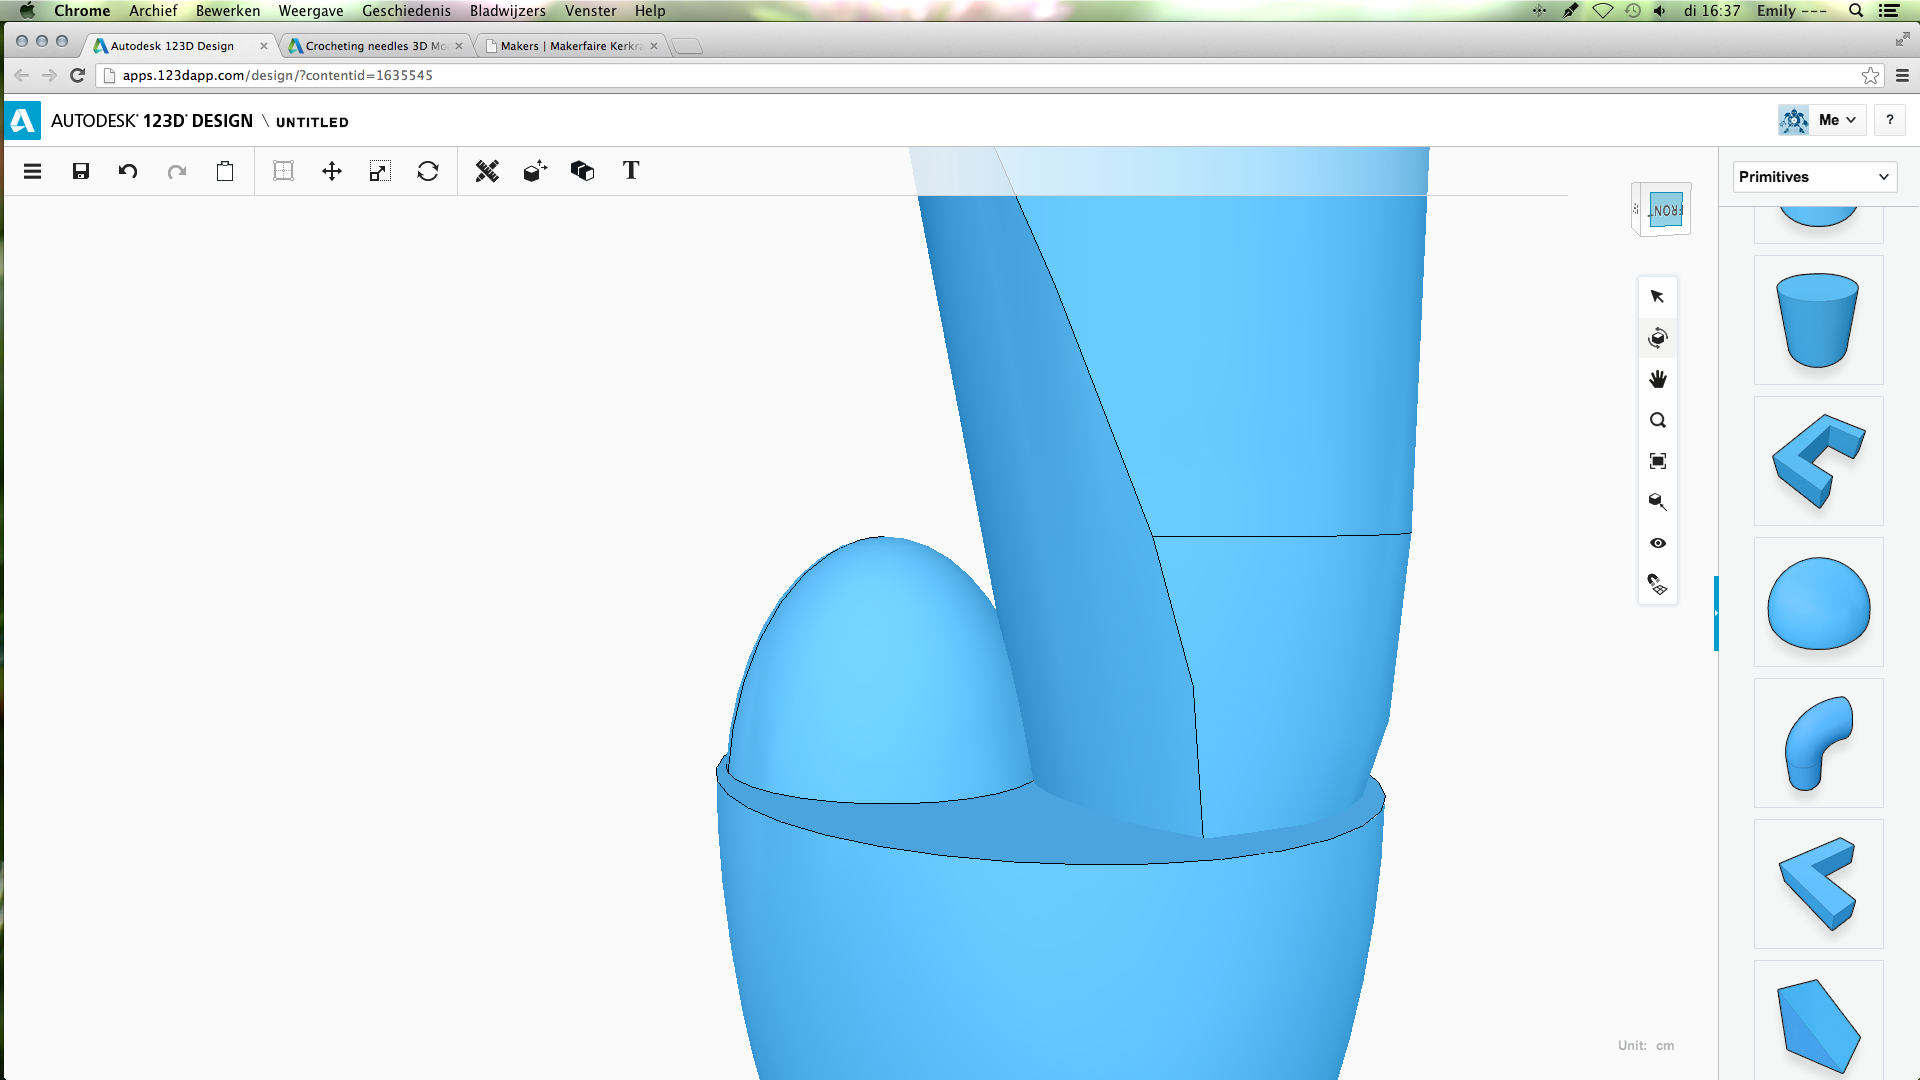
Again, take a dome. Change the size to:
L: 0,25
W: 0,25
H: 0,20
Place it on the flat side of the other dome and position it as shown in the pictures.
It can be helpful to look at the other side too, just so you know it looks good on every side, not just on one.
L: 0,25
W: 0,25
H: 0,20
Place it on the flat side of the other dome and position it as shown in the pictures.
It can be helpful to look at the other side too, just so you know it looks good on every side, not just on one.
Finished Crochet Needle
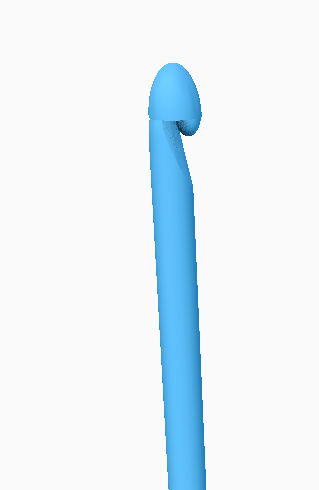
So, now your crochet needle is finished!
Oh, and DO NOT forget to save!!!
To make sure it is one piece(not pictured), select the complete model. Then, at the bottom of the page, it says how many objects there are. If it says 1 object, you don't have to do this. If it gives a number other than one, go to the symbol with two cubes, on the left of the T, and choose group. Now it will say it is one object and you will be able to move it like one object.
The Knitting Needles
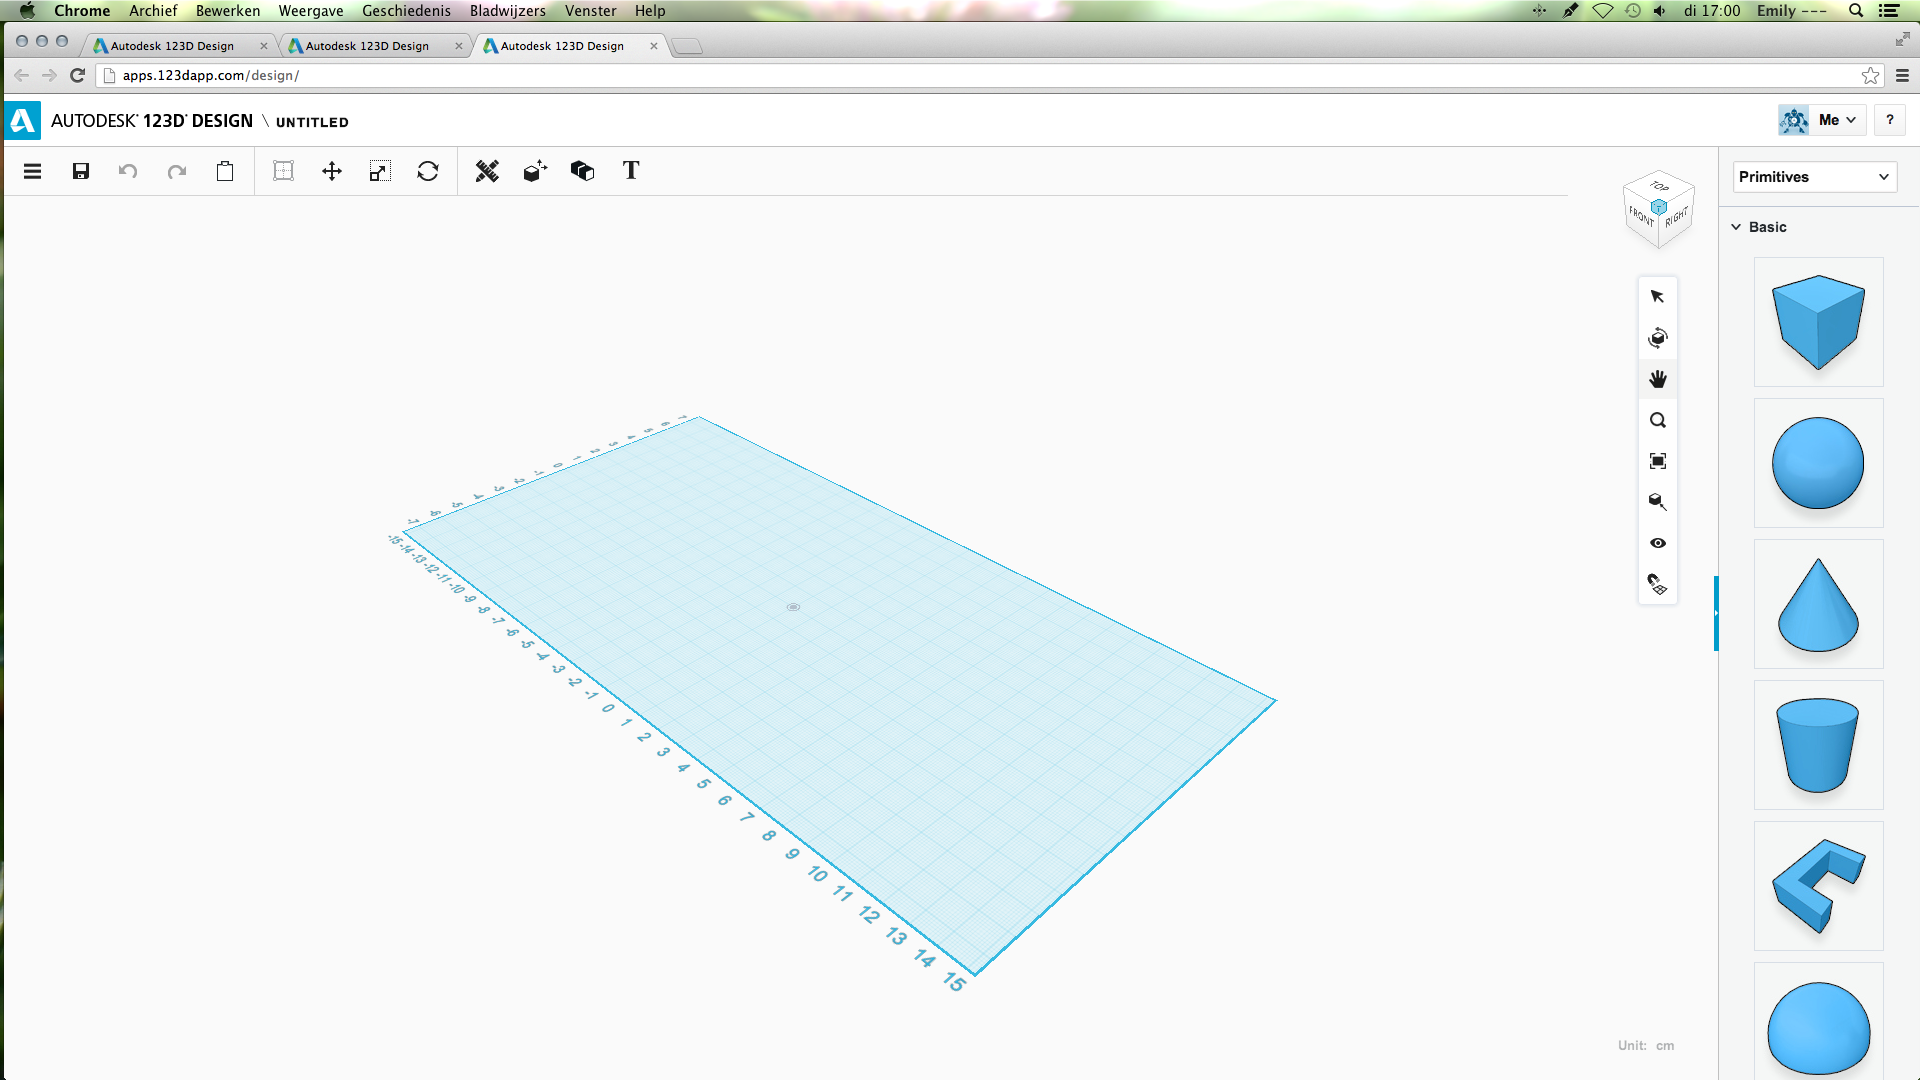
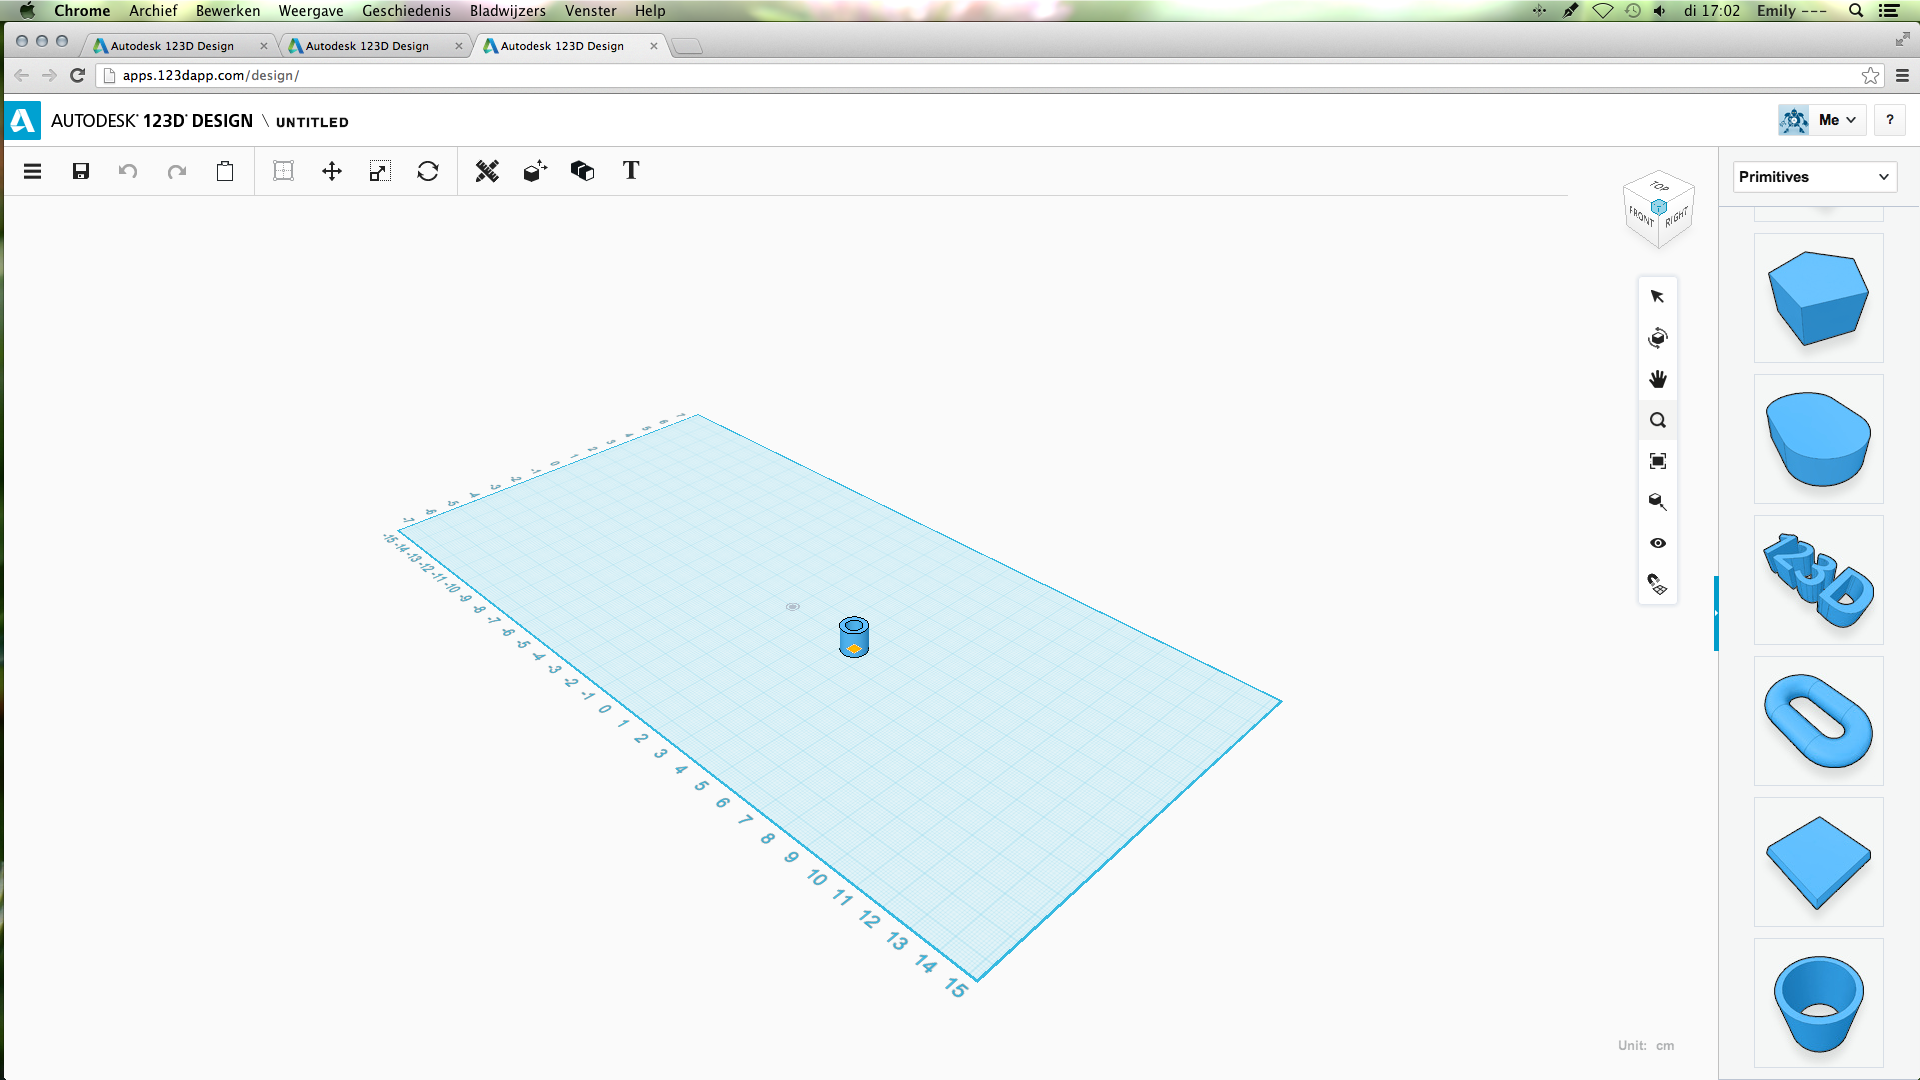
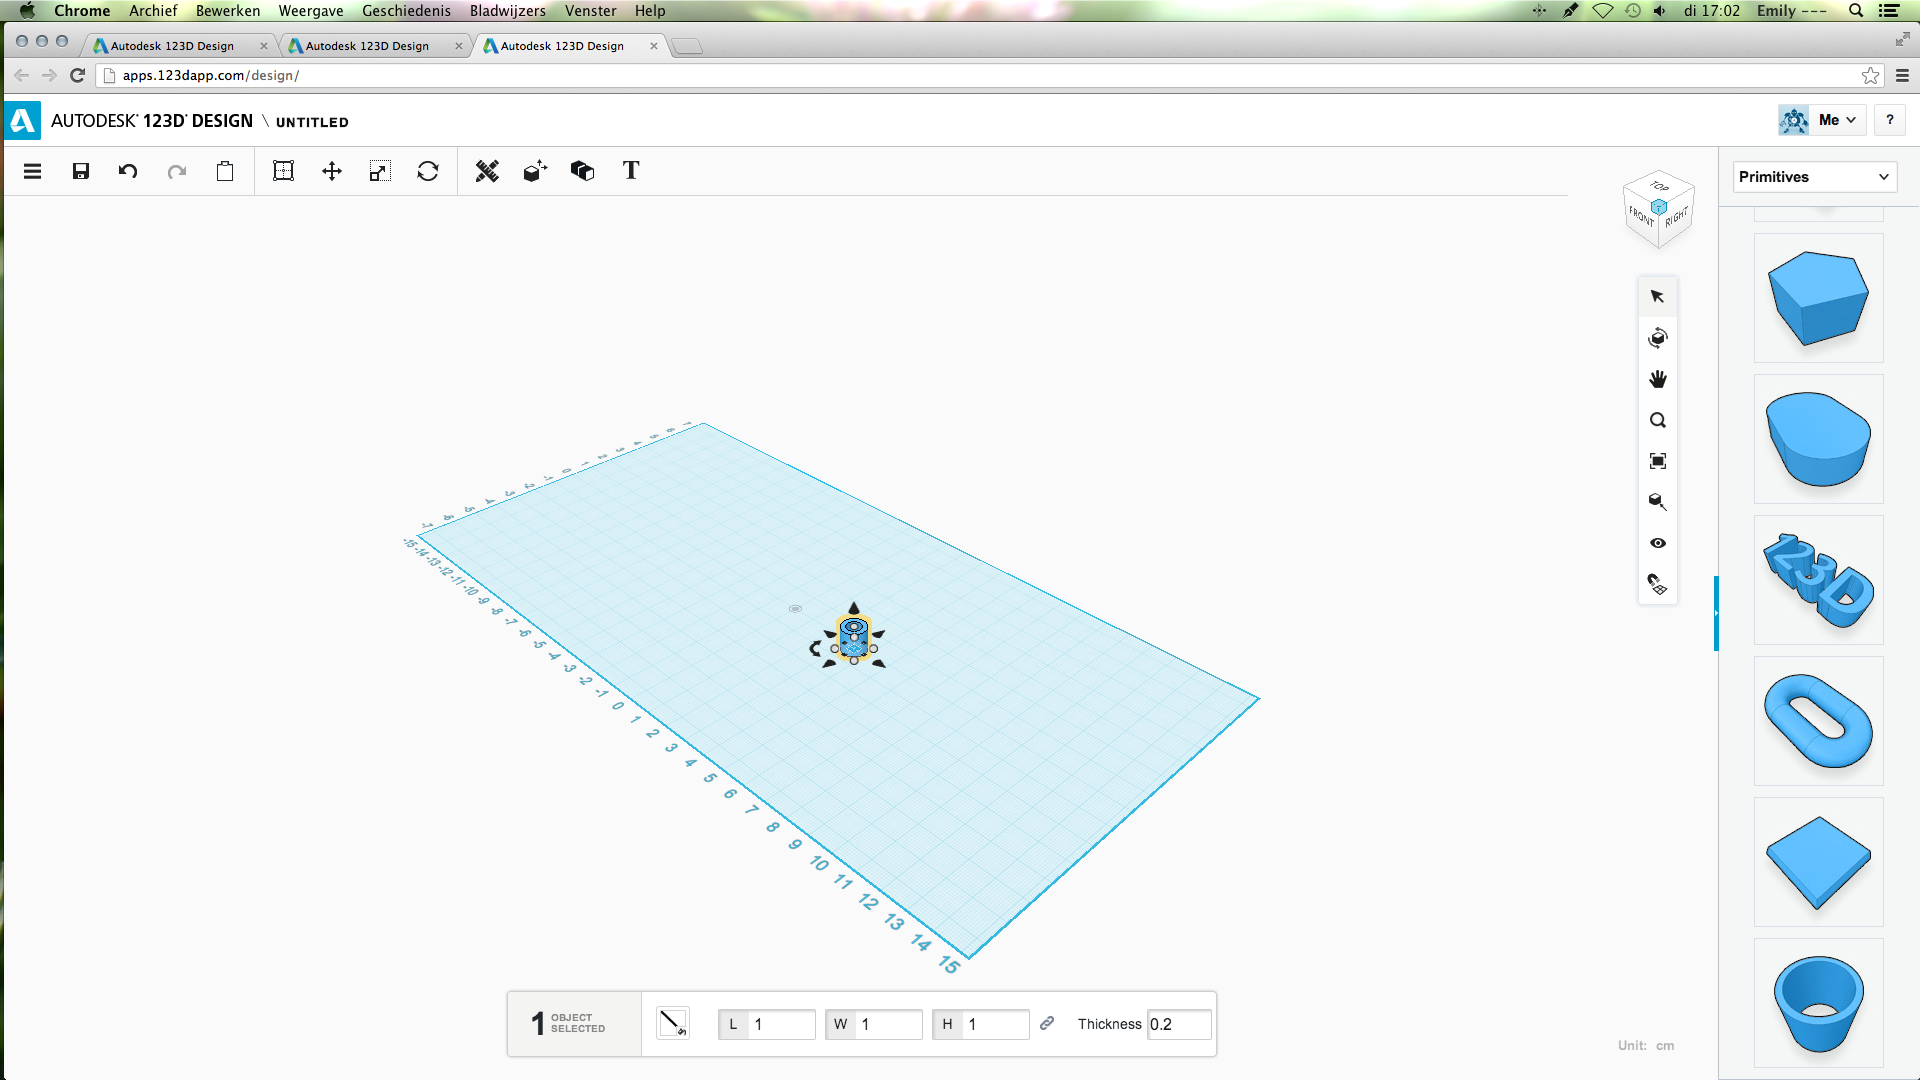
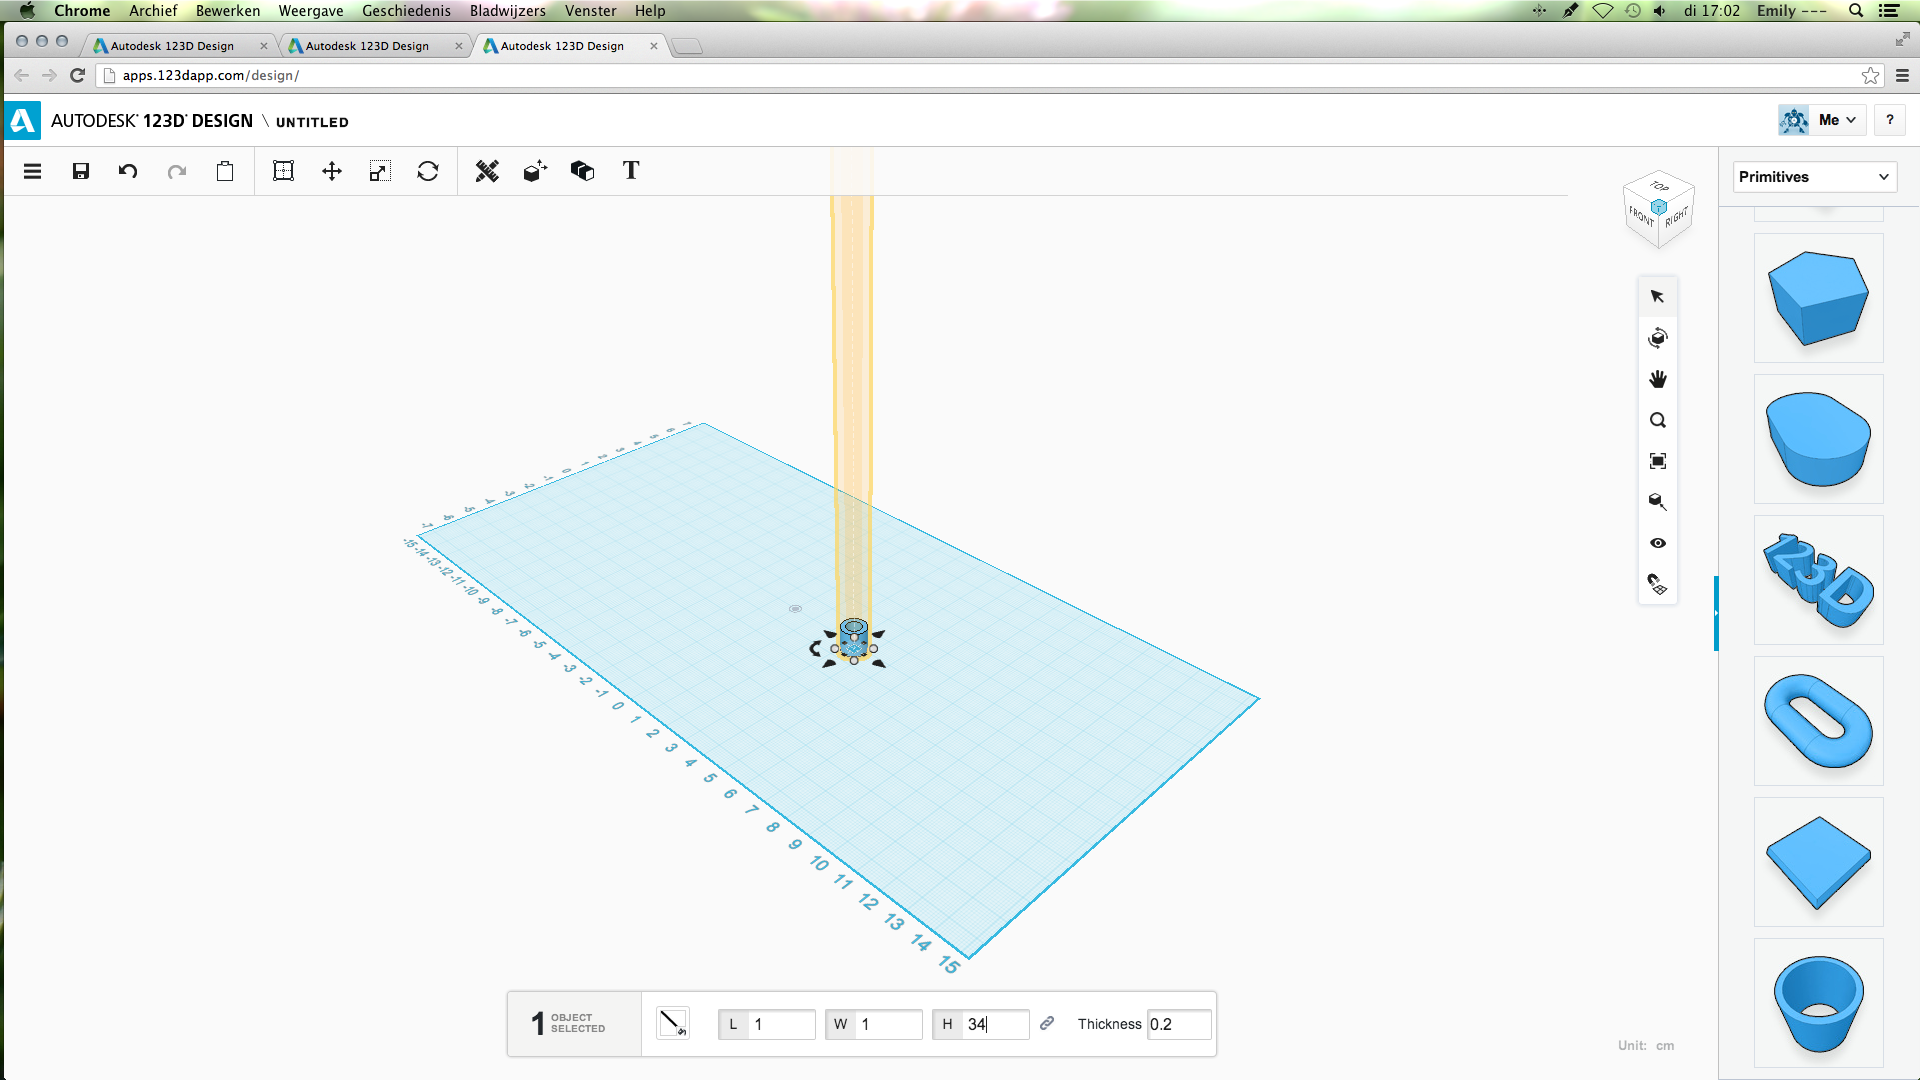
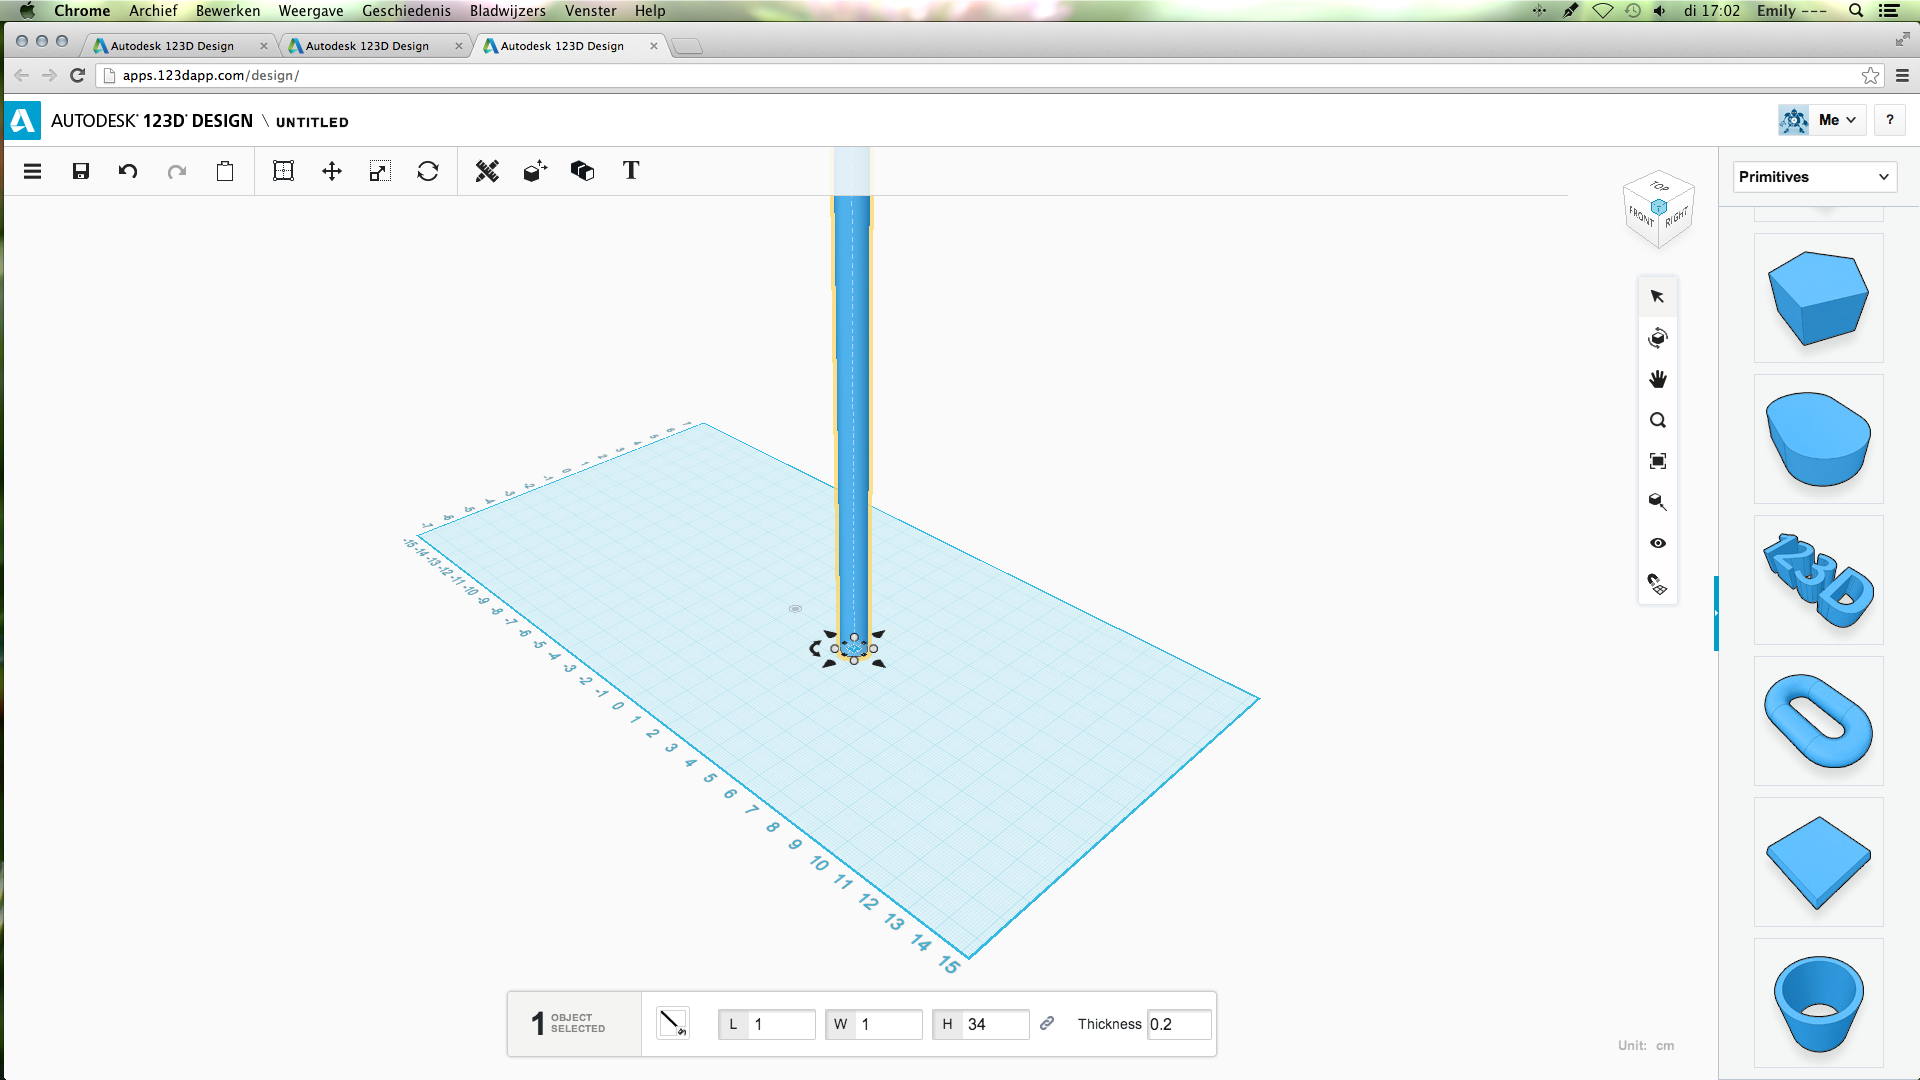
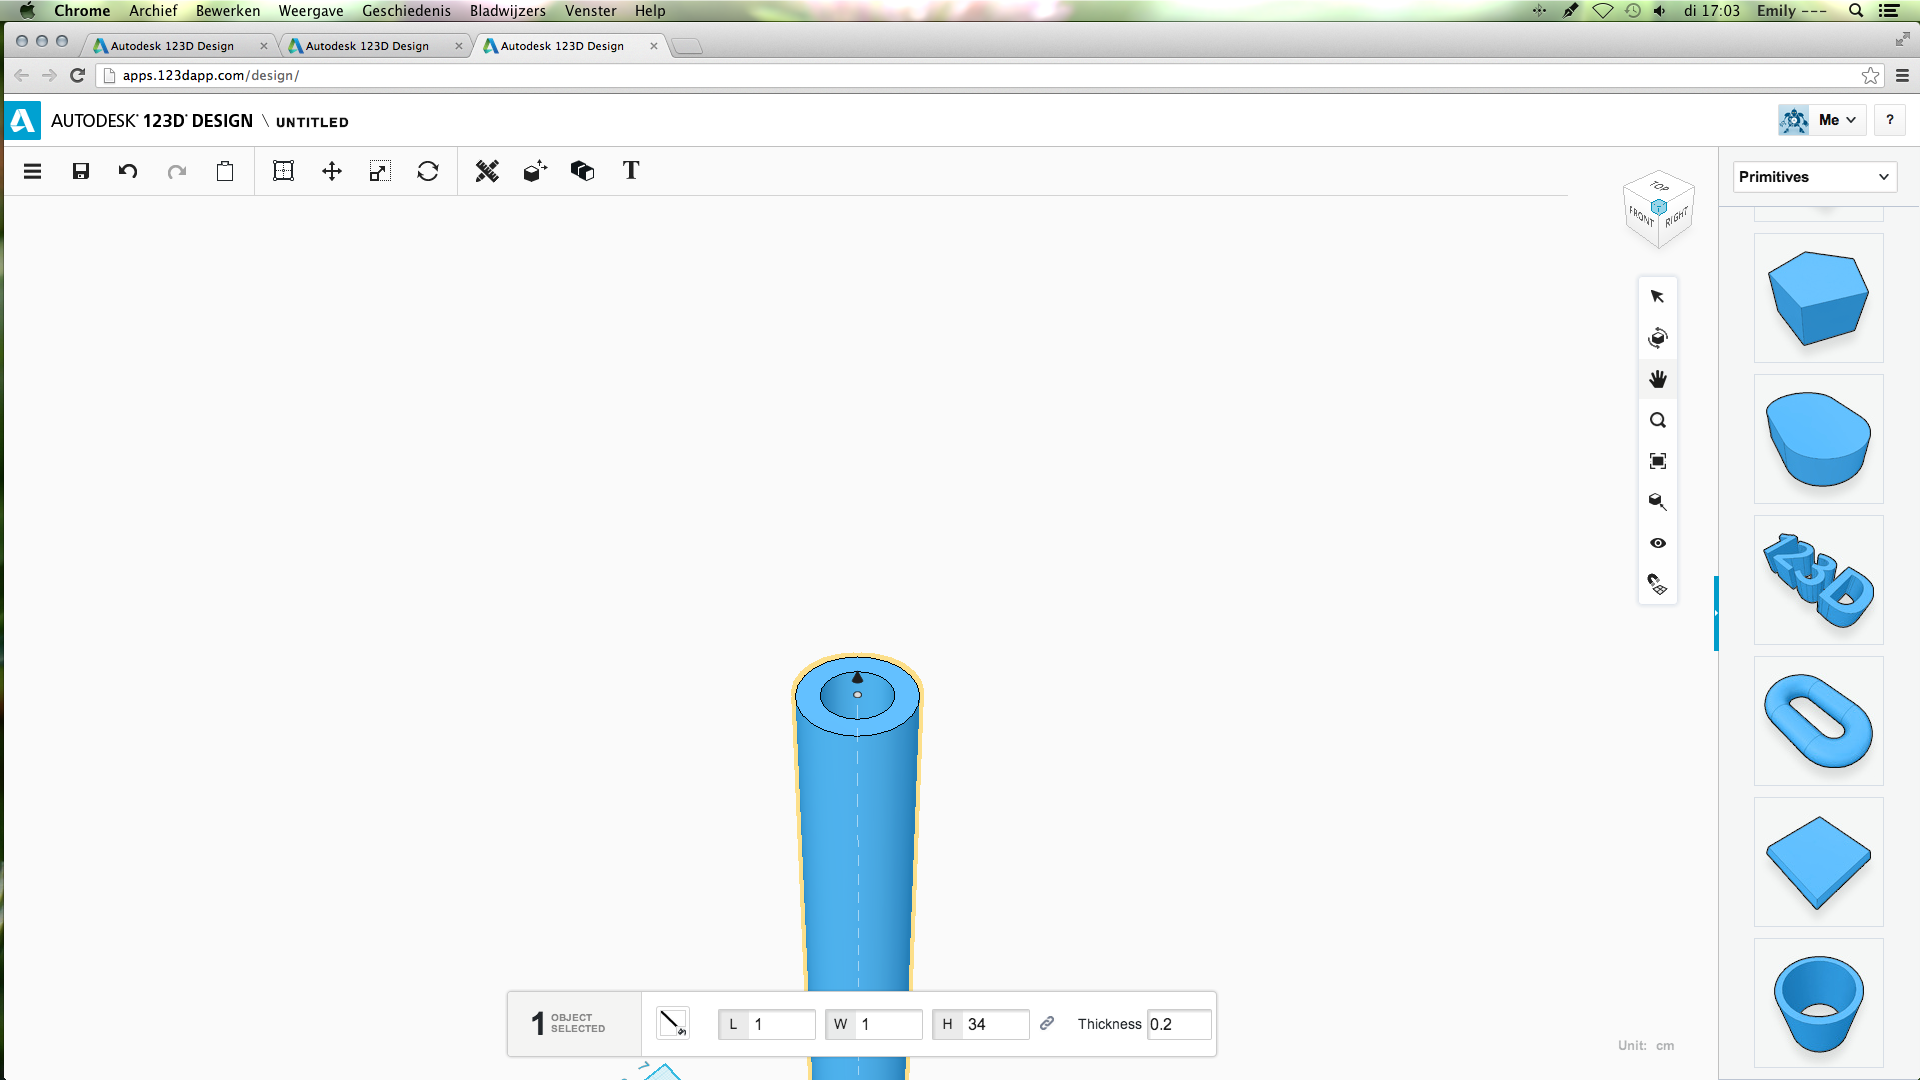
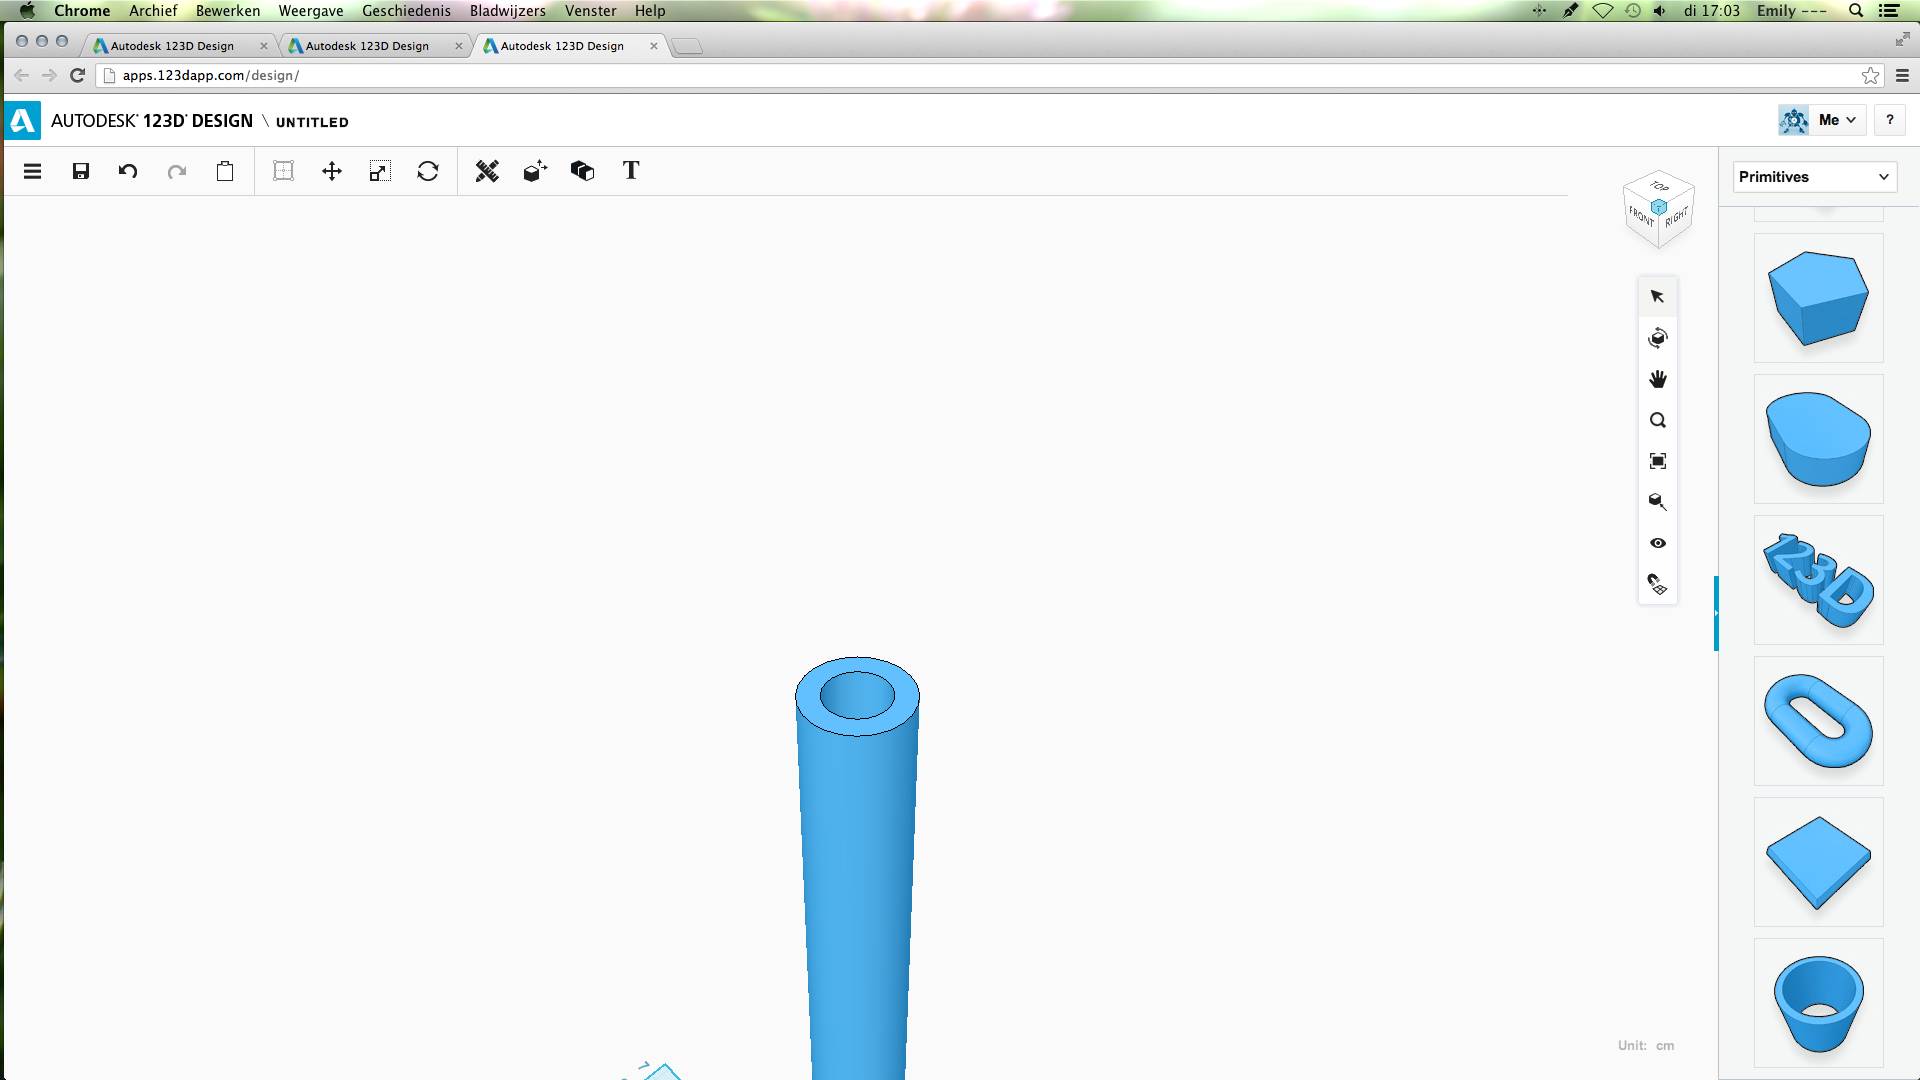
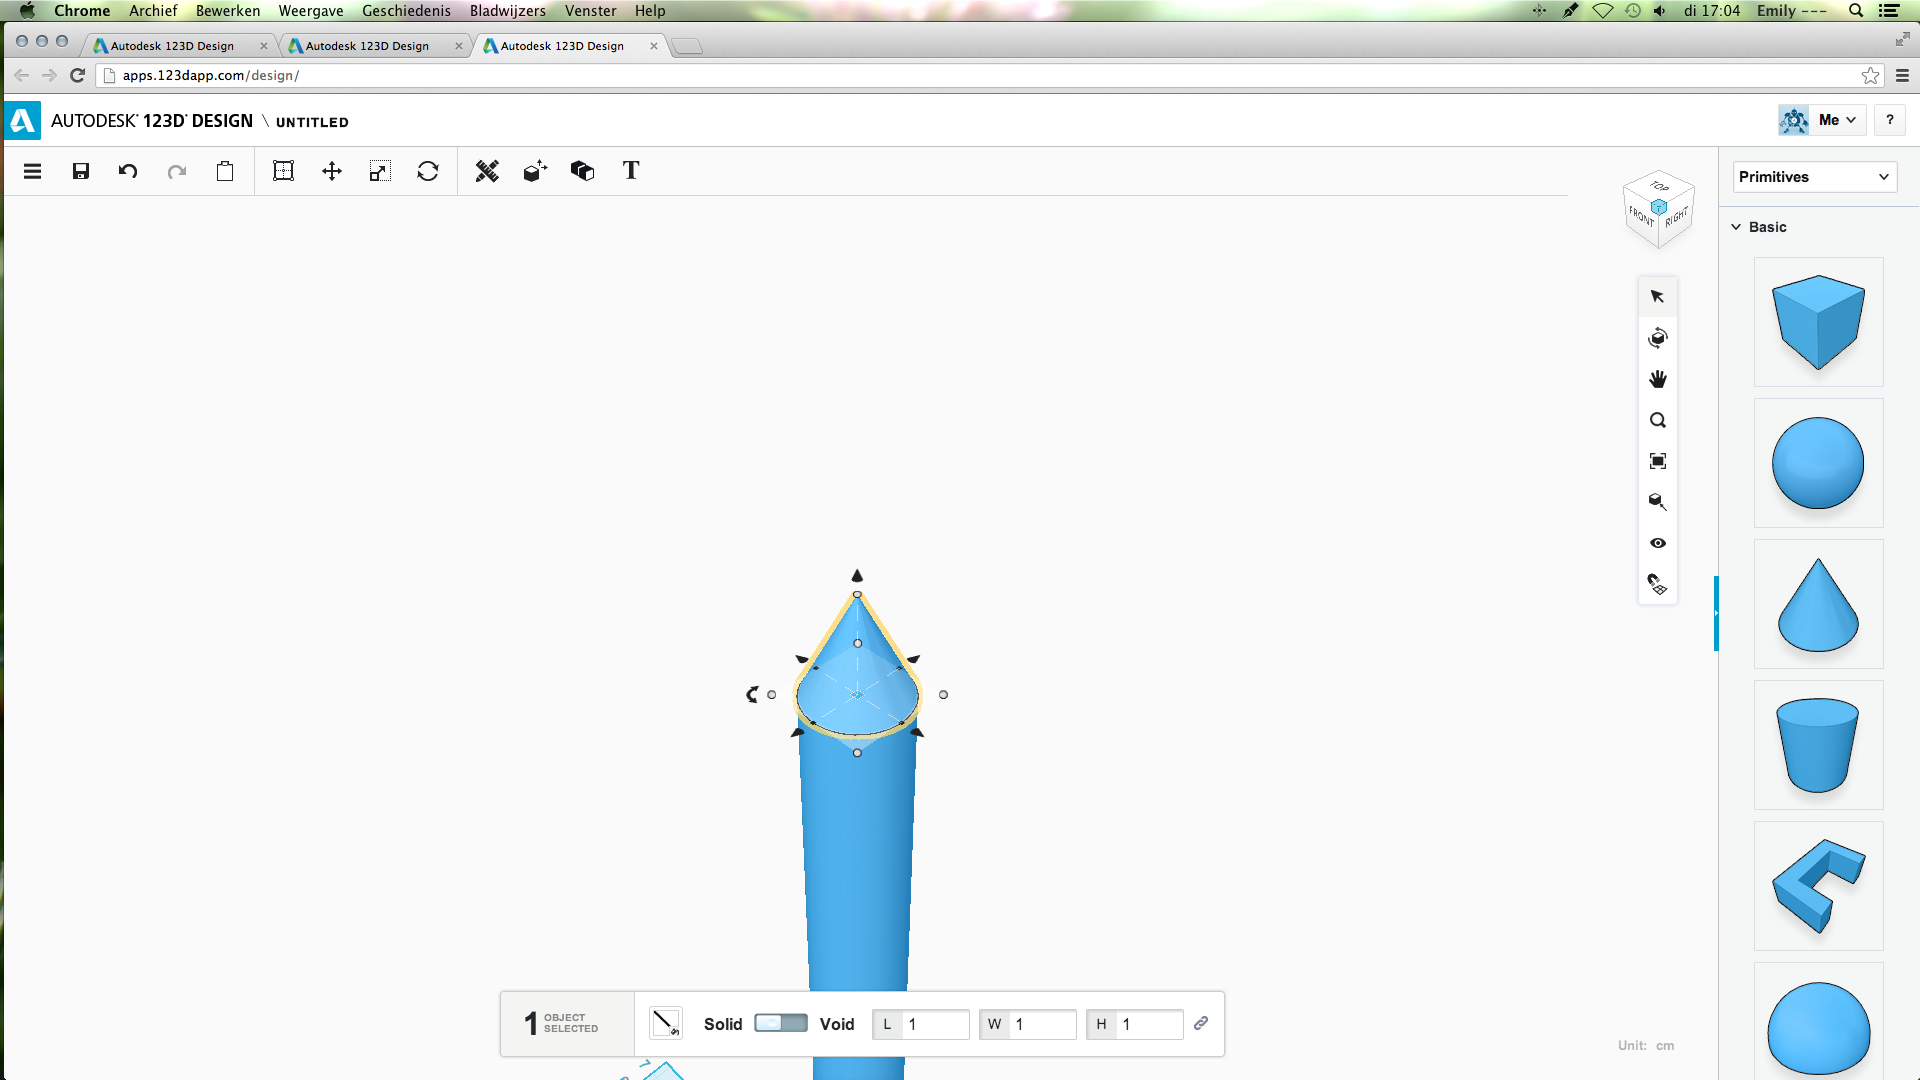
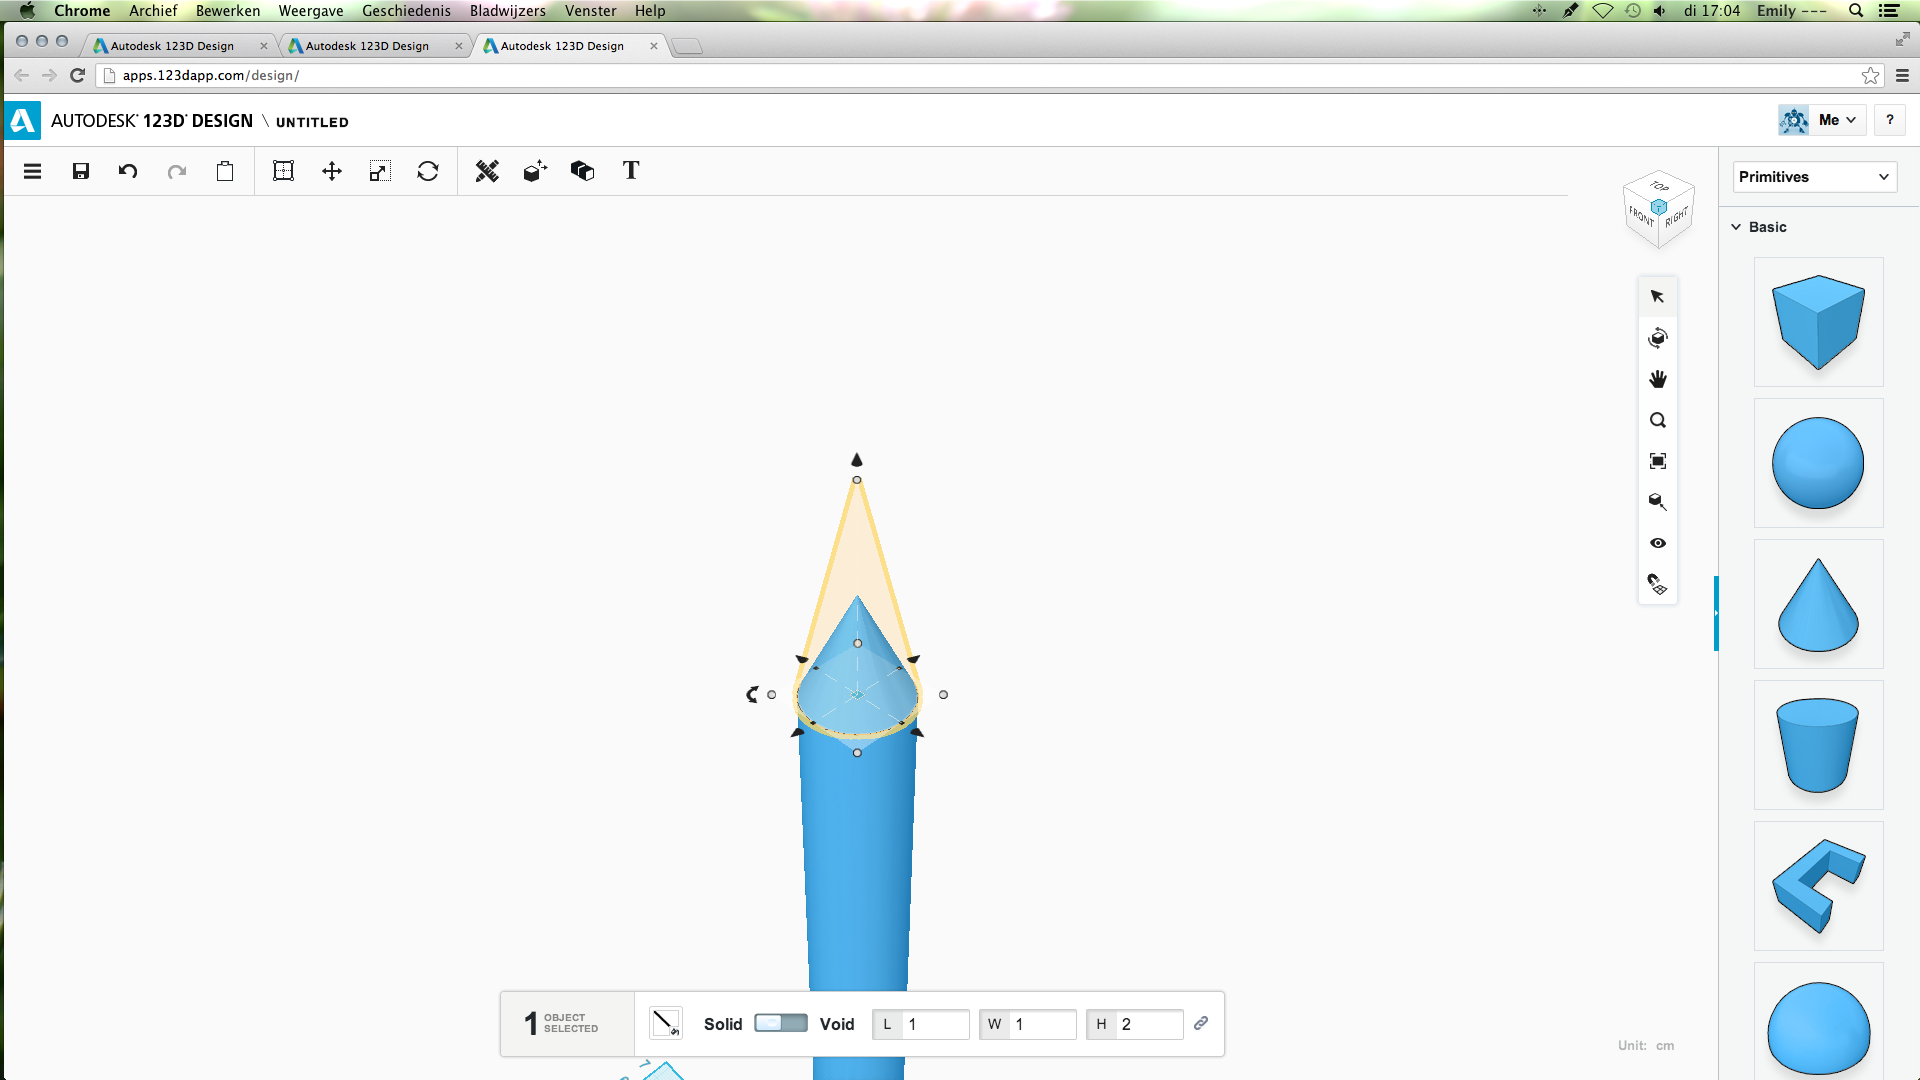
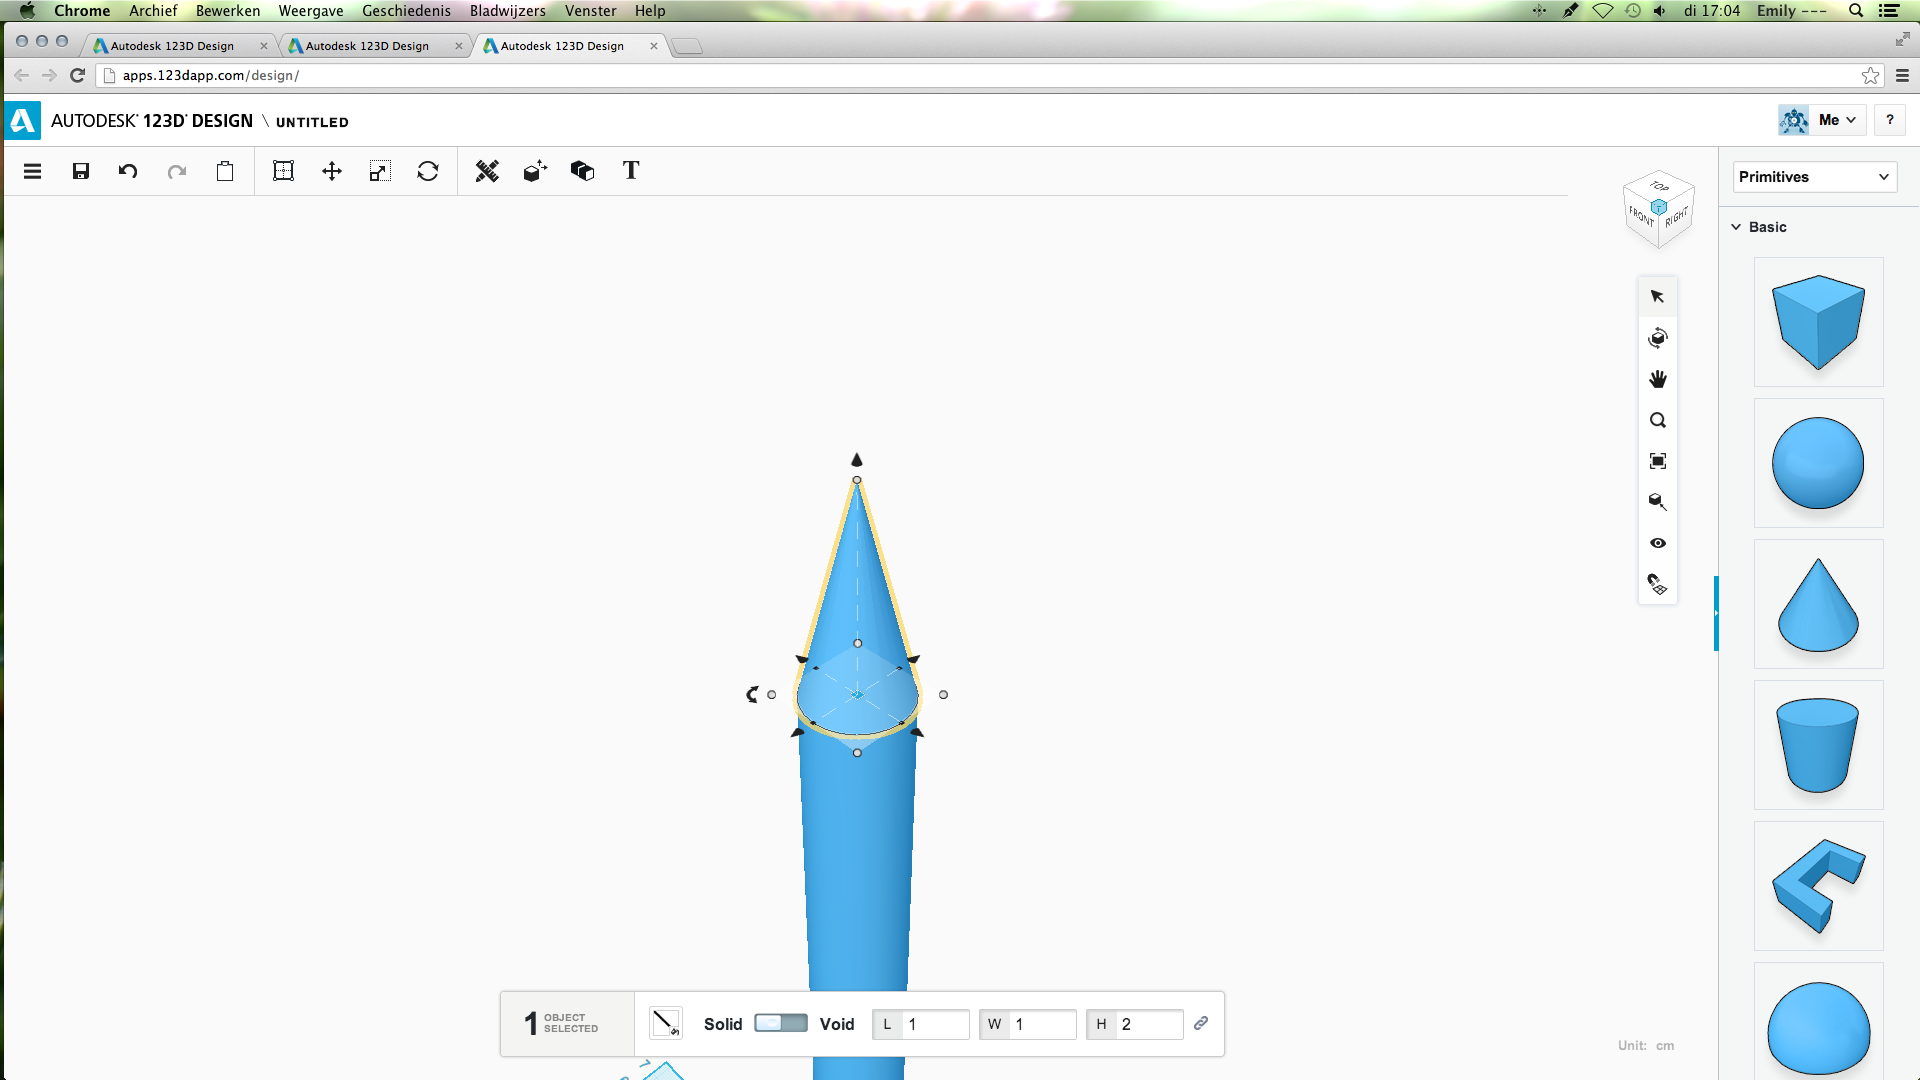
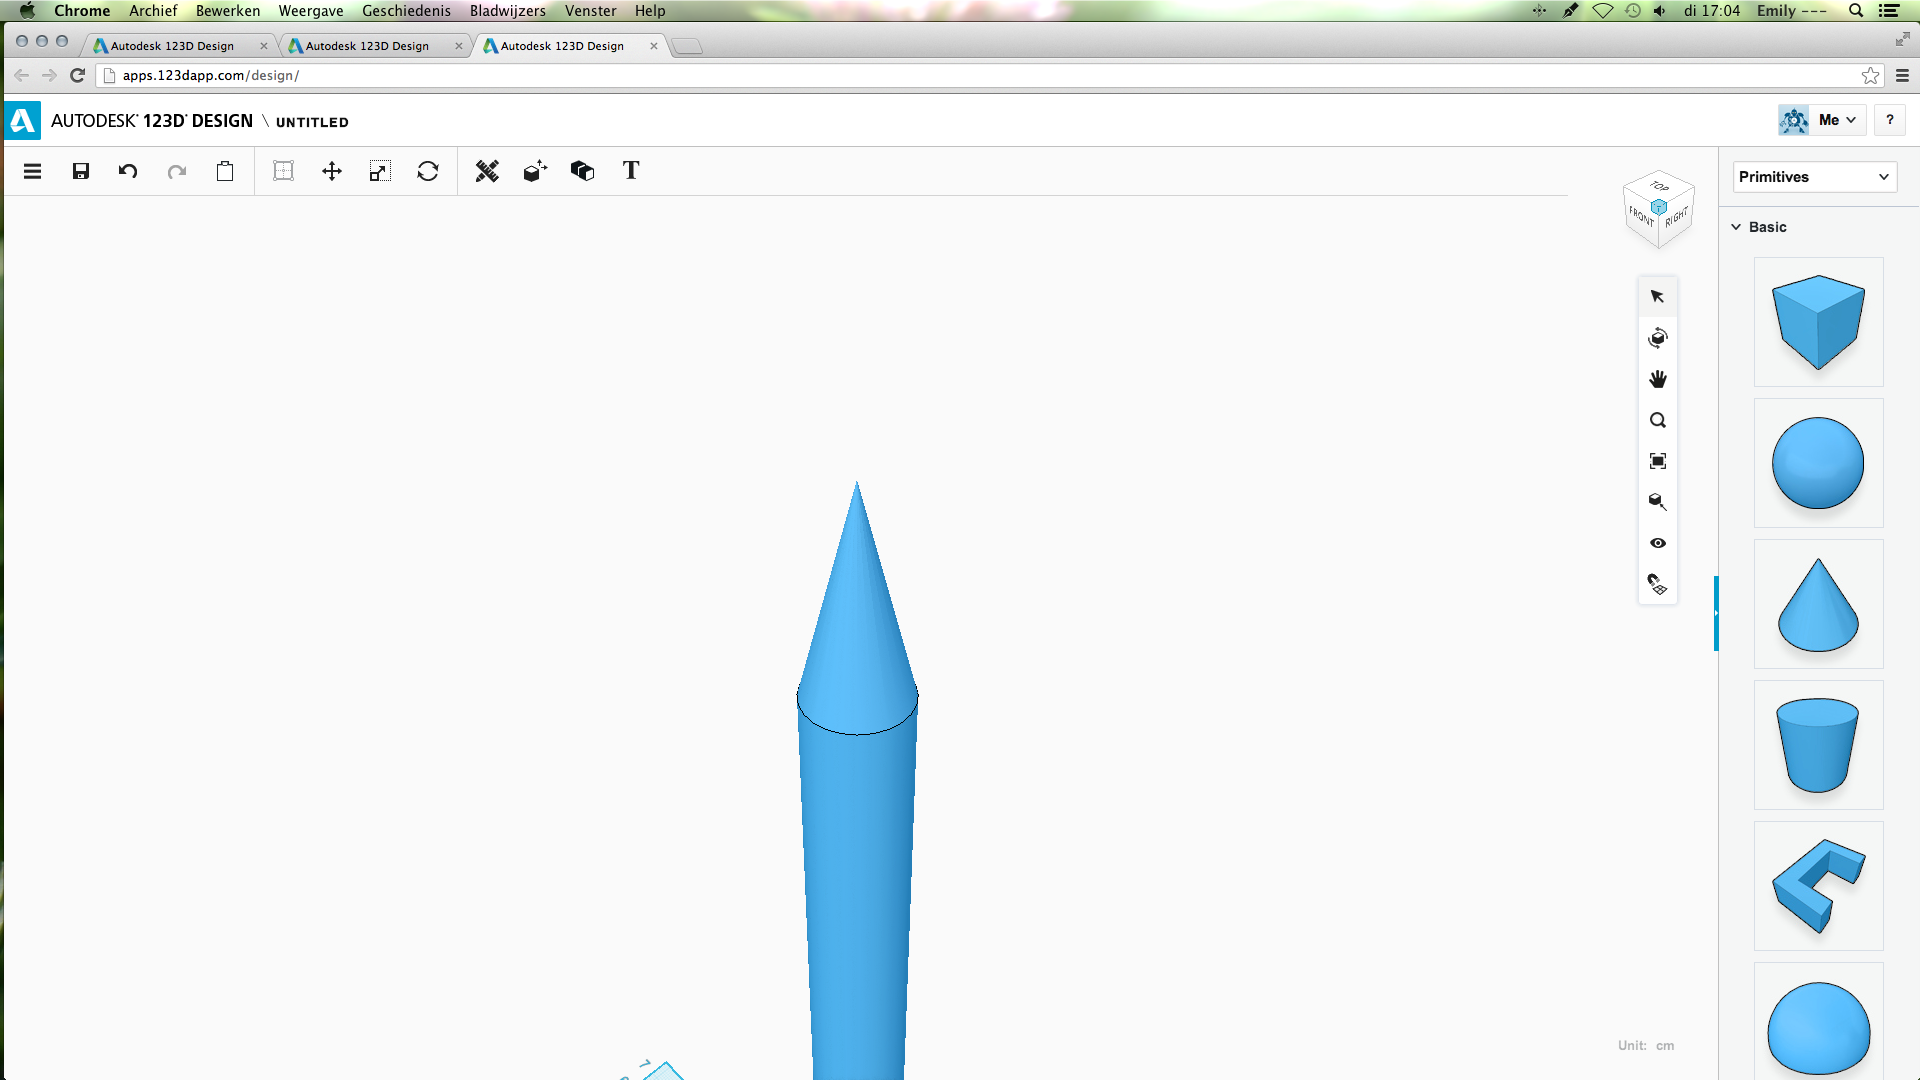
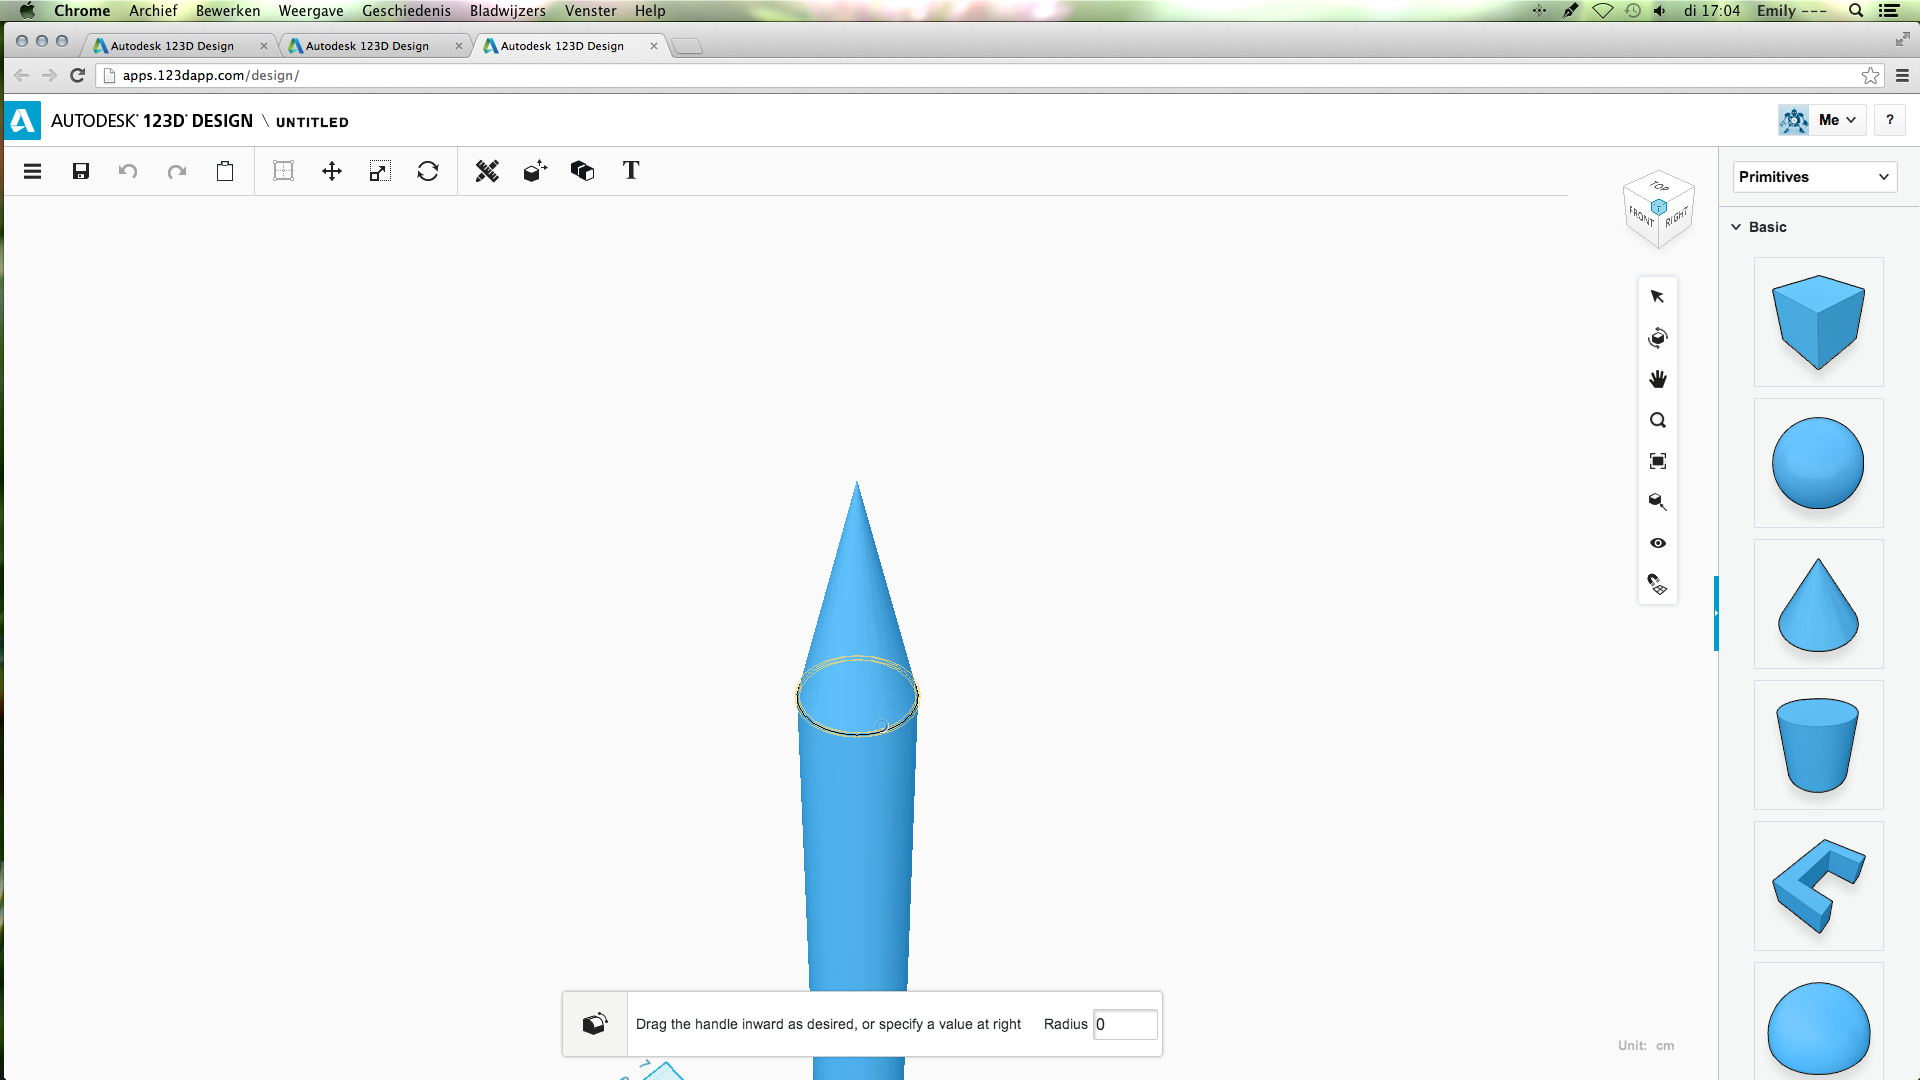
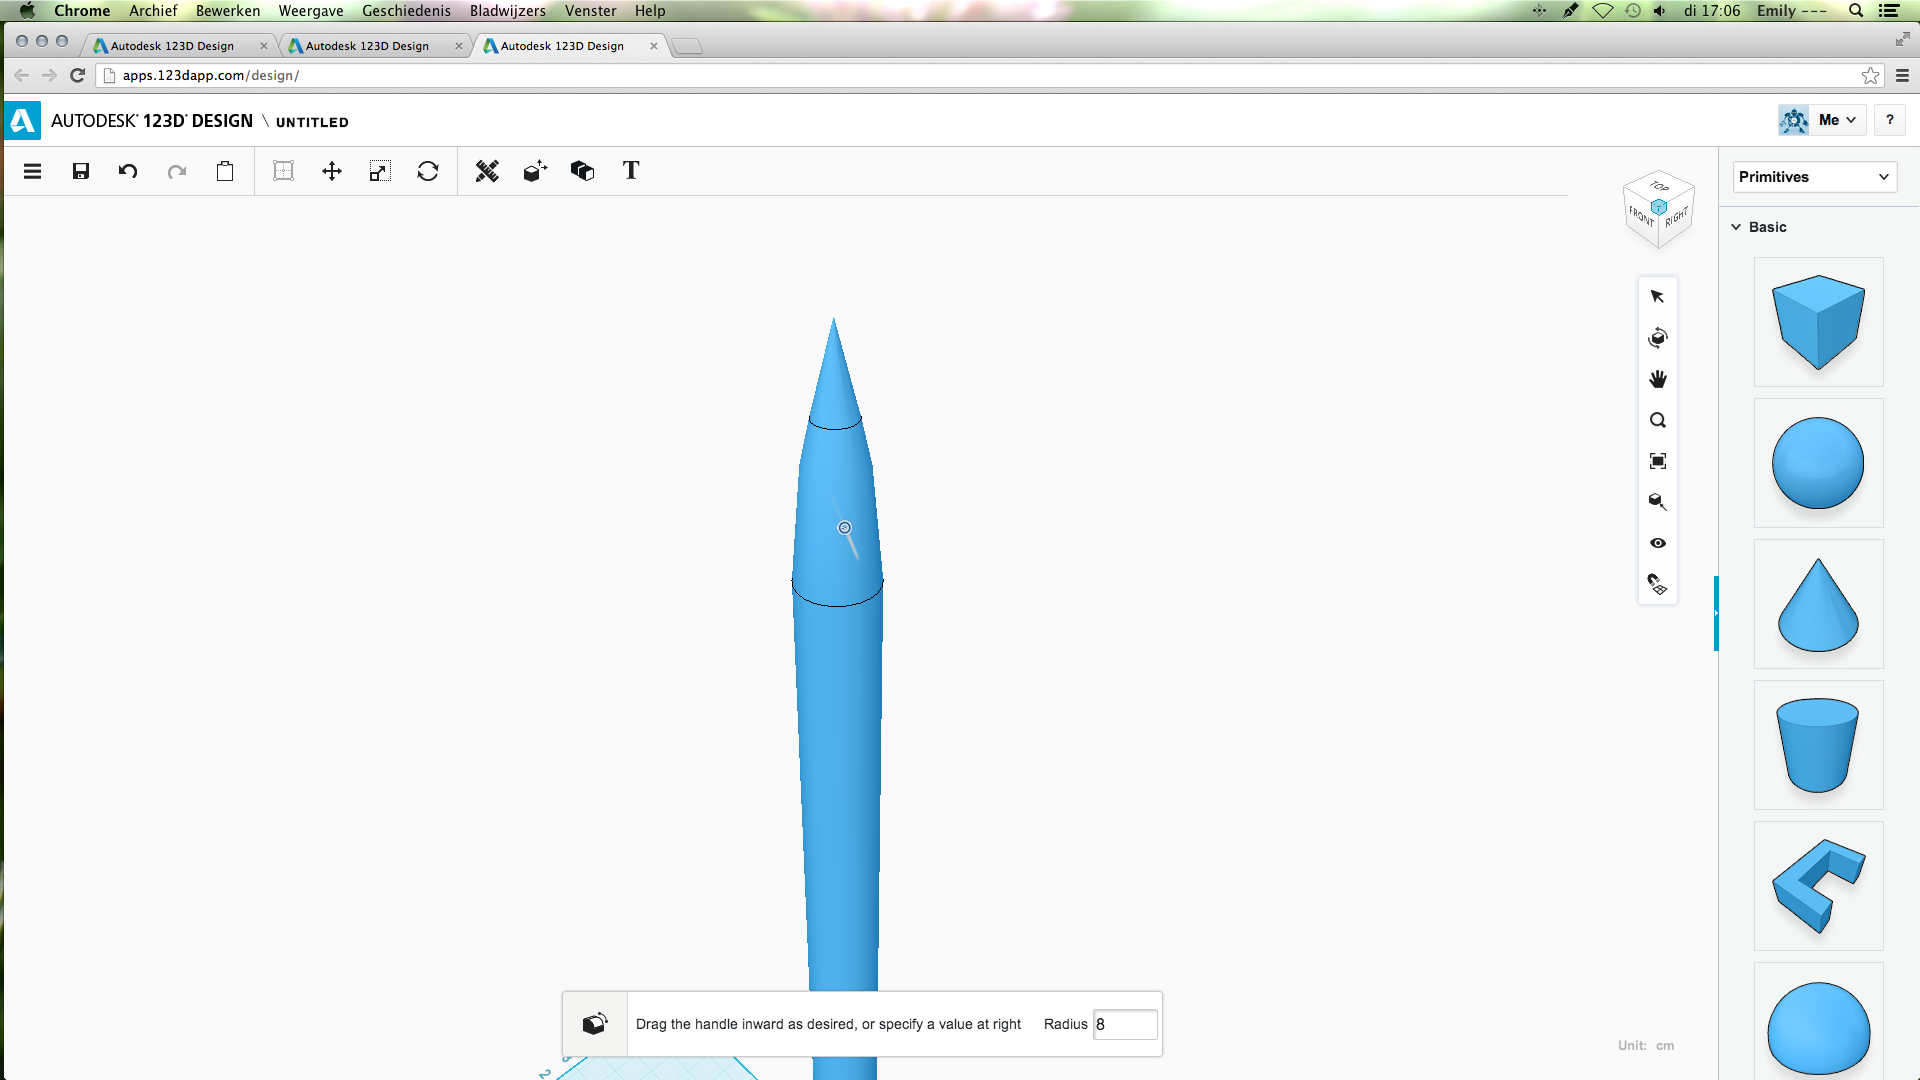
Open a new file. Take the tube. Change the height to 34 cm. Then, take a cone and put it on top of the tube. Select the cone and change the height to 2 cm.
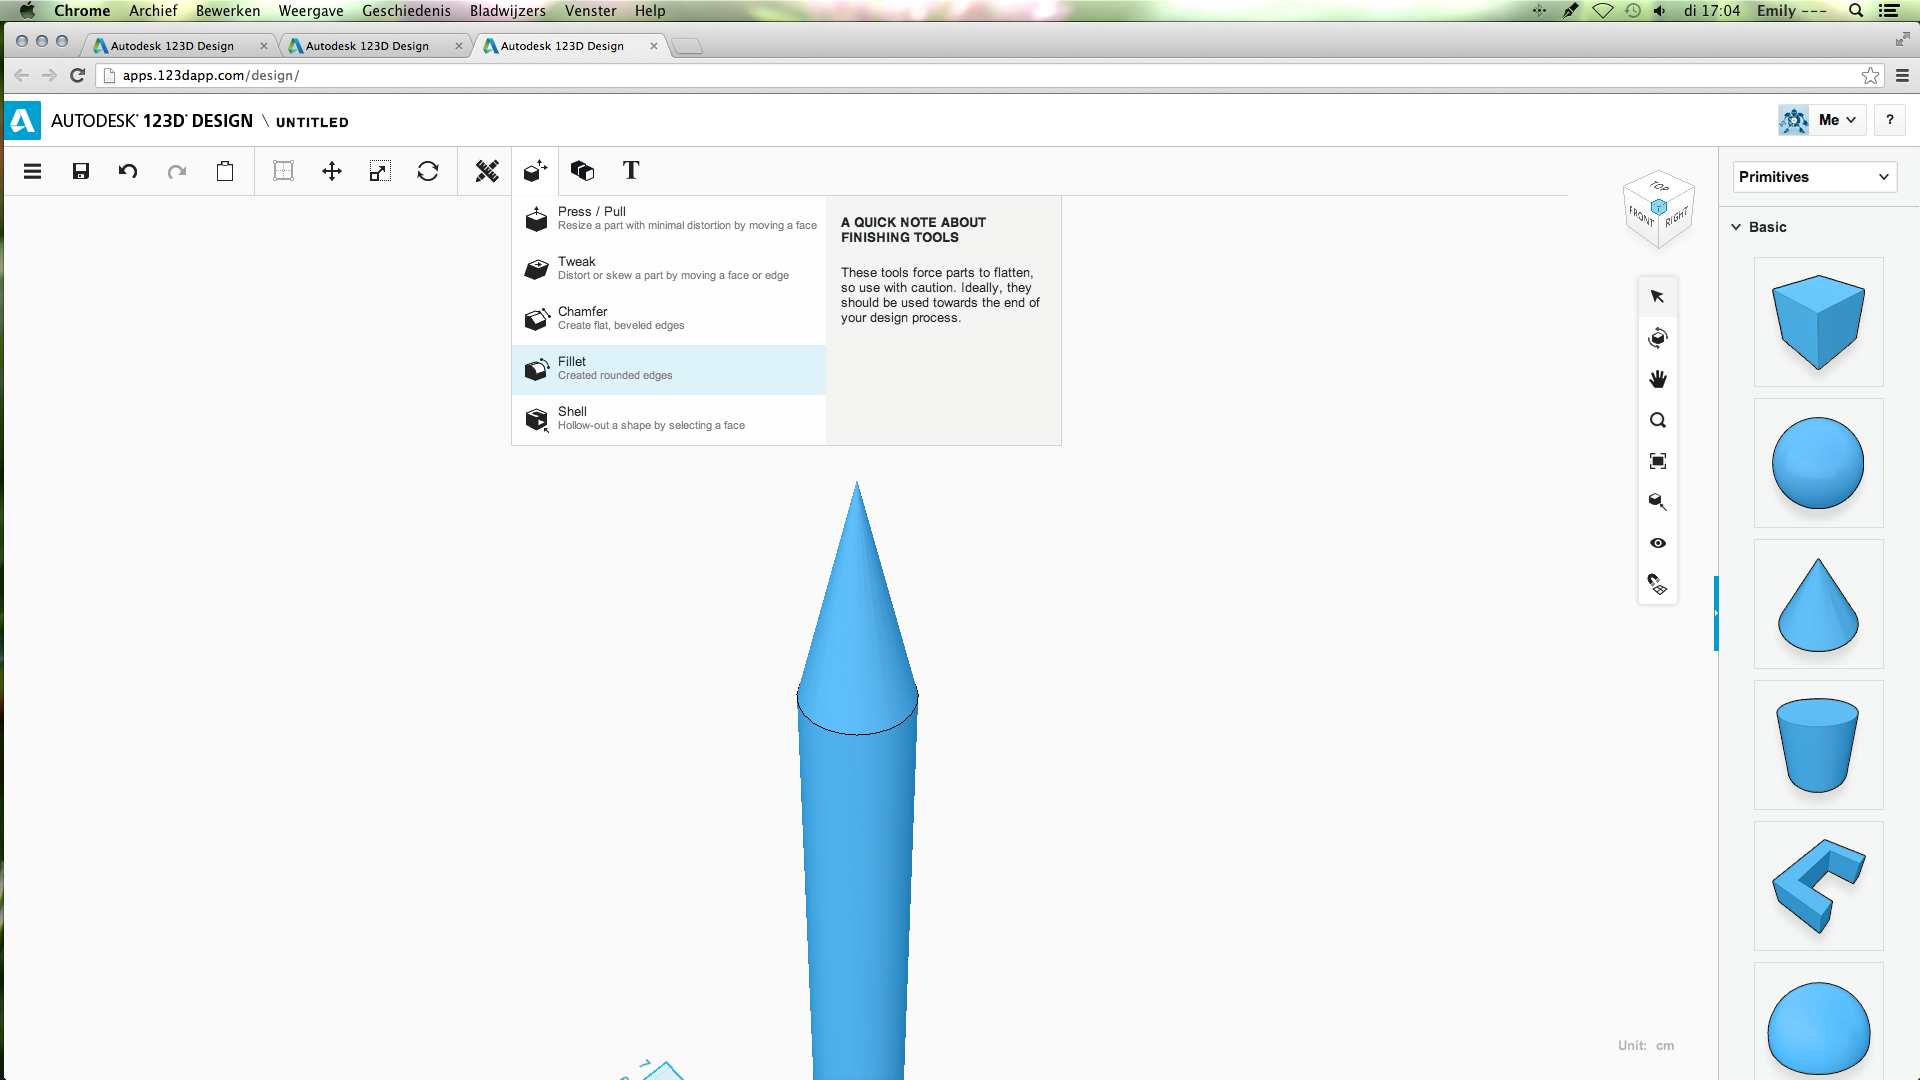
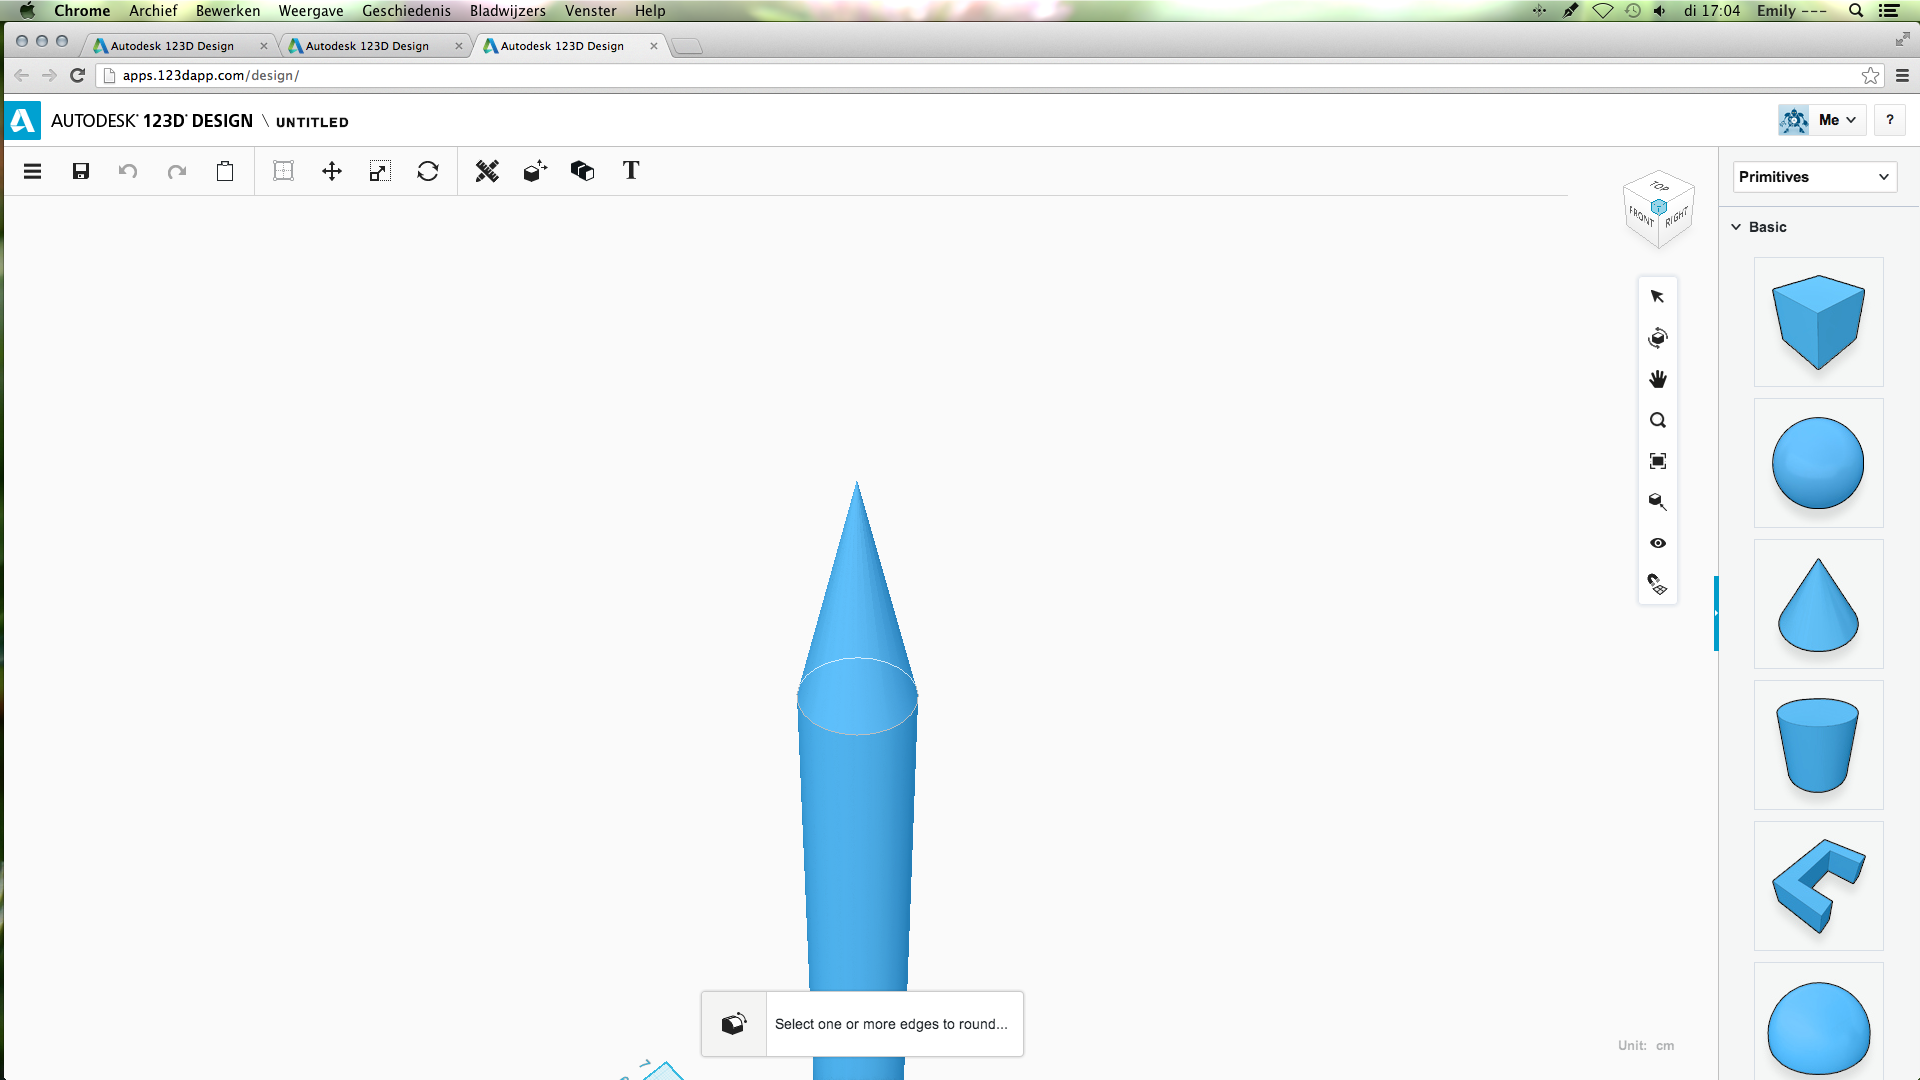
Use the fillet tool to select the join between the cone and the tube. Change the radius from 0 to 8.
This is the base of your hollow knitting needle. Next step will show you how to make the caps.
Use the fillet tool to select the join between the cone and the tube. Change the radius from 0 to 8.
This is the base of your hollow knitting needle. Next step will show you how to make the caps.
The Caps
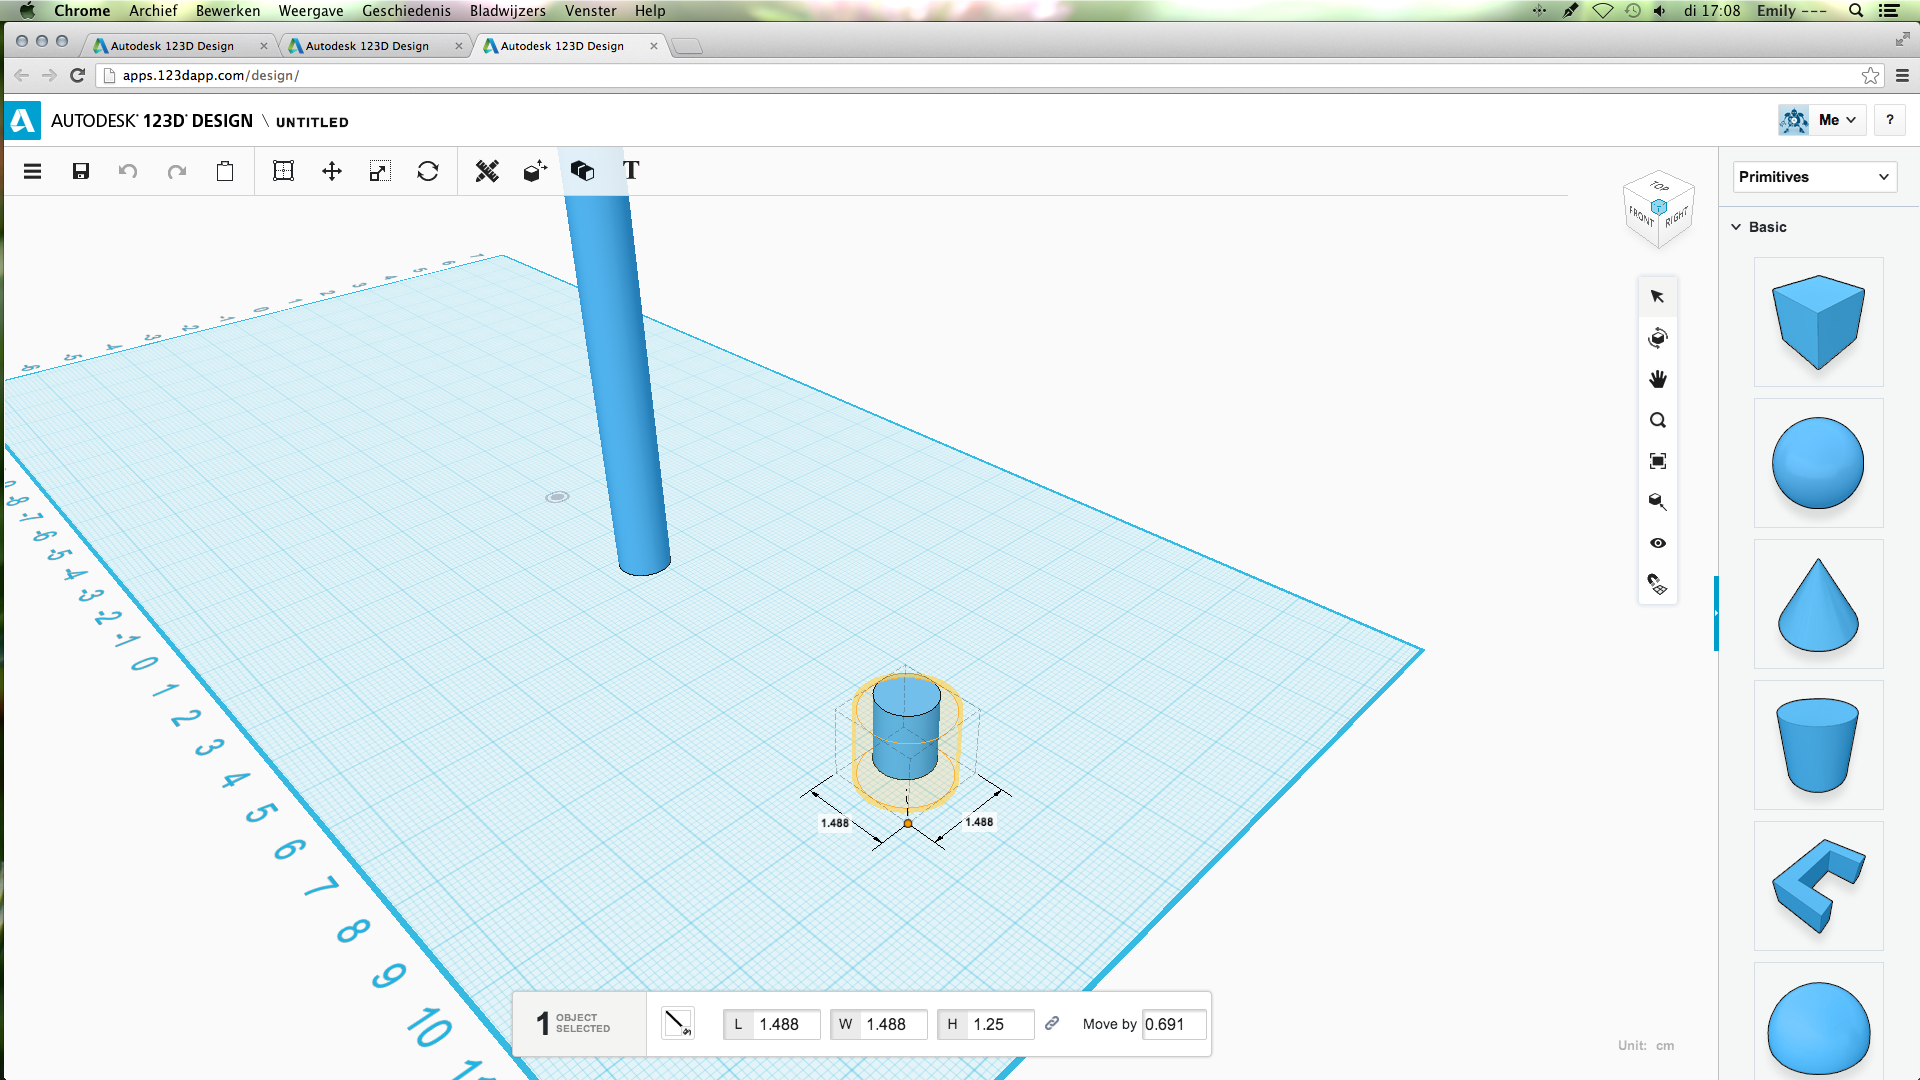
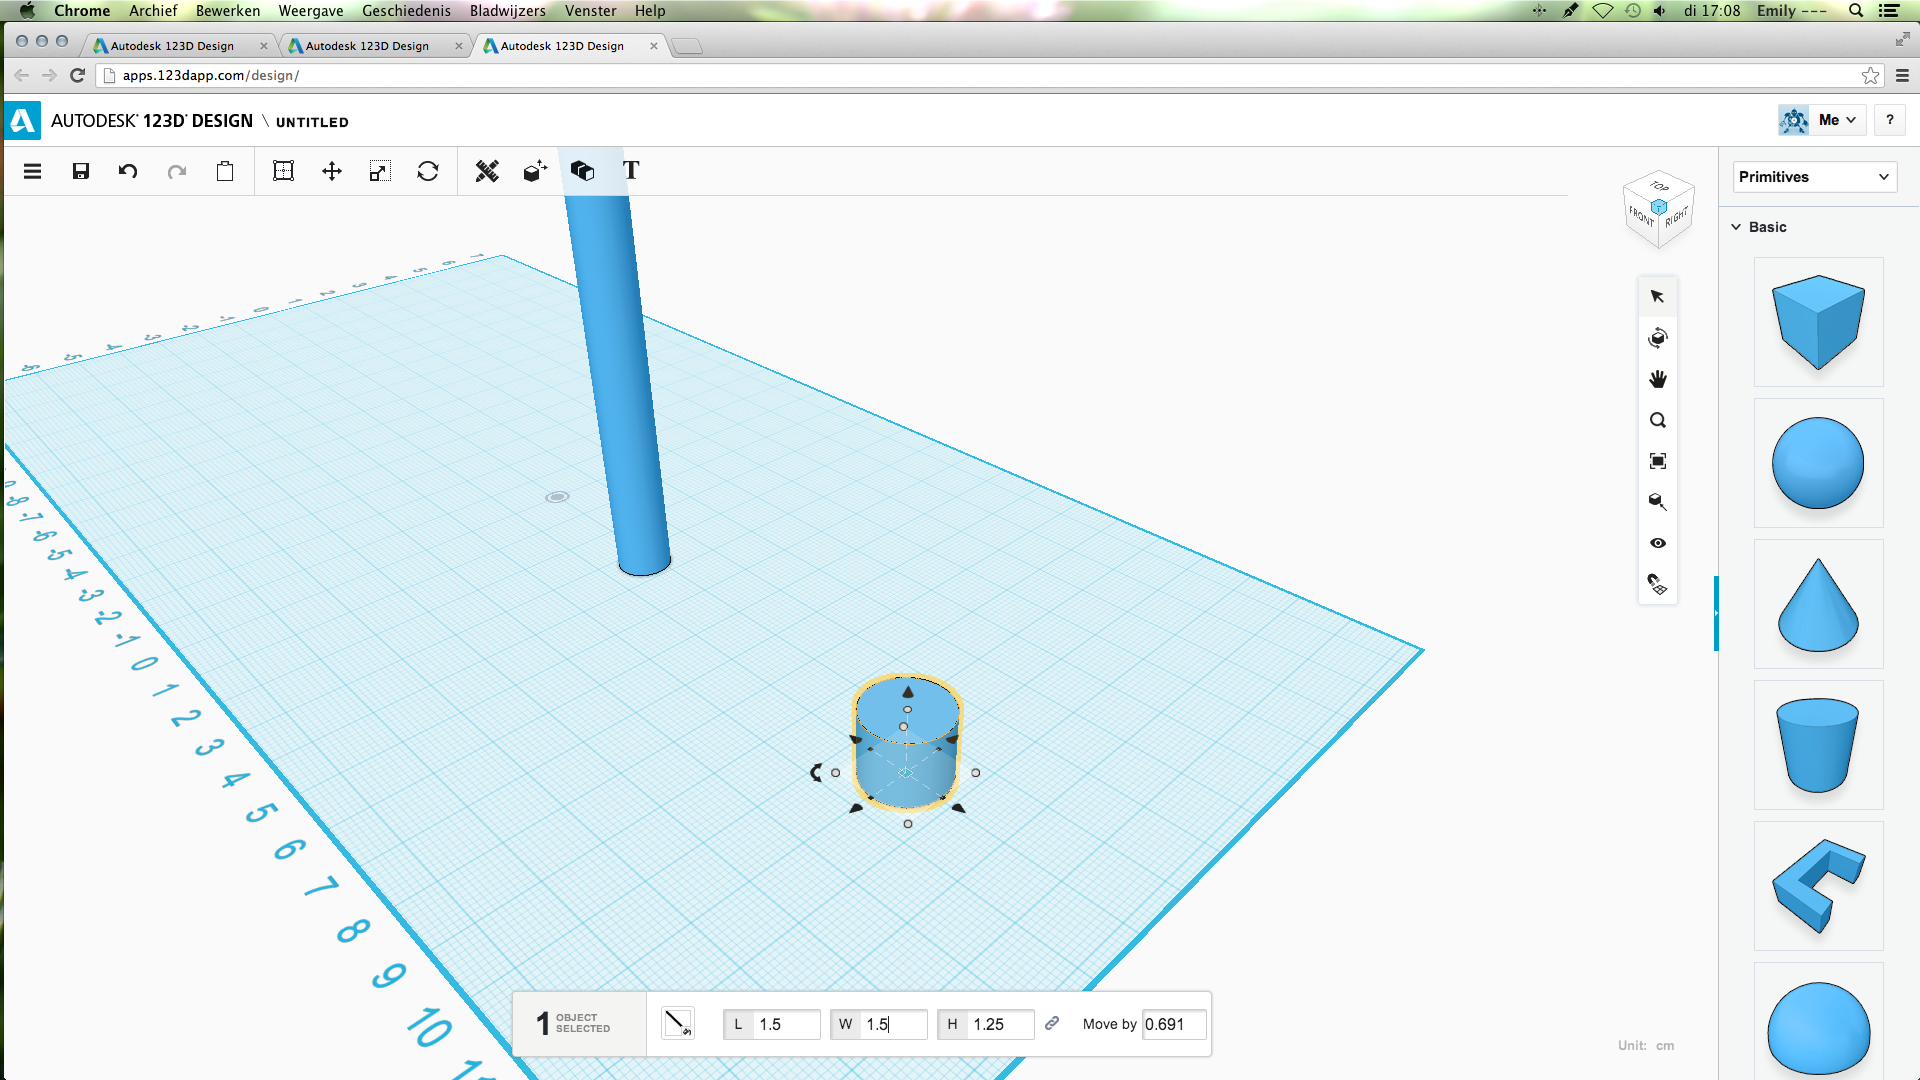
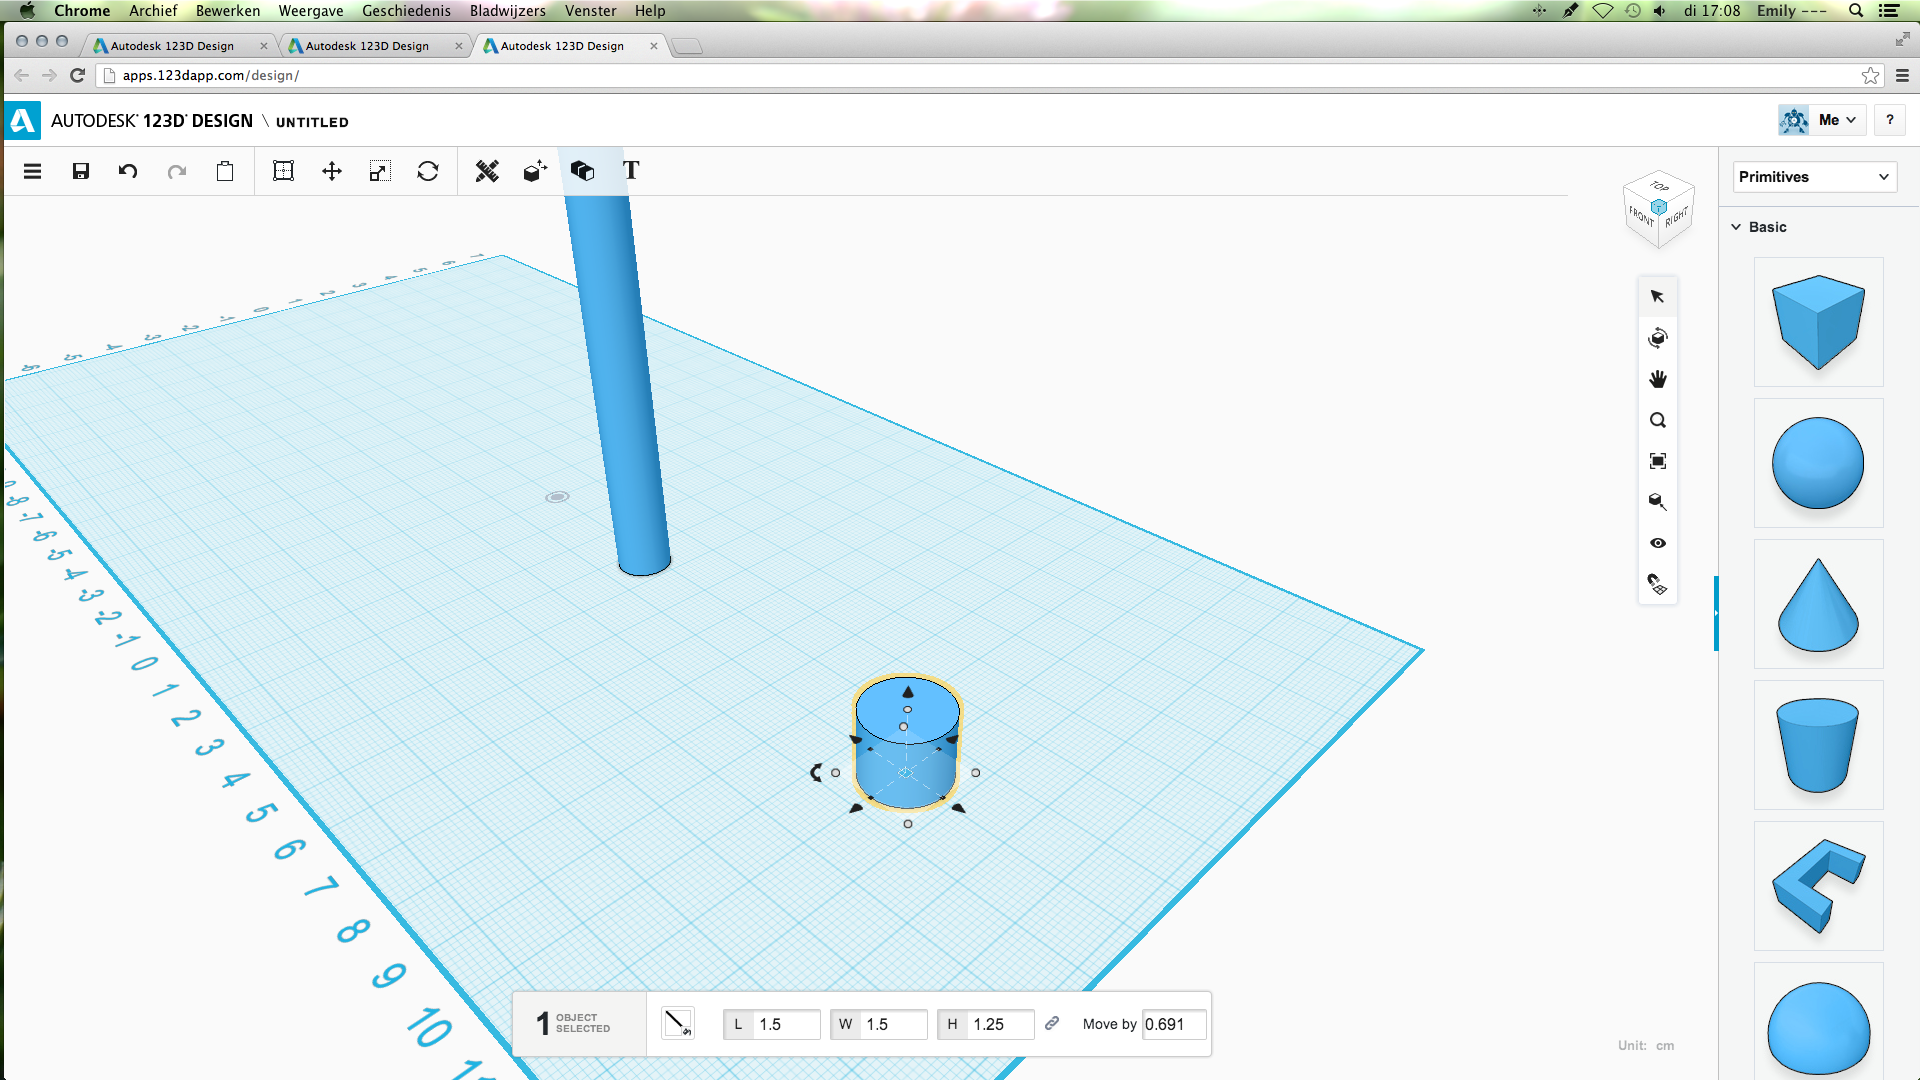
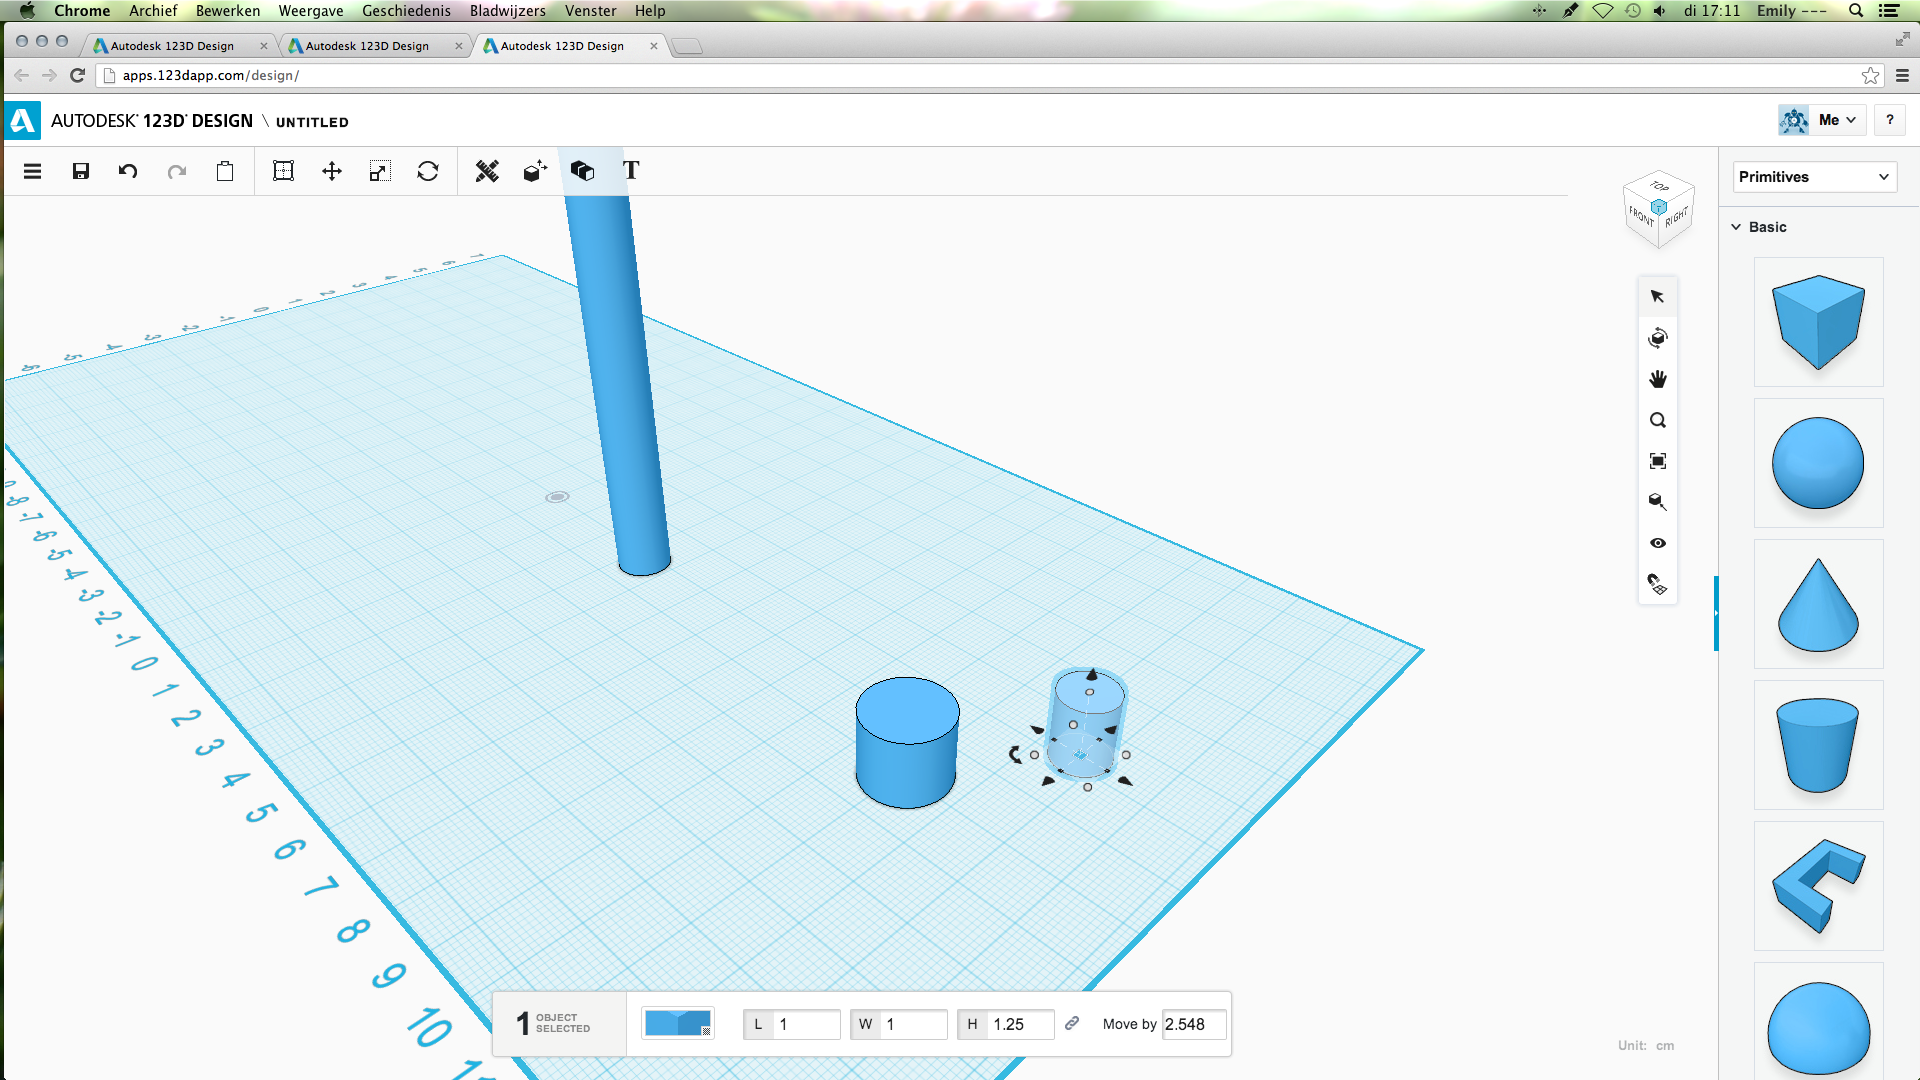
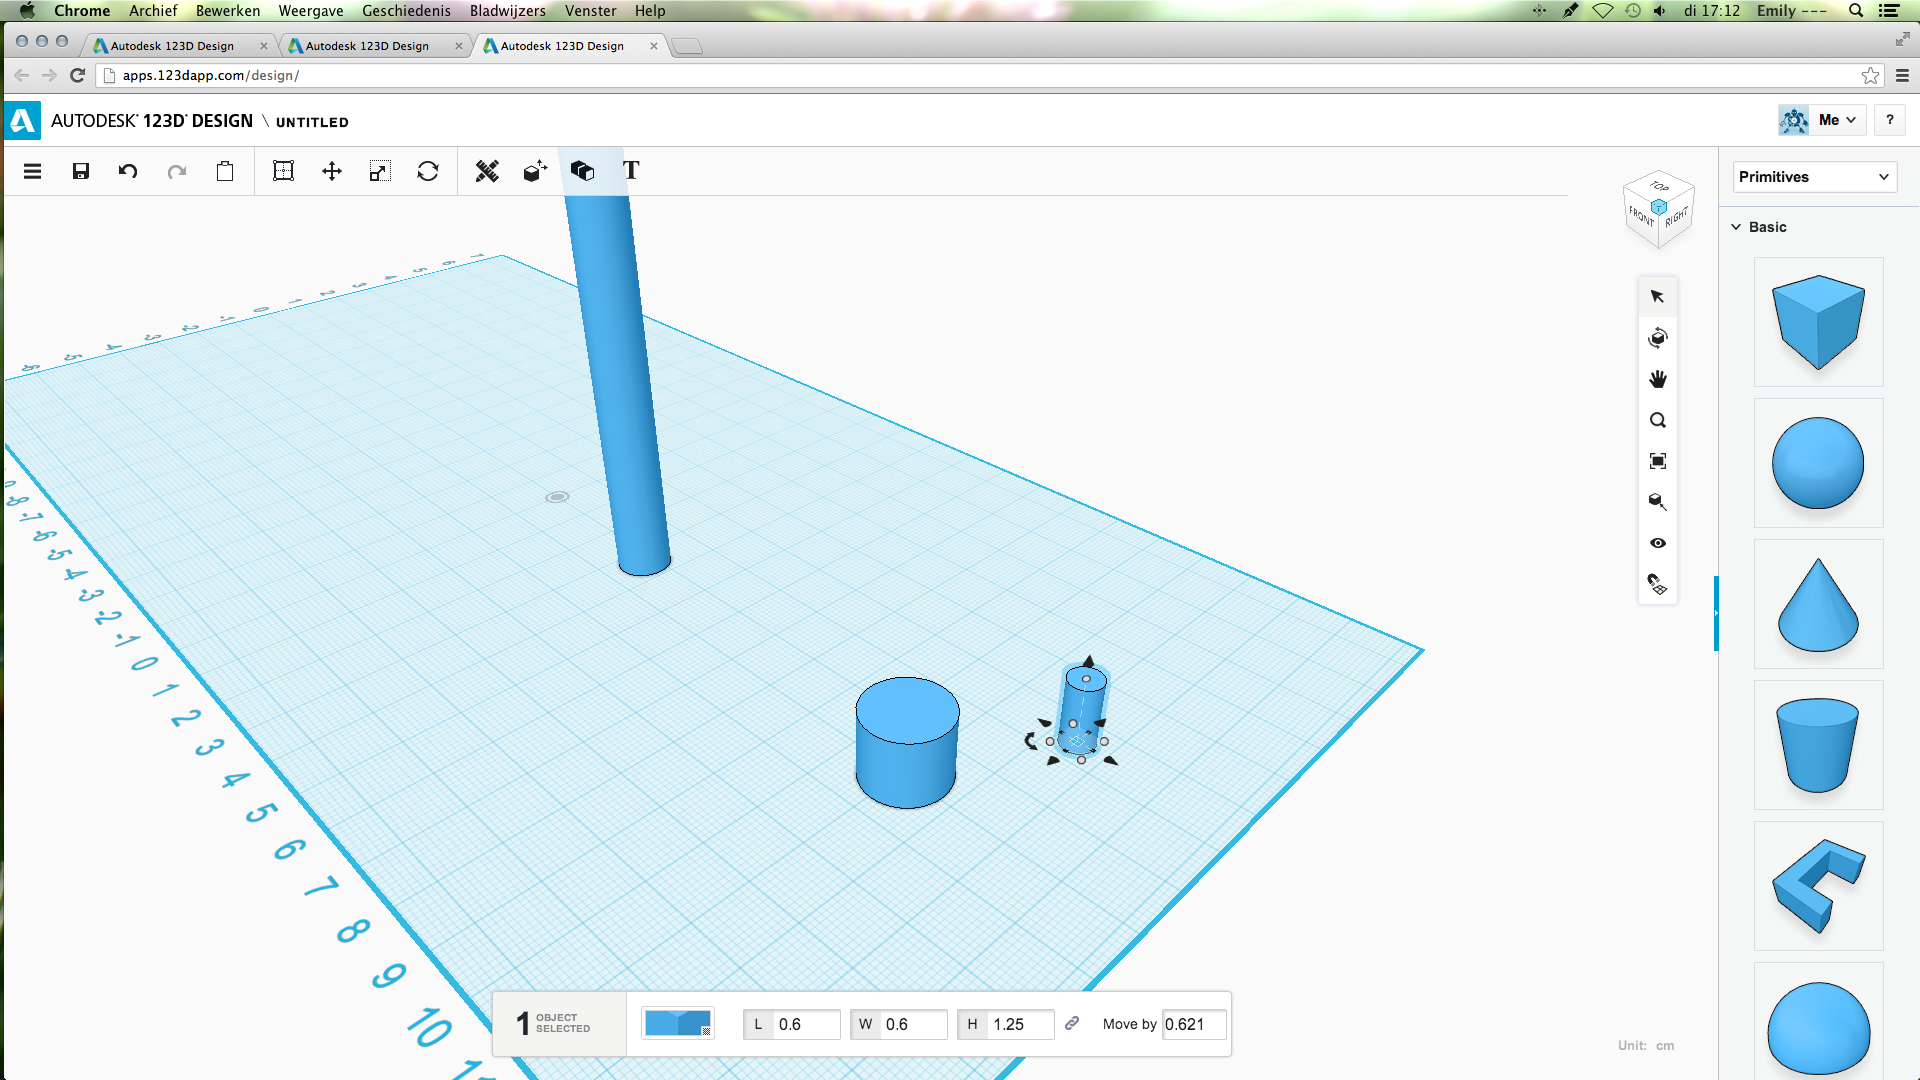
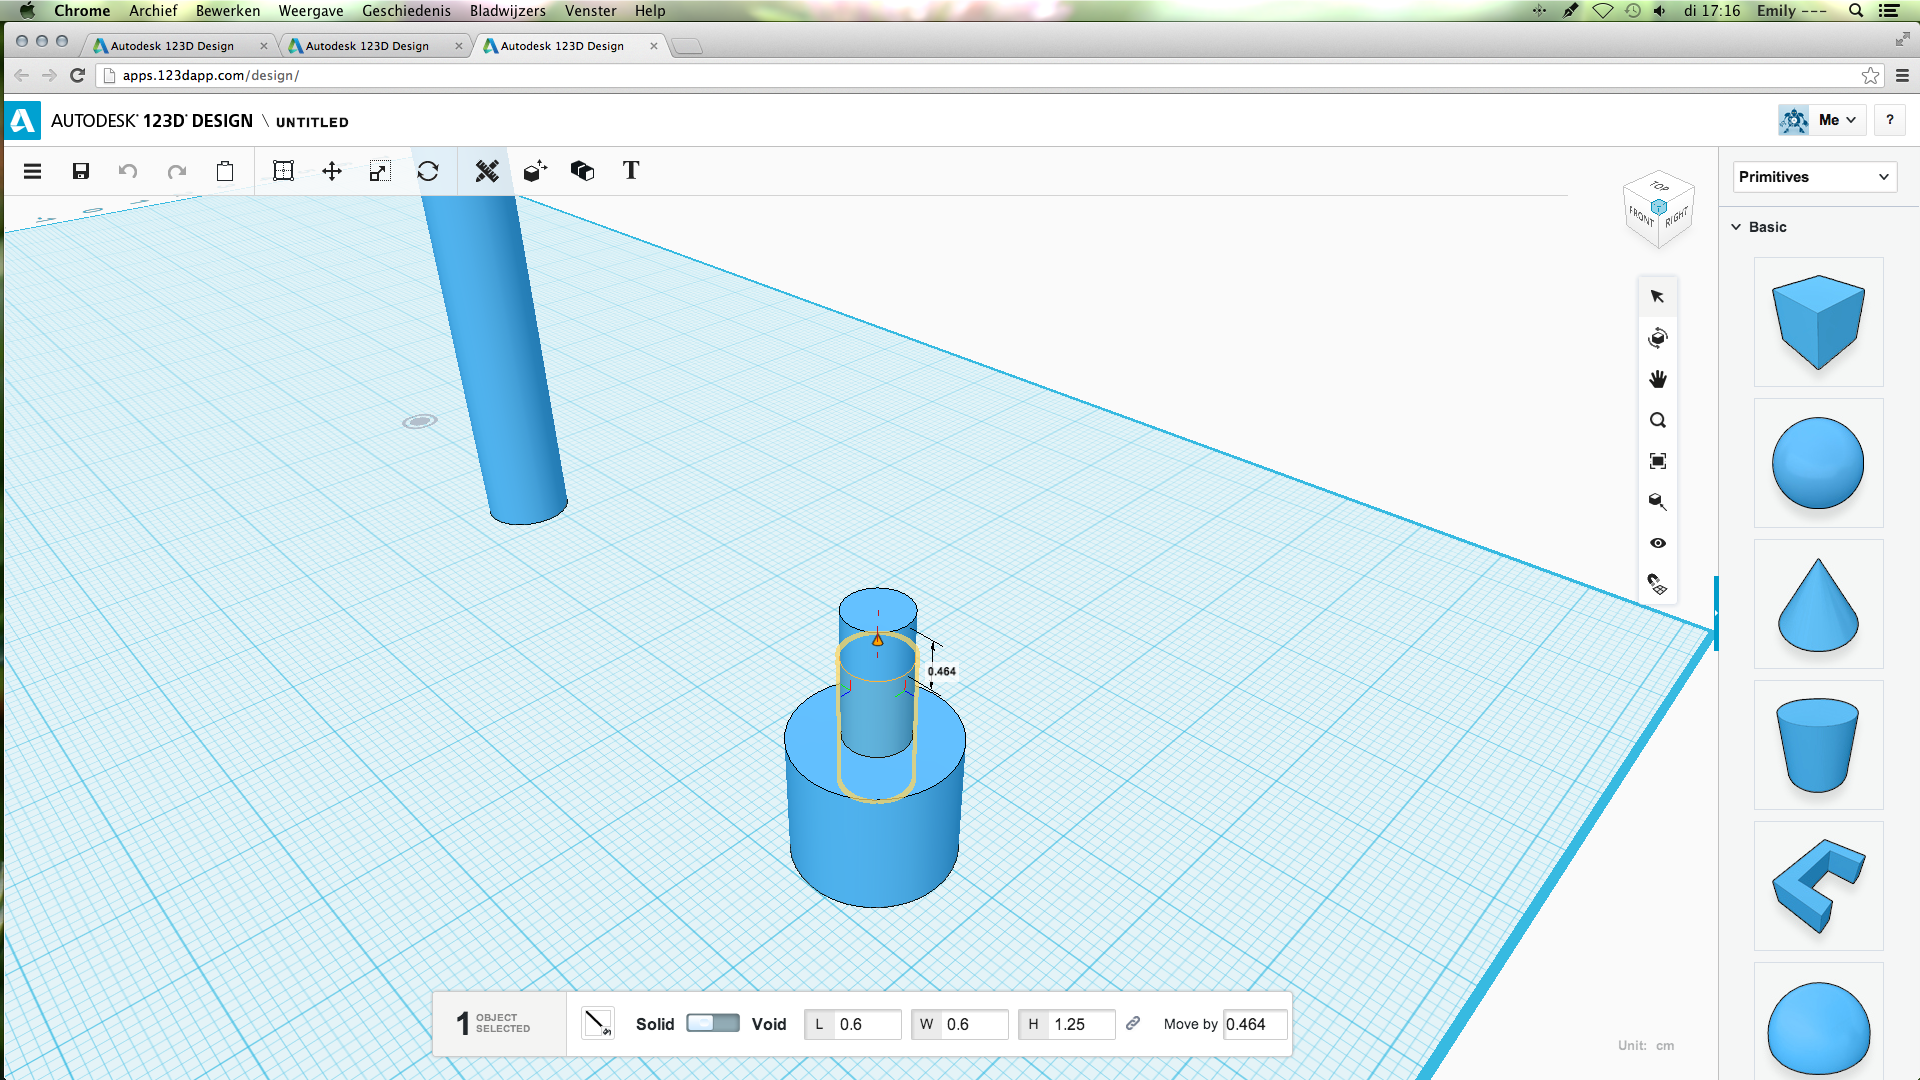
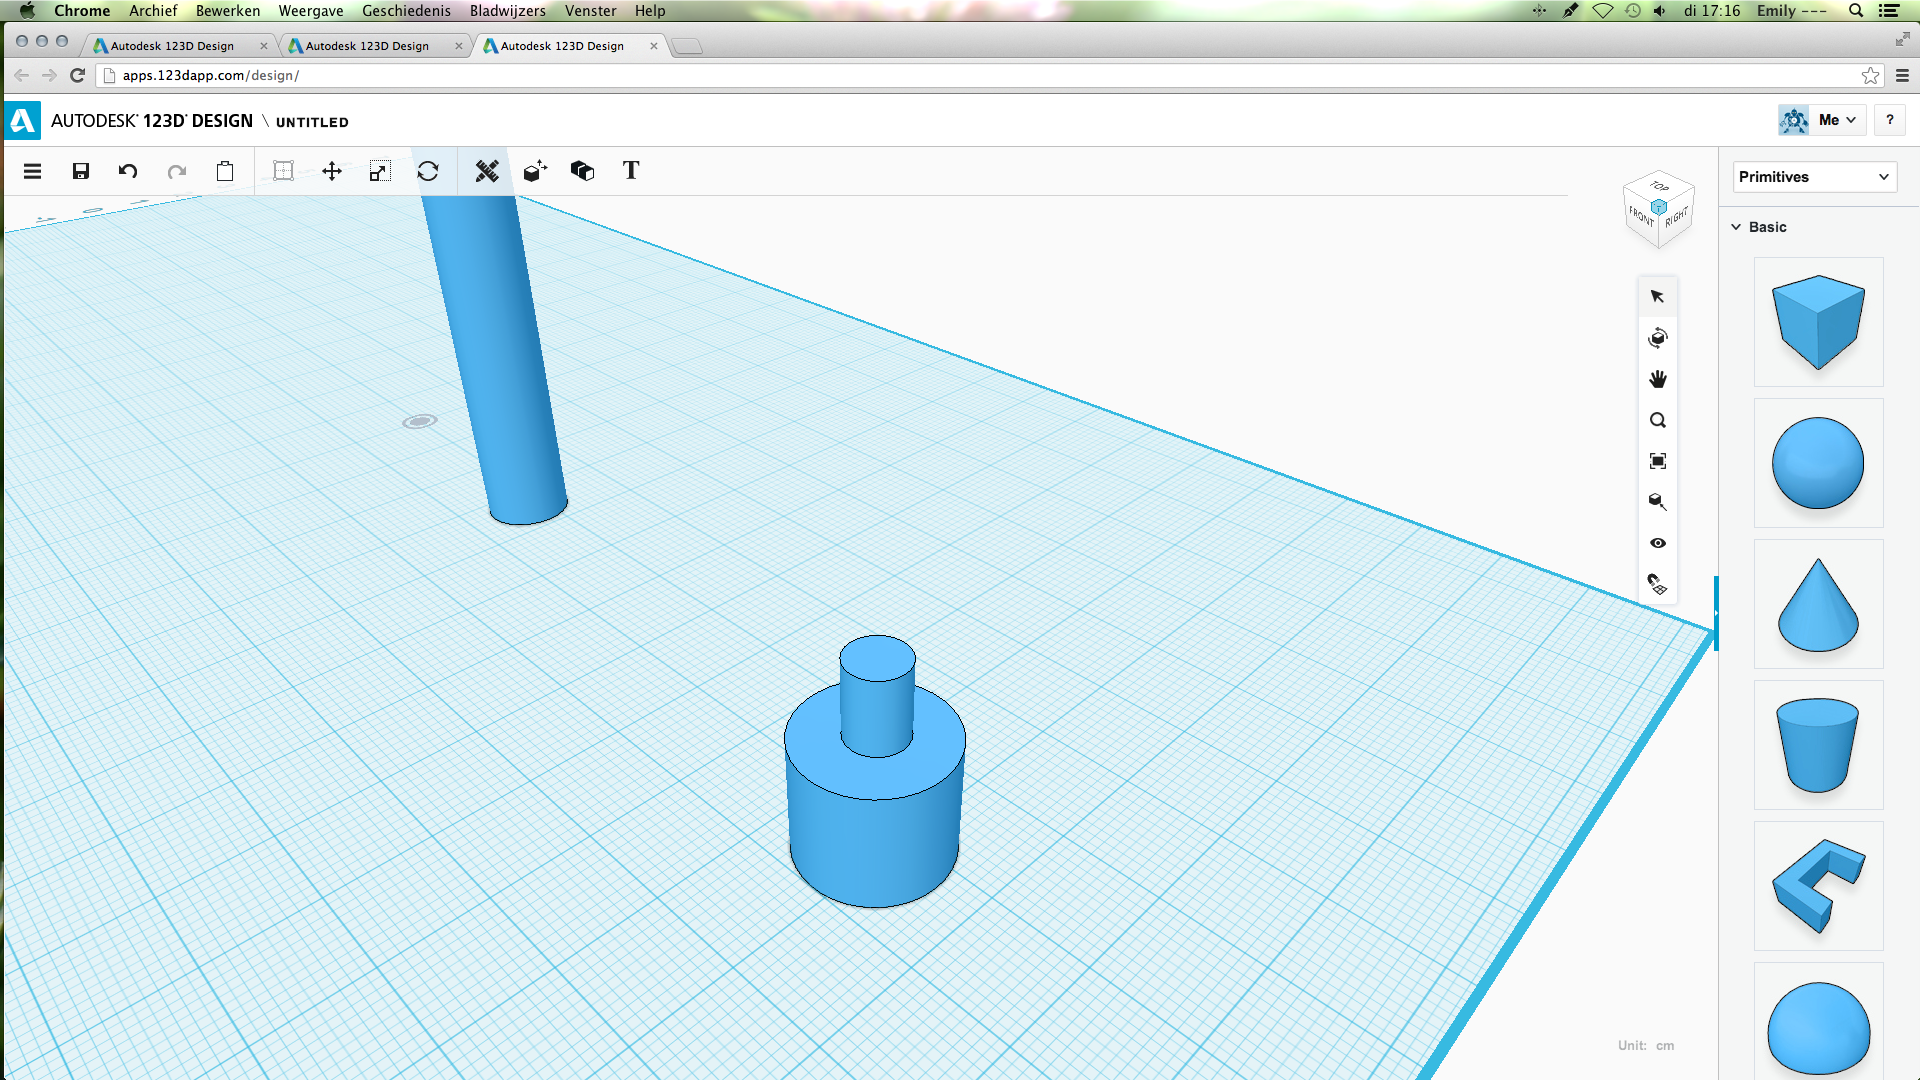
Choose the cylinder. Use the white dots to change the size to: L: 1,5; W: 1,5. The height stays the same.
Take a second cylinder. Change the size to:
L: 0,6
W: 0,6
H: 1,25
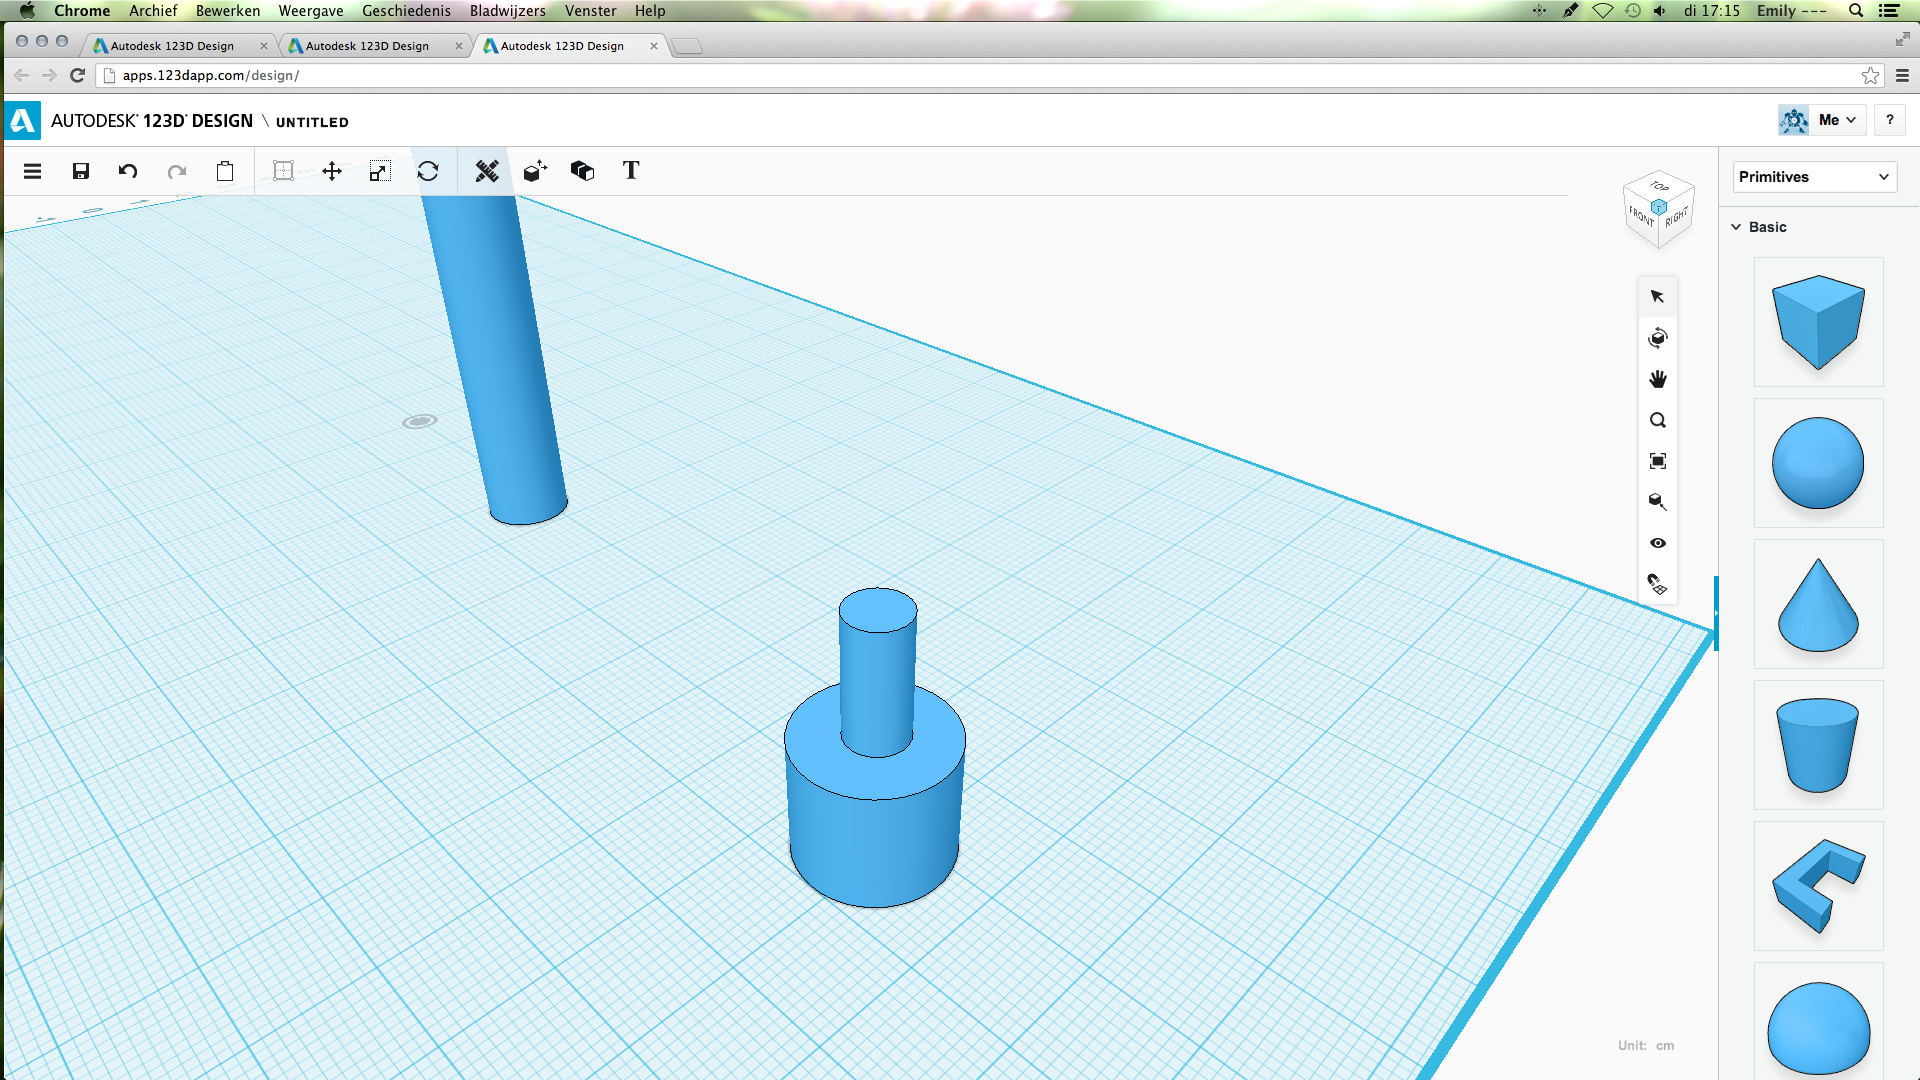
Place the smaller cylinder on top of the first, bigger cylinder. Using the arrows, put the smaller cylinder down, so it extends above the bigger cylinder.
Again, check if it is one object, if it is not, group the selected objects.
Take a second cylinder. Change the size to:
L: 0,6
W: 0,6
H: 1,25
Place the smaller cylinder on top of the first, bigger cylinder. Using the arrows, put the smaller cylinder down, so it extends above the bigger cylinder.
Again, check if it is one object, if it is not, group the selected objects.
Done!
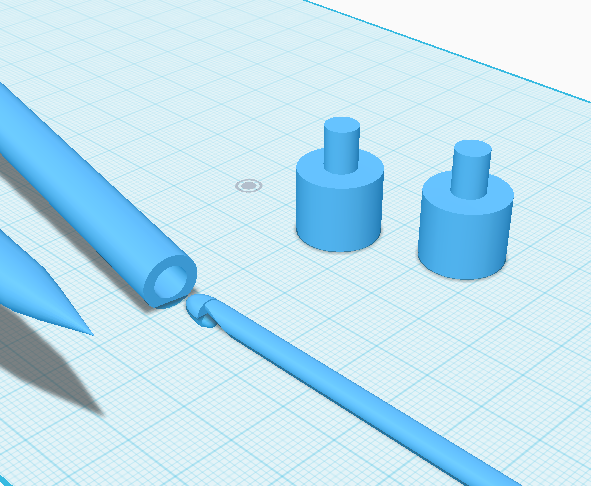
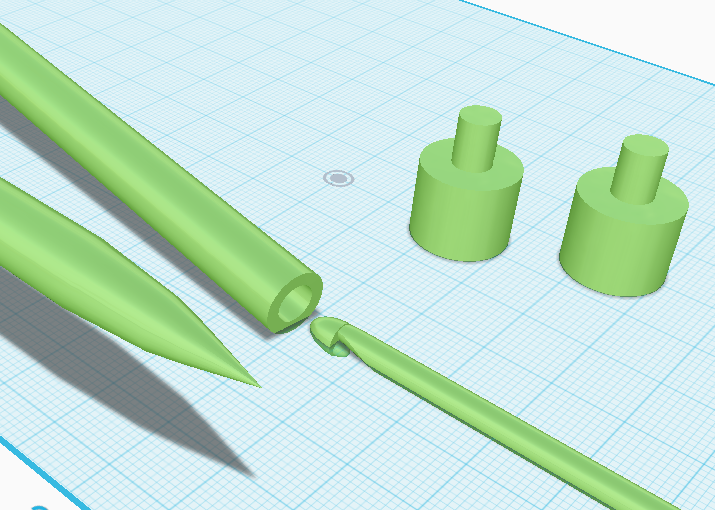
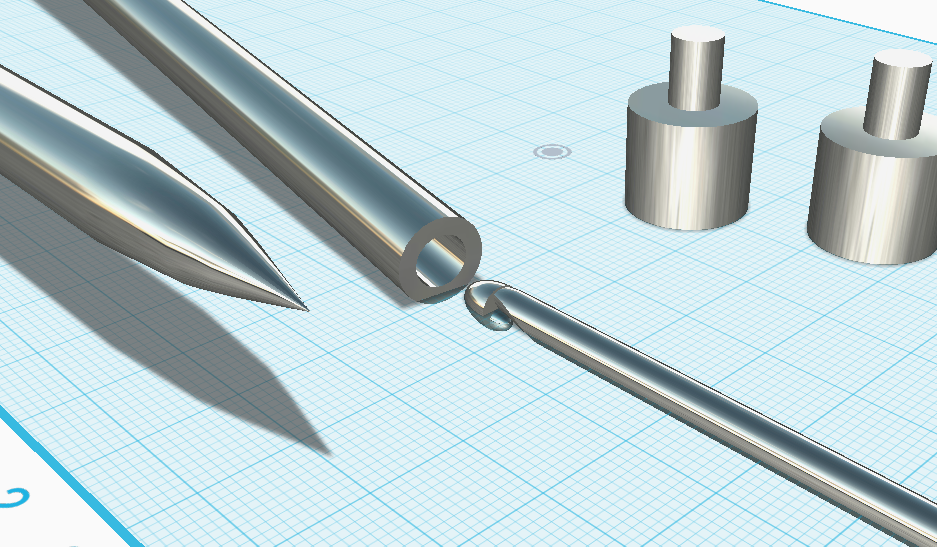
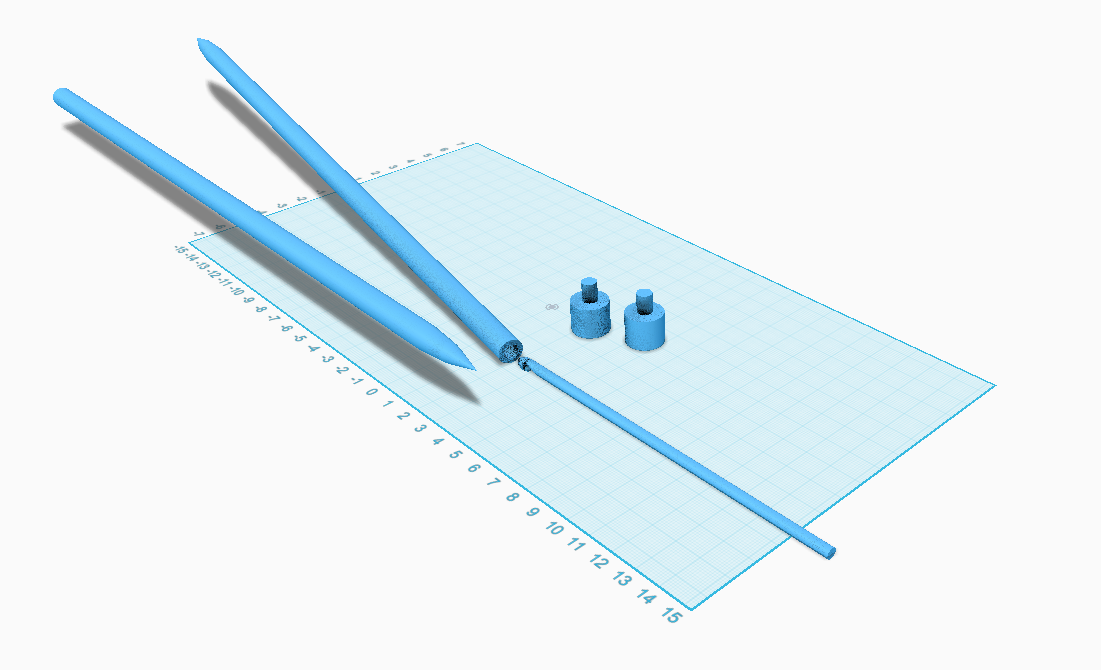
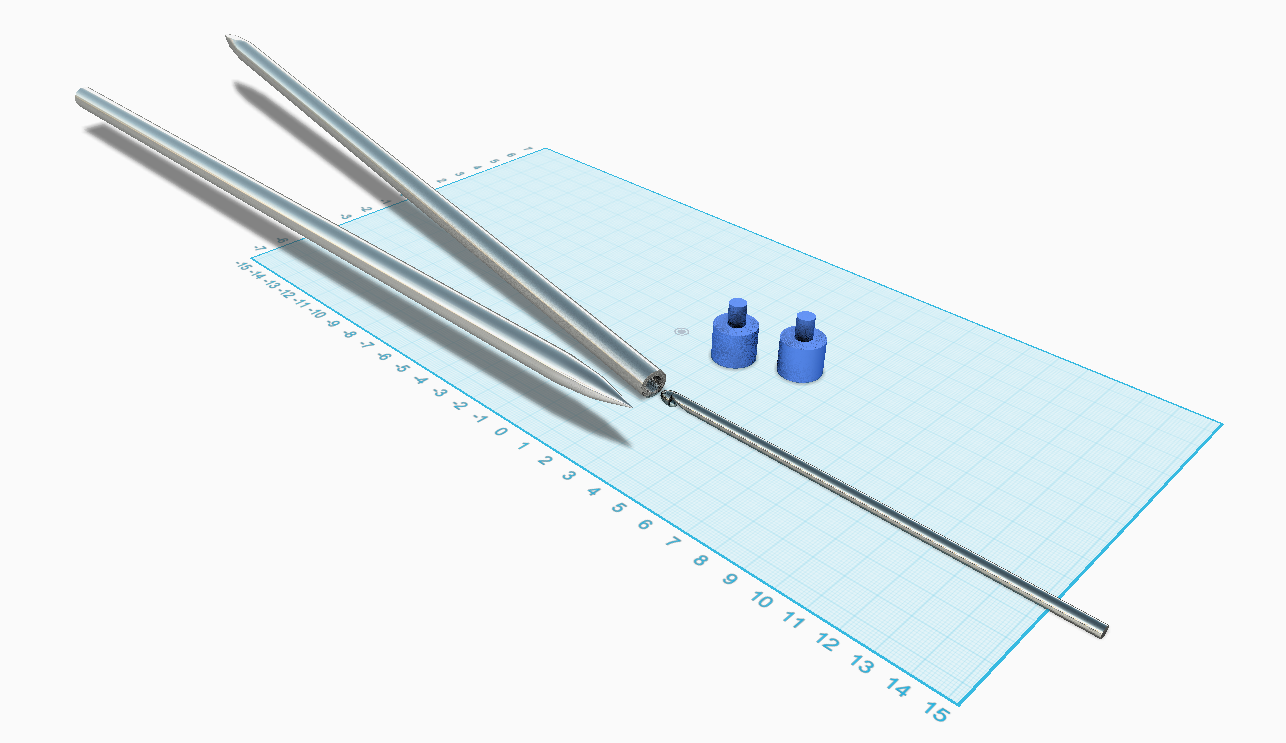
In this step I've included some different material and colour options.
This is the link to my model:
http://www.123dapp.com/FullPreview/Index.cfm/ID/1635865
This is the link to my model:
http://www.123dapp.com/FullPreview/Index.cfm/ID/1635865