123D Fashionable Page Markers
by emilyvanleemput in Workshop > 3D Printing
12741 Views, 52 Favorites, 0 Comments
123D Fashionable Page Markers
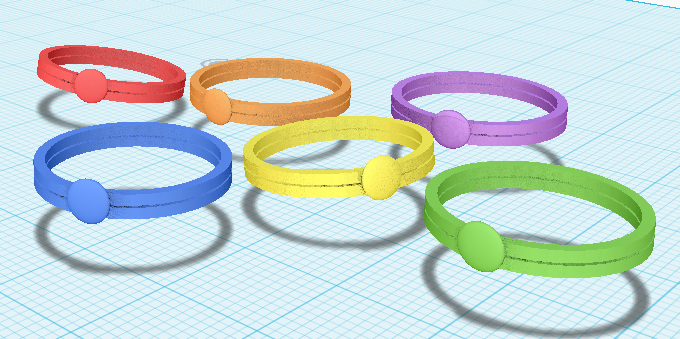
I've been working on this idea for a while. First, I was trying to make it out of wire, but the final product looked almost the same as my twisted ring. Since I already have a spin-off on that one, I didn't wan't to post a third ring with the same technique. So, it was forgotten. Until yesterday. I was thinking of something for the 123D contest when I remembered this idea.
I used about the same sizes as with the wire ring I made first. The following part of text gives an explanation of what this is and why you would use it. The file is public, so you can modify it to make it fit for yourself. The instructable includes how to change it to your own size.
I hope you like it!
The idea behind it came when I was reading a book. Well actually, the idea came the moment I put the book down. I couldn't find my page marker, although I was sure I had it a minute ago. So I thought, how can I make sure I have my page marker, while reading the book, without risking to lose it? Of course: wear it! And, a small ring would give about the right size.
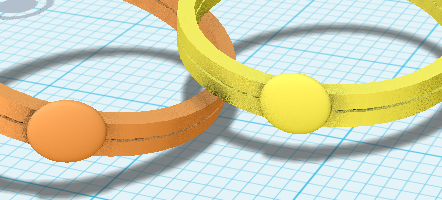
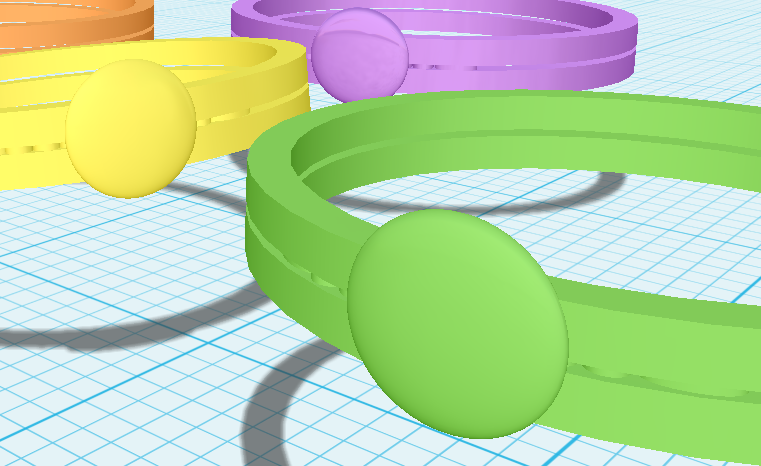
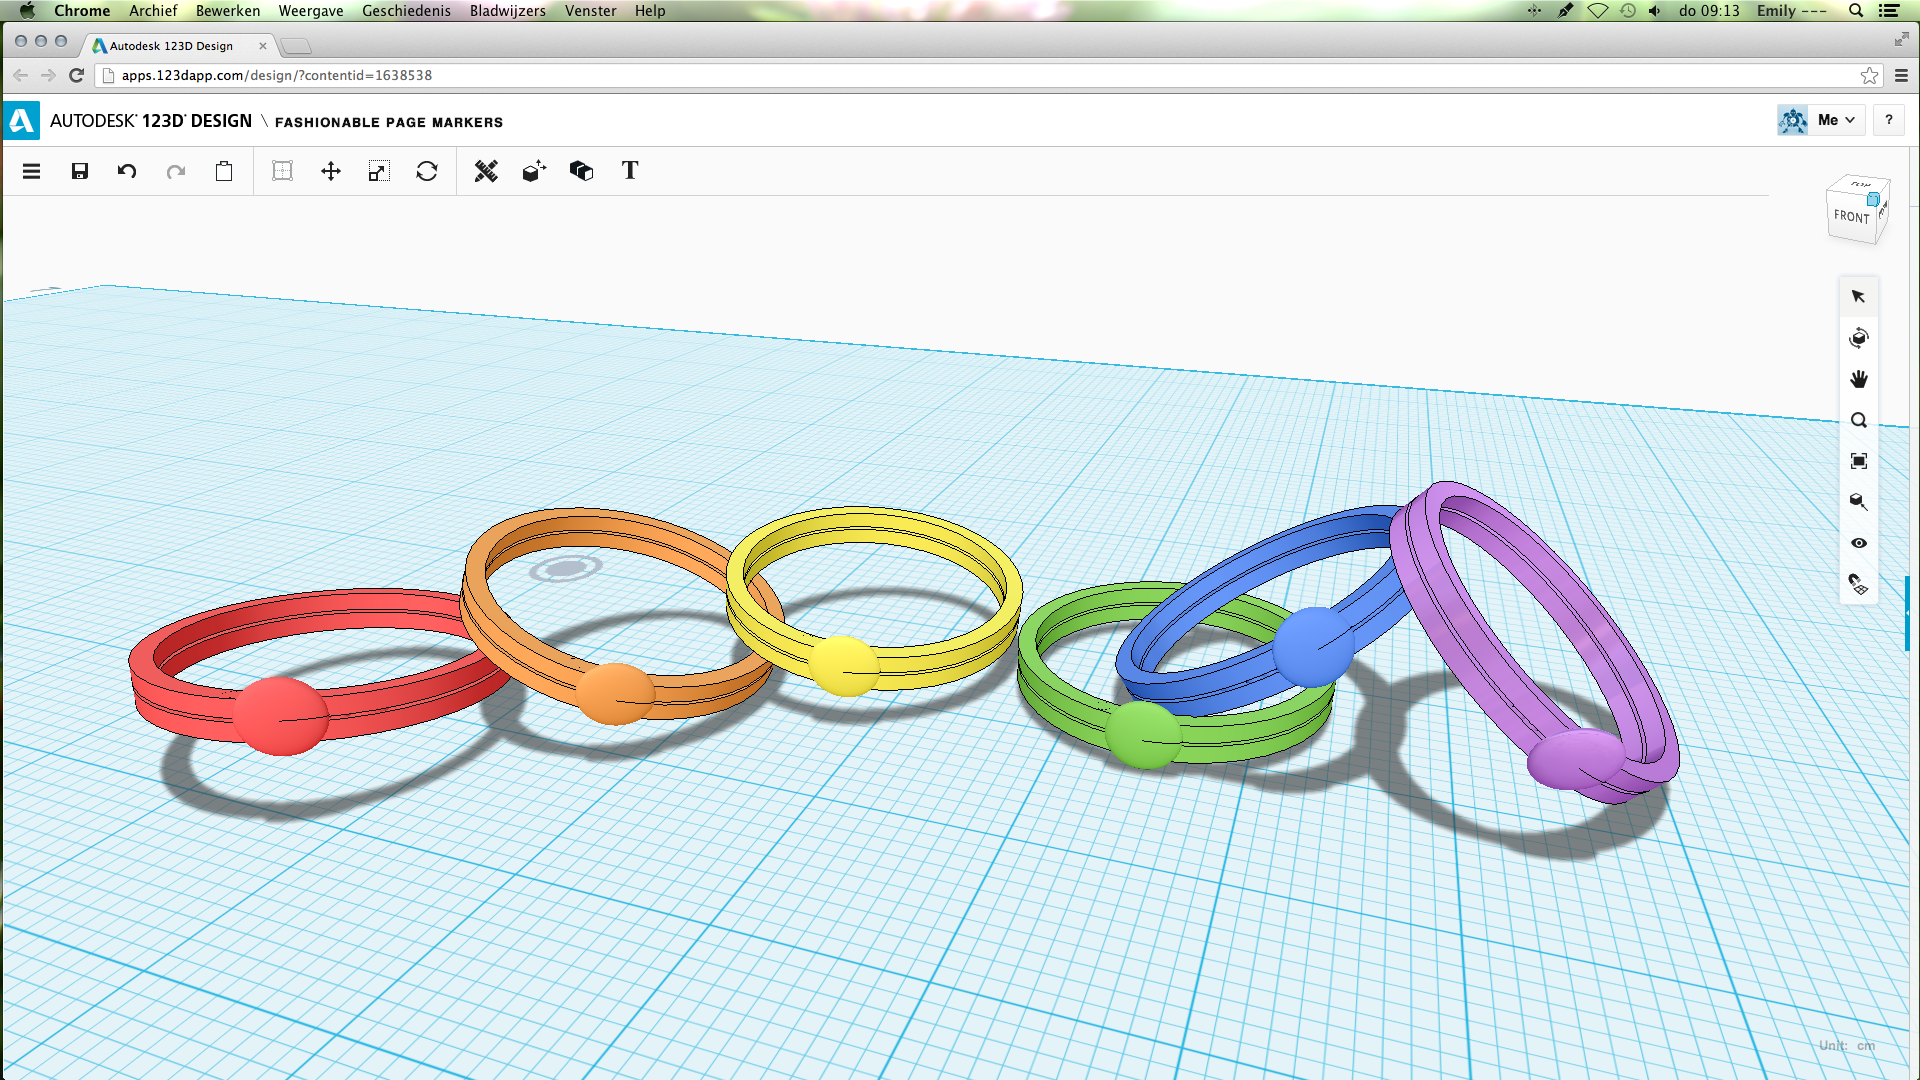
The ring has a total height of 0,22 cm. Reason it is so low is that it has to be in the book. The gap between the two parts is 0,02 cm, enough for any kind of paper. The two parts are held together with the circle on front and a small row of cylinders, also on the front. This will give just enough support for the rings to be one piece.
The 3D model can be found in the last step.
If you like this idea, I would really appreciate a vote in the 123D Autodesk contest.
What to Find Where
Step 2/6 How to make the 3D model
Step 7/8 How to modify the 3D model
Step 9 Where to find the 3D model
Step 7/8 How to modify the 3D model
Step 9 Where to find the 3D model
The First Ring
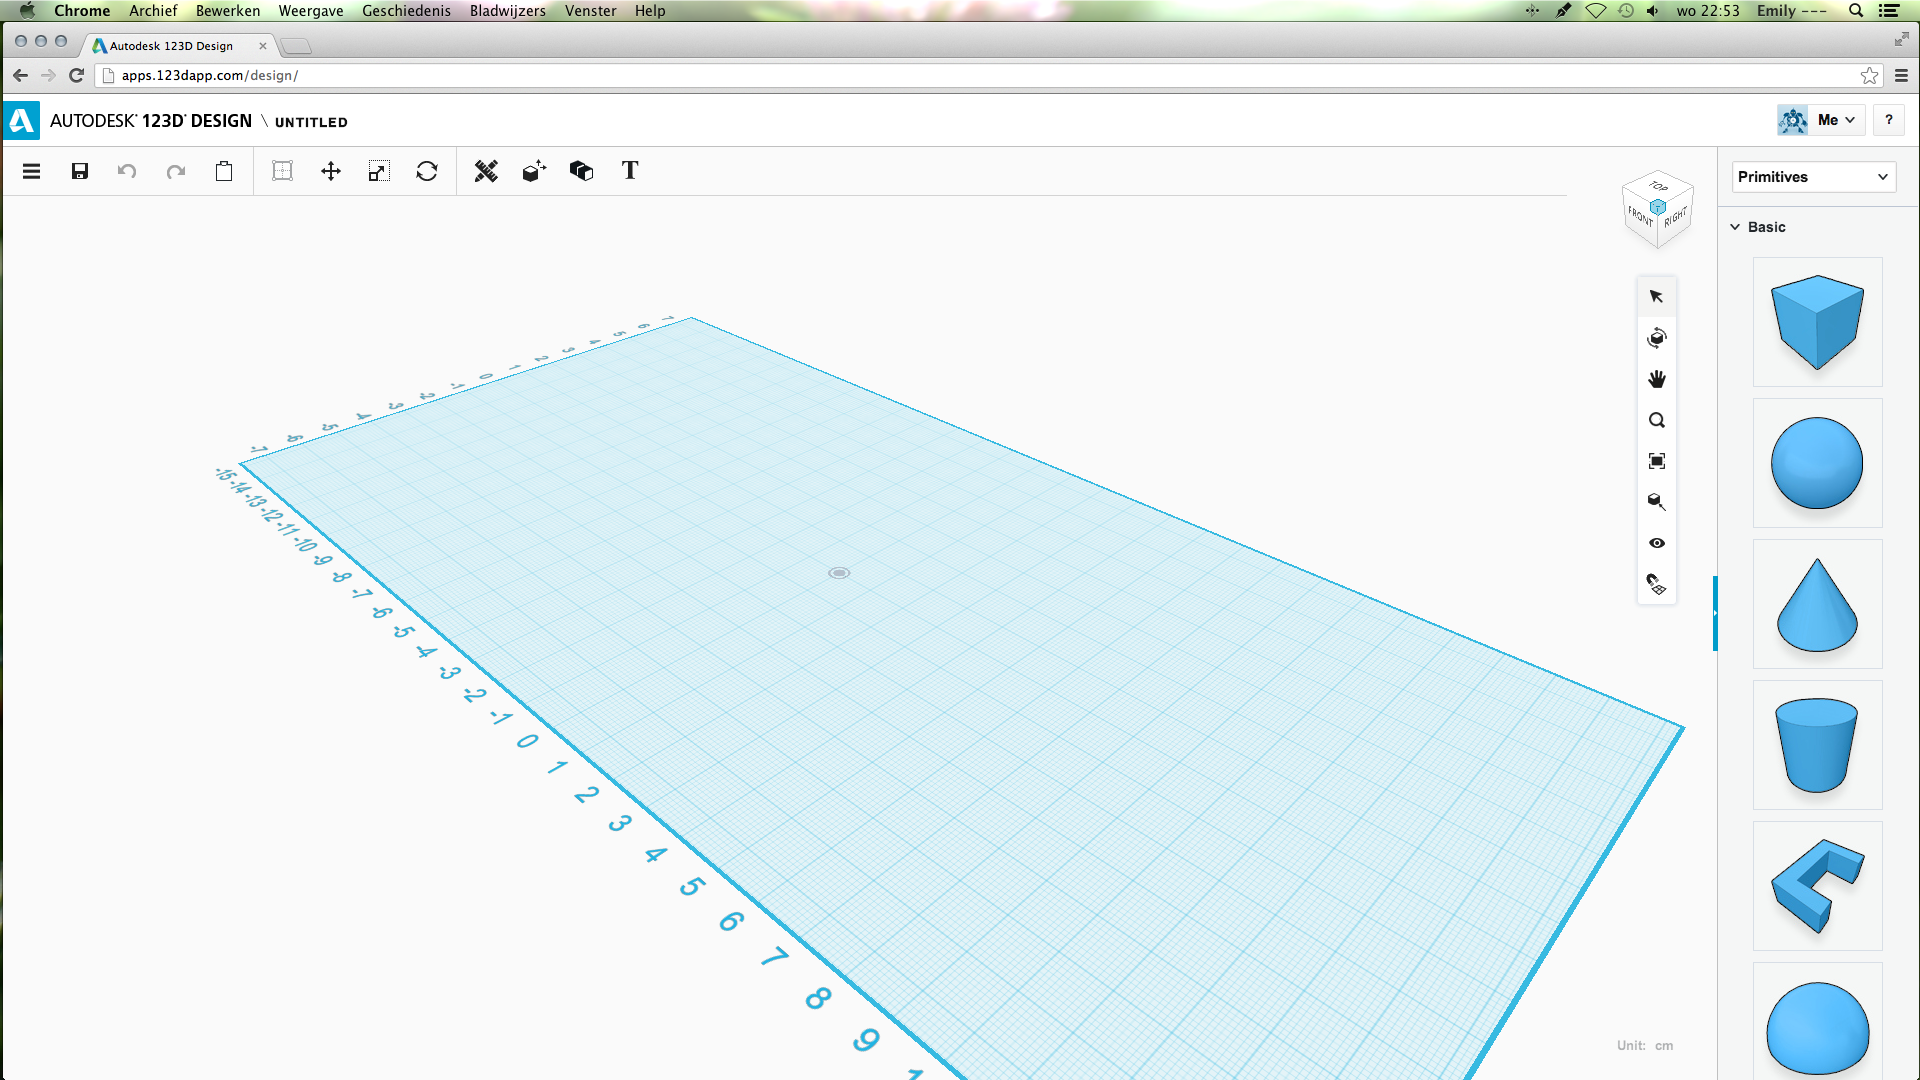
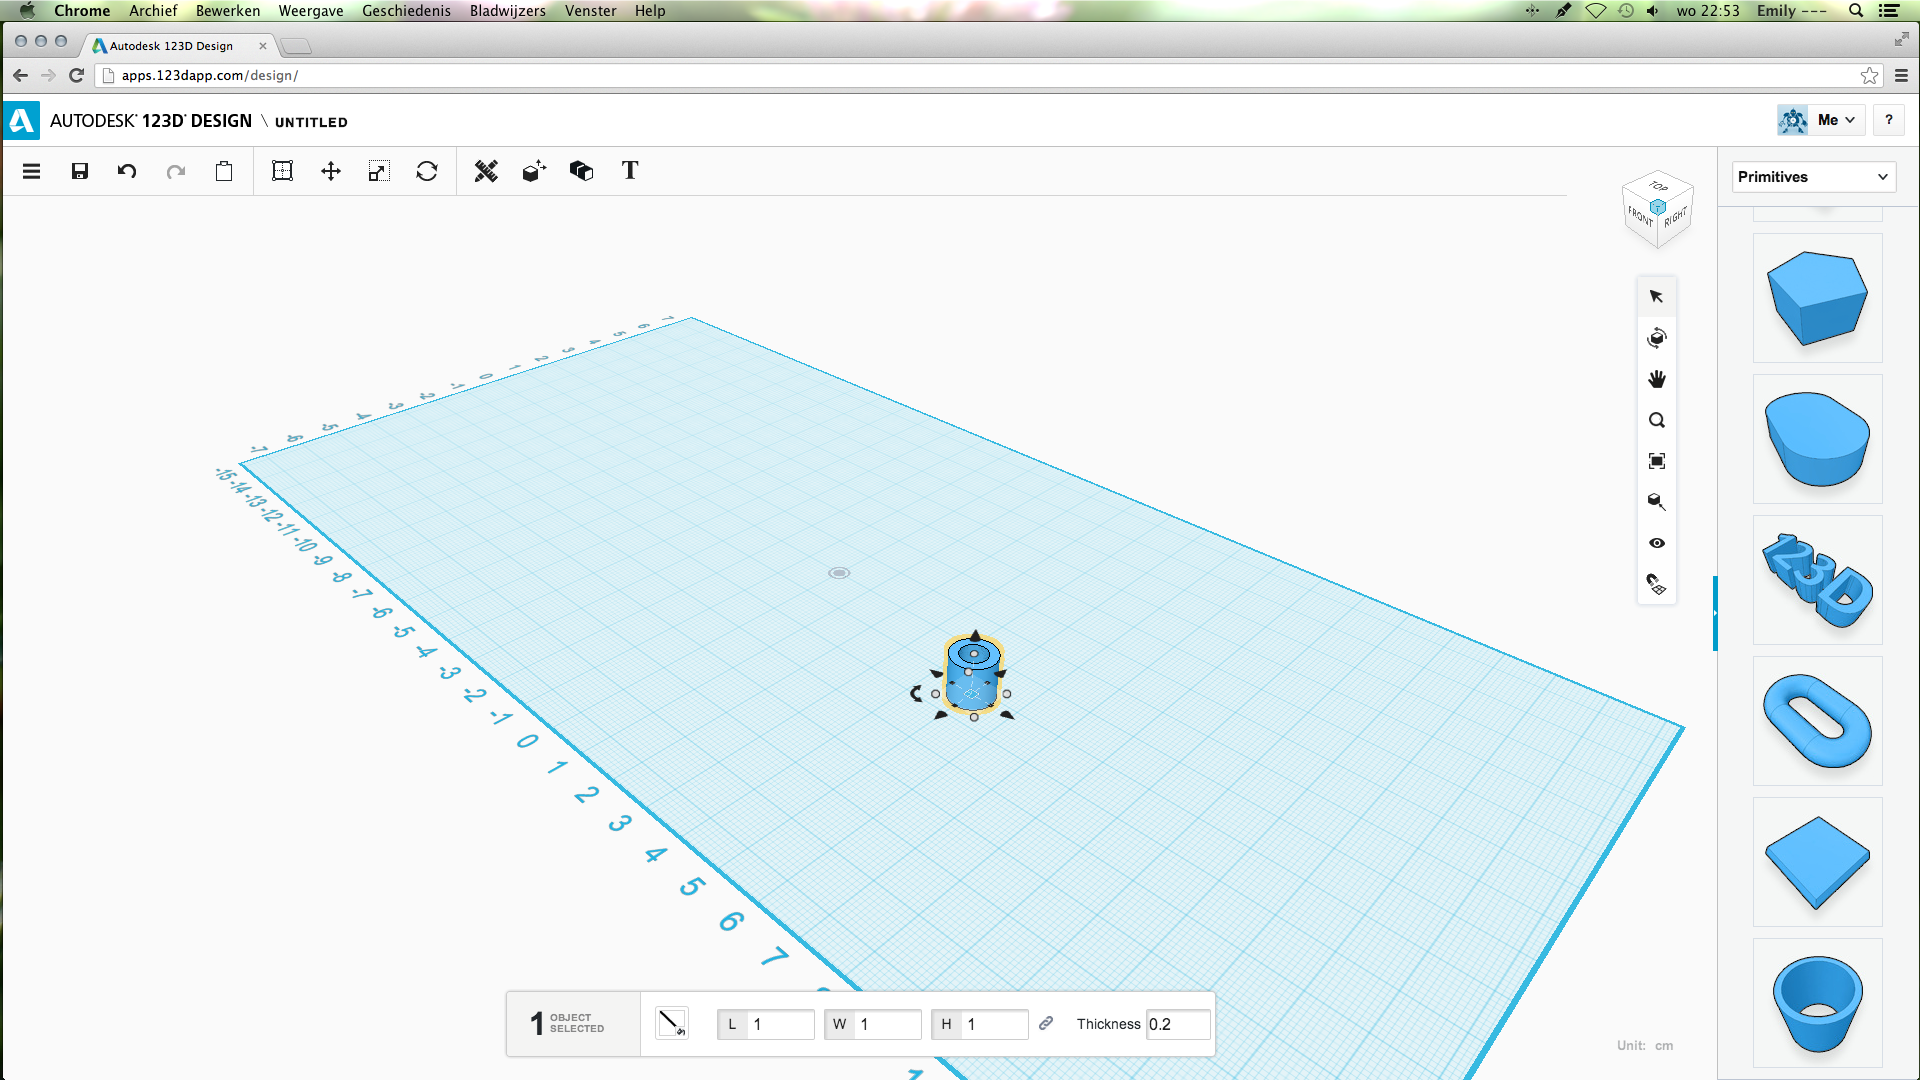
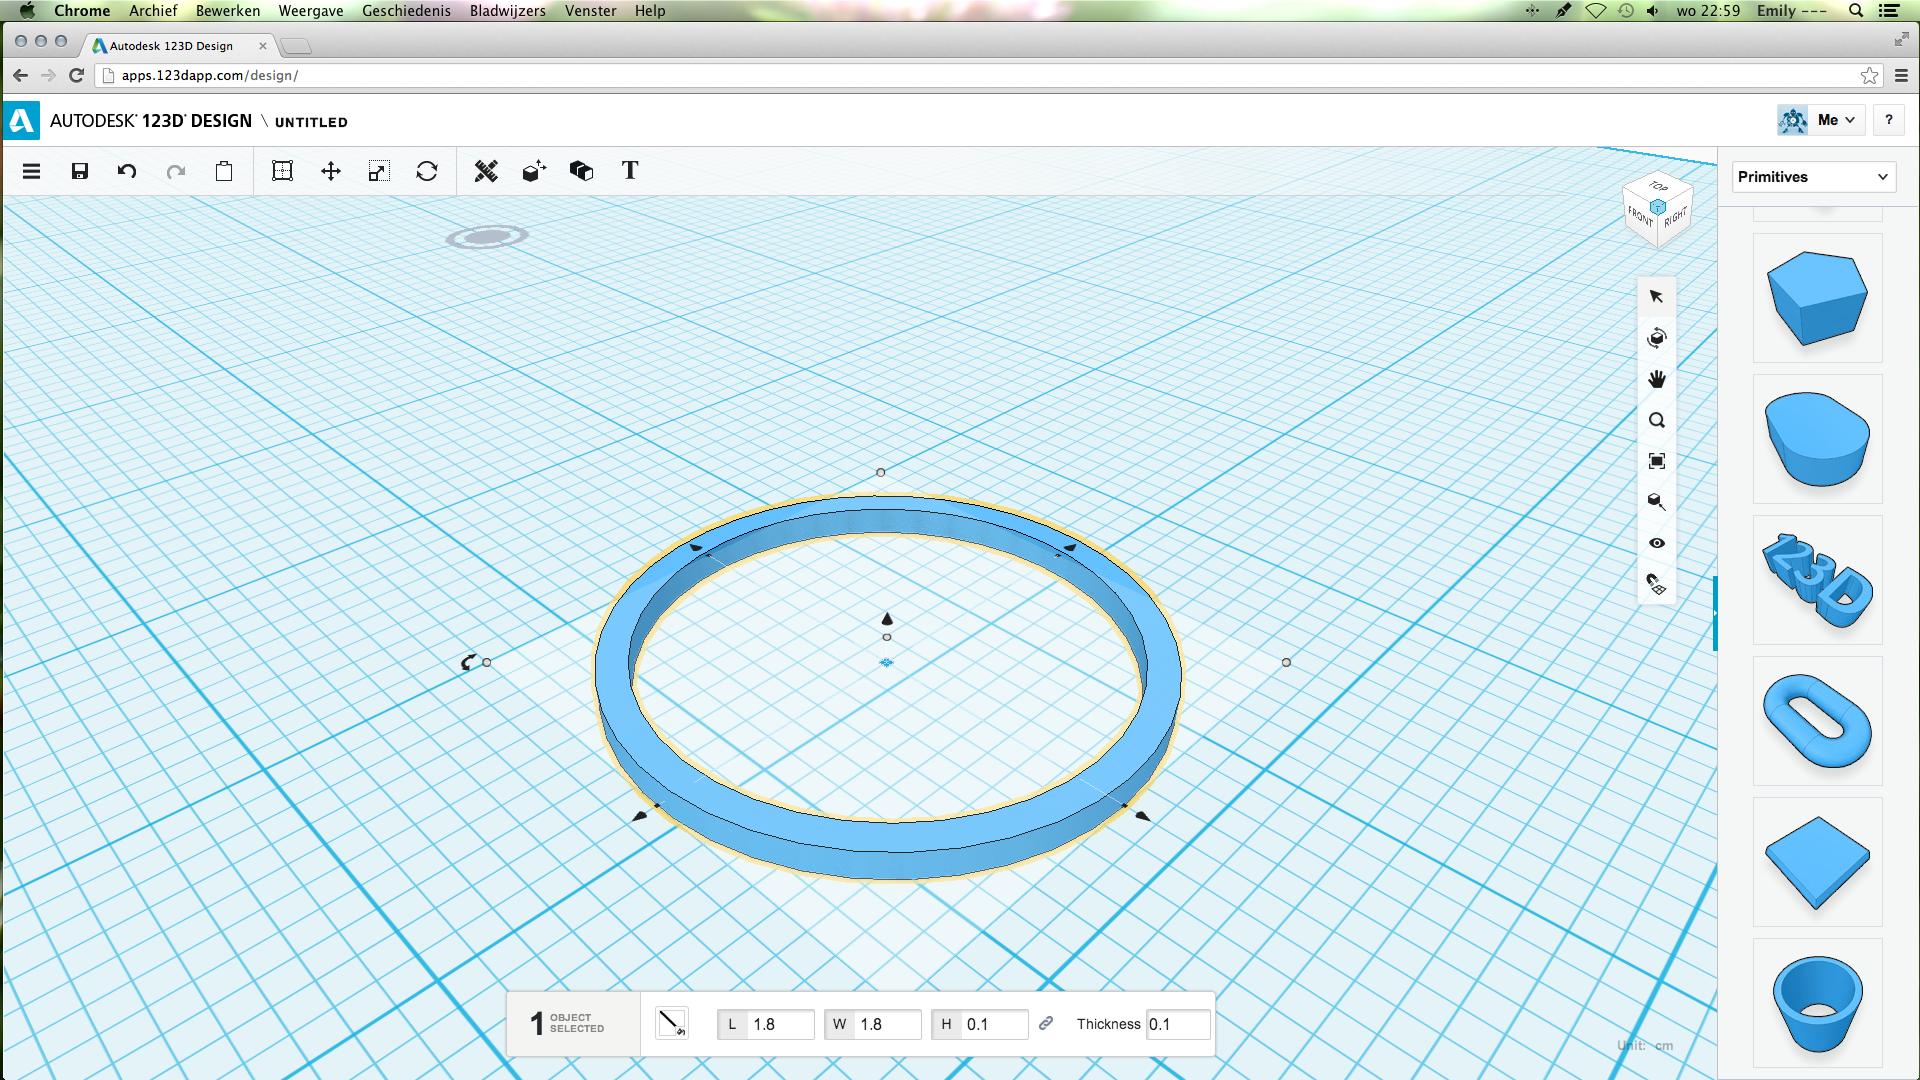
Open a clear file in 123D design. I made this in the online version, which can be found here.
From the column on the right side, choose the tube and drag it to the left. Now you can change the size to:
L: 1.8
W: 1.8
H: 0.1
Thickness: 0.1
You don't have to worry about the size of the ring yet, this can be changed when the model is done.
From the column on the right side, choose the tube and drag it to the left. Now you can change the size to:
L: 1.8
W: 1.8
H: 0.1
Thickness: 0.1
You don't have to worry about the size of the ring yet, this can be changed when the model is done.
Copy and Paste
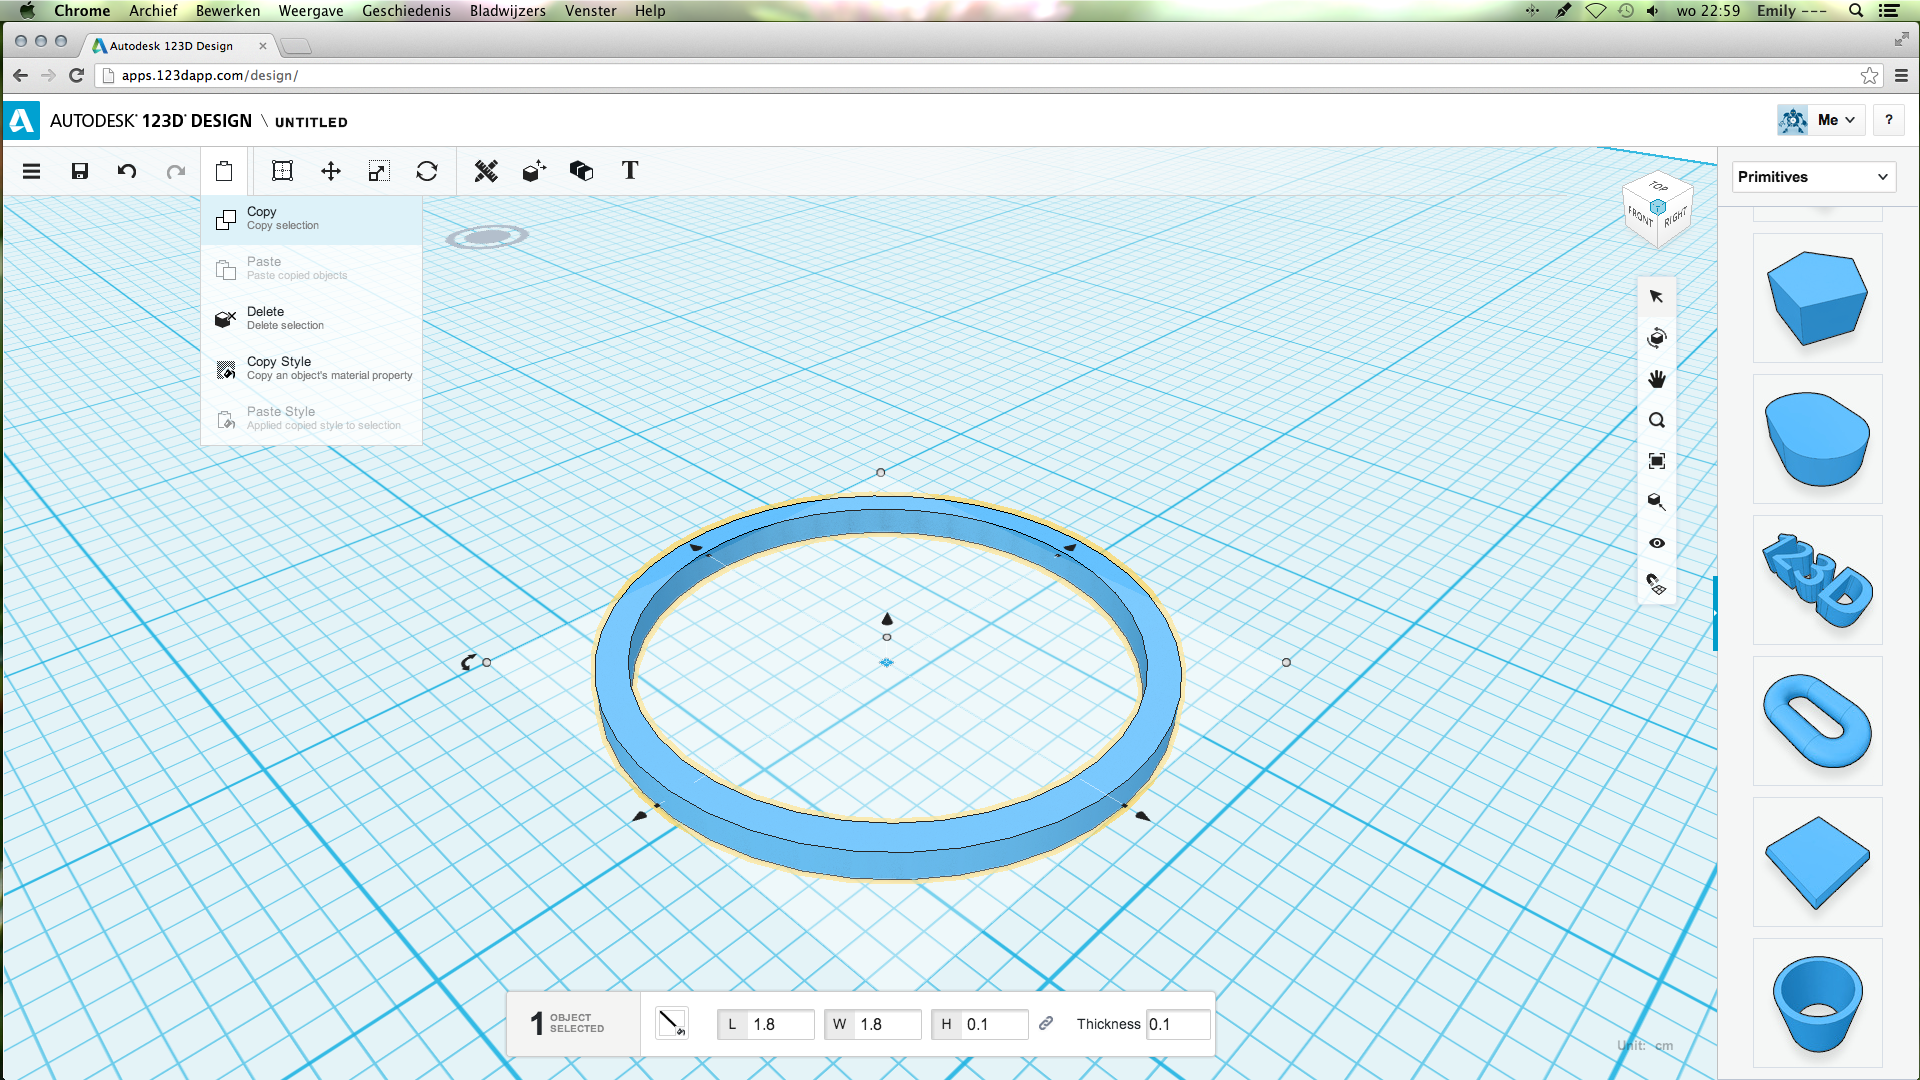

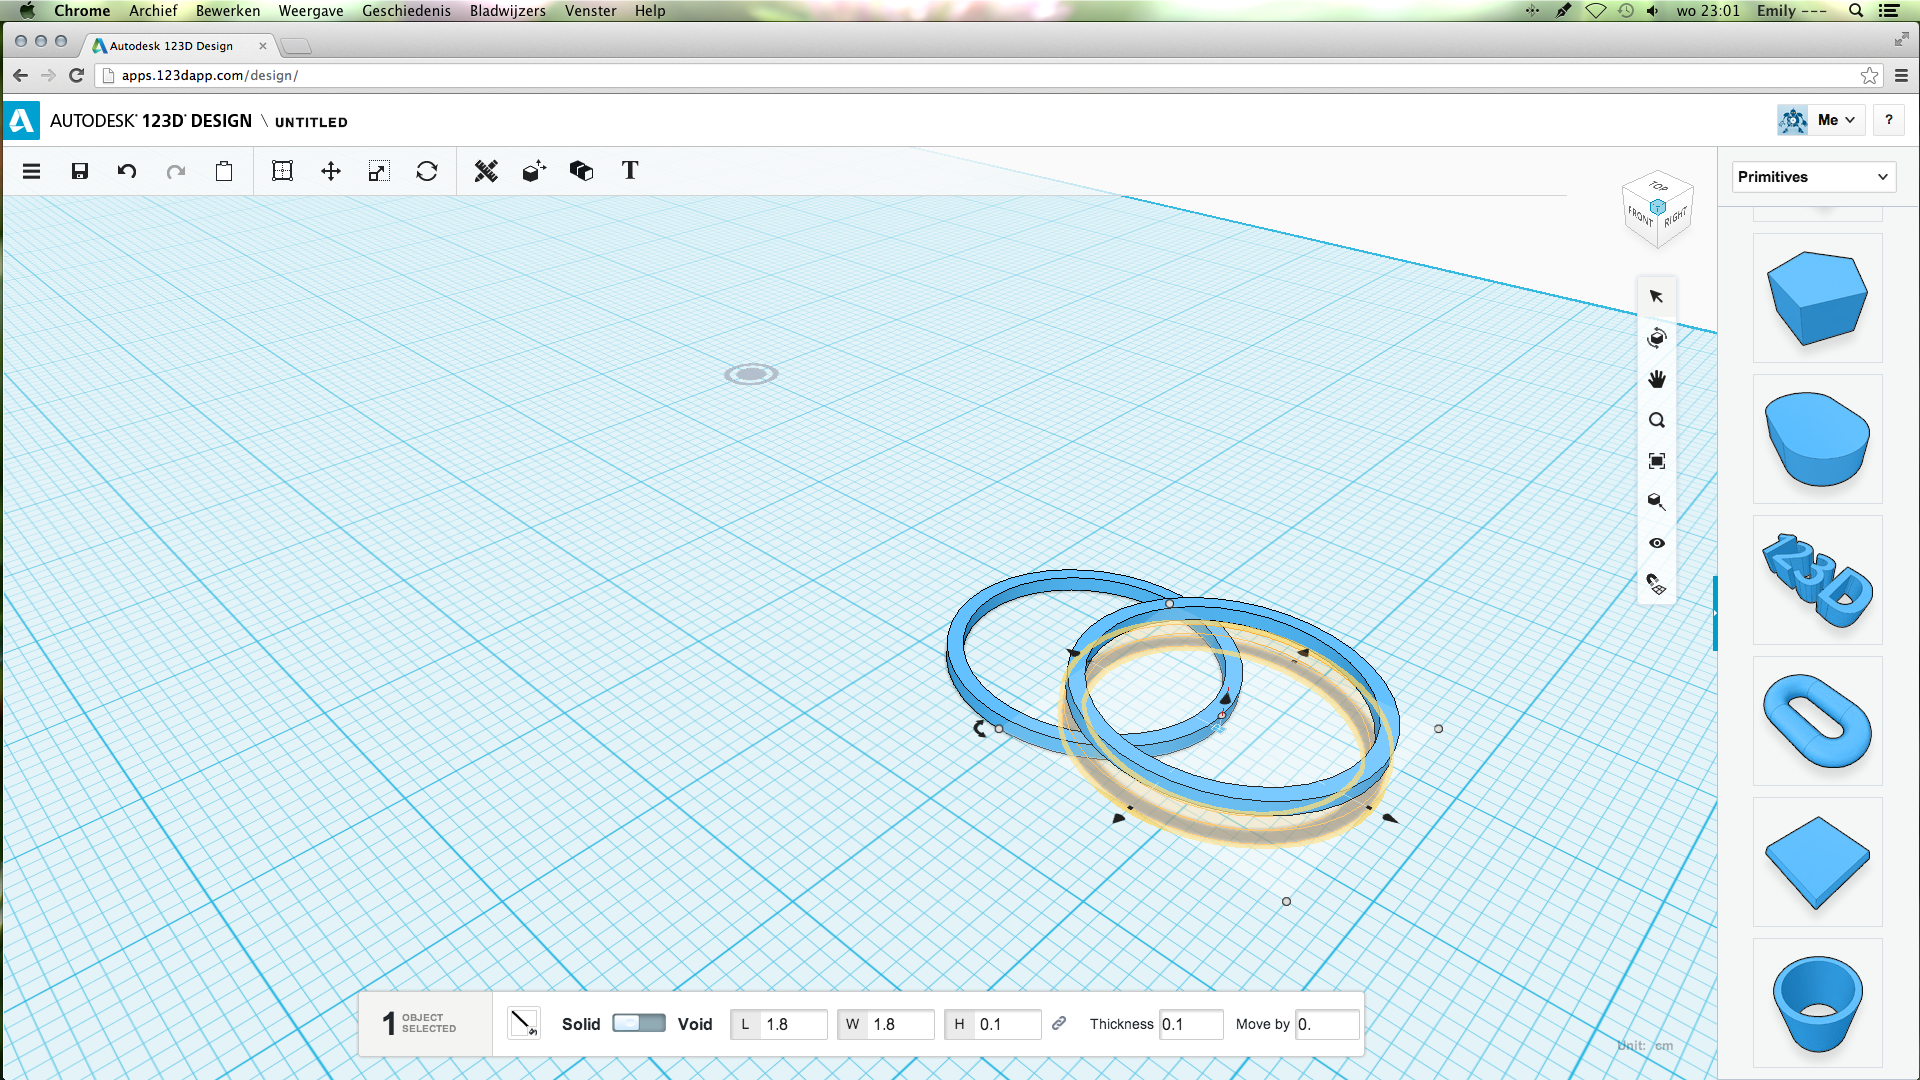
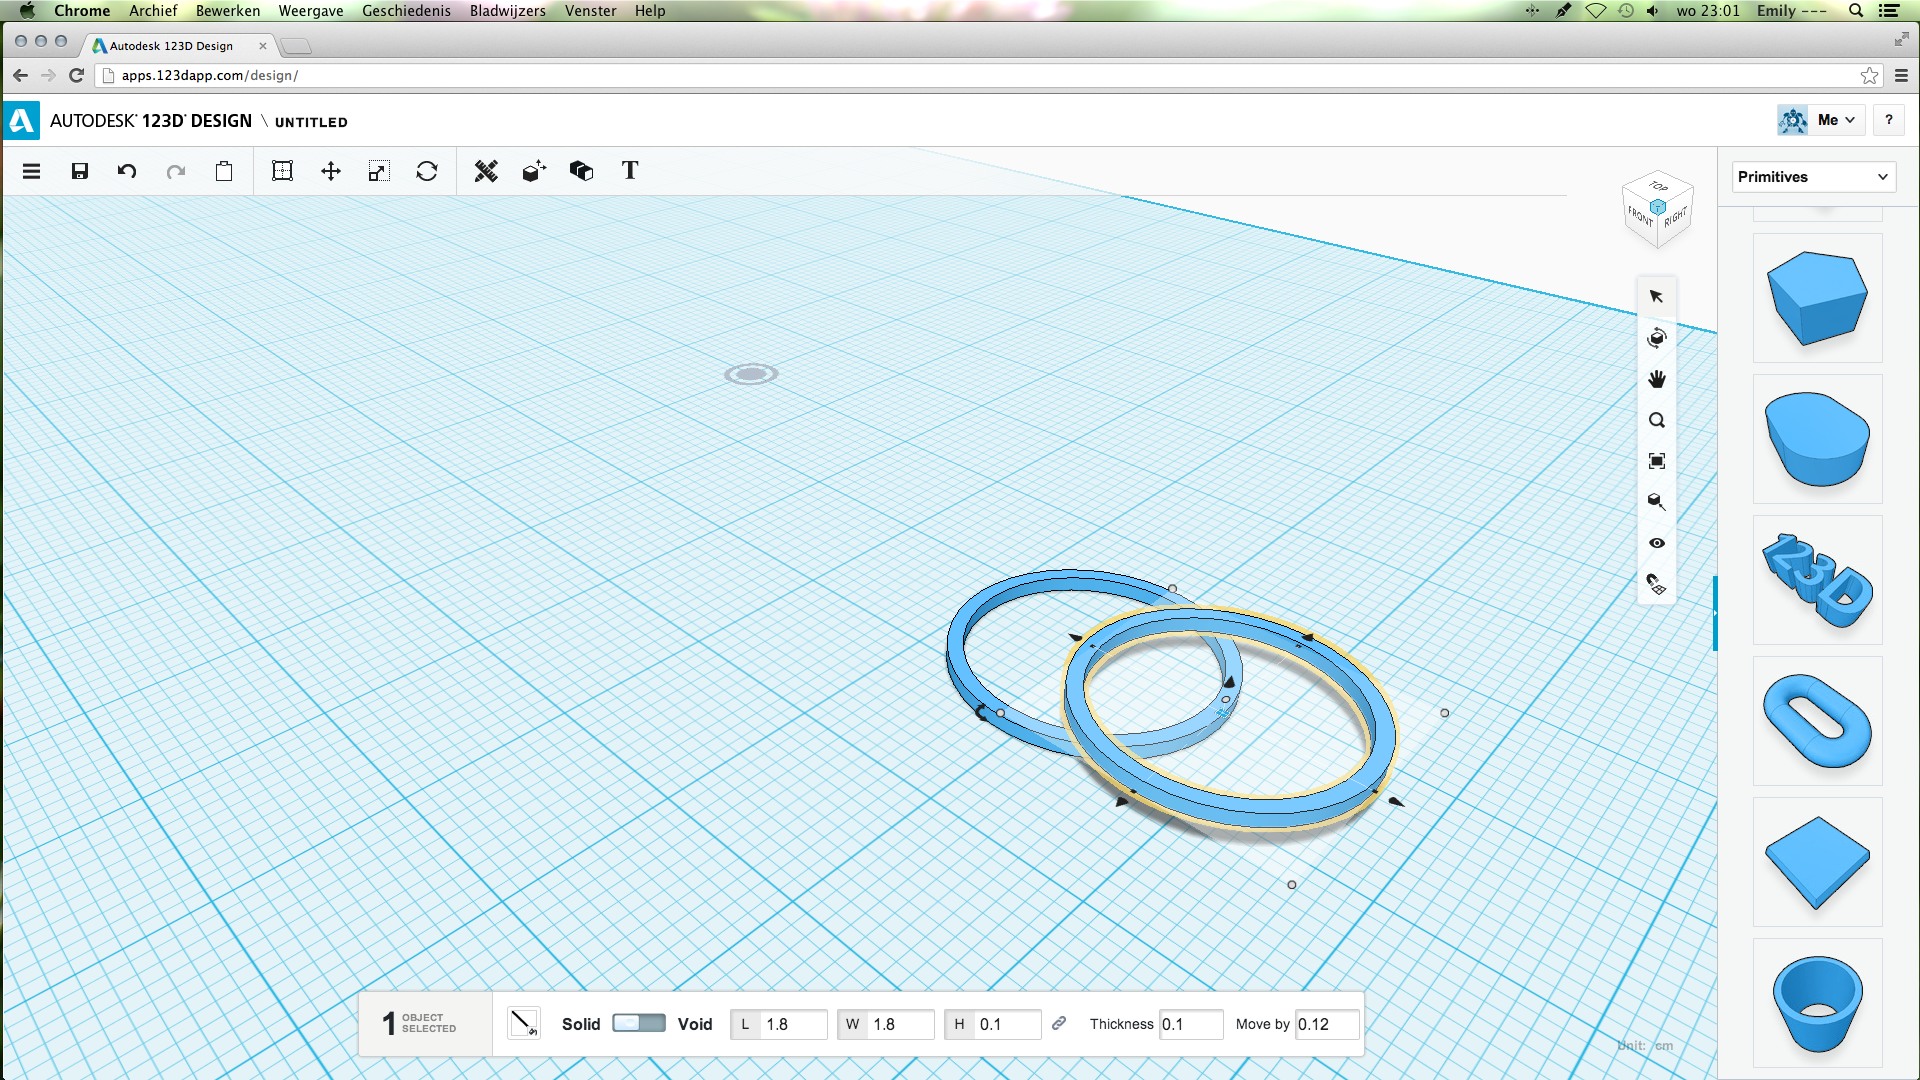
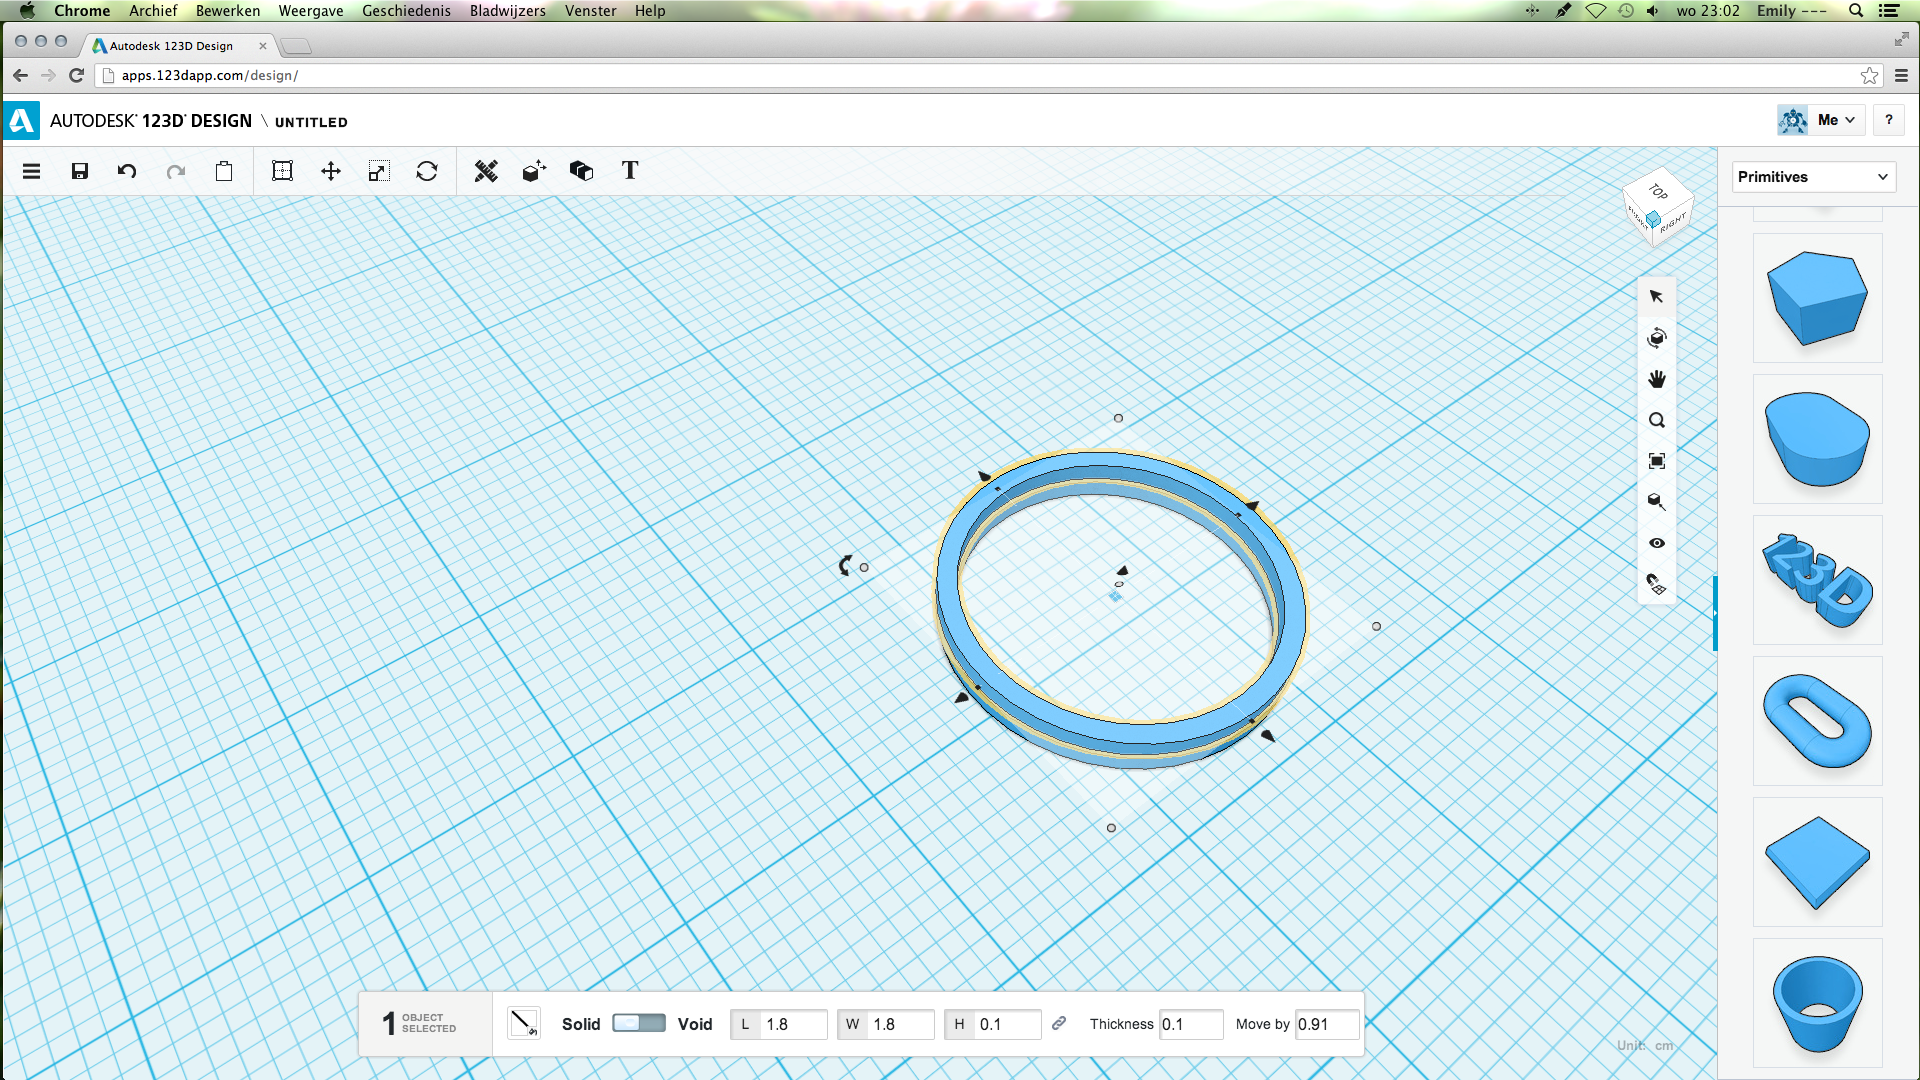
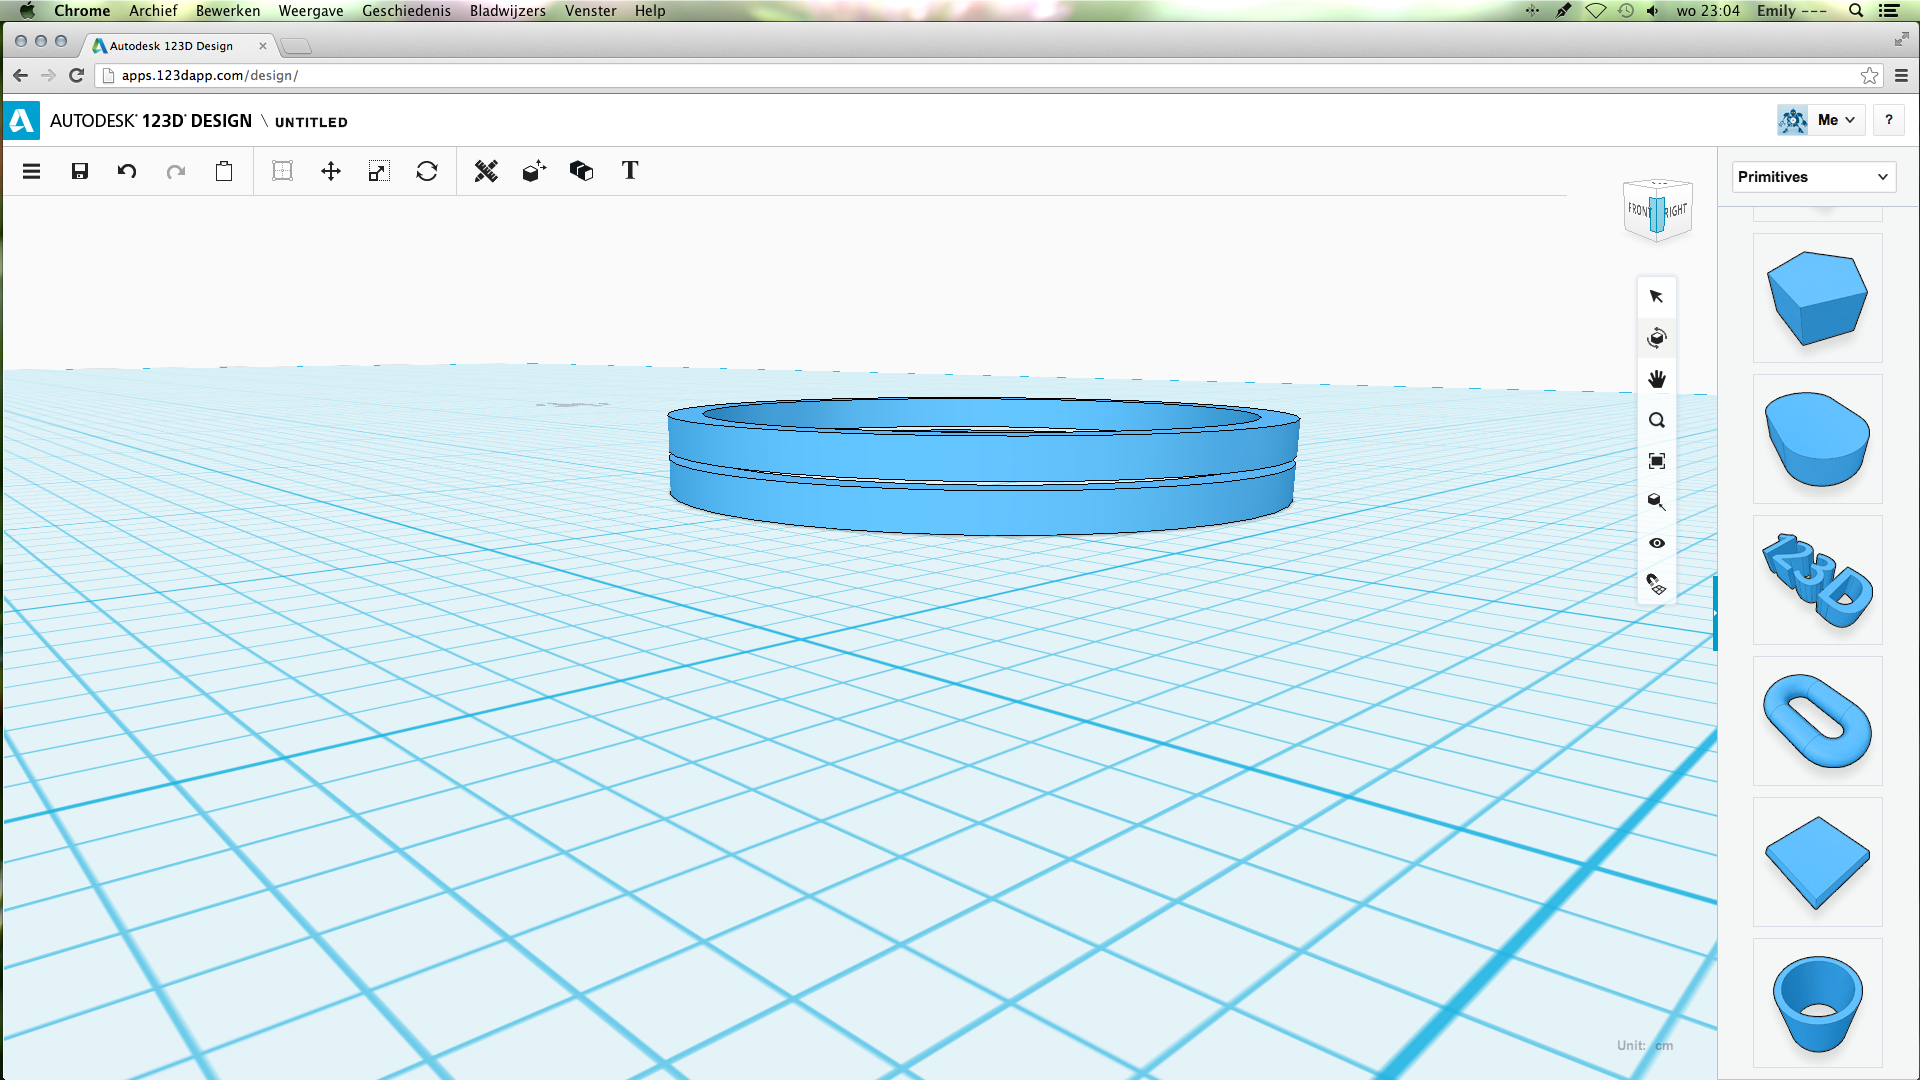
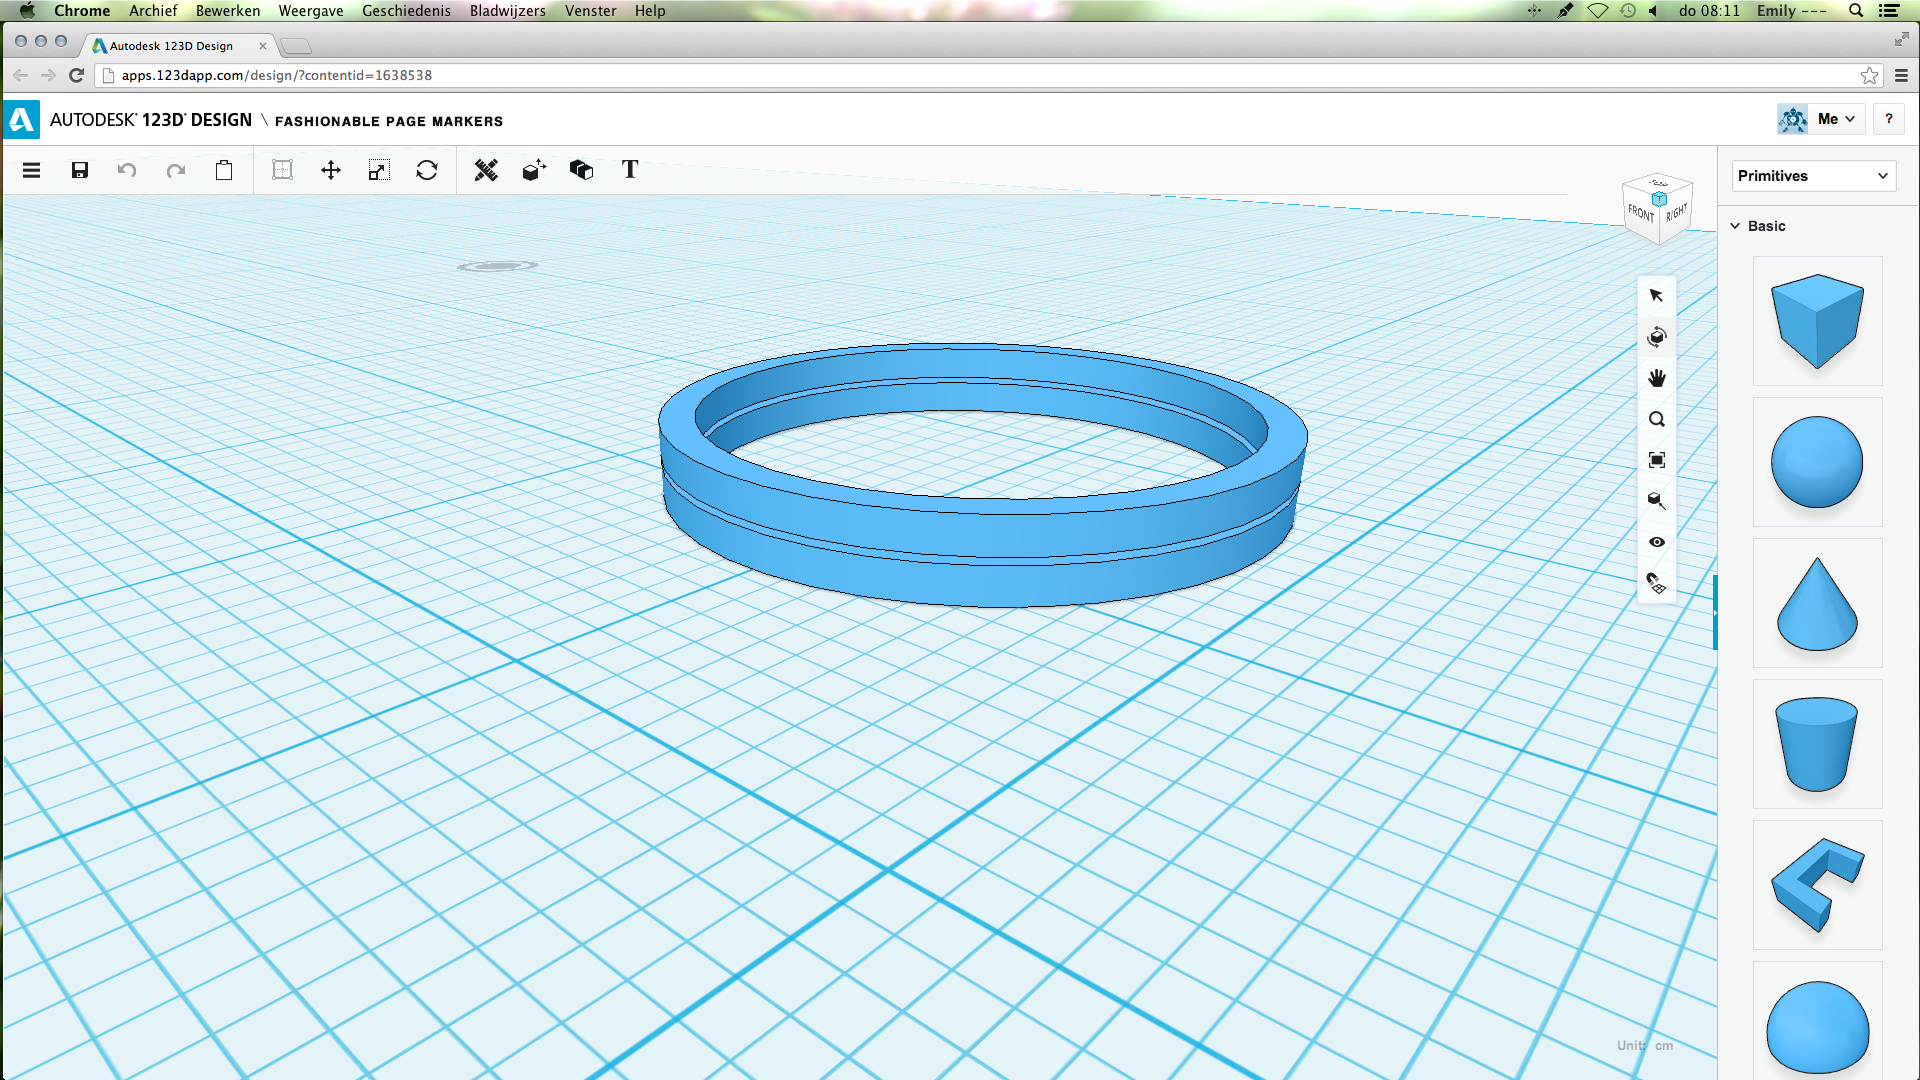
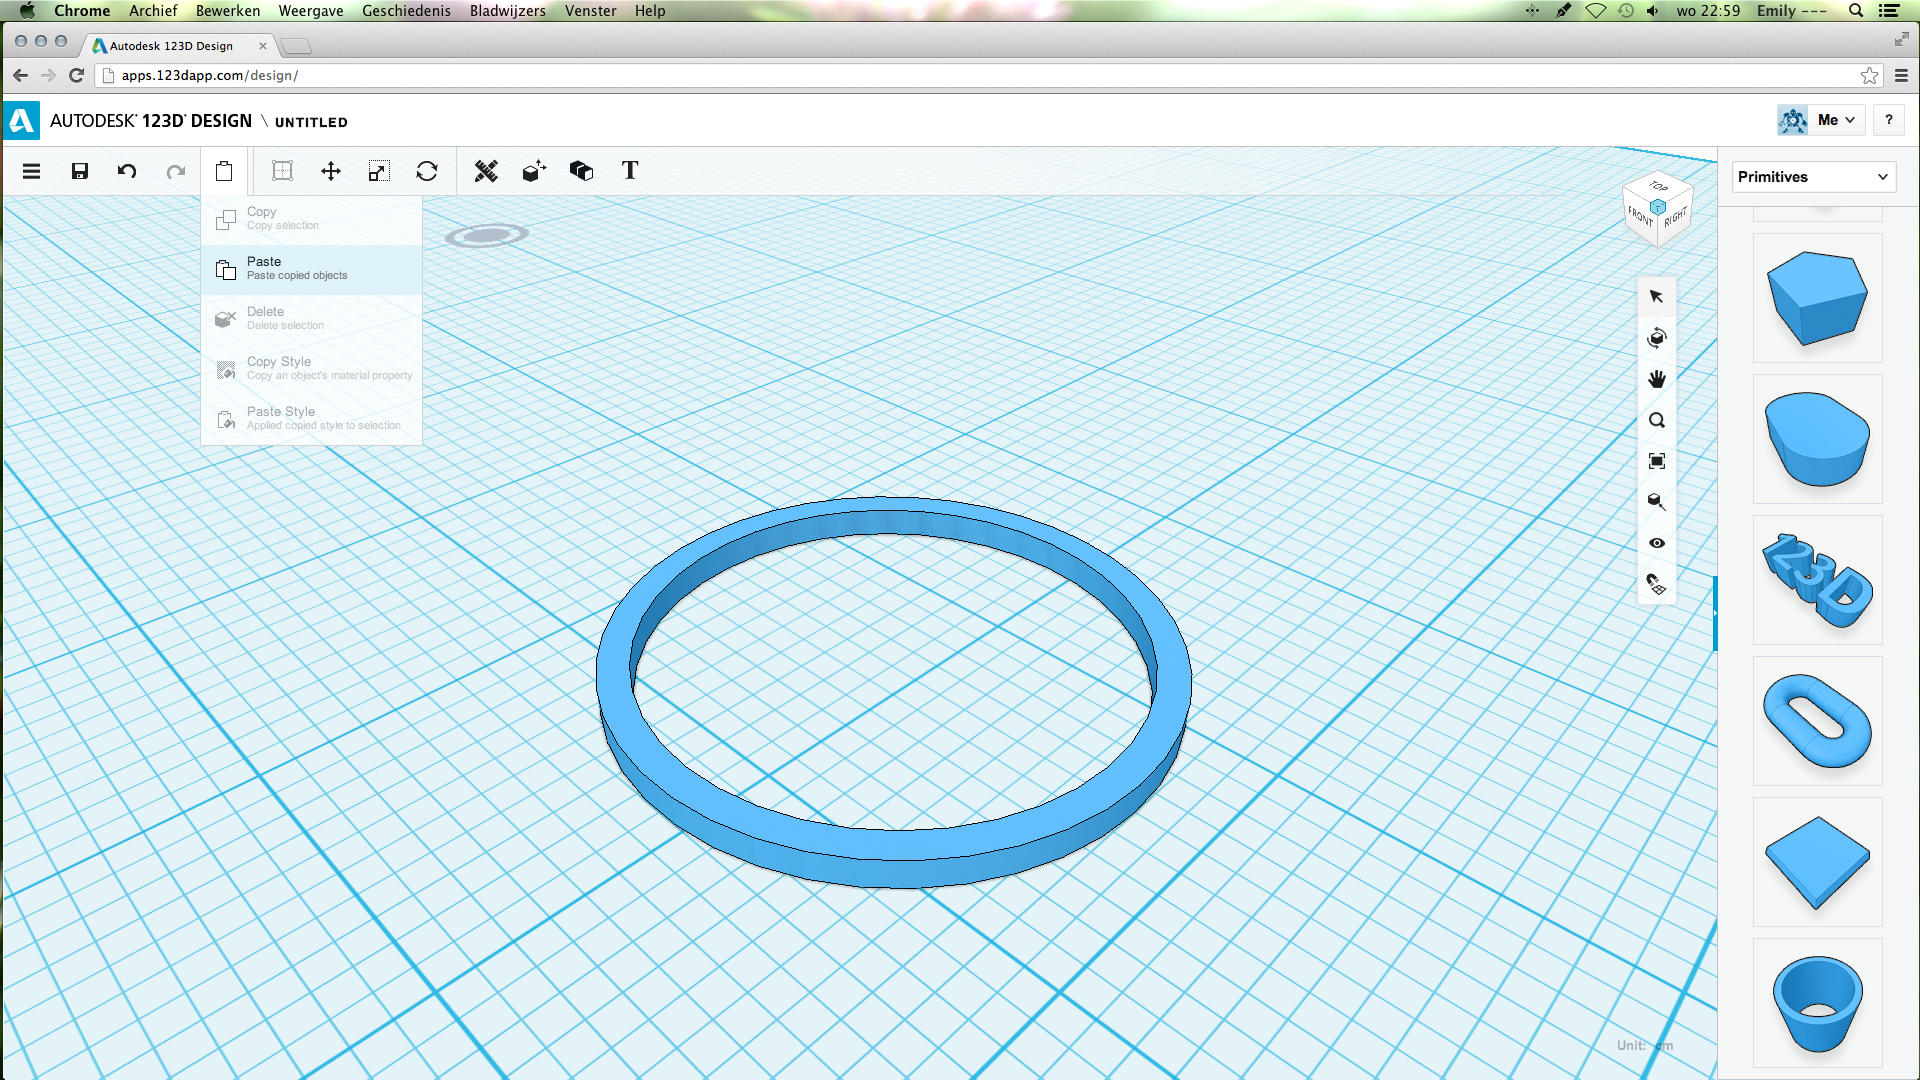
Choose the copy option as shown on the first picture. Then, paste. Now you have two rings. Move the second ring up. It will now say moved ..... Change this number to 0.12.
Why? The height of the ring is 0.1 cm, so when you've moved it 0.1, the second ring would be right on the other ring. The 0.02 extra is the space between the two rings for the paper to fit in.
After that, don't change anything to the height and move the second ring so it is right above the first ring.
Adding the Sphere
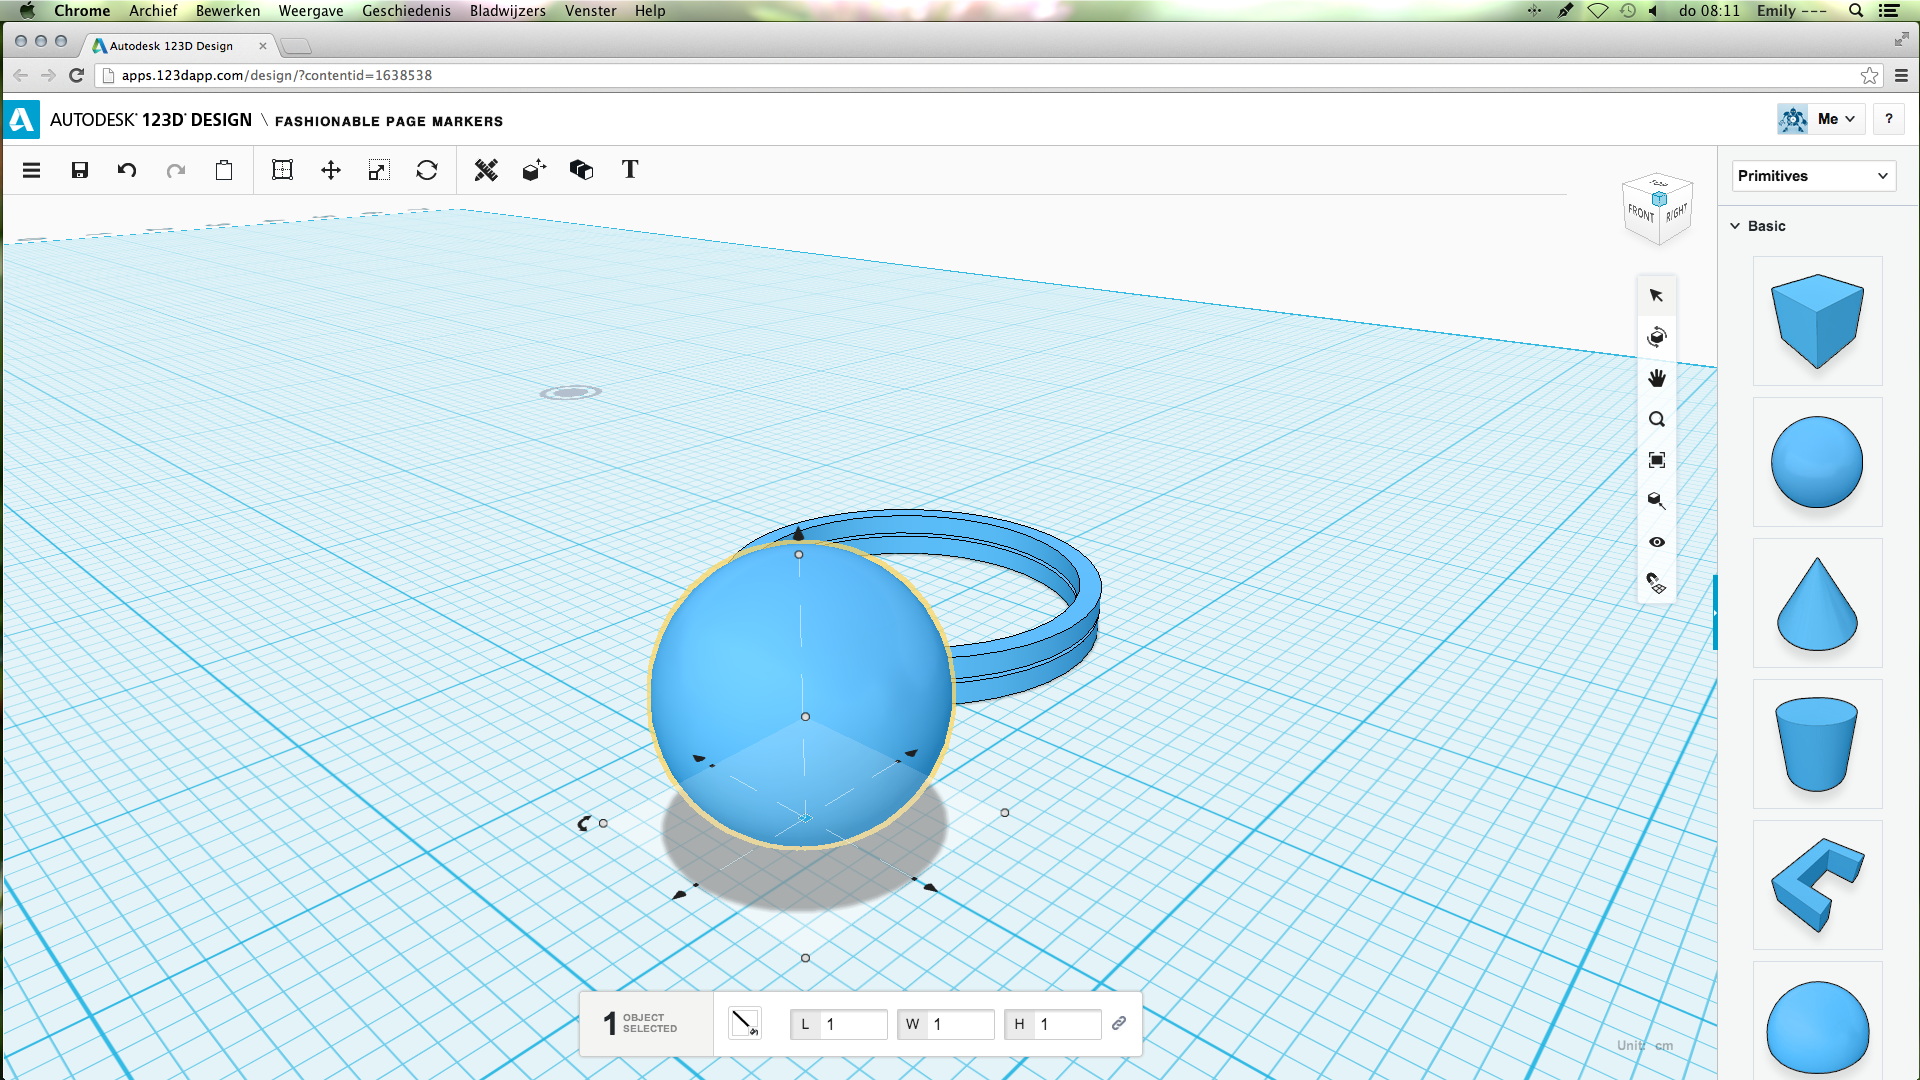
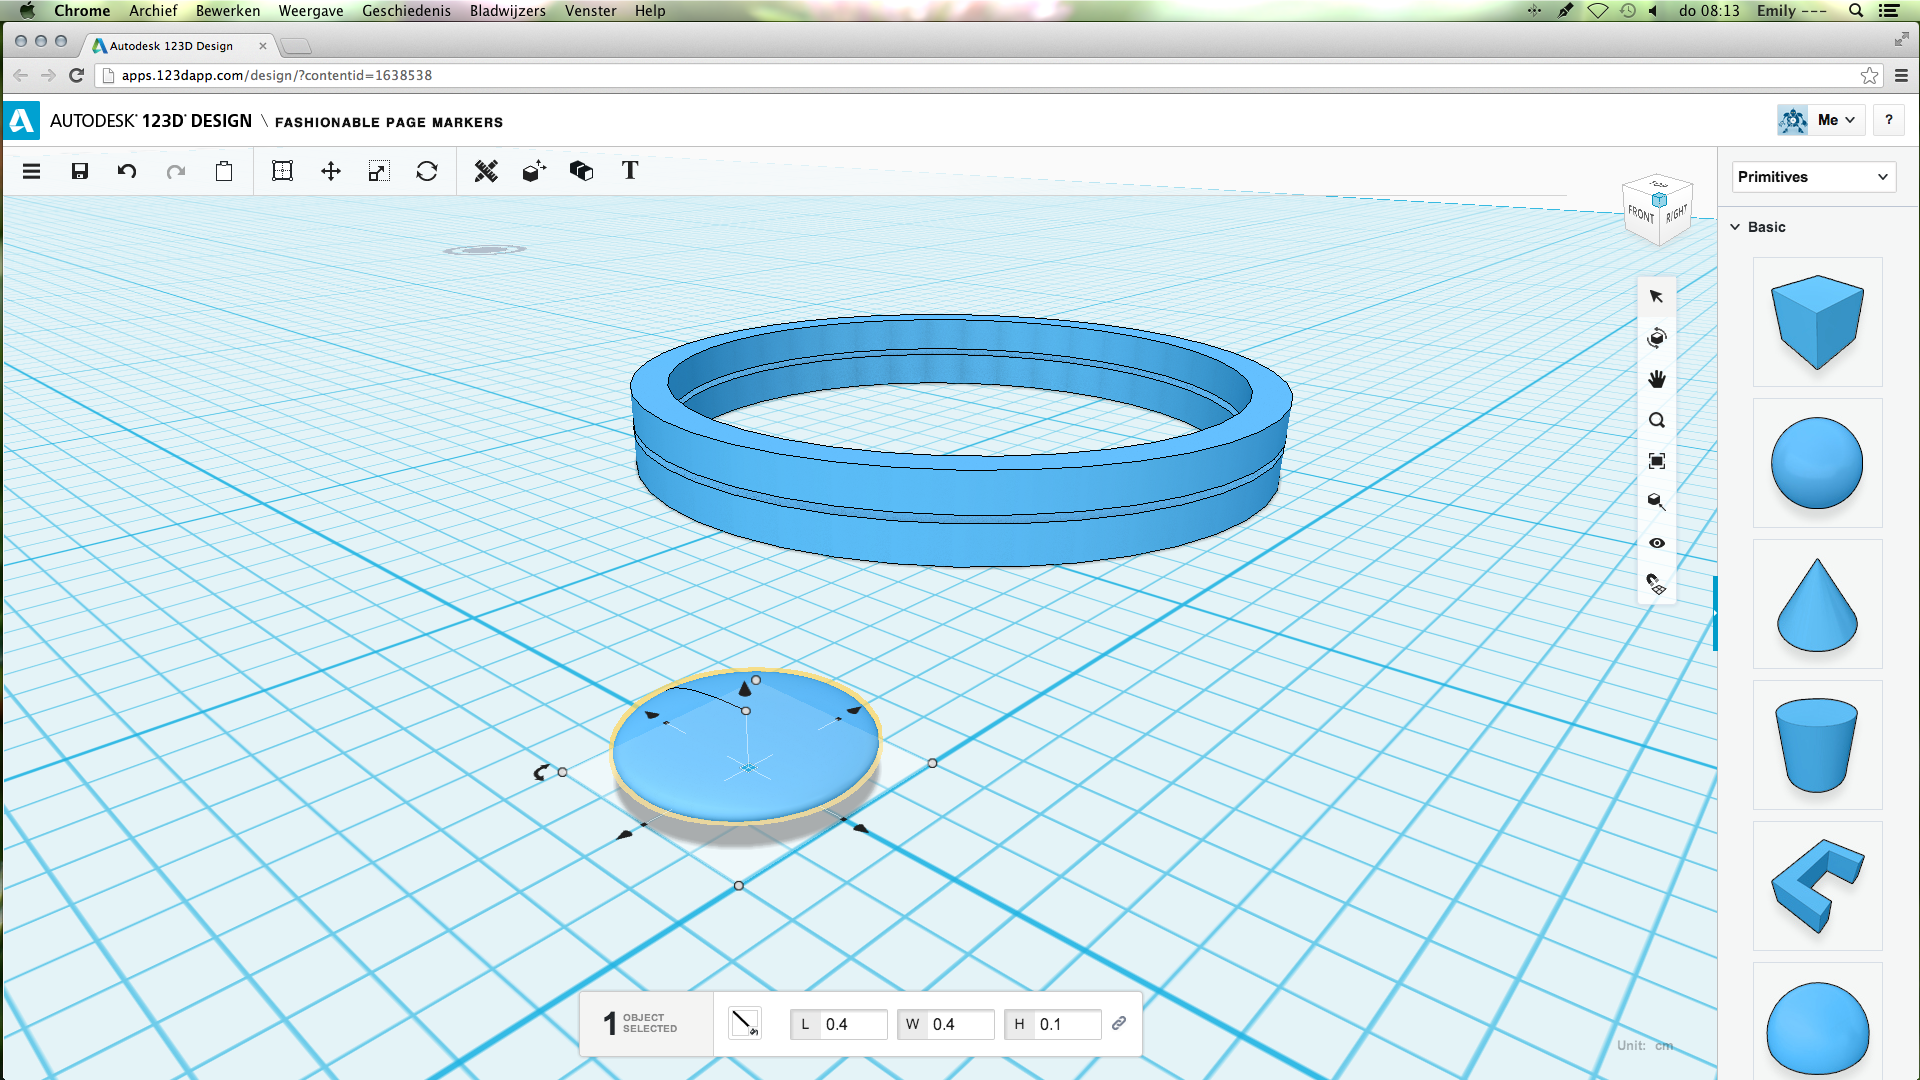
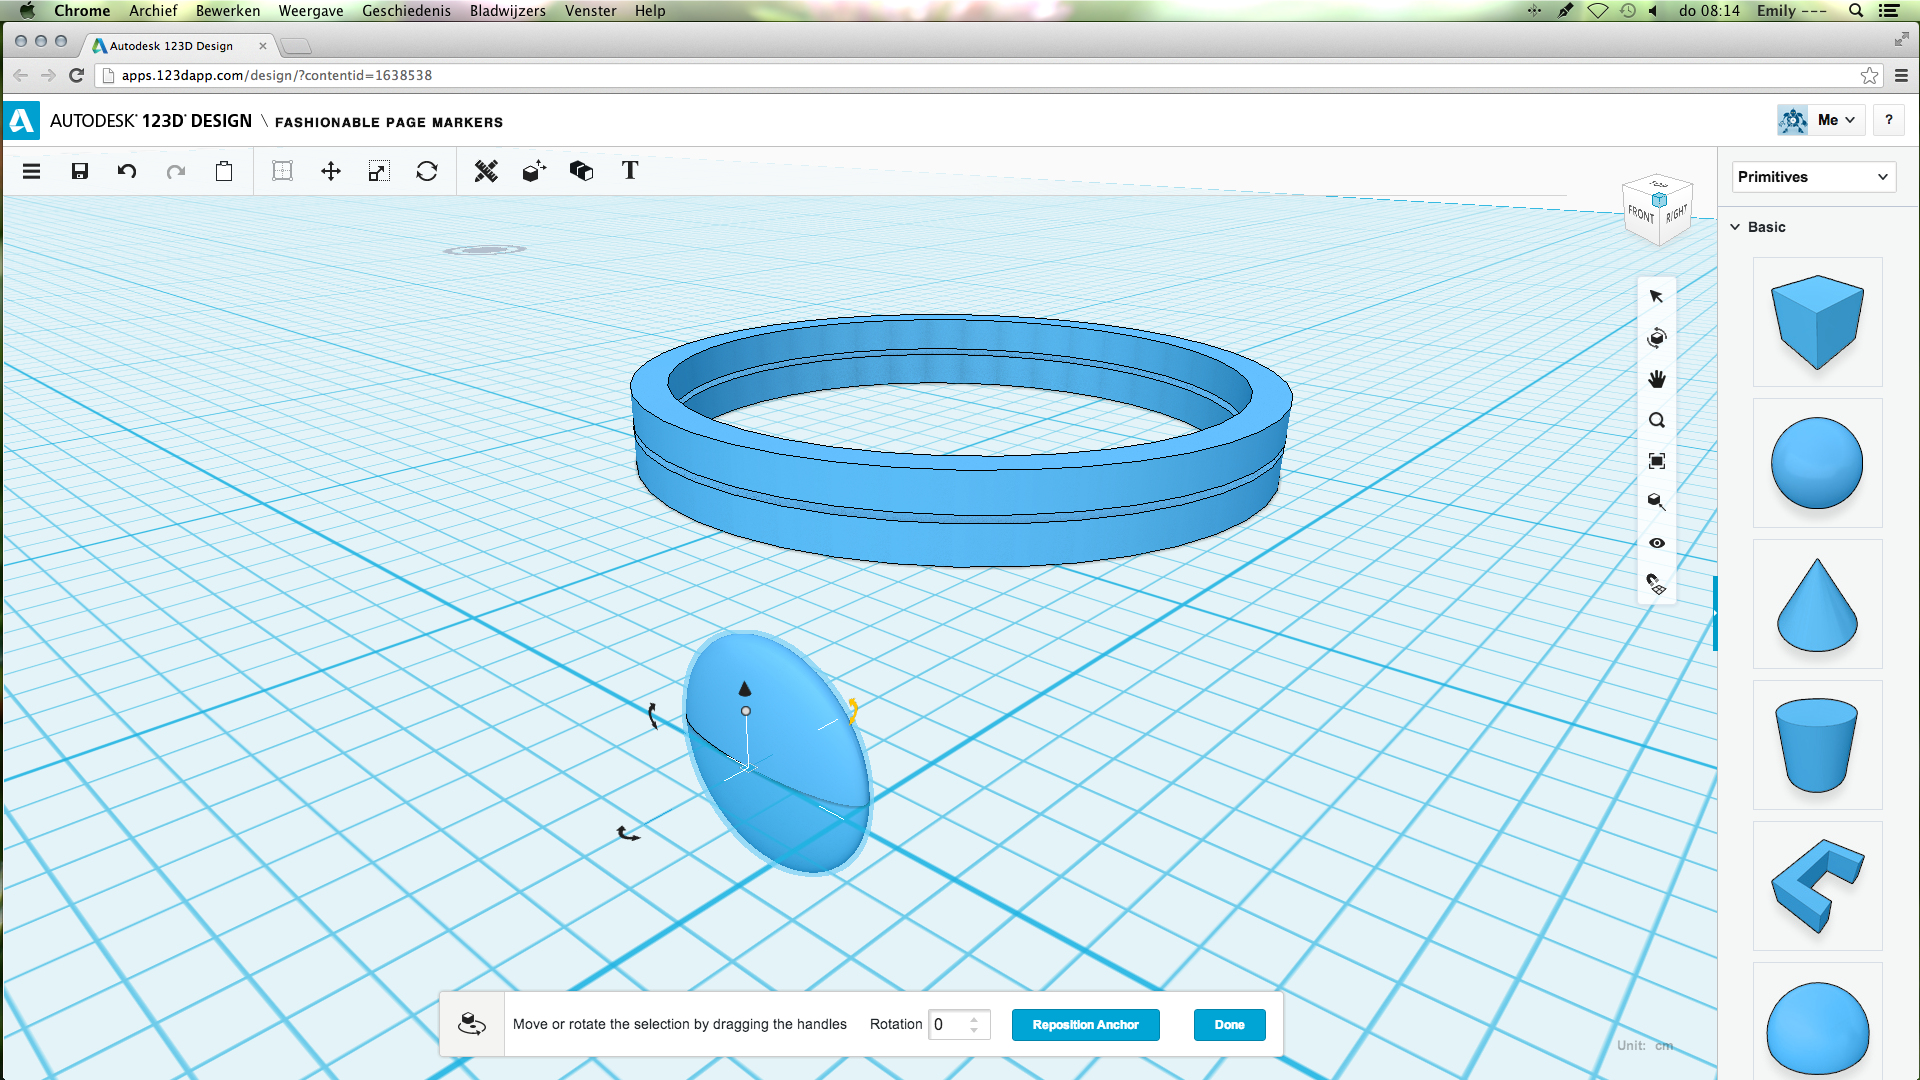
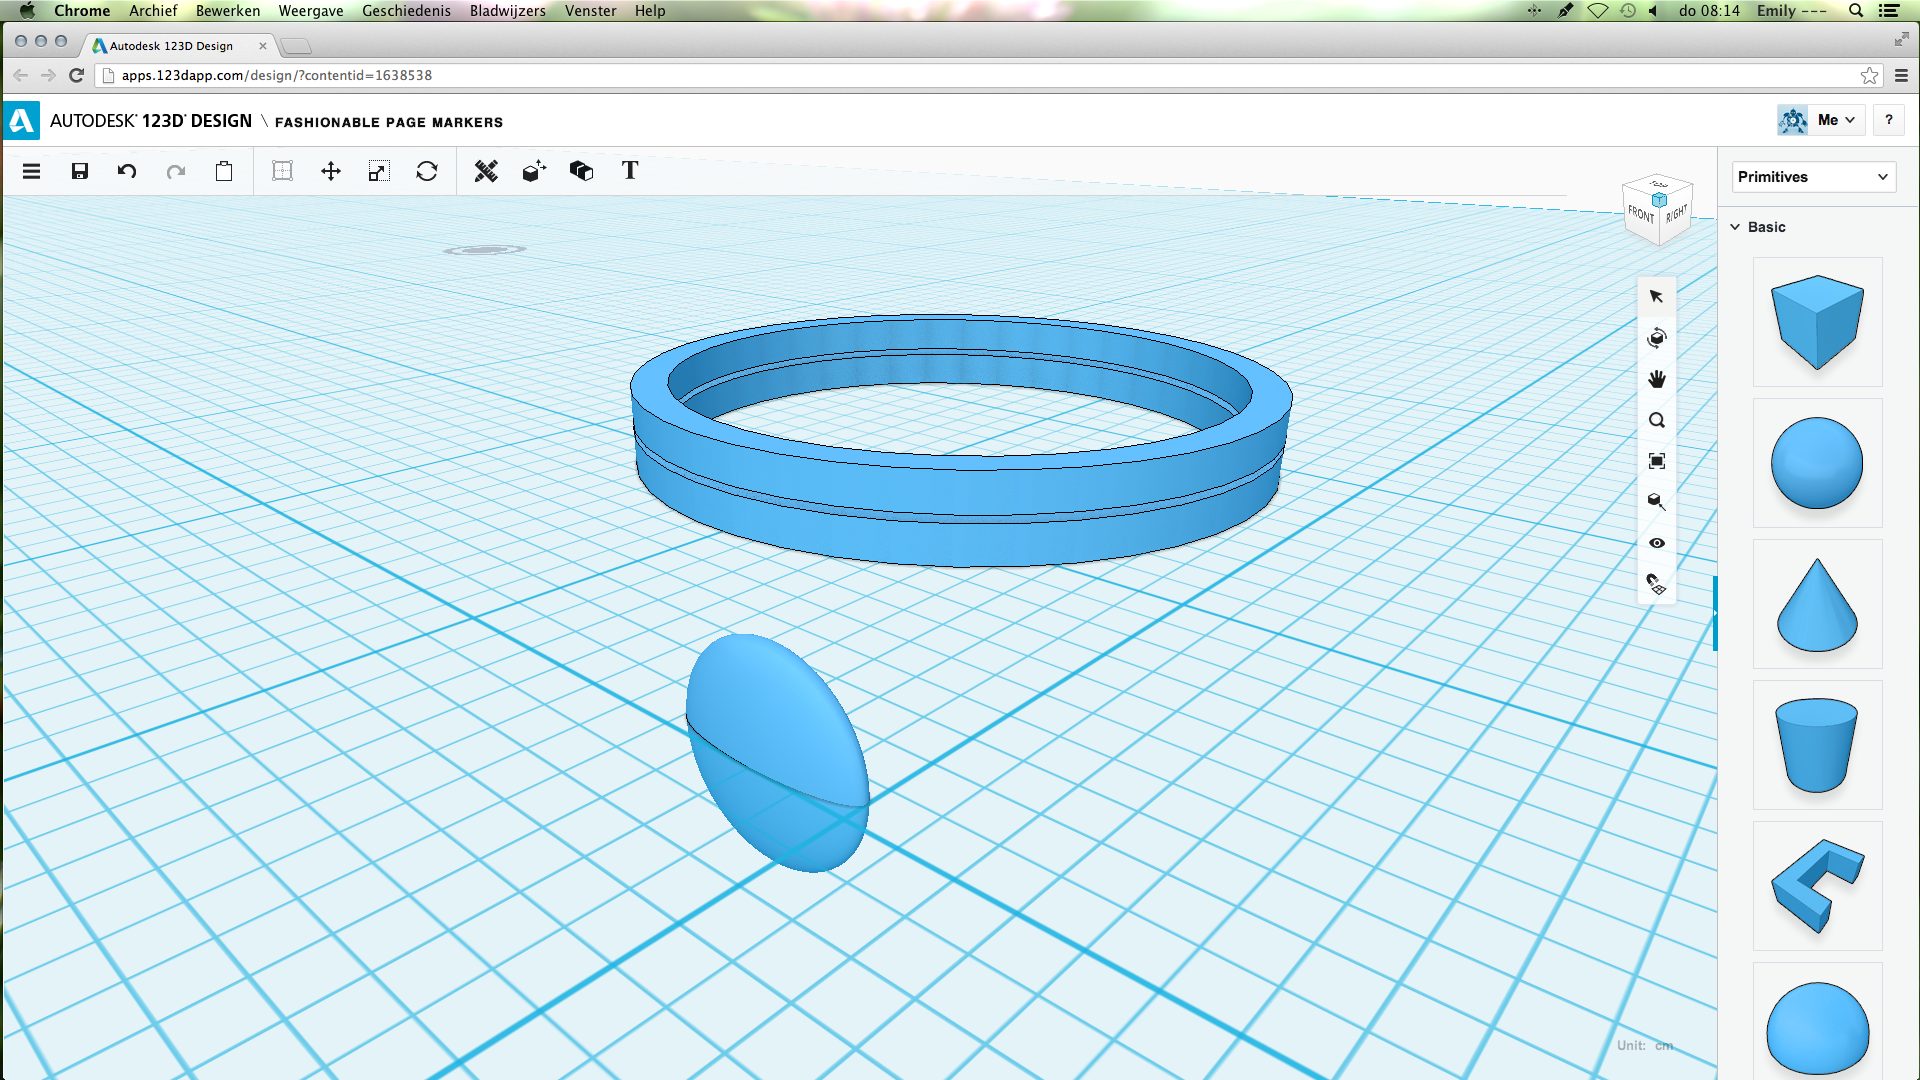
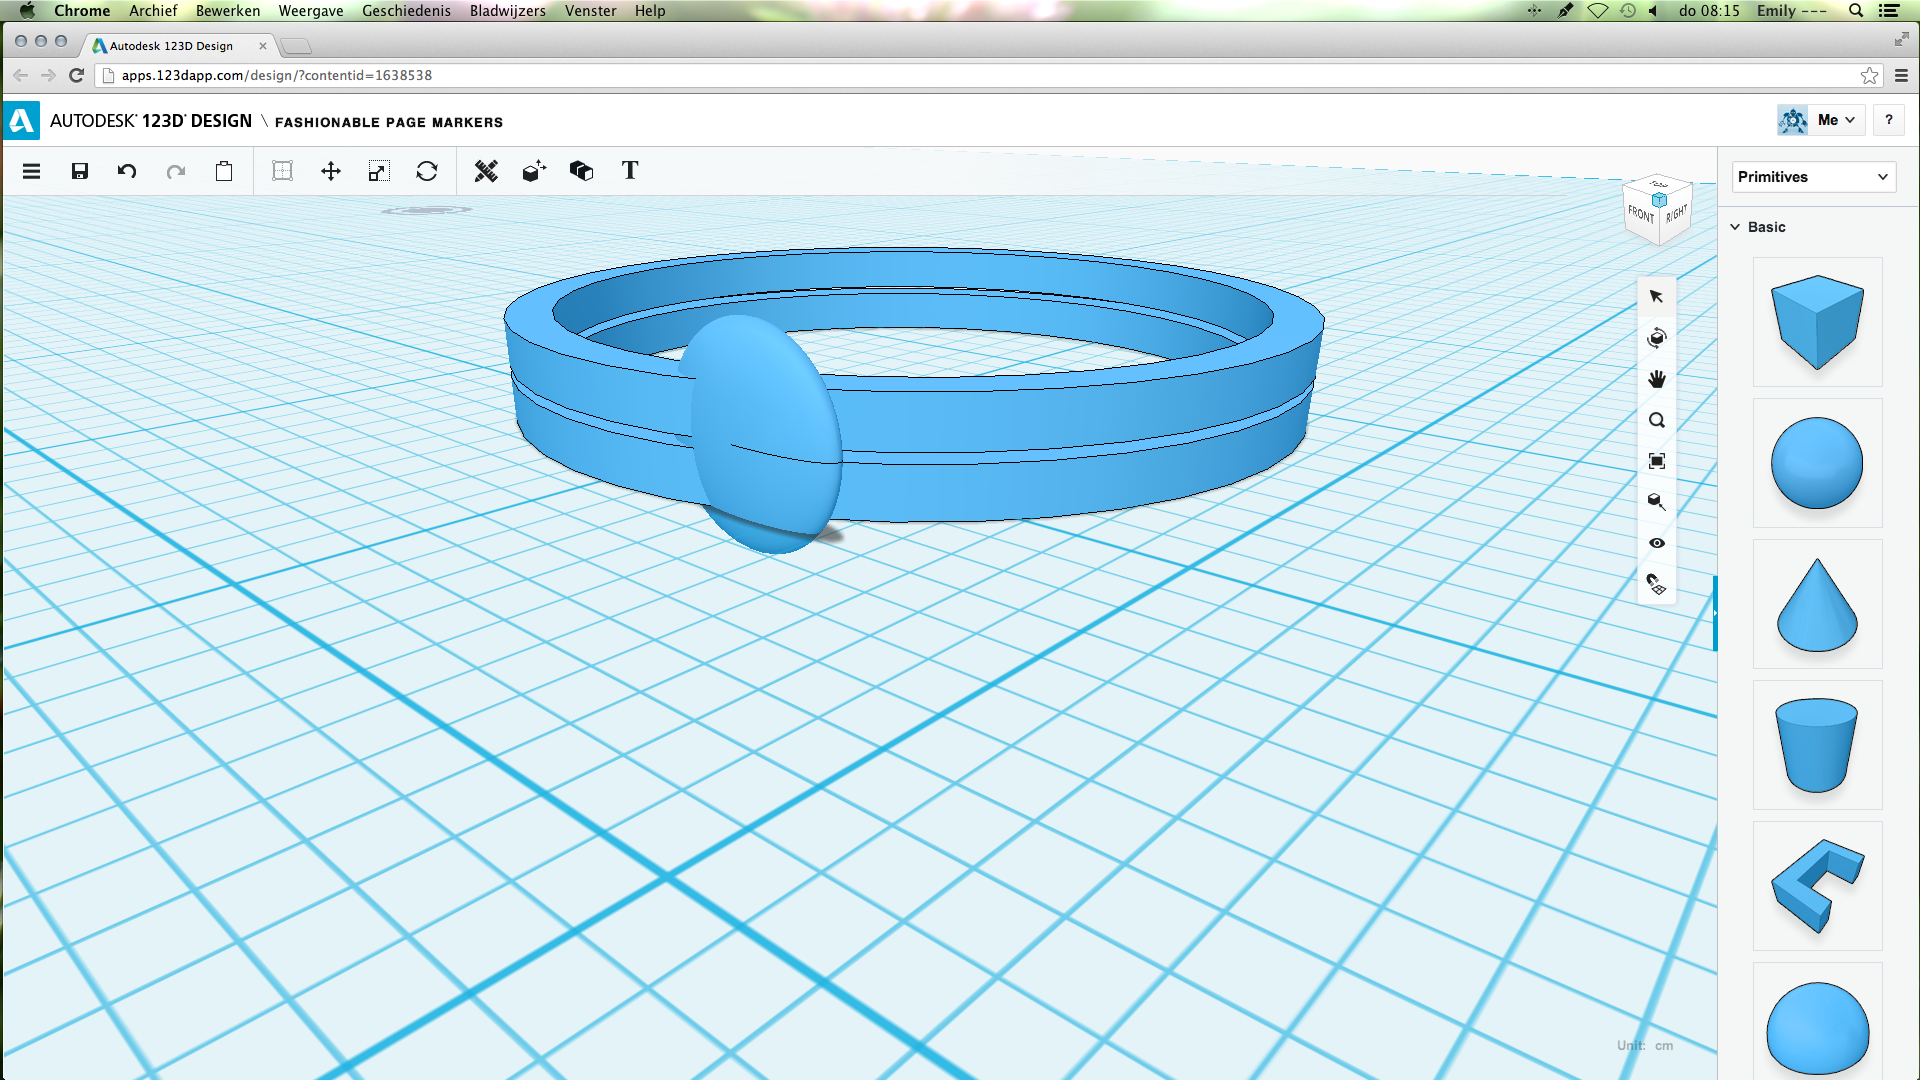
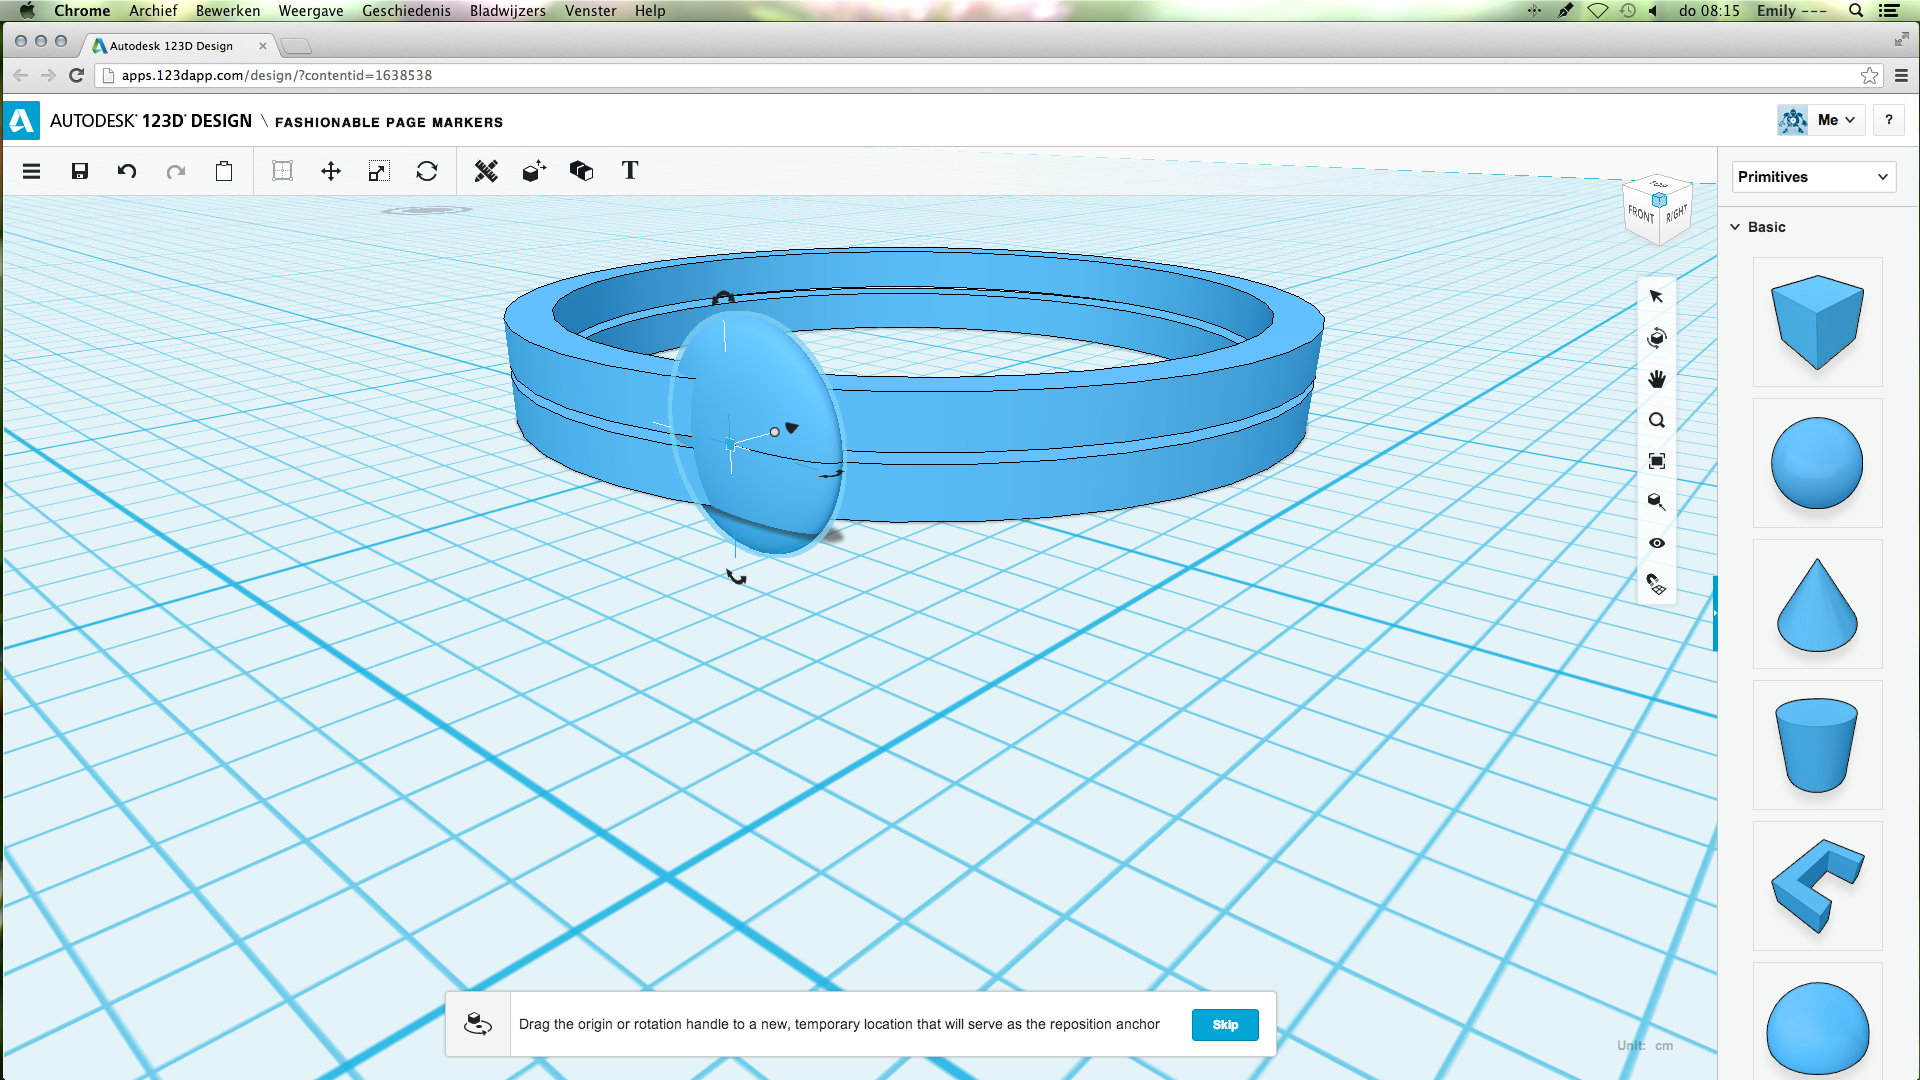
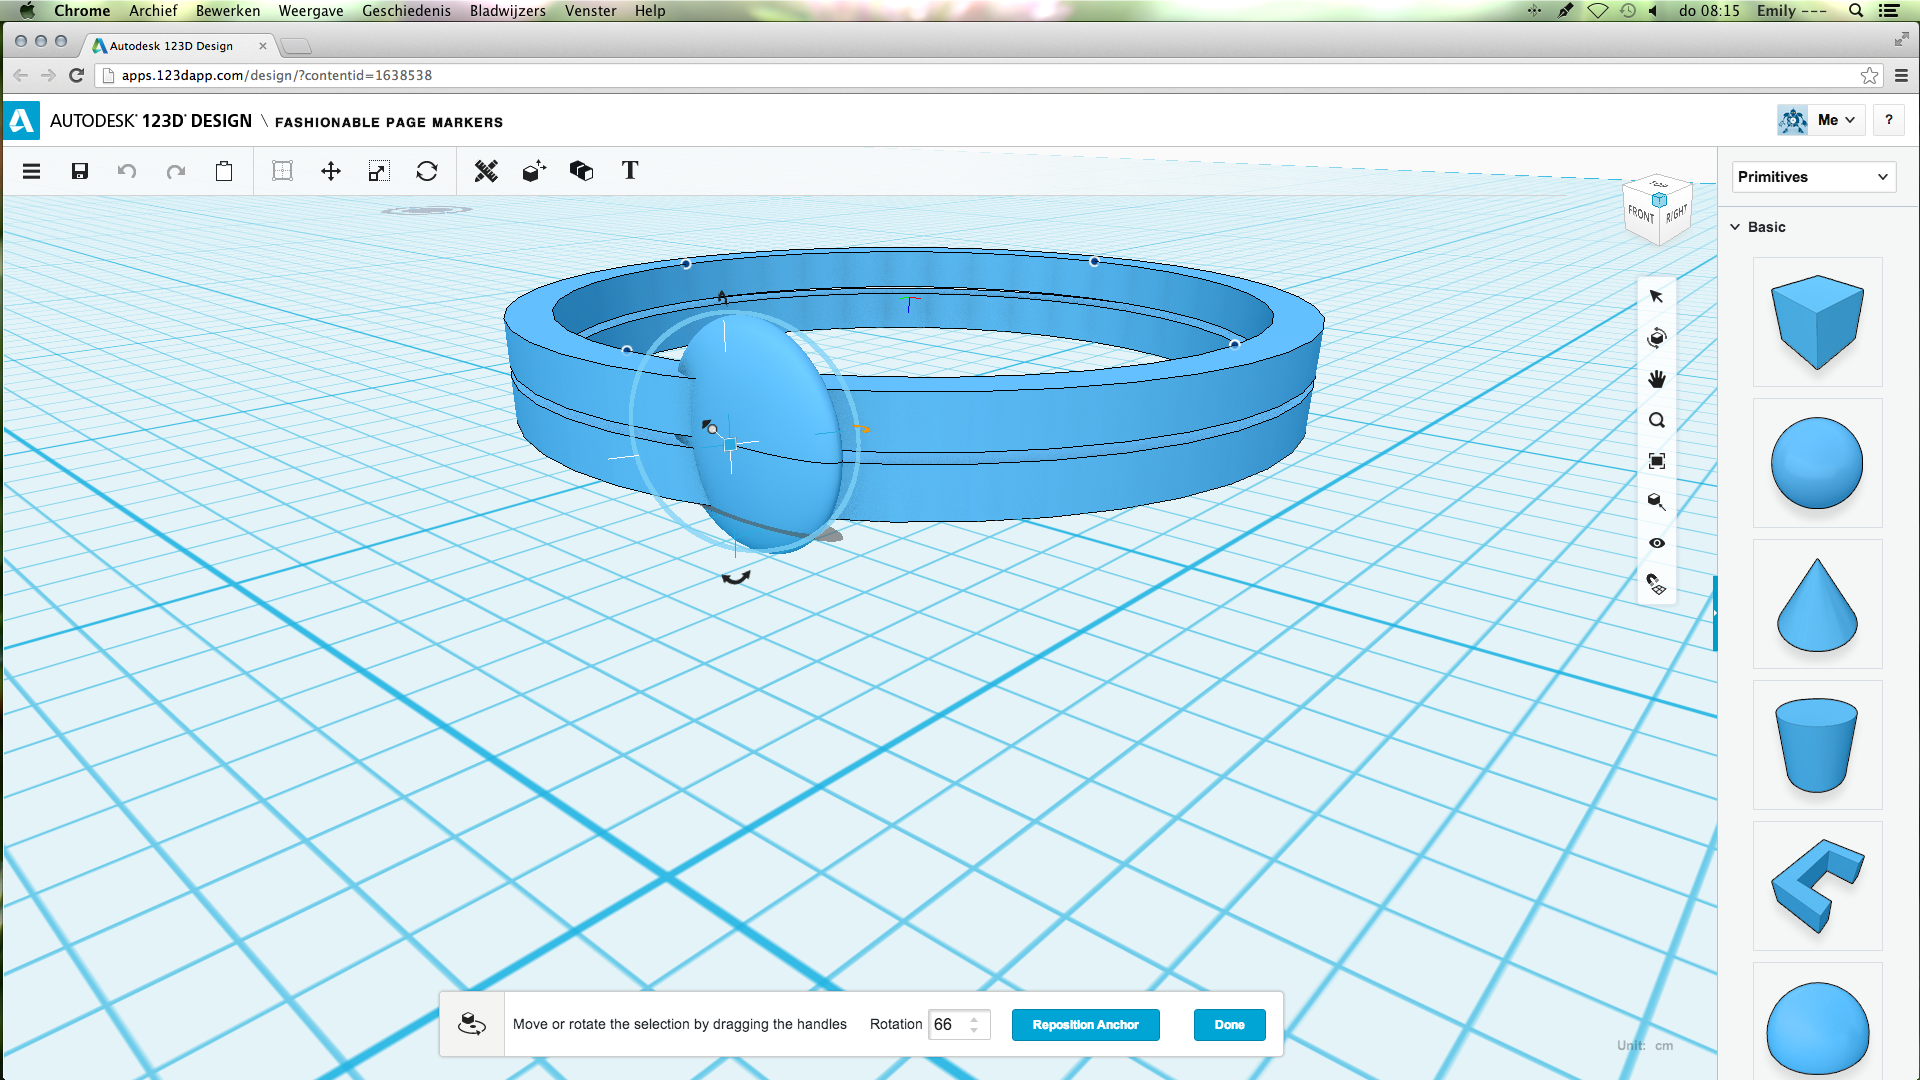
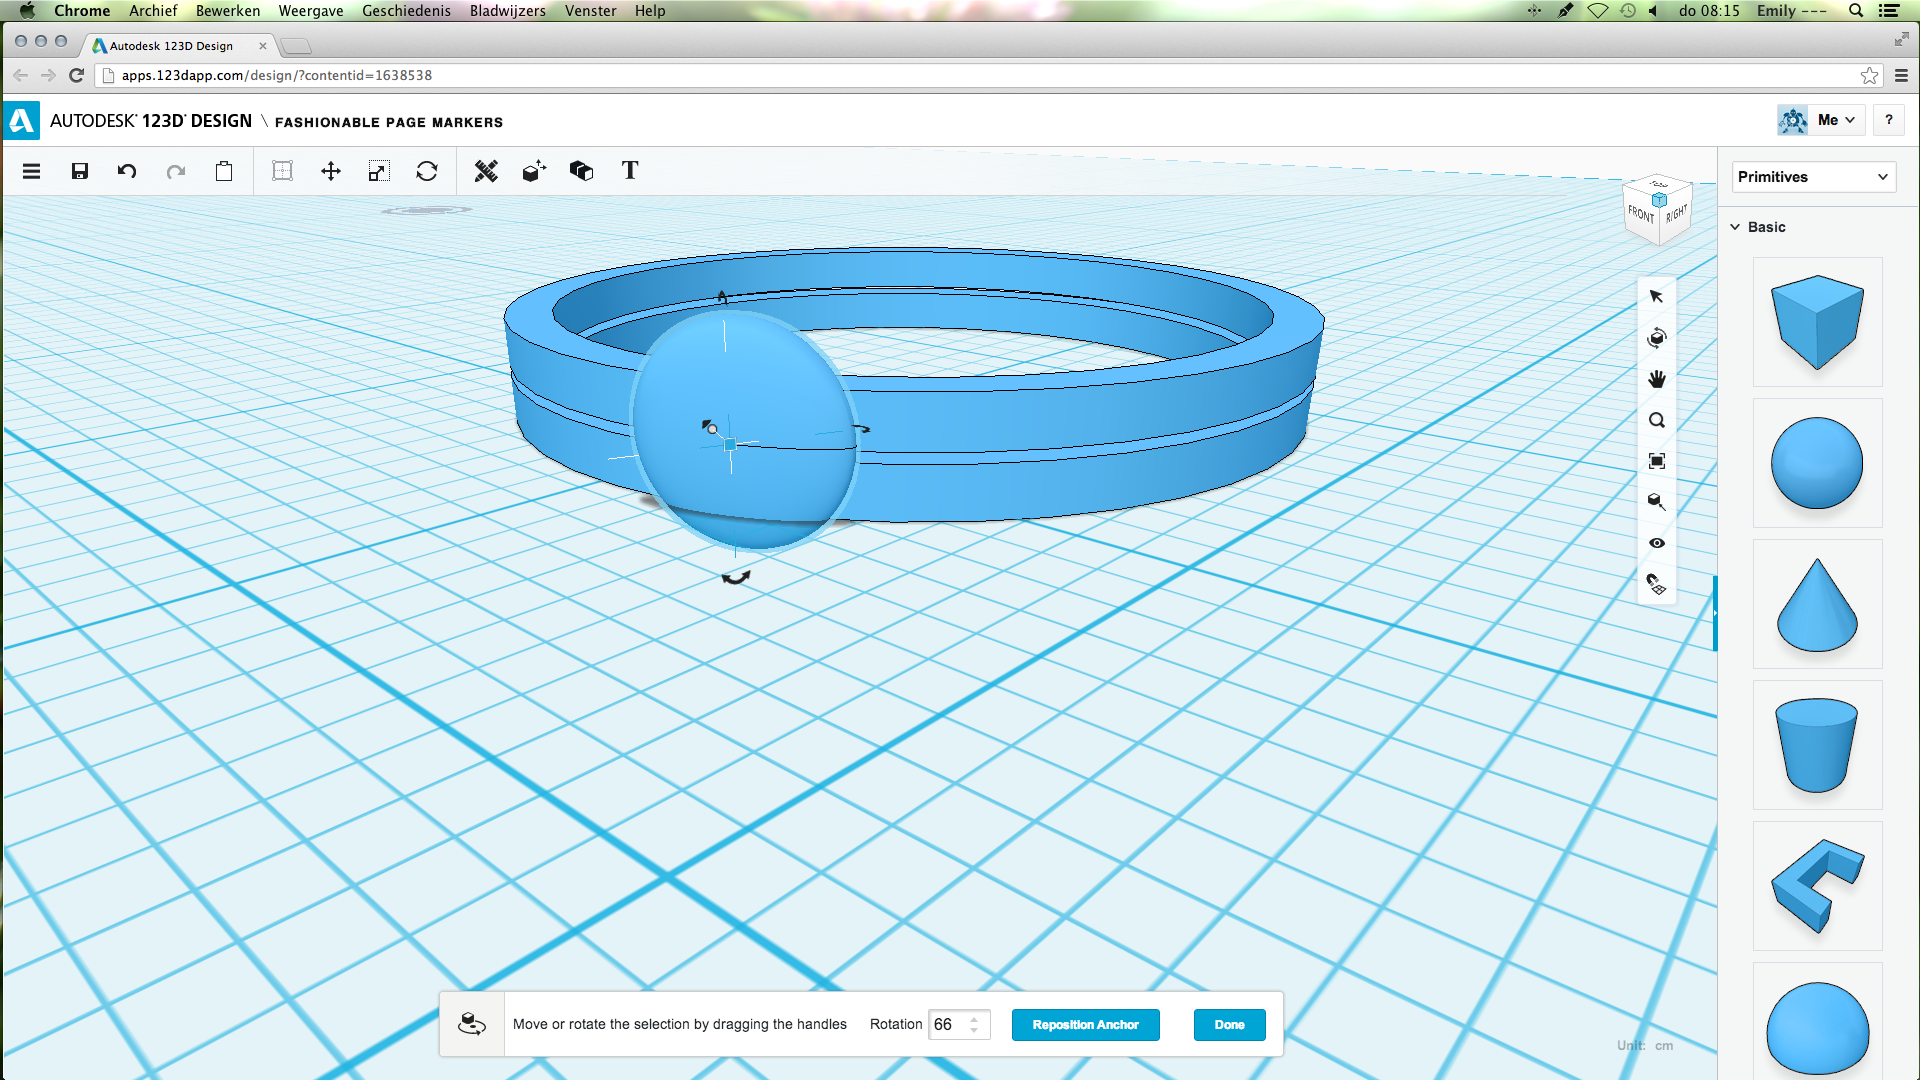
From the right side, choose the sphere. Change the size to:
If you want a bigger sphere, change the length and the width to a bigger number, the other steps will remain the same.
L: 0.4
W: 0.4
H: 0,1
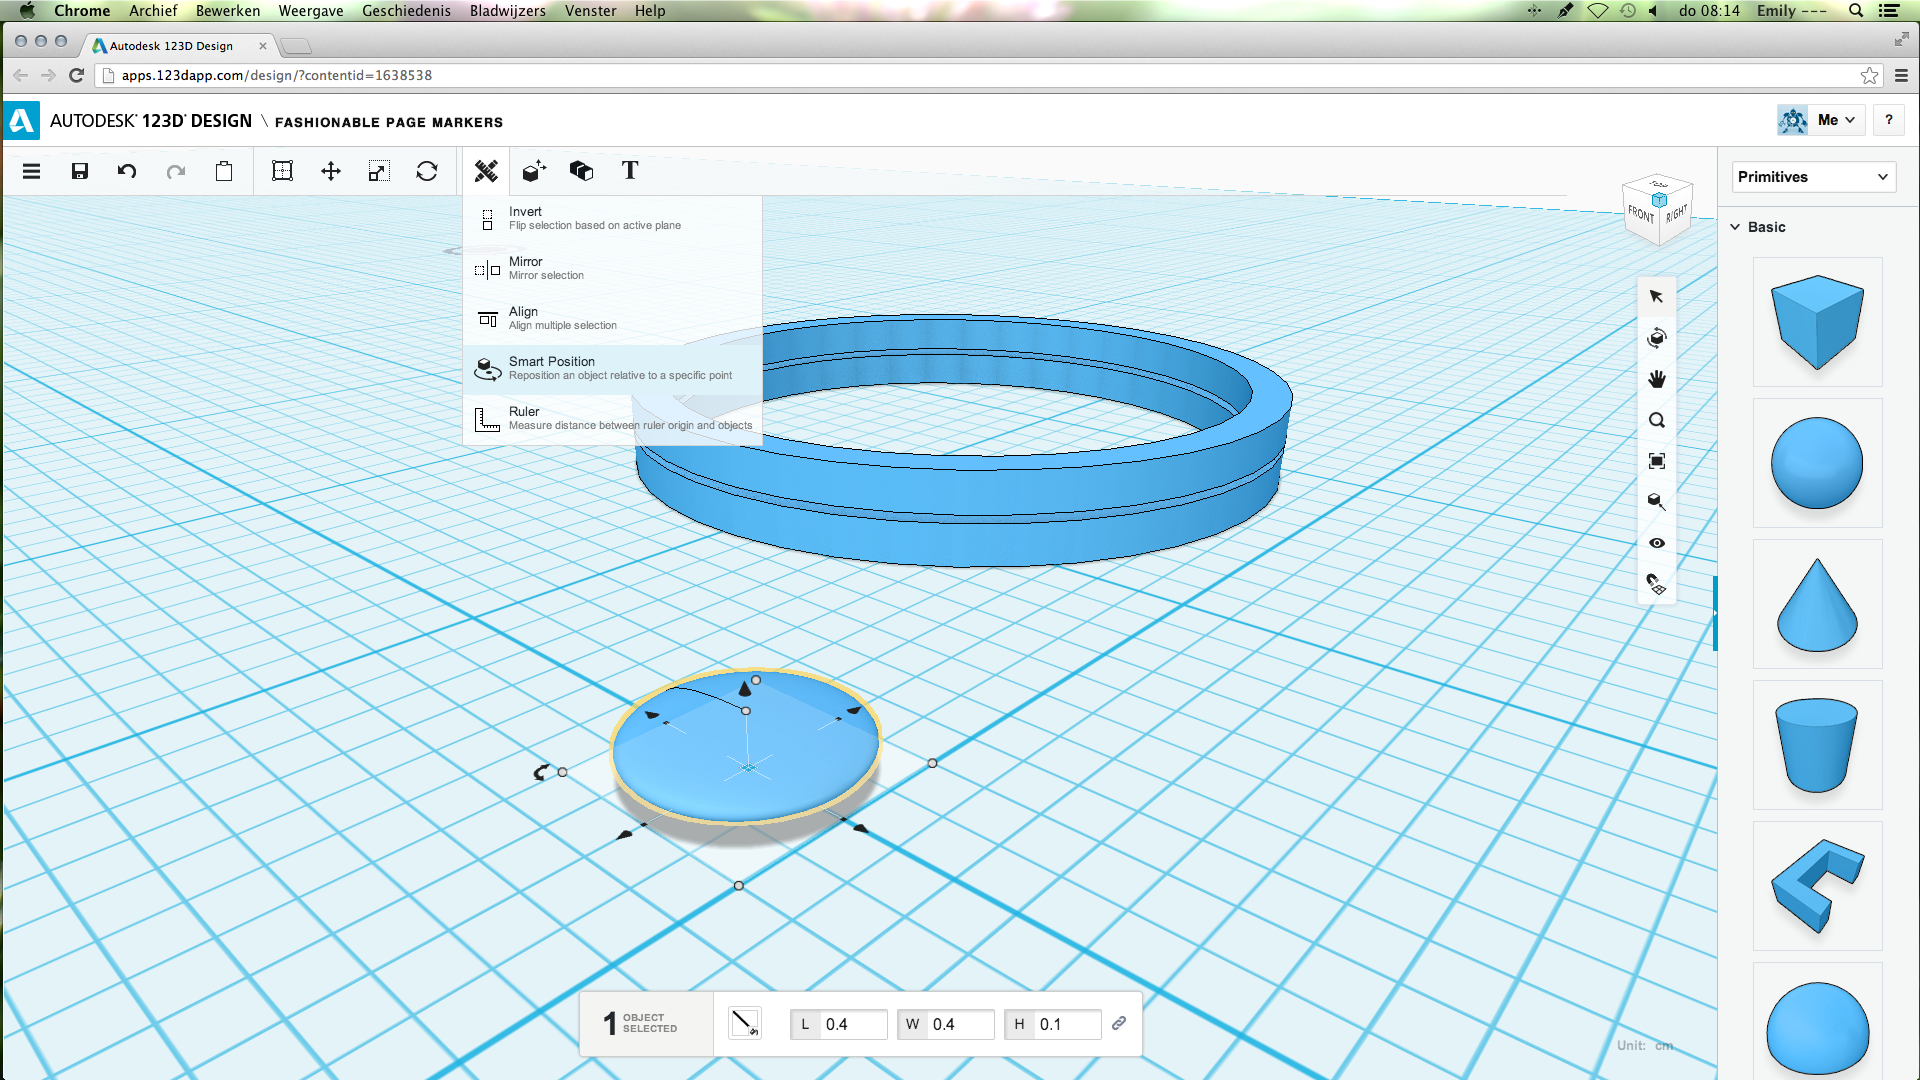
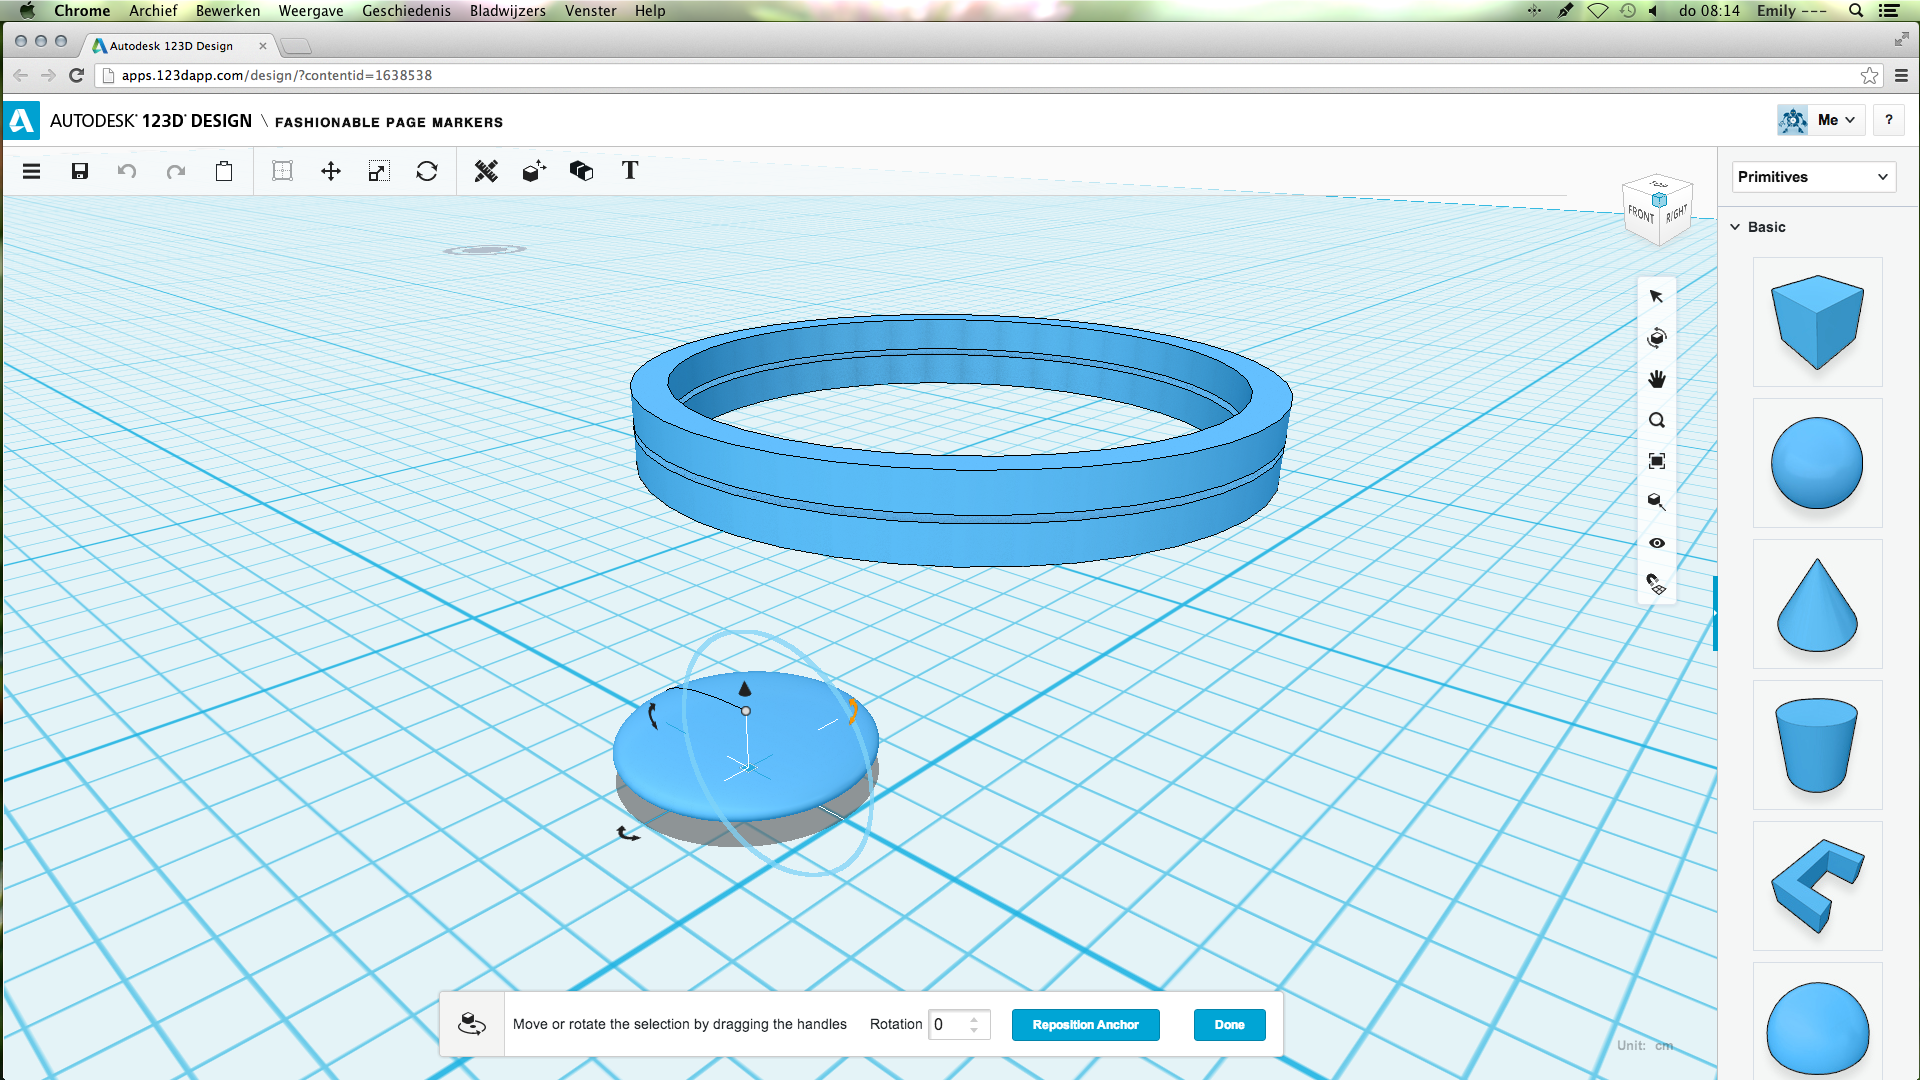
Using the smart position (where to find it is shown in the pictures), turn the sphere so it is standing straight instead of laying down.
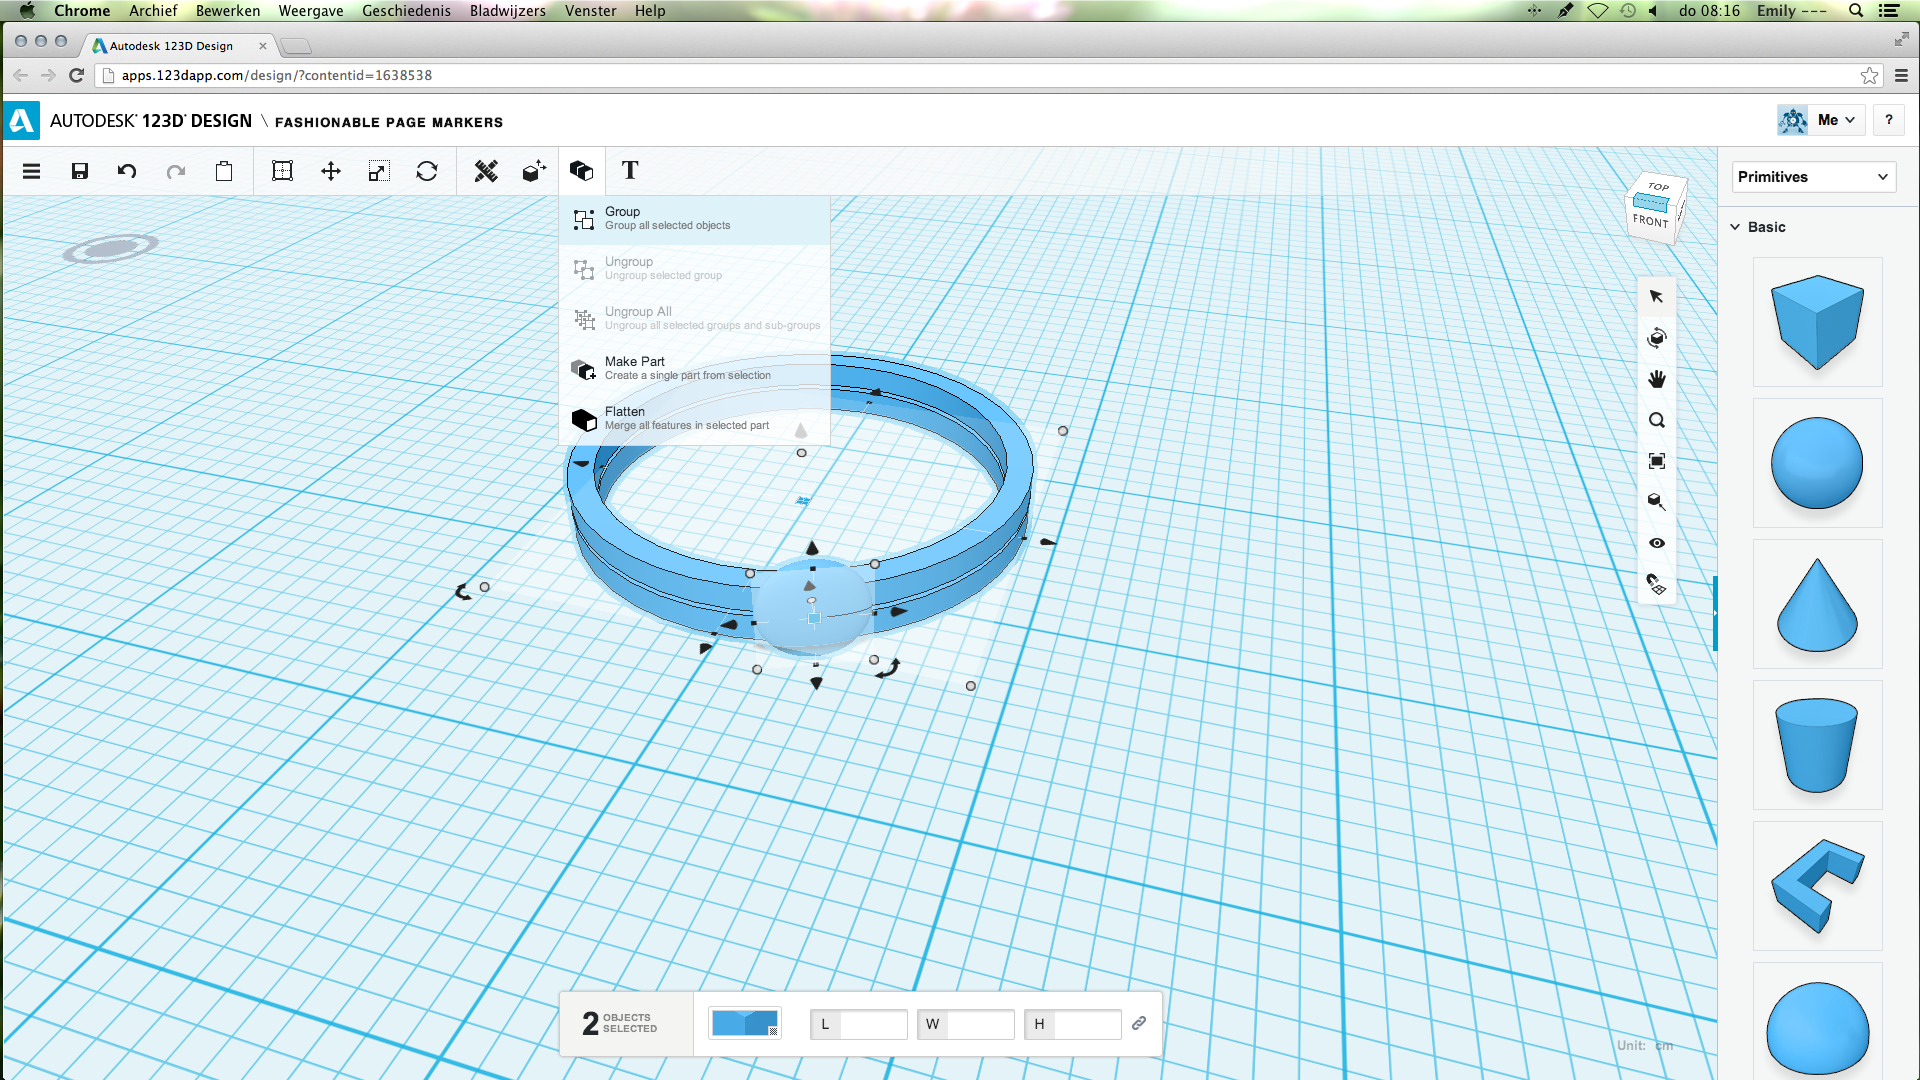
Next, move the sphere towards the ring. The middle of the sphere (where the line ends) should be between the two rings, so the sphere is positioned in the middle. If necessary, turn the sphere as shown in the pictures.
When the sphere is in the right position, select the complete ring. It will tell how many objects there are. If it says more than one object, group them. (where to find the group option is included in the pictures)
Now you will be able to move it as one piece.
Extra Support
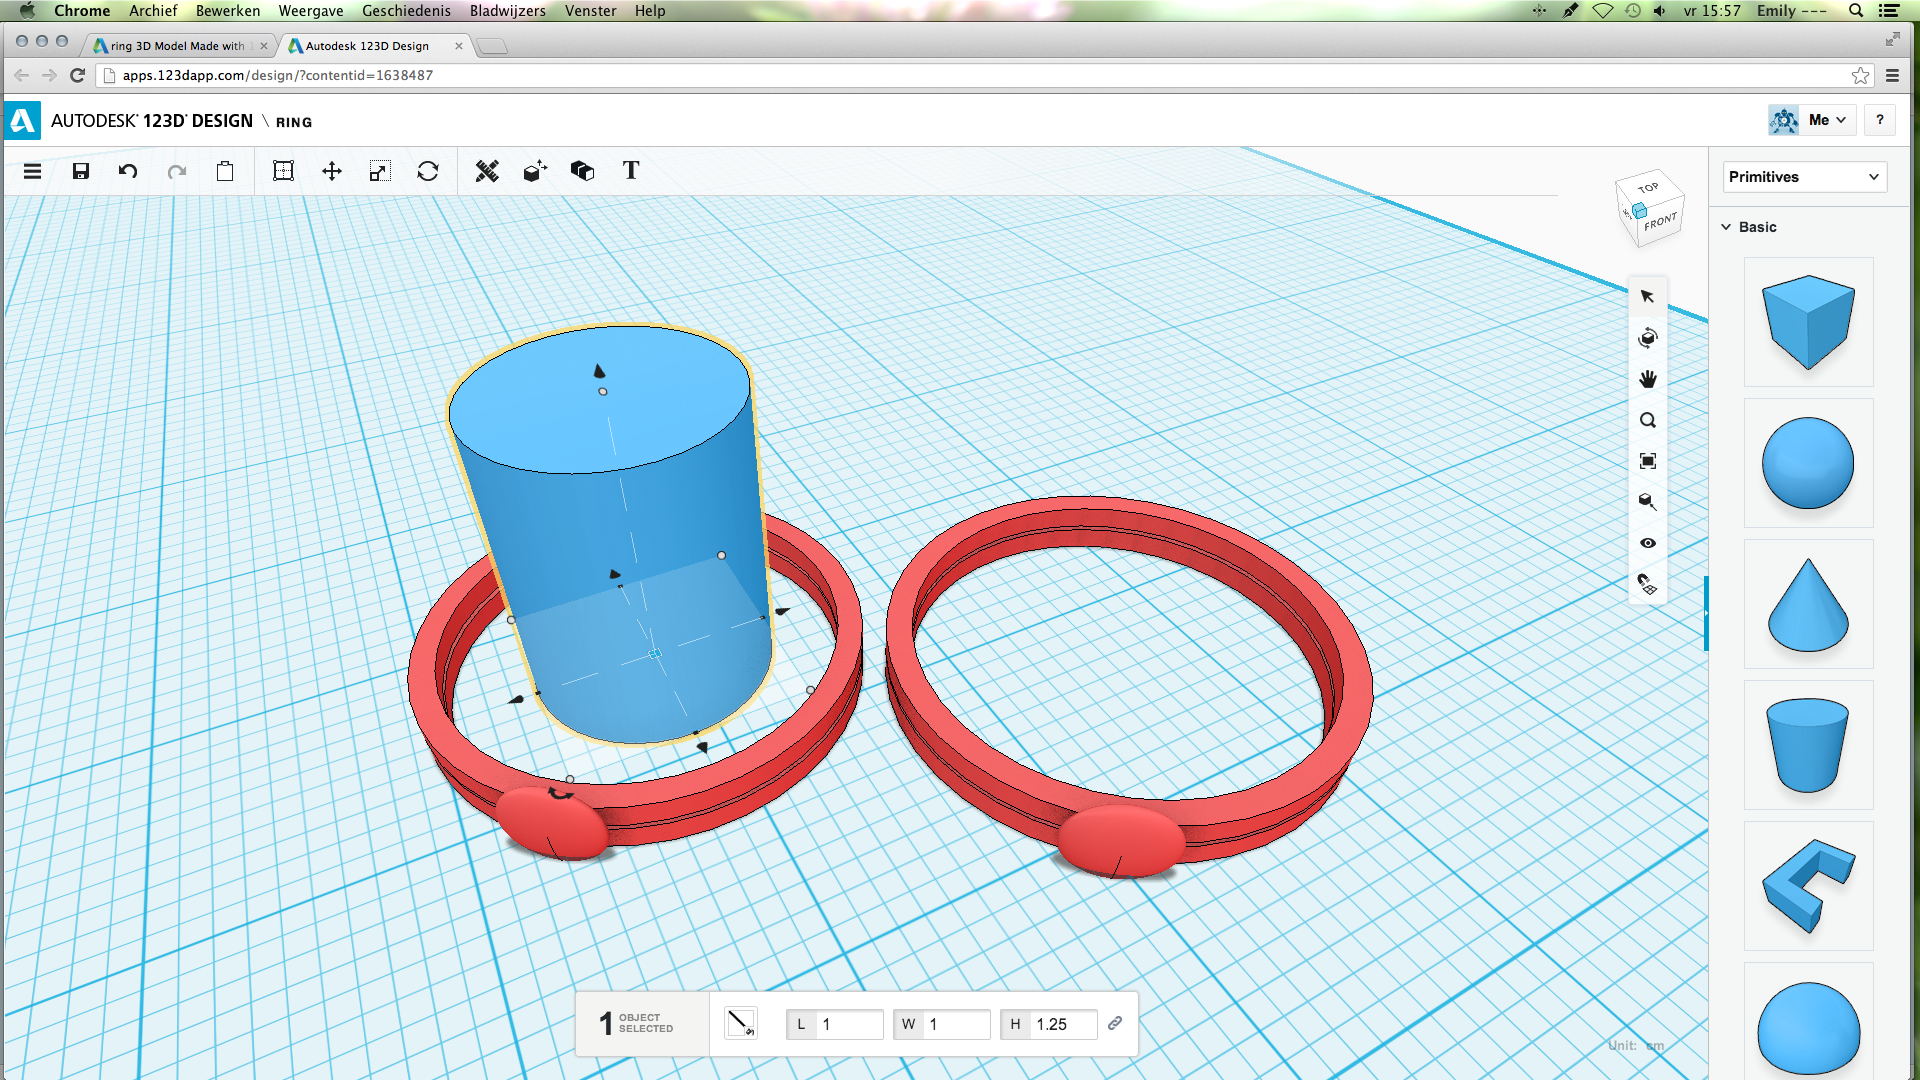
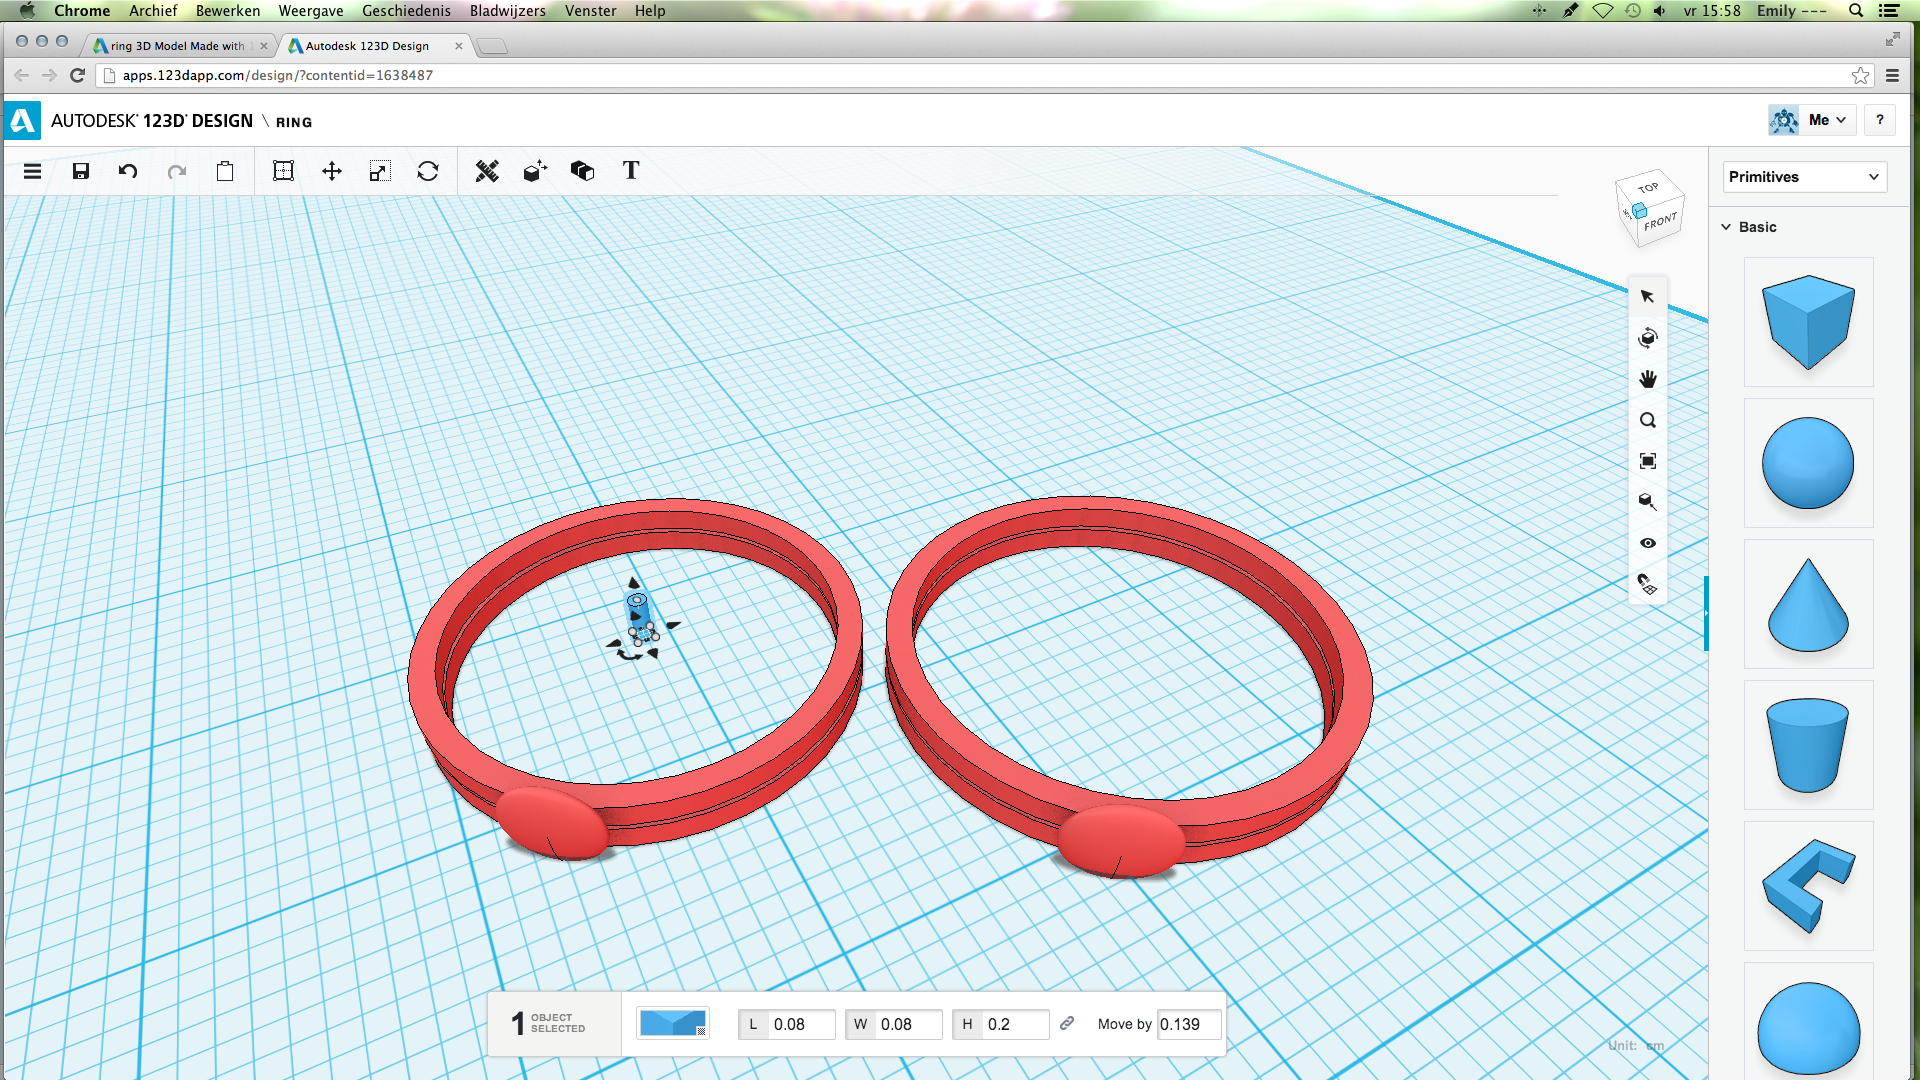
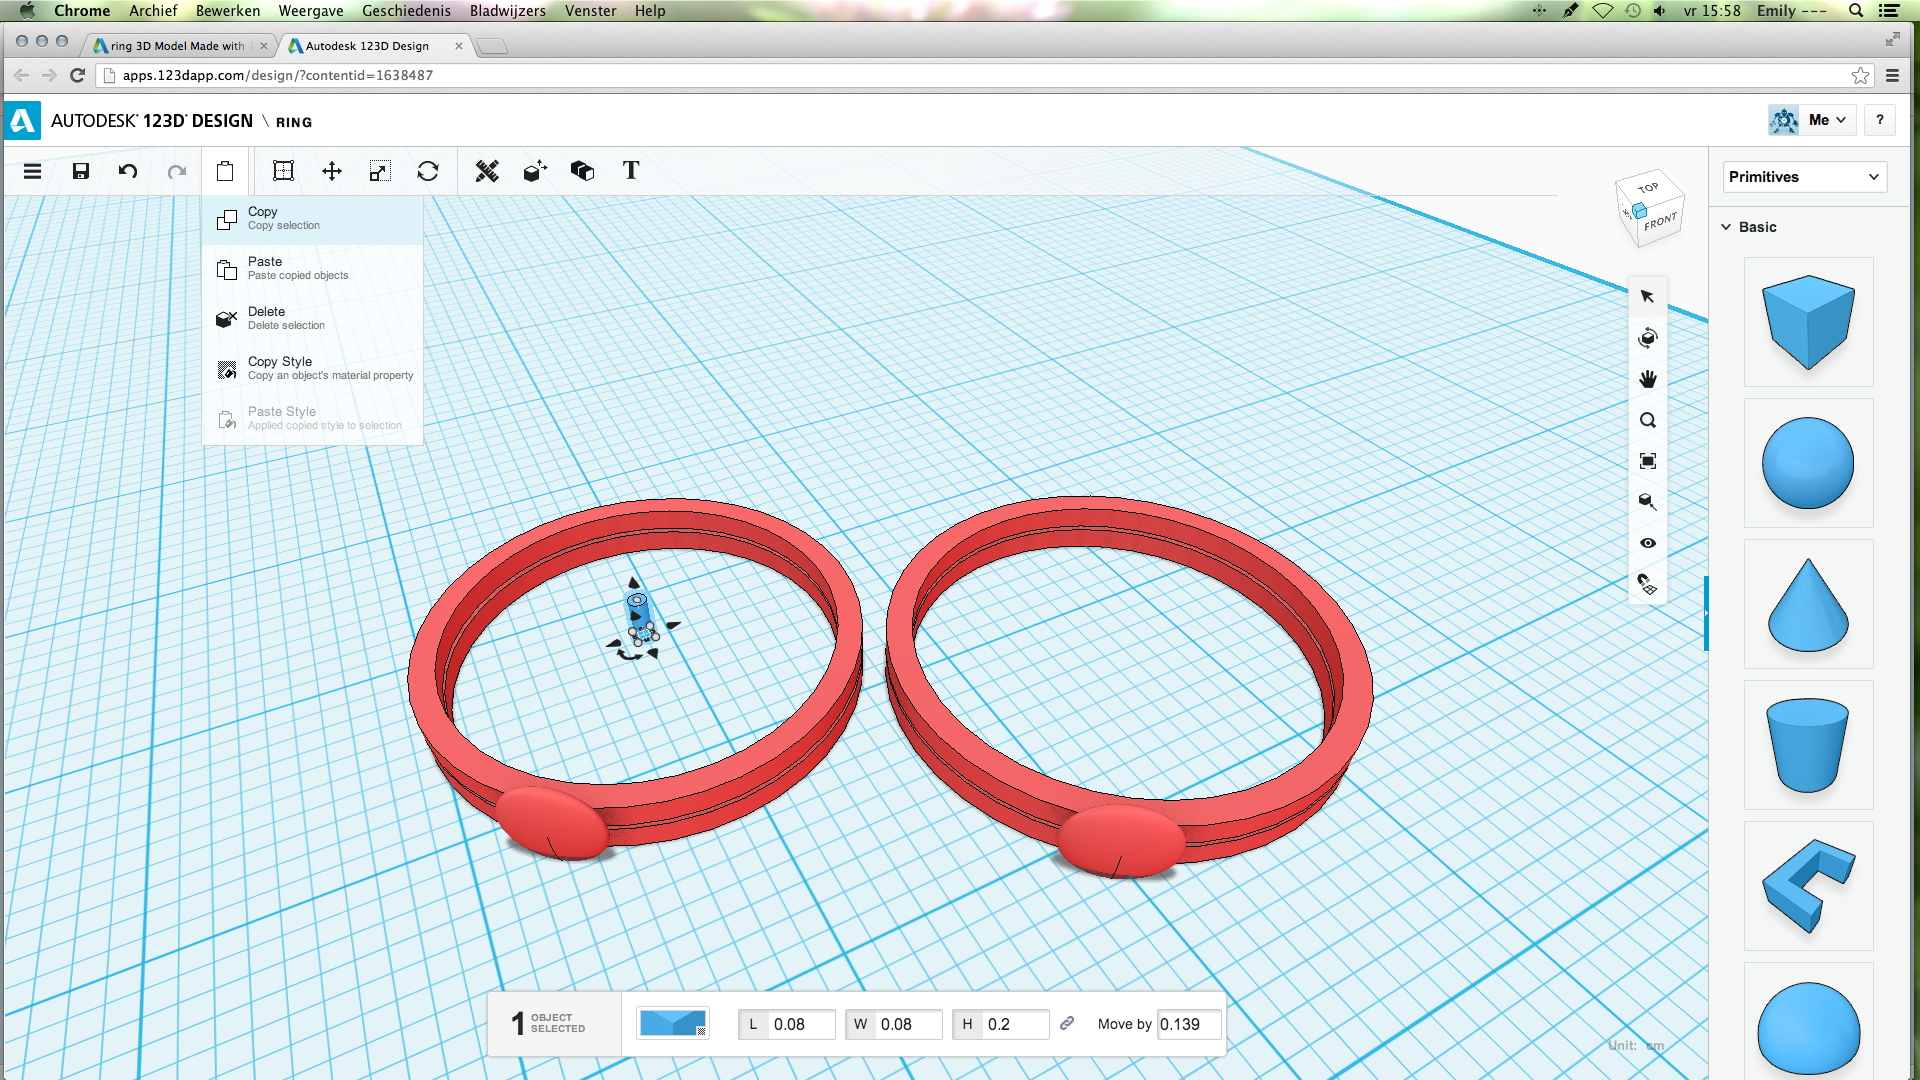
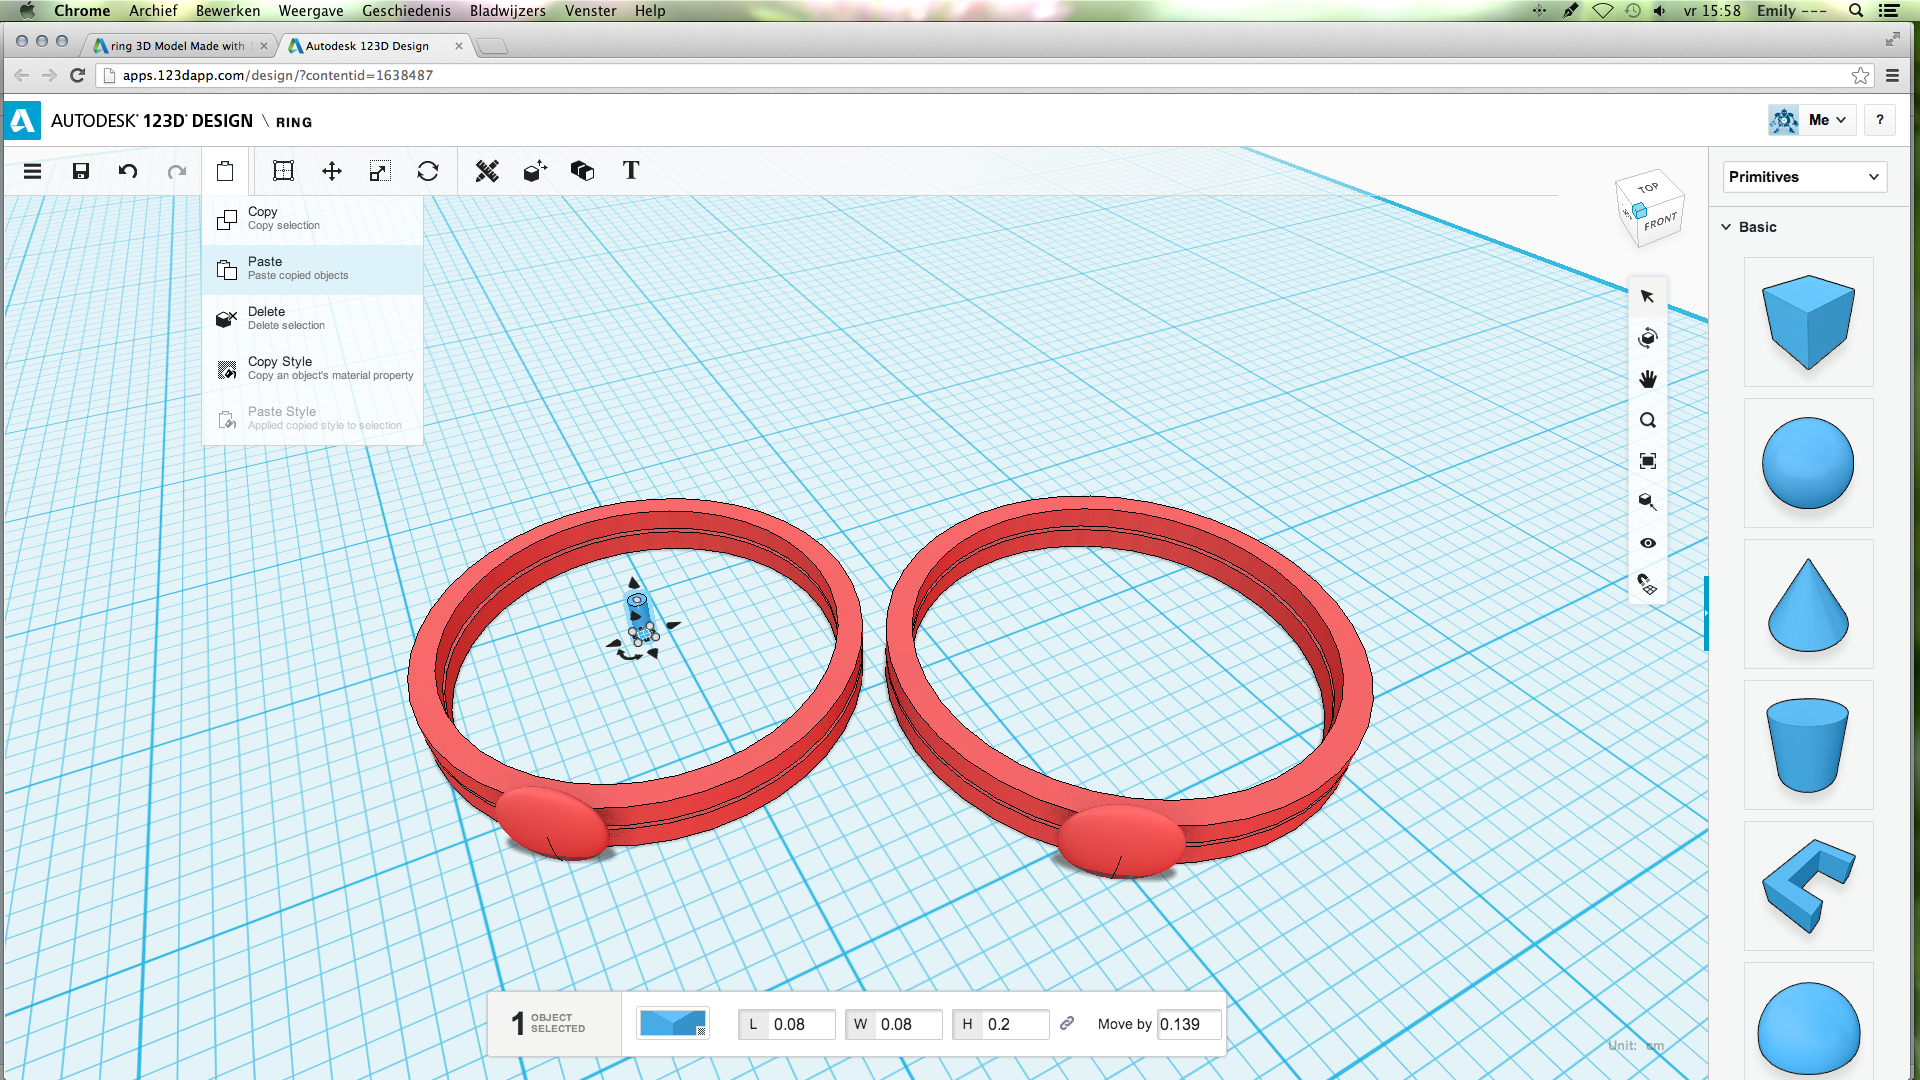
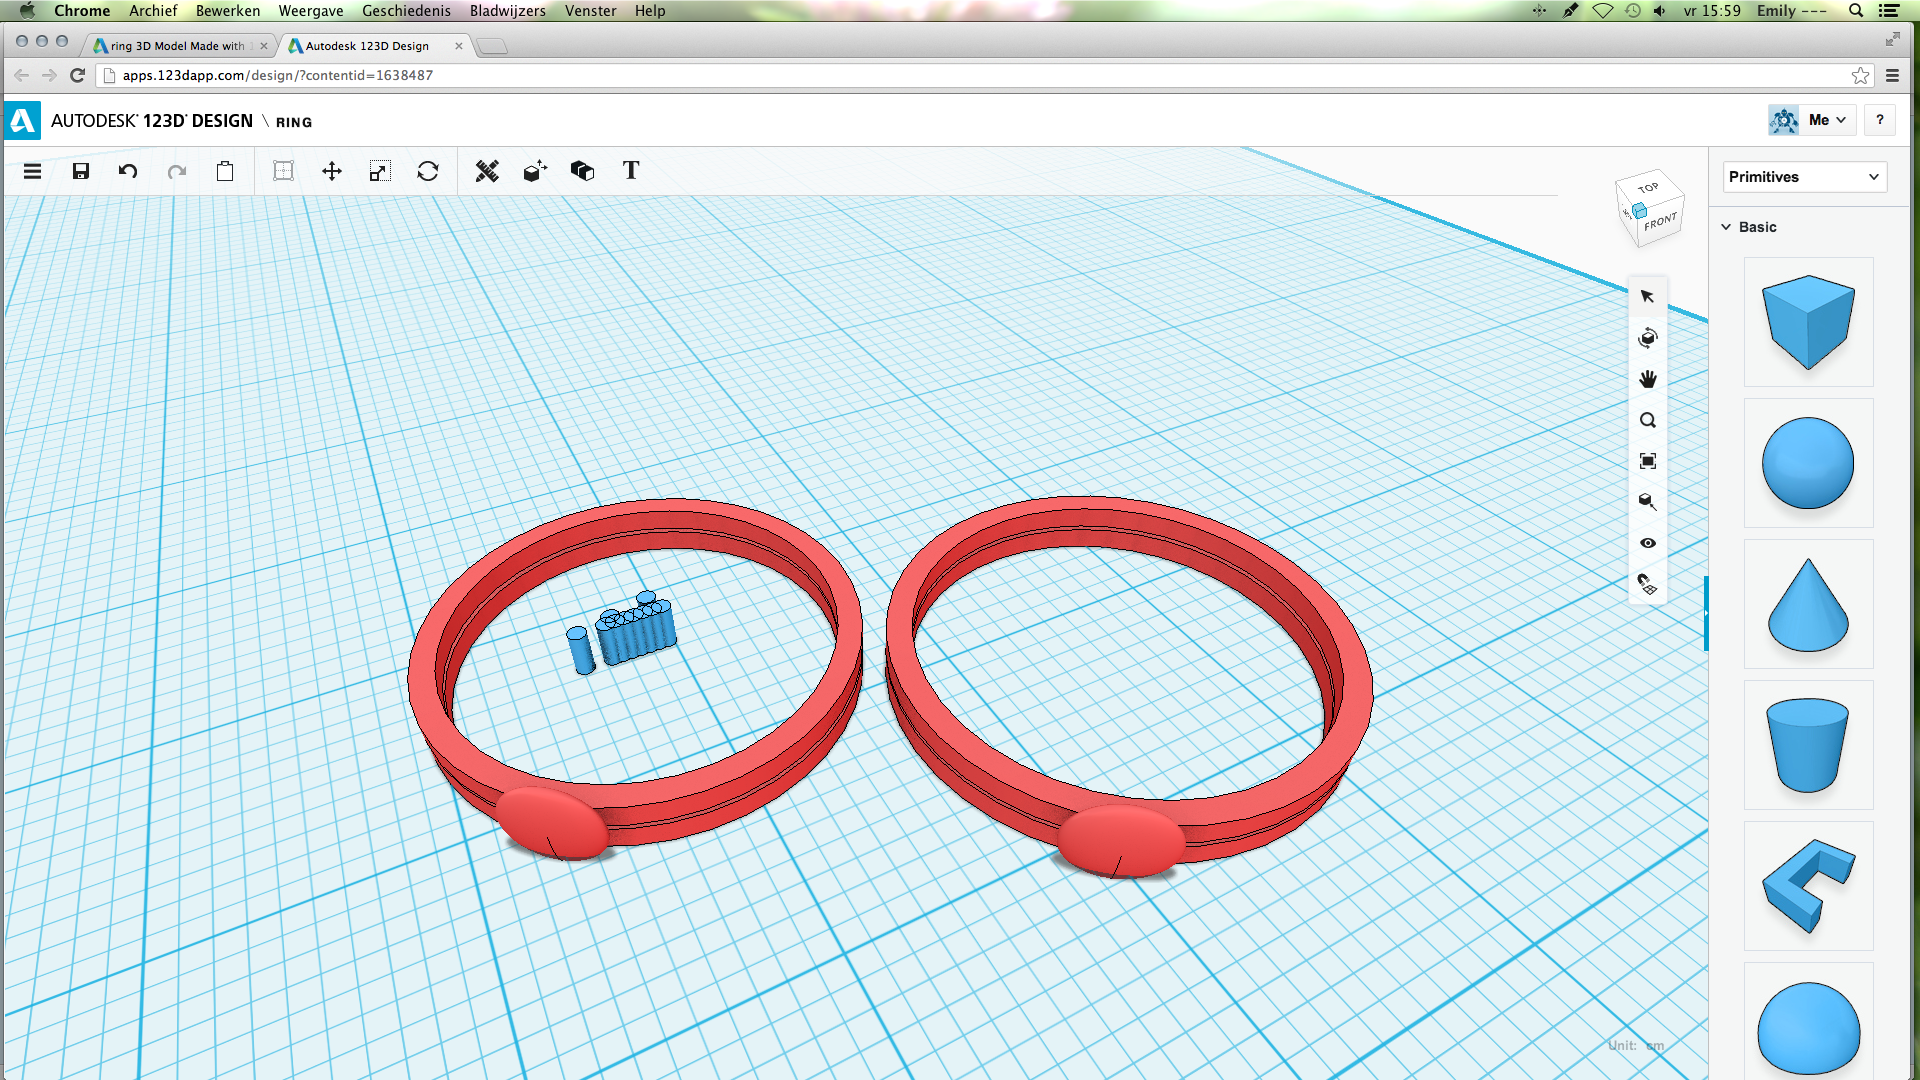
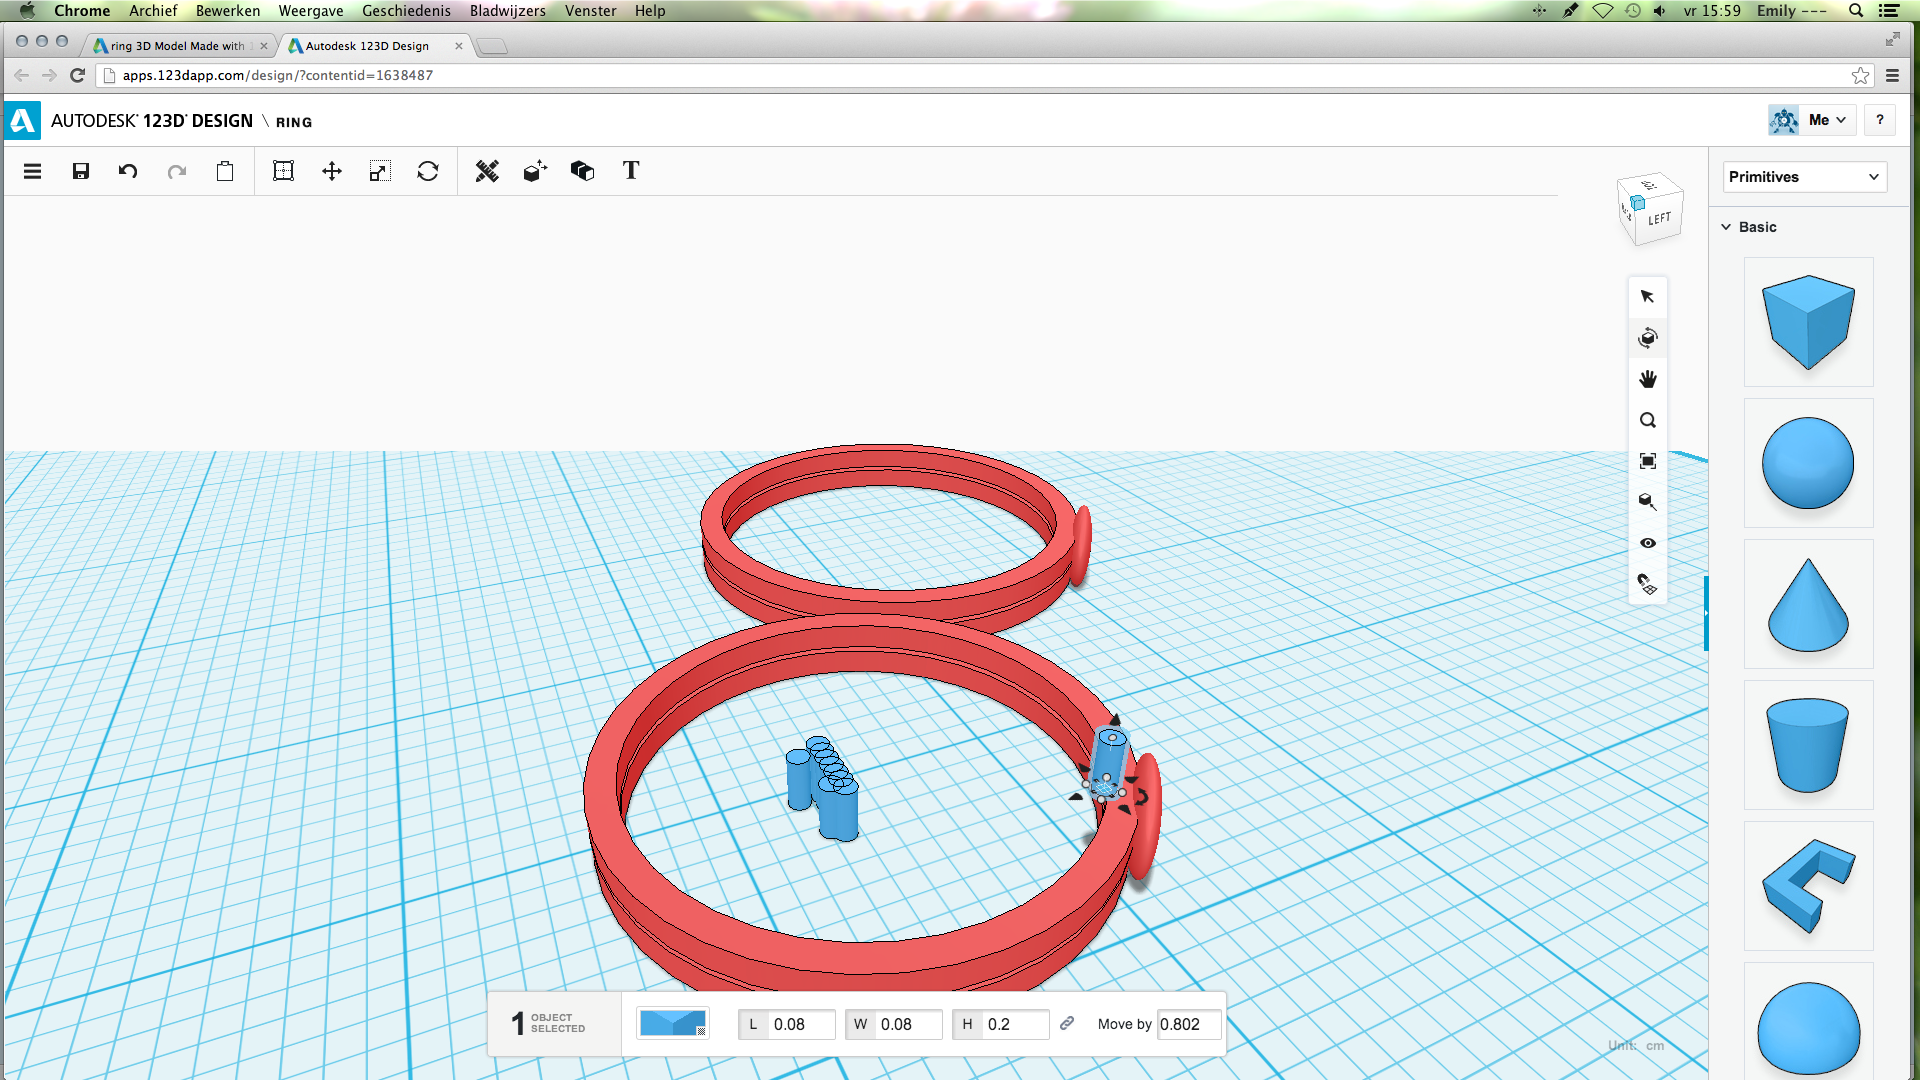
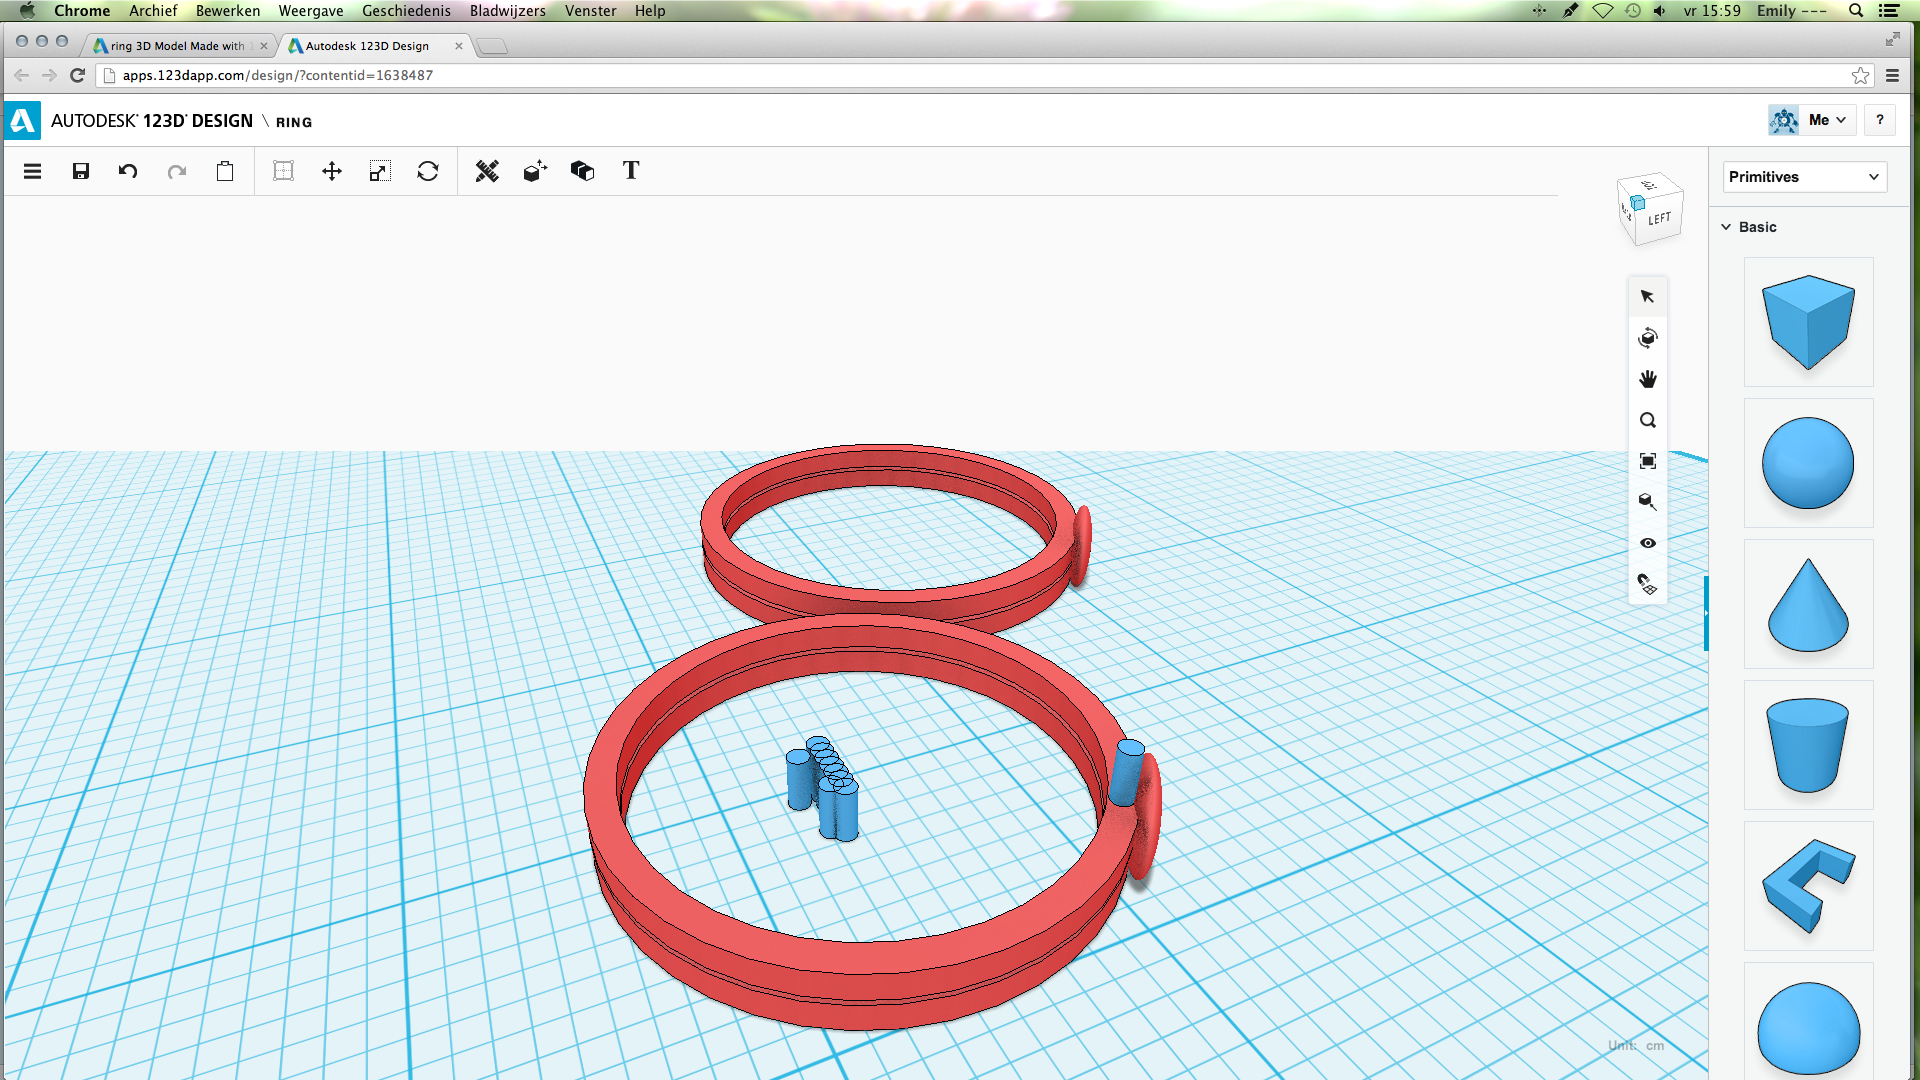
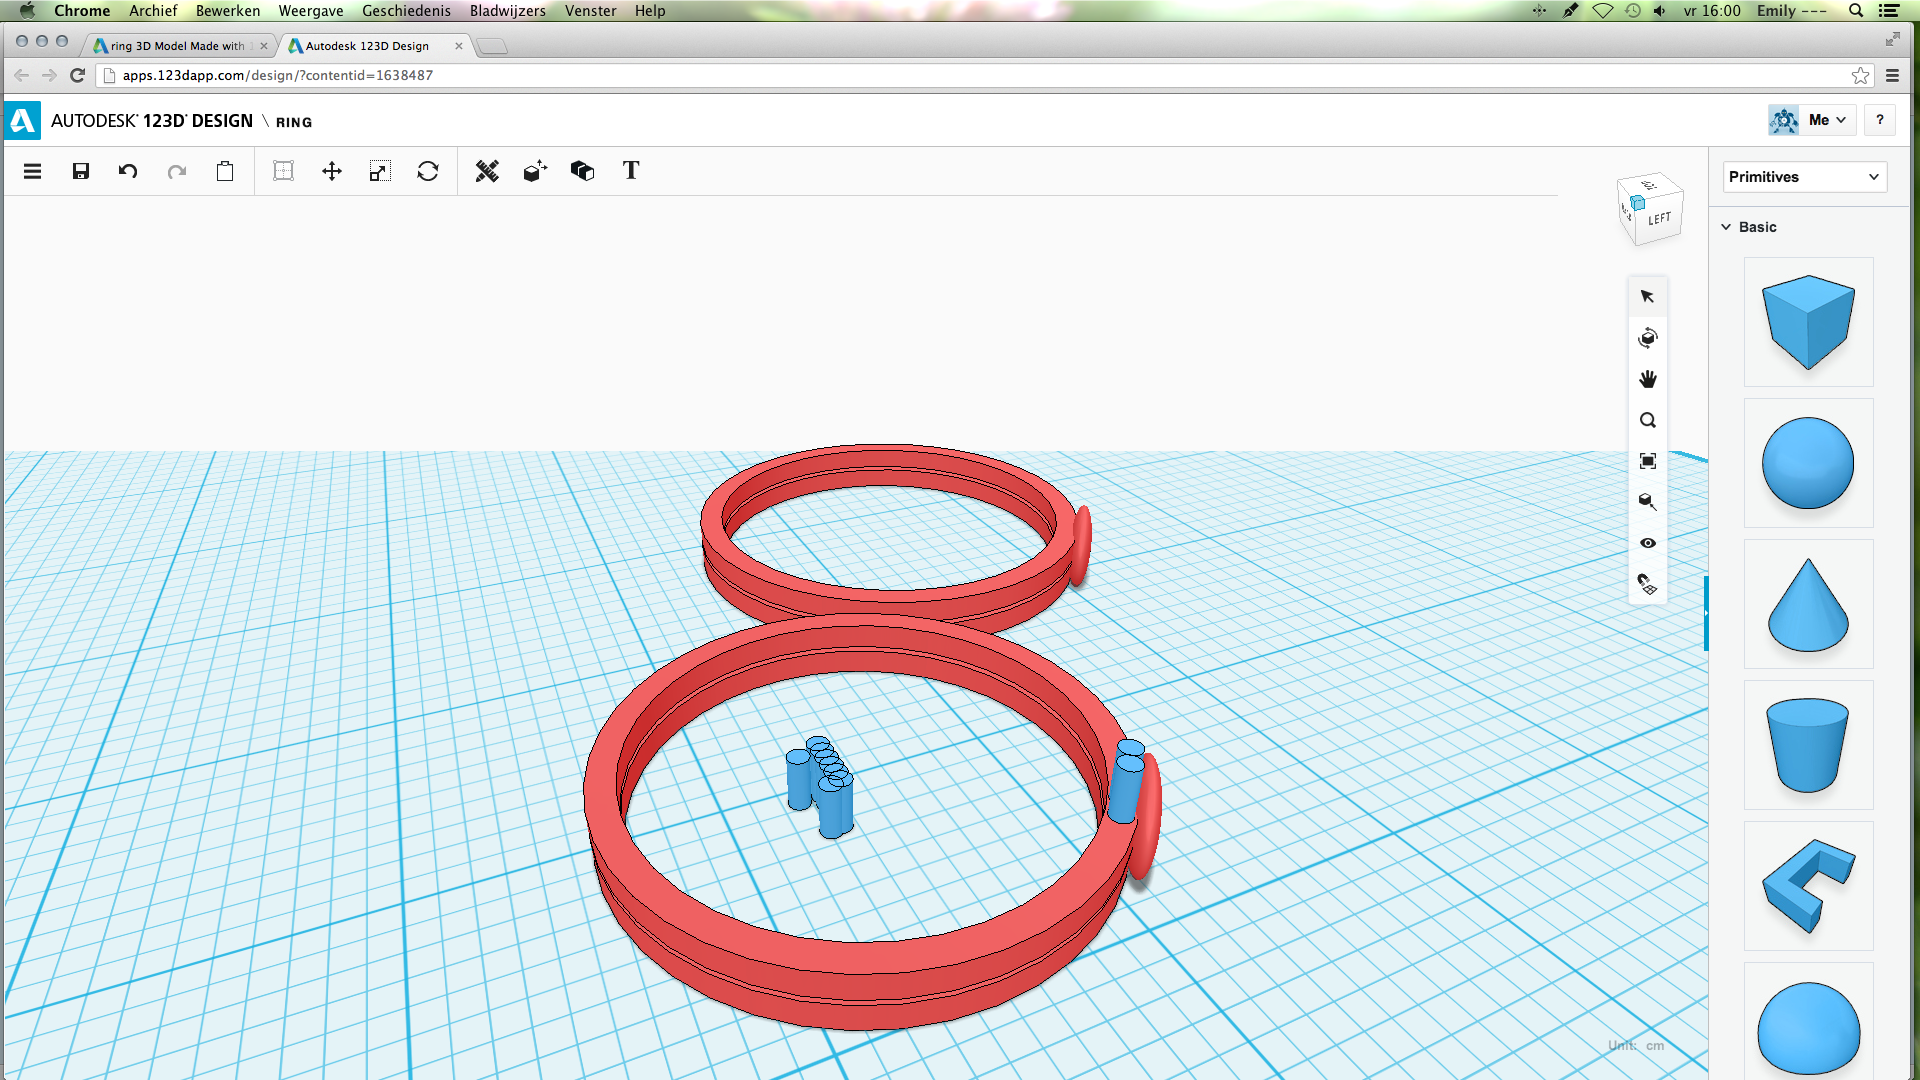
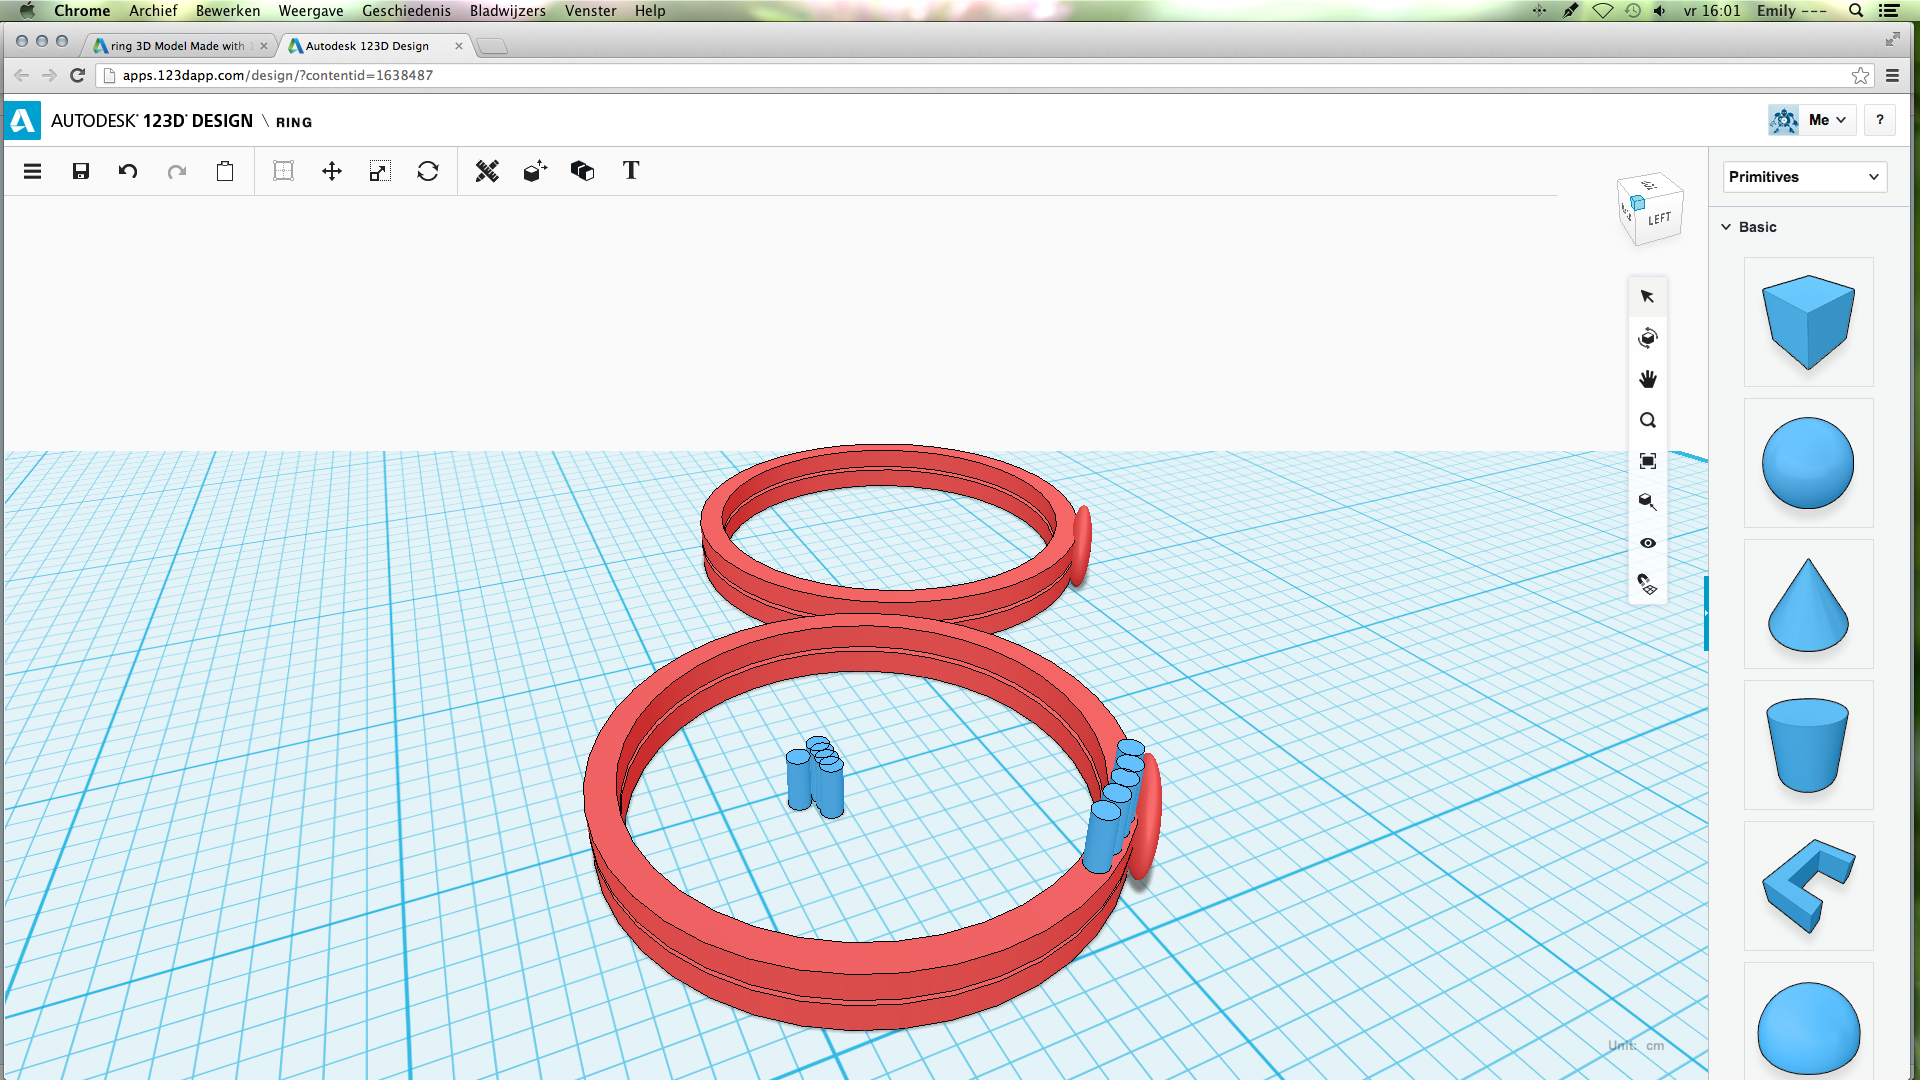
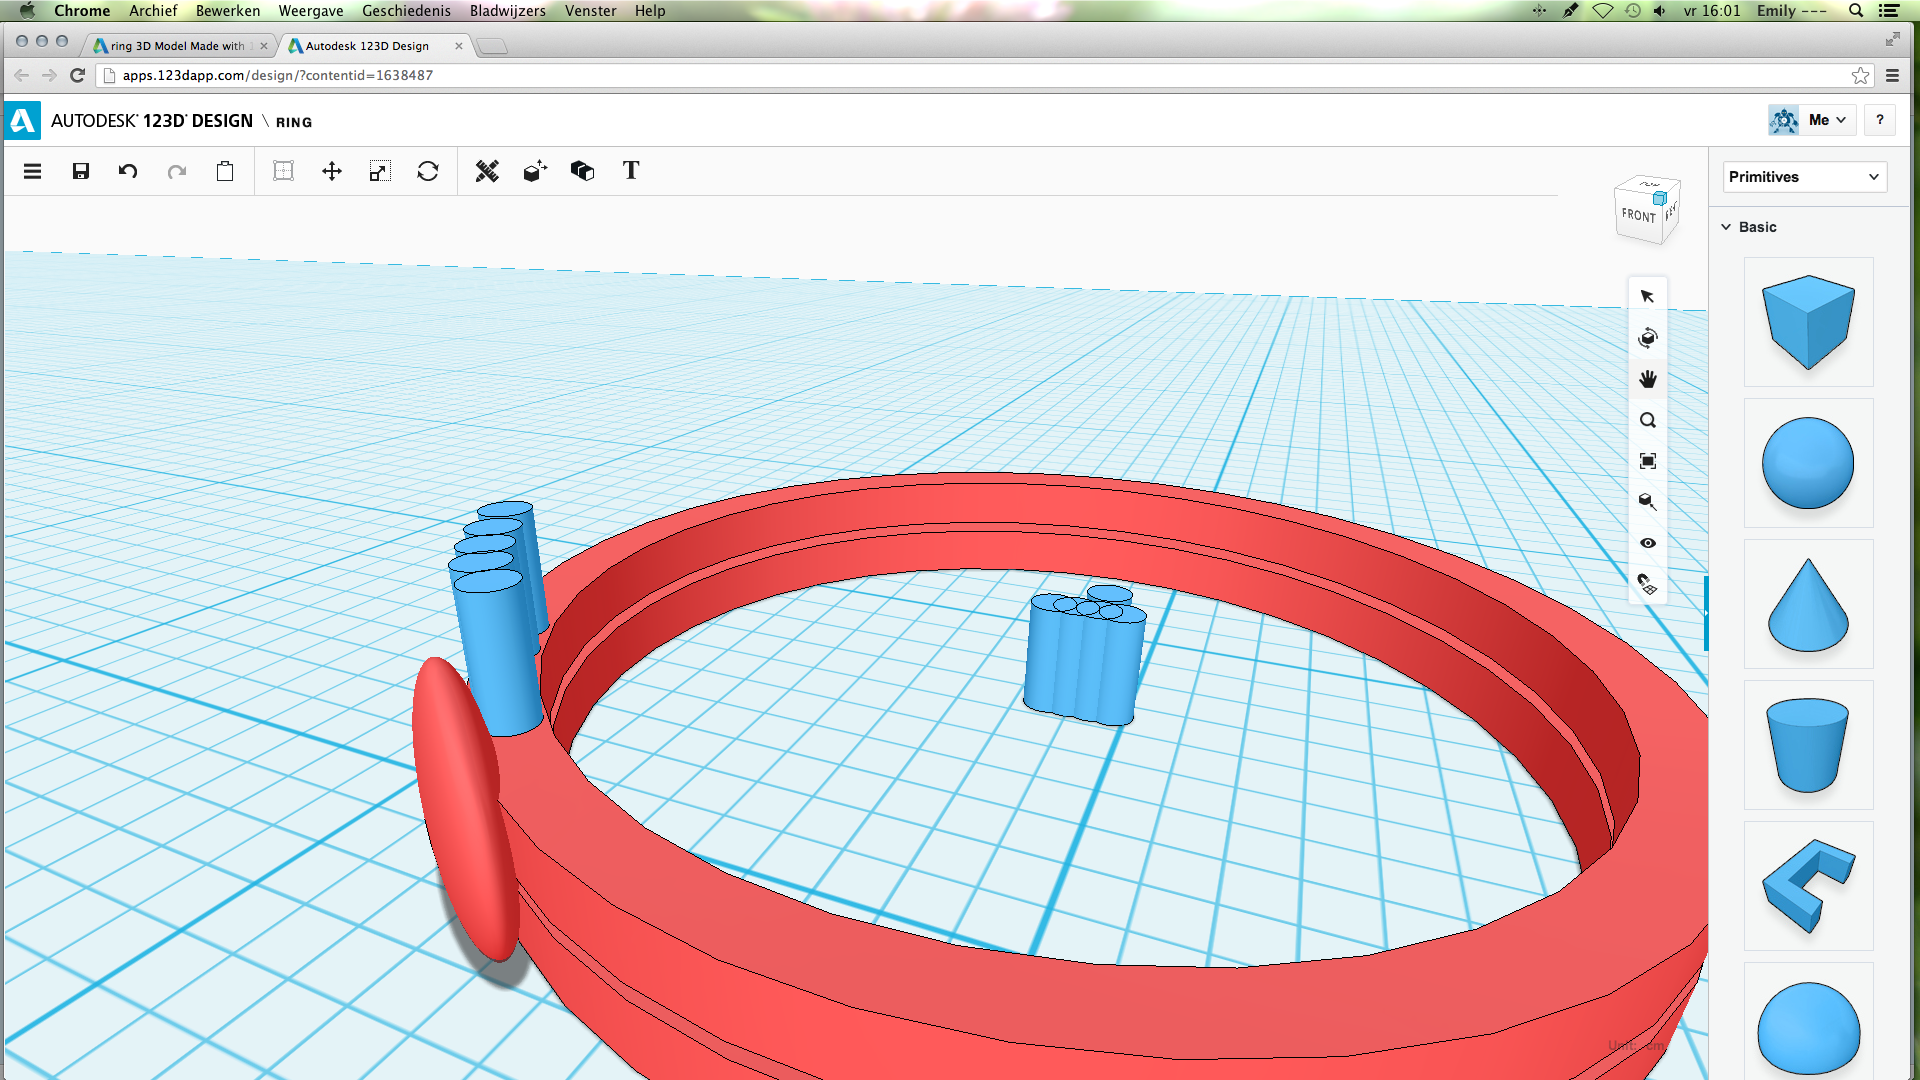
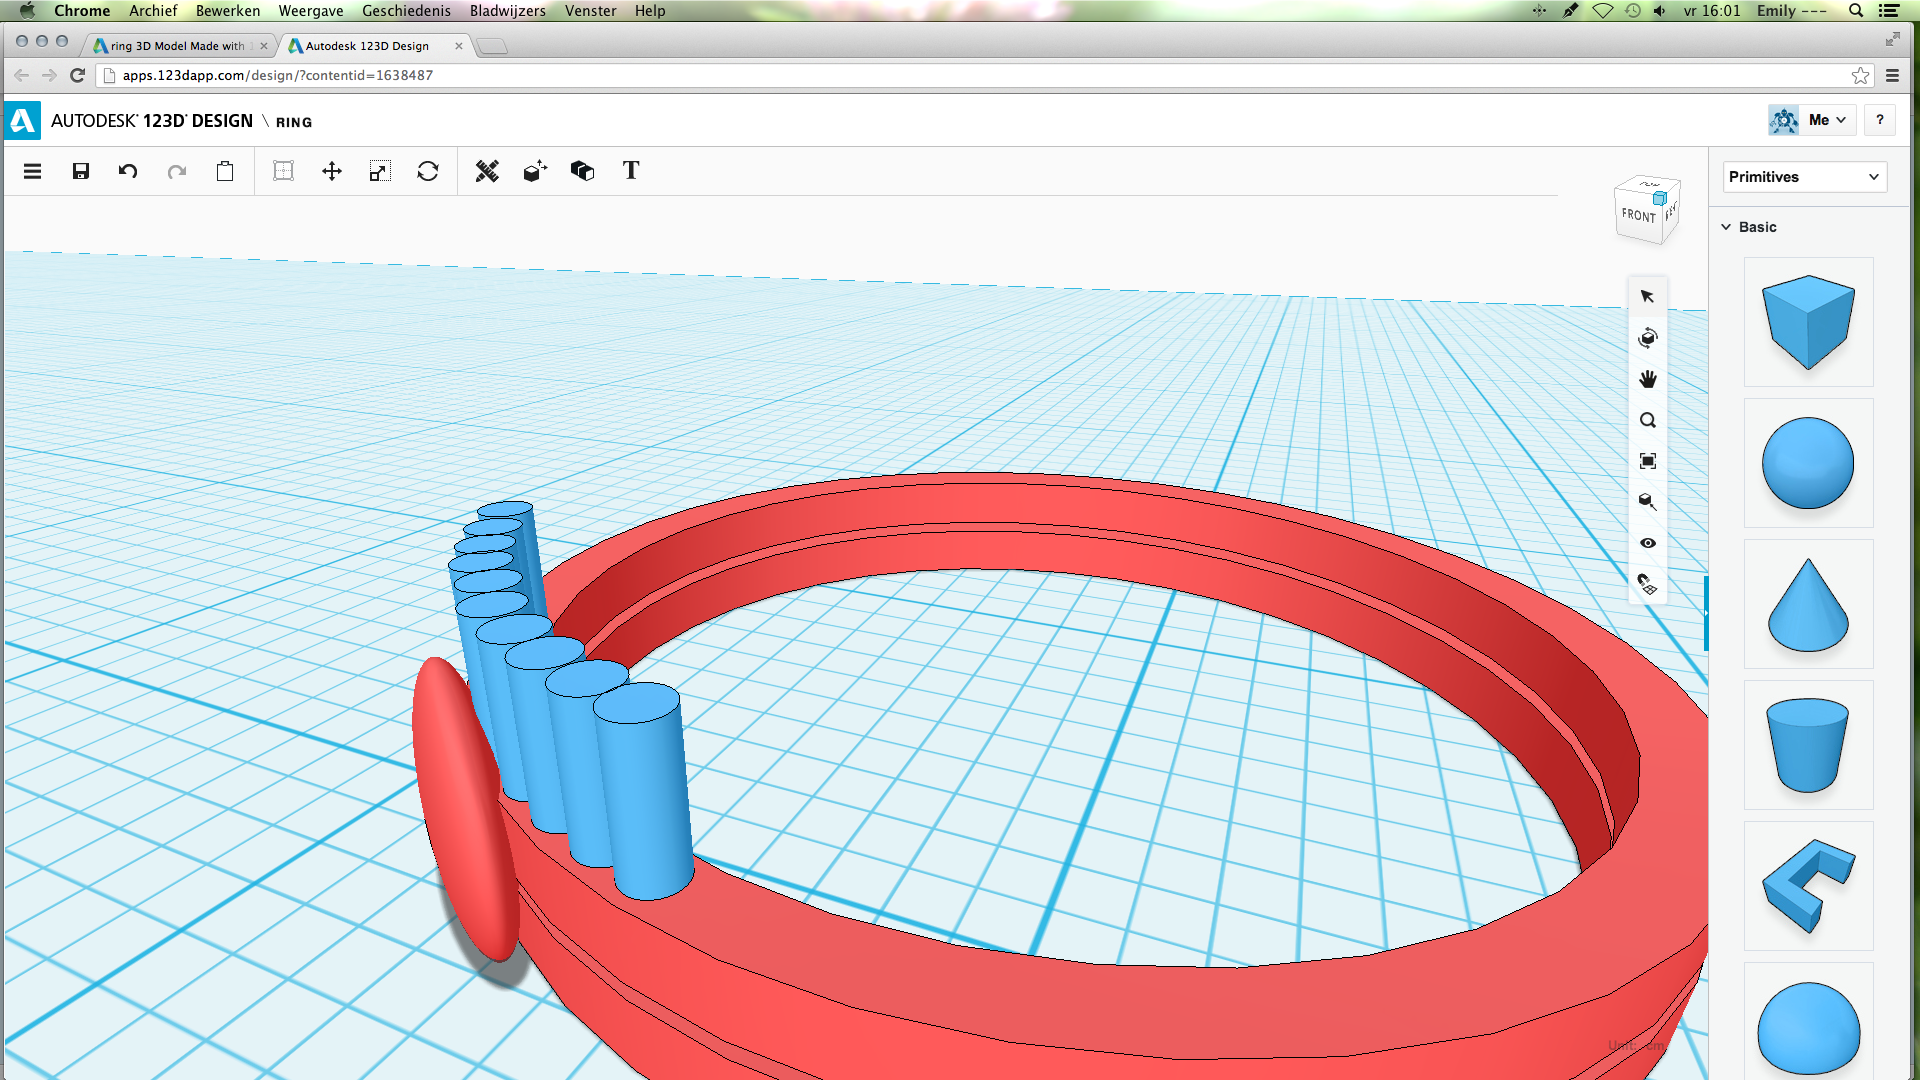
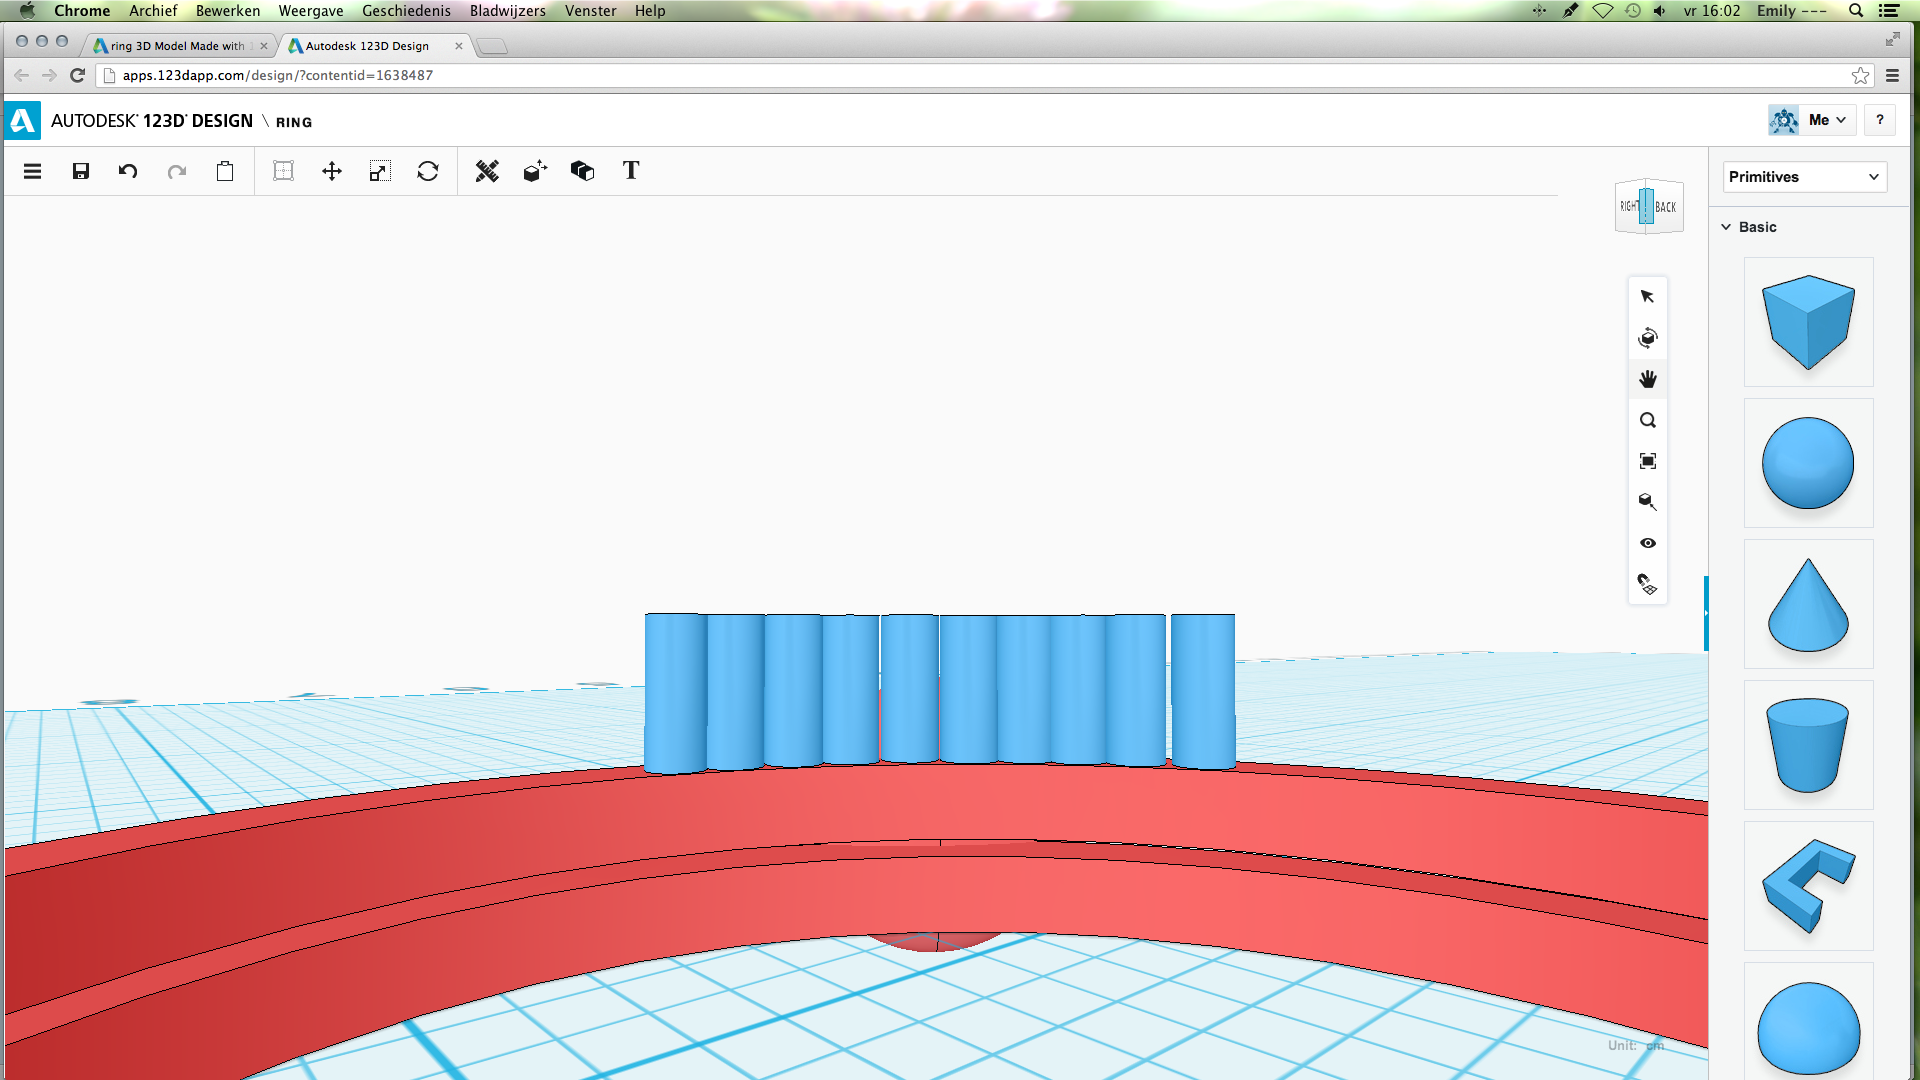
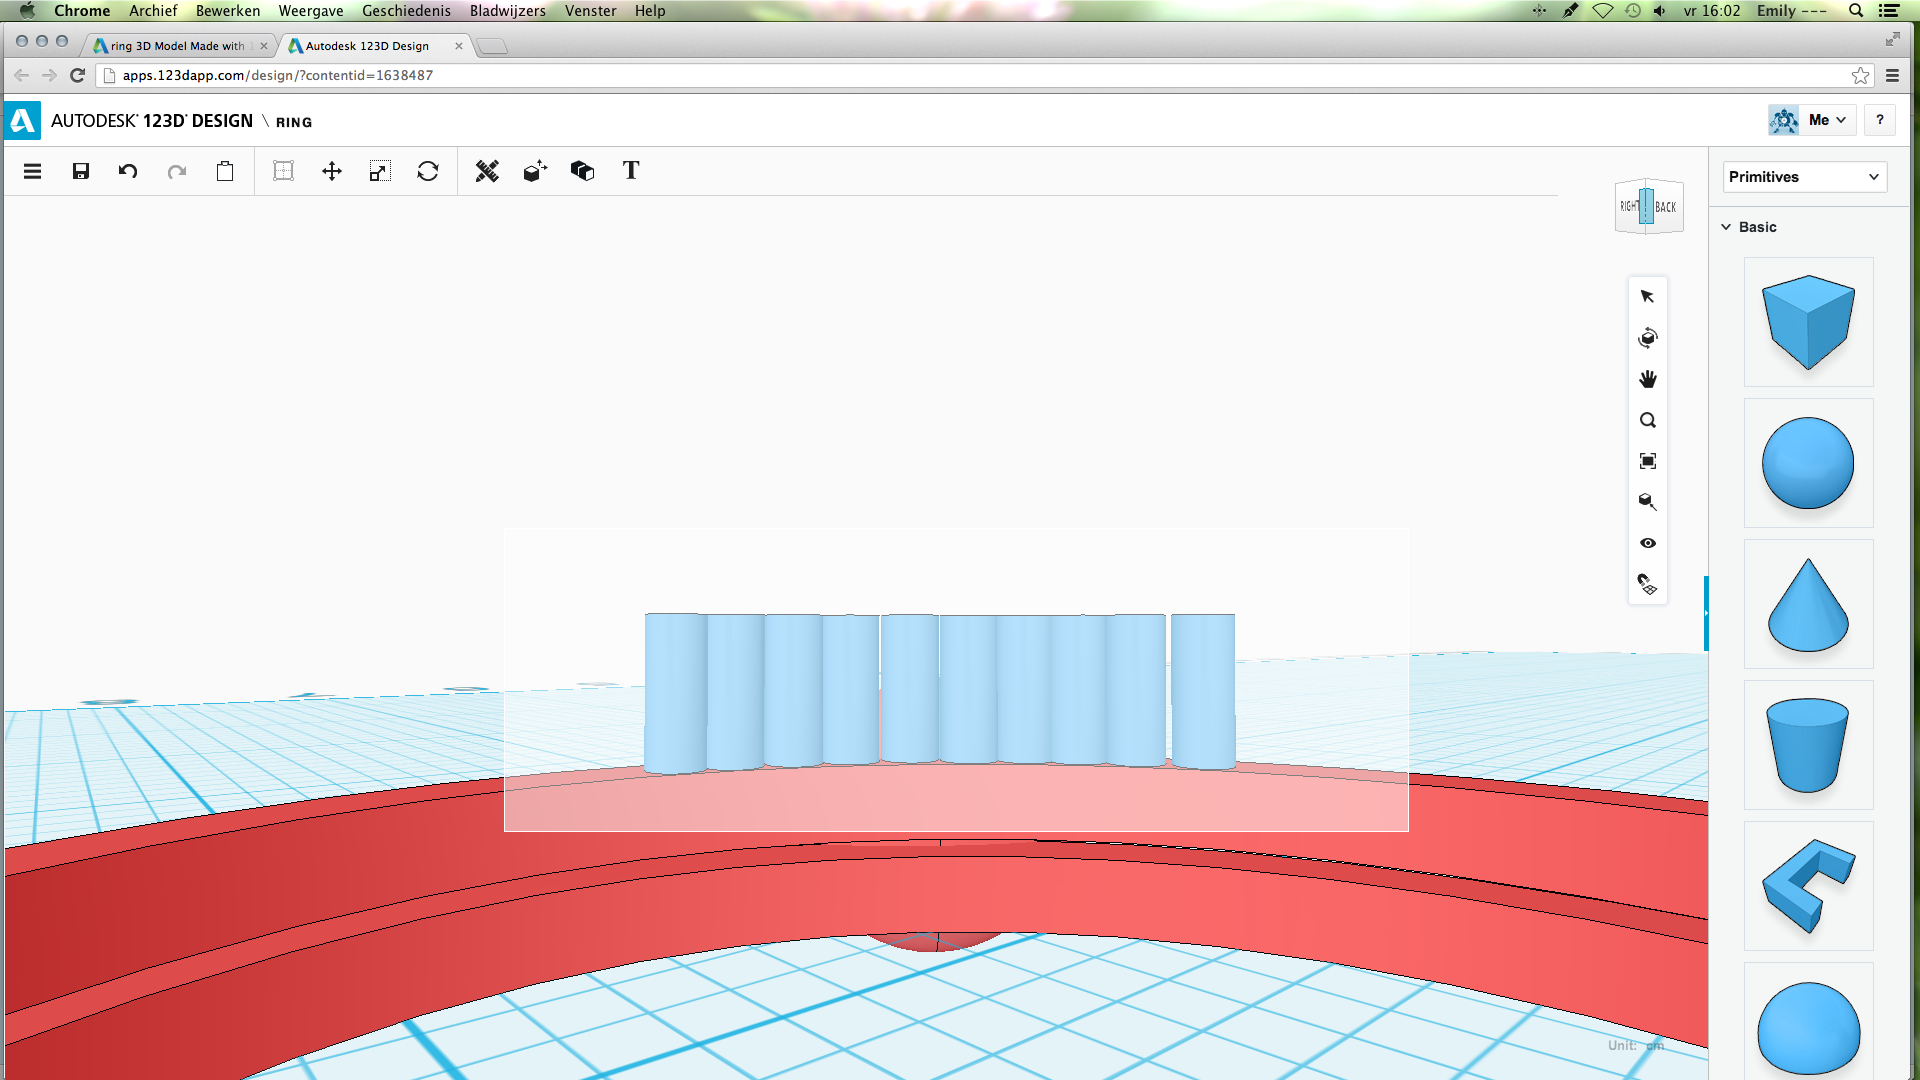
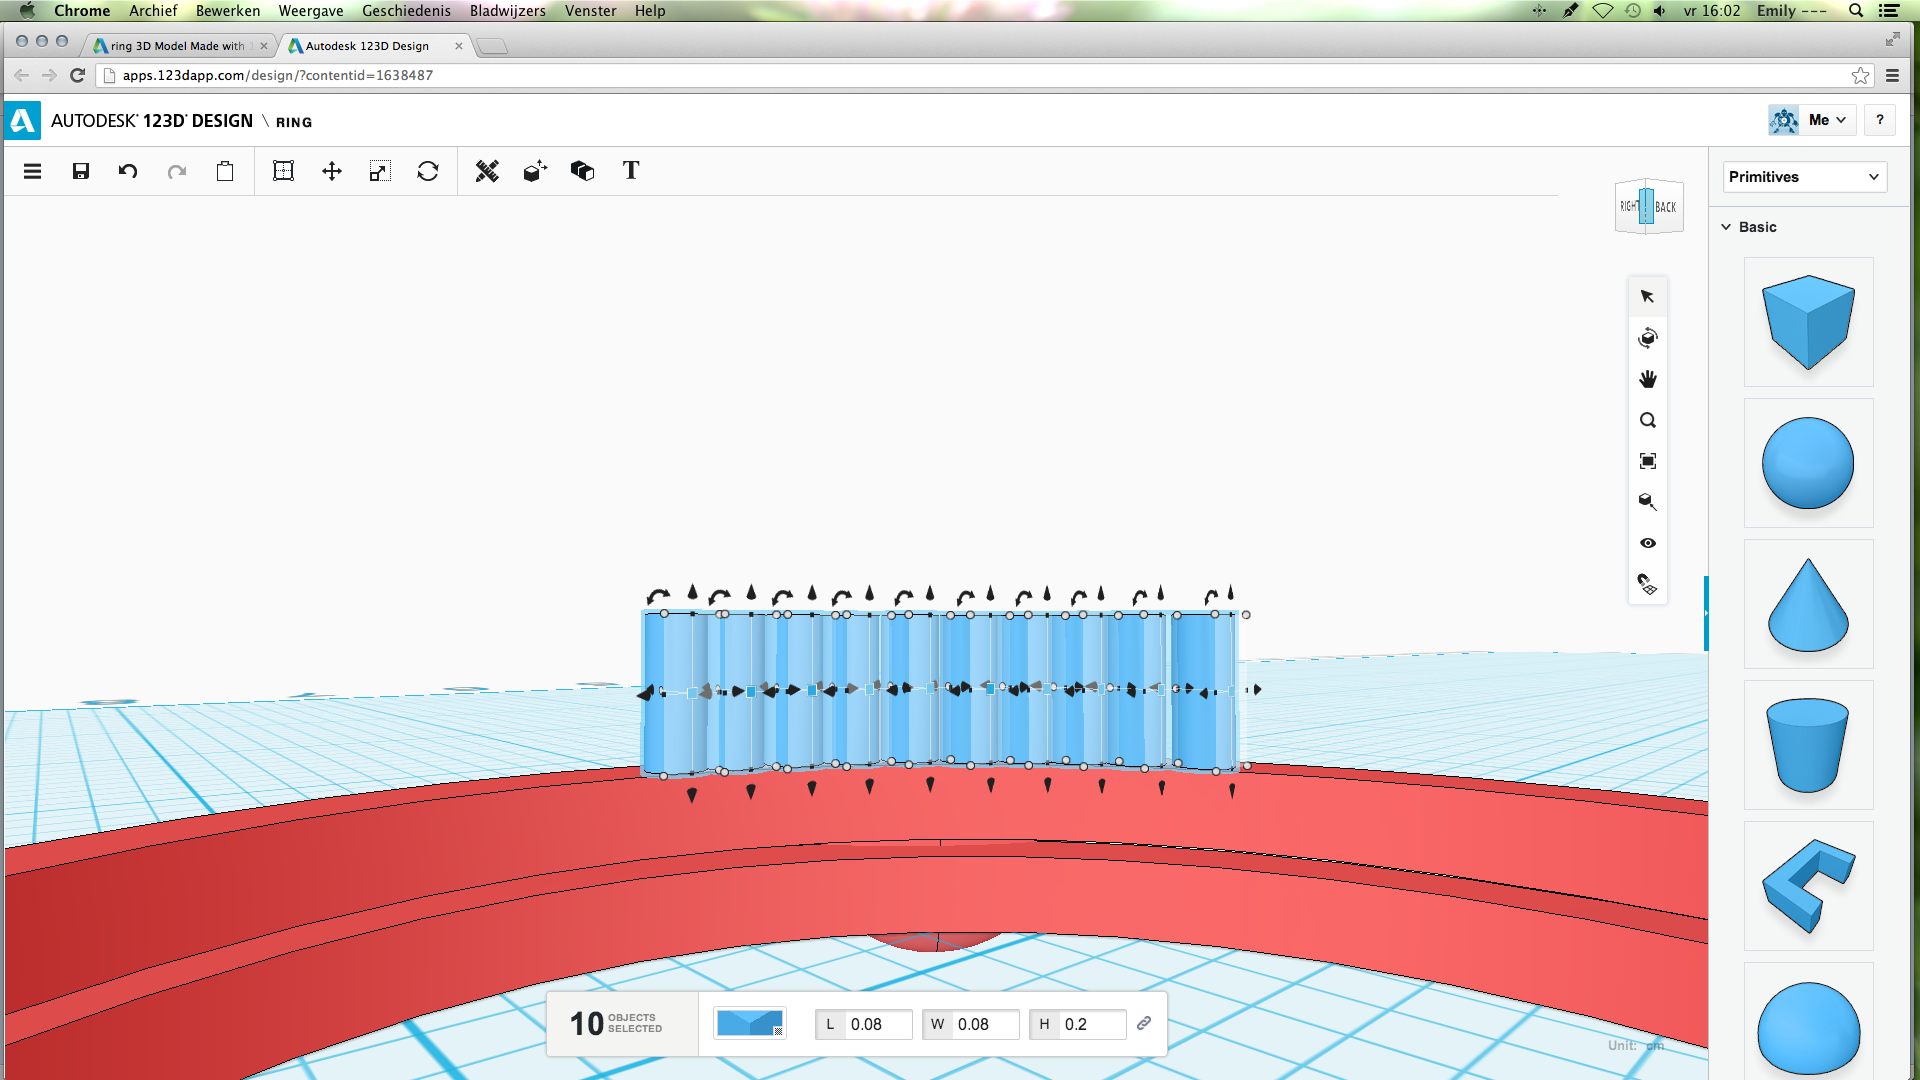
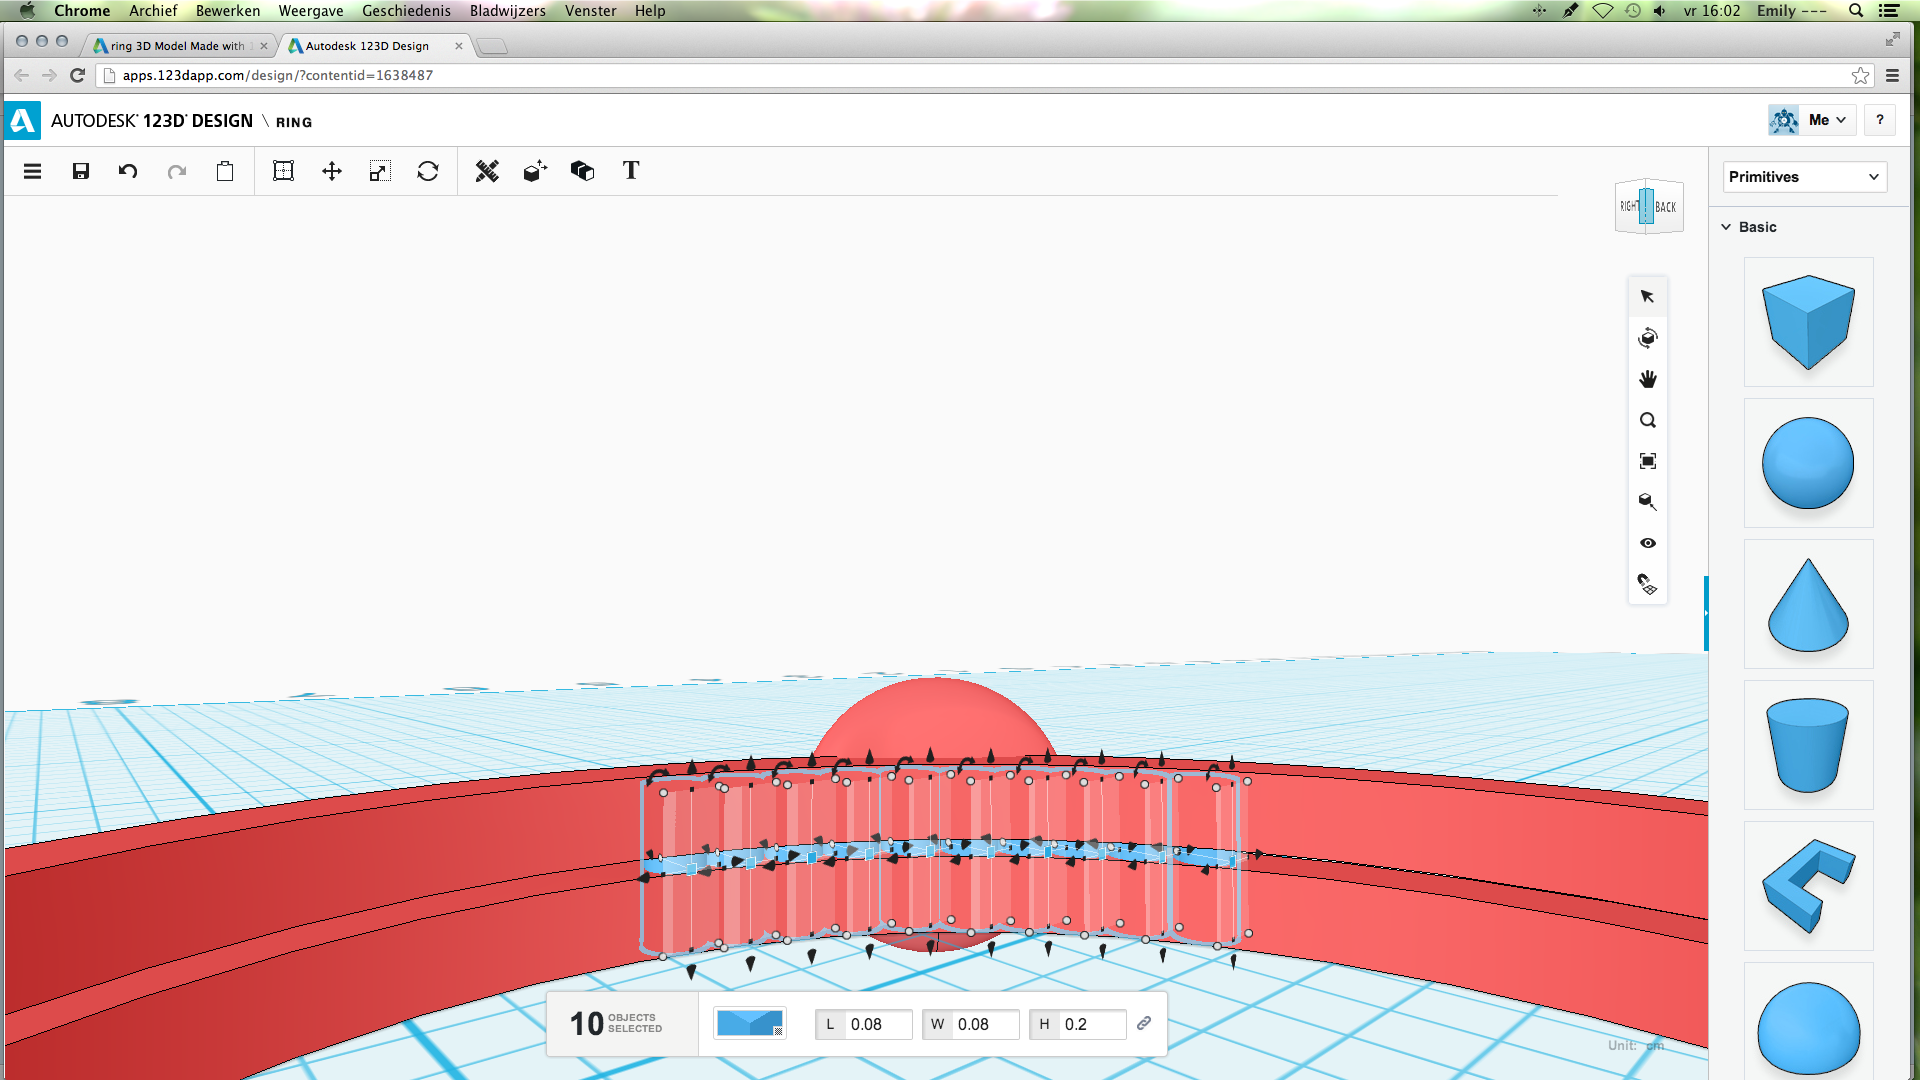
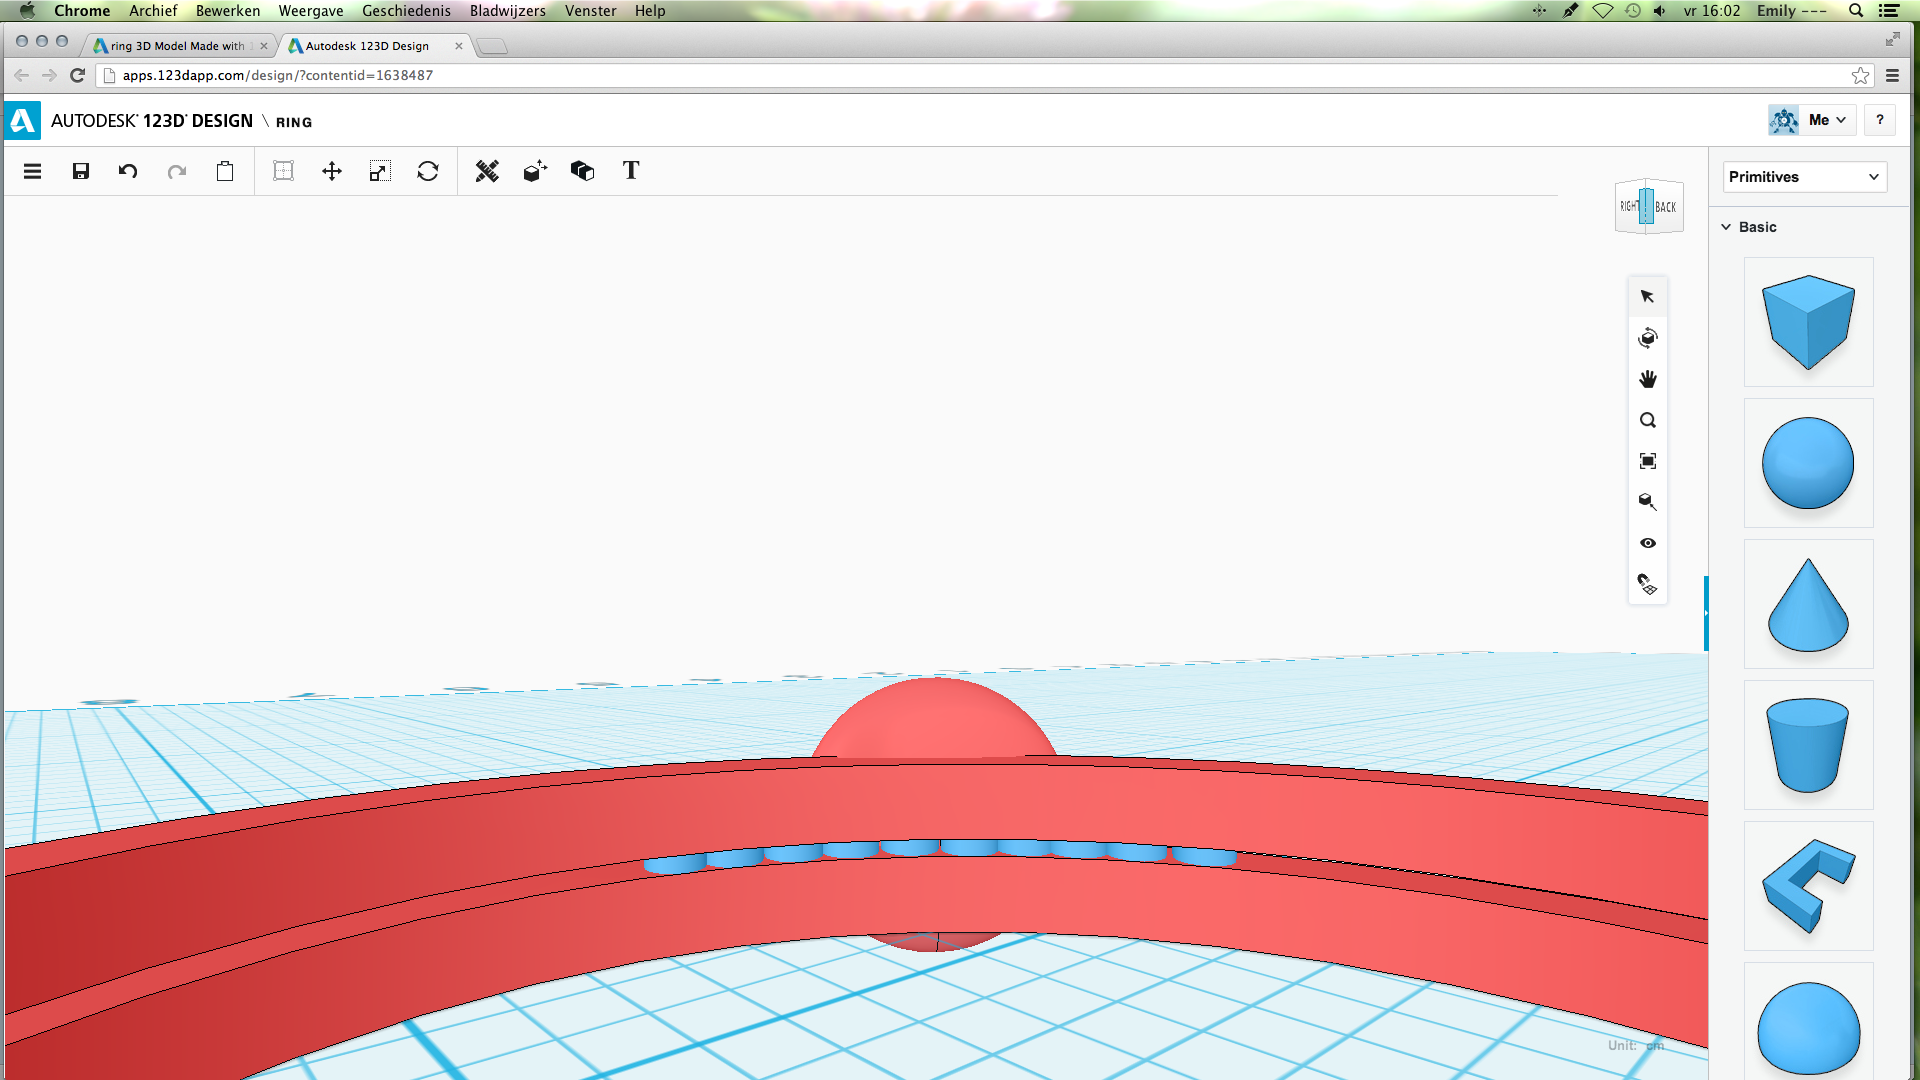
So, now you have a ring. But, to keep it from falling apart, I added a row of cylinders.
Note: I changed this step after finishing the model, that's why the model is already coloured here.
Take a cylinder. Change the size to:
L: 0.08
W: 0.08
H: 0.2
Next, choose the copy option. Then, paste the cylinder nine times, so you end up with ten cylinders. Place them on the ring as shown in the pictures. When all ten of the cylinders are in position, select all ten of them. Move them down until they are not sticking out anymore.
Just a Check
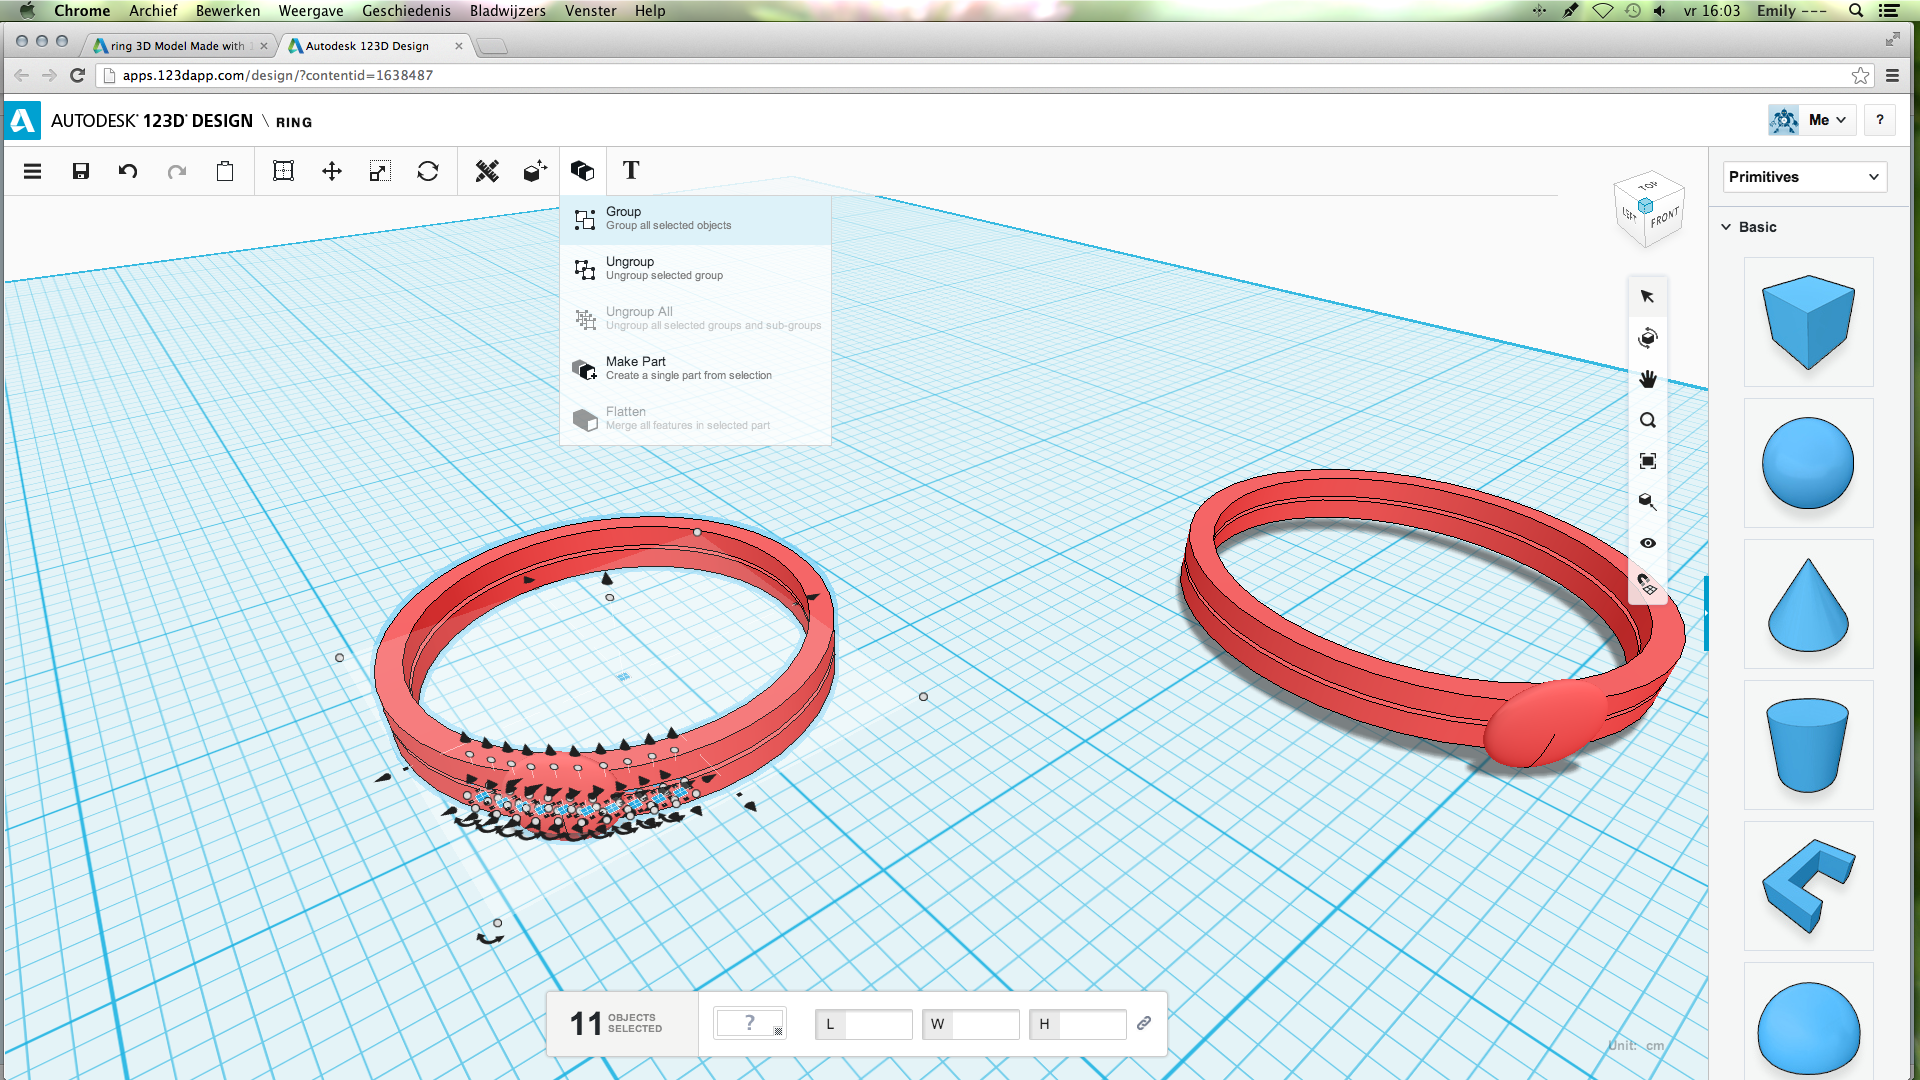
So, you are done!
Just to be sure, check if the model is one piece already. Select the model and see if it says one object or something else. If it says something else, group the model as shown.
Just to be sure, check if the model is one piece already. Select the model and see if it says one object or something else. If it says something else, group the model as shown.
Get the Right Size
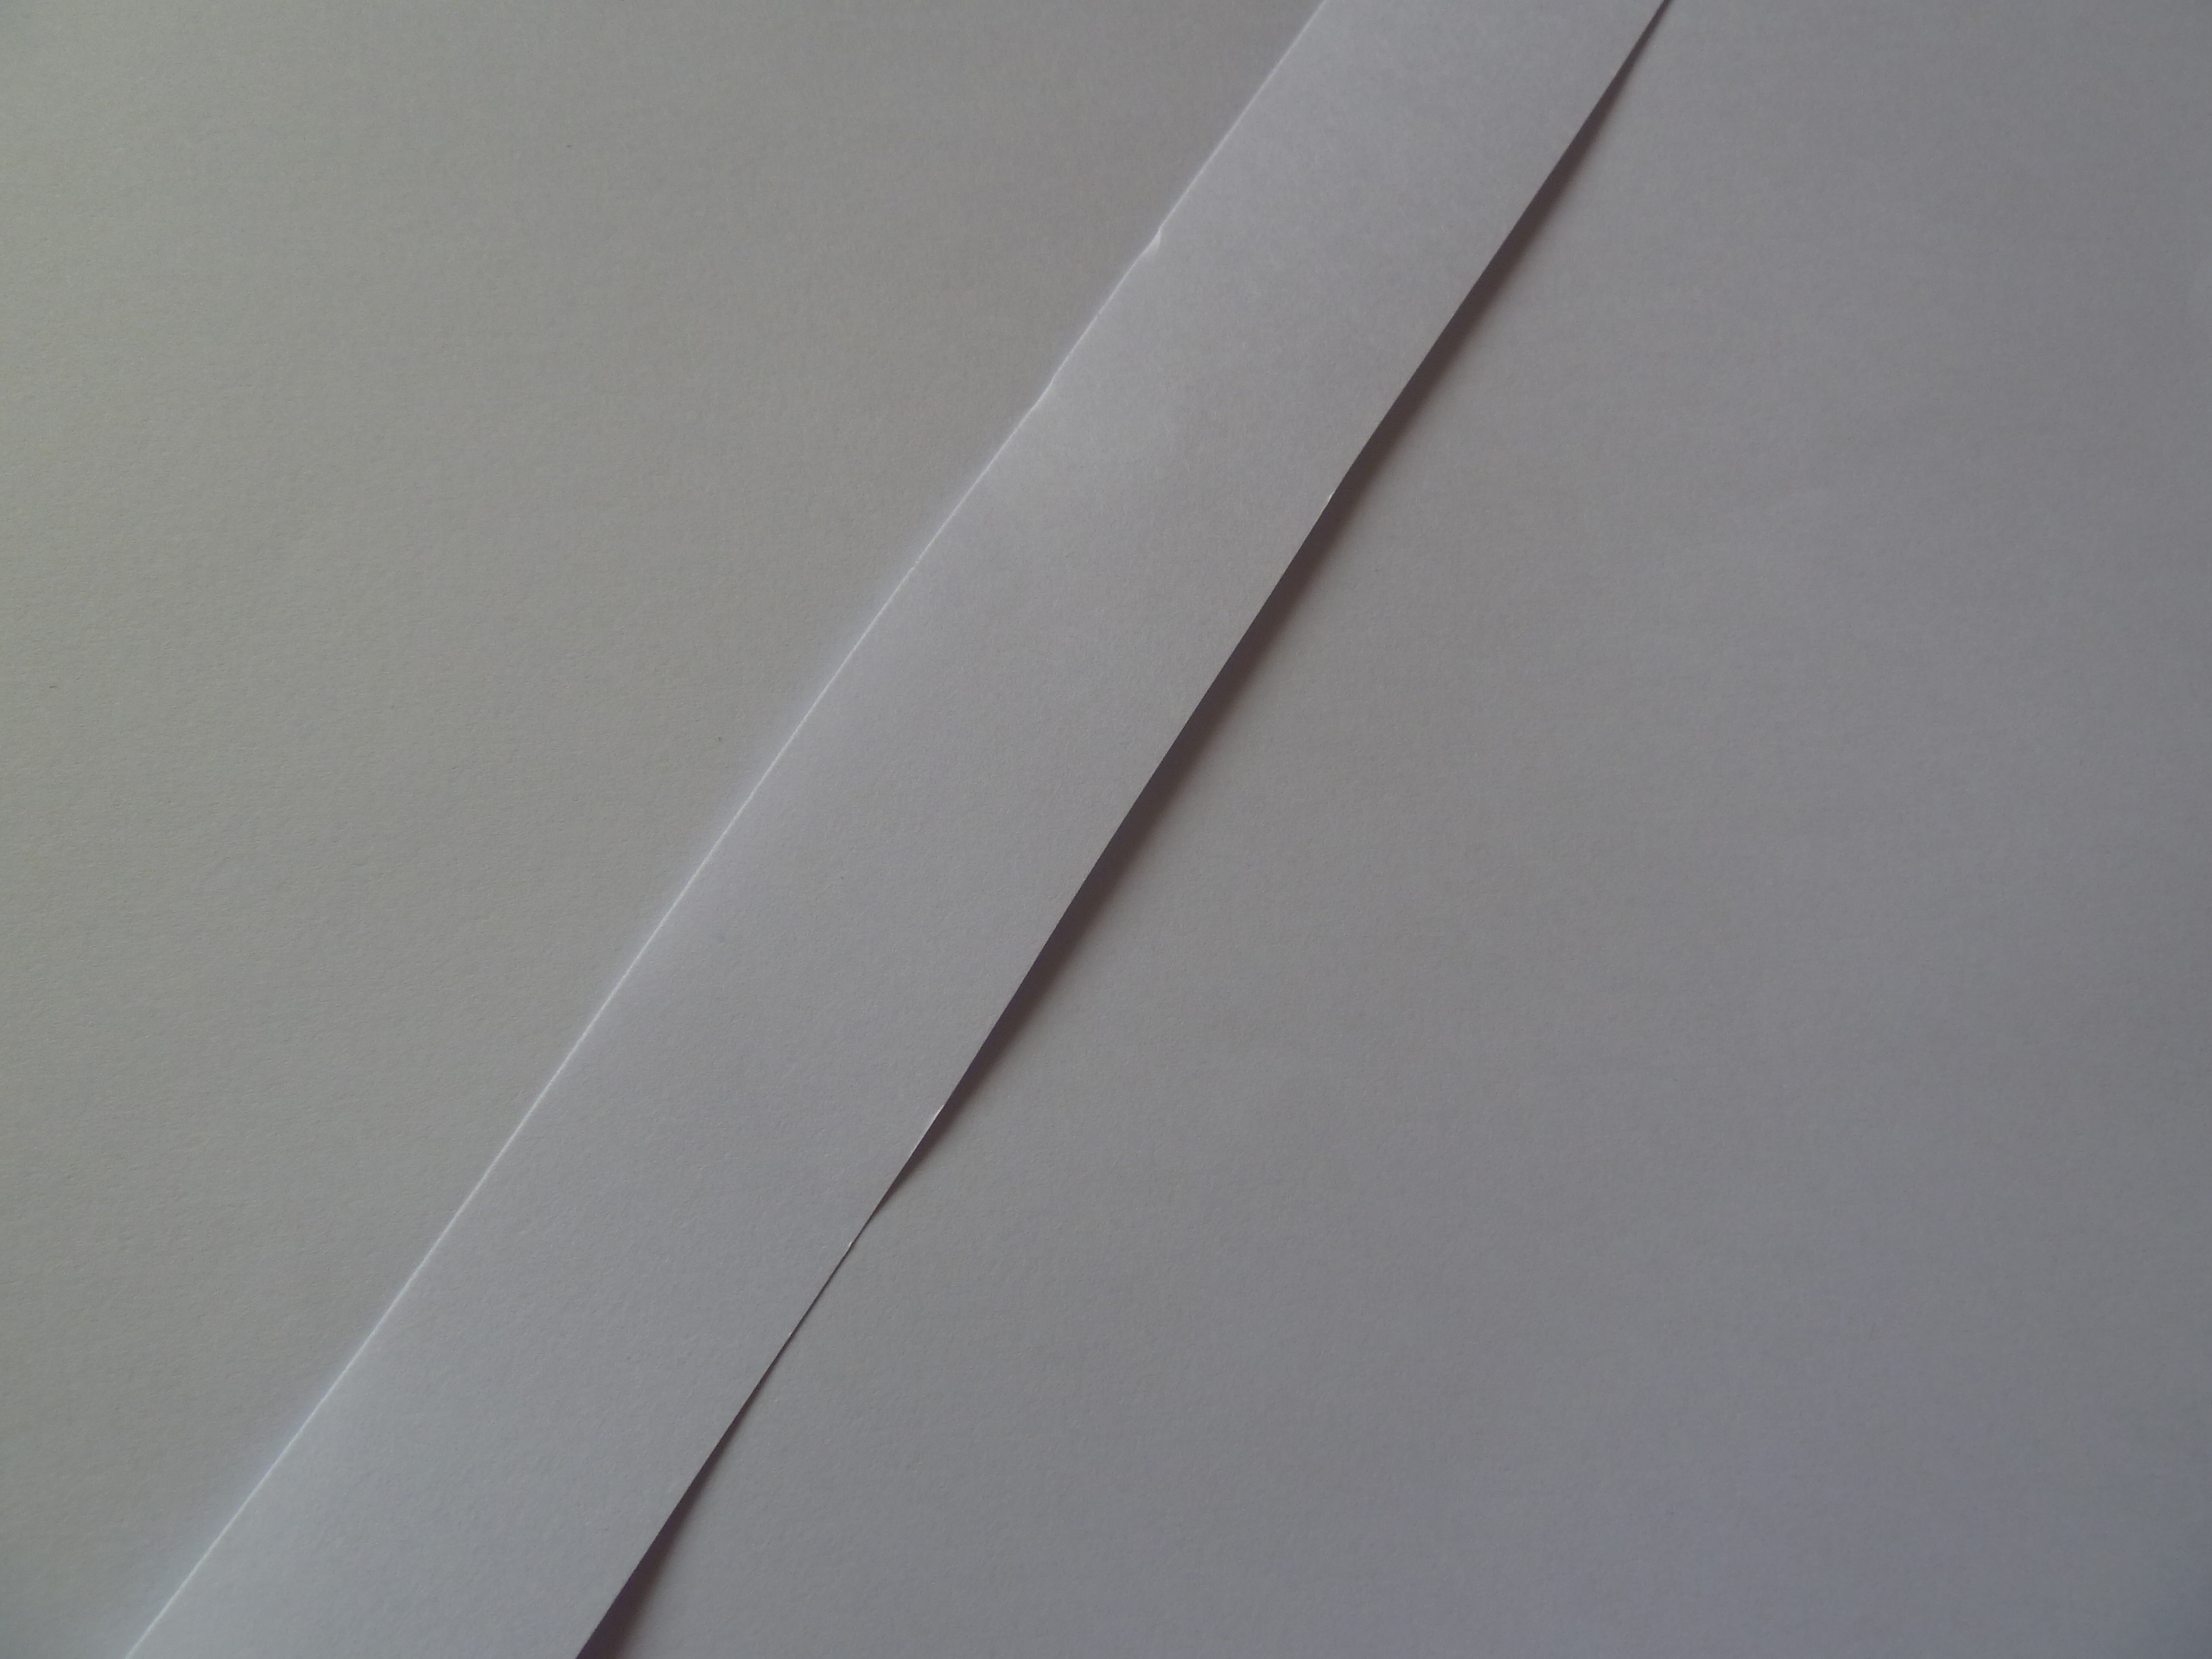
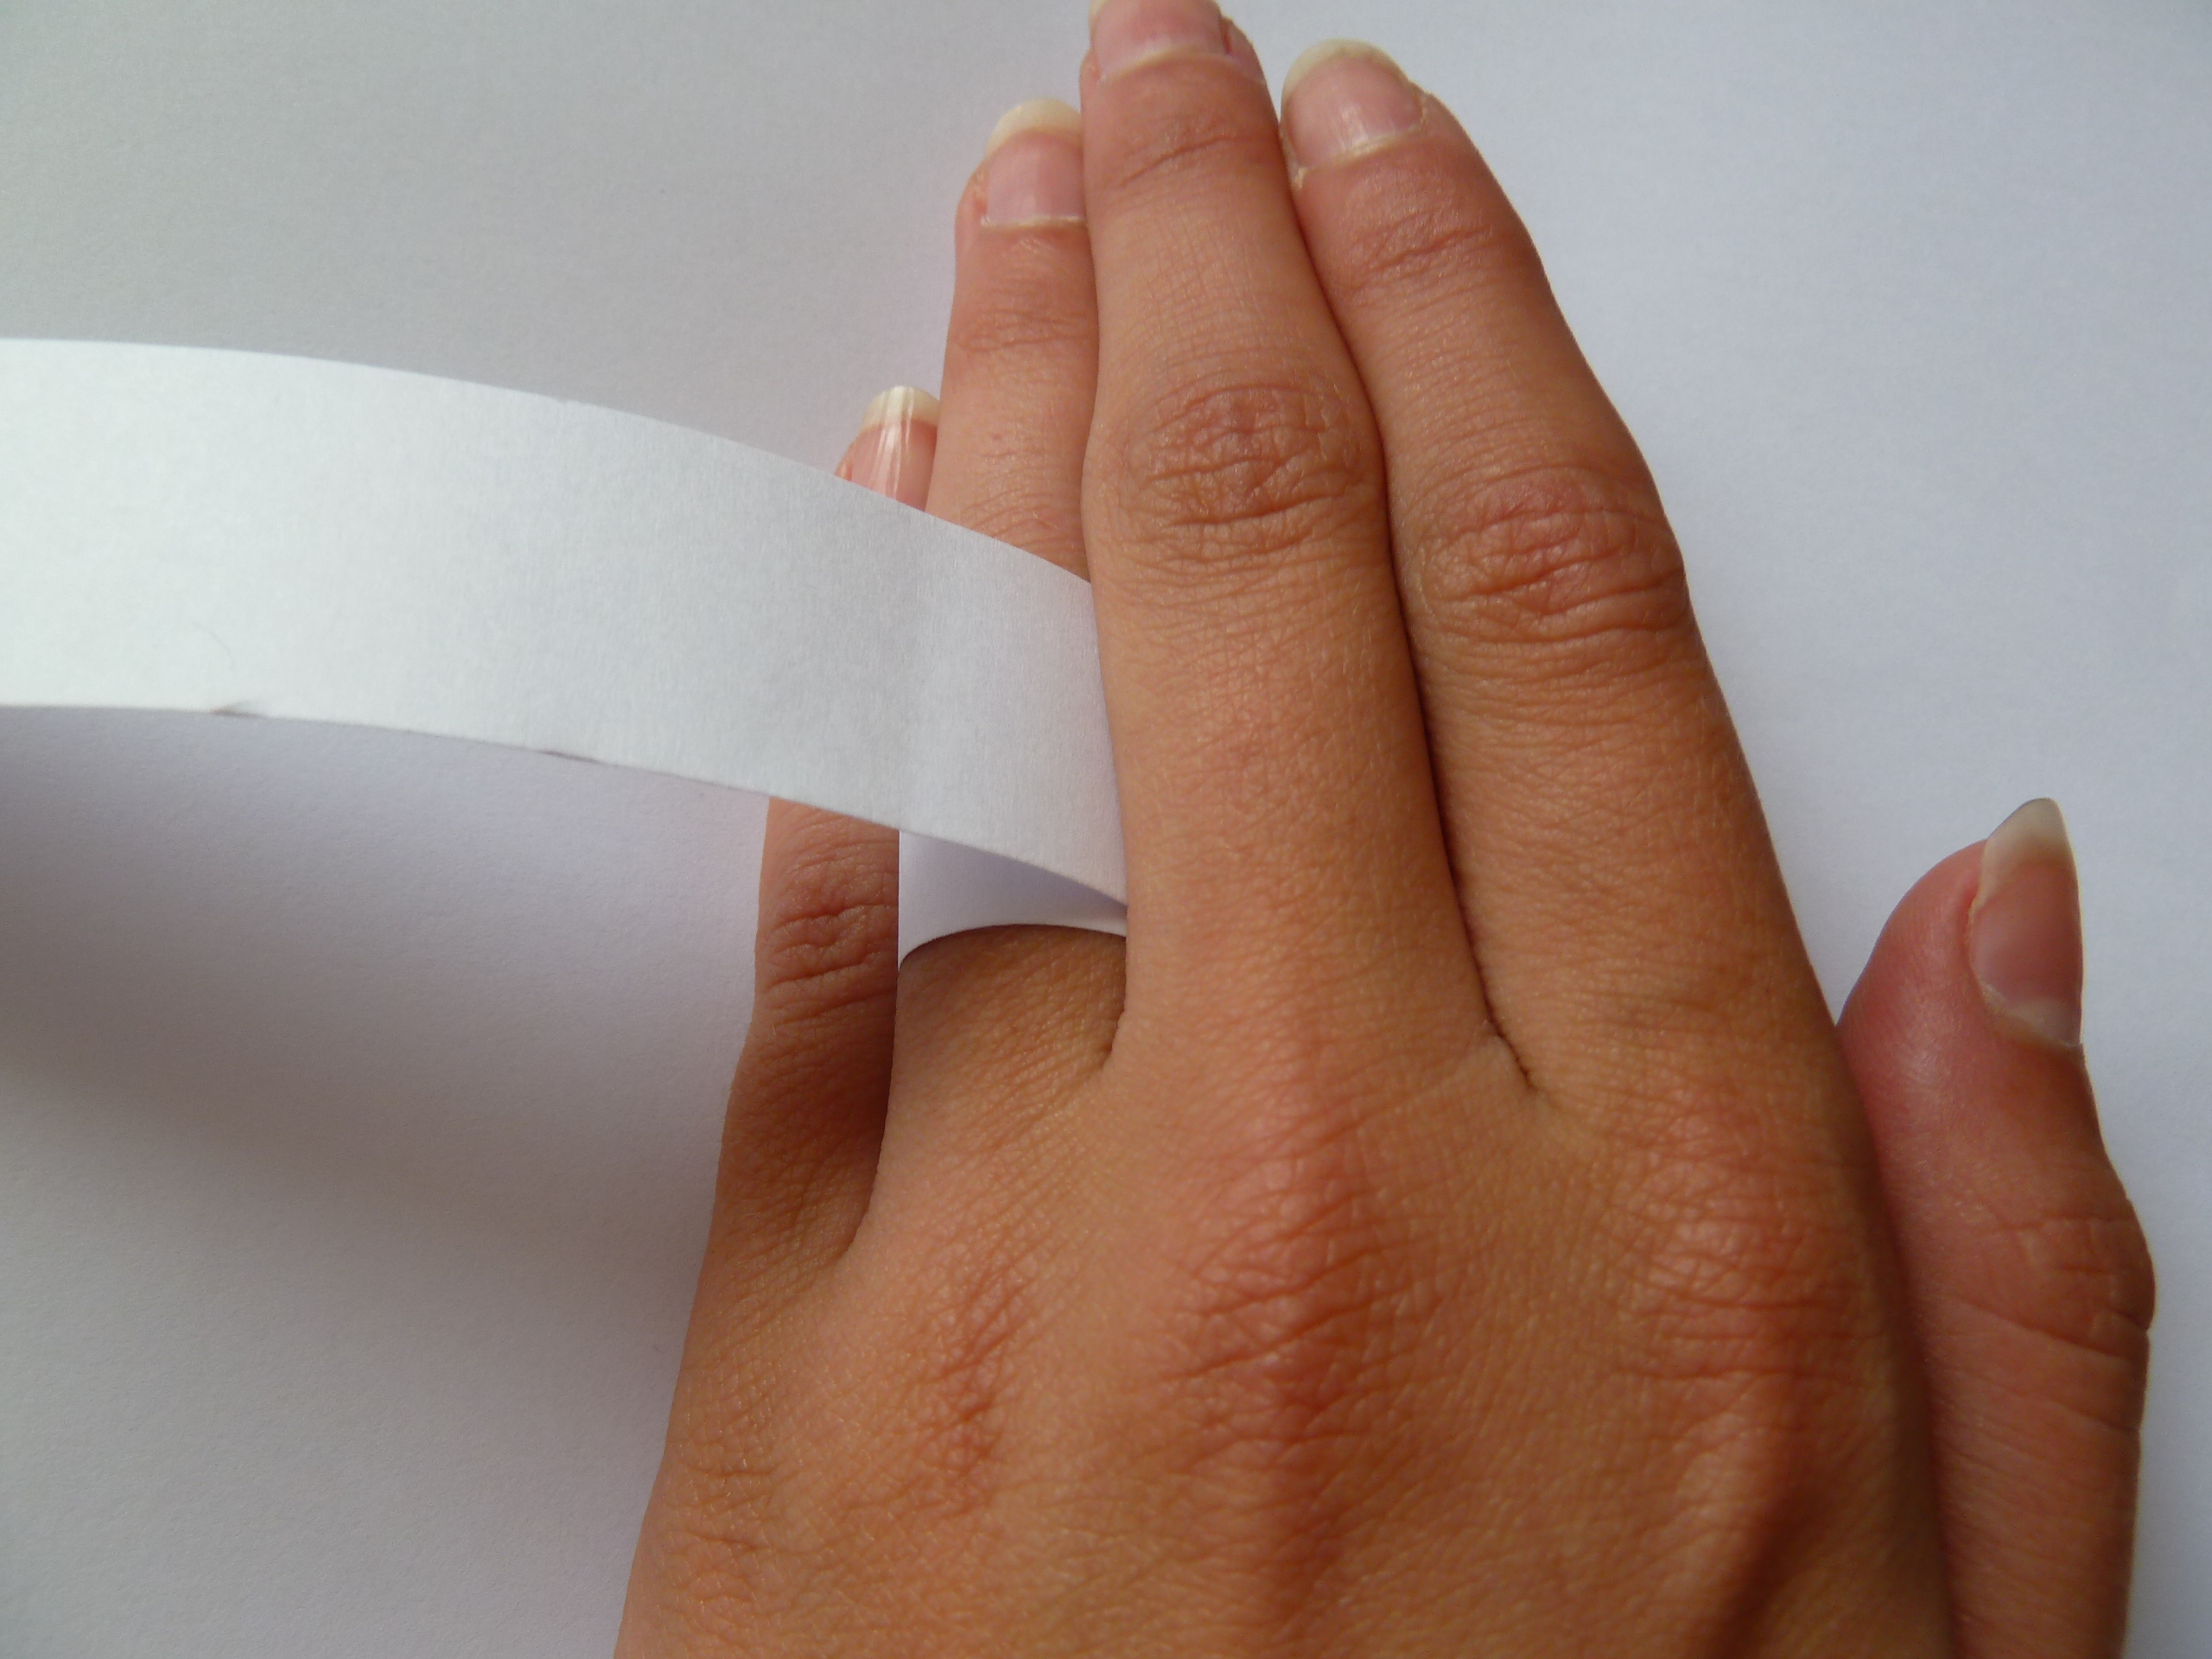
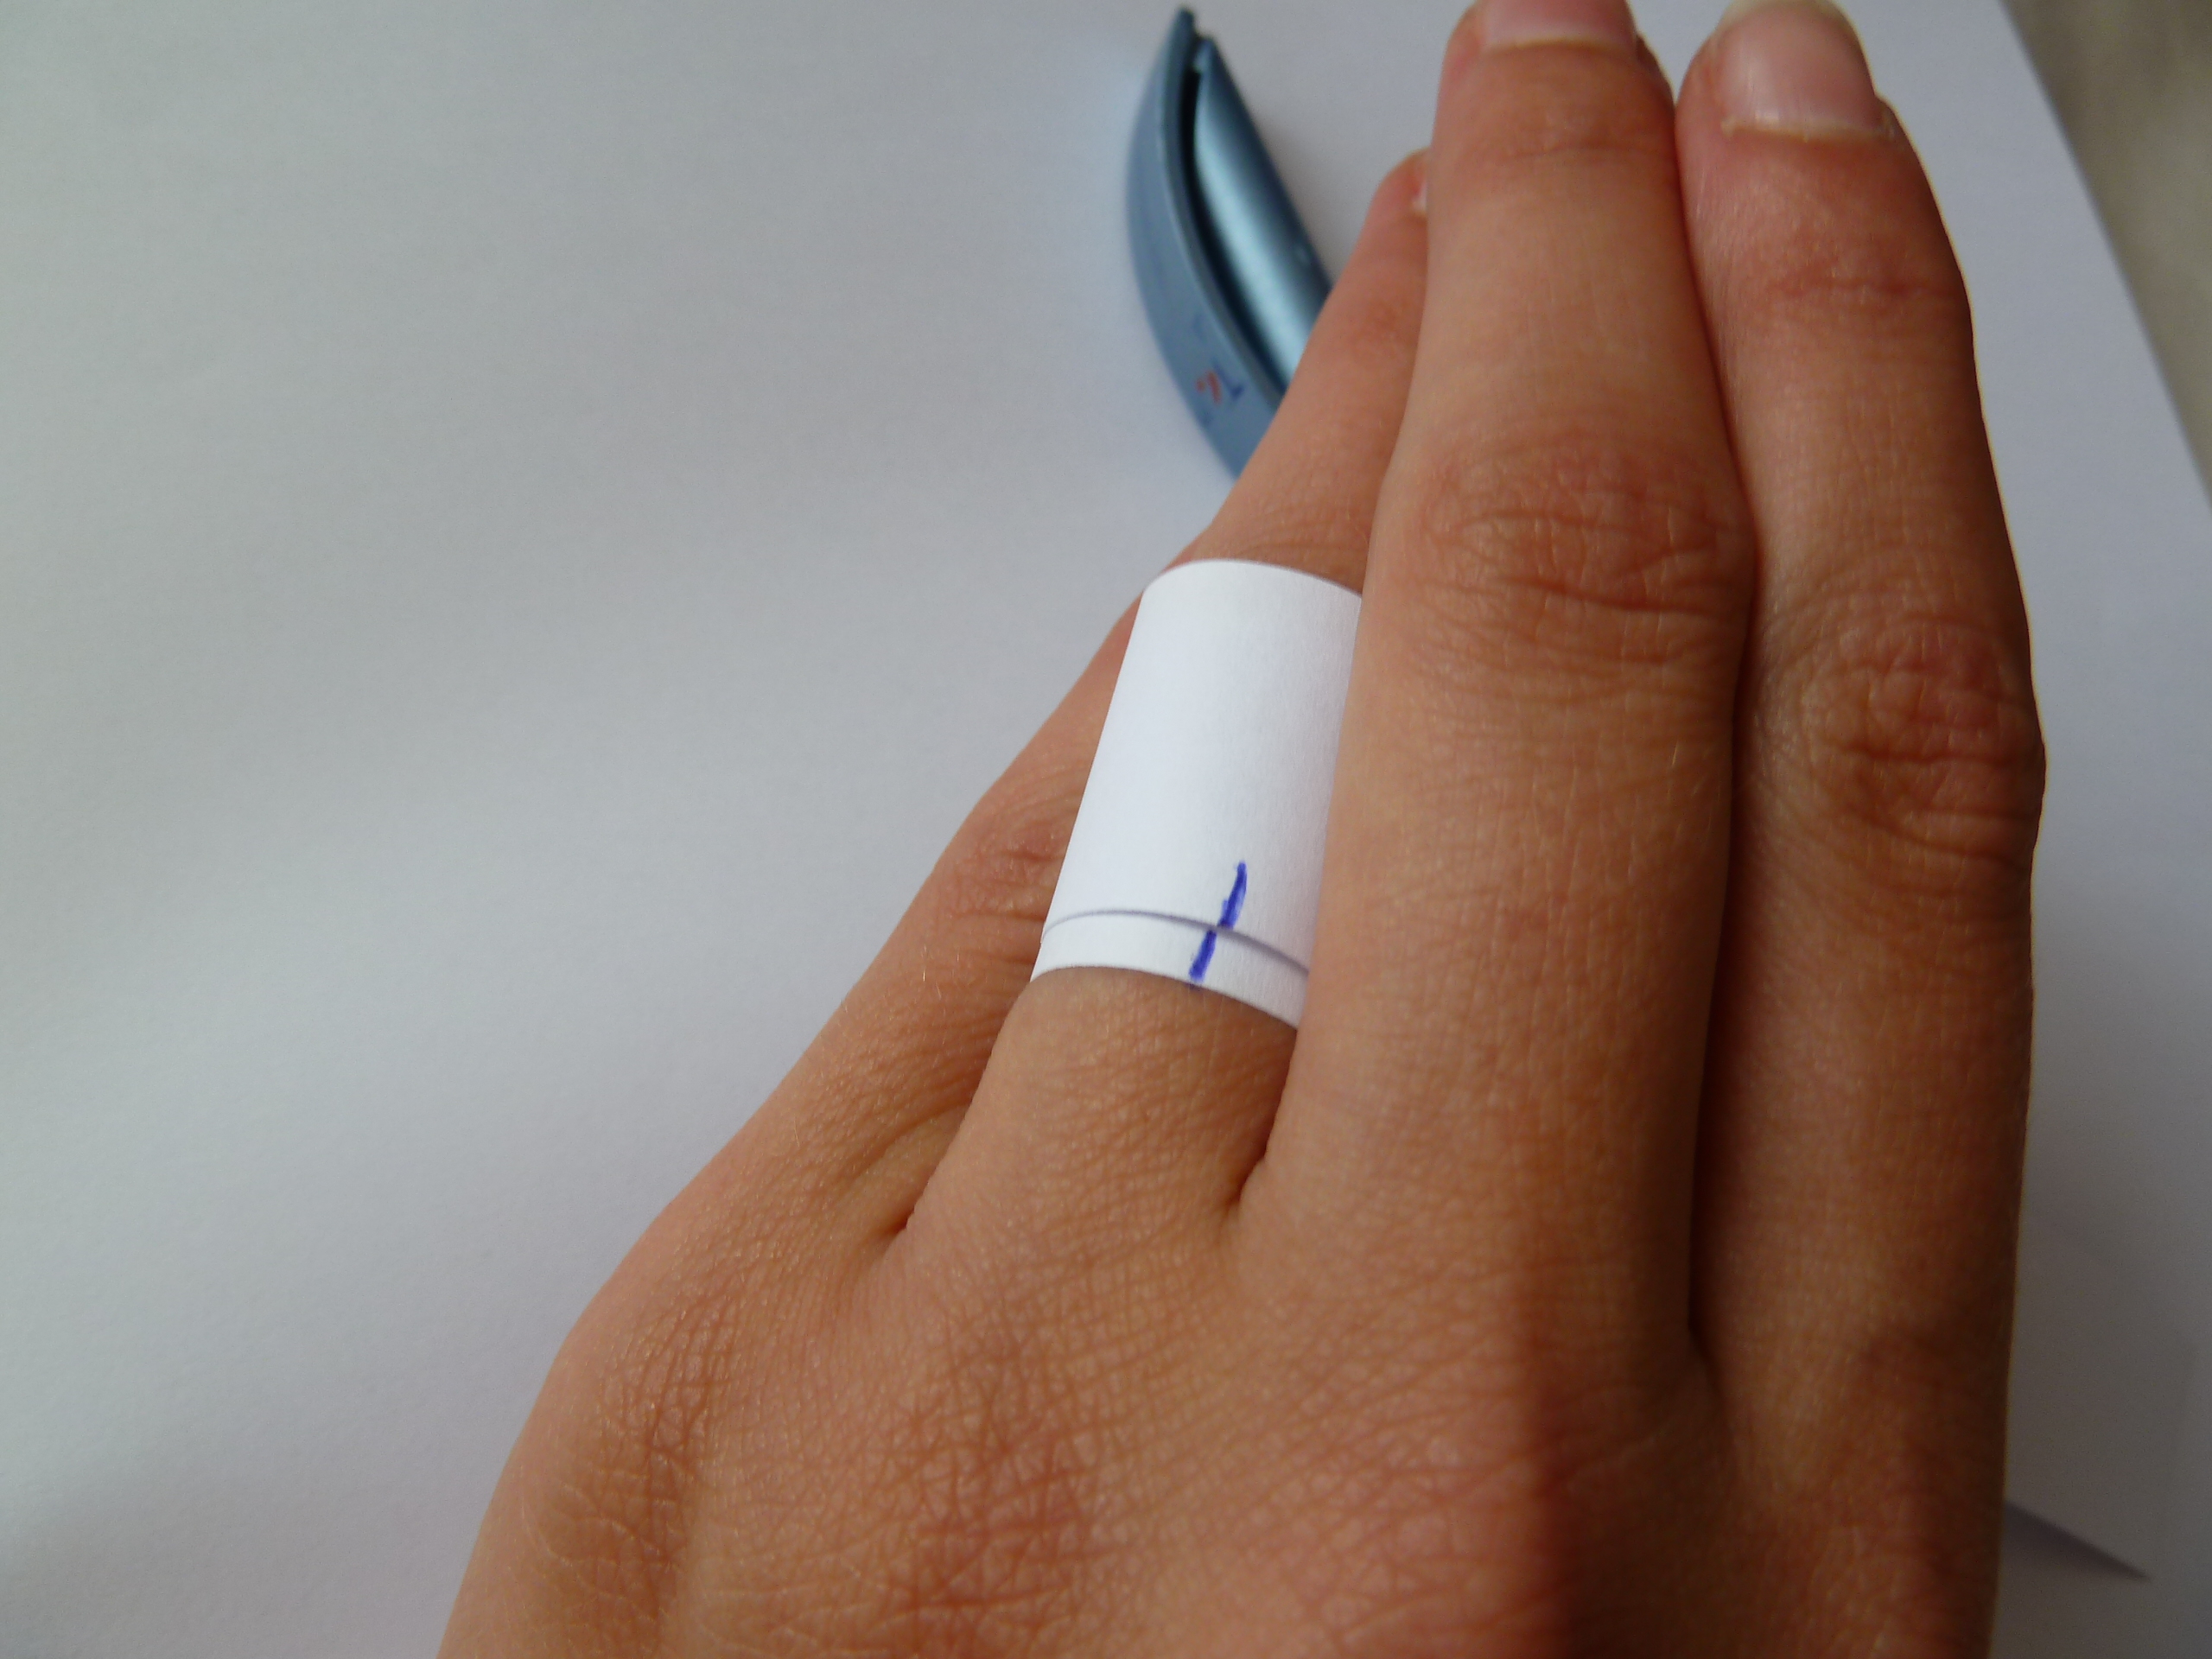
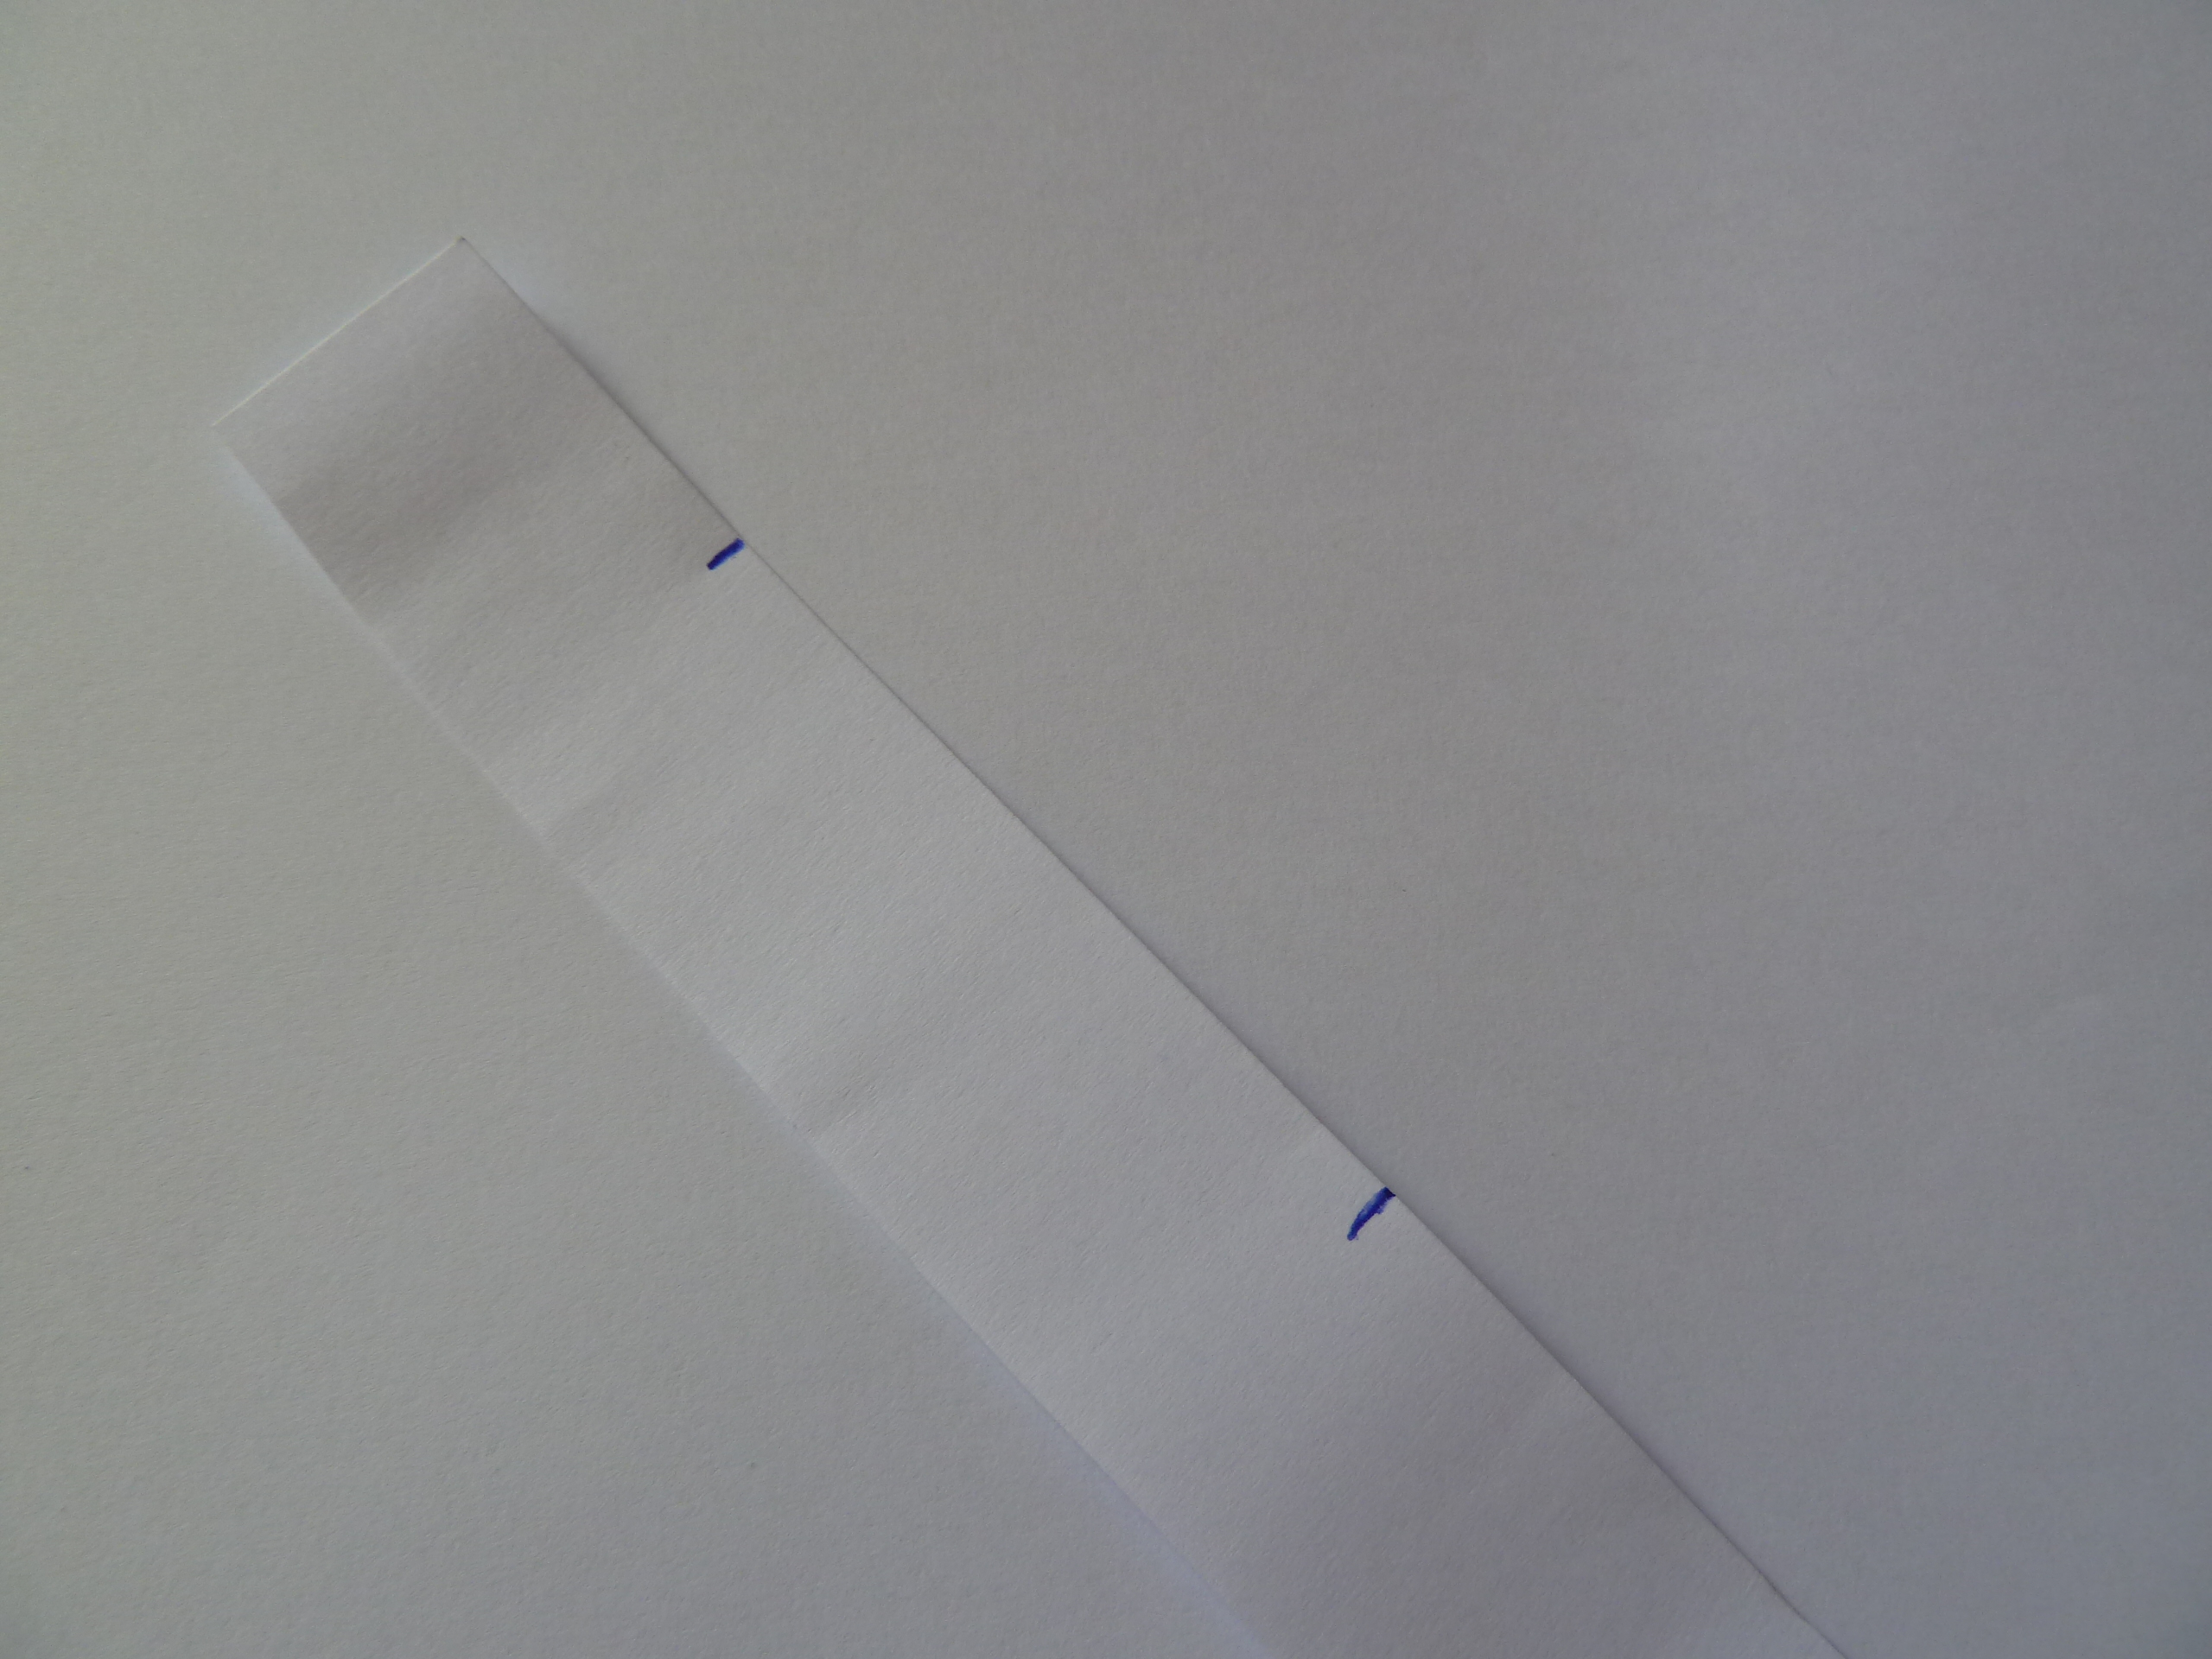
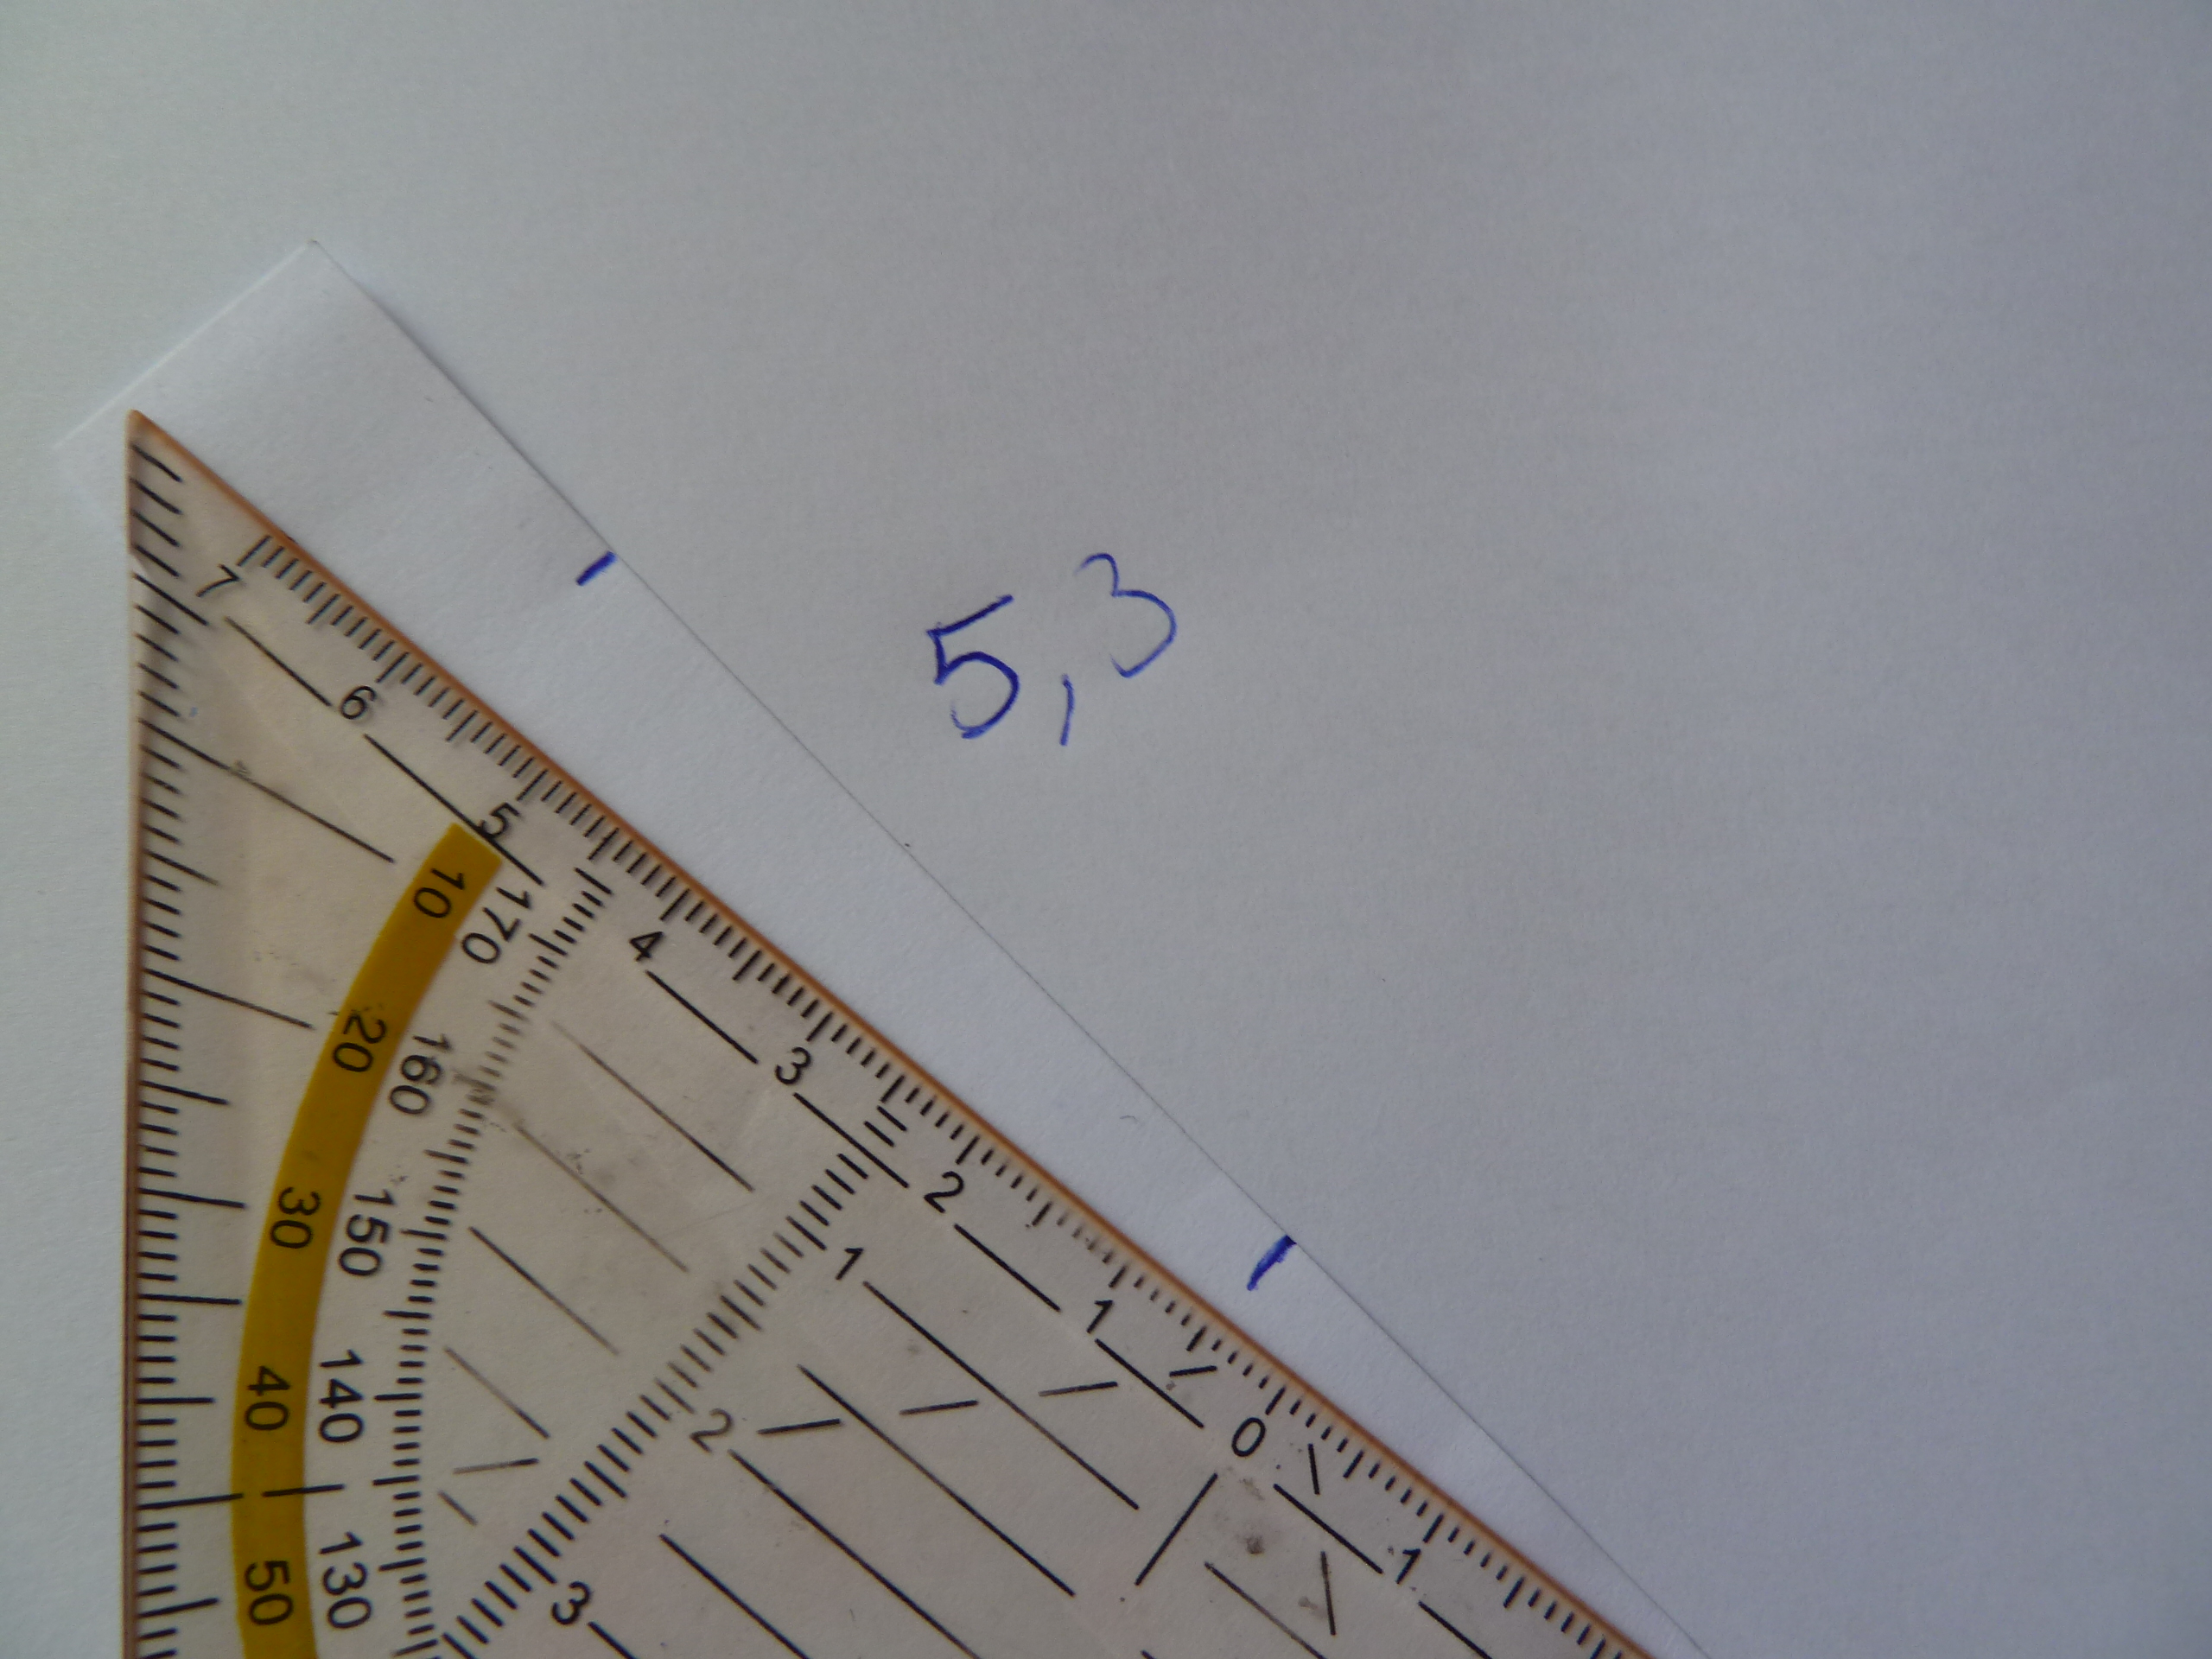
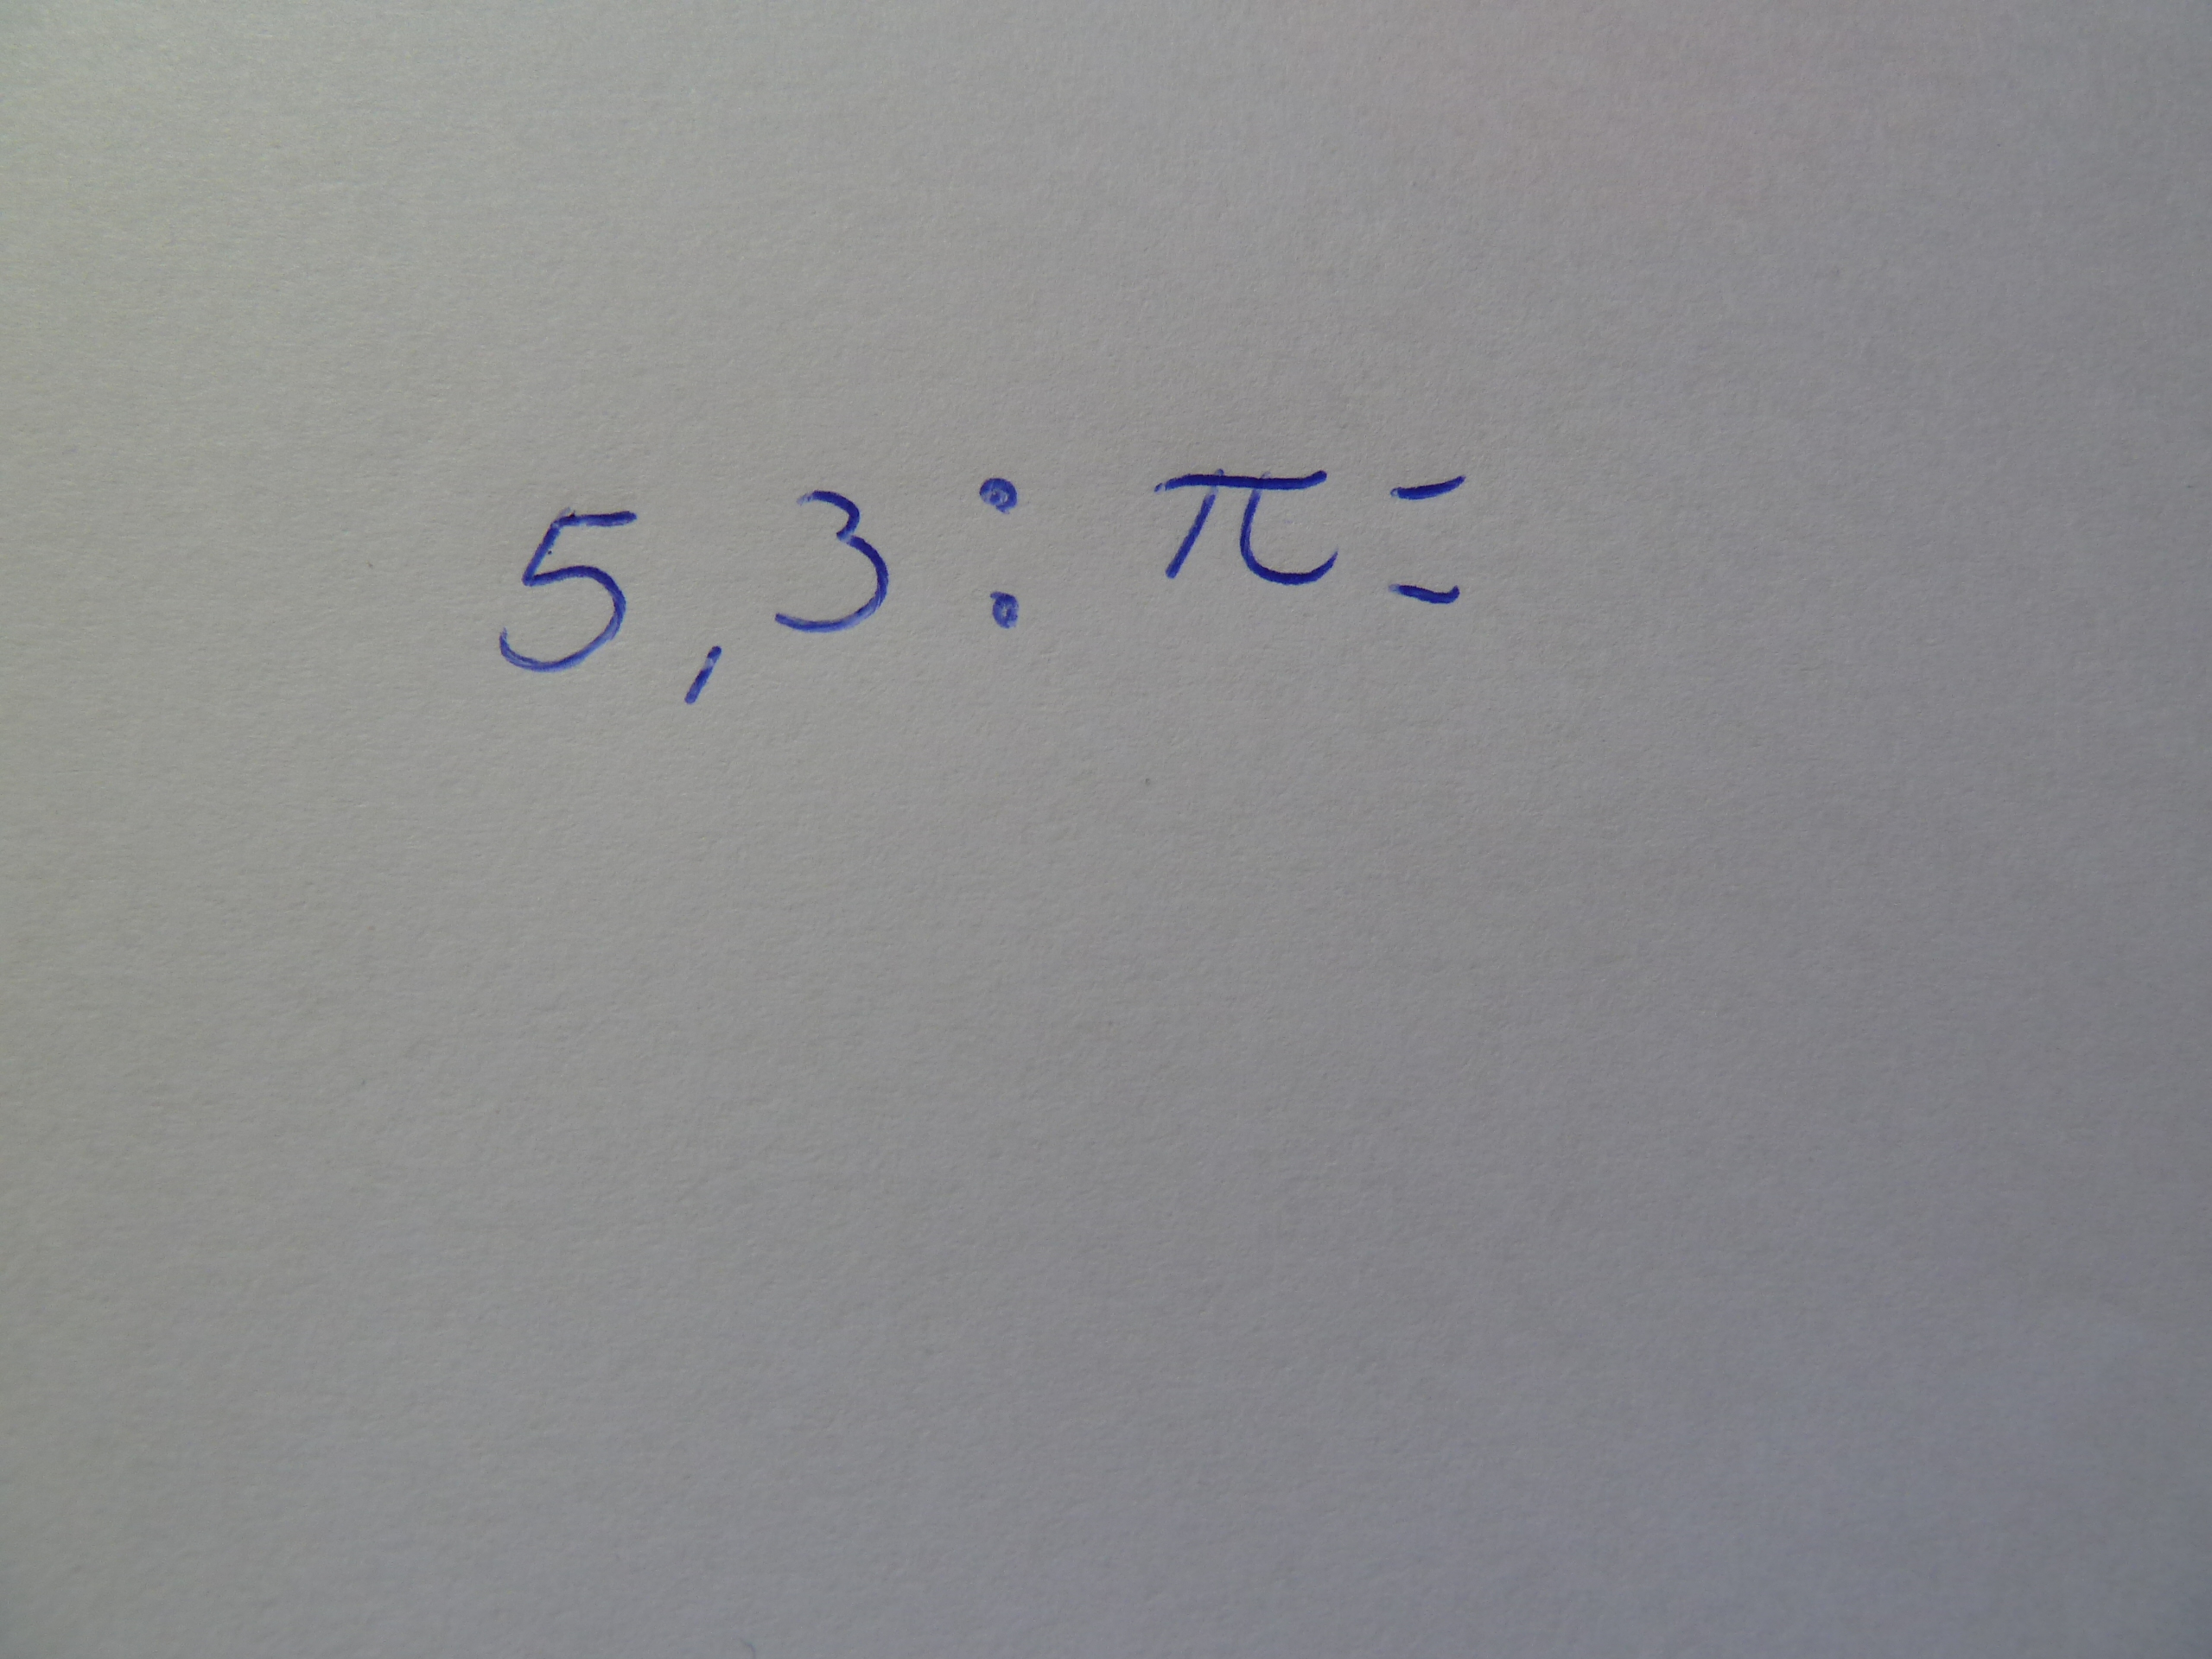
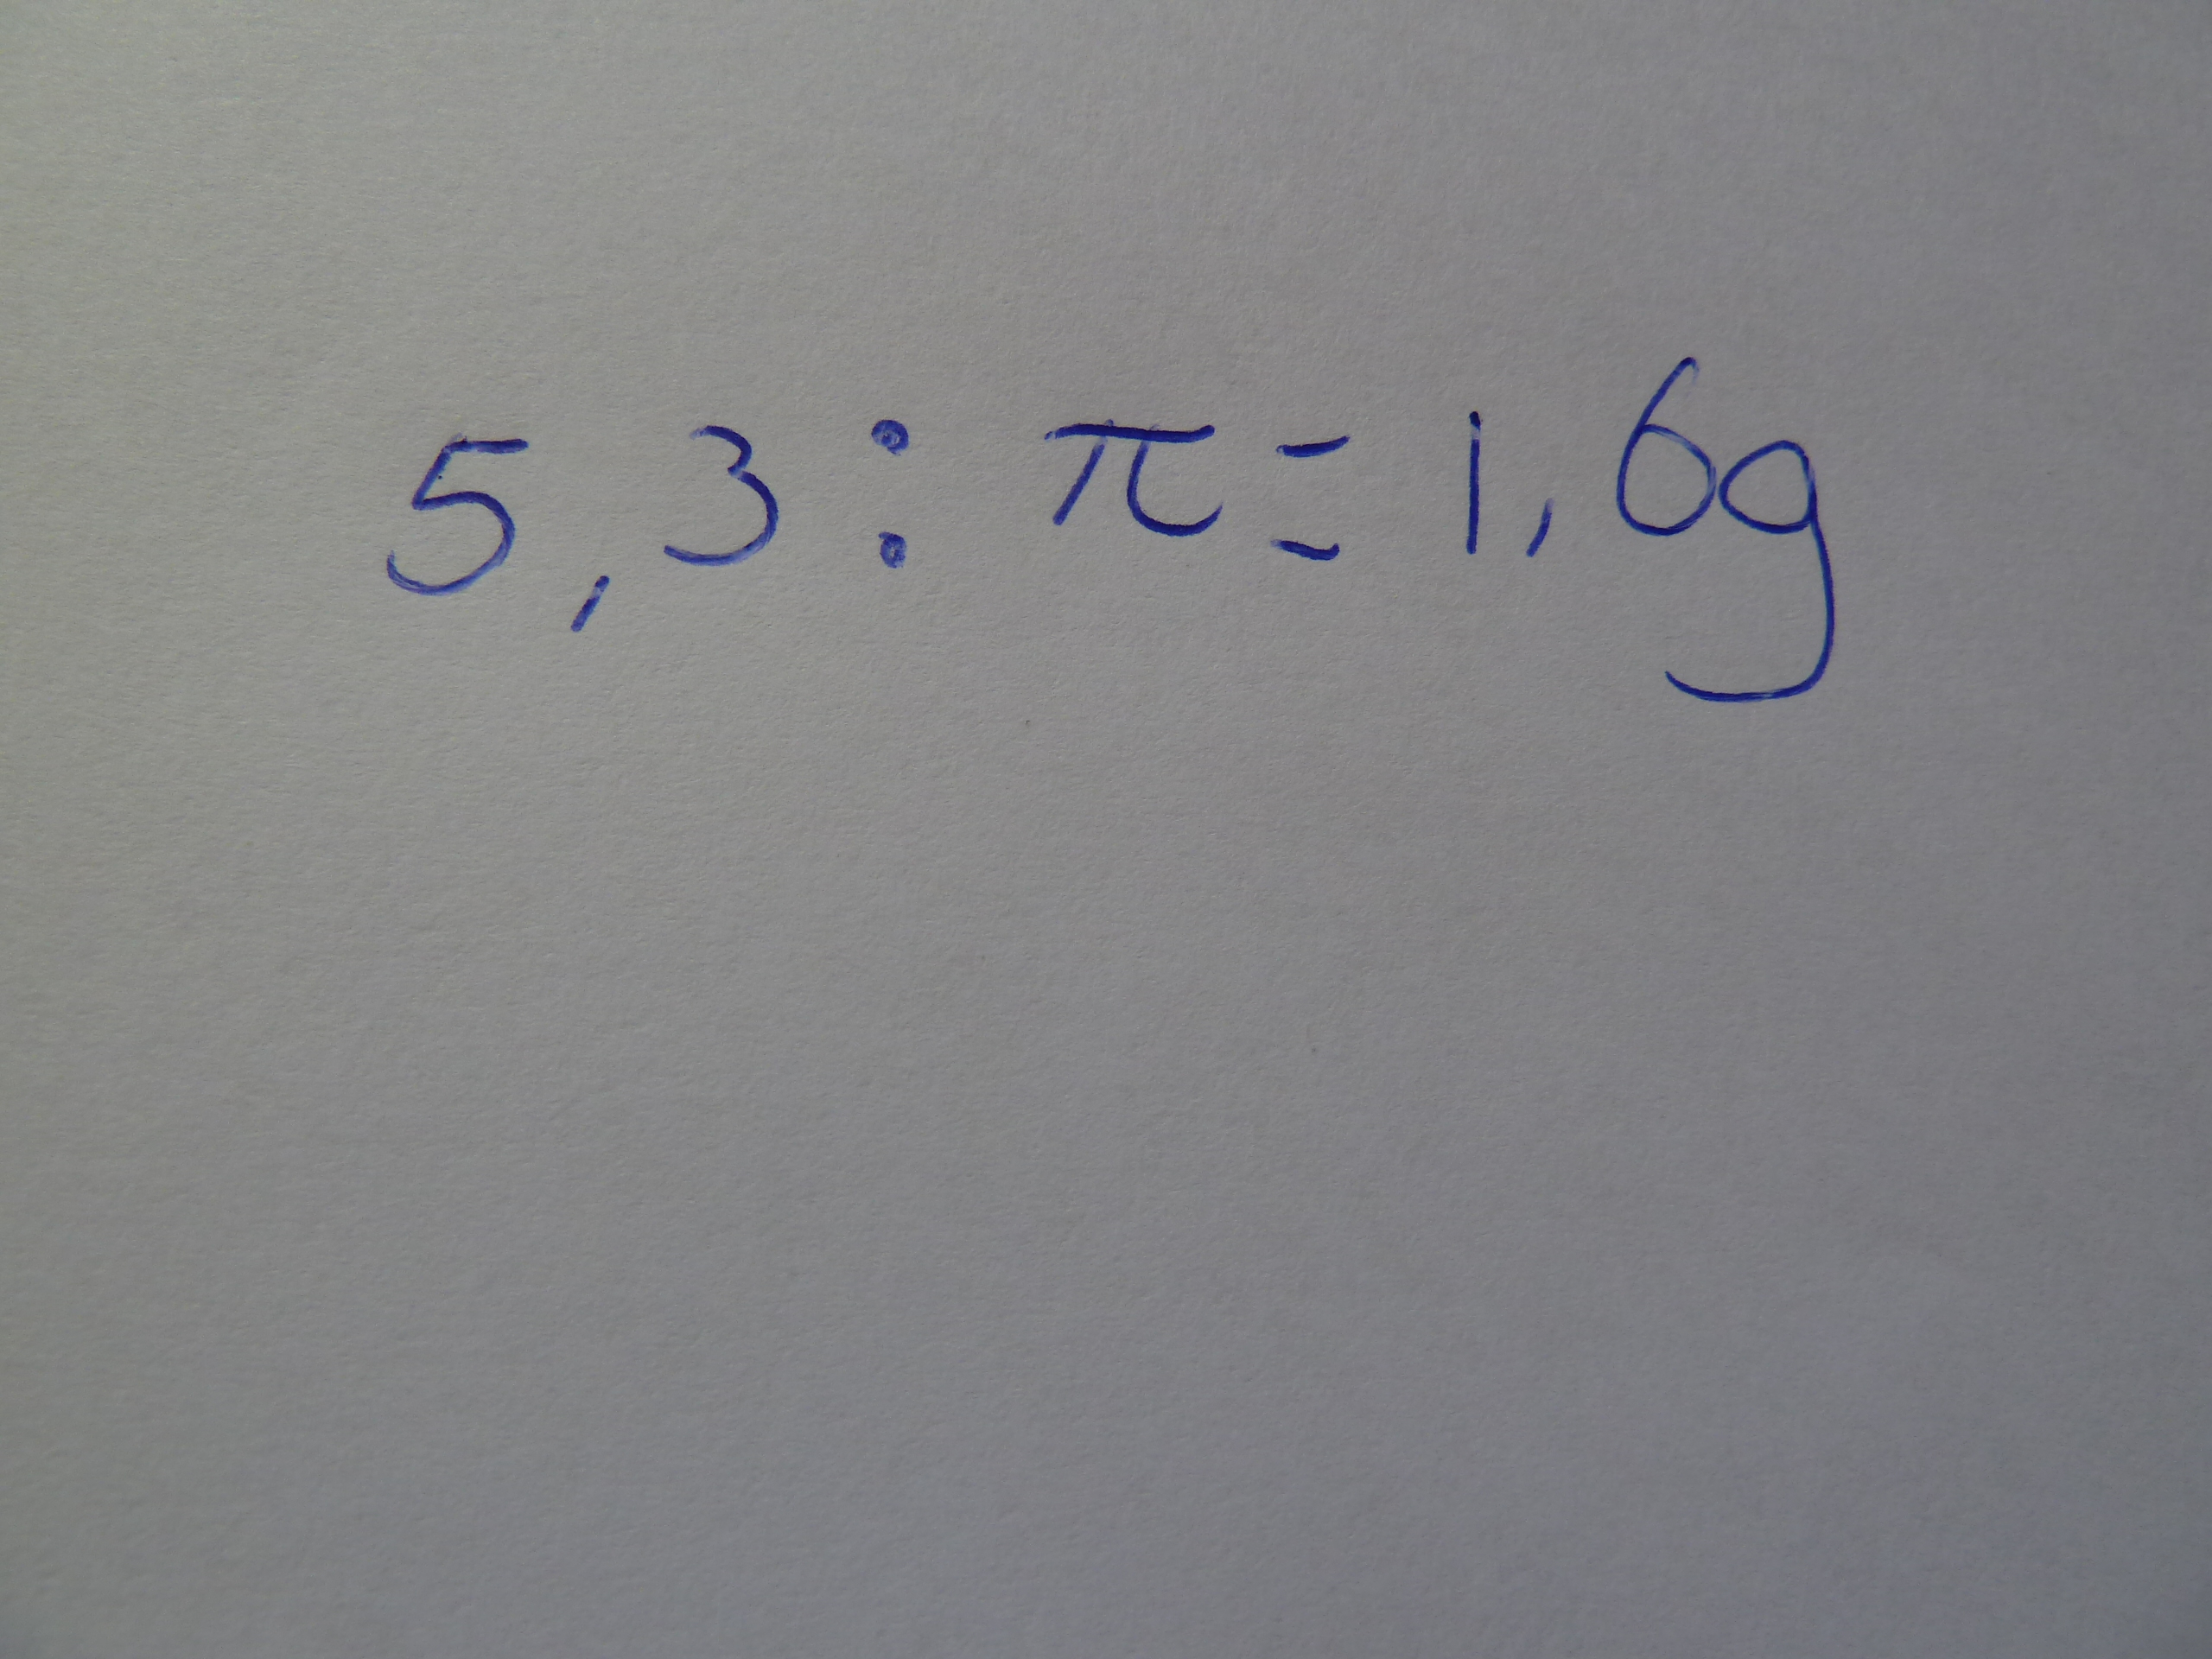
Before changing the size of your ring, it might be helpful to know to what size.
Take a stroke of paper and wrap it around the finger you want to wear the ring on. Mark as shown in the picture. Measure the part between the two marks.
Now it's time to calculate. (You might want to use a calculator on this one)
Take the measurement and divide it by pi.
Round the number off at two decimal numbers.
How to Modify the Model
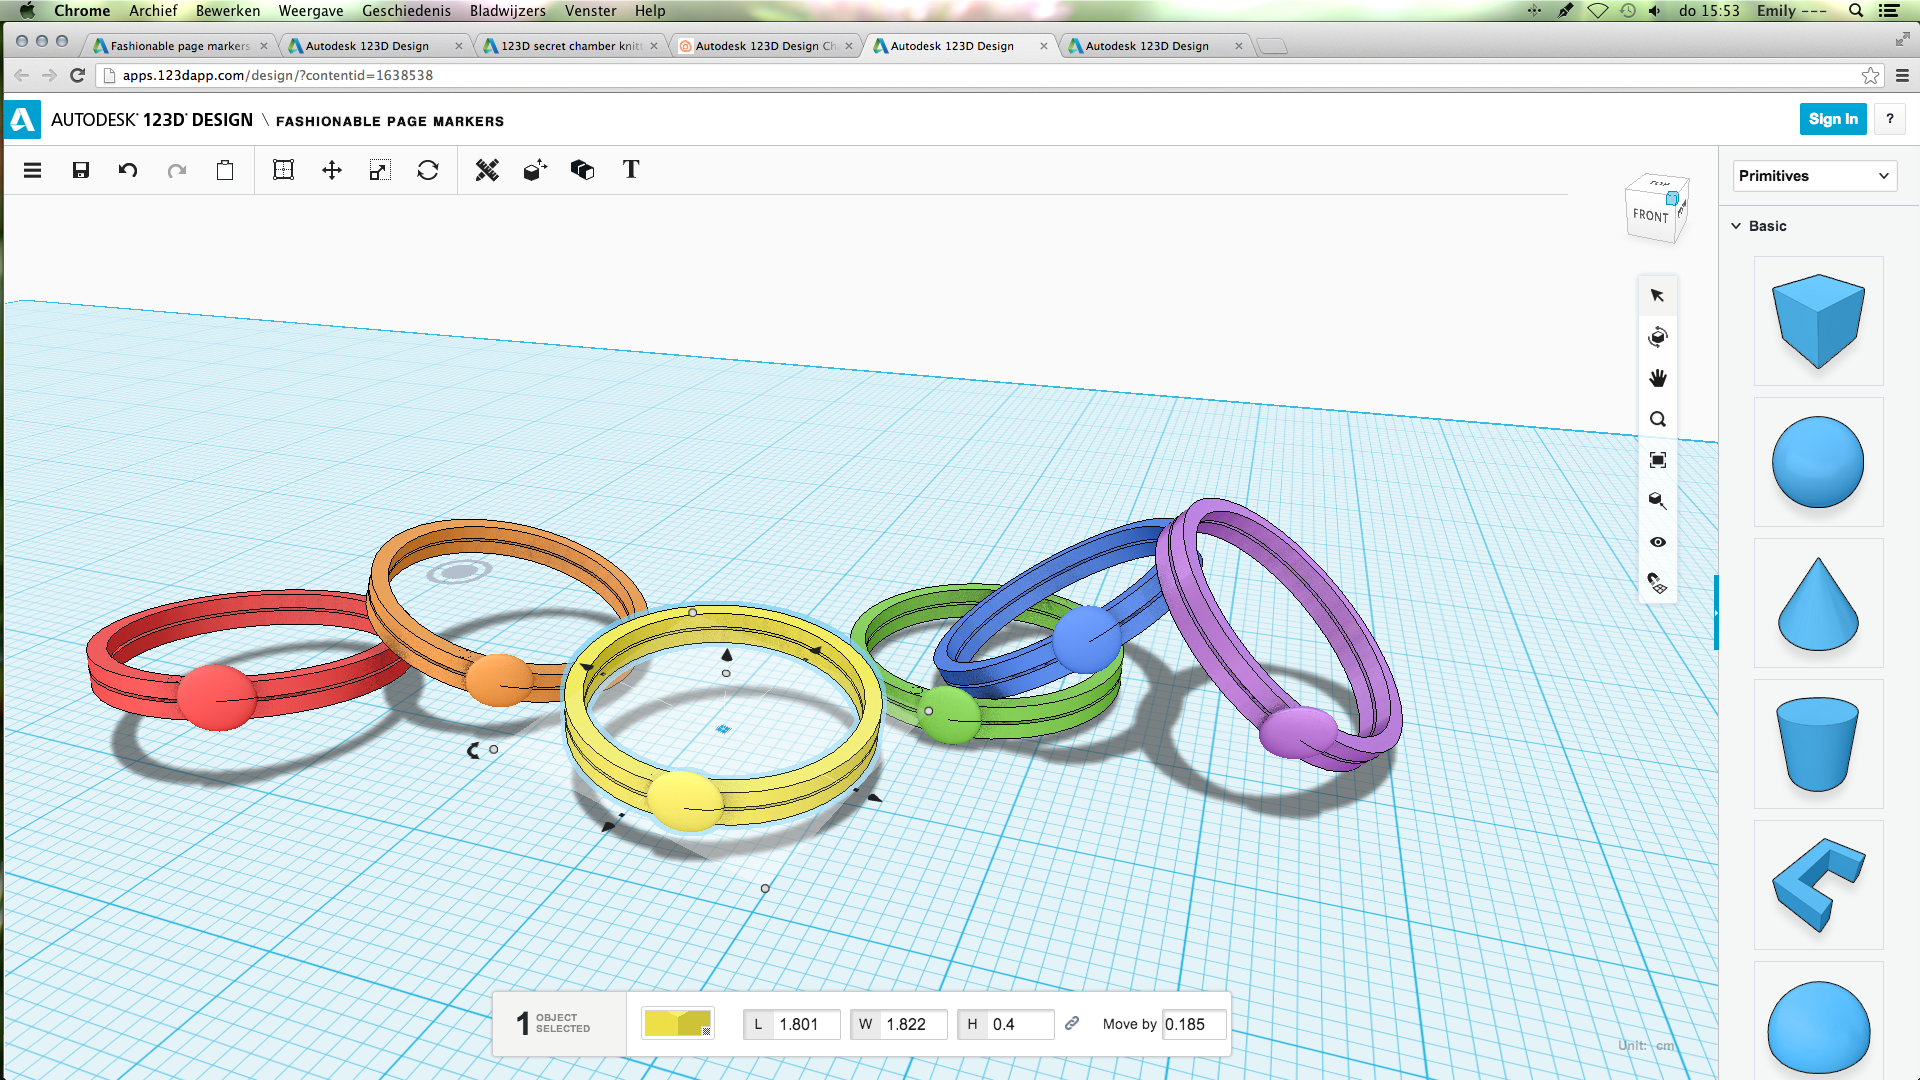
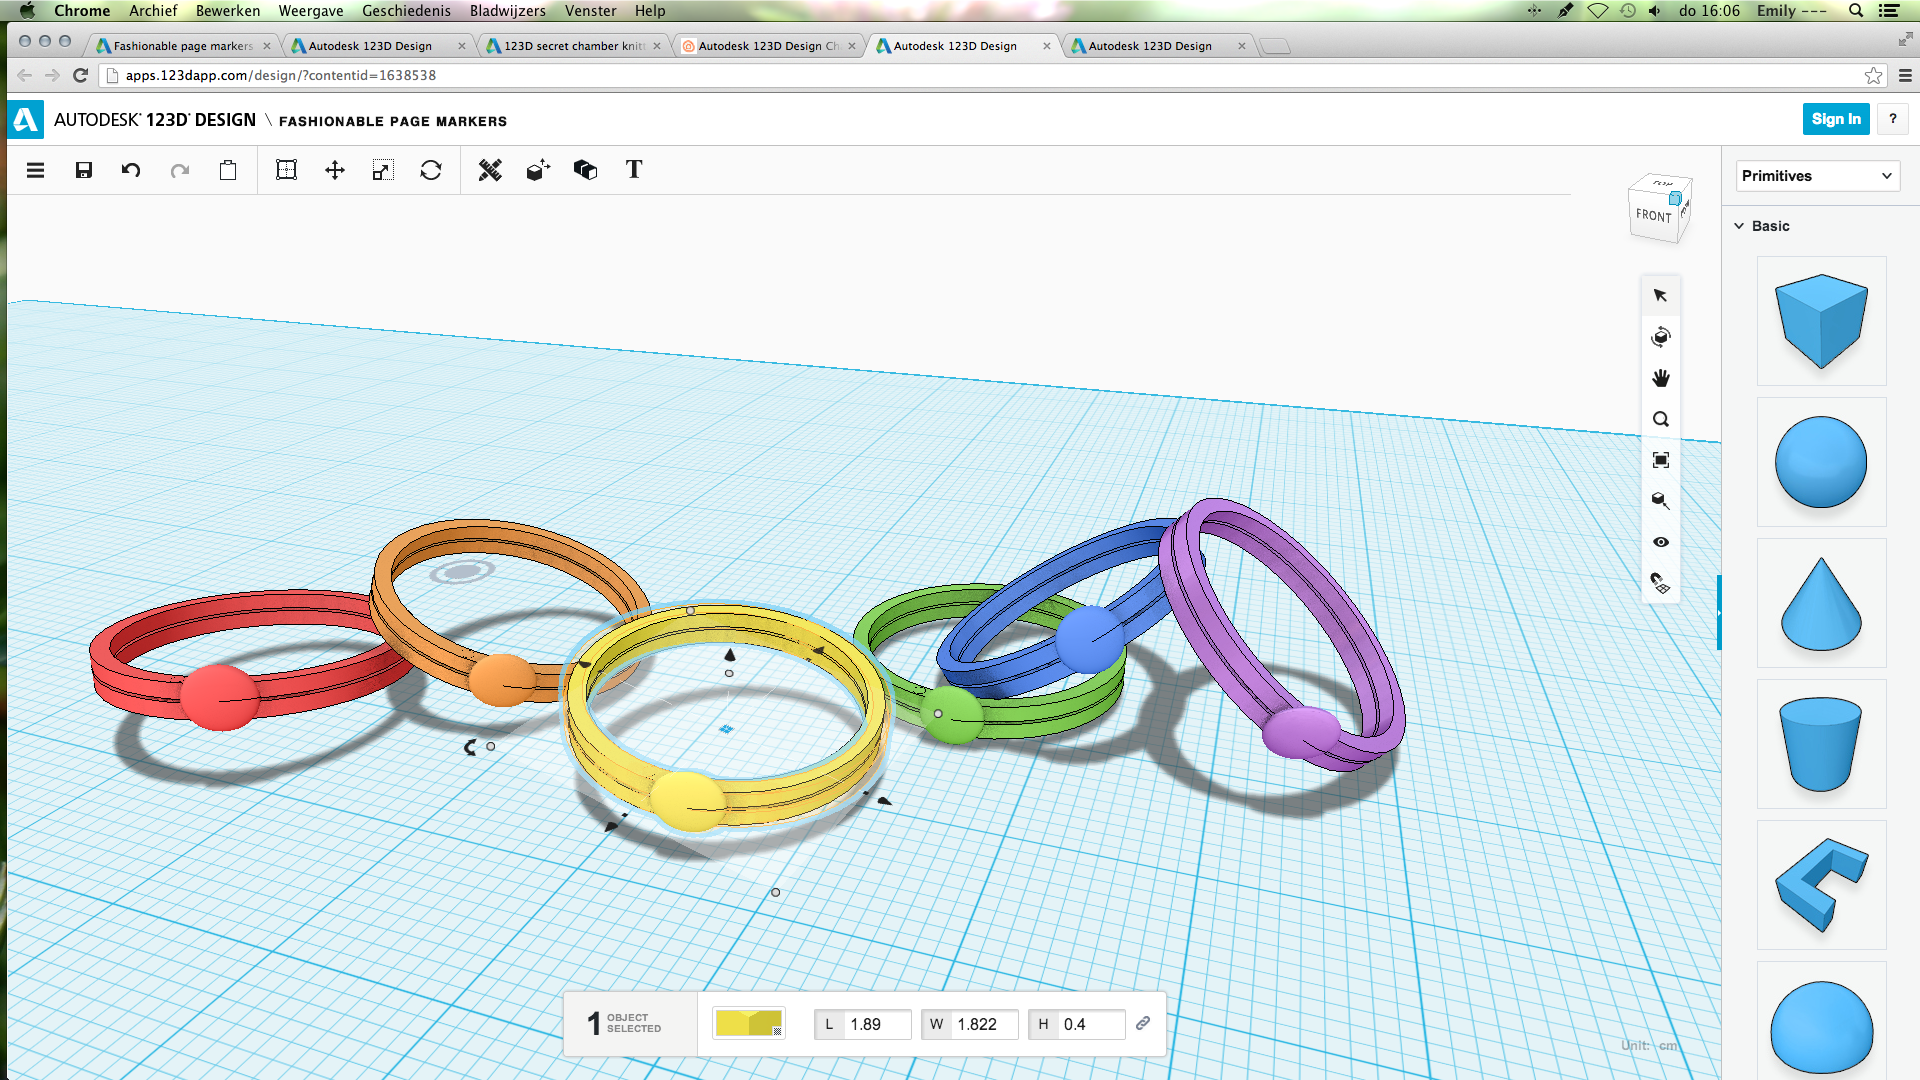
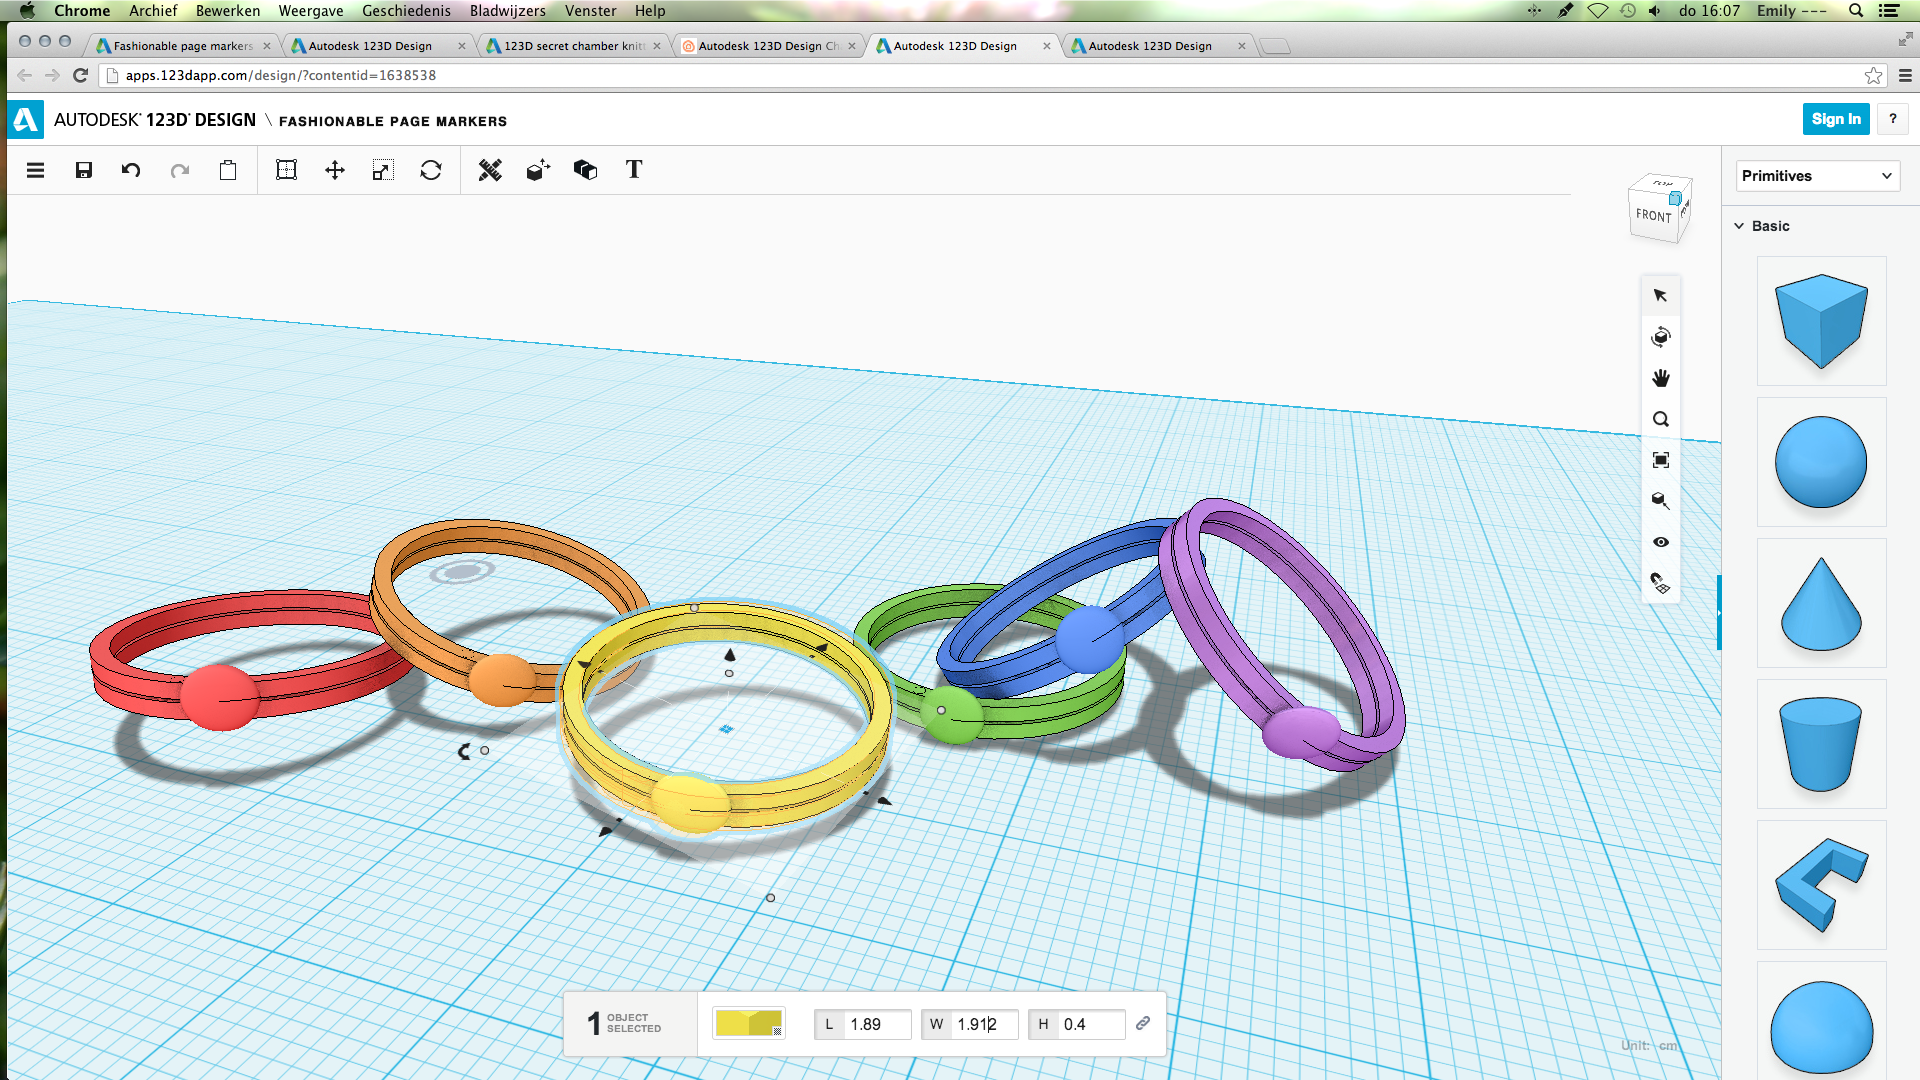
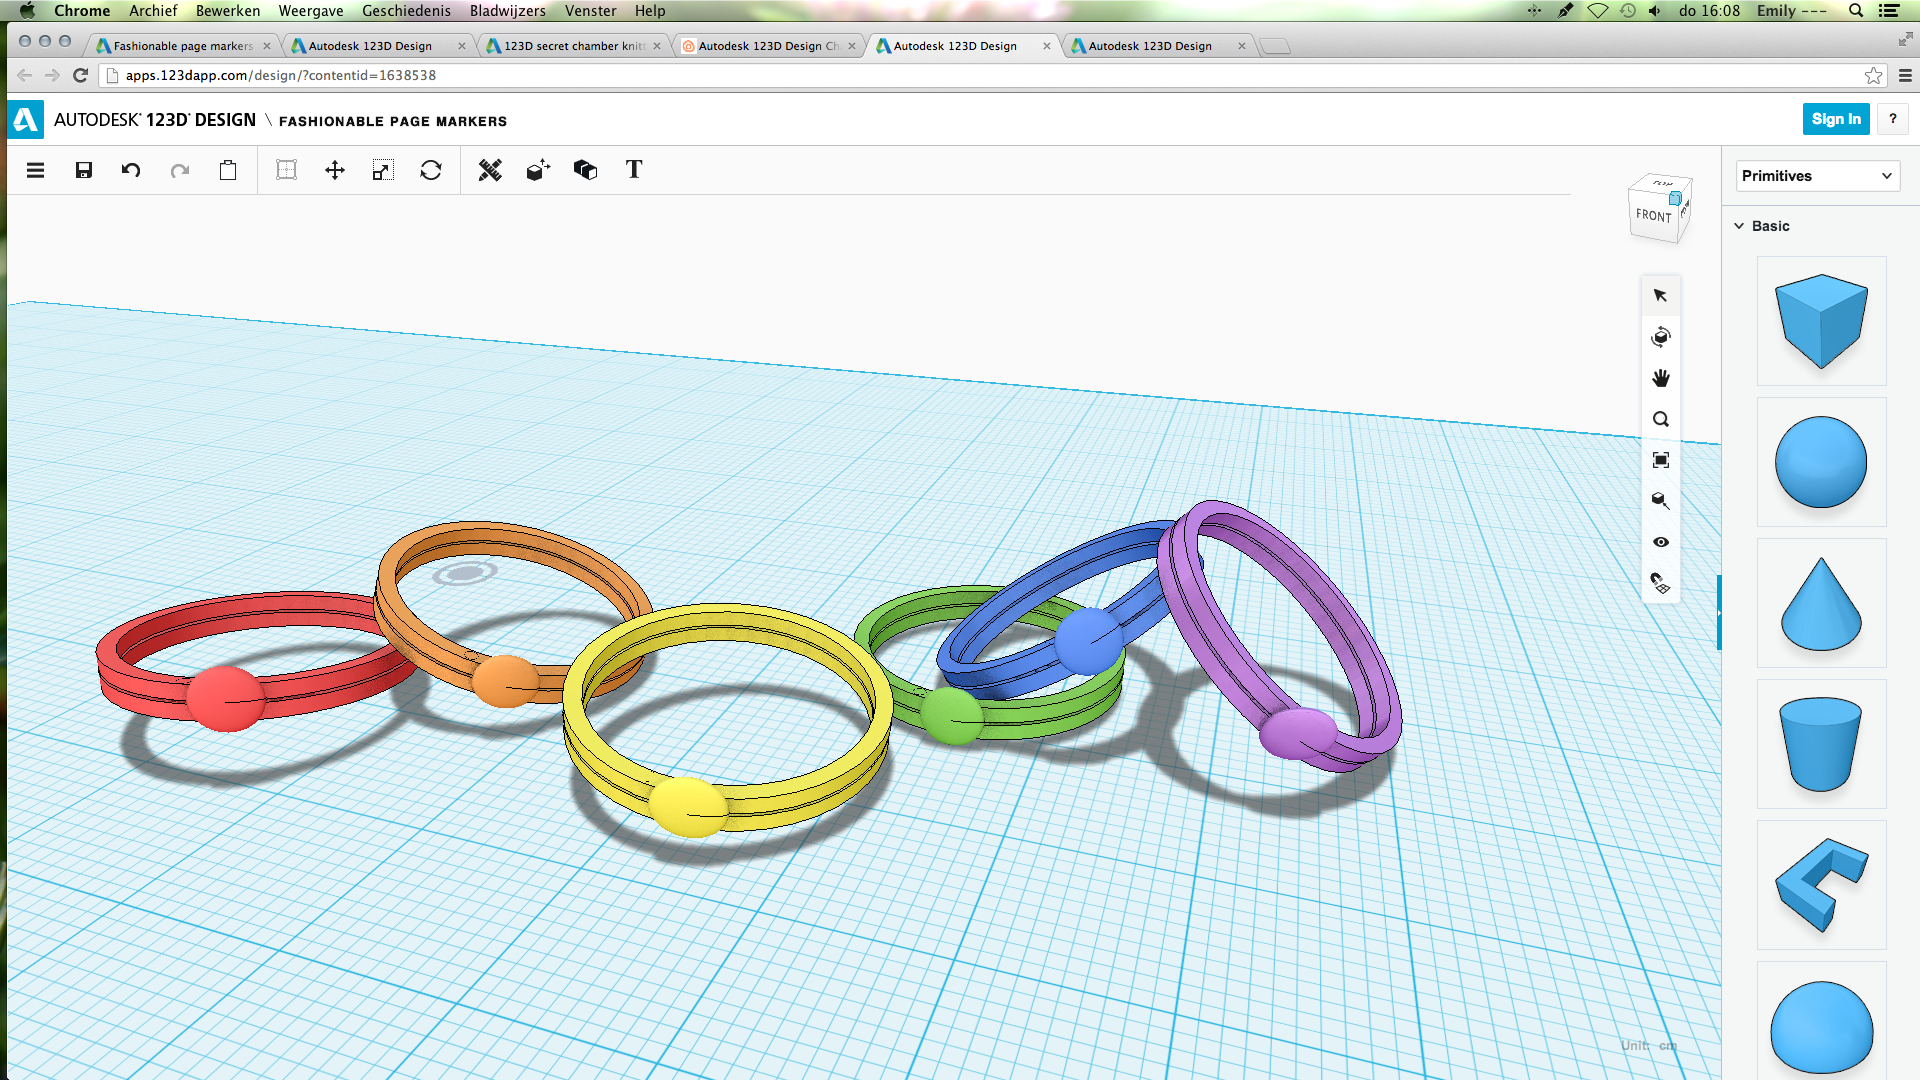
So, now you have a number. When you select the model, you will see two different numbers at L and W. That's because one of the sides includes a small part of the sphere. Just, remember which of the numbers was the biggest.
Take your number. Add 0.2 to it, that's the size of the sides of the ring. This will be your smaller number. For the the bigger number, take your new number and add 0.02 This will be the biggest number. Type these numbers in the right place behind L and W.
Take your number. Add 0.2 to it, that's the size of the sides of the ring. This will be your smaller number. For the the bigger number, take your new number and add 0.02 This will be the biggest number. Type these numbers in the right place behind L and W.
Done!

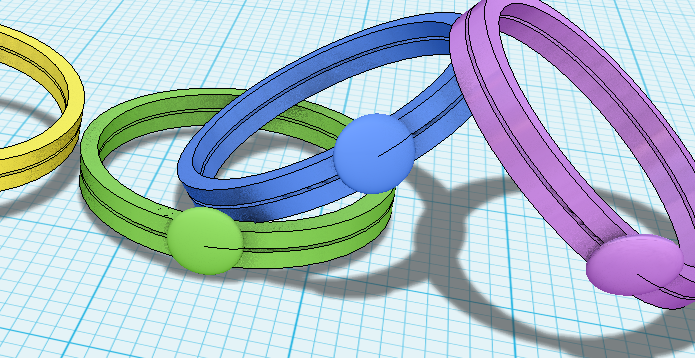
So, that's it! I hope you liked it, if you have any questions, feel free to ask in the comments.
The 3D model
If you modify the model, maybe an other color, maybe a shape different from a sphere, I would absolutely love to see it :)
The 3D model
If you modify the model, maybe an other color, maybe a shape different from a sphere, I would absolutely love to see it :)