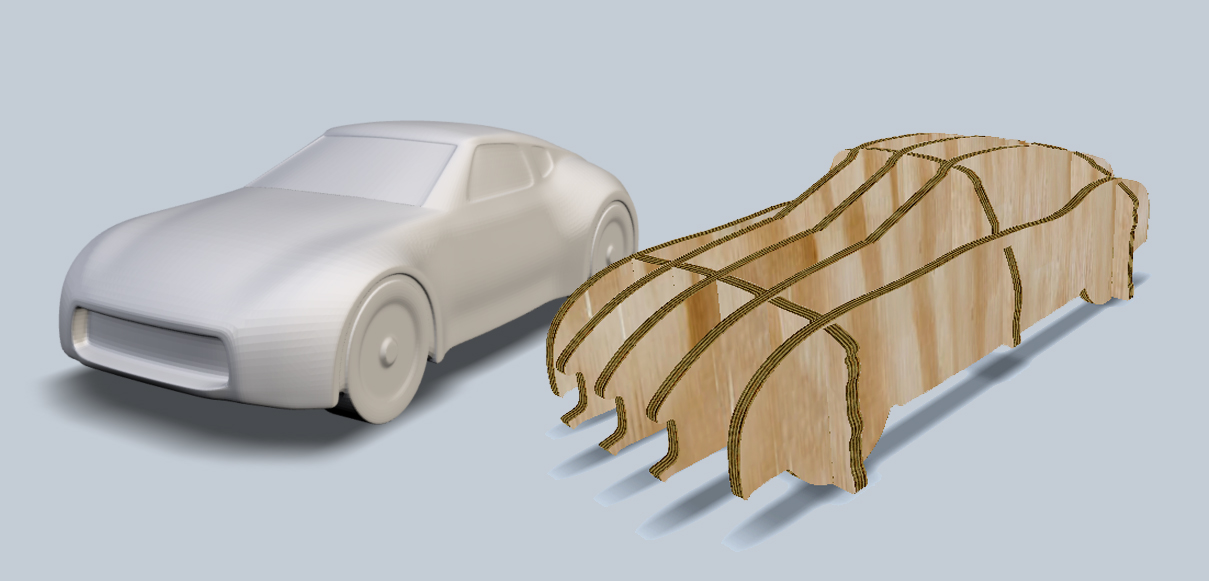
123D Make & ArtCAM Express - JigsawCar
by ArtCAM in Workshop > Woodworking
6577 Views, 18 Favorites, 0 Comments
123D Make & ArtCAM Express - JigsawCar

How to make a 3d jigsaw in ArtCAM Express using 123D make.
Things you will need
· Autodesk 123D Make
· ArtCAM Express
· CNC machine
· Block of wood
Making the Flat Pack Car
Designing the Model
1. Open Autodesk 123D Make and import a CAD model (The car example shape used here).
2. Select the “Interlocked Slices” construction technique and change the number of slices of the model to increase/decrease complexity.
3. Click on “Slice Direction” and change this by dragging the blue and orange icons until there are no red or blue slices and you are happy with the design. Be wary of very small slices and very thin material as these may break.
4. Check the assembly steps and then click “Get Plans” and export a PDF file.
Nesting the Slices
You will need the Nesting Module for this or you can do it manually if you don't have it.
1. Open ArtCAM Express and click “Open Model” to open the PDF file which was exported from 123D Make.
2. Ungroup the vectors and delete all but the slice outlines.
3. Click on “Nesting” and set a tool diameter and clearance. Tick the “allow part rotation” and “allow mirrored parts” boxes and click “Nest”.
Creating the Toolpath
1. In the top menu bar click “Toolpaths” and then “Material Setup”. Here set a material thickness and ensure the
material z is at the top of the block and the model position is at the bottom. The material thickness needs to be the same as the slot width in order for the model to fit together.
2. Within “Toolpaths” in the project tree, select the outline vectors and create a profile toolpath around the outside of the selected vectors with a start height 0 mm and end height 3 mm (material thickness). Tick the “Add Bridges” box and specify the bridge quantity and properties.
The bridge positions can be moved using the “Edit Bridges” button and dragging the bridges on the model. Select an appropriate tool and then calculate. Ensure the tool is small enough to machine the slot geometries.
3. Select “Toolpaths” on the project tree, then select “Simulate Toolpaths”. This gives a preview of the machine output.
4. Click the save toolpaths icon and select the machine file format appropriate for your CNC machine.
5. Save the toolpath and this file can then be exported to your machine.
Assembling the Model
1. Simply detach the slices from the material by breaking the bridges and then slot them together to make up the model. (The PDF file could be useful to identify the slices and how they fit together.)