12 Step Desk Organizer With Tinkercad
by Lite Yagami in Living > Organizing
880 Views, 4 Favorites, 0 Comments
12 Step Desk Organizer With Tinkercad
I made this desk organizer in hope that it might be better than most. There are some you can go get, and buy at stores, but its not everything you need in a desk organizer. That's why I made this one, in hope I could make one that was better.
Supplies
.jpg)
Tinkercad
Flattening Down
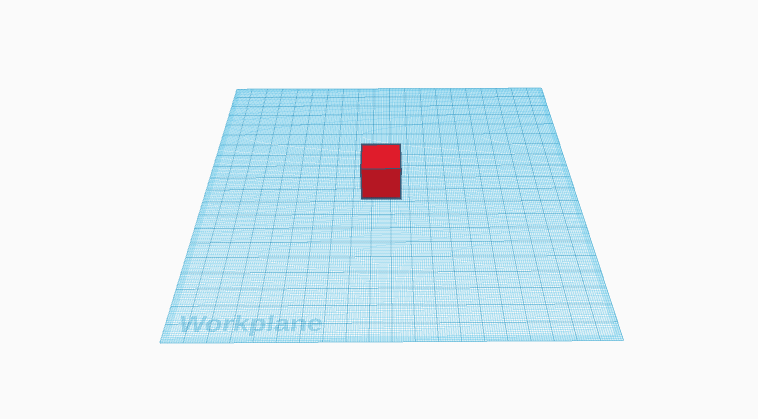
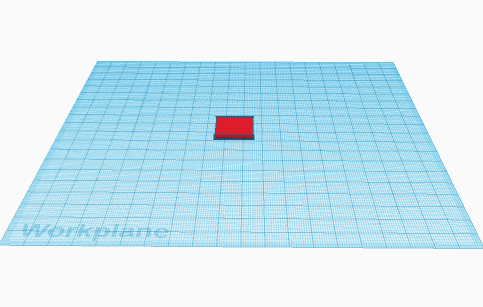
Take out a square then flatten it down to 2 milometers tall.
The Size
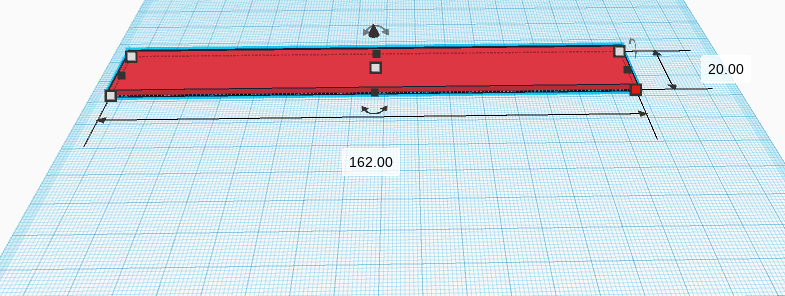
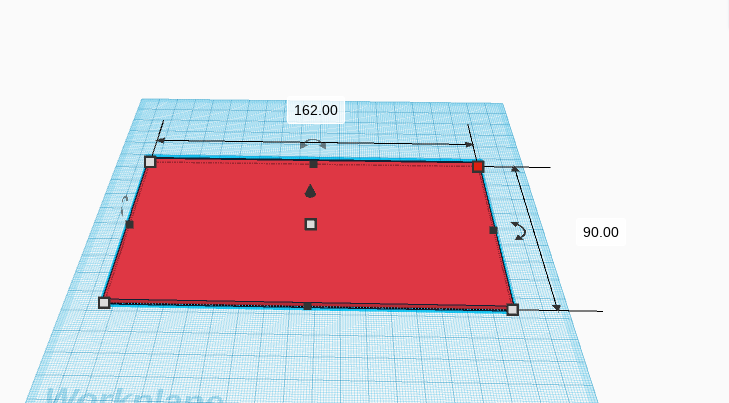
Stretch the length to 162 milometers, and then the width to 90 milometers.
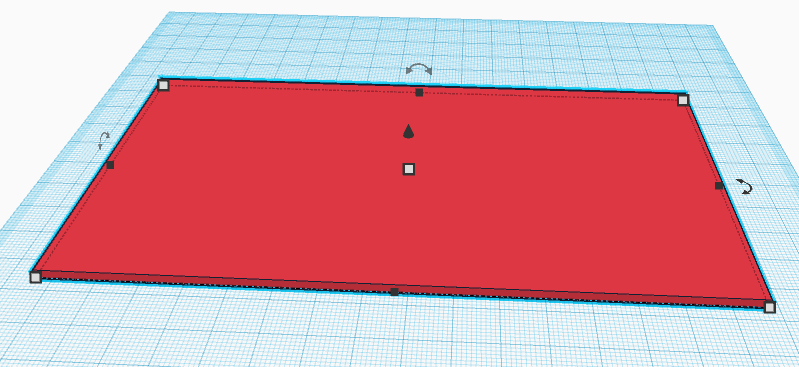
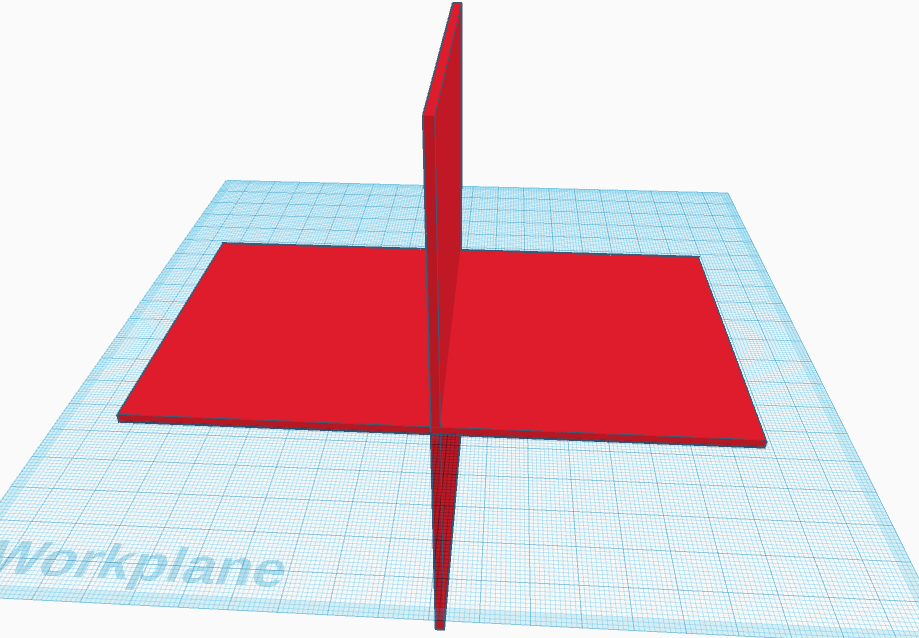
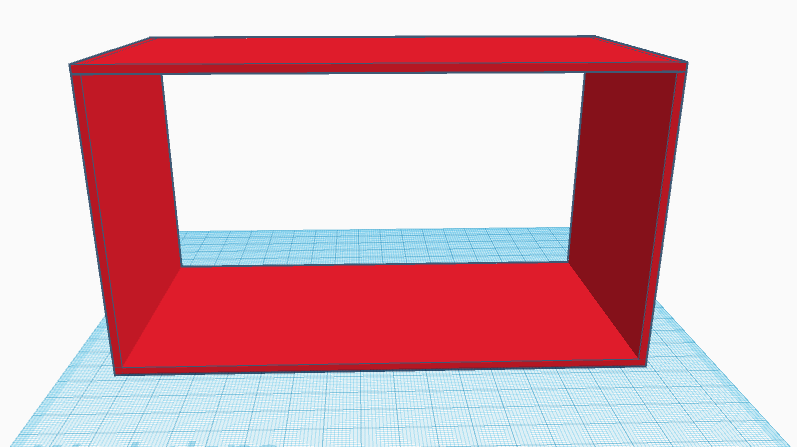
Walls
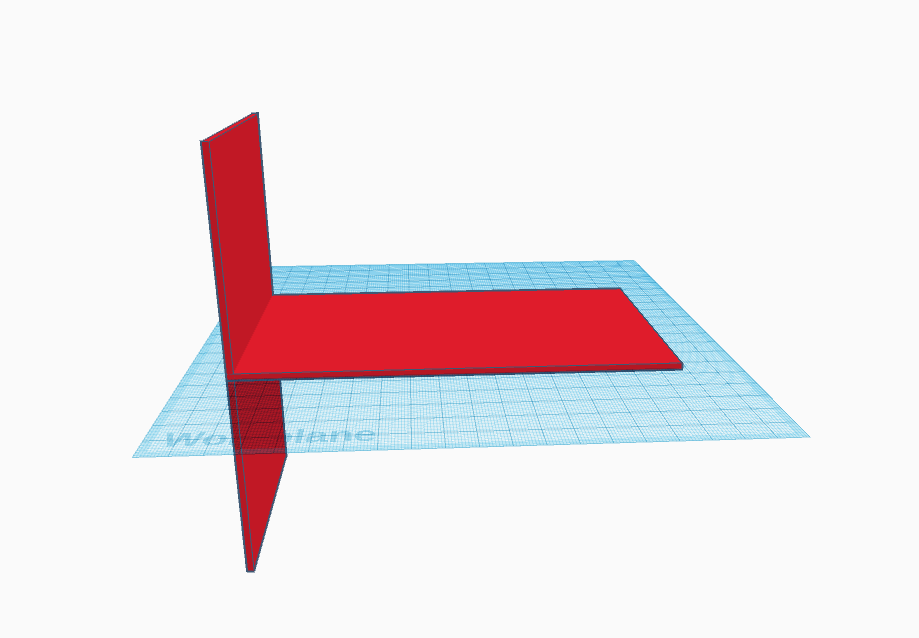
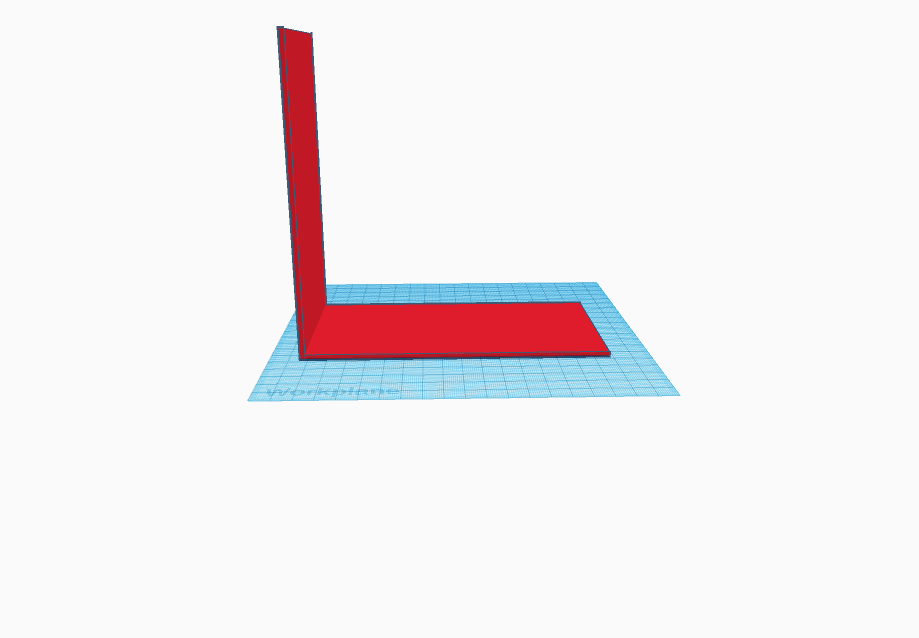
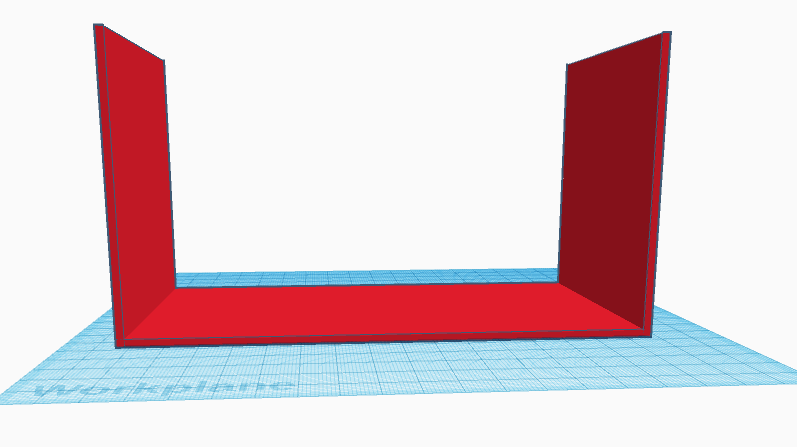
After that, what you want to do is click on the base. You will see the copy button up in the top left corner light up. Your going to want to click on that, Then you'll want to click on the base again. You will see an arrow at the back of the base, and you will need to turn it 90 degrees then drag it all the way over to one side of the base. Then, pull it all the way up so the walls make a 90 degree angle. After that, you will want to do all of these steps over again with the other side.👍
Repeat
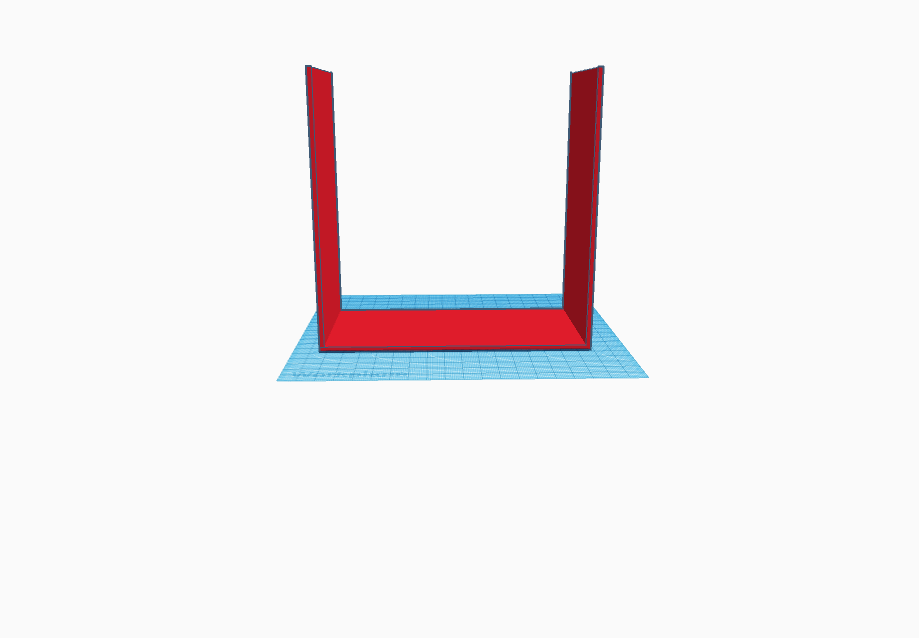
Repeat step 3.
Size Down
After that, you want to decrease the height of the walls down to 90 milometers.
Add the Roof
Copy the bottom platform and pull it up to the top of you structure.
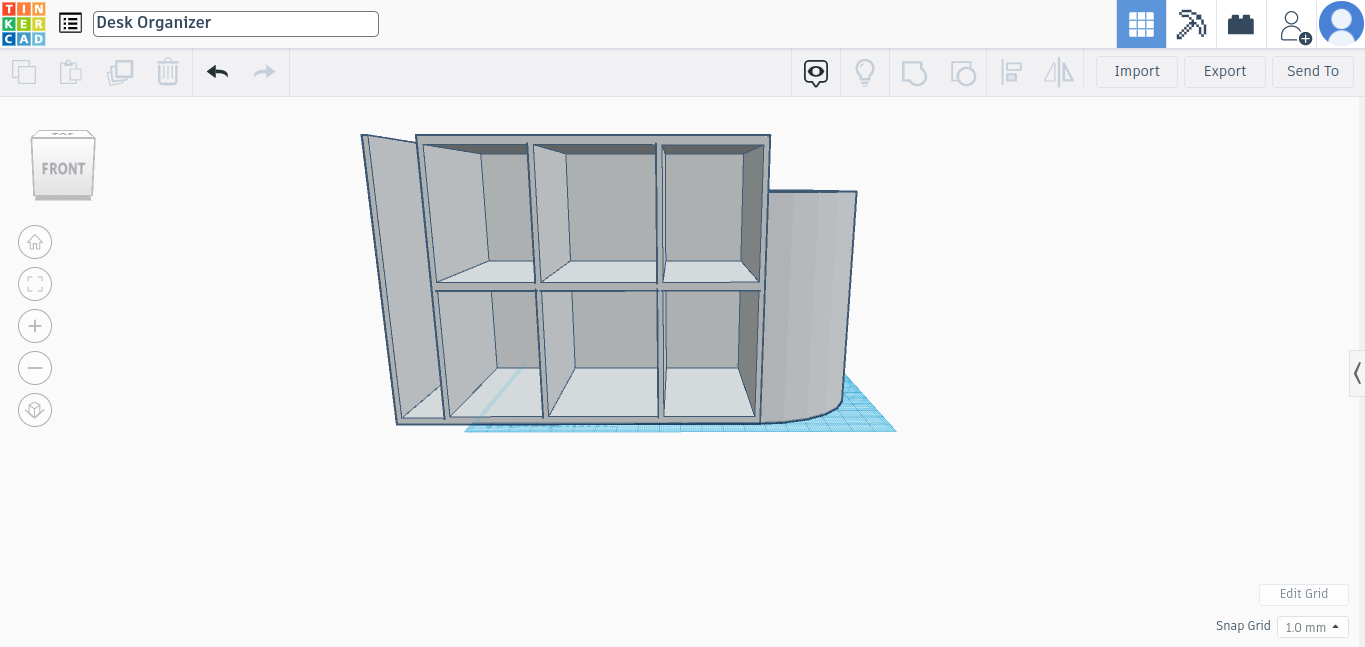
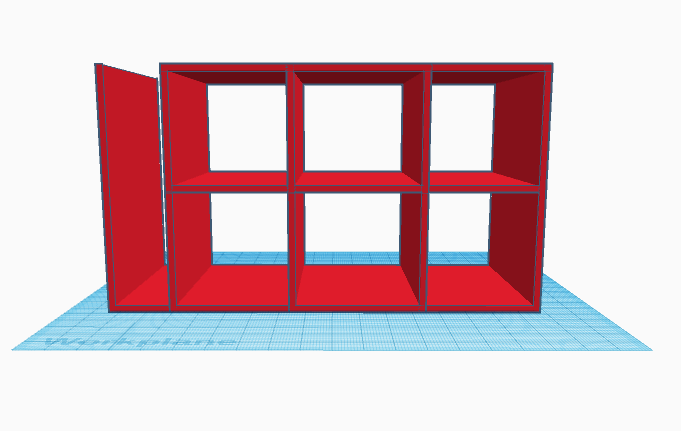
Add the Cabinets
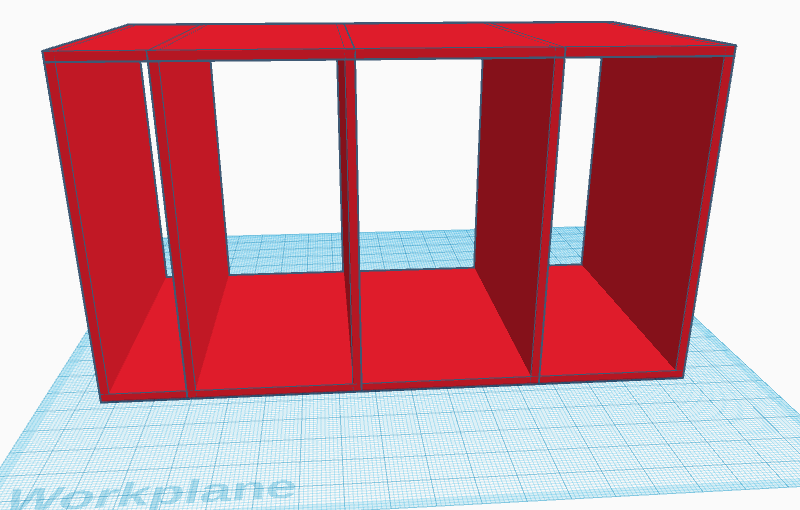
Now, copy the wall and move it over to about a third of the whole structure. Then, do that 2 more times and it should look like the picture above.
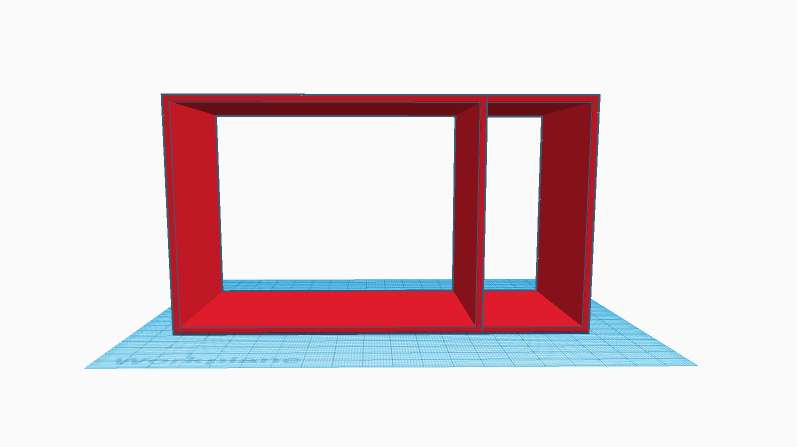
Add Paper Holder
Look at the furthest left wall, you want to move it to the nearest wall to it, and back to the first wall it should look like the picture above.
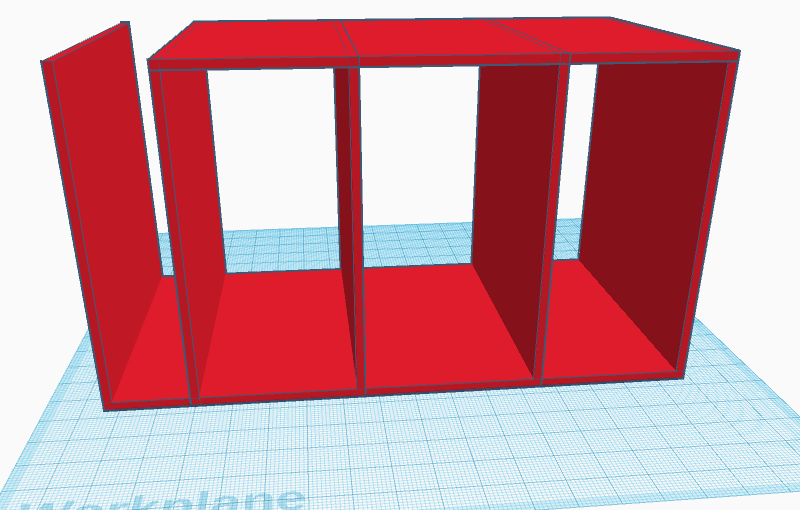
Paper Holster
Then, you want to copy the roof and move it to the middle. It should look like the picture above.
Pencil Holder
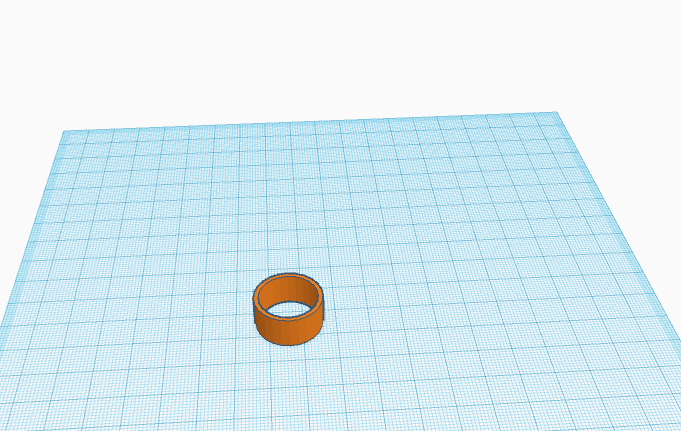
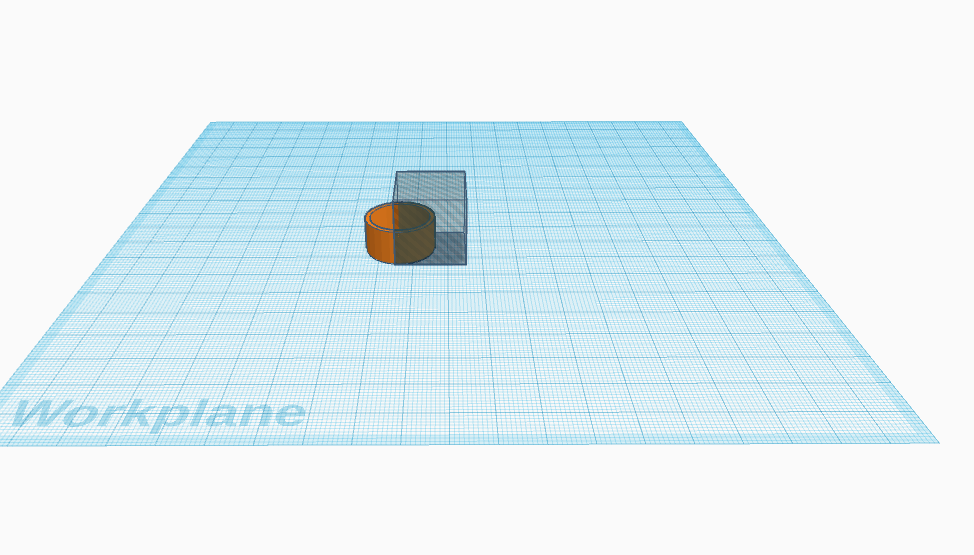
Next, You'll want to get a new tab and open it on Tinkercad. Then, add a new project. After that, you want to take out a tube like in the picture above. Then, you want to pull out the shaded cube like so and put it half way intersecting with the tube. After that, look at the top right corner, you'll see a button that says export. Click it.
Placing the Pencil Holder
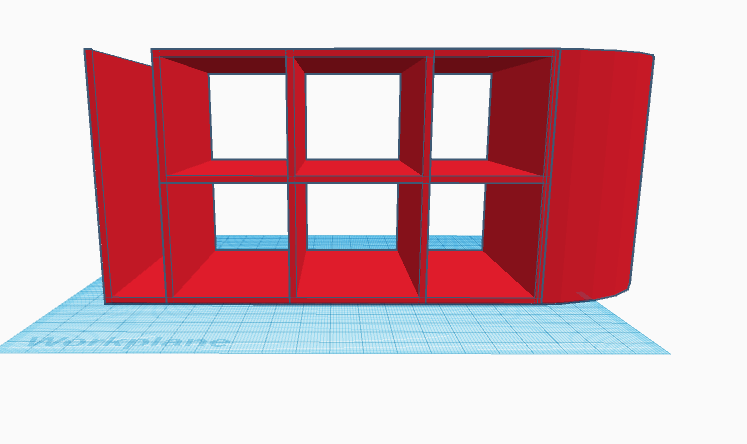
Go back to your old tab and click import. Choose the file with the tube, and then put it on the side of the organizer and make it to the size you want. :)
The Back
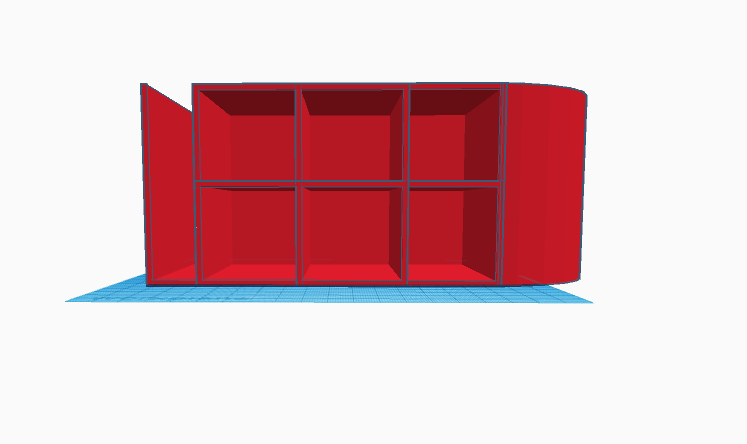
Click the base of the structure, turn it so that it is upright and on the back. You can adjust the size if needed. ;)