101HERO 3-D Printer Assembly and Printing
by brain-brawn in Workshop > 3D Printing
1881 Views, 8 Favorites, 0 Comments
101HERO 3-D Printer Assembly and Printing
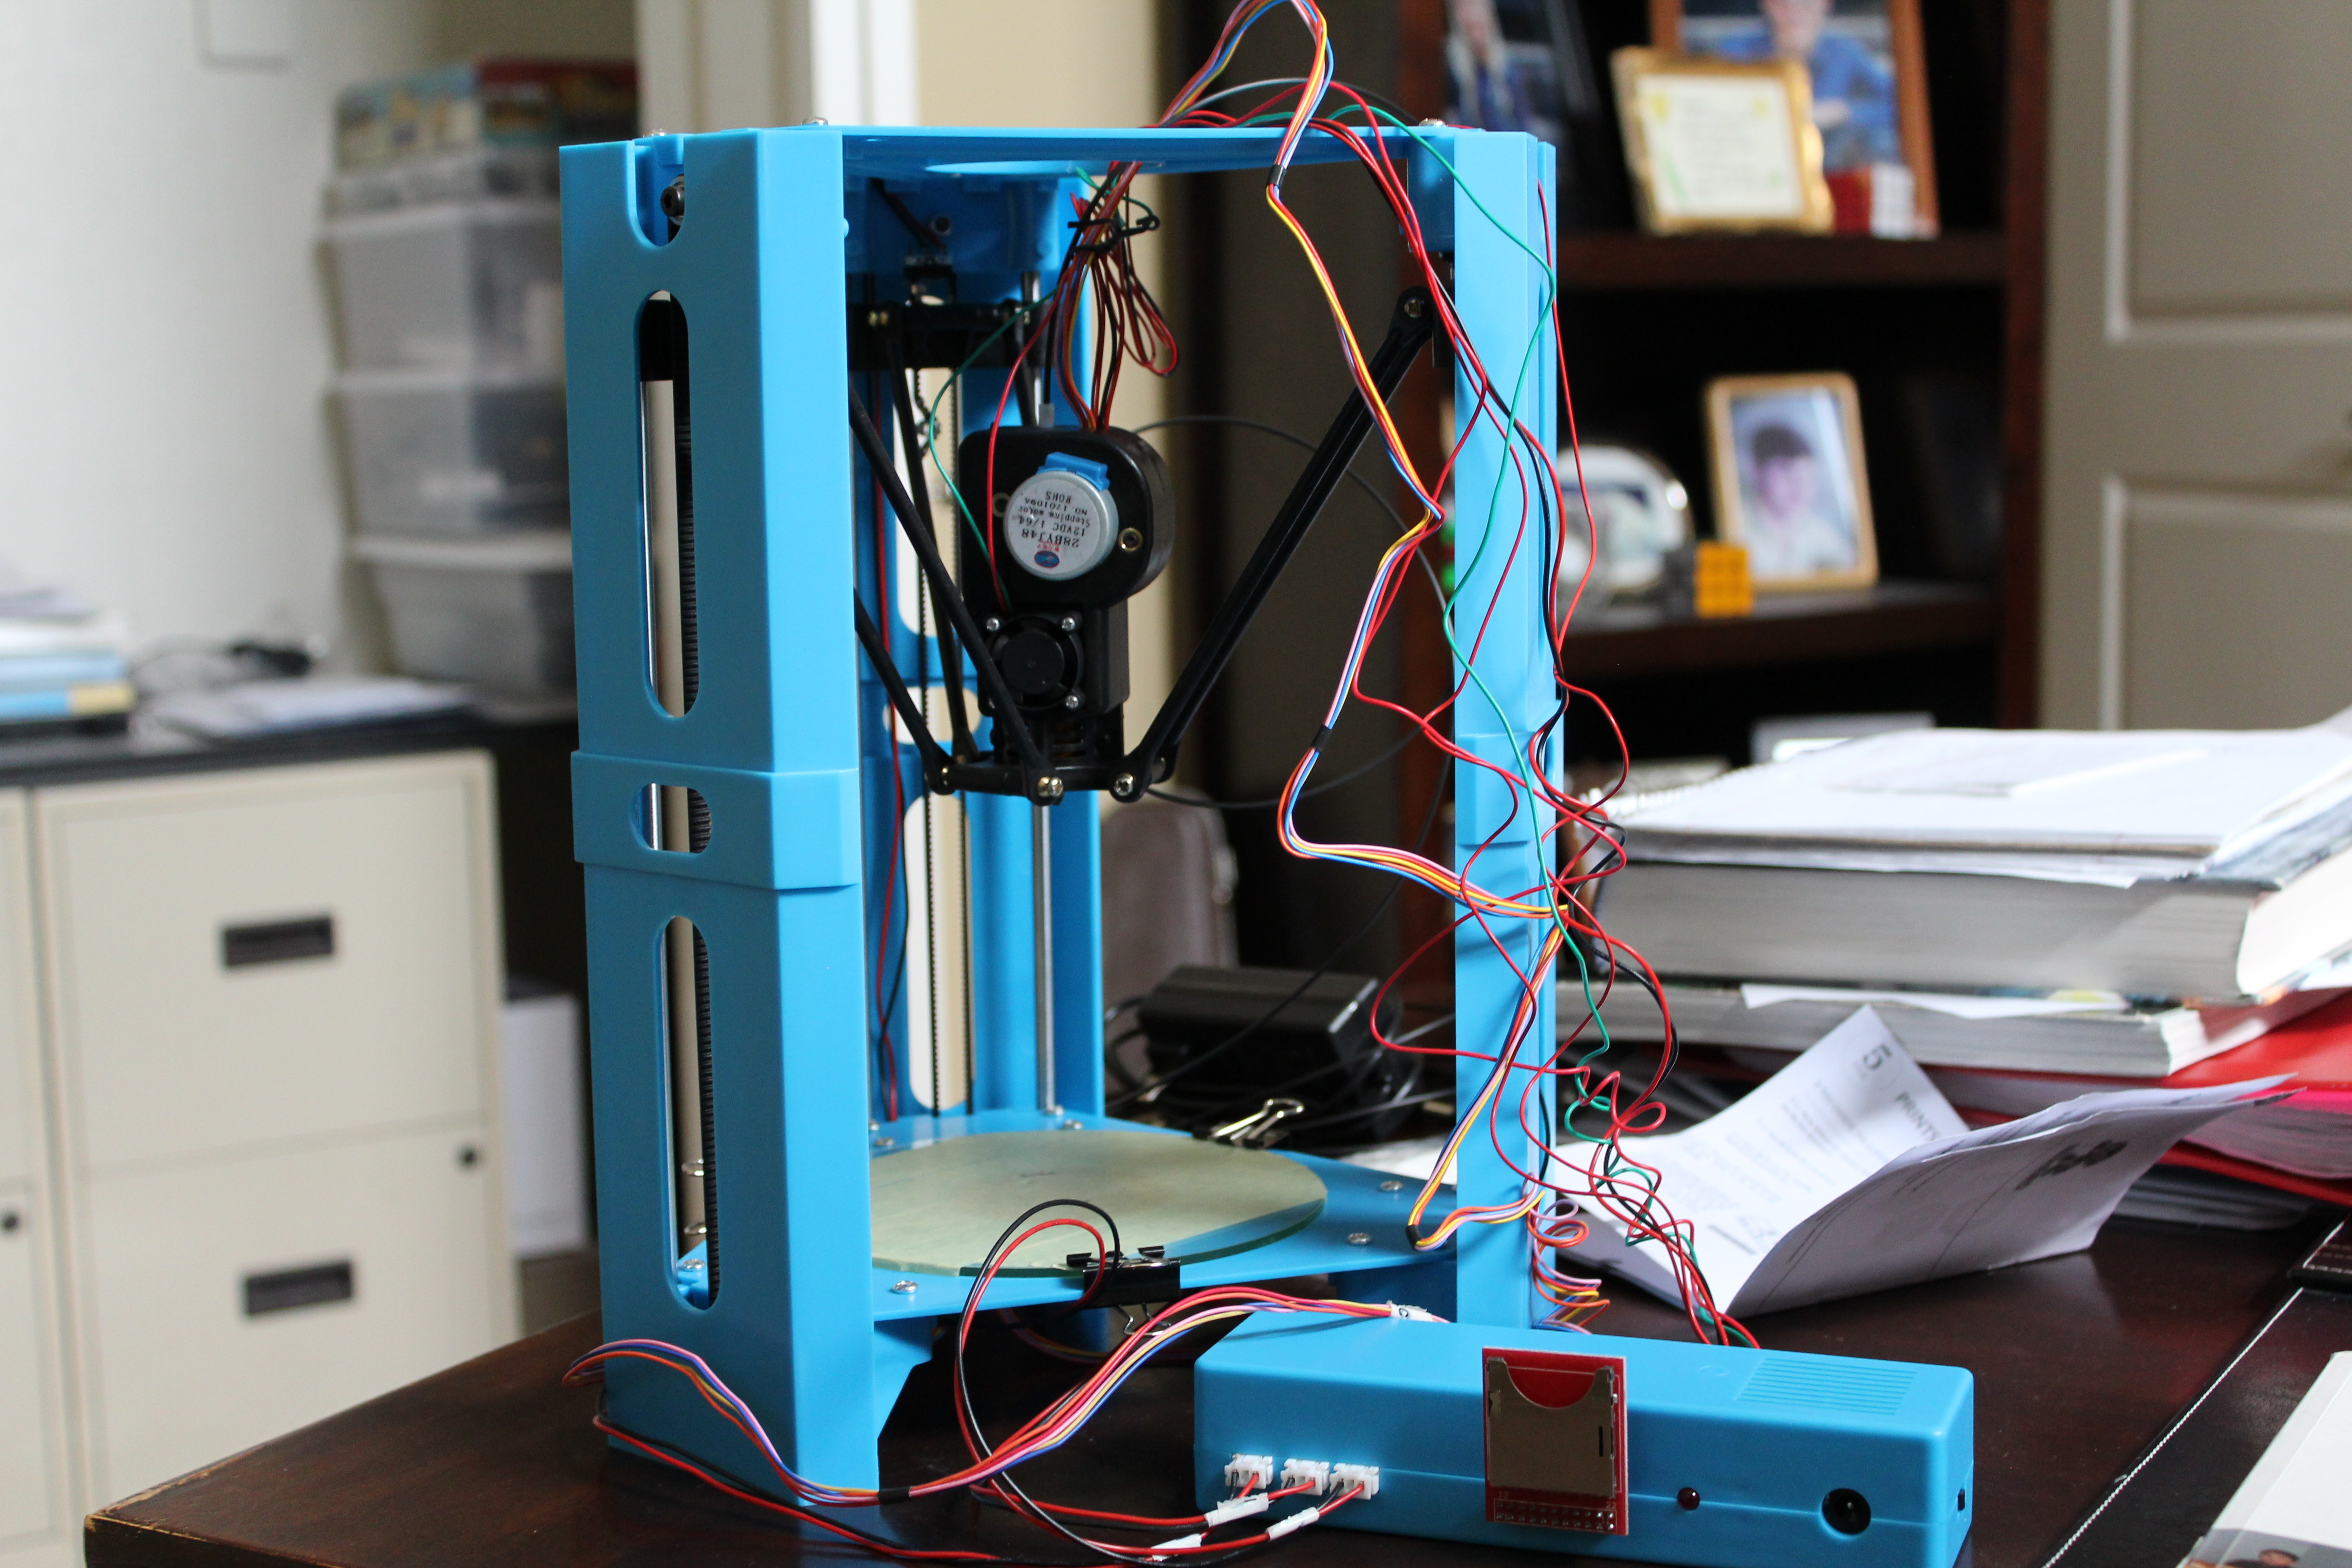
Hello! If you're reading this Instructable, you are either one of two things: 1) you're curious about 3-D printers and how this one works, or 2) you are looking for a guide to help you build your 3-D printer. Either way, you've come to the right place. I was assigned to build this 3-D printer for the programming lab I am a part of and I have put together a guide on how to build the 101HERO as well as how to print objects using the 101HERO.
The 101HERO 3-D printer is one of the cheapest 3-D printers on the market right now. It retails for only $100! For the prototype capability of a 3-D printer at this cost, it is a steal. For more information on how to buy and the official description, head on over to the 101HERO website: https://www.101hero.com/.
Open Up the Box
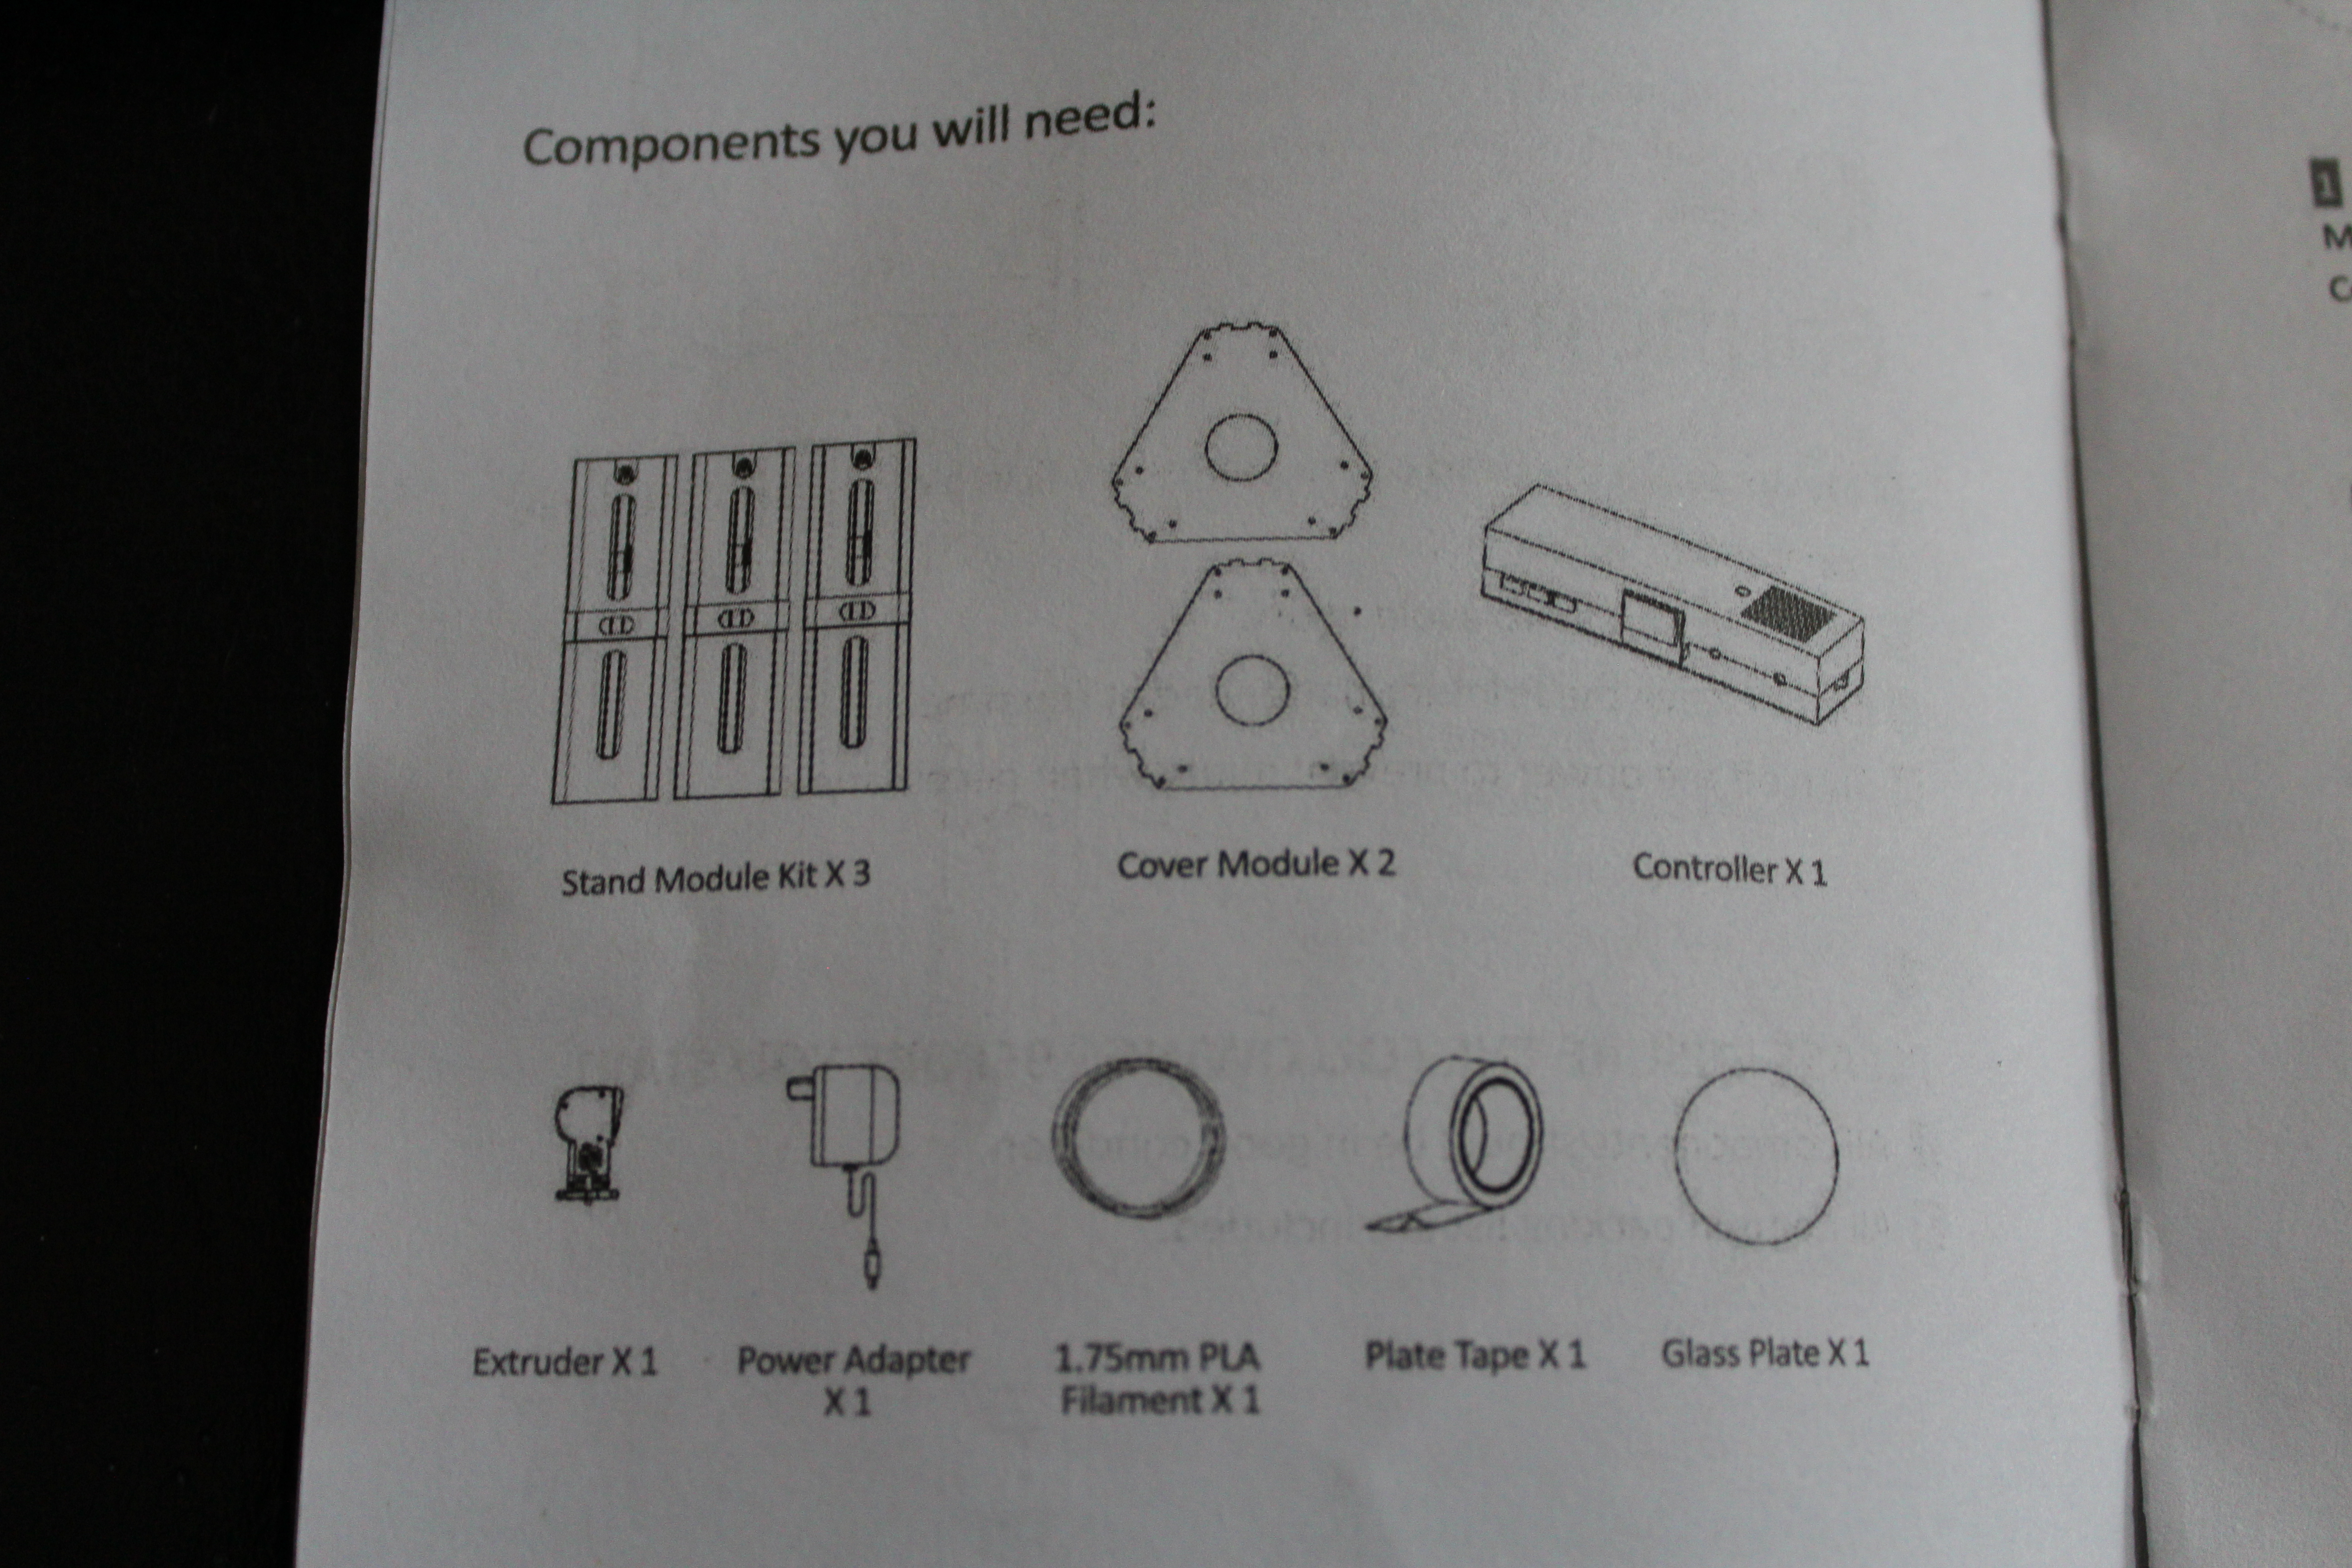
Let's take a look at the contents of the box.
You should find (other than the instruction booklet):
3x Stand Module Kit (the three pylons) (each pylon has wires on them for connection to the controller)
2x Cover Module (the two plastic plates)
1x Controller
1x Extruder
1x Power Adapter
1x 1.75mm PLA filament (my printer came with two coils)
1x roll of Plate Tape (for the 3-d models to stick to during printing)
1x Glass Plate
3x Binder Clips (for securing the glass plate to the structure)
1x SD card port
1x Allen Wrench (or hex wrench)
18x M4*12 Self-tapping Screws (or Large Silver Screws, as I will refer to them)
6x M3*15 T-type Screws (or Long Gold Screws, as I will refer to them)
2x M3*8 Self-tapping Screws (or Small Silver Screws, as I will refer to them)
Pylons and Plates Assembly
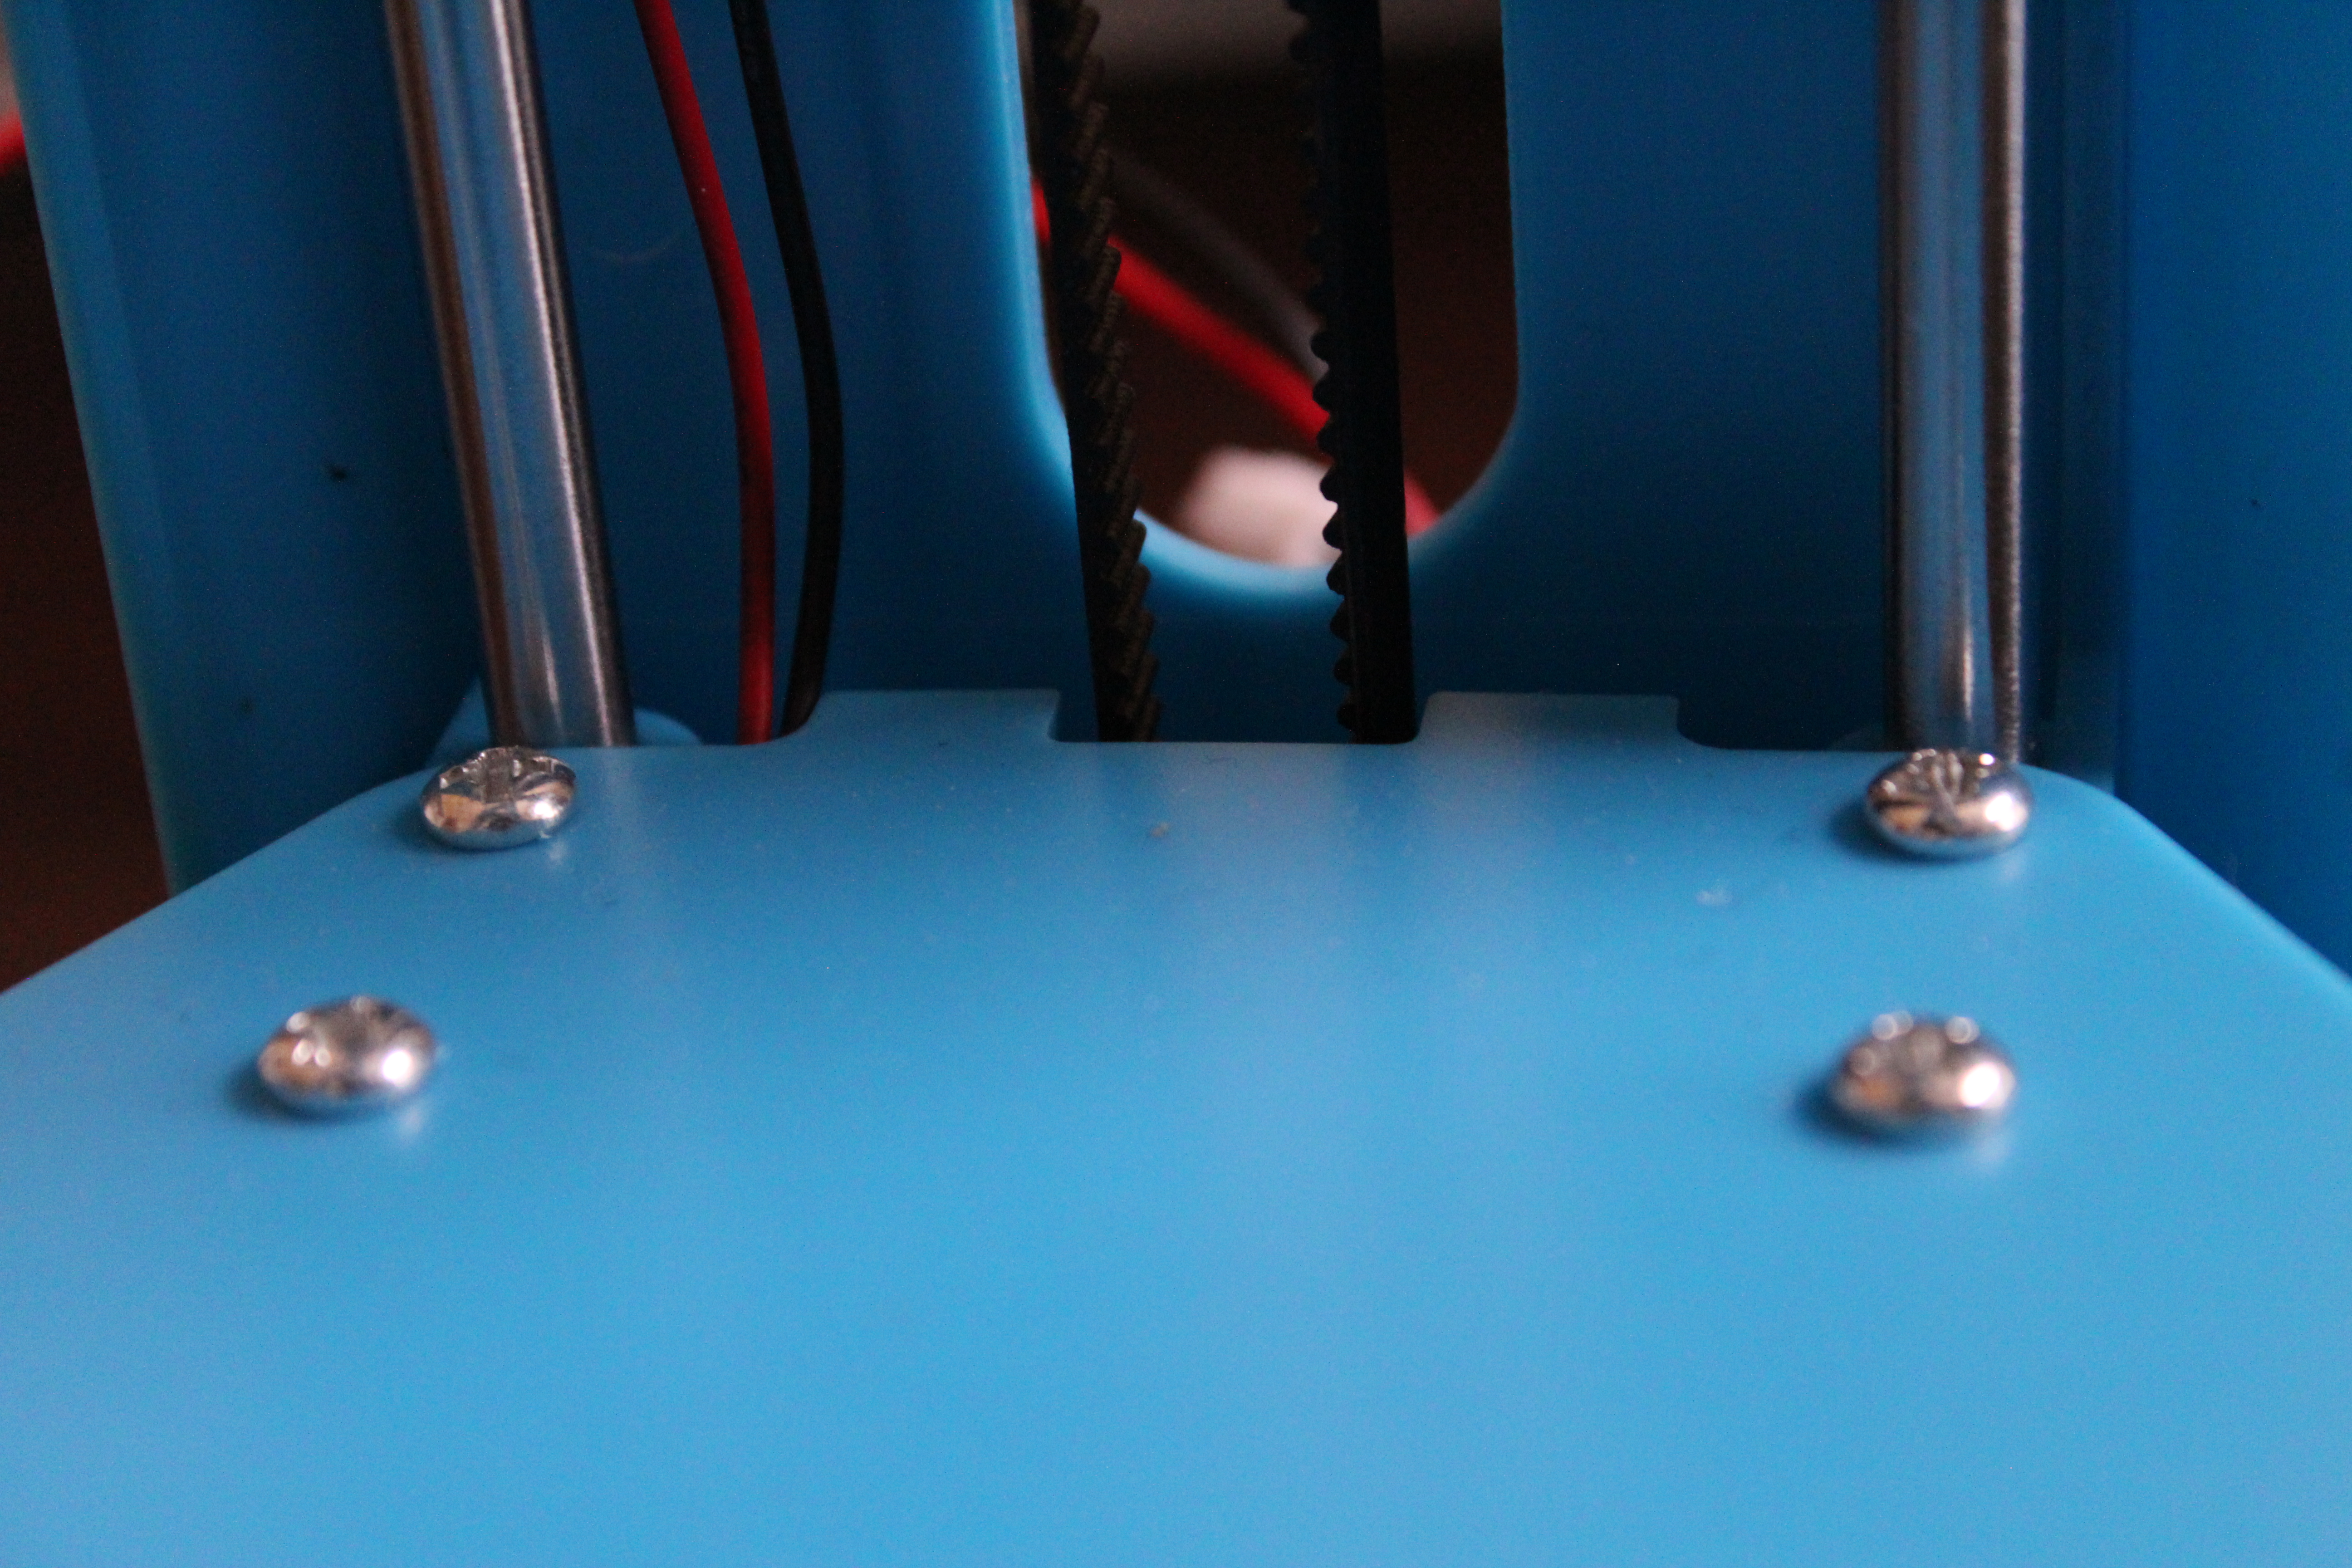
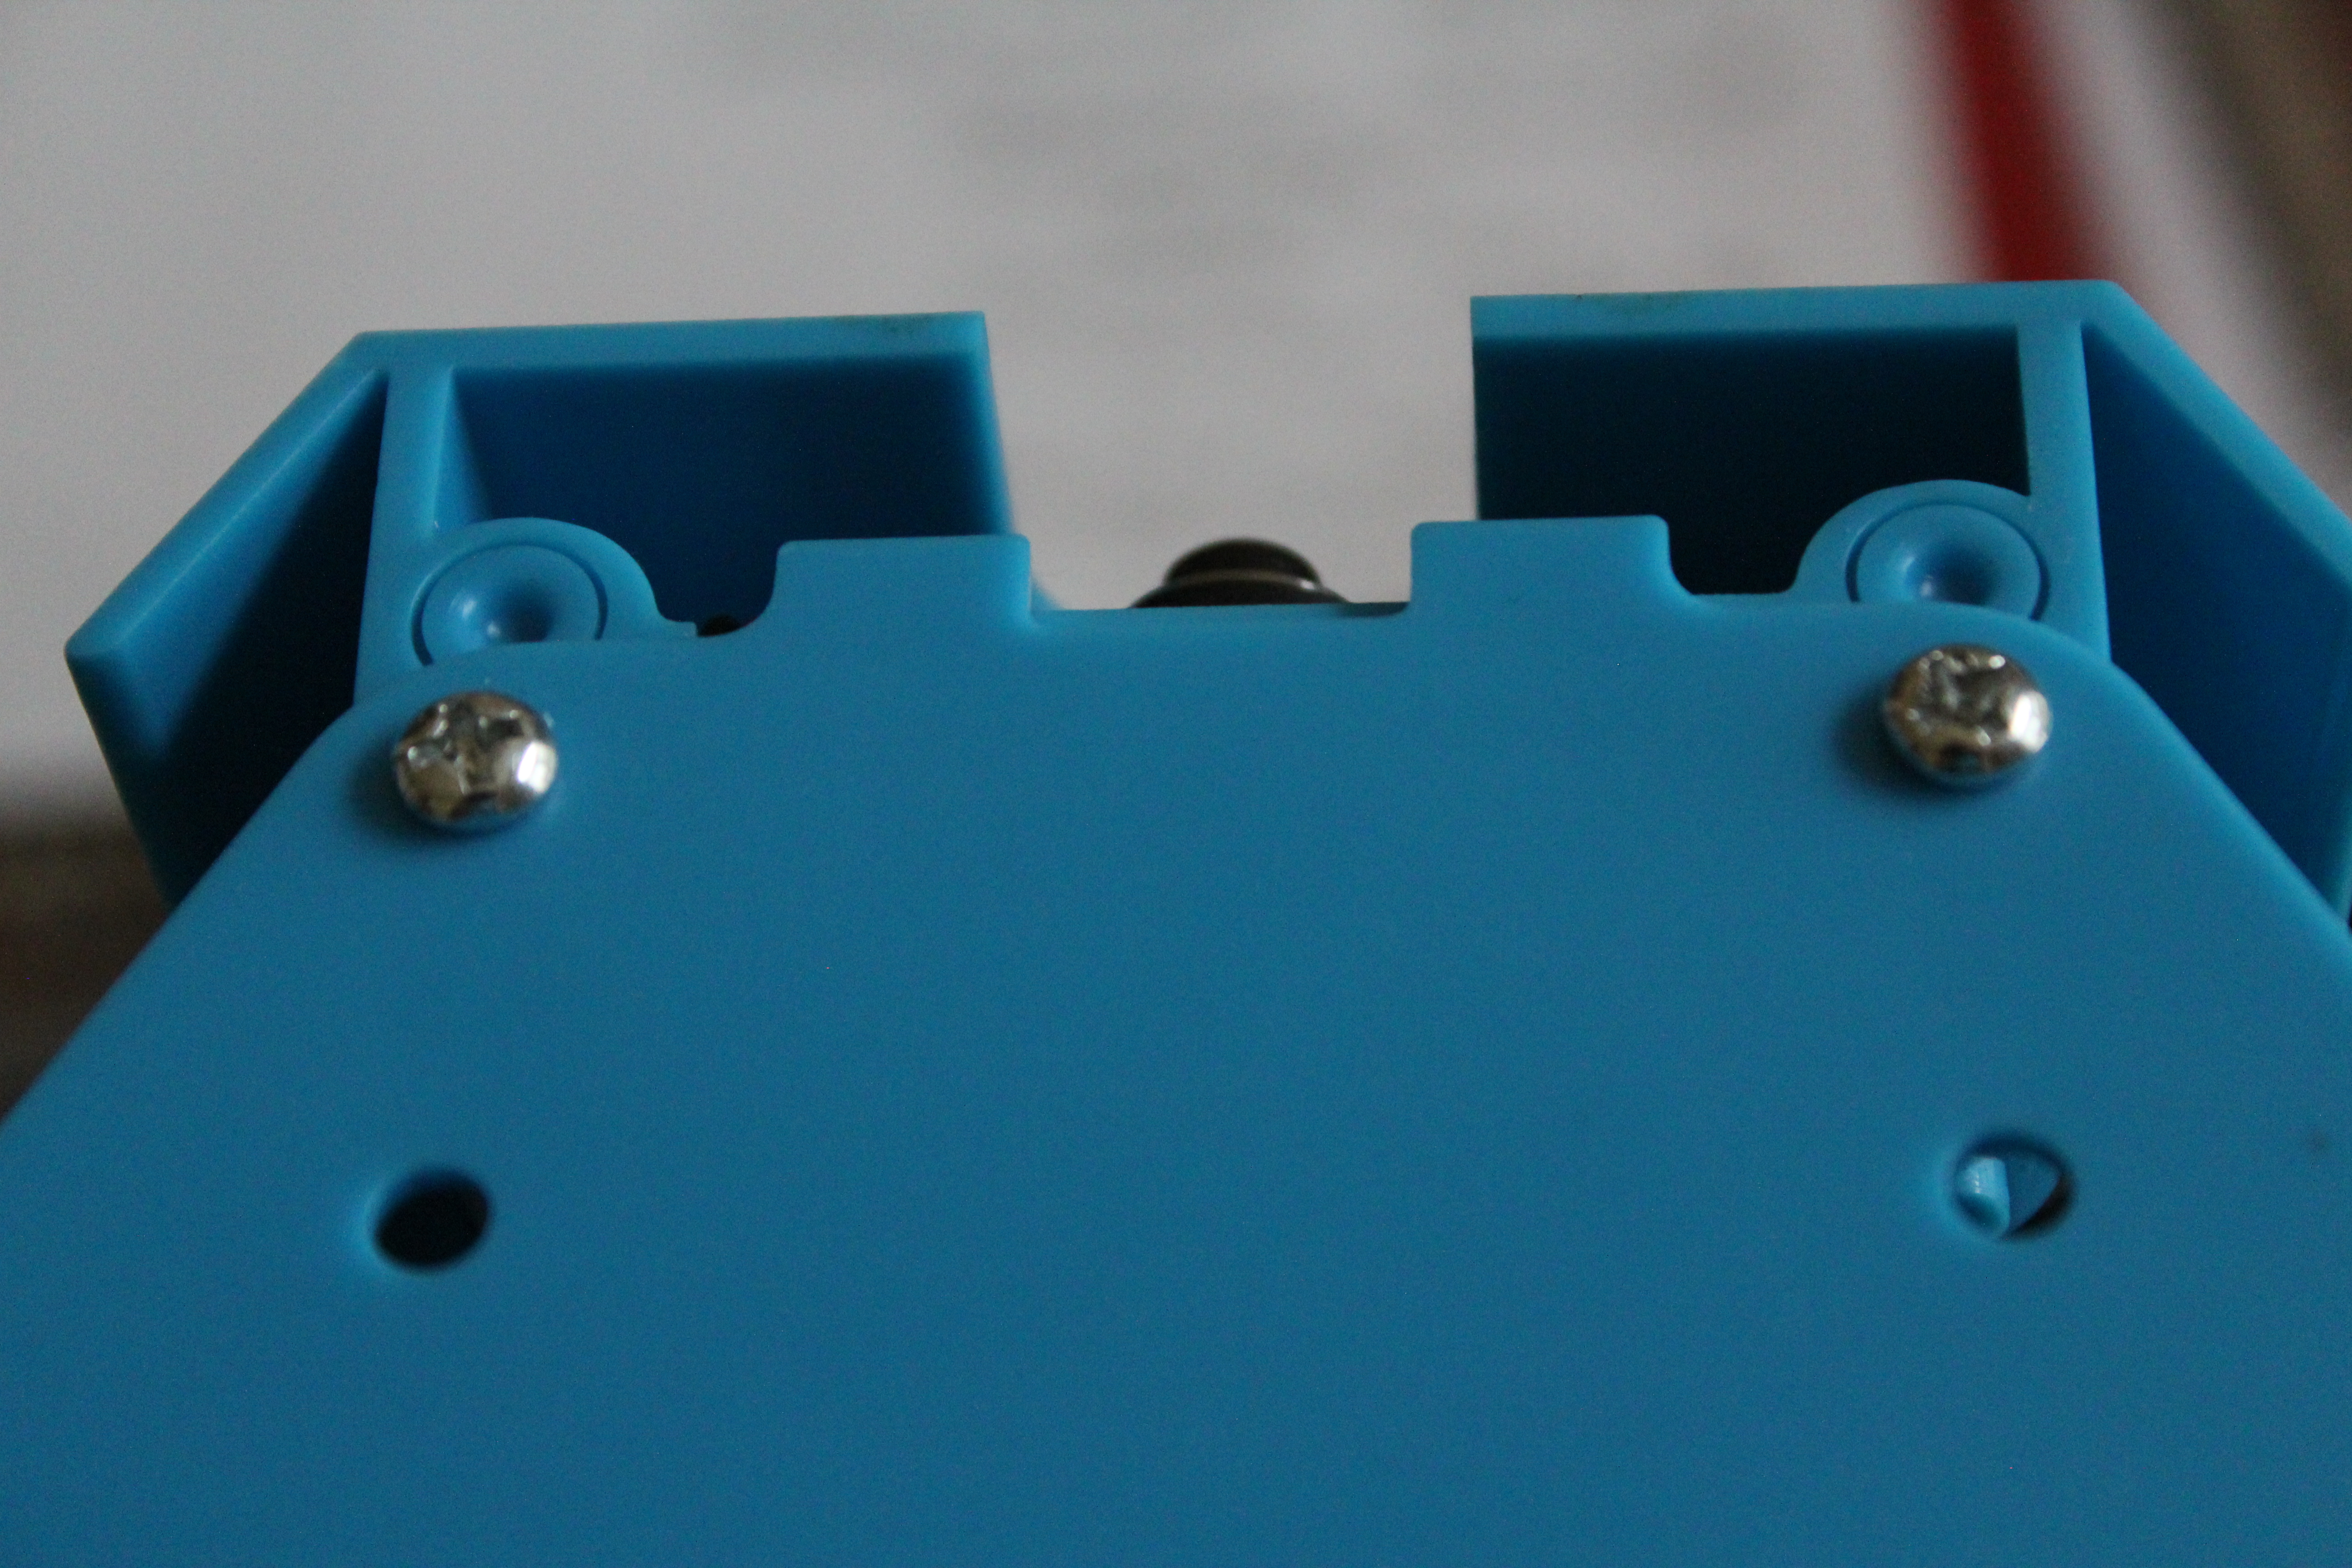
We'll start by assembling the pylon supports and plates.
The plates are the same so you don't have to worry about which one to use as the bottom. The process for the bottom plate is simple: hook the plate to the three pylons with the little flanges, and then screw four of the large silver screws through the holes in the plate and into each of the pylons. Make sure you pull the wires from each pylon under the plate through the gap between the flanges before you screw the plate on. The top is even simpler: latch the plate to the pylons and screw two large silver screws through the back two holes in the plate and into each of the pylons.
Attaching the Extruder
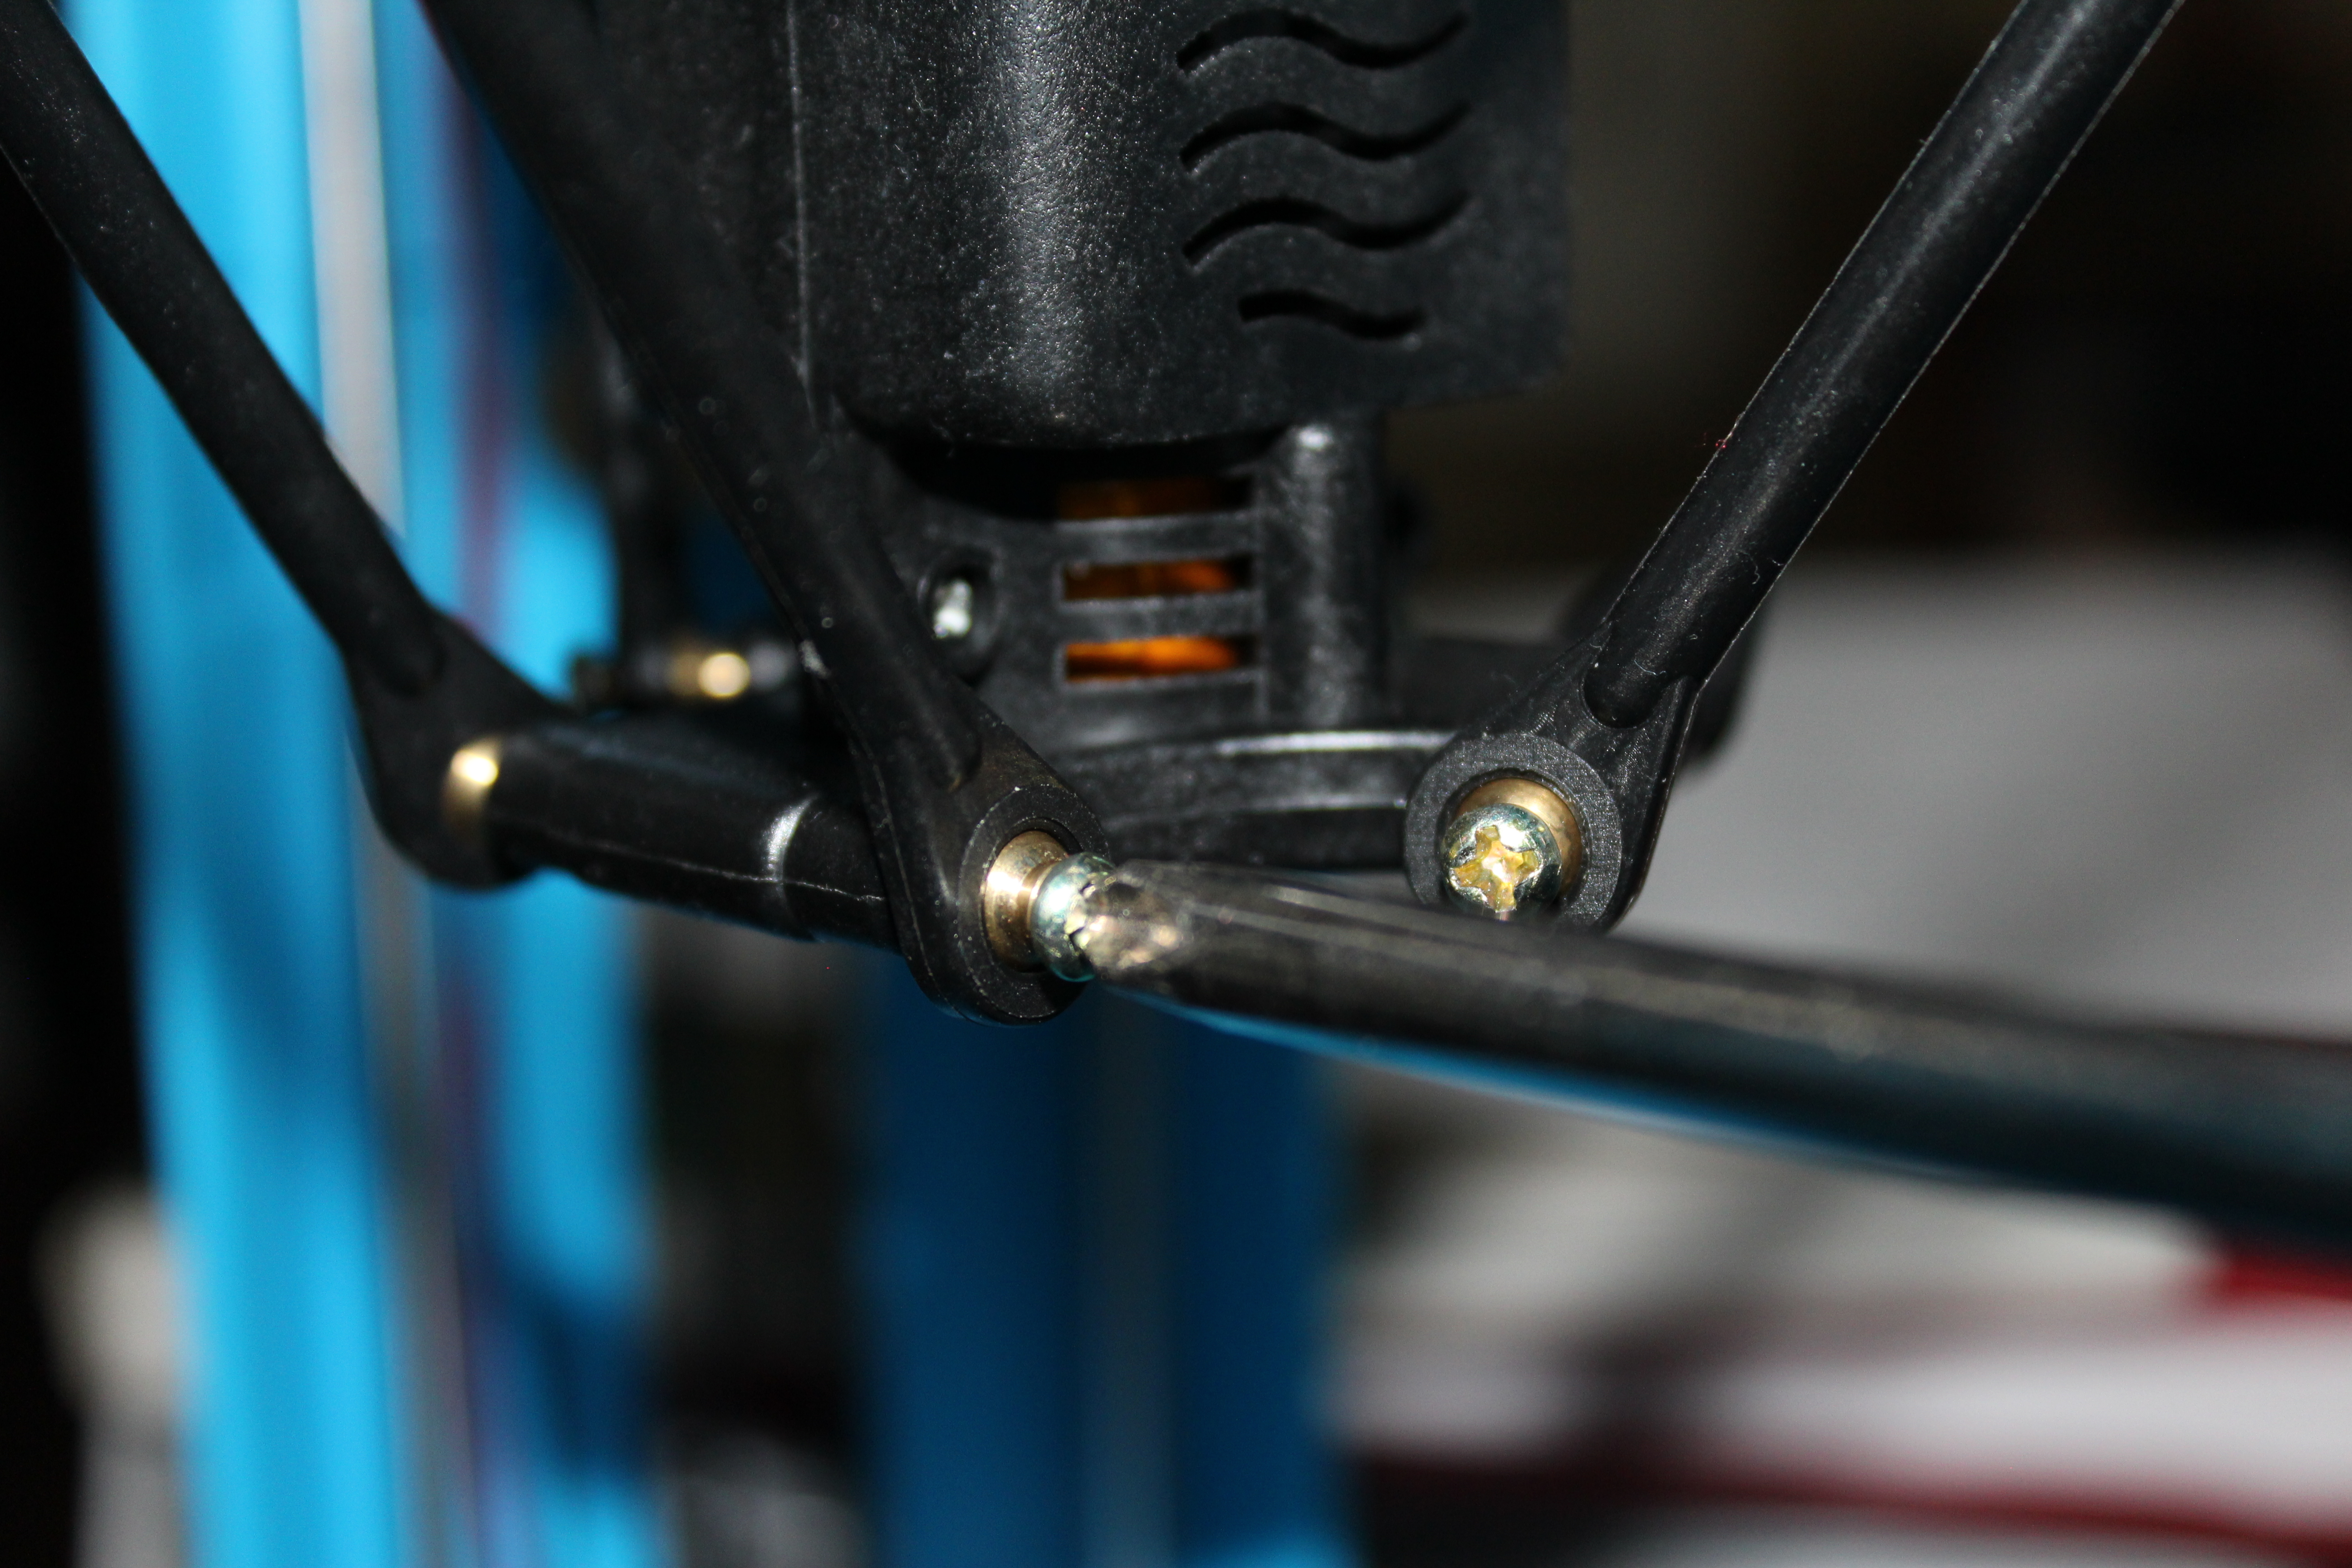
The extruder is the most important piece of the 3-D printer, mainly because it is the piece that "draws" or builds the 3-D model with filament. This being the case, it is also the hardest piece to assemble. The lift arms for the extruder come pre-attached at one end to the pylons so all you have to do is use the long gold screws and secure the other ends of the lift arms to the extruder itself. You have to use a good amount of tightening to suspend the extruder.
Feeding Filament Into Extruder
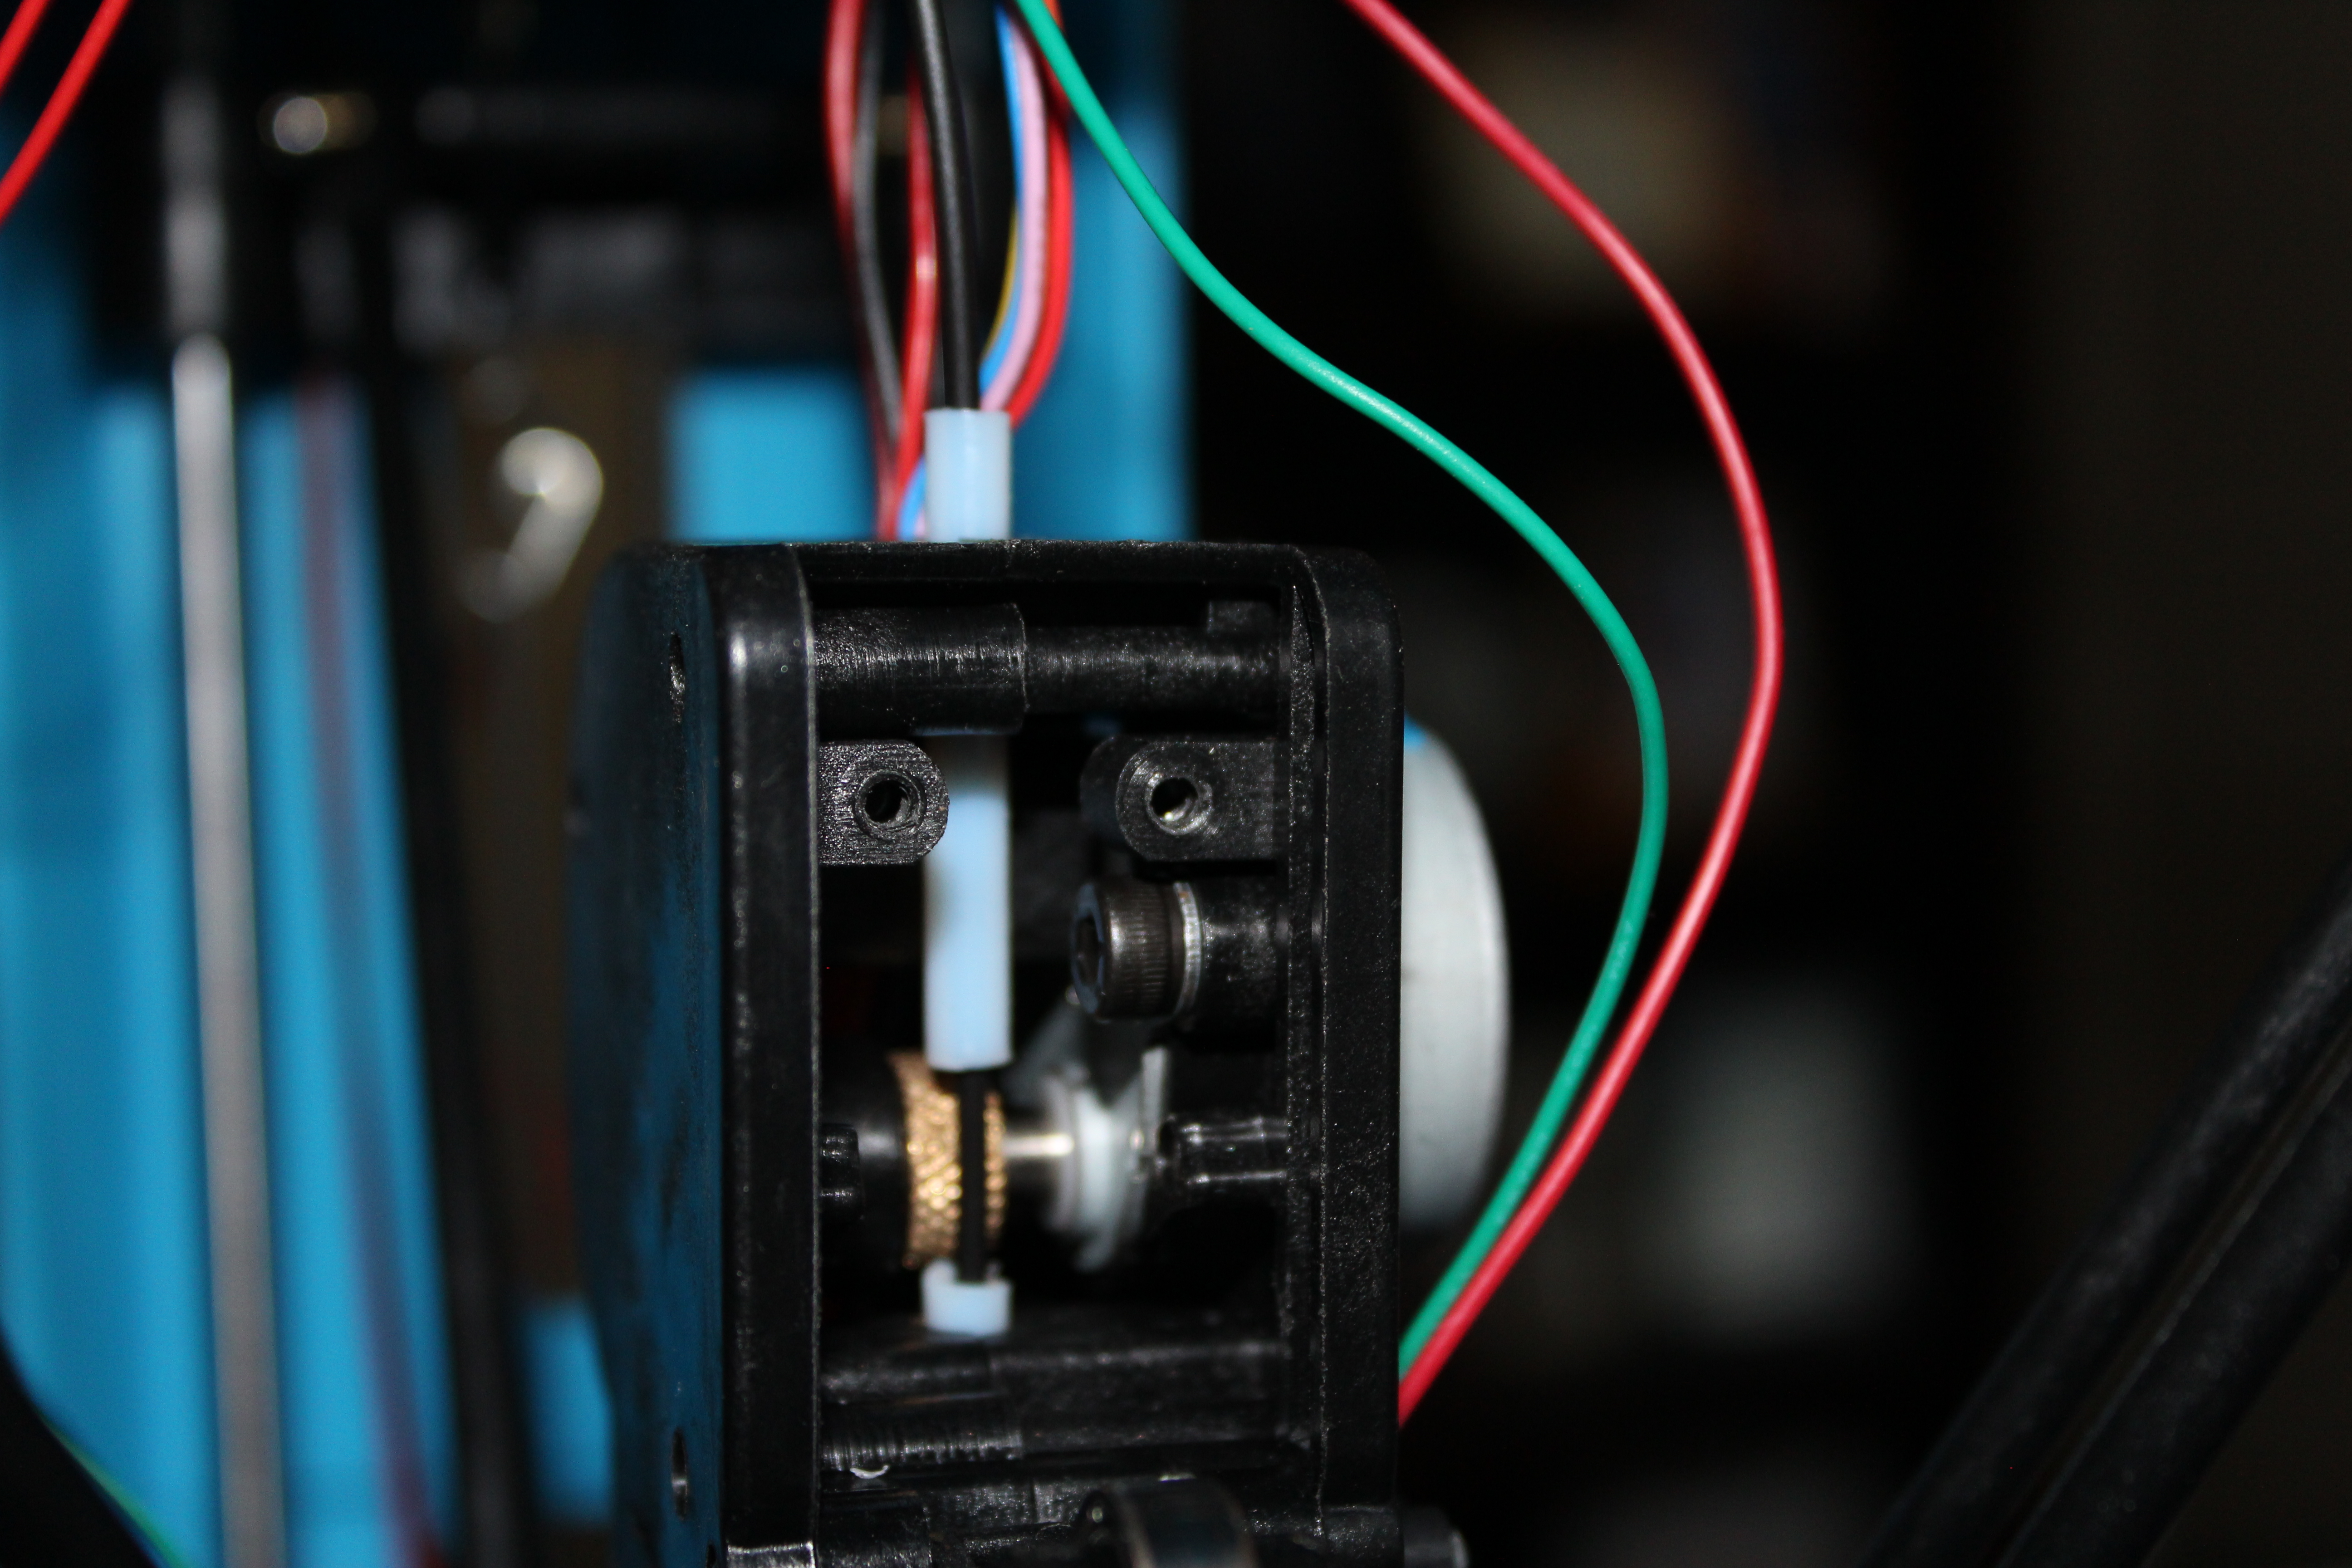
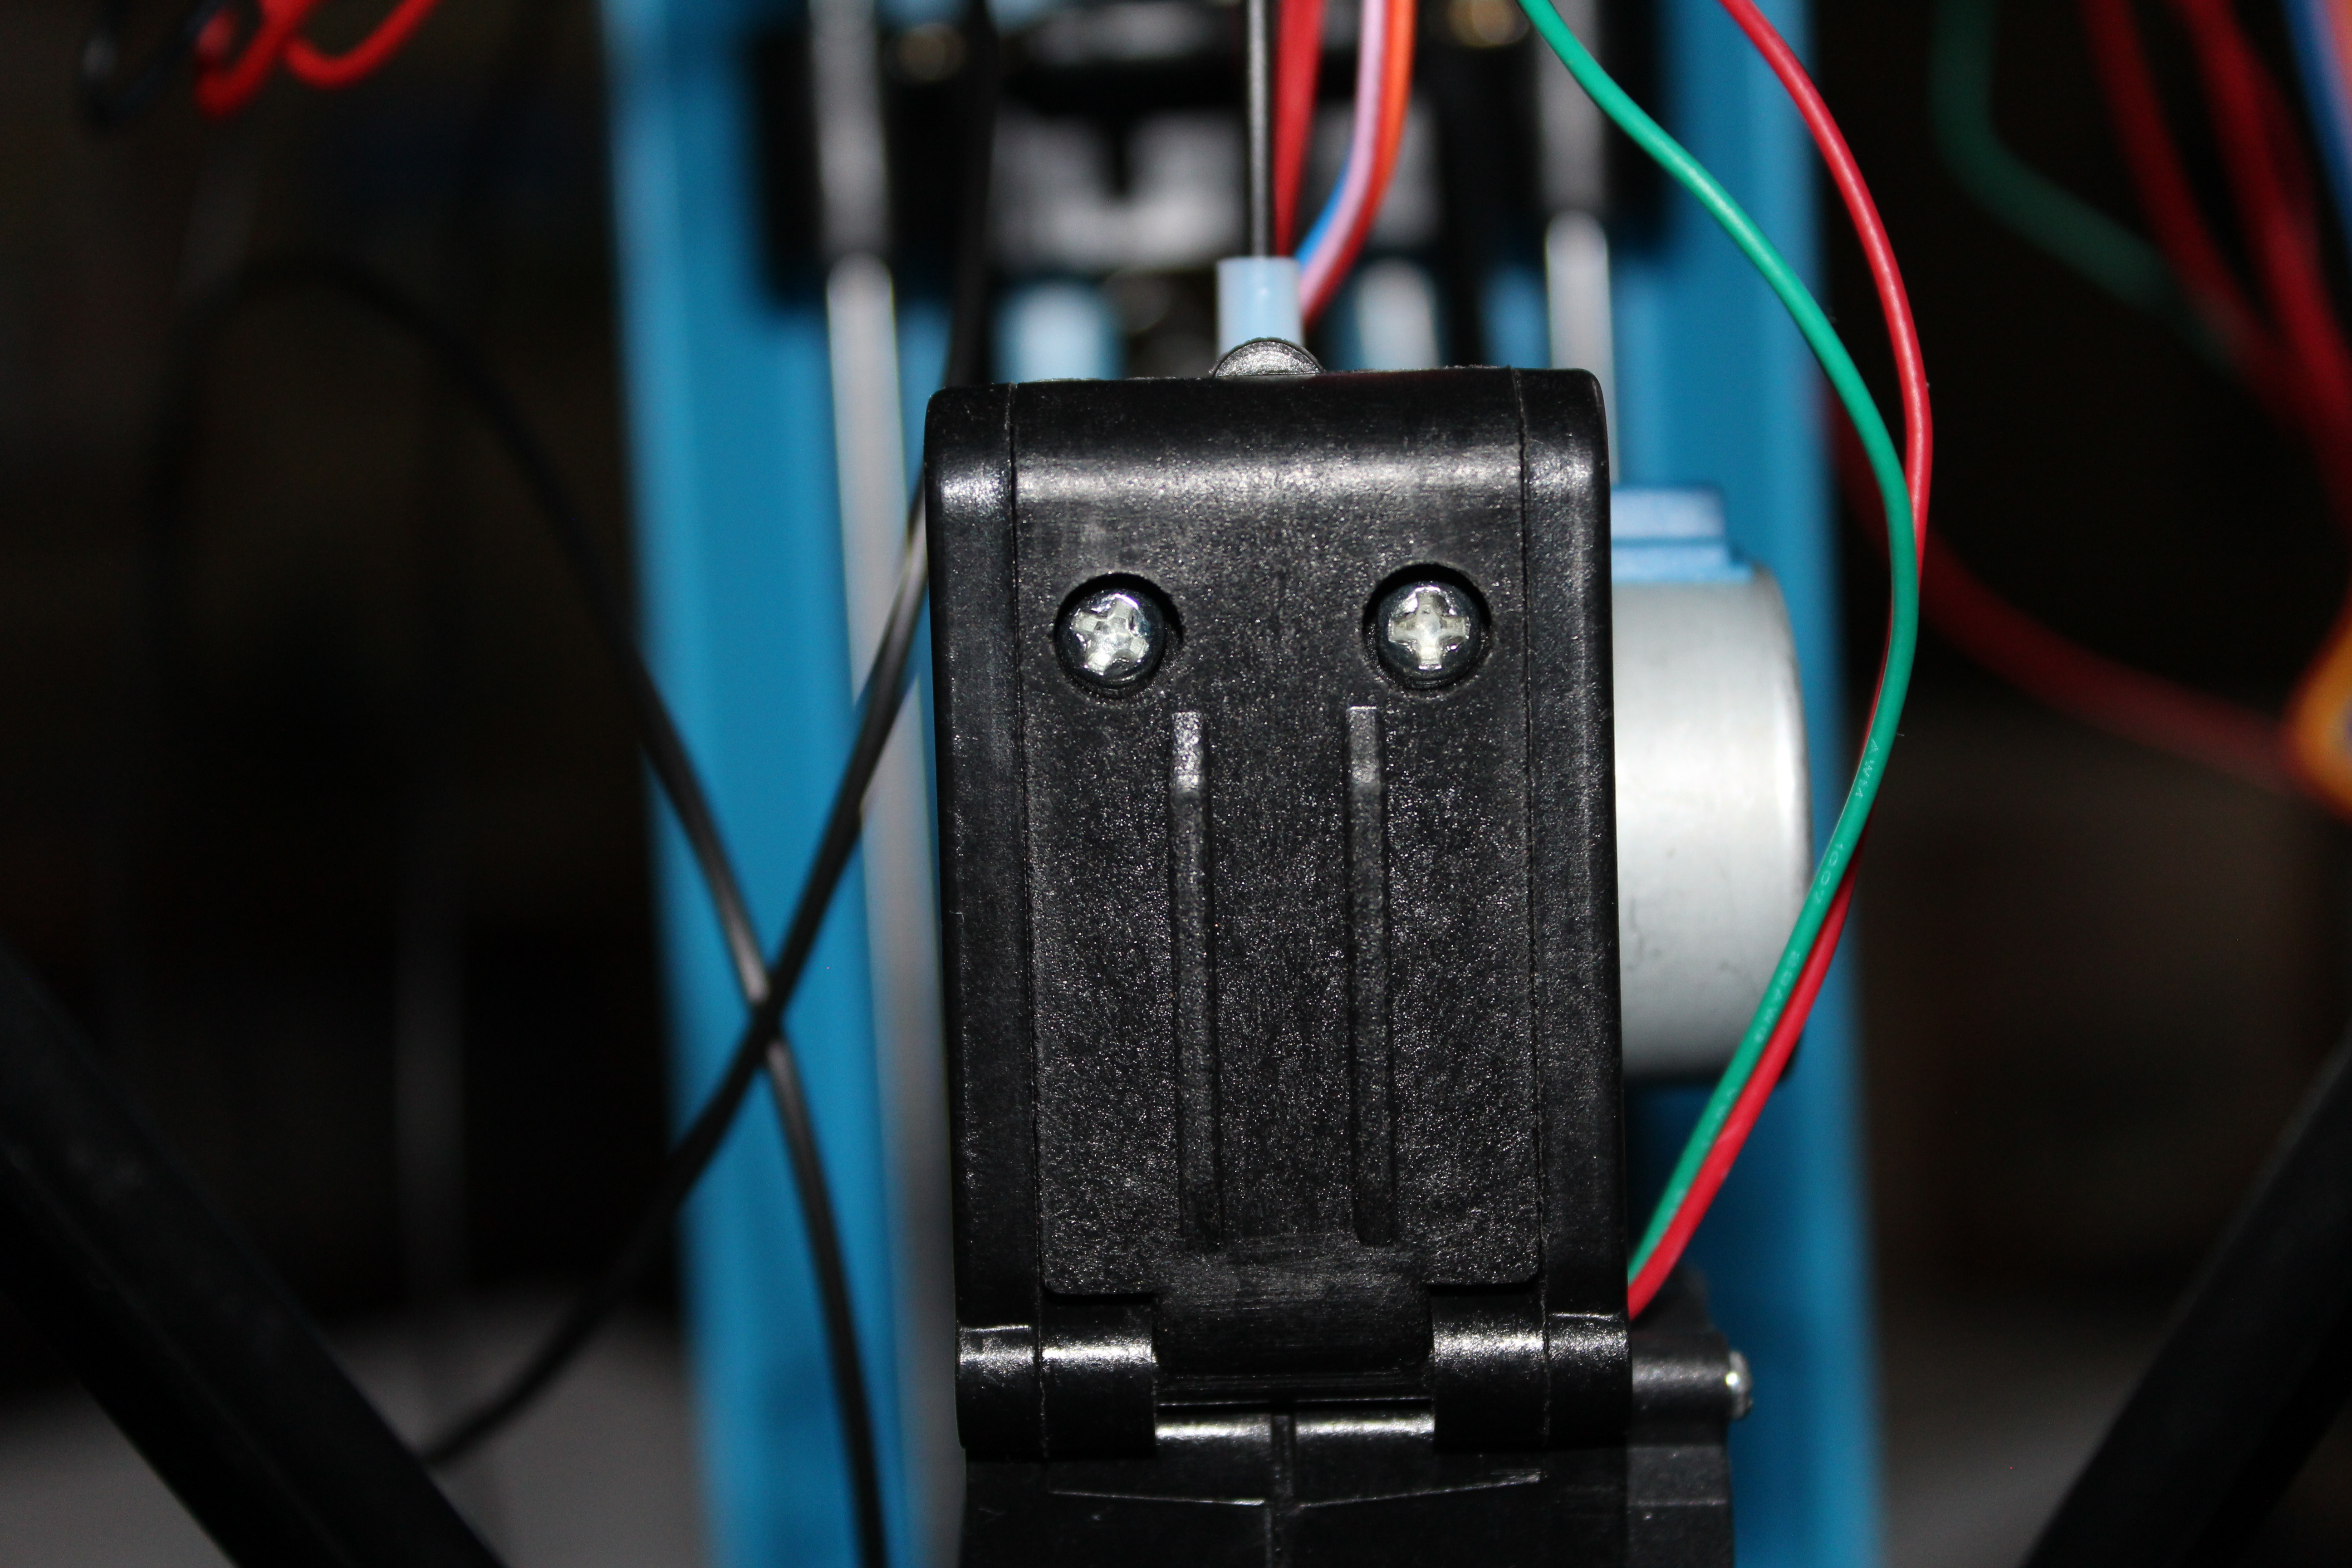
The material you are using to create your 3-D model is called PLA filament, or for the technical people out there, polylactic acid filament. It is a thermoplastic that melts between 302 and 320 degrees Fahrenheit. The extruder's two main functions are: to melt the filament and to "draw" the 3-d model with the melted plastic. First, sharpen the filament by cutting the end off with scissors. Next, there is a small door on the back of the extruder. To insert the filament into the extruder, open the door and slide the filament through the white tube in the top and into the white tube at the bottom. The filament should run right pass a golden piece. Shut the door of the extruder and screw in the two small silver screws through the holes in the door.
Printer Surface
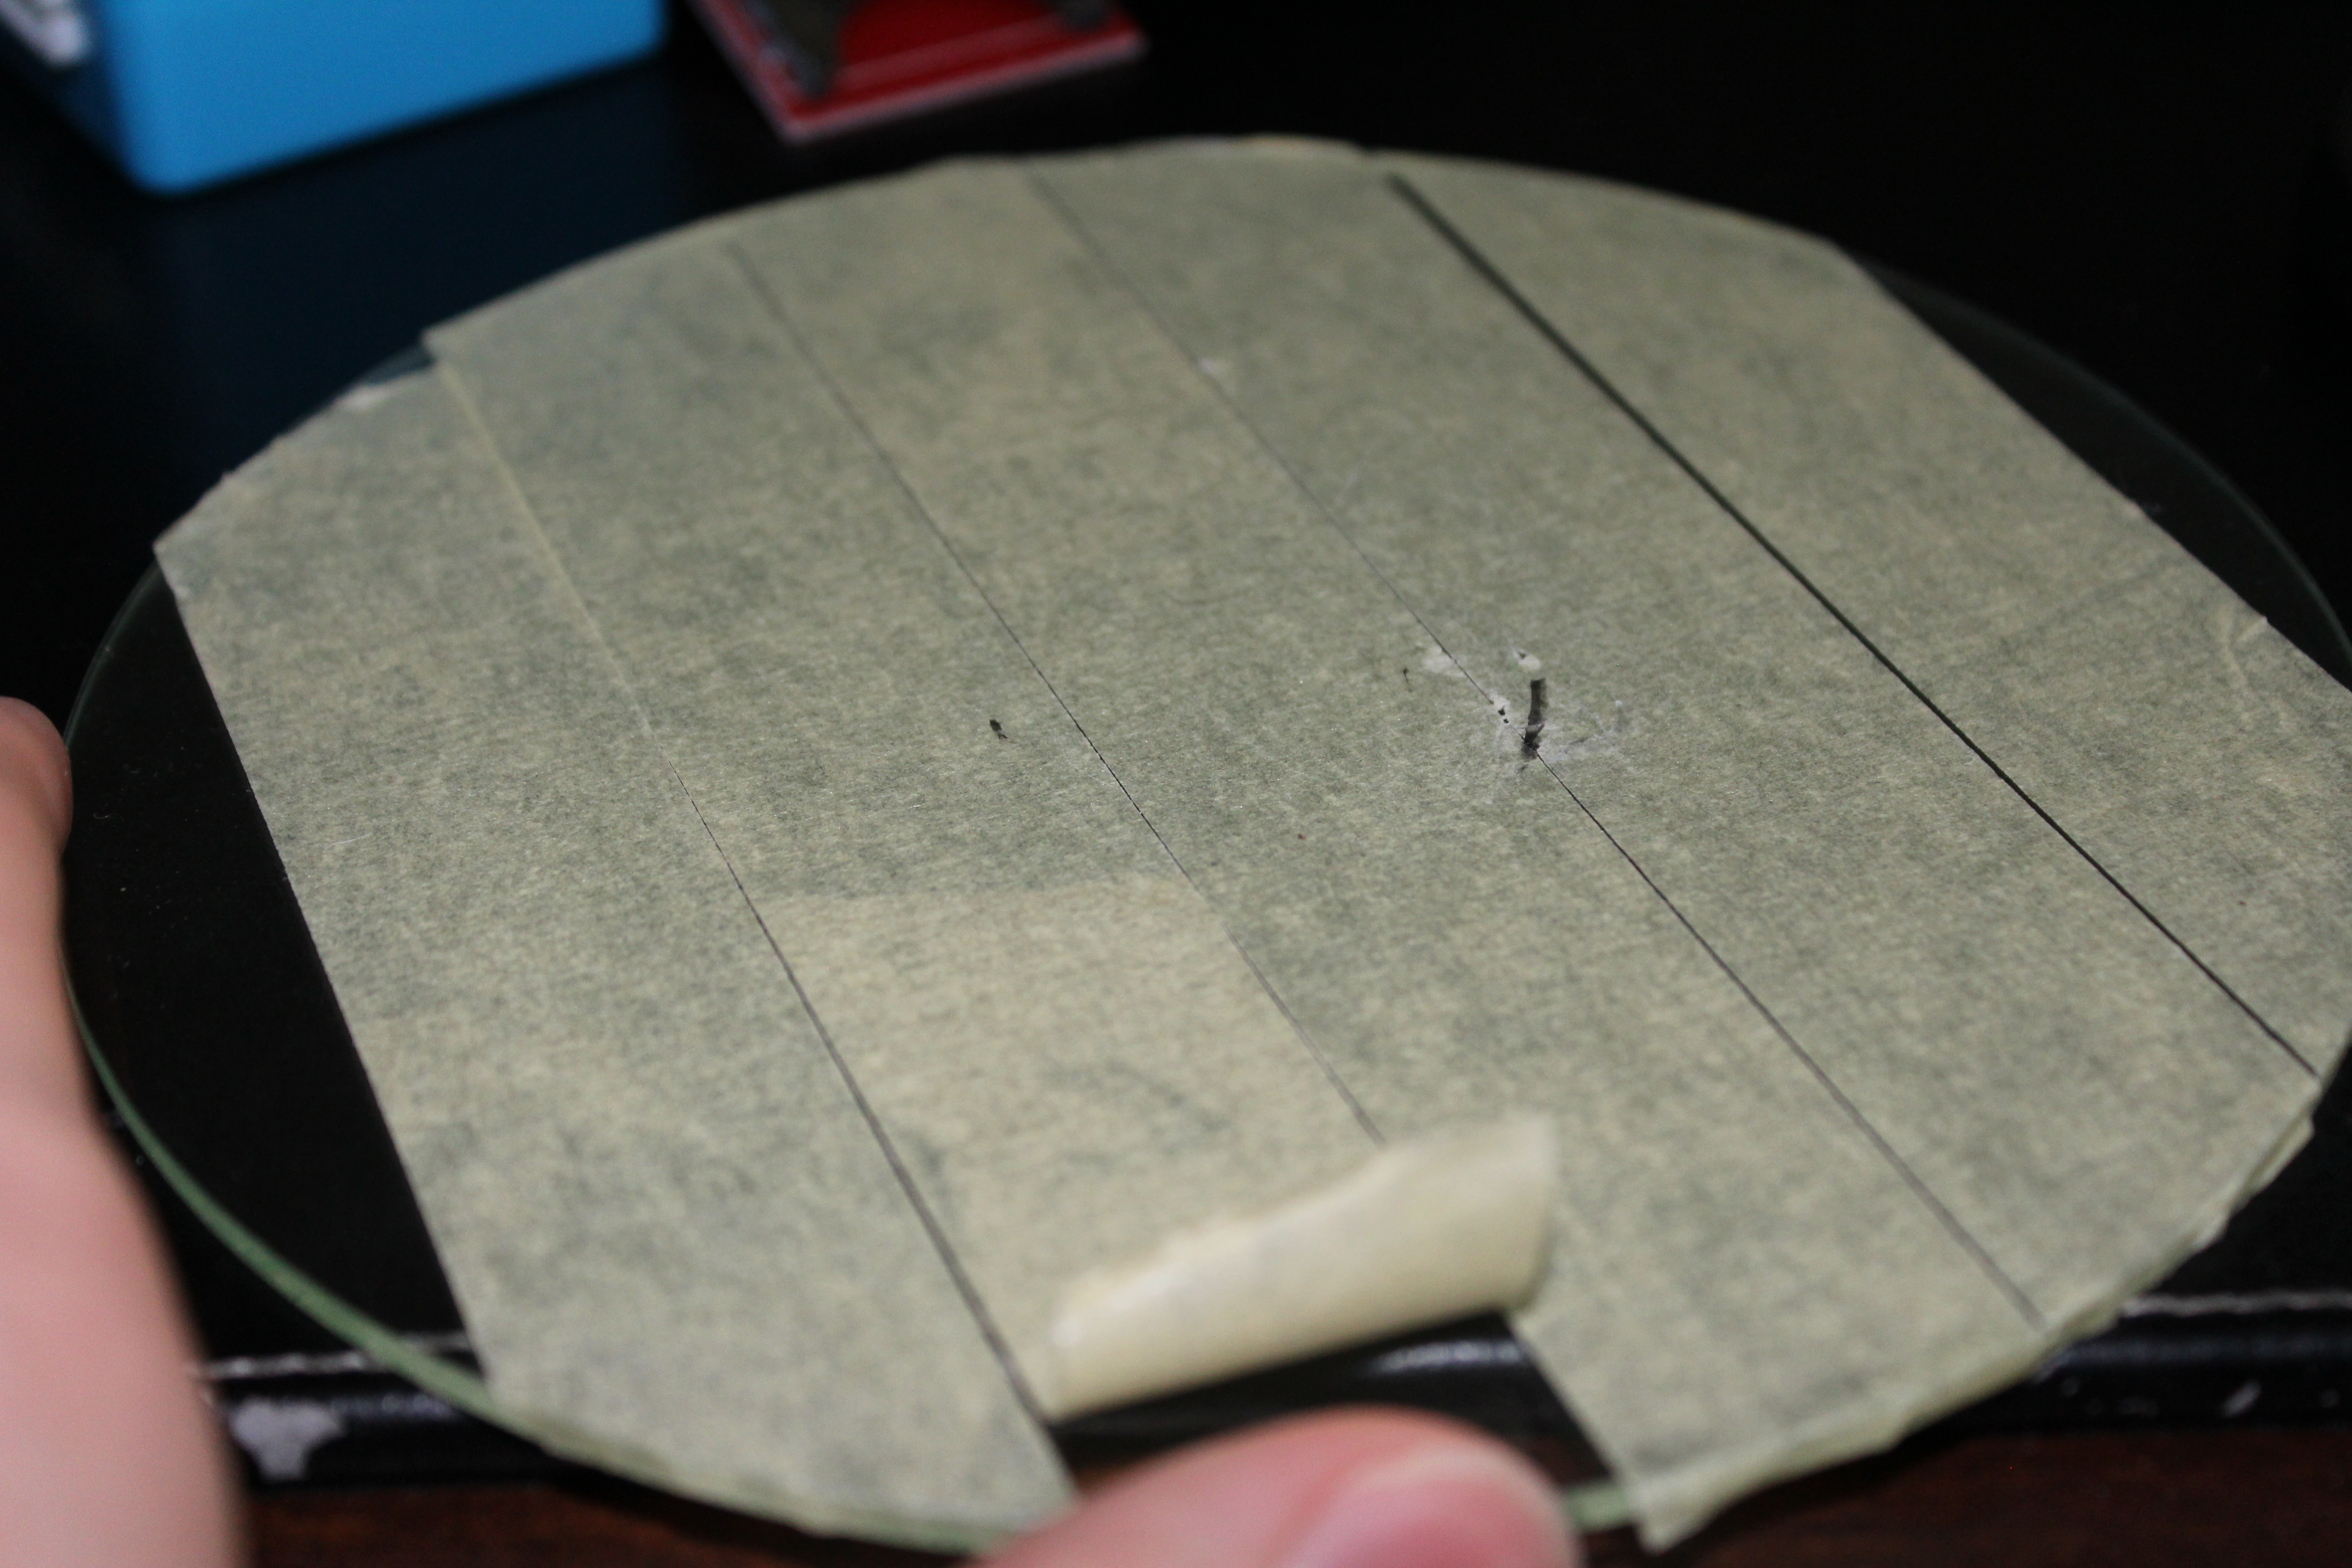
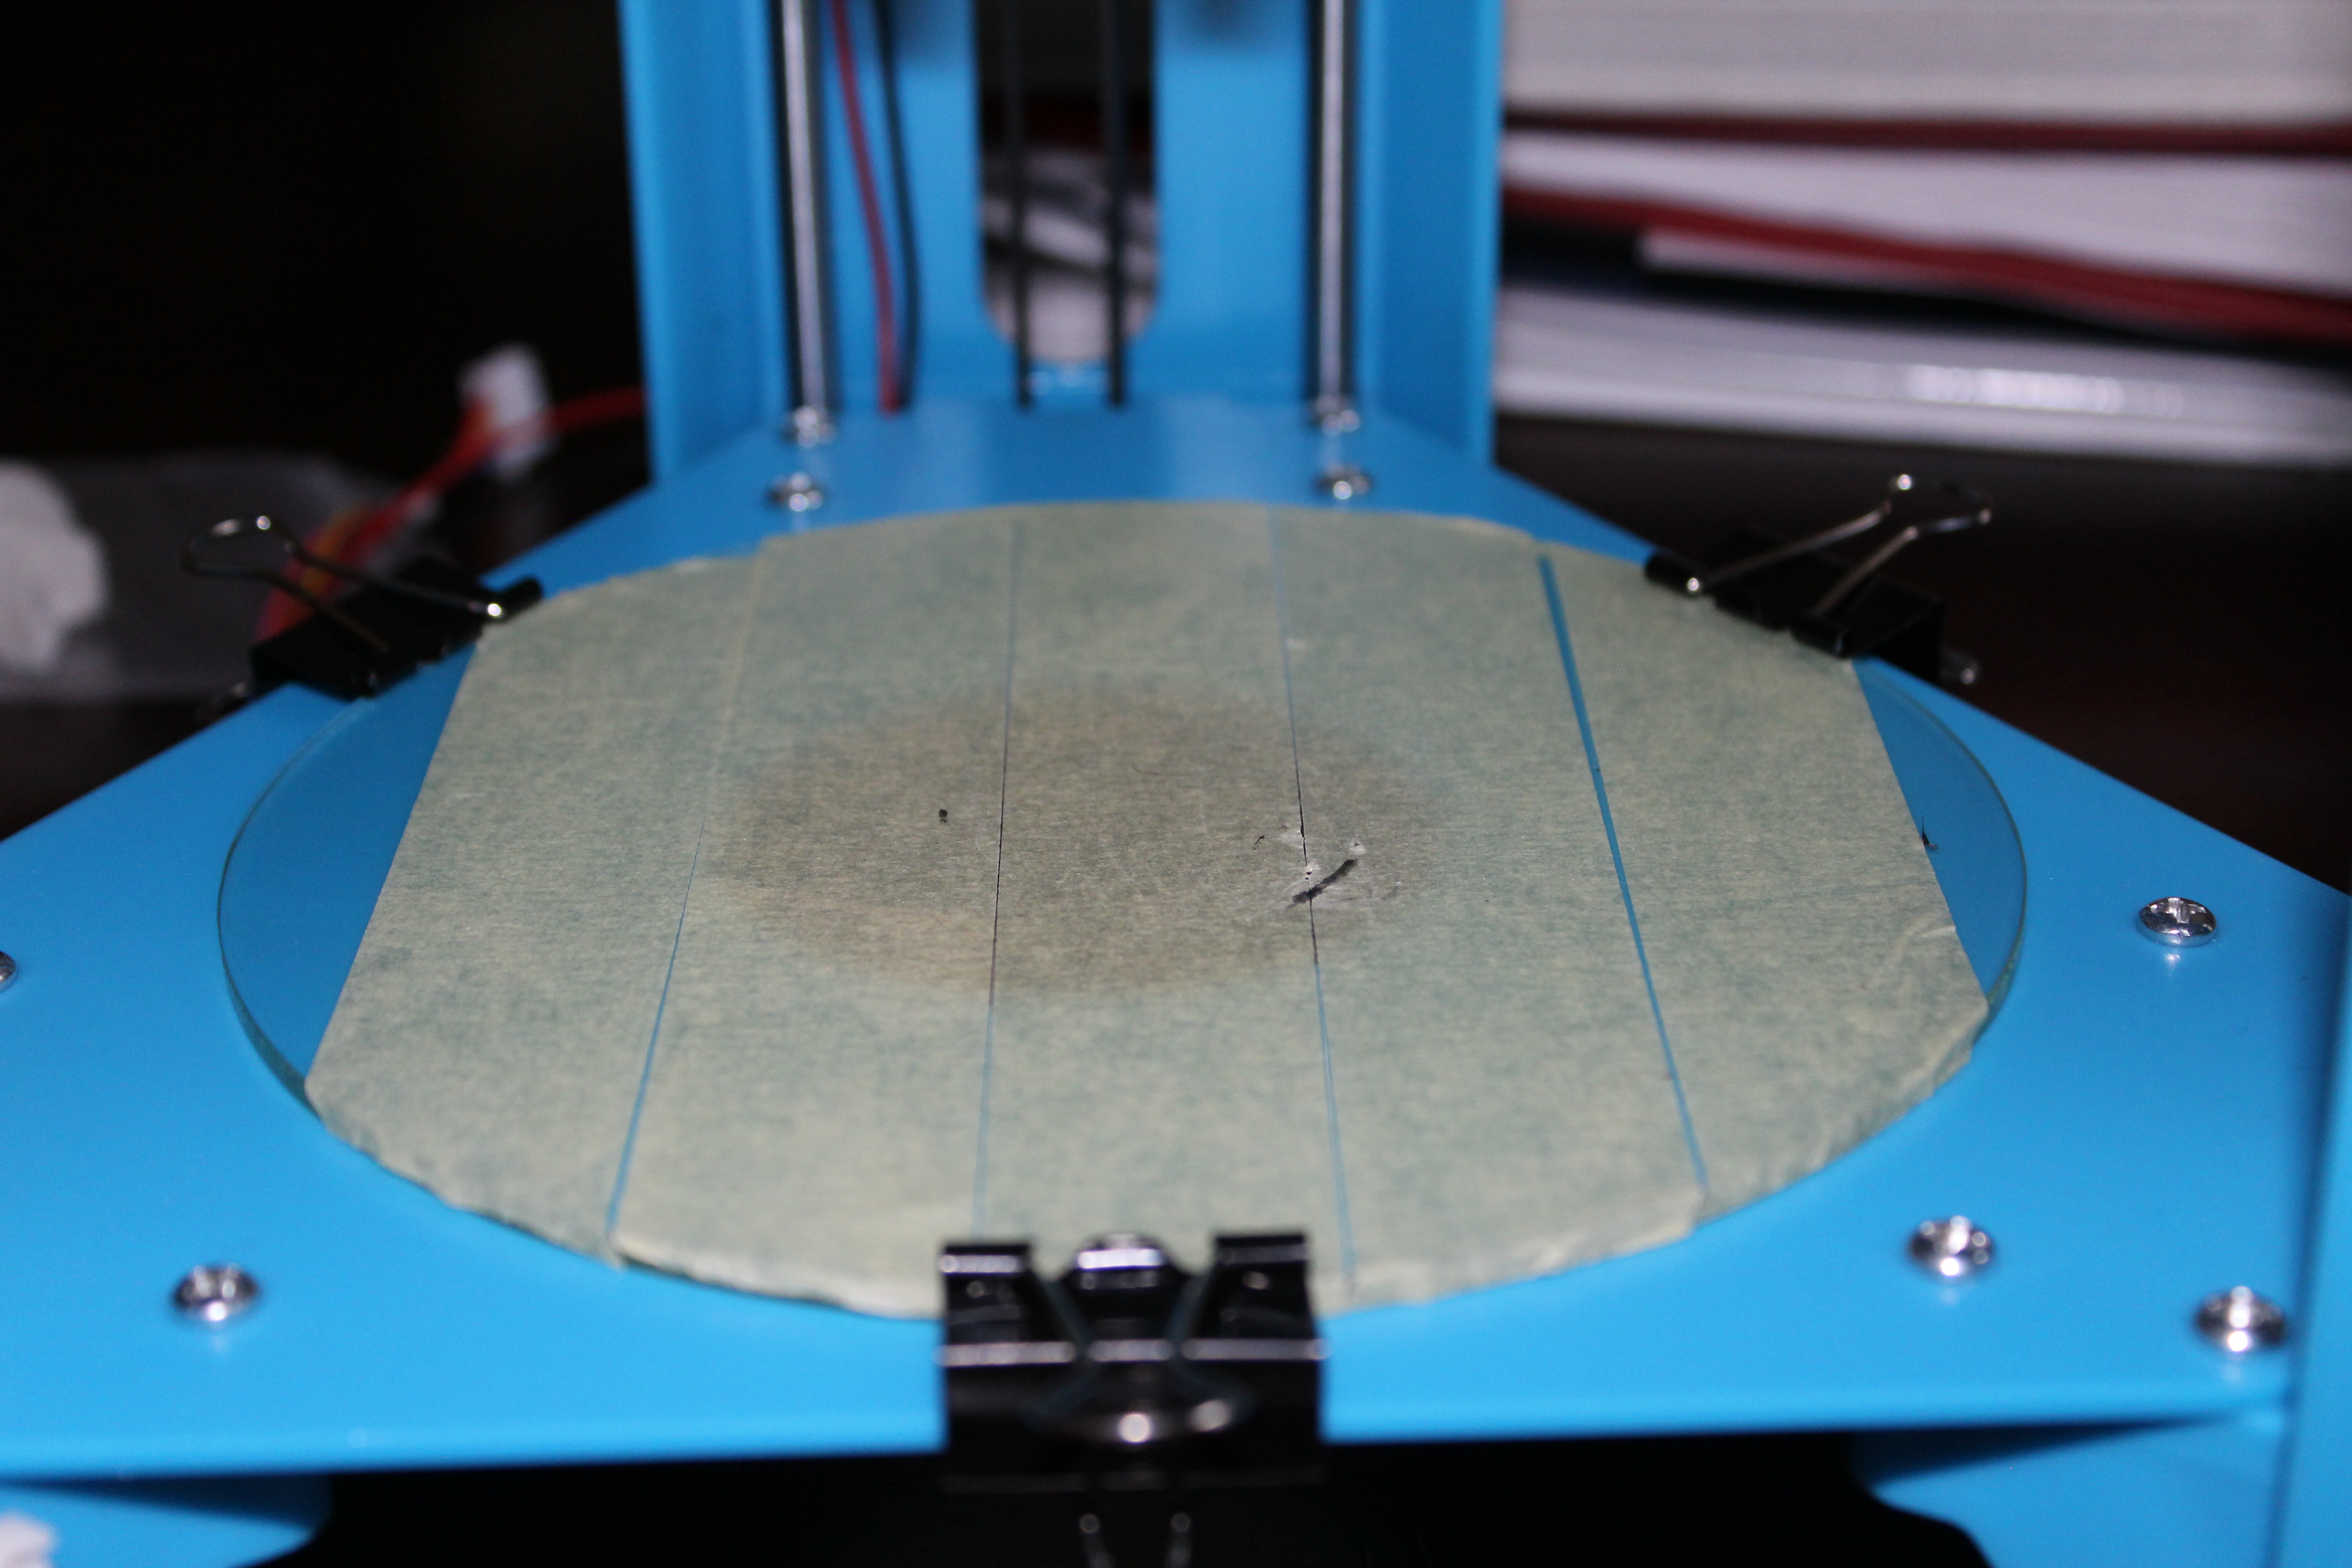
The element you are trying to print has to adhere to a somewhat sticky surface so it can stay put instead of being dragged around the printing area. The plate tape included with the printer is what we'll use. Cover the glass plate with strips of tape until the entire plate is covered. DON'T LET THE TAPE PIECES OVERLAP IN ANY WAY! It will cause unbalance of the printer surface and will mess up your 3-d model if you do. You can leave a small gap in between the strips to avoid overlap. Attach the glass plate to the bottom plate using the binder clips.
Connect Wires Into Controller
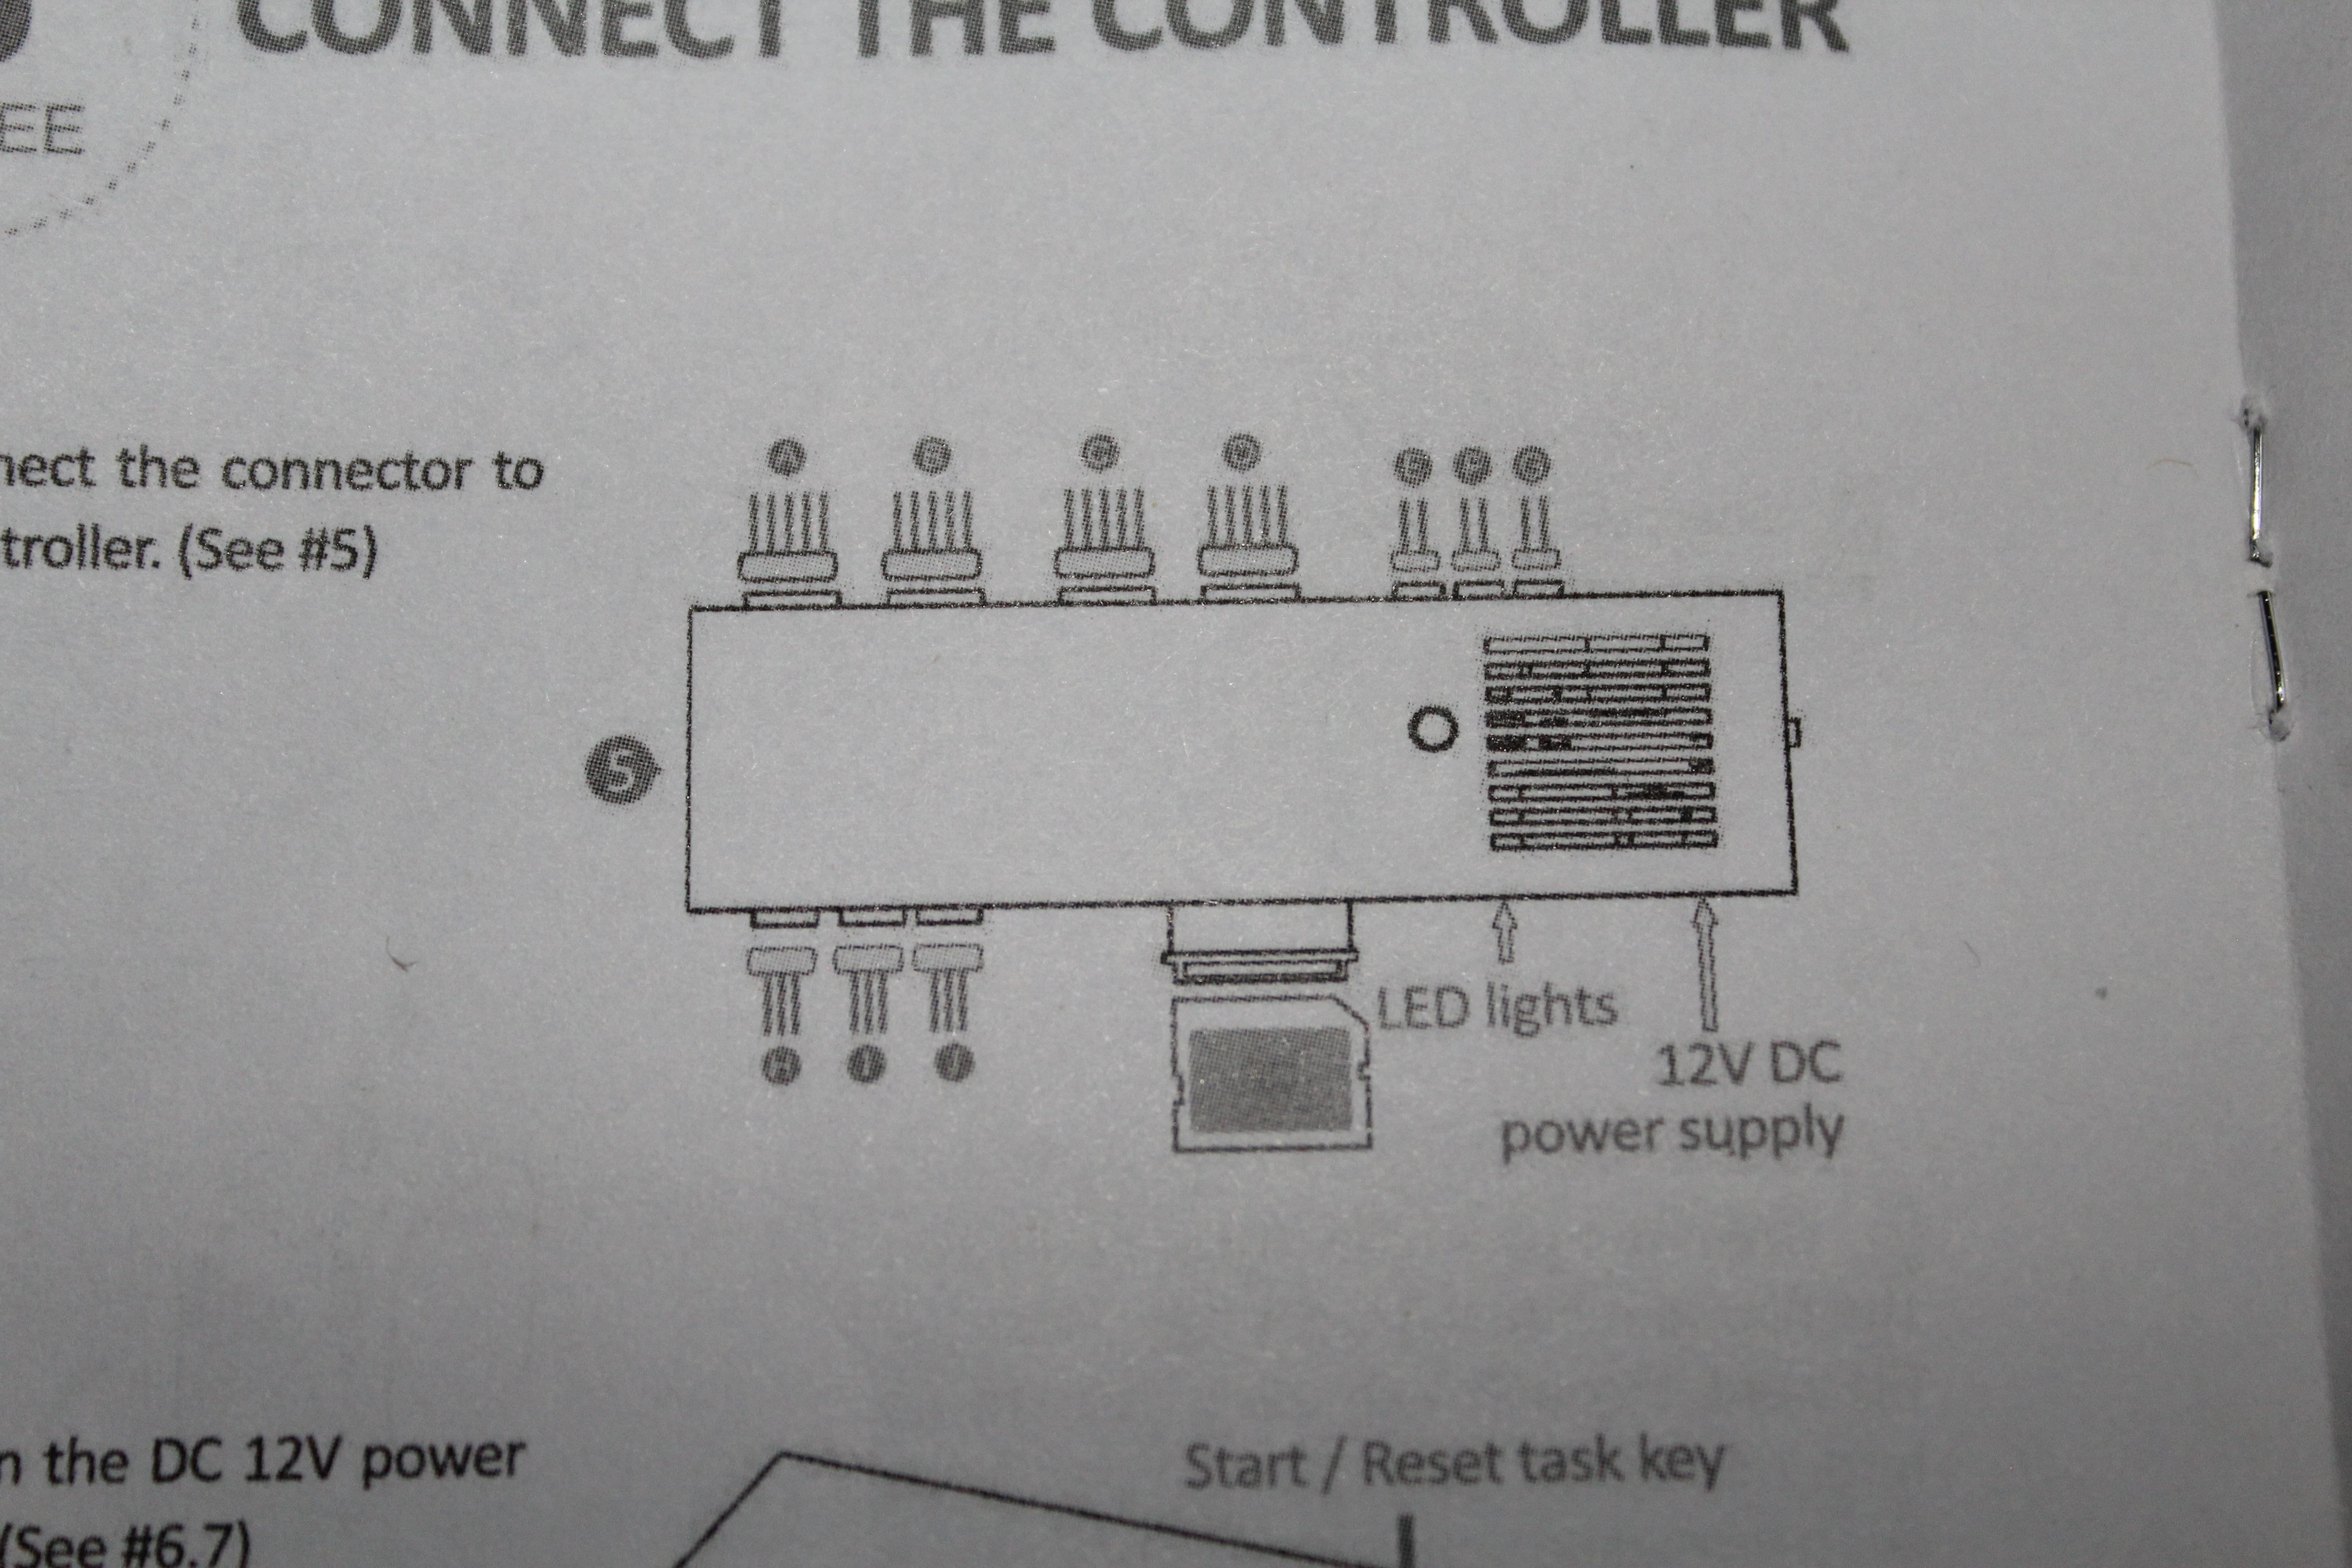
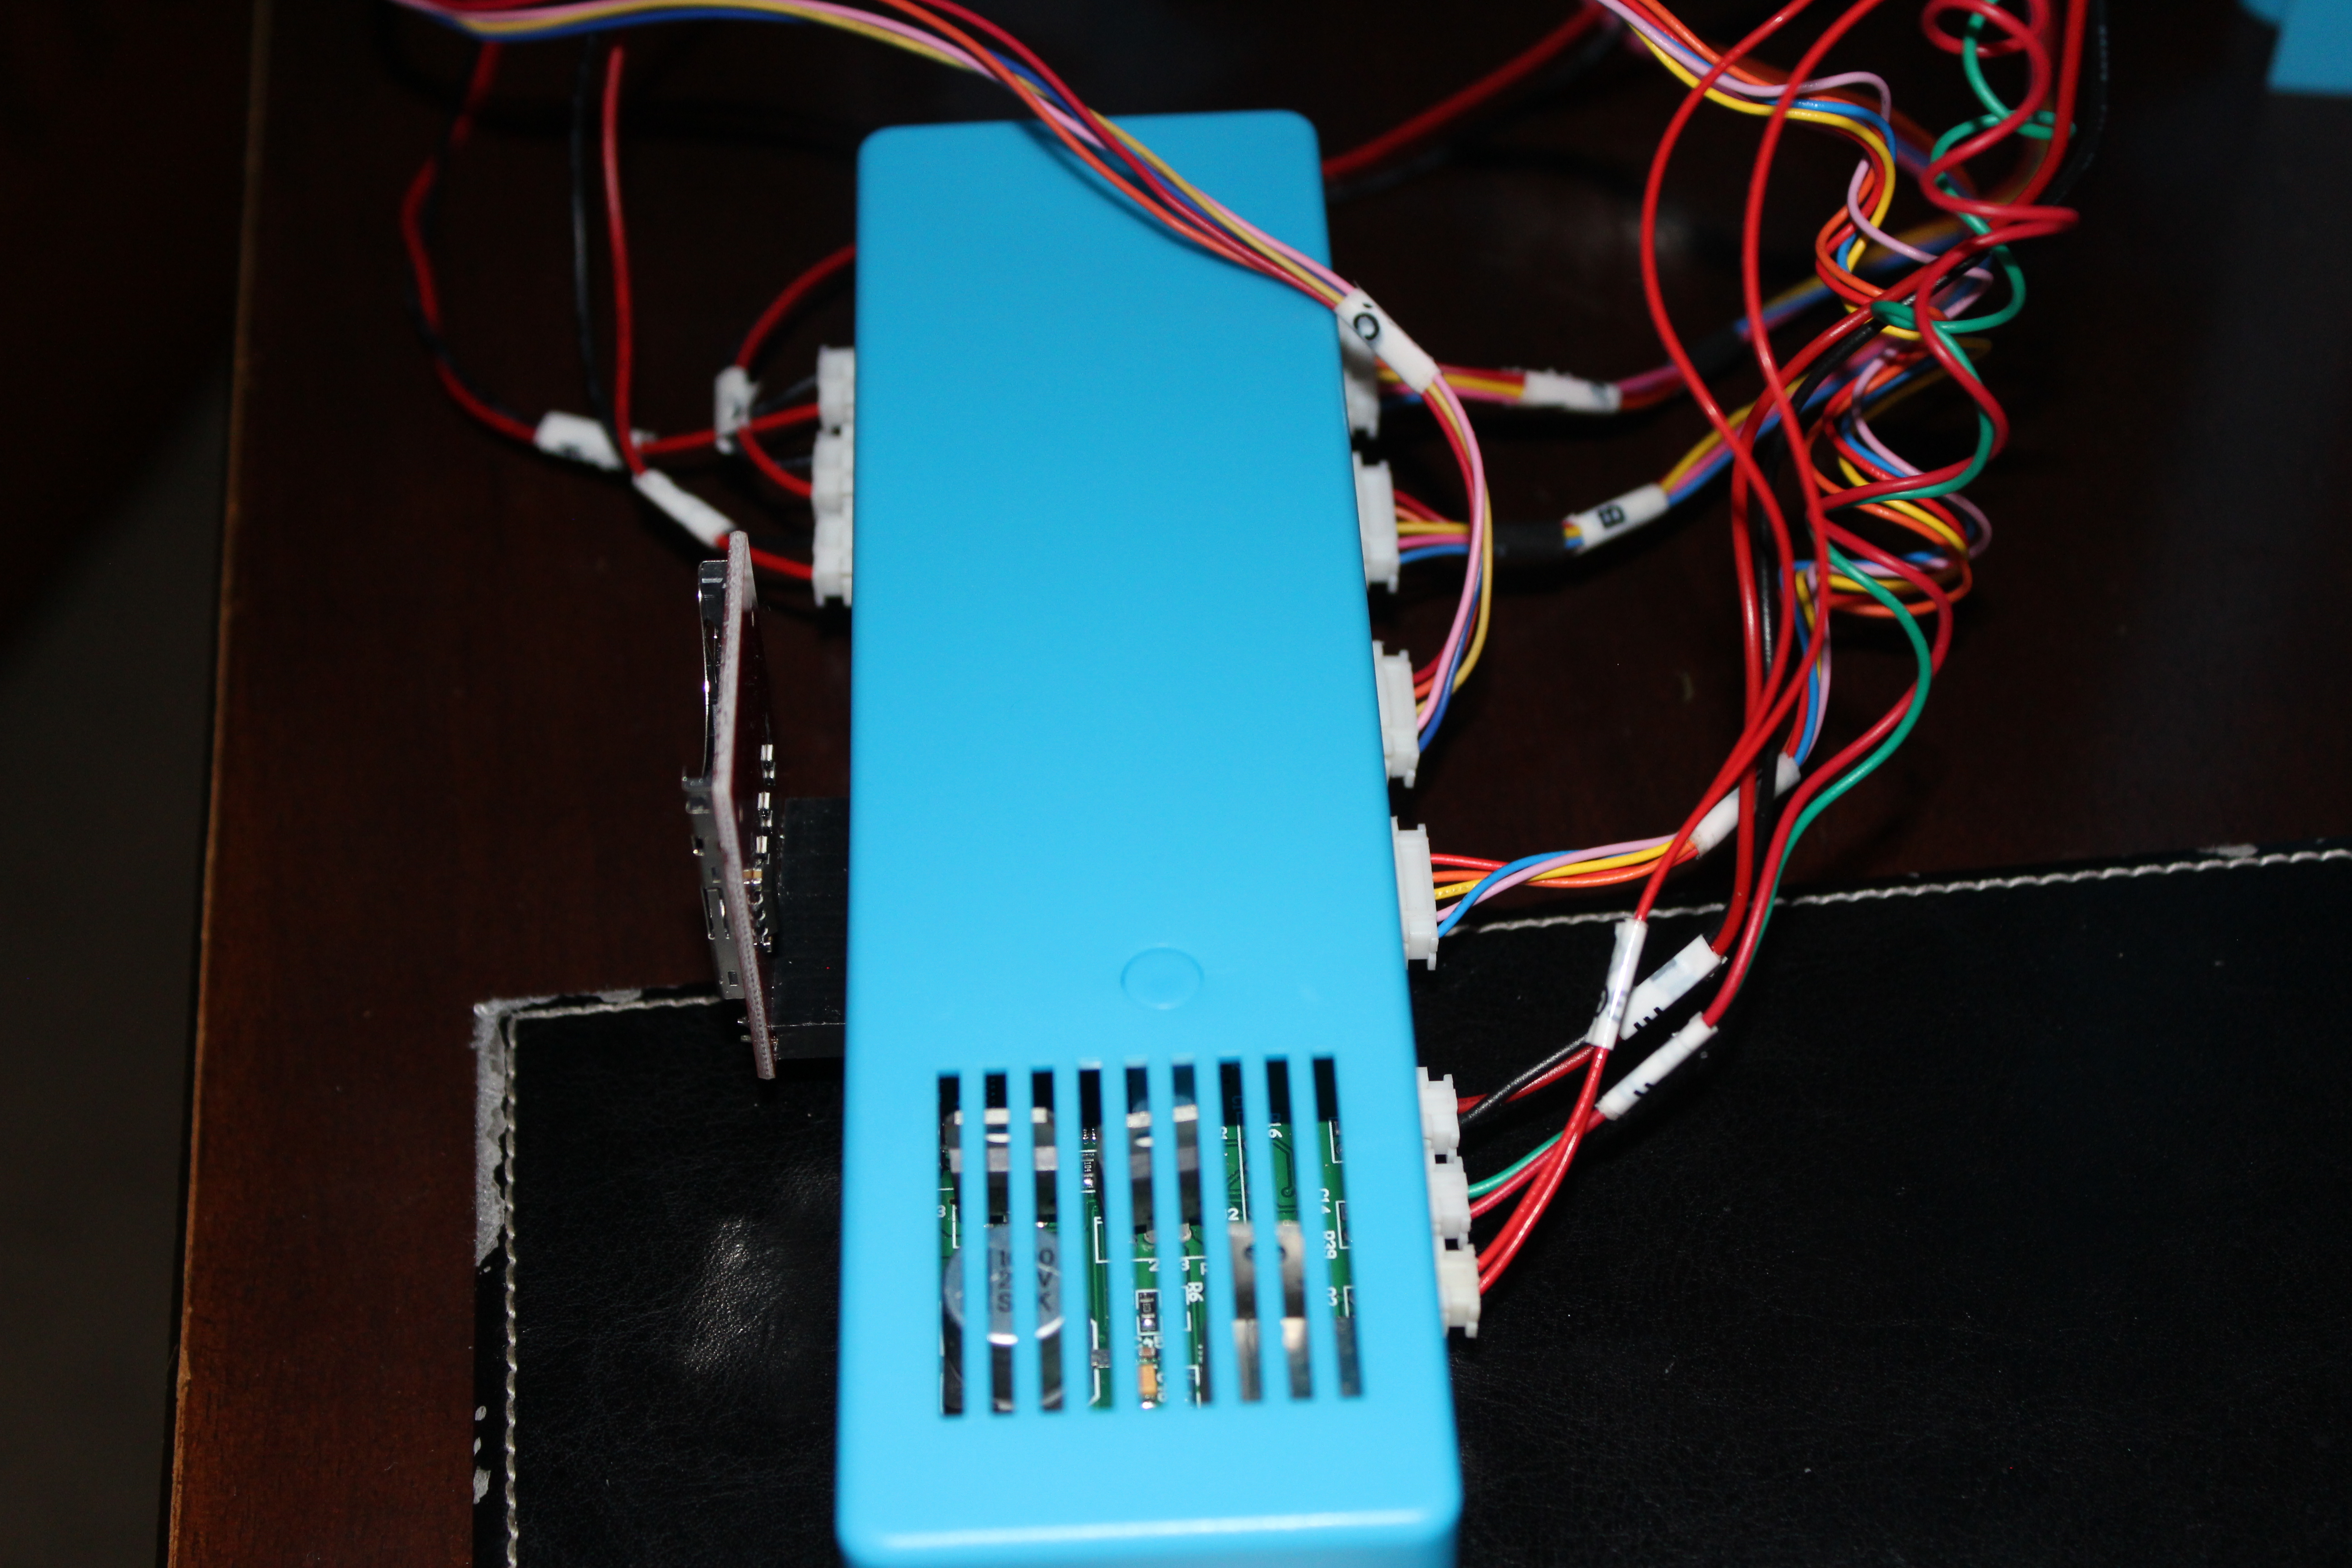
Now to wire the 3-D printer up to the controller. Each pylon has two sets of wires that connect to the controller and the extruder has four. Each set of wires has a number tape on it to distinguish where it needs to go into the controller. There is a diagram in the instruction booklet (which is displayed) but it is a little hard to read.
The wiring is as follows (left to right):
Pylon 1 - set "A" goes into first large slot on side opposite SD card port; set "H" goes into first small slot on SD card port side (side with exposed I/O pins).
Pylon 2 - set "B" goes into second large slot on side opposite SD card port; set "I" goes into second small slot on SD card port side.
Pylon 3 - set "C" goes into third large slot on side opposite SD card port; set "J" goes into third small slot on SD card port side.
Extruder - set "D" goes into fourth large slot on side opposite SD card port; set "I" goes into first small slot opposite of the SD card port side; set "I" goes into second small slot opposite of the SD card port side; set "I" goes into third small slot opposite of the SD card port side.
Plug the SD Card port into the exposed I/O pins.
Print!
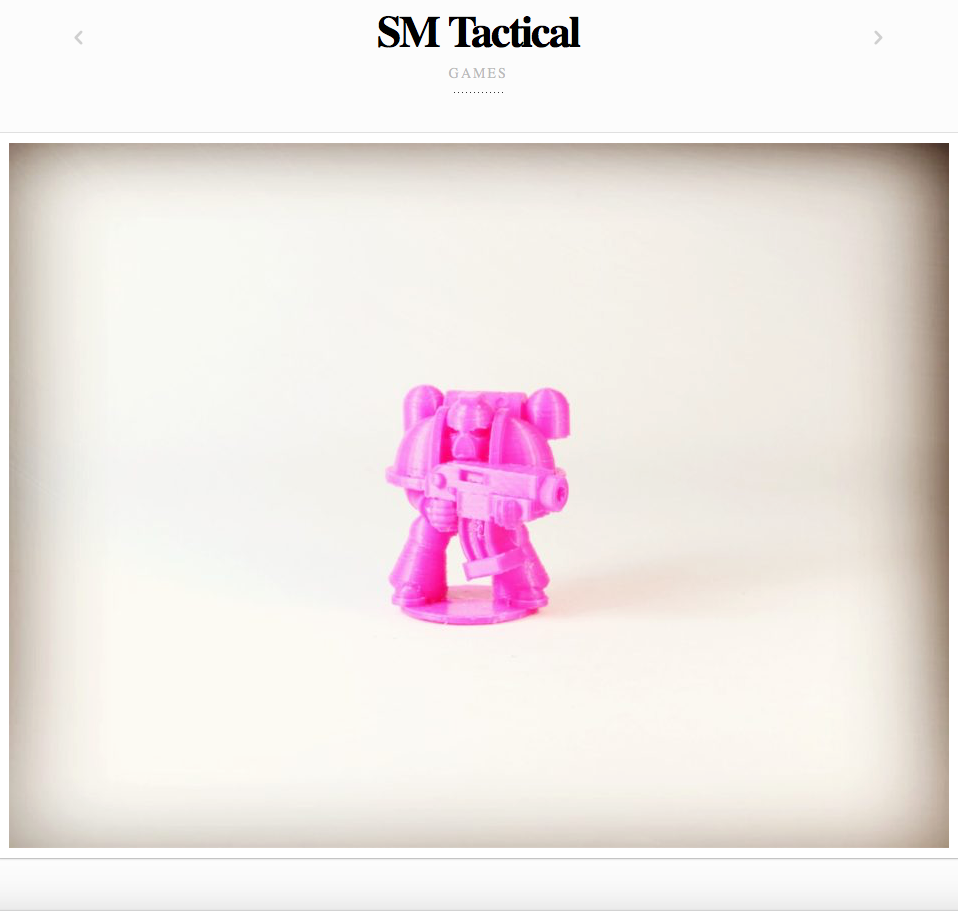
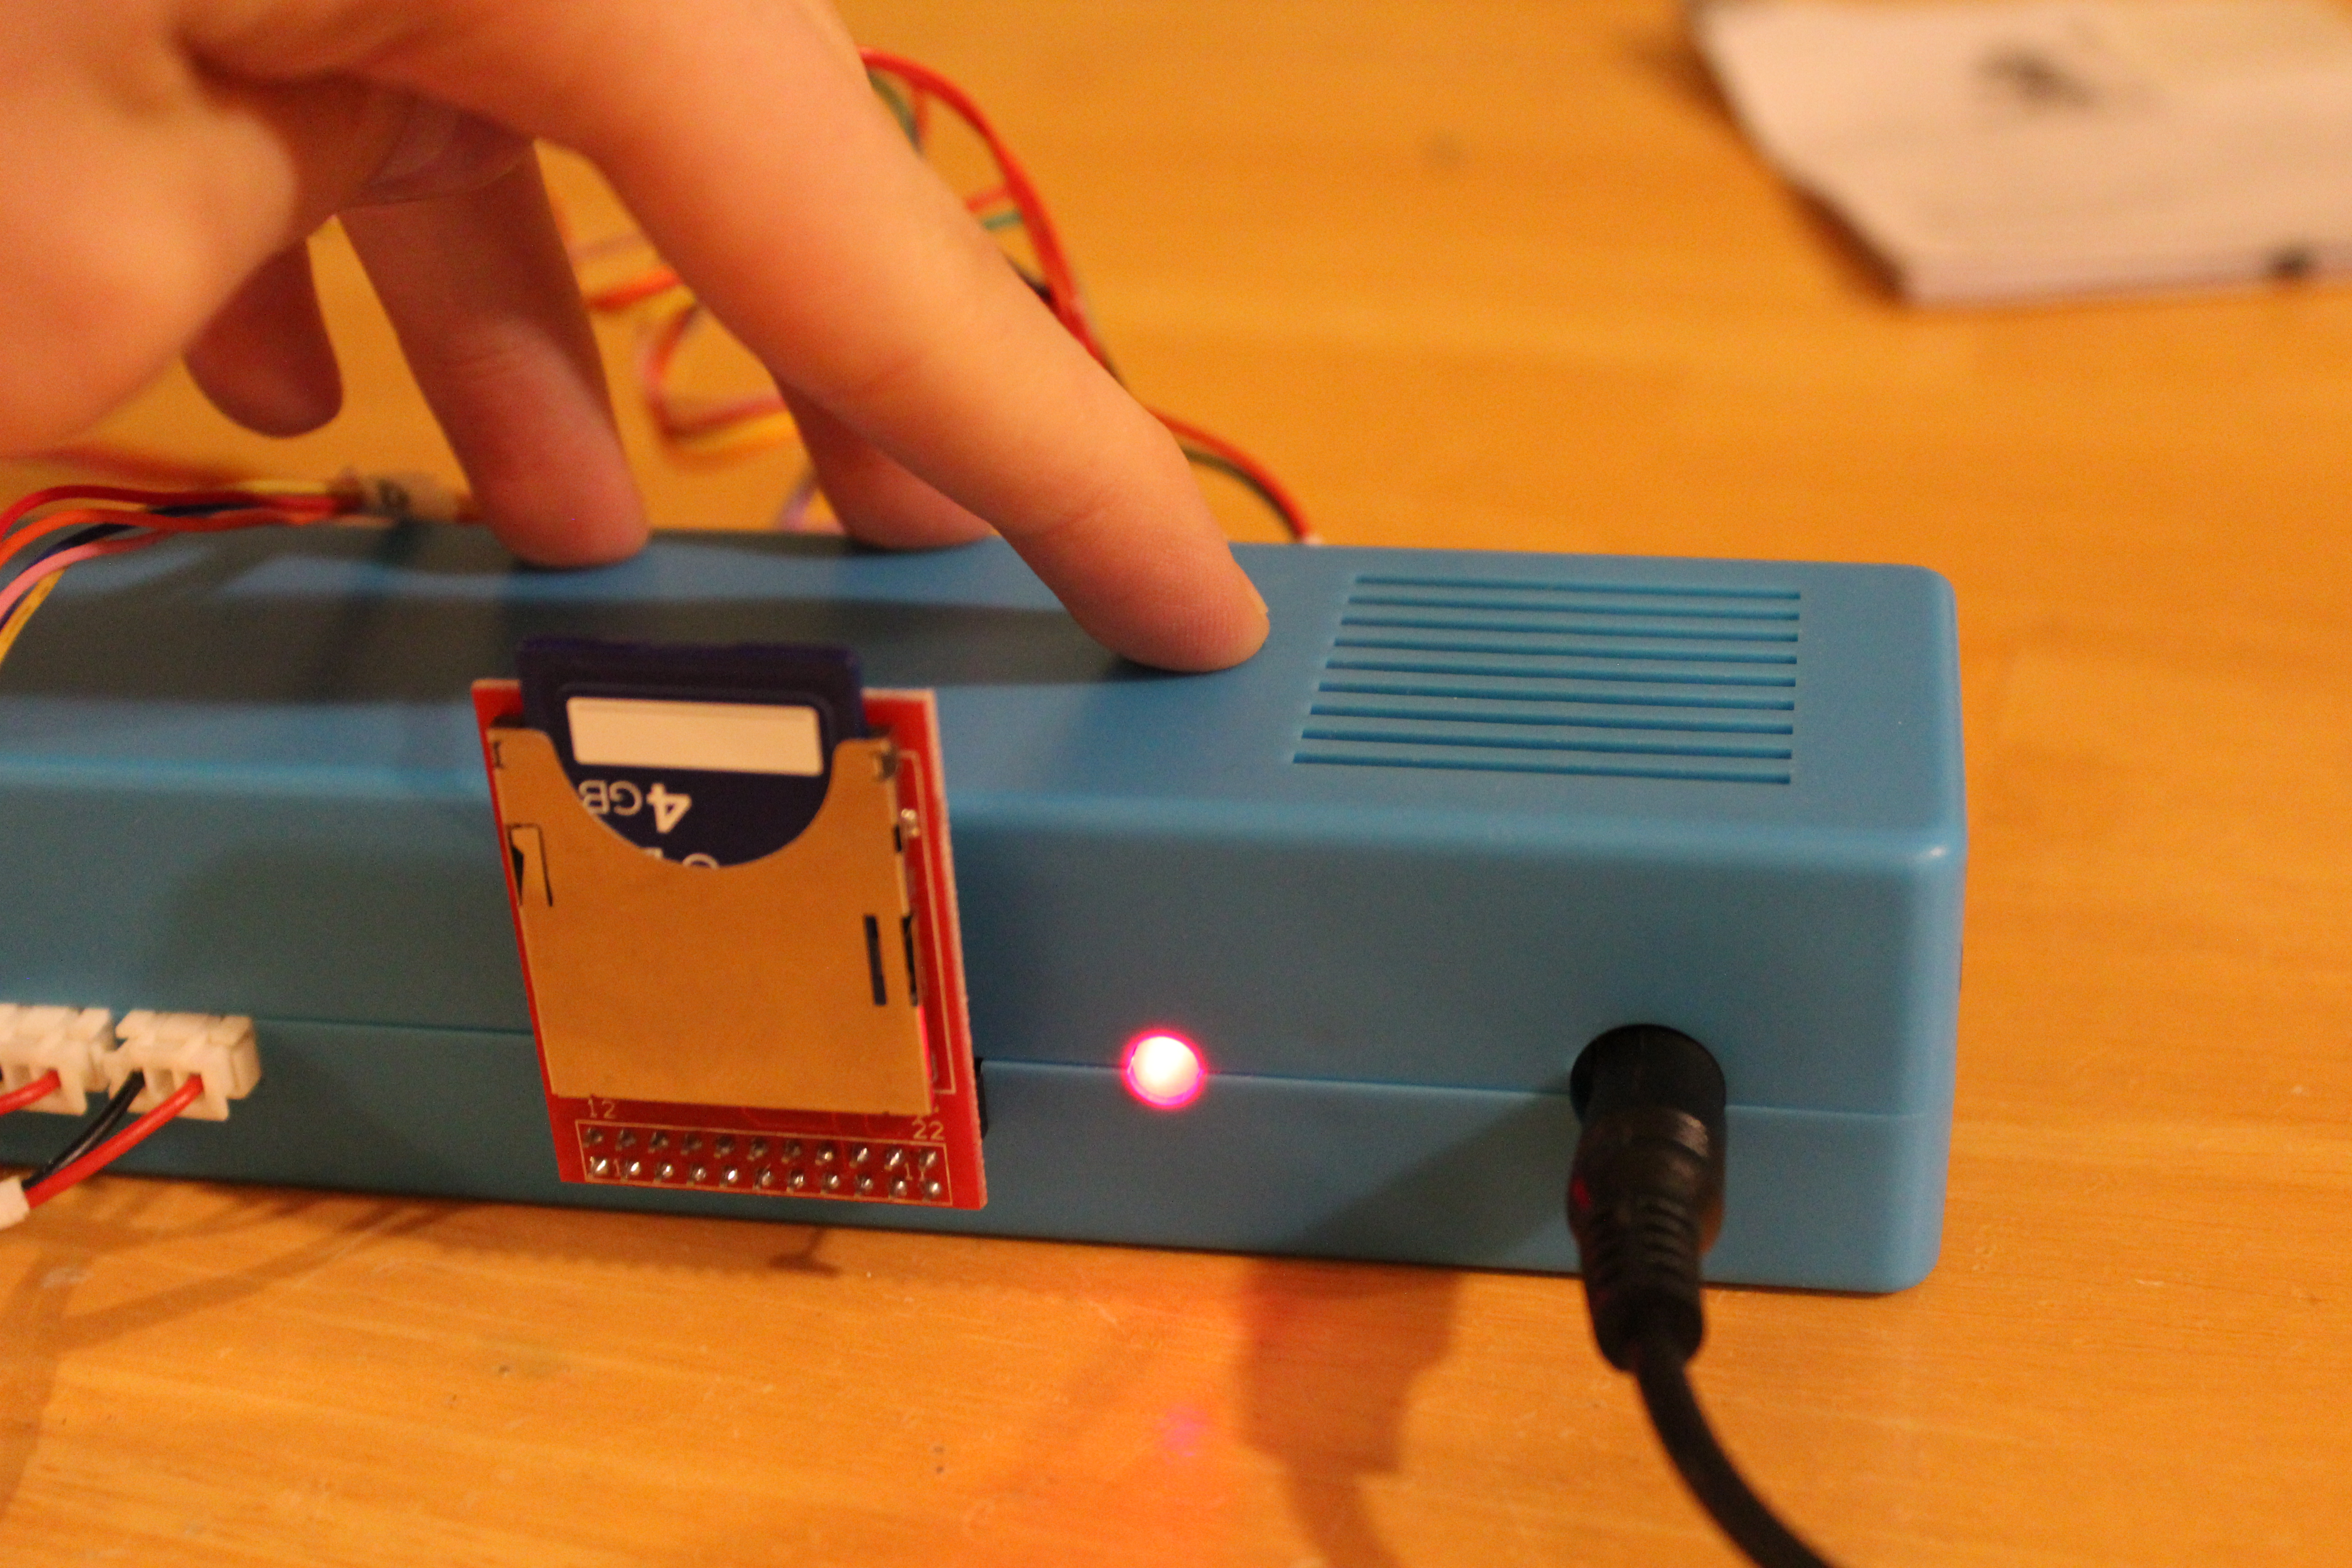
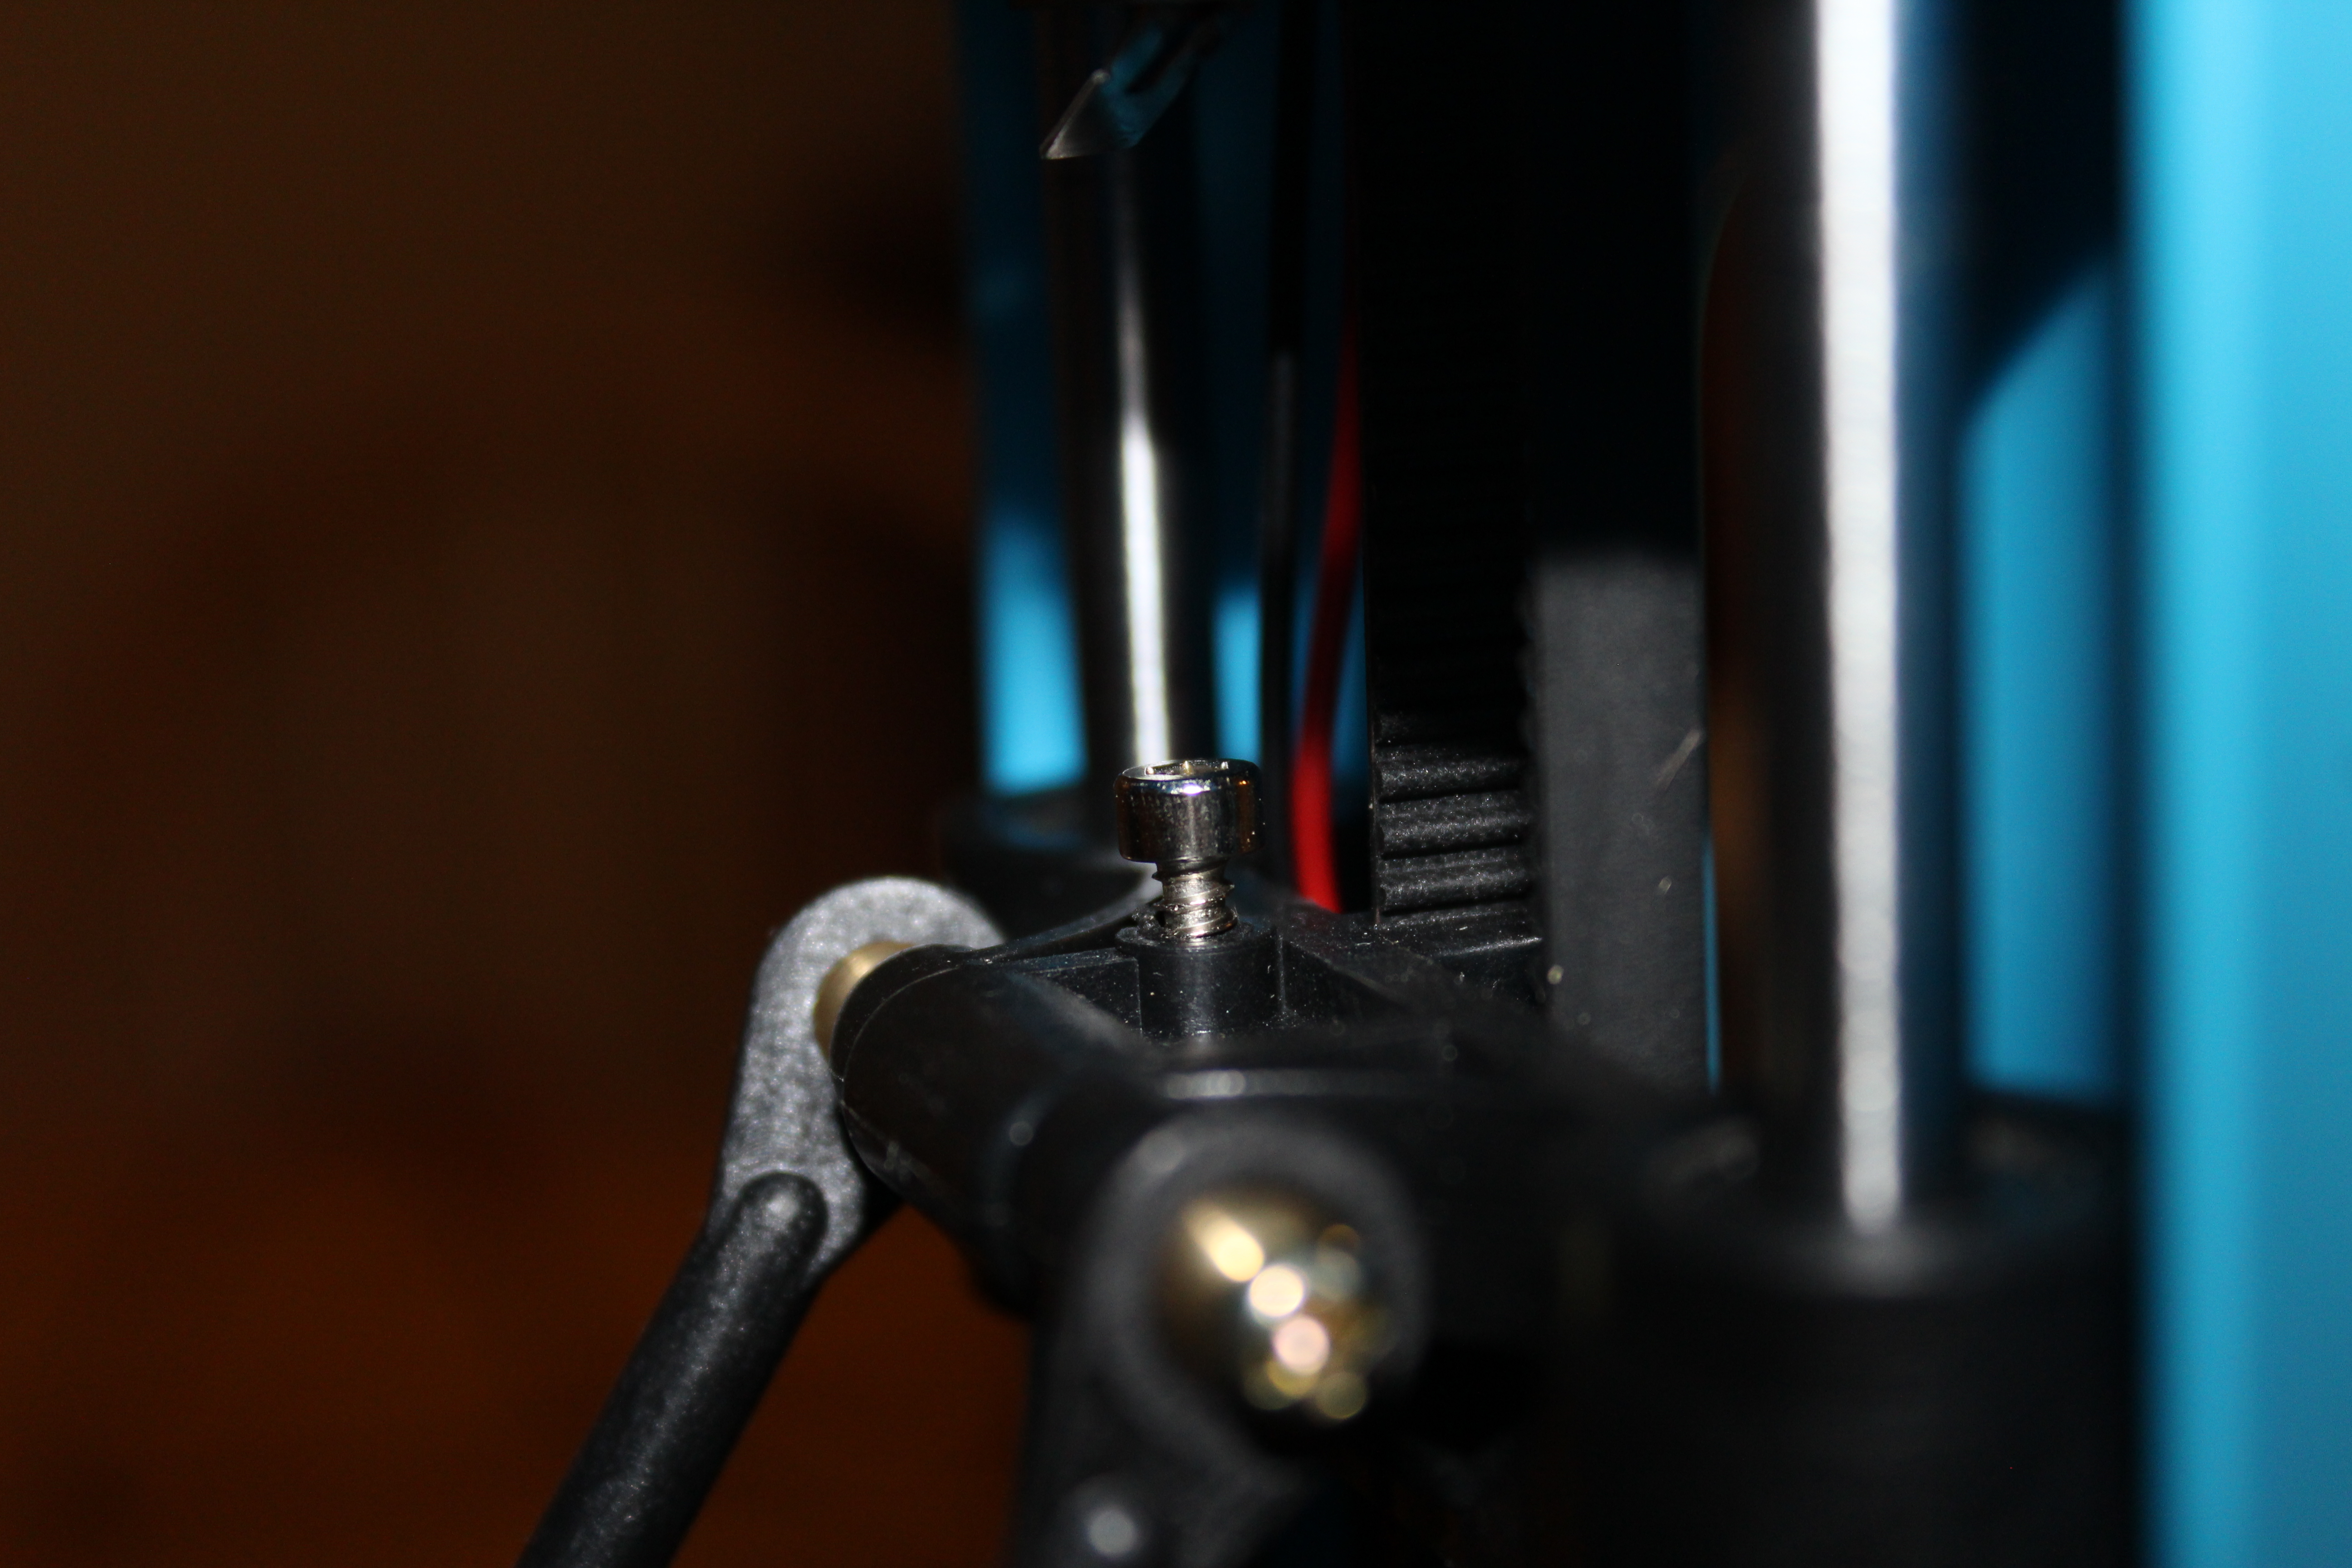
Now it's time to print. You can go to 101land, the expansive model database that the creators of the 101HERO have made to get you started with 3-D printing. The website is here: http://101land.com/. You can also find ways to code your own designs, but for the sake of this Instructable, I will demonstrate how to use a pre-created design. Here I have chosen to use the SM Tactical plastic model design from 101land. All you have to do is download the zip file, pull out the 101HERO file from the zip file, and load it into a SD card. Take the SD card and insert it into the SD card slot in the controller. Next, plug the power adapter cord into the controller and plug the power adapter into an electrical outlet. Switch the controller on and press the button on the top to start printing.
Some pointers on initial startup of printing:
If the filament is not coming out the right way (i.e. not sticking to the platform, not being squeezed by the extruder, or none left on the tape after extruder passes by) then you have to adjust the distance between the extruder and the platform. You can do this by turning the hex screw with a Allen wrench (which is included) in each pylon assembly (pictured above). If you turn it counterclockwise, the distance between the platform and the extruder will decrease. If you turn it clockwise, the distance between the platform and the extruder will increase. Adjust until the filament comes out well and sticks to the platform.
The filament won't come out perfectly right on the first print. You should use the 3-D printer test, which is at 101HERO.com, to test the printer until the filament comes out the right way.
During Printing and Results
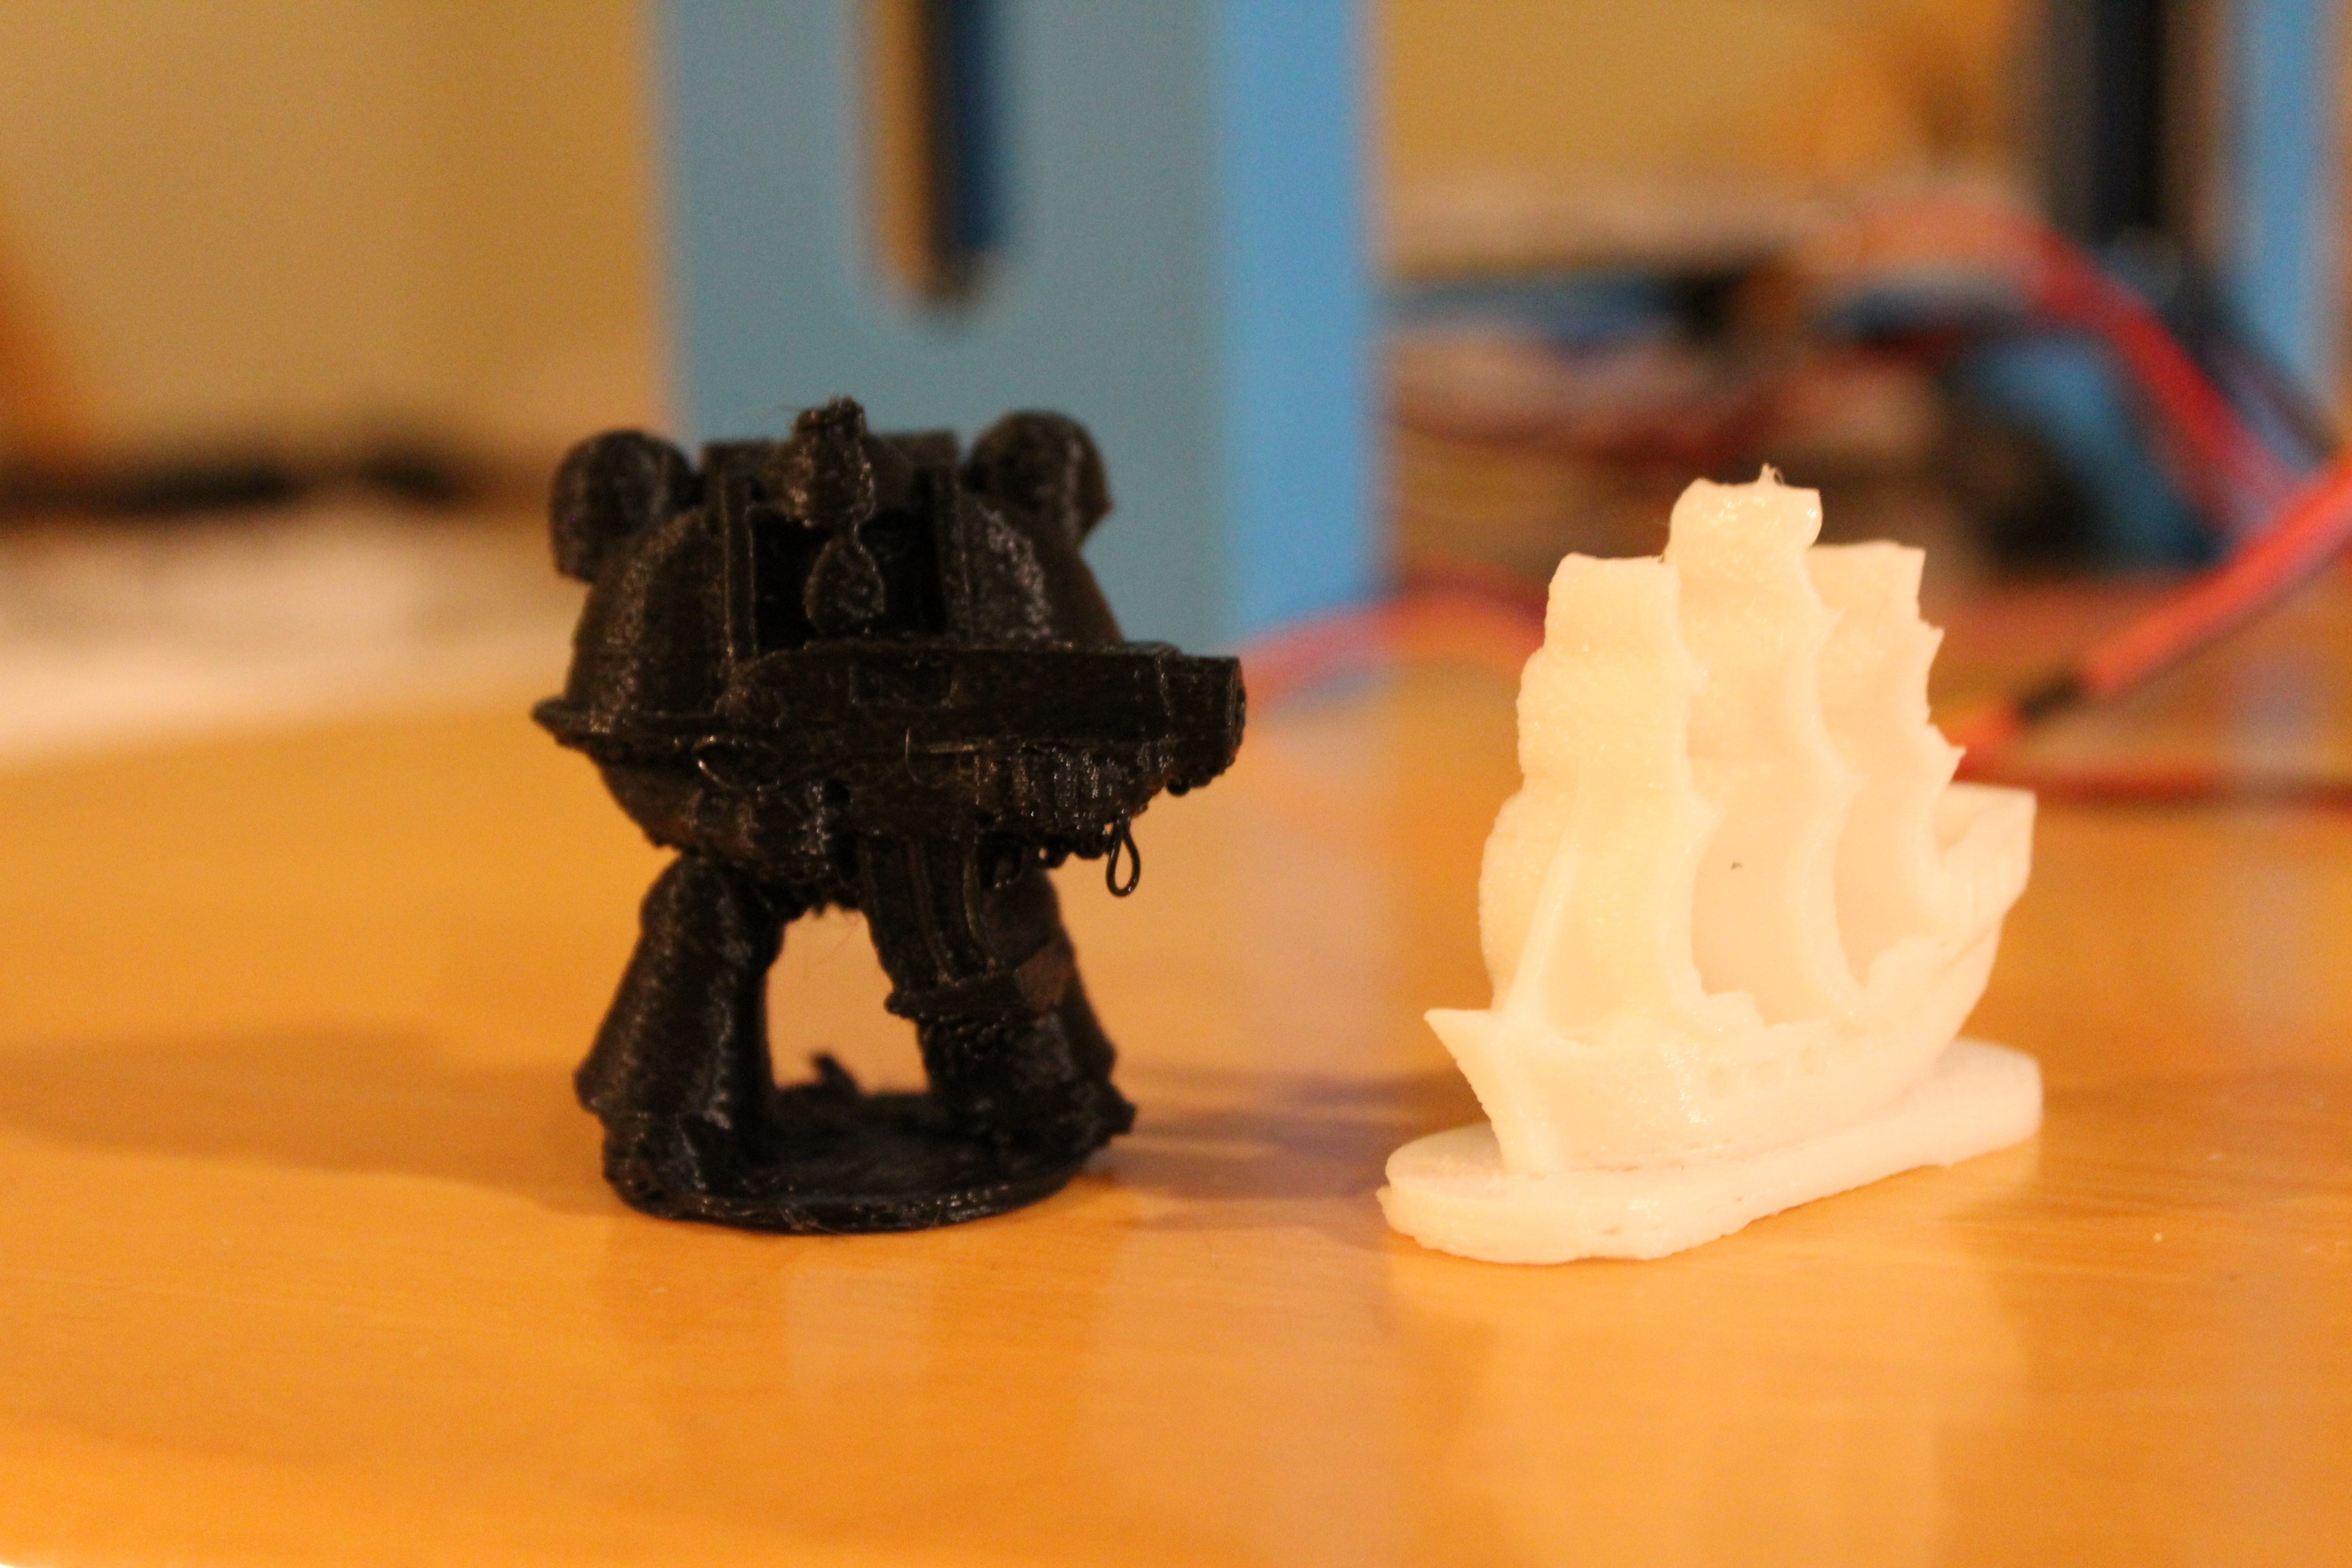
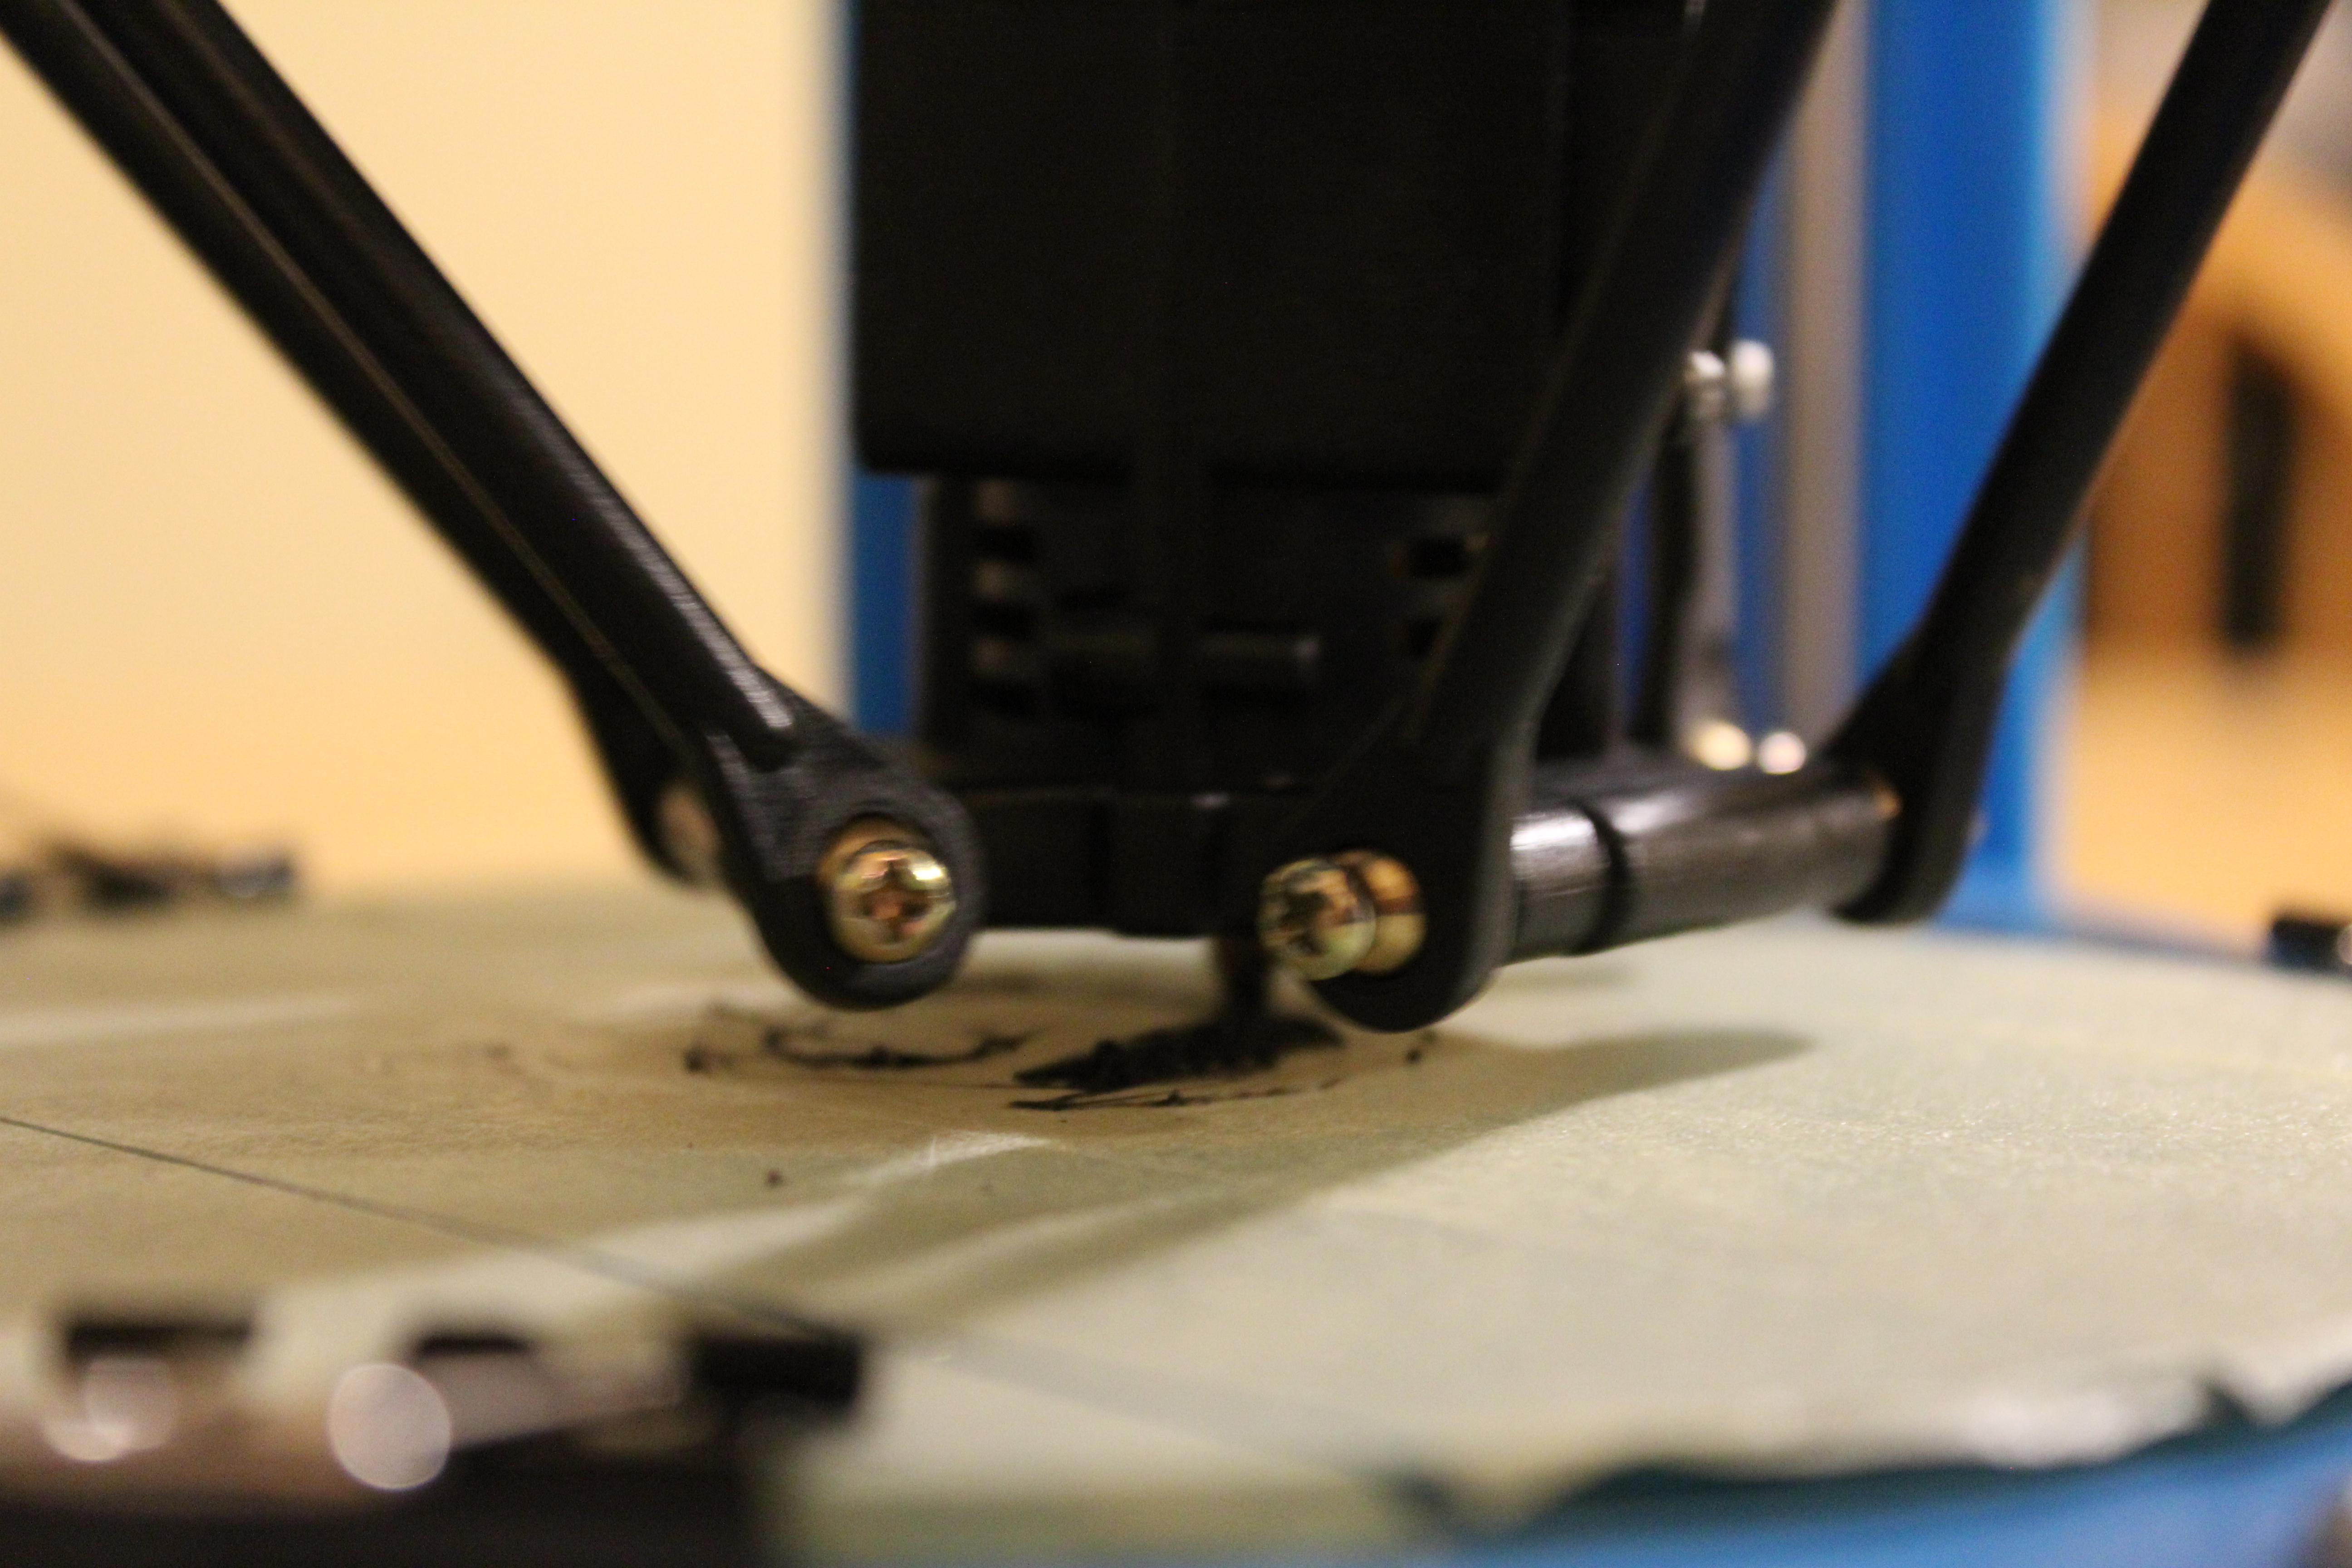
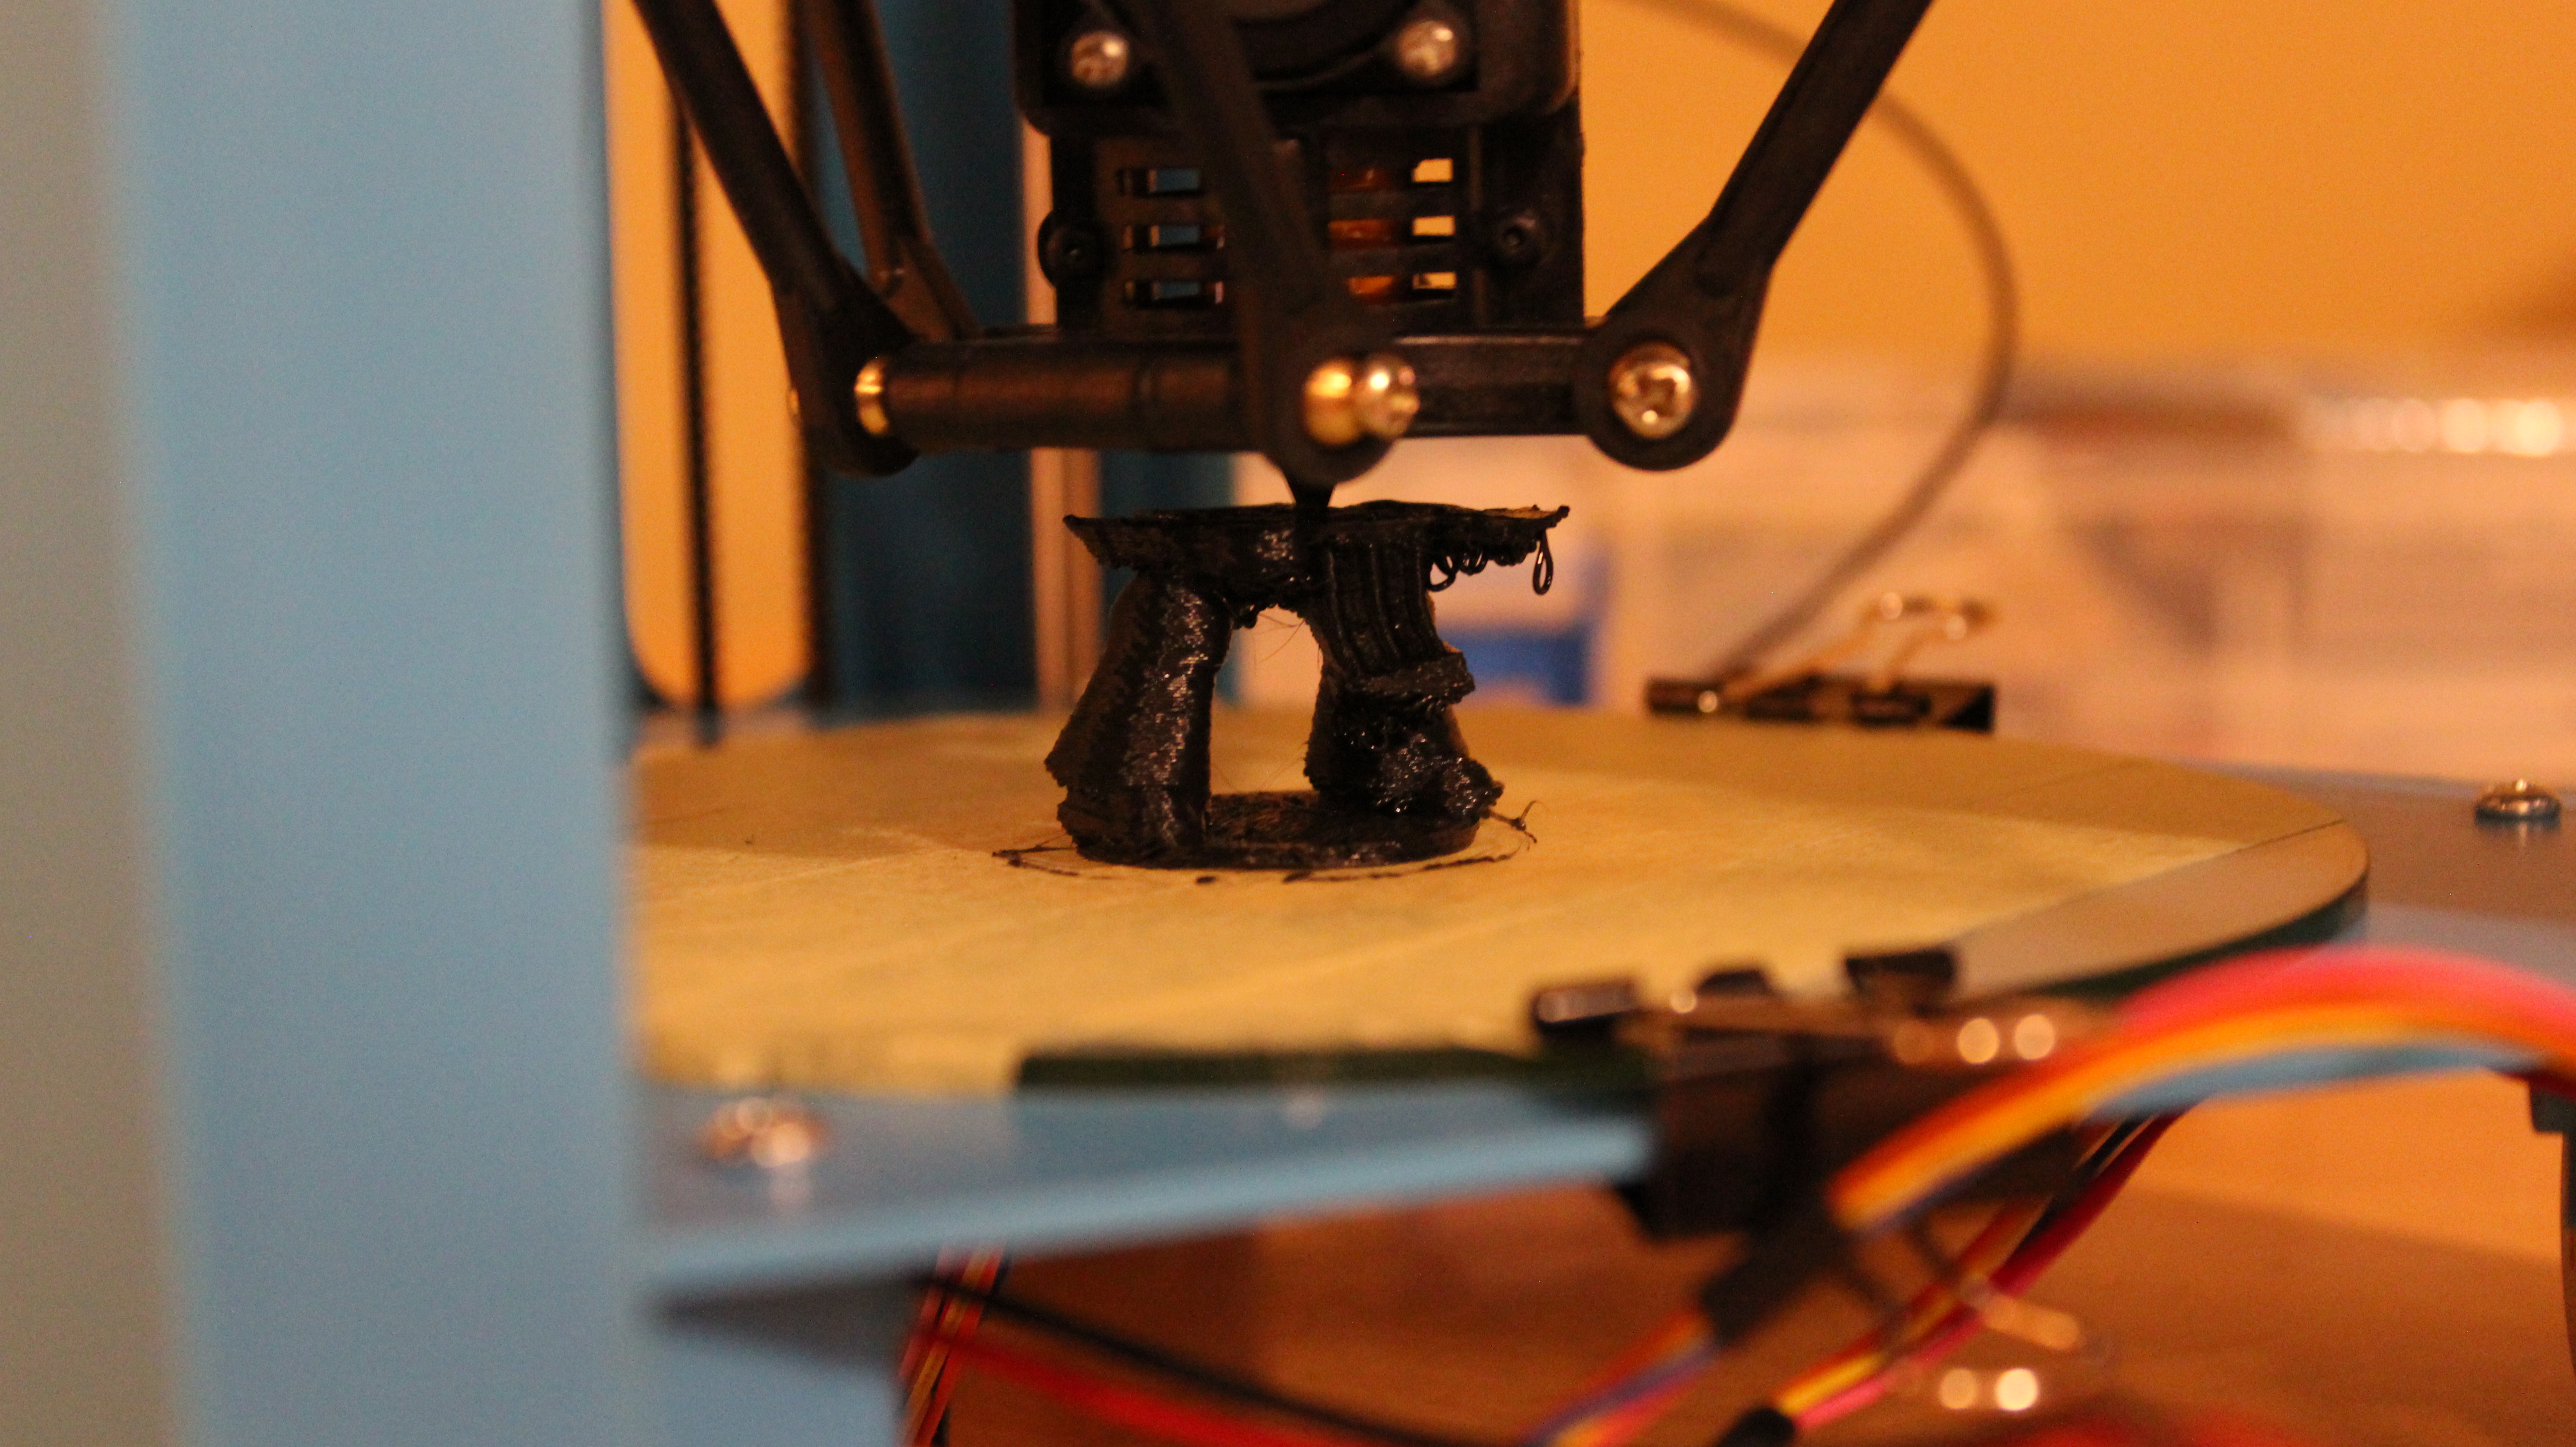
Here are some pictures of the 3-D printer in action and of two models I have made: the SM Tactical action figure and a Catan boat (I printed it with white filament), which can be found on 101land.com. You shouldn't leave the printer unattended for a long period of time so you can monitor it to make sure it is working properly.
Final Words
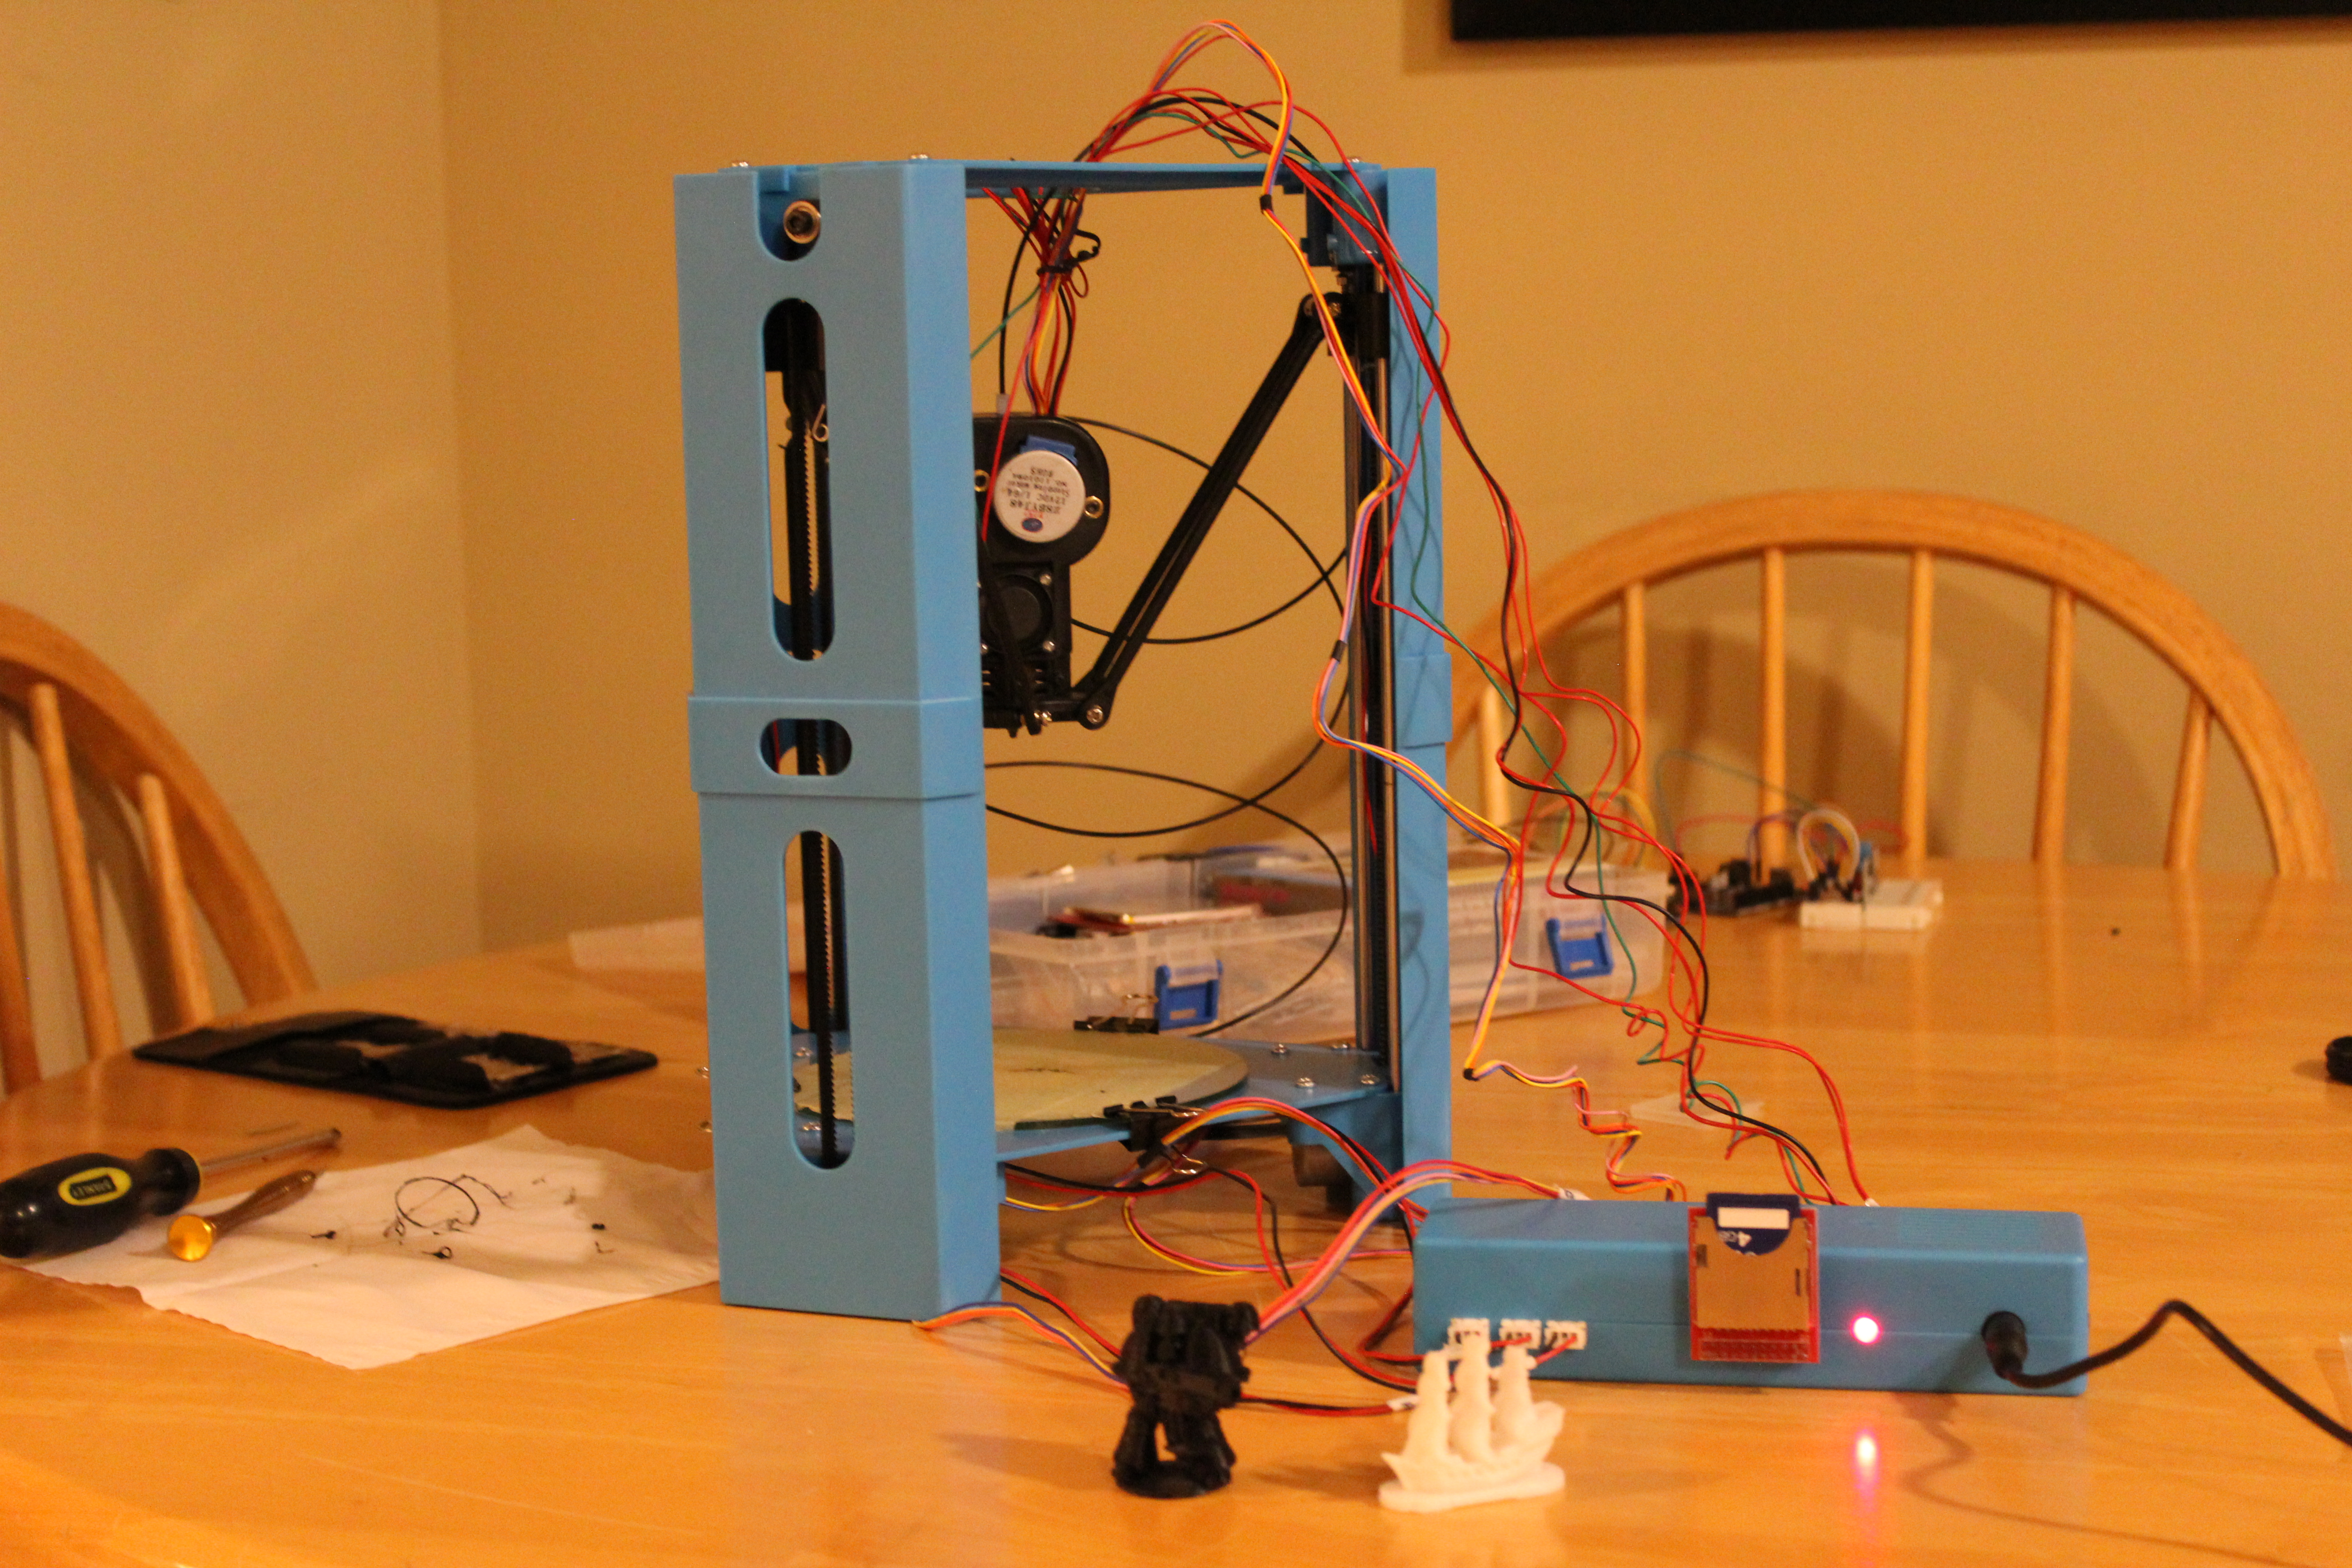
Overall, the easy-to-use functionality and relatively low cost really make this 3-D printer shine. Even though there are some areas of the design that are lacking (slow stepper motors and capability for only simple models), the printer as a whole works well and is very satisfying to use. Now that you are equipped with the know-how, go out and use the 101HERO to change the world one plastic model at a time!