!!!! Lets Be ZOMBIES !!!!
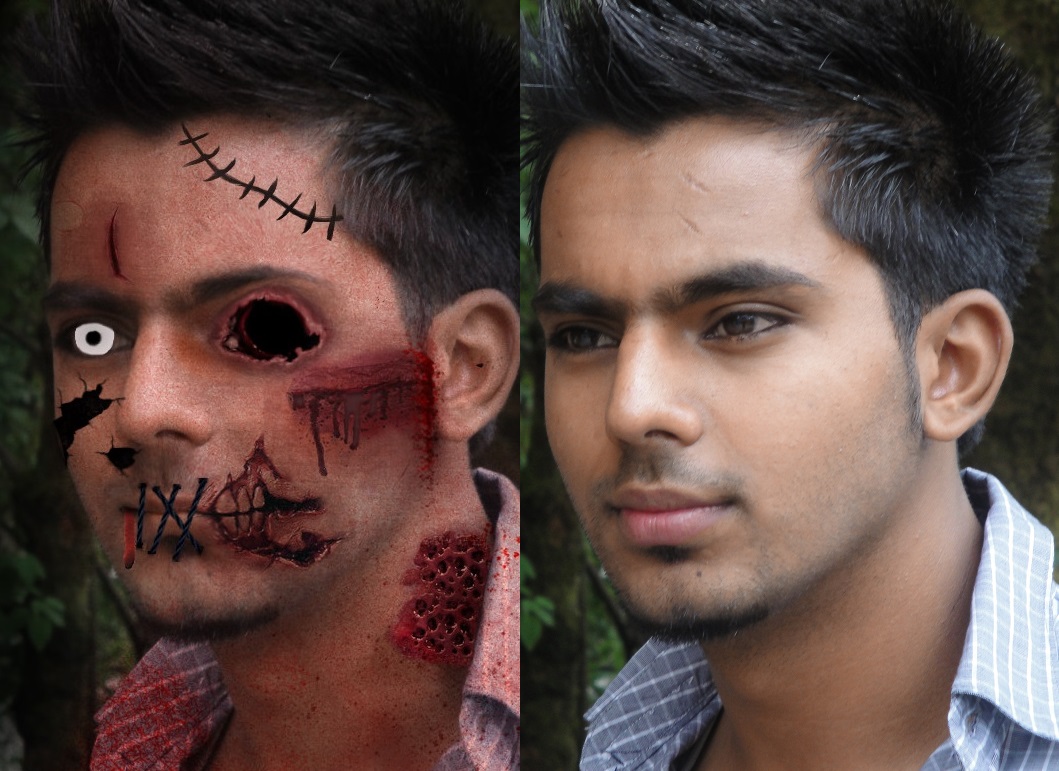
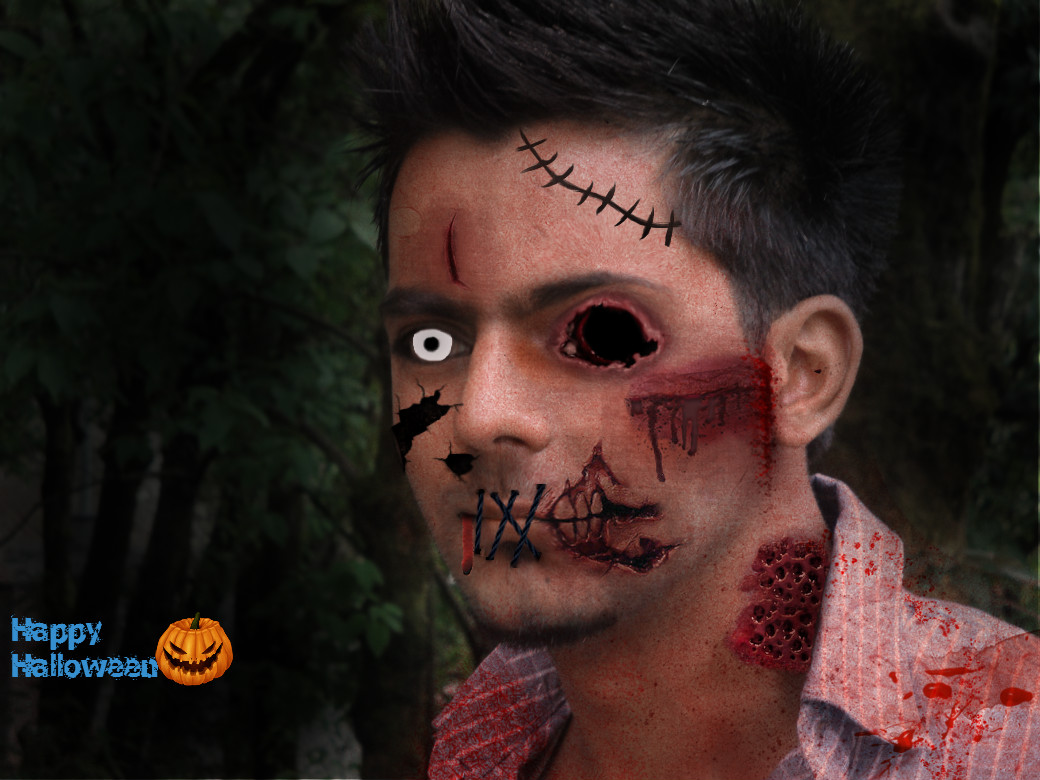
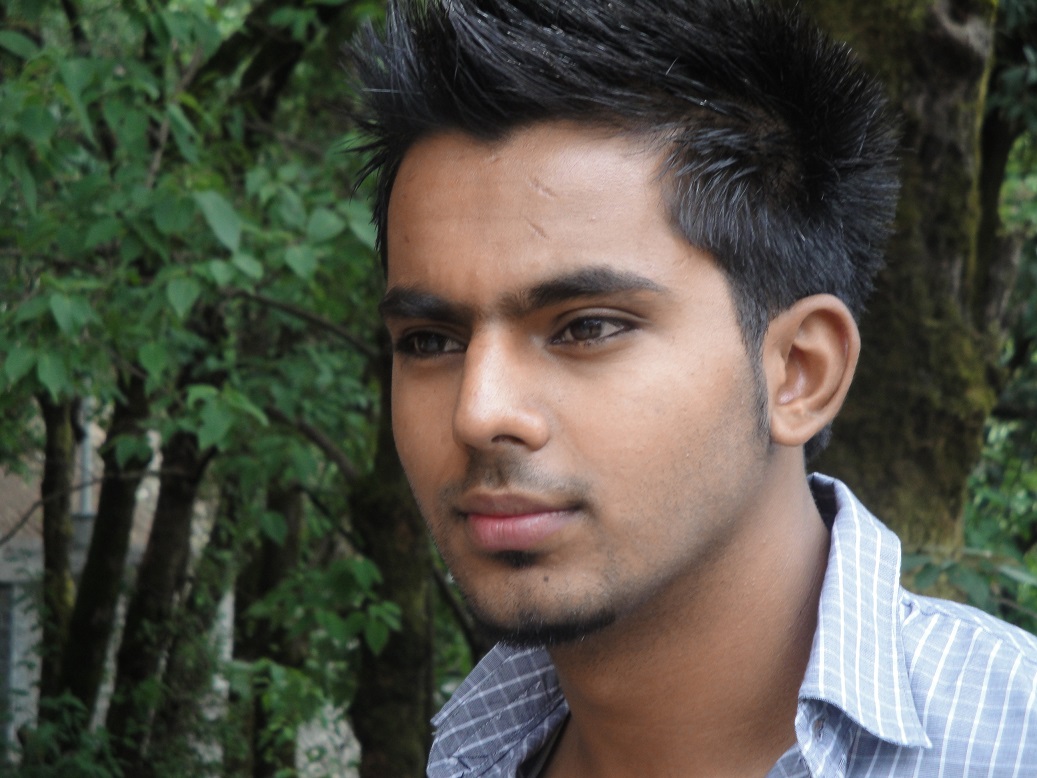
Hii guys ,,,m back with a new guide ""Lets be Zombies "
So guys be ready to be make your self zombies
you may also follow me on facebook Dilroop singh
i also post my edits on page Dilroop singh arts
Concept : I call this as inter-joining of two or more other photographs to make a entirely new photograph with some new features from other pics
::::::Lets Start :::::::
1) first of all you have to choose a pic with some serious emotion ,,,it was very hard for me to choose a pic ,so i choose d pic of my causon , his punches still hurt ,
2)you need to google up some awesome pics that you might take some part of n add in your pic, this is simplest way of zombifing ur self
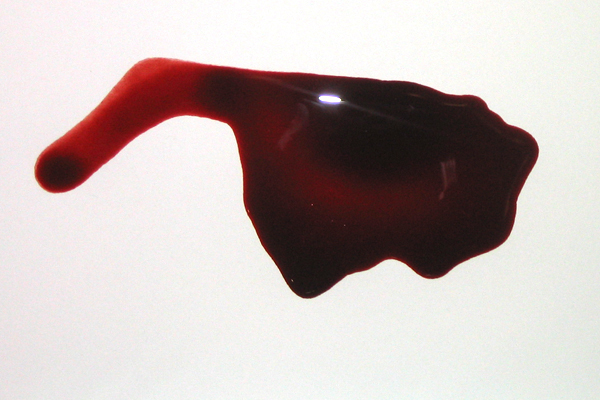
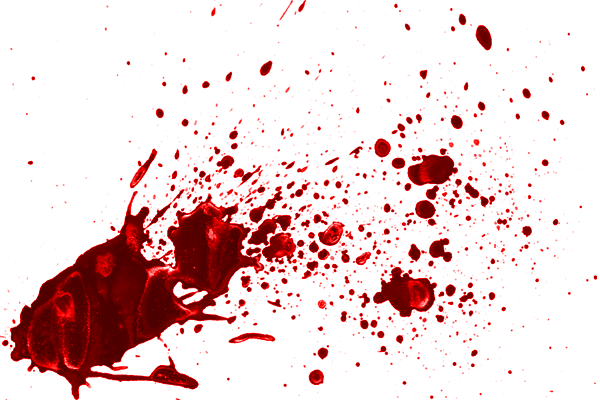
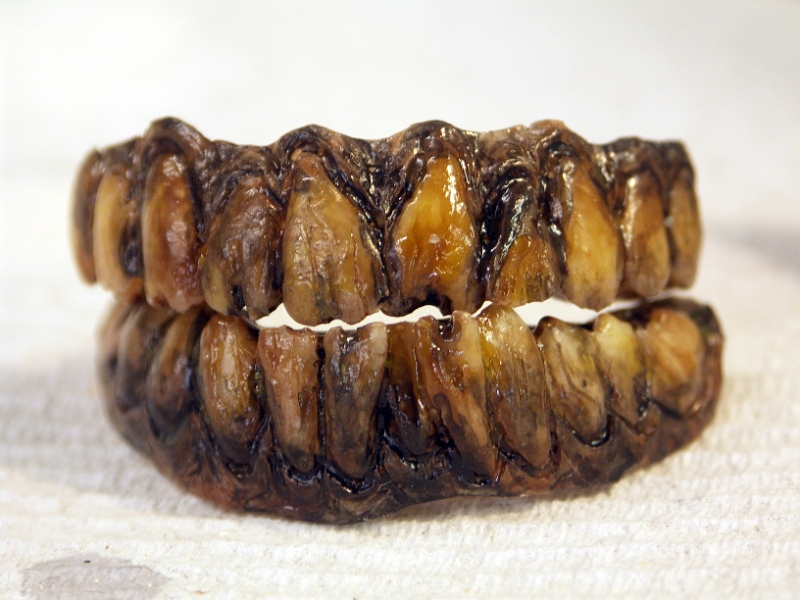
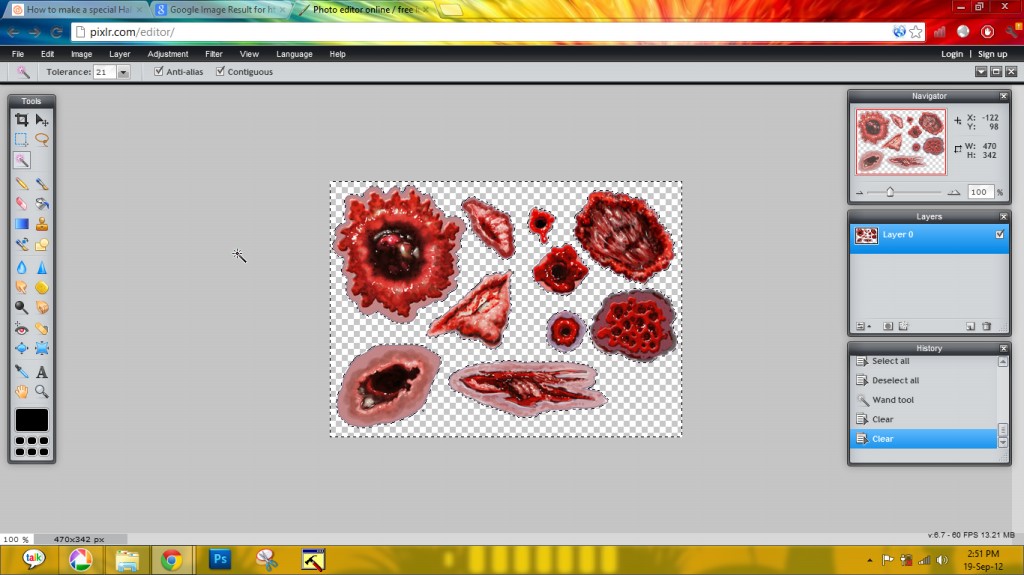
3) depending upon the pic you chose , collect the pics of other bloody zombies also the blood patterens, broken jaws, theeths , muscle cuts
goto next page now ===>>
Step 2
.jpg)
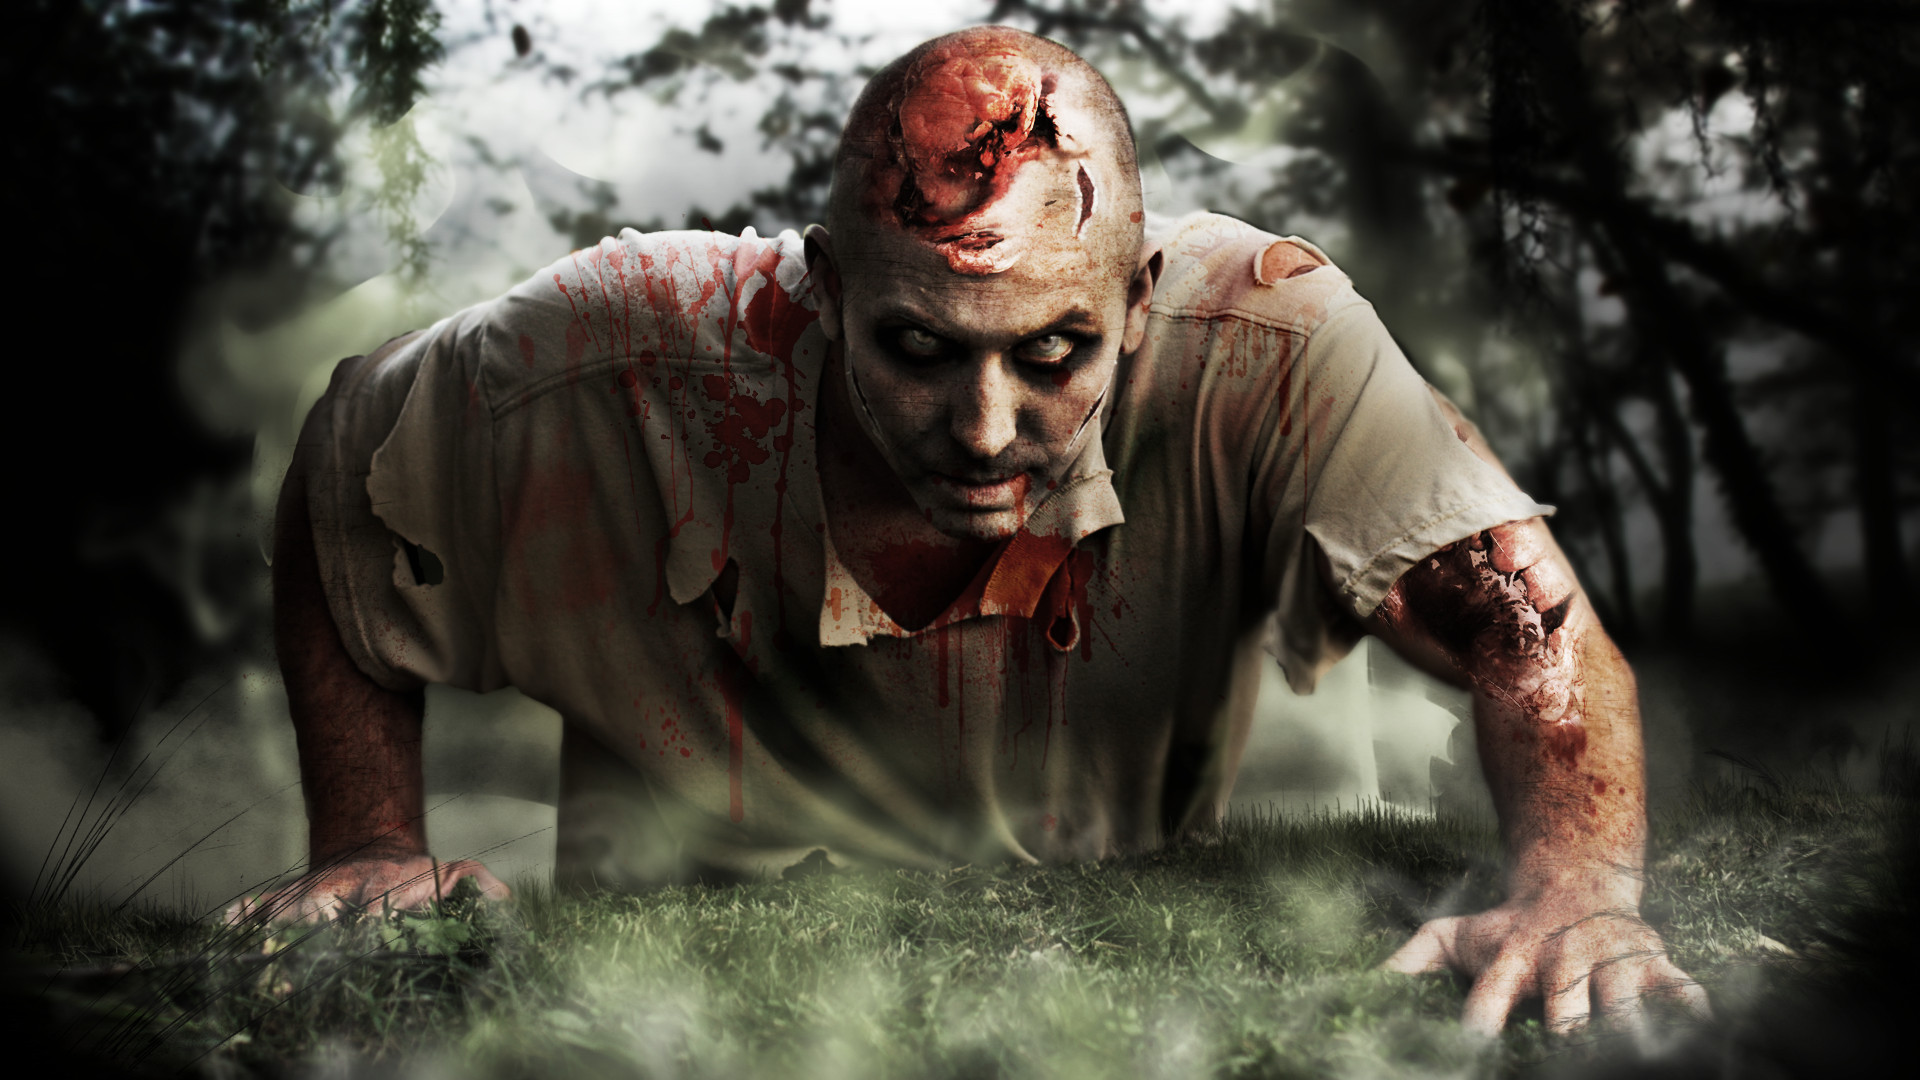
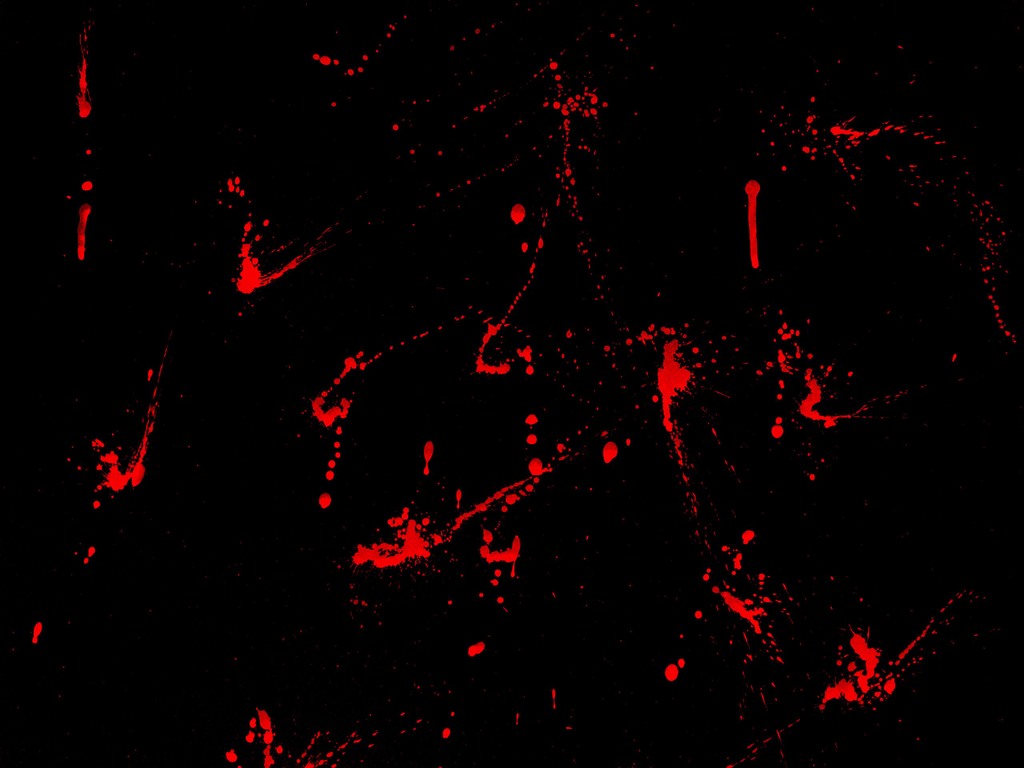
this page contains most of files i used to make this pic
1) many of these pics were used to make the different cuts you could see here
2) we are gonna use this in our pic making
goto next page n keep reading :) ===>>
1) many of these pics were used to make the different cuts you could see here
2) we are gonna use this in our pic making
goto next page n keep reading :) ===>>
Real Time
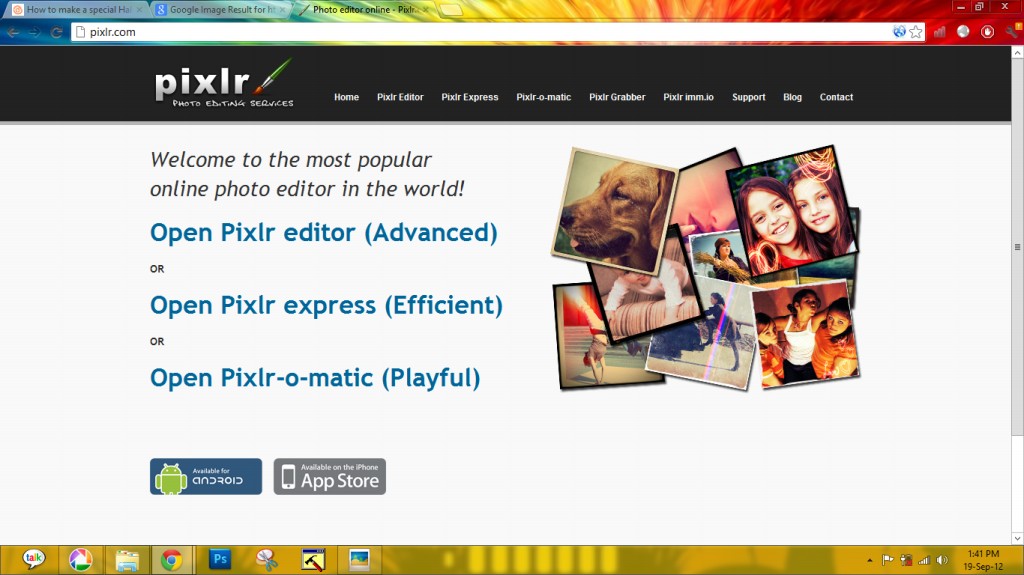
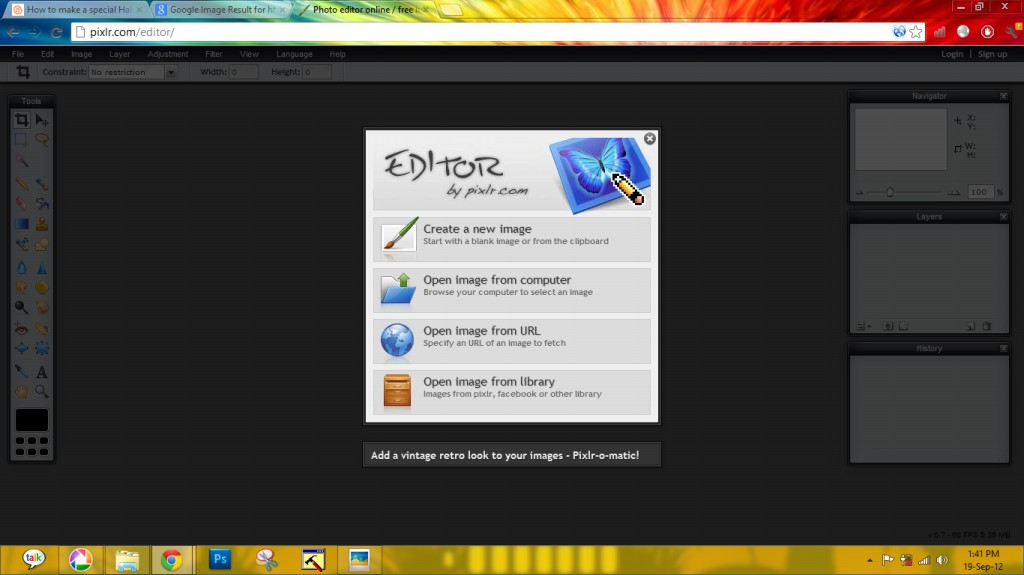
::::::Lets open PIXLR now ::::::
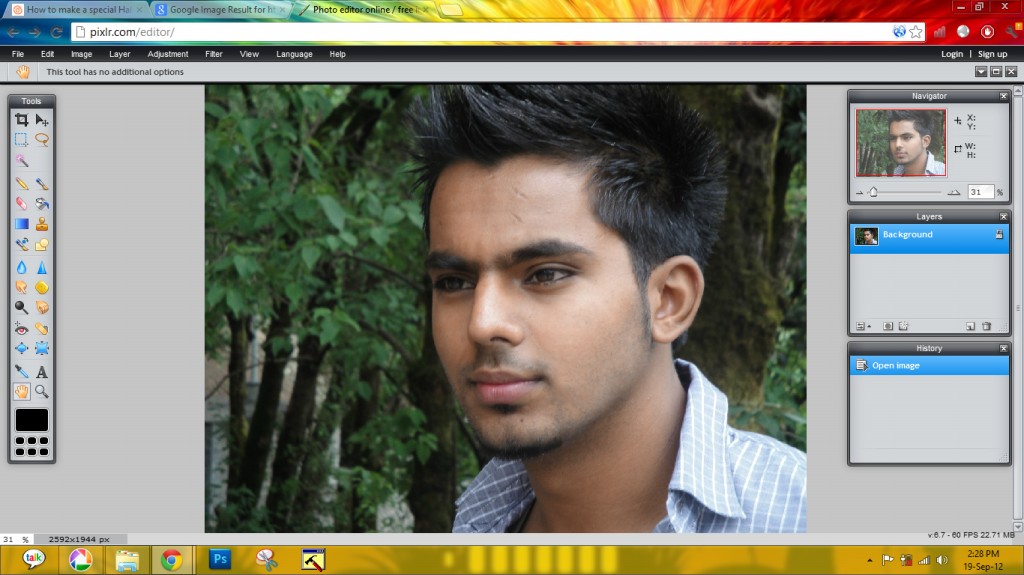
1) open the pixlr site from above .then choose " open the file from computer "
but if you have opened pixlr.com you will see this option come after you choose "Open Pixlr editor (Advanced)"
2) open the pic you chose .
now according to pic ,you can start giving a look to pic ,
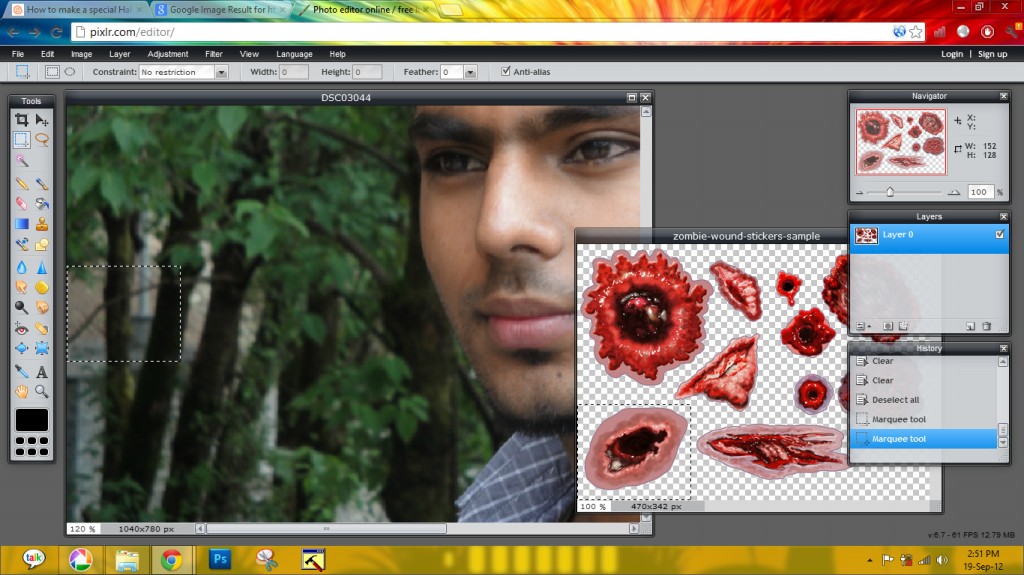
just start by opening another pic and just copy the area you would like to apply on ur self
open previous tab with pic to edit and paste it there , it will create a new layer.
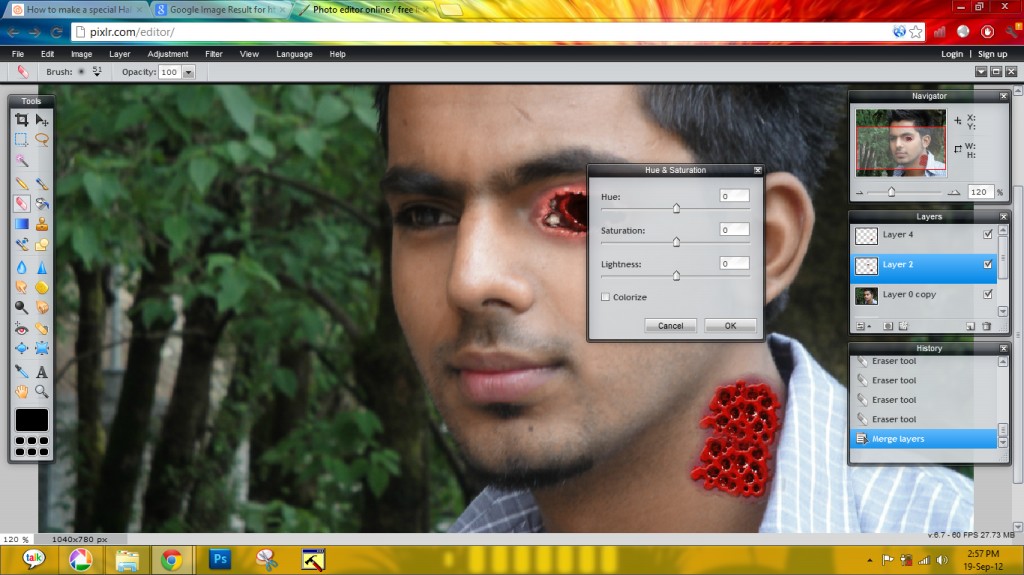
3) now see the part whether some color need to be adjusted so ,, goto adjustment layer >>then click on Hue and saturation
4) using hue values and adjusting saturation.generally we reduce the colour difference
5) this part is most common in coming tutorial ,the new layer with some cuts that u trying to copy is using eraser to reducte the extra part out of image.
Step 3 - Eye Work



in this step
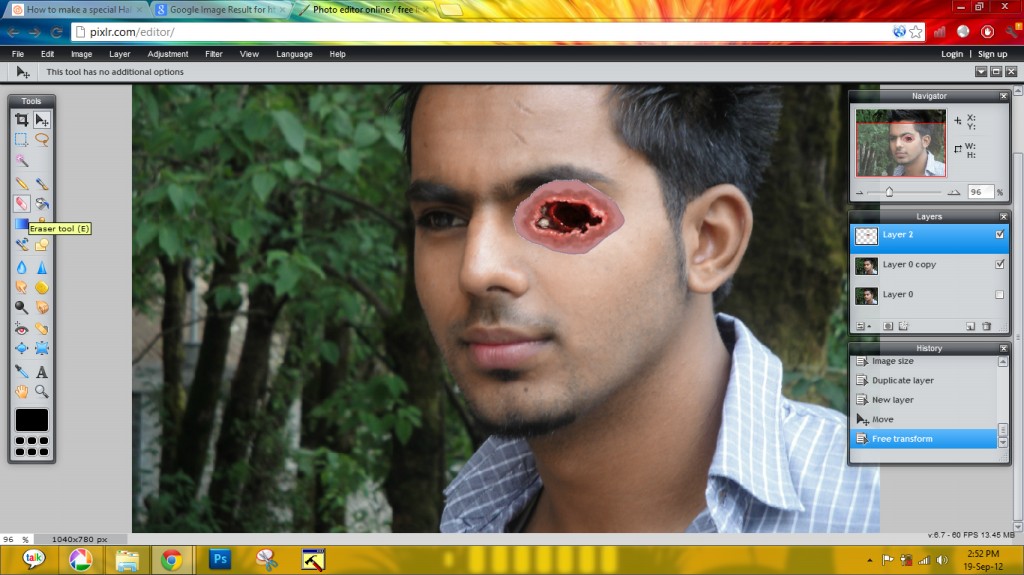
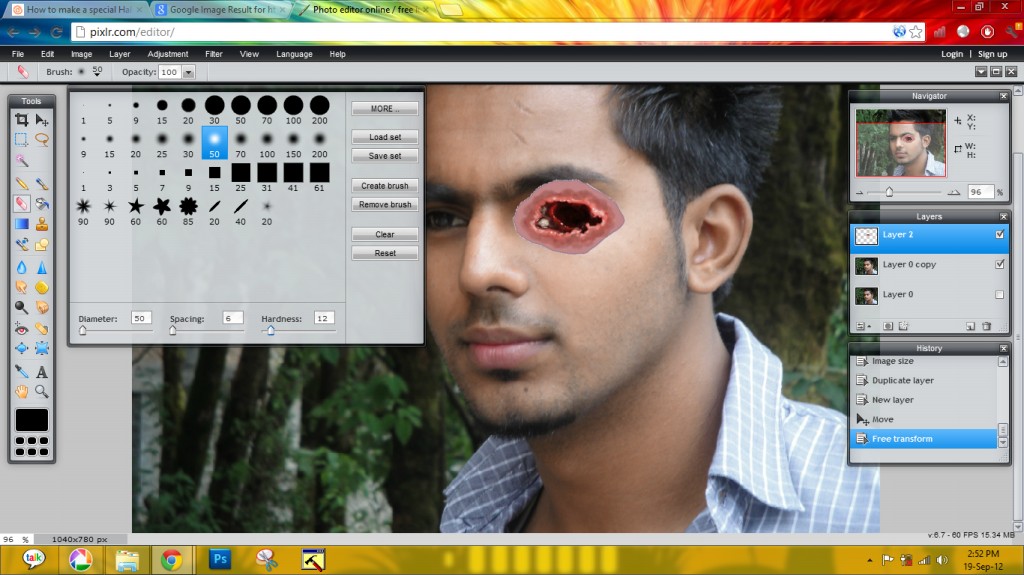
1) using the free transform,we have imported the sub pics and rotated them here easily
2) the pic use chose is very important this will decides that whether you can create good pic or not
i have took a eye looking texture n copied it to my file n pasted on file and it fills the best
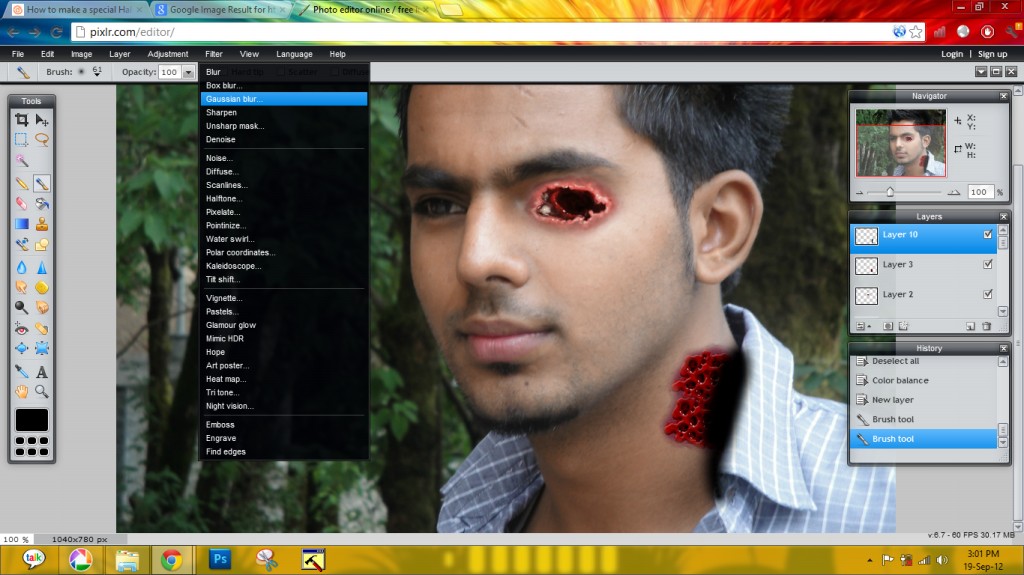
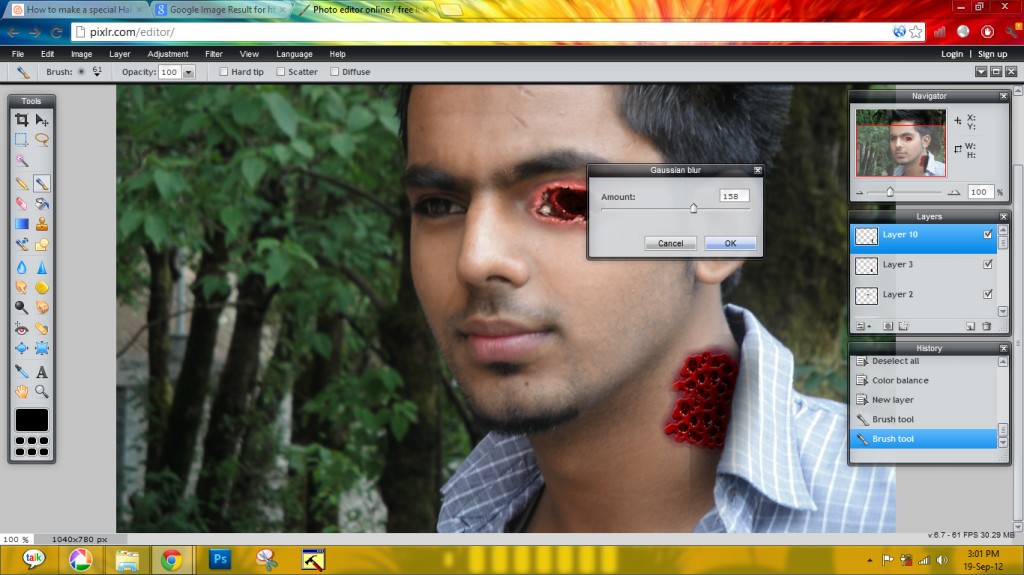
3) i have deleted the edges with a soft brush with very less hardness (say 10);
4) then using hue and saturations now u have to adjust the color that will ted to redden you skin like
Step 4 -Eye Work 2
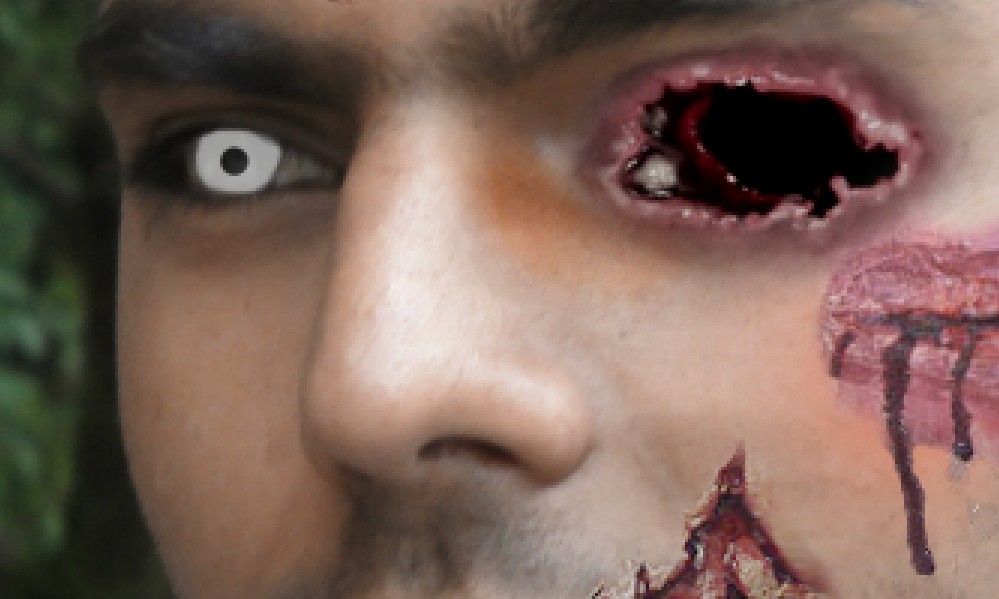
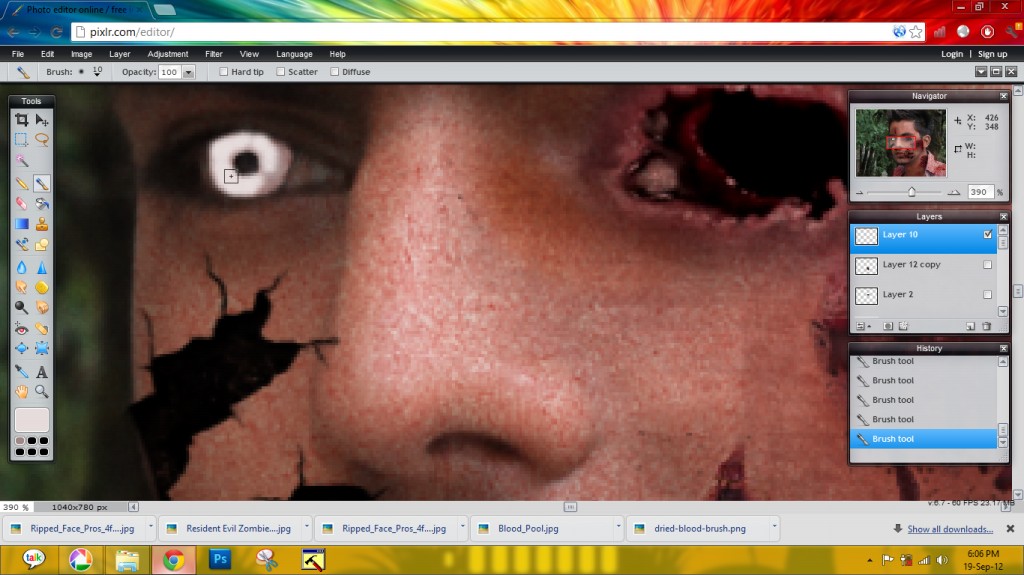
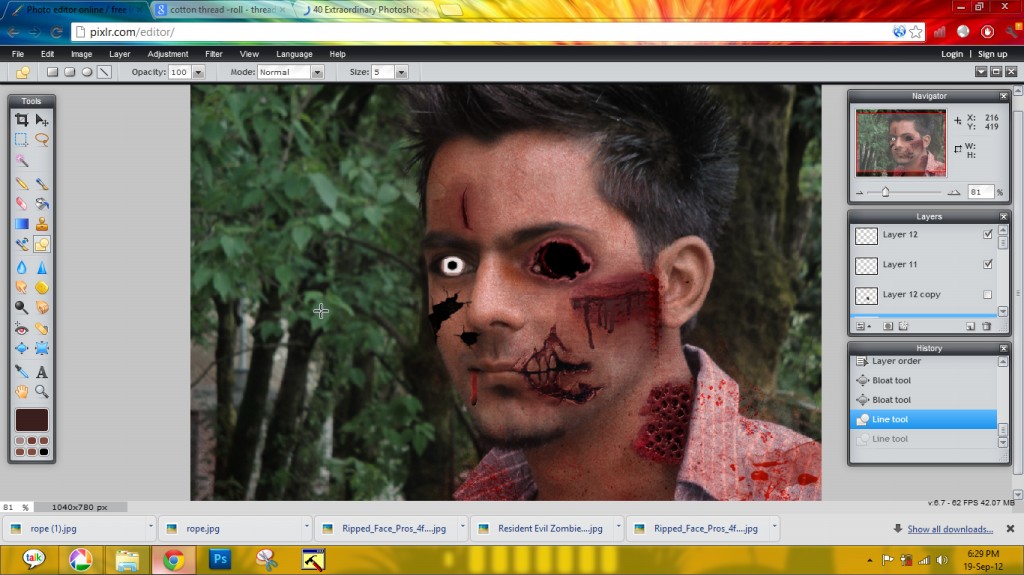
now in this step we will work on the other eye
1) using brush to n choosing a color close to white .
2) color the black portion in eye
3) now you might be having a whitish grey eye
4) now u have to chose pure black color and put eye dot exactly half size to the eye.
1) using brush to n choosing a color close to white .
2) color the black portion in eye
3) now you might be having a whitish grey eye
4) now u have to chose pure black color and put eye dot exactly half size to the eye.
Step 5 Working With Mouth
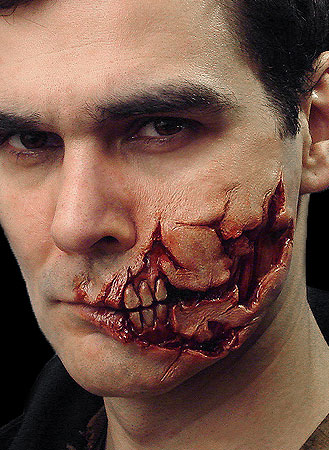
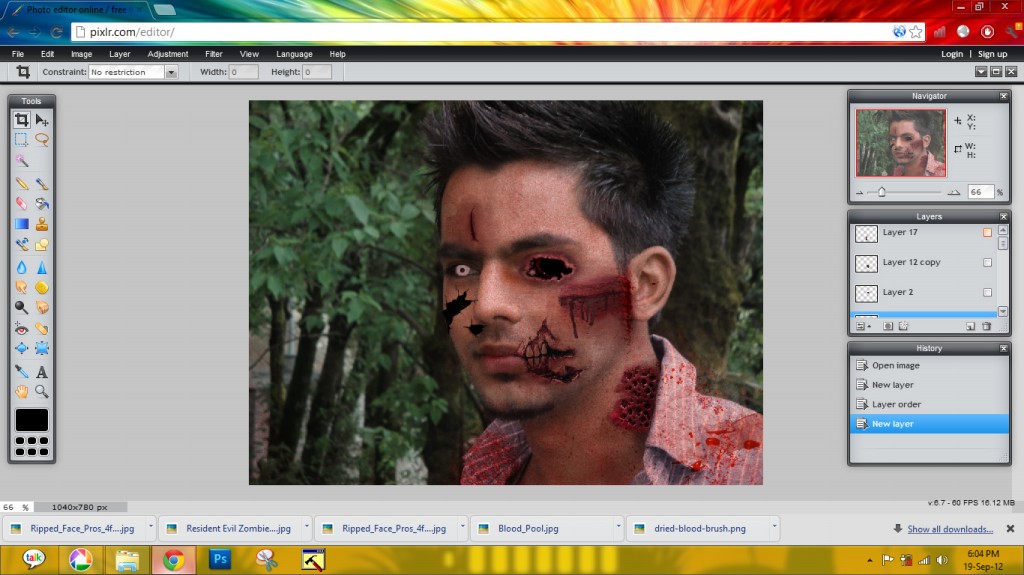
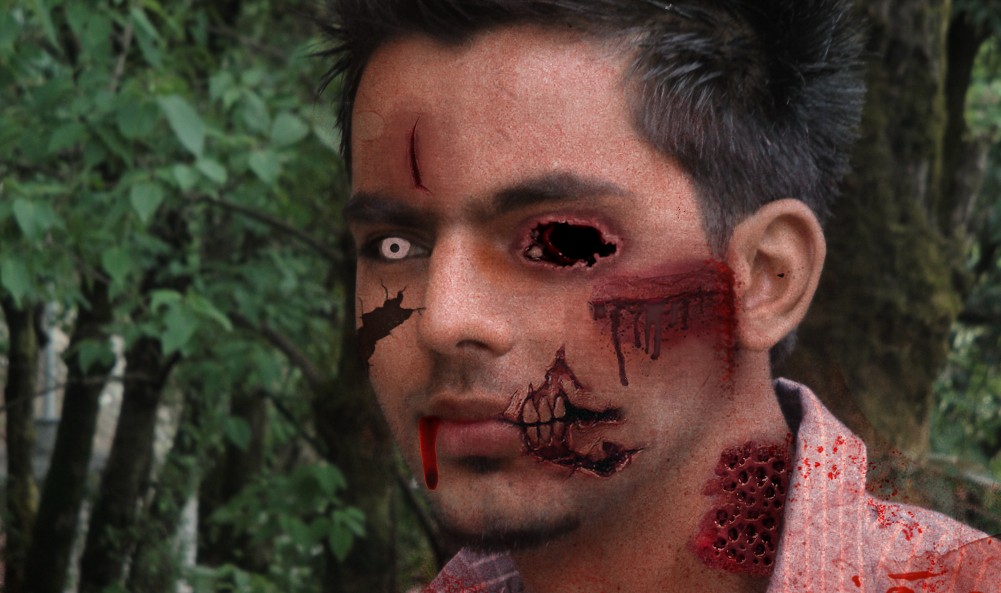
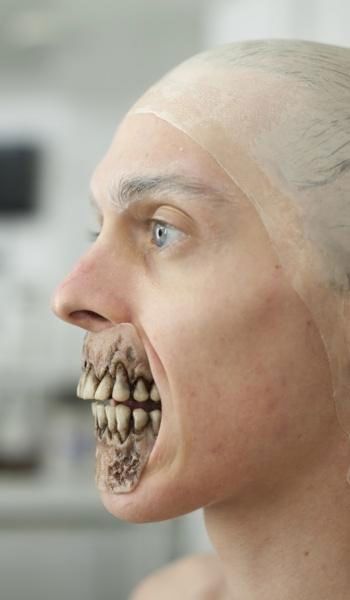
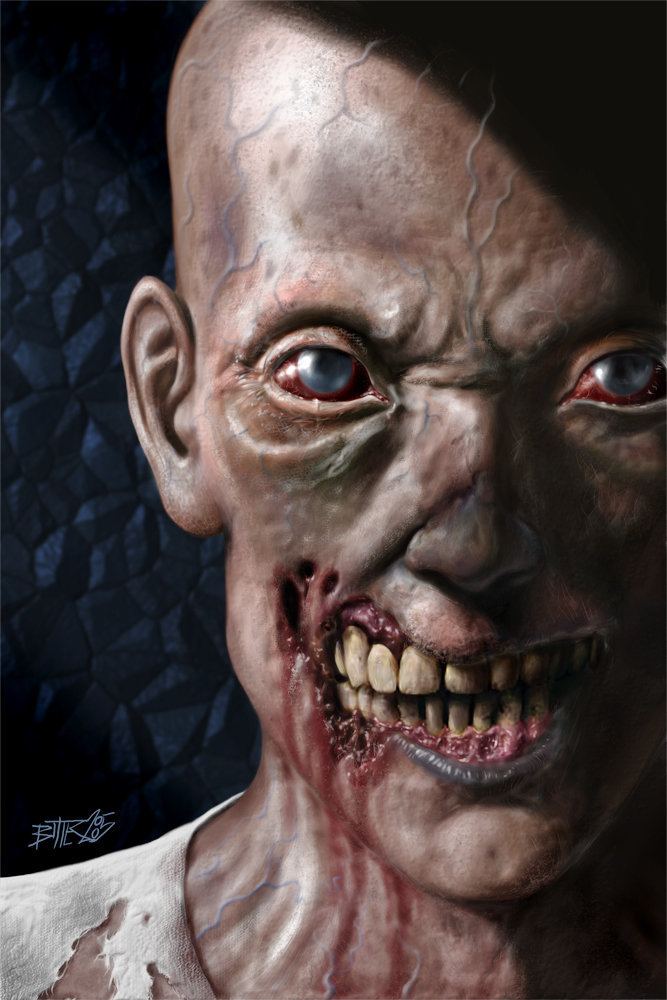
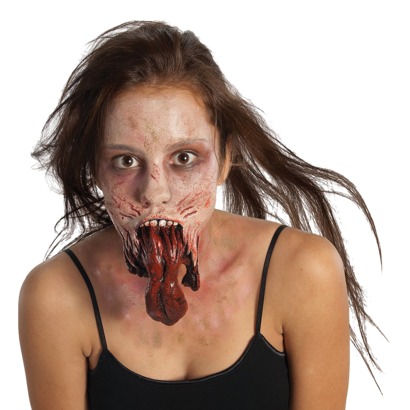
in this step
1) i chosed the portion of teeths that r required i our pic
2) just remove the edges with rases
3) add the hue and color saturation
4) sometime giving Gaussian blur i also needed
5) i also tried to use tongue also but it didnt end up with somthing gud
1) i chosed the portion of teeths that r required i our pic
2) just remove the edges with rases
3) add the hue and color saturation
4) sometime giving Gaussian blur i also needed
5) i also tried to use tongue also but it didnt end up with somthing gud
Step 6 Blood Patterns

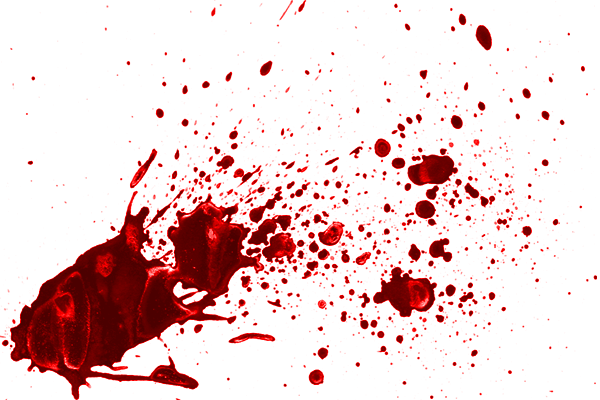



in this step who :
1)i used blood patterns to make things ,
2) apply blood patterns on him all , on ones shirt
3) apply as many as patterns you can find and make a th whole body look red
garmi IS TO MUCH
1)i used blood patterns to make things ,
2) apply blood patterns on him all , on ones shirt
3) apply as many as patterns you can find and make a th whole body look red
garmi IS TO MUCH
STEP 7-STITCHING LIPS
.jpg)
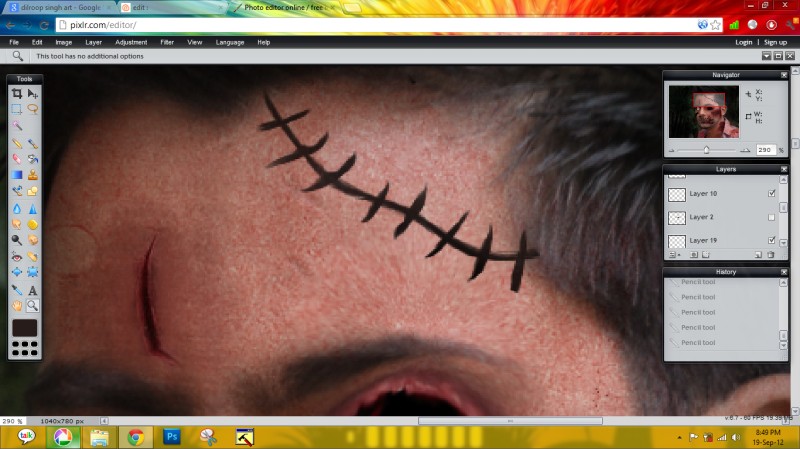
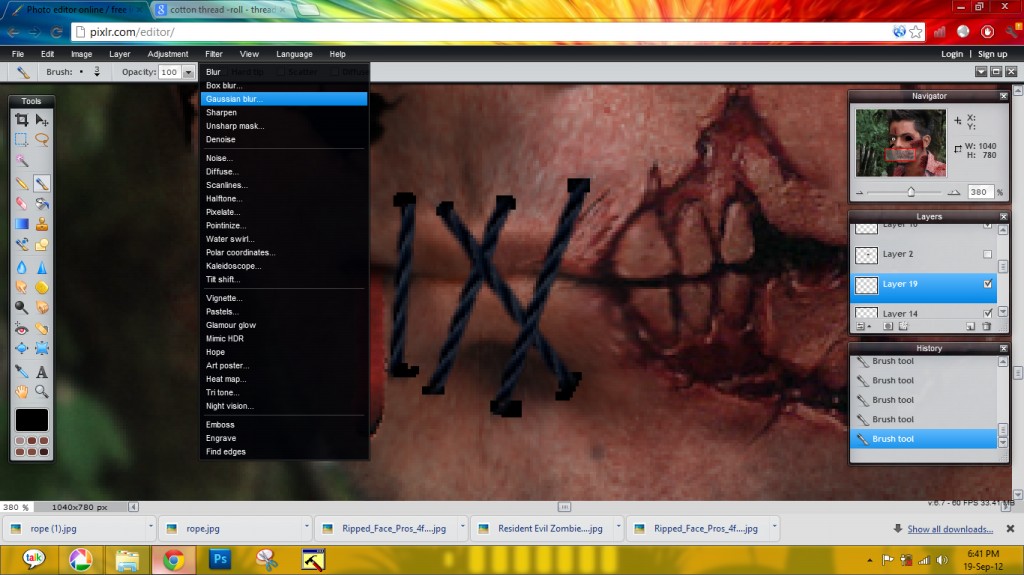
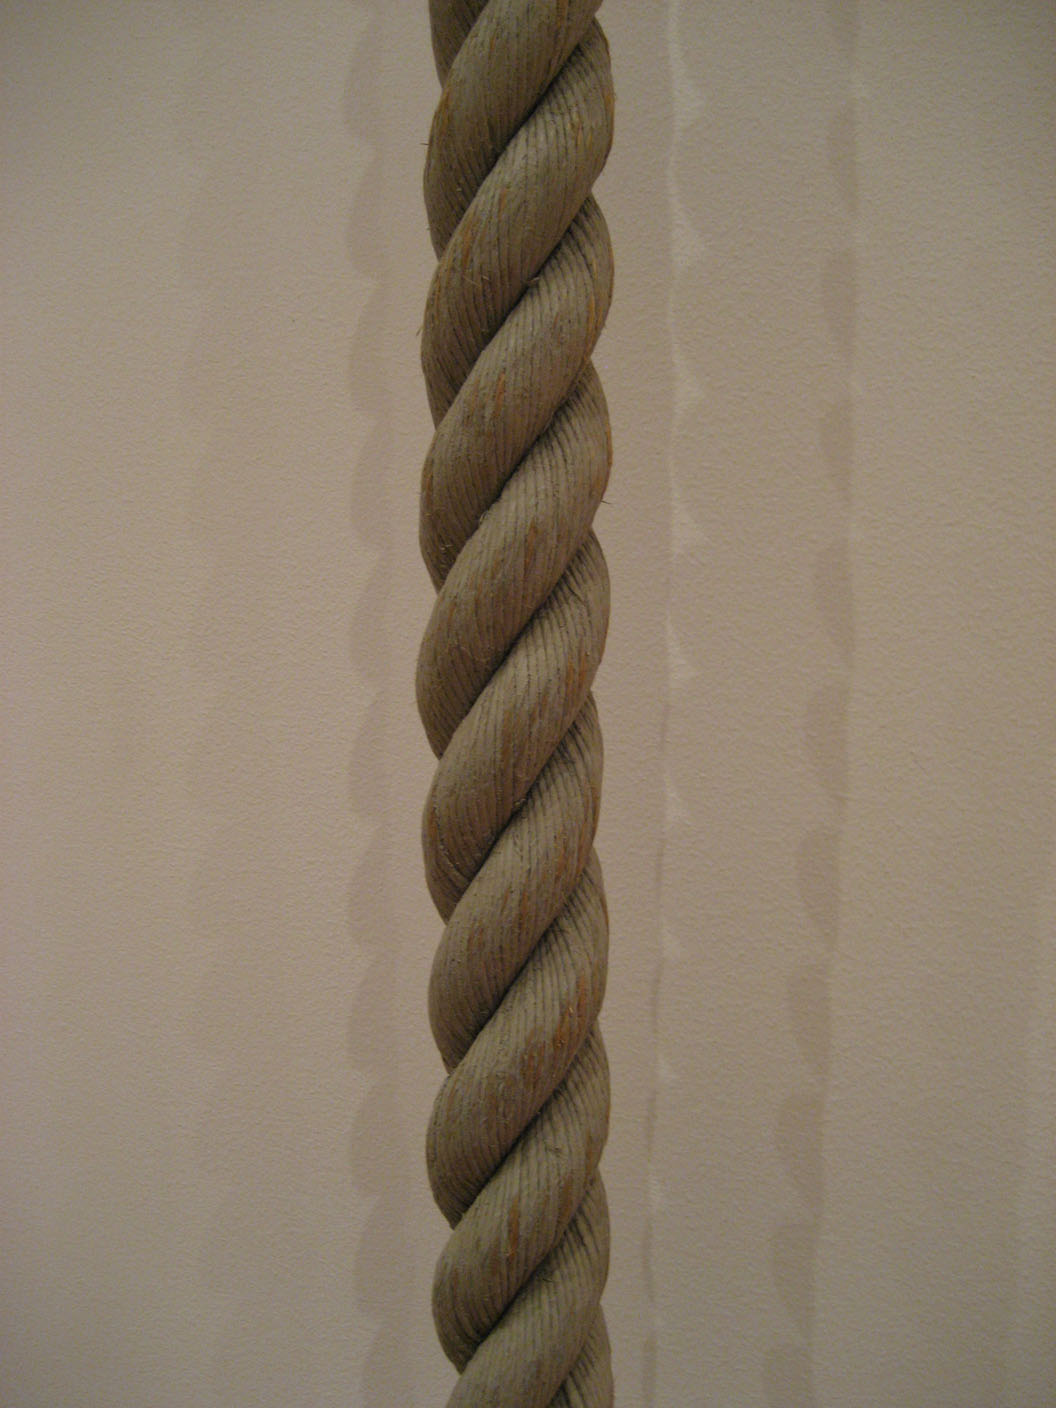
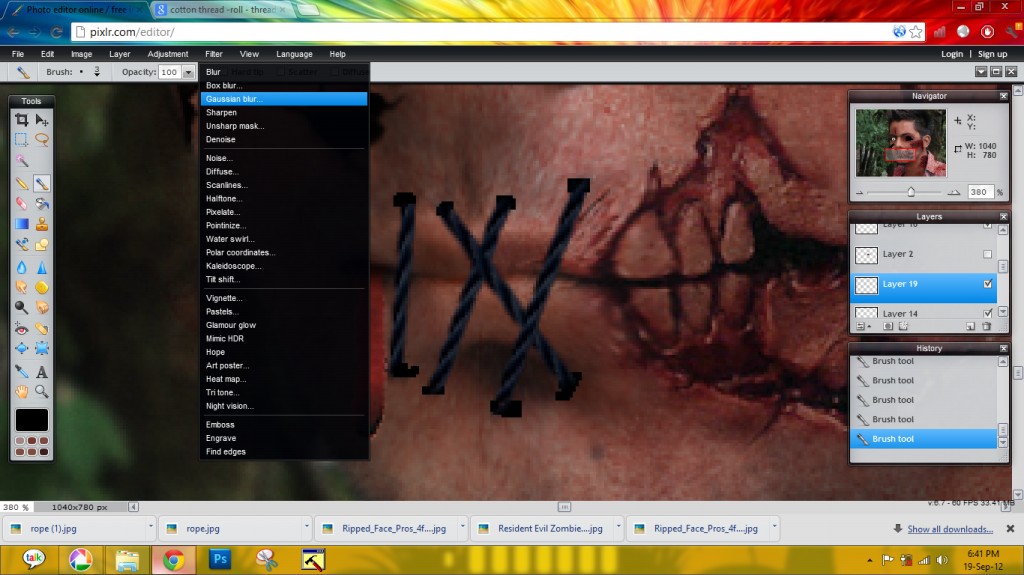
In this step i have used a pic from google , named rope , which will be around his lips.
1) i also used tool to Bloat tool to shorten the lips
2) pinch tool B can be used as ti increase the size of eye
3) using edit menu >> free transform tool to bend the rope at an angle .
the guys if u have used free warp tool in photoshop its missing in pixlr
4) at the ends of rope i have painted black dots with paint brush and applied Gaussian blur
5) it give a sort of 3d effect
6 on for head i have just used pencil to make stitches effect.
Step 8 Adding Cuts
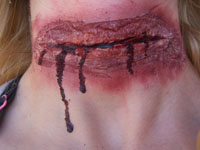
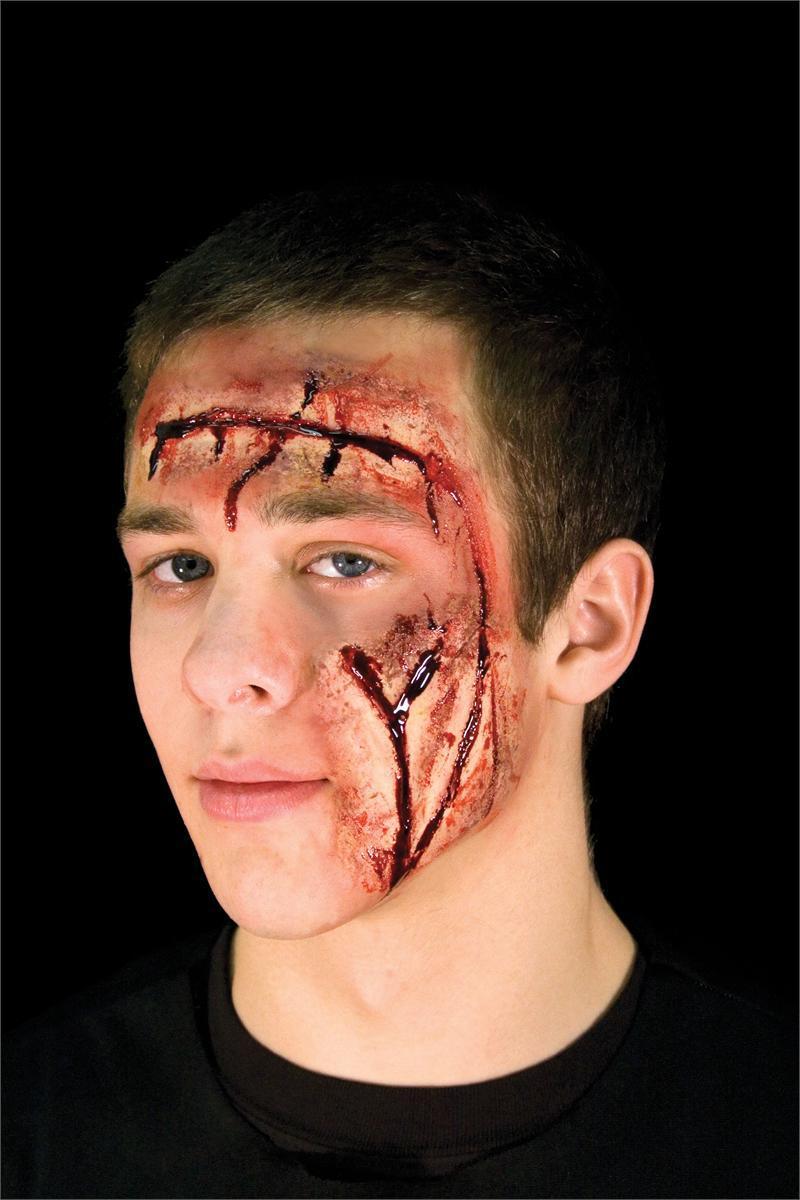
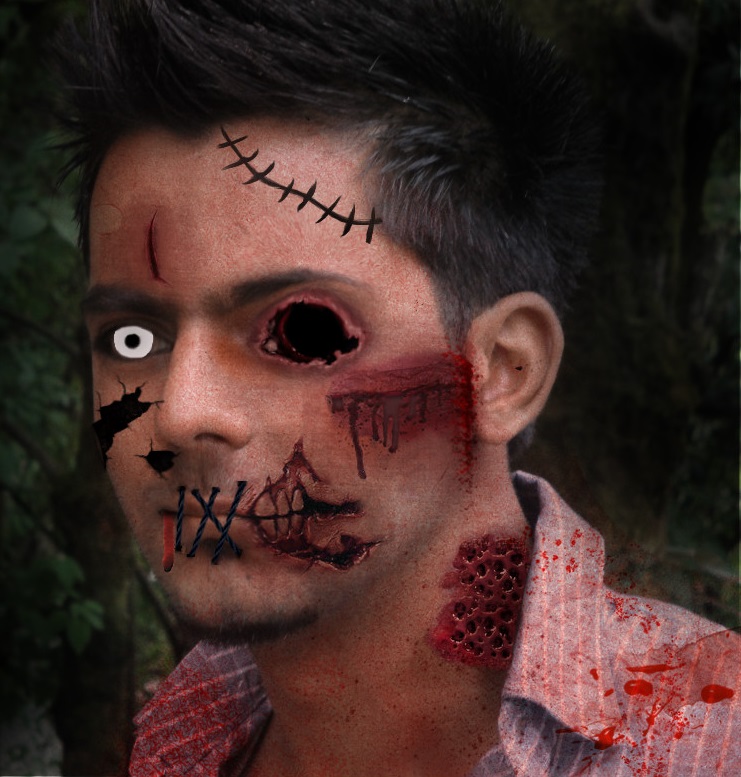
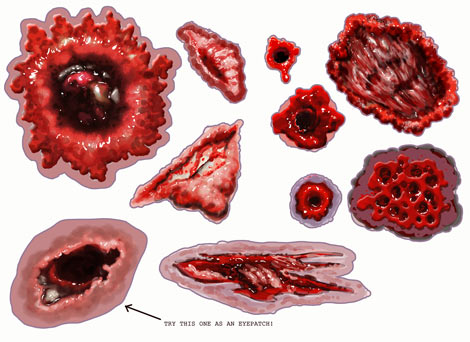
in this step i will show u how to make cuts
1) using the pics with such cuts copy paste >>> the erase the edges to make it look more smooth>>> then use hue and saturation to have a color balance
2) cut on forehead is also taken from a pic
1) using the pics with such cuts copy paste >>> the erase the edges to make it look more smooth>>> then use hue and saturation to have a color balance
2) cut on forehead is also taken from a pic
Step 9 : Finishing


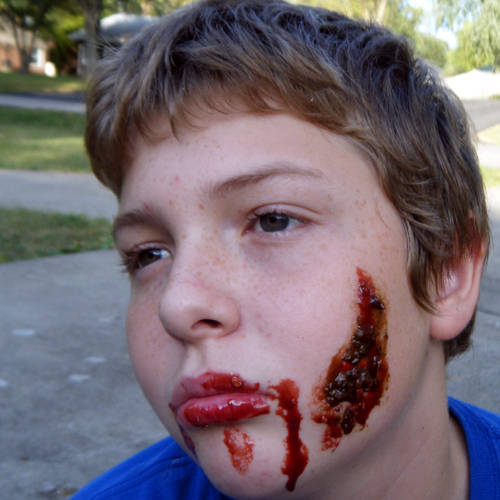
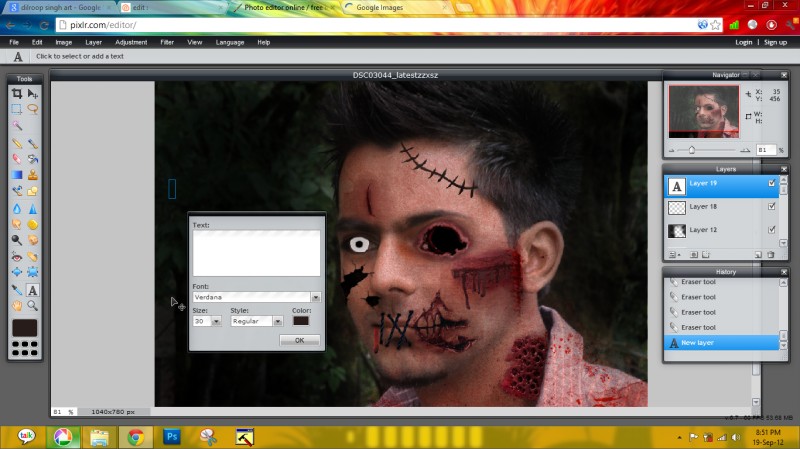
in this step ;
1) to change the back ground or say darkening the back ground
2) either erase the background for replacing it or use brush black with low opacity and make the background black
3) at the base layer of the pic also hue to change the final color adjustments,
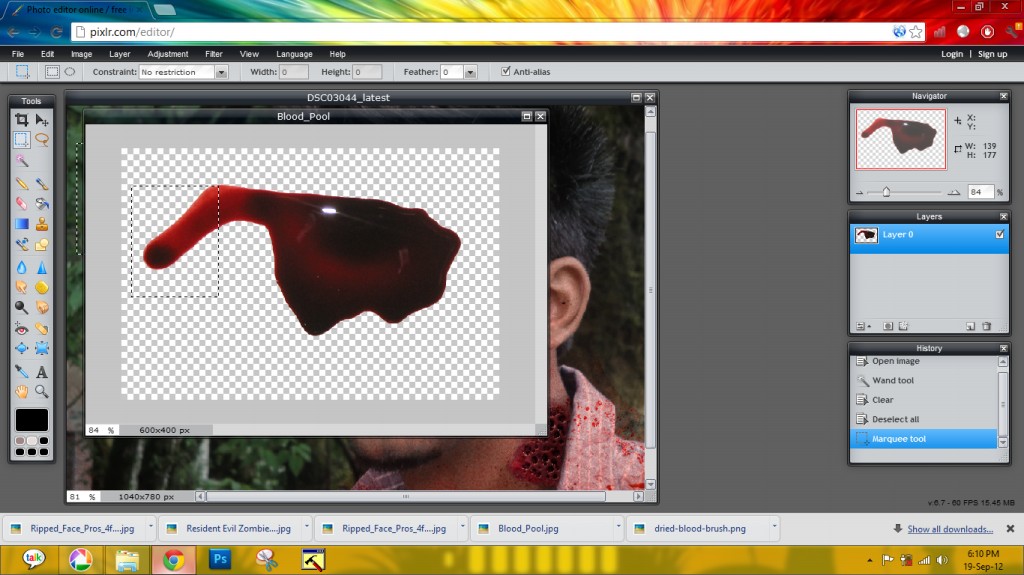
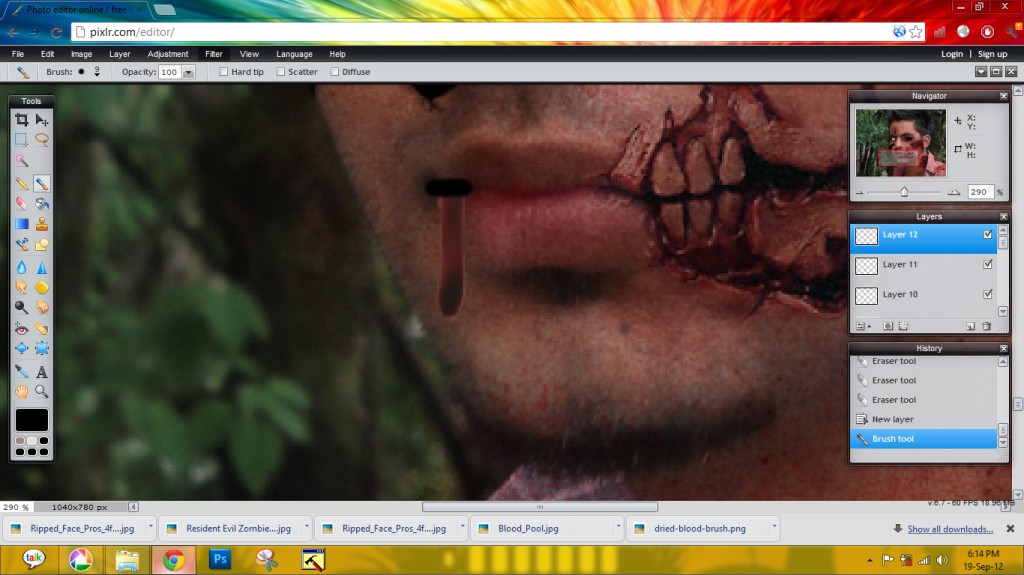
4) you can also add some blood coming out from mouth