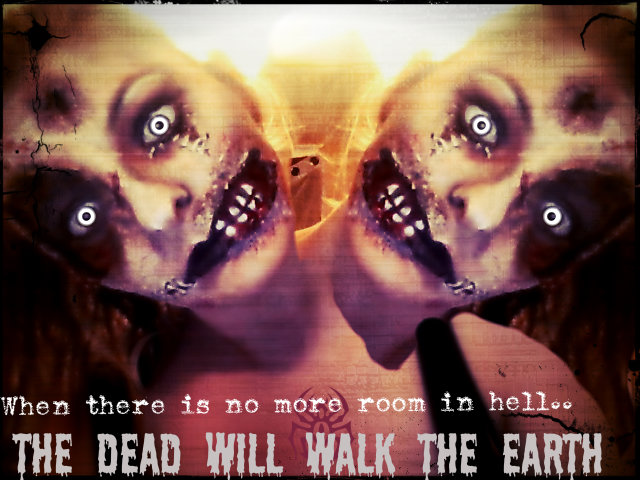
" 2-HEAD AND BRAINDEAD" Halloween Photo
by vanessaoneill427 in Craft > Costumes & Cosplay
1054 Views, 1 Favorites, 0 Comments
" 2-HEAD AND BRAINDEAD" Halloween Photo
OK so lets get STARTED! first you will want to click on this link, and then we can get started with the official 1st step :)
http://pixlr.com/
Getting Started!
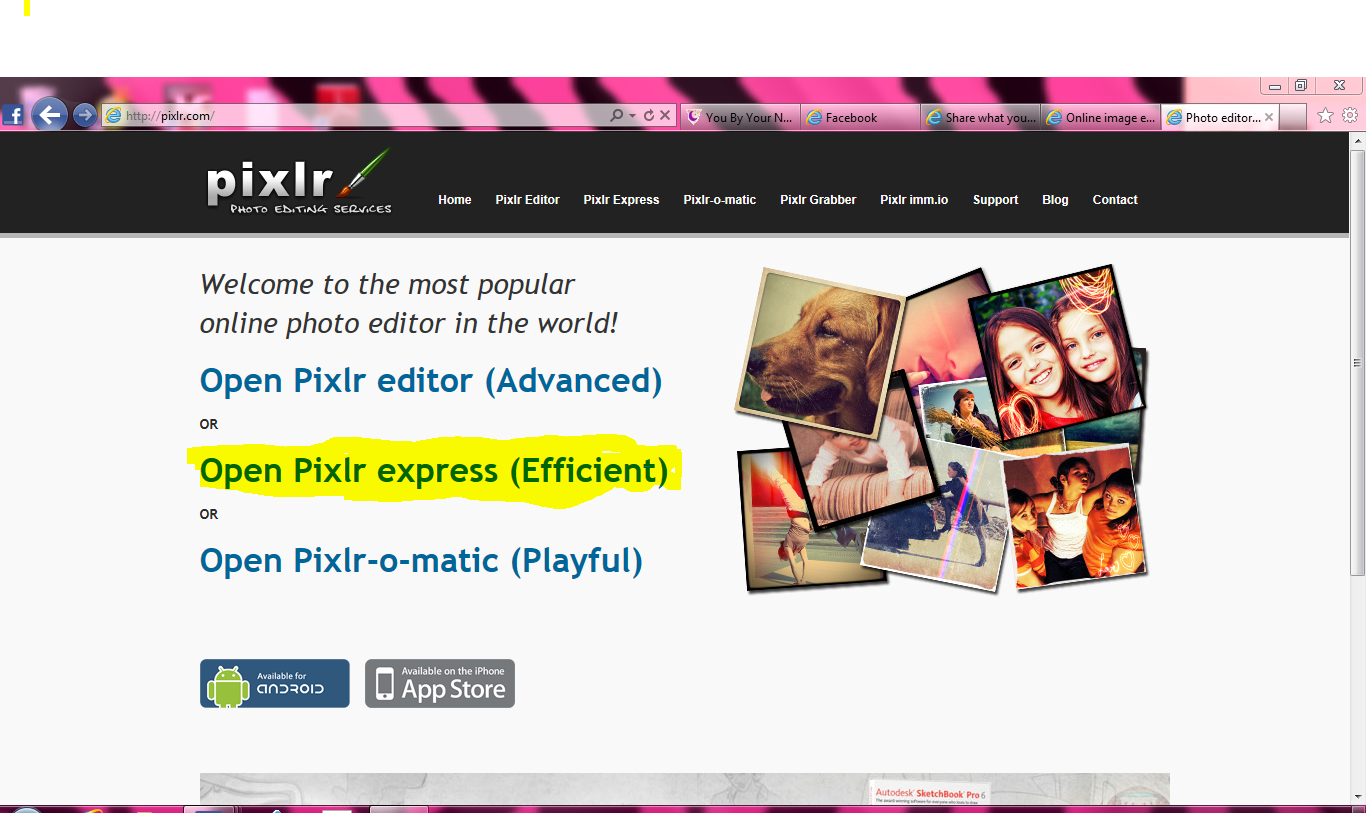
However, for this photo I chose the middle one, pixlr express.
I find it is very easy to figure out and I hope you do too!
STEP 2

You are given four uploading options.
I chose to to take the picture from my computer by chosing the " browse" option.
But you can choose wherever your picture is located by simply clicking on rhe method you choose and then double clicking on the desired picture.
Next you will be taken to the page where your photo will be edited. You are given lots of options and choices for different photo effects. Most of which are very easy to you, all you do is simply press the button and it does the work for you. But now I will go more in depth as to which effects I have chosen.In the next step, I have highlighted in yellow all the the effects that i have used and also numbered them in order as to which effect i chose first and in my next step I will show you how they work!
STEP 3 & 4
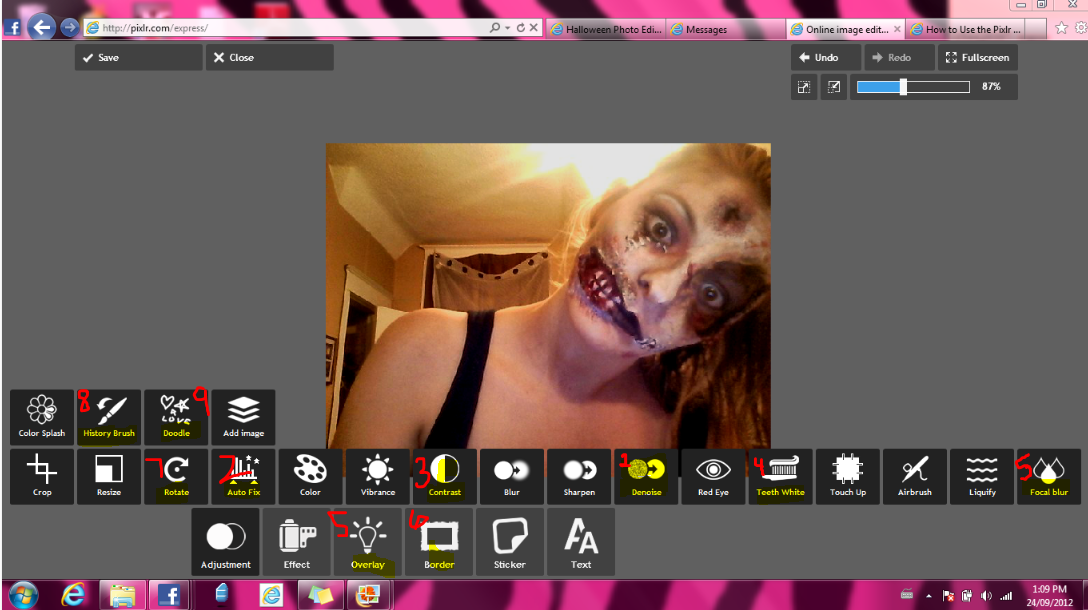
For the first effect I chose the effect called " Denoise". This effect seems to smooth out your picture so it doesnt look so grainy and sharp.
Simply click on the icon and then move the slider 'amount" up to where youd like.
I went to 9
Click APPLY
STEP 4
Next I clicked on "Auto fix" this helps to make sure your photo has the proper exposure/ brightness settings.
Simply click on the icon and the program does the work for you!
STEPS 5-6
Next I chose to edit the CONTRAST.
Again, simply just click on the icon and drag the amount to where you like it.
I chose a brightness of 6 and a contrast of 29.
click APPLY
STEP 6
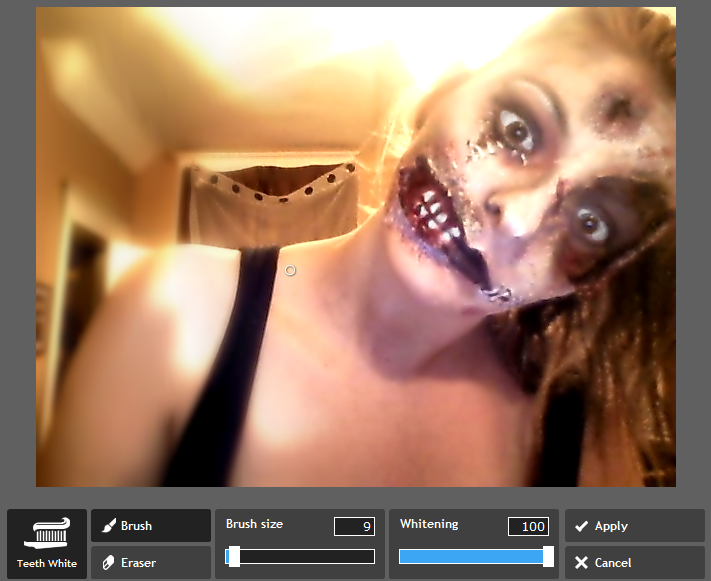
Next I chose the TEETH WHITE OPTION
Click on the icon and choose your brush size and whitening amount. I had a brush size of 9 and the whitening amount of 100.
Now, I am choosing to go over the whites of my eyes for a more dramatic effect, and well as the teeth i have painted on my face.
Dont worry if you make a mistake just use the ERASER tool.
STEP 7
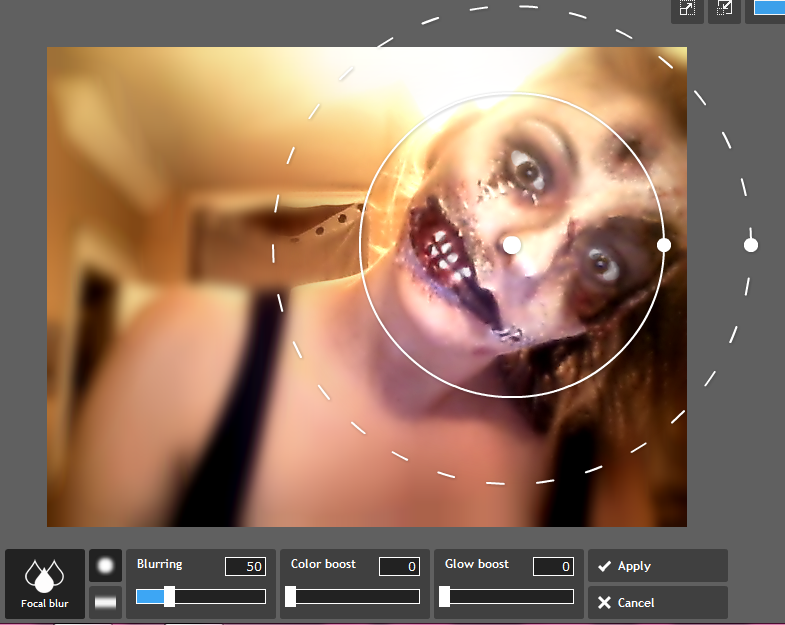
Next I chose FOCAL BLUR.
It pretty much does what it says, and blurs out everything that isnt in focus.
Click on the icon and then adjust where you want you focal point to be. I have added a picture showing where i focused mine.
Below you will find the amounts of blurring and boost I added to my photo. (I took the screenshot before i adjusted the settings)
BLURRING to 22
COLOUR BOOST to 0
GLOW BOOST to 20
STEP 8
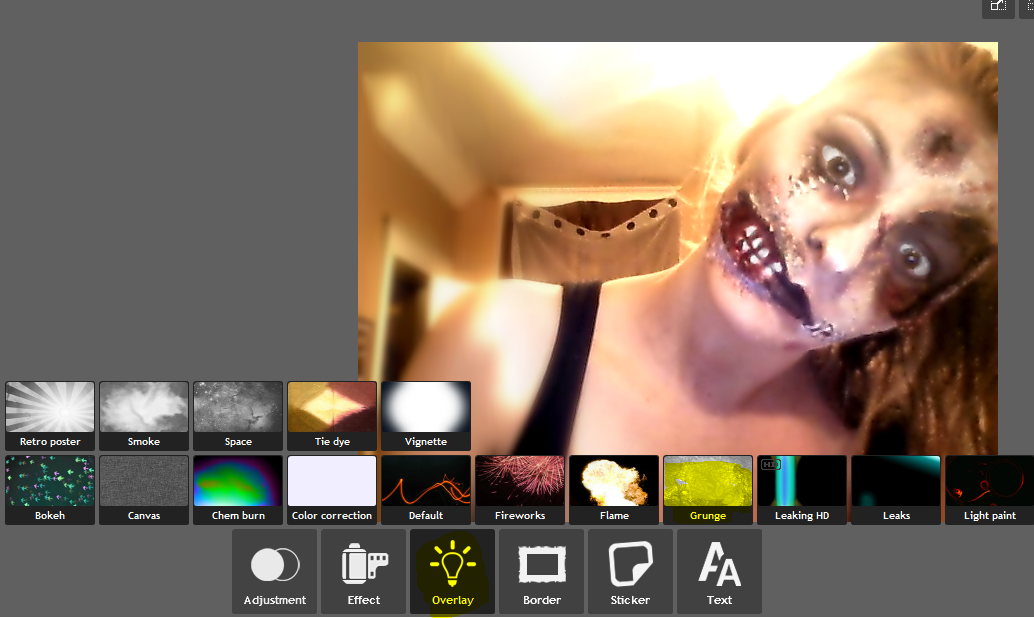
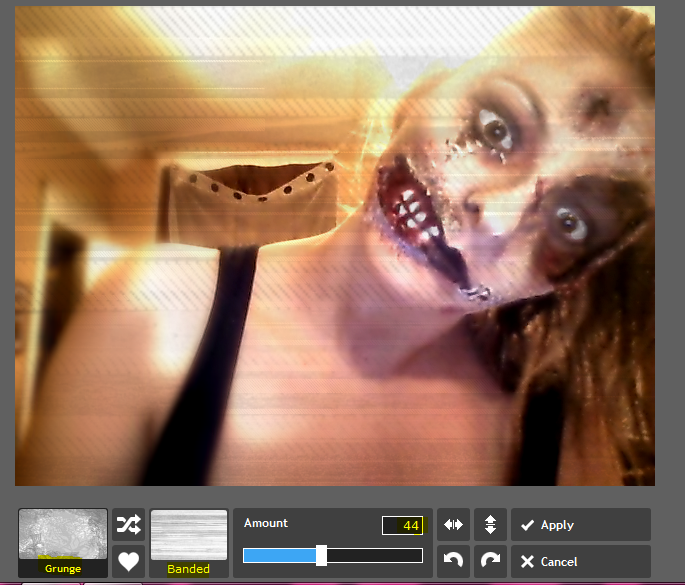
For this next step I chose to use an OVERLAY.
Basically, an OVERLAY is a texturize picture that you can fade onto your own photo for special effects.
I chose the sub heading GRUNGE and then applied the BANDED texture, with an amount of 44.
STEP 9

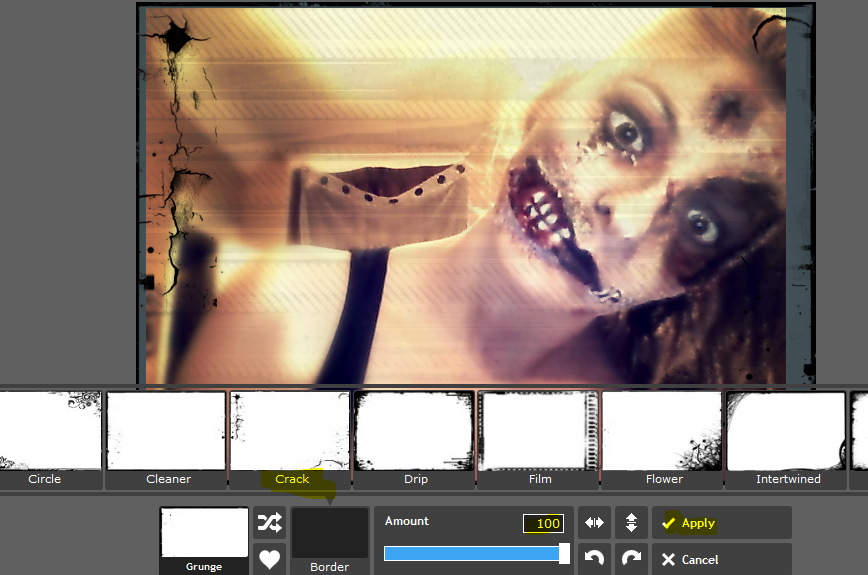
Now that we have our overlay in place. I am going to apply a BORDER.
Click on the tab that says GRUNGE.
There are many borders to choose from, but i have chosen the border CRACK.
CLICK APPLY.
STEP TEN
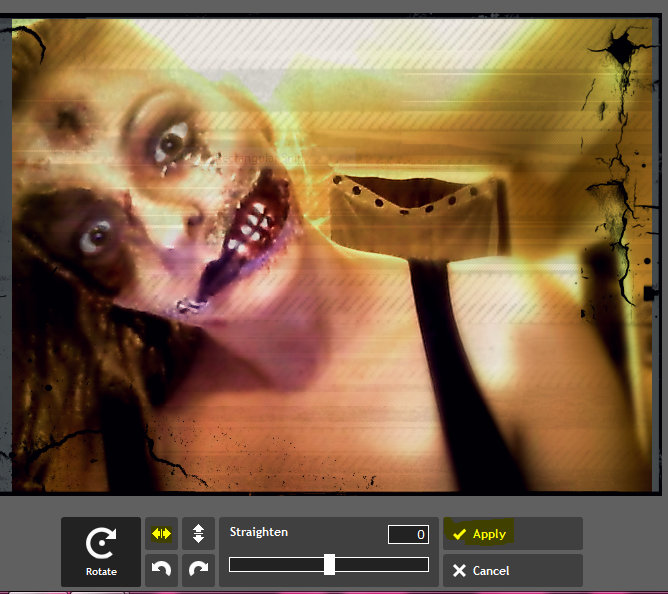
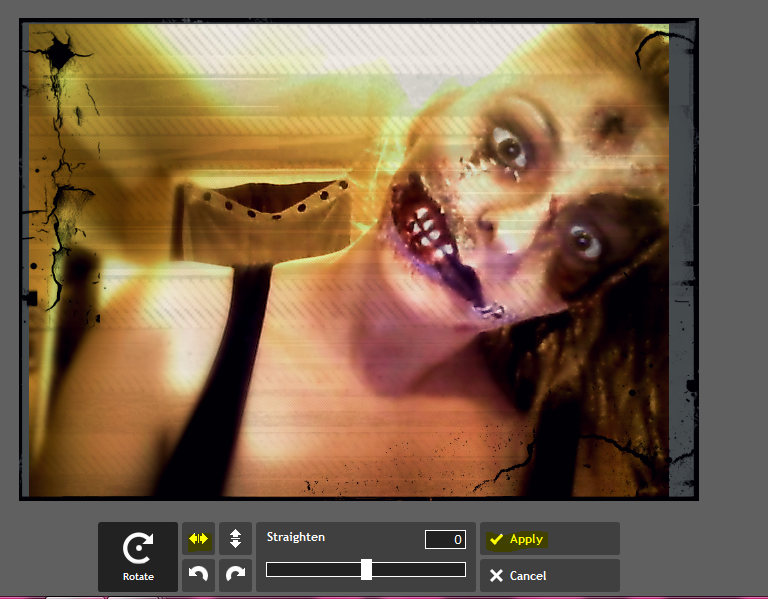
Next, I am going to click on ROTATE.
I am not going to actually rotate the picture, im just going to click on the DIRECTIONAL ARROW to FLIP the image to the opposite side.
Click APPY.
Next I am going to repeat this step, so that the picture is back in its original position.
Dont worry there is method to the madness!
I will show you exactly why we did this in the next step..
STEP 11
STEP 11
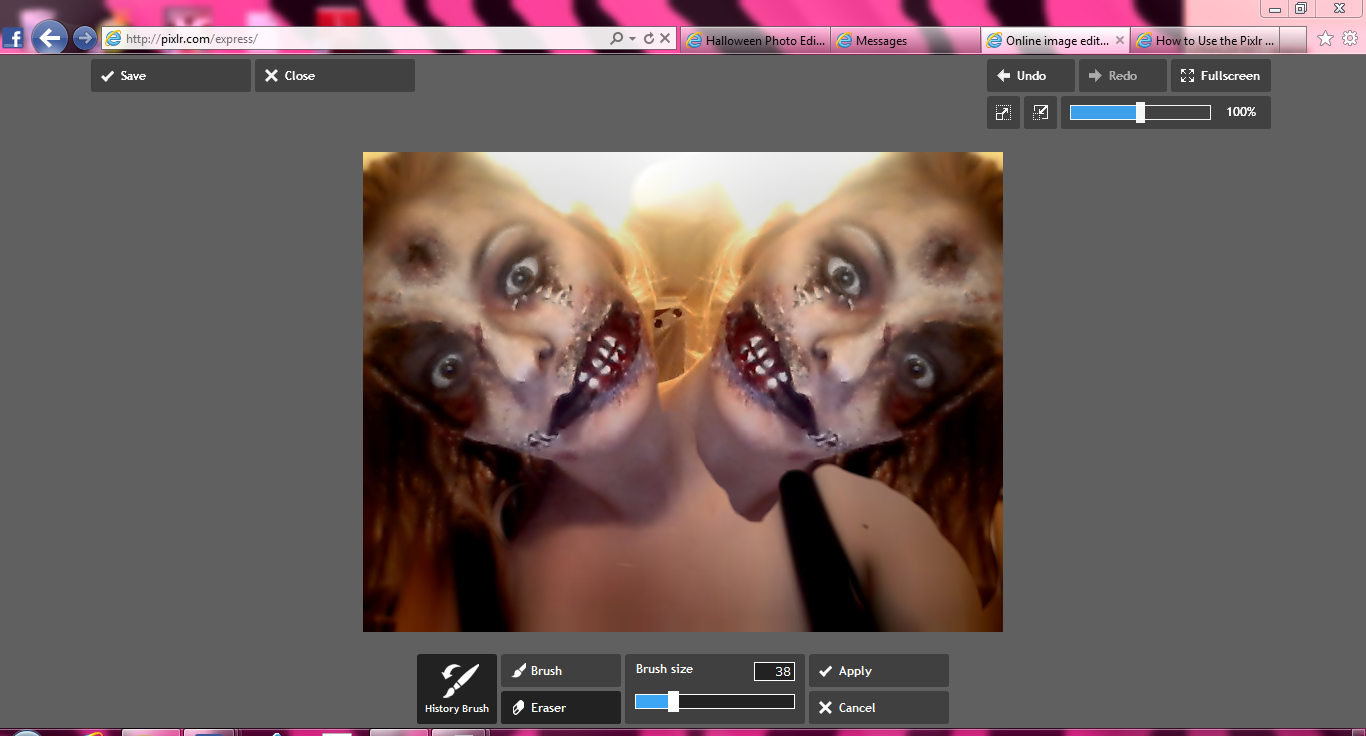
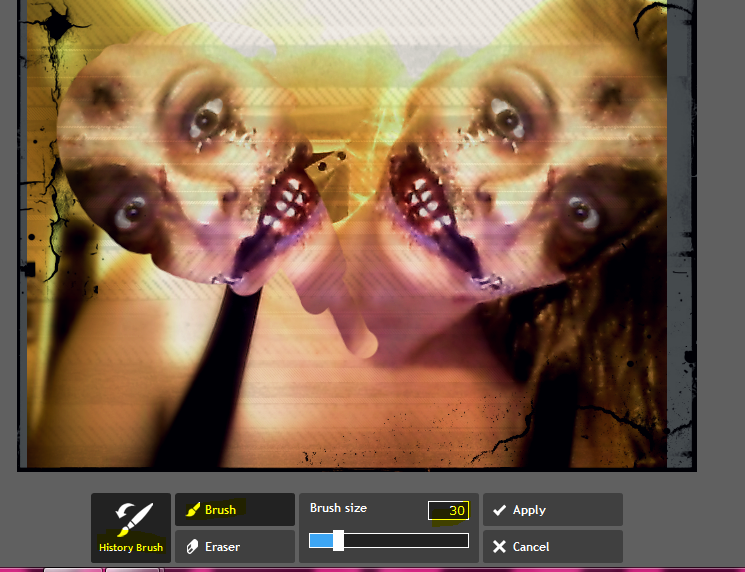
Next, Click on the HISTORY BRUSH.
This tool pretty much does what it sounds like it would, it brings back an image that was previously there.
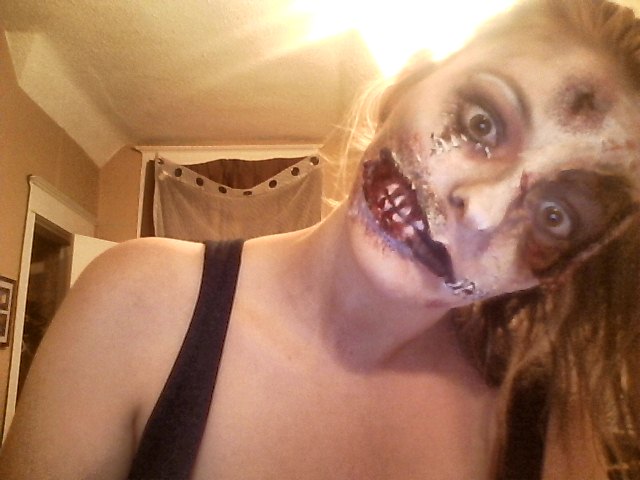
So that is why we flipped the image, so we can make a duplicate of my zombie face for a two headed effect.
:)
So using the brush start at the neck line and brush diagonally until you start to see the image, its just like your wiping the paint off to see the picture underneath. the picture below isnt a finished product, its just showing the technique i used.
Keep brushing unti you get an eact duplicate of the opposite image.
STEP 12
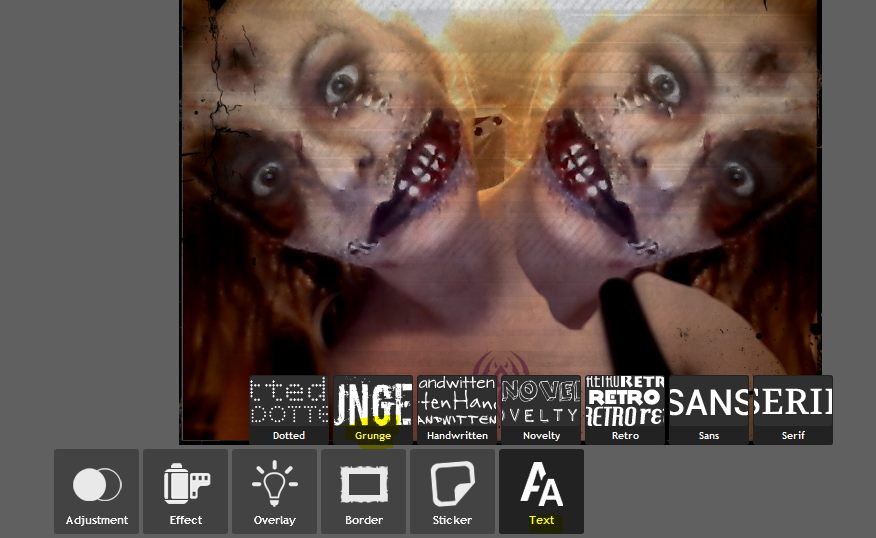
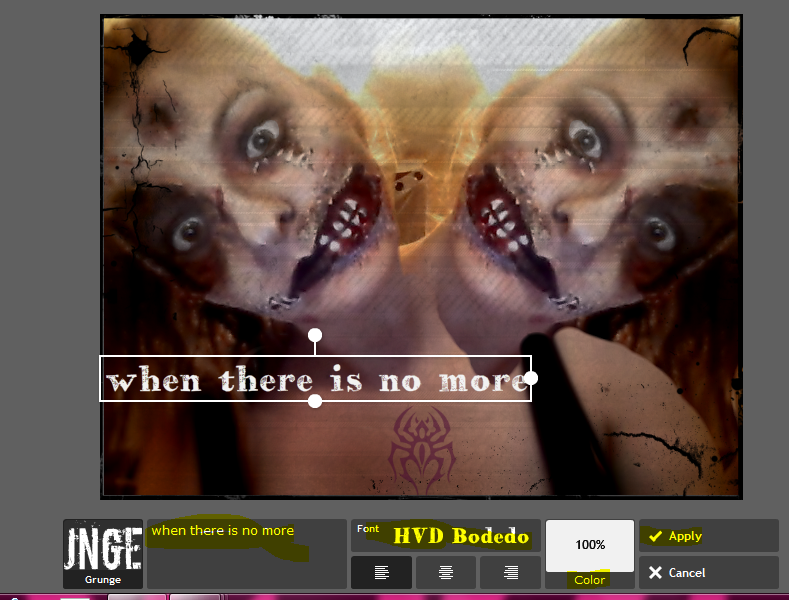
Next, I added some text. To do this click on the TEXT tab.
You will have a large selection to choose from, but im sticking with my theme of GRUNGE.
Now, you can start typing and placing your text whereever you want it.. You can adjust the size, colour and direction all in the editor on the screen.
STEP 13
STEP 13
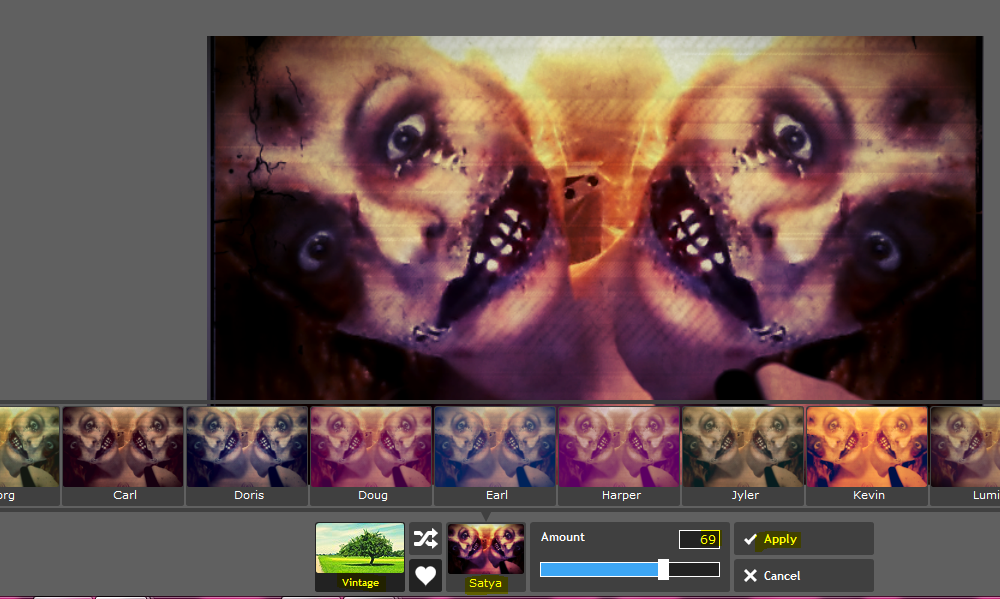
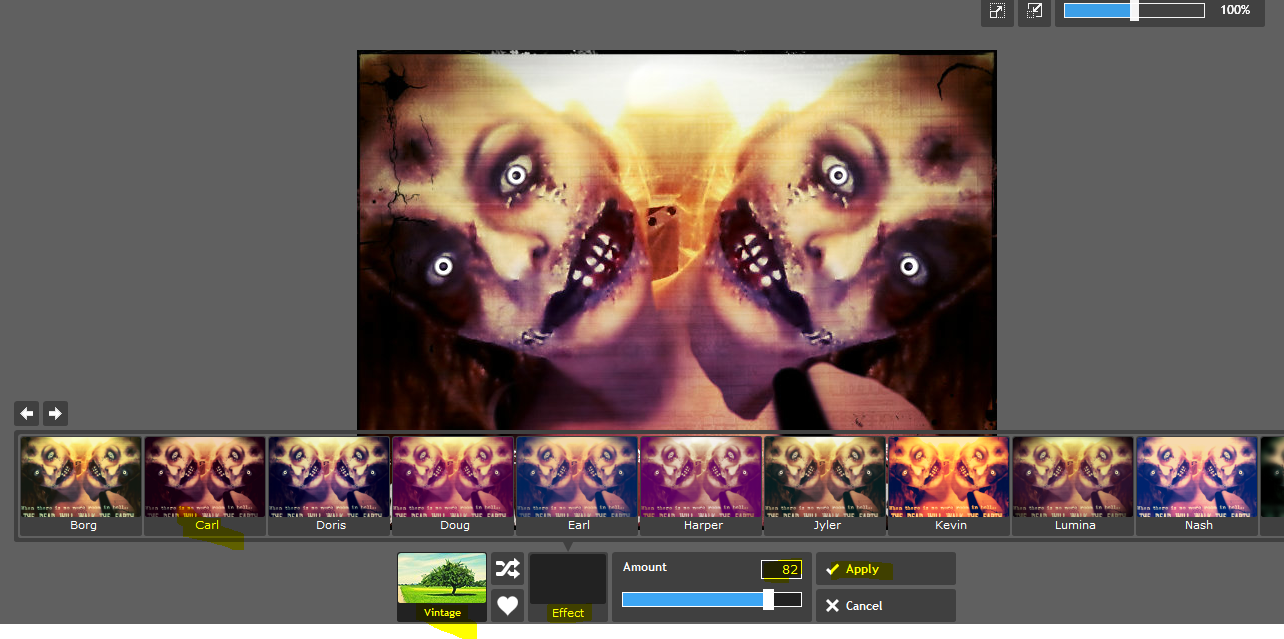
Once I was finished placing mt text, I clicked on EFFECT.
I Chose both KARL and SATYA. ( ended up going back and adding KARL when I was done so the first picture below is just SATYA) The photo with the eyes done has both effects combined.
Again, you can adjust the amount to your liking and dont forget to press APPLY.
Now we are almost done our picture. All that is left is to colour in the eyes! This I will explain in my next step!
Step 14- Final Step
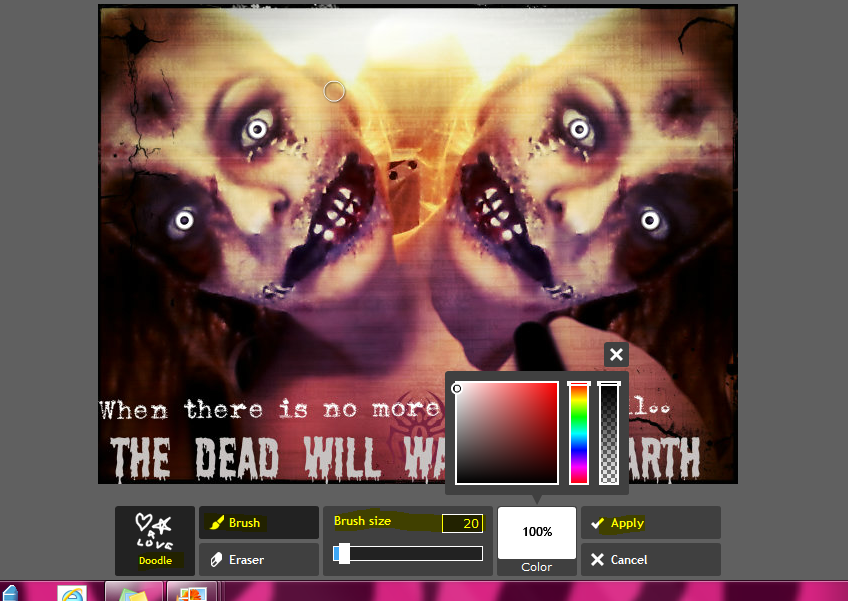

Its time to do the eyes. For this effect I used the tab DOODLE.
I simple measured the size of the coloured area on the eyeball with the size of the brush, making sure to leave a think border using white. Next, I used the eraser, and again sized it to the eye, but this time, smaller, about the size of my pupil. and VOILA instant zombie eyes!!
Thanks for cheaking out my picture i hope it helps!!